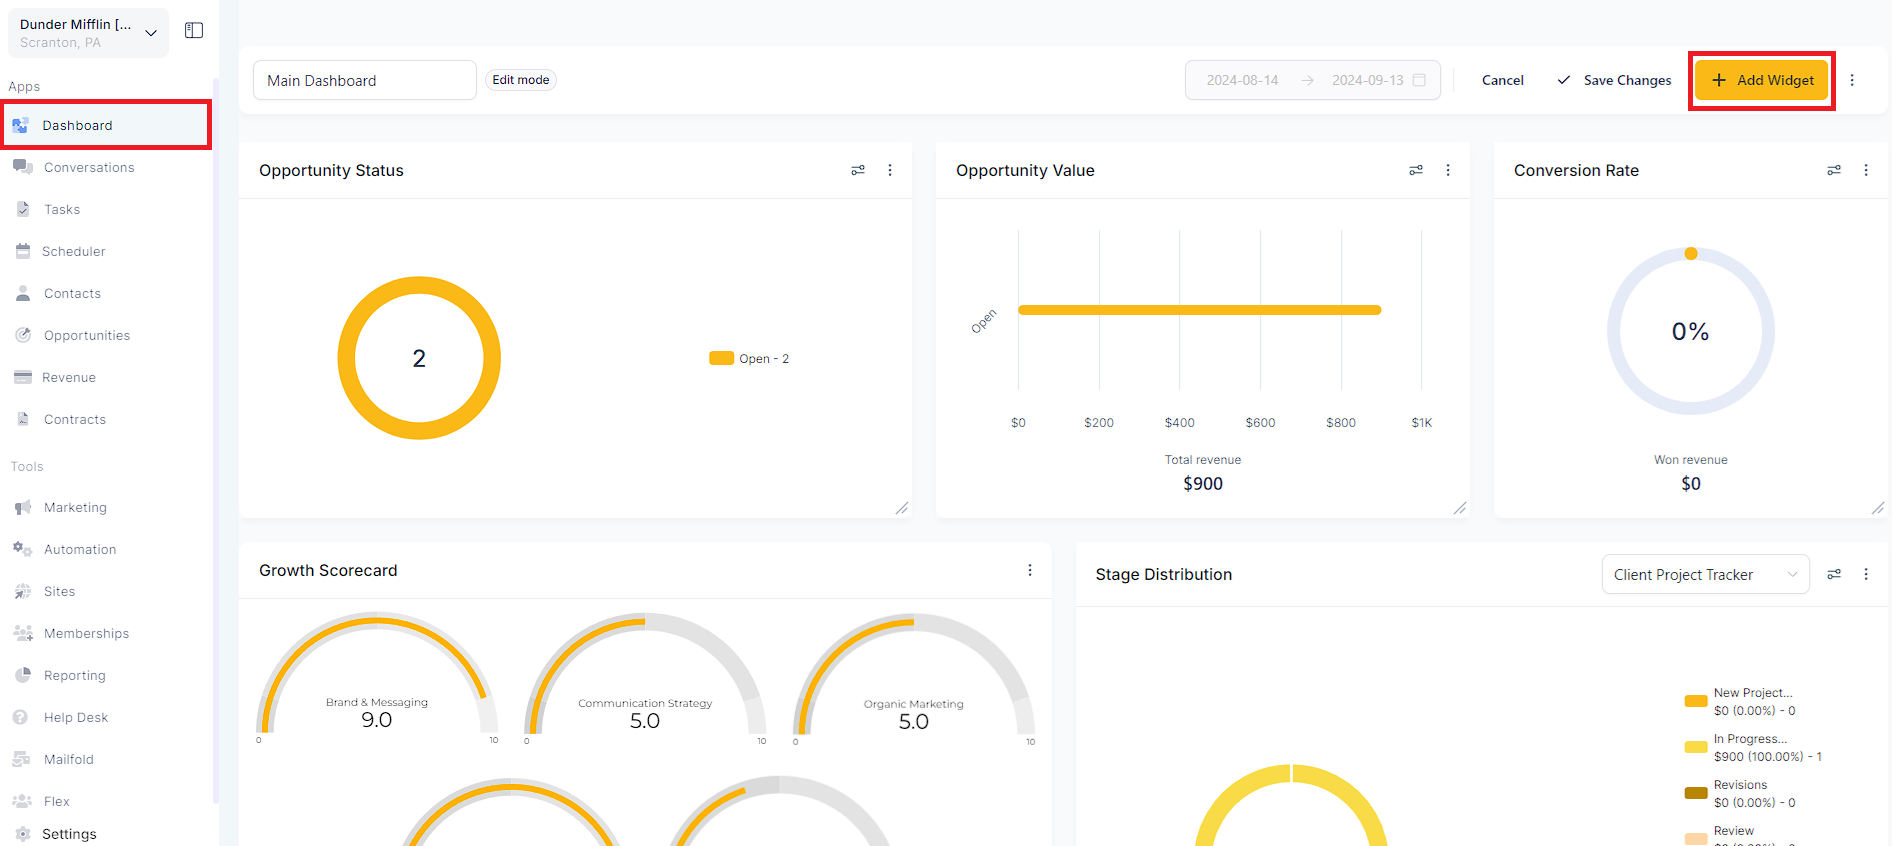
You can add a widget to your dashboard by selecting the Edit icon in the top-right corner of the screen, then clicking the "Add Widget" button.
Upon clicking this button, you will see the "Add Widgets" section automatically appear.
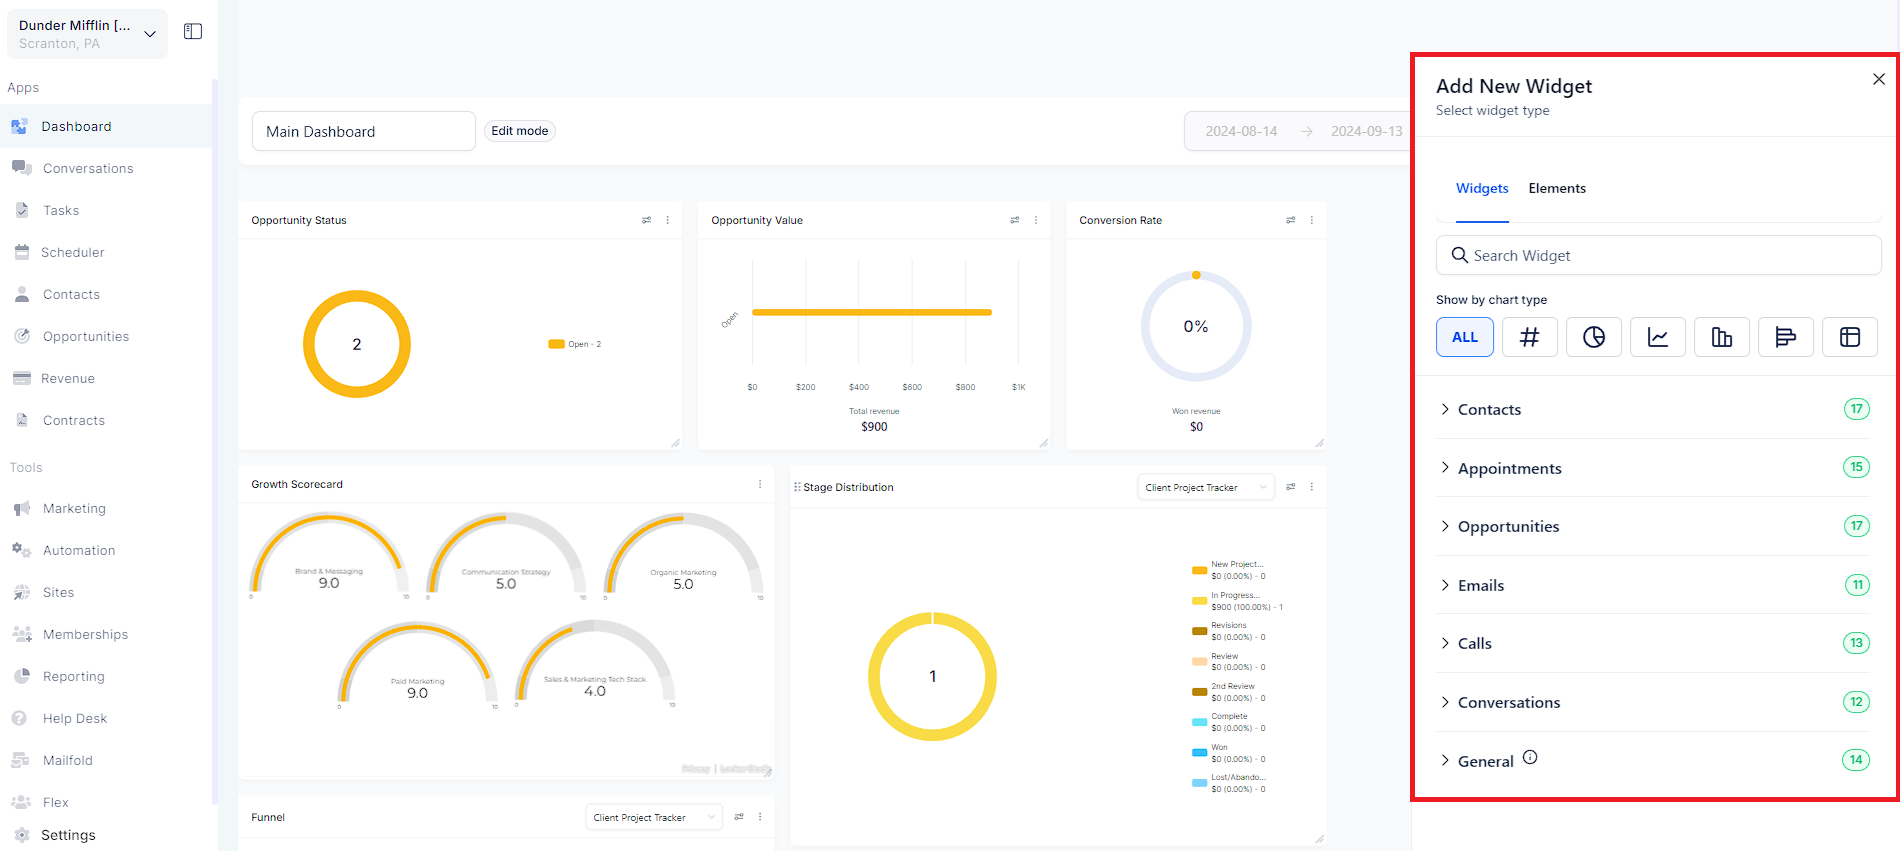
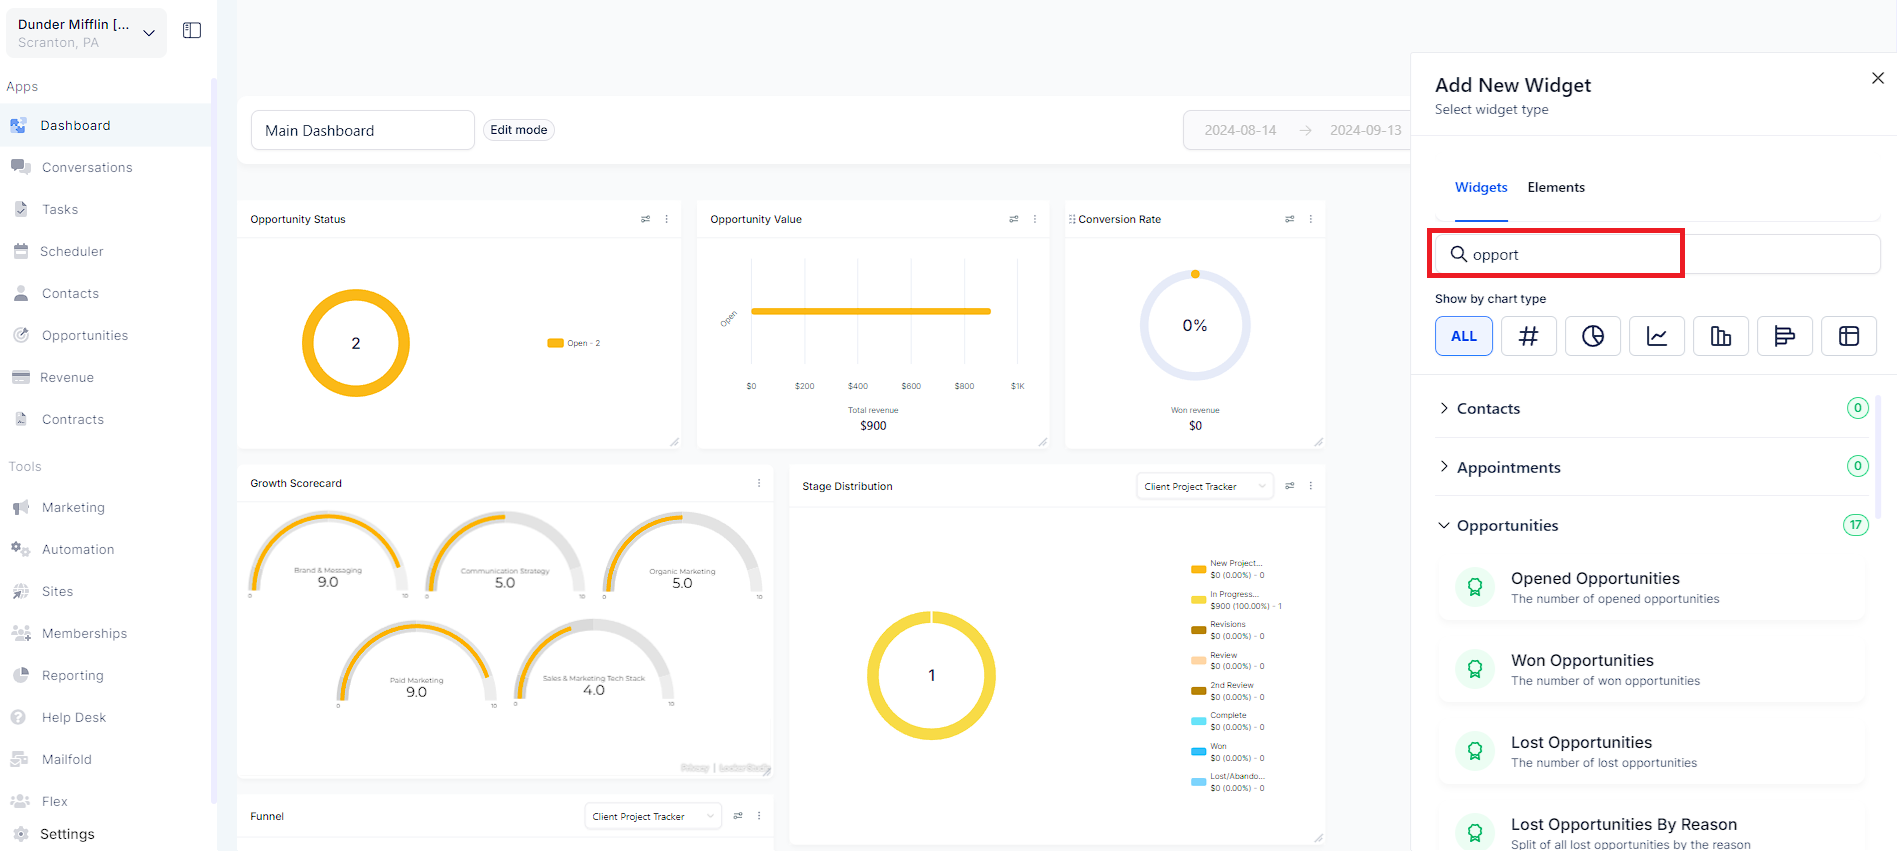
In the "Add Widgets" section, you can search or scroll through the available widgets categorized under different categories to select the one you'd like to add.
From the top menu, you can also filter widgets by chart type. Under the "ALL" filter, the recommended chart type is pre-selected for each widget. You can change this chart type at any time.
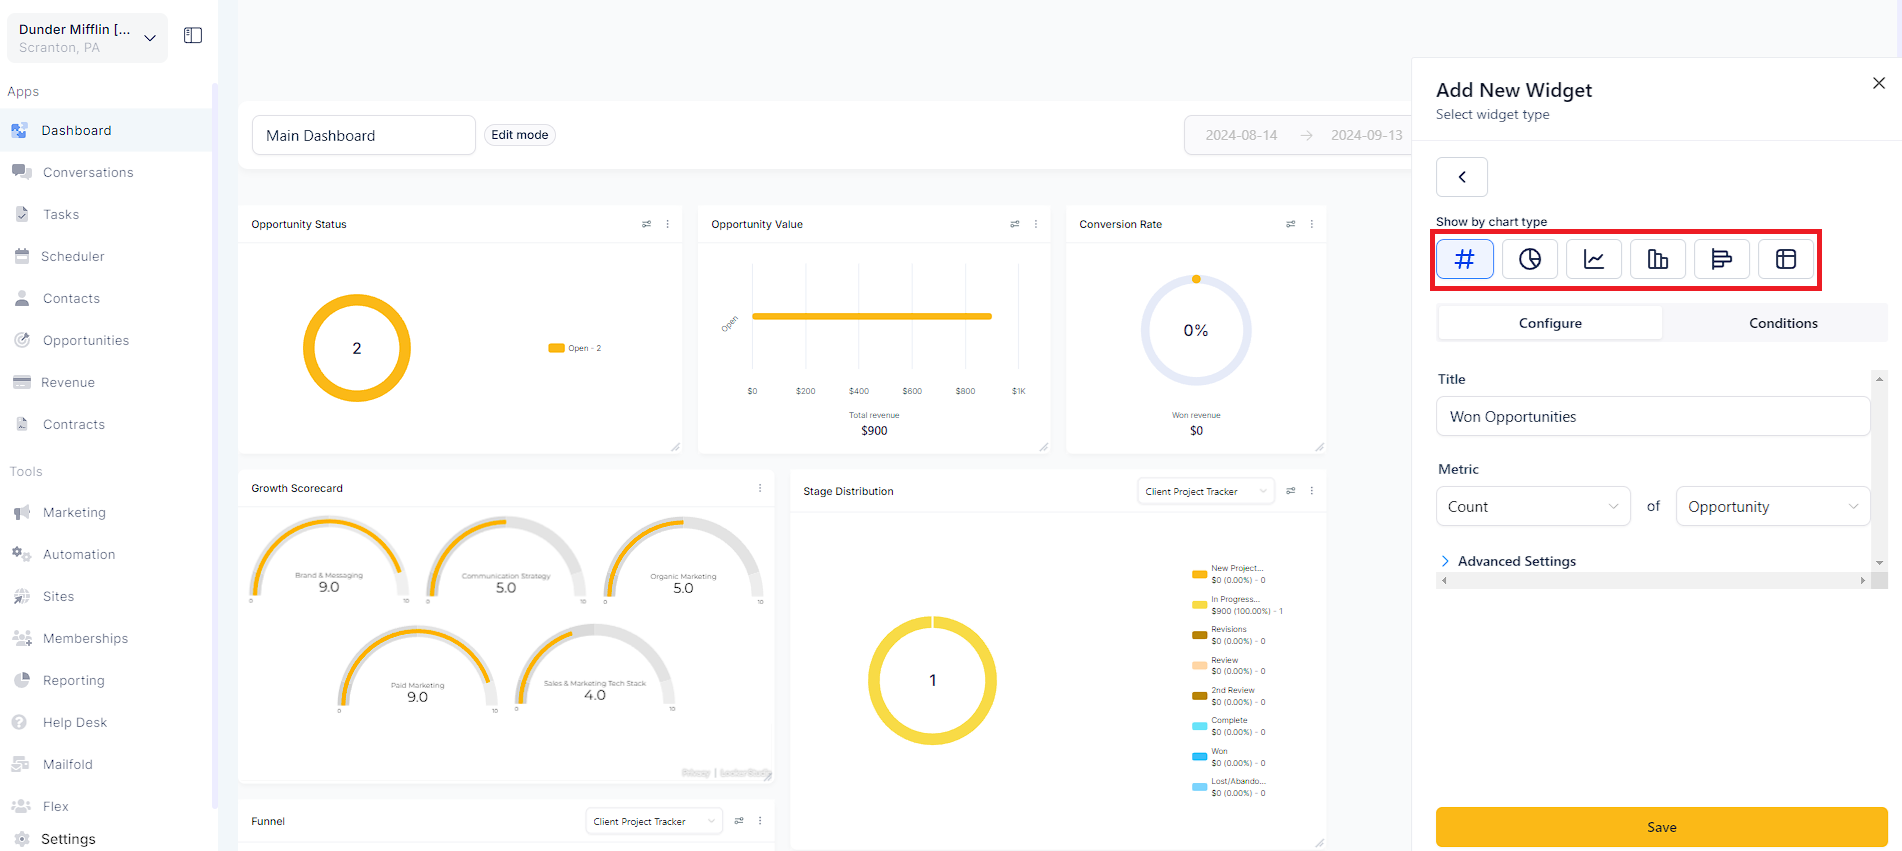
Customize the widget by changing its title if needed.
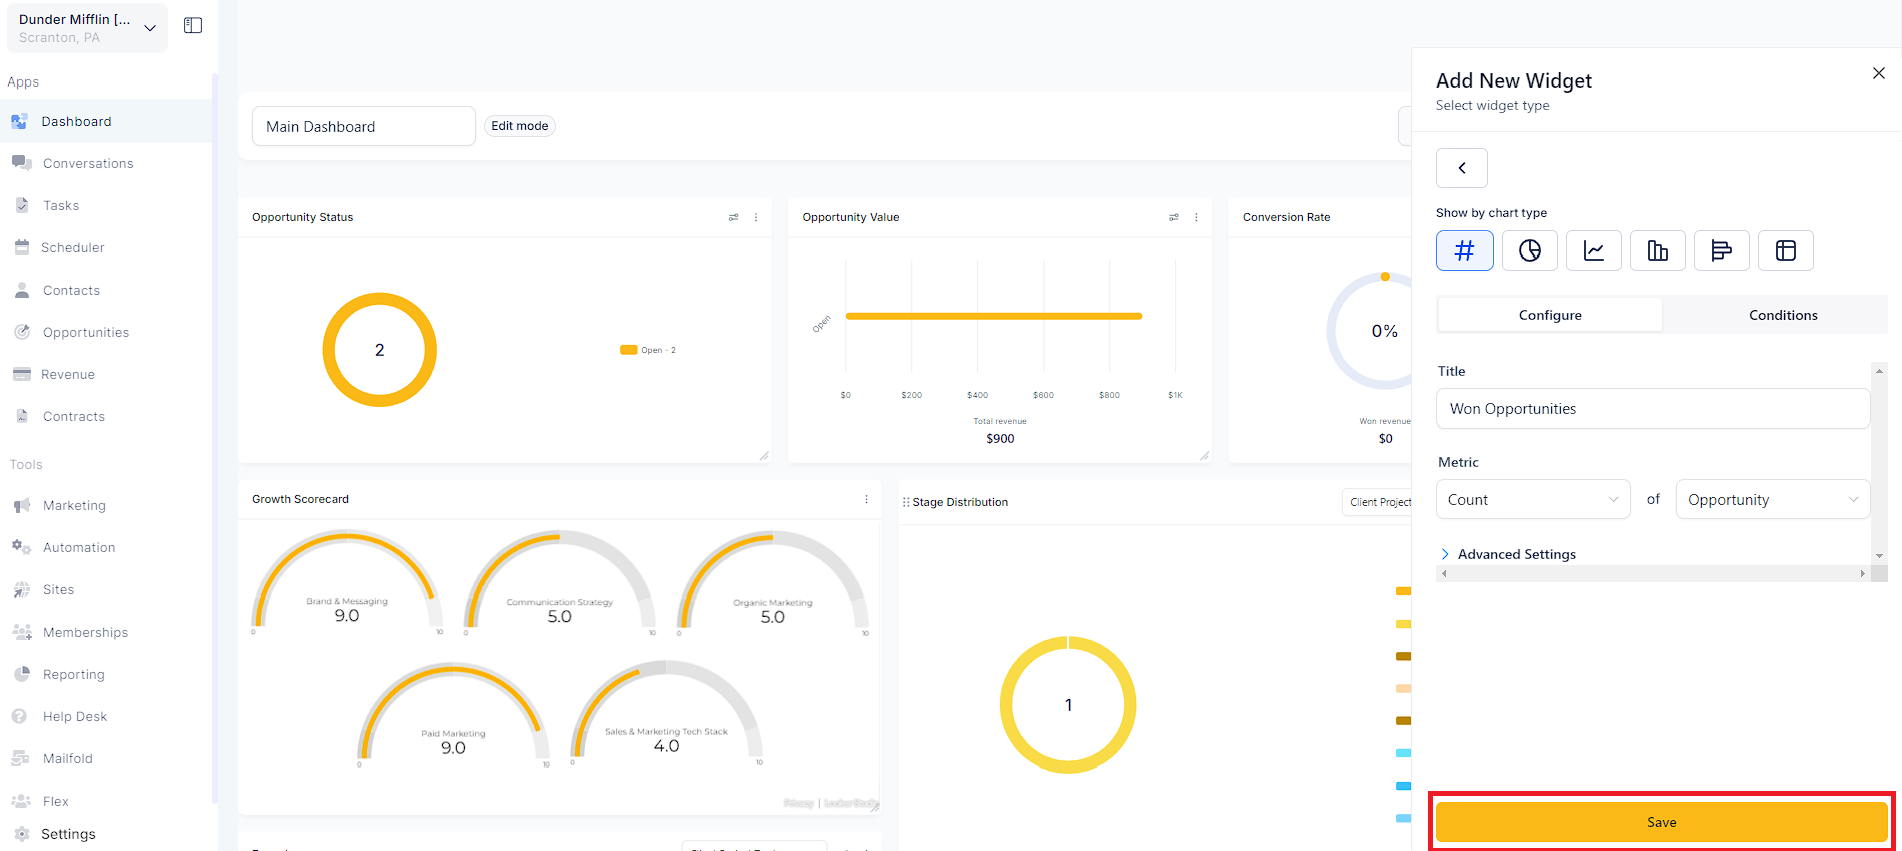
After making your selection and customizations, click the "Save" button.
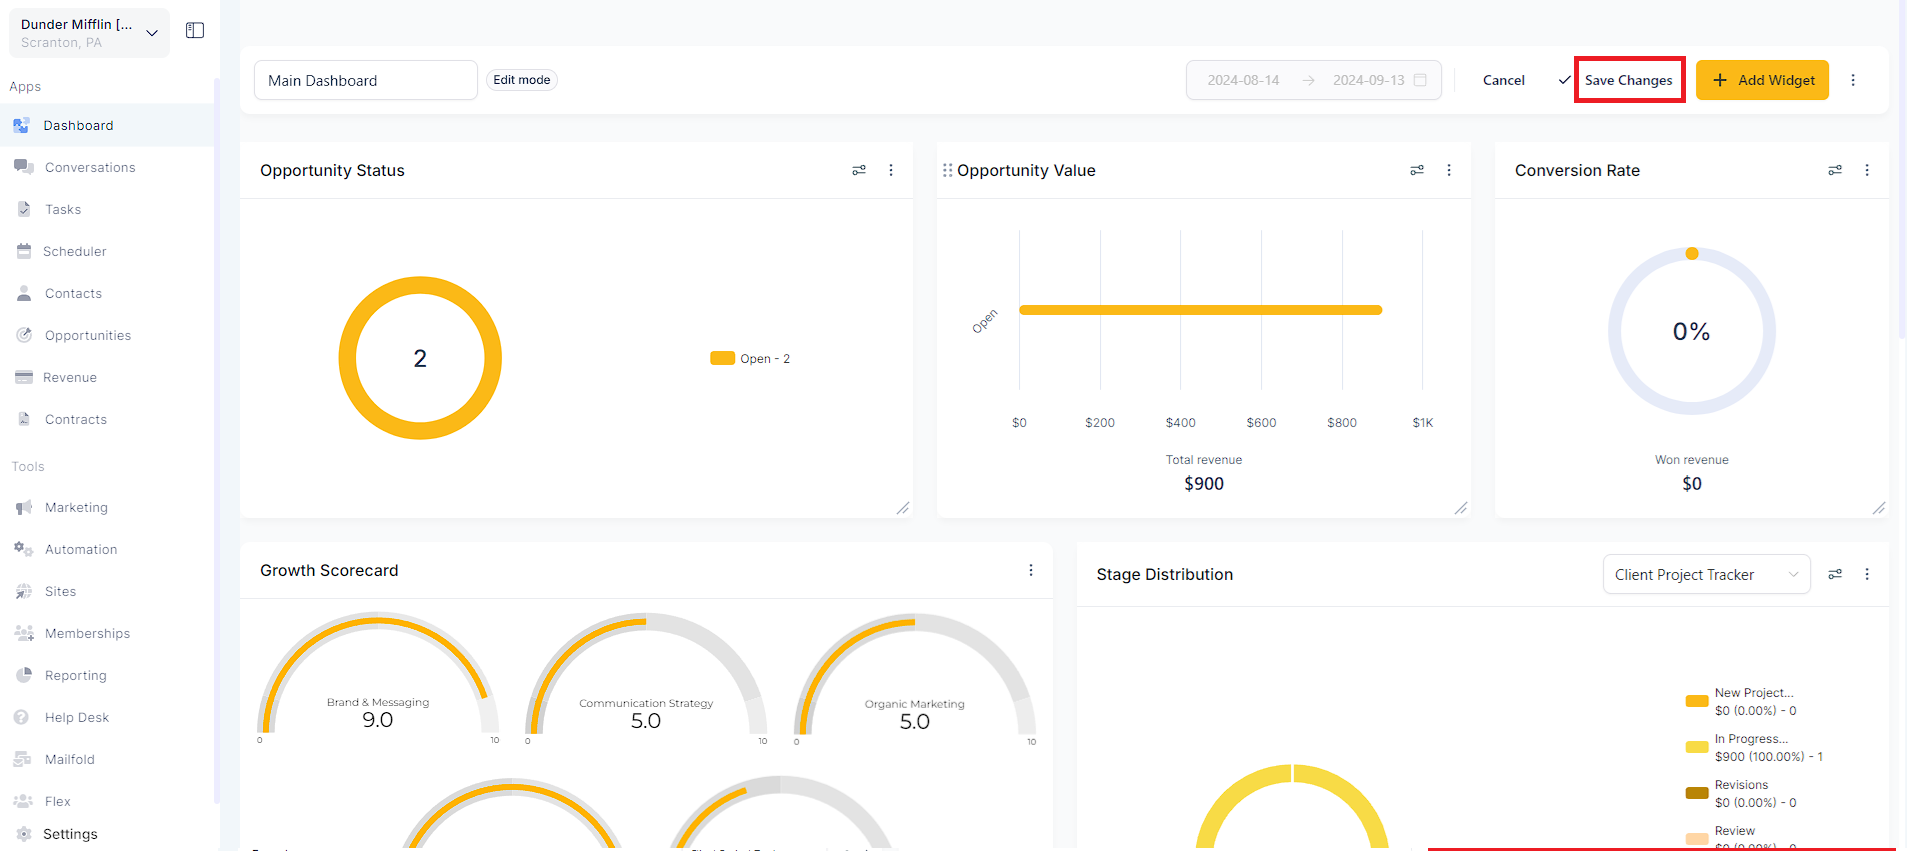
You will now see the widget on your dashboard. The widget can be resized and positioned as needed. When you are satisfied with the widget's position and size, click "Save Changes".