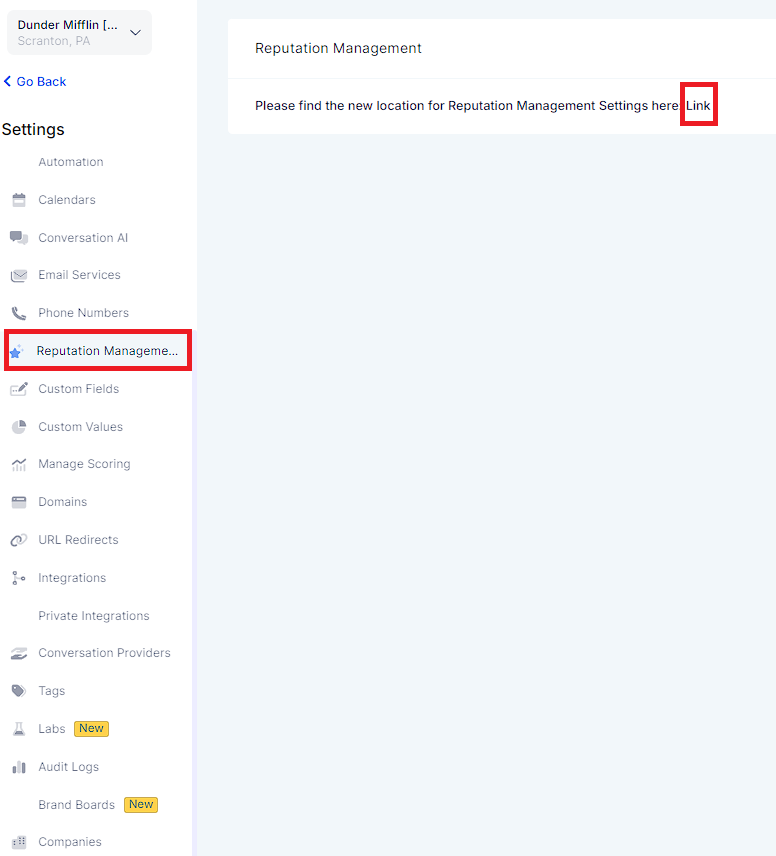
To get started with customizing your review widgets, click on Reputation Management and navigate to the Widgets tab.
Click the "Create New Widget" button to begin crafting your custom review widget. Alternatively you can also choose from the existing template from the templates tab.
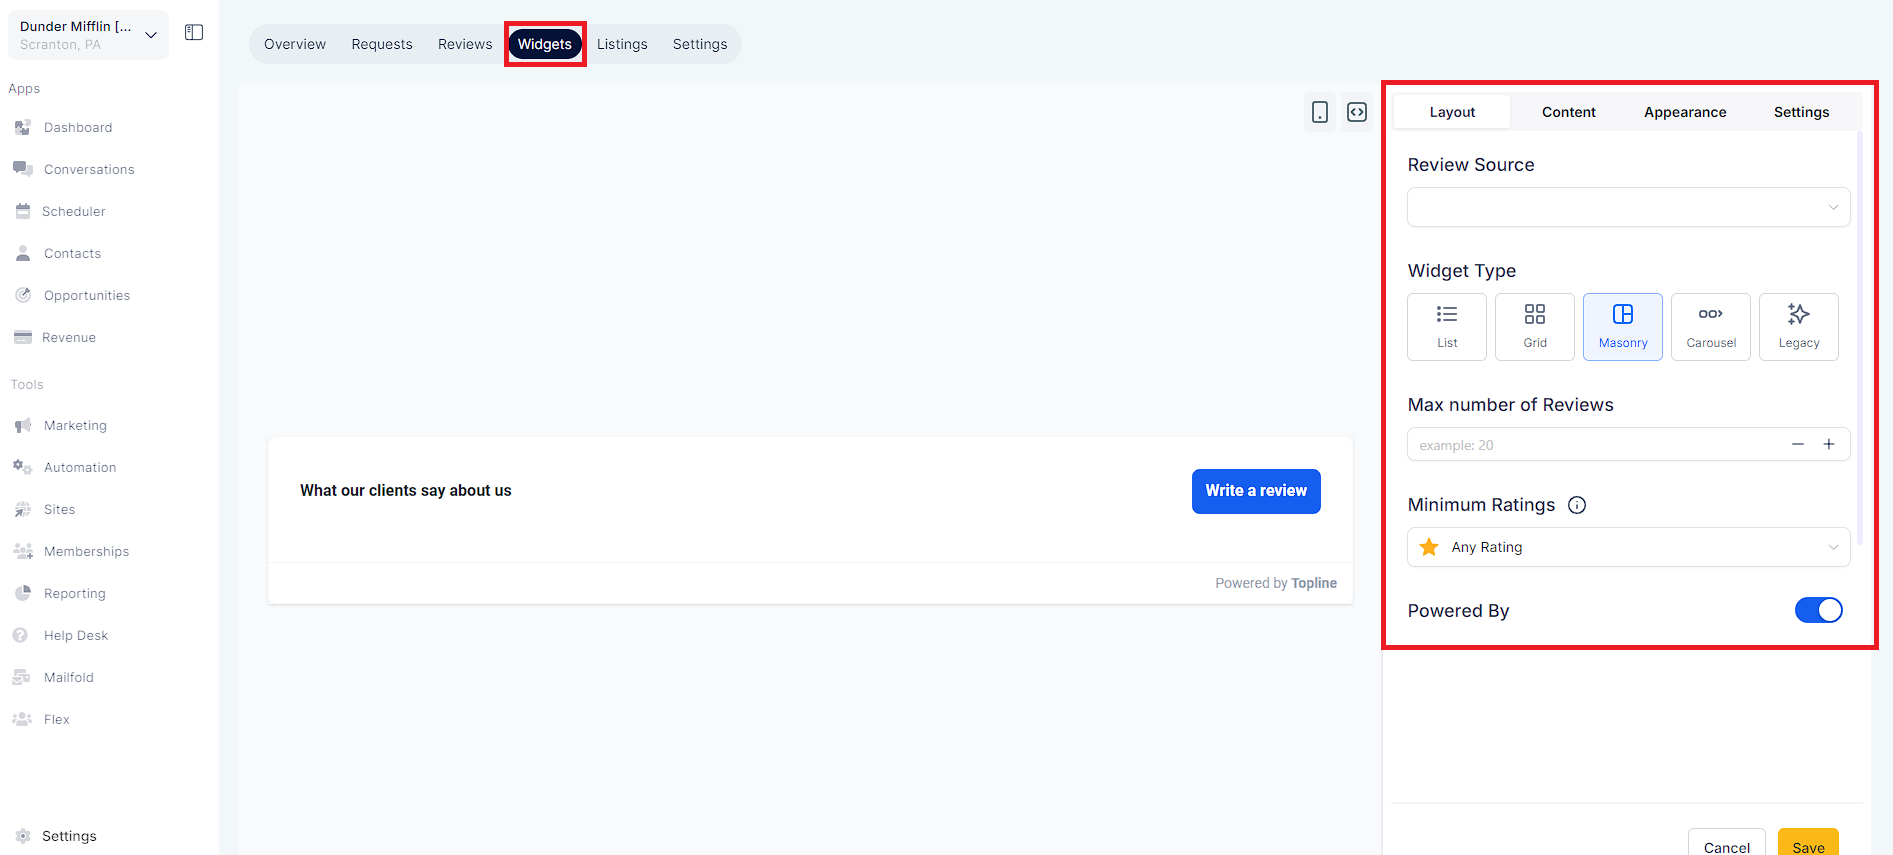
In the "Layout" tab, you can define the fundamental structure of your widget:
Select your preferred widget type: List, Masonry, Grid, or Legacy. The Legacy widget type retains the characteristics of our original widget style, primarily for backward compatibility, and offers limited customization options.
Choose the source of your reviews, such as GMB and FB.
Define the maximum number of reviews you wish to showcase.
Select the Maximum Ratings you wish to showcase in the Widget
Toggle the option to enable or disable the "Powered by" section that is displayed at the end of the review widget.
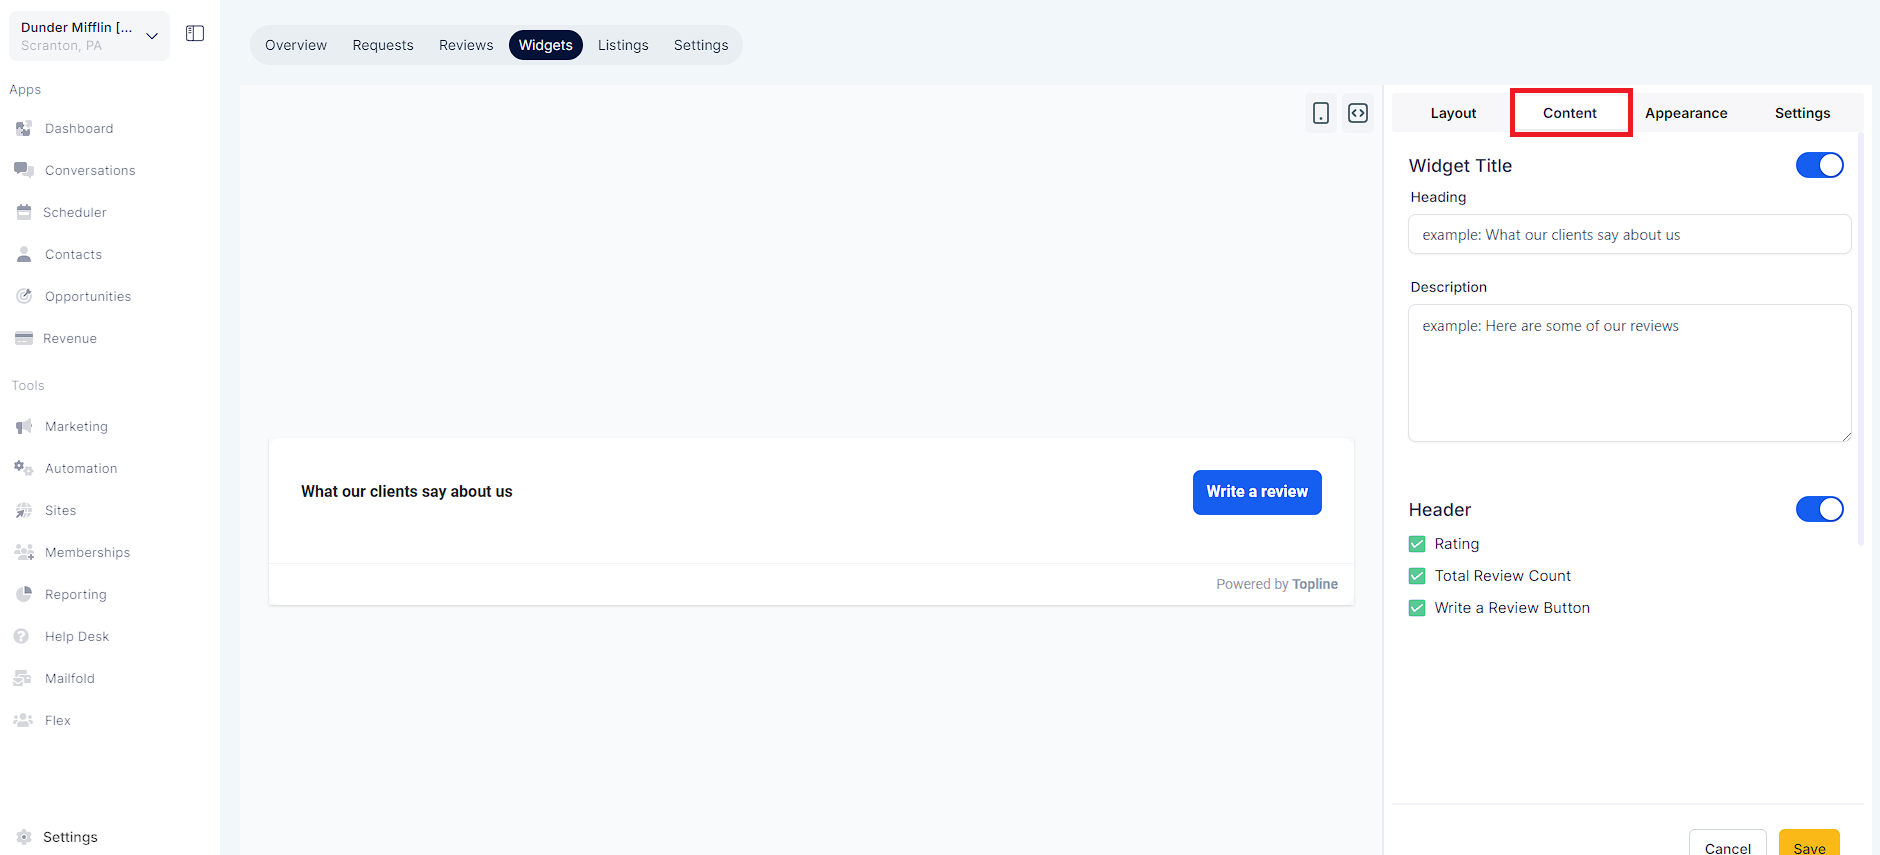
In the "Content" tab, you can fine-tune how your widget appears:
Enhance Widget Title and Description: Craft compelling and on-brand widget titles and descriptions. Customize them to effectively communicate your message.
Header Section Customization: In the header section, you have the option to enable/disable the display of the rating, total review count, and "Write a review" button within the widget.
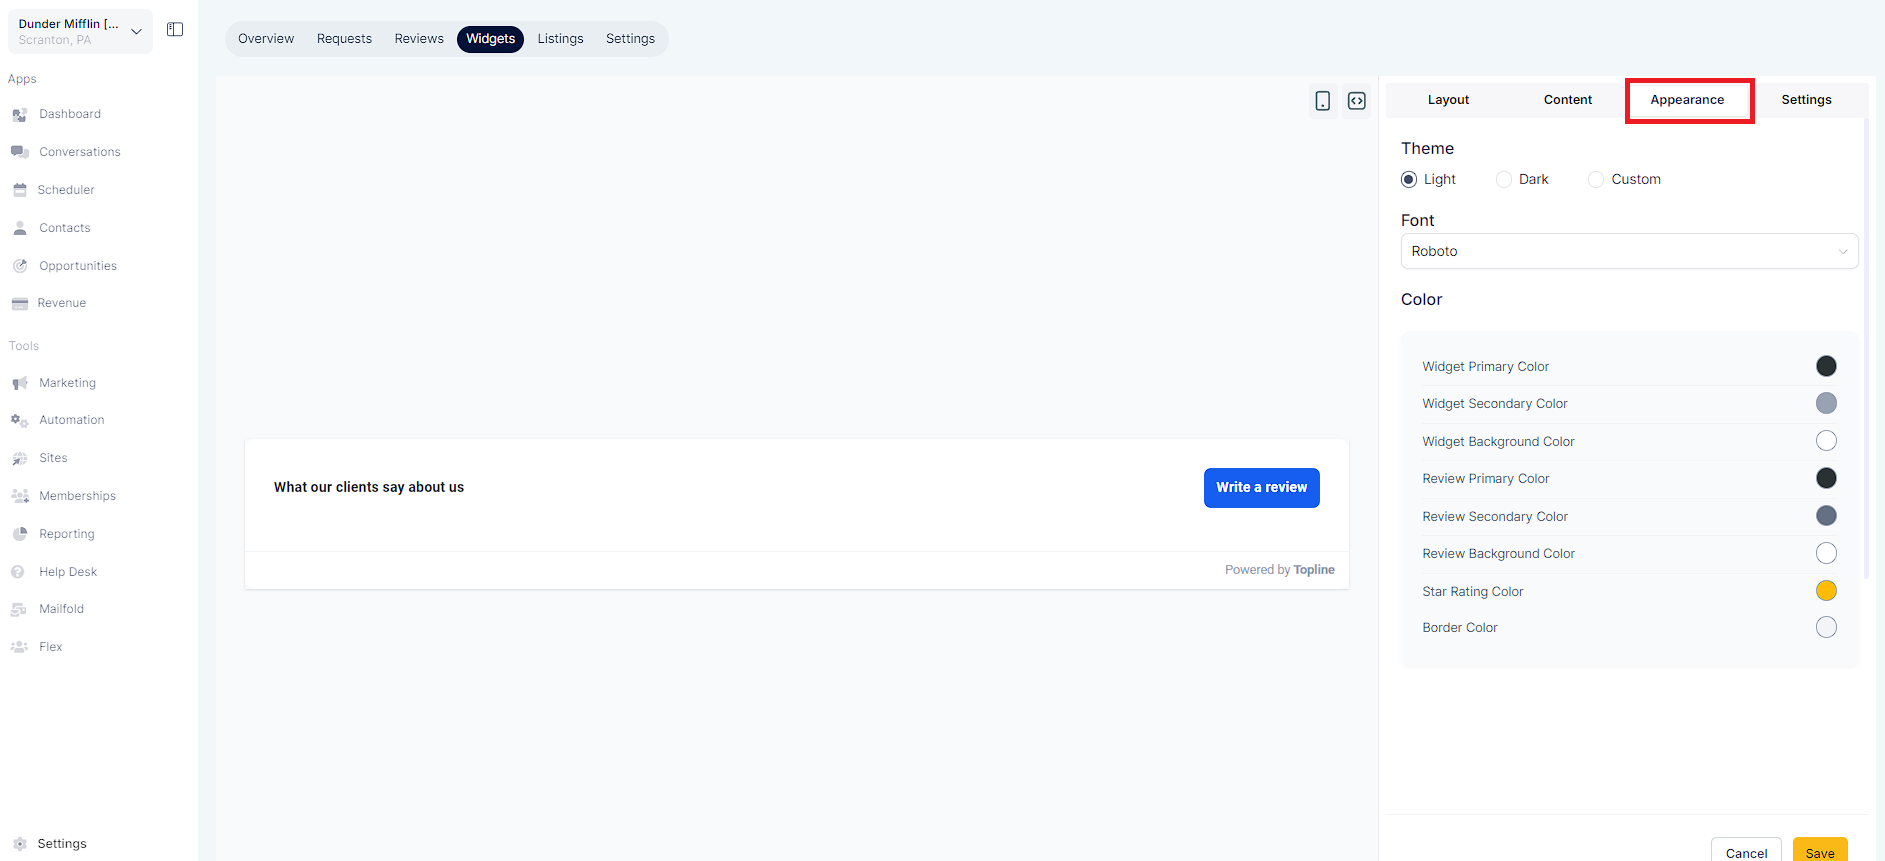
The "Appearance" tab gives you control over the visual style of your widget
Choose from Light, Dark, or create a Custom theme.
If you opt for Custom theme, customize individual component colors such as widget heading color, reviews color, star rating color, Background color, Border color and more.
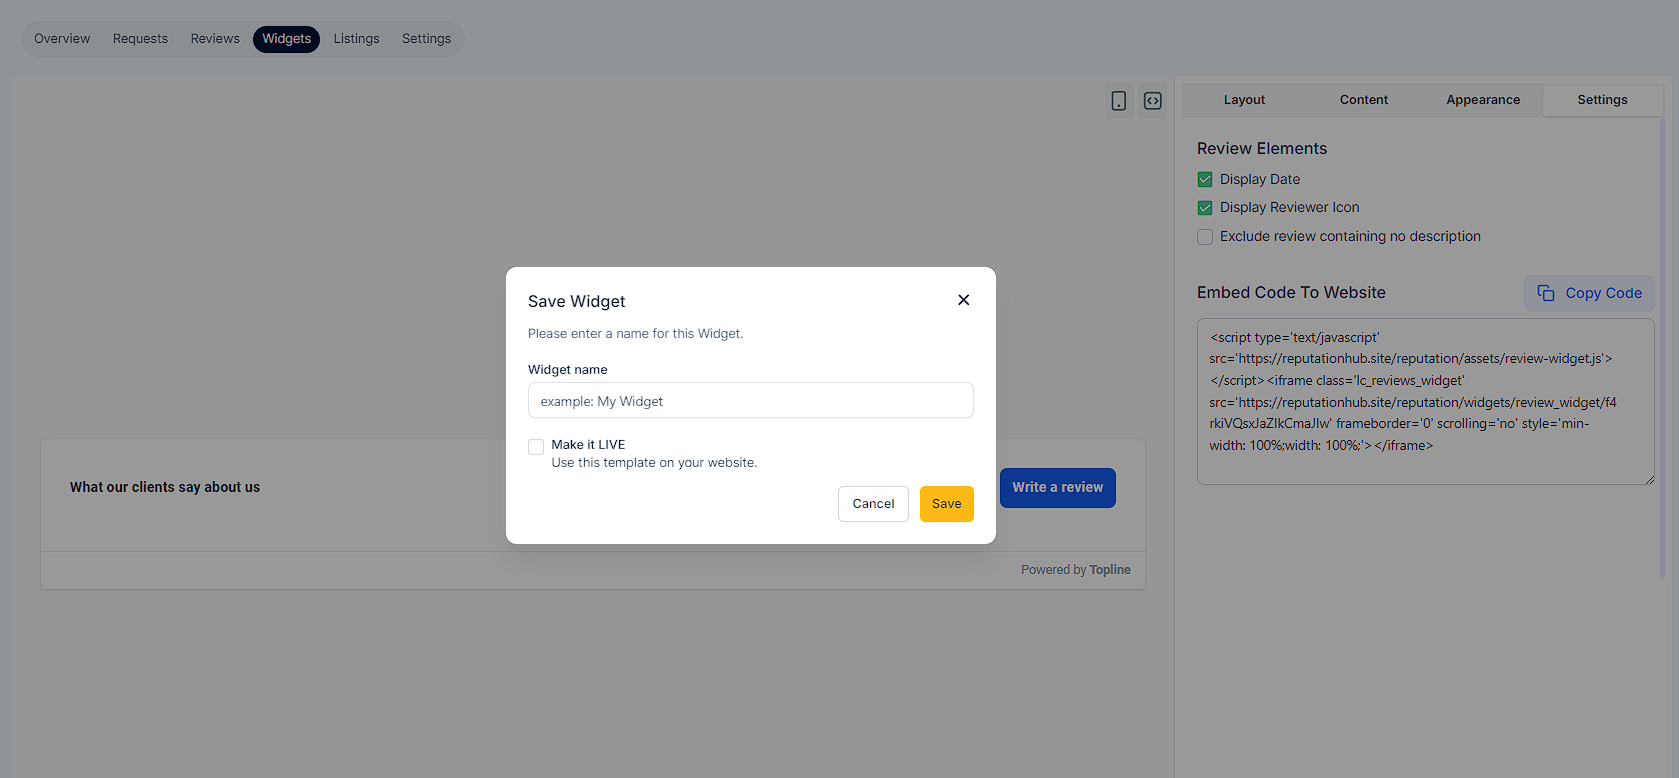
In the "Settings" tab, you can further refine your widget's behaviour:
Enable or disable review elements like the display of the review date and reviewer icon.
Choose to exclude reviews containing no description.
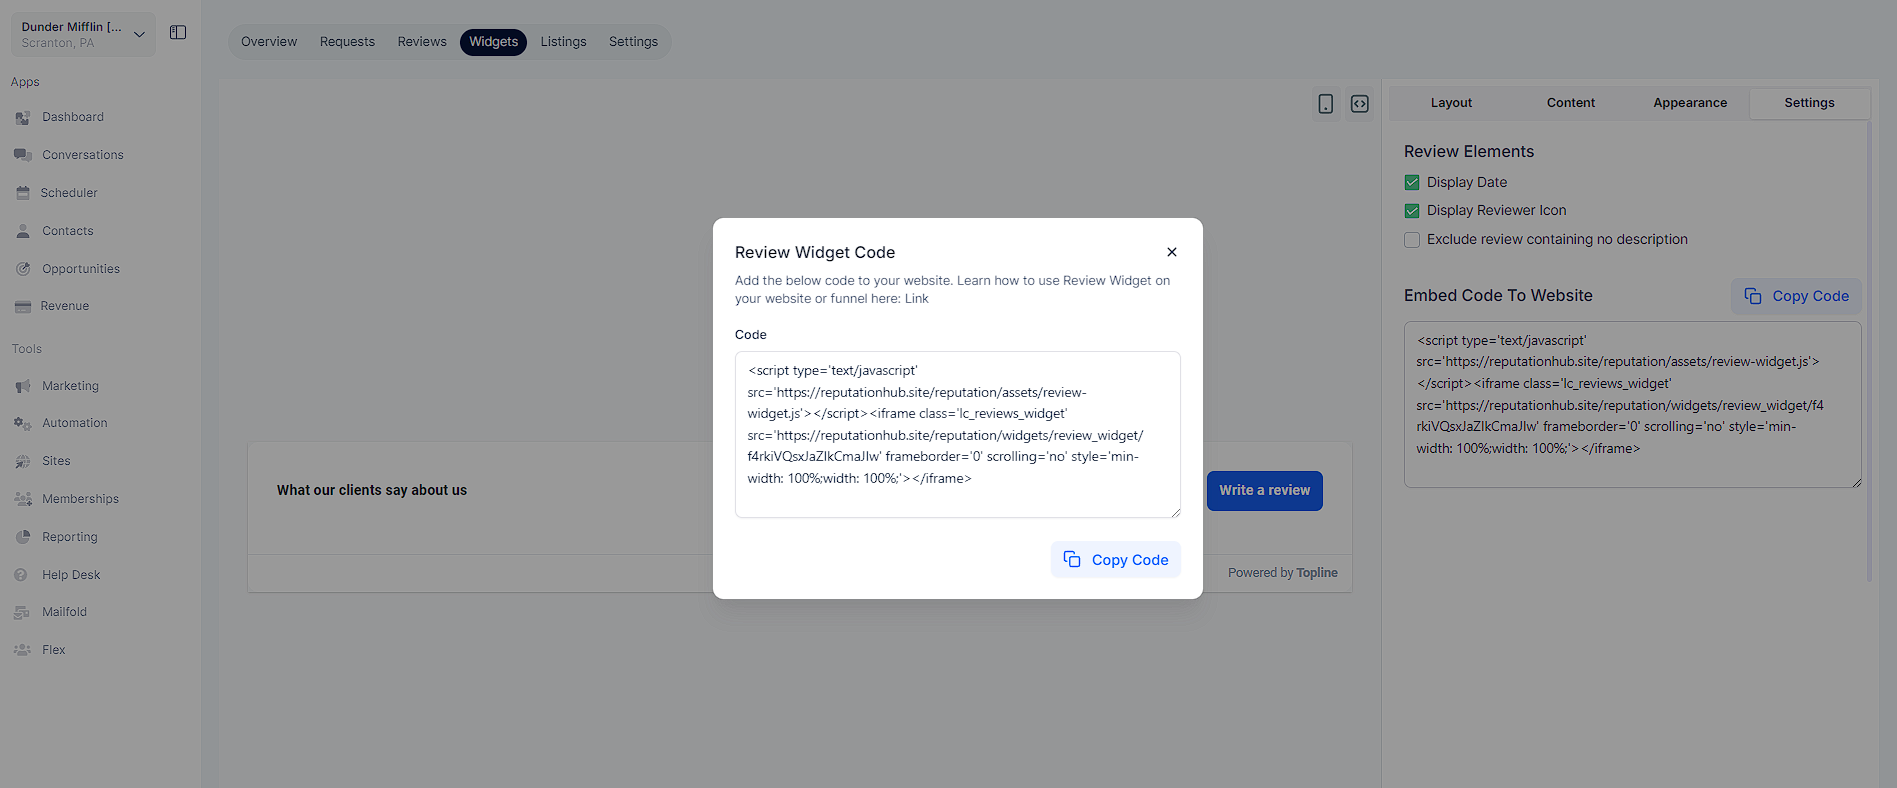
Generate an embed code for your website. Copy the provided code and paste it into the HTML of your website to display your widget where you want it.
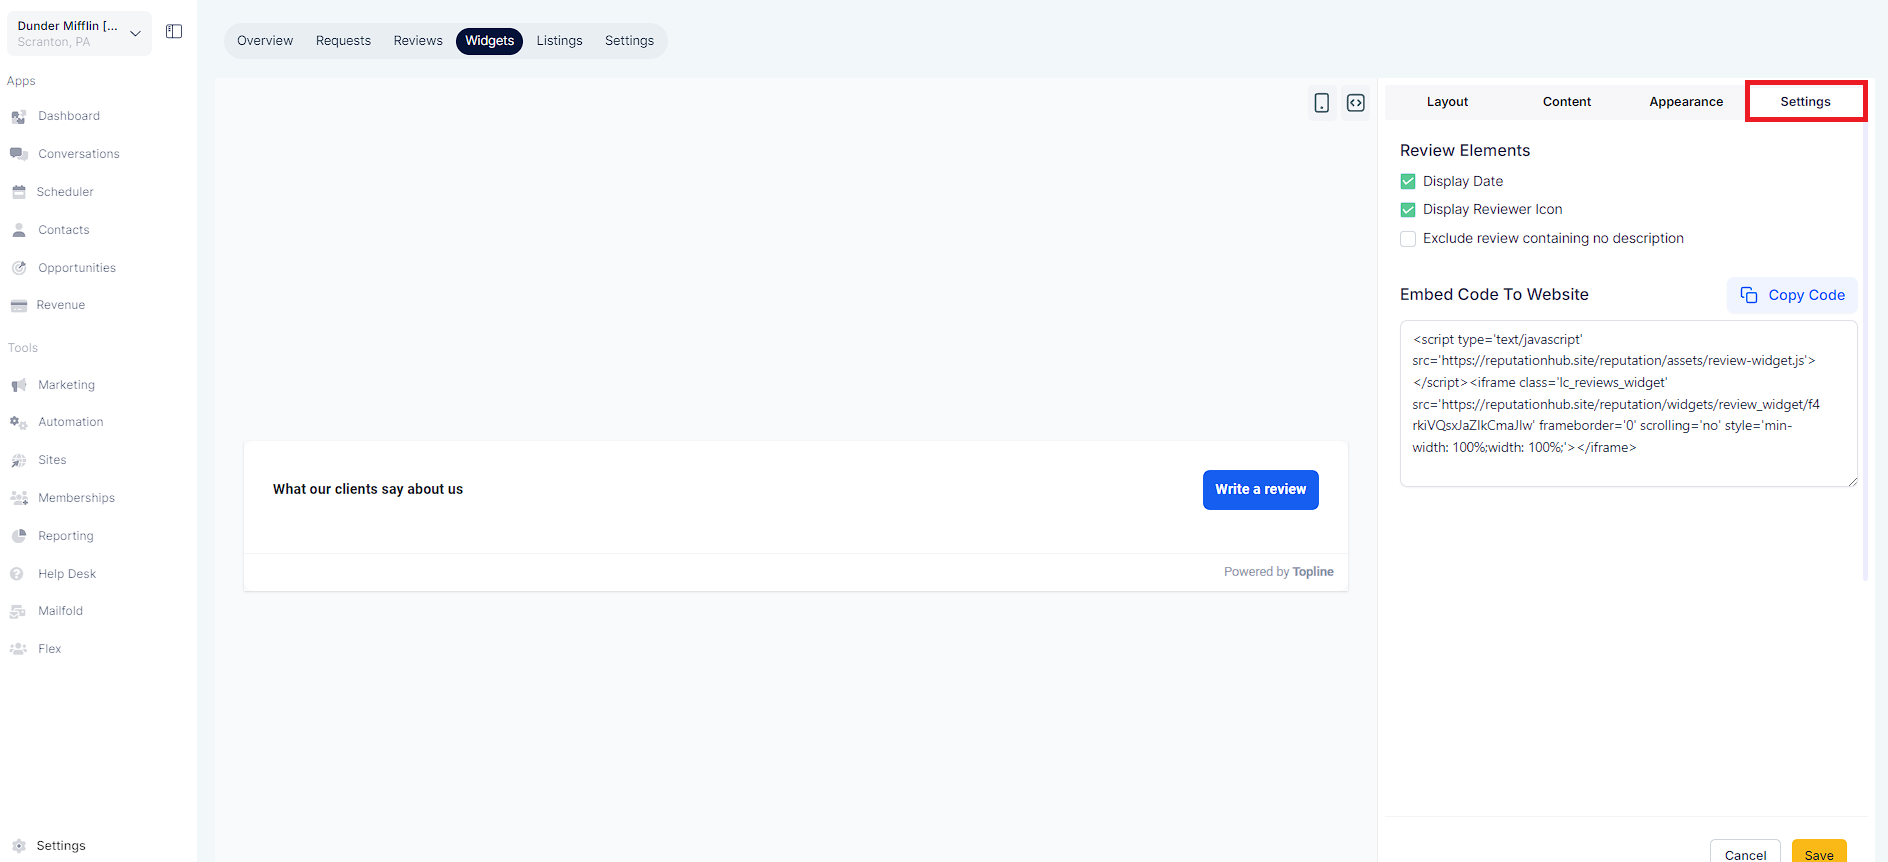
Alternatively you can also copy code directly from the copy code icon at the top right of the widget screen.
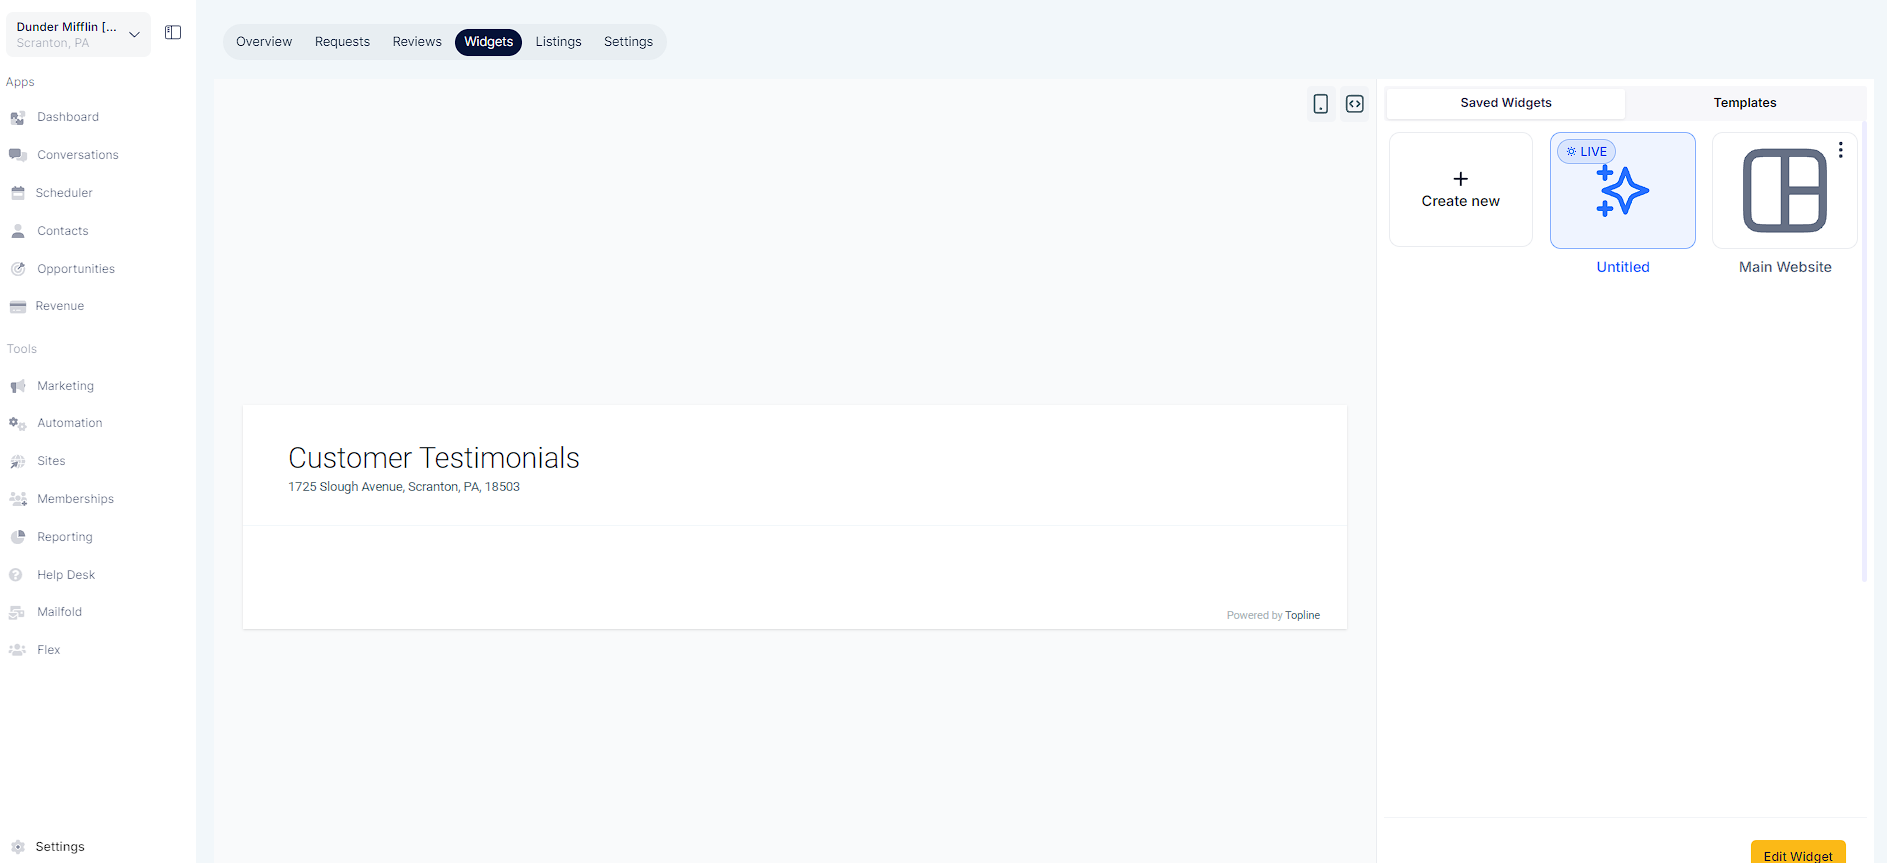
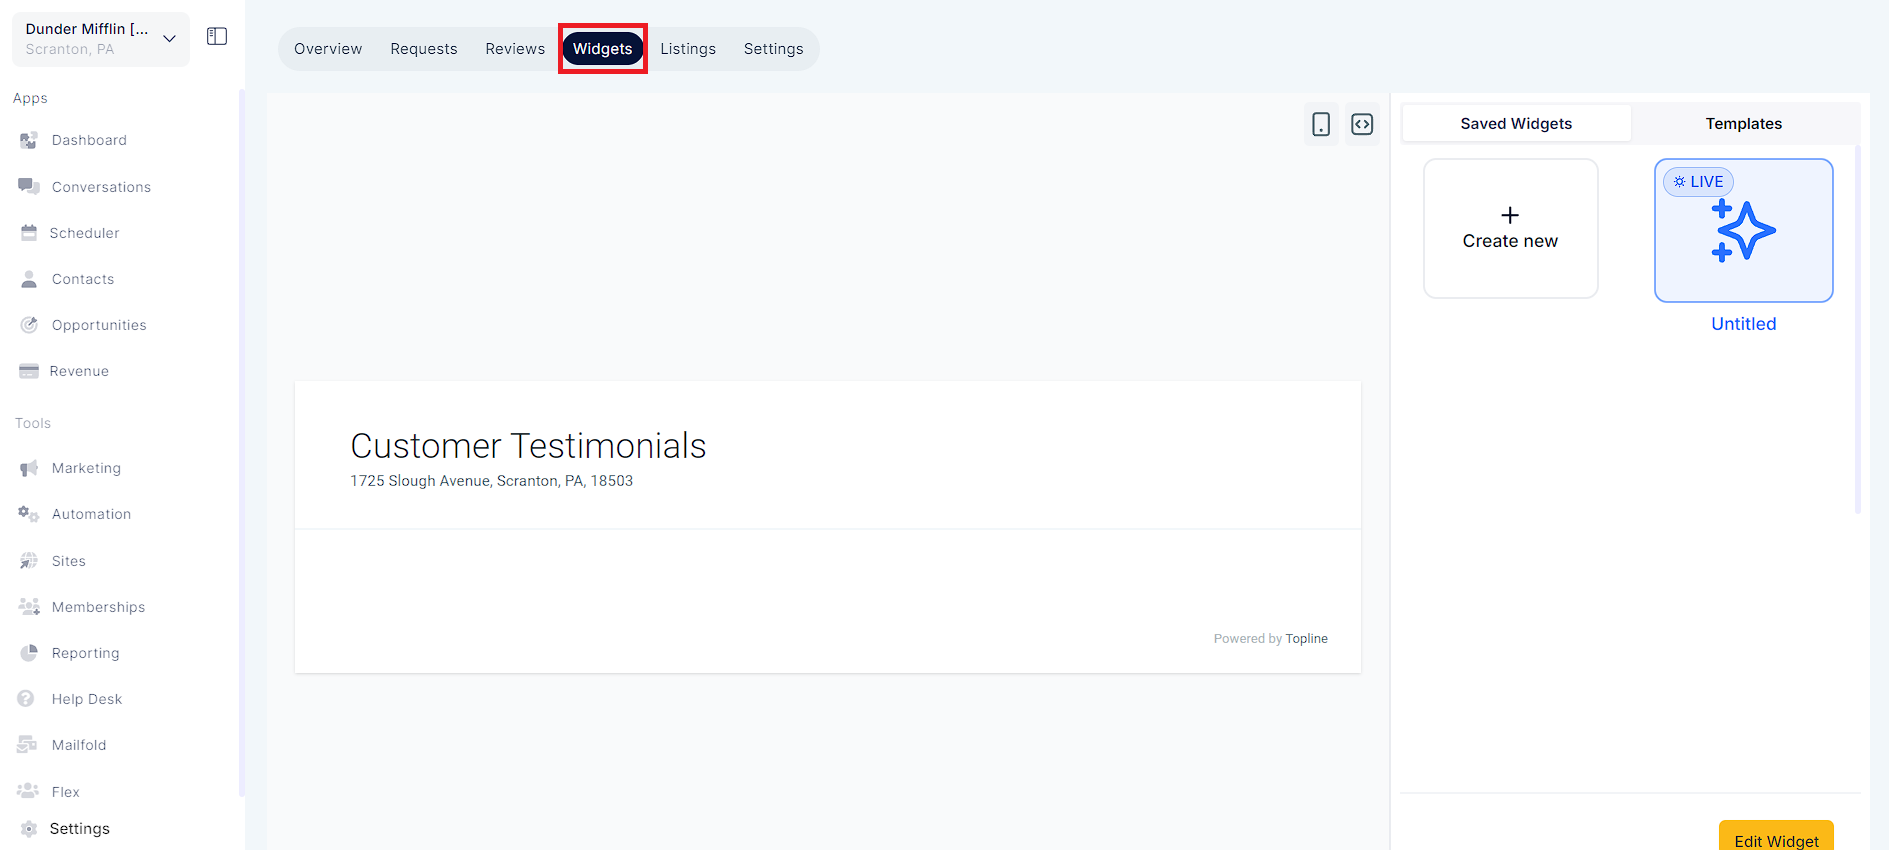
Give your widget a meaningful name for easy reference. You can view all your saved widgets in the saved widgets tab. Choose to save your widget for later use or make it live immediately.
You can also delete widgets you no longer require by clicking on the triple-dot menu at the widget's upper corner.