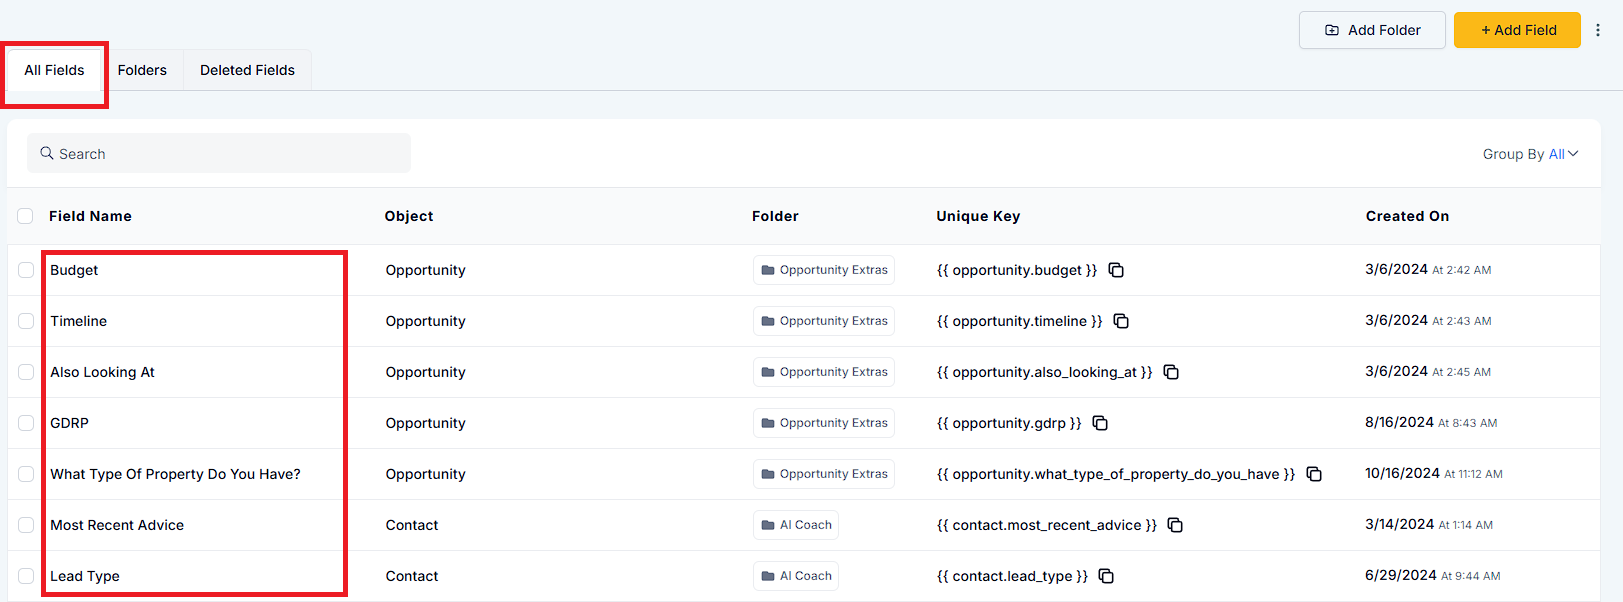
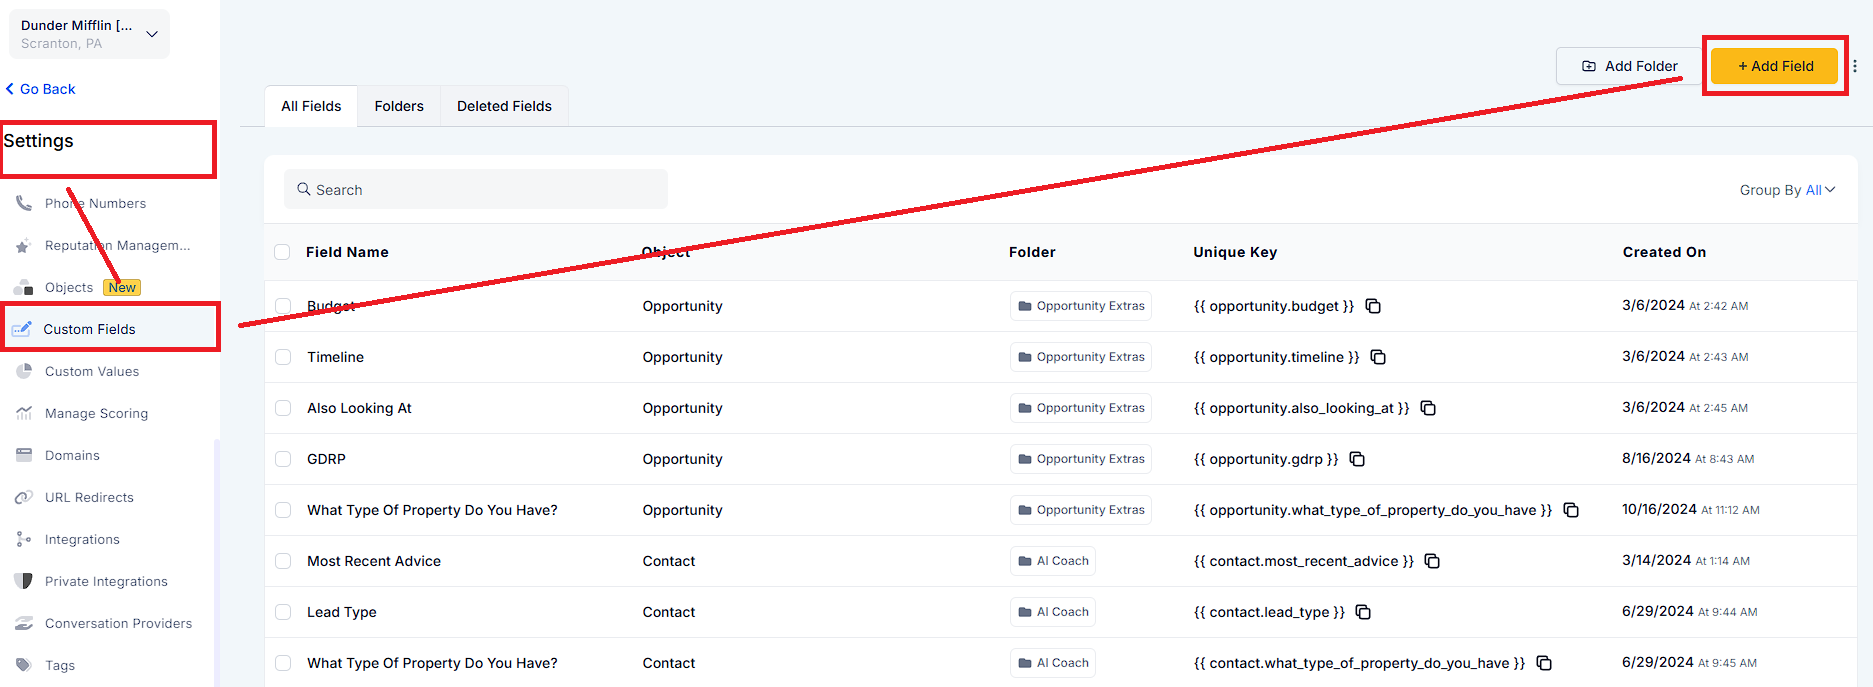
All Fields: All the Custom Fields that existed in the account
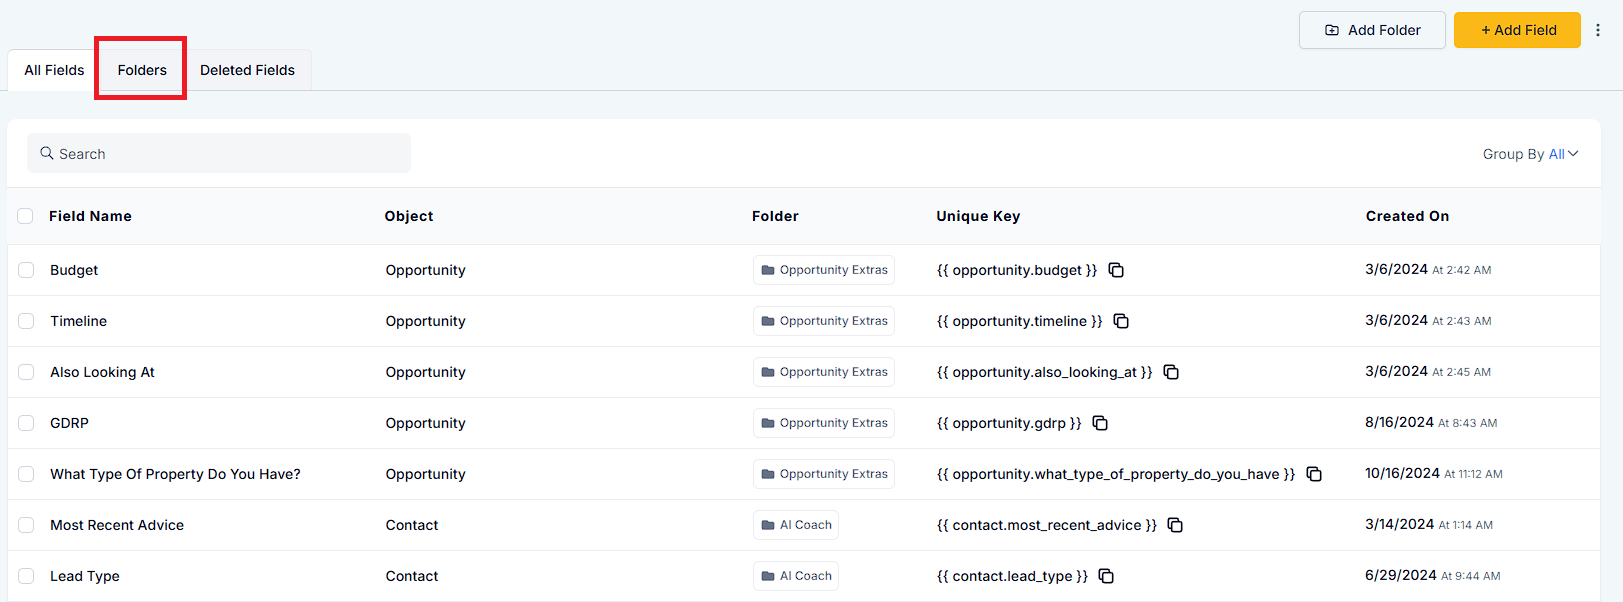
Folders: All the Folders or Groups that exist.
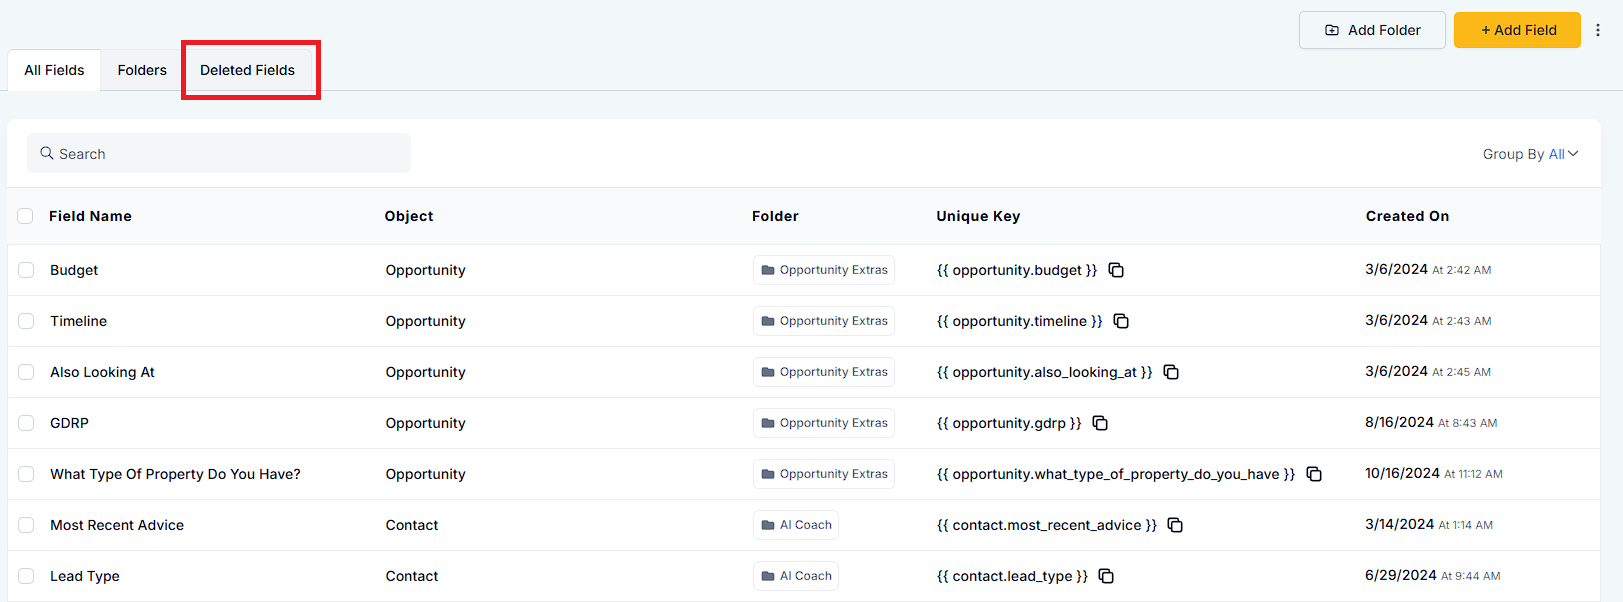
Deleted Fields: All the Deleted fields that you can also restore.
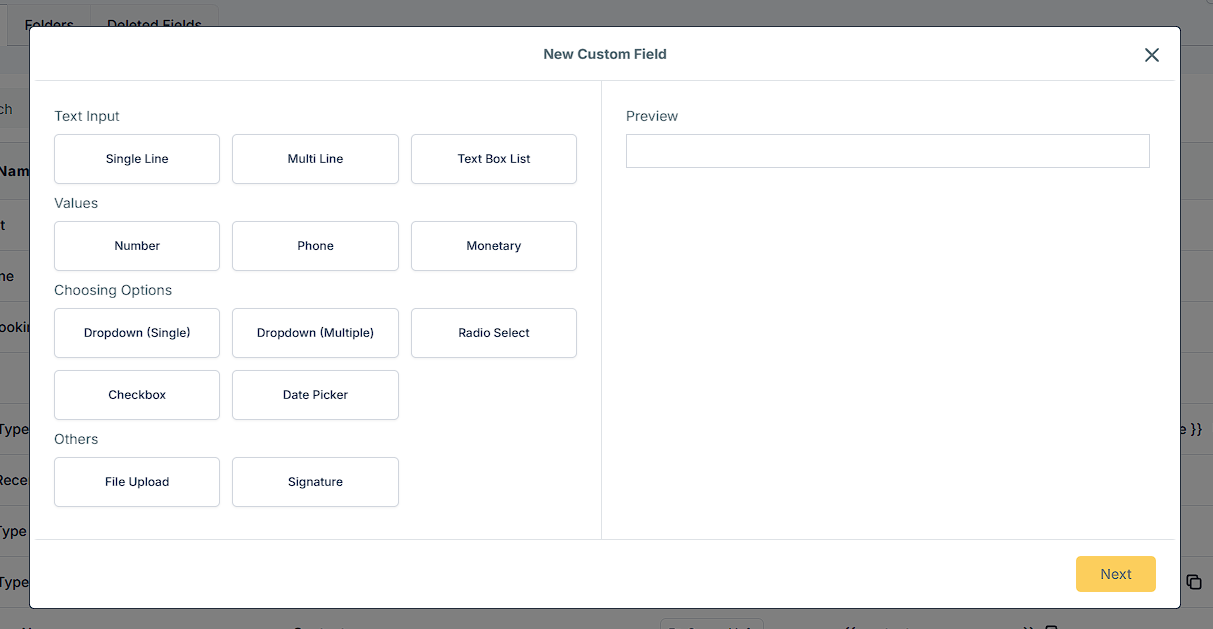
Text Input
Single Line
Multi-Line
Text Box List
Values
Number
Phone
Monetary
Choosing Options
Dropdown (Single)
Dropdown (Multiple)
Radio Select
Checkbox
Date Picker
Signature

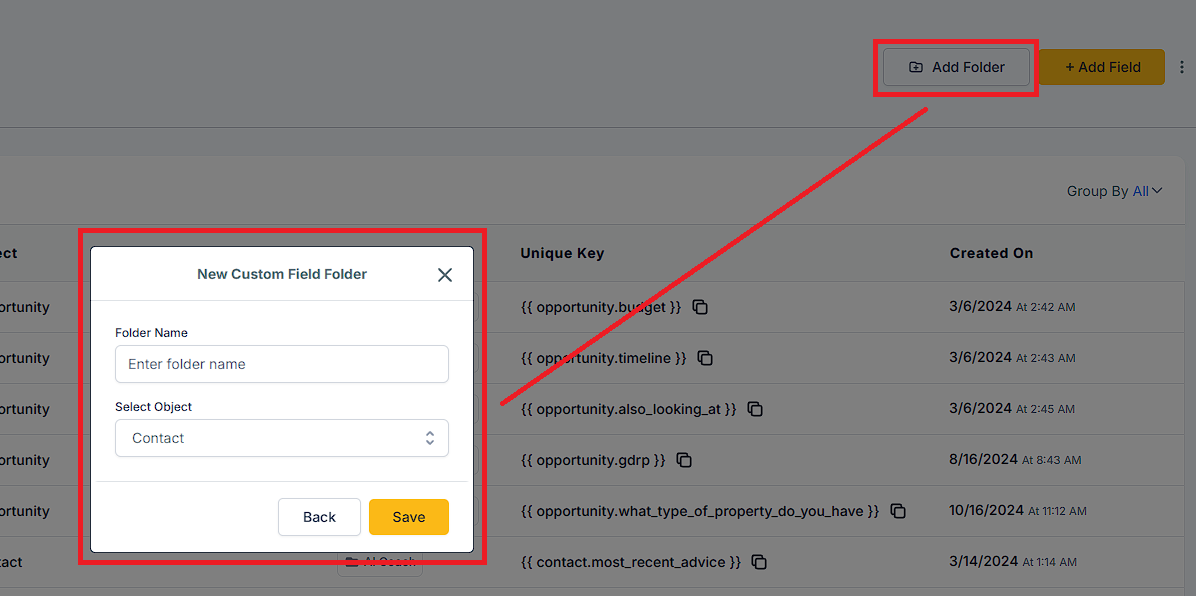
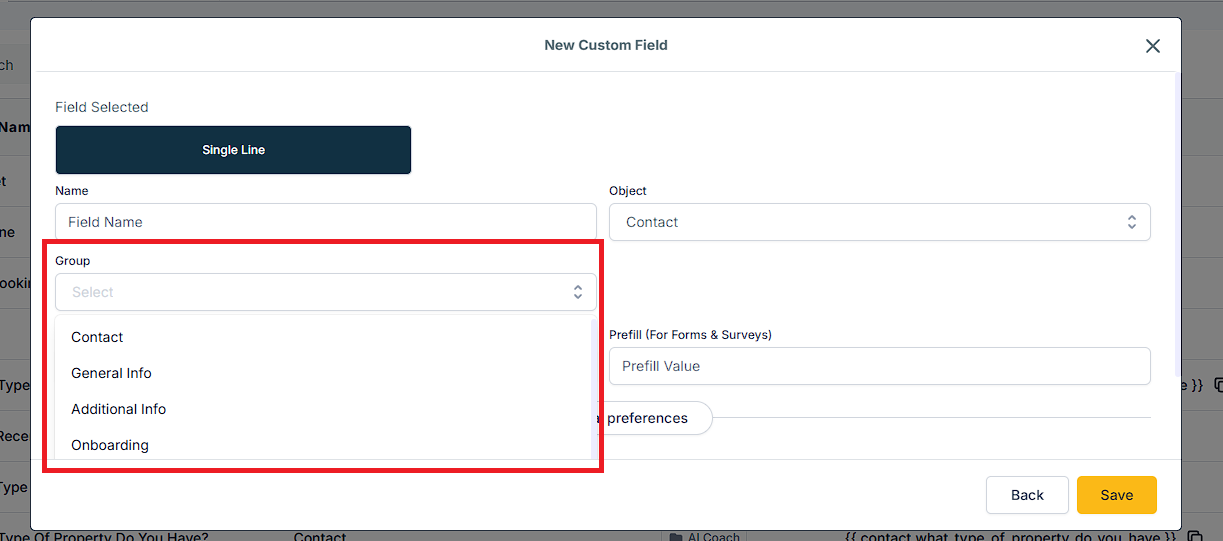
Next, add the required information into the input boxes, including "Name," "Group," and the "Option Name" and "Option Value" if you are adding a Custom Field type with multiple options..
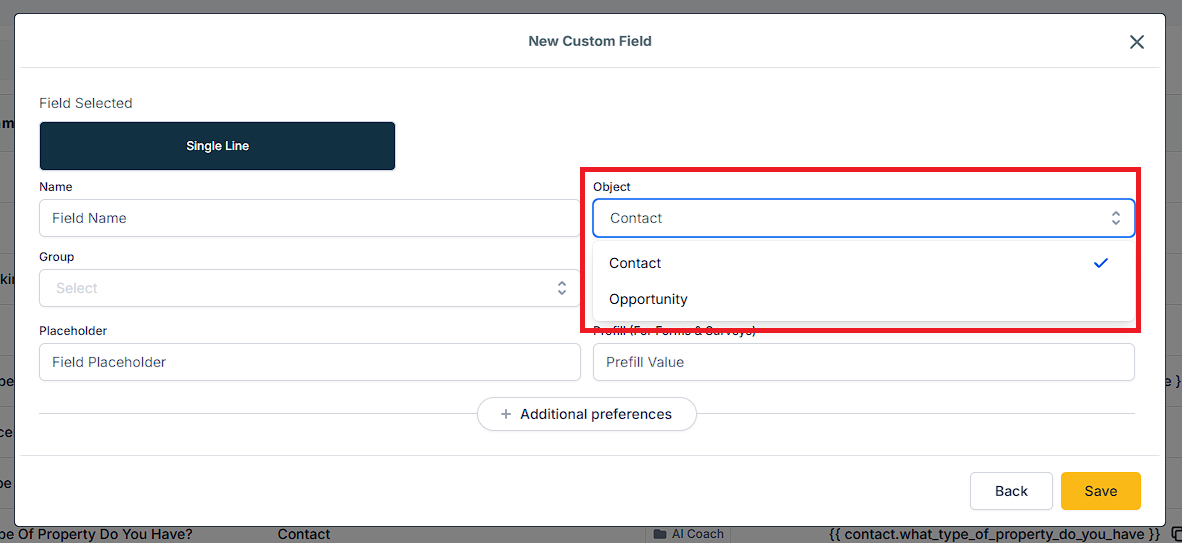
Now you should see an option called 'Opportunities' and 'Contacts'. After filling in the necessary information, Choose between Opportunities or Contacts and hit Save.
Create Custom Folders: You can group your custom fields for opportunities into custom folders. This helps you categorize and organize your fields better. To do this, go to 'Folders' in the 'Custom Fields' section, create a new folder, give it a name, and select 'Opportunity' as its object.