This needs to be enabled at the account level by heading under Settings > Labs and turning the toggle on for the feature.
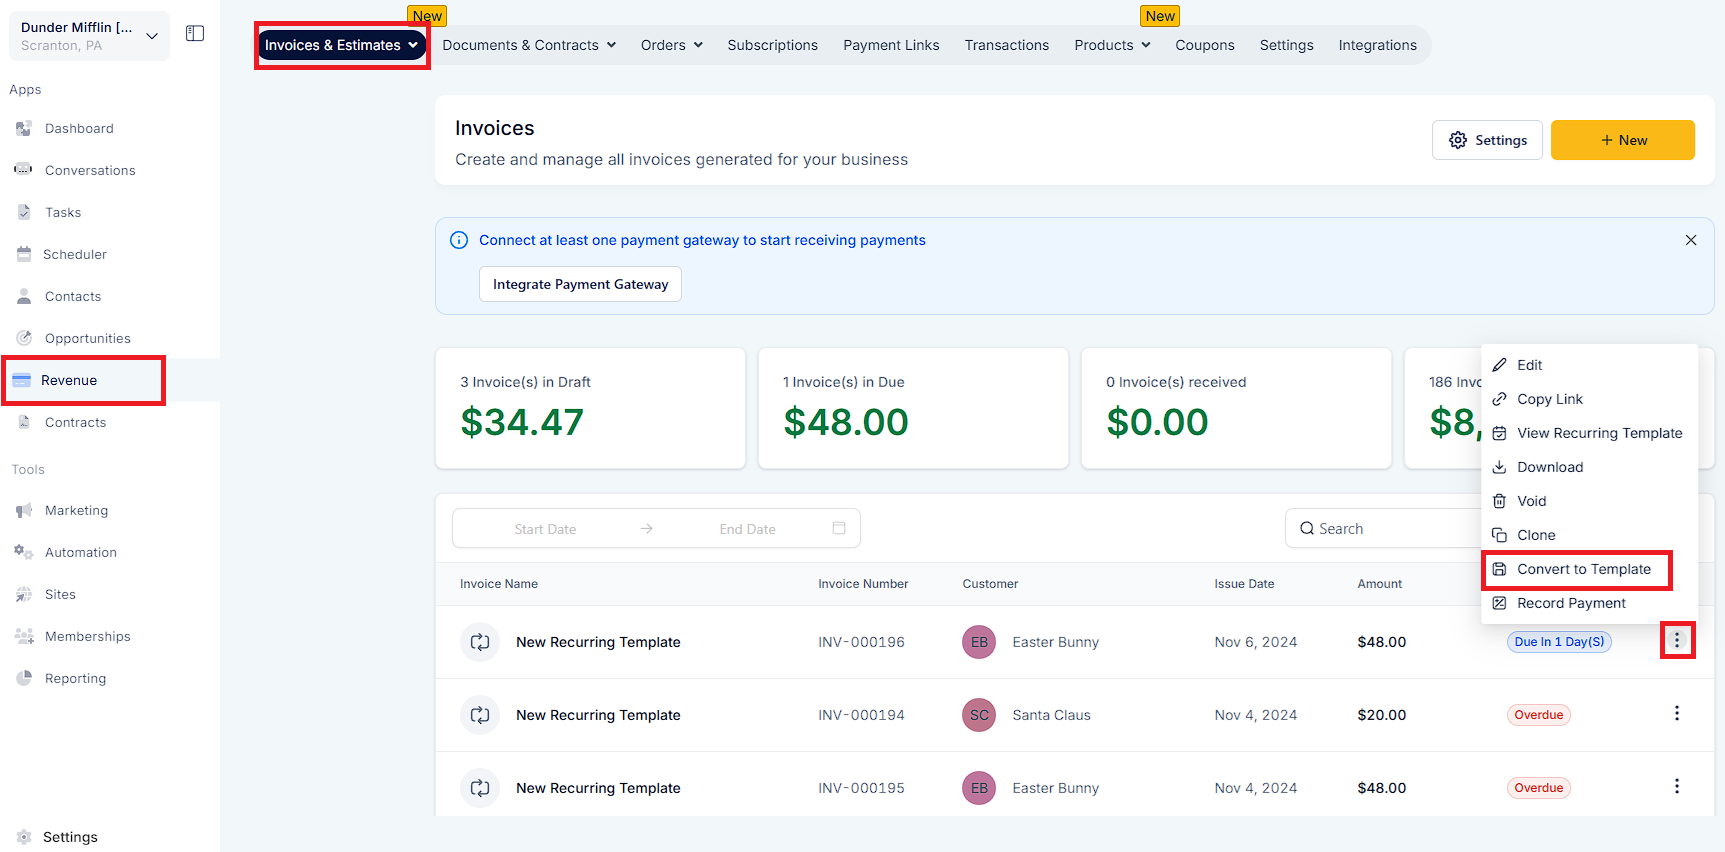
Using the Convert to Template action, users can convert any invoice into a template. For future reference, they can also give it a name.
Business information, logos, invoice titles, product line items, taxes, discounts, and terms can all be included in templates. While sending the invoice, customer information will be populated along with the issue date and due date.
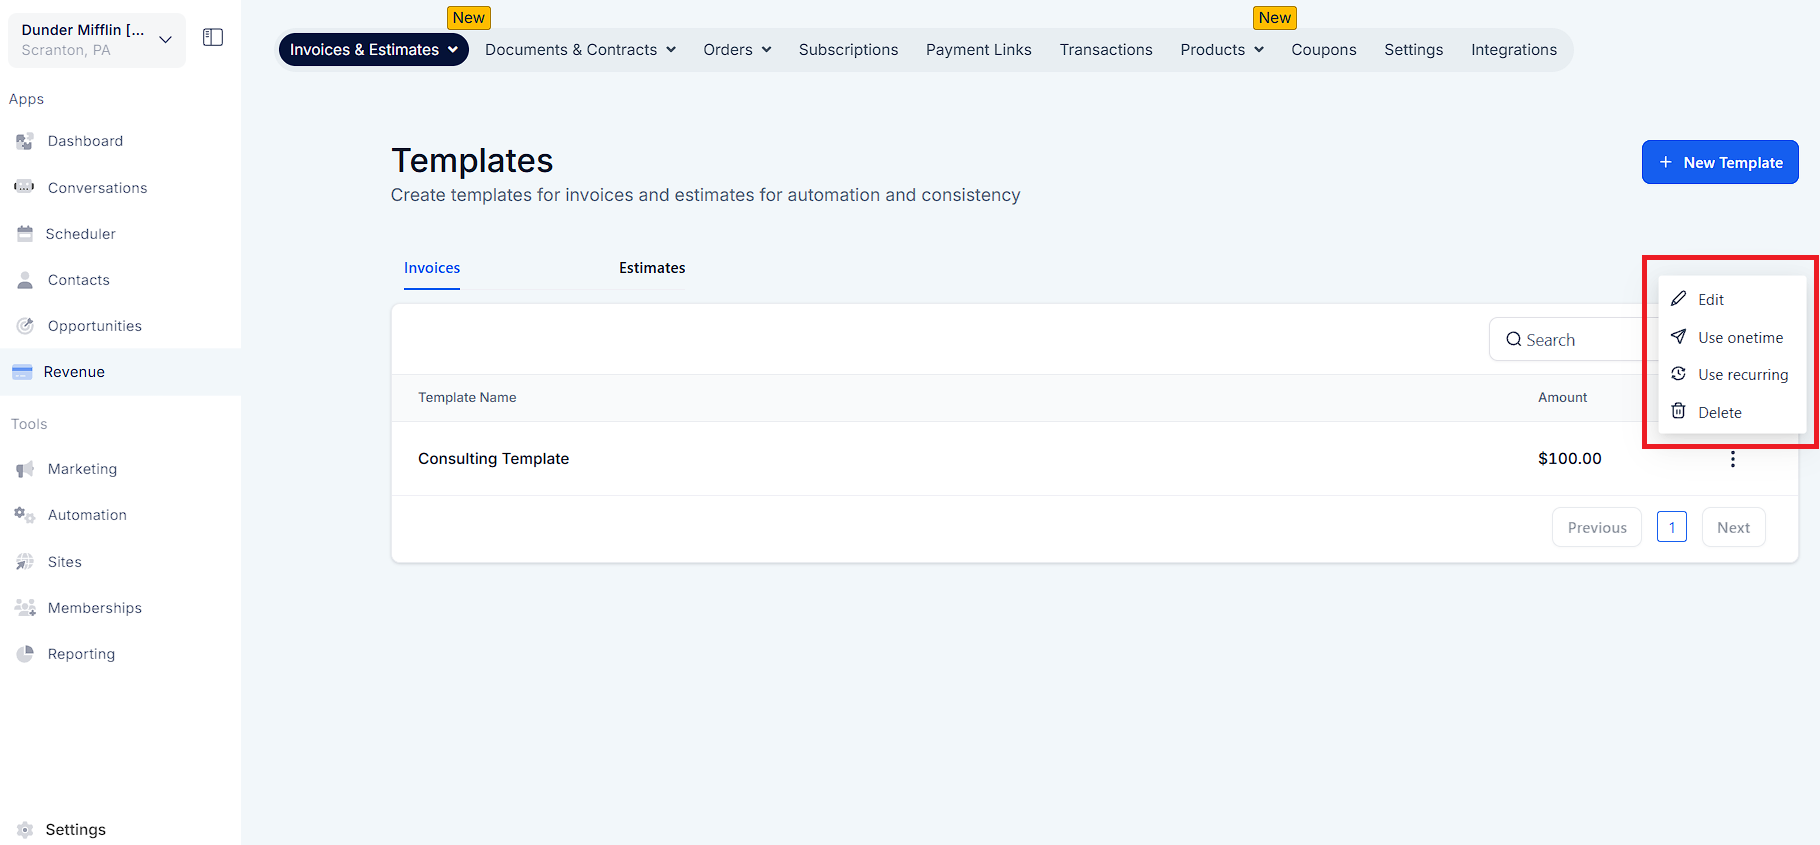
Under the Invoicing section, all templates will be listed under Templates. Templates can be used as recurring or one-time invoices by clicking on quick actions on the templates page.
Templates can be modified, renamed, or deleted at any time by users.
Users will be able to make use of the templates created inside the invoice module to define the invoice details that need to go out to the customer. Turn the feature on in Labs under account settings.
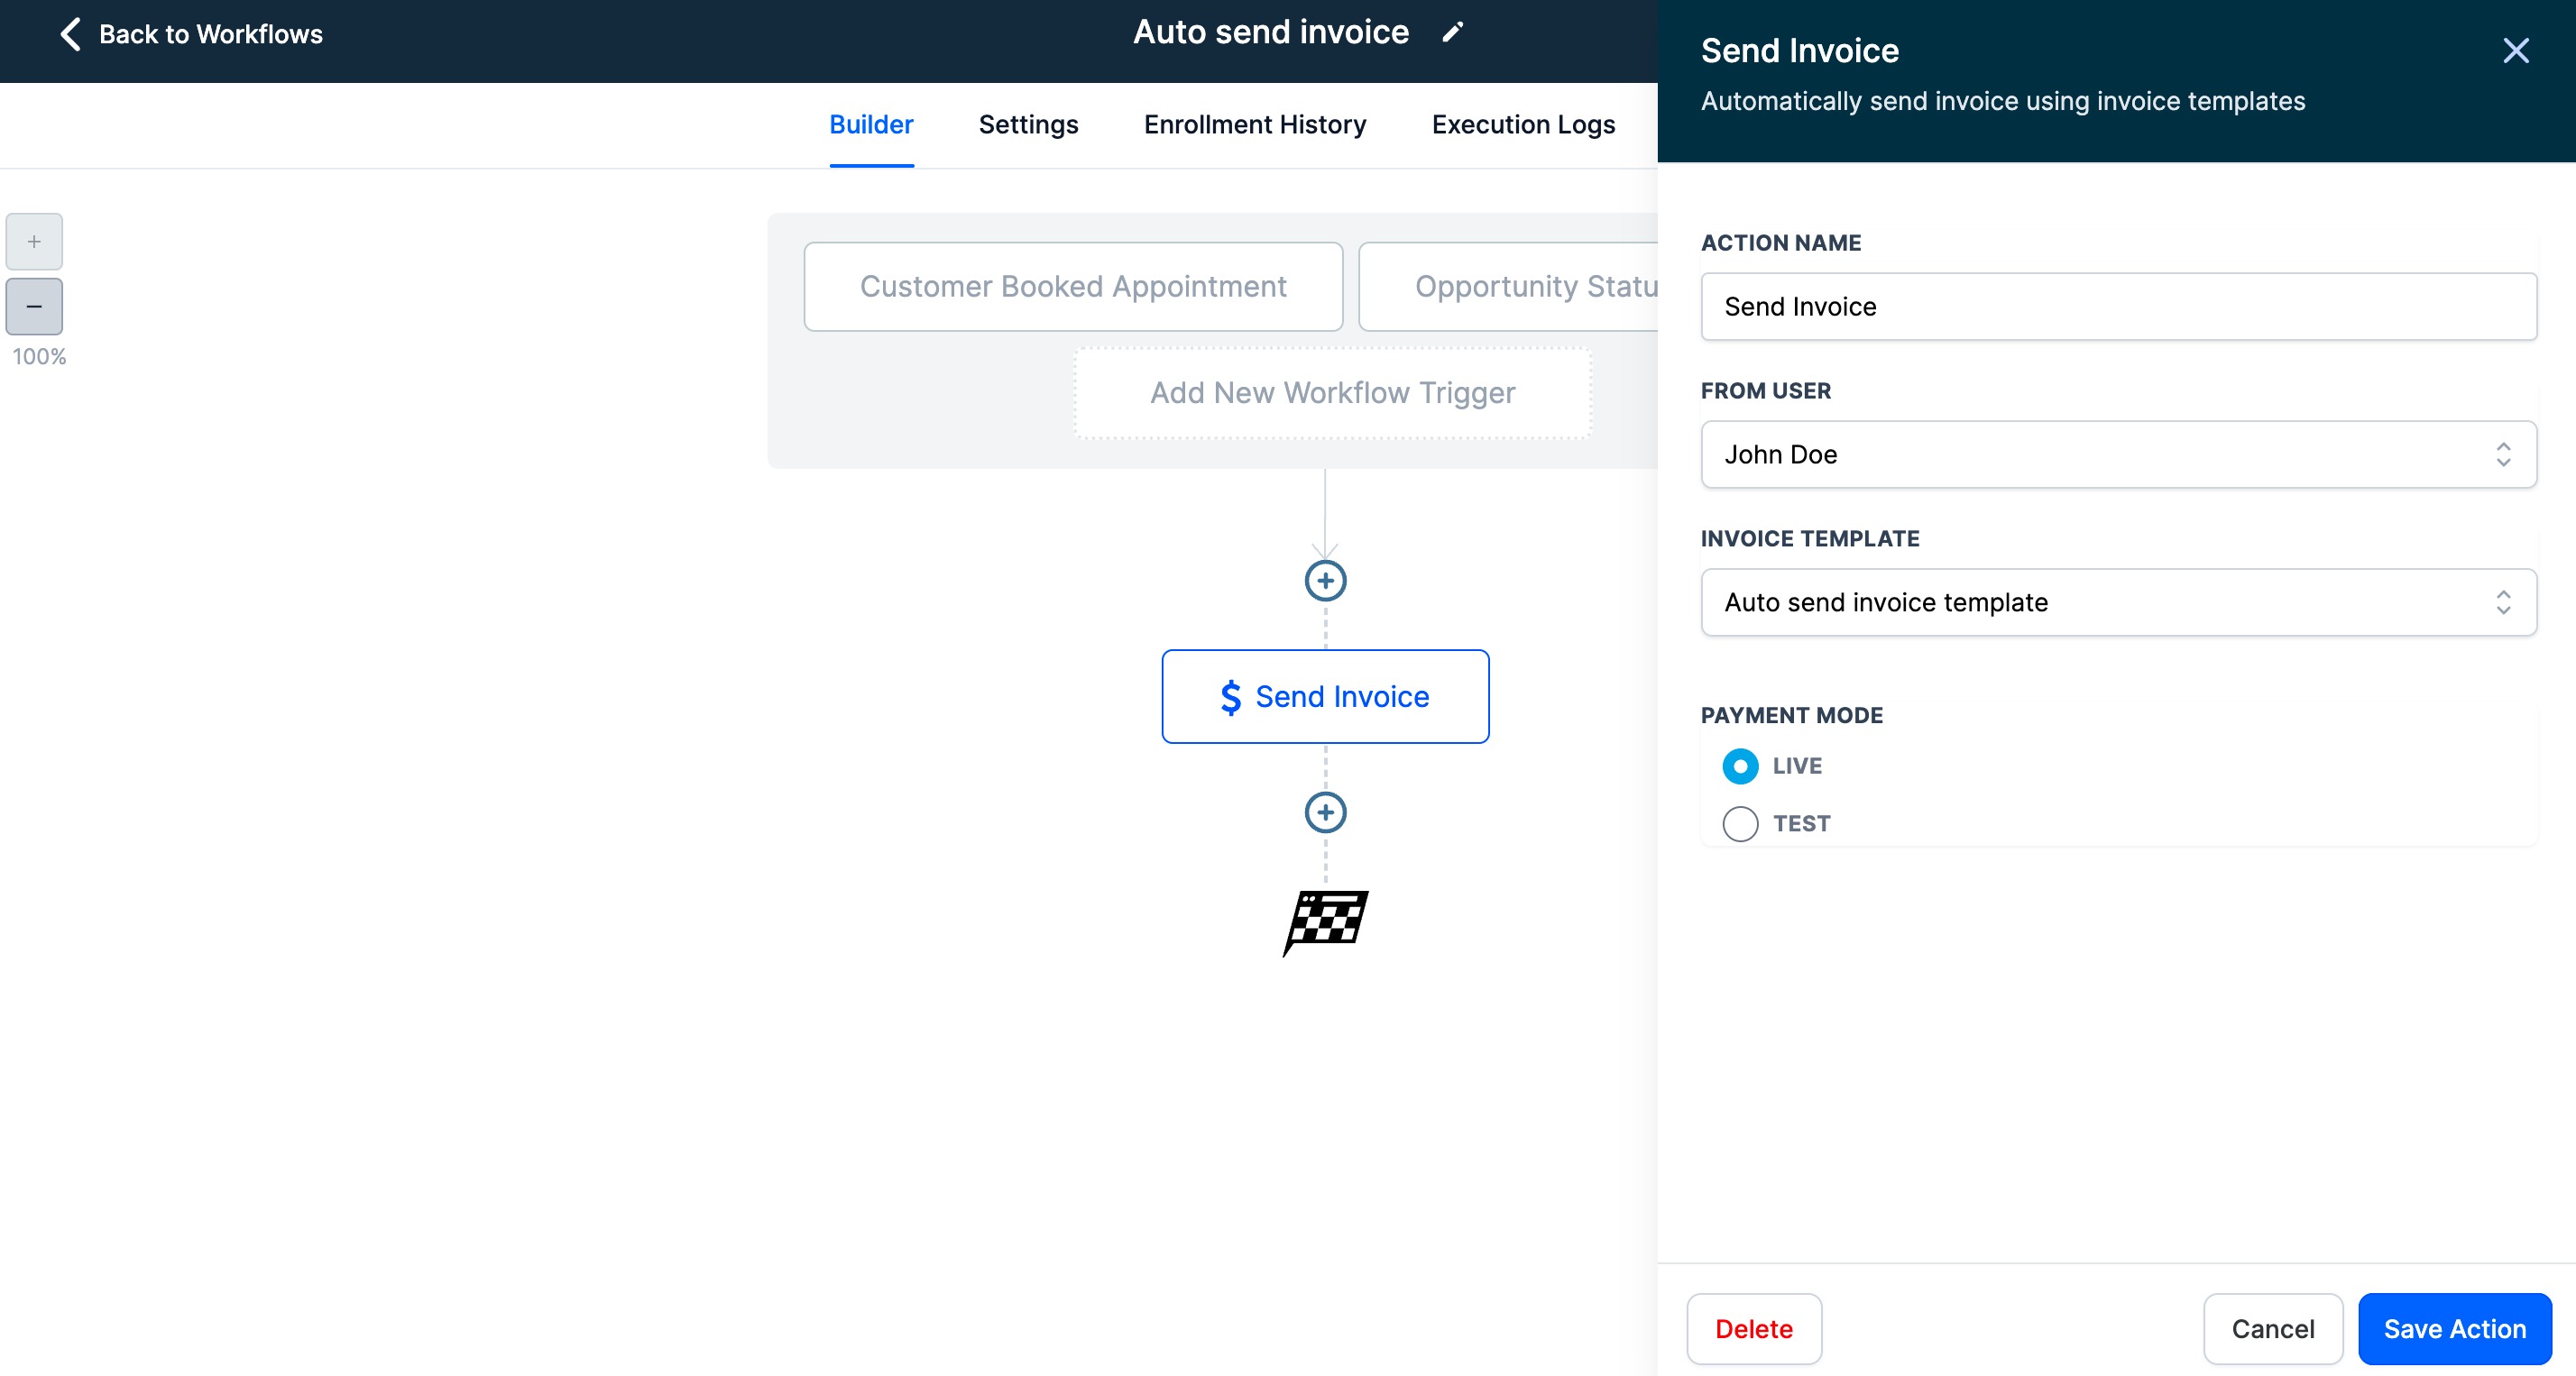
Business users will be able to configure the action name, select the From User to define the sender details, and choose a template from one of the templates created inside invoices along with the payment mode.
The default/custom template configured inside the invoice settings will be used automatically to send the invoice from workflows as well.
This fulfills a lot of use cases like sending an invoice after an appointment is booked, opportunity status is changed, tag is attached to a contact or any other trigger existing.