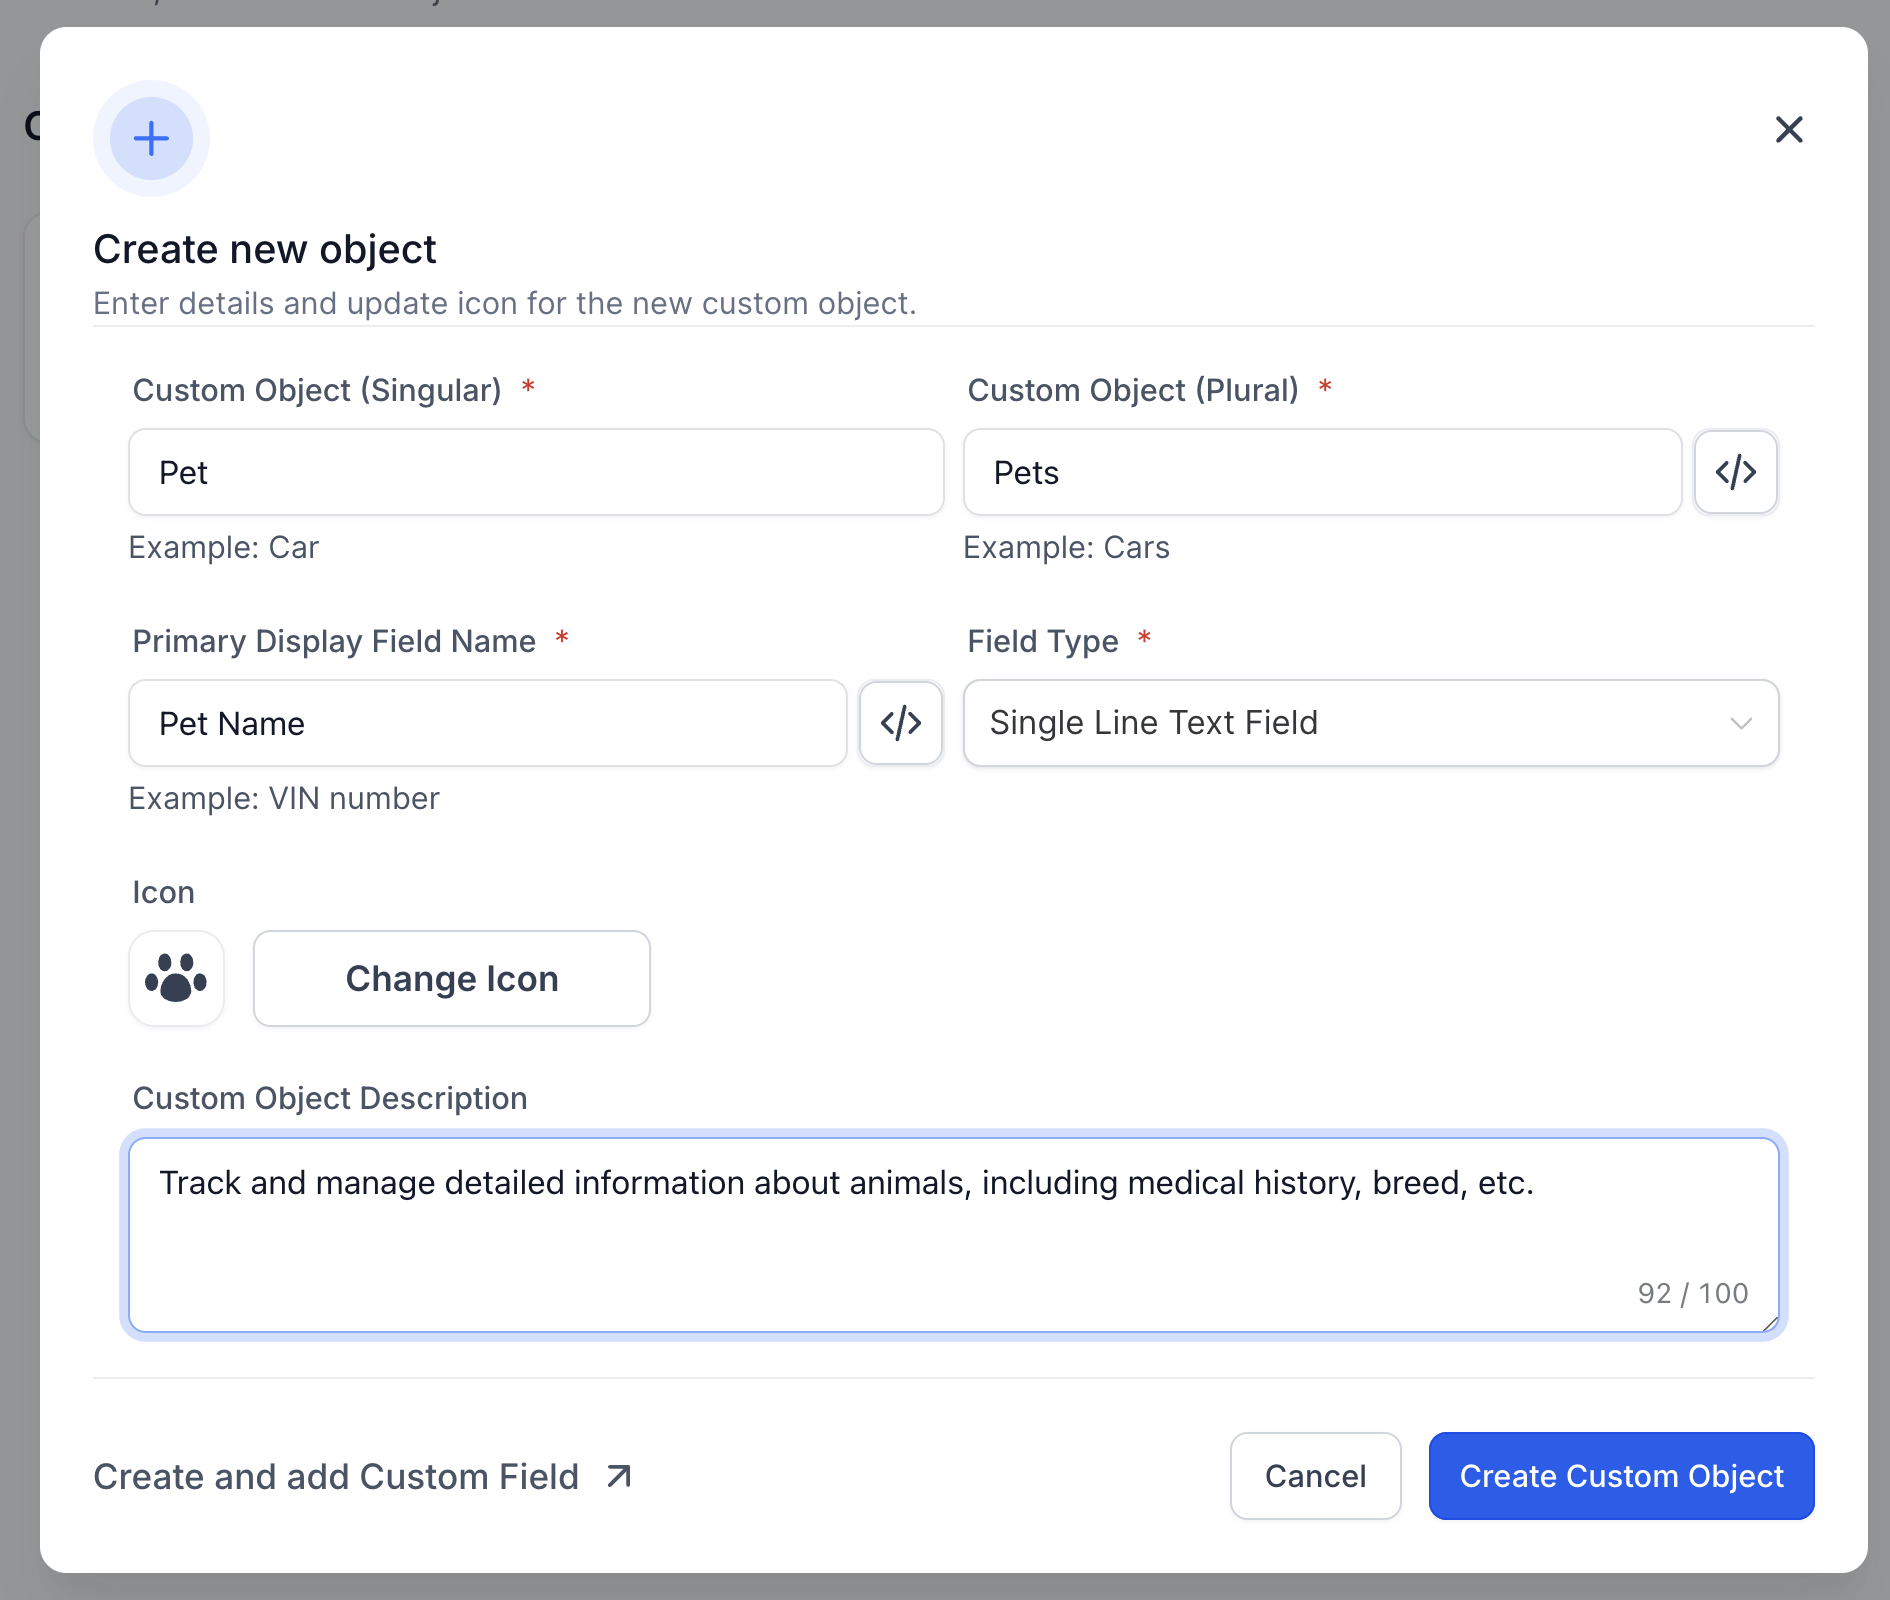
Mention the singular name of the object e.g. Pet
A plural name of the object should be added e.g. Pets
Internal Name of the object and the primary field is created by default - it can be edited by clicking on the "</>" icon and updating the internal name.
Add a name for the primary display field name - e.g. Pet Name, Pet Identification Number
Add an icon to easily identify the custom object
Also - add a description to the object to help anyone understand what the object signifies.
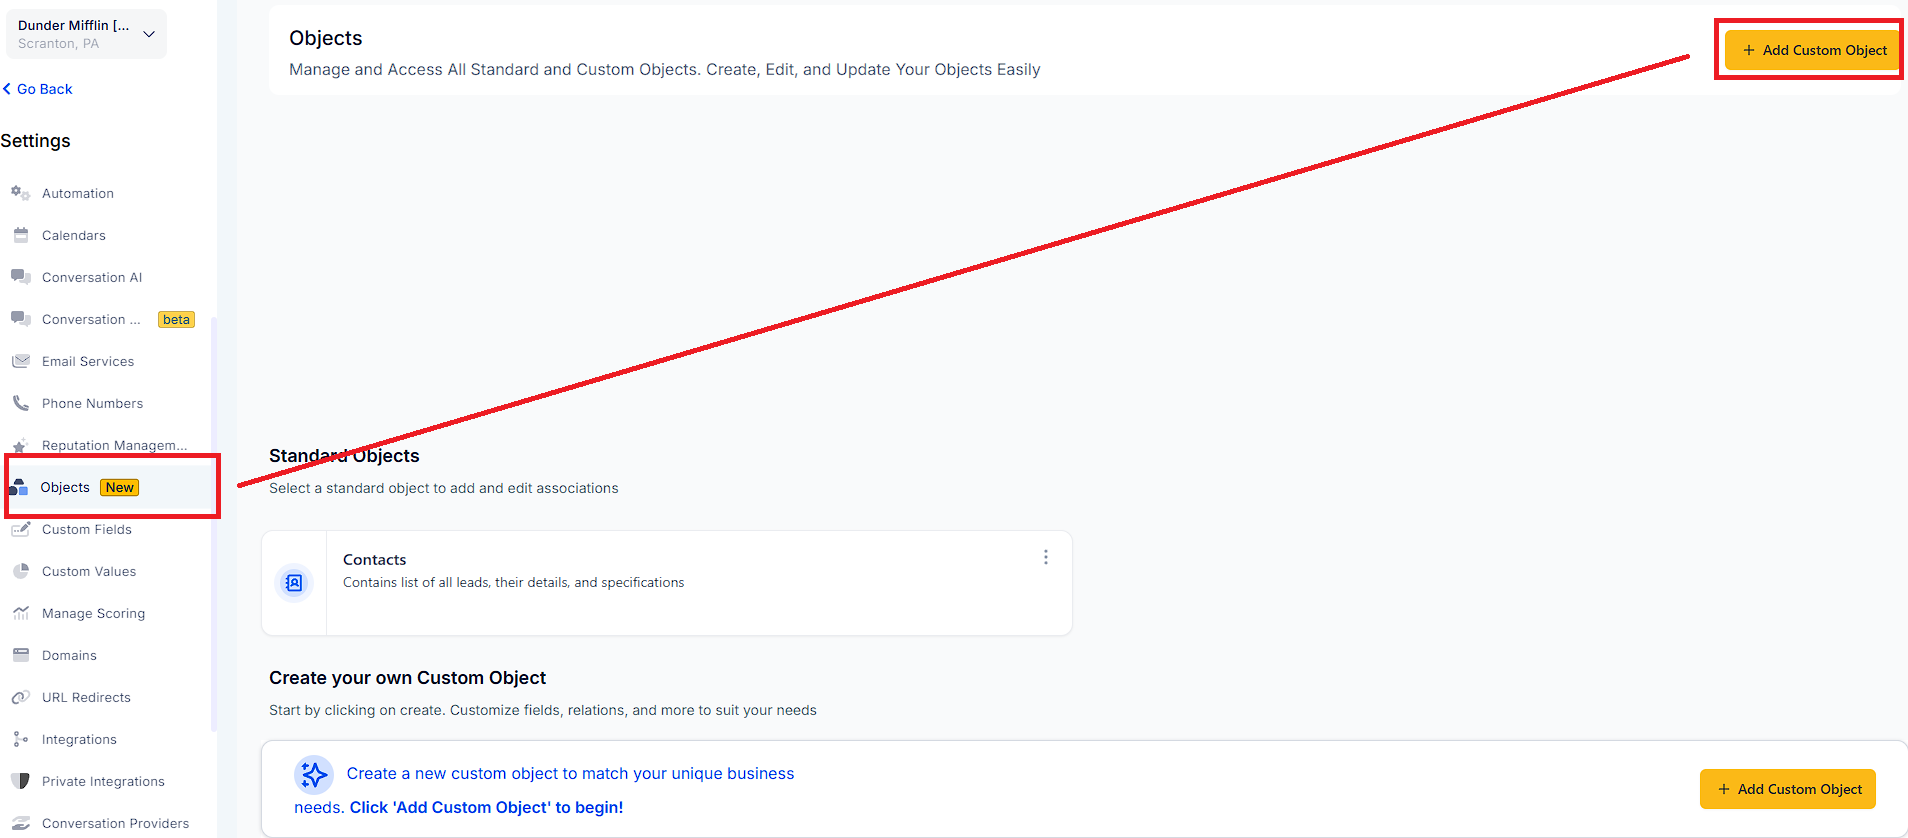
Click on "Create Custom Object"
Once the Custom Object is created, the custom object will start appearing on the same page.
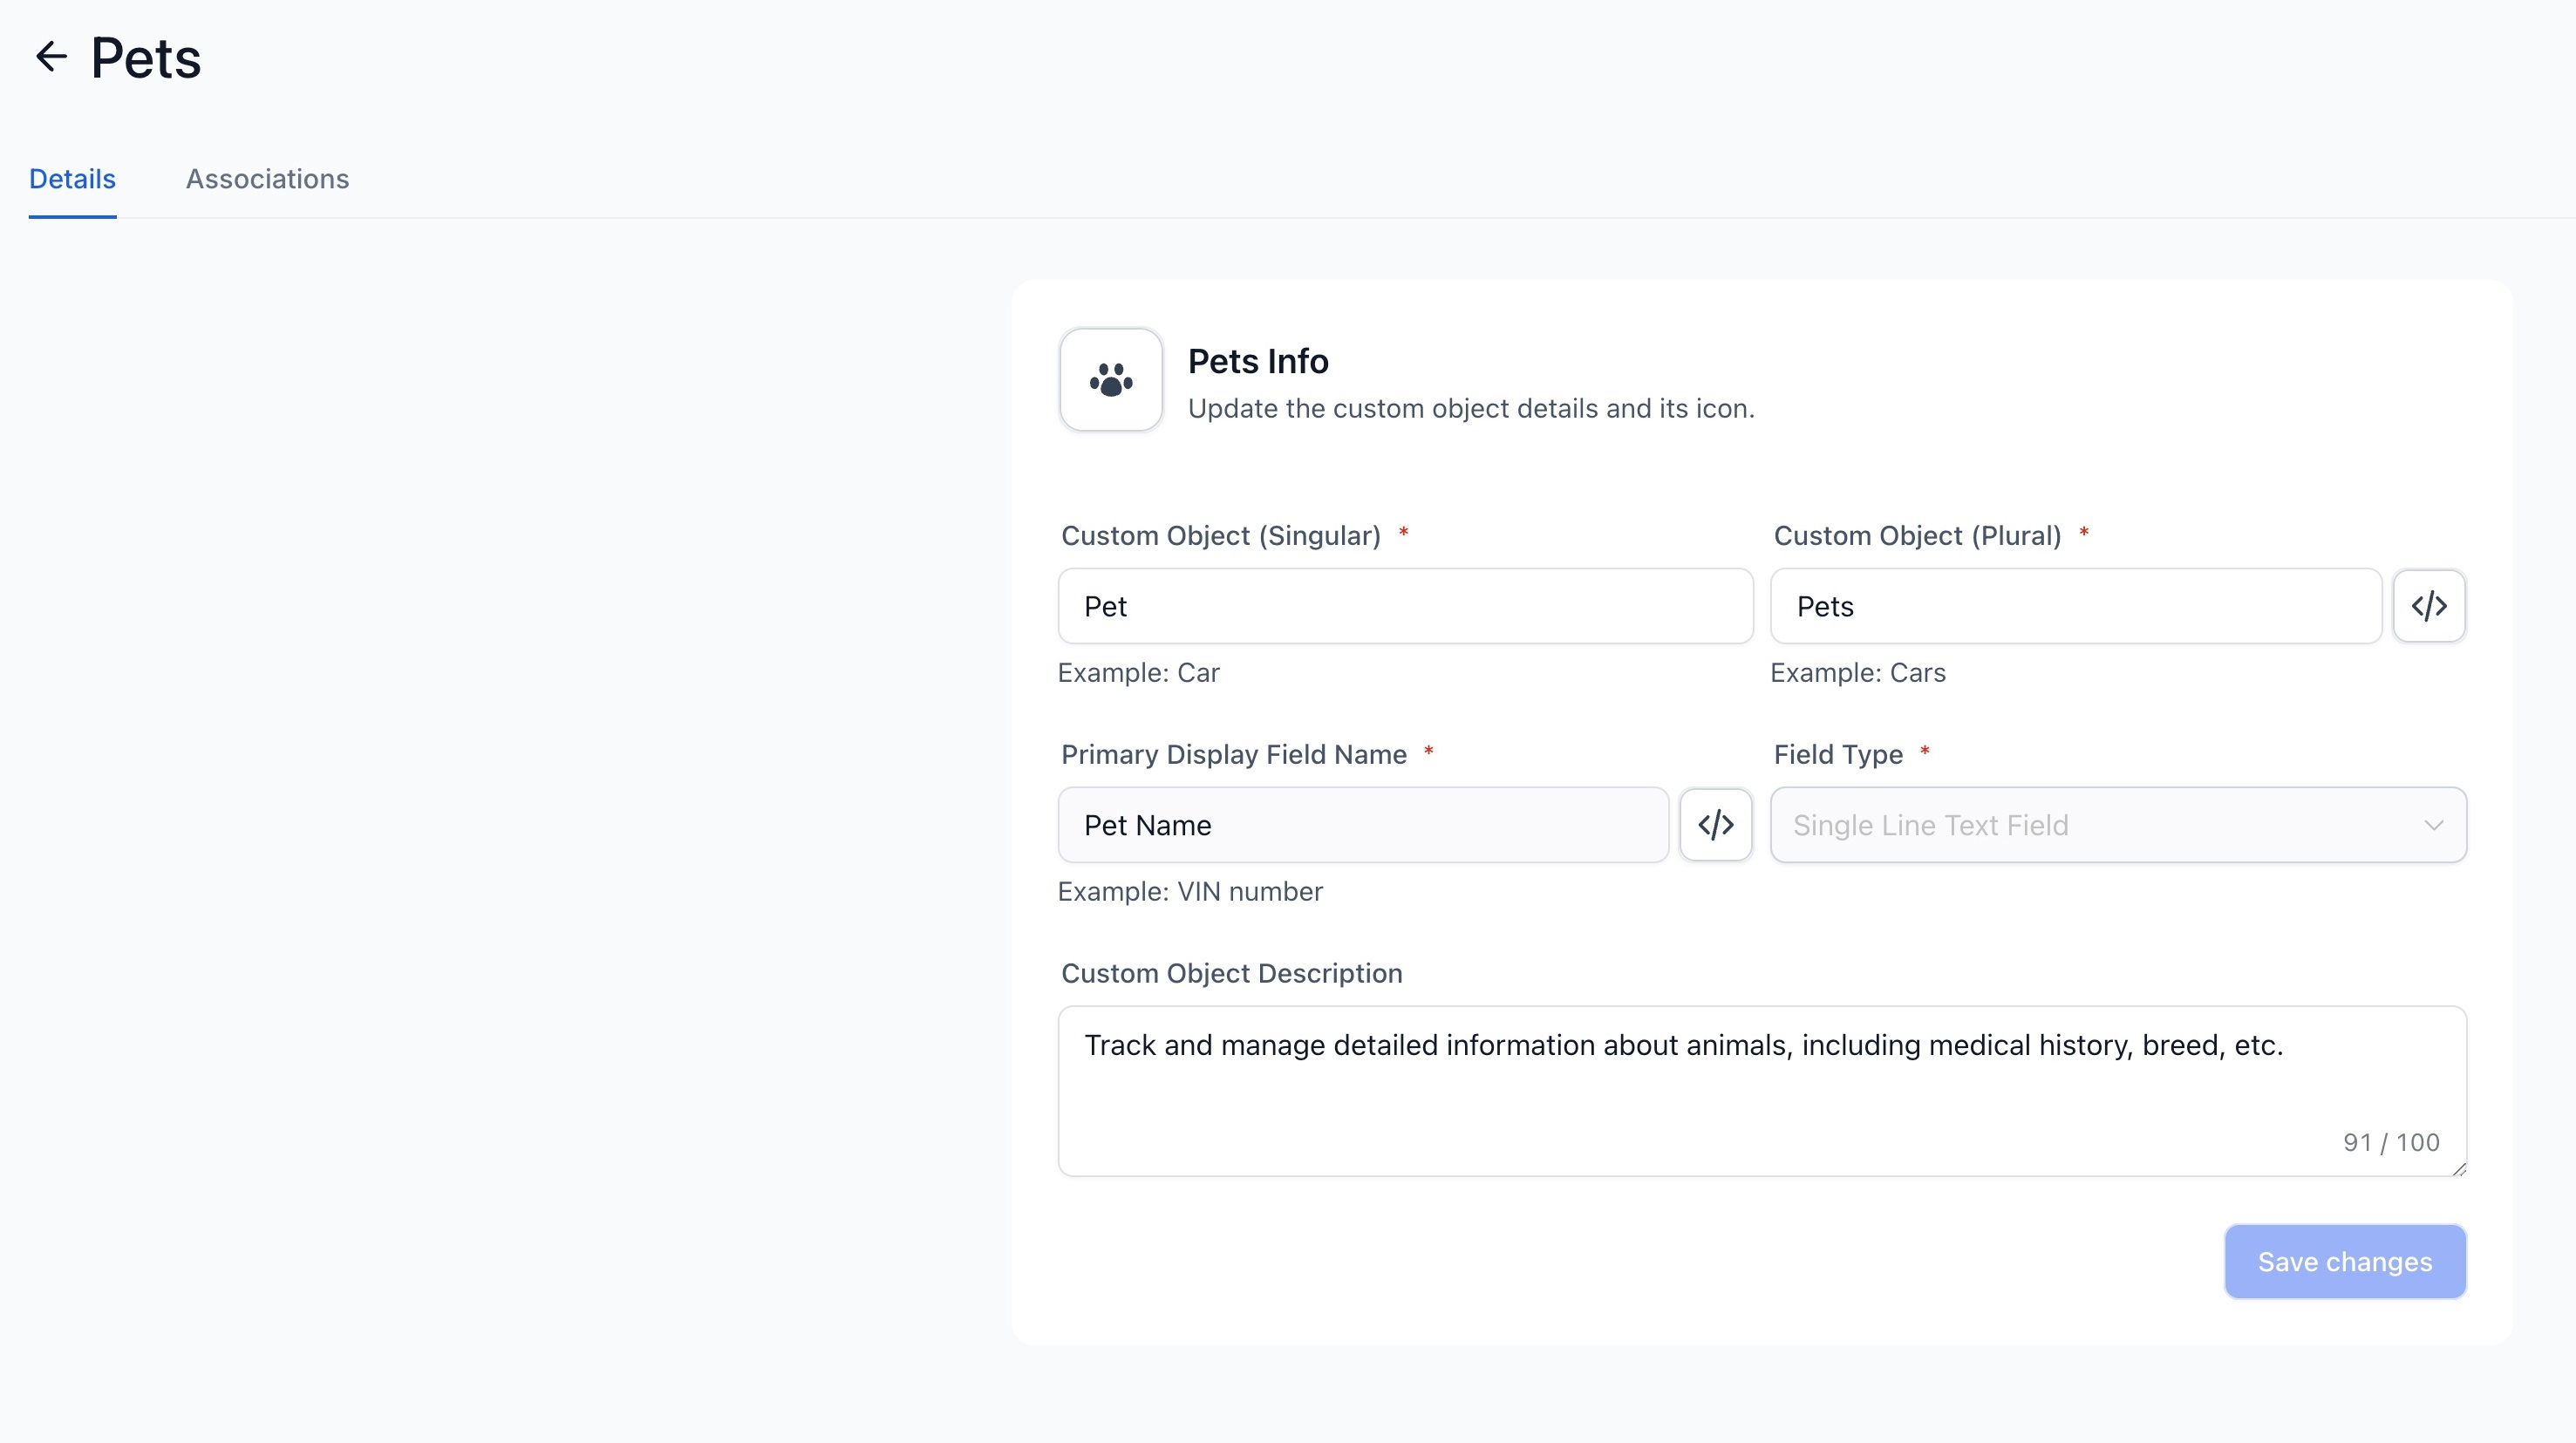
You can click on any of the Custom Objects to start editing its details.
Note that the primary display field and the internal names cannot be edited once created.
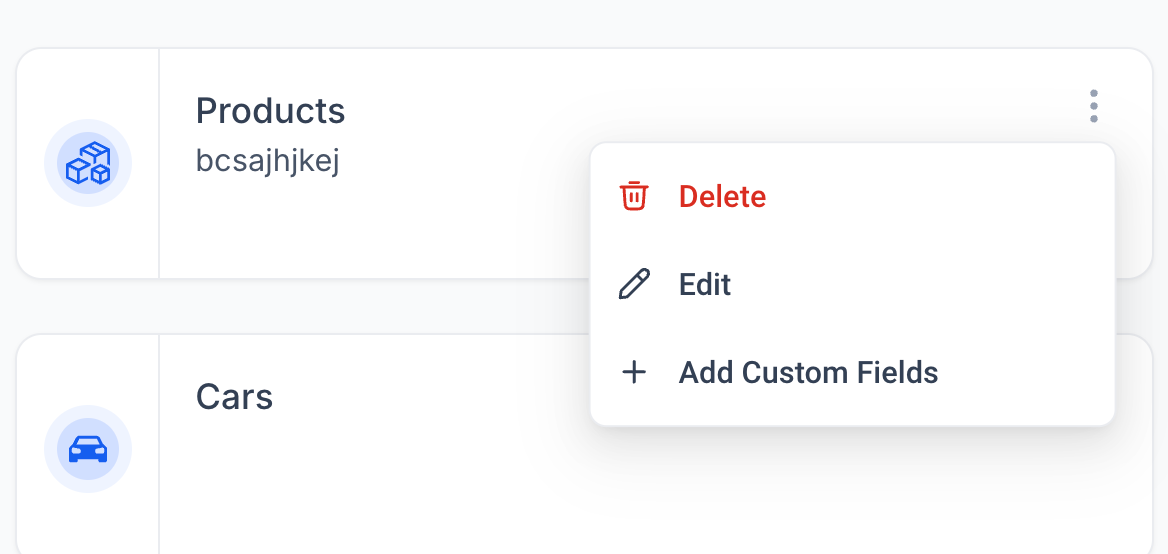
Click on the 3 dots near the custom object name
Select "Delete" from the dropdown.
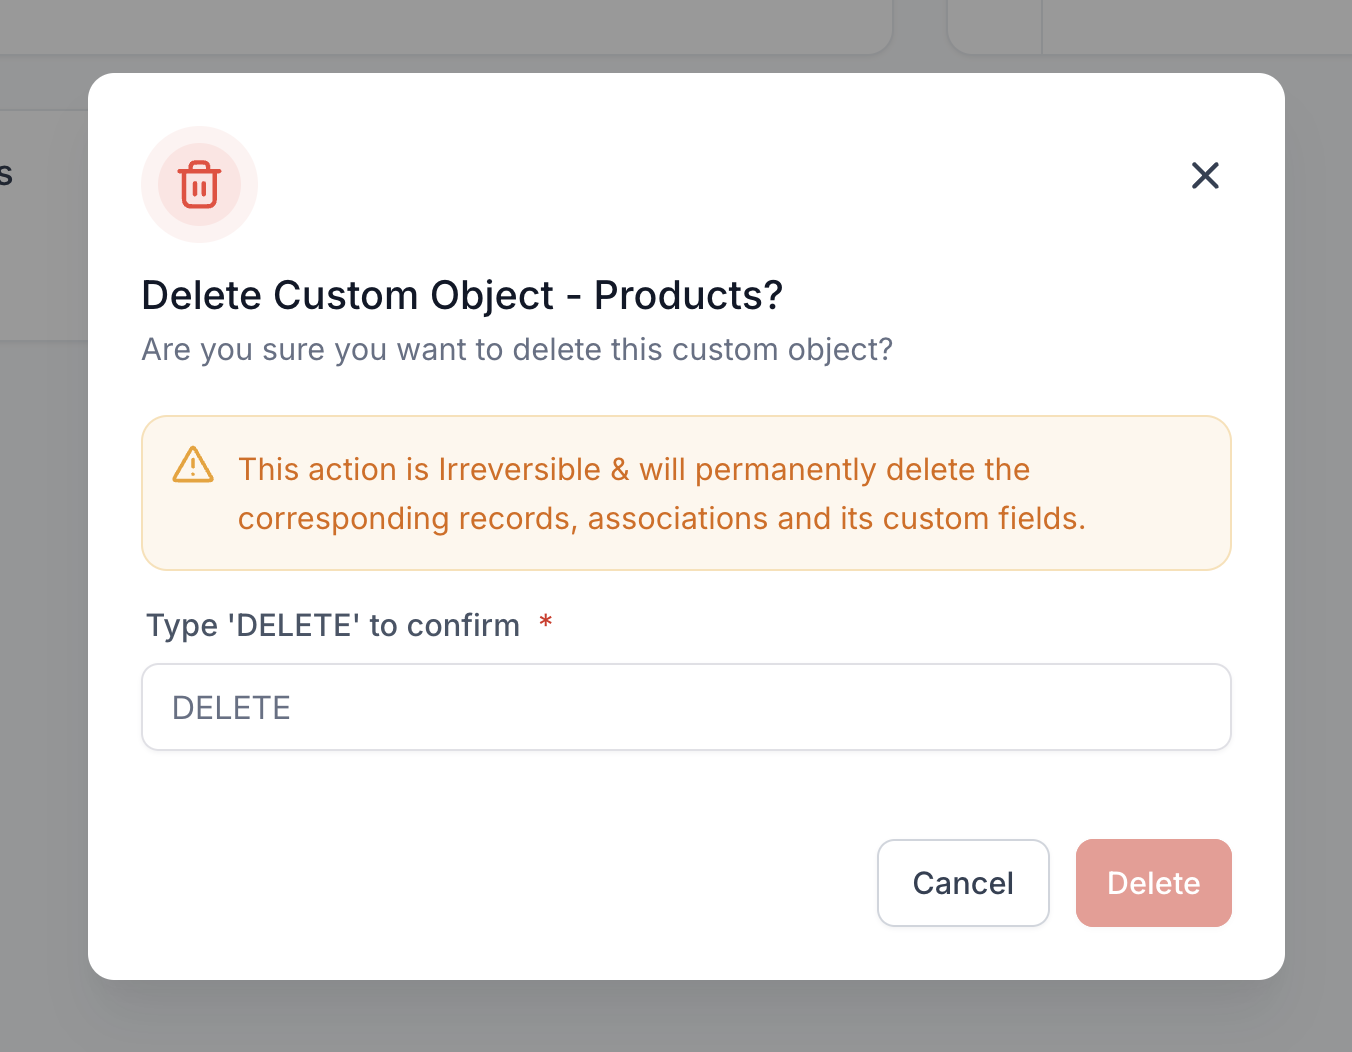
Type "DELETE" in the text box and confirm deletion.
Please Note:

