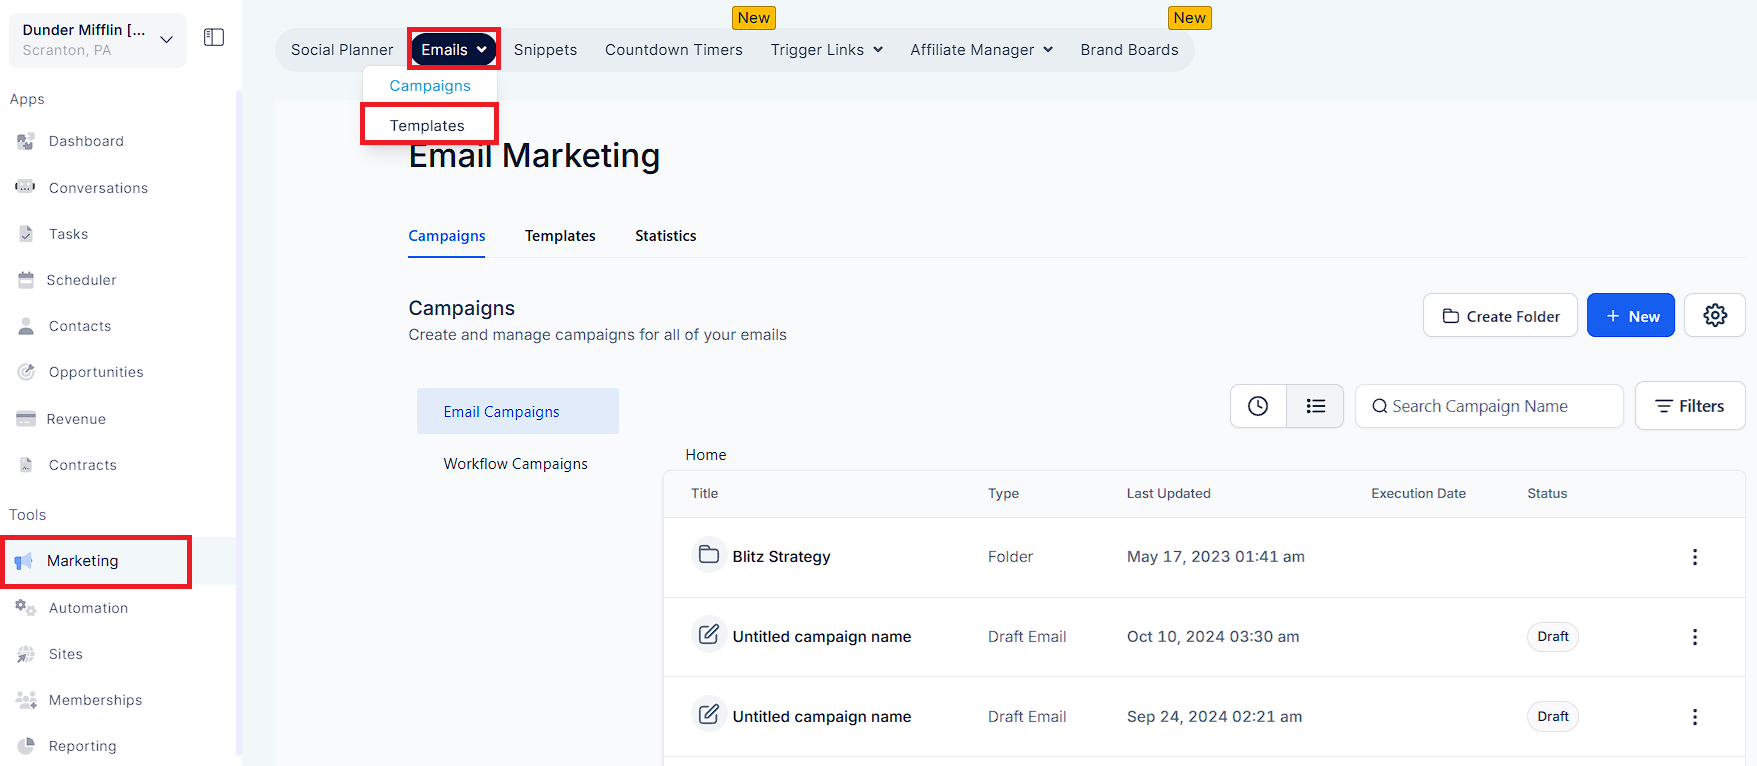
Step 1. Navigate to Marketing > Email > Templates to create your personalized email.
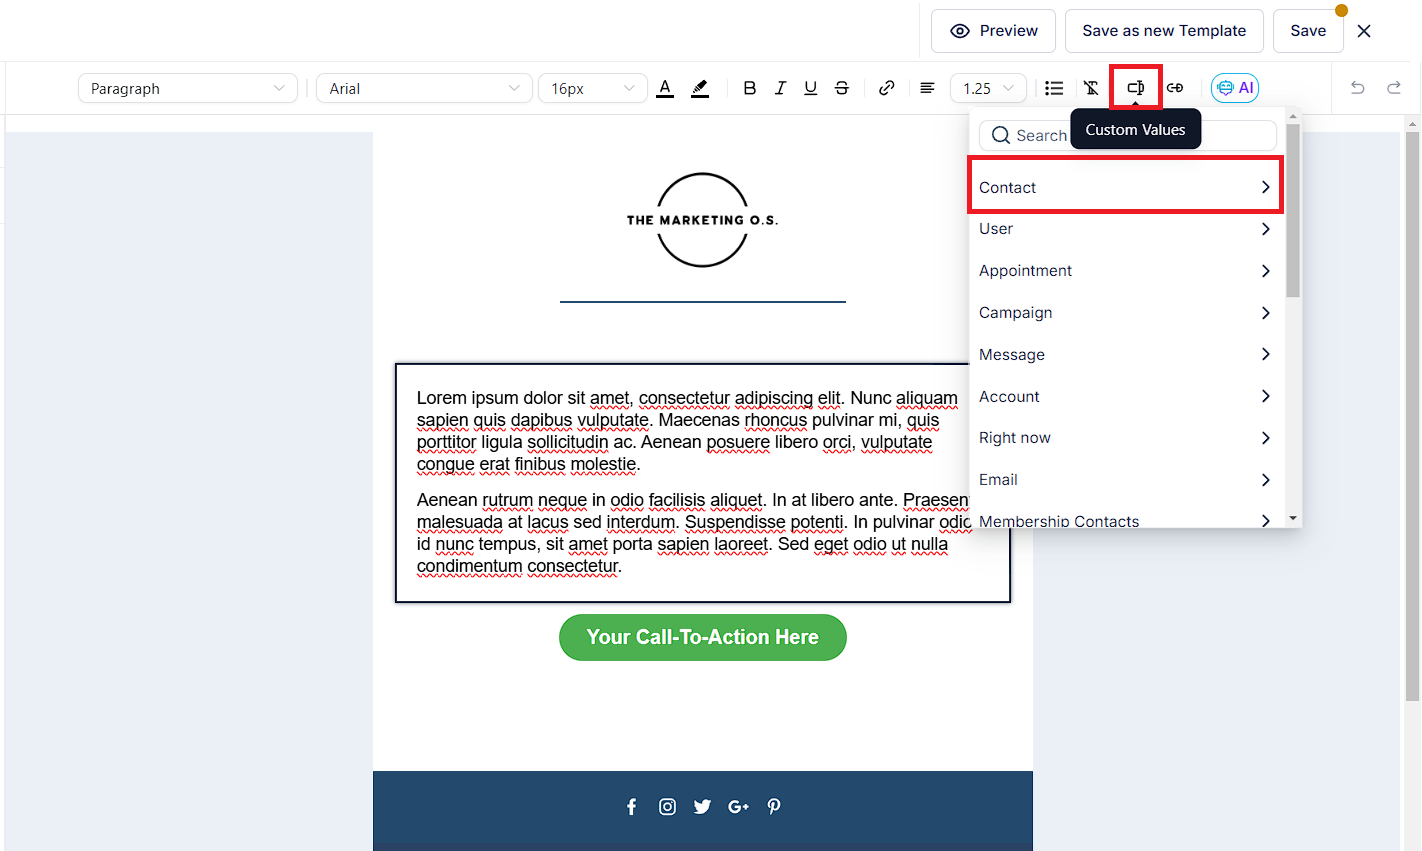
Step 2: Within the Email Builder, incorporate custom fields of the contact based on your preferences.
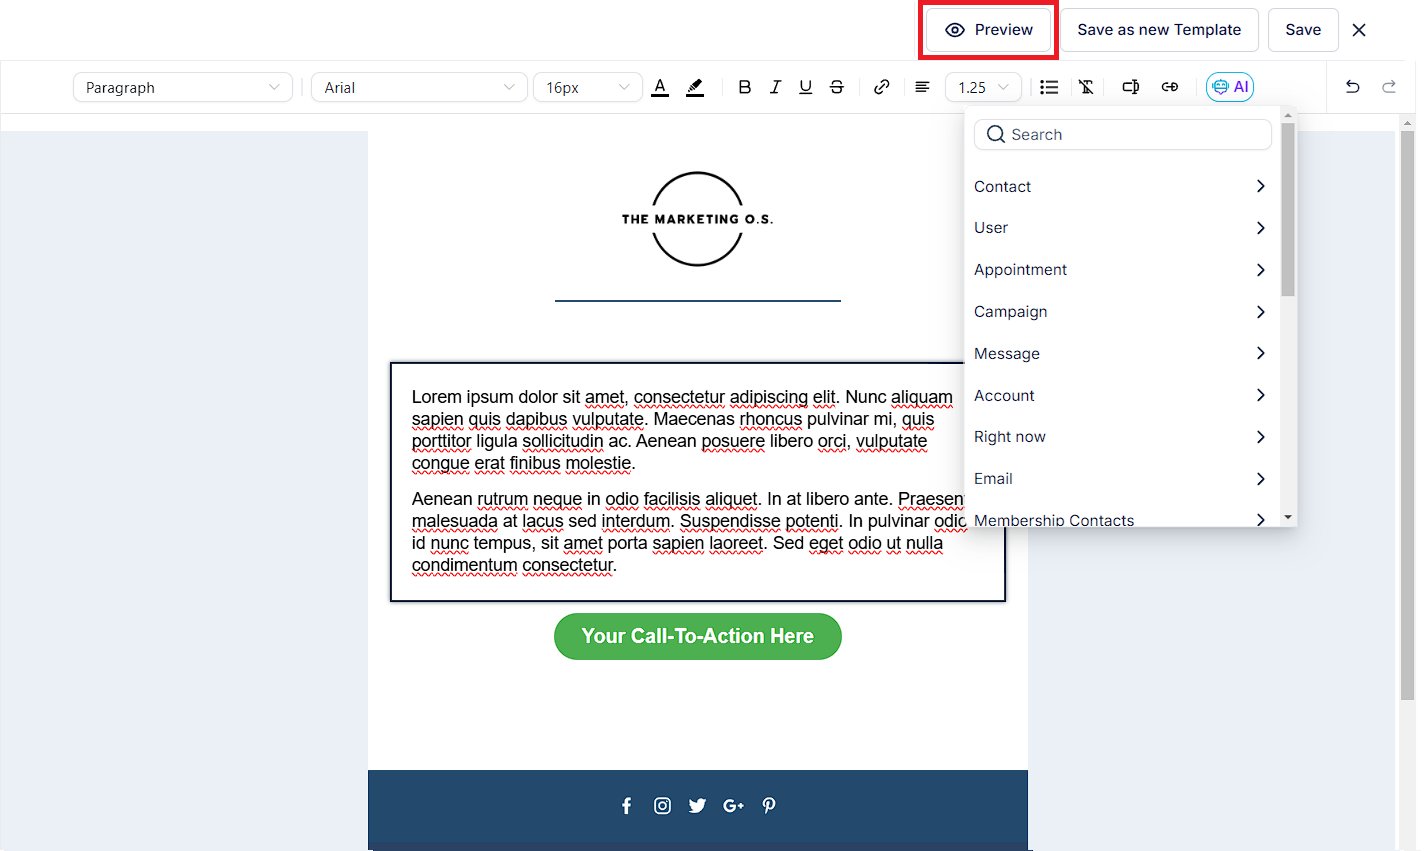
Step 3. You can access the "Preview" Template by clicking the top right corner.
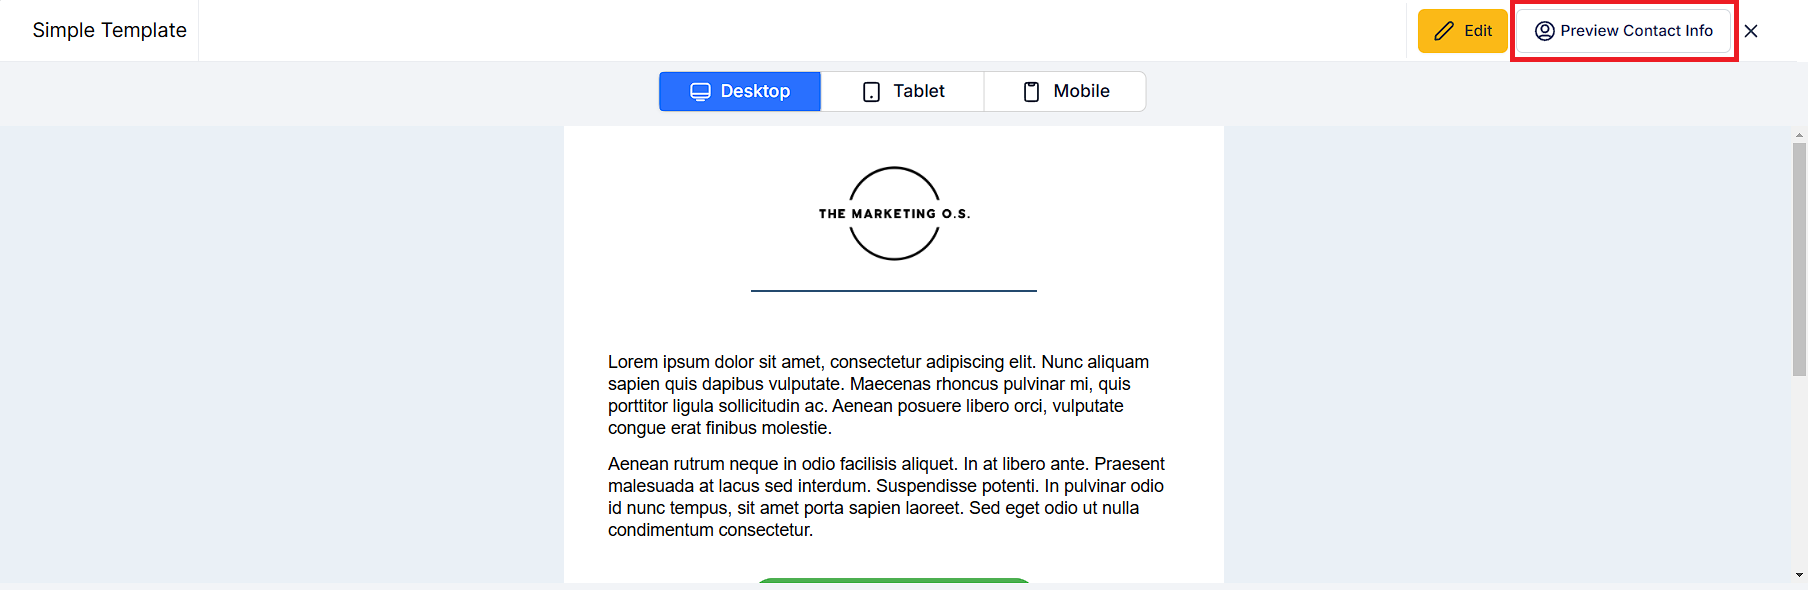
Step 4. On the Preview screen, locate and select Preview Contact Info at the upper right corner.
Step 5. In emails, contact information is displayed by default. You can preview a specific contact by searching for it in the search bar.
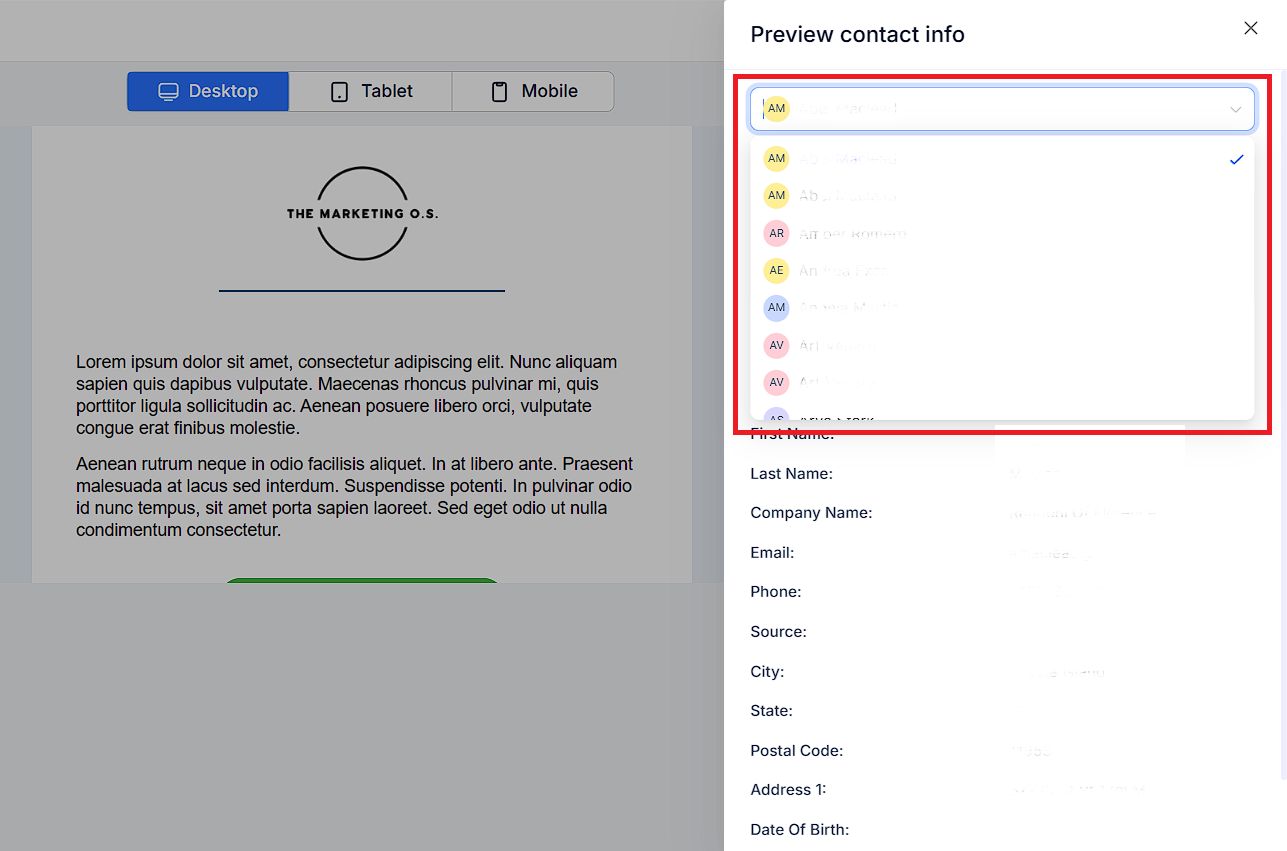
Step 6. On the right panel, you'll find the contact's information and custom field data, along with an email preview. You can see how the selected contact views the email in this view.
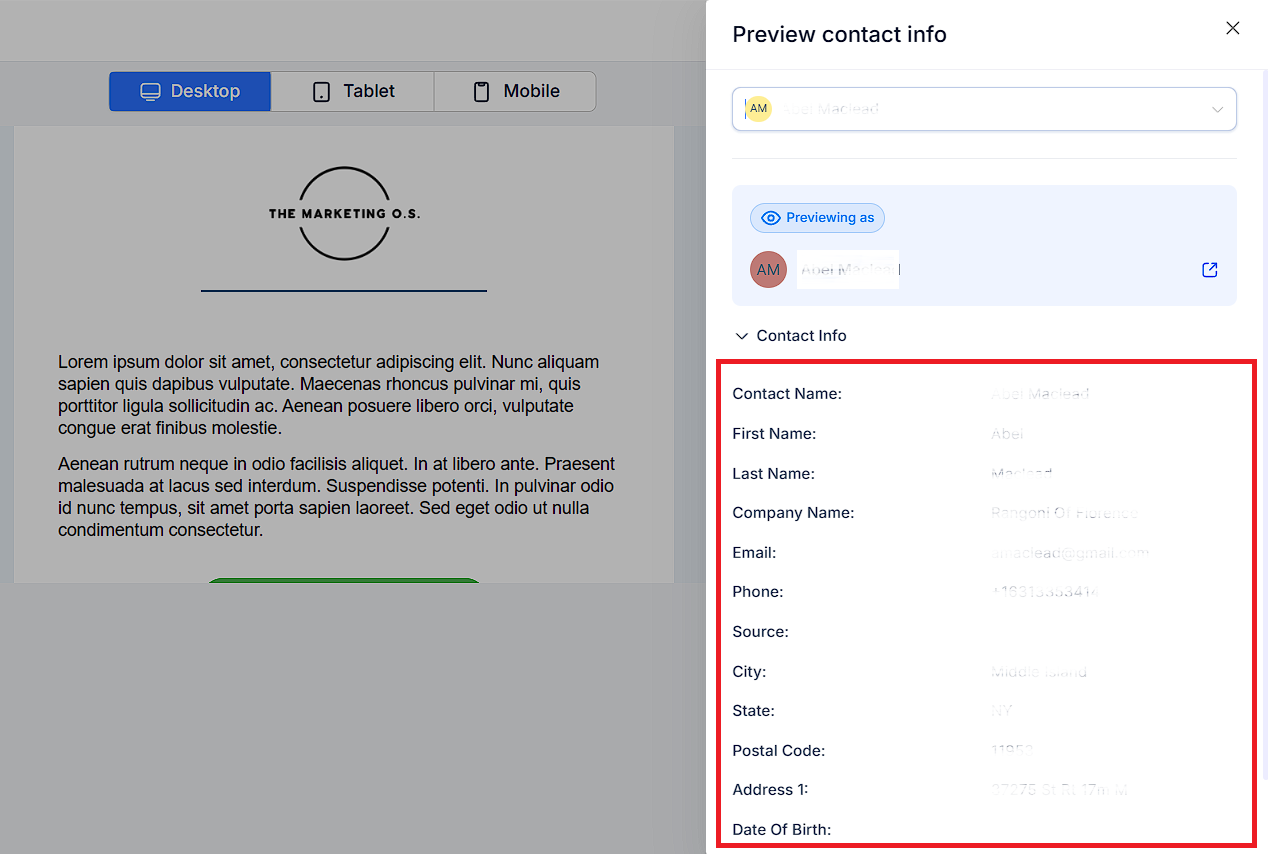
Utilize the search bar once more to find a different customer for further previewing.
