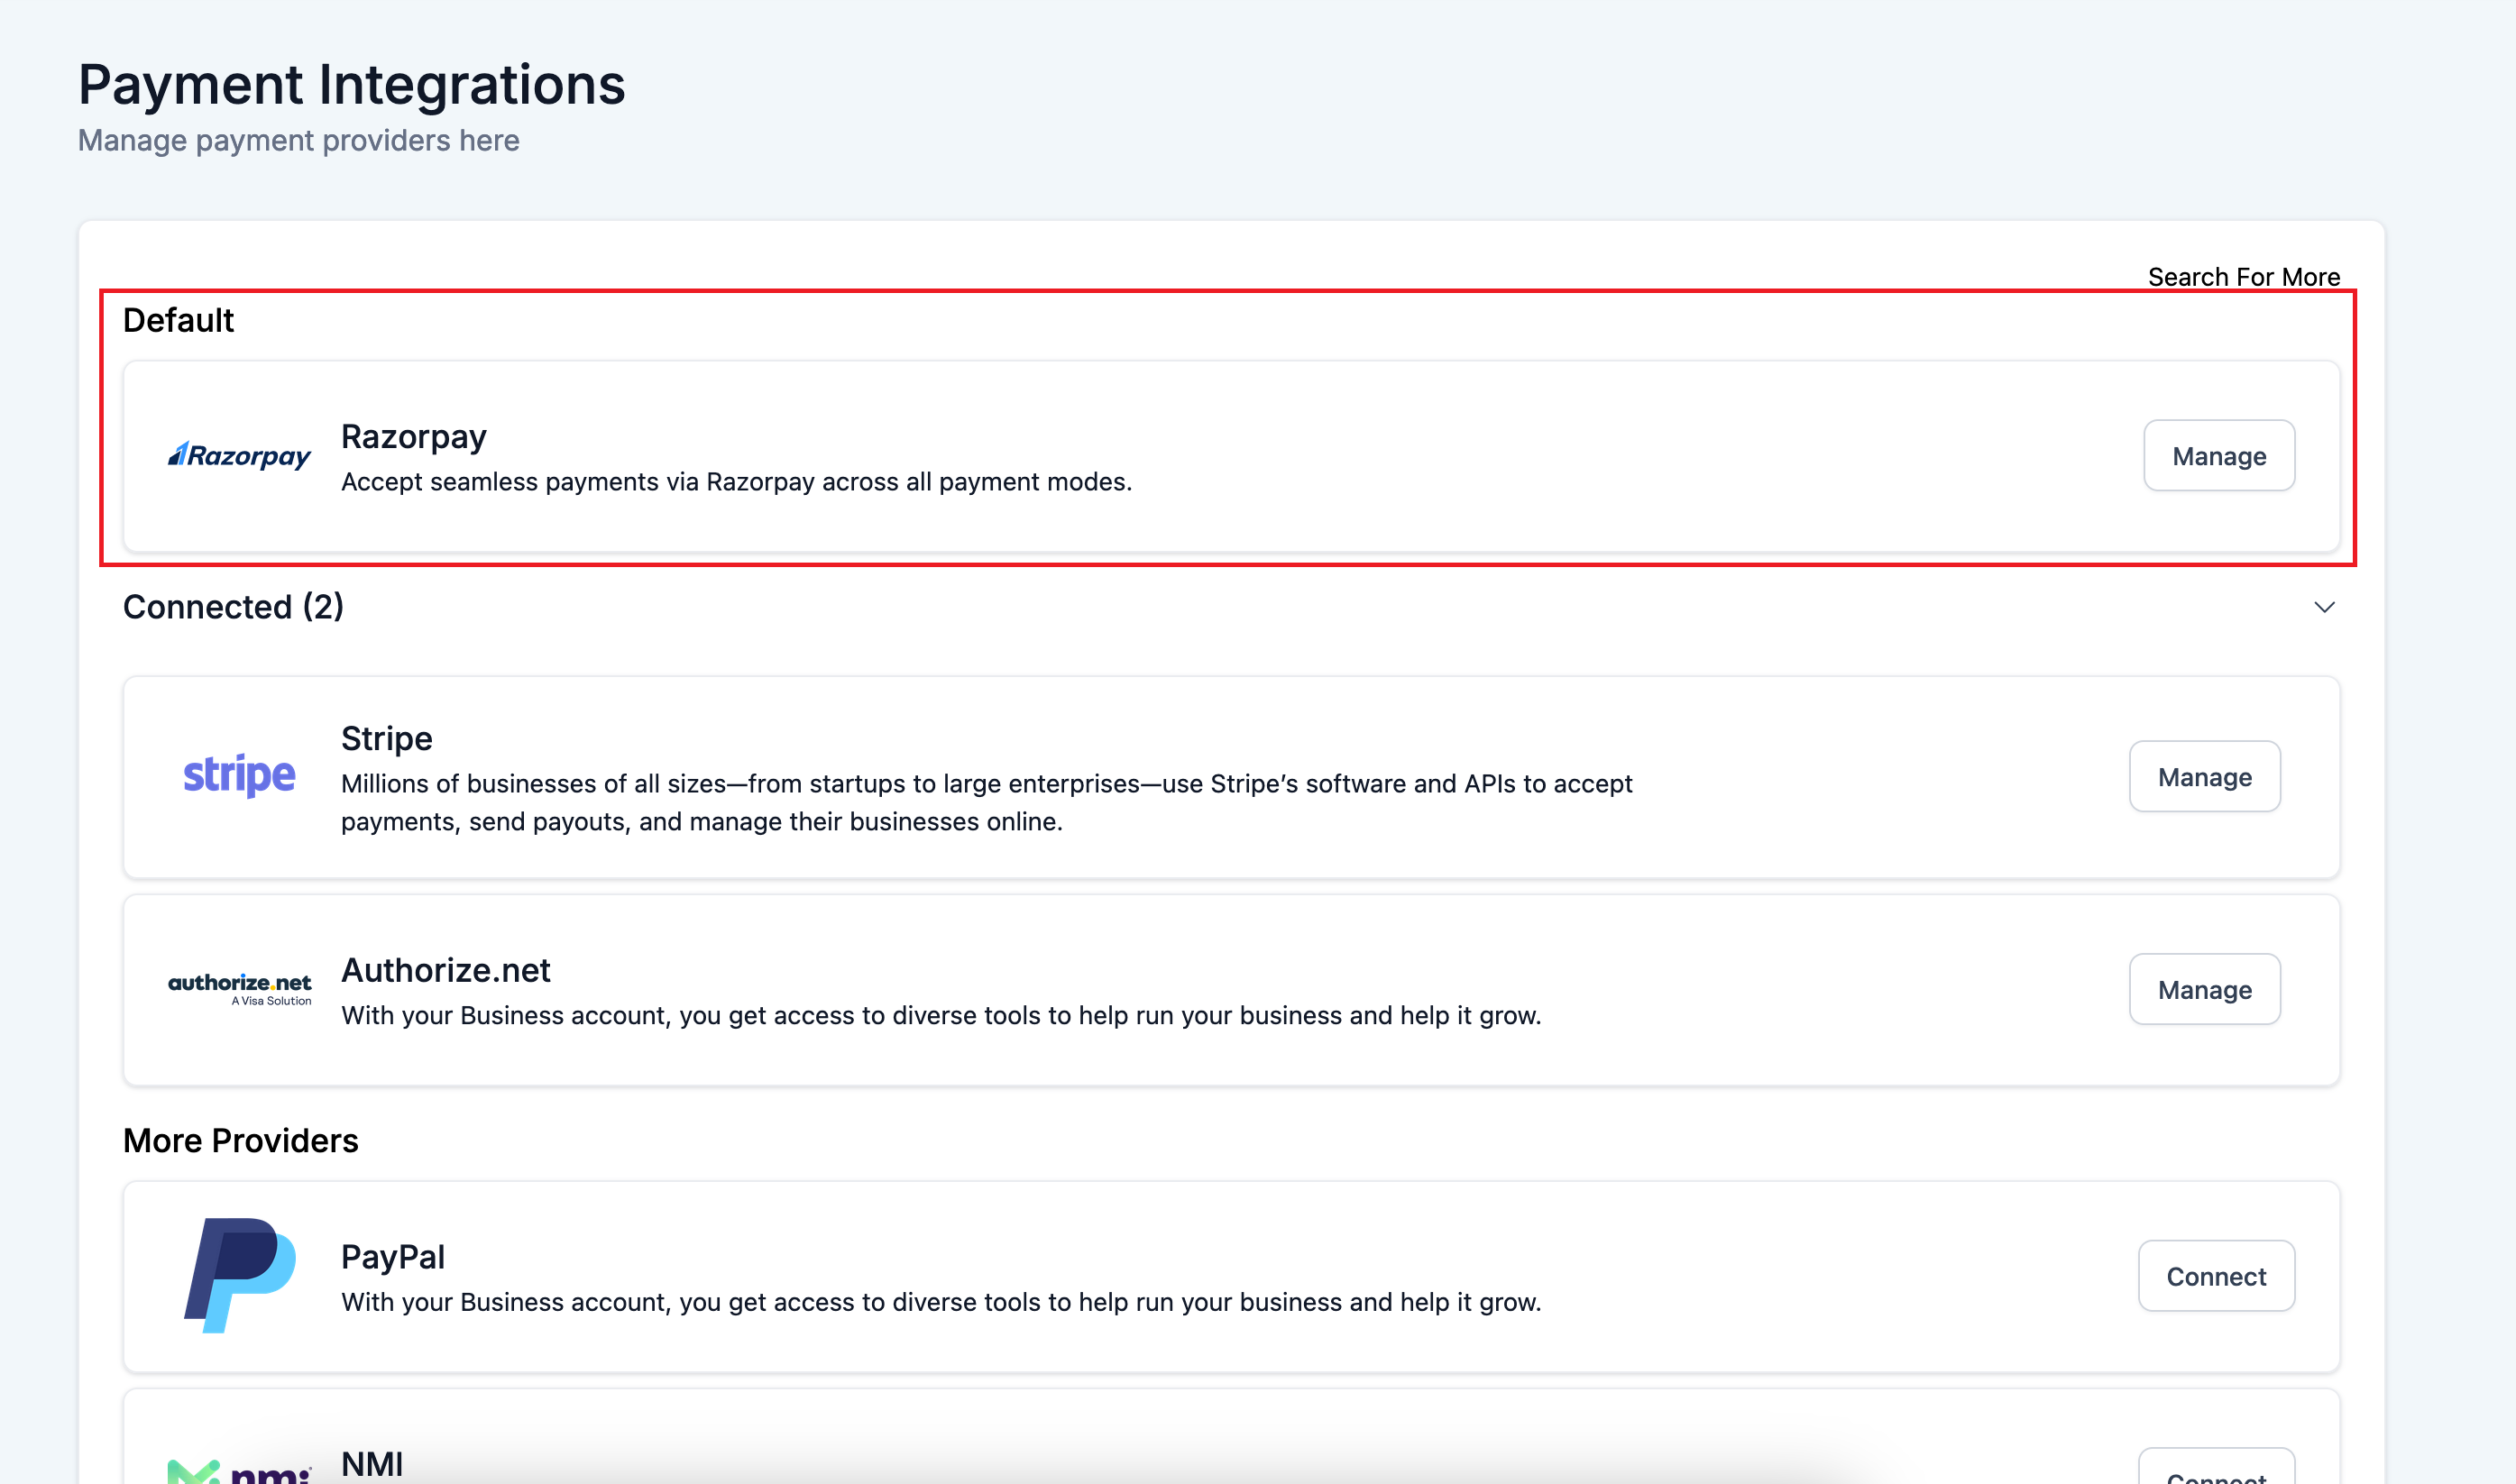
Business users are able to process payments via Razorpay, a payment provider popular in India. This integration is available as a marketplace application under App Marketplace menu inside a sub-account and also available upon clicking on the Search for More options inside Payments -> Integrations
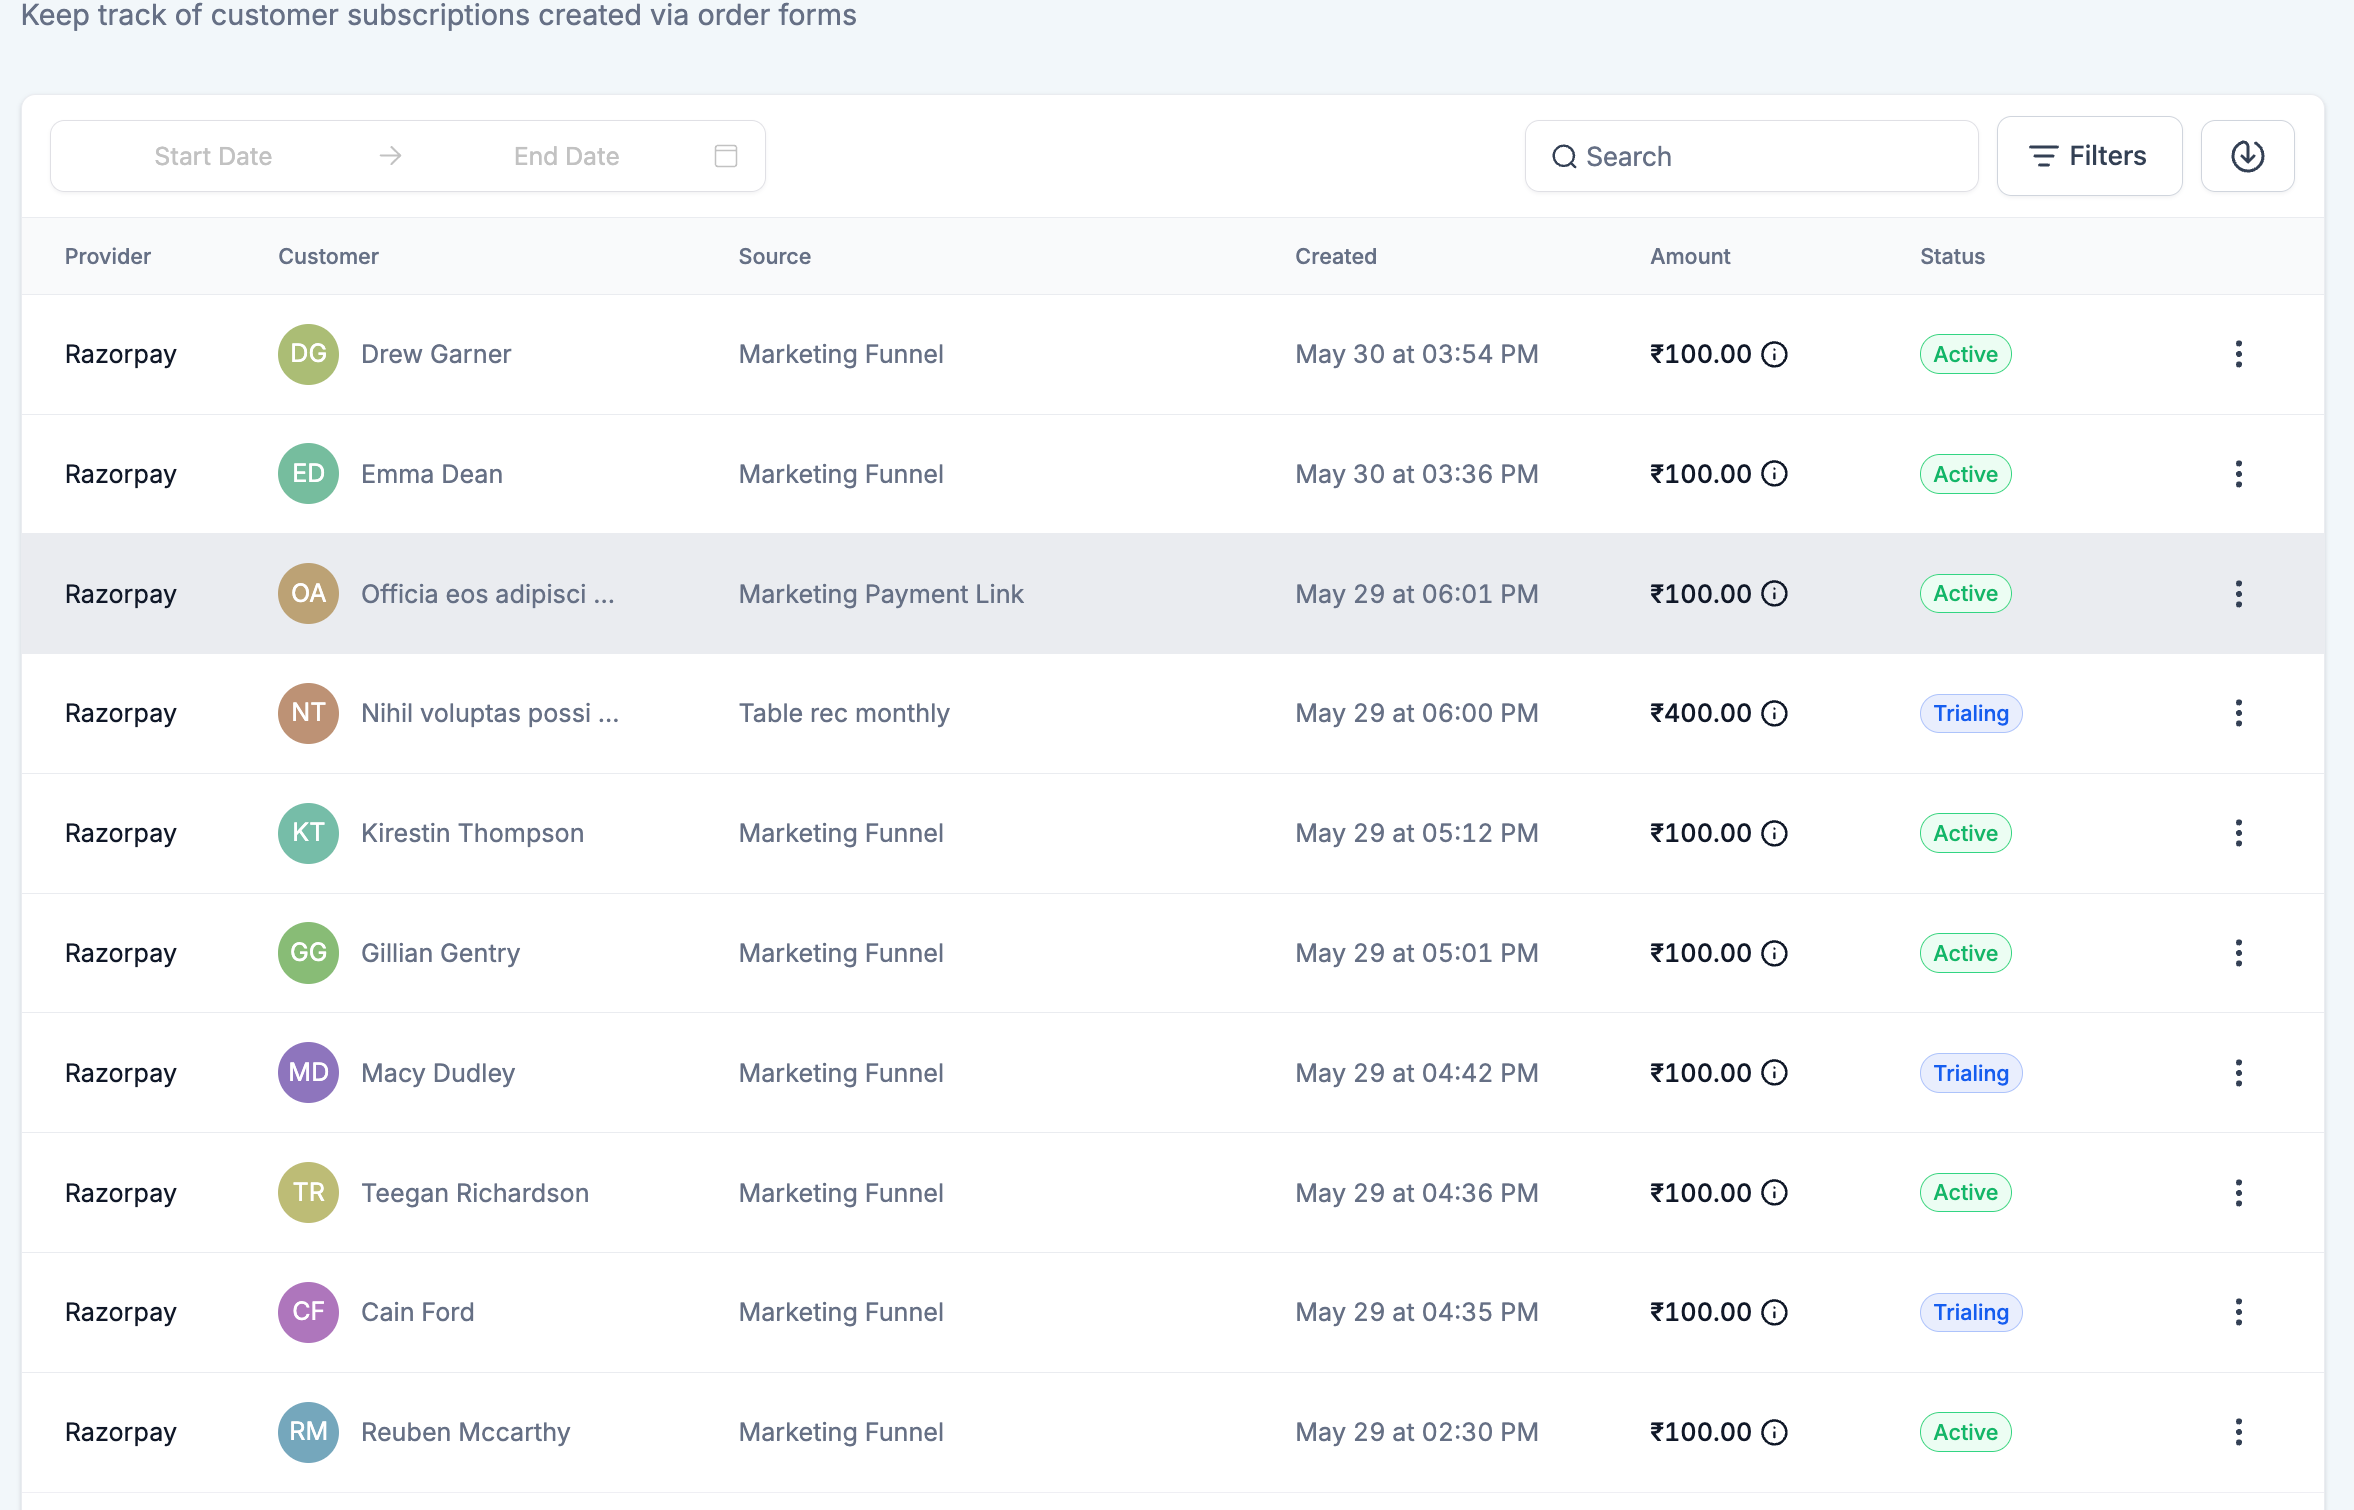
The integration provides capabilities to accept one time, custom amounts as well as recurring payments across all channels like order forms, invoices, payment links, forms, contacts page among others. This also provides subscription management like cancellation, updating a card on file or refund related capabilities.
Users will be able to install the application from the App Marketplace, authenticate using the necessary API keys and granting necessary permissions to start accepting payments using Razorpay.
4 essential steps are required to successfully connect to Razorpay. Refer below for detailed.
Install the Razorpay application from the App Marketplace
Plug in your Razorpay API keys from Razorpay dashboard (Accounts & Settings -> API keys) into the app authentication page.
Copy and paste the webhook URL in your Razorpay dashboard (Accounts & Settings -> Webhooks)
Register any branded domain you are using in your Razorpay dashboard (Accounts & Settings -> Business website details) to successfully start accepting payments.


Once the app is installed, the Authentication page would be displayed which would require you to plug in your API keys from the Razorpay dashboard. Navigate to Accounts & Settings -> API keys to get the API keys from your Razorpay dashboard.
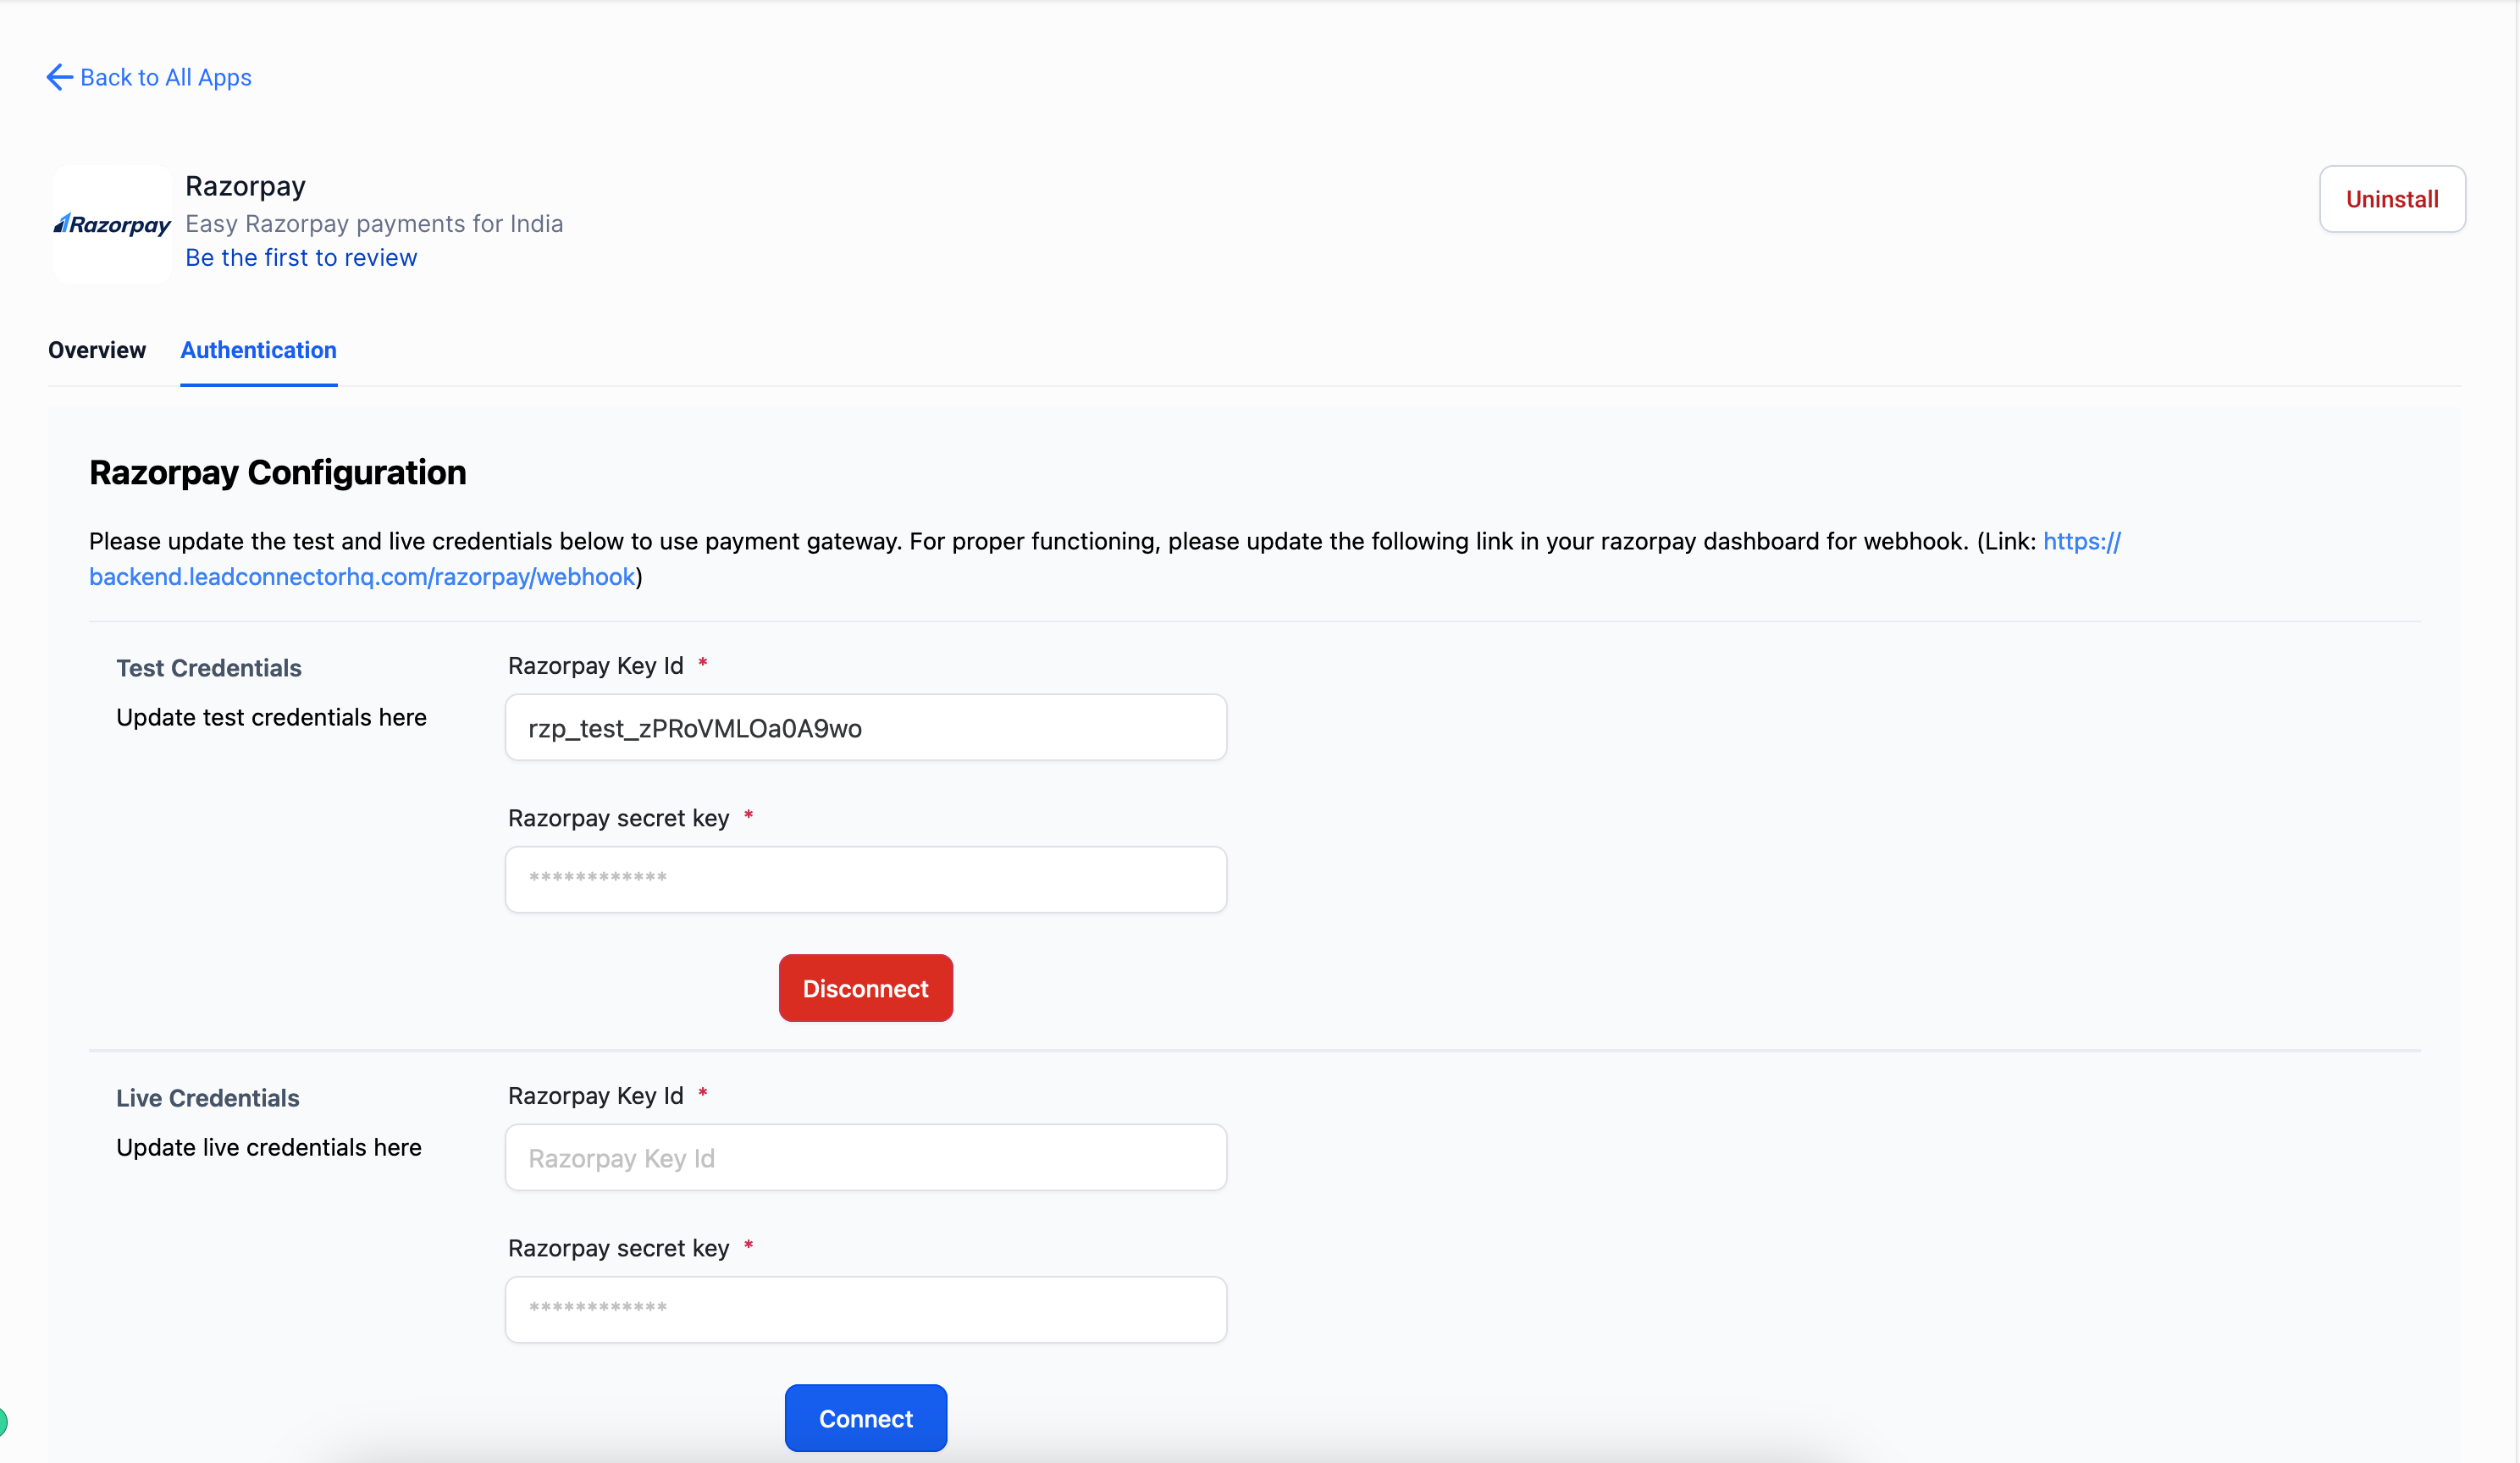
Also, add any branded domain that you are using inside the Razorpay dashboard (Accounts & Settings -> Business website details)
The application would in no way differ from the existing payment integrations like Stripe/NMI/Authorize.net and would have full capabilities for payments including post purchase automations like automated sales receipts, refunds, payment received and order submitted triggers or giving discounts via coupon codes
