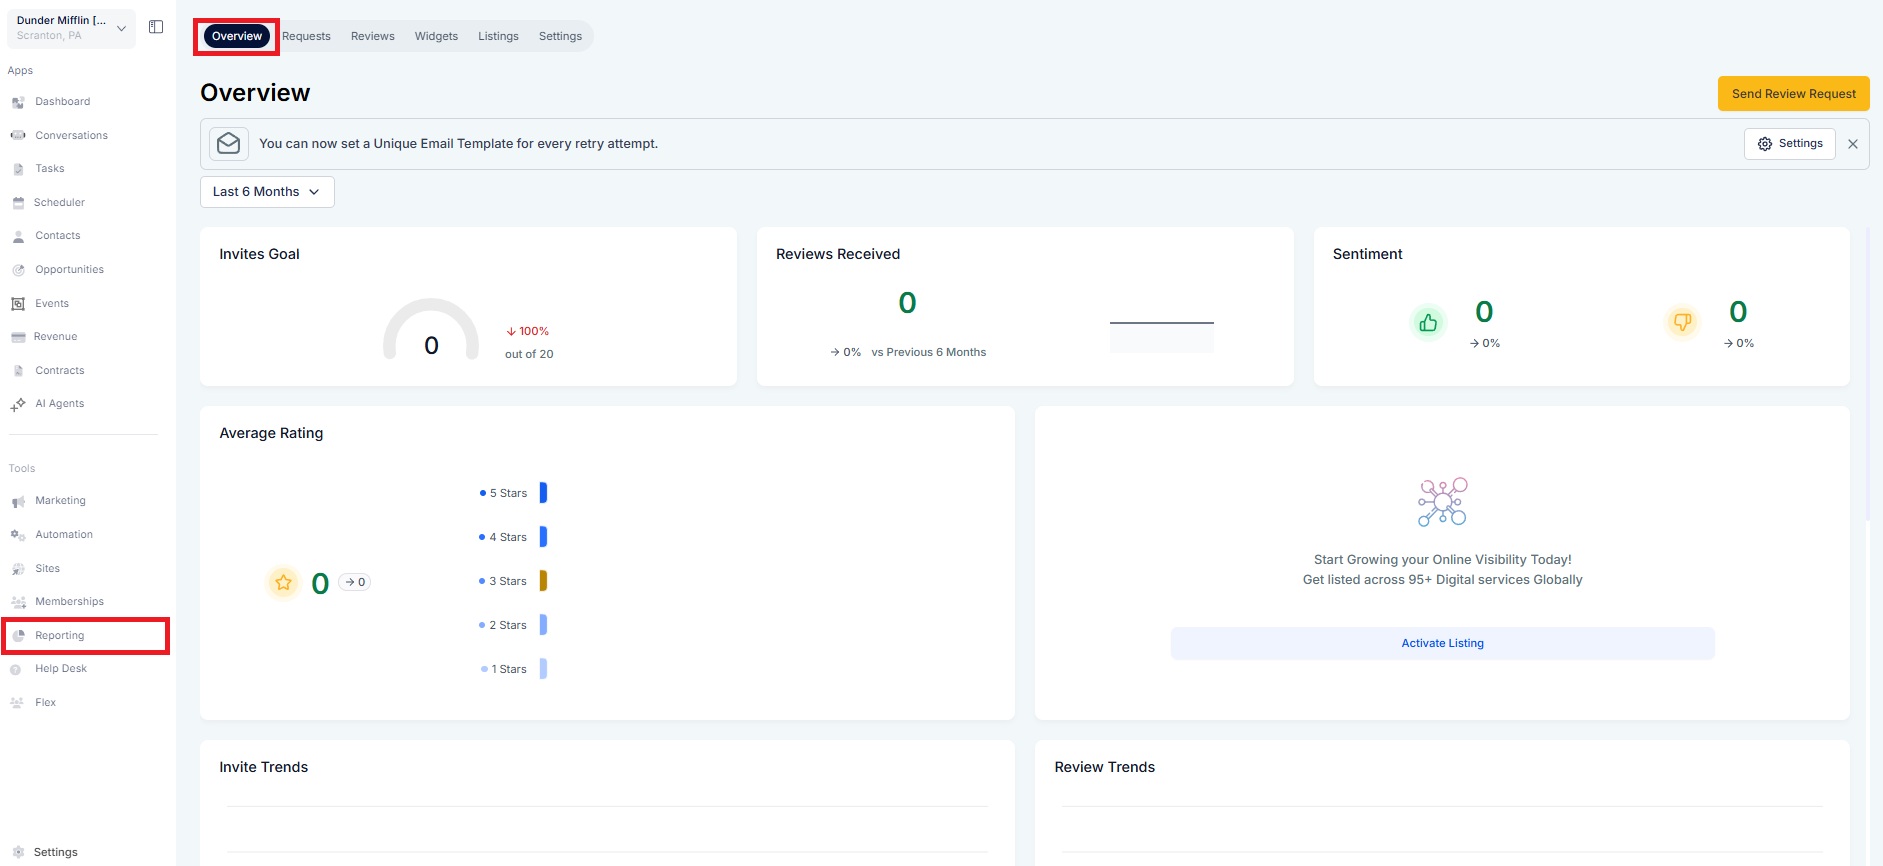
This widget lives right inside your Overview tab, and walks first-time users through the essential setup flow:
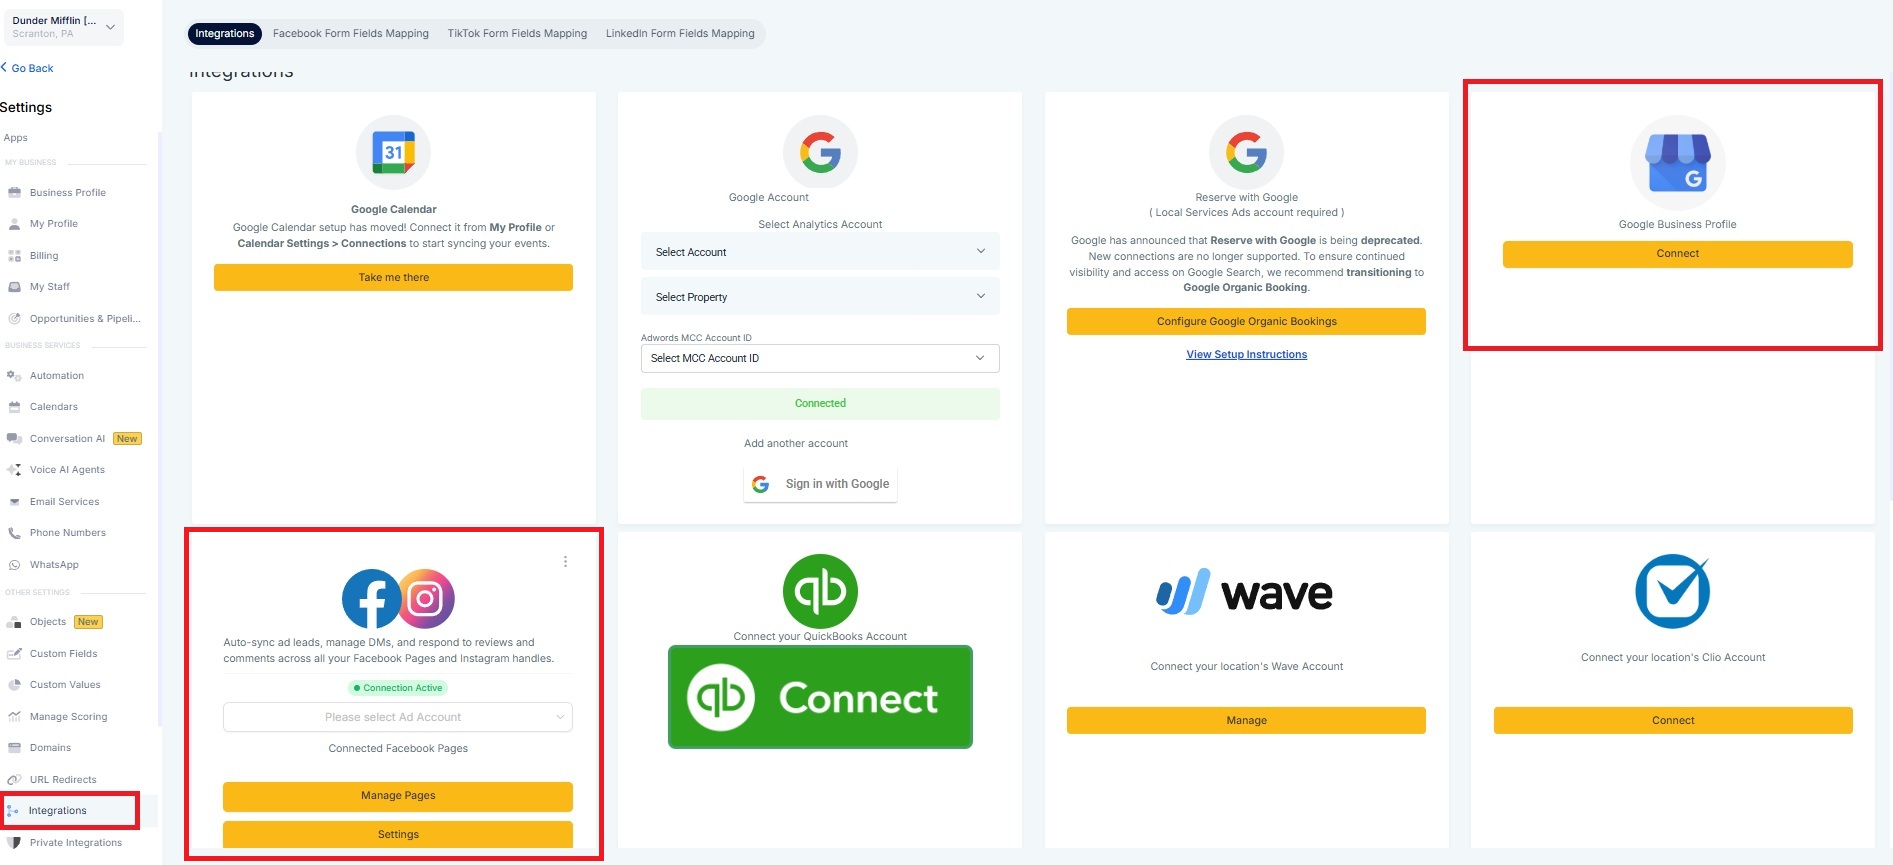
Step 1: Connect GBP/Facebook Pages
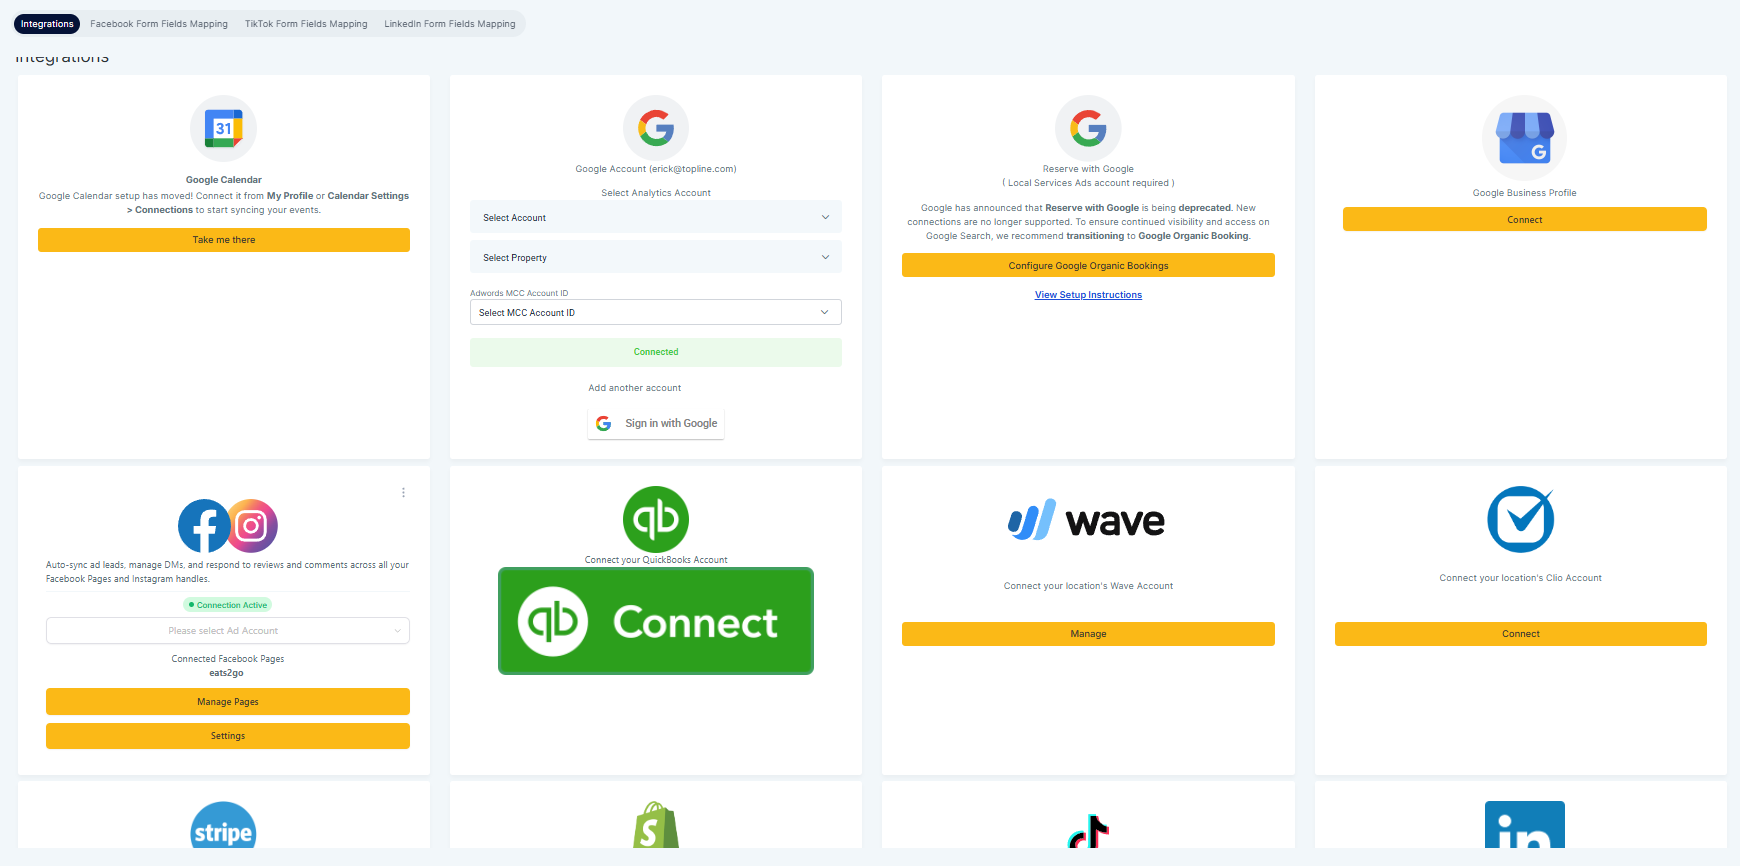
The journey starts here! Users are prompted to connect their Google Business Profile or Facebook Page to enable review collection.
Redirects to Integrations Page
Step 2: Set Up Your Review Link
Configure your Review Request URL — the link you’ll share with customers.
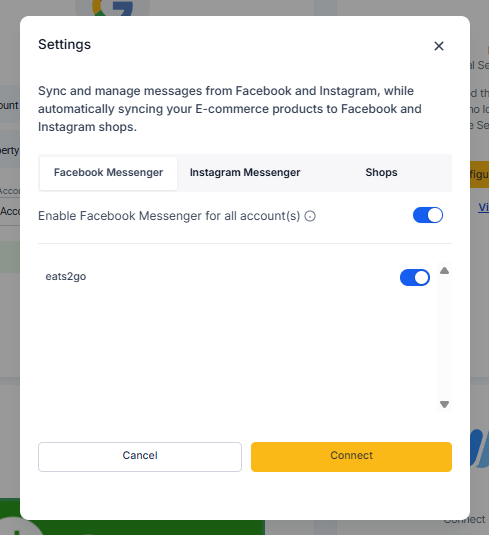
Go to Settings (under GBP/Facebook Pages)

Review Link Page
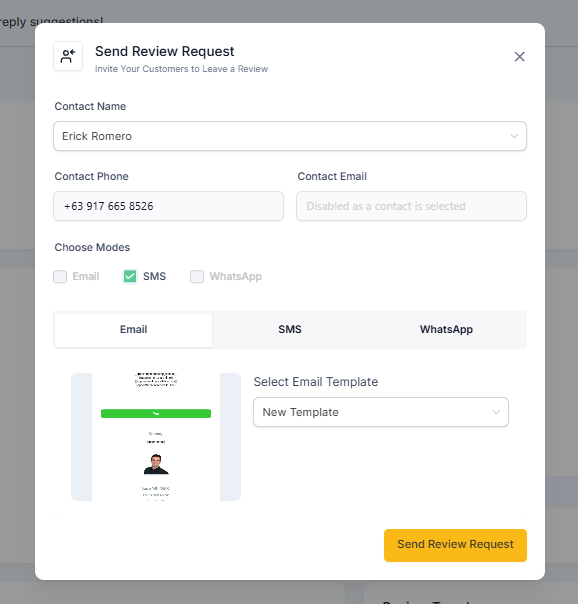
Step 3: Send Your First Review Request
Redirects to Review Request Page
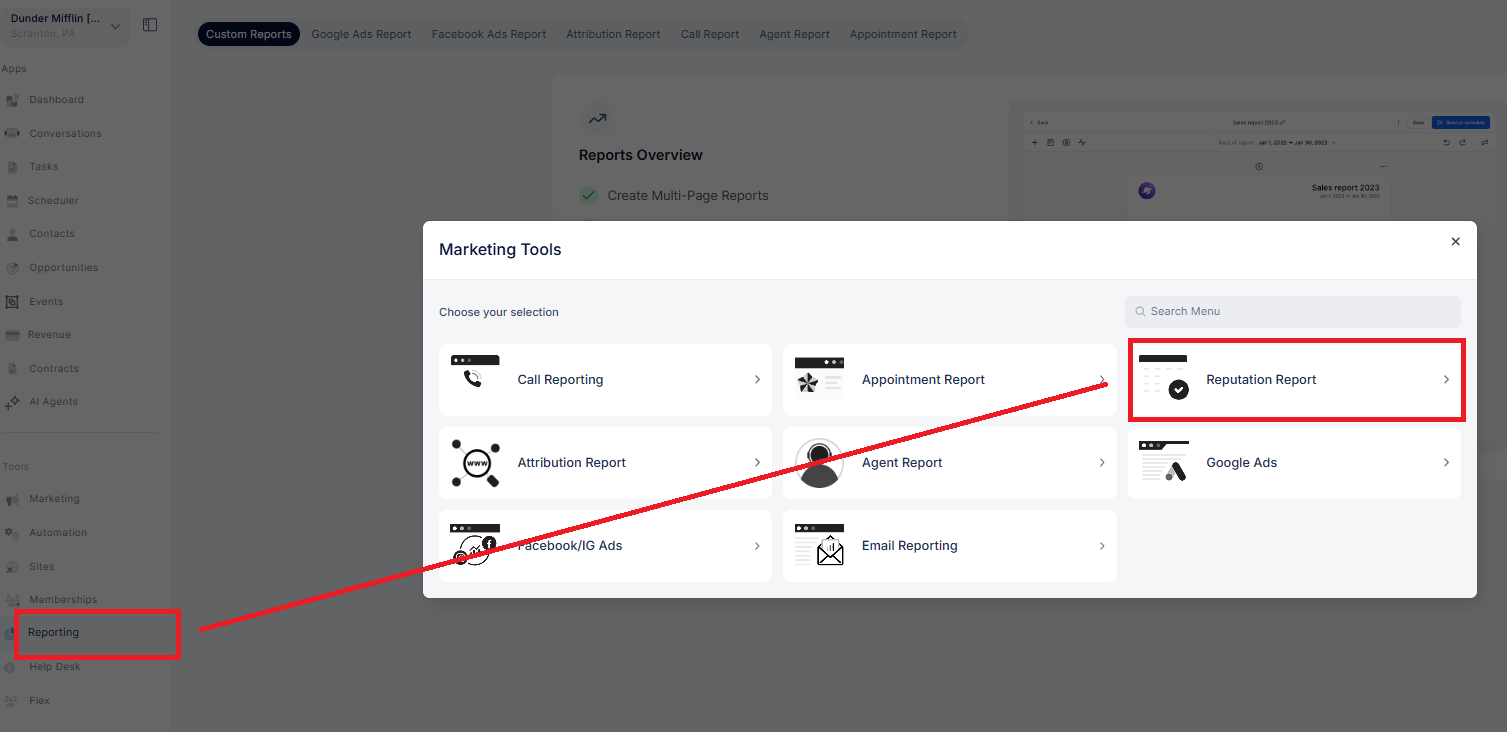
Go to Reporting > Reputation Report
Click Send Review Request
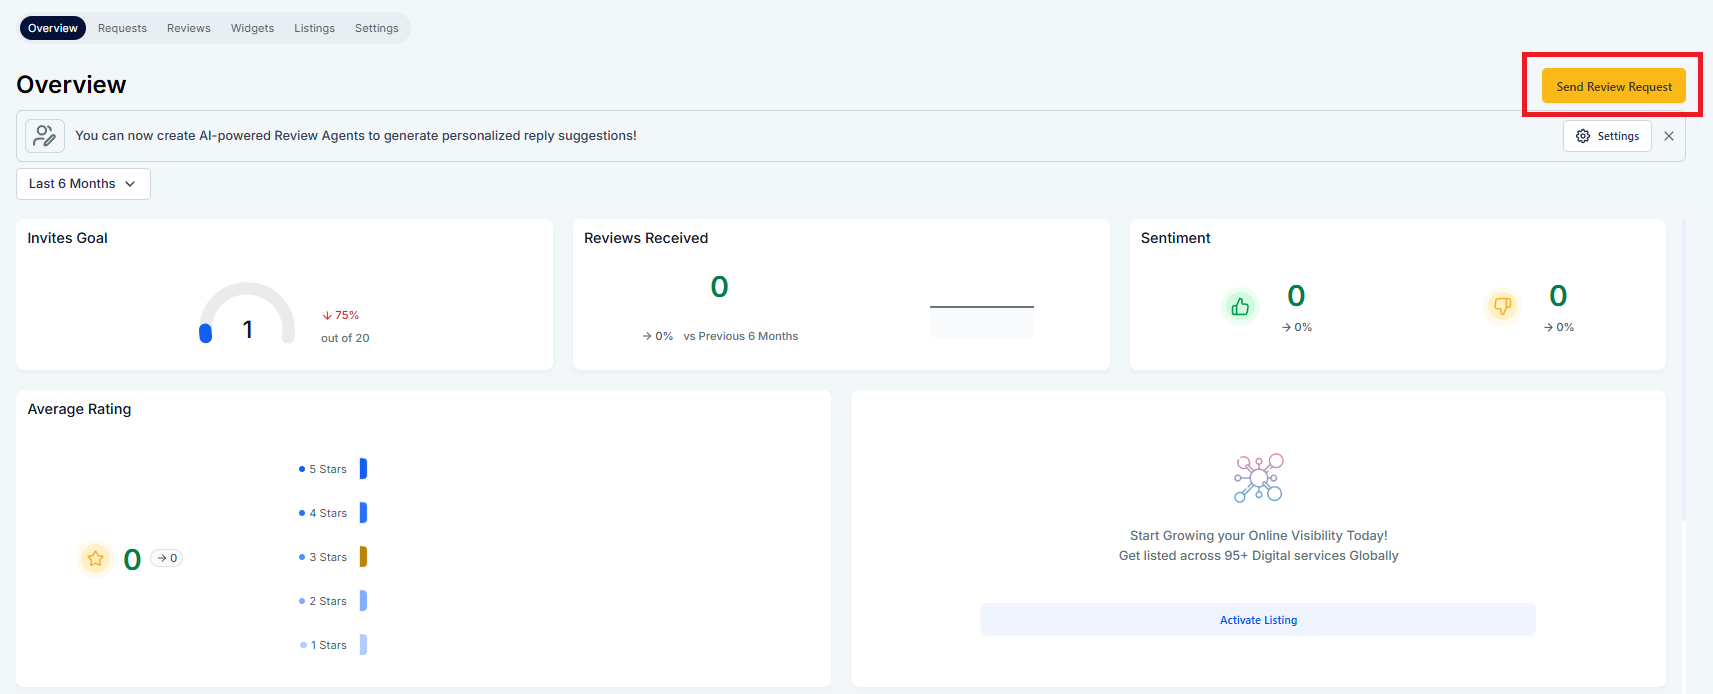
Kick things off by sending your first review request to a customer.
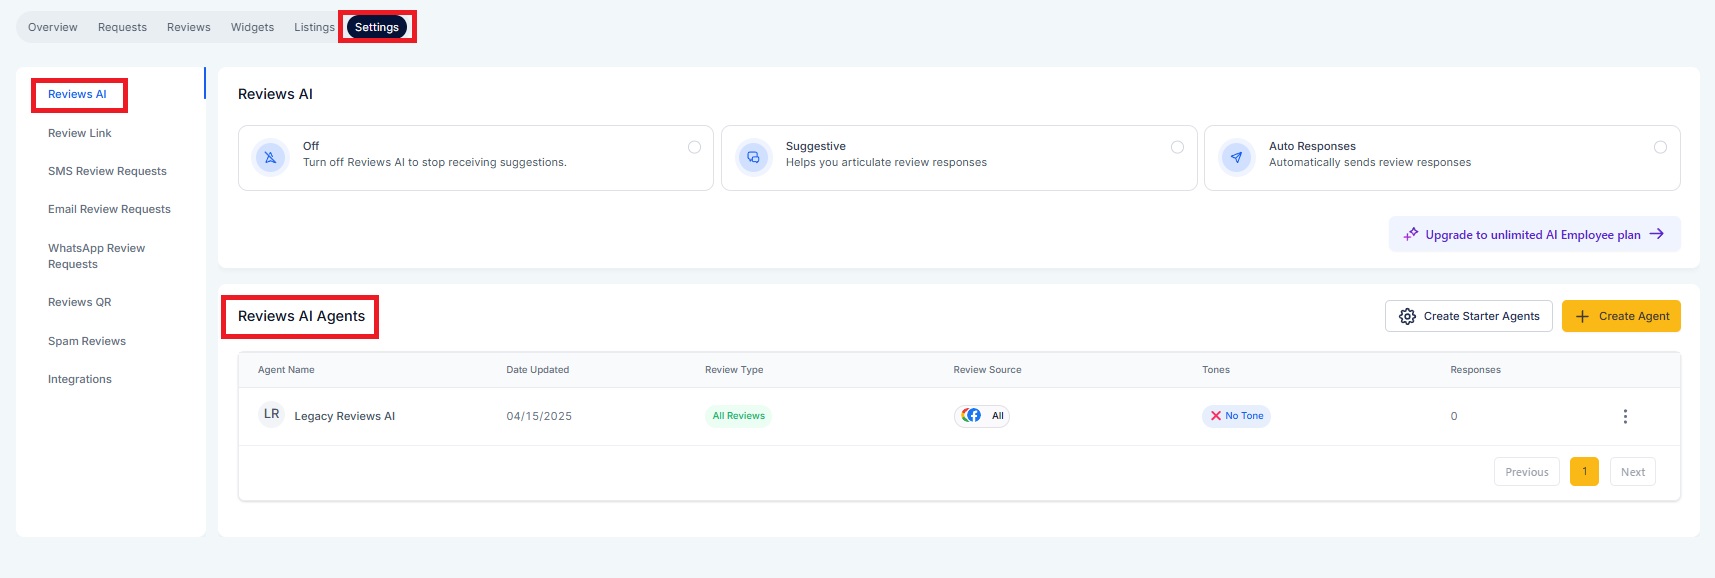
Step 4: Configure Reviews AI
Turn on AI-generated review responses and create Review Agents to save time and reply smarter.
Redirects to Settings > Review AI Page
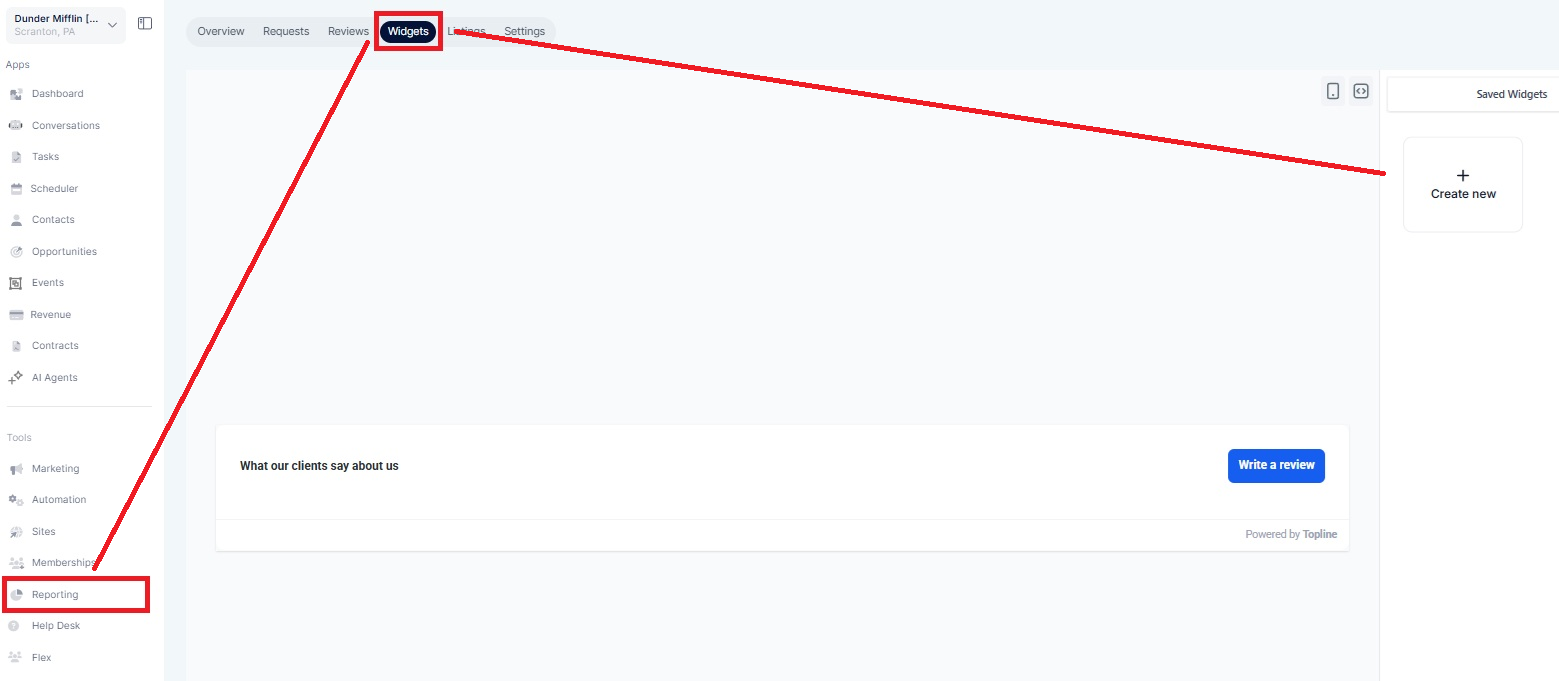
Step 5: Create Your Review Widget
Embed your reviews on your website with a fully customizable widget.
Redirects to the Widgets tab
Go to Reporting > Reputation Report > Widgets > + Create New
Step 6: Connect More Platforms (Optional)
Users can expand their reach by connecting more platforms for review collection.
Redirects back to Integrations Page
The Wizard disappears automatically once all core steps are completed — giving users a clean, clutter-free experience.
Guided Setup – No more wondering where to begin
Faster Activation – Helps new users start collecting reviews quickly
Smarter Defaults – Encourages setting up Reviews AI and widgets from day one
