Navigate to Sites > Client Portal > Settings > Email Settings
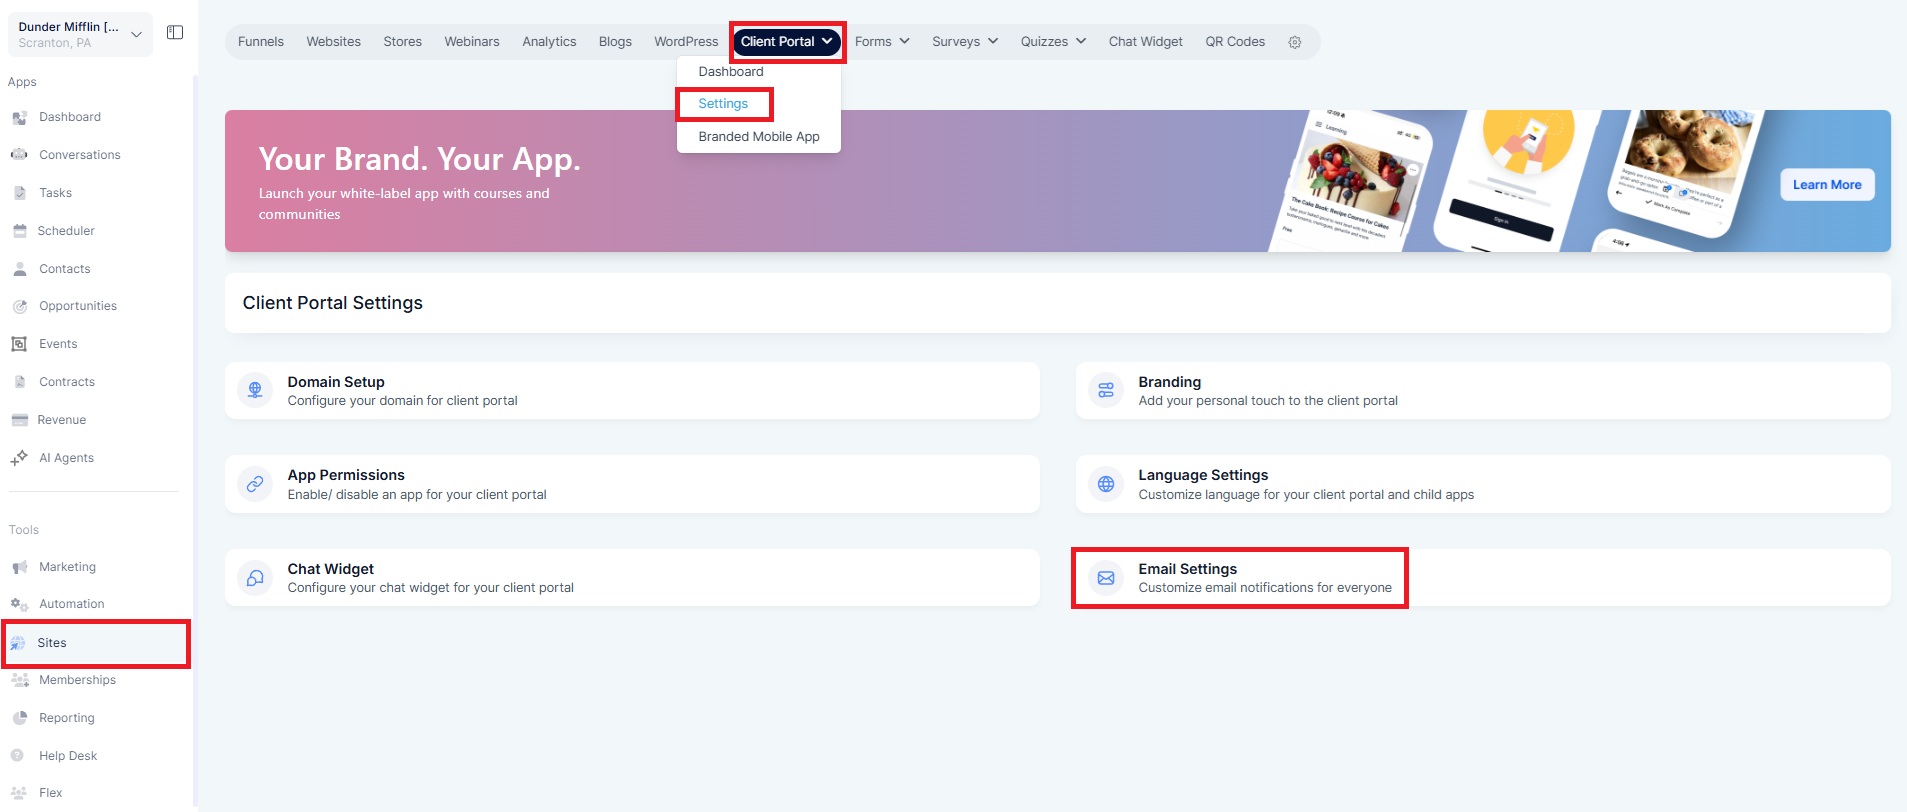
Under Email Settings, you’ll see each app listed with toggles and email options.
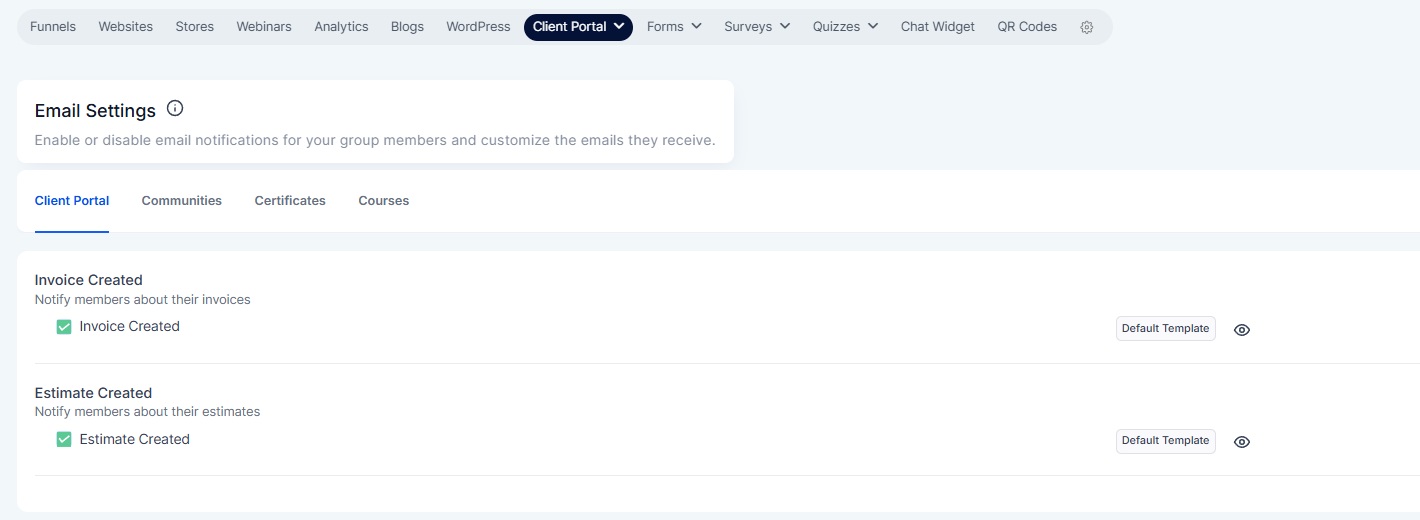
Click the Default Template button for any notification you want to customize.
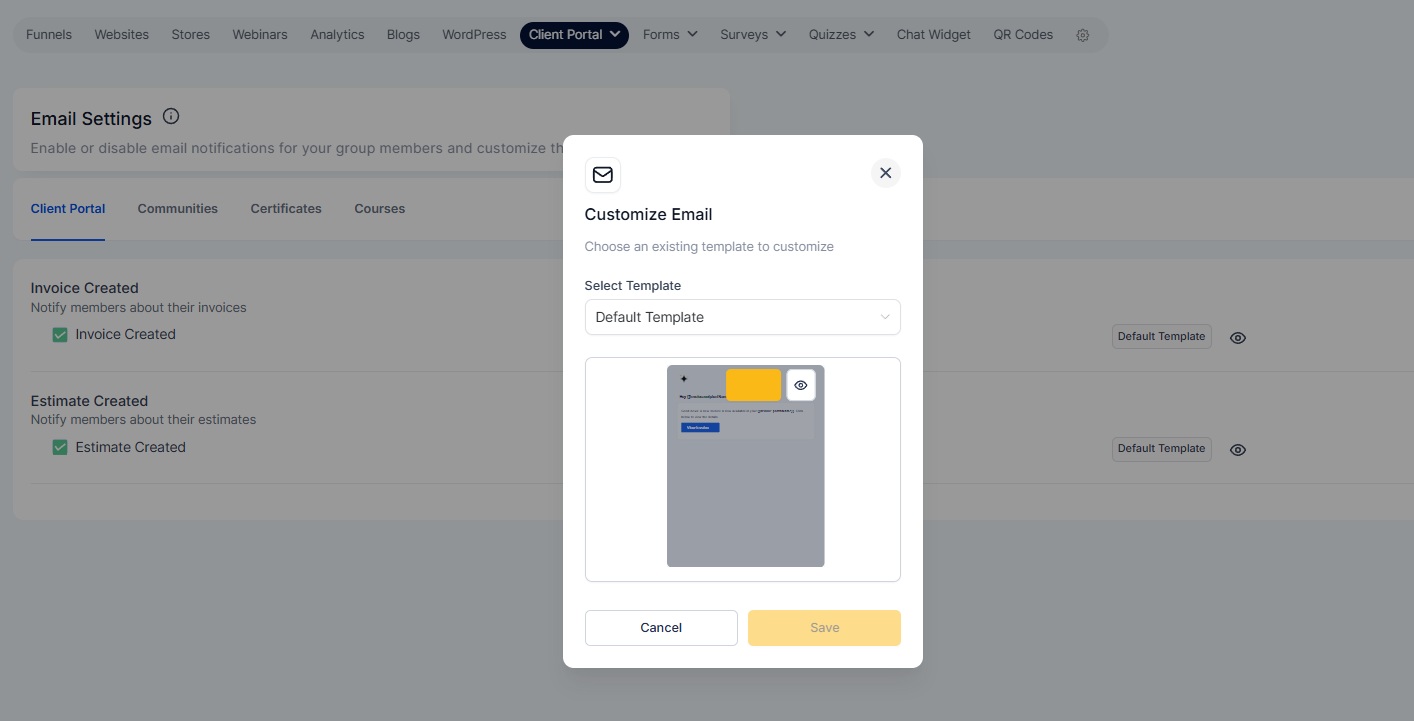
Next to the selected template, click the Edit icon.

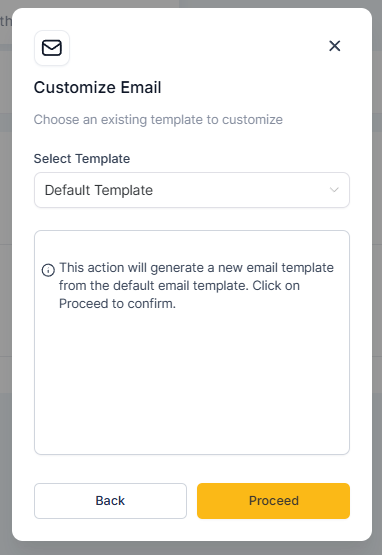
Click “Proceed” button — to create your own editable copy of the default template.
Once generated, you can customize email content.
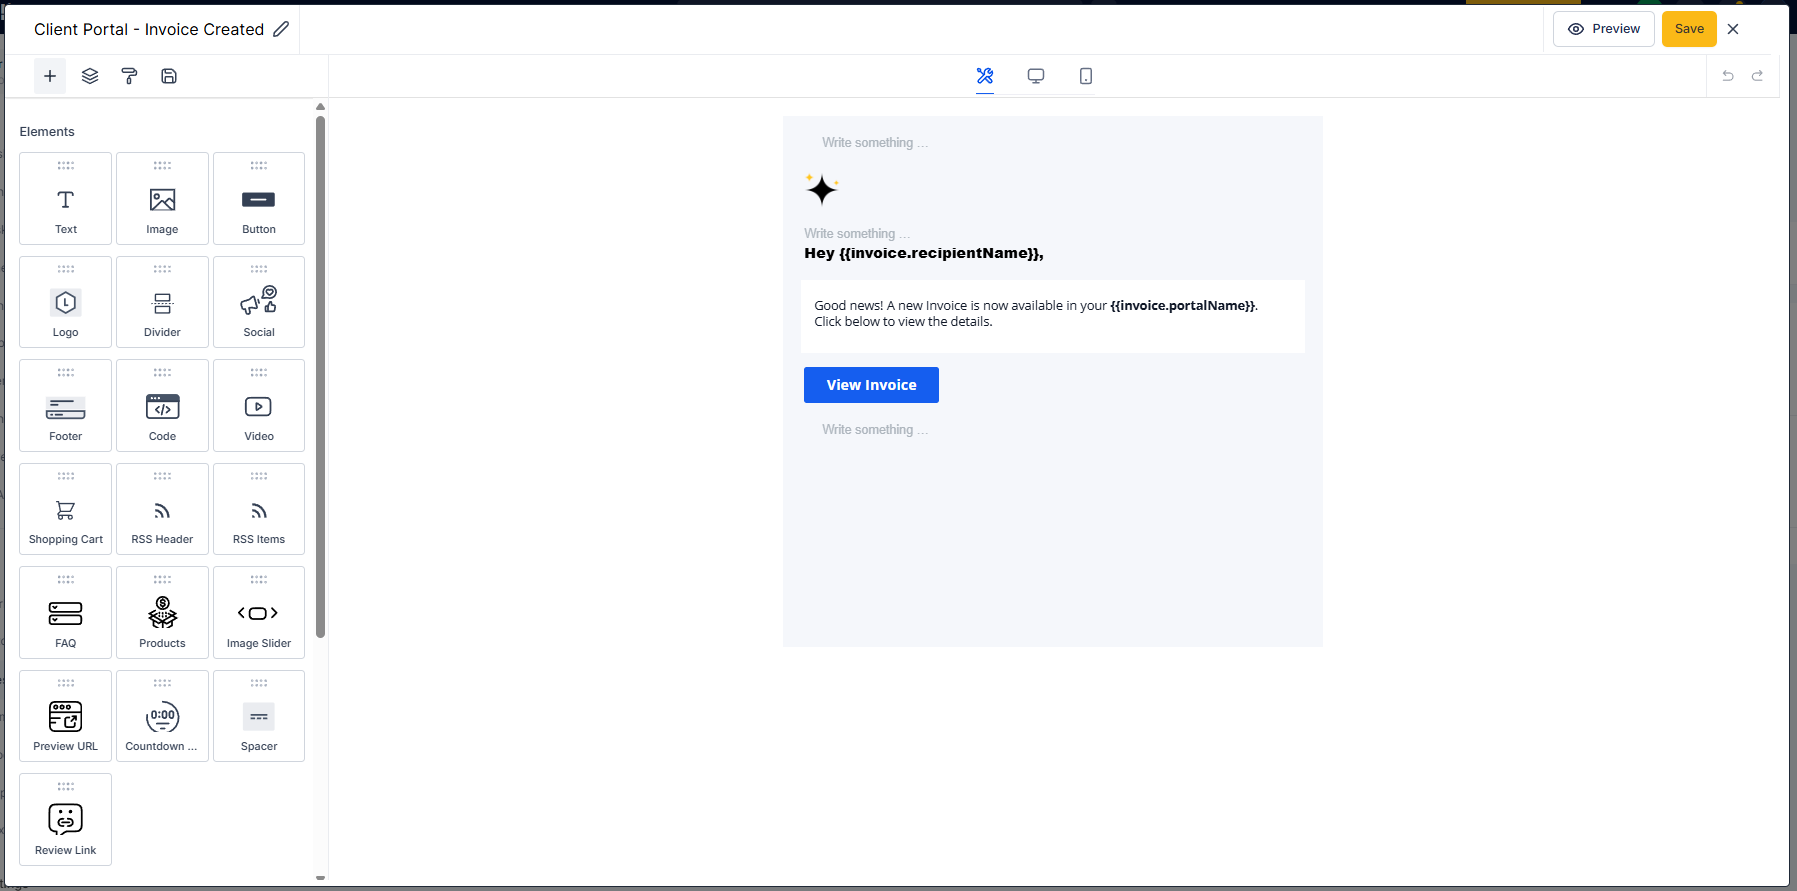
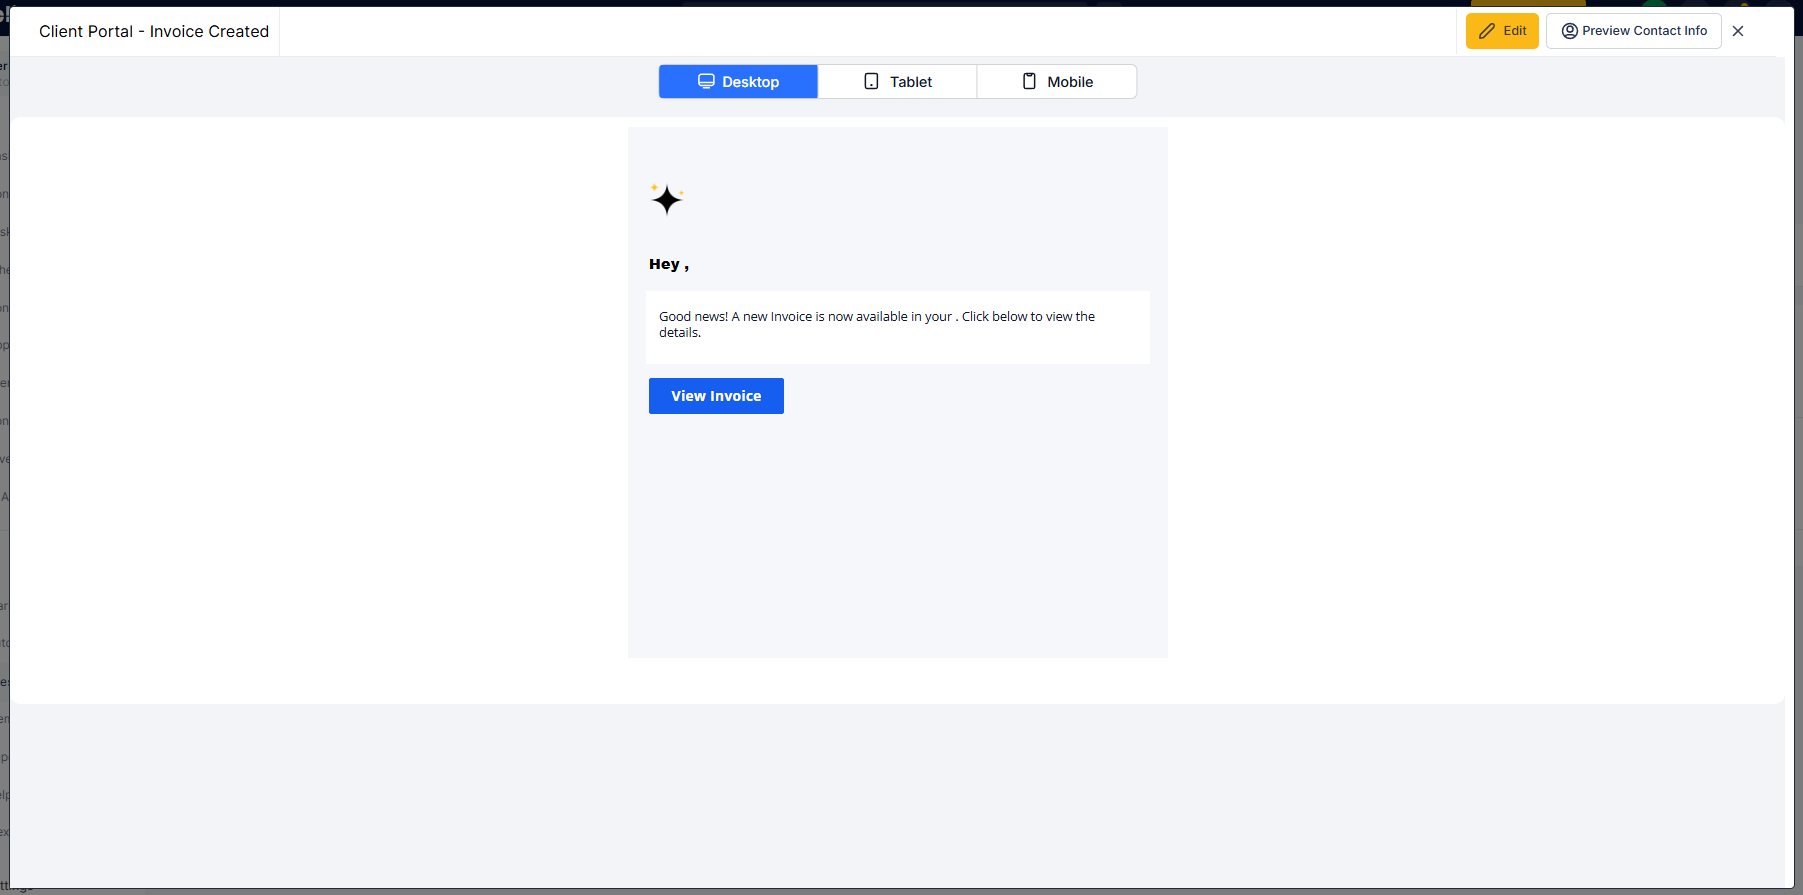
Use the Eye icon to preview exactly how your email will look.
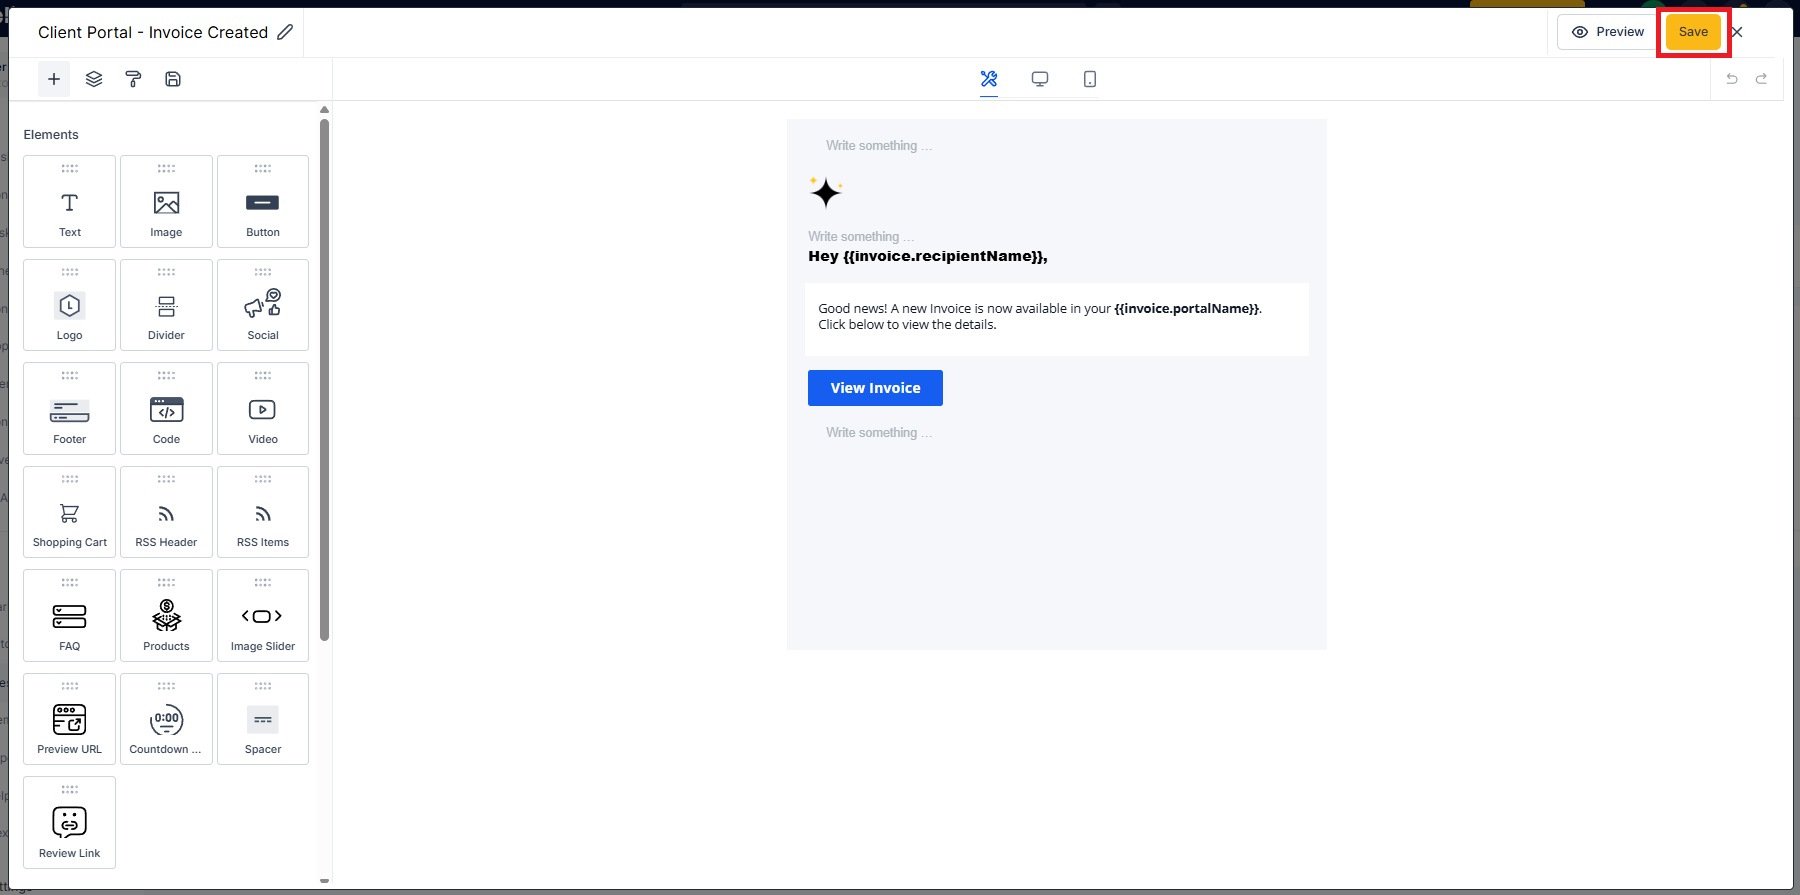
Save selected template — it will now be used for that specific notification type.
This update was driven by popular demand — many users wanted the ability to edit the default templates directly, rather than having to create a new one from scratch each time.
Clearer Communication – Add context, remove clutter, and keep the original style while tailoring content to your users.
