The Pricing Table now works consistently across Funnels, Websites, Blogs, and Store pages with new presets, feature lists, badges, and flexible layouts; so you can publish polished pricing fast and link each plan to the next step.
One Pricing Table element that works the same across Funnels, Websites, Blogs, and Stores
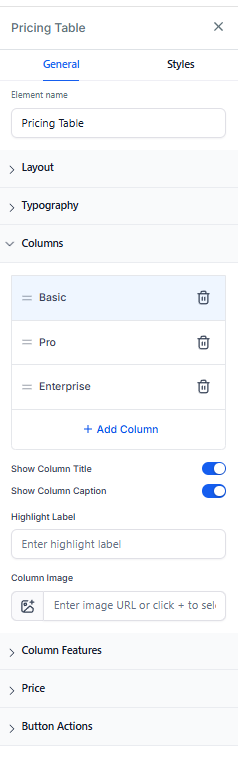
Preset layouts and themes for fast setups
Feature lists with icons (checks/markers) per plan
“Featured/Recommended” badge to spotlight one plan
Flexible layouts: choose card count, spacing, and alignment
Button controls per plan: link to checkout, product page, form, calendar, or any URL
Better mobile stacking and typography controls
Save your favorite pricing sections to reuse later
Keep plan names simple, and list 4–6 clear benefits per plan.
Use one primary CTA label across all plans (e.g., “Get Started”) to reduce decision friction.
If you sell via Store, link buttons to the product page or checkout to shorten the path to purchase.
Add a concise “Who it’s for” line under each plan to guide buyers.
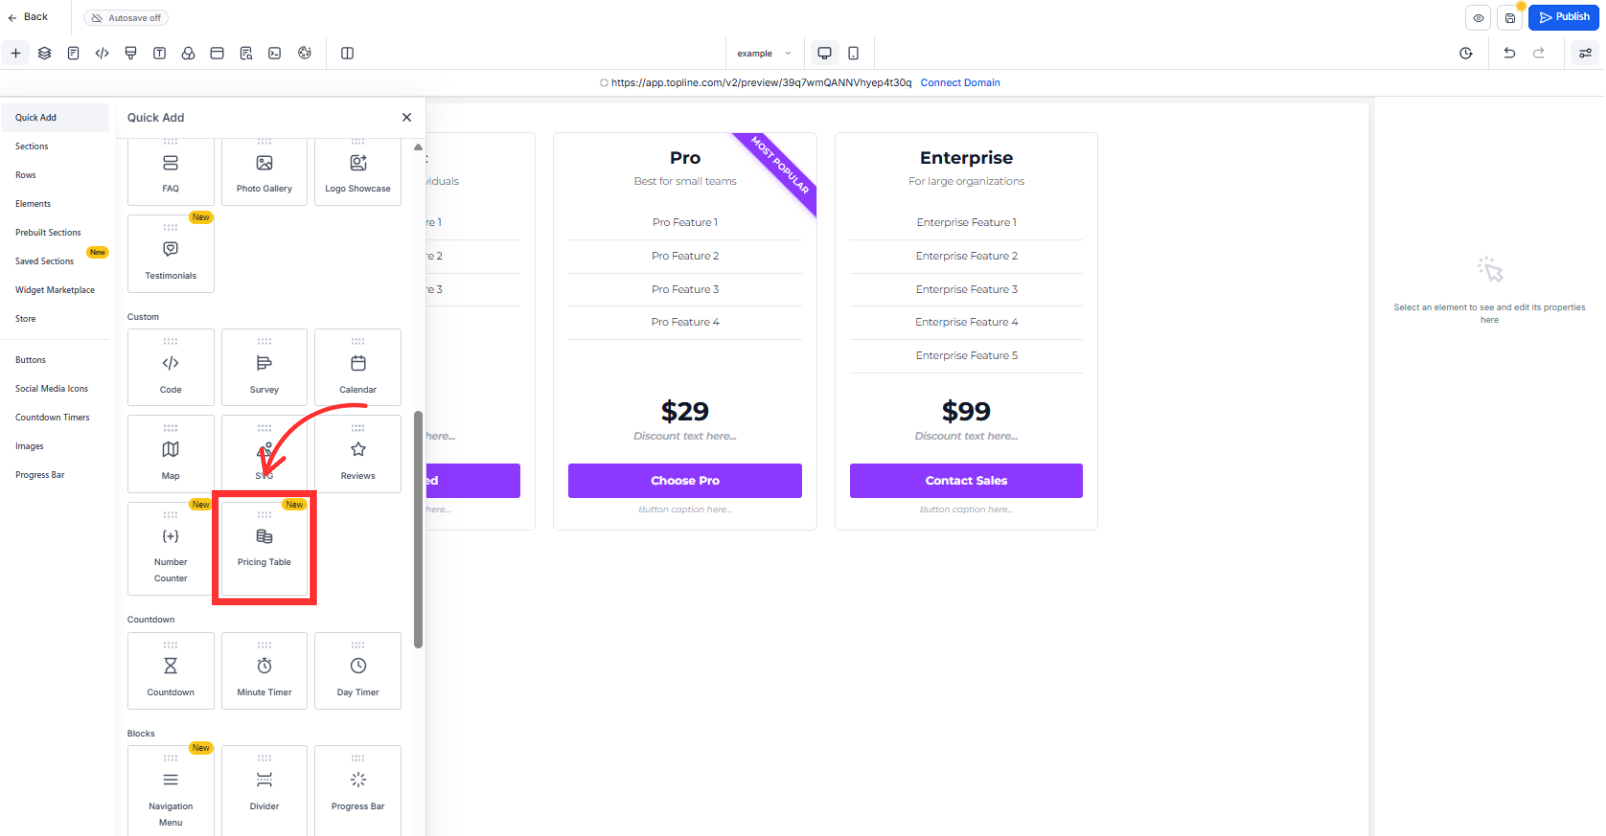
Step 1
Open Sites > (Website, Funnel, Blog, or Stores)> Builder
Step 2
Add the Pricing Table element or a pre‑built Pricing section.
Step 3
Fill each plan’s name, price, features, and set each button’s link (checkout, product, form, calendar,
or URL).
Step 4
Adjust styling (colors, spacing, fonts), preview on mobile, and publish.
Can I use the Pricing Table on blog pages?
Yes. The element works the same on Blogs, Websites, Funnels, and Store pages.
Can each plan button go to a different destination?
Yes. Set a unique link or action per plan (checkout, product, form, calendar, or URL).
Will this break my old pricing tables?
No. Existing content remains. You can rebuild with the updated element to get the new controls.
Can I save a pricing section to reuse?
Yes. Save it to your library and drop it onto other pages.
How many plans can I show?
Choose the card count that fits your layout; most pages convert best with 2–4 plans.
