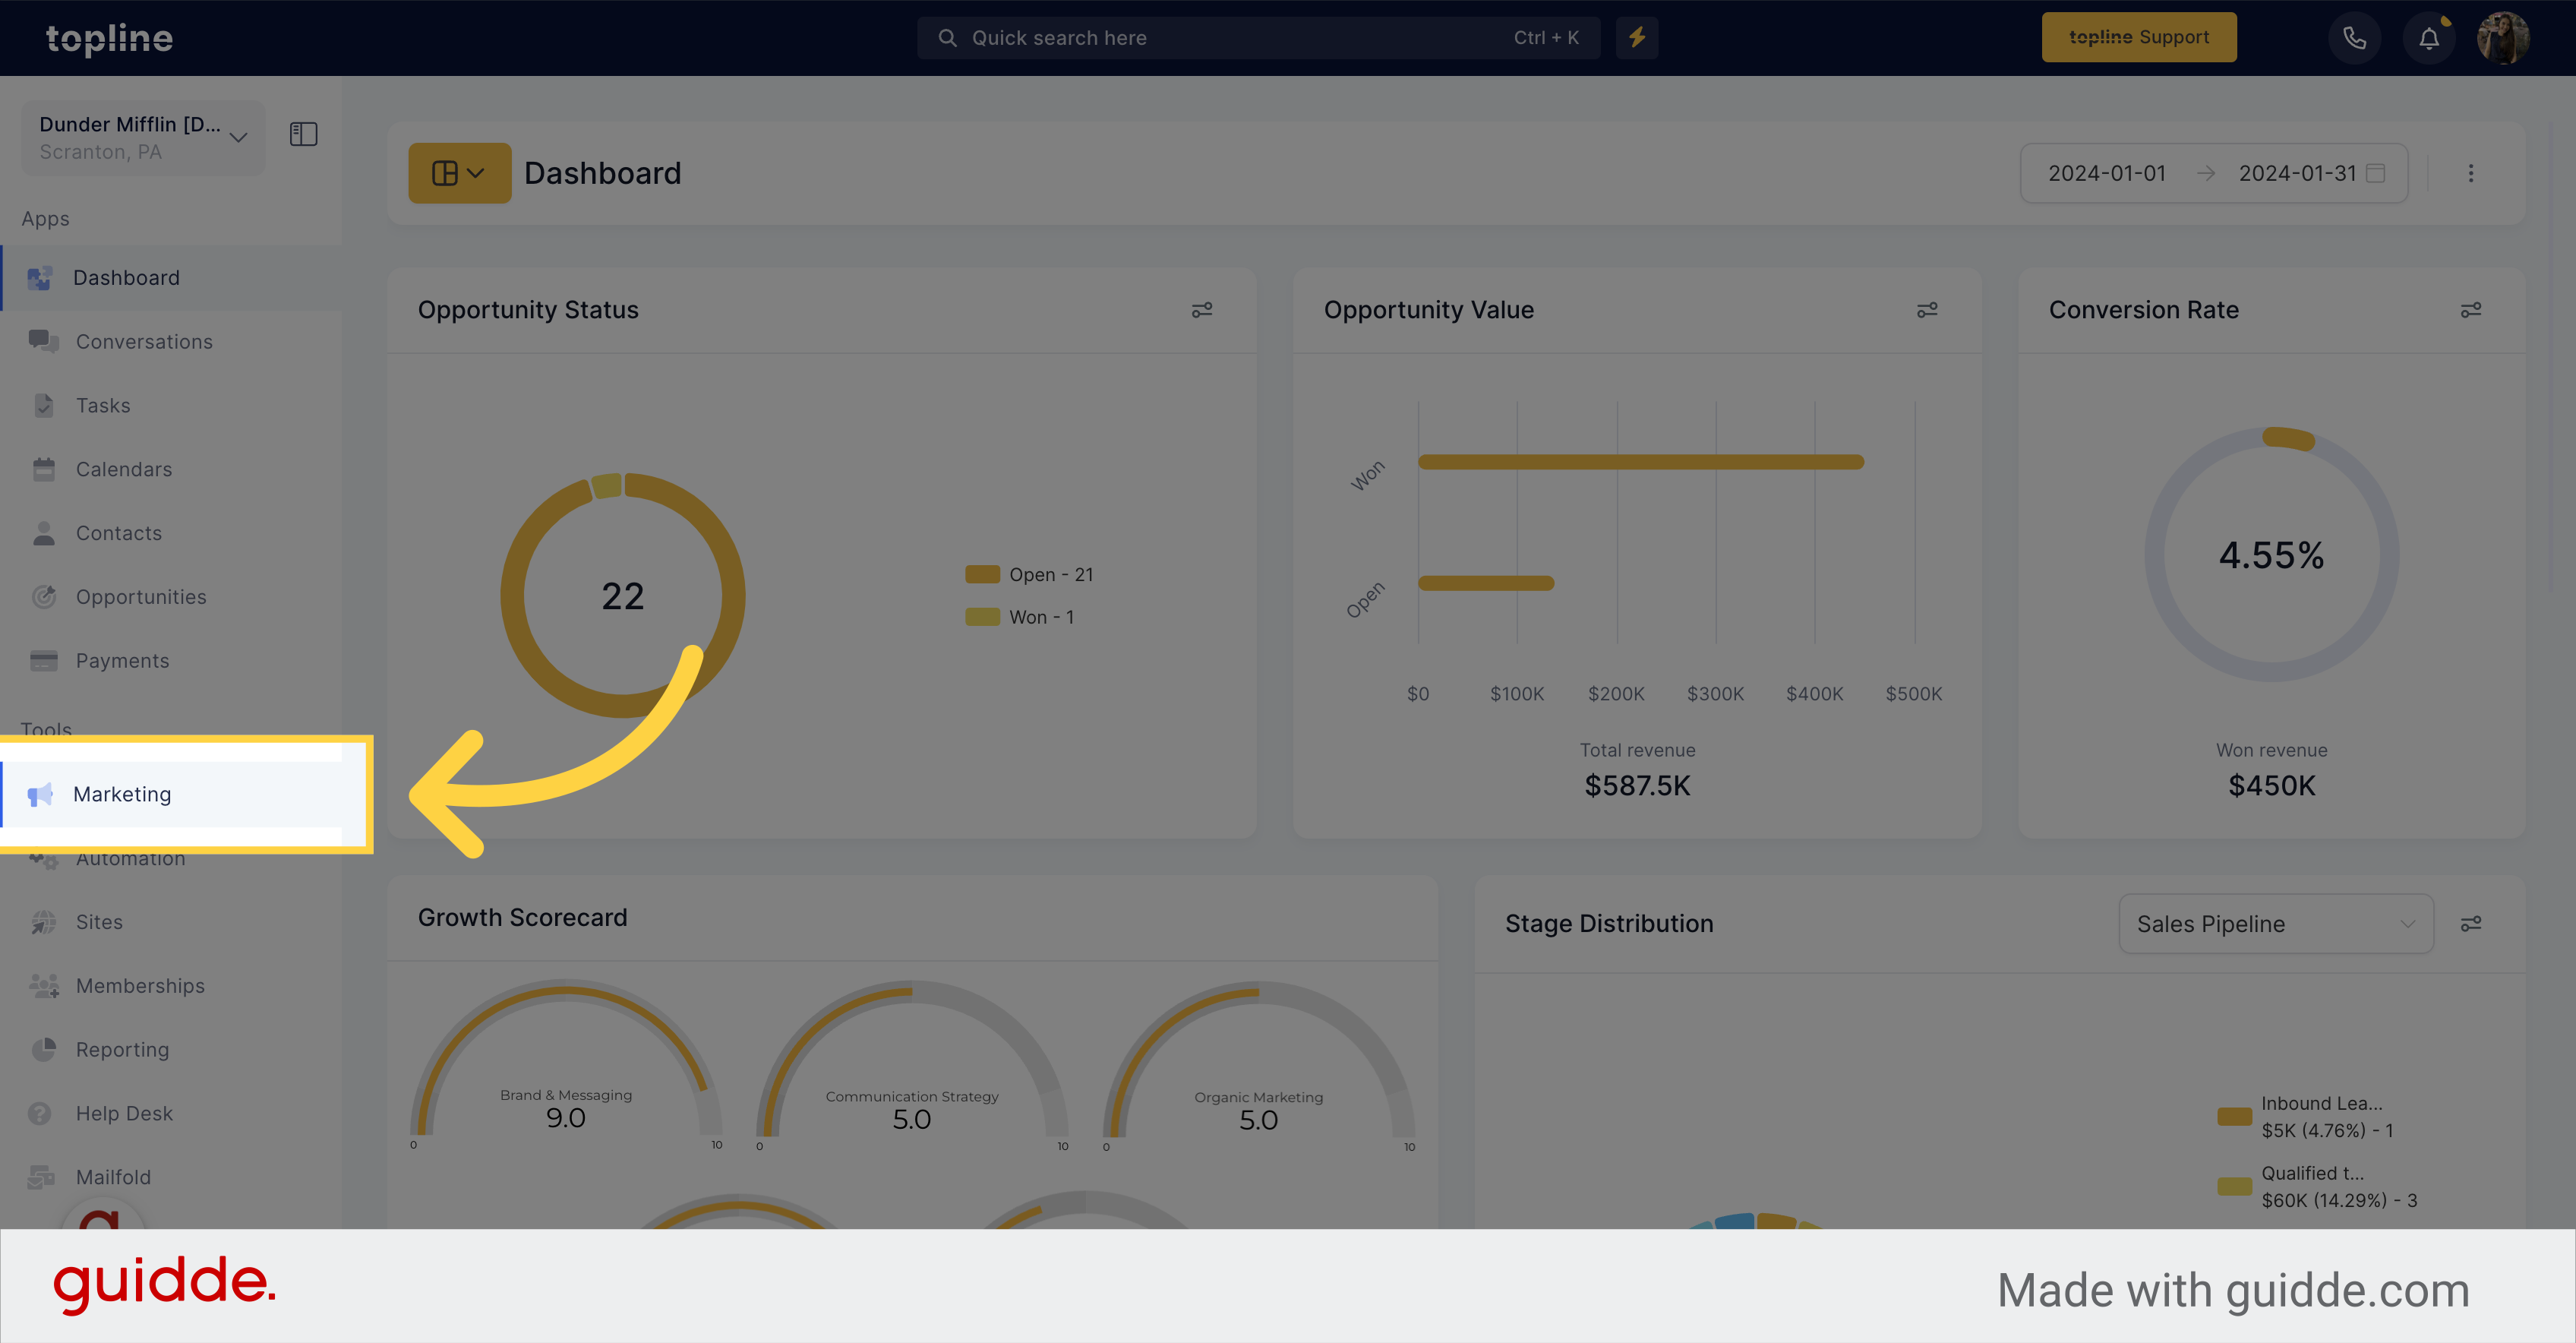
Click on the "Marketing" tab.
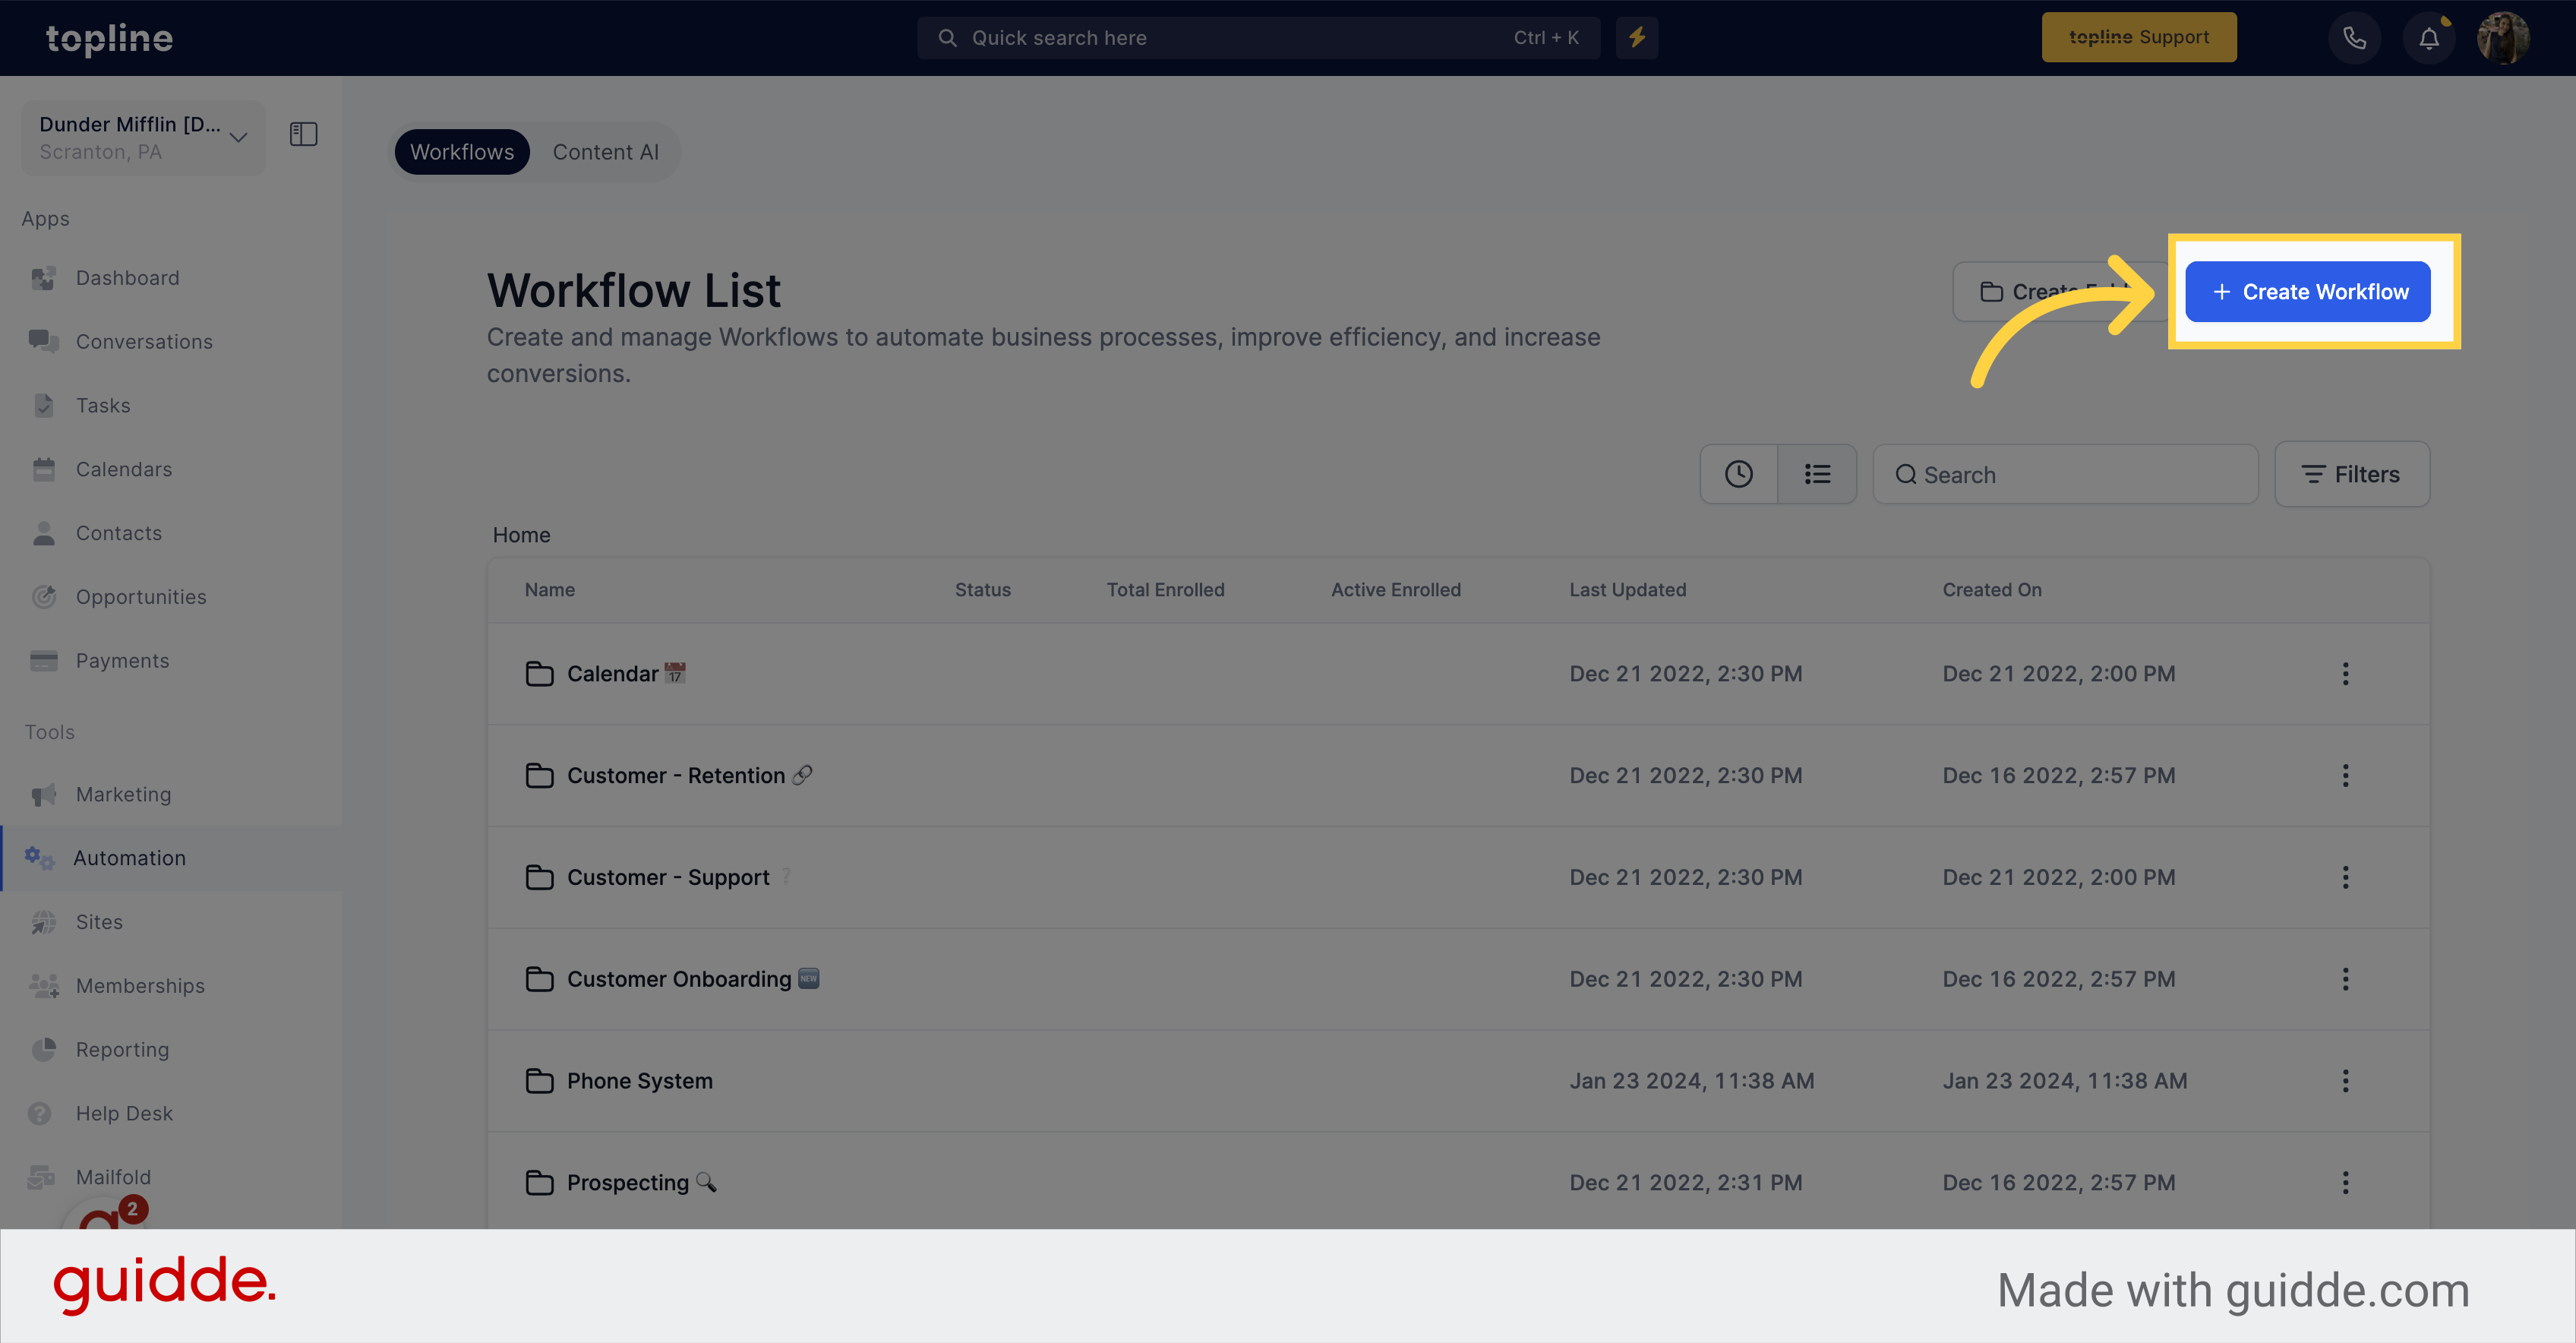
Navigate to the "Workflows" section.

Click on the "Create Workflow" button.
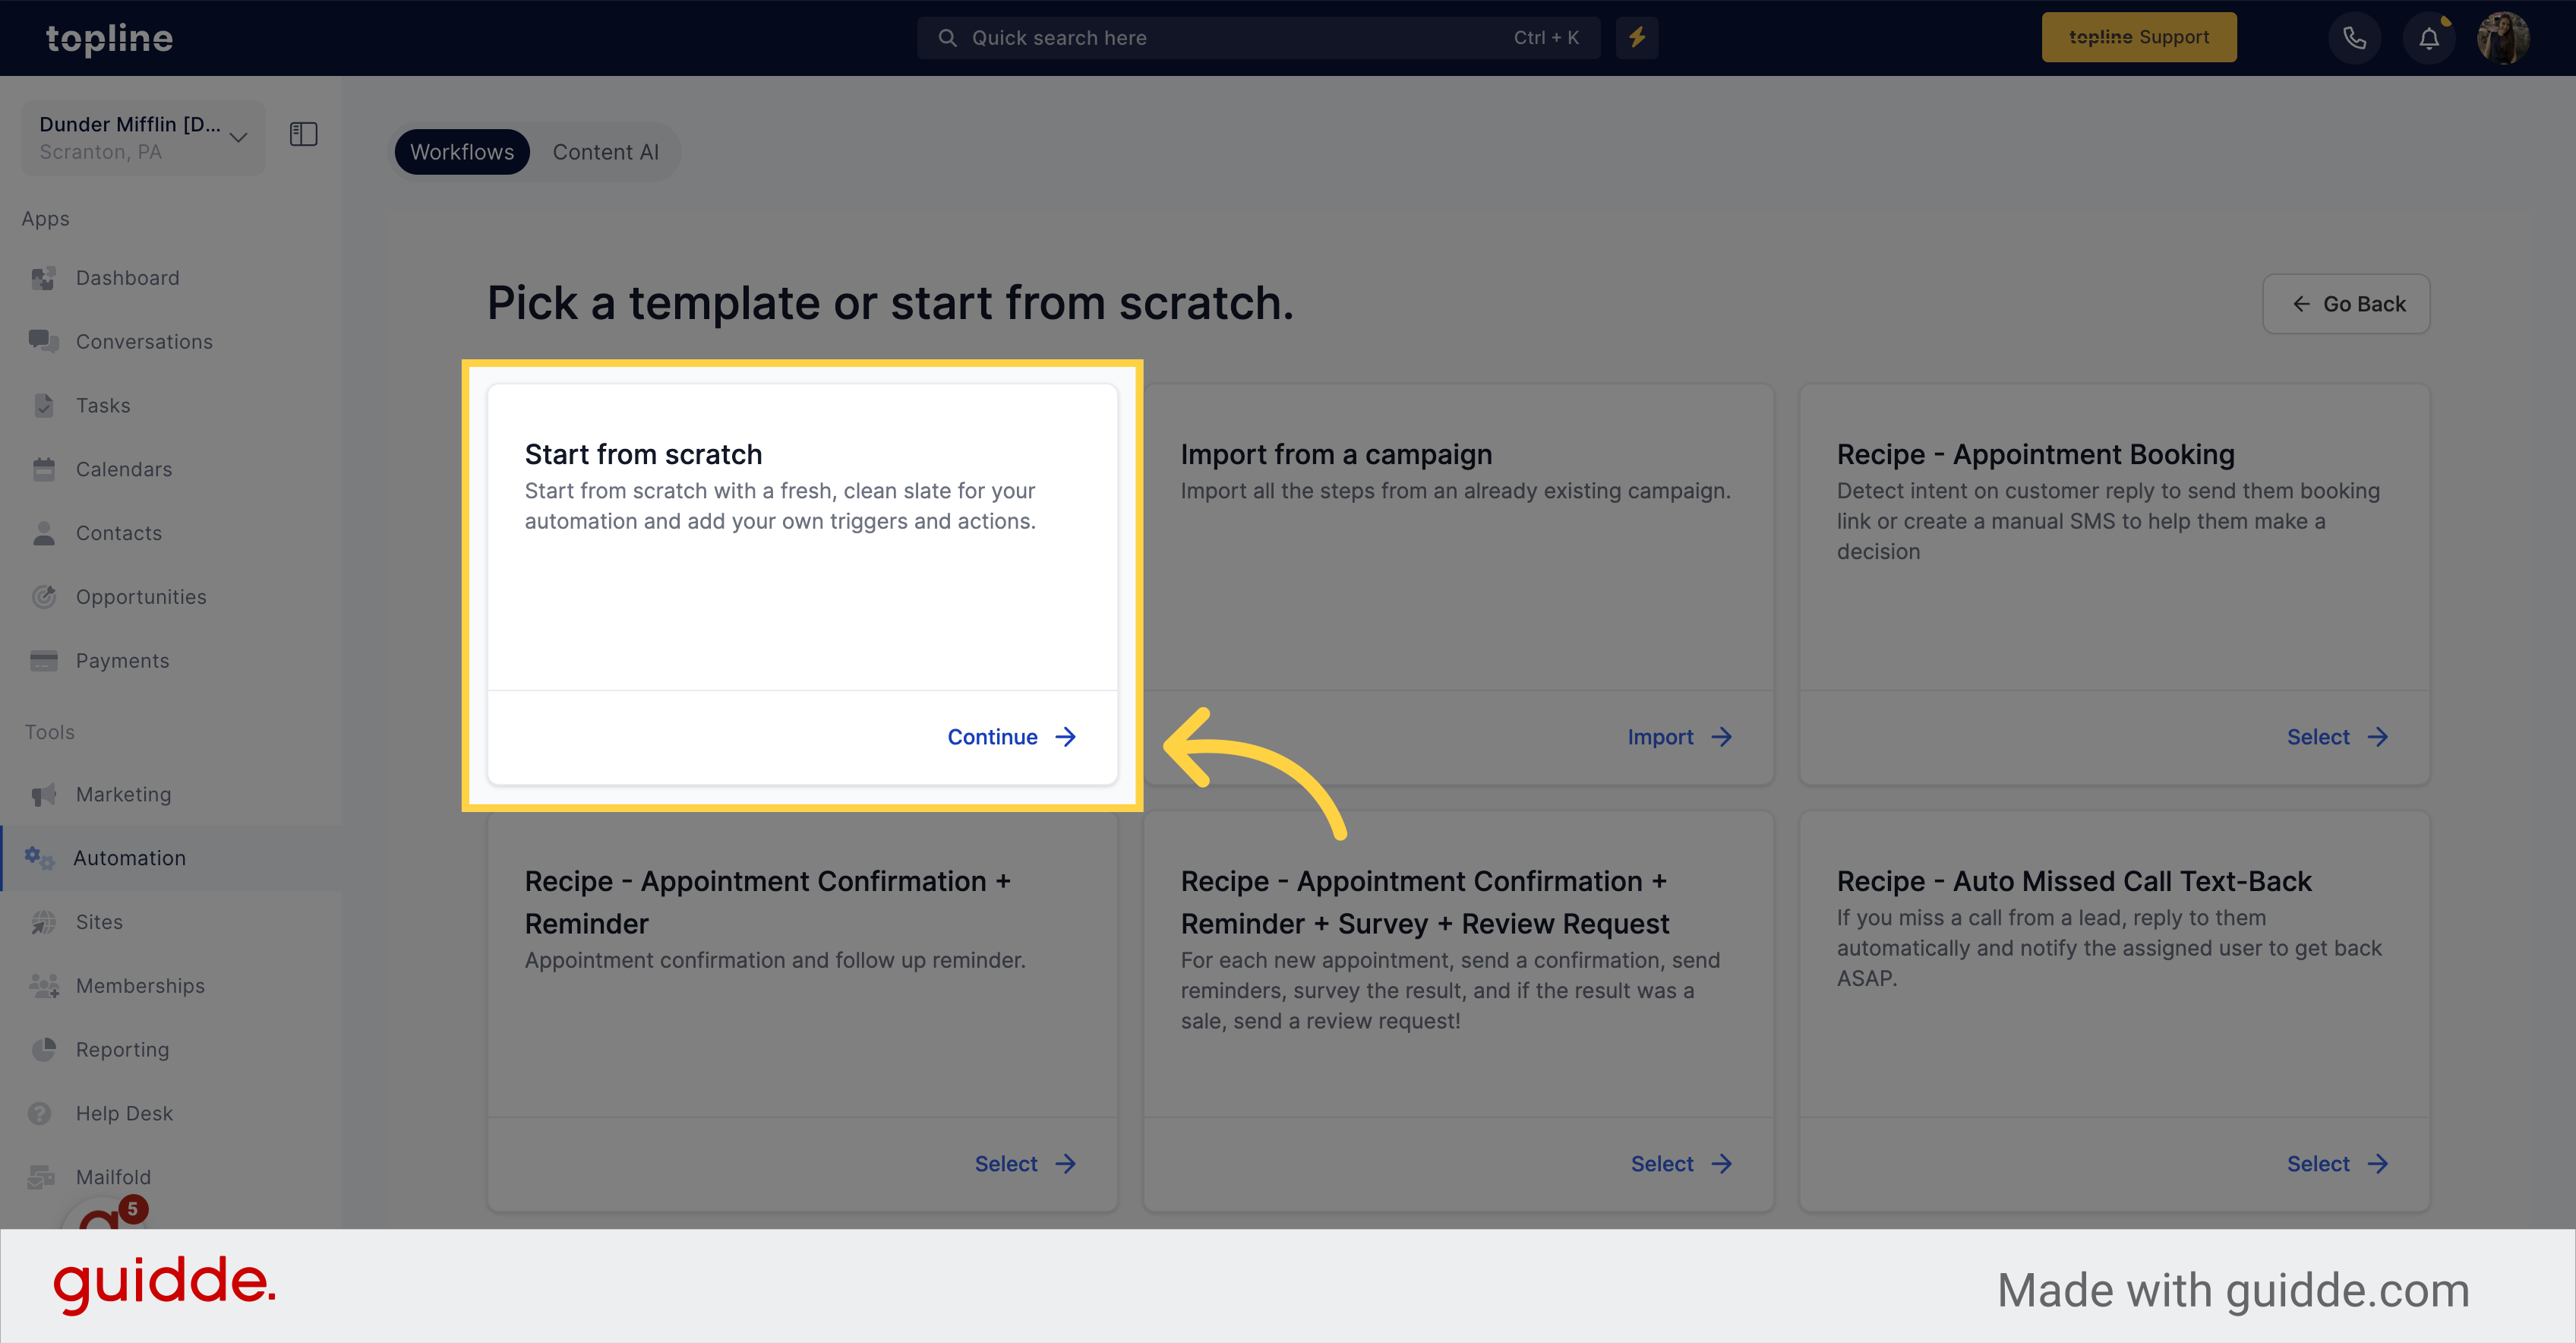
Click on the "Continue" button.
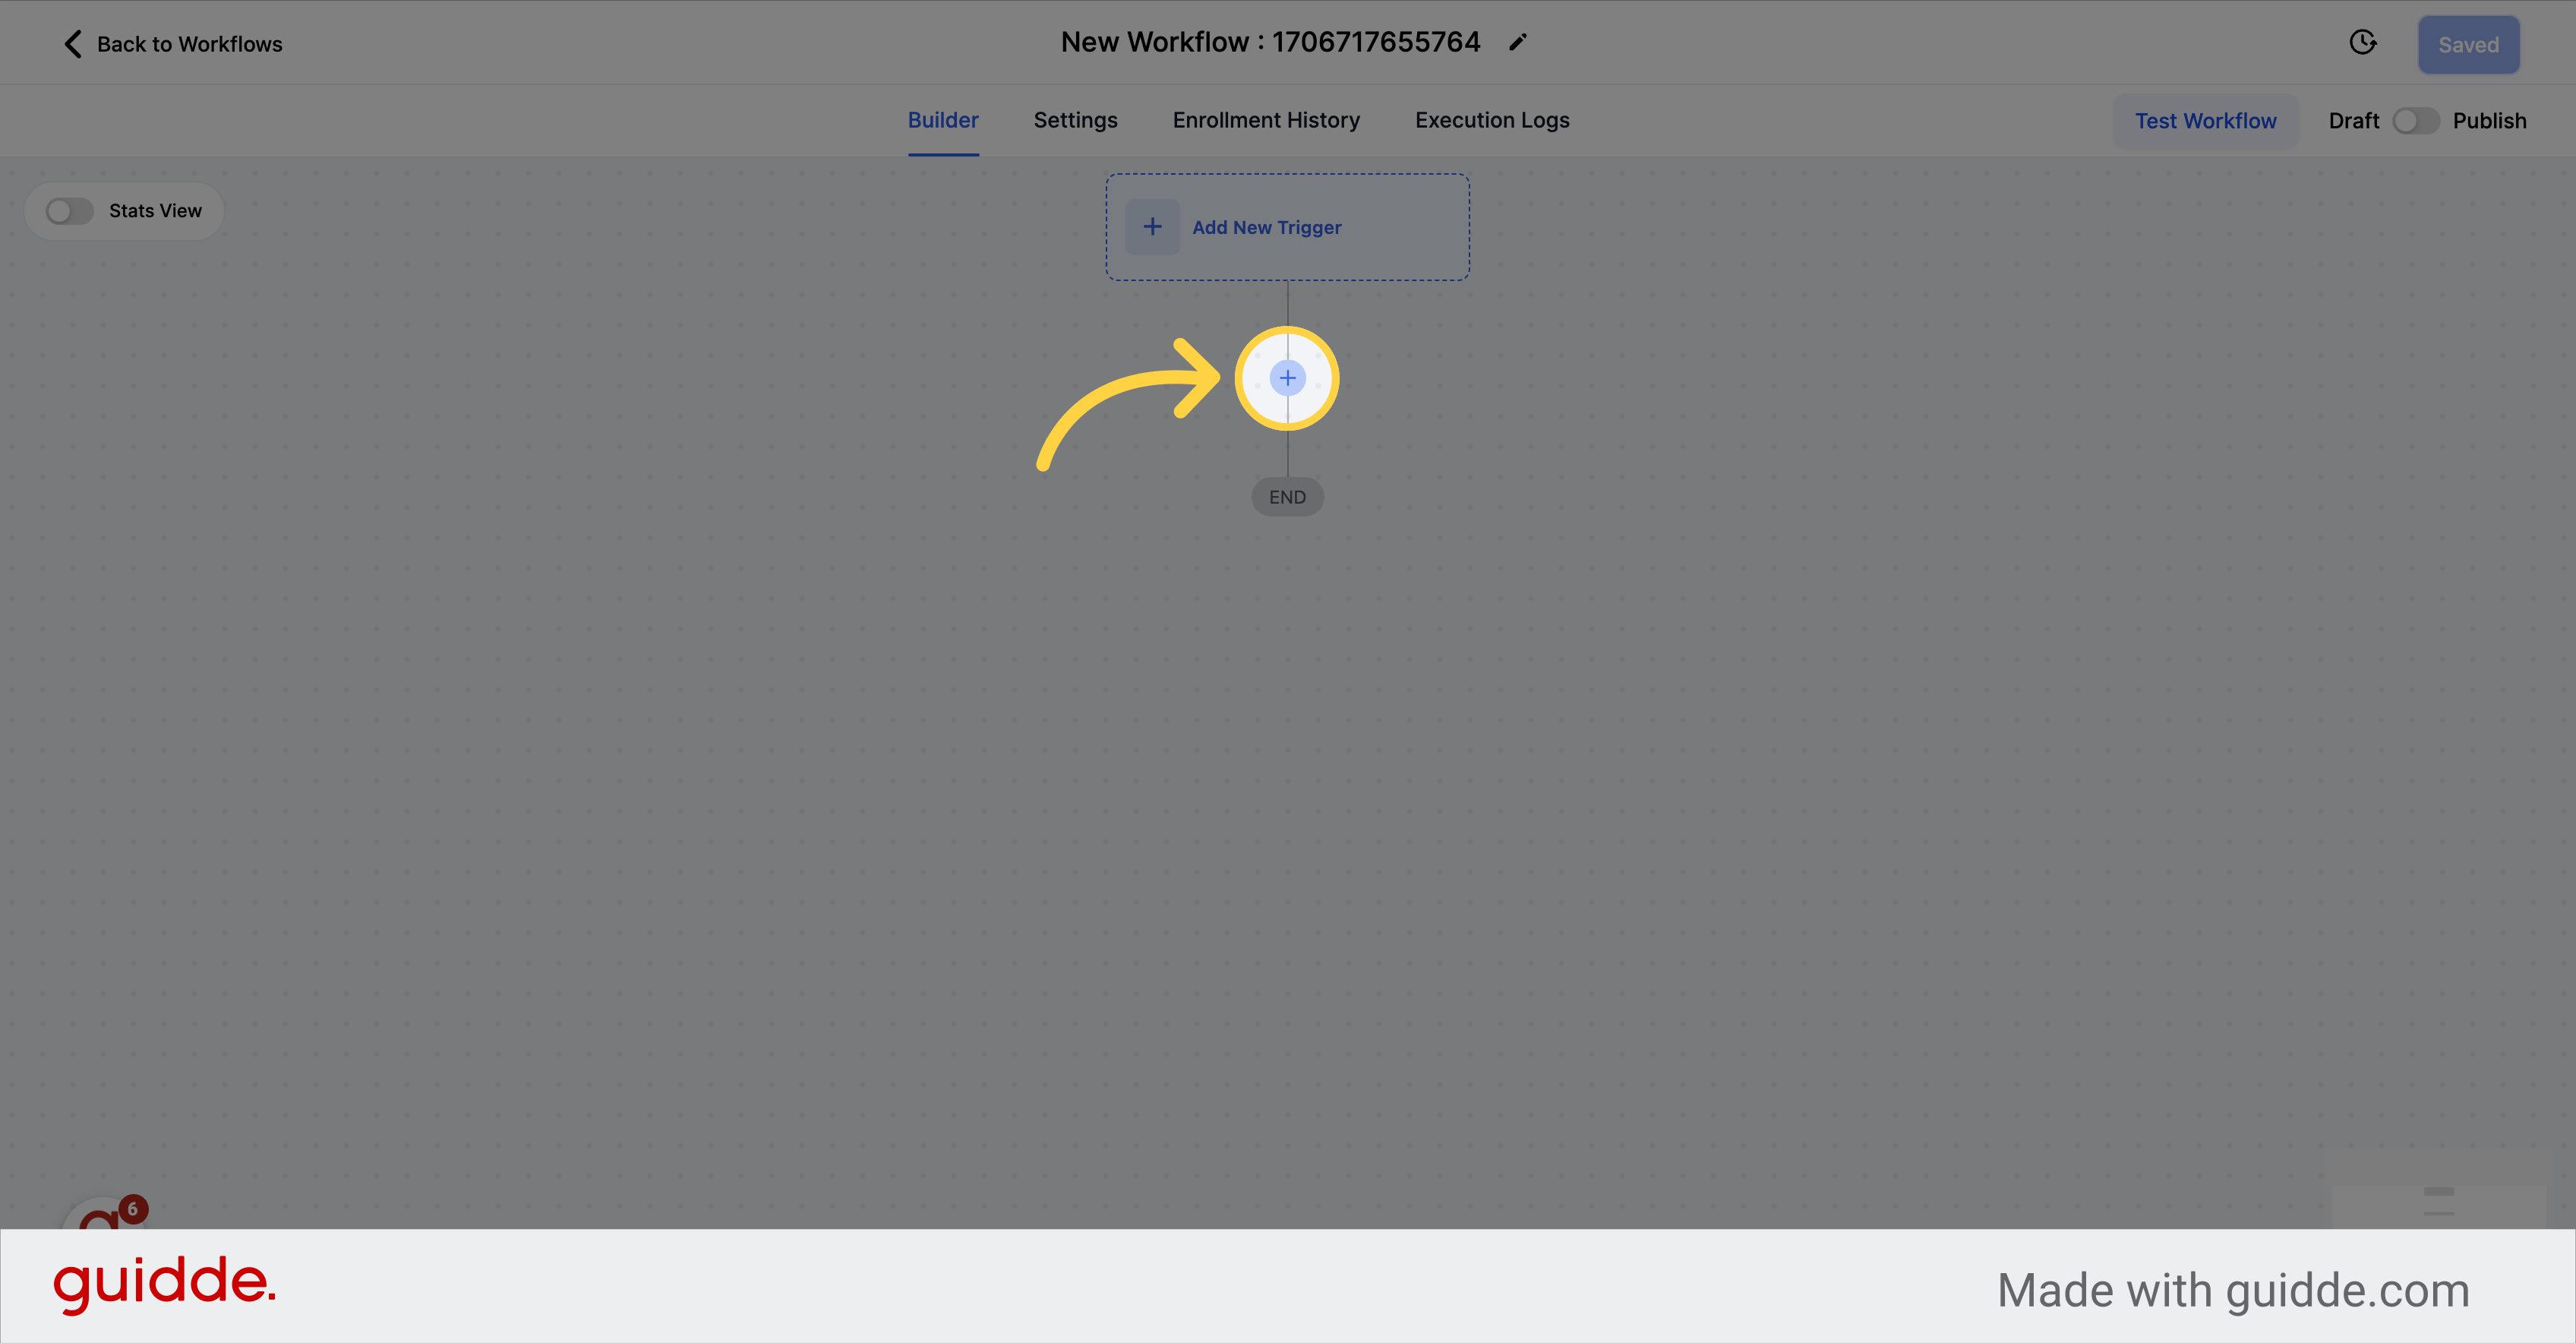
Click here to add your first action.
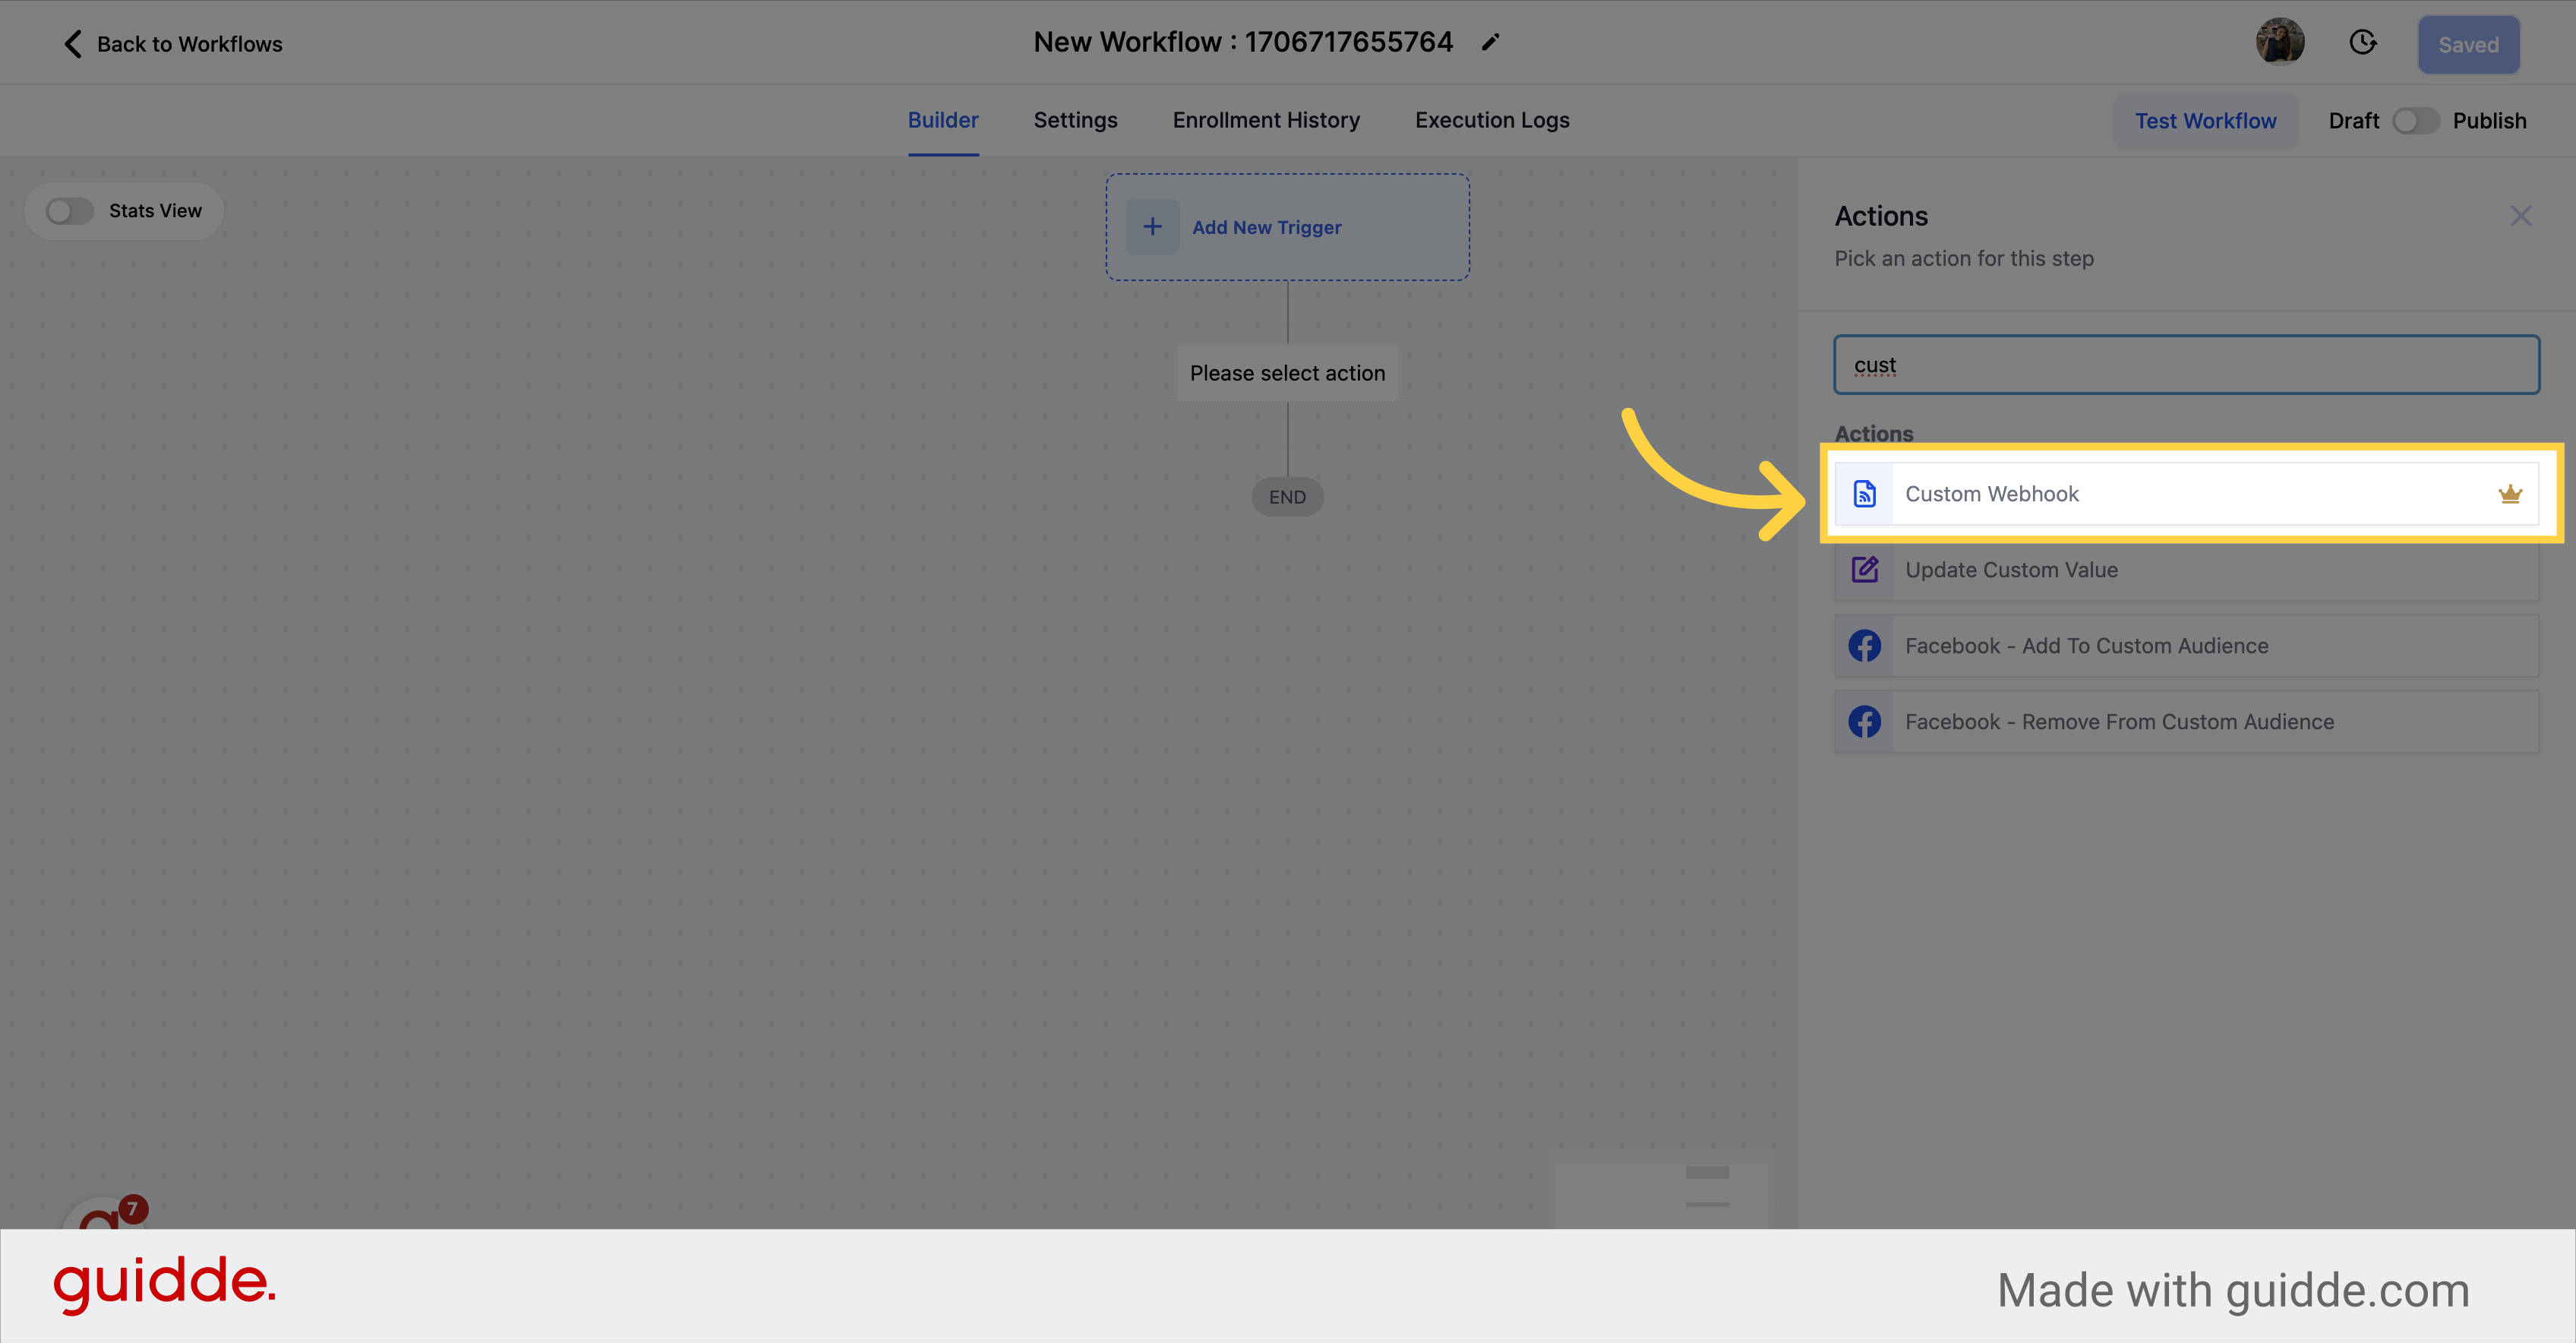
A custom webhook is a type of web service that allows you to send real-time updates or notifications from CRM to third-party service. With a custom webhook, you can define the format of the data you want to send.
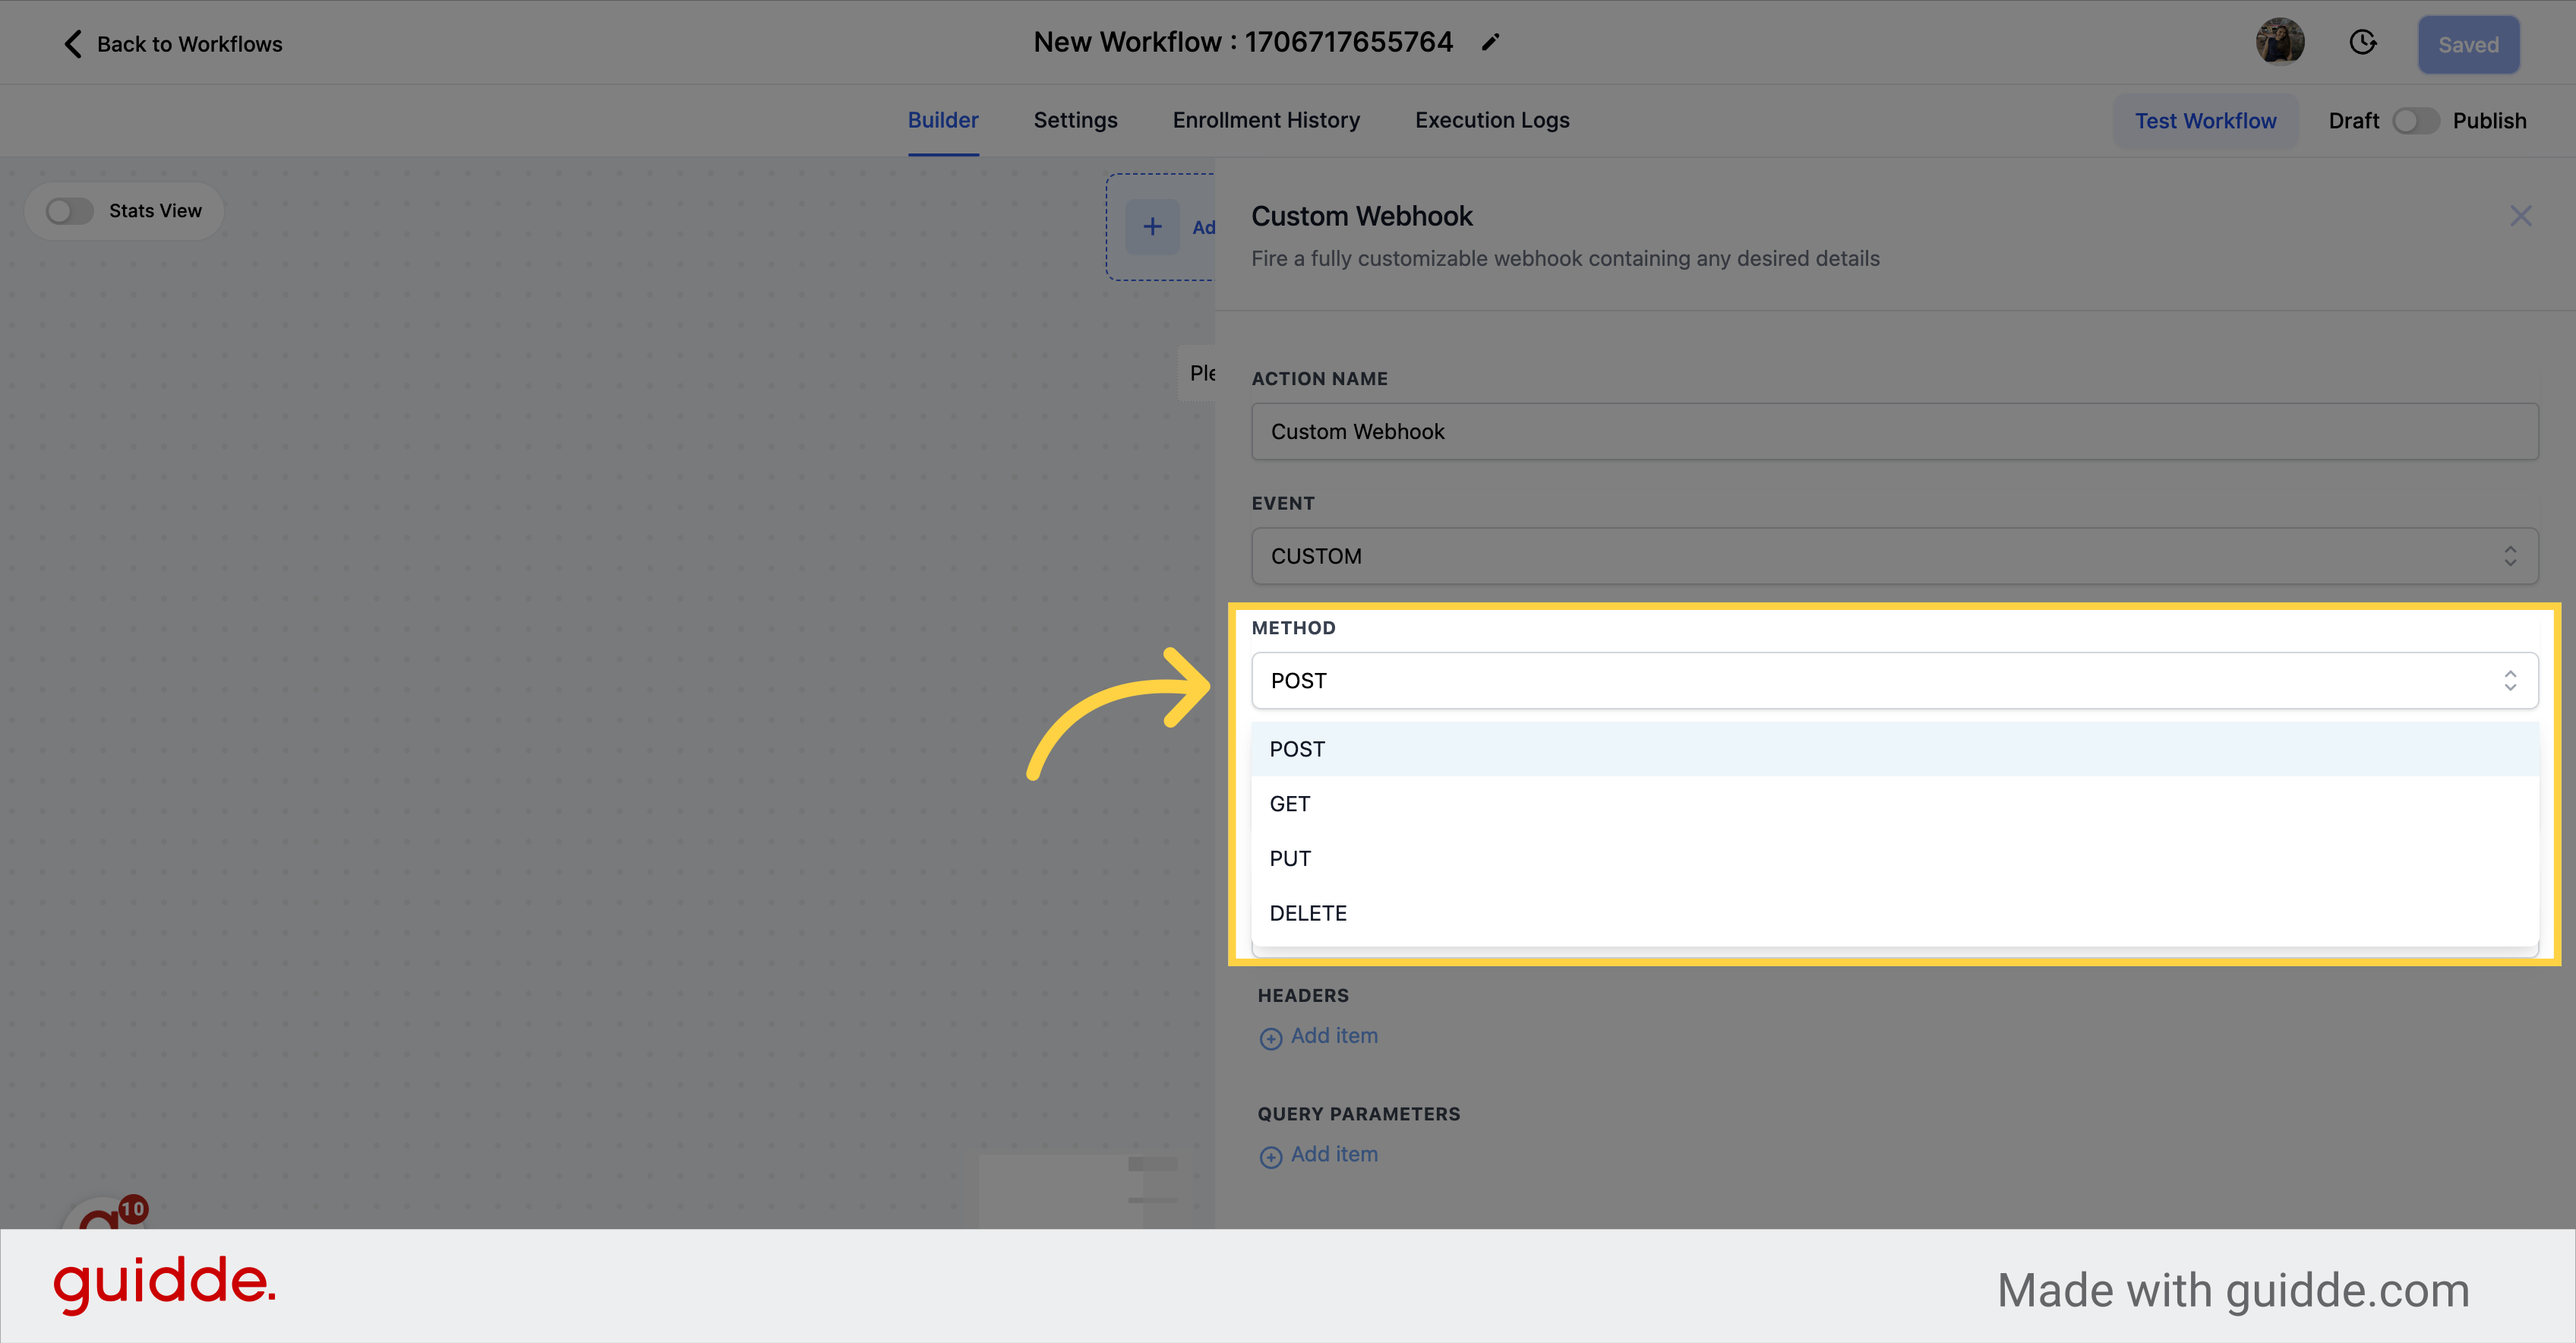
You are free to choose any HTTP method that suits your needs, such as POST, GET, DELETE, or PUT.
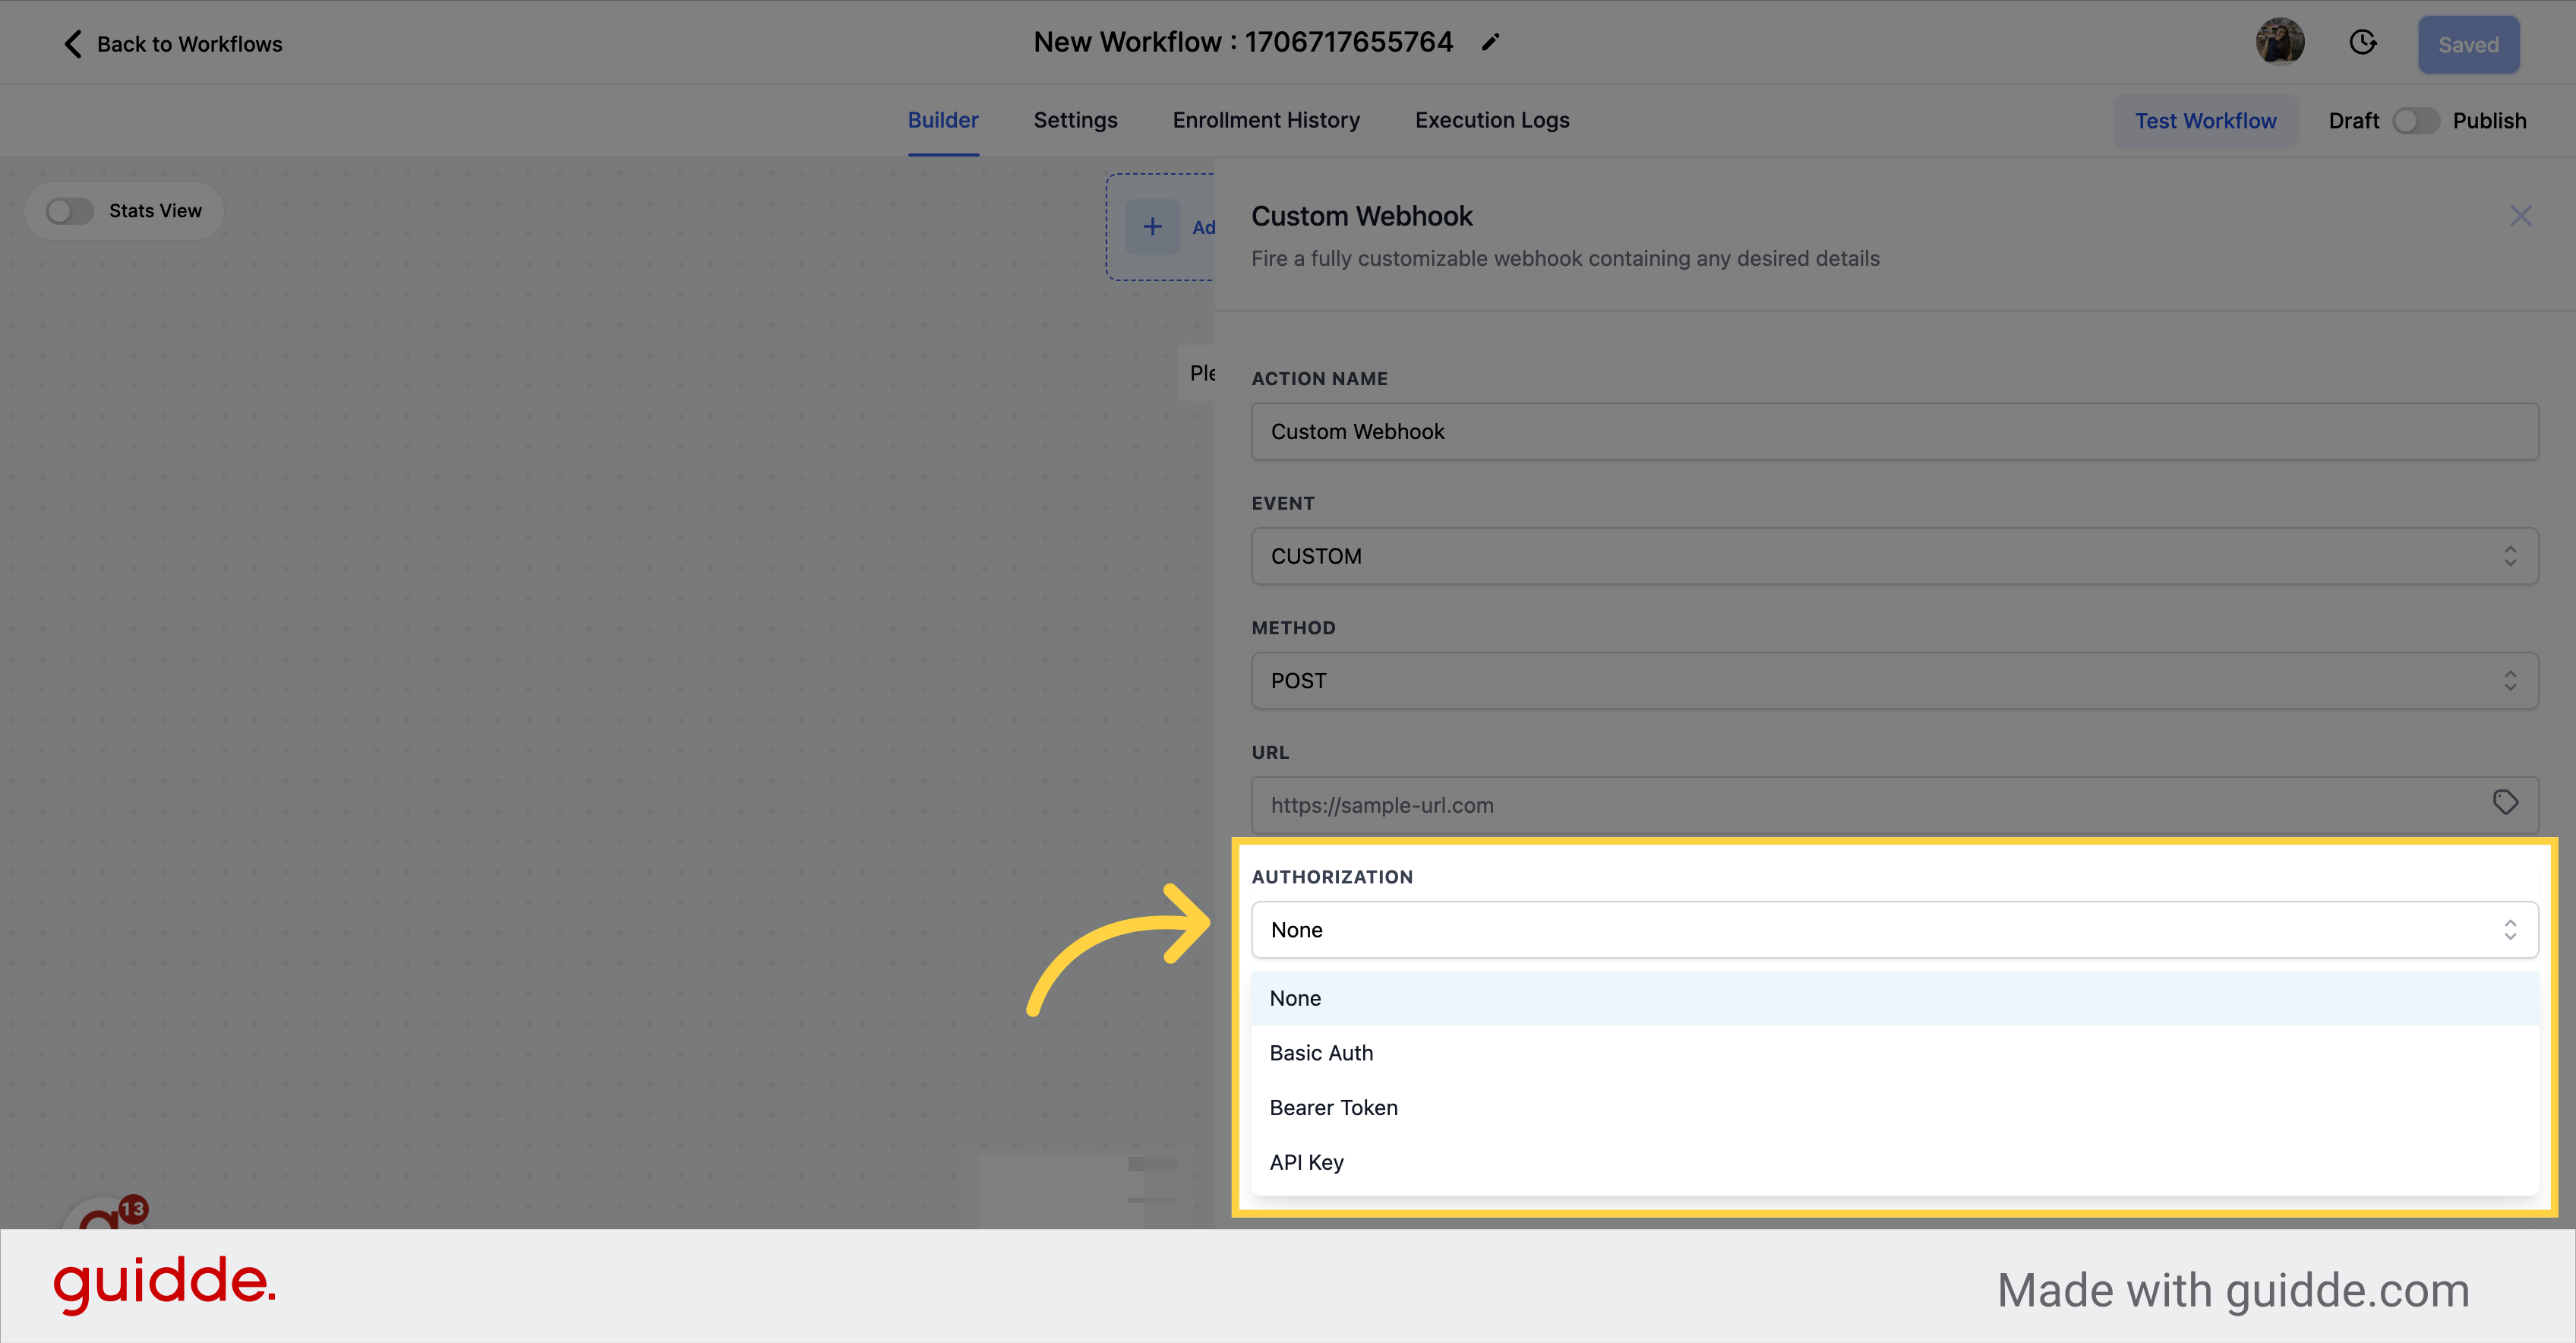
You have the ability to send data requests to any URL of your choice without the need for coding or server operation.

We support various types of authorization methods, giving you the flexibility to choose the one that suits your needs when accessing the webhook.
In addition to sending a request body, our system also allows you to include headers and query parameters when sending requests to a webhook. Headers can be used to provide additional information about the request, such as authentication credentials, content type, and cache control. Query parameters, on the other hand, can be used to pass parameters to the webhook endpoint, allowing you to filter or modify the response data that you receive.

