Premium Triggers & Actions are advanced options available in the Workflow builder that allow you to connect to an external system or software and execute complex actions within a workflow that were not possible before.
It also reduces your dependency on external tools like Zapier, Integromat, PabblyConnect, etc. to some degree.
Please contact your support or administrator to enable this feature in your account.
Please note that once Premium Actions are enabled on your account, they can not be disabled again. However, you may stop using them any time you wish to.Go to app.topline.com
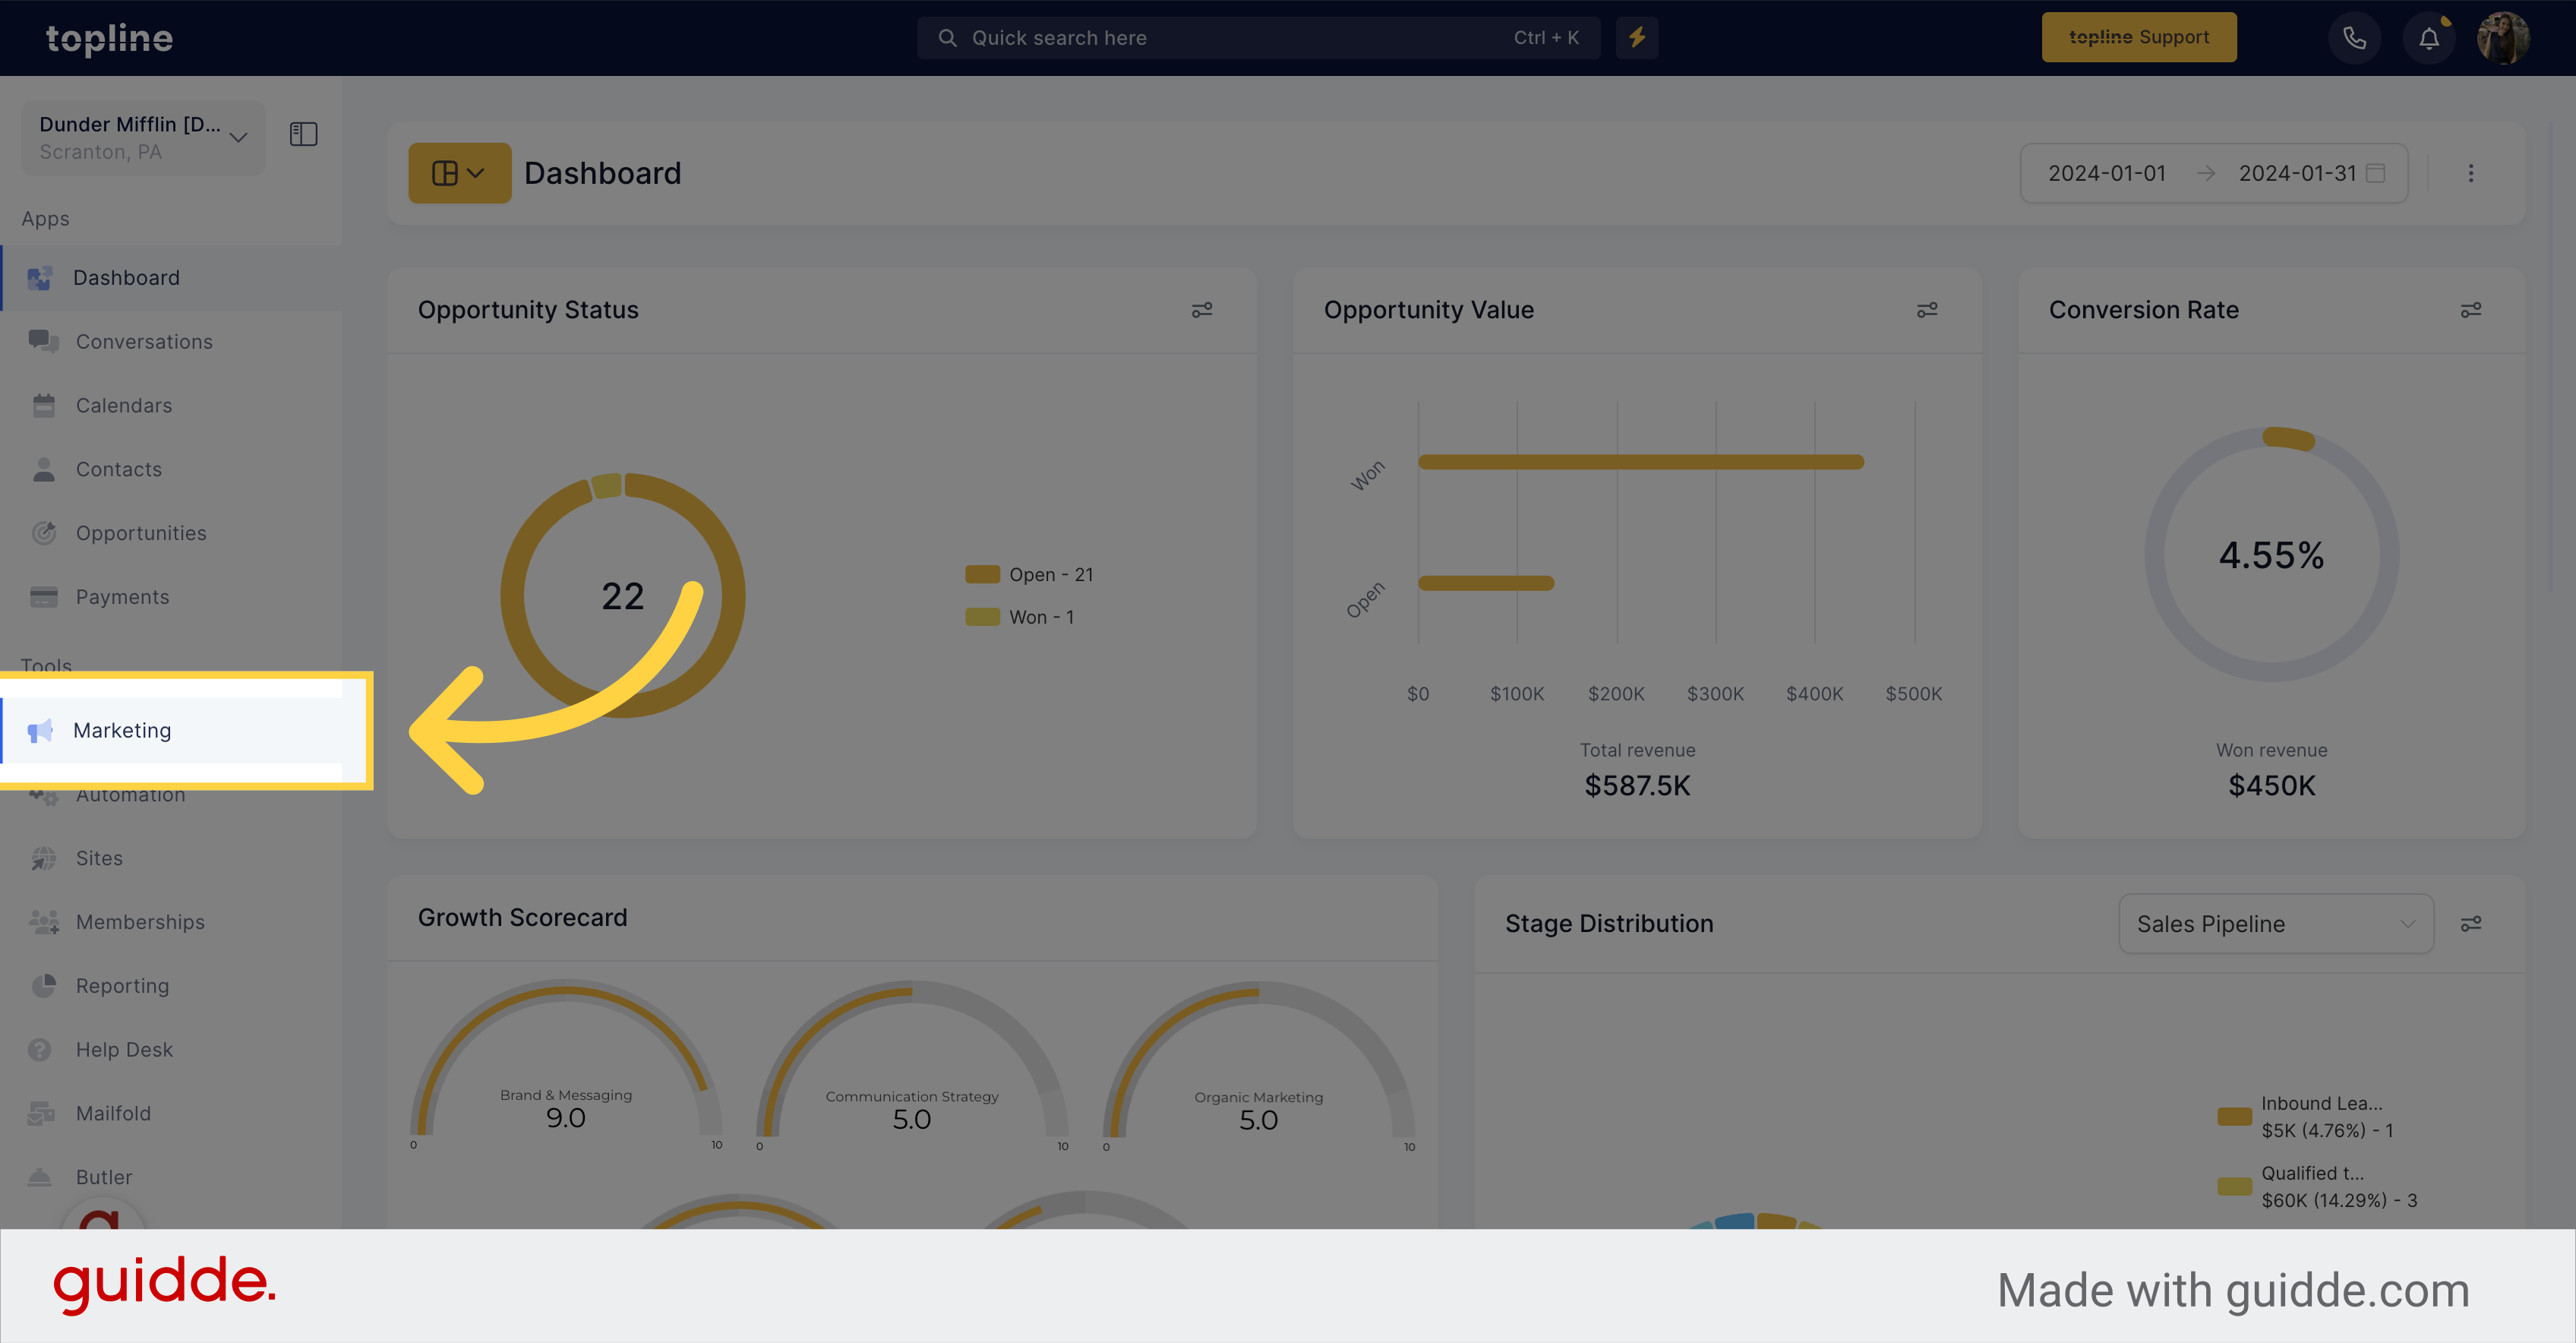
Click on the "Marketing" option on the left side menu.
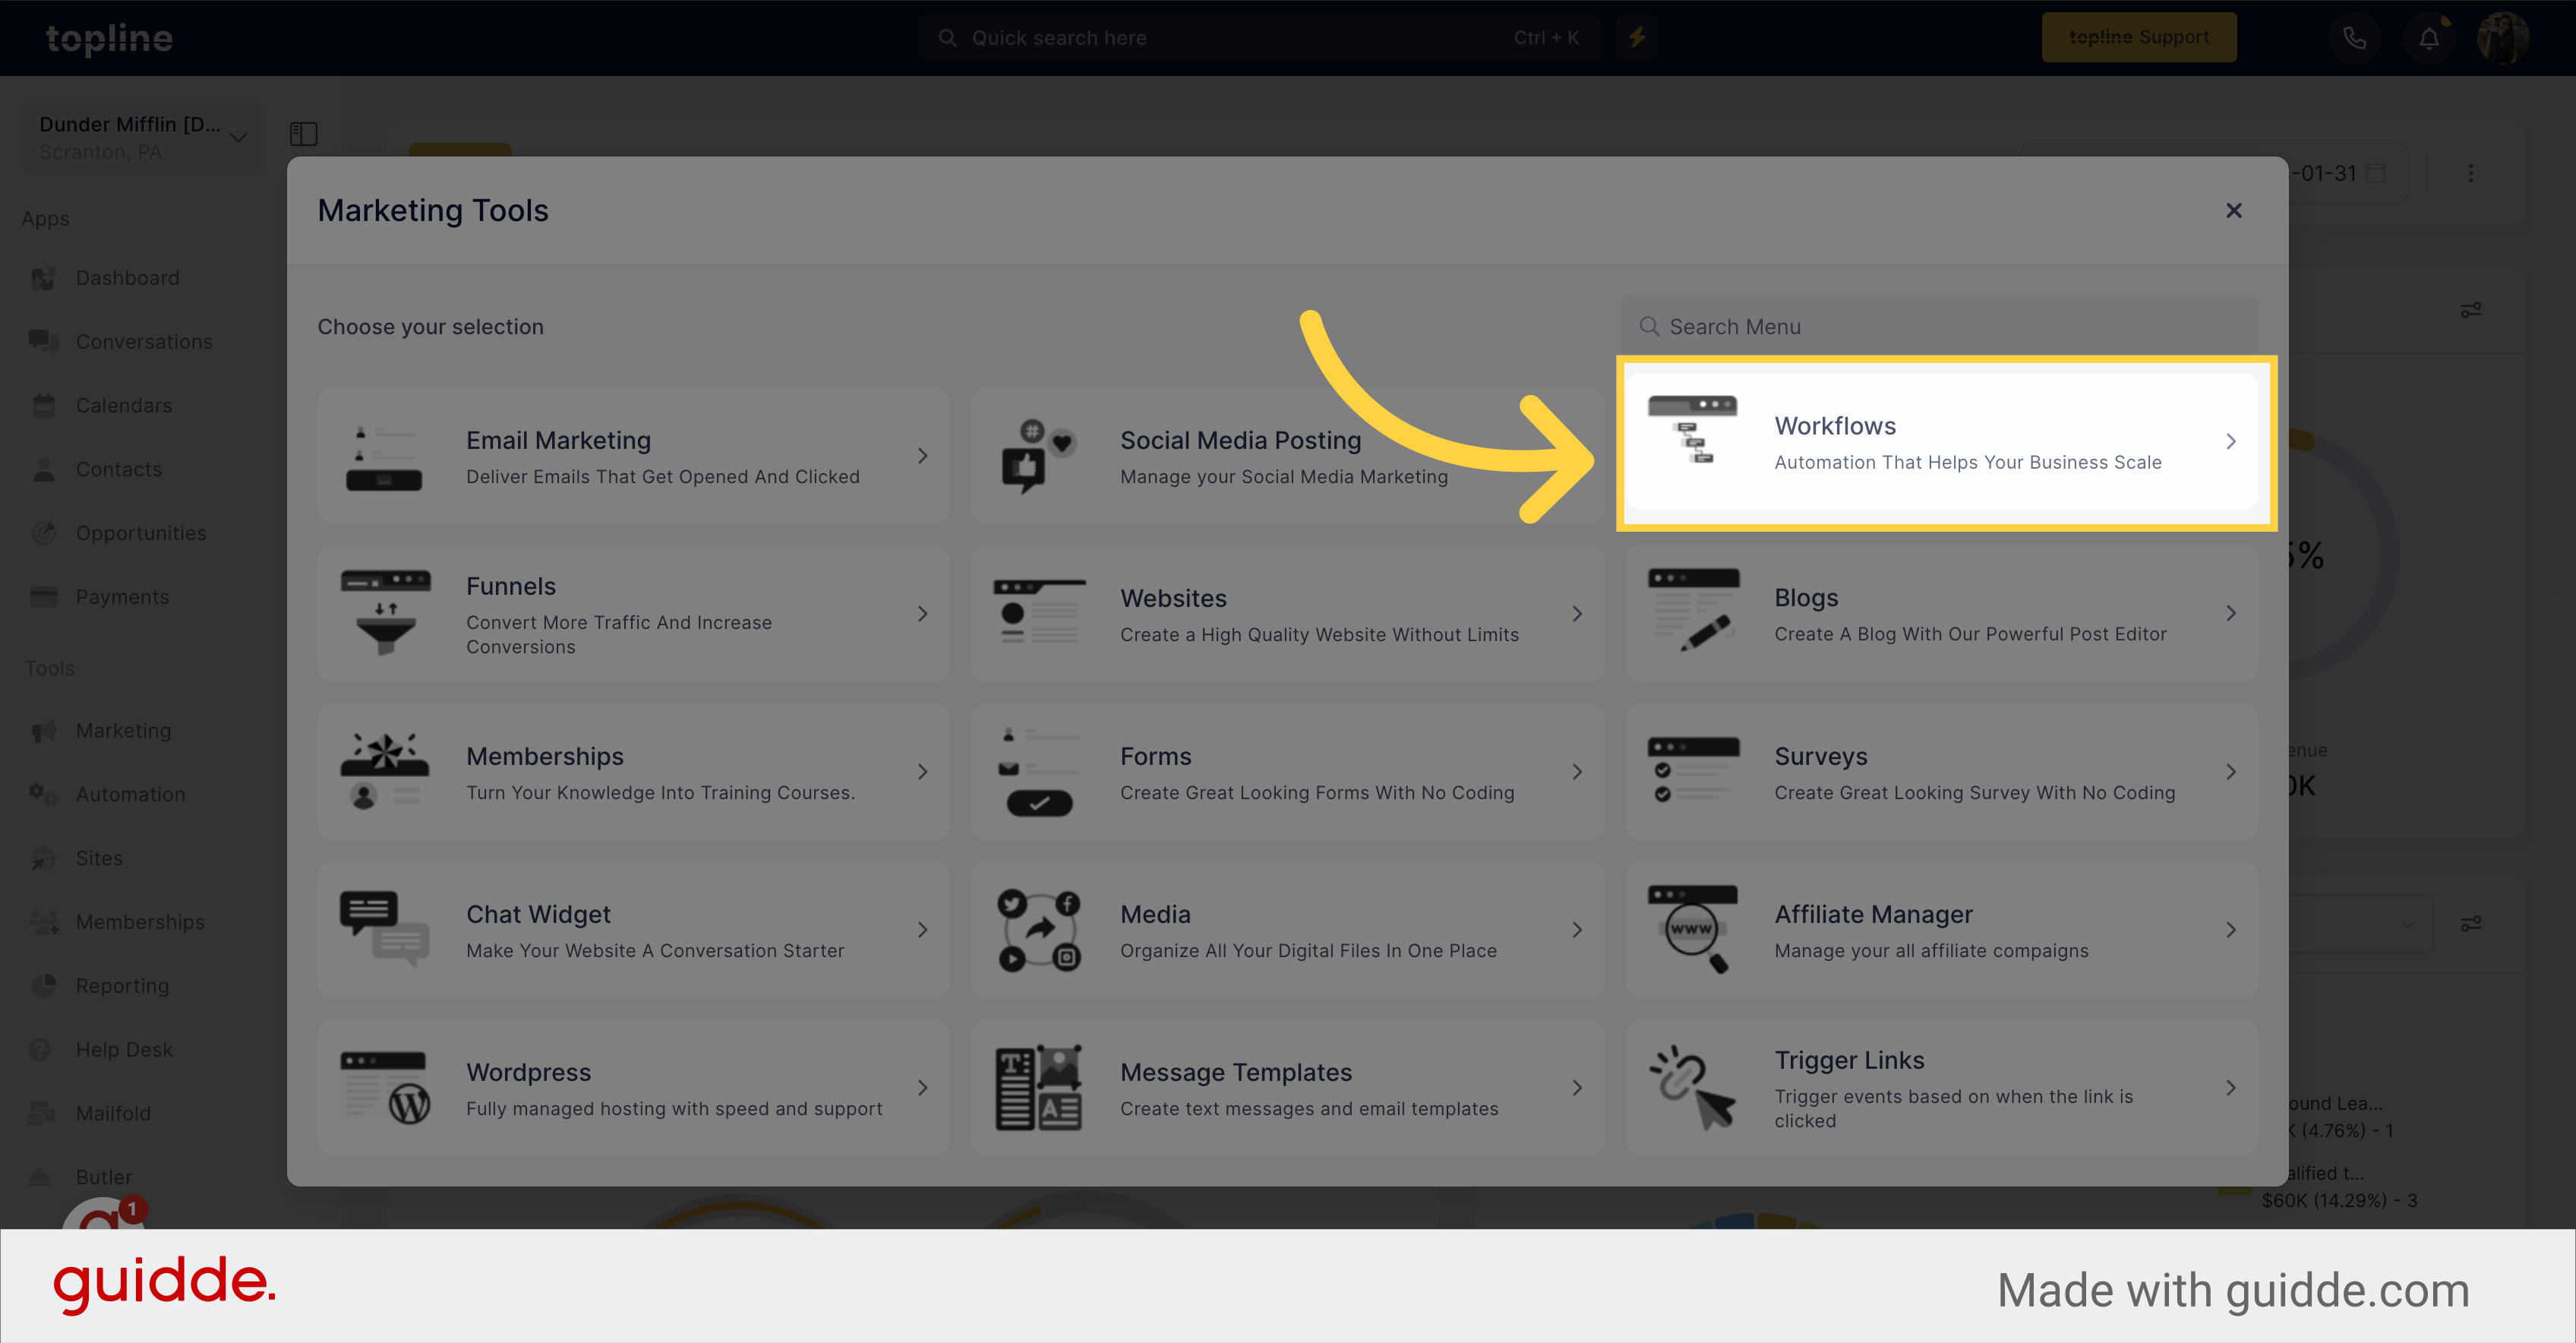
Click on the workflows section in the marketing tools.
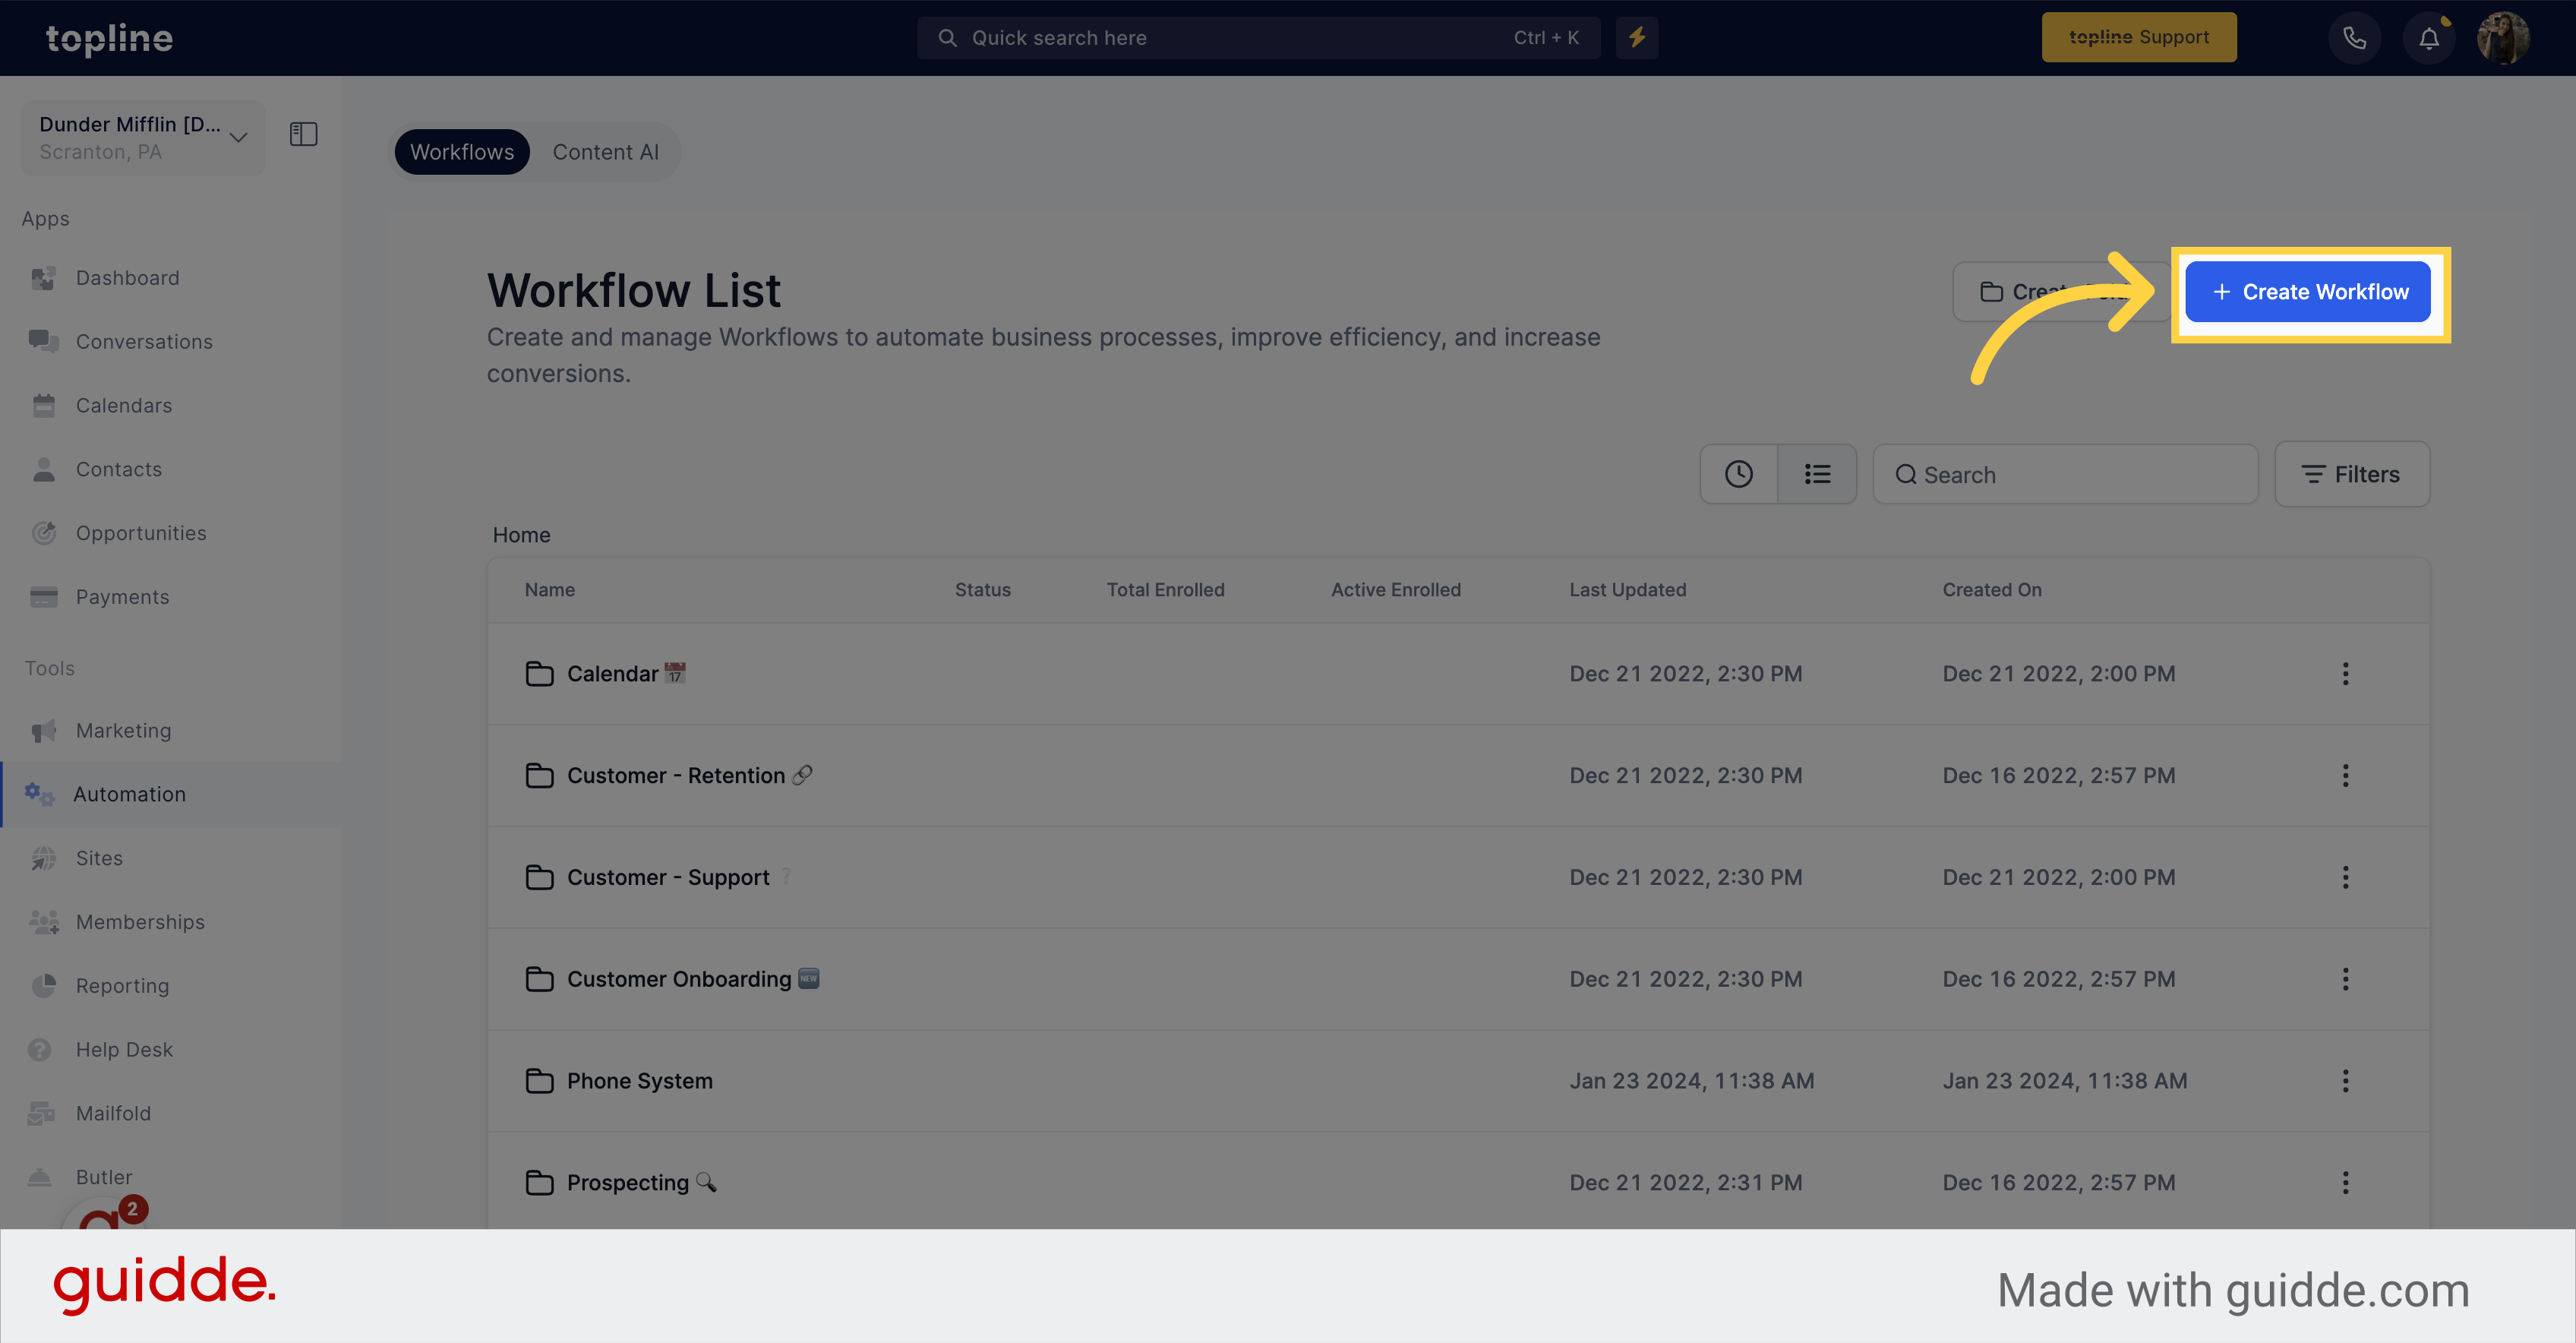
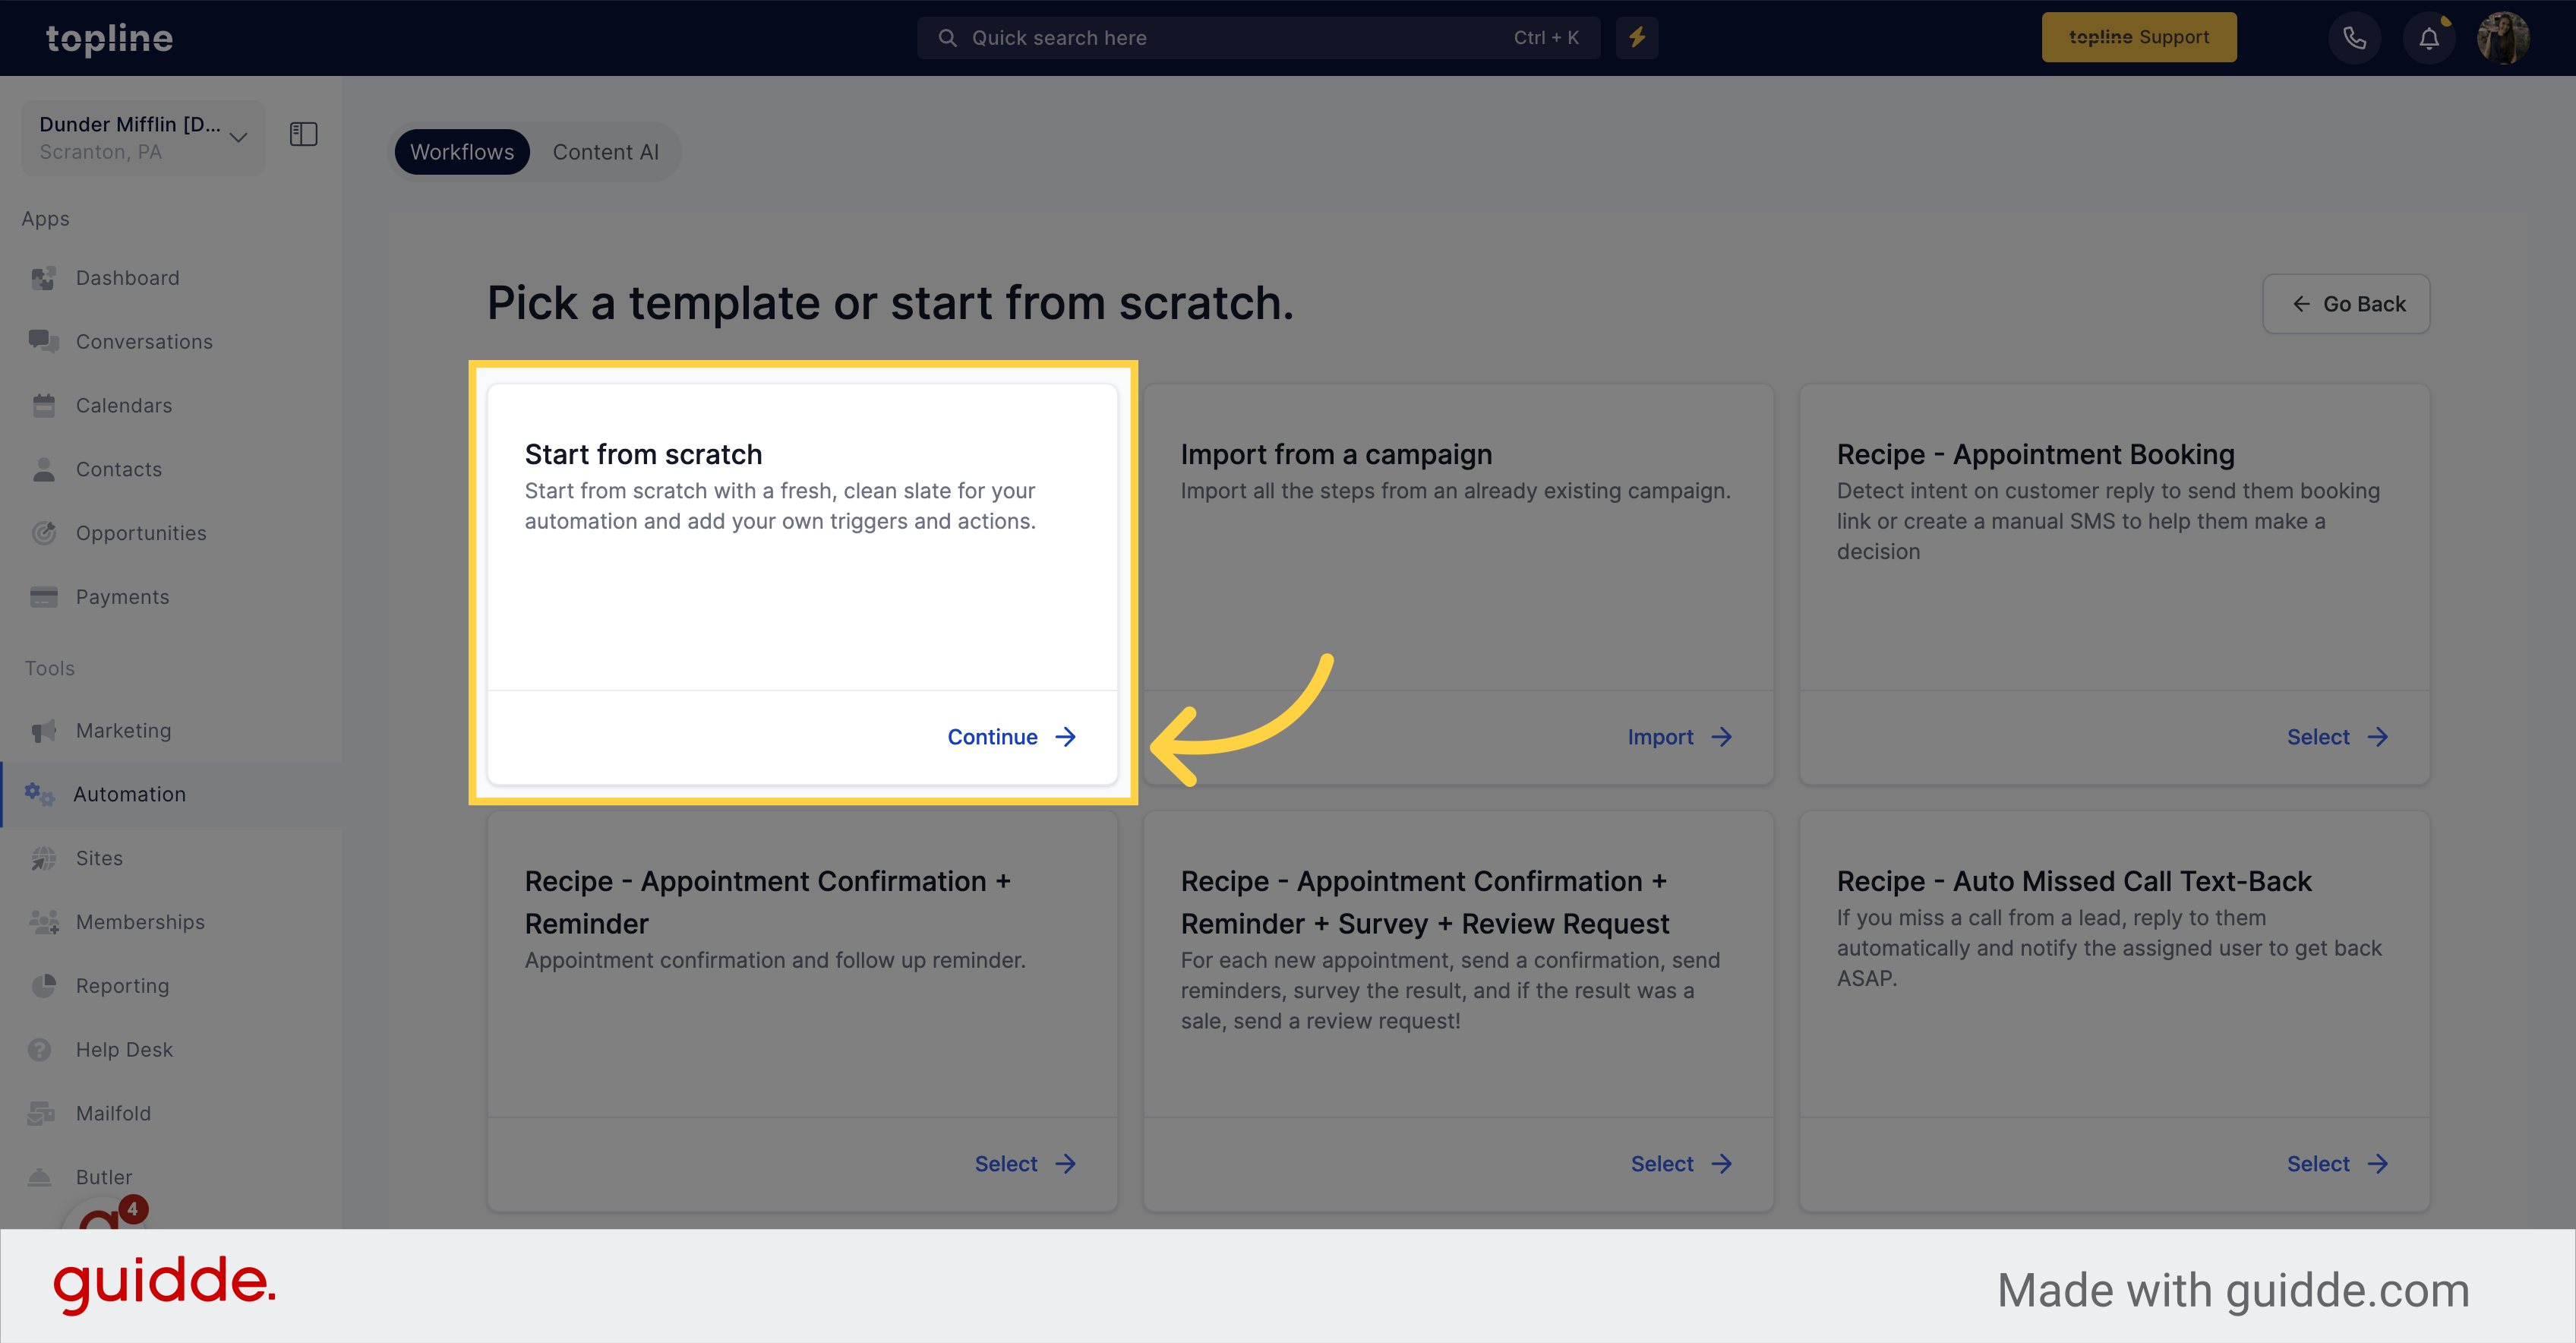
Select the "+ Create Workflow" option on the upper side.
Choose the "Continue" option.
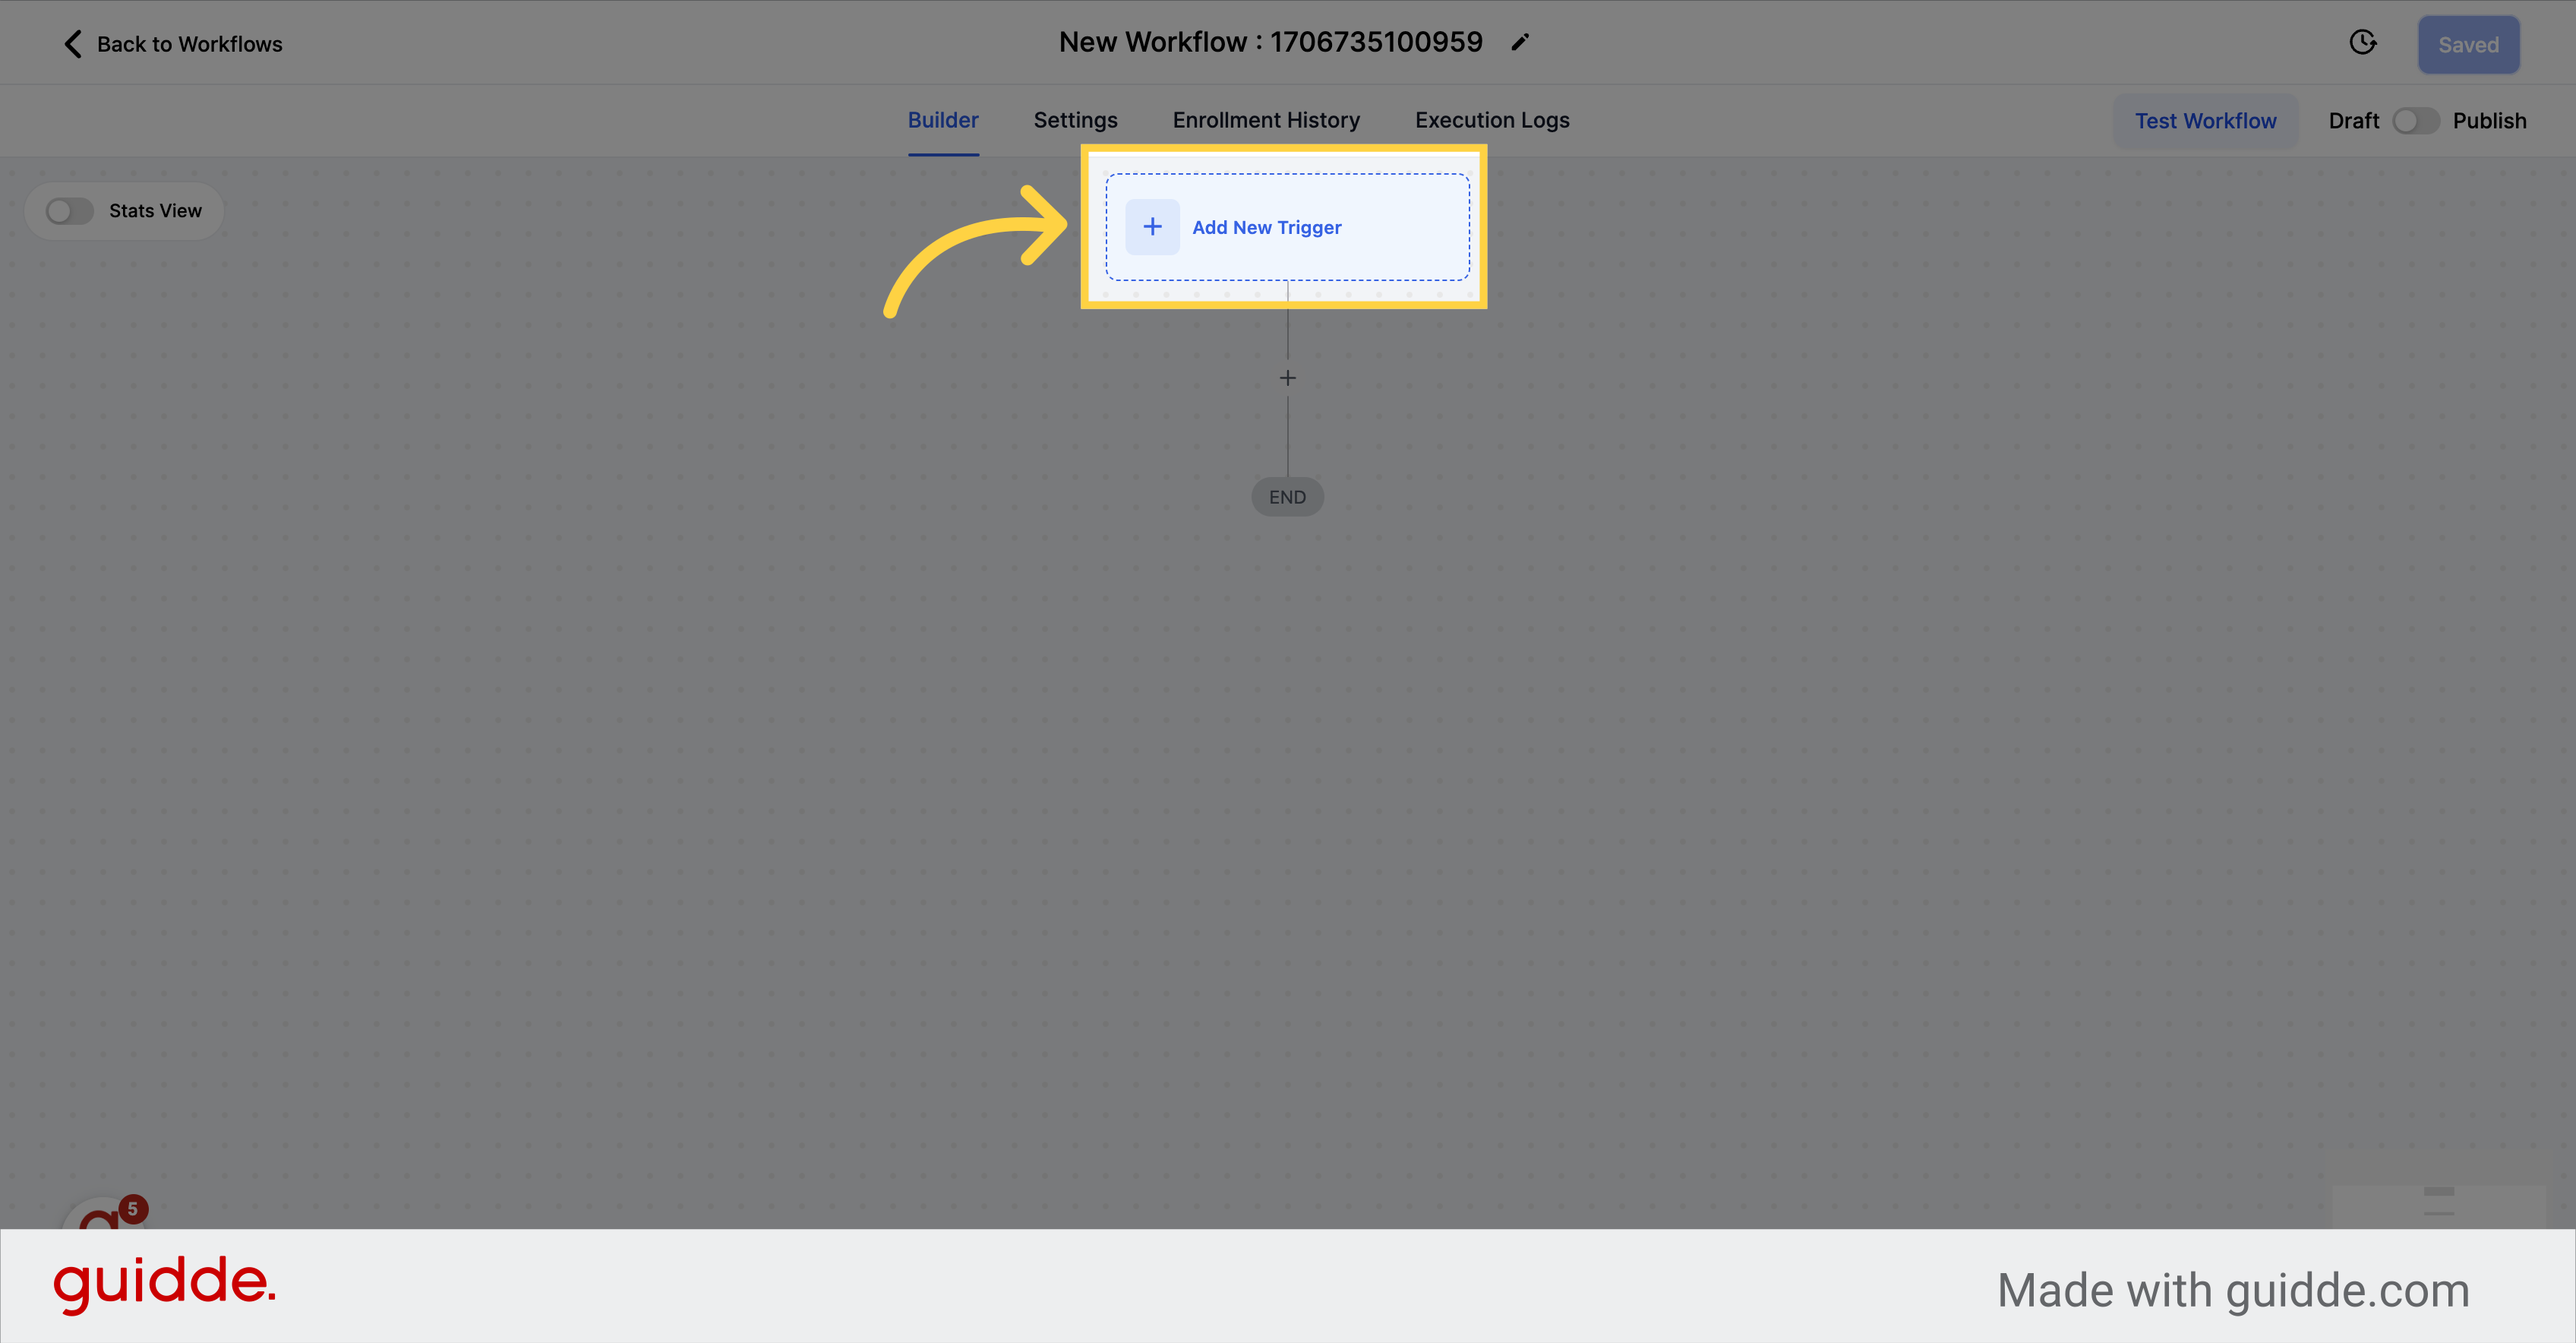
Click on the "Add New Trigger" field option.
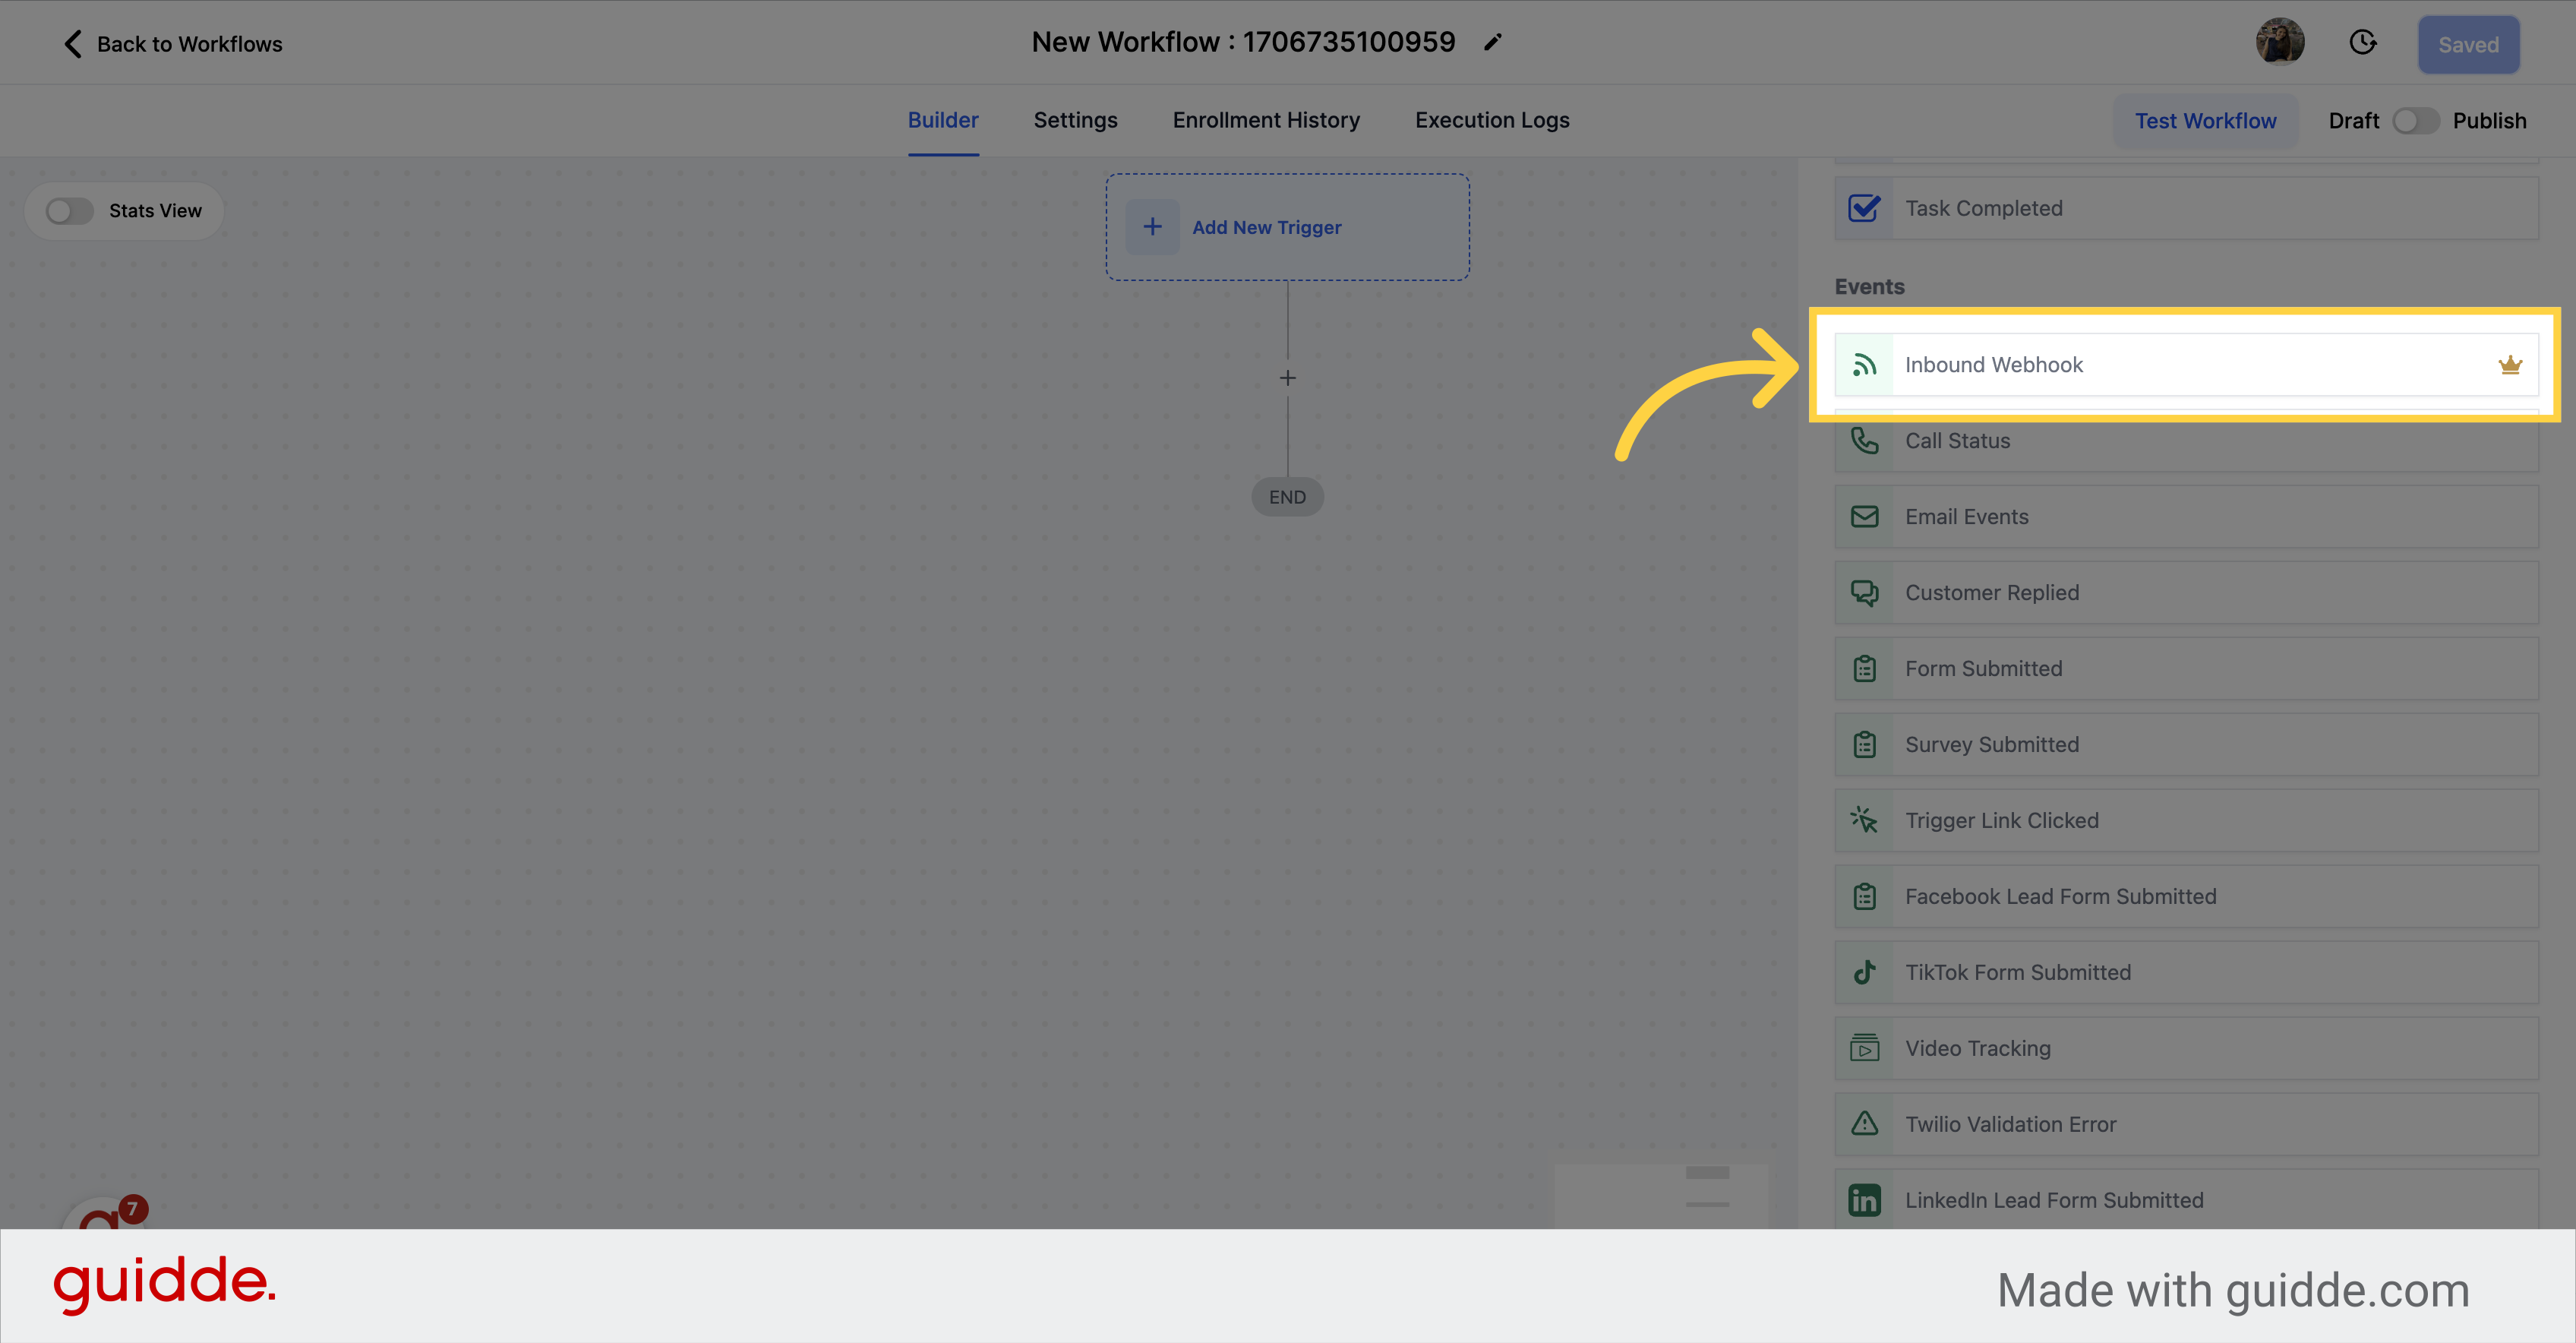
We have added an Inbound Webhook trigger, which allows you to receive data (like contacts, appointments, opportunities, etc.) from other systems.
For full details and use cases, please refer to Workflow - Inbound Webhook Premium Trigger.
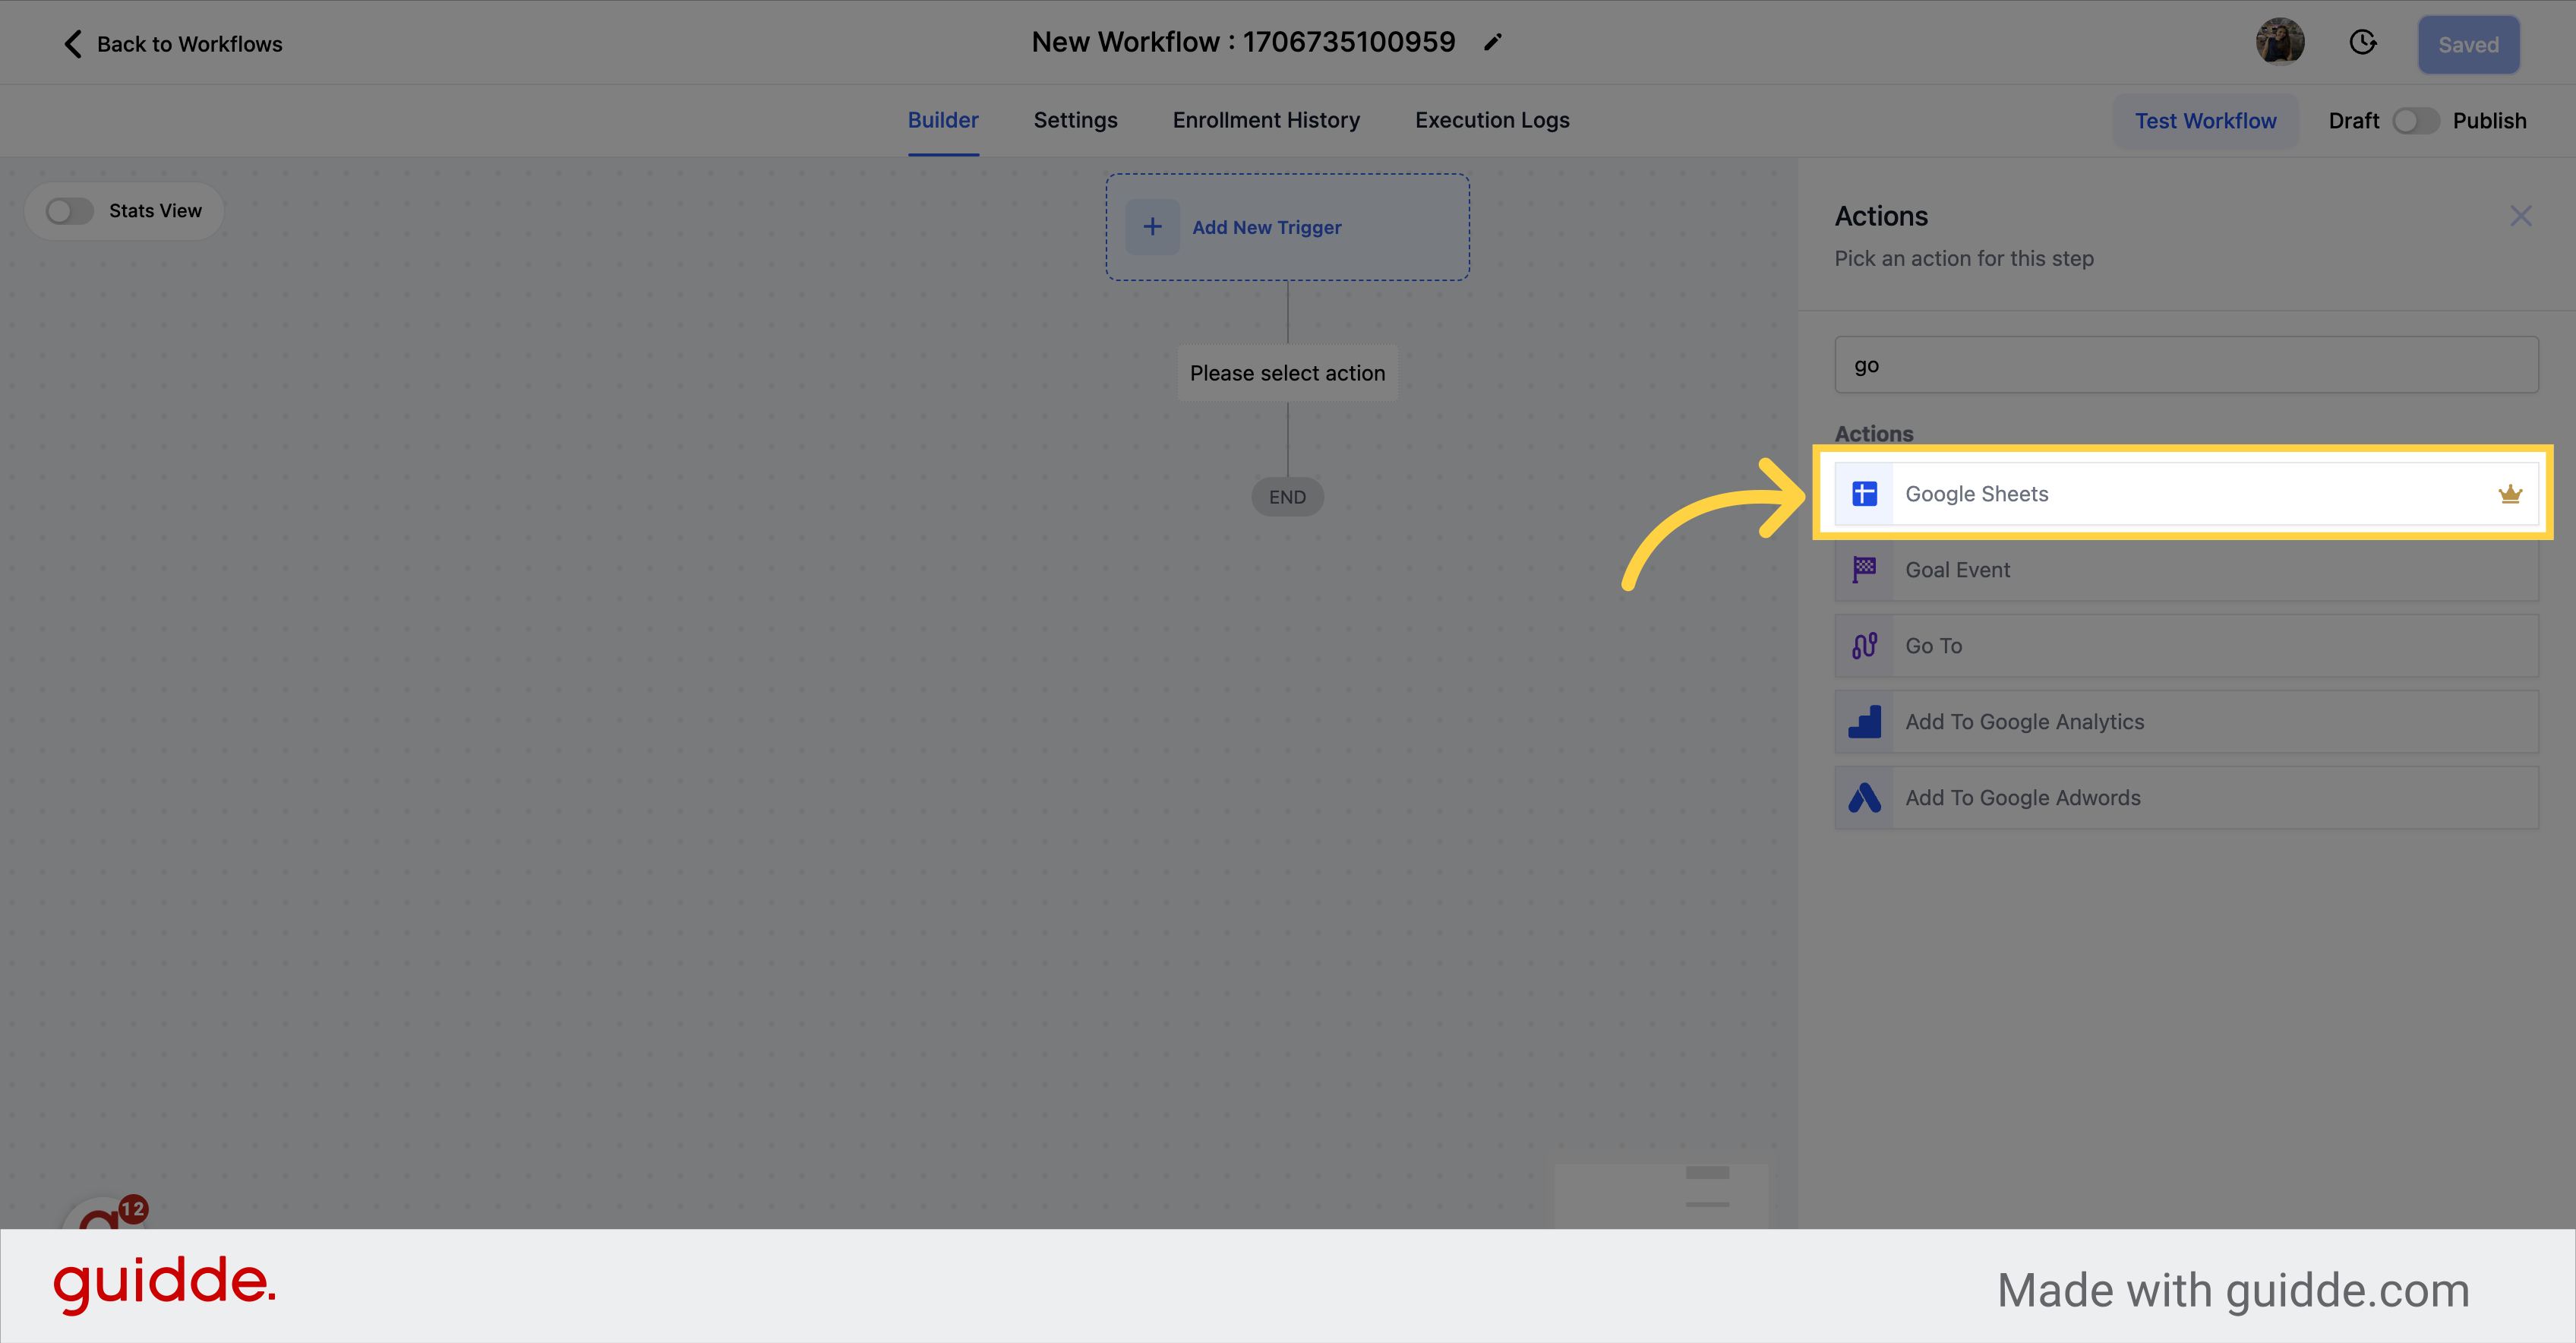
These premium actions allow you to send data out from your CRM to other systems (like your billing system, Google Sheets, or any 3rd party software that you may use).
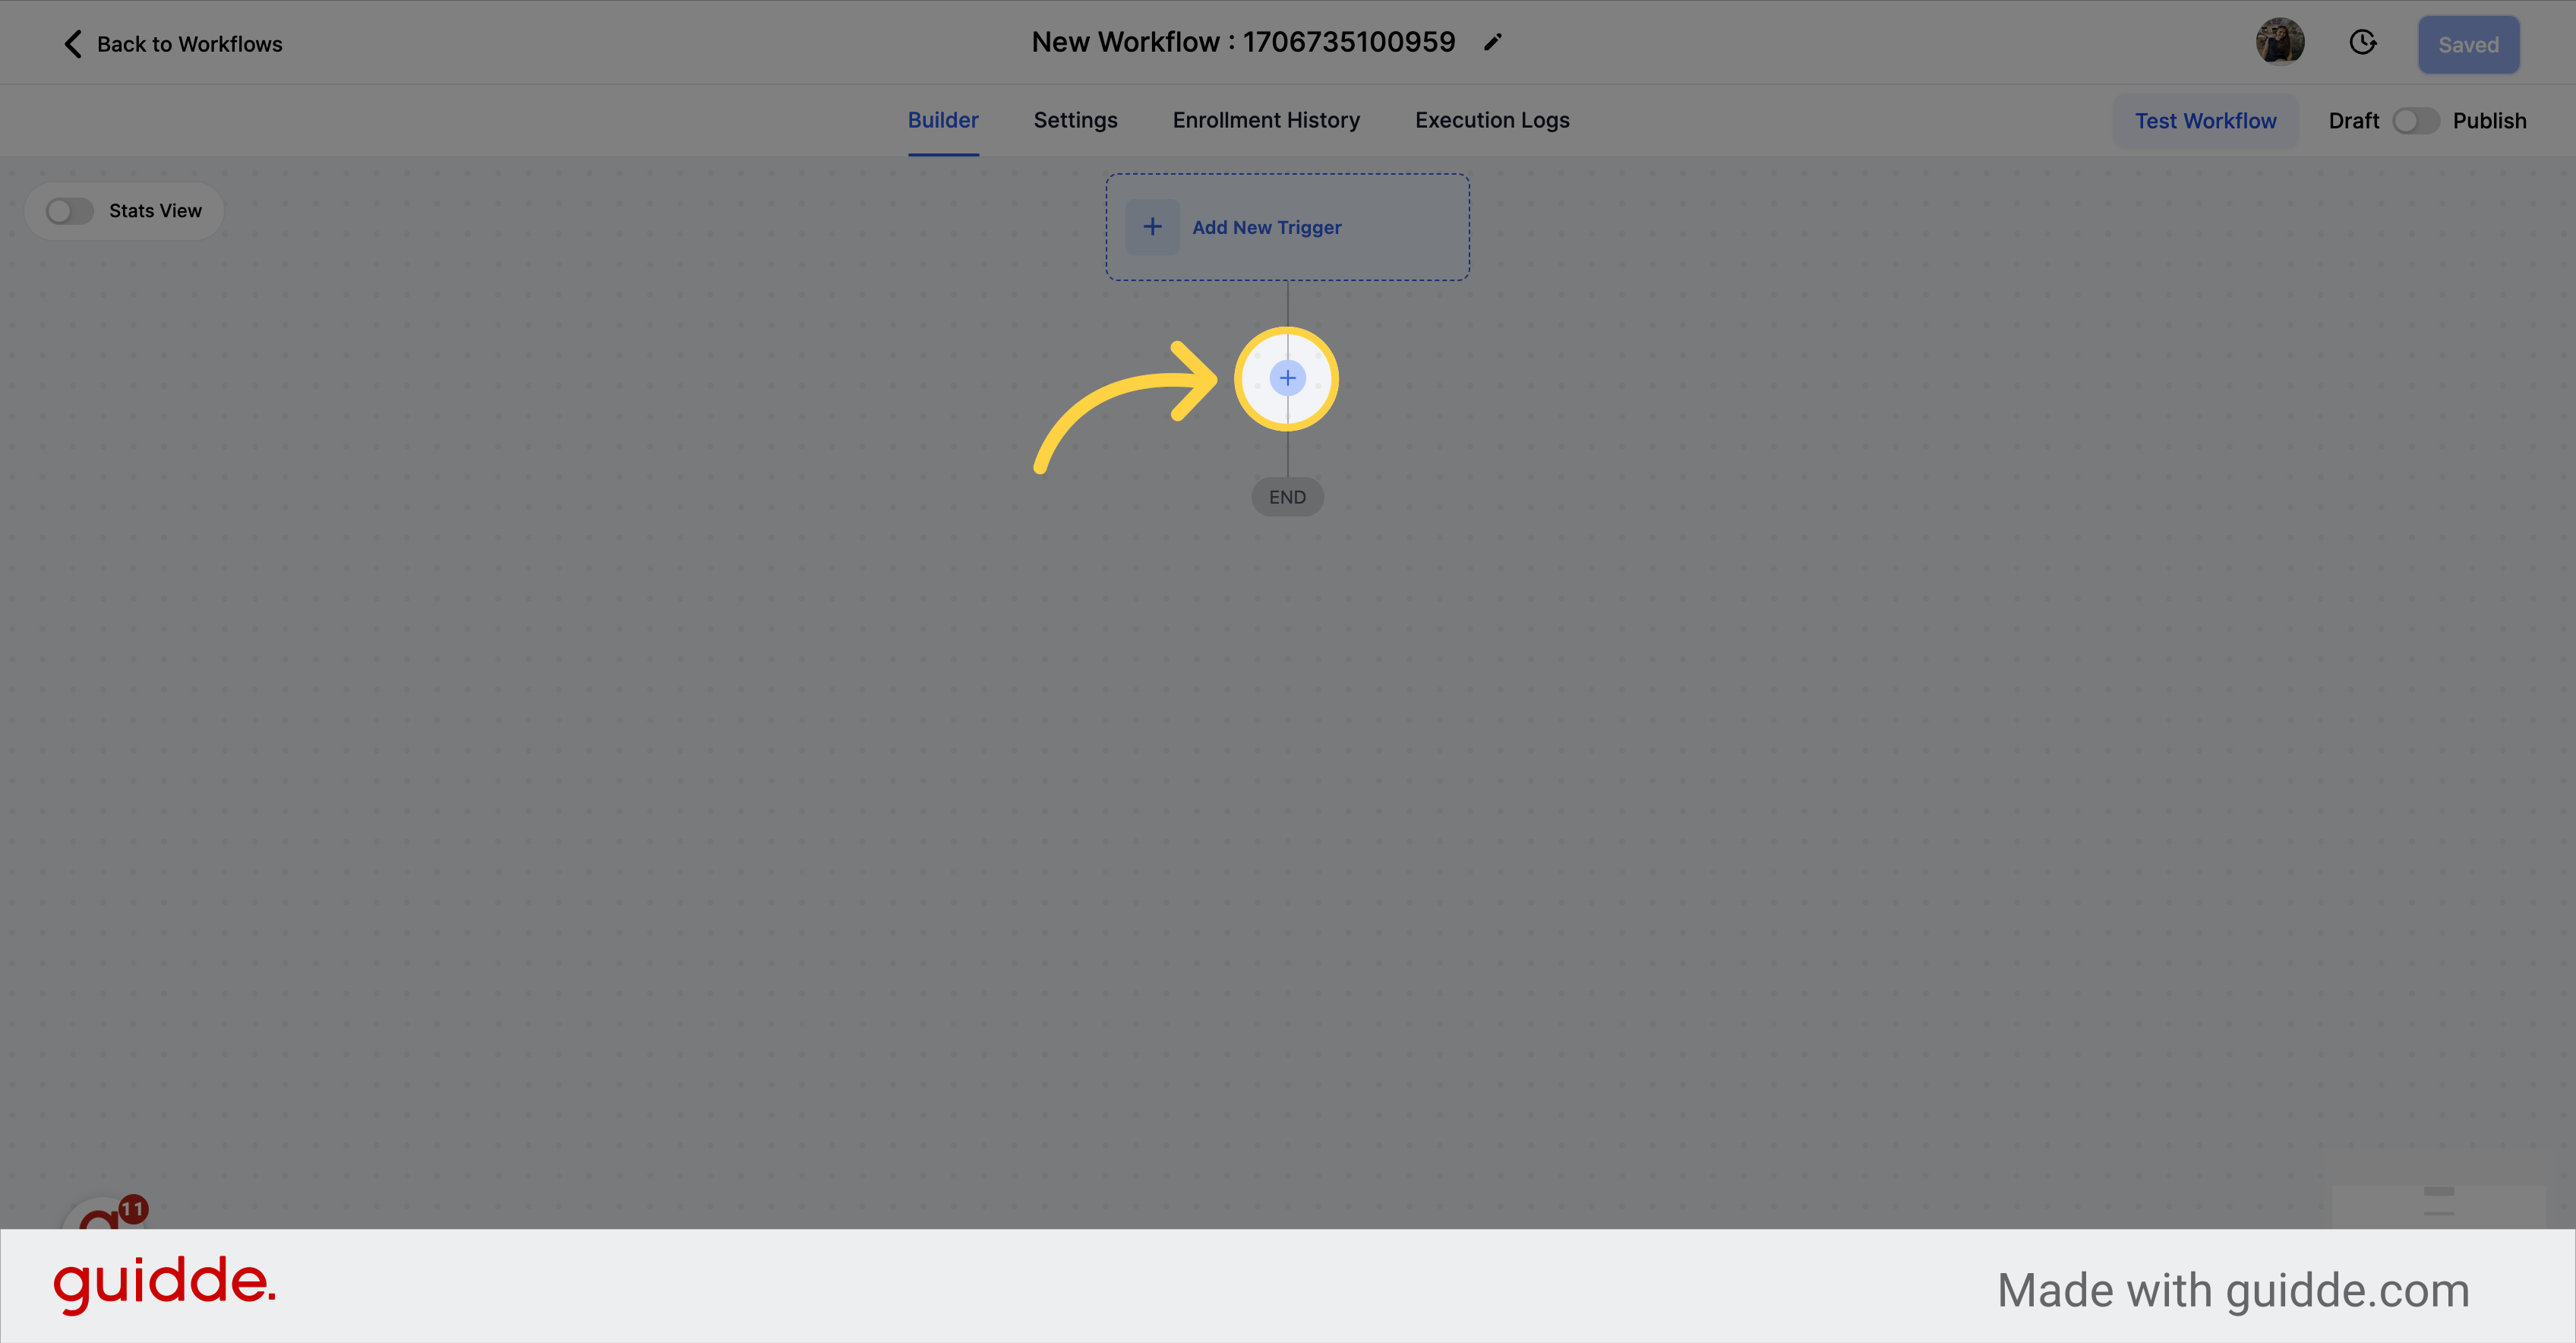
Click on the "+" icon to add your first action.
This is similar to the Google Sheets action in Zapier. It allows you to send data from your CRM to Google Sheets.
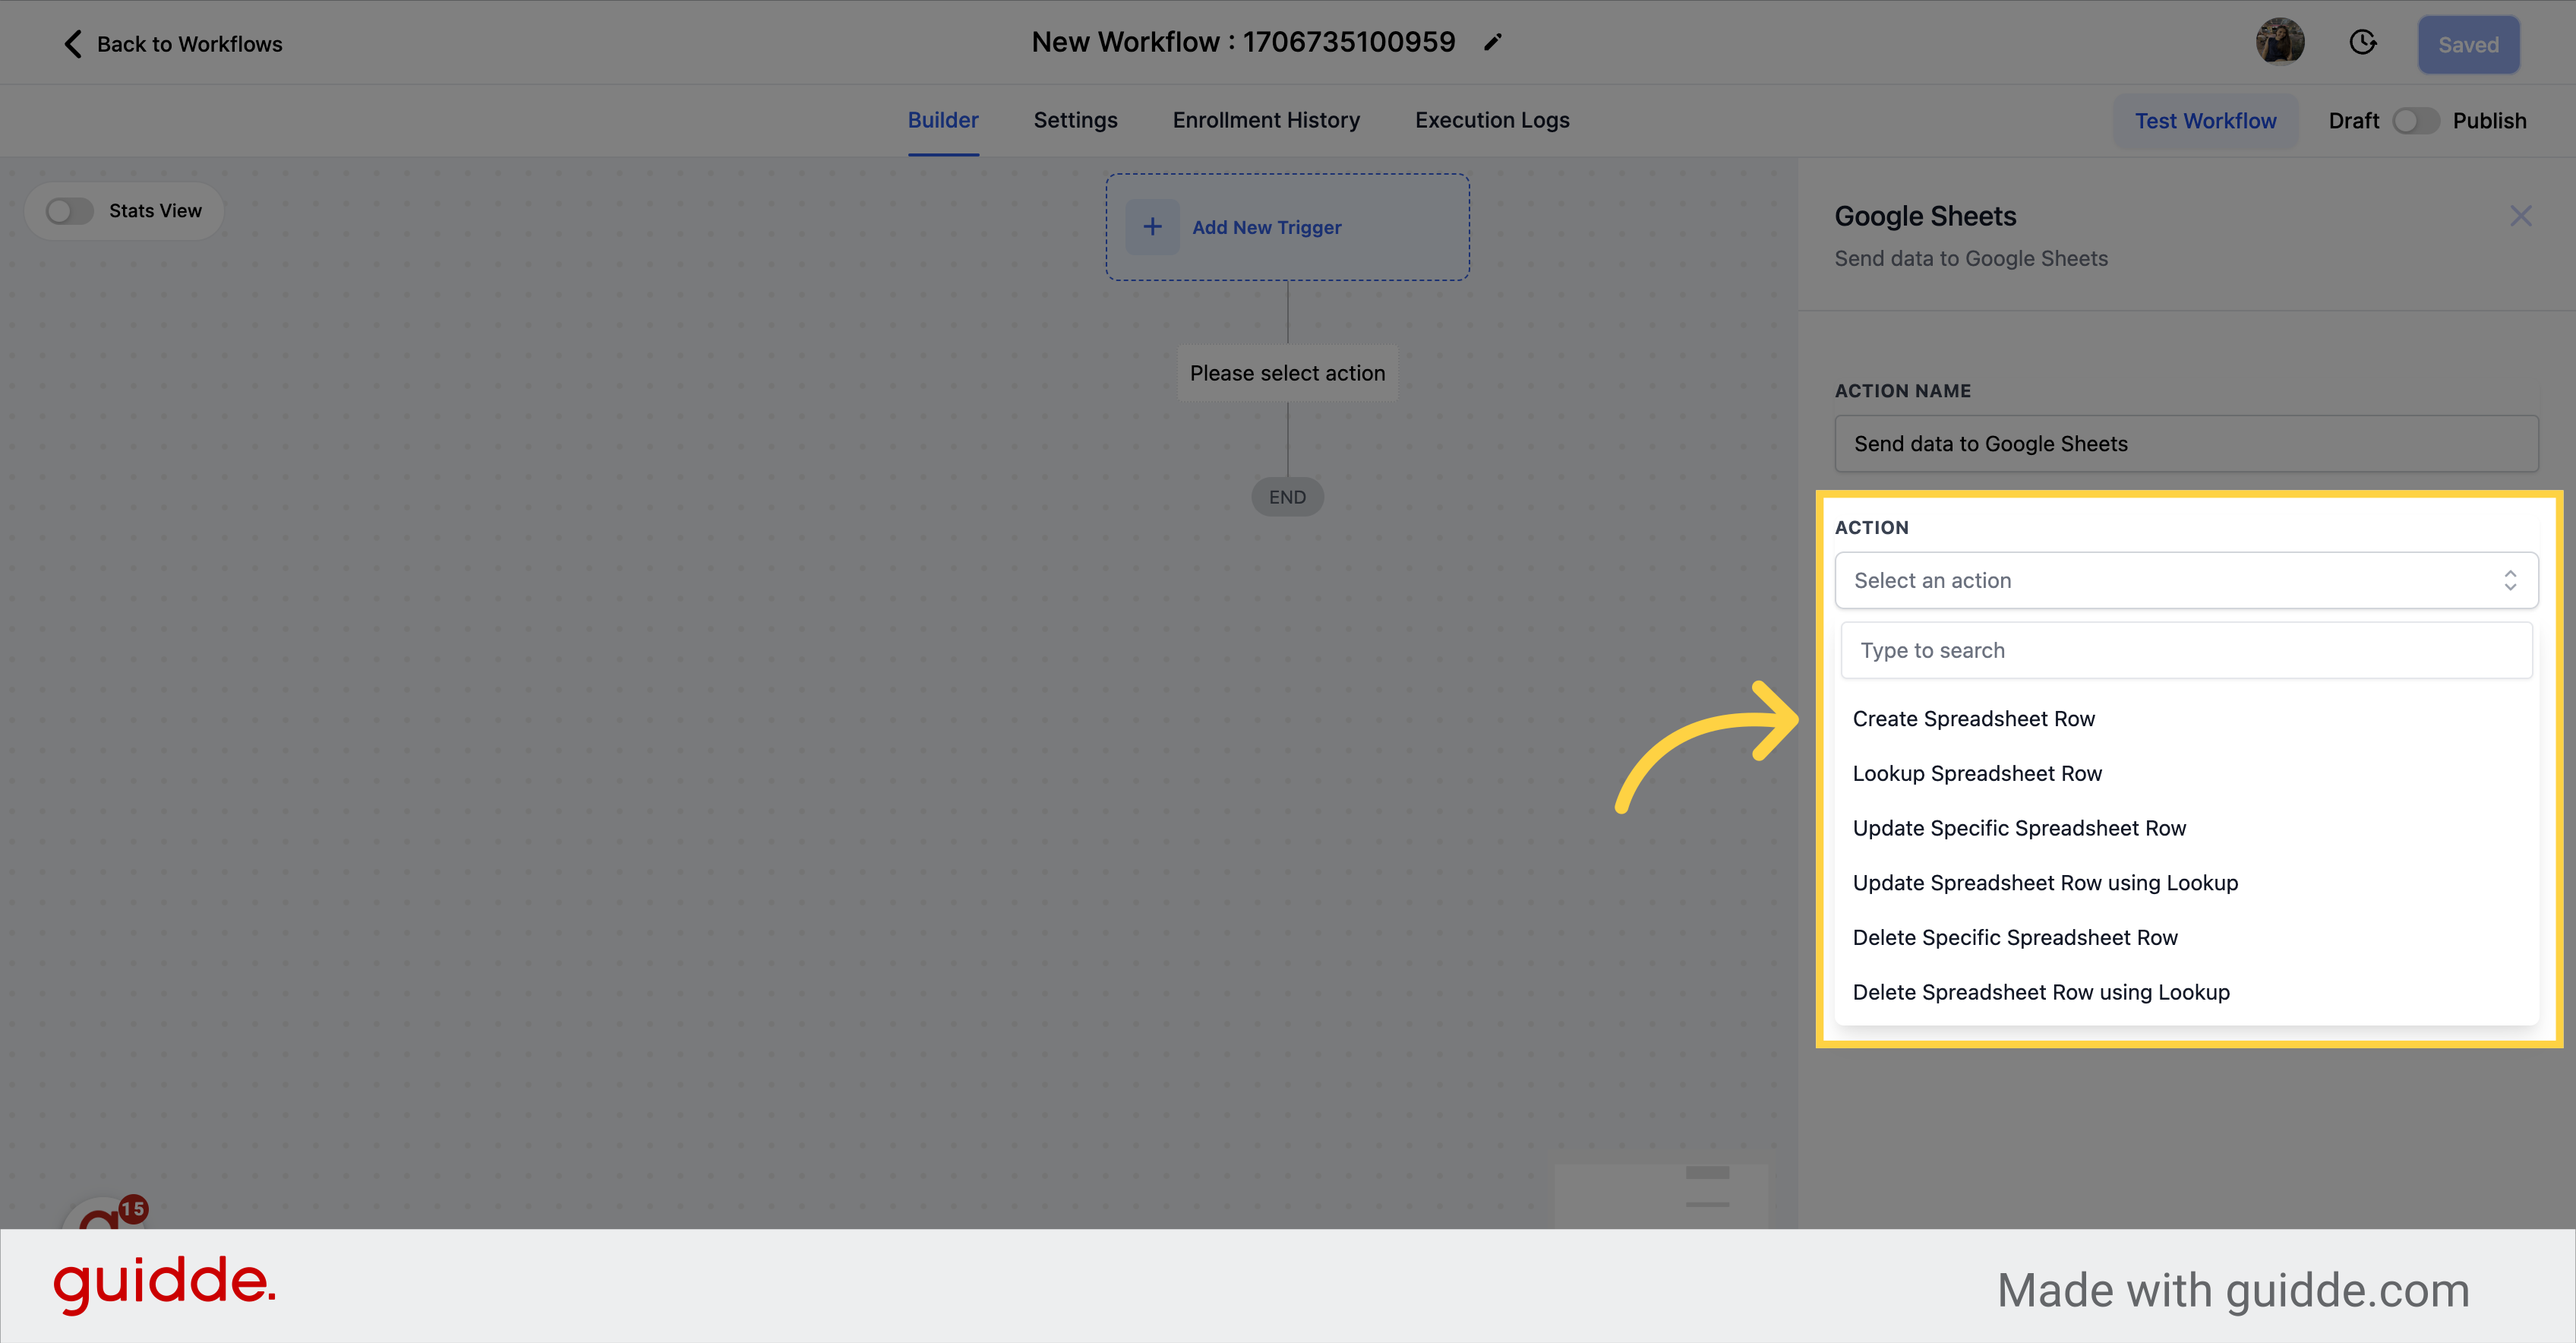
You have options to create
New Spreadsheet row
Update a Spreadsheet row
Lookup a spreadsheet row
Delete spreadsheet row
For full details on how to use this action, please refer Workflow - Google Sheets Premium Action.
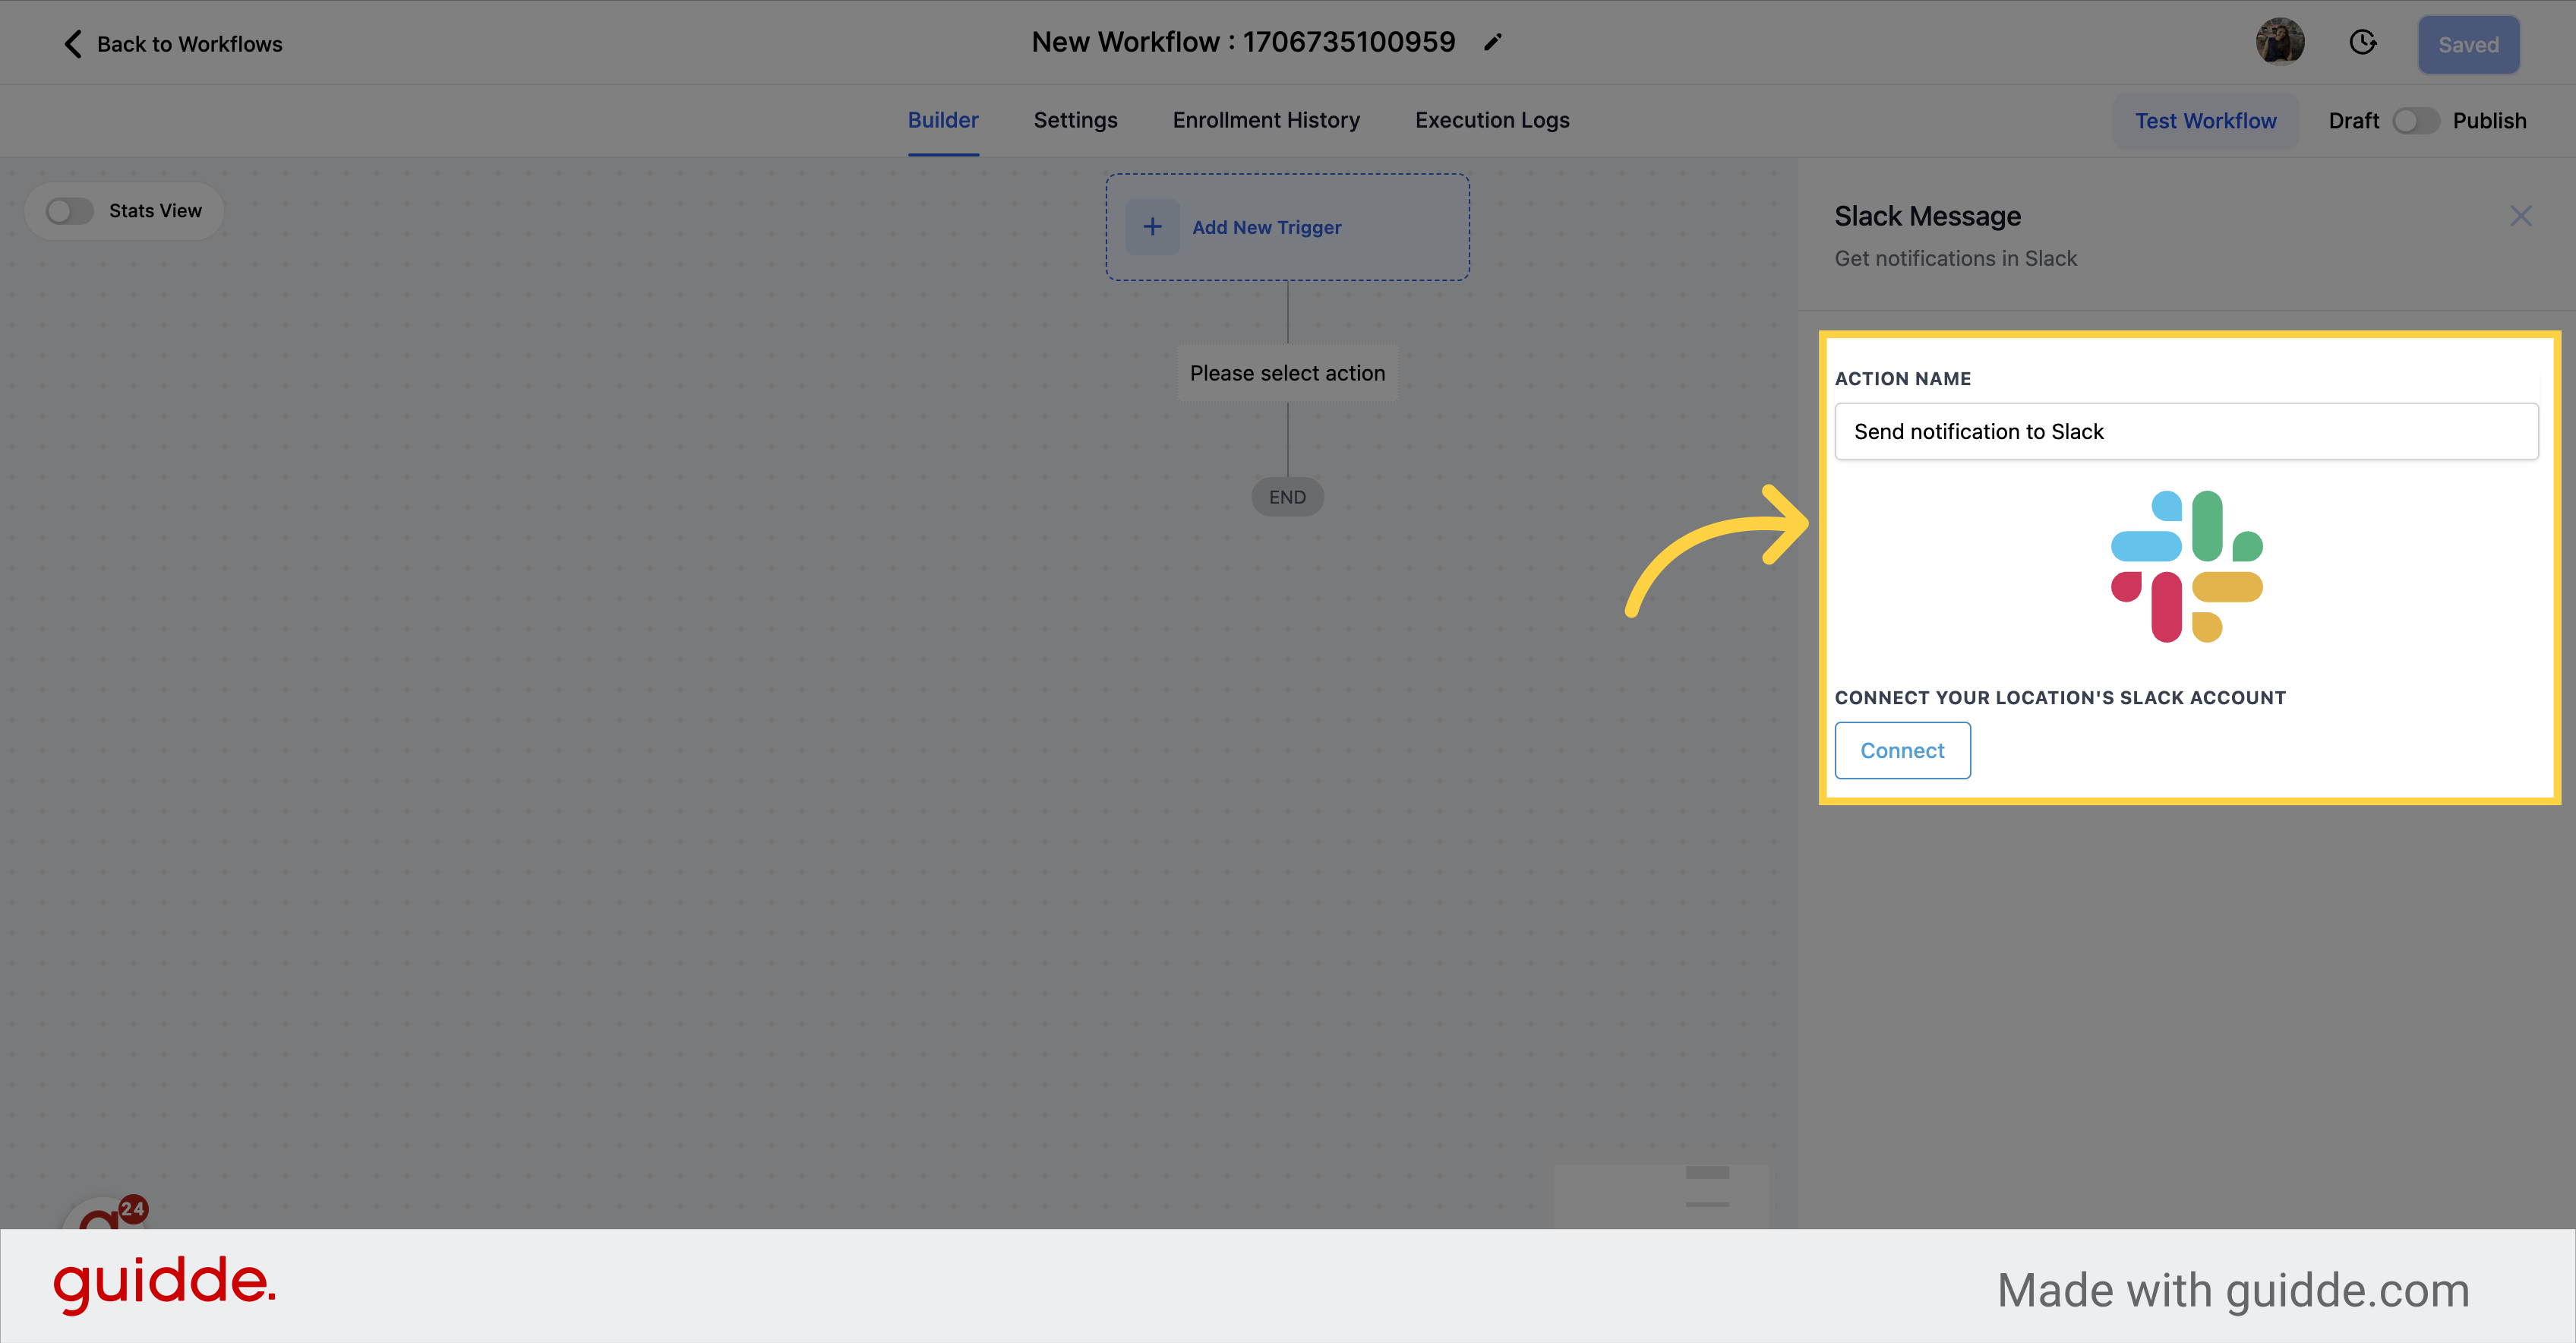
Slack Notification action allows you to notify your internal teams on slack when certain events happen inside your CRM.
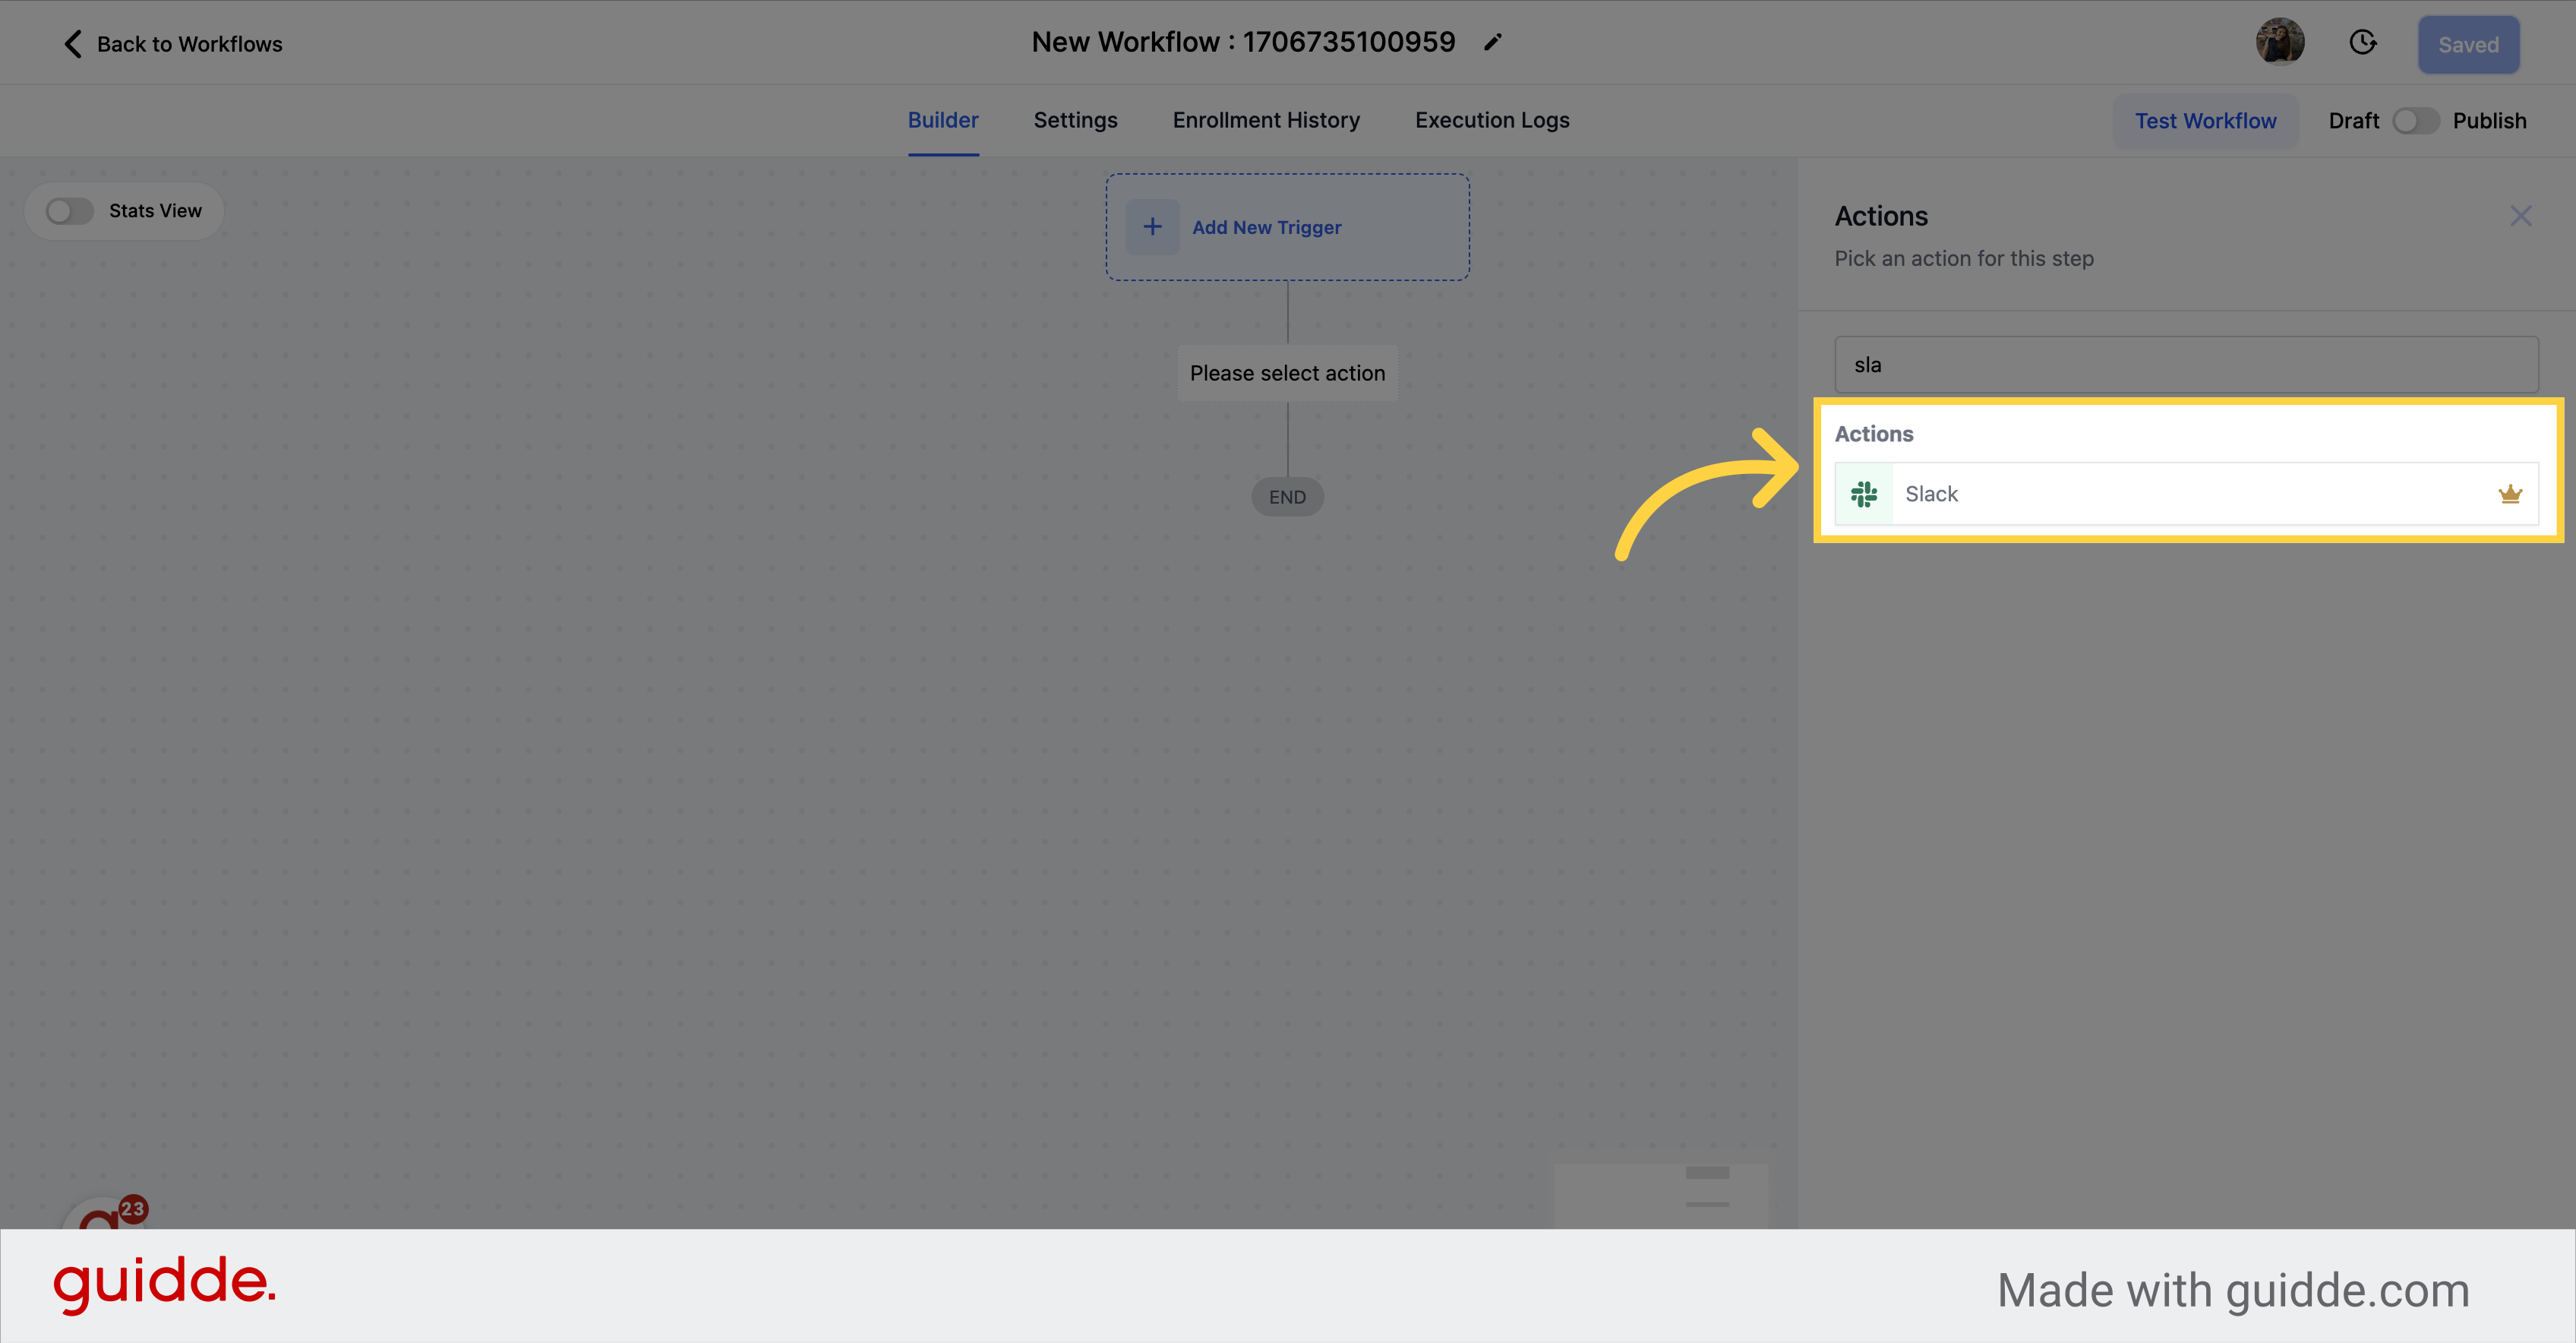
You have options to
Send a private message to a slack user
Send a message to a private channel
Send a message to a public channel
For full instructions on how to use this feature, please refer Workflow - Slack Premium Action
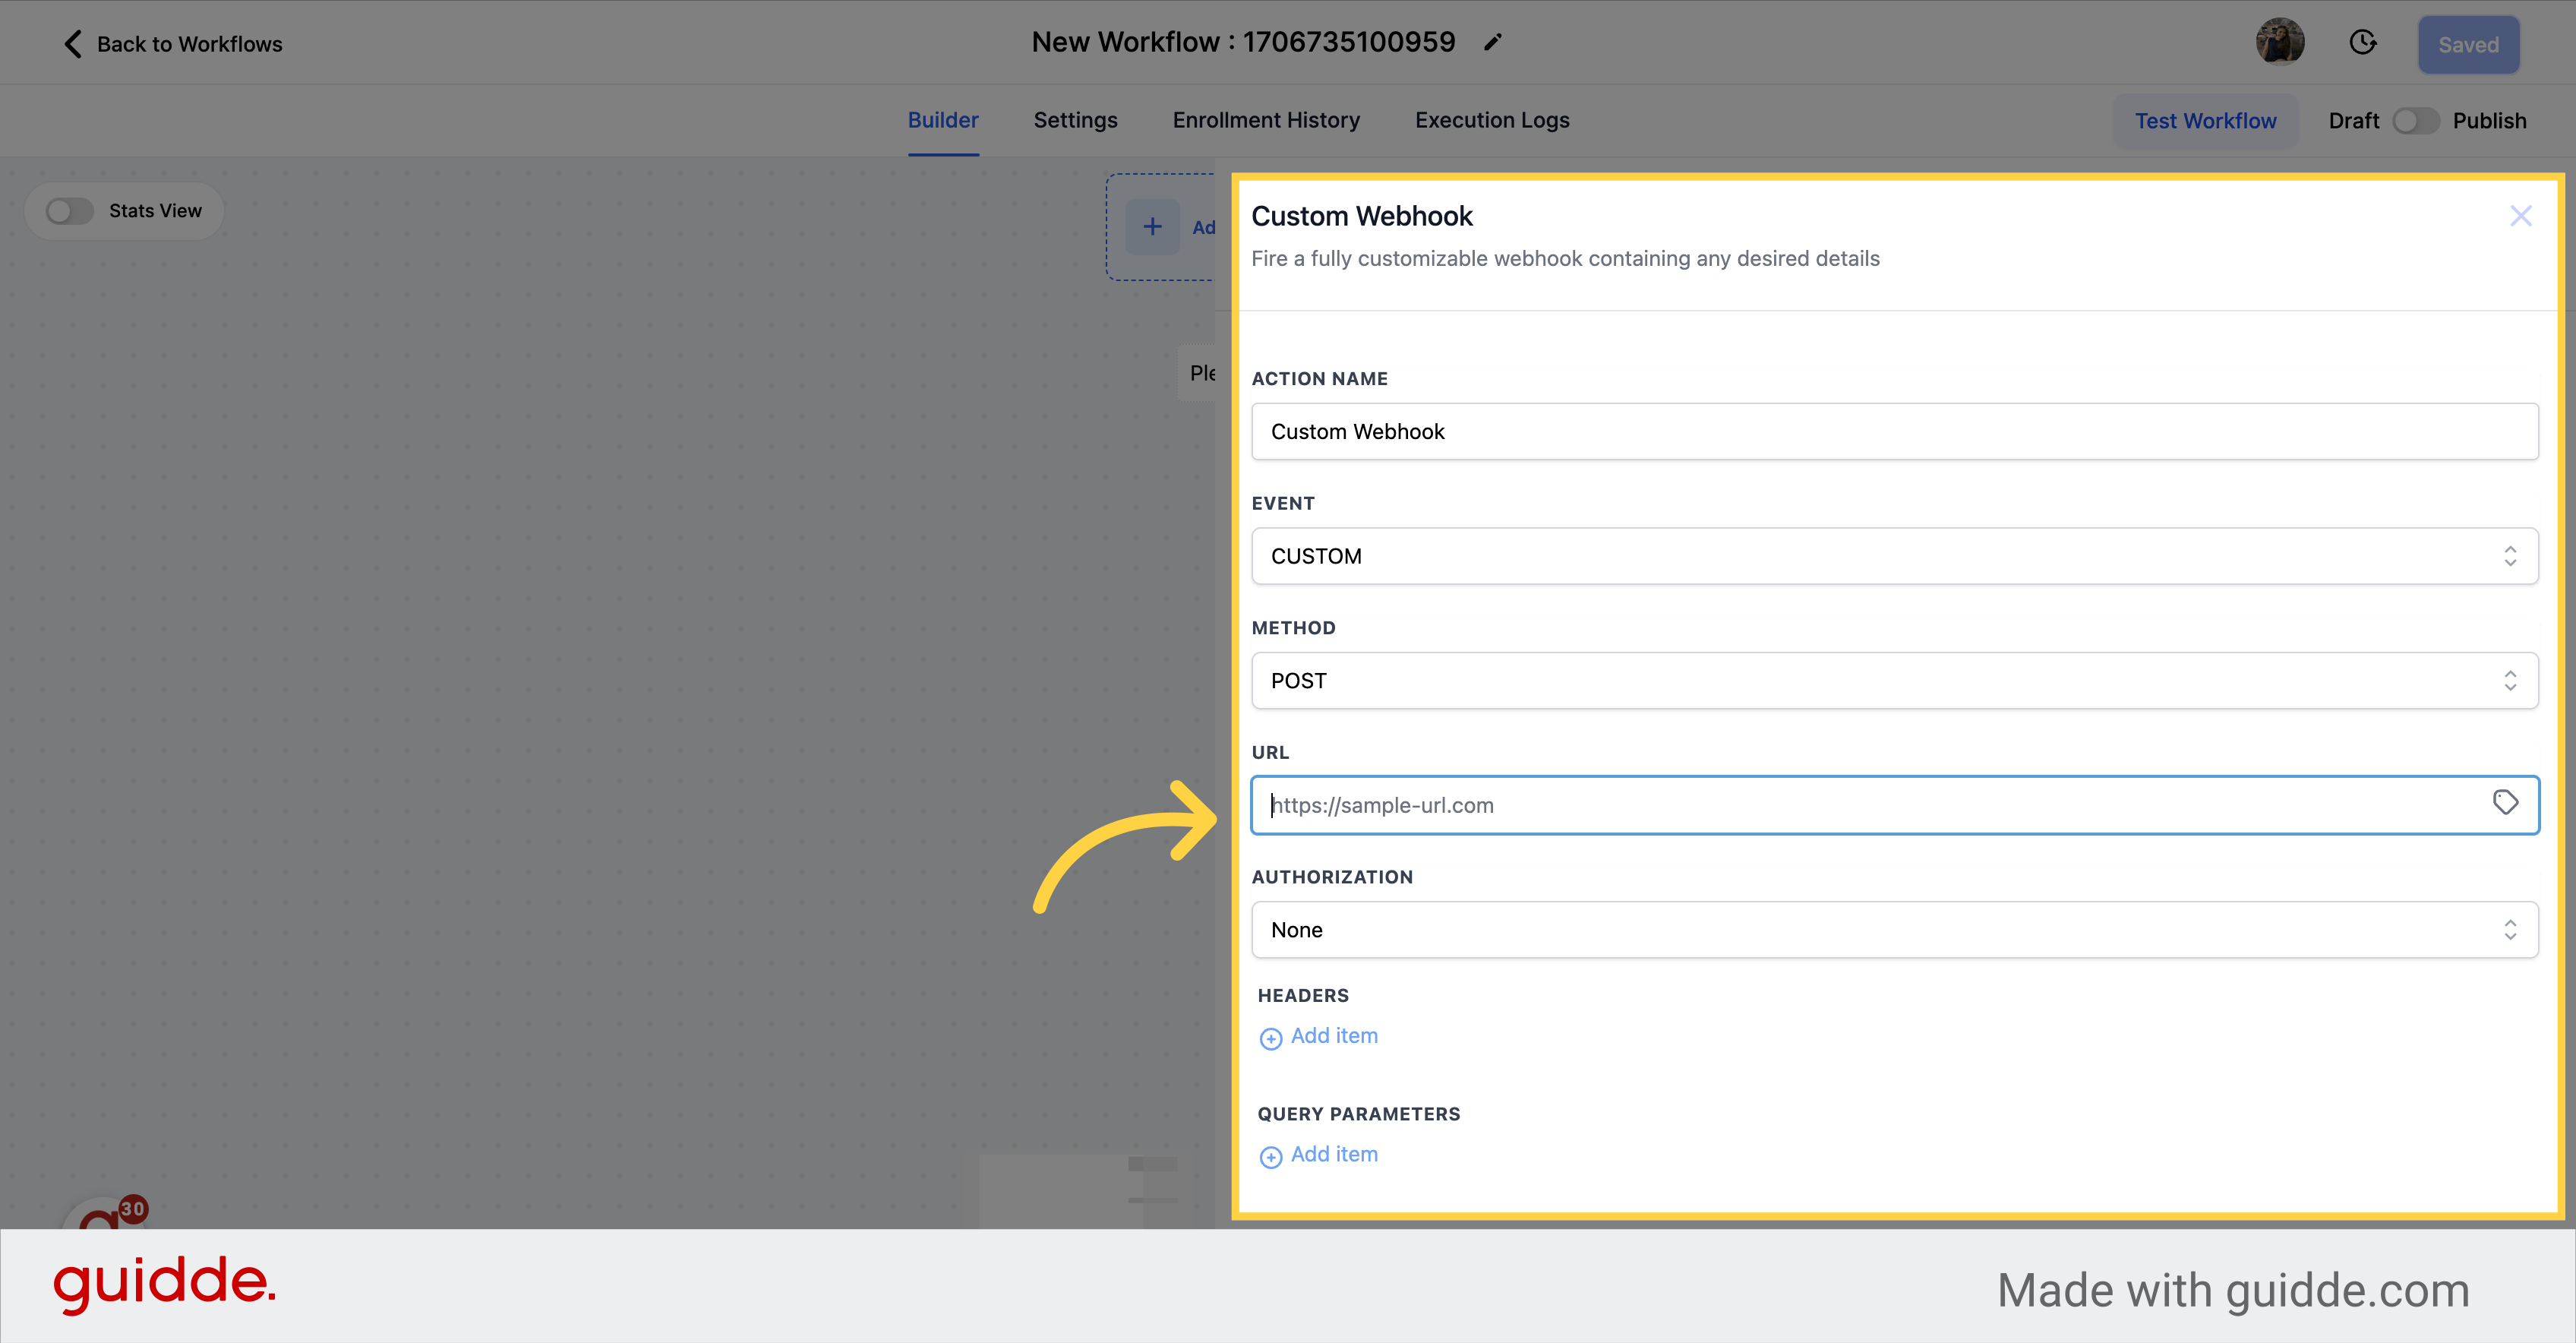
Custom Webhook allows you to make API calls from your workflow to any other system. This allows you greater control over sending data out from your CRM to any other platform.
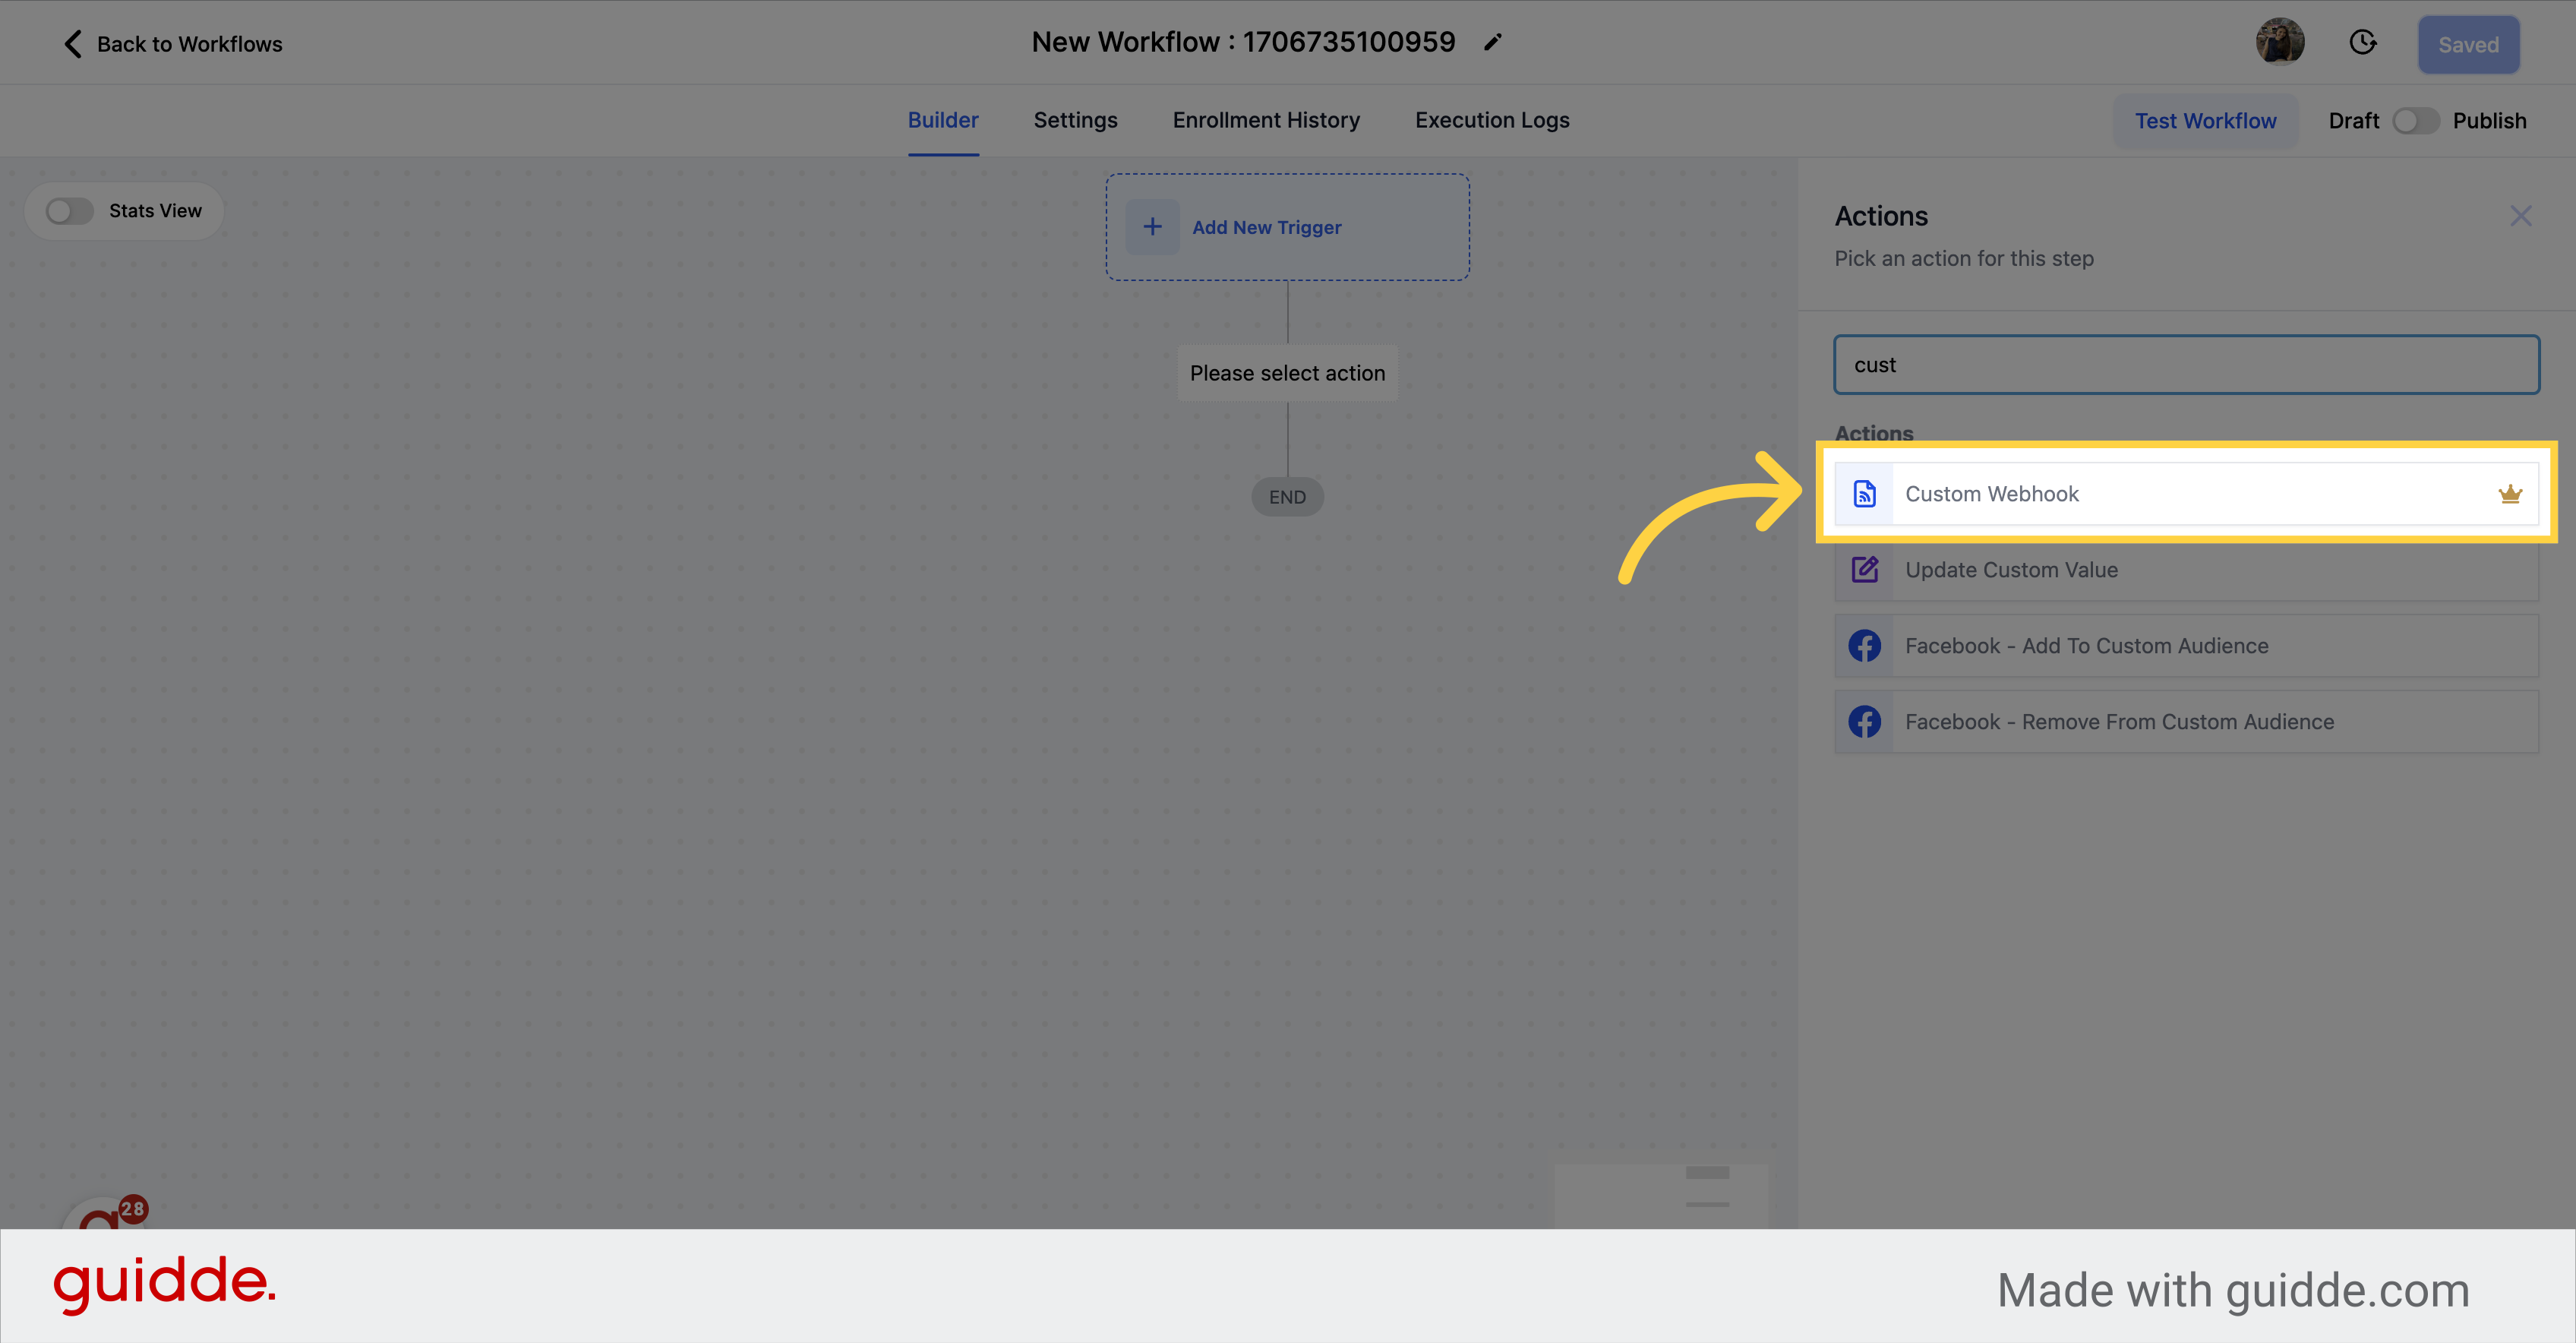
This fairly advanced feature requires the user to have experience working with RESTful APIs.
For full instructions on how to use this action, please refer to the guide. Workflow - Custom Webhook - LC Premium Action.