The backbone of any successful sales process is a well-organized sales pipeline. It not only helps you keep track of where your deals stand but also provides valuable insights into your overall sales health. With Topline, setting up your sales pipeline is both intuitive and customizable to fit your specific business needs. Let's embark on setting up your pipeline, a straightforward journey toward more efficient sales management.
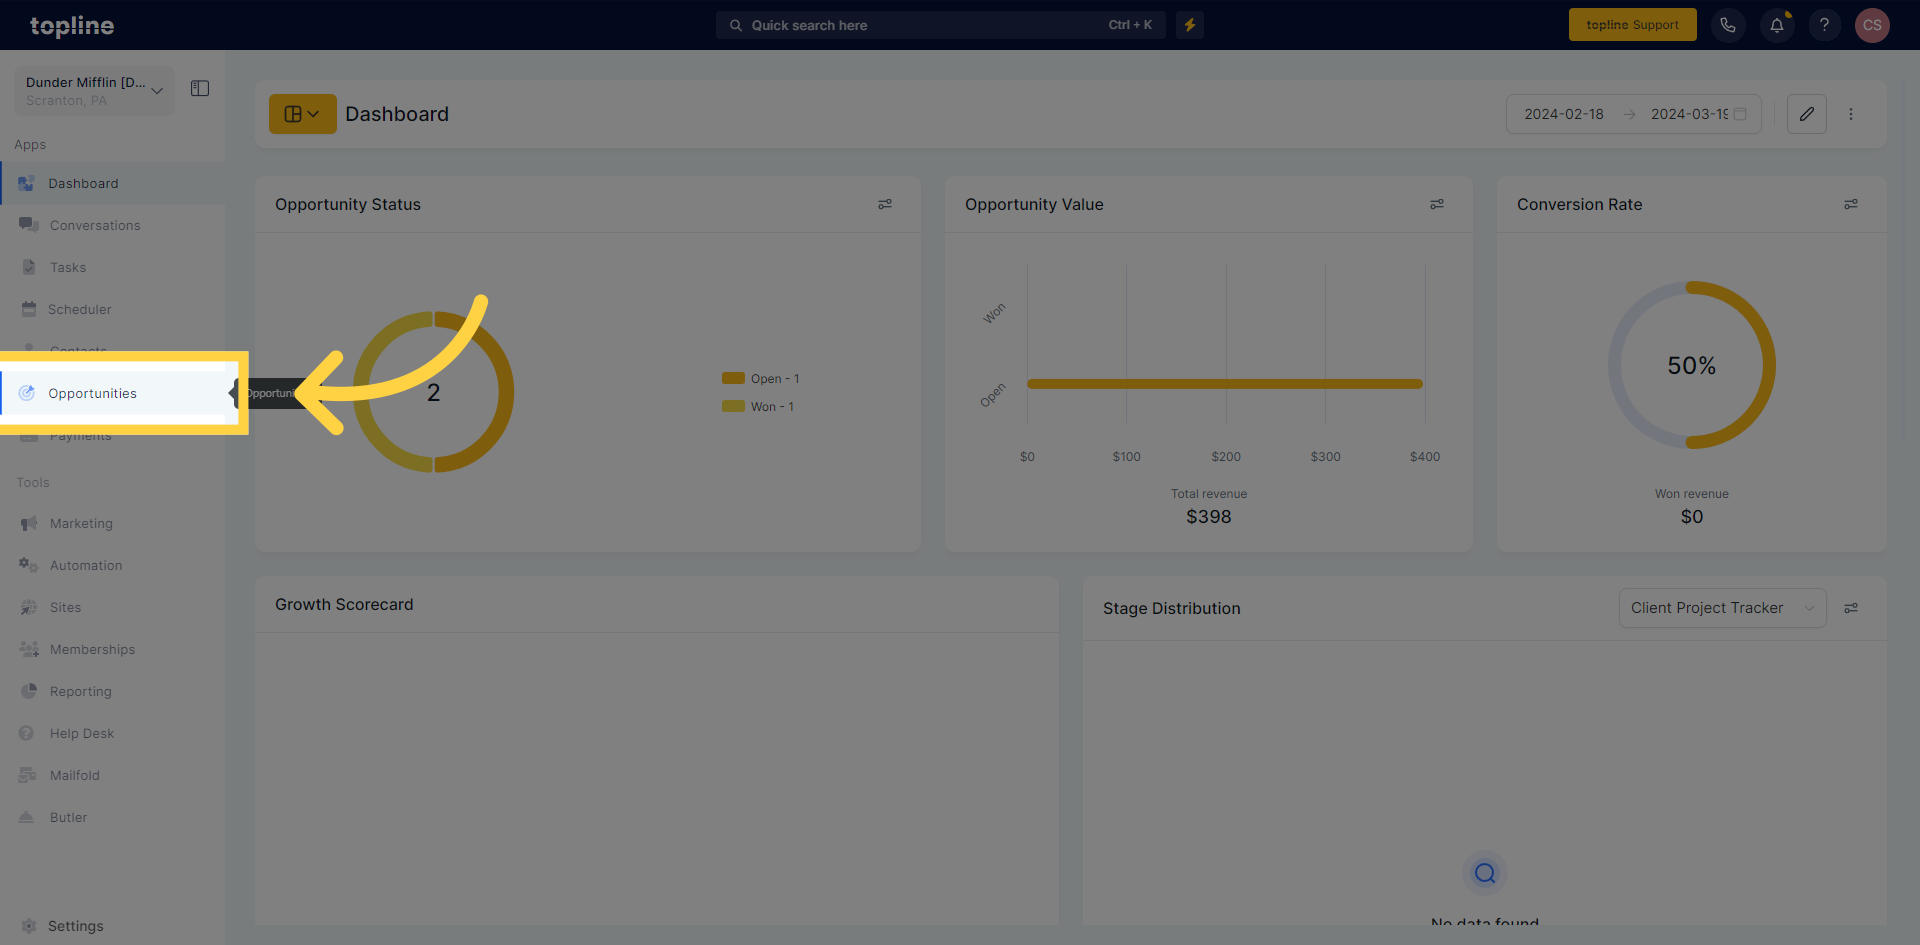
Start by clicking on "Opportunities" on your dashboard. This is where your journey in organizing your sales process begins.
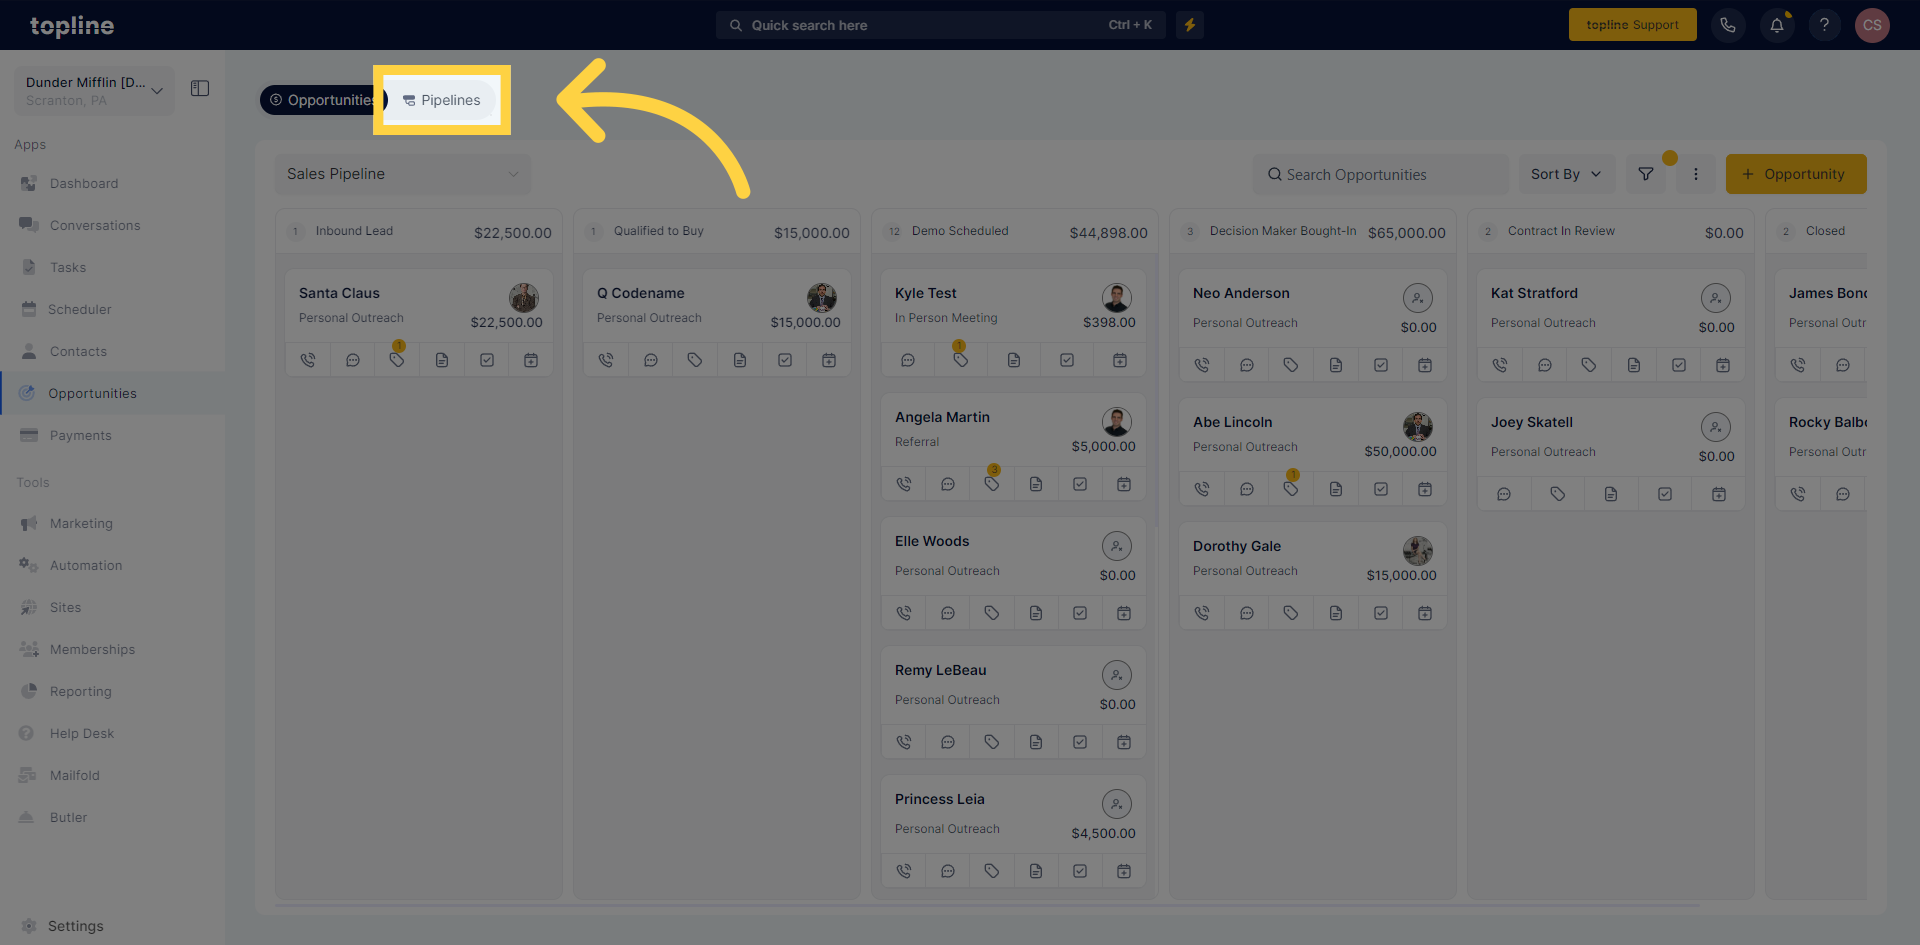
Within the Opportunities section click on "Pipelines." This takes you closer to customizing your sales tracking.
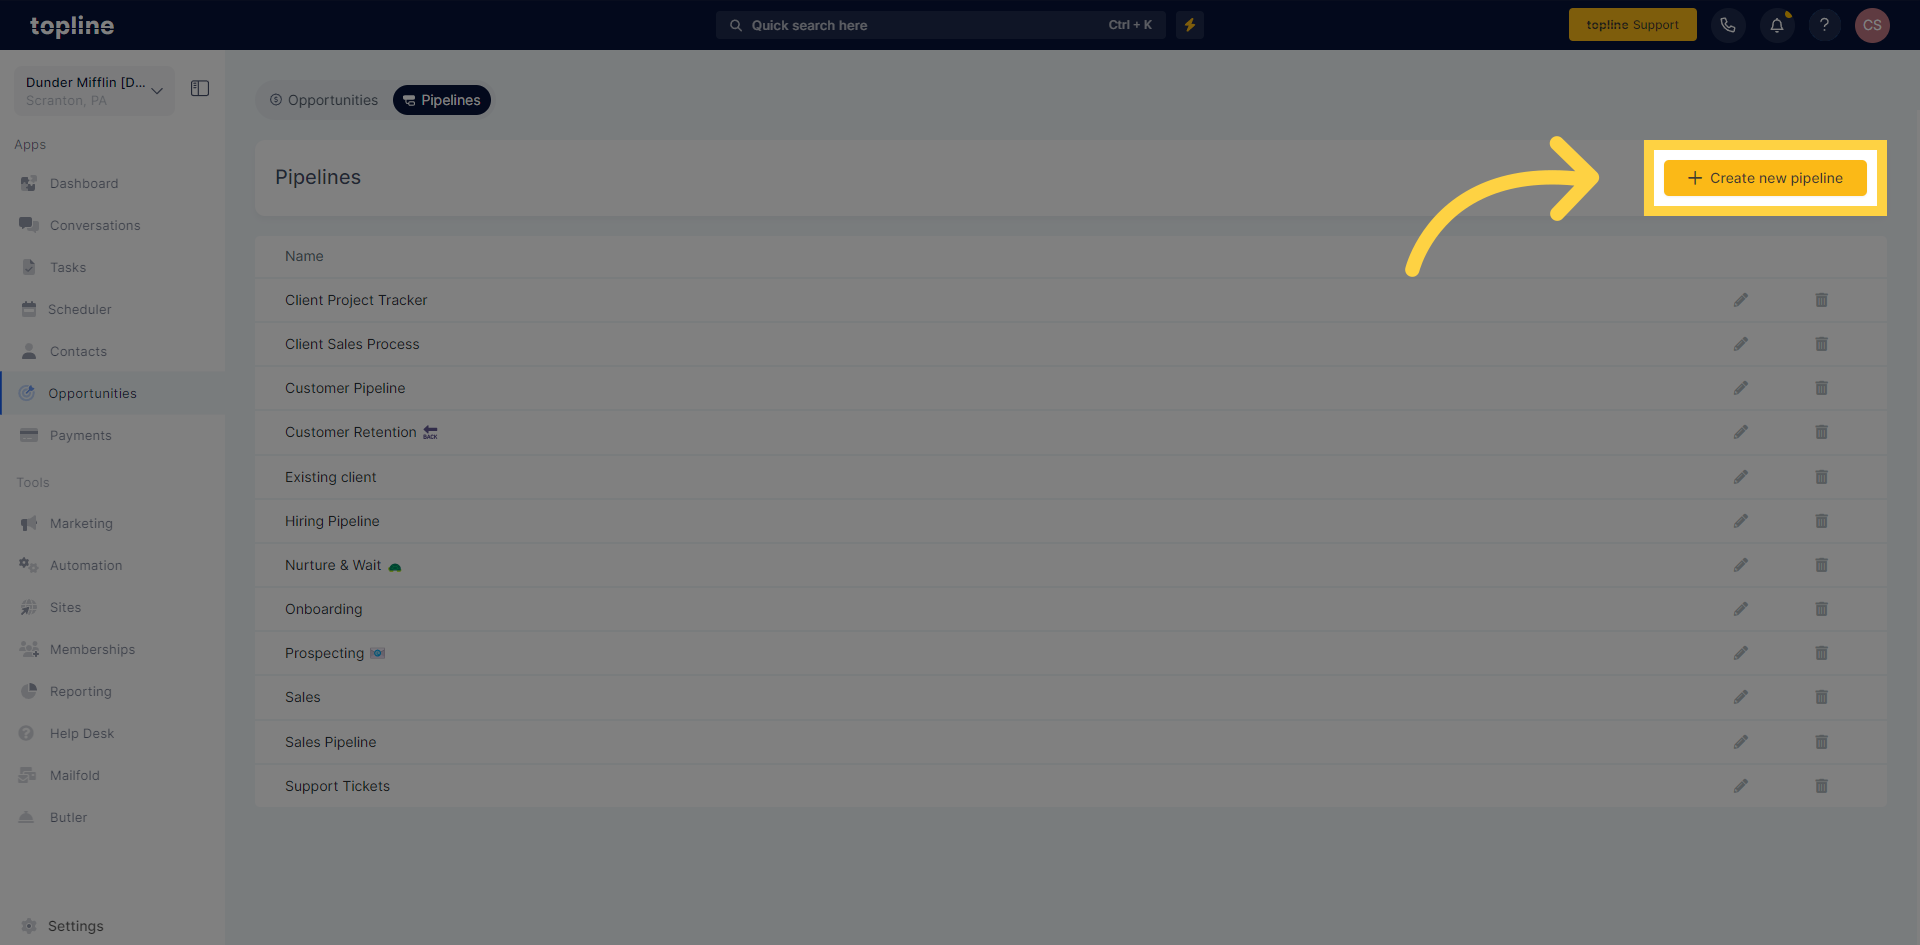
Click on "Create new pipeline" to begin the process of tailoring a pipeline that fits your sales cycle.
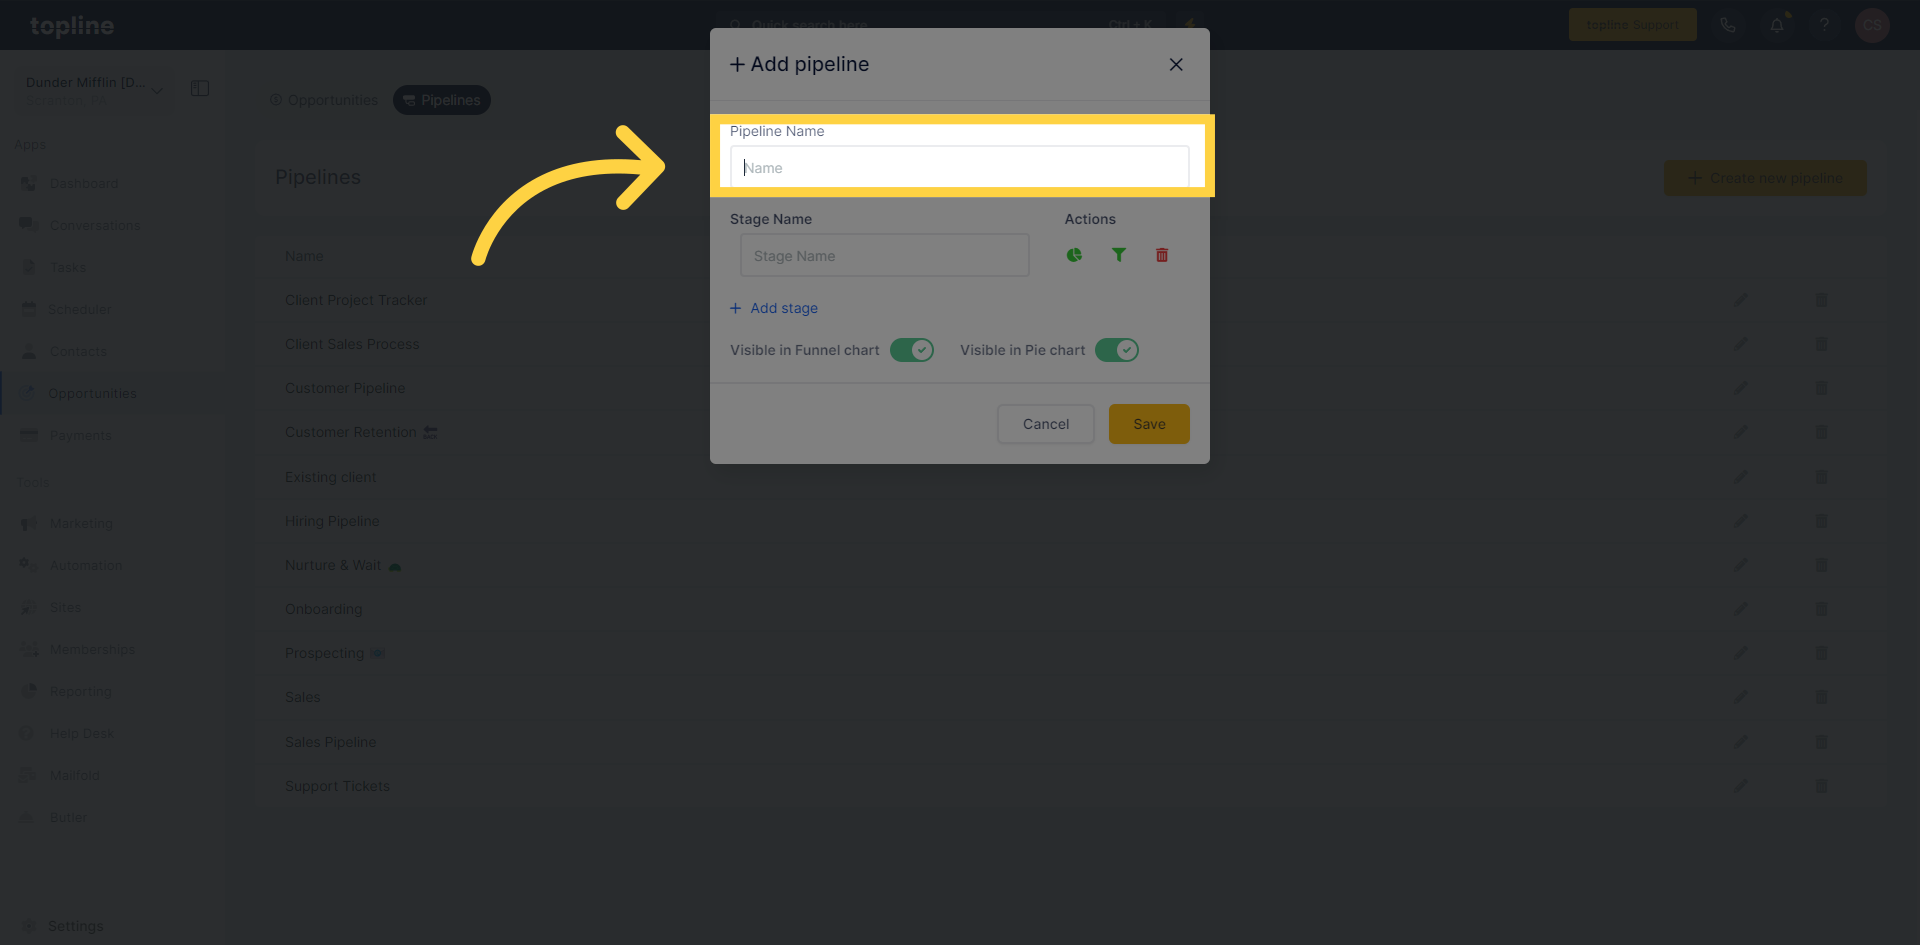
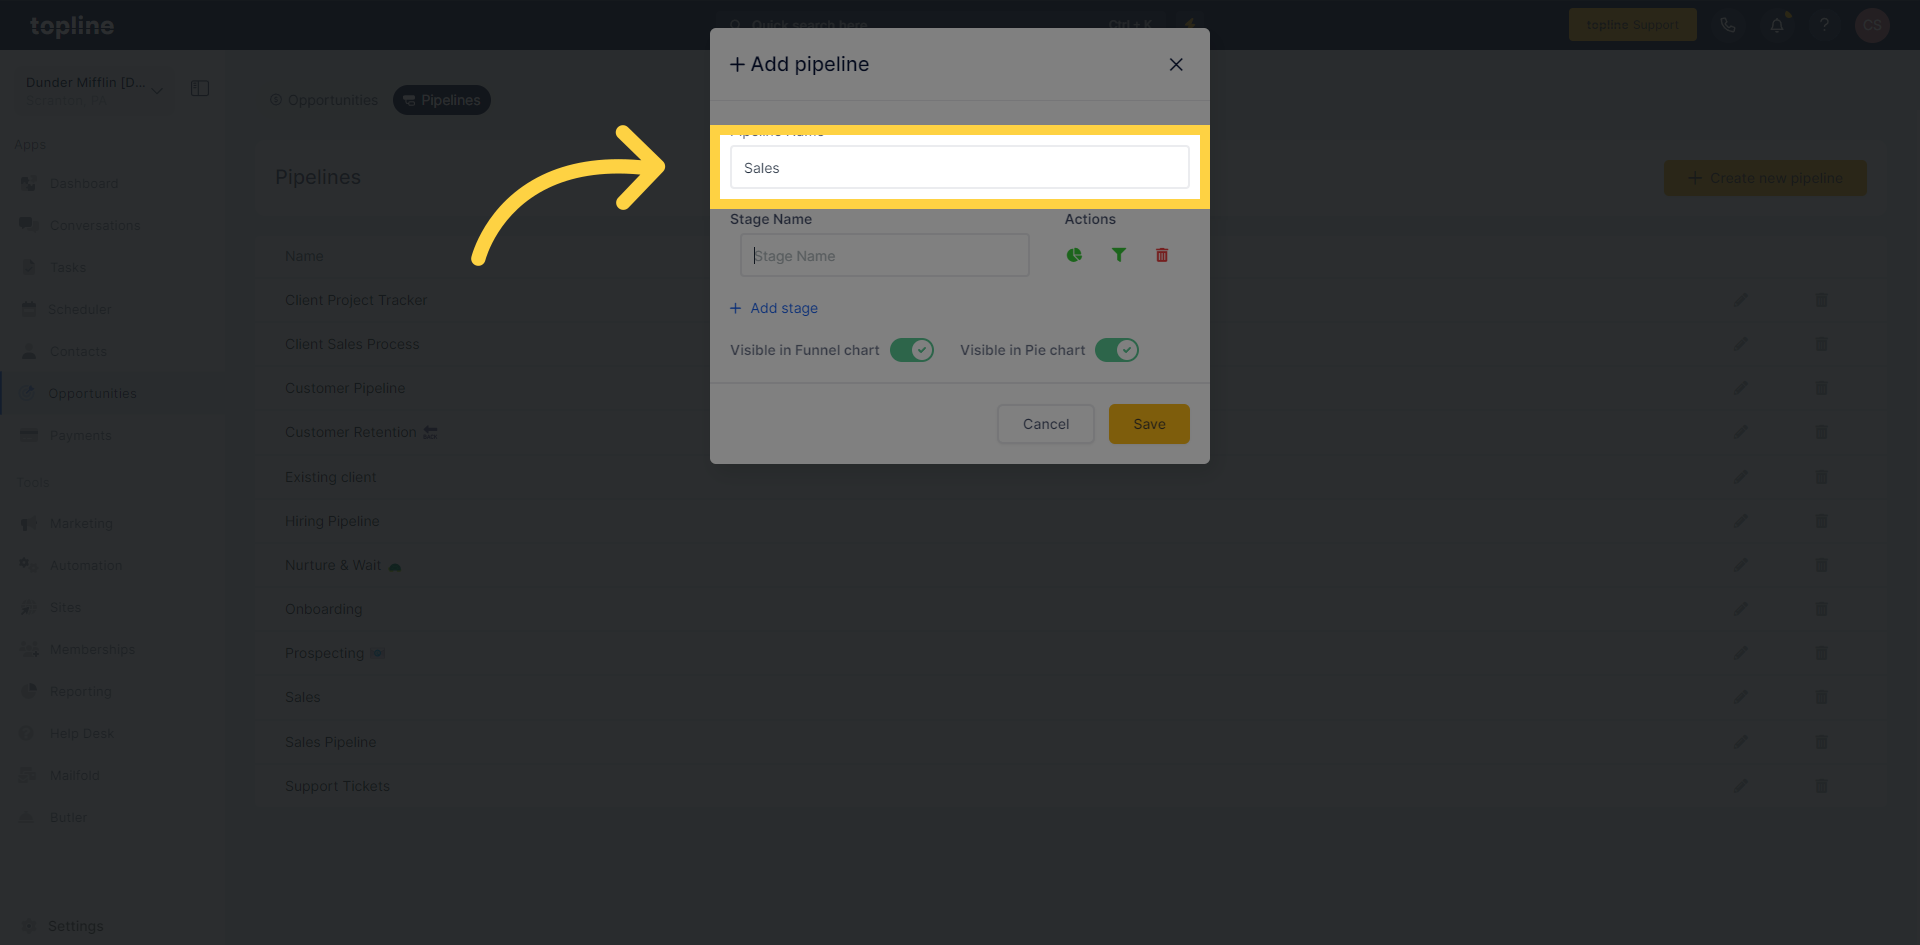
Assign a name to your pipeline—make it descriptive of its purpose to keep your workflows clear and organized.
In this example we named it Sales
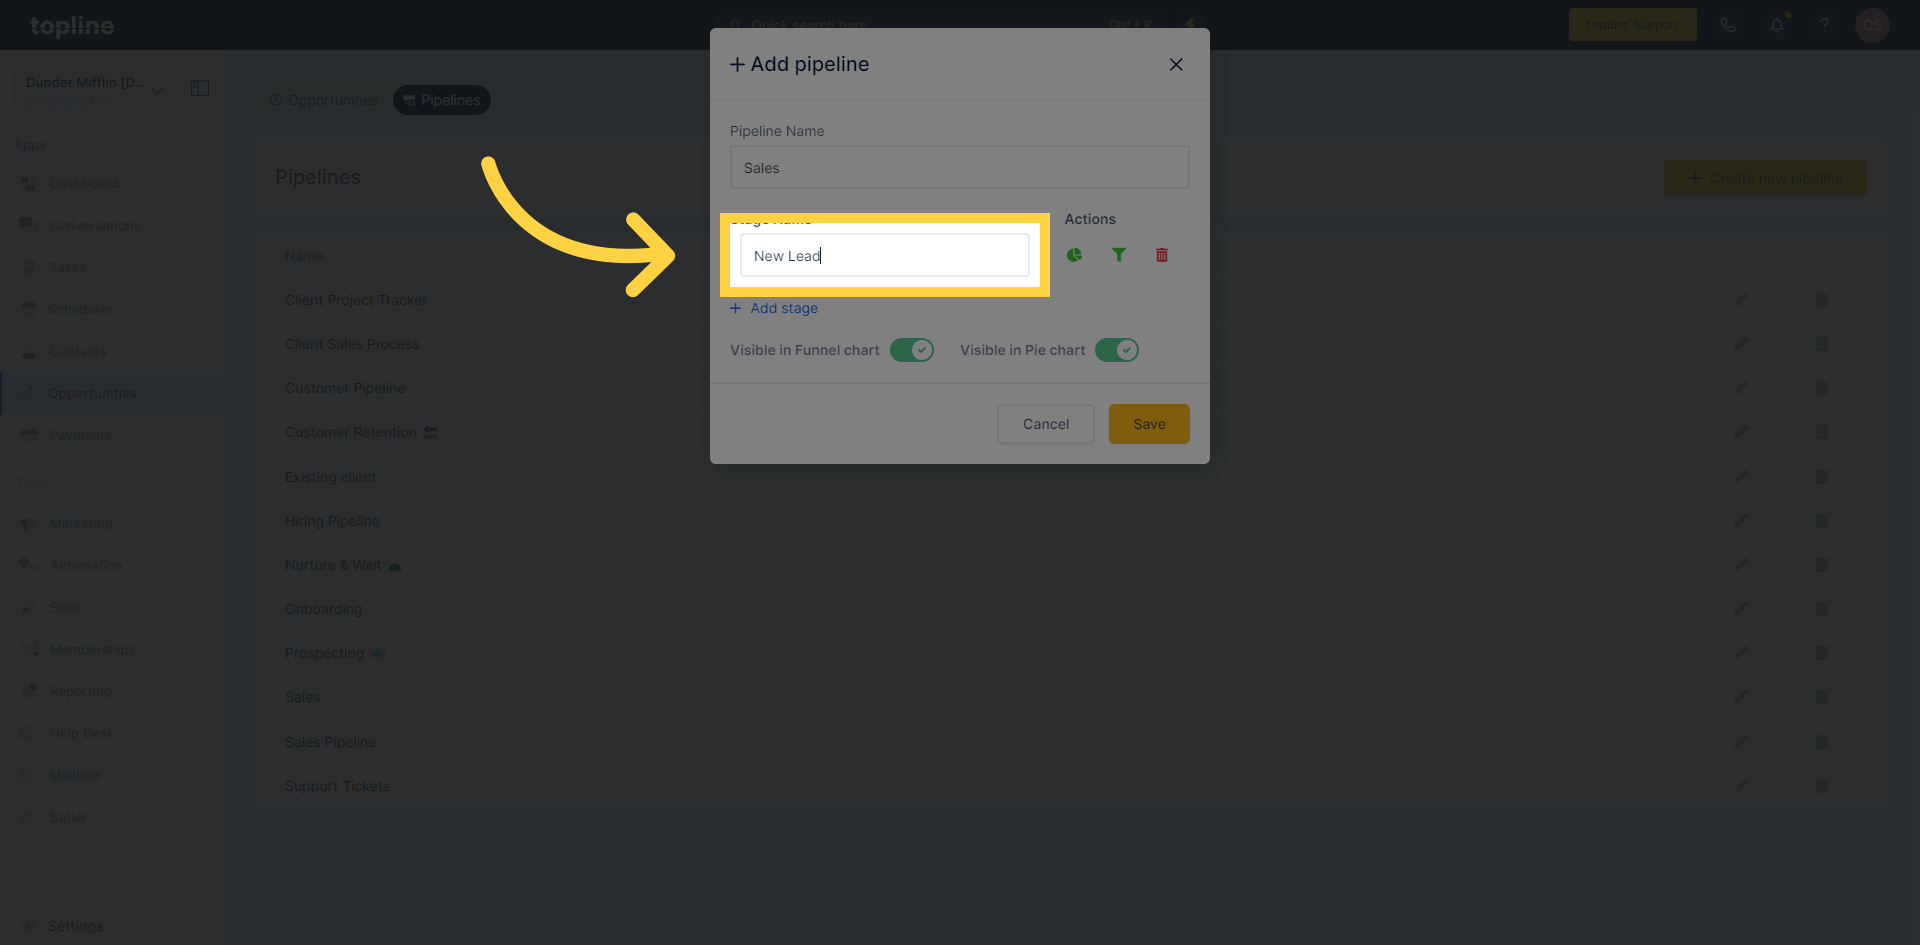
Click on the stage name field to start defining the journey your leads will take, beginning with "New Lead" as an example entry point.

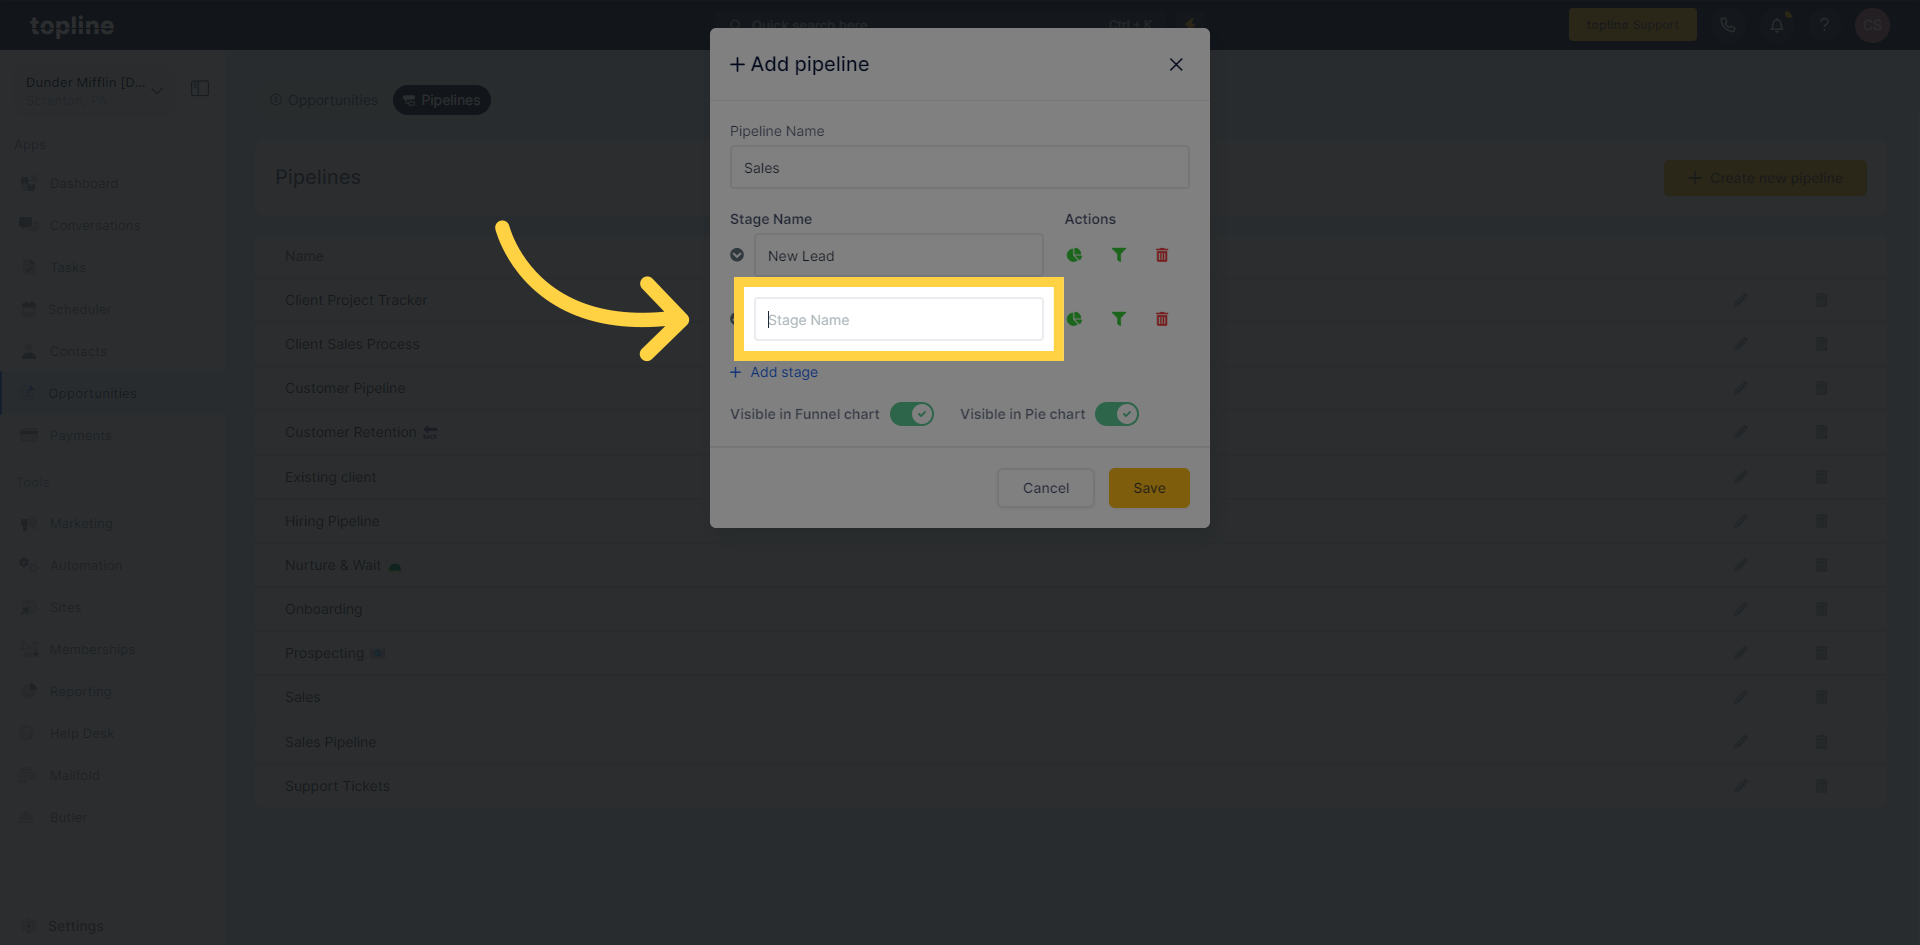
Now, you’ll want to continue repeating this same process until you’ve finished adding all your stages.
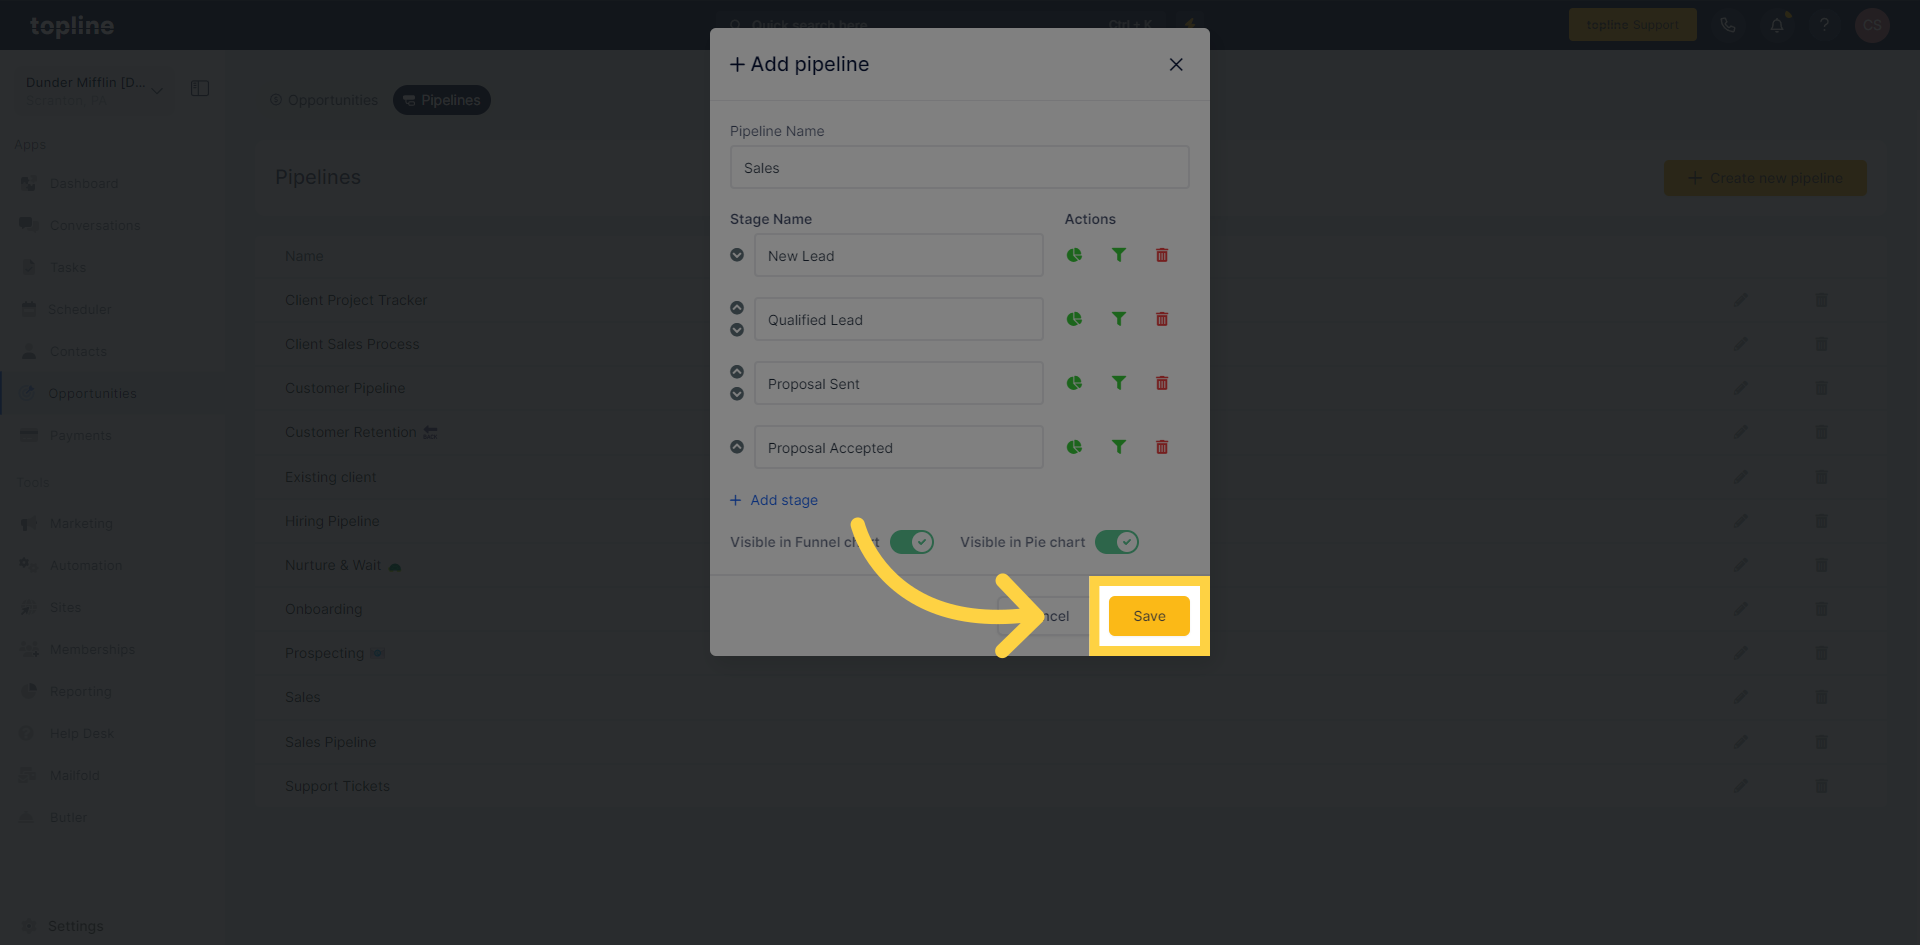
Once satisfied with the pipeline name and the structured stages, click "Save." Congratulations, your custom sales pipeline is now set and ready to guide your opportunities to successful closes.
This guide covered the process of creating pipelines, defining stages, and saving changes in the Topline application to facilitate employee training. Follow the precise instructions to efficiently manage opportunities and pipelines within your organization.
