Go to app.topline.com
1. Click "Dashboard"
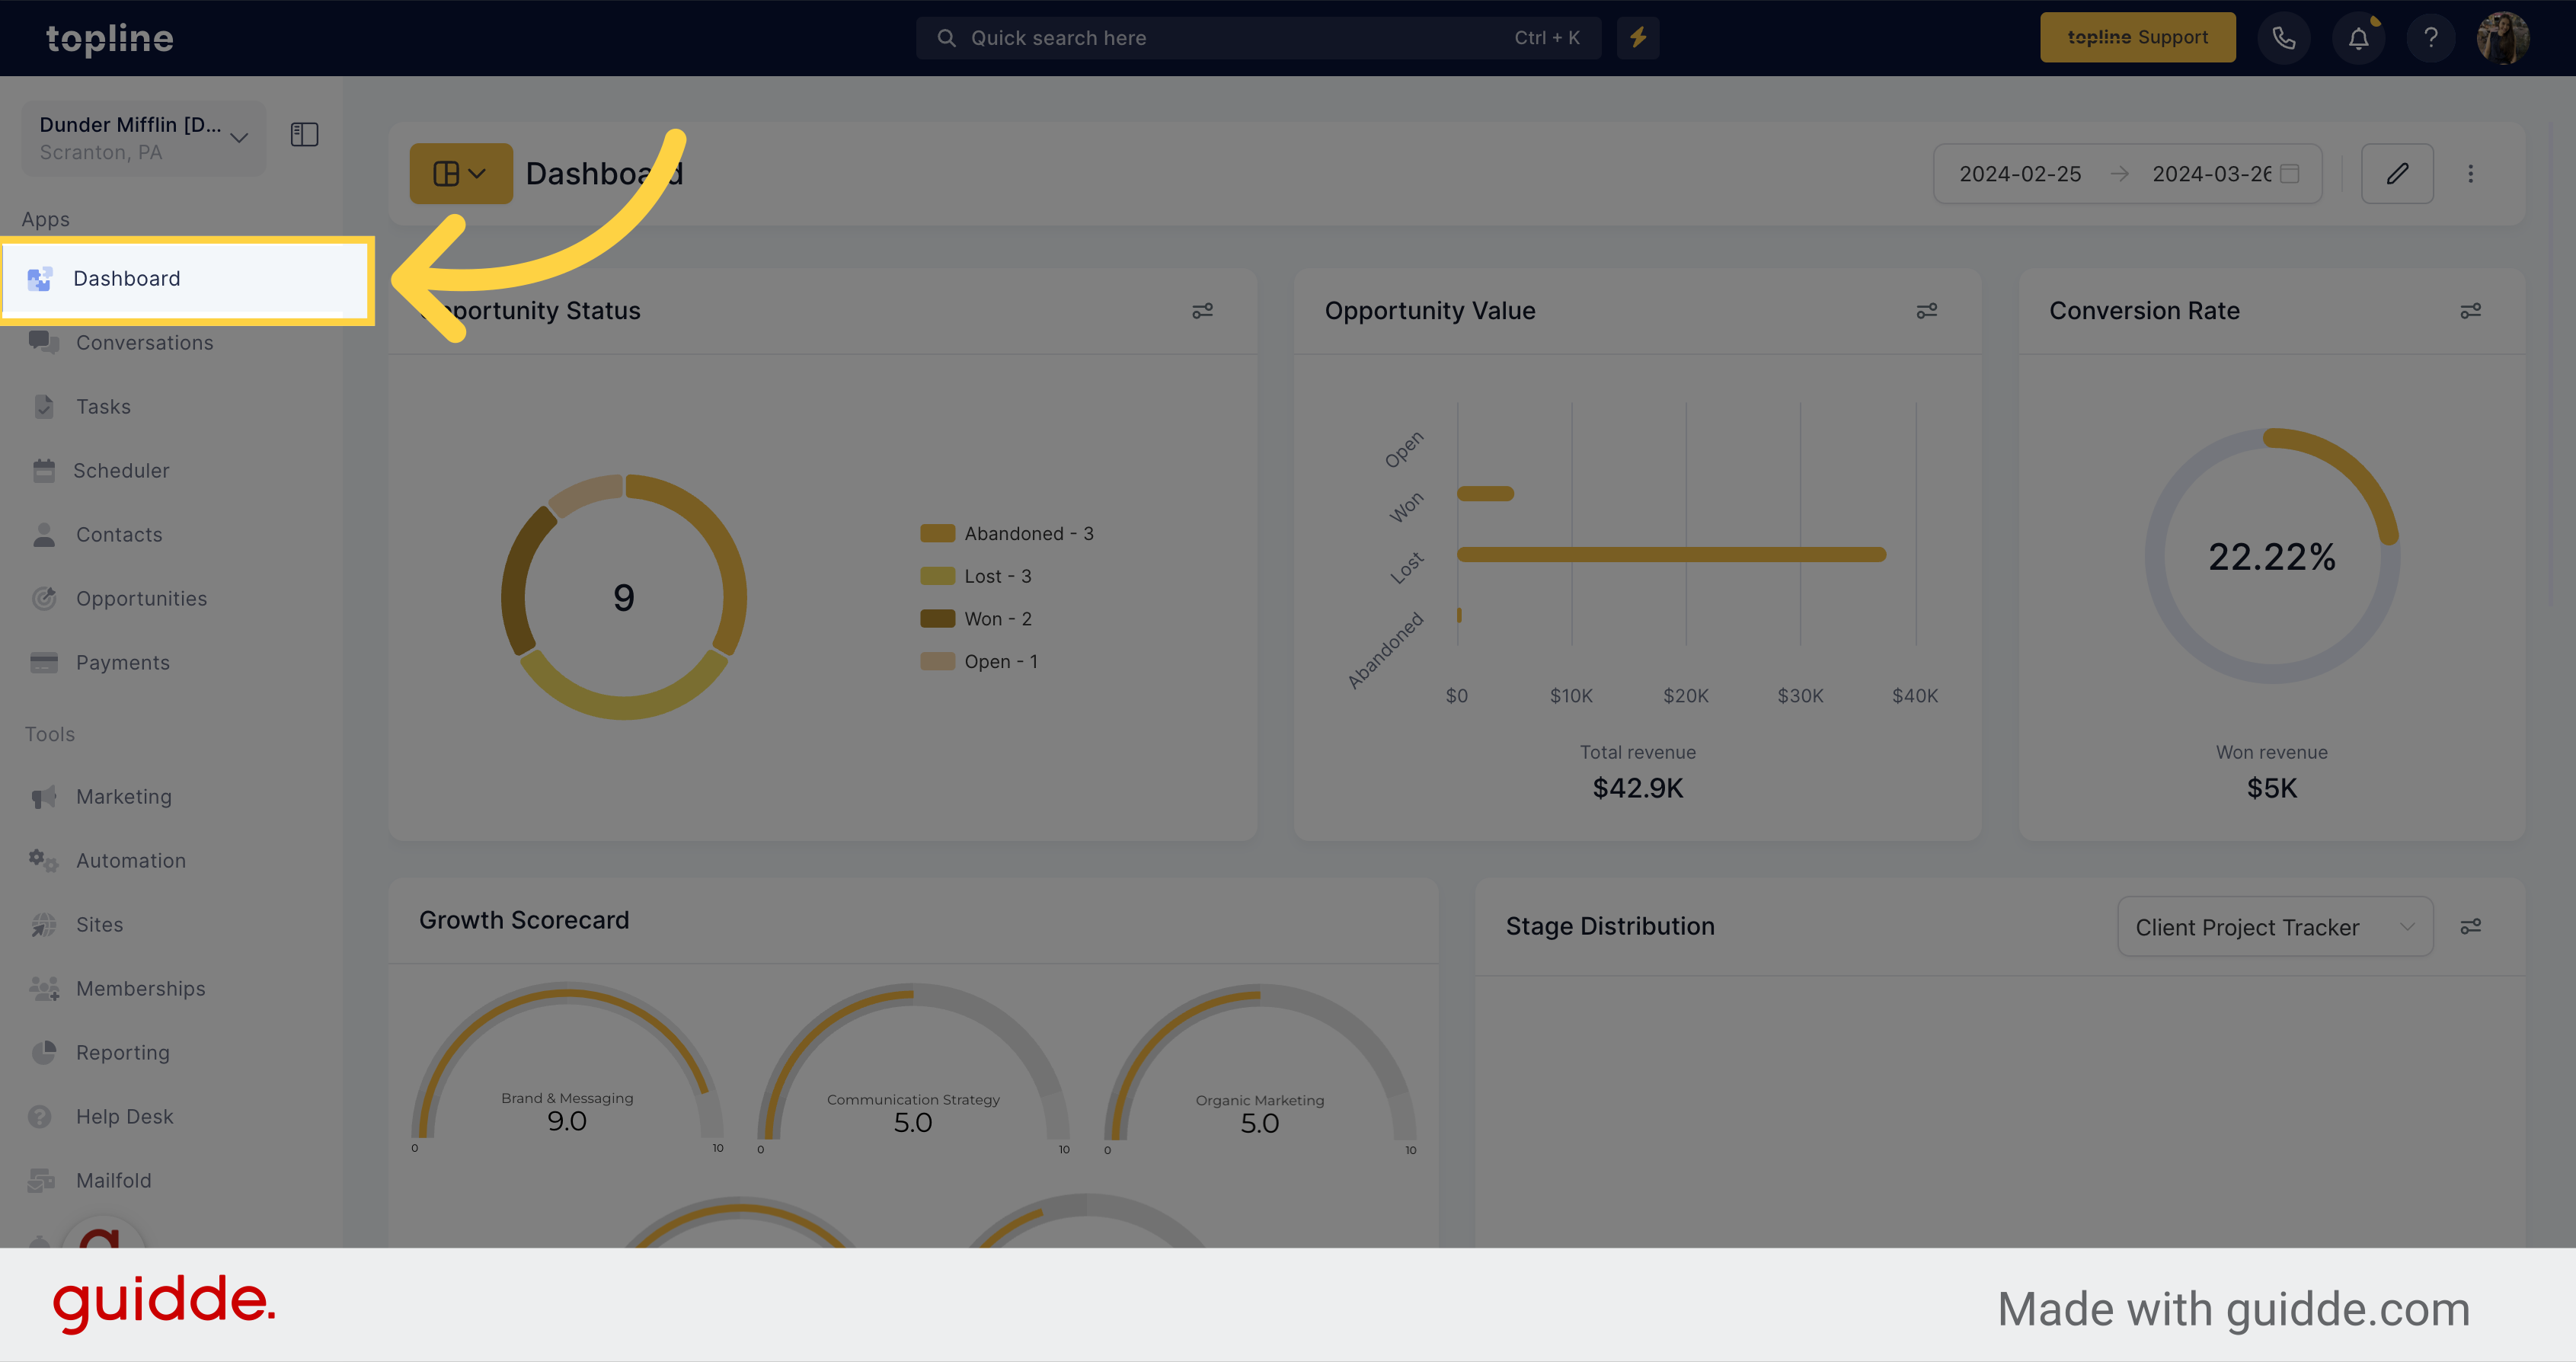
Navigate to the Dashboard section on the left side menu.
![Click 'Dashboard'](https://static.guidde.com/v0/qg%2FhfeNjF82igfsW9uOKlnpHlgnT7D2%2FgSxEUZptacz6CK8PUKBx2j%2Fq6Ymuj2SdjooNQi1eW3YZy_doc.png?alt=media&token=c3bac471-b799-4ac8-8140-0e754846ab43)
2. Click Icon
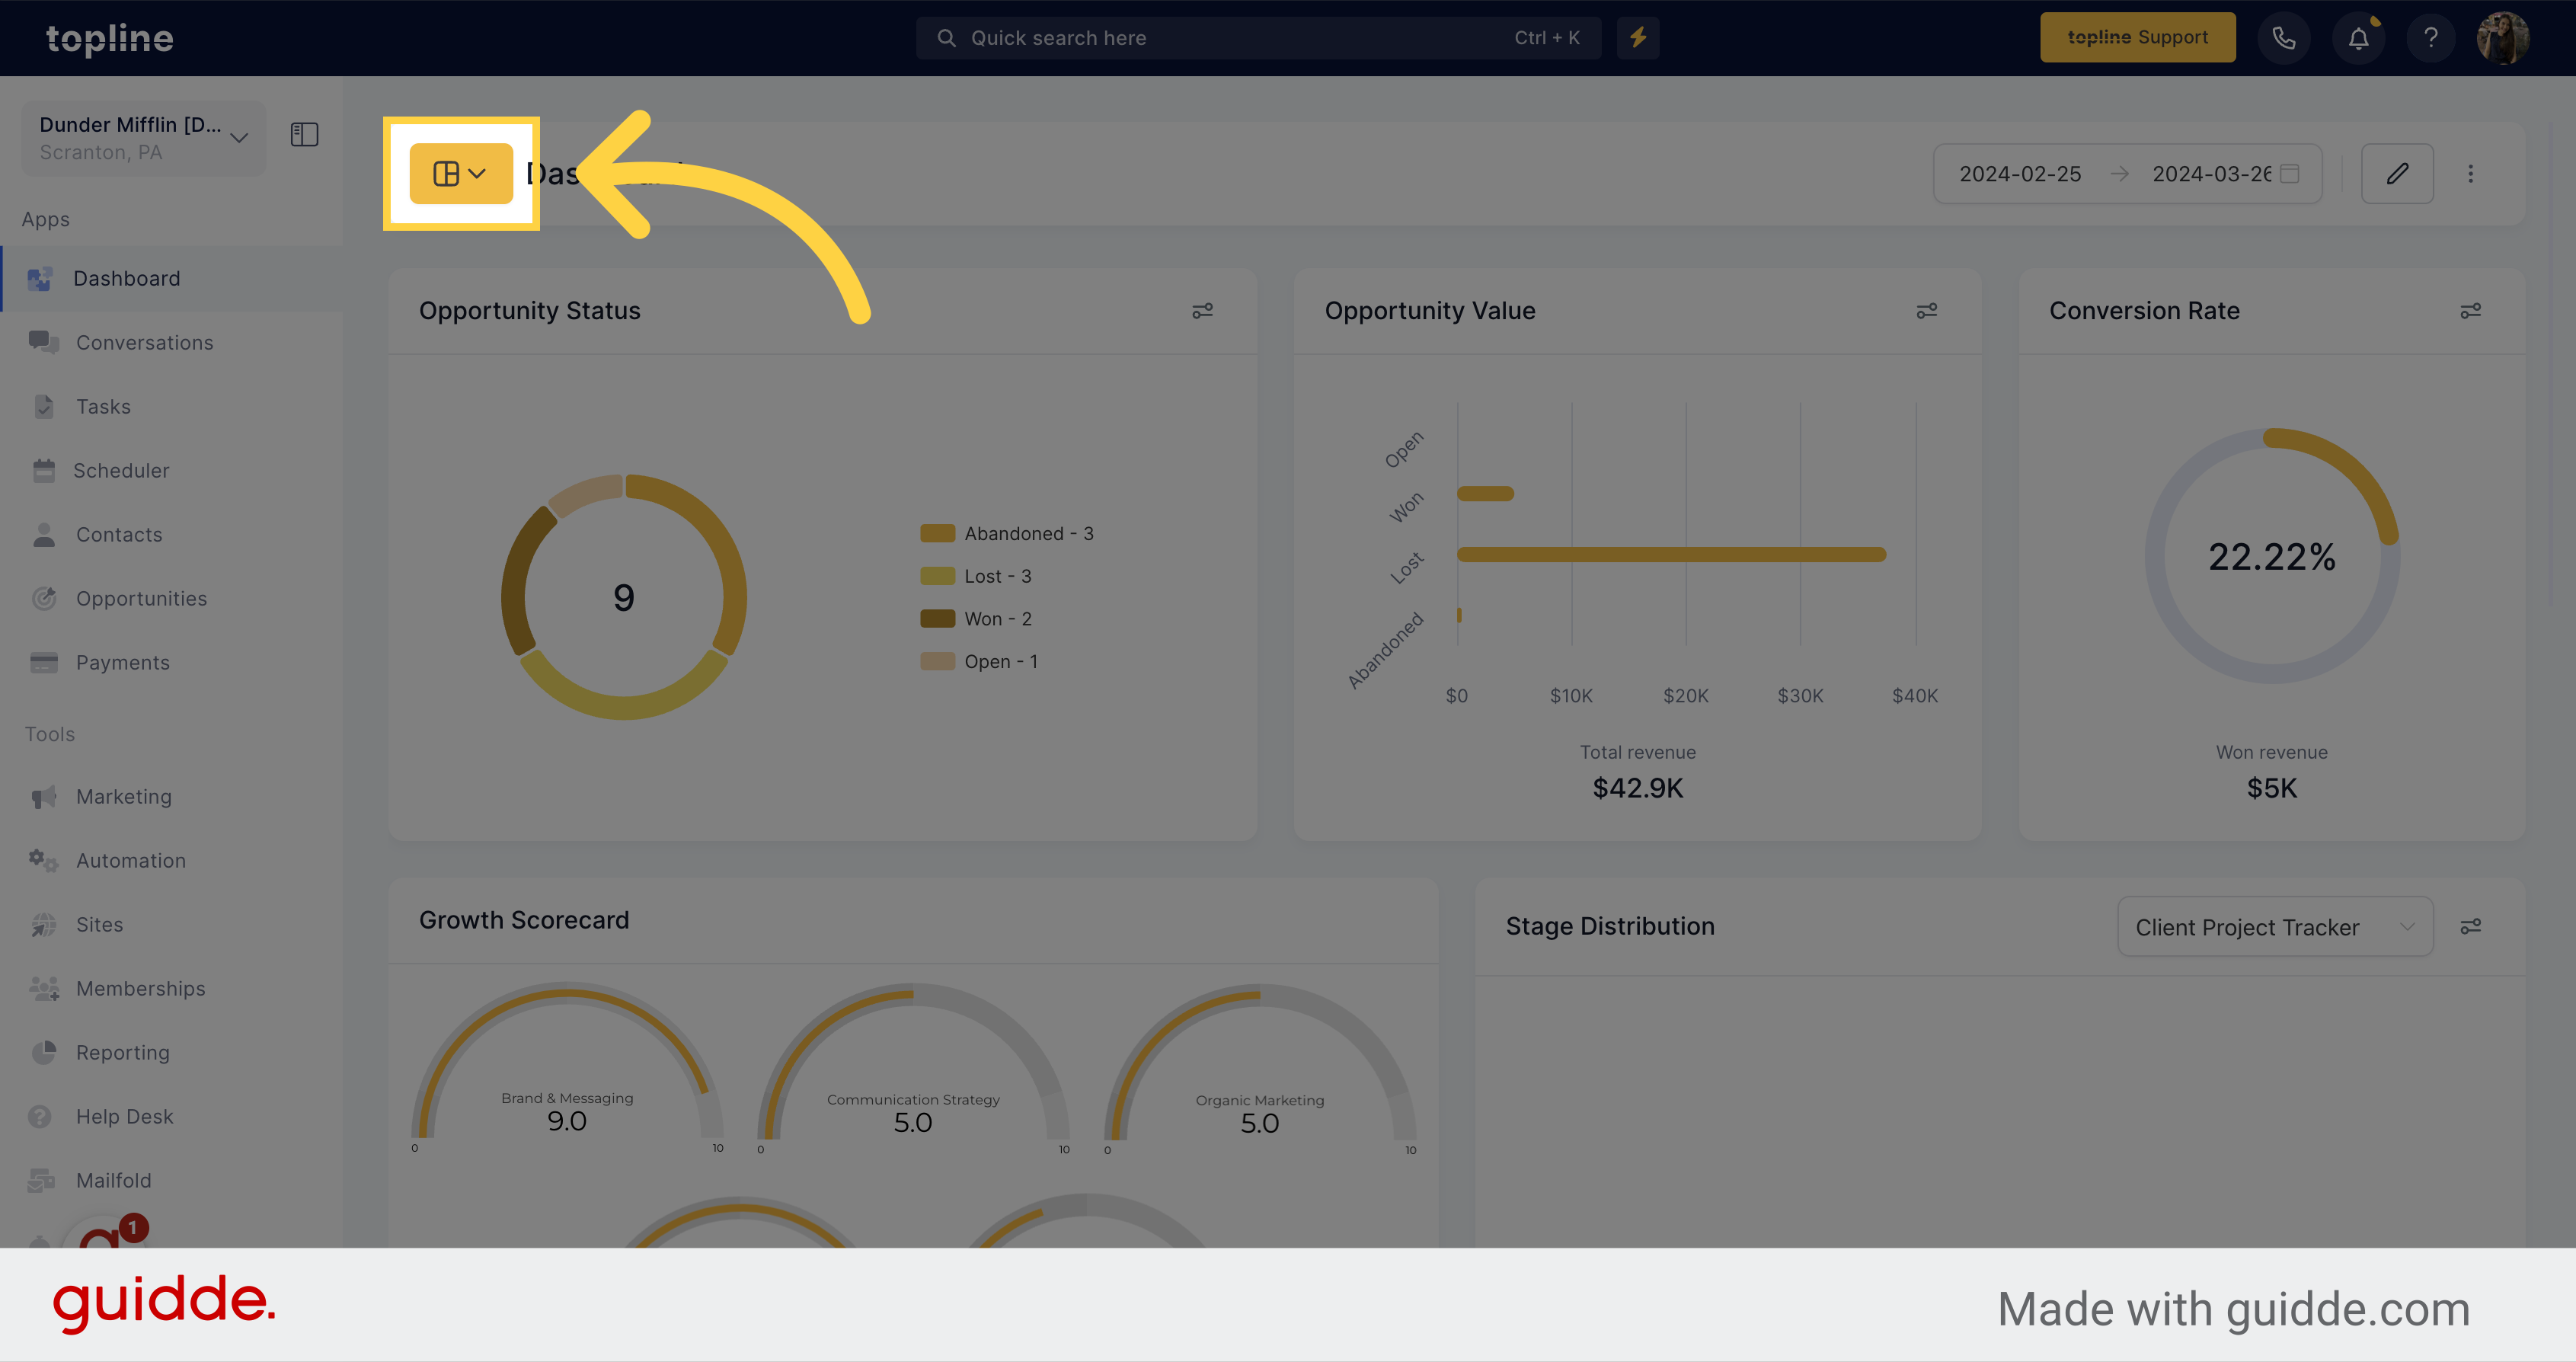
Click on the dashboard icon located on the upper left corner of the view.
![Click Icon](https://static.guidde.com/v0/qg%2FhfeNjF82igfsW9uOKlnpHlgnT7D2%2FgSxEUZptacz6CK8PUKBx2j%2FbTQUdFEVVdYQgdt7EH3dgT_doc.png?alt=media&token=d2de463d-b5c0-4225-8a3d-a679a110cec4)
3. Click "Add Dashboard"
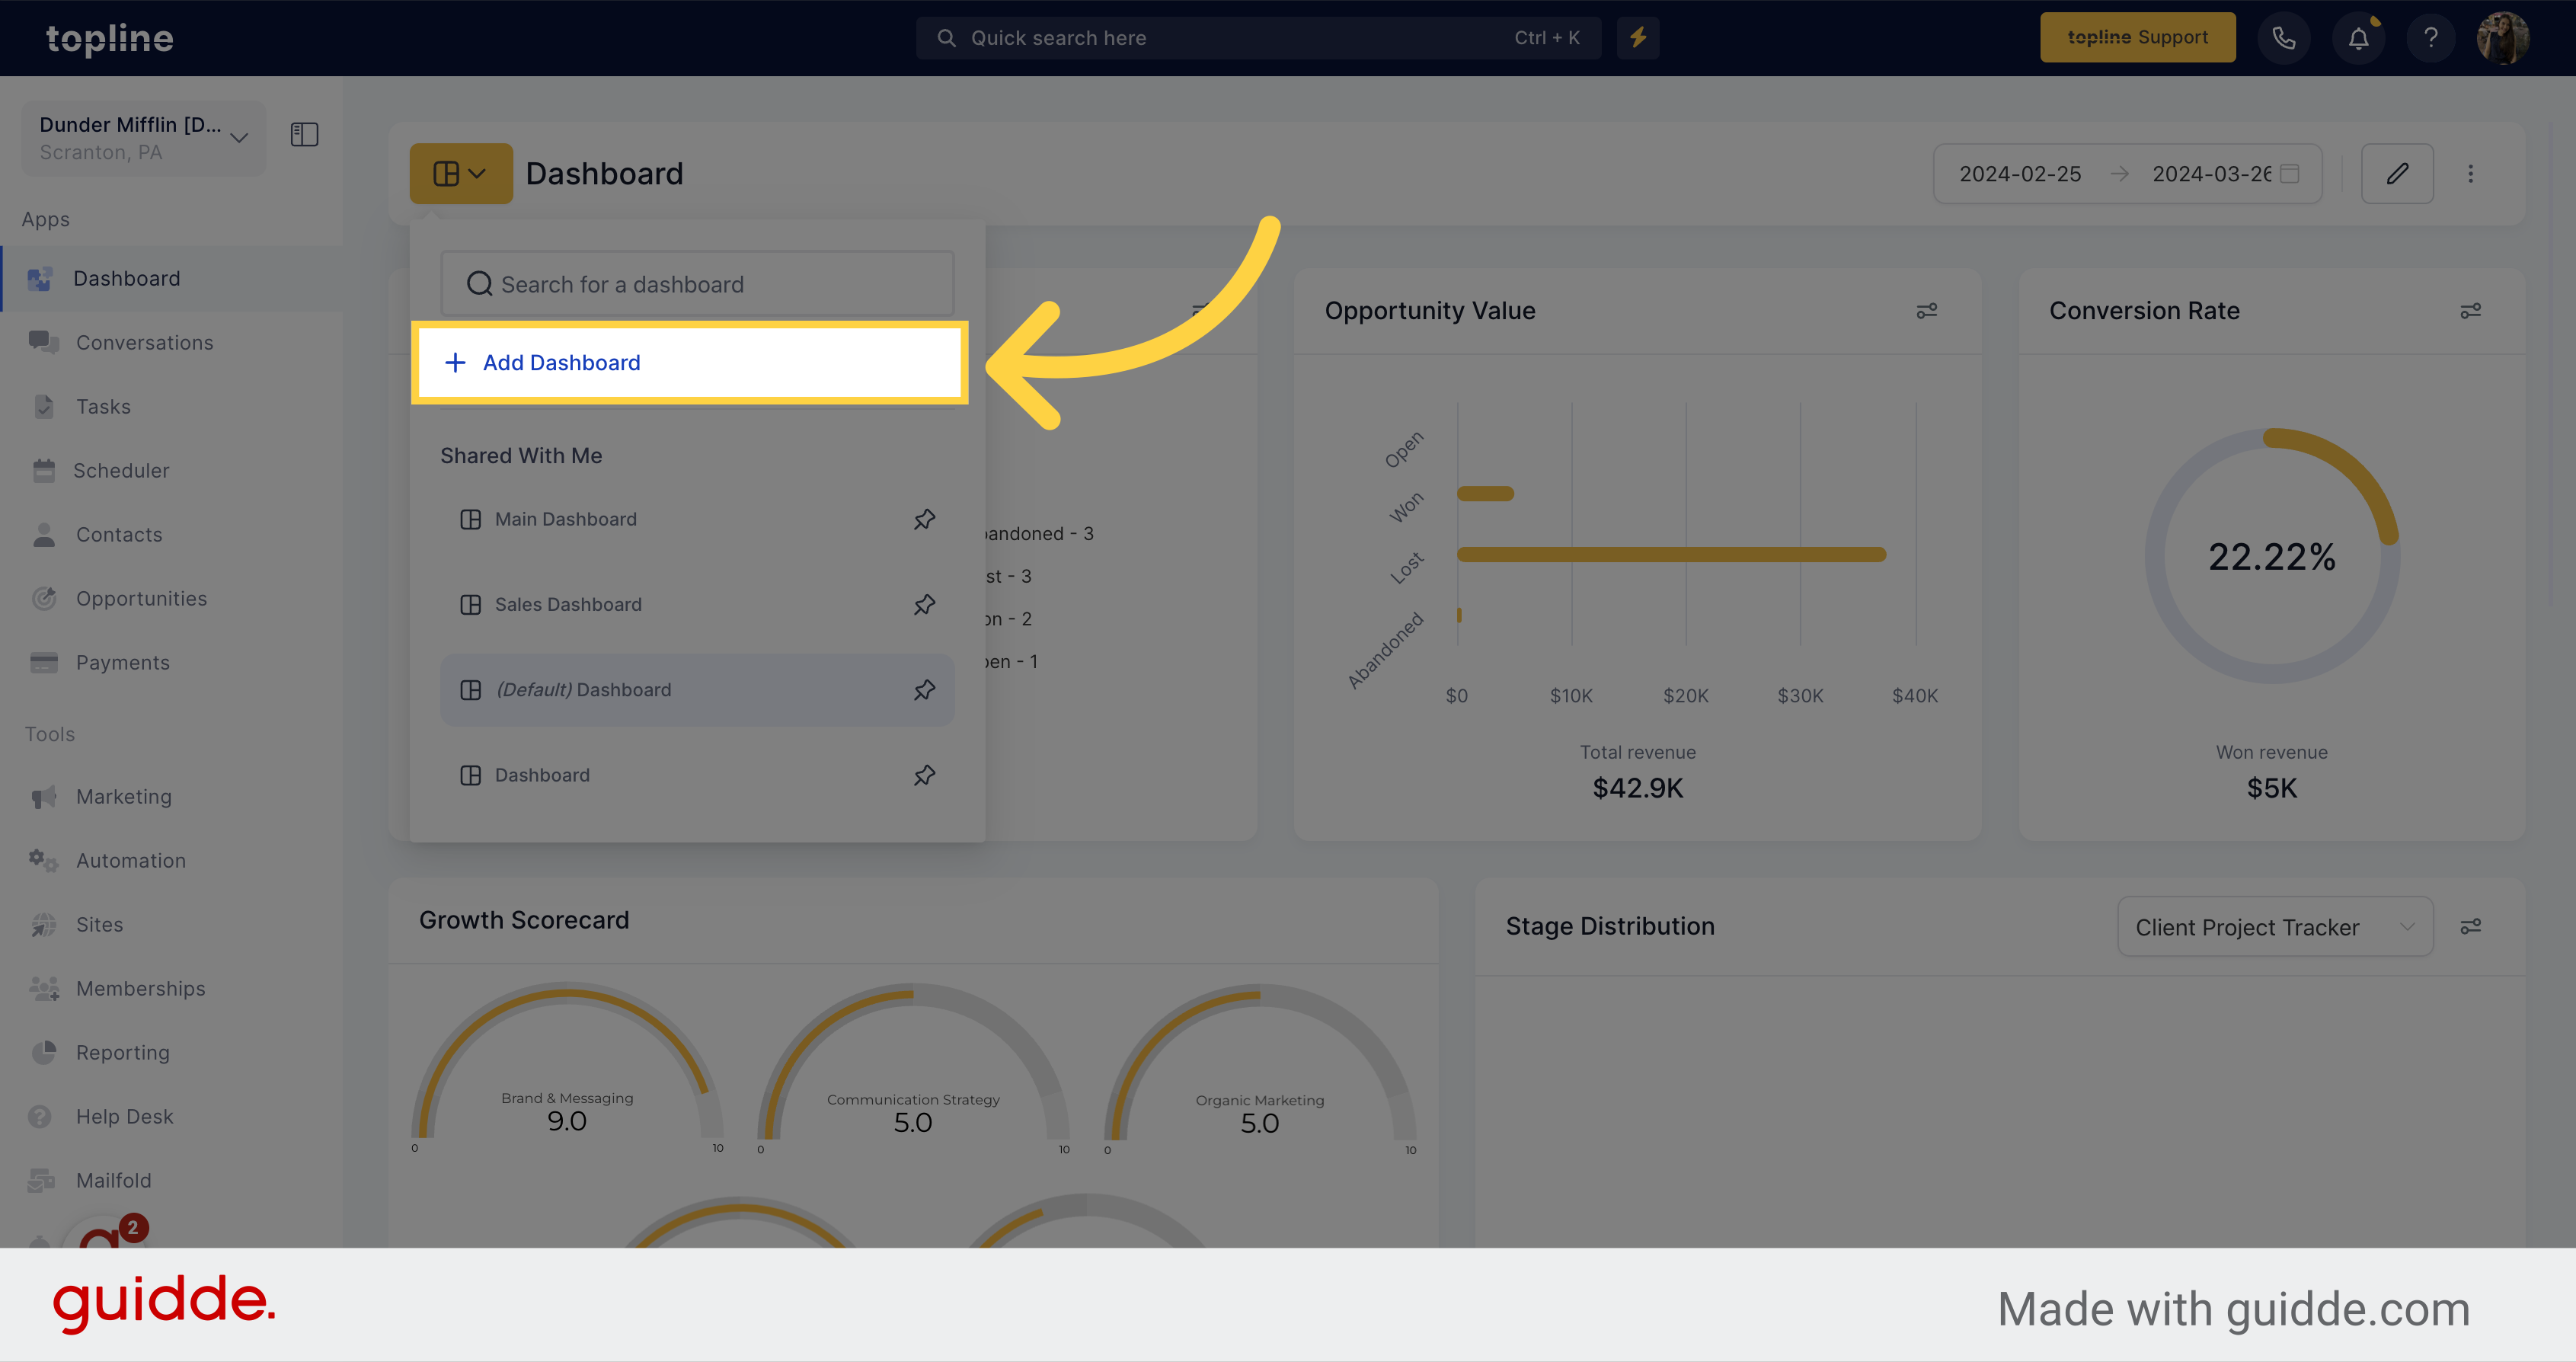
Initiate the creation of a new dashboard by clicking on this option.
![Click 'Add Dashboard'](https://static.guidde.com/v0/qg%2FhfeNjF82igfsW9uOKlnpHlgnT7D2%2FgSxEUZptacz6CK8PUKBx2j%2F9gsx8w3aPVDHnSXi1PETNB_doc.png?alt=media&token=af682fab-62a8-4147-925c-5e39d9ba8feb)
4. New Dashboard
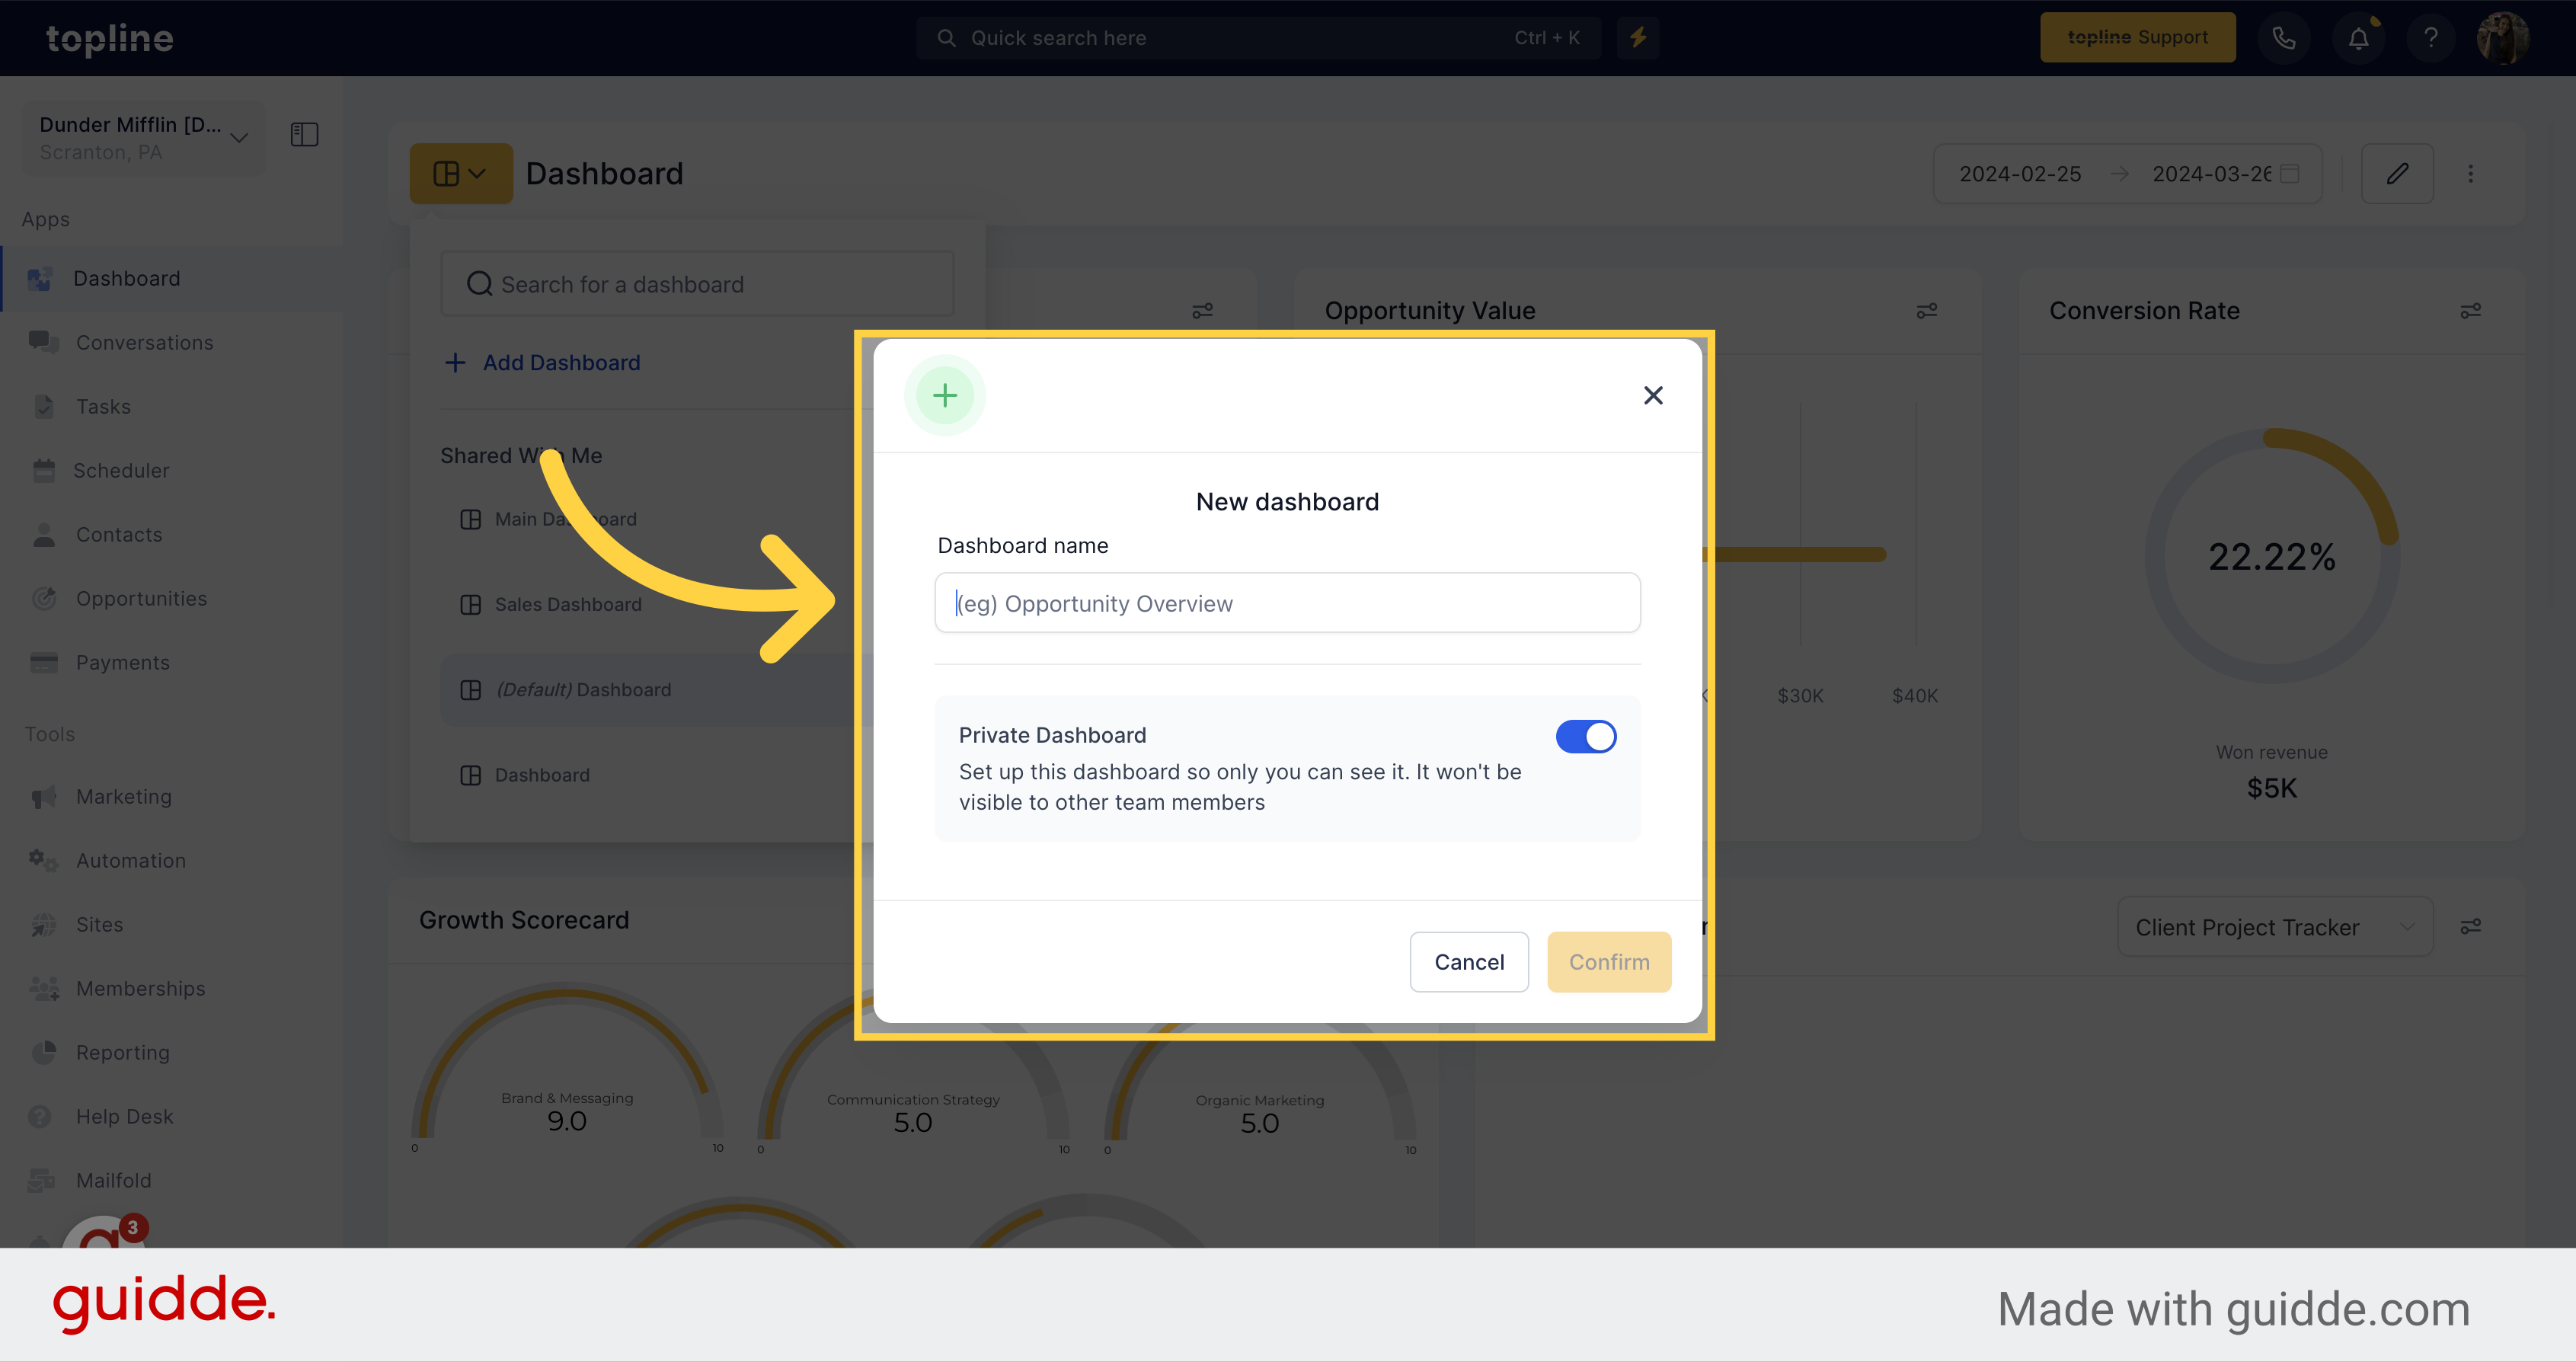
A pop up window will appear, fill up the space with the name of the dashboard.
![New Dashboard](https://static.guidde.com/v0/qg%2FhfeNjF82igfsW9uOKlnpHlgnT7D2%2FgSxEUZptacz6CK8PUKBx2j%2F2EYRFhY5LfWvS8kZ2E9fqV_doc.png?alt=media&token=6bb96949-621e-4611-9811-5aa9ef669817)
5. Private Dashboard
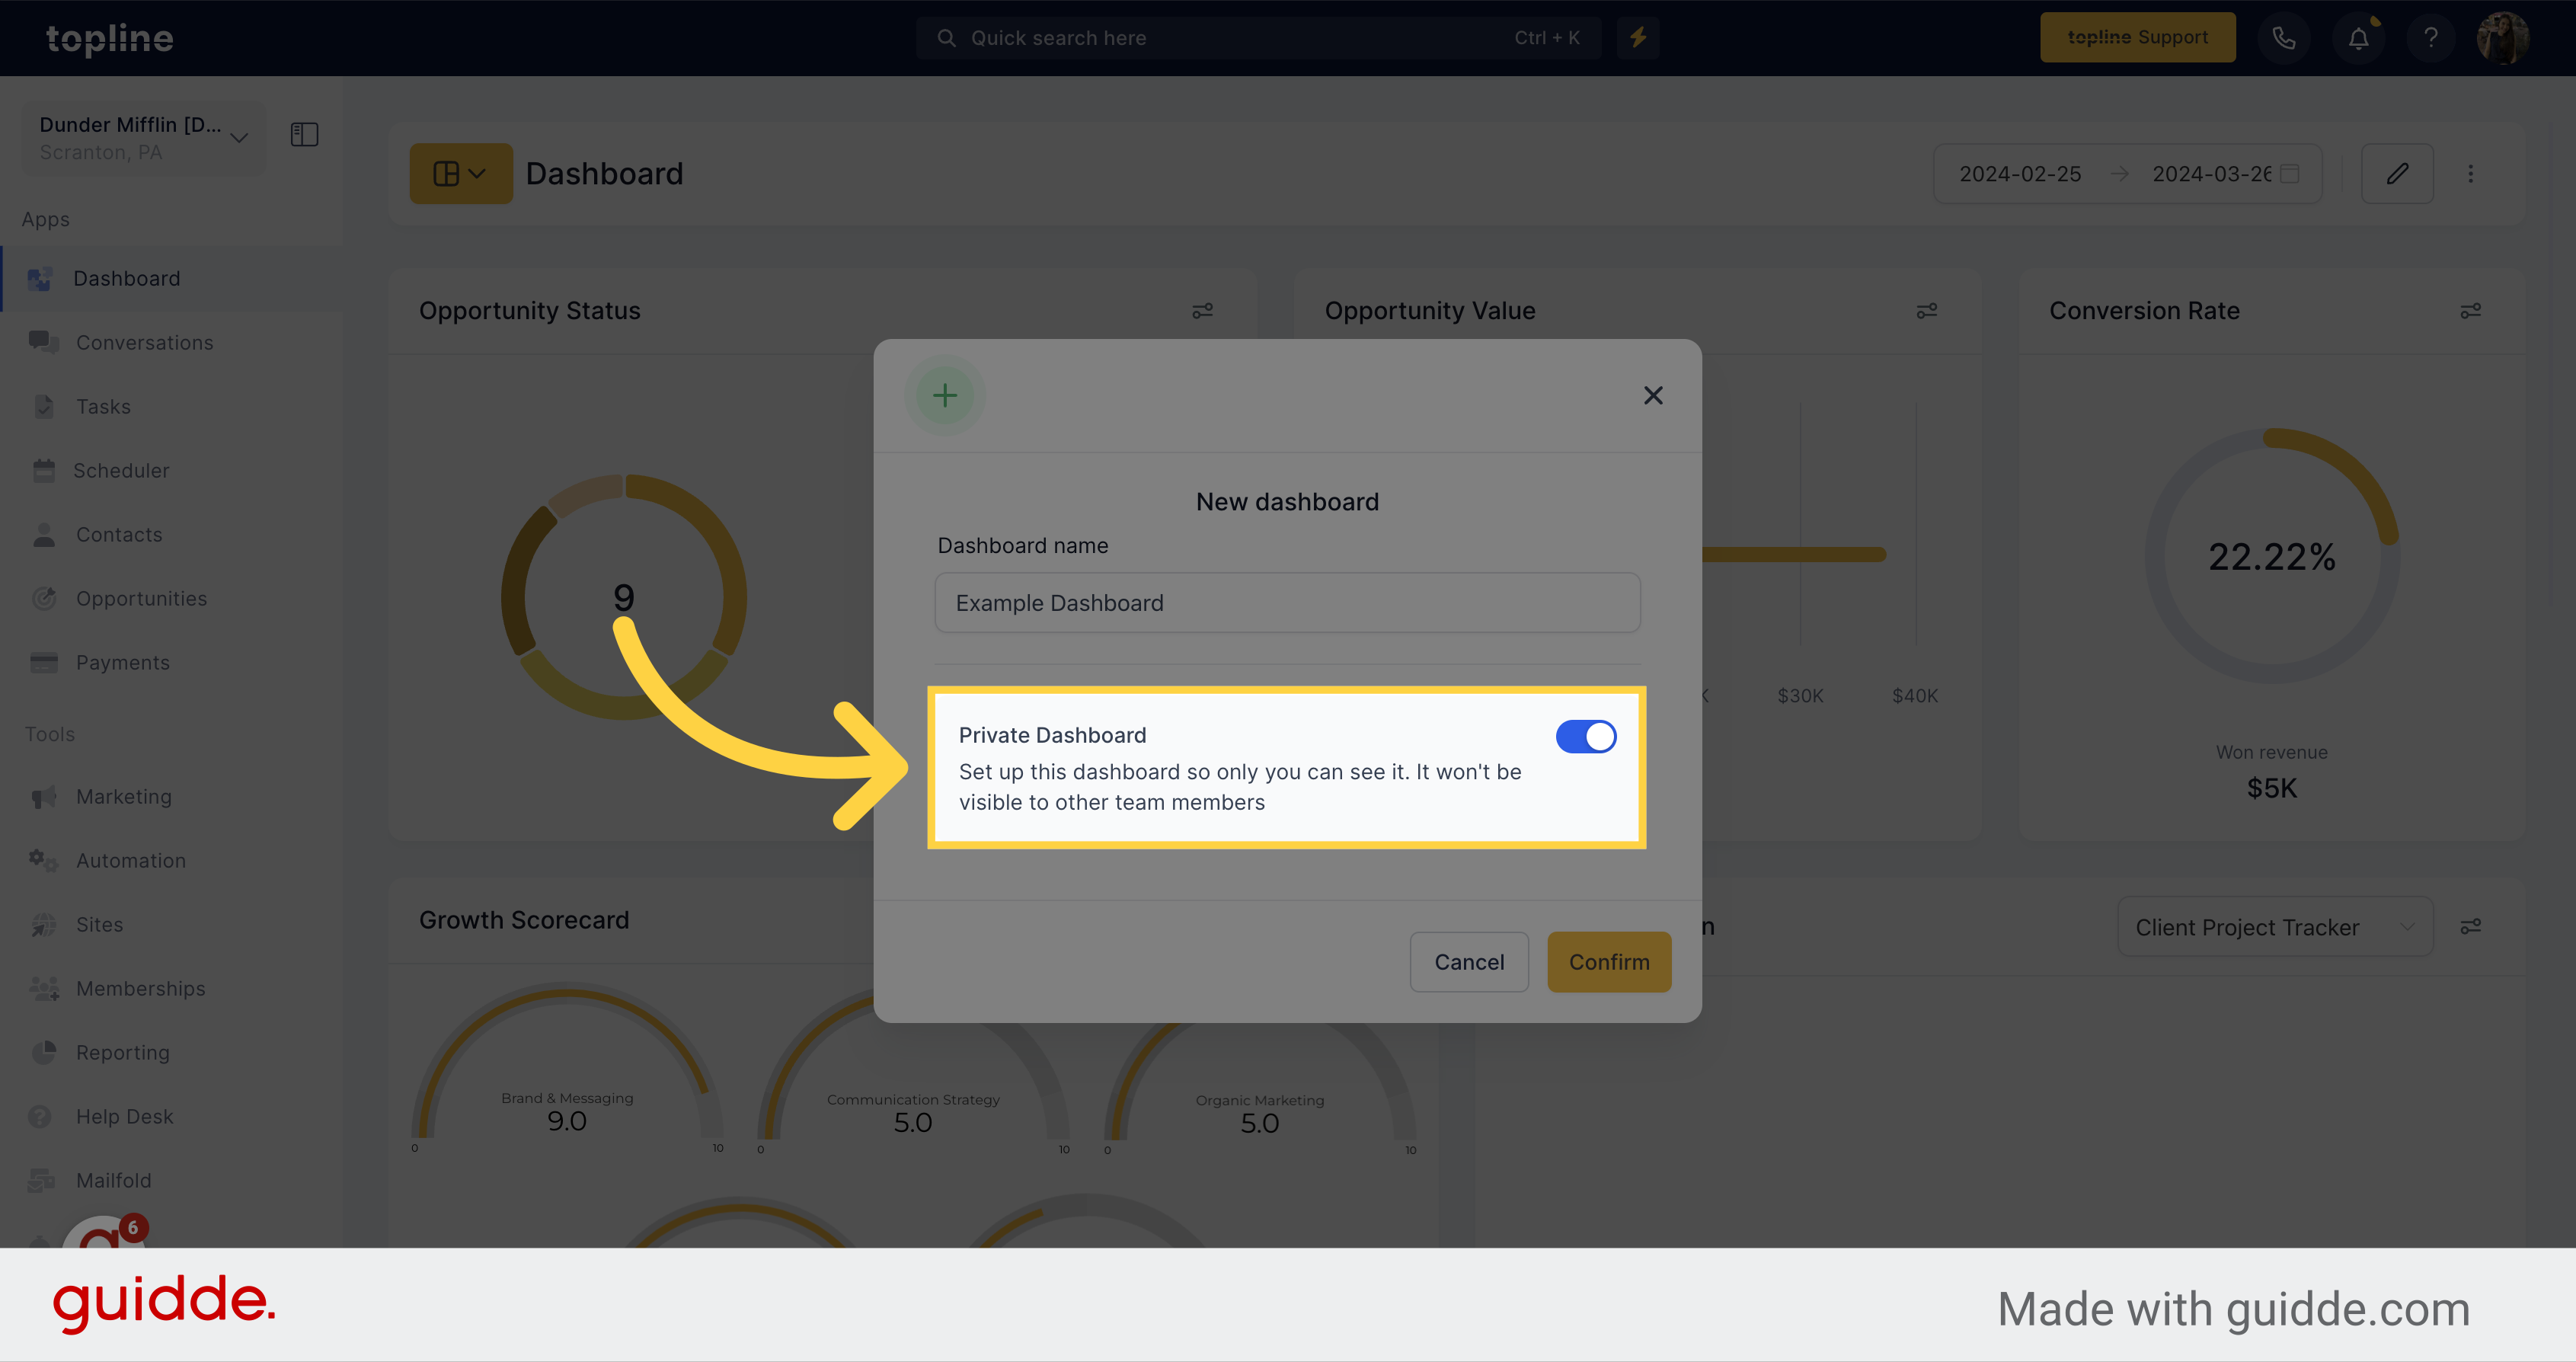
Activate this option so only you can see it. It won't be visible to other team members.
![Private Dashboard](https://static.guidde.com/v0/qg%2FhfeNjF82igfsW9uOKlnpHlgnT7D2%2FgSxEUZptacz6CK8PUKBx2j%2Foq2Y2EEKaLhHtuY6NxphKJ_doc.png?alt=media&token=8be41172-afe7-42b0-a0a3-9c3544248776)
6. Deactivate Private Dashboard
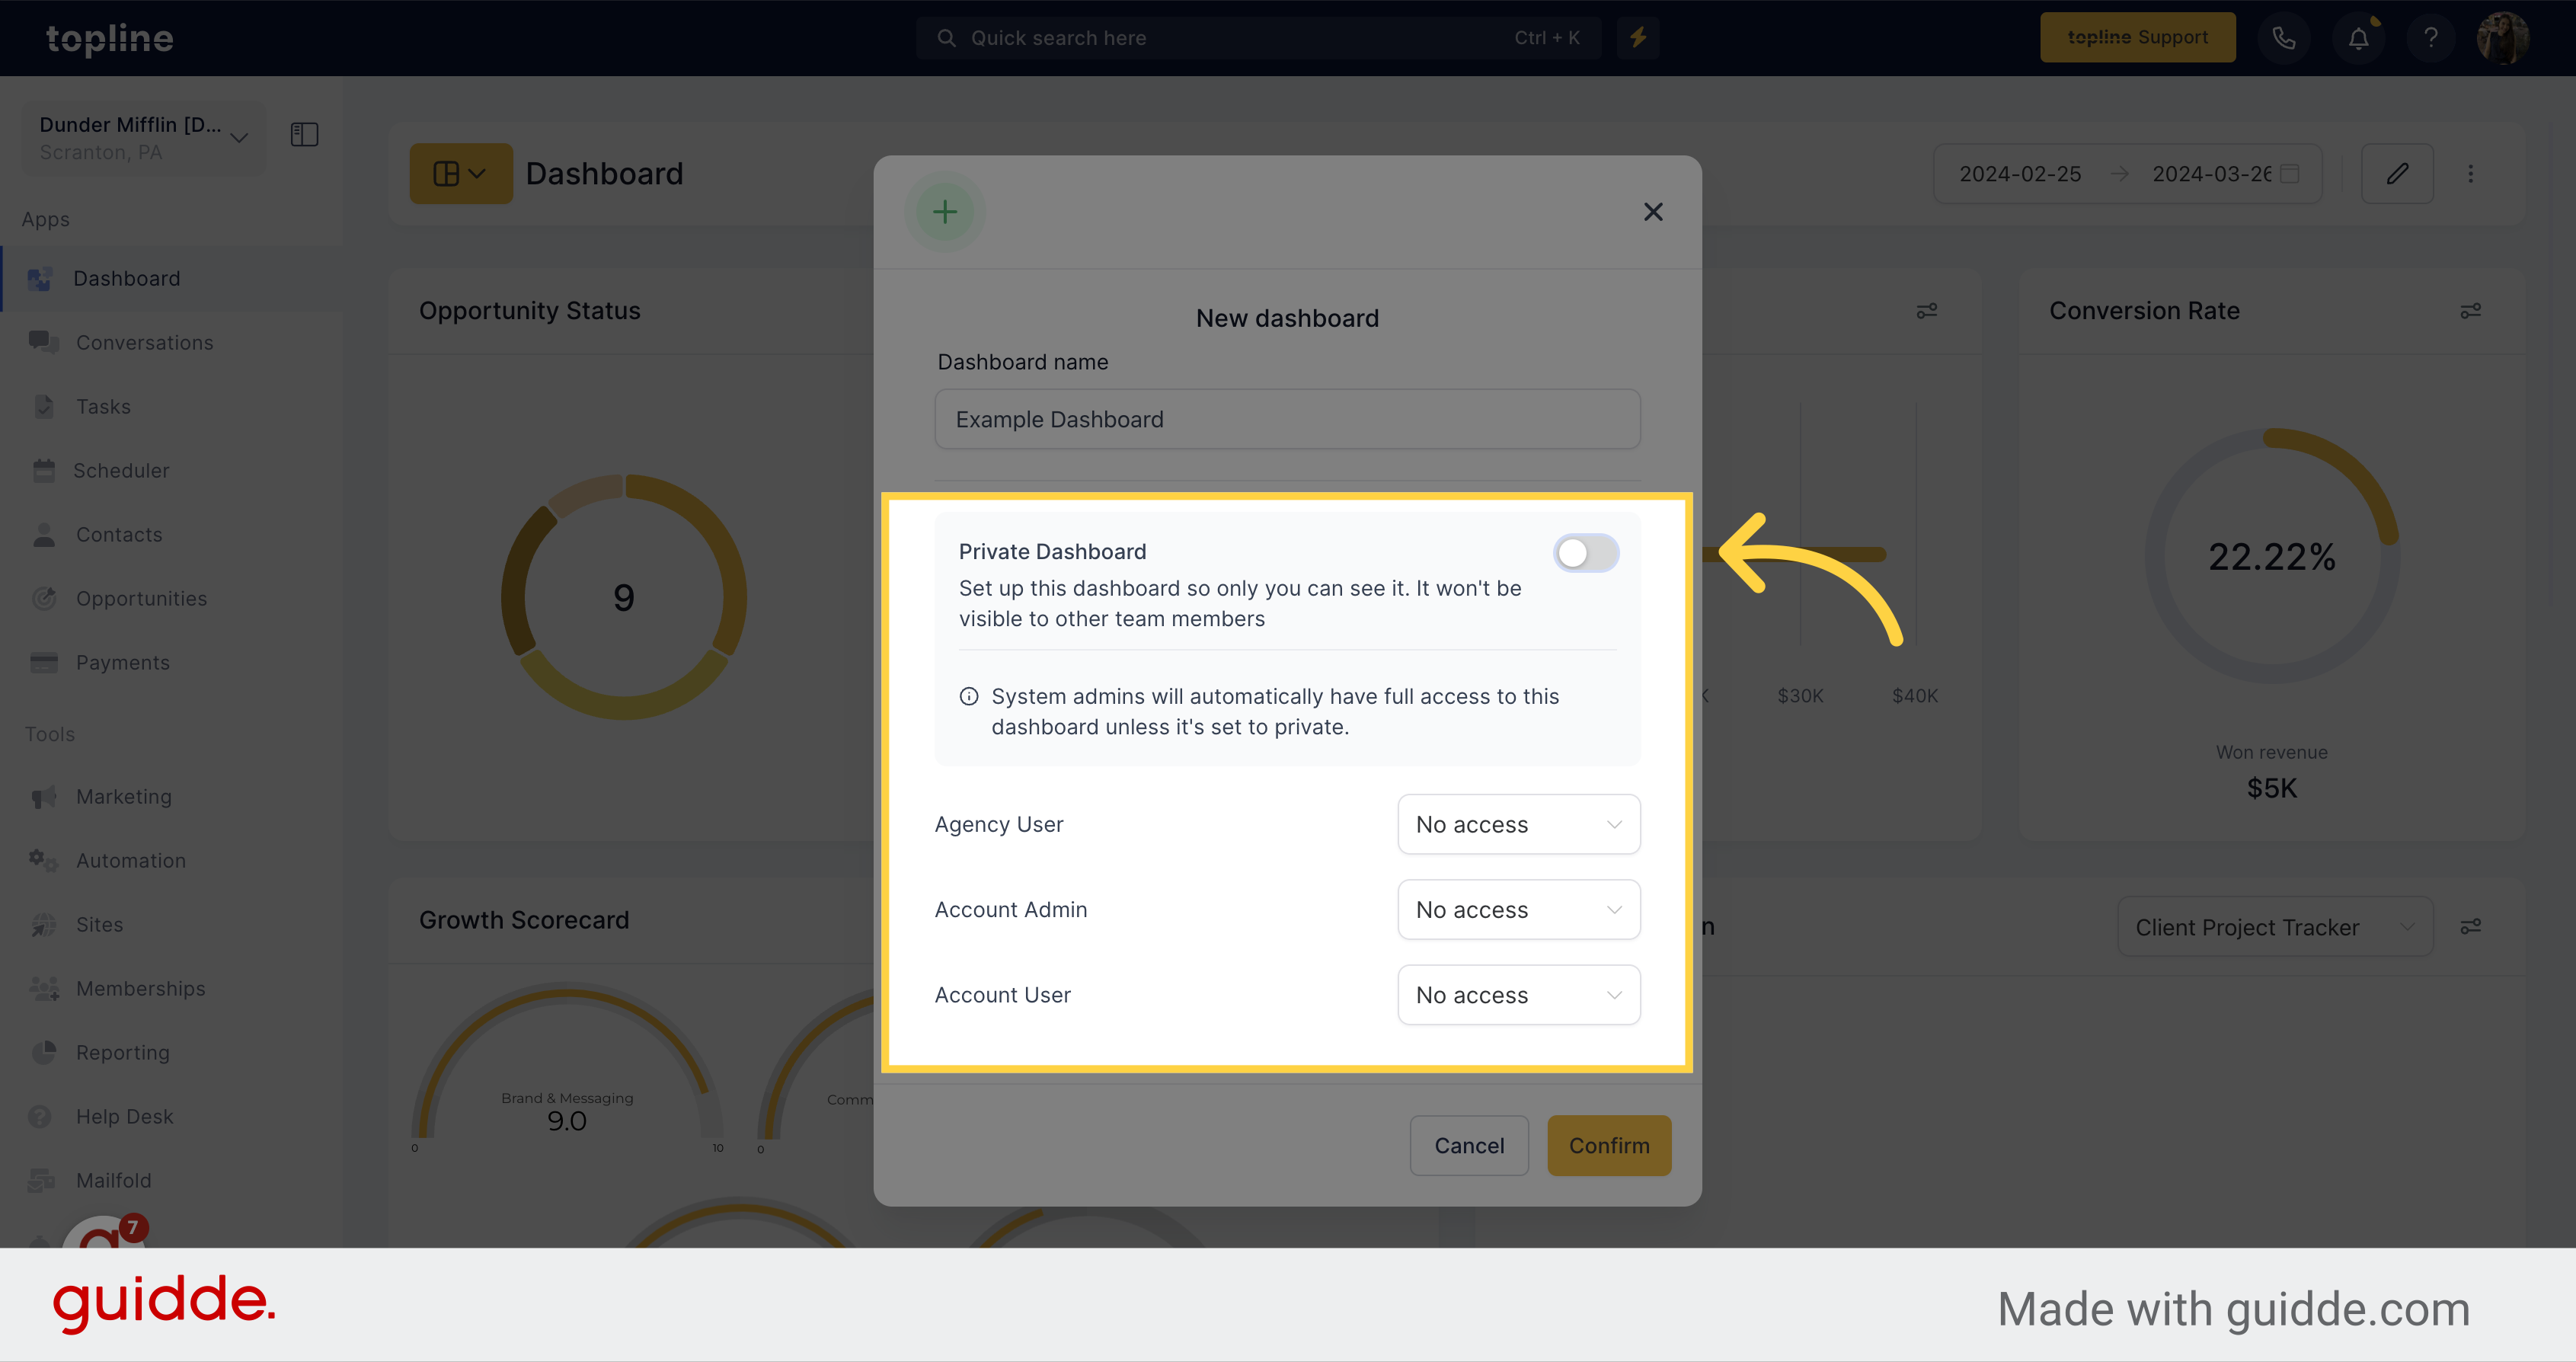
Toggle this to allow access to other team members. Grant access to agency users, account admins, or account users.
![Deactivate Private Dashboard](https://static.guidde.com/v0/qg%2FhfeNjF82igfsW9uOKlnpHlgnT7D2%2FgSxEUZptacz6CK8PUKBx2j%2Fe52MWAKEuf7BTHPGt7CB88_doc.png?alt=media&token=9c42fece-f722-440e-ad30-87b438e90193)
7. Click "Confirm"
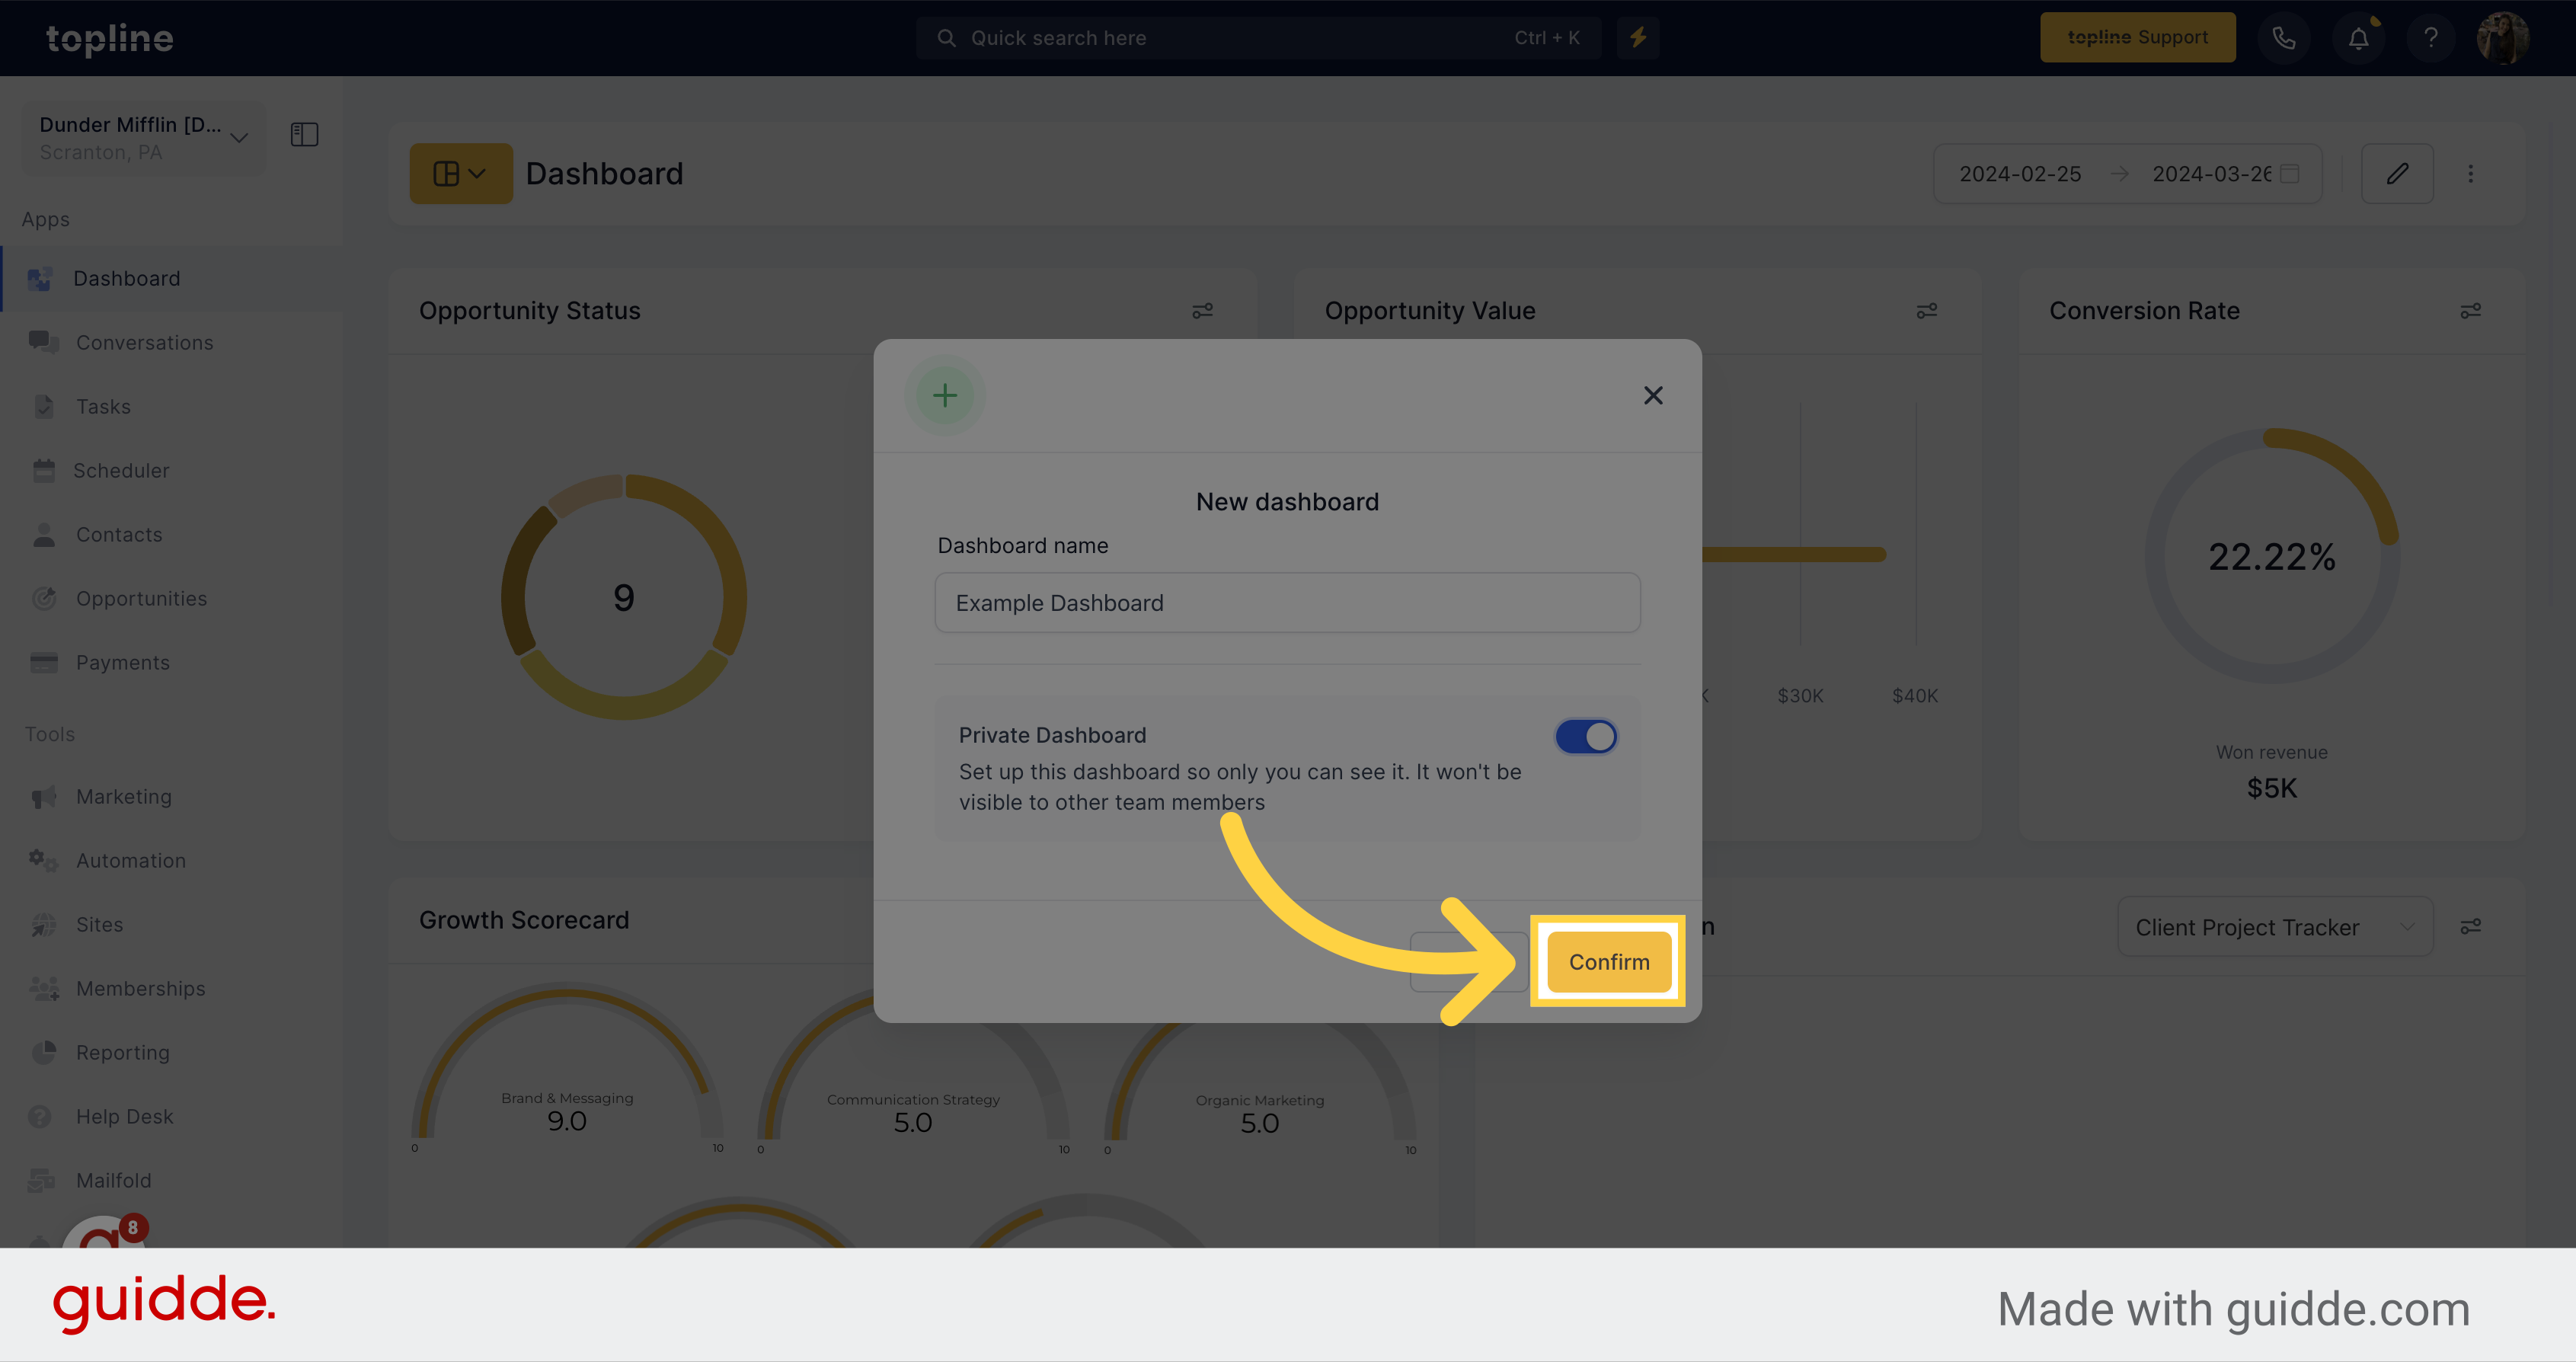
Once you have set up your new dashboard information, click on confirm.
![Click 'Confirm'](https://static.guidde.com/v0/qg%2FhfeNjF82igfsW9uOKlnpHlgnT7D2%2FgSxEUZptacz6CK8PUKBx2j%2FqmHaxJFX4nFif9Jy1hjAJ8_doc.png?alt=media&token=08497c08-959e-4211-980f-694b46346066)
8. Start from Scratch or Select Suggested Widgets
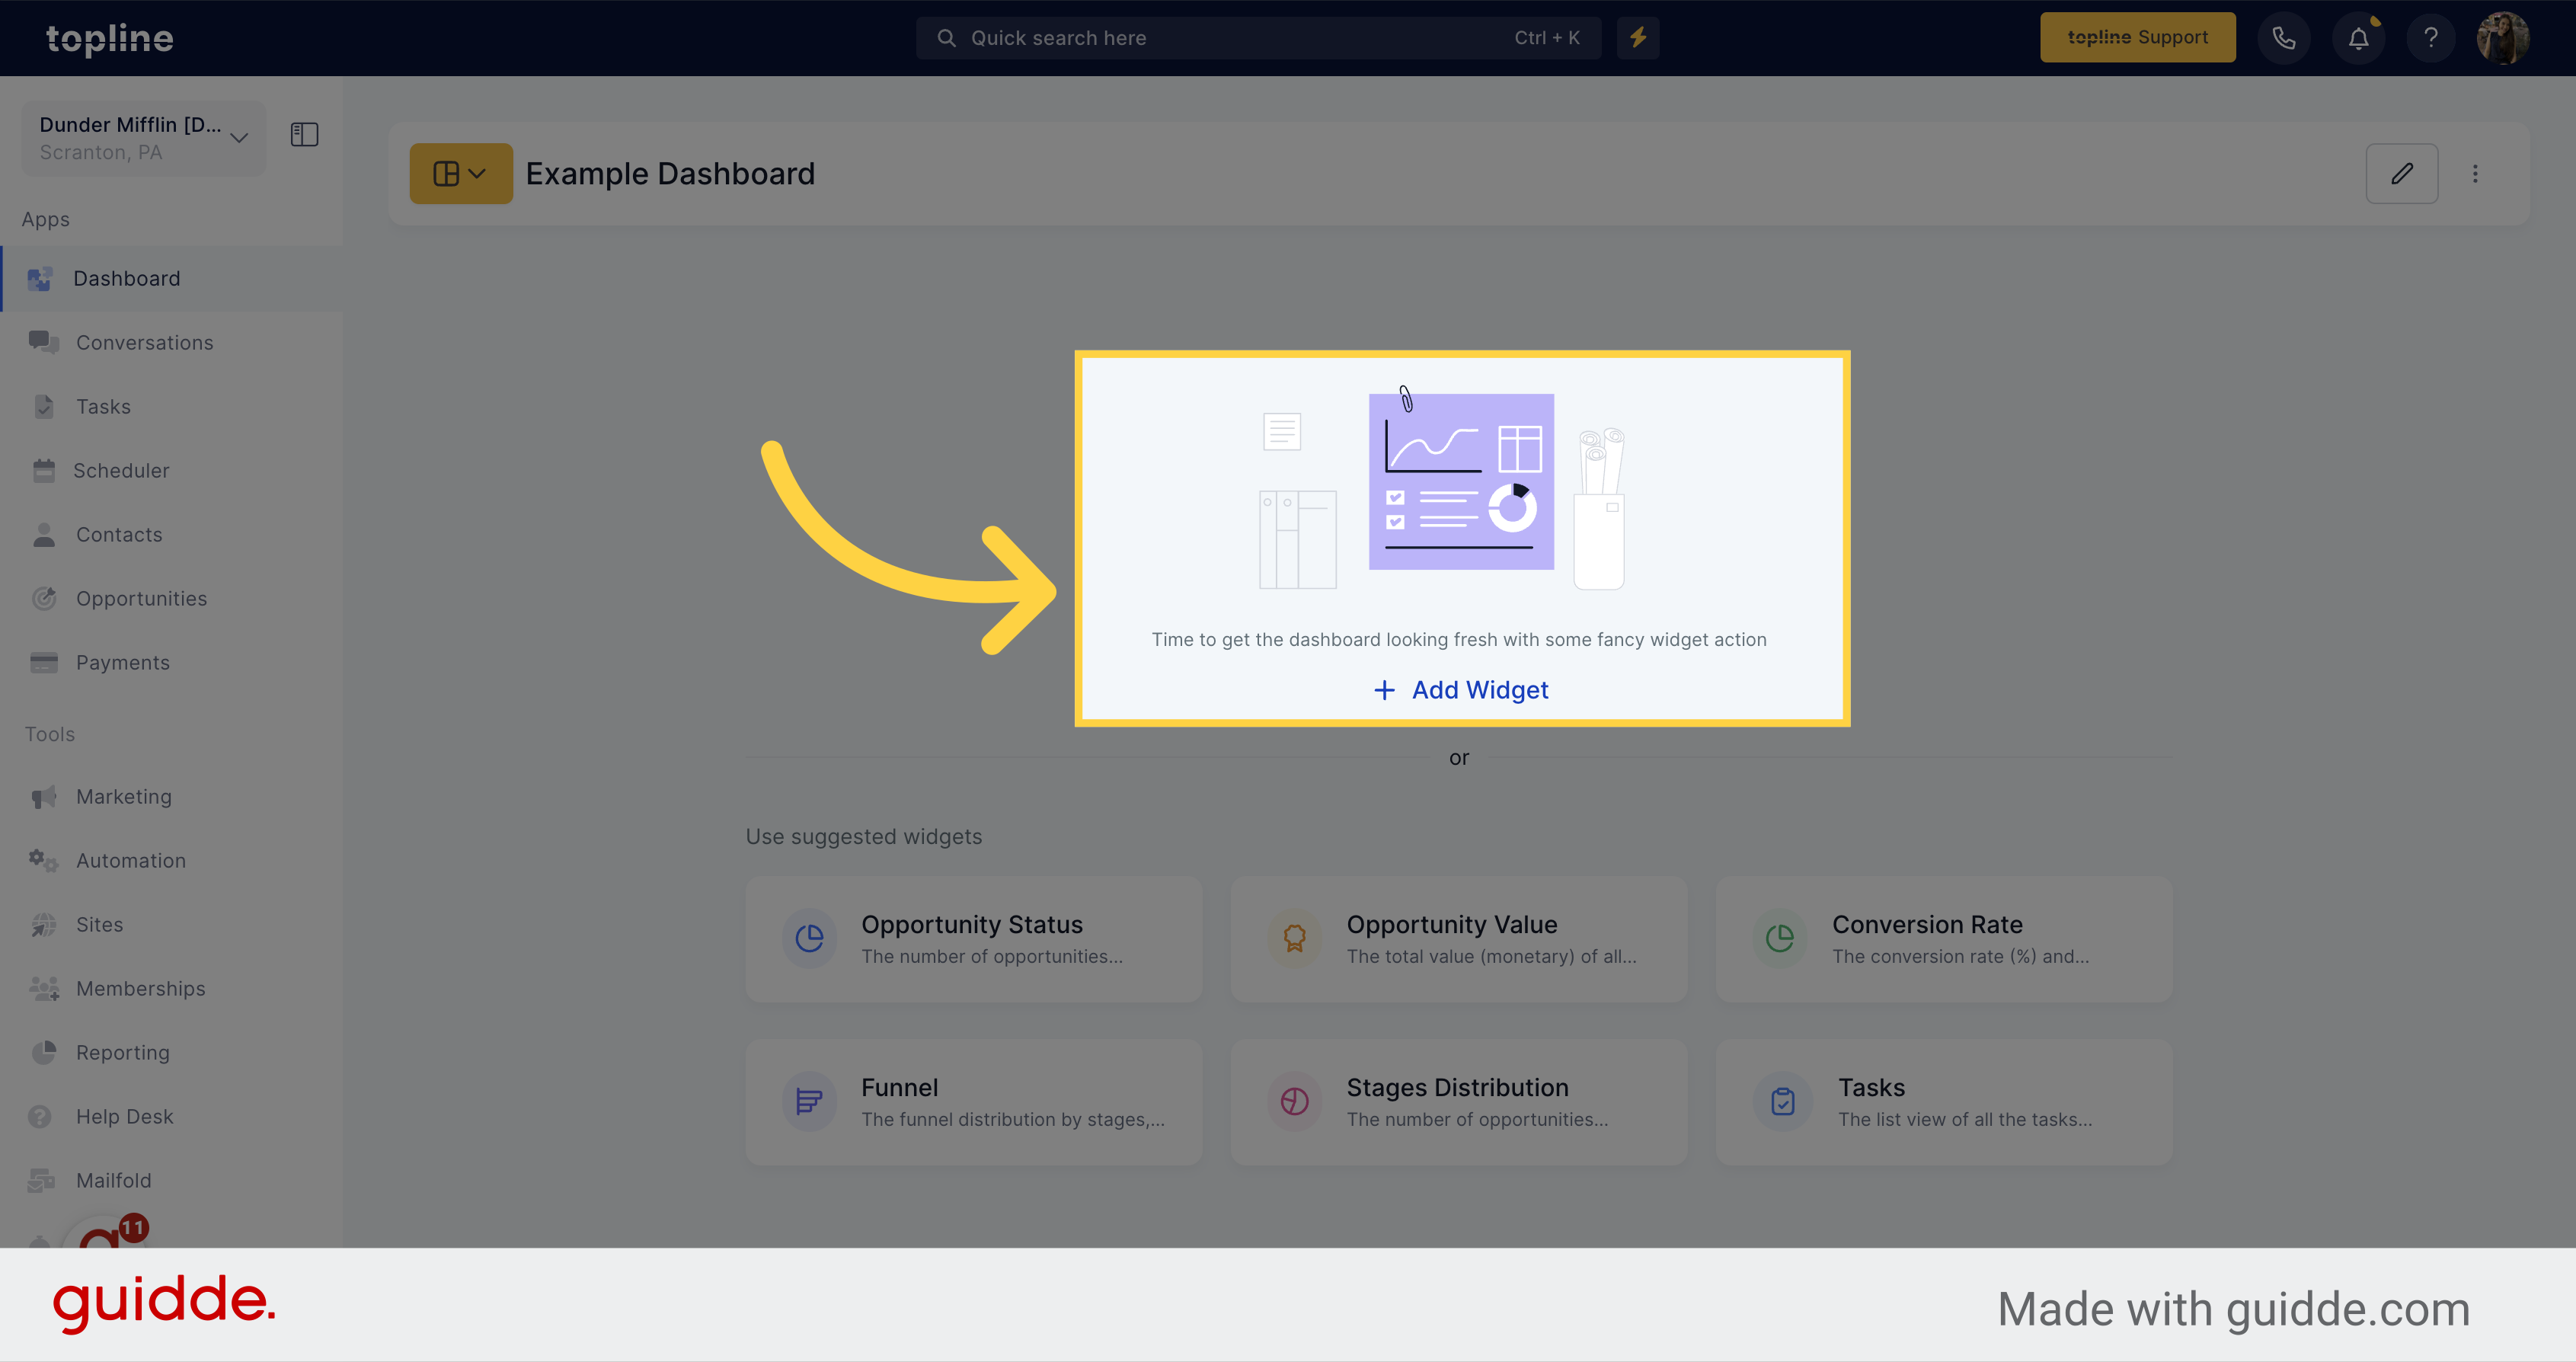
Use any of the suggested widgets from the options or start from scratch.
![Start from Scratch or Select Suggested Widgets](https://static.guidde.com/v0/qg%2FhfeNjF82igfsW9uOKlnpHlgnT7D2%2FgSxEUZptacz6CK8PUKBx2j%2F6orz7qtaNcncXGDkSGSYqF_doc.png?alt=media&token=51b3644e-7495-406c-ba66-bde82011717d)
9. Click "Add Widget"
Click on this option to start adding new widgets to the dashboard.
![Click 'Add Widget'](https://static.guidde.com/v0/qg%2FhfeNjF82igfsW9uOKlnpHlgnT7D2%2FgSxEUZptacz6CK8PUKBx2j%2F4FKda8a555tsysgP3VYMja_doc.png?alt=media&token=a64f9ce8-b393-40bd-975e-ba0968154f9c)
10. Select "Chart type"
This option allows you to select the chart type you want the information to be shown.
![Select 'Chart type'](https://static.guidde.com/v0/qg%2FhfeNjF82igfsW9uOKlnpHlgnT7D2%2FgSxEUZptacz6CK8PUKBx2j%2F3H57HbW2v6d3tFJ27h3uma_doc.png?alt=media&token=723d0149-bc96-4973-9930-cefd92a32530)
11. Select Widget Information Option
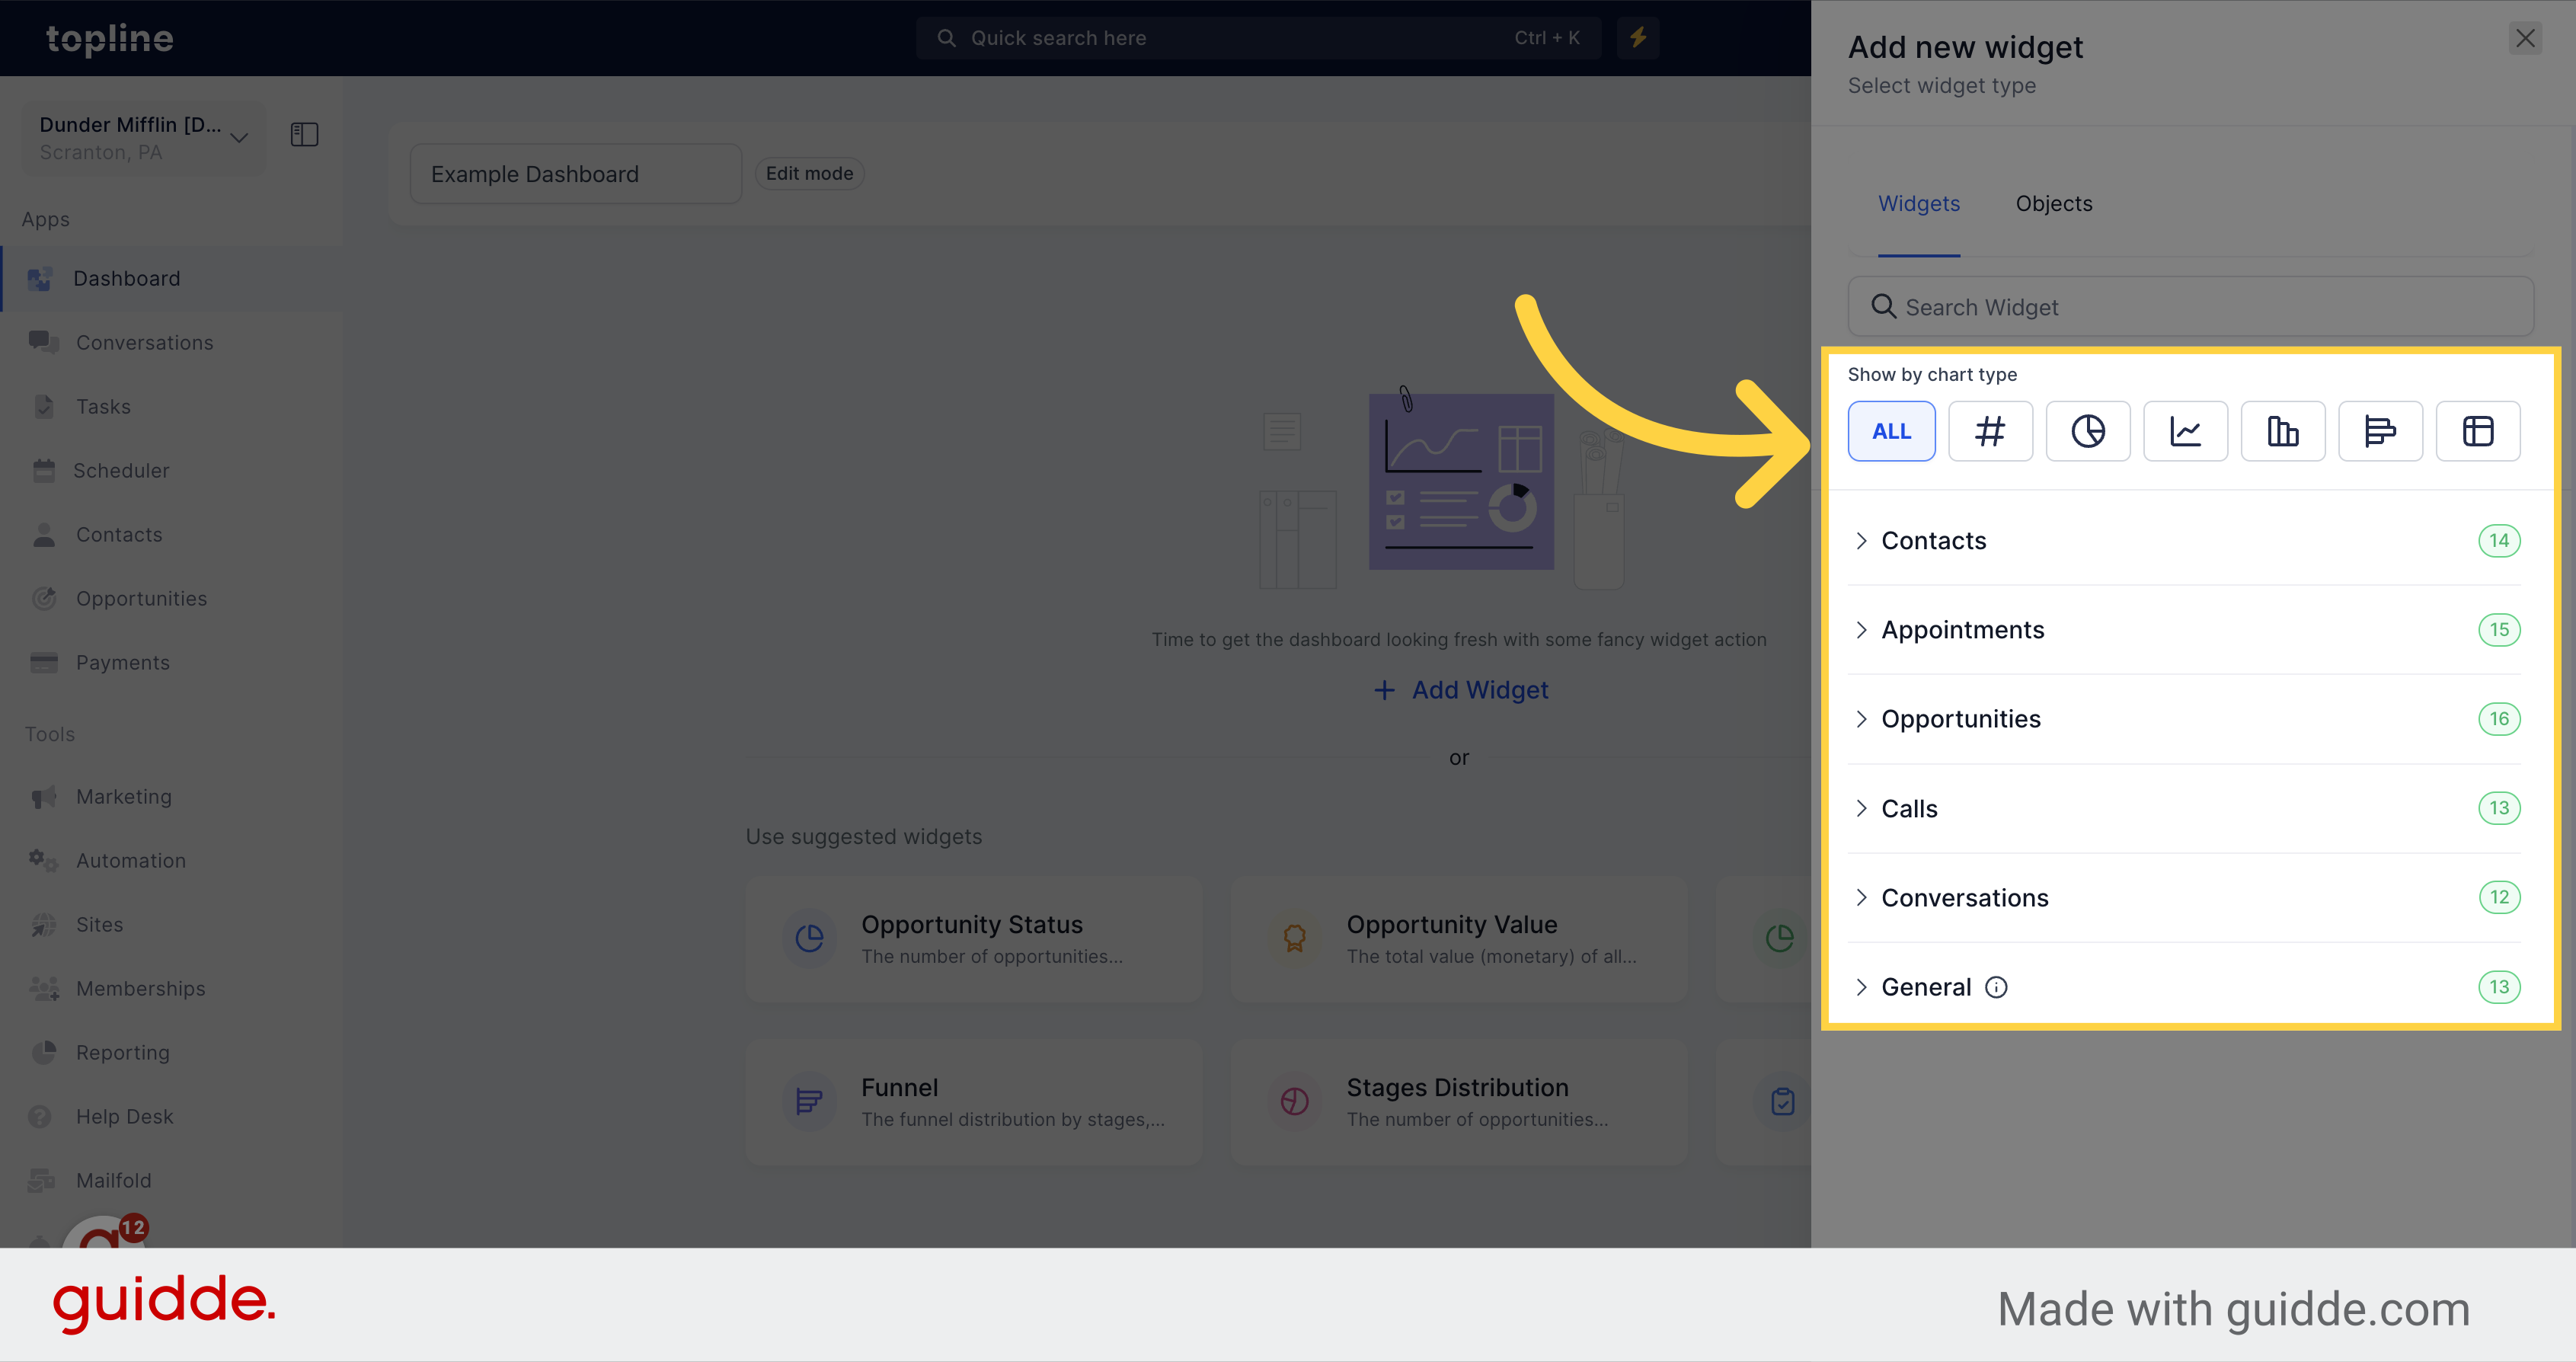
Click the type of information you want to add on the widget. It can be contacts, appointments, opportunities, calls, conversations, or general.
![Select Widget Information Option](https://static.guidde.com/v0/qg%2FhfeNjF82igfsW9uOKlnpHlgnT7D2%2FgSxEUZptacz6CK8PUKBx2j%2Fgo6yhoLUJk1VYGwgroLR4e_doc.png?alt=media&token=4add77ec-aeaa-4ead-8fac-798a1fa21188)
12. Pick Option
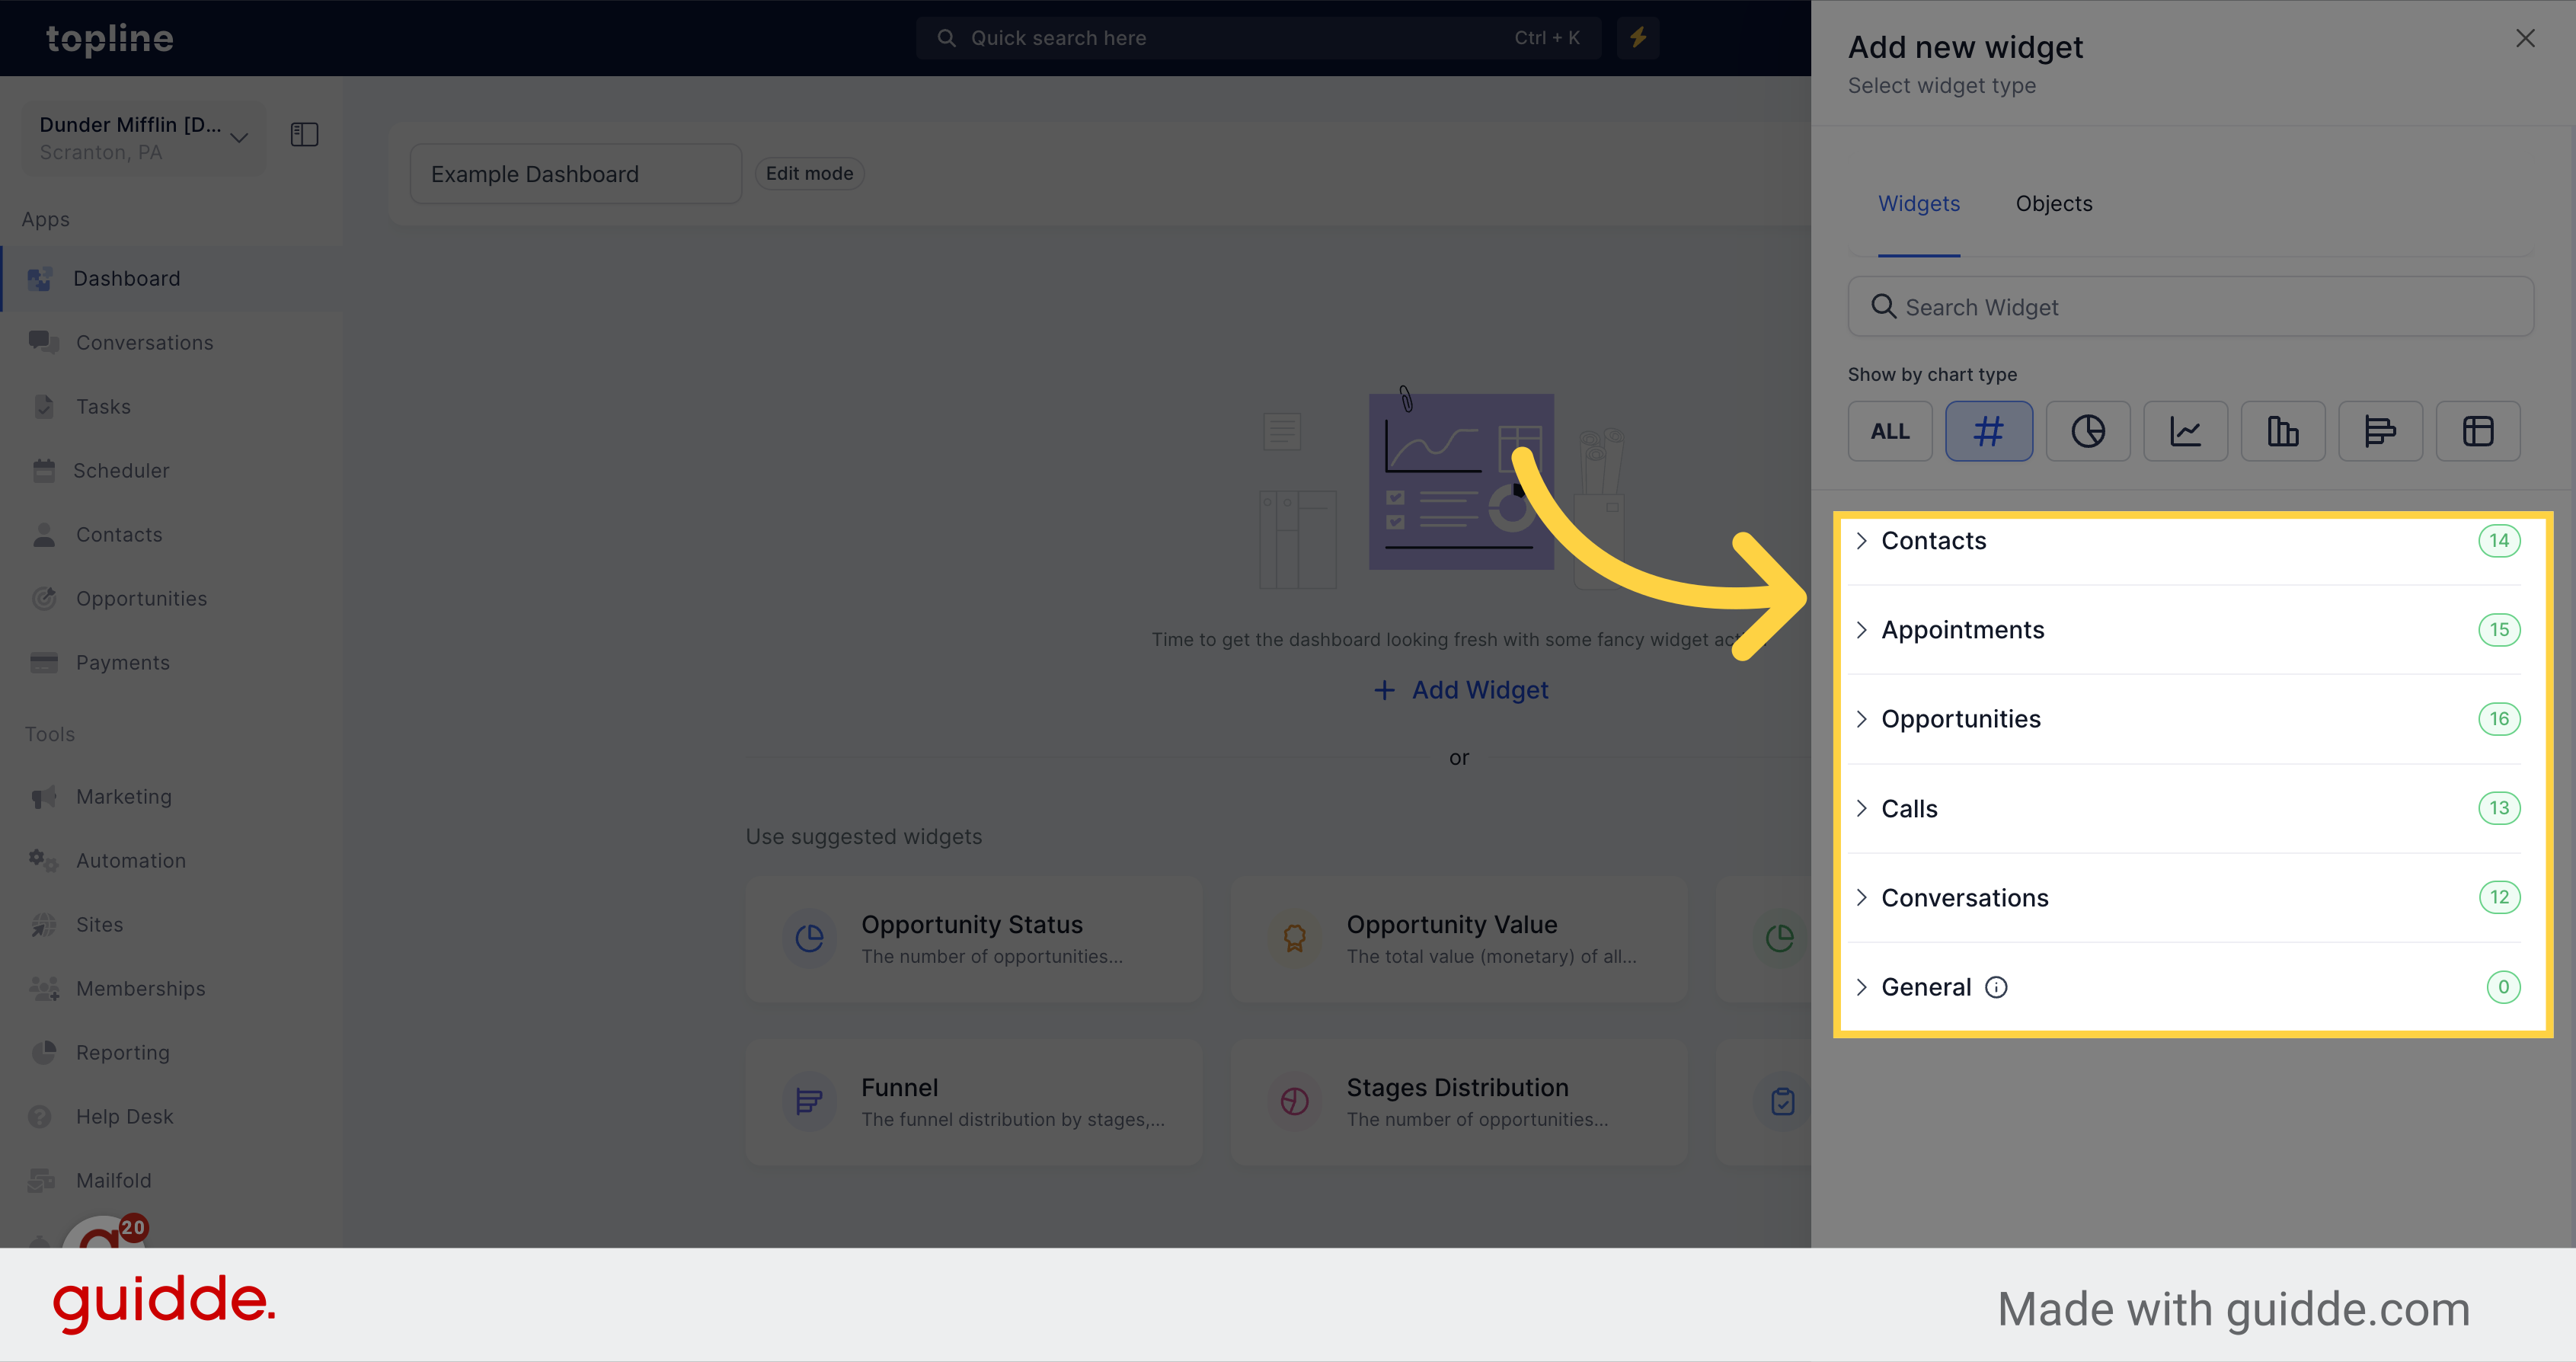
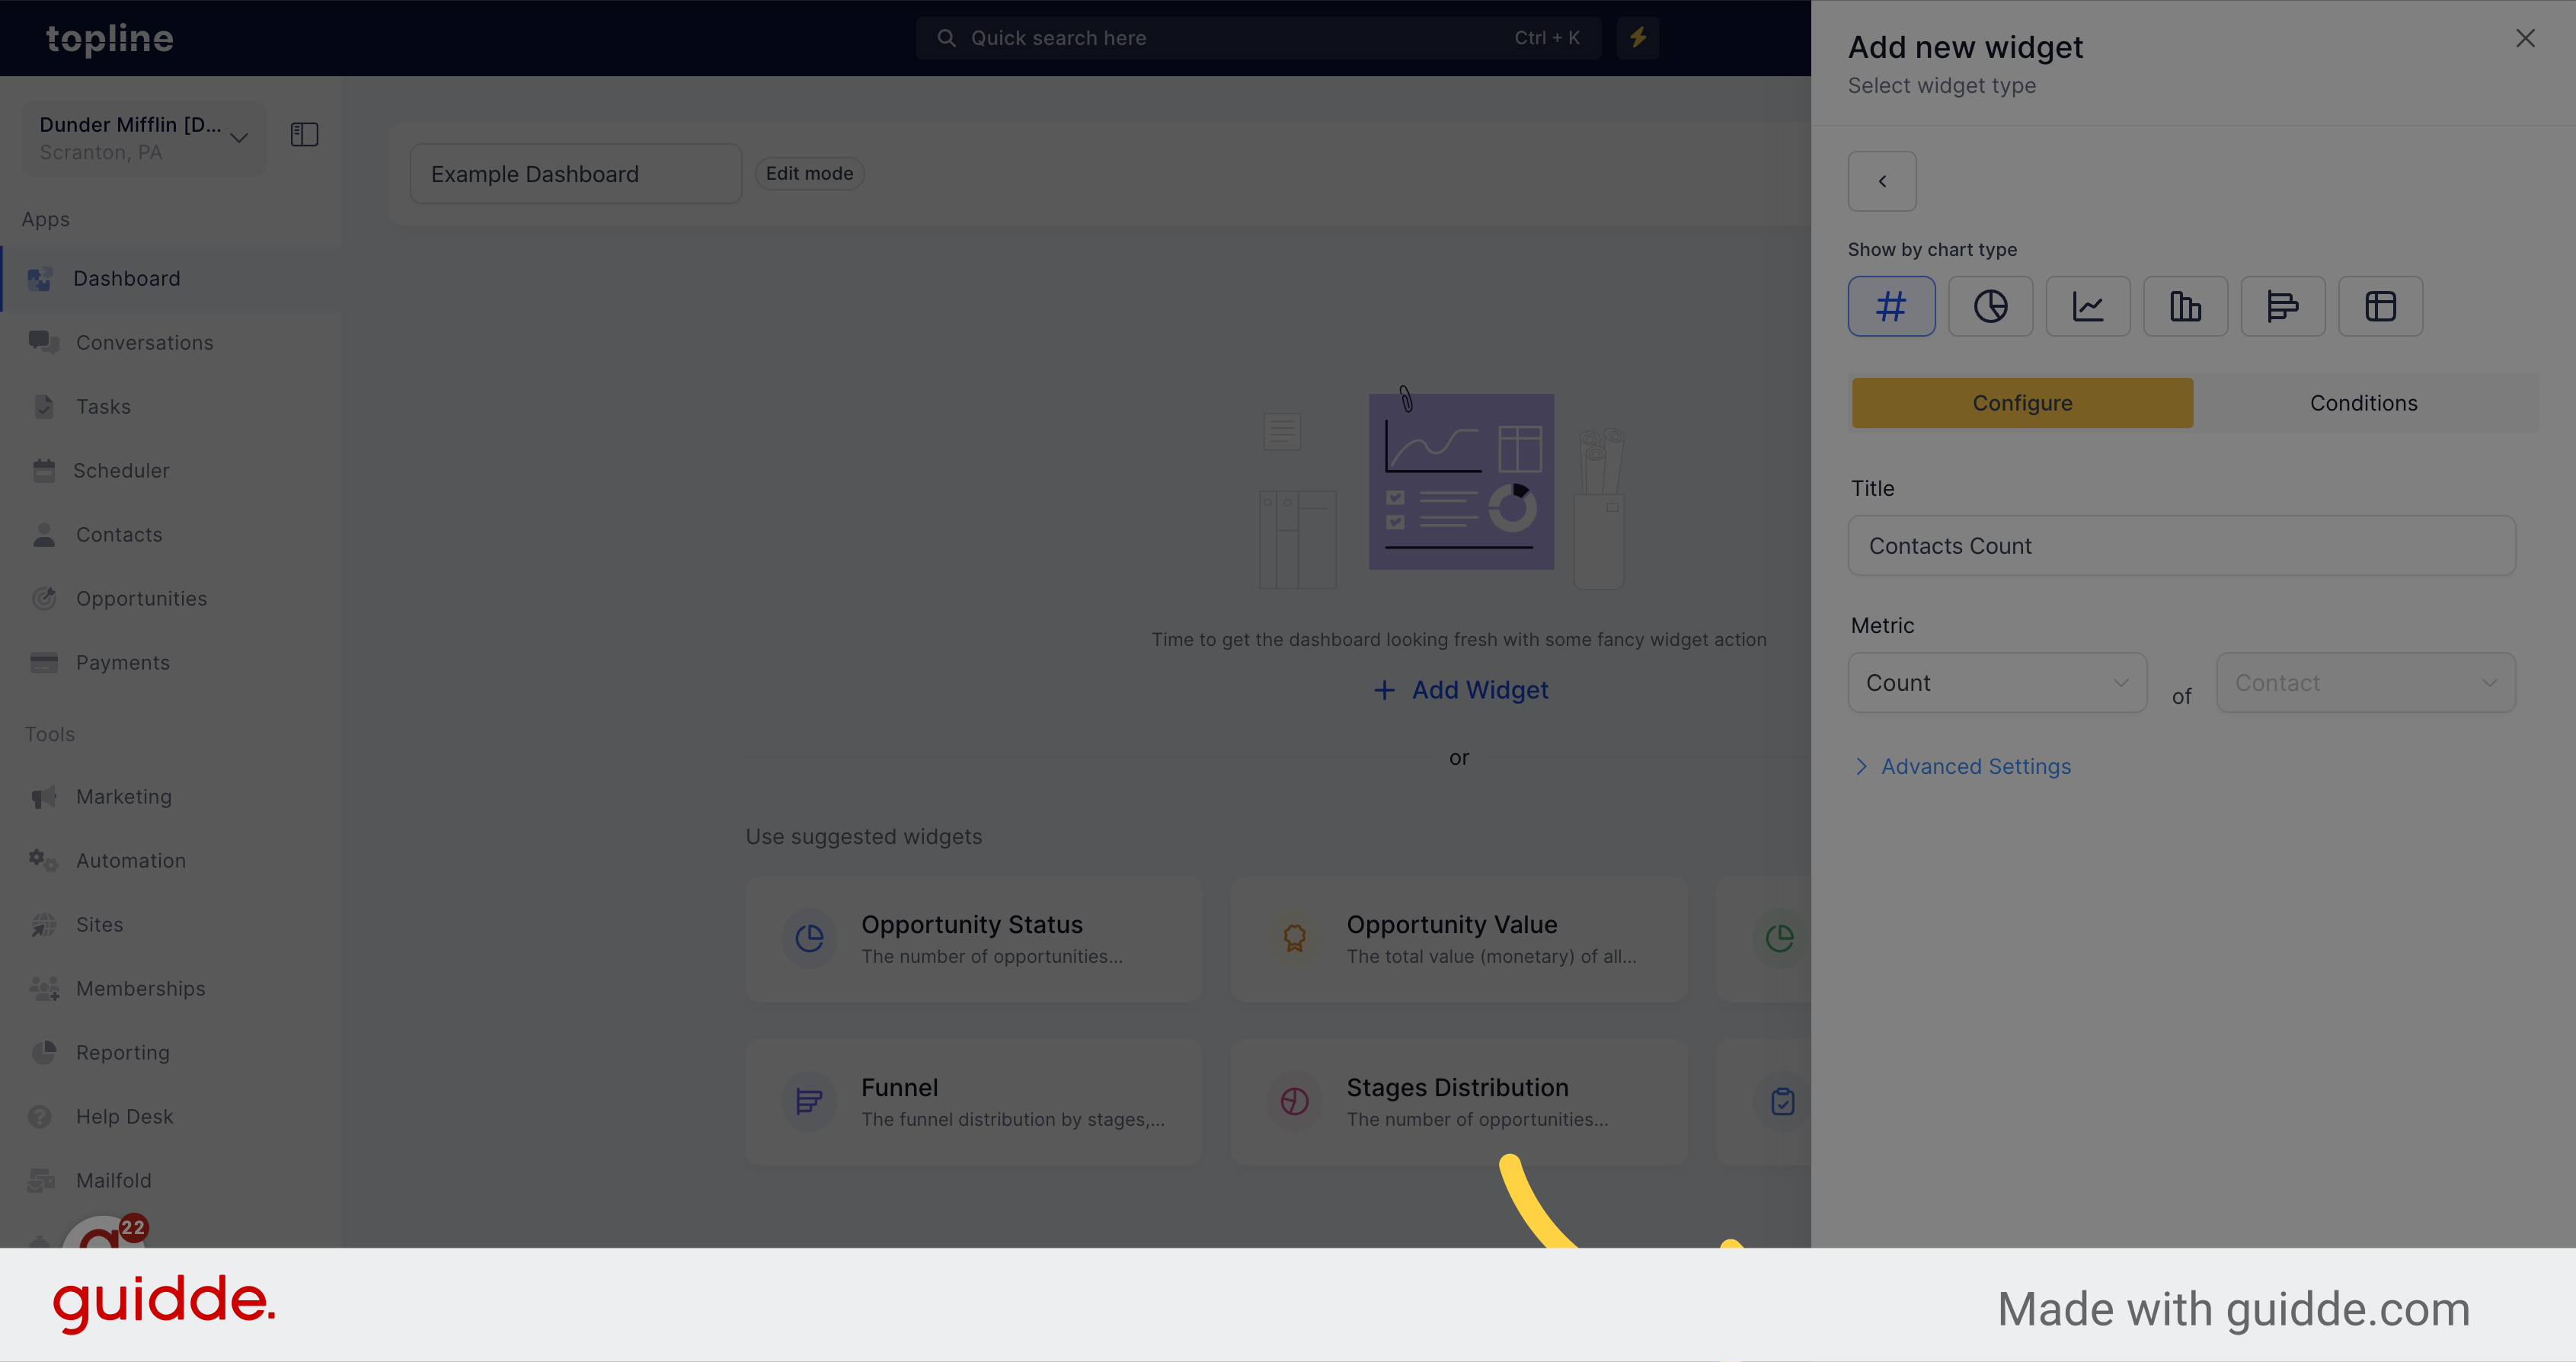
Select one option from the widgets to get that specific information.
![Pick Option](https://static.guidde.com/v0/qg%2FhfeNjF82igfsW9uOKlnpHlgnT7D2%2FgSxEUZptacz6CK8PUKBx2j%2F7YEQ3MS4H7QsfxvrTGmnNc_doc.png?alt=media&token=47da3c24-6dec-4cf7-b1e6-e48d24b3c199)
13. Click "Save"
Once selected, click on the save button.
![Click 'Save'](https://static.guidde.com/v0/qg%2FhfeNjF82igfsW9uOKlnpHlgnT7D2%2FgSxEUZptacz6CK8PUKBx2j%2FkStDxZXiNii8CZzGWZz4XM_doc.png?alt=media&token=711ca215-ef94-450c-a4ec-b441075a82dd)
14. Click "Add Widget"
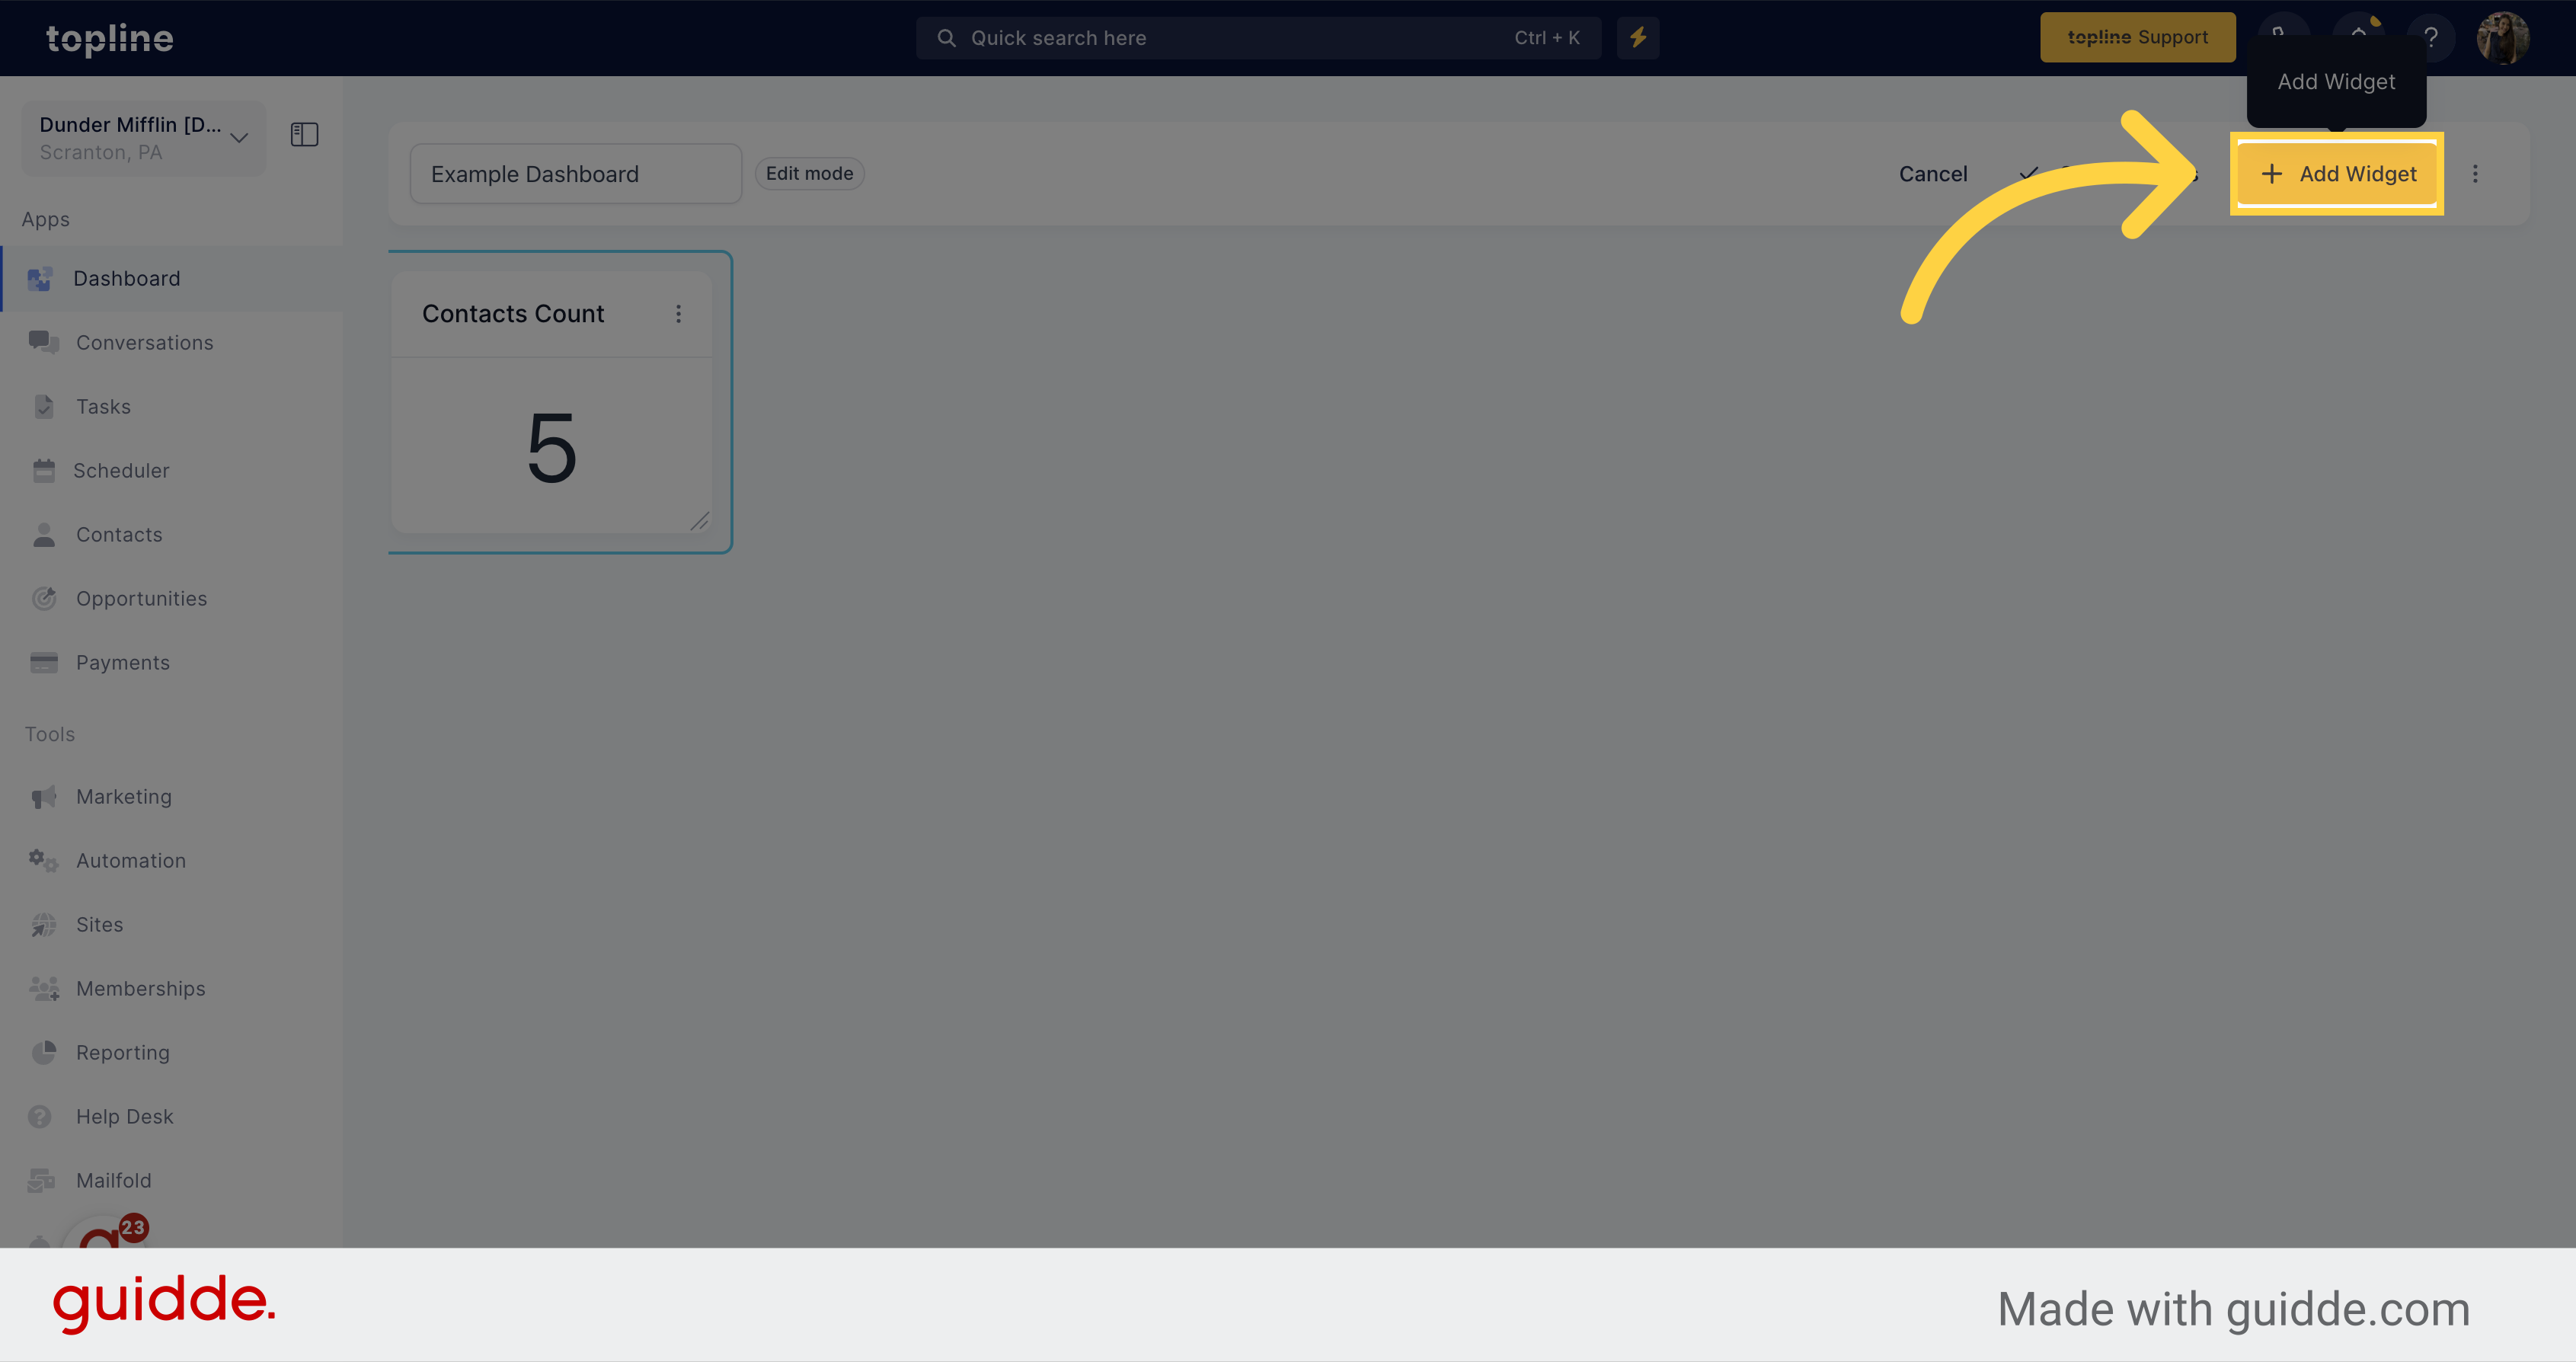
Click on add widget to add another widgets.
![Click 'Add Widget'](https://static.guidde.com/v0/qg%2FhfeNjF82igfsW9uOKlnpHlgnT7D2%2FgSxEUZptacz6CK8PUKBx2j%2FdXtQoep7xsTN4WZUxPVHco_doc.png?alt=media&token=ced5ae64-aadd-46c6-b1d0-f03553b8919e)
15. Click Here
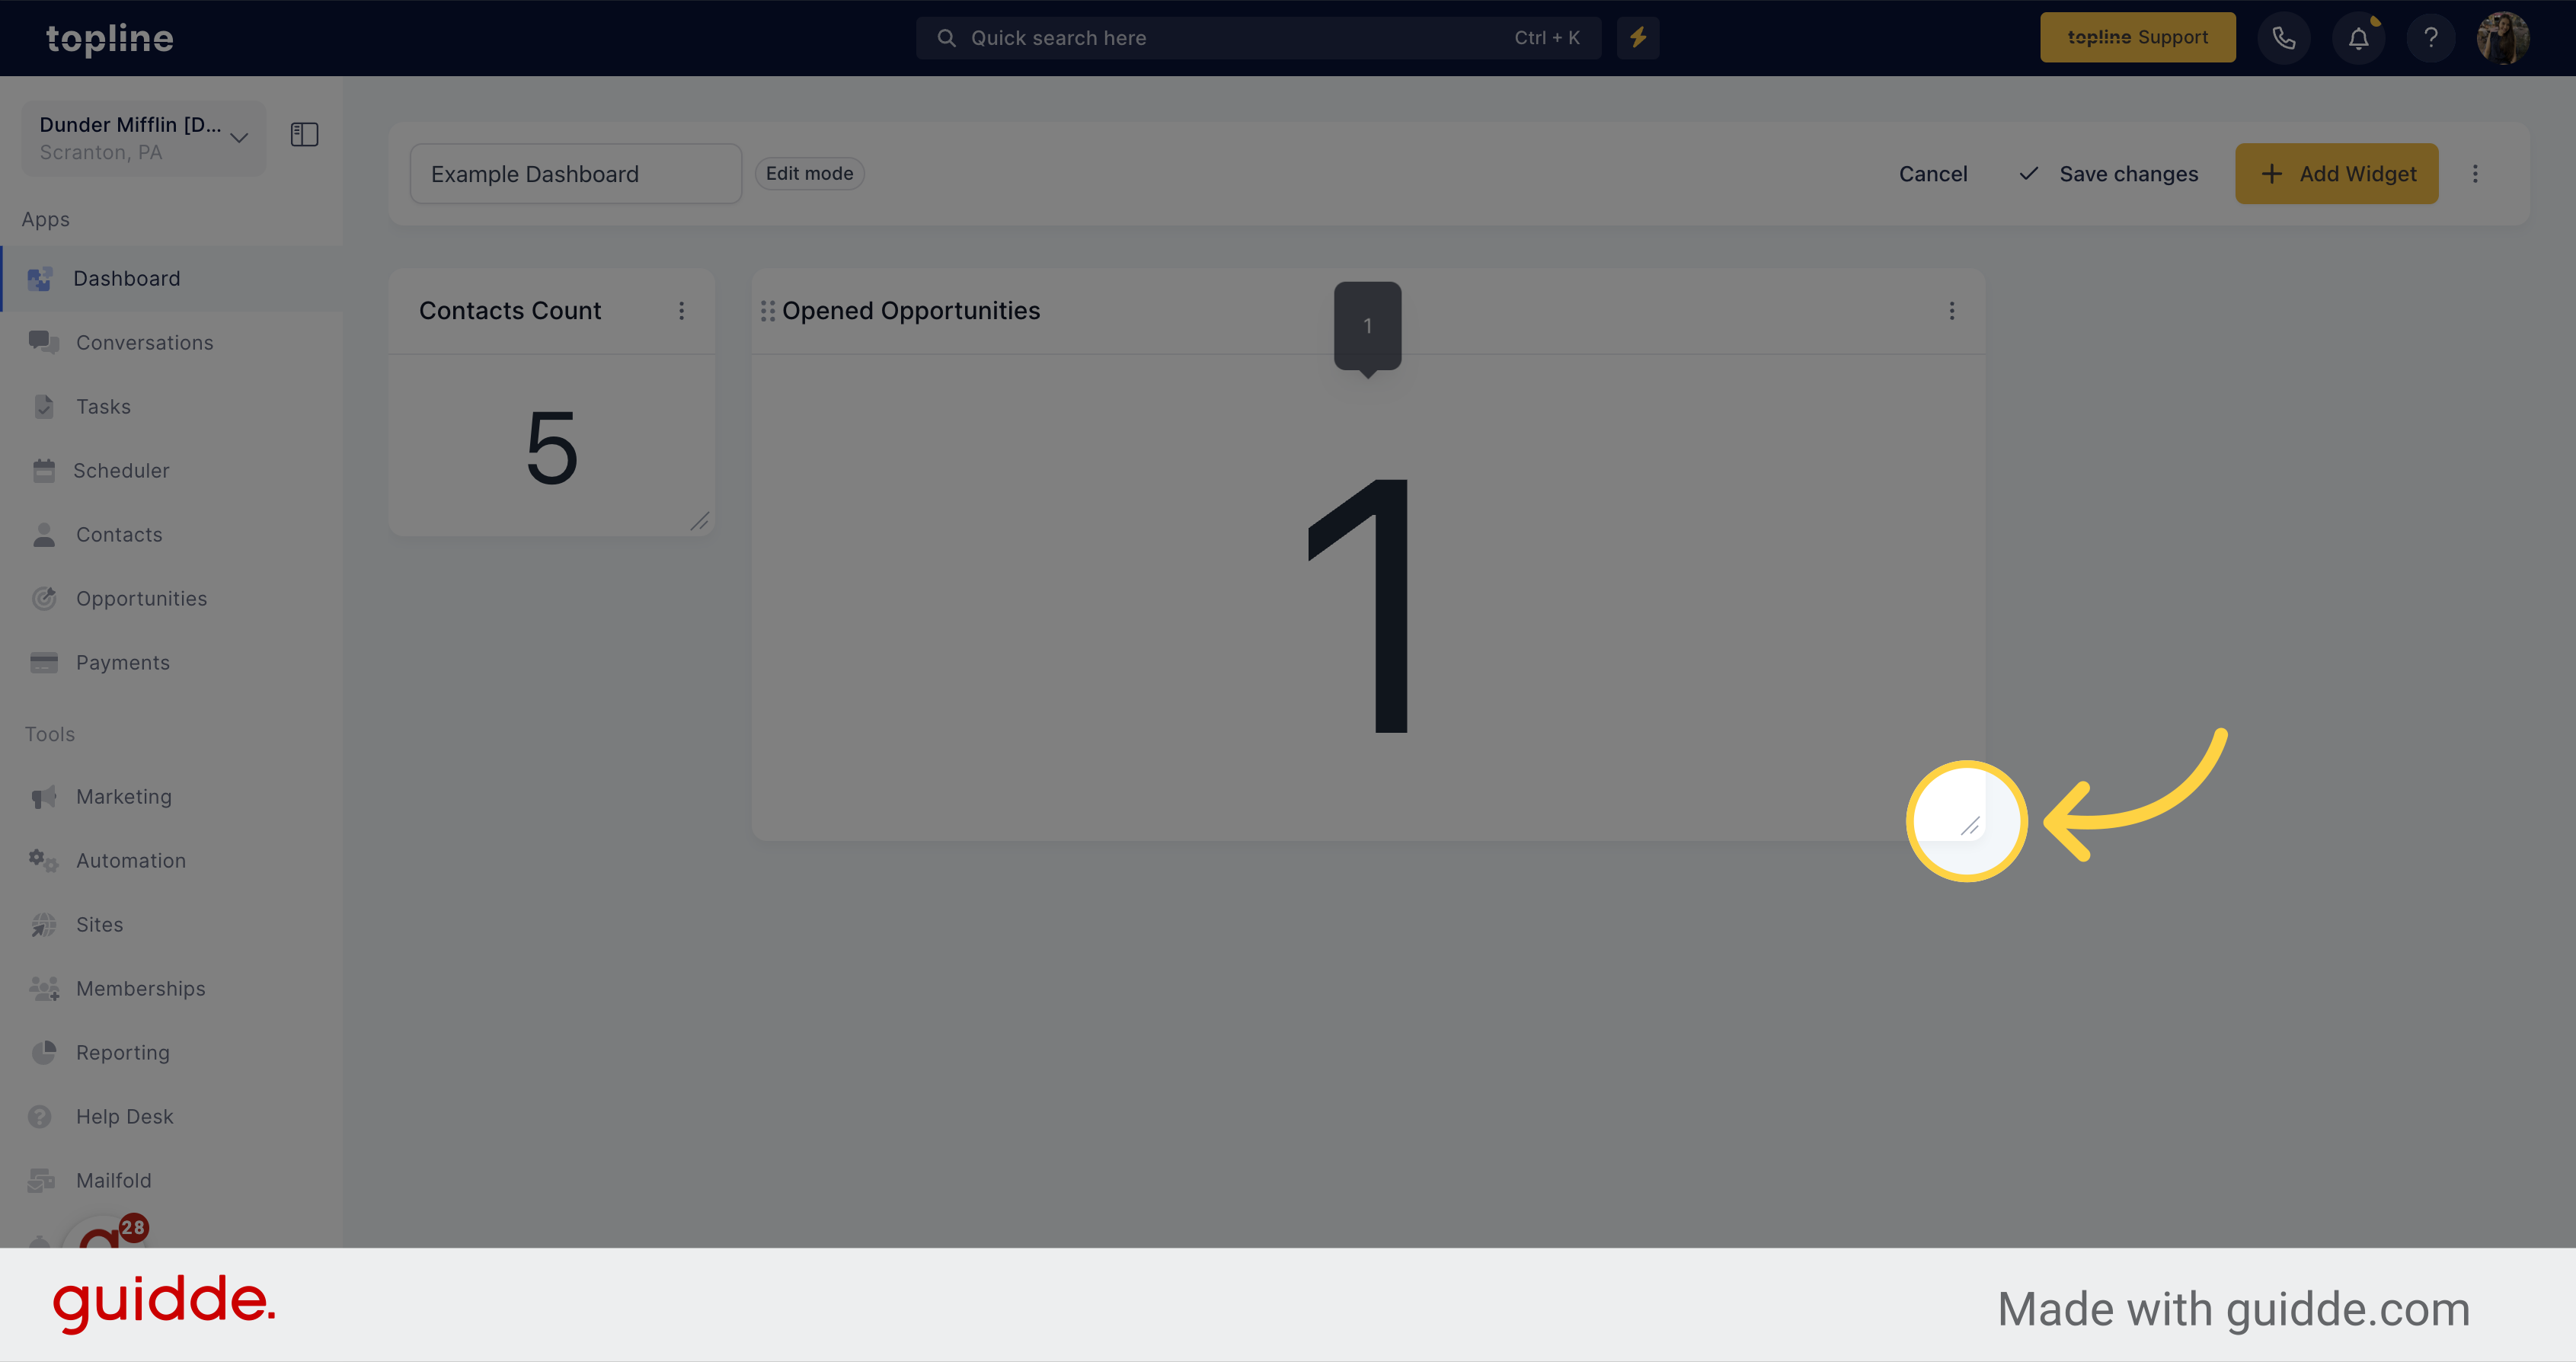
Use this icon to customize the size of your widget.
![Click Here](https://static.guidde.com/v0/qg%2FhfeNjF82igfsW9uOKlnpHlgnT7D2%2FgSxEUZptacz6CK8PUKBx2j%2FsiQr1GDVc9iuDKYLRu8pd1_doc.png?alt=media&token=c43e8d45-3957-444e-957b-c0b008bcddf9)
16. Dashboard View
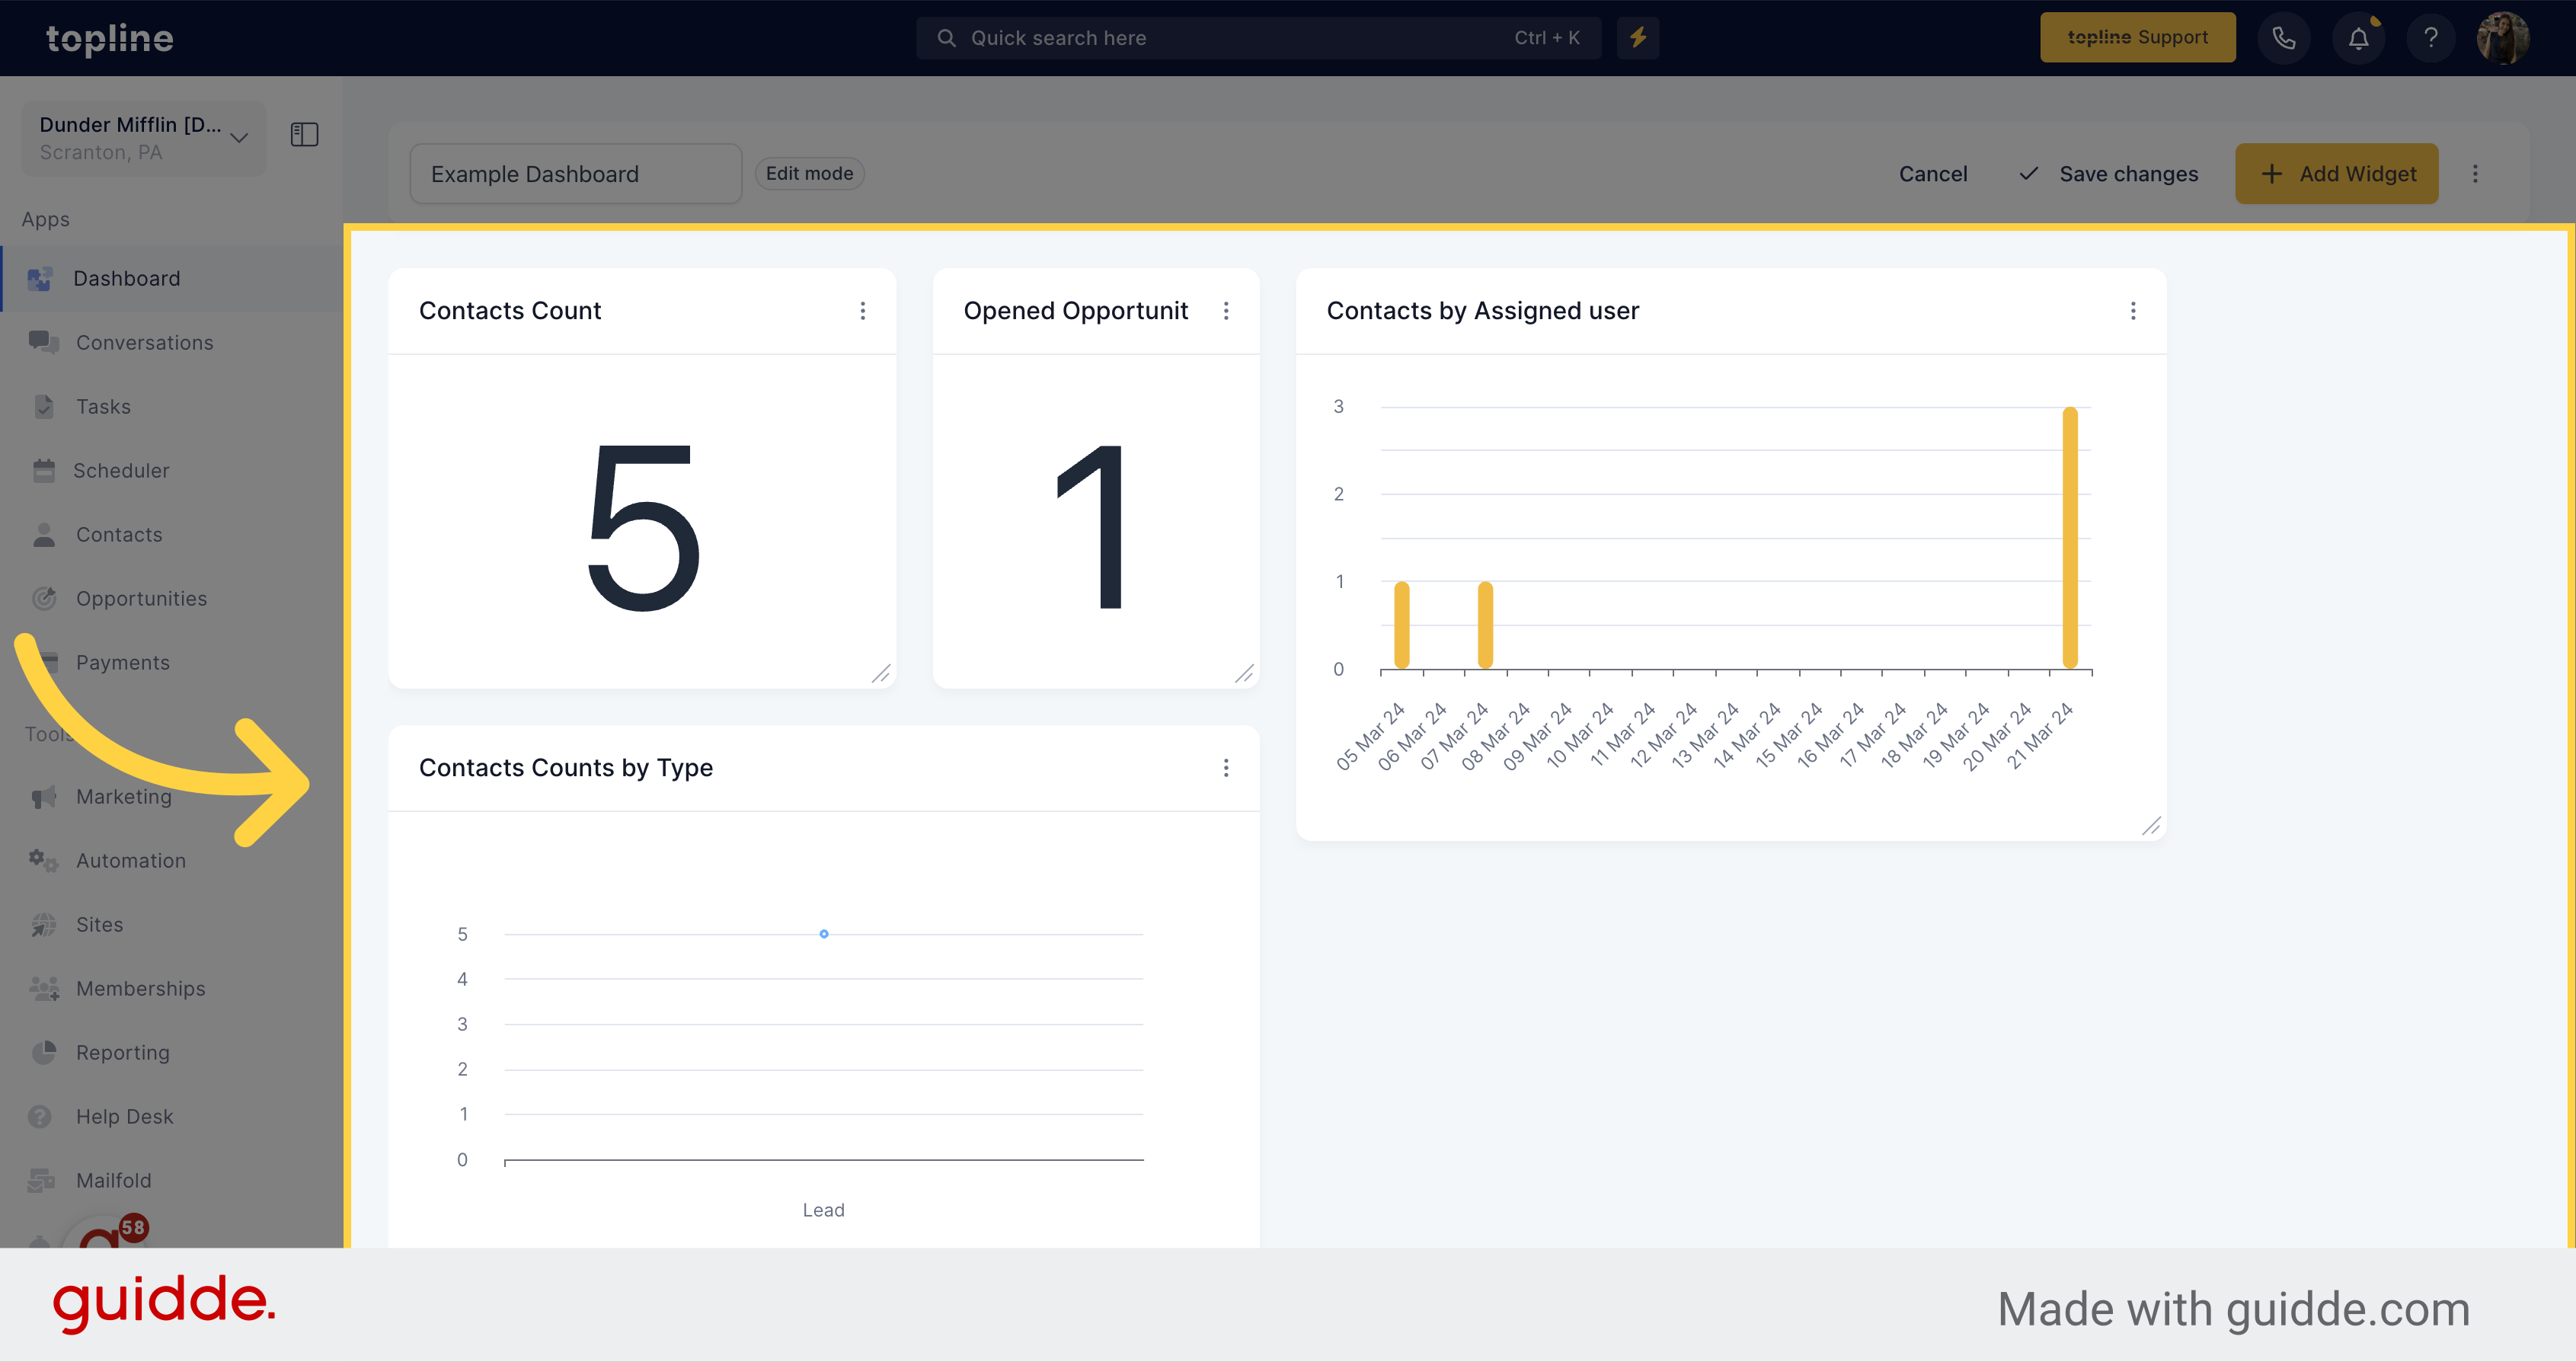
You can visualize and customize your dashboard view by adding as many widgets you want.
![Dashboard View](https://static.guidde.com/v0/qg%2FhfeNjF82igfsW9uOKlnpHlgnT7D2%2FgSxEUZptacz6CK8PUKBx2j%2FjQLAbmpfXb5R2JyAQ48rer_doc.png?alt=media&token=3c205631-3352-4de9-ab7f-f01d76bb8dc8)
17. Click Edit
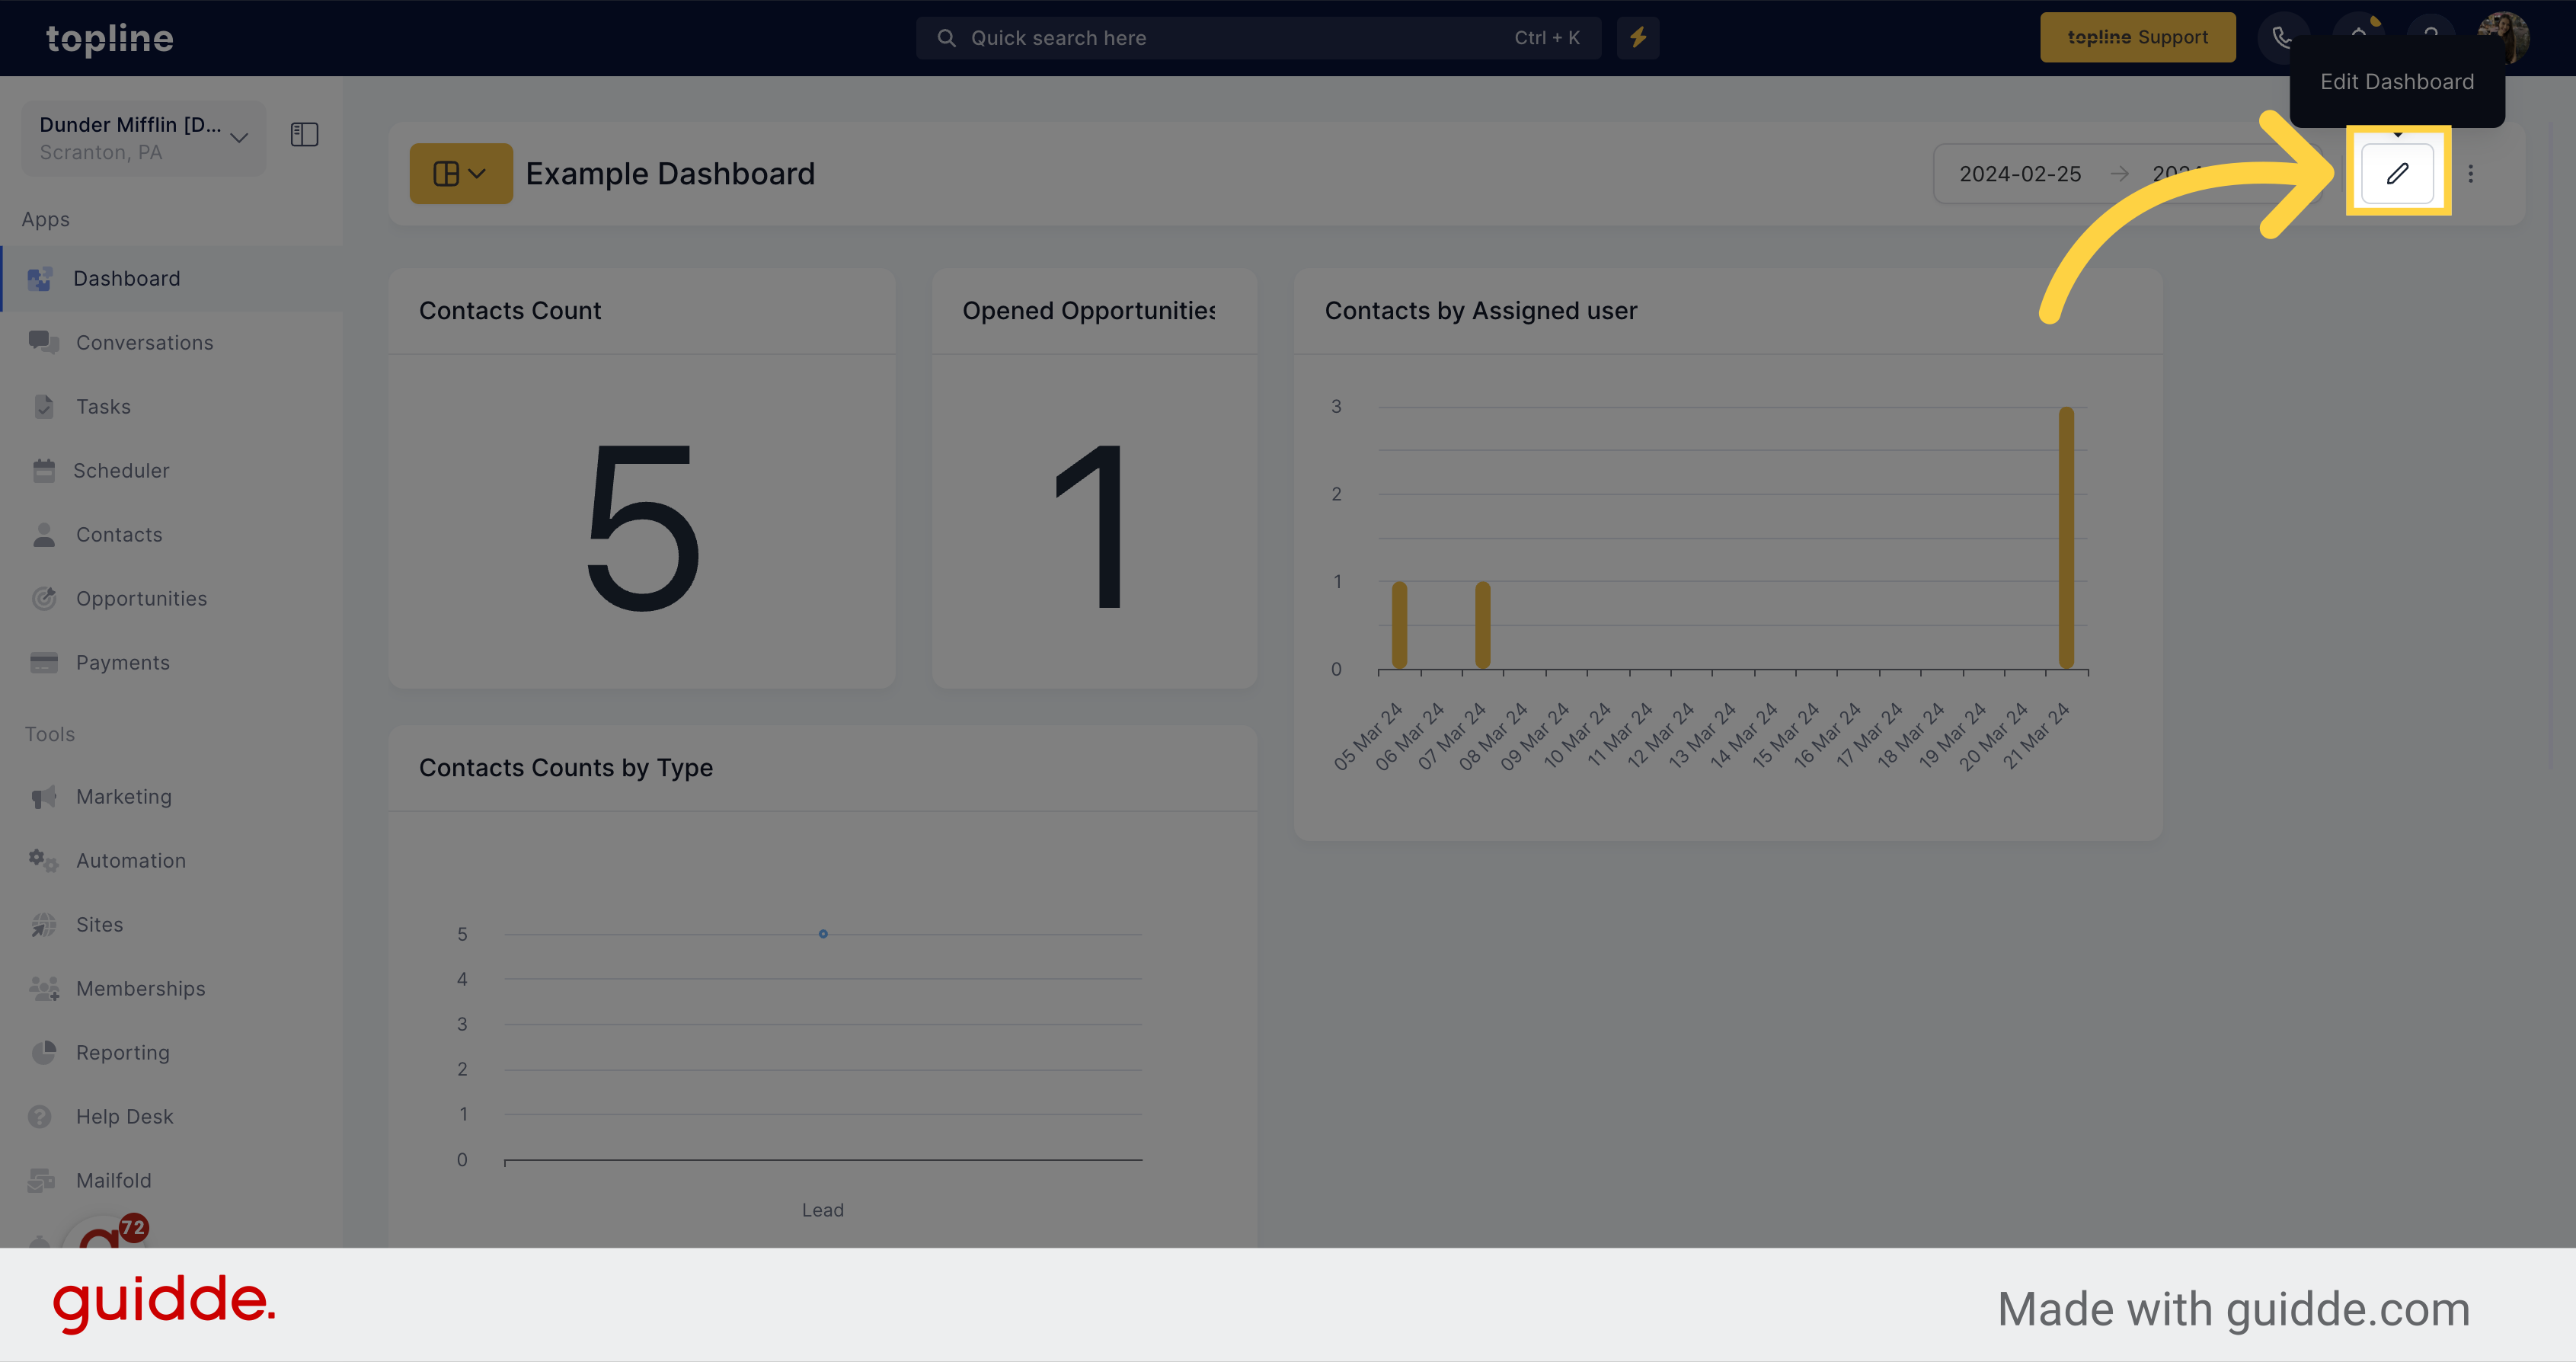
To edit your dashboard, click on the edit icon located on the upper right corner.
![Click Edit](https://static.guidde.com/v0/qg%2FhfeNjF82igfsW9uOKlnpHlgnT7D2%2FgSxEUZptacz6CK8PUKBx2j%2FjuCL1LTdJe6h3nnqzVr2ky_doc.png?alt=media&token=03d197f2-1e6e-4877-95c3-c2547d956ebb)
18. Click Three Dots
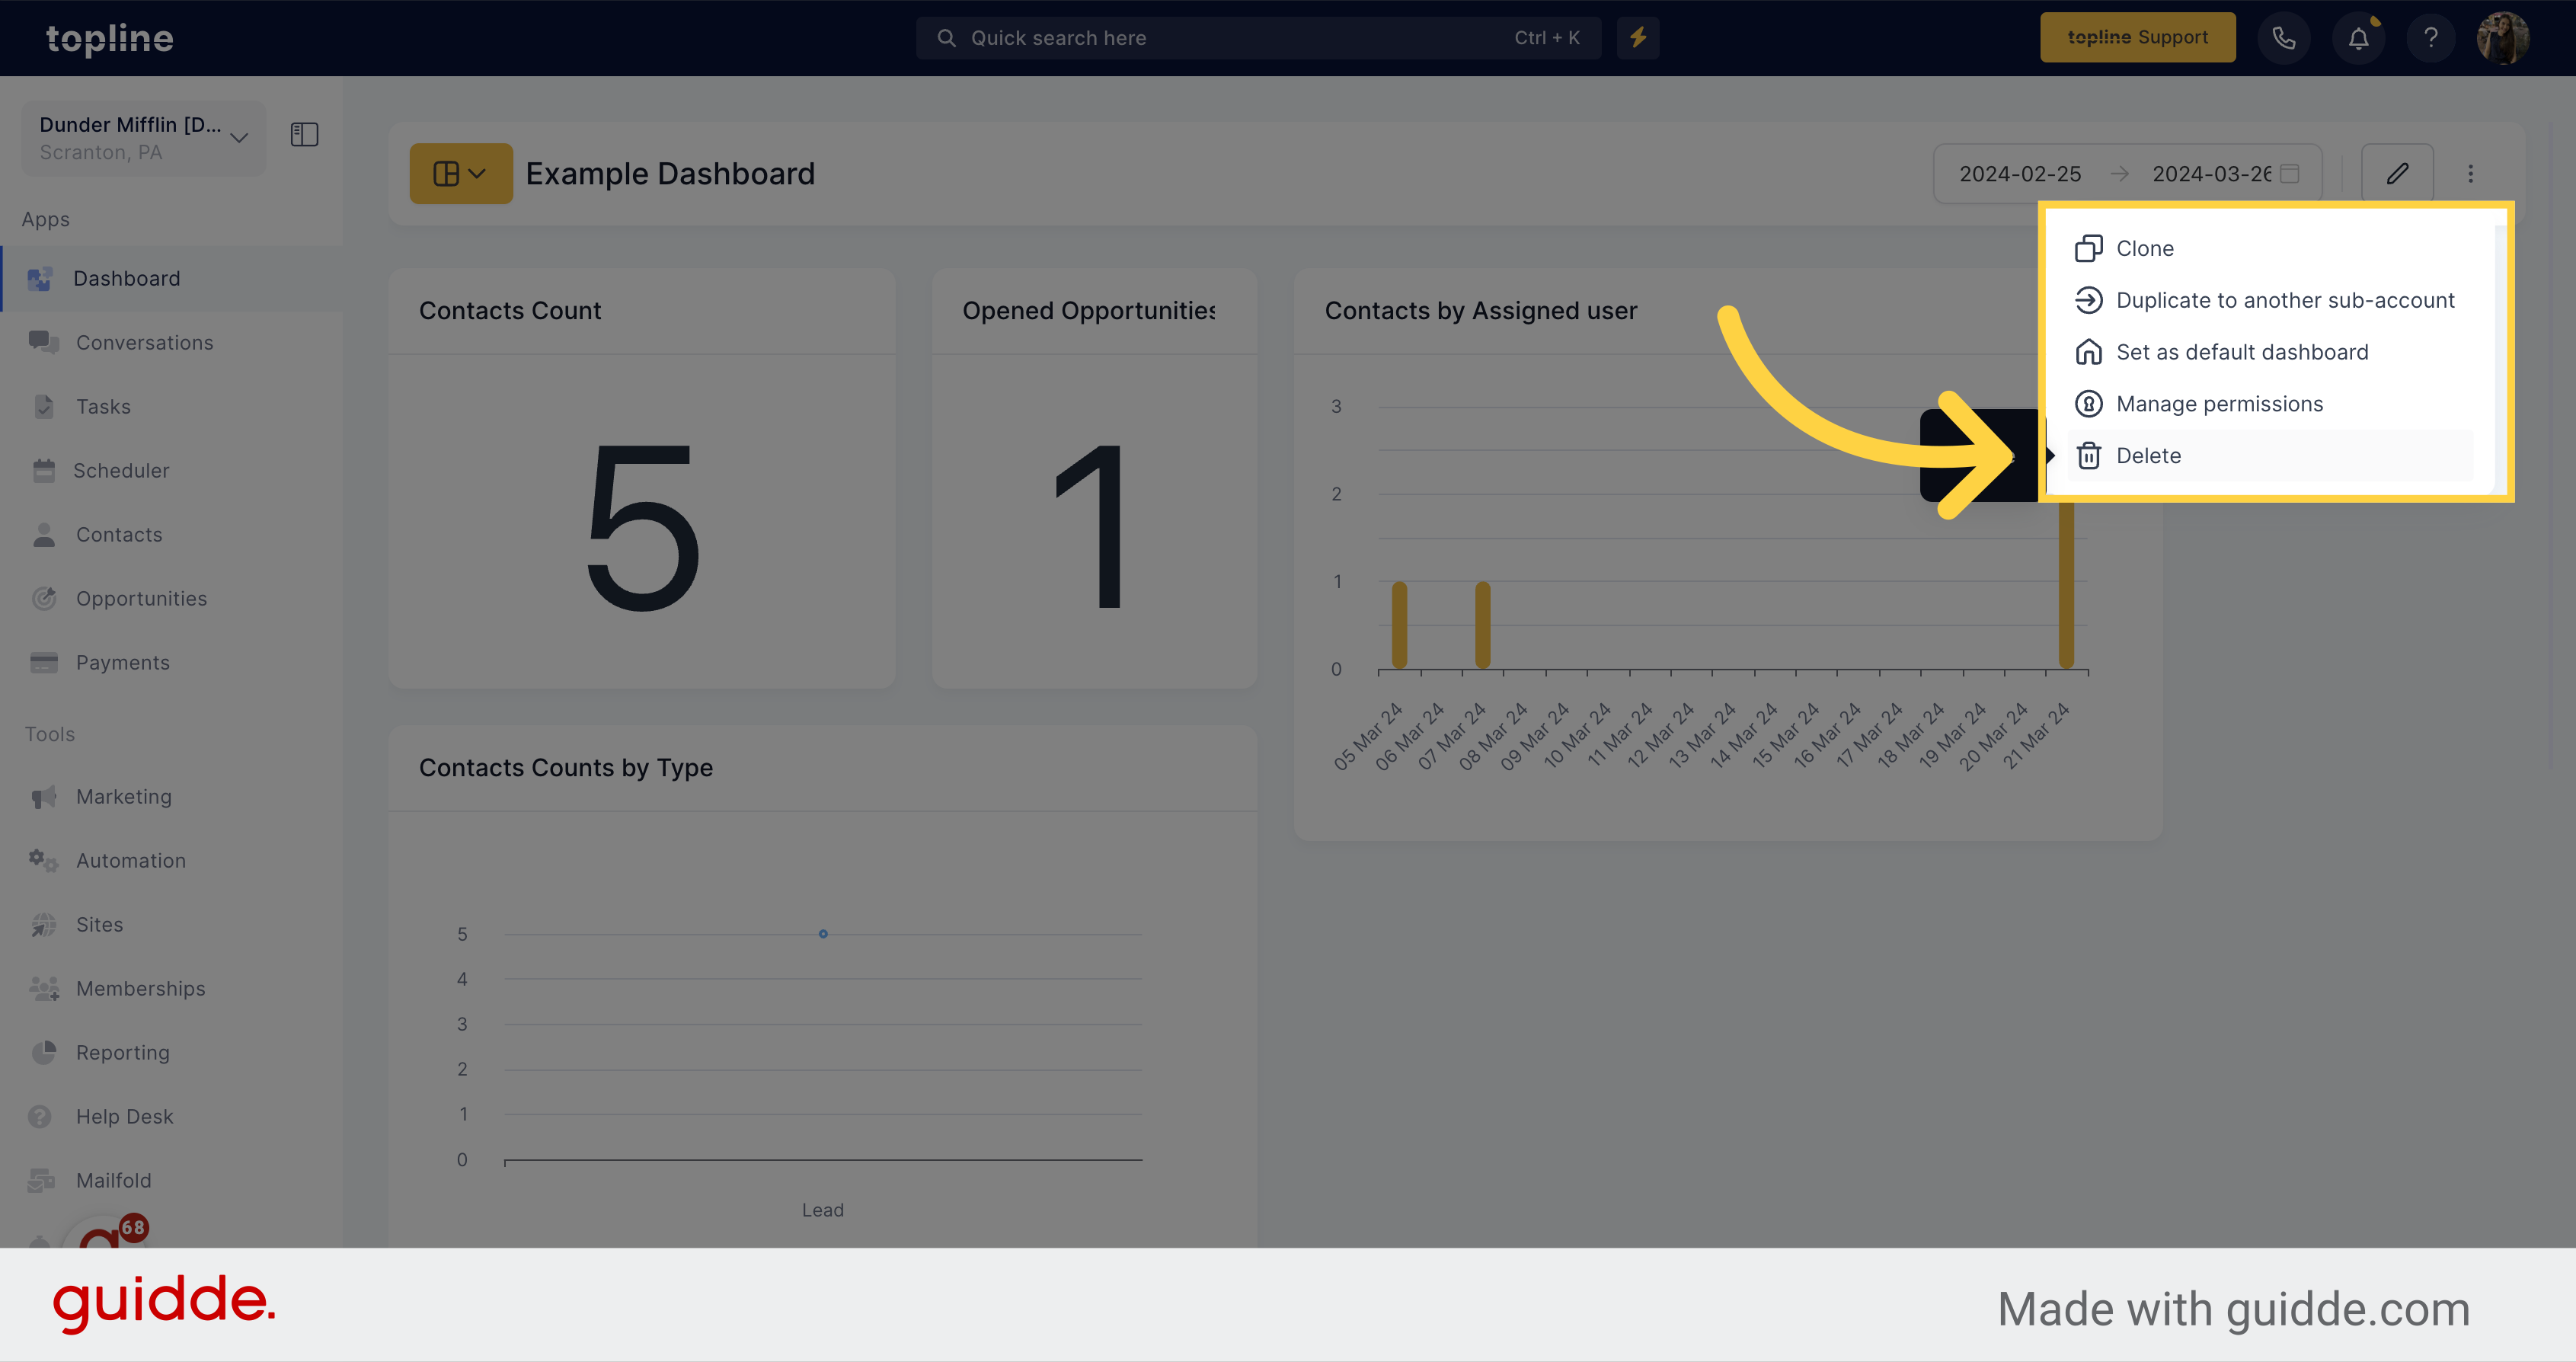
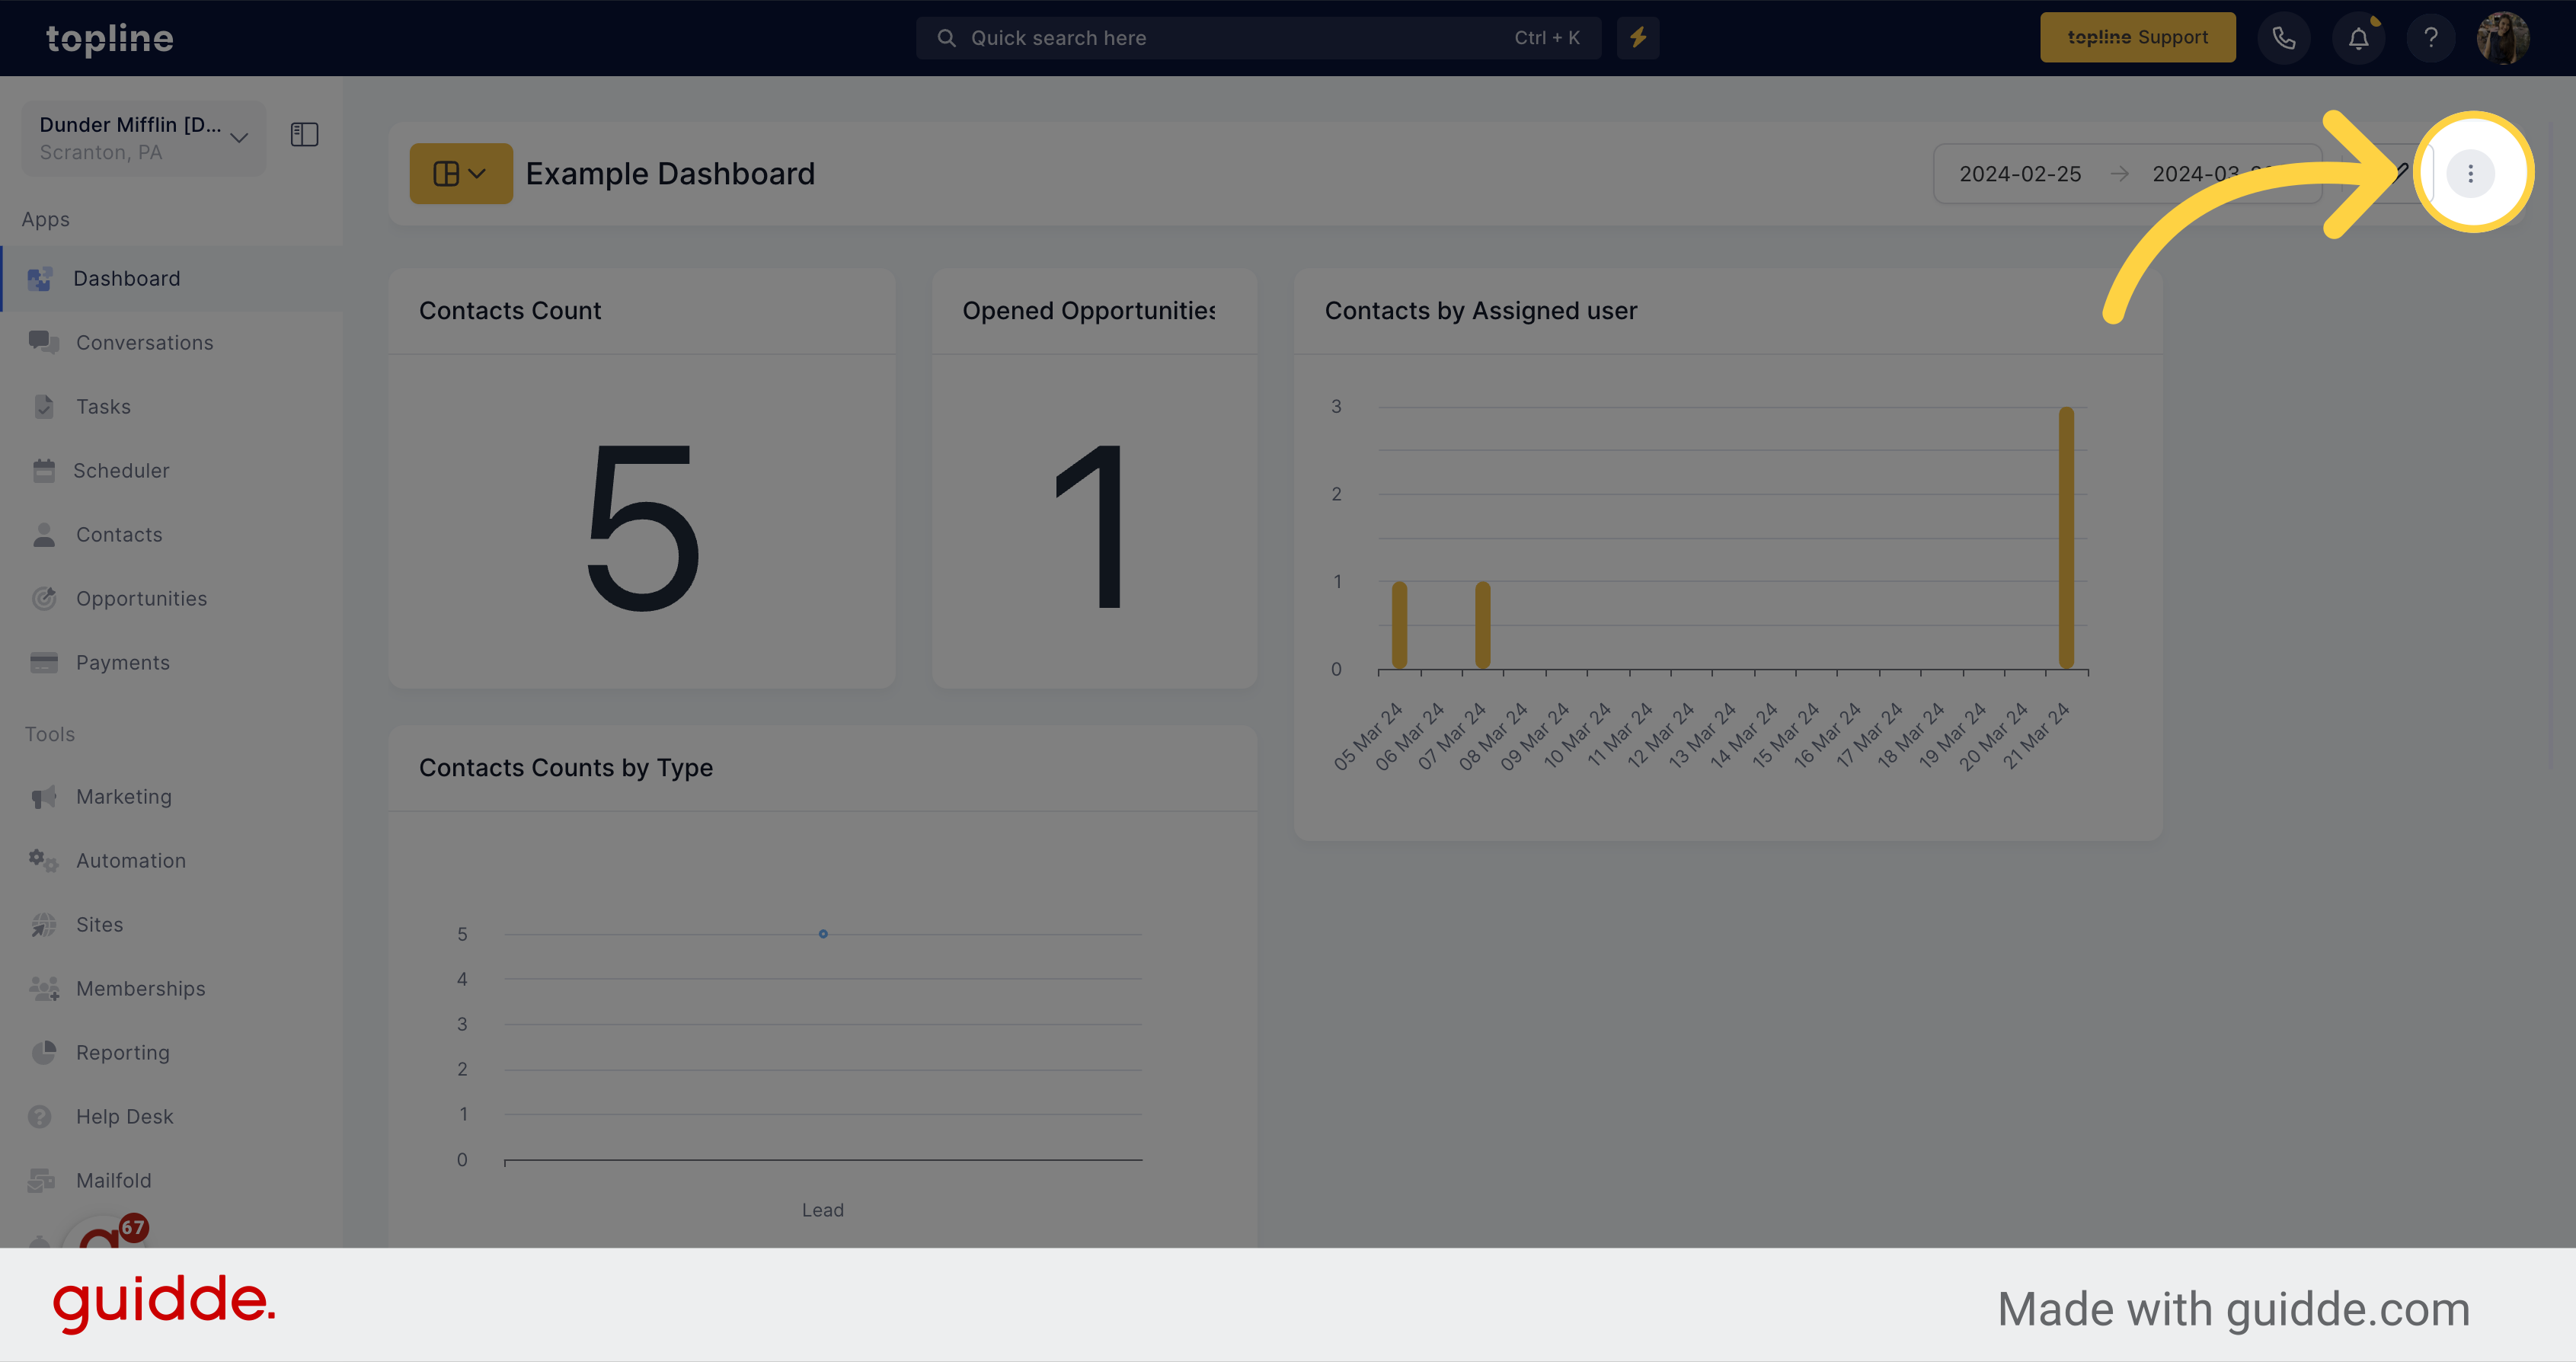
To visualize more options, click on the three dots icon located on the upper right corner.
![Click Three Dots](https://static.guidde.com/v0/qg%2FhfeNjF82igfsW9uOKlnpHlgnT7D2%2FgSxEUZptacz6CK8PUKBx2j%2FoKfQUQamTDXPuiNc9u2upS_doc.png?alt=media&token=96fb8108-fd9d-4c84-bca3-10a7639f1231)
19. Access Options
A dropdown menu will appear with the options to do with the dashboard.
![Access Options](https://static.guidde.com/v0/qg%2FhfeNjF82igfsW9uOKlnpHlgnT7D2%2FgSxEUZptacz6CK8PUKBx2j%2FrNfcSQiLBCFqJ9pwWVLo1q_doc.png?alt=media&token=540fc21f-c848-4190-8595-240d822611c5)