How To Set A Default Dashboard View

Learn how to customize your default dashboard view effortlessly with these instructions. Ensure you have access to the main dashboard, locate the settings, and set your preferred dashboard view as default. Confirm the changes and enjoy a personalized experience.

Go to app.topline.com

1. Click "Dashboard"

Access to the dashboard on the left side menu.

Click 'Dashboard'

2. Click Dashboard Icon

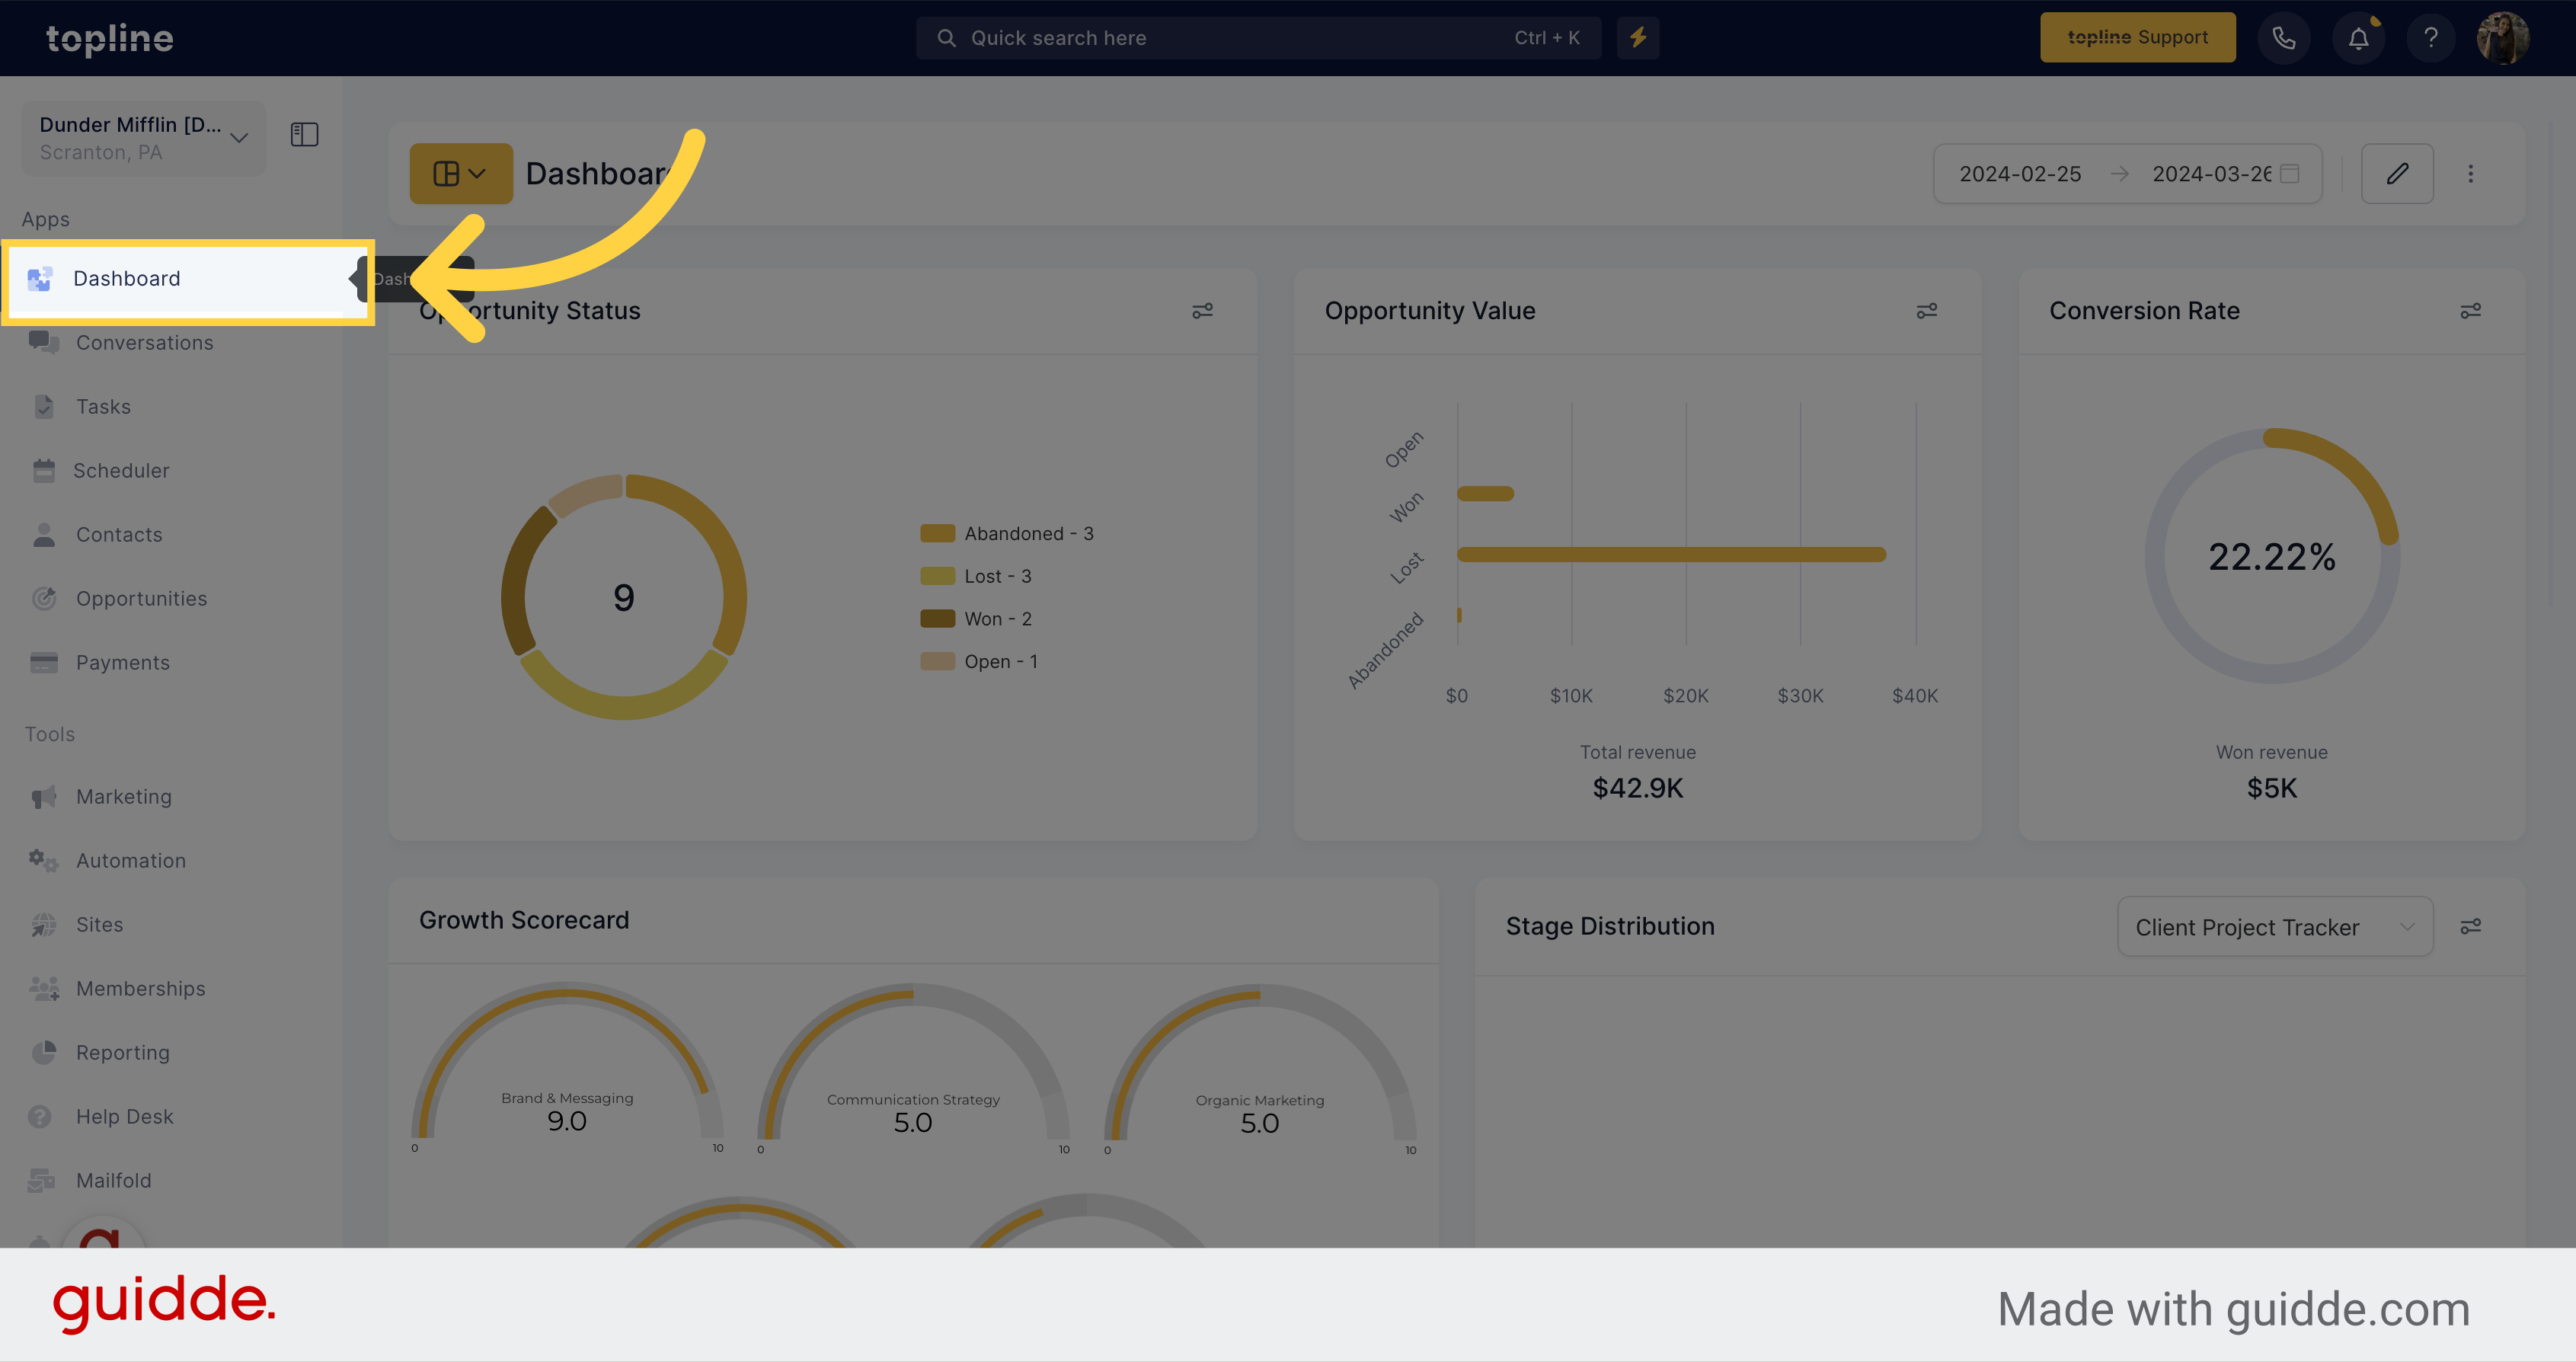
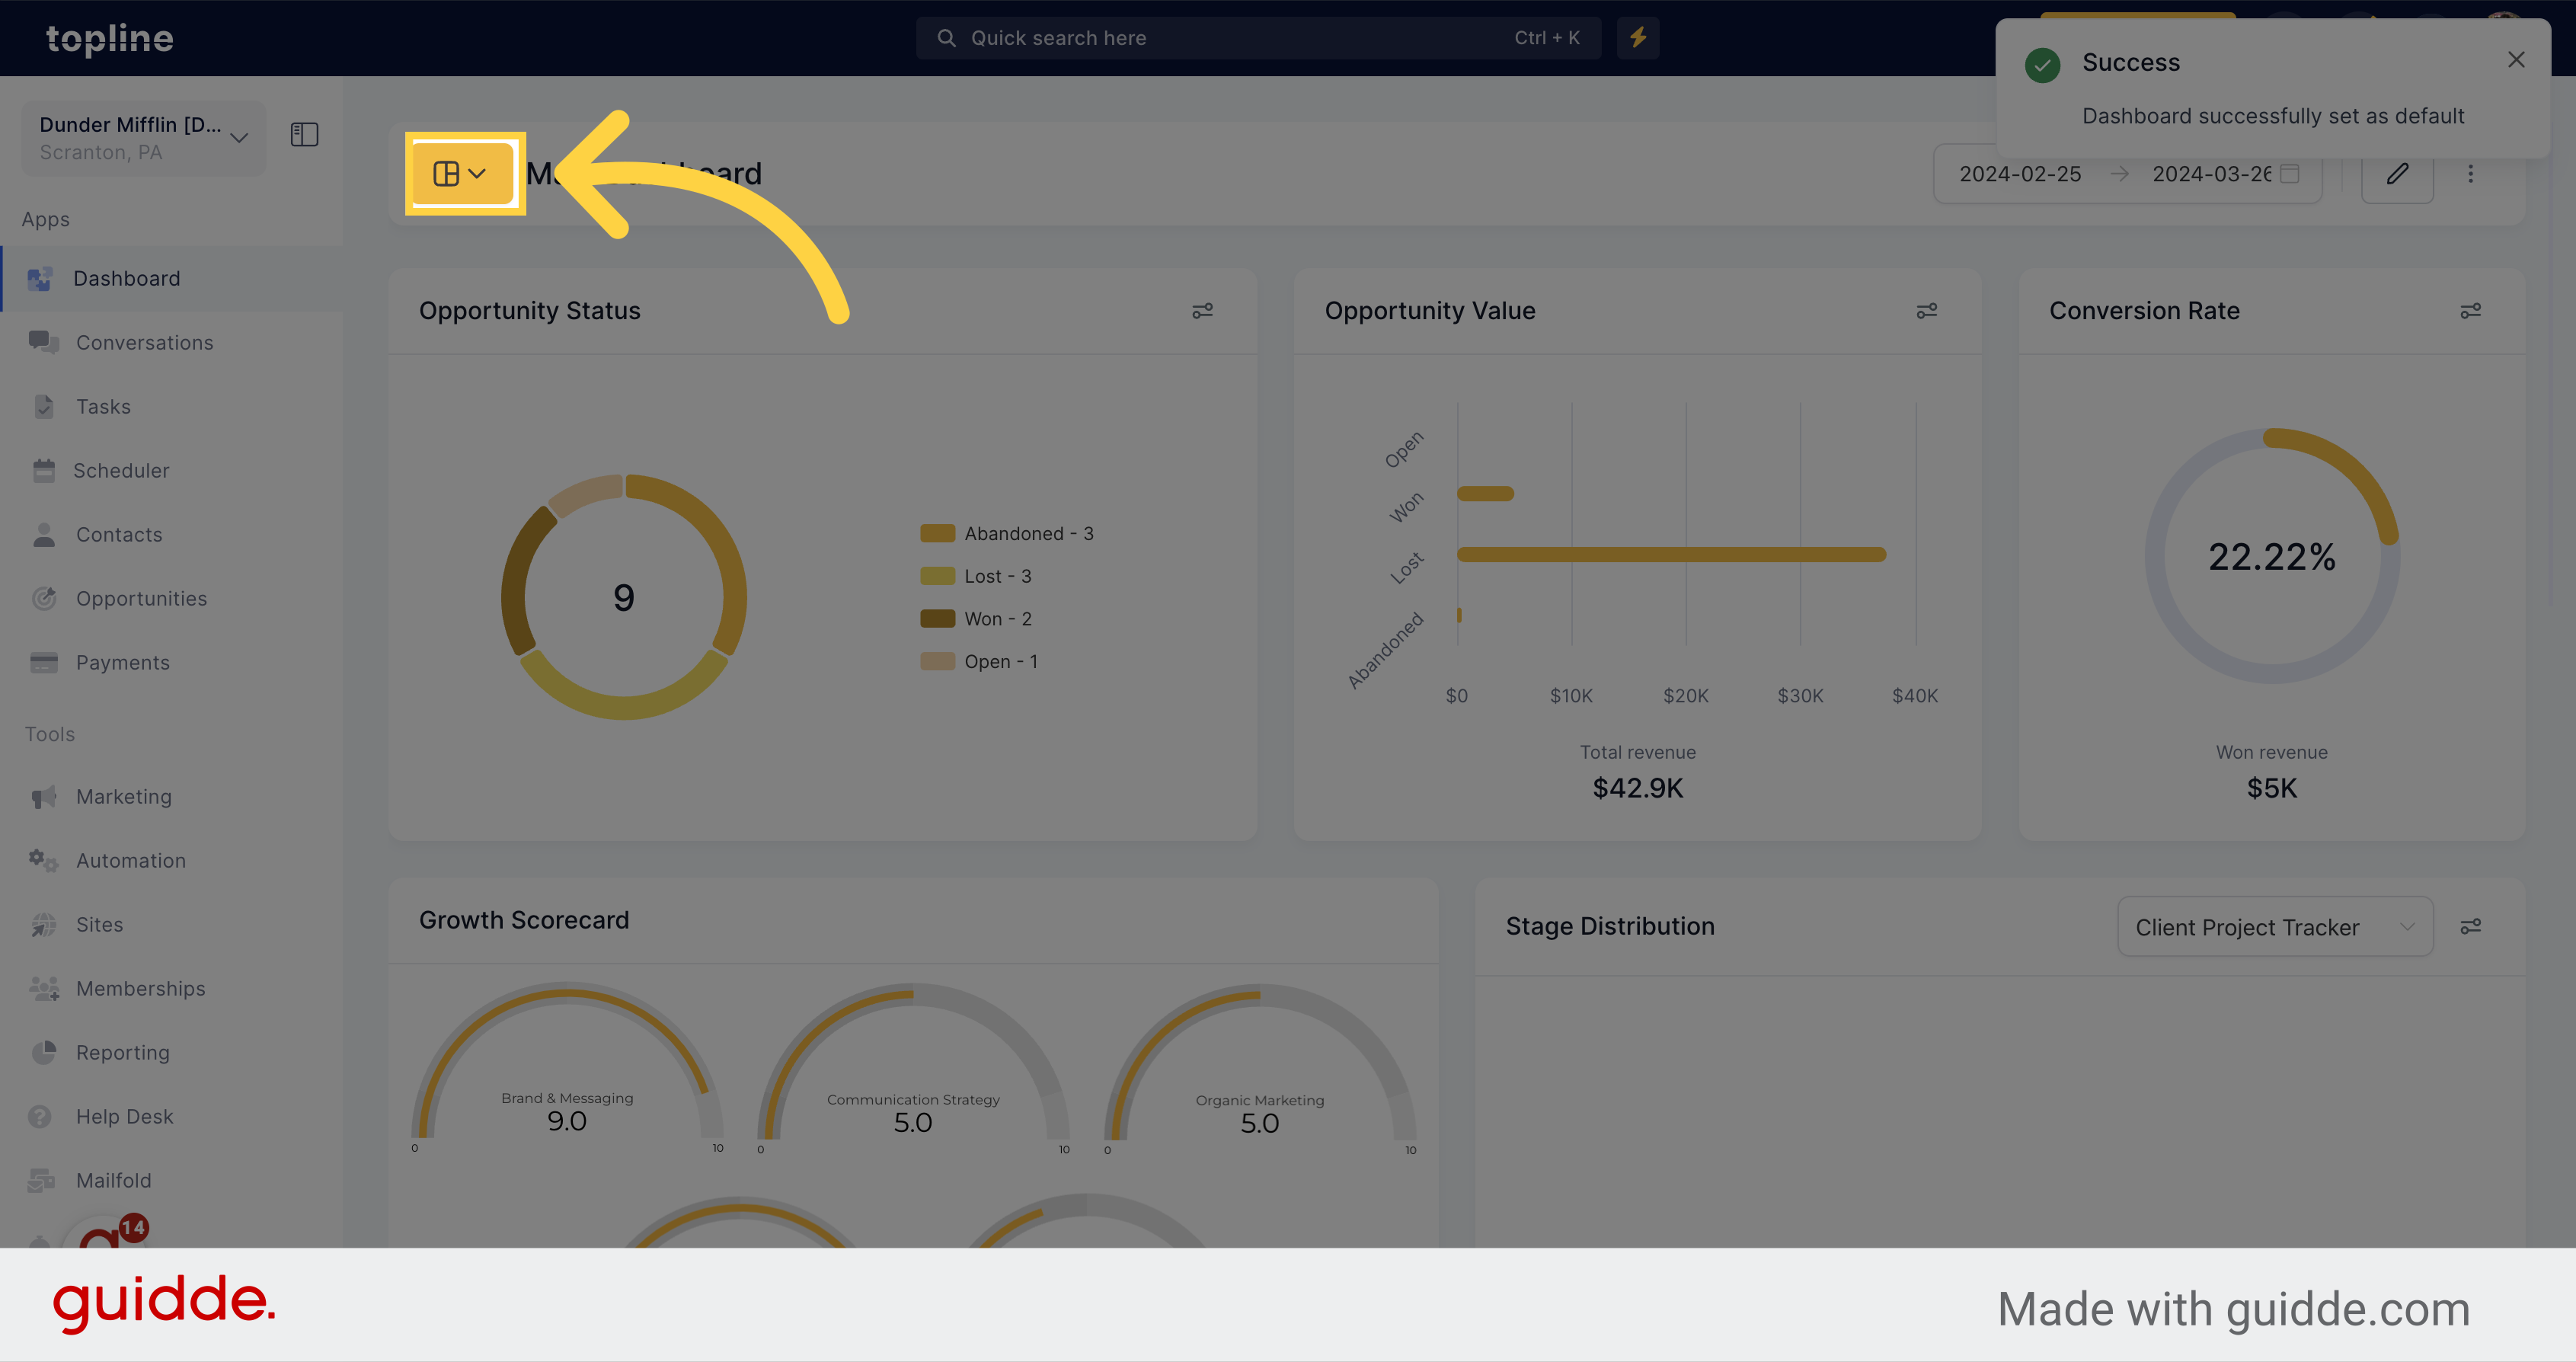
Click on the dashboard icon to visualize the dashboards created previously.

Click Dashboard Icon

3. Select Dashboard

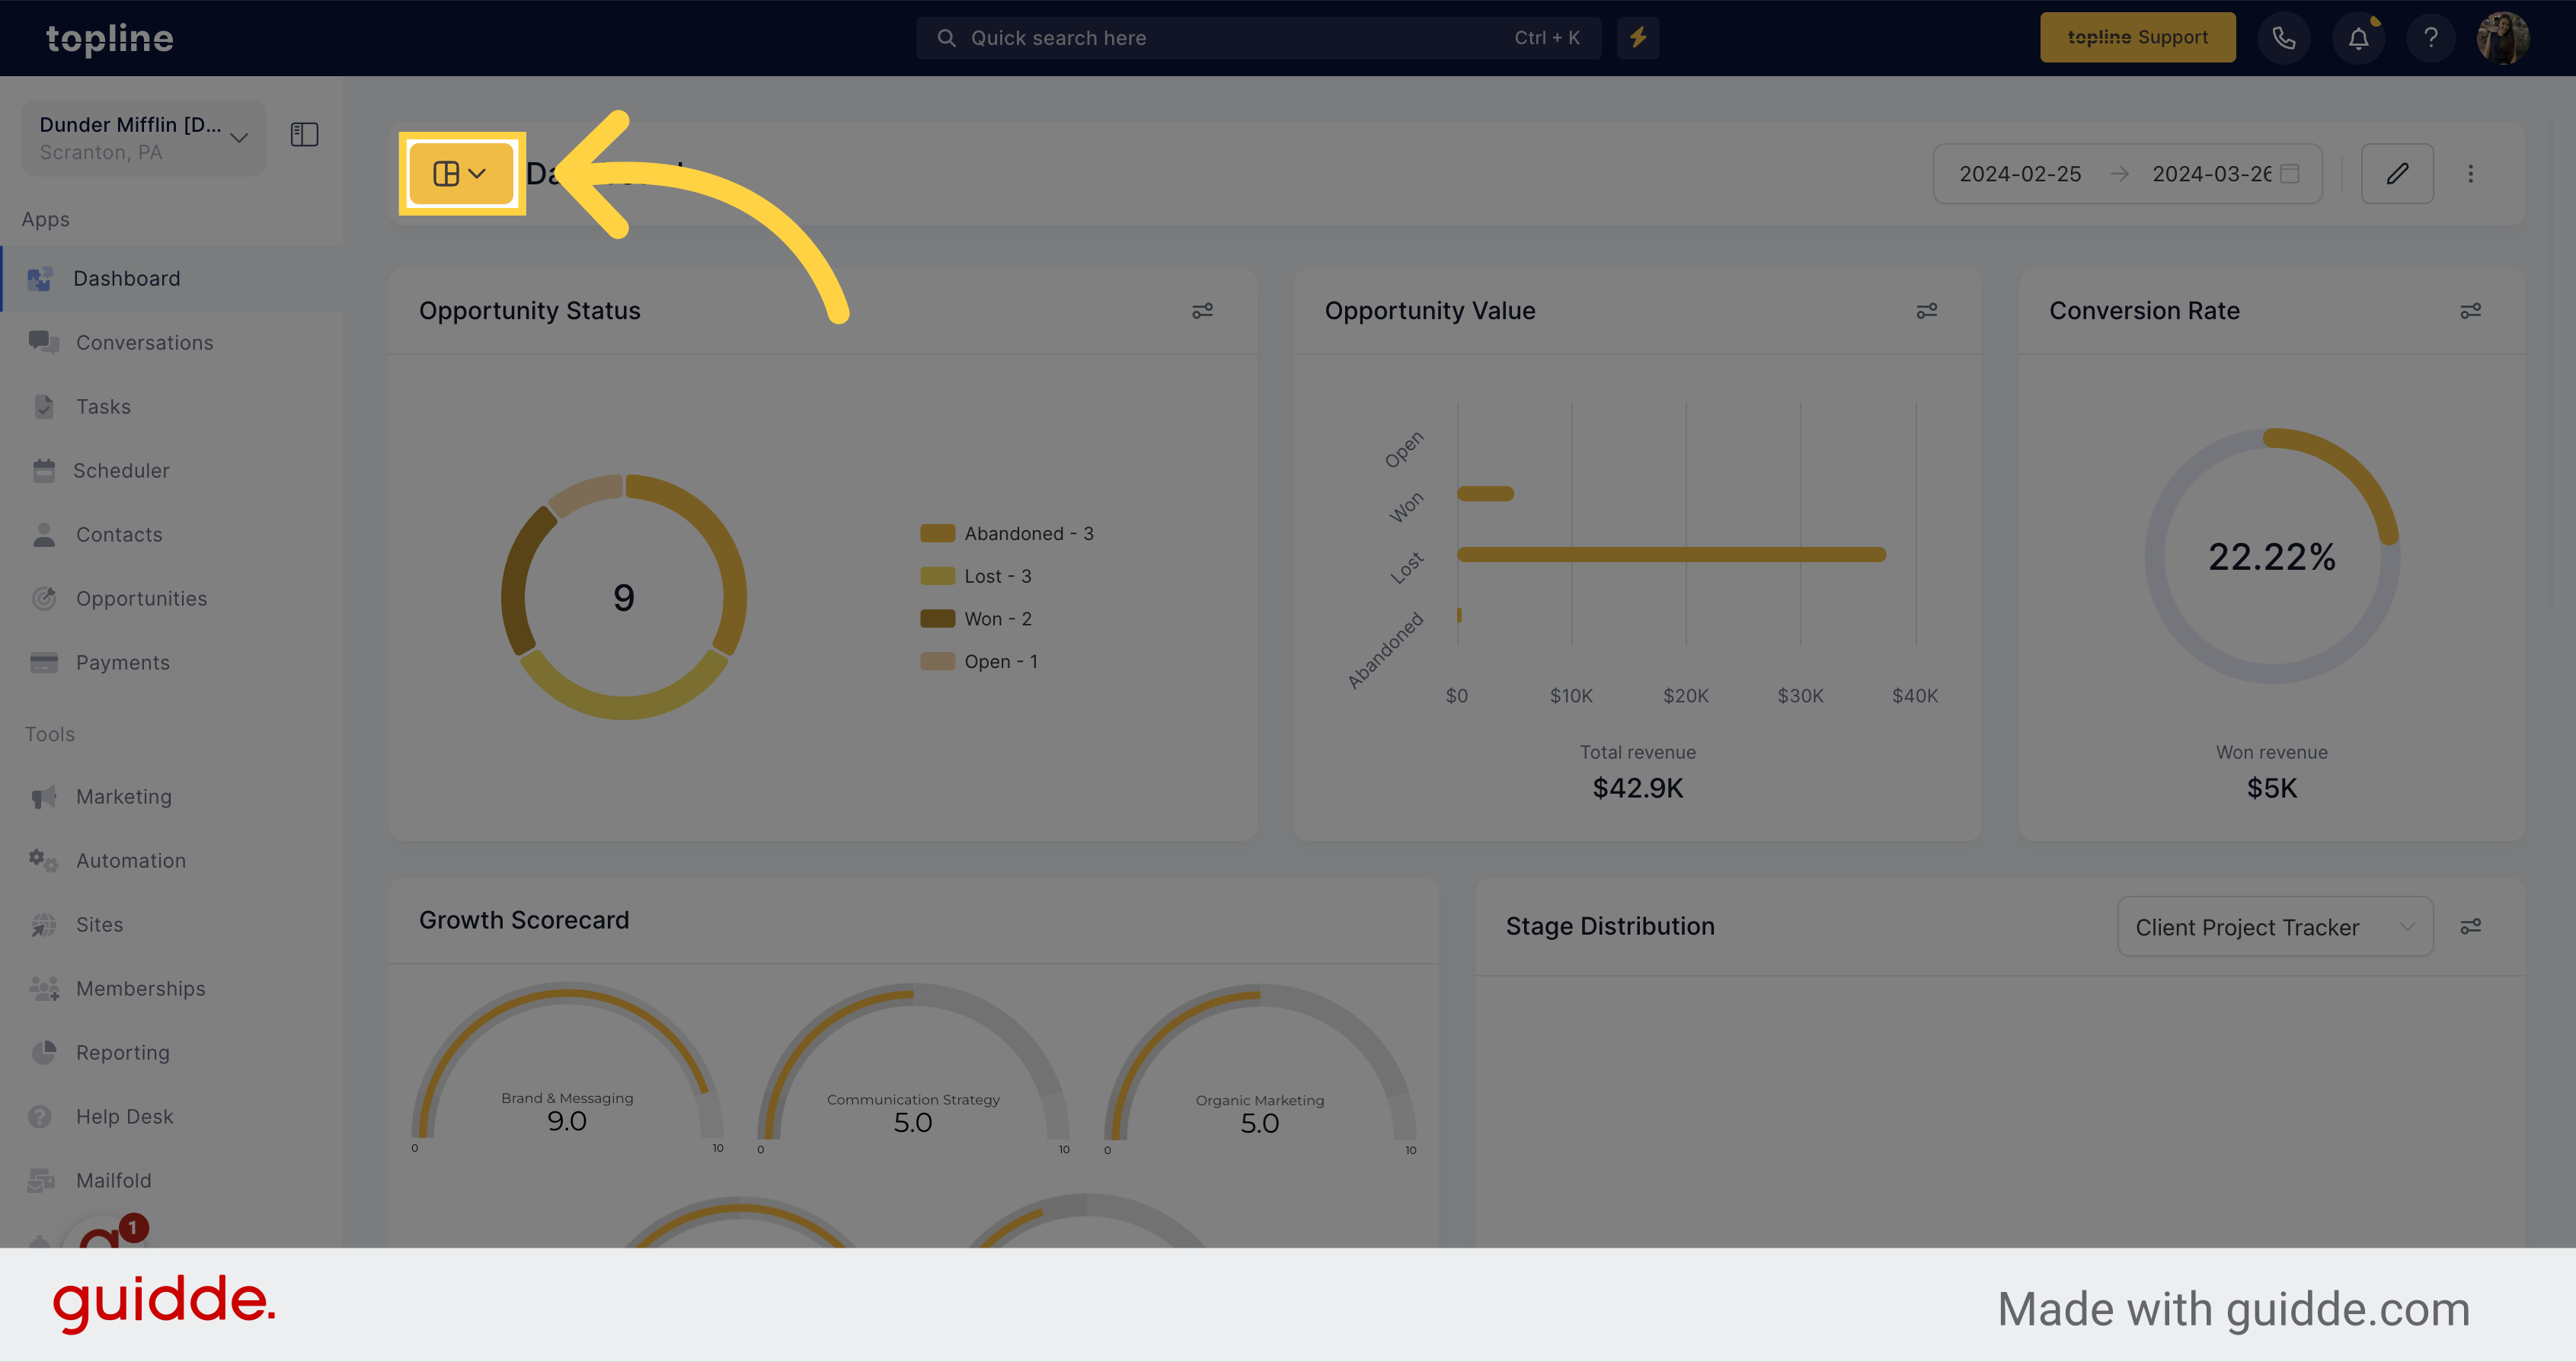
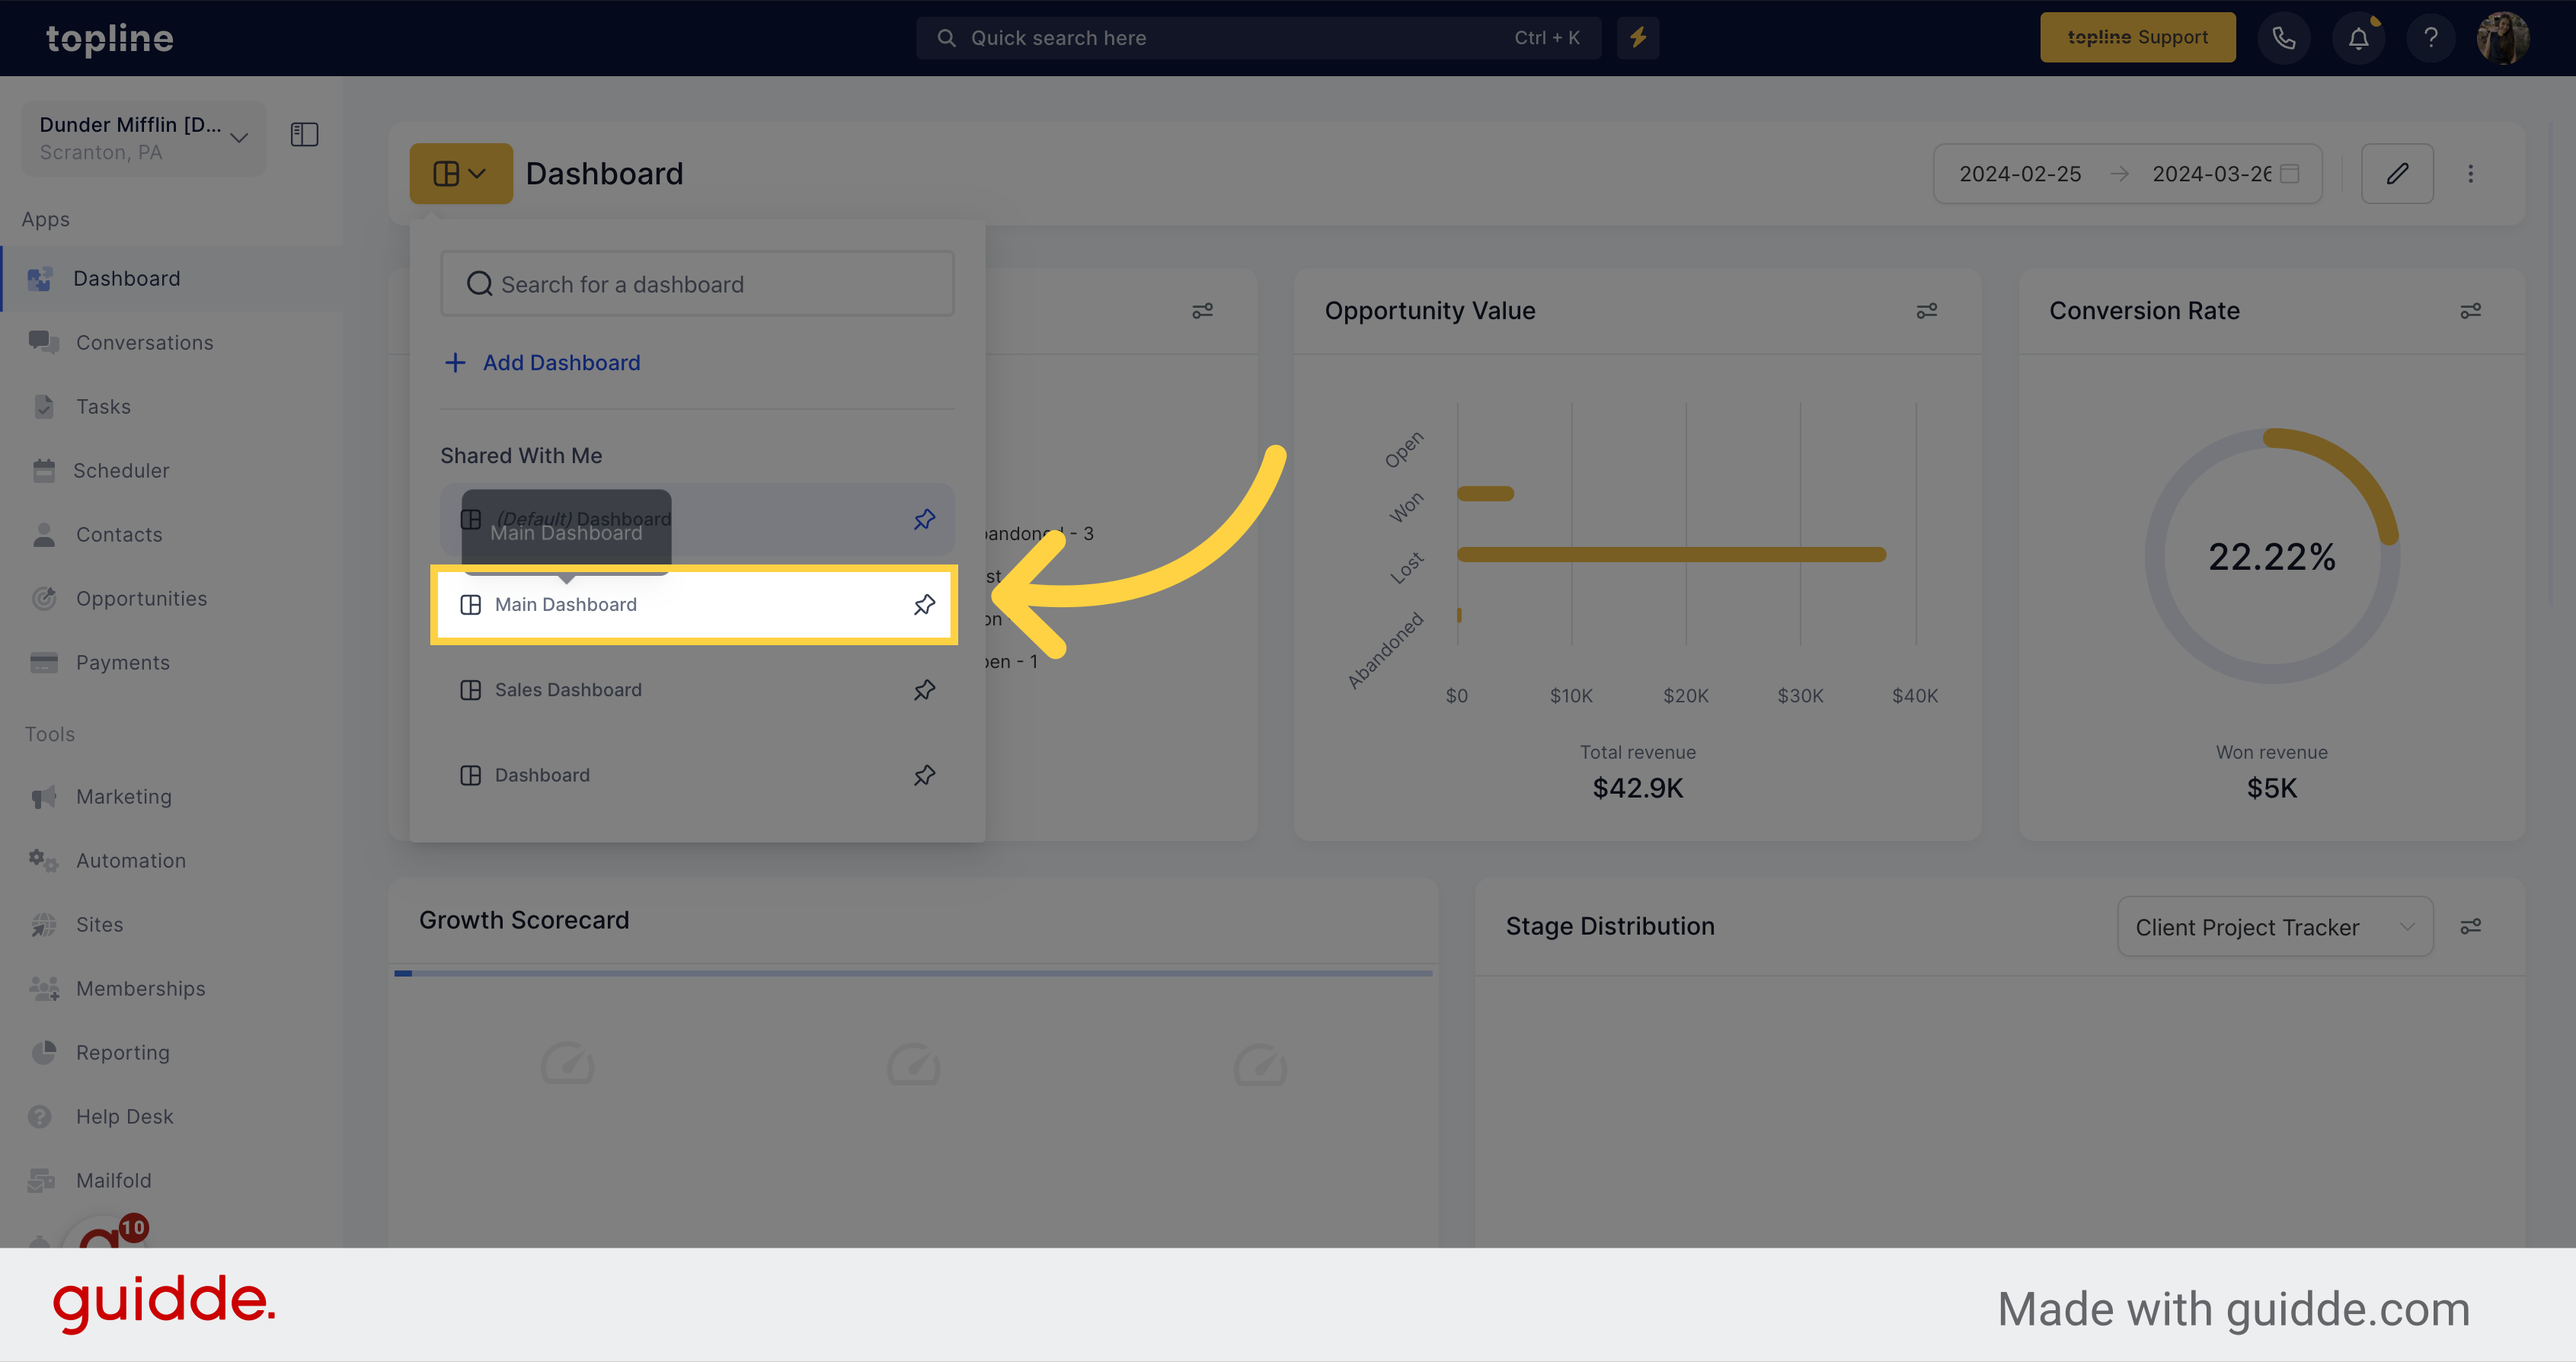
Select the dashboard you want to set as default.

Select Dashboard

4. Click Three Dots

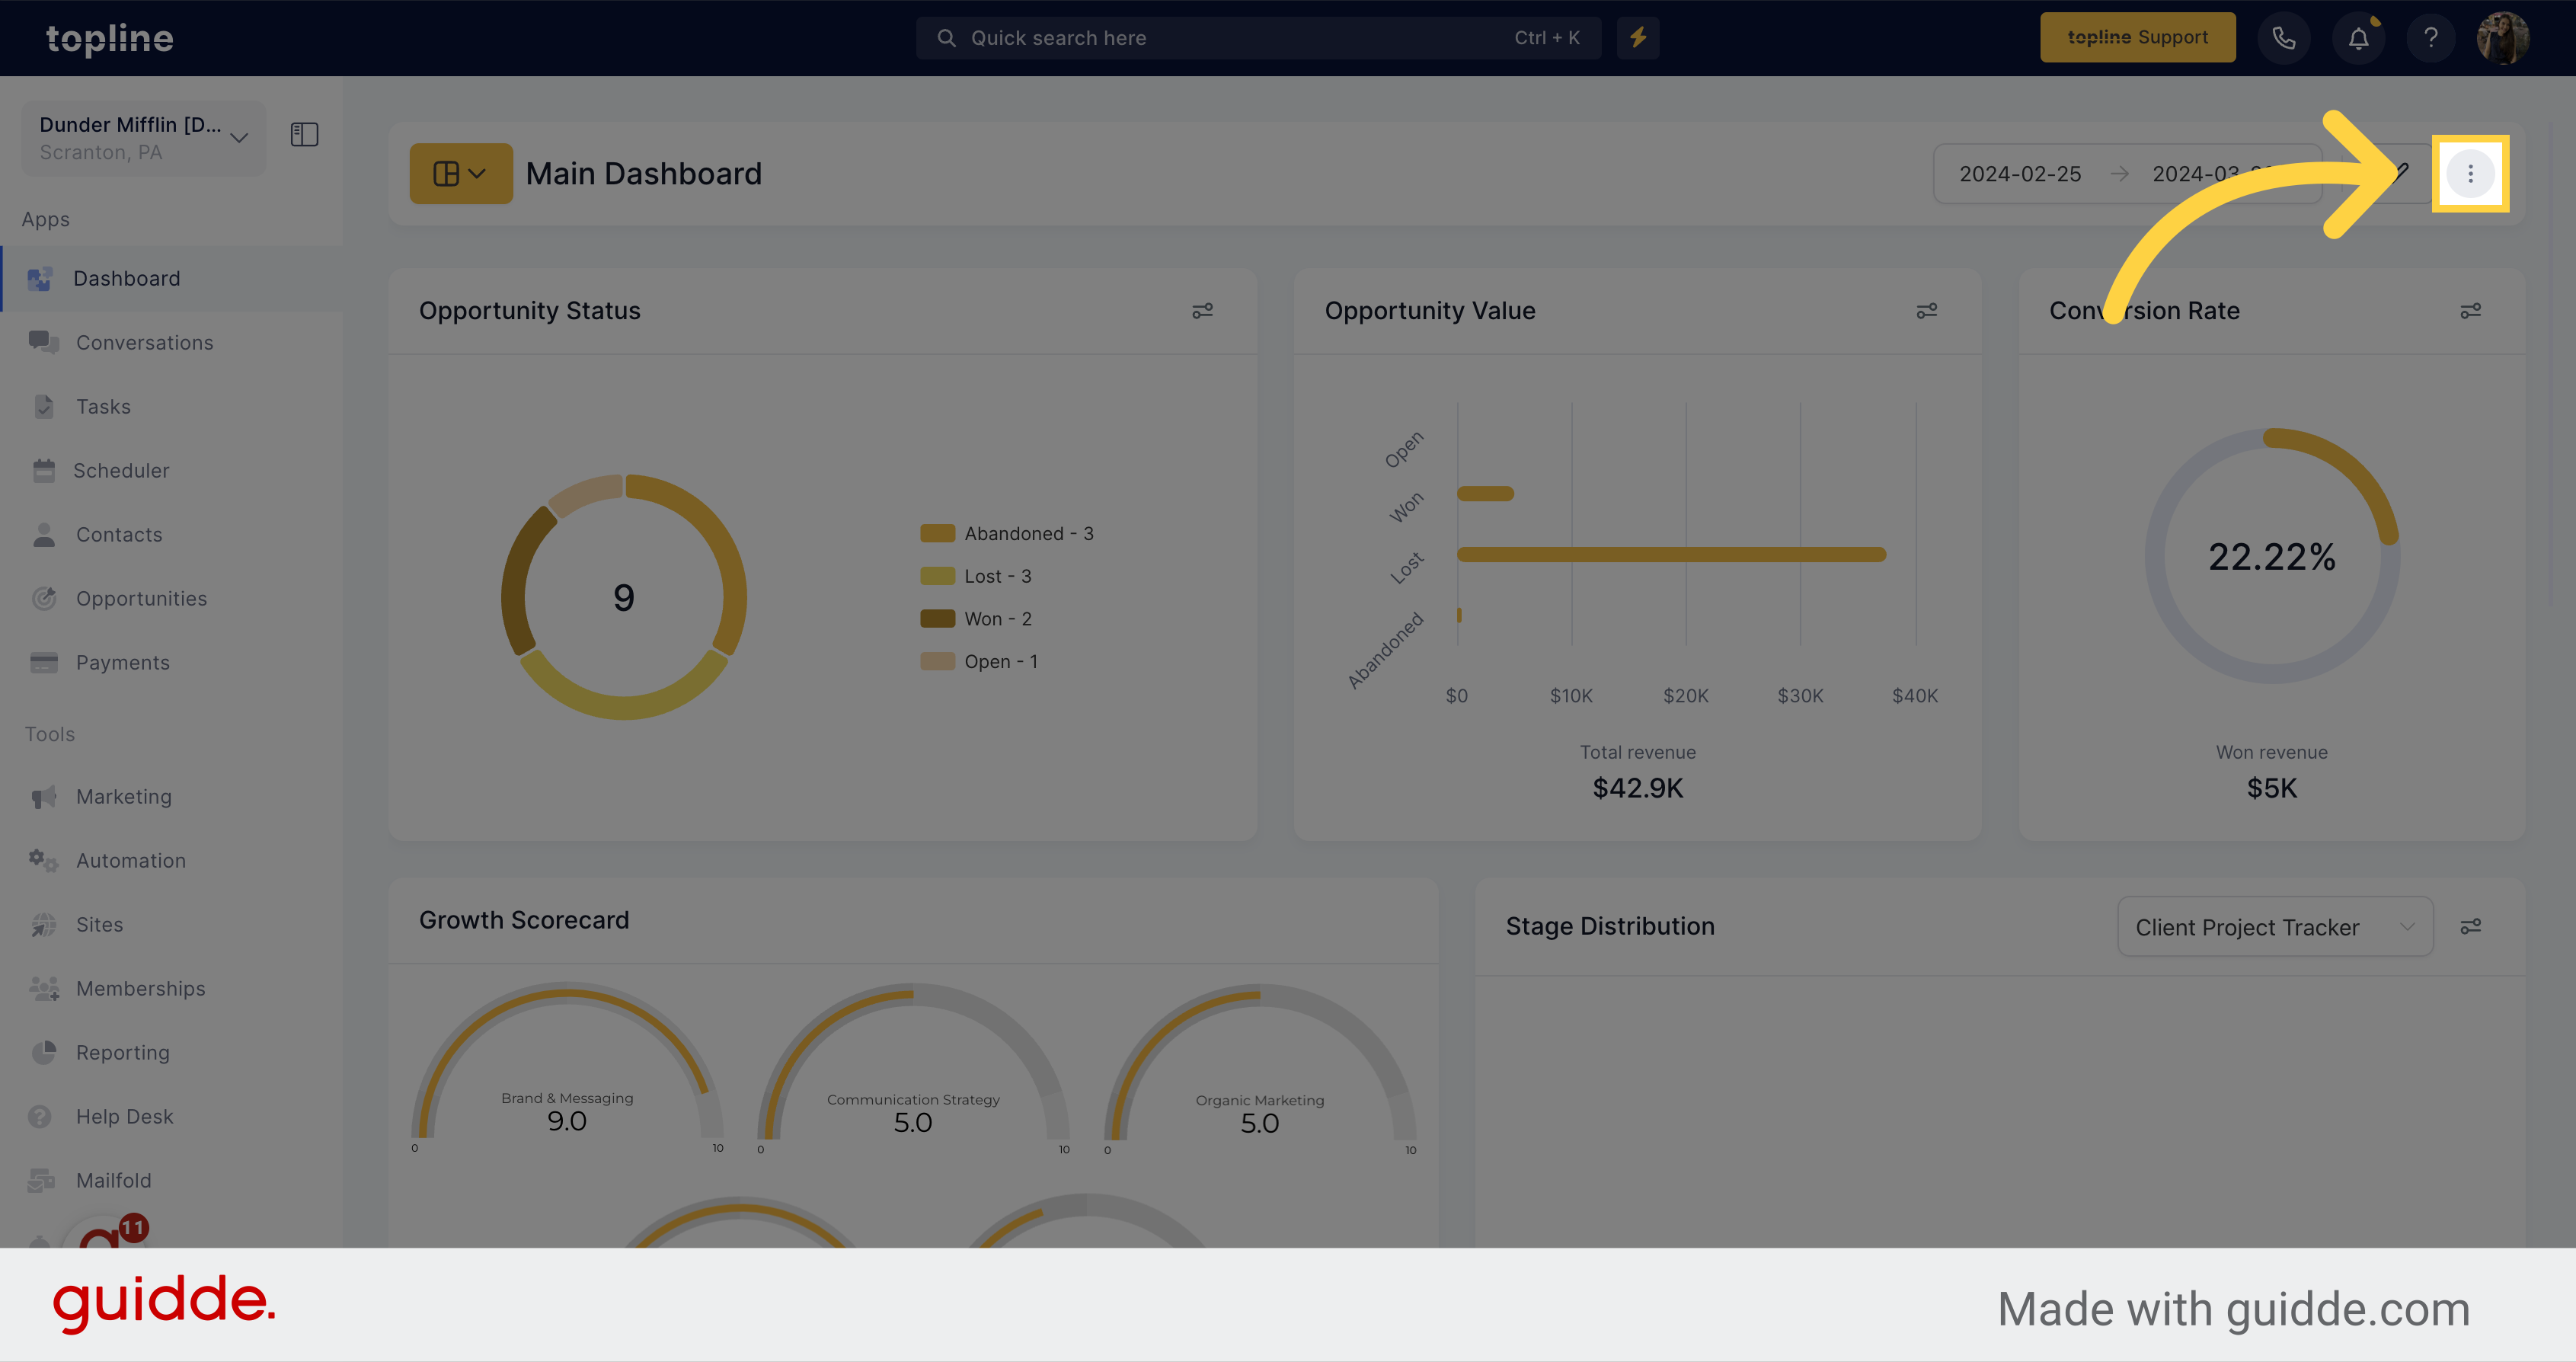
Click on the three dots icon located on the upper right corner of the view.

Click Three Dots

5. Click "Set as Default Dashboard"

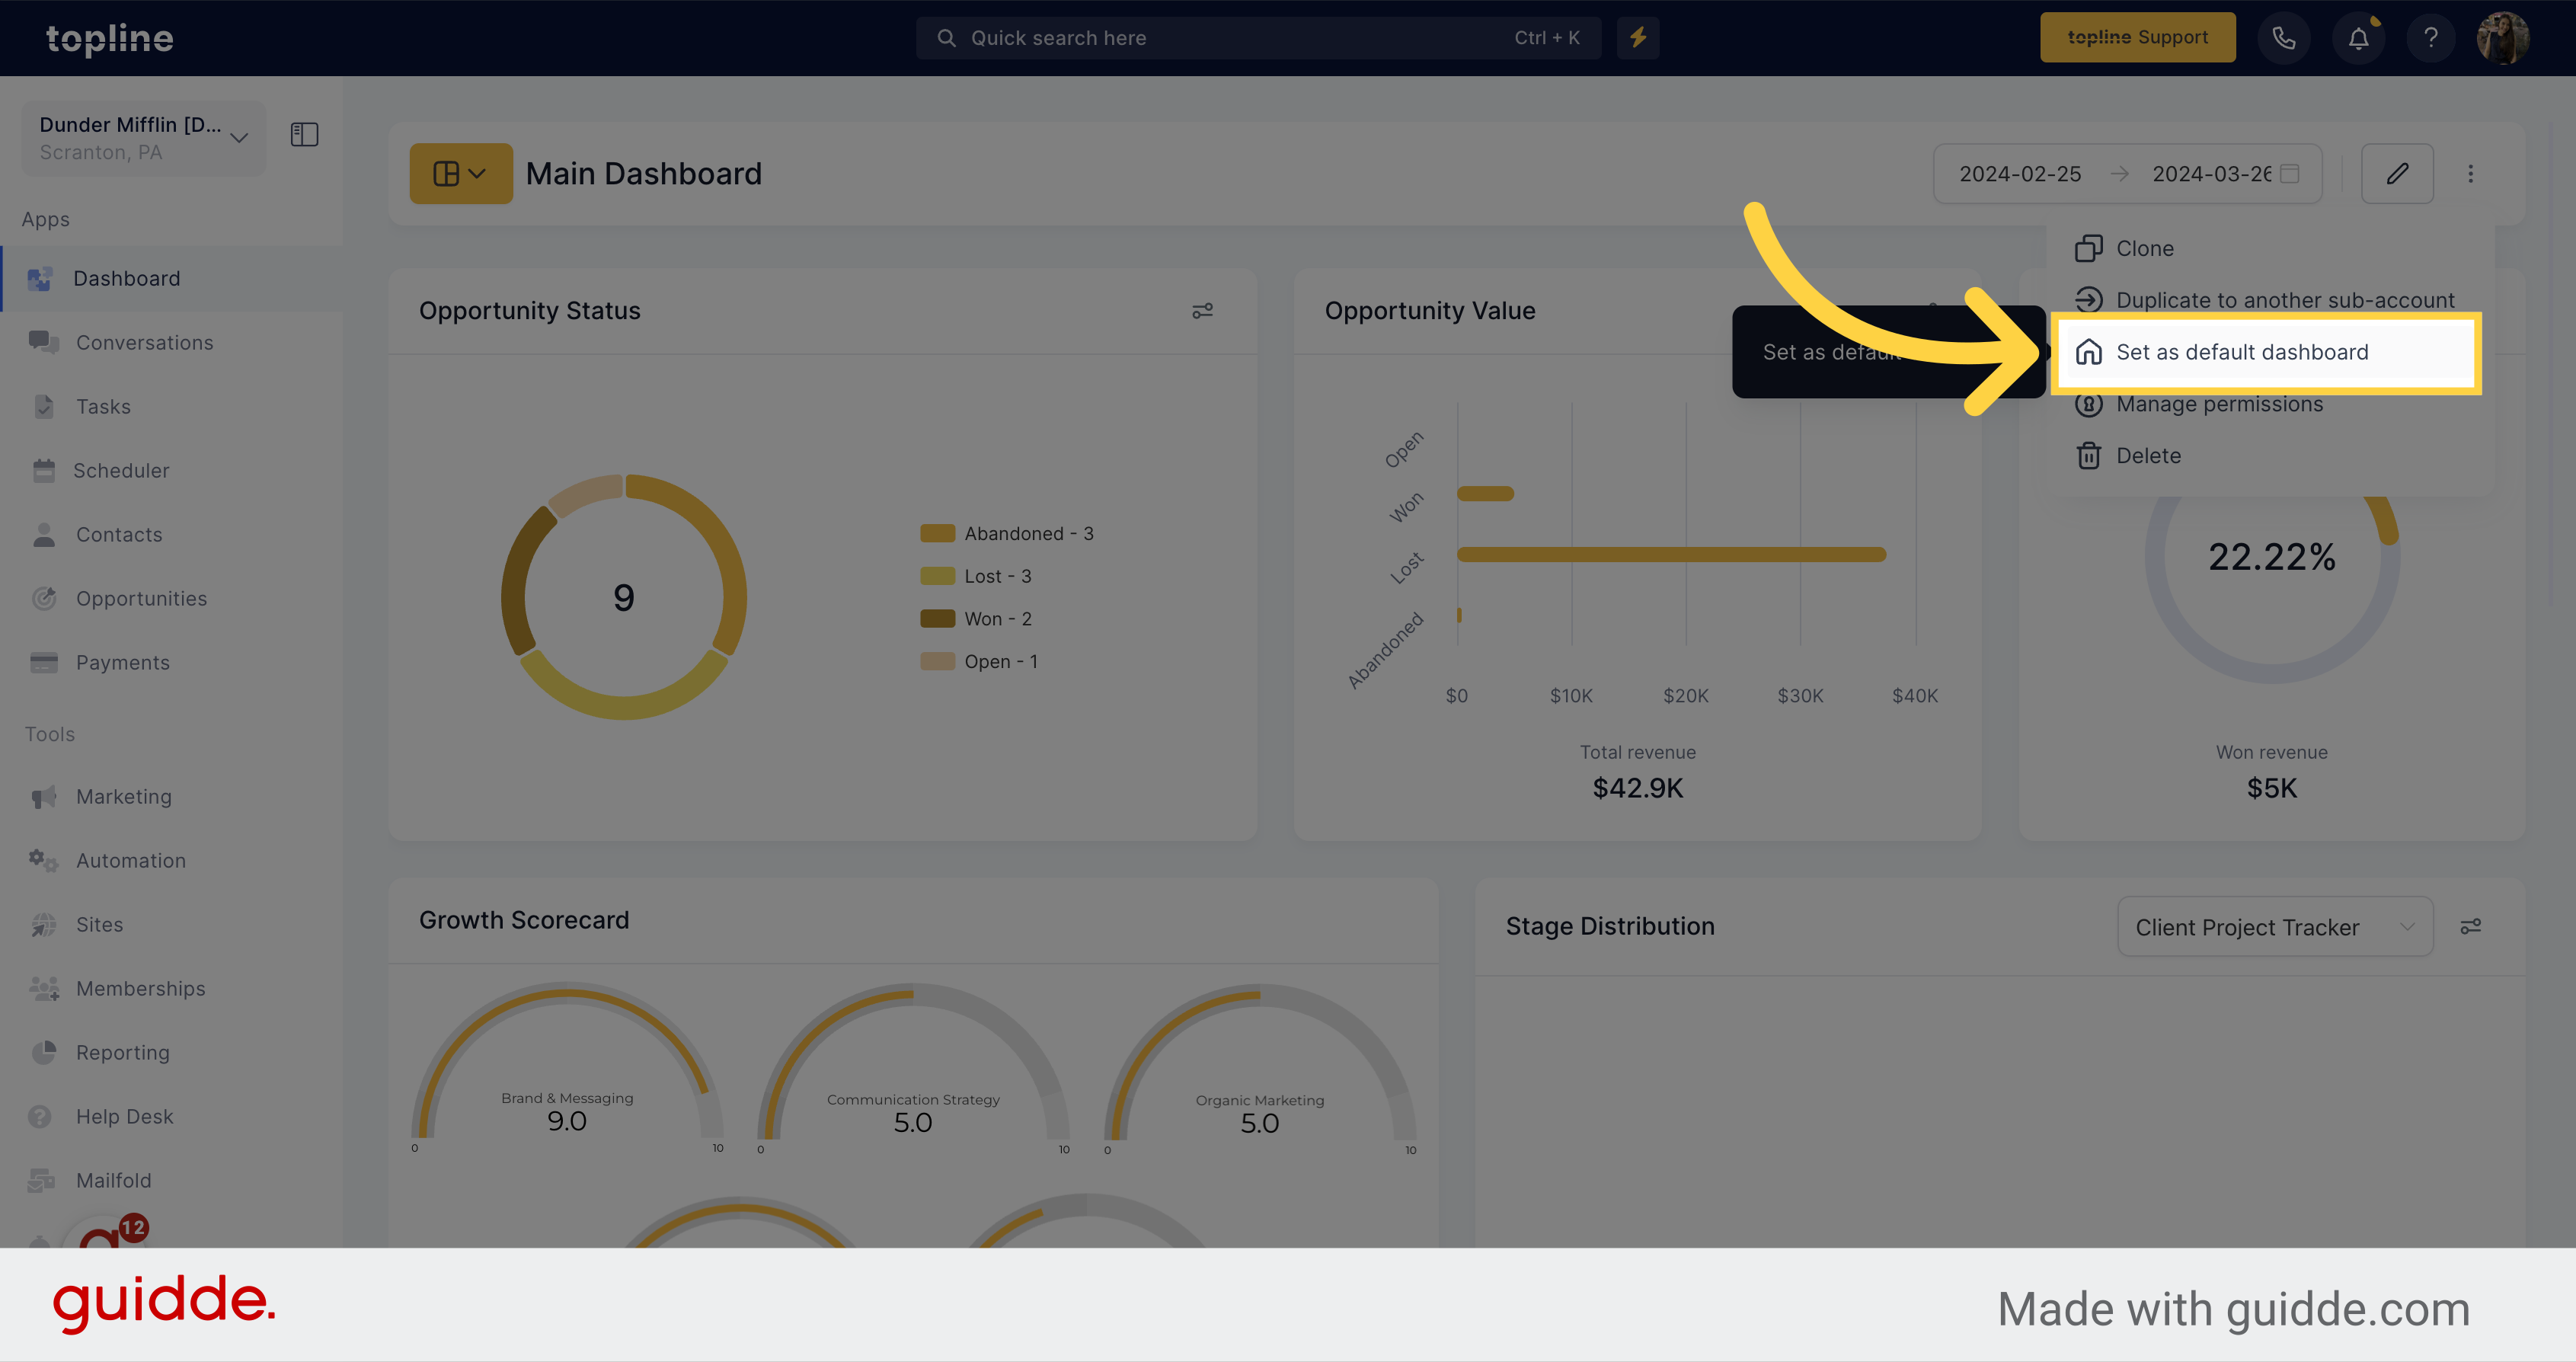
On the options dropdown menu, select the set as default dashboard option.

Click 'Set as Default Dashboard'

6. Click "Confirm"

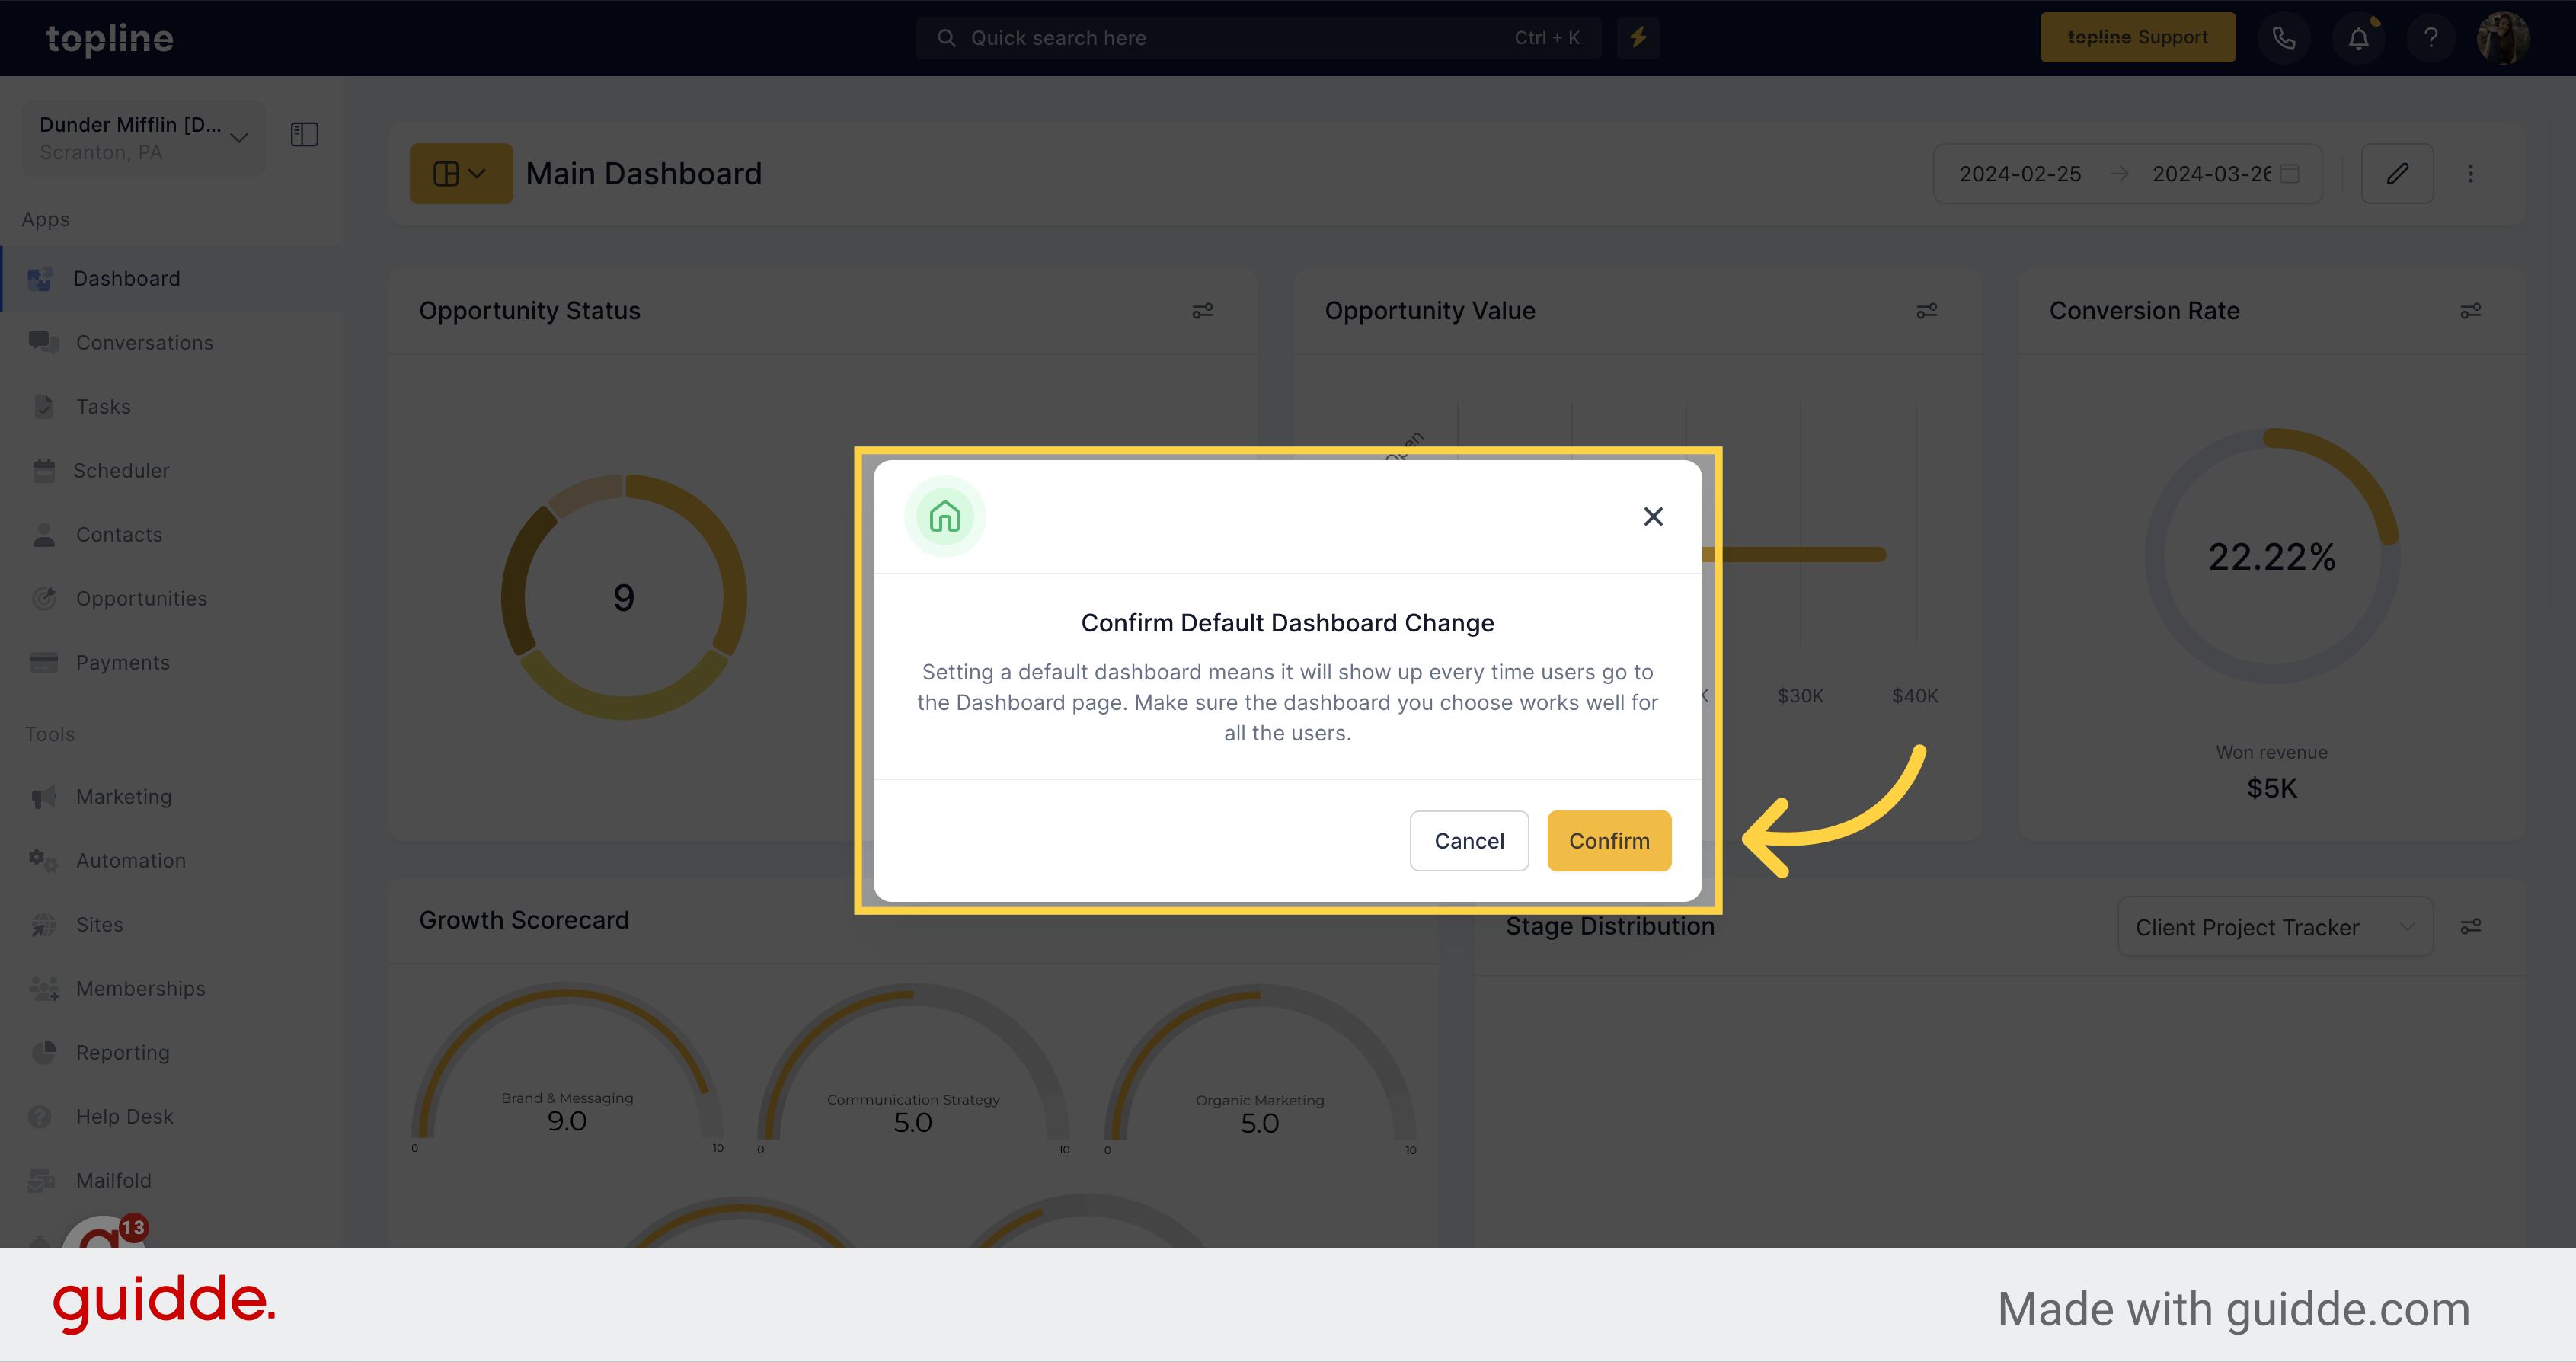
A pop up window will appear, click on confirm to set the dashboard selected as default. It will be shown every time users go to the dashboard page.

Click 'Confirm'

7. Click Dashboard Icon

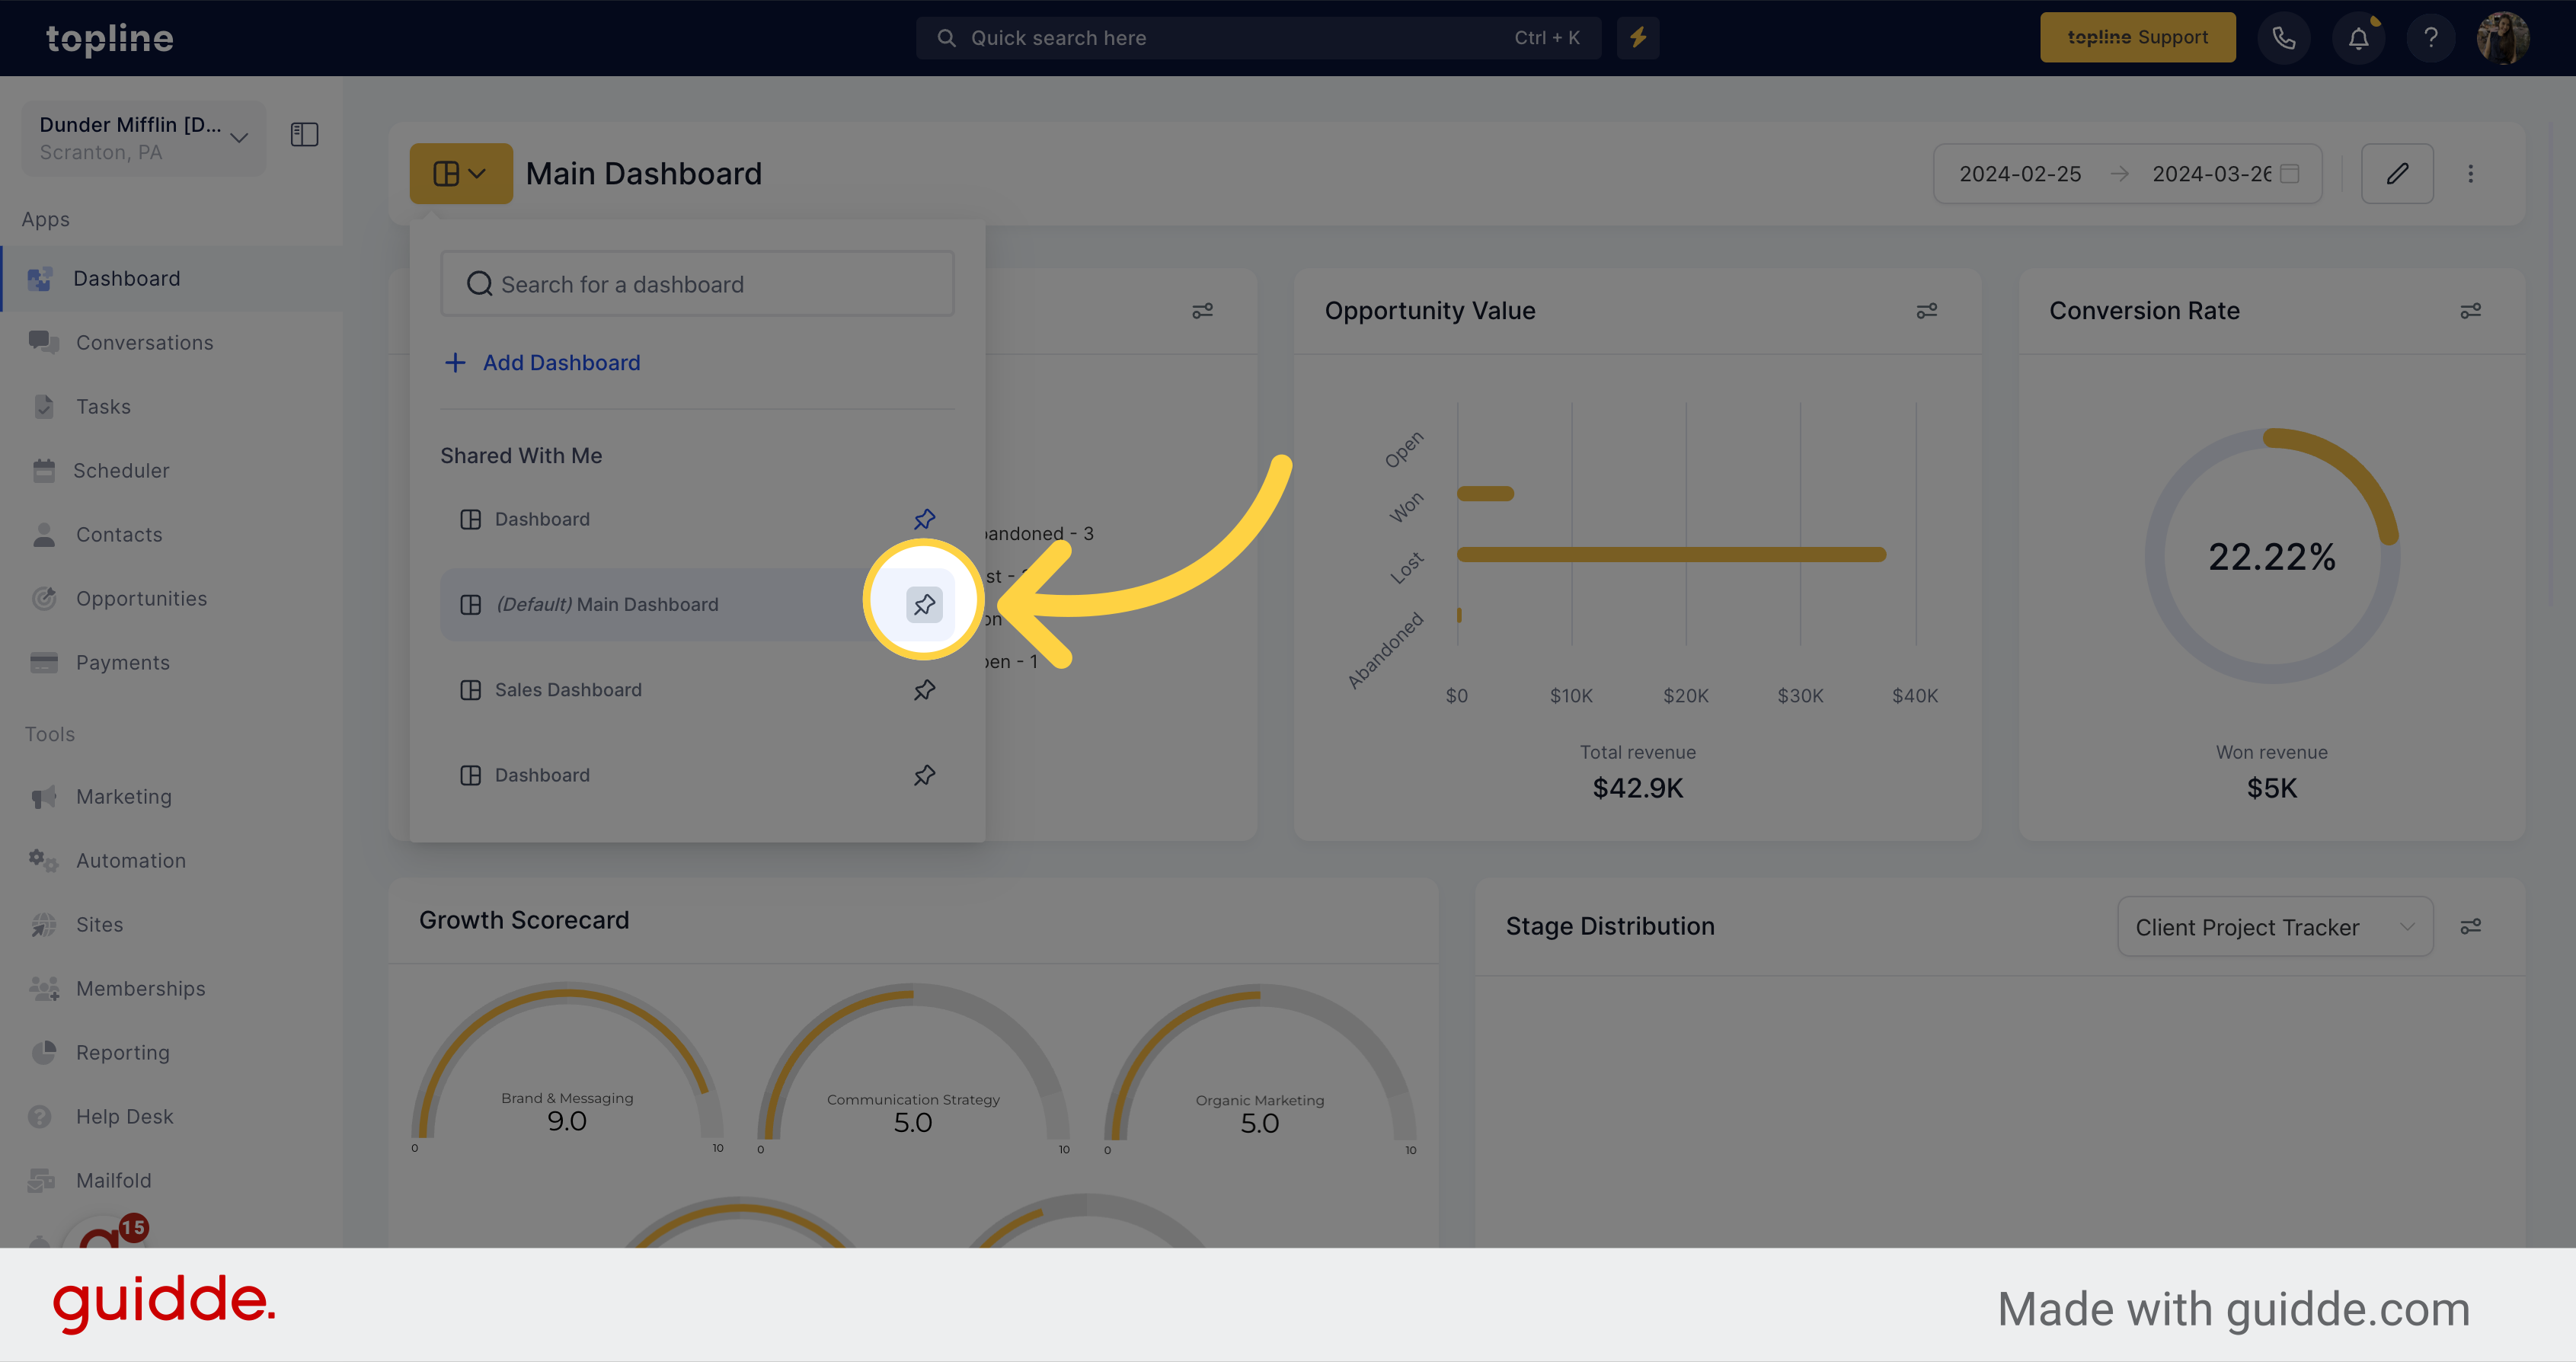
To pin a dashboard on the dashboards list, click on the icon.

Click Dashboard Icon

8. Pin Dashboard

Click on the pin icon to place that dashboard as the first ones to appear.

Pin Dashboard
Did this answer your question?
😞
😐
😁