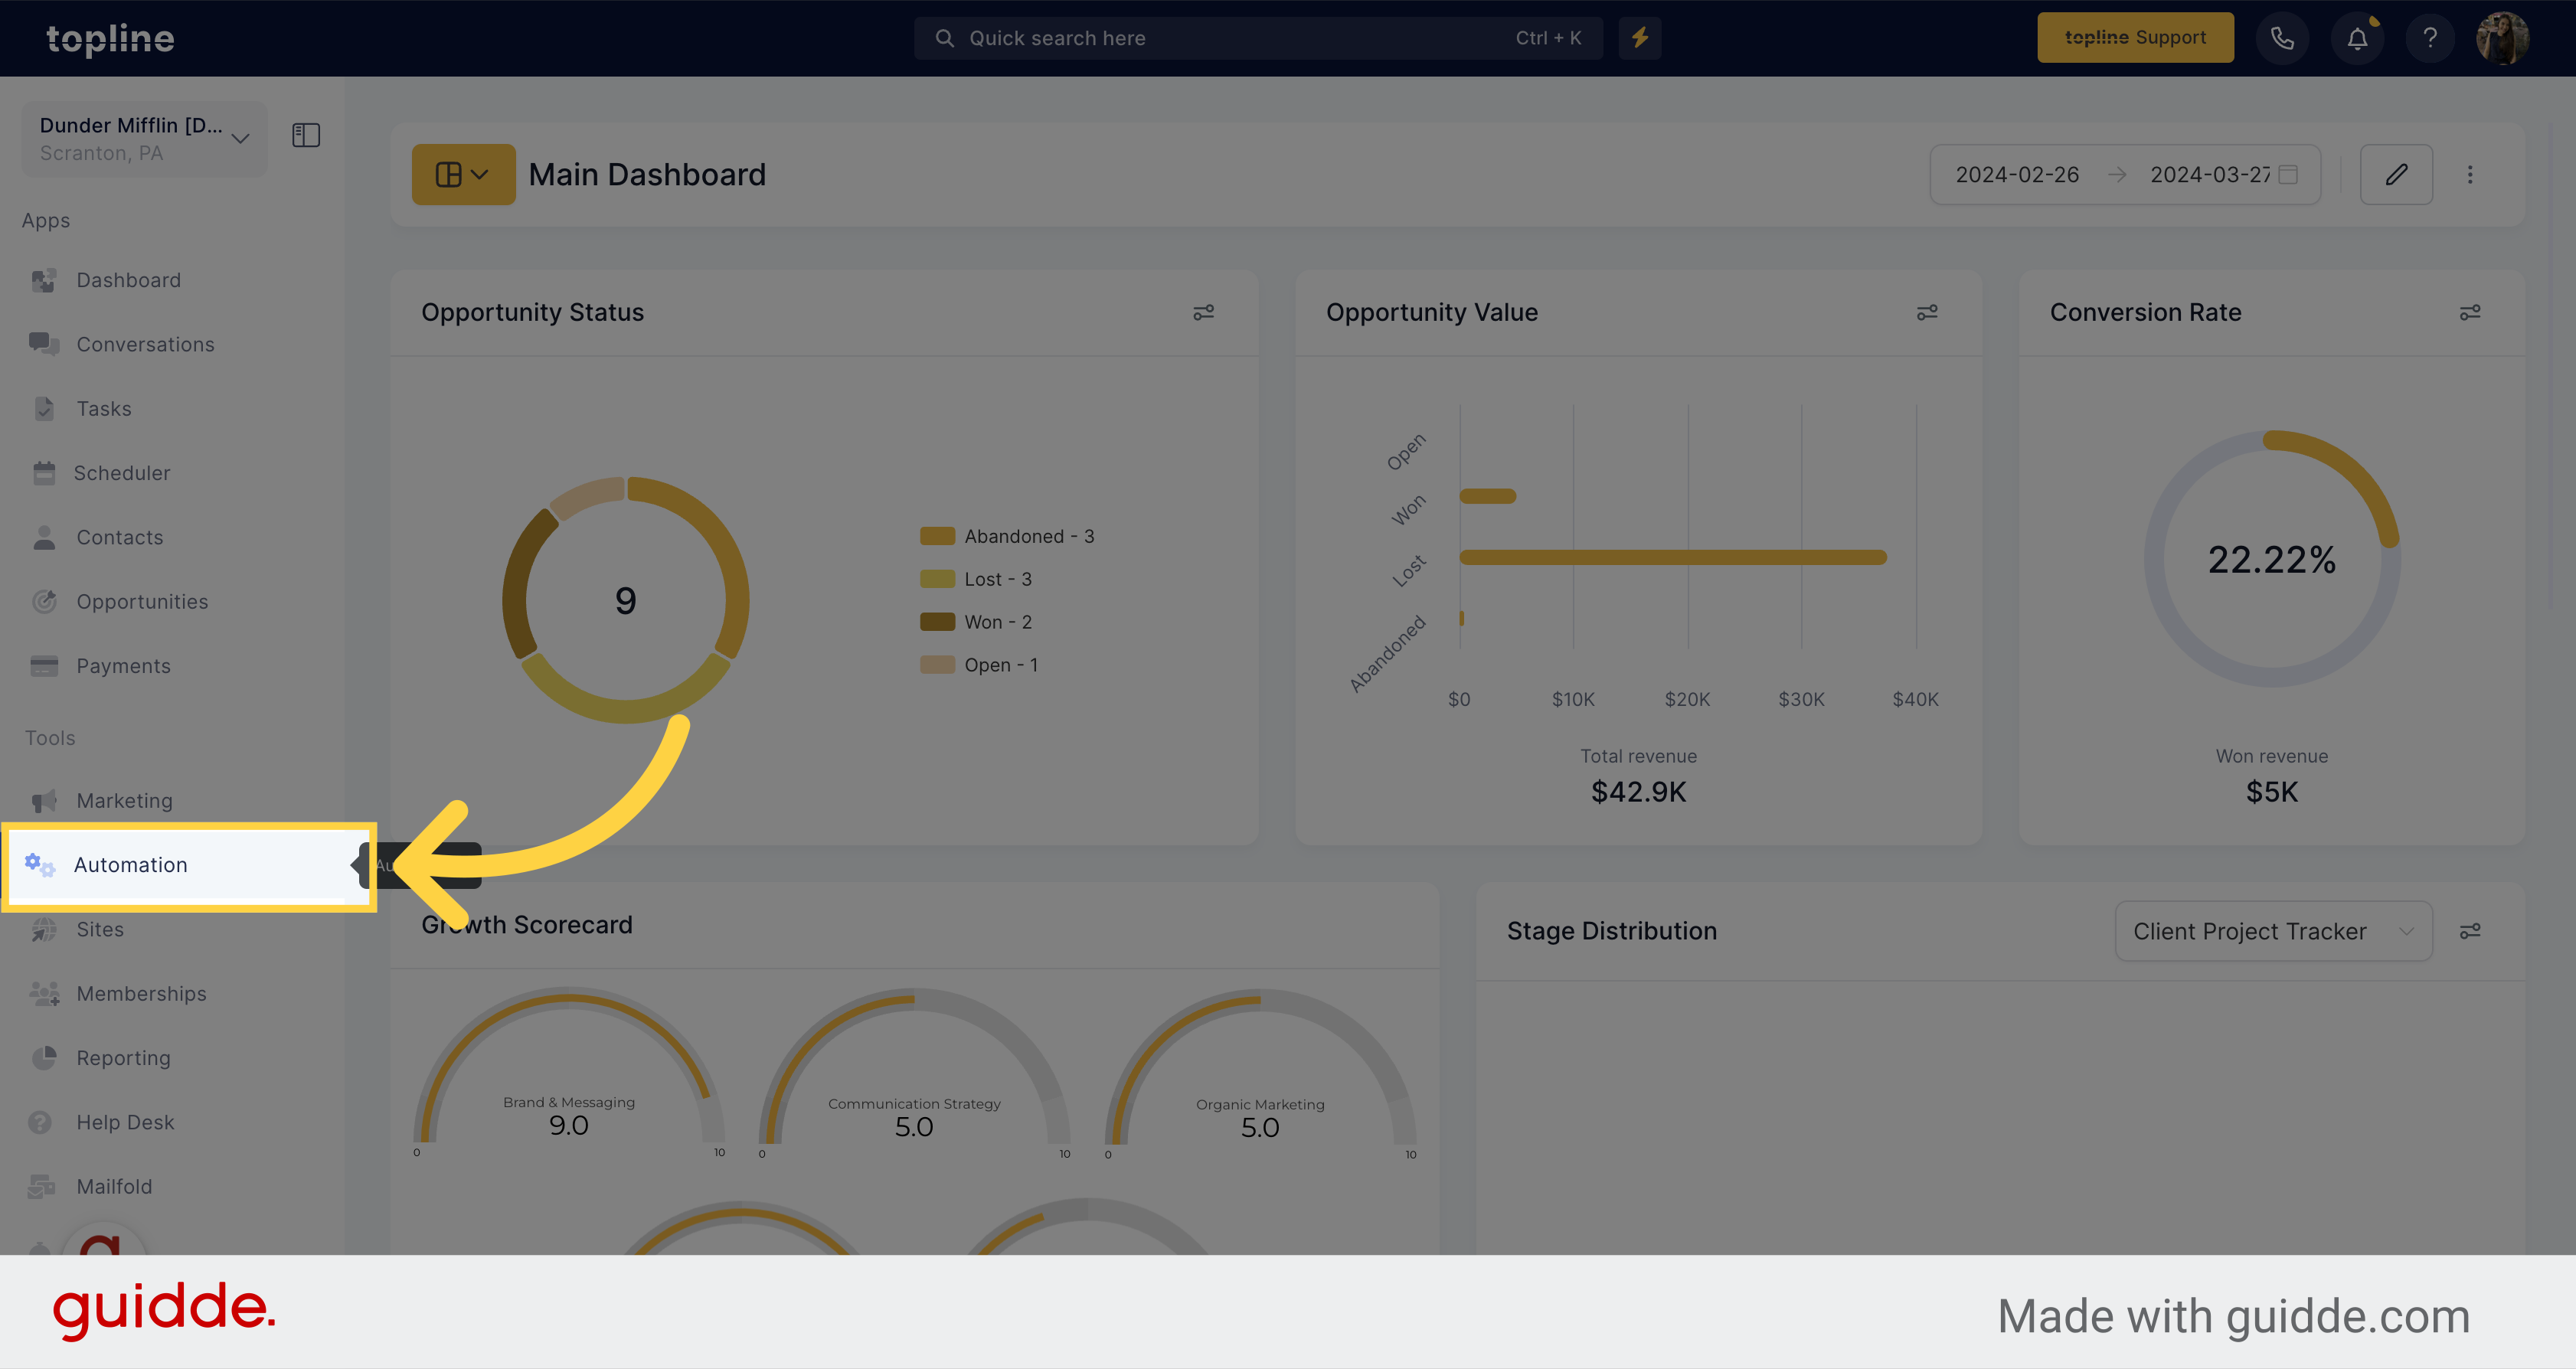
Access the Automation feature on the left side menu.
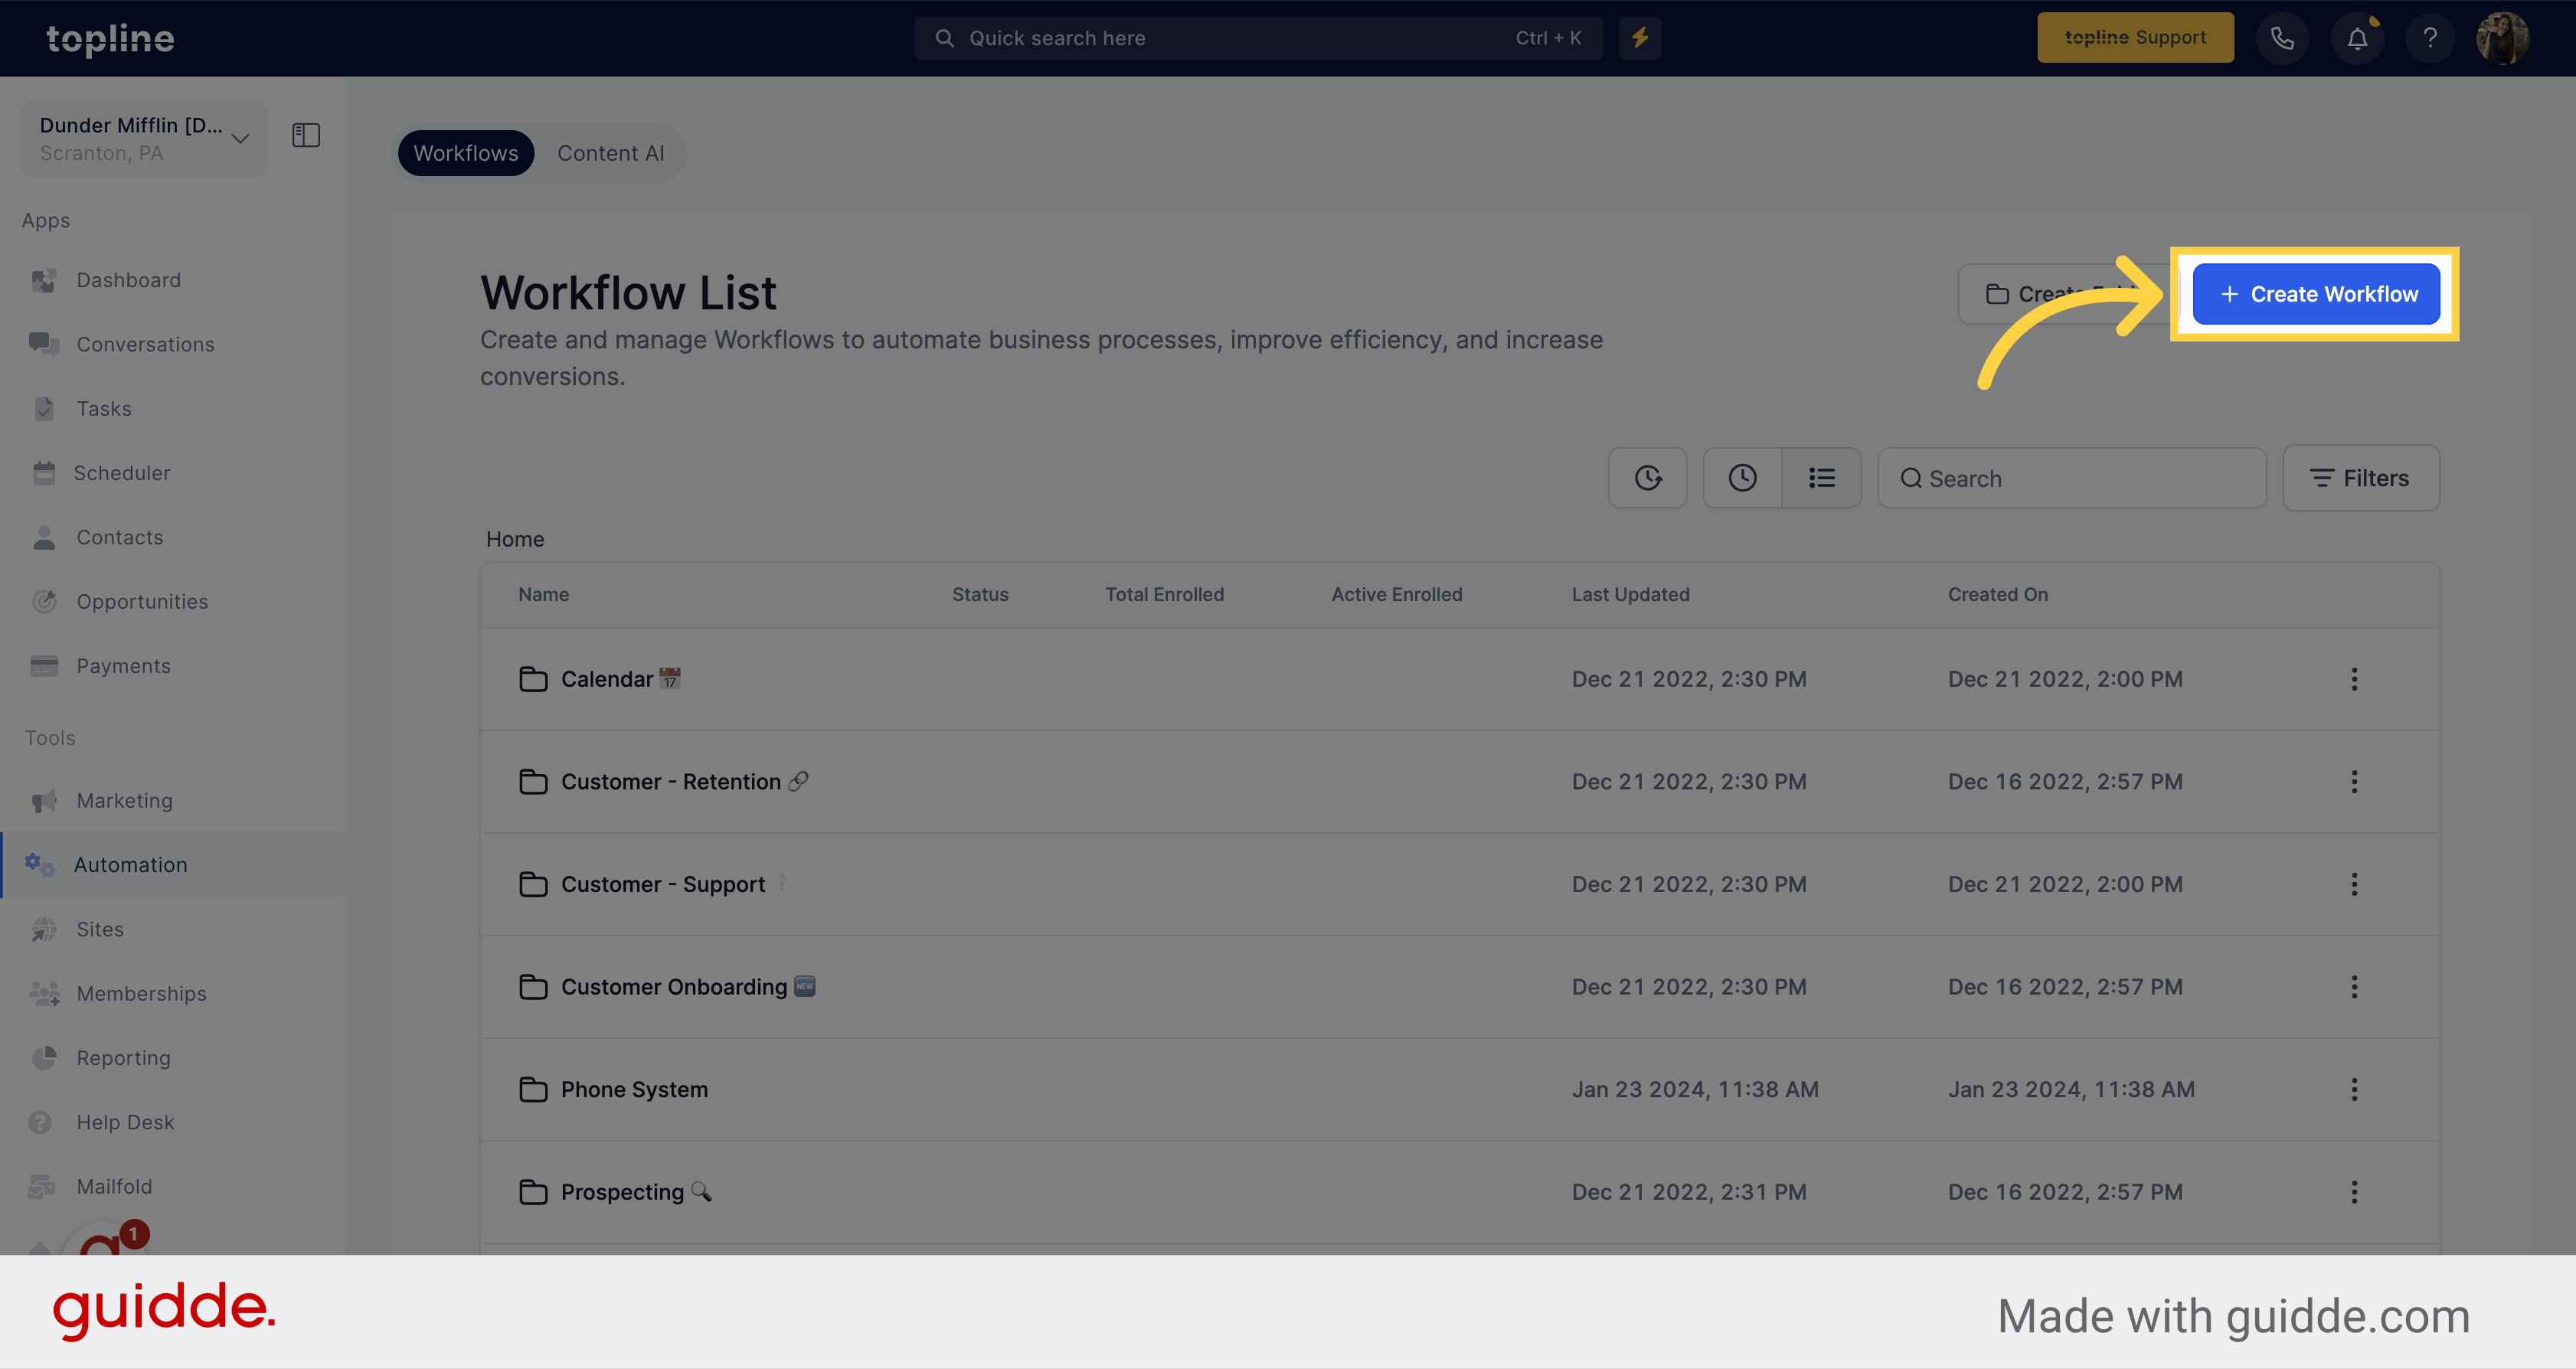
To create a new workflow click on the Create Workflow button located on the upper right corner.
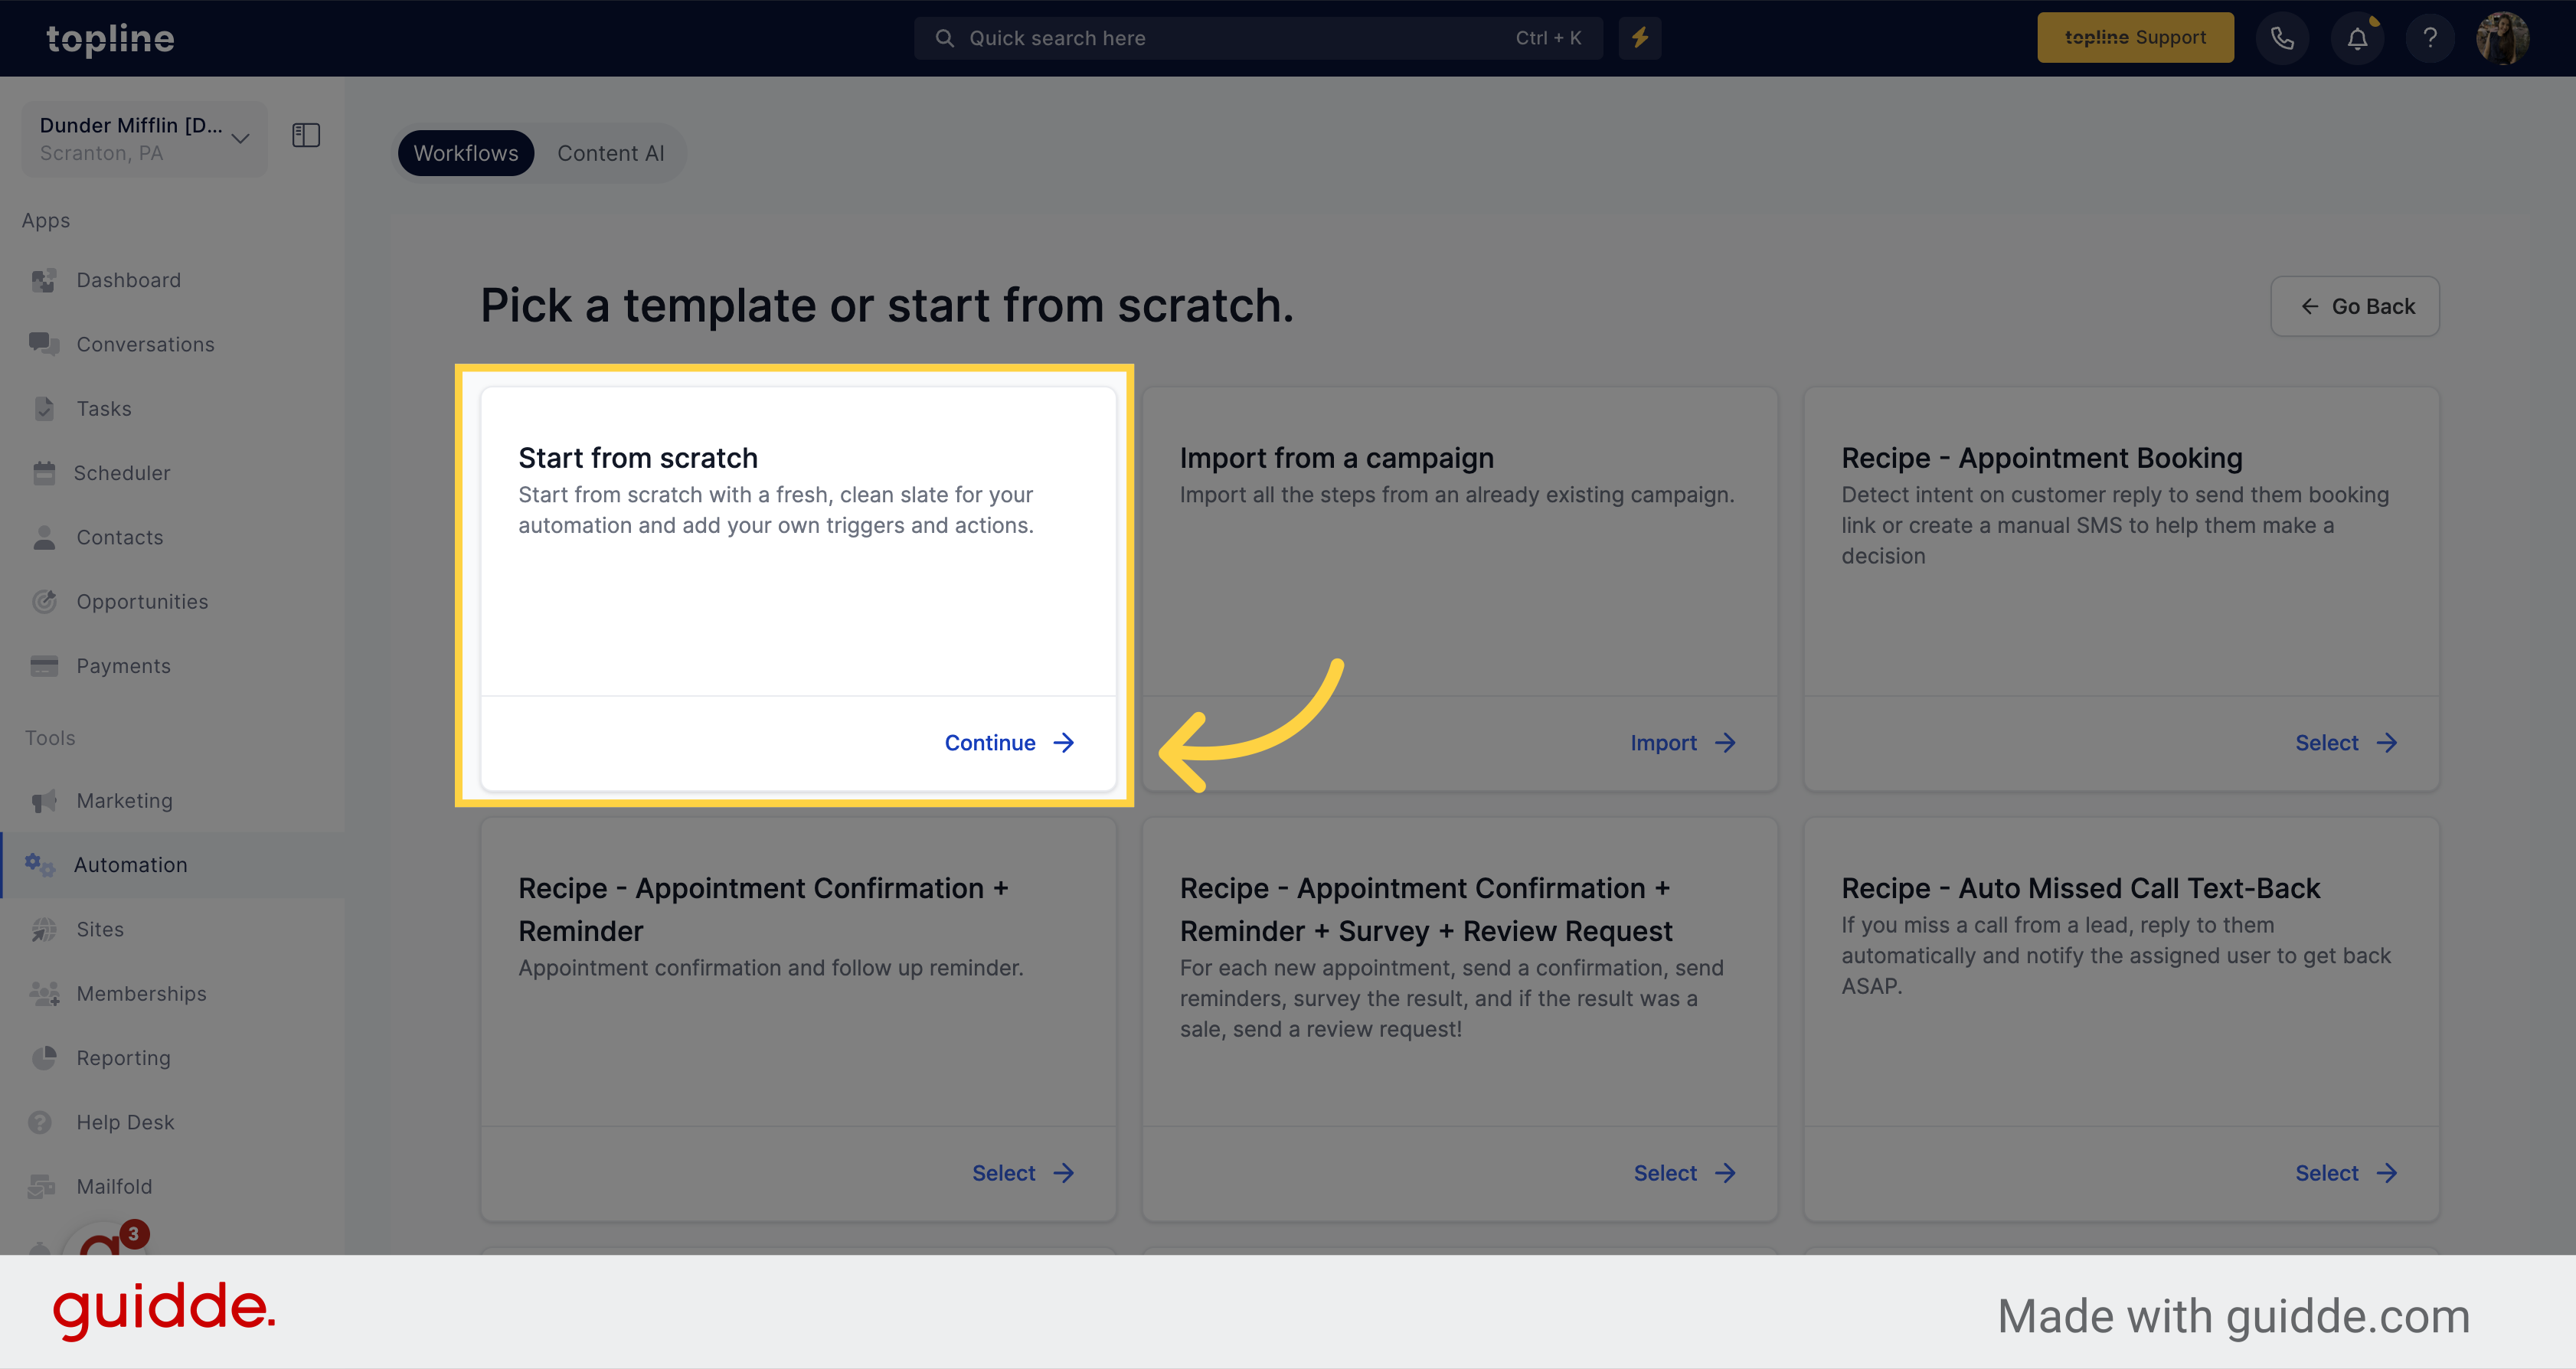
Select the Start from Scratch option and click on Continue.
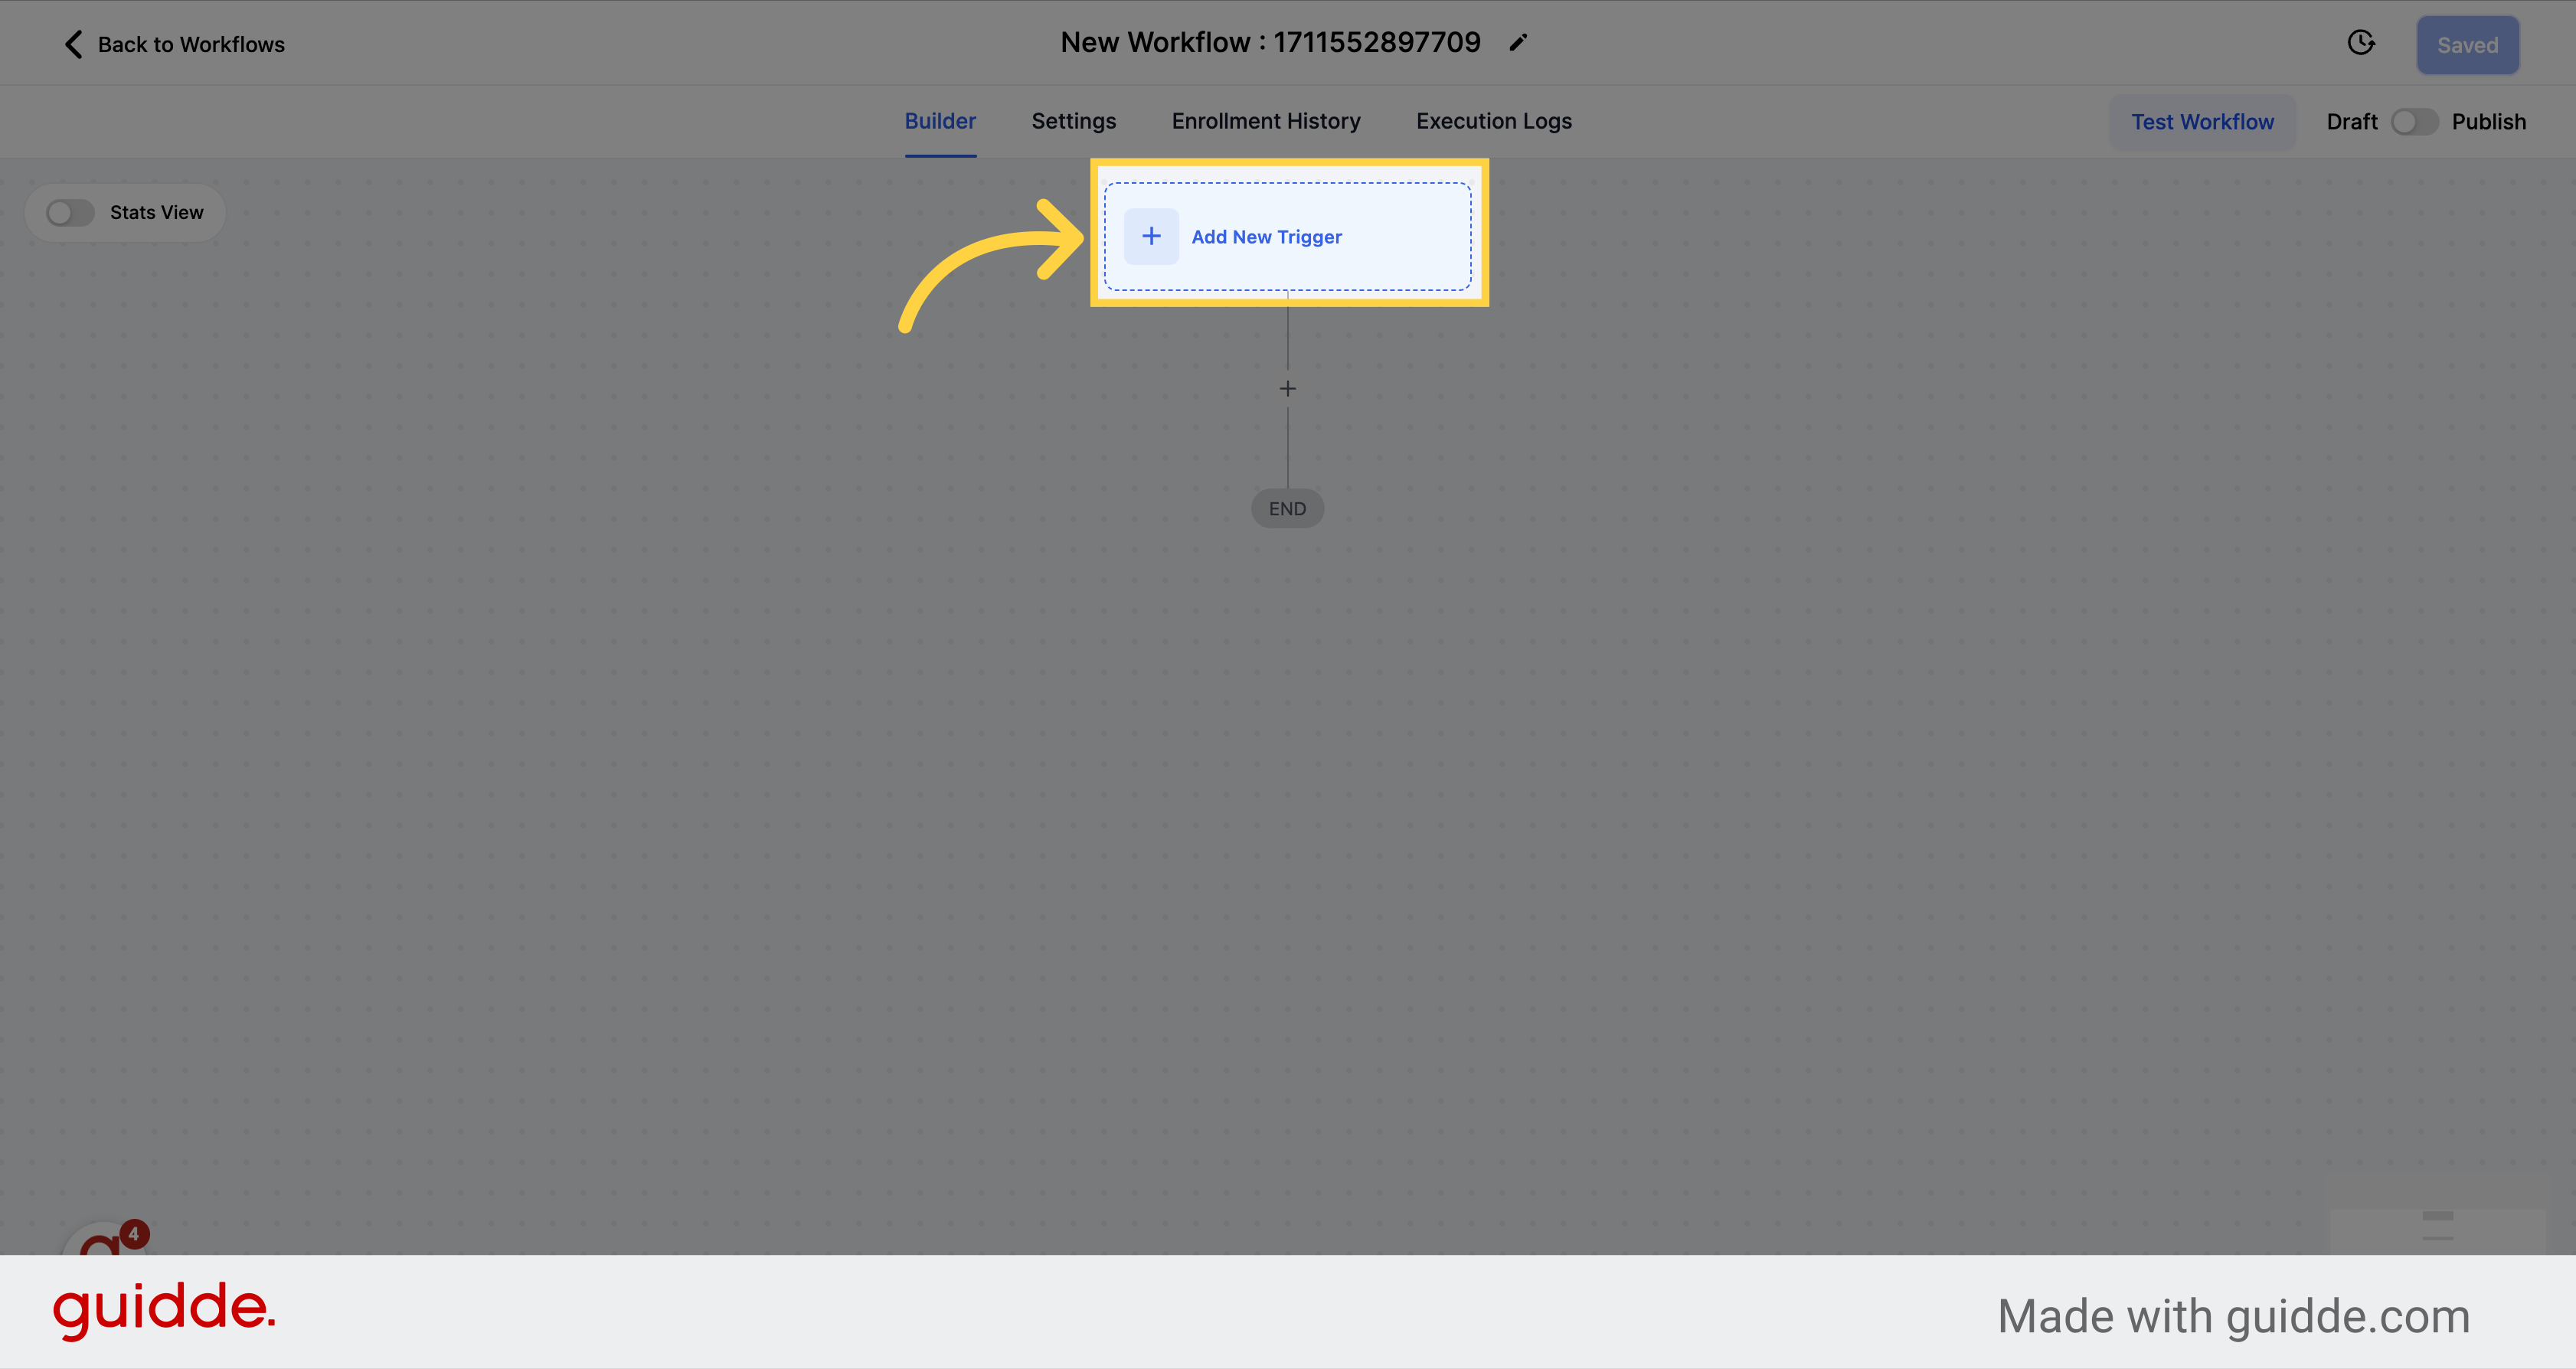
Click on the Add a new trigger to the workflow by clicking there.
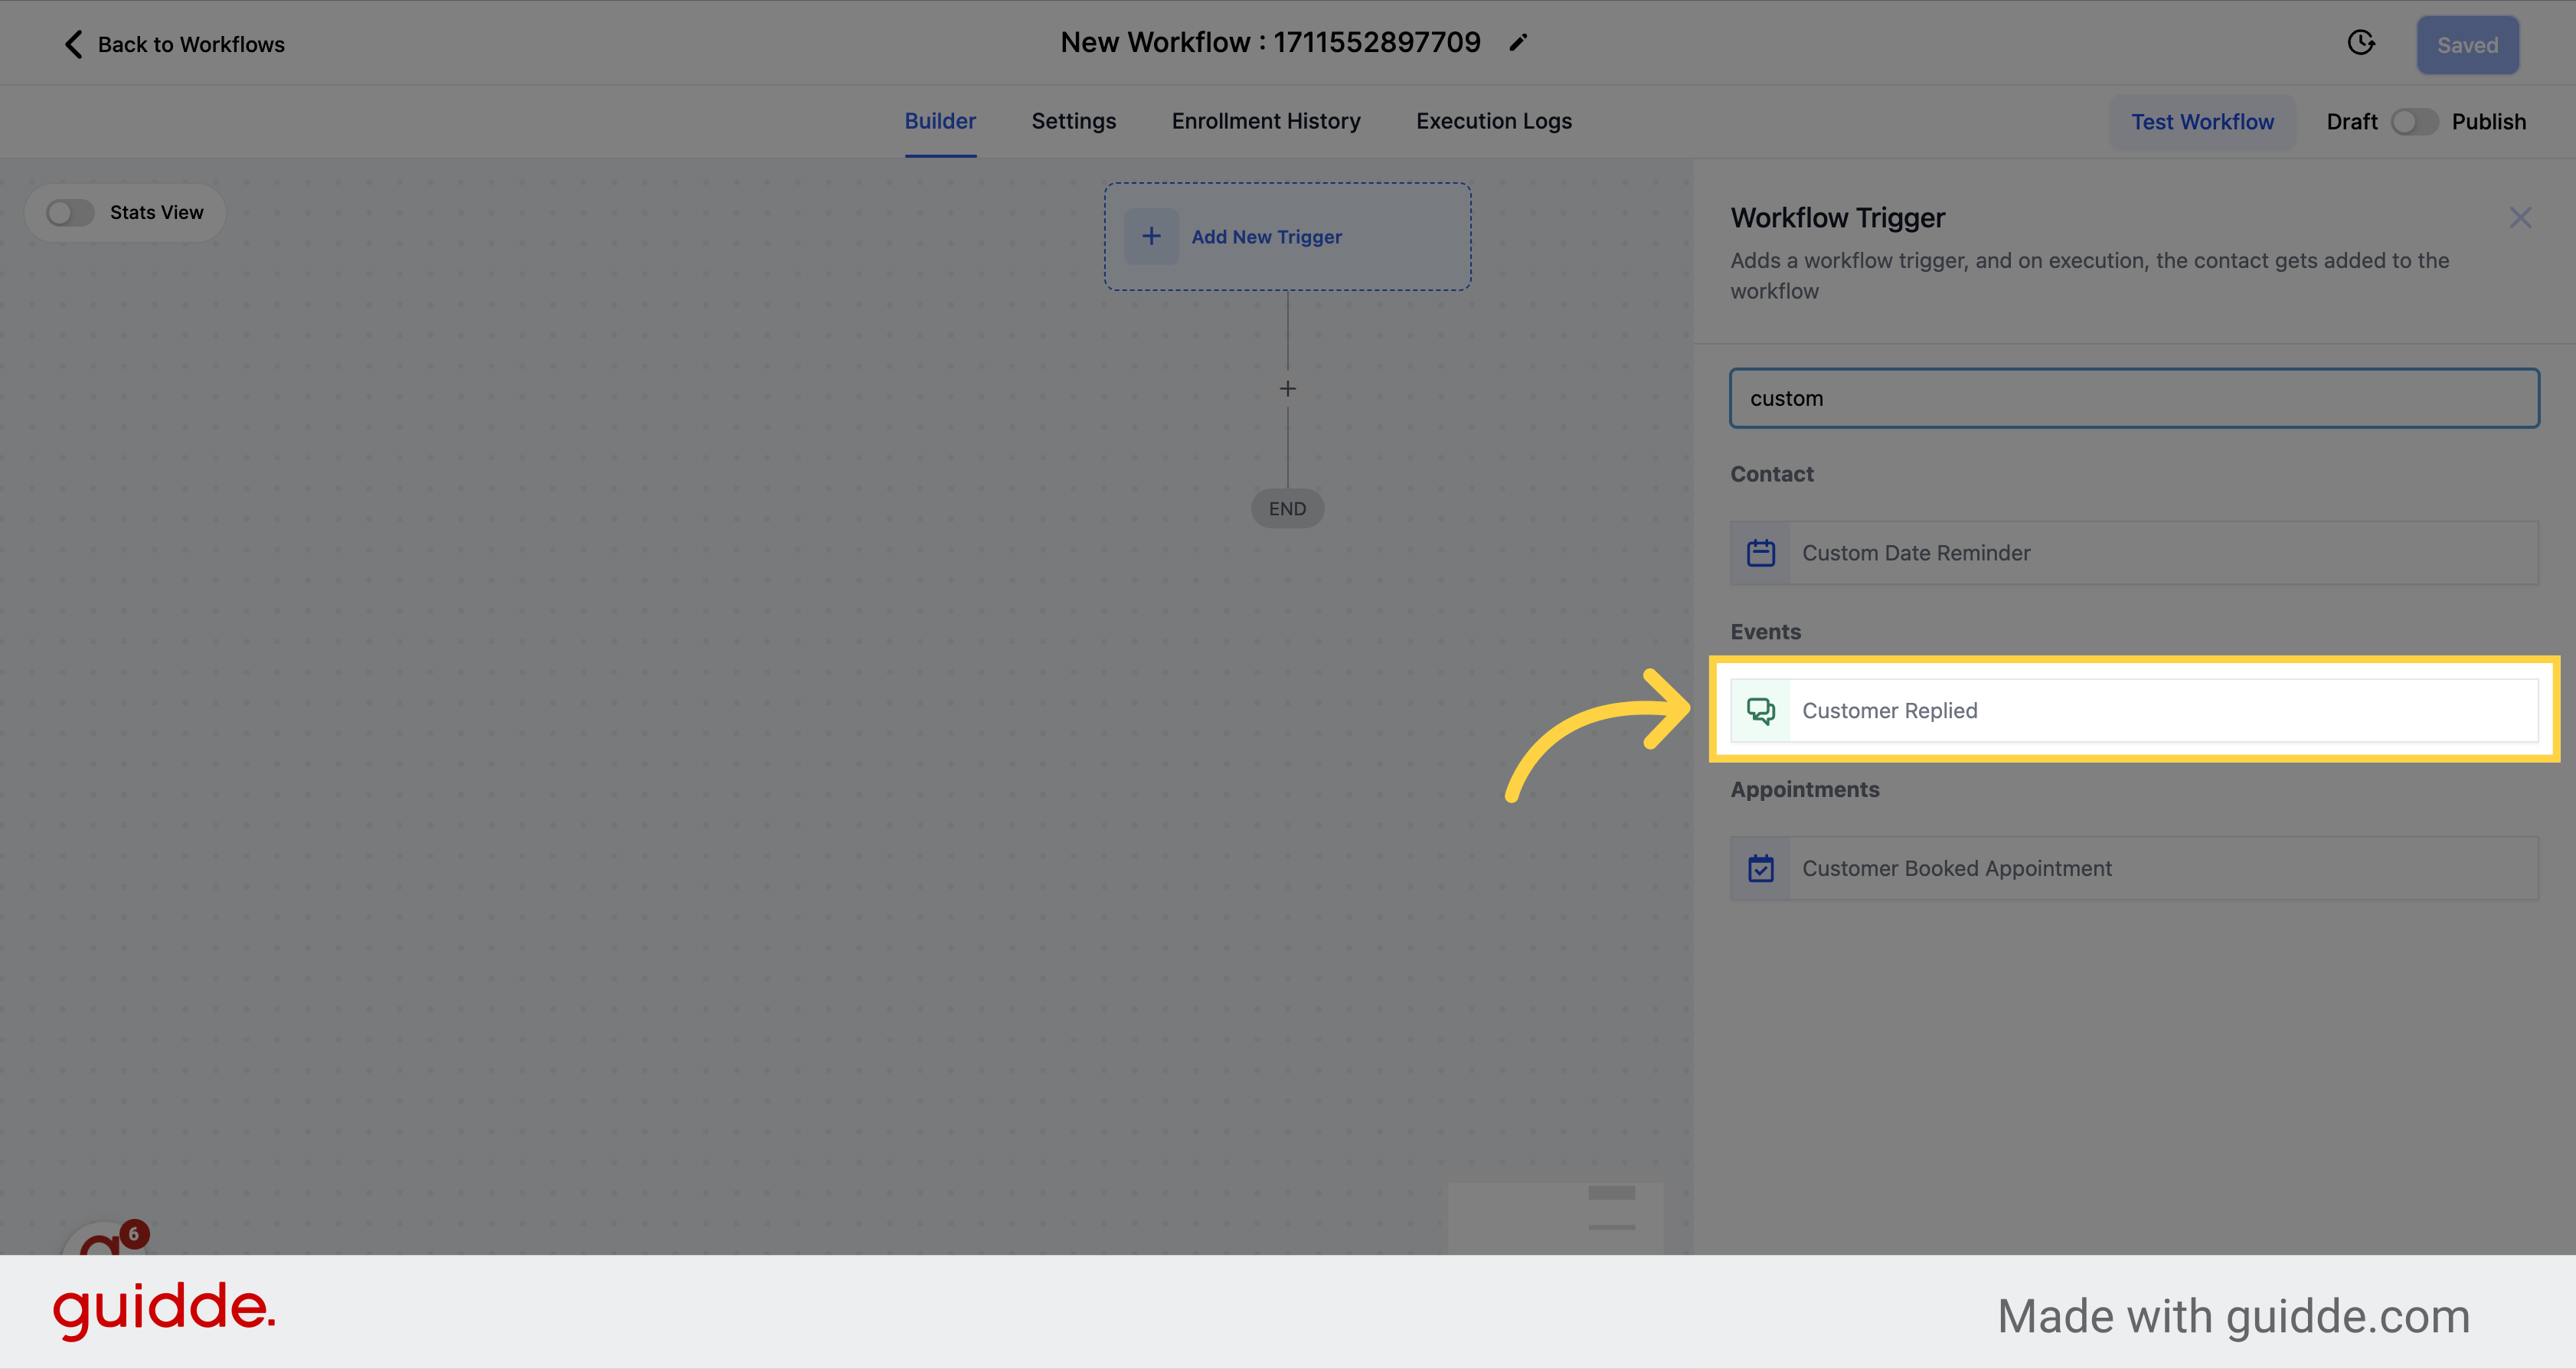
On the search bar, look for customer replied. Then select the option.
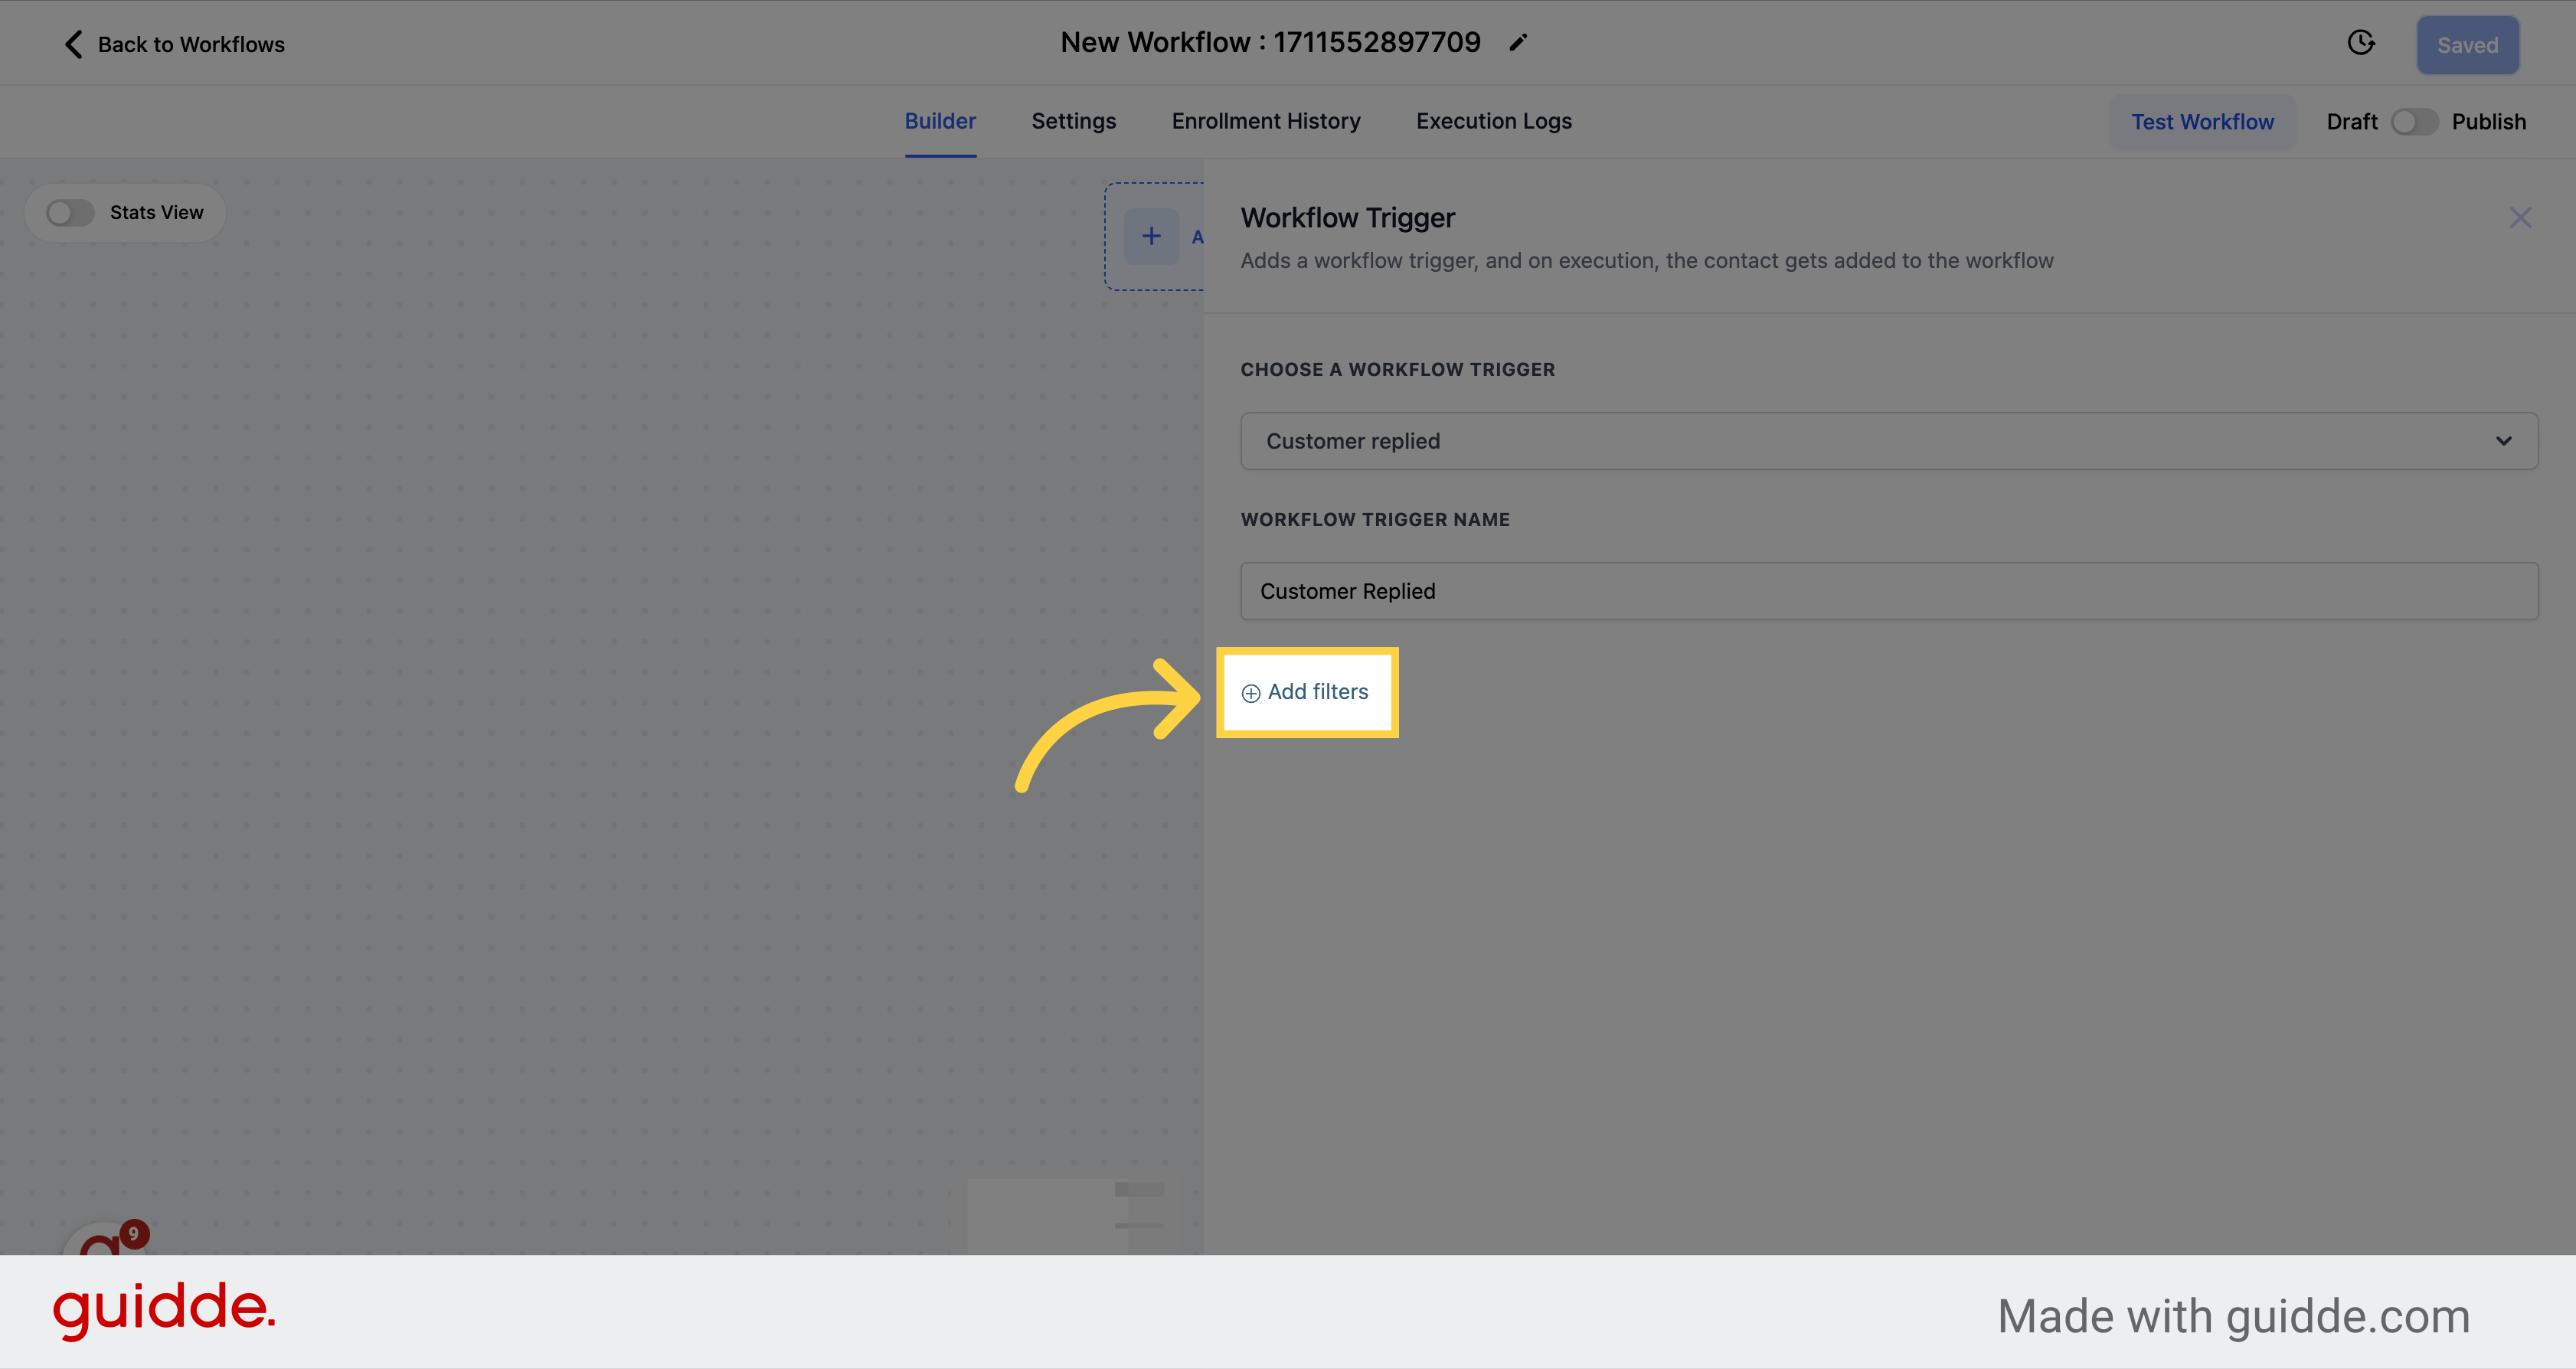
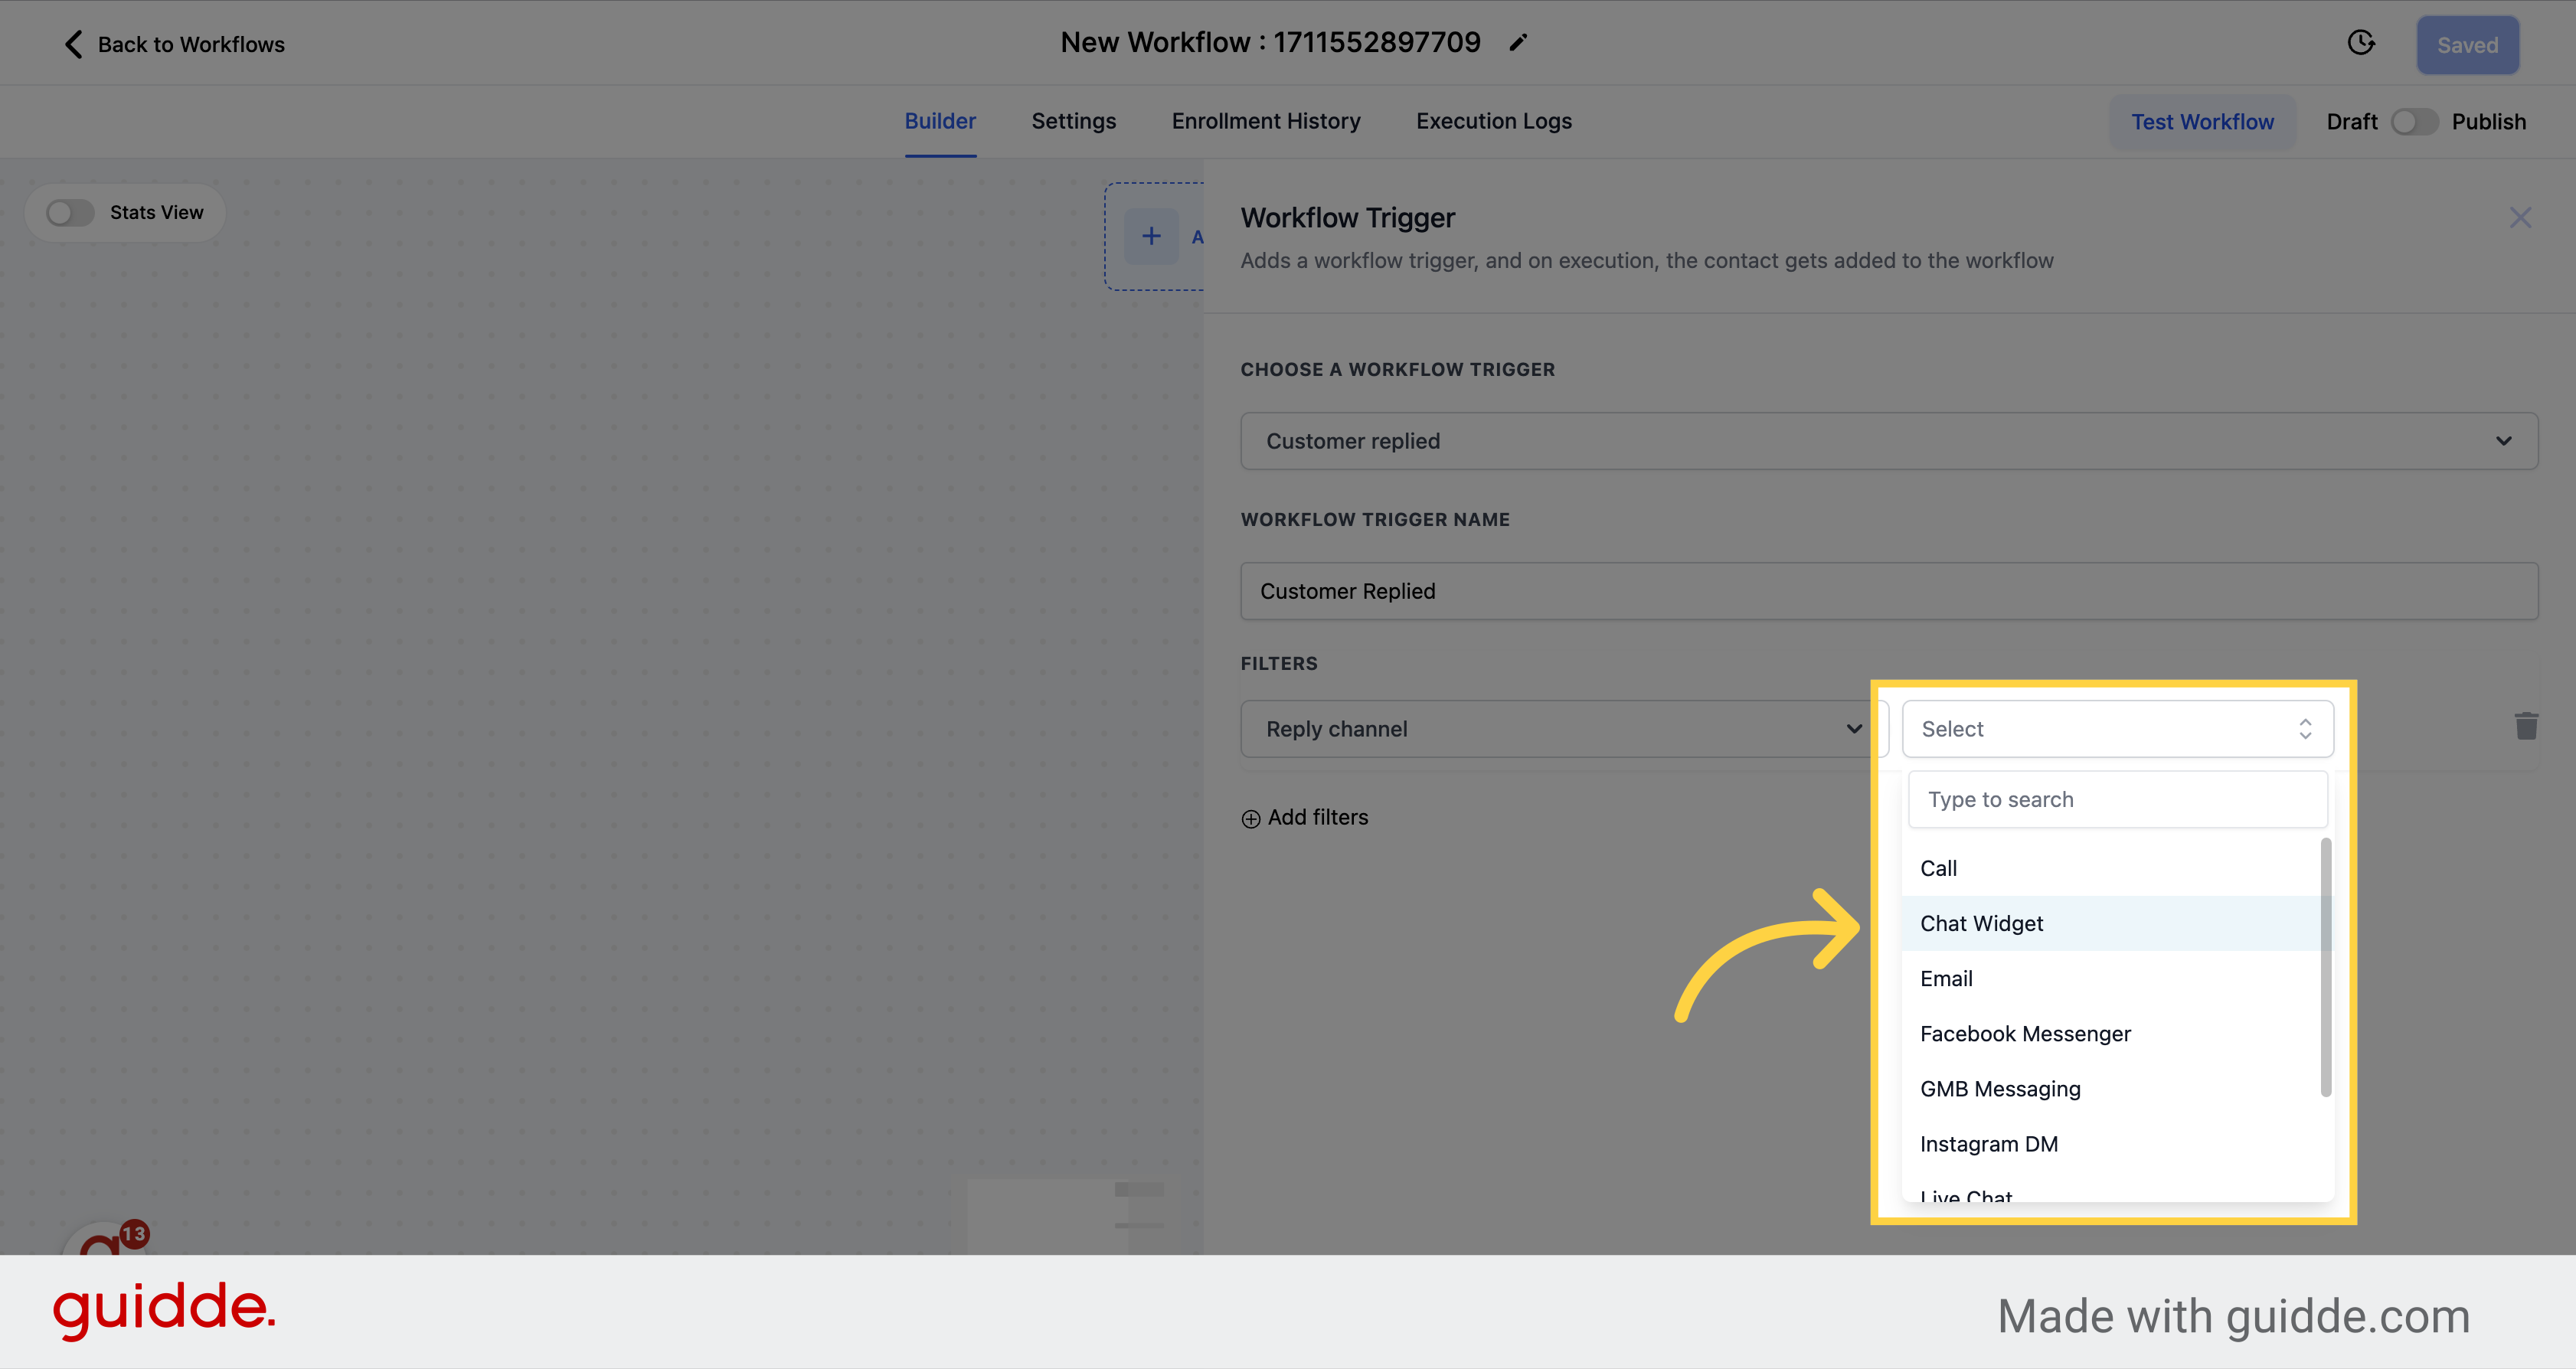
Select this option to add filters to the trigger.
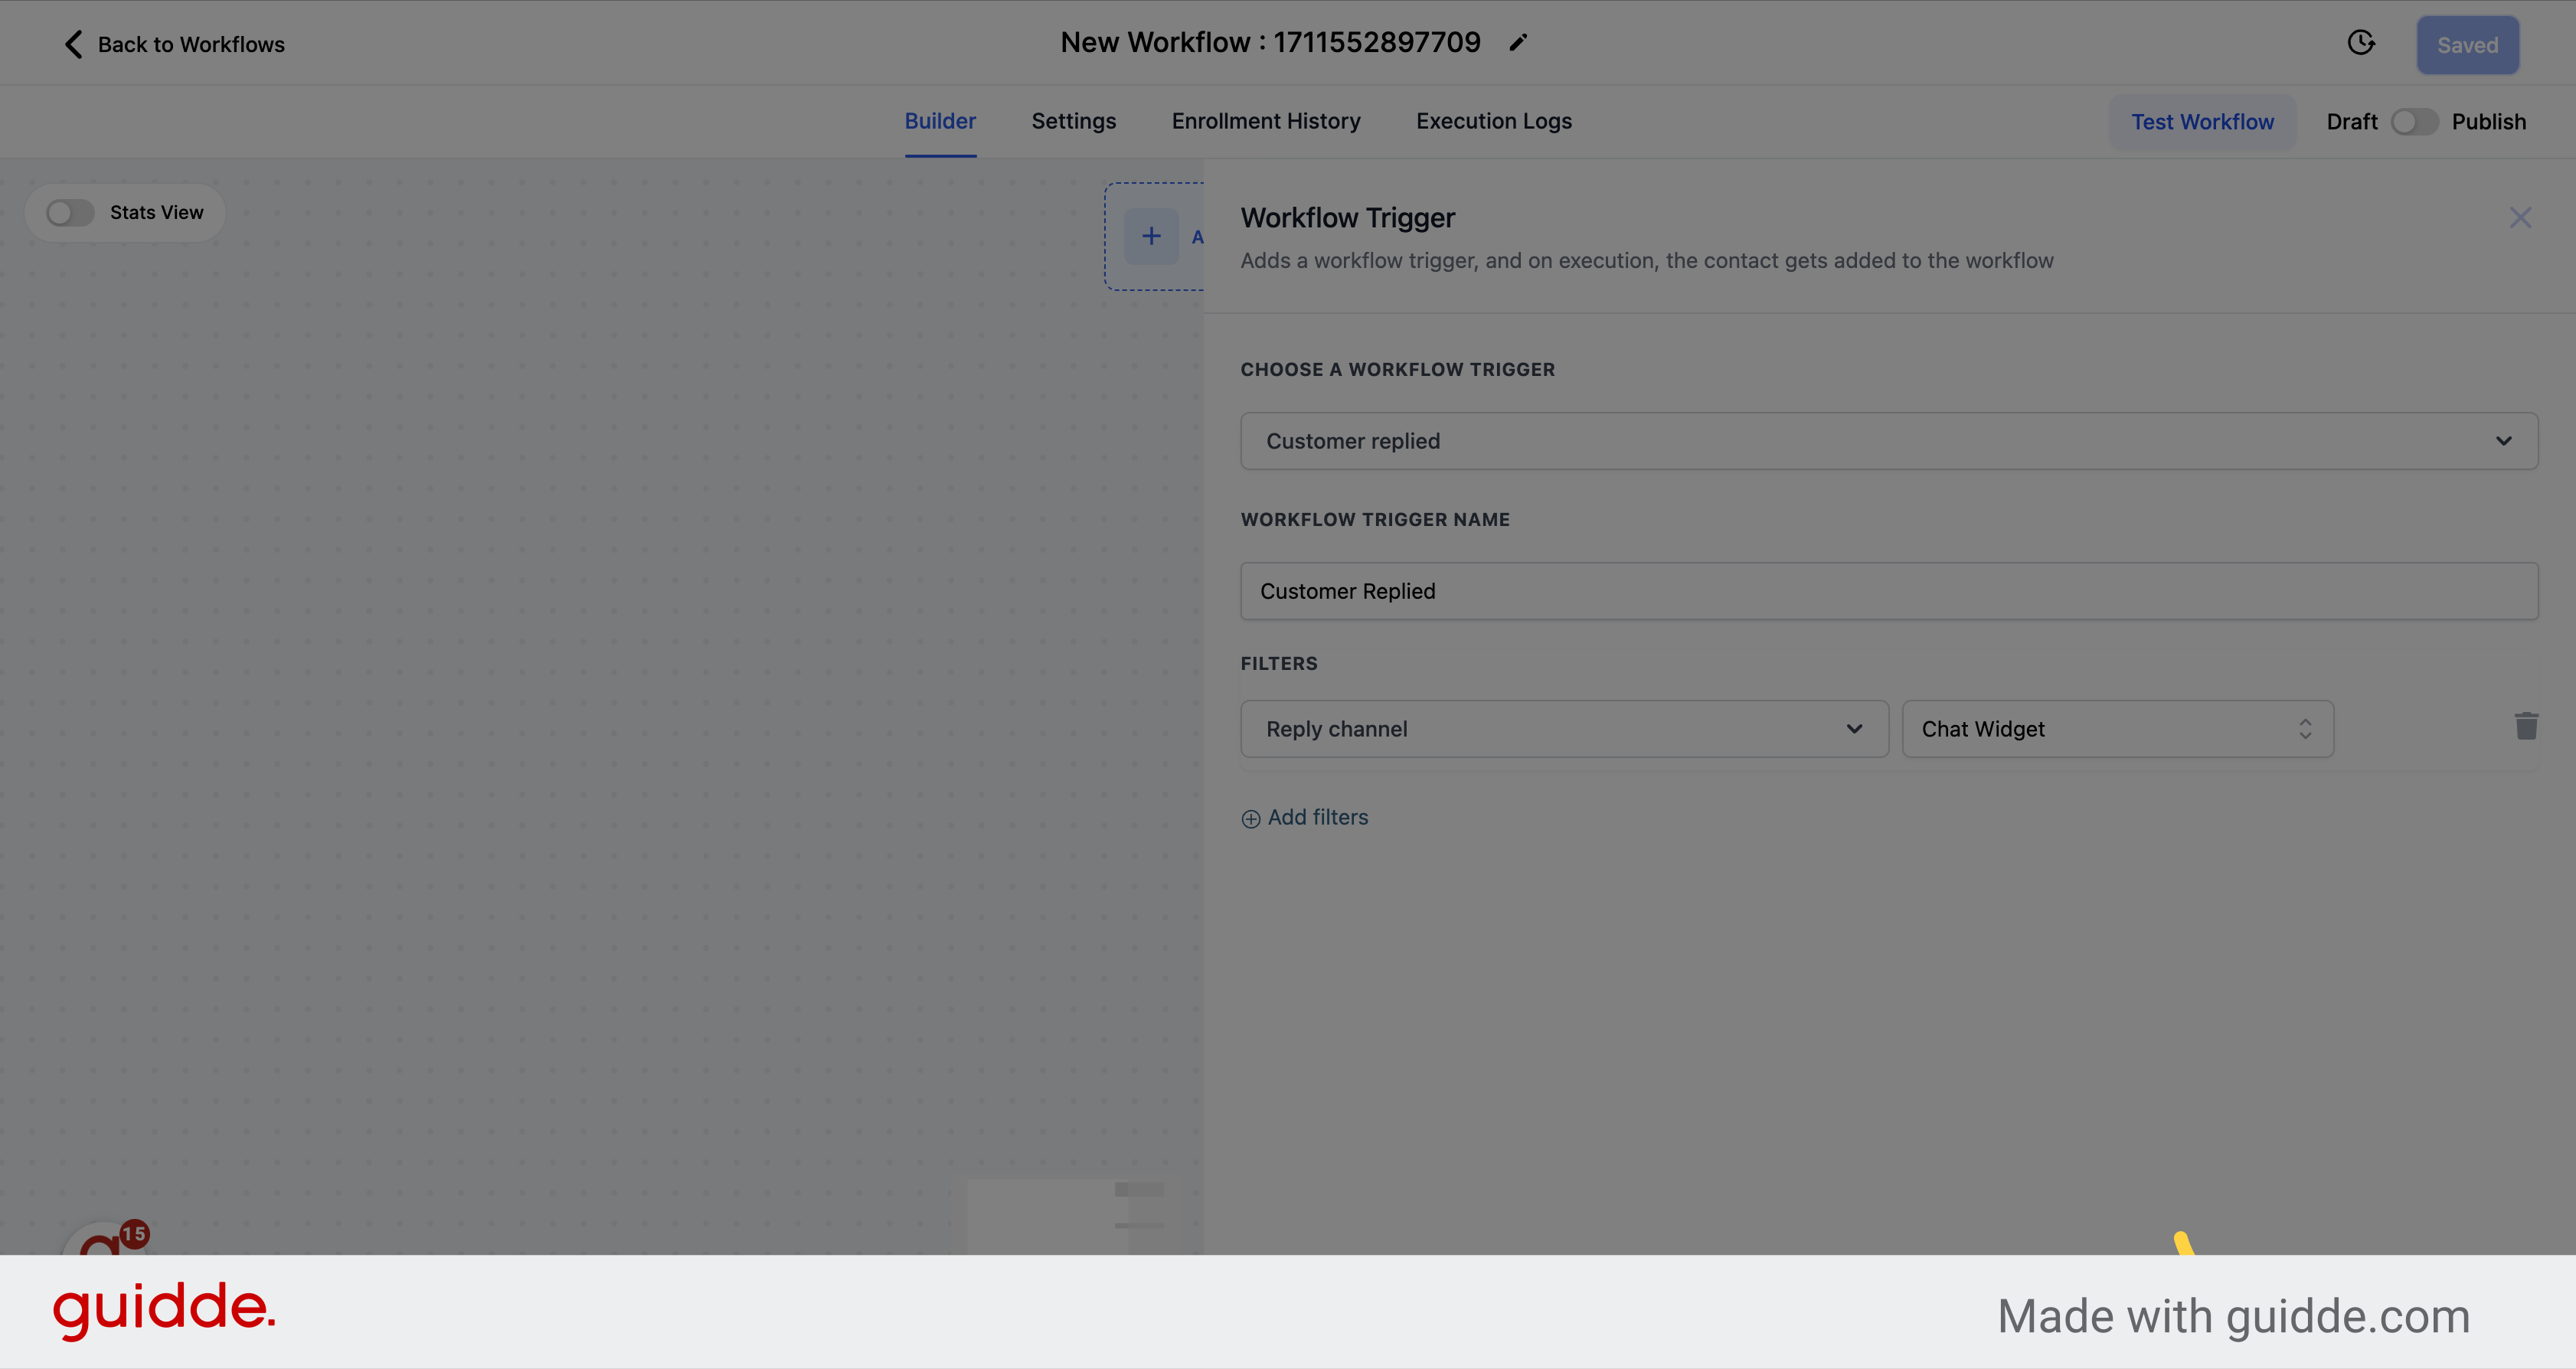
Choose the "Reply channel" option from the dropdown menu.
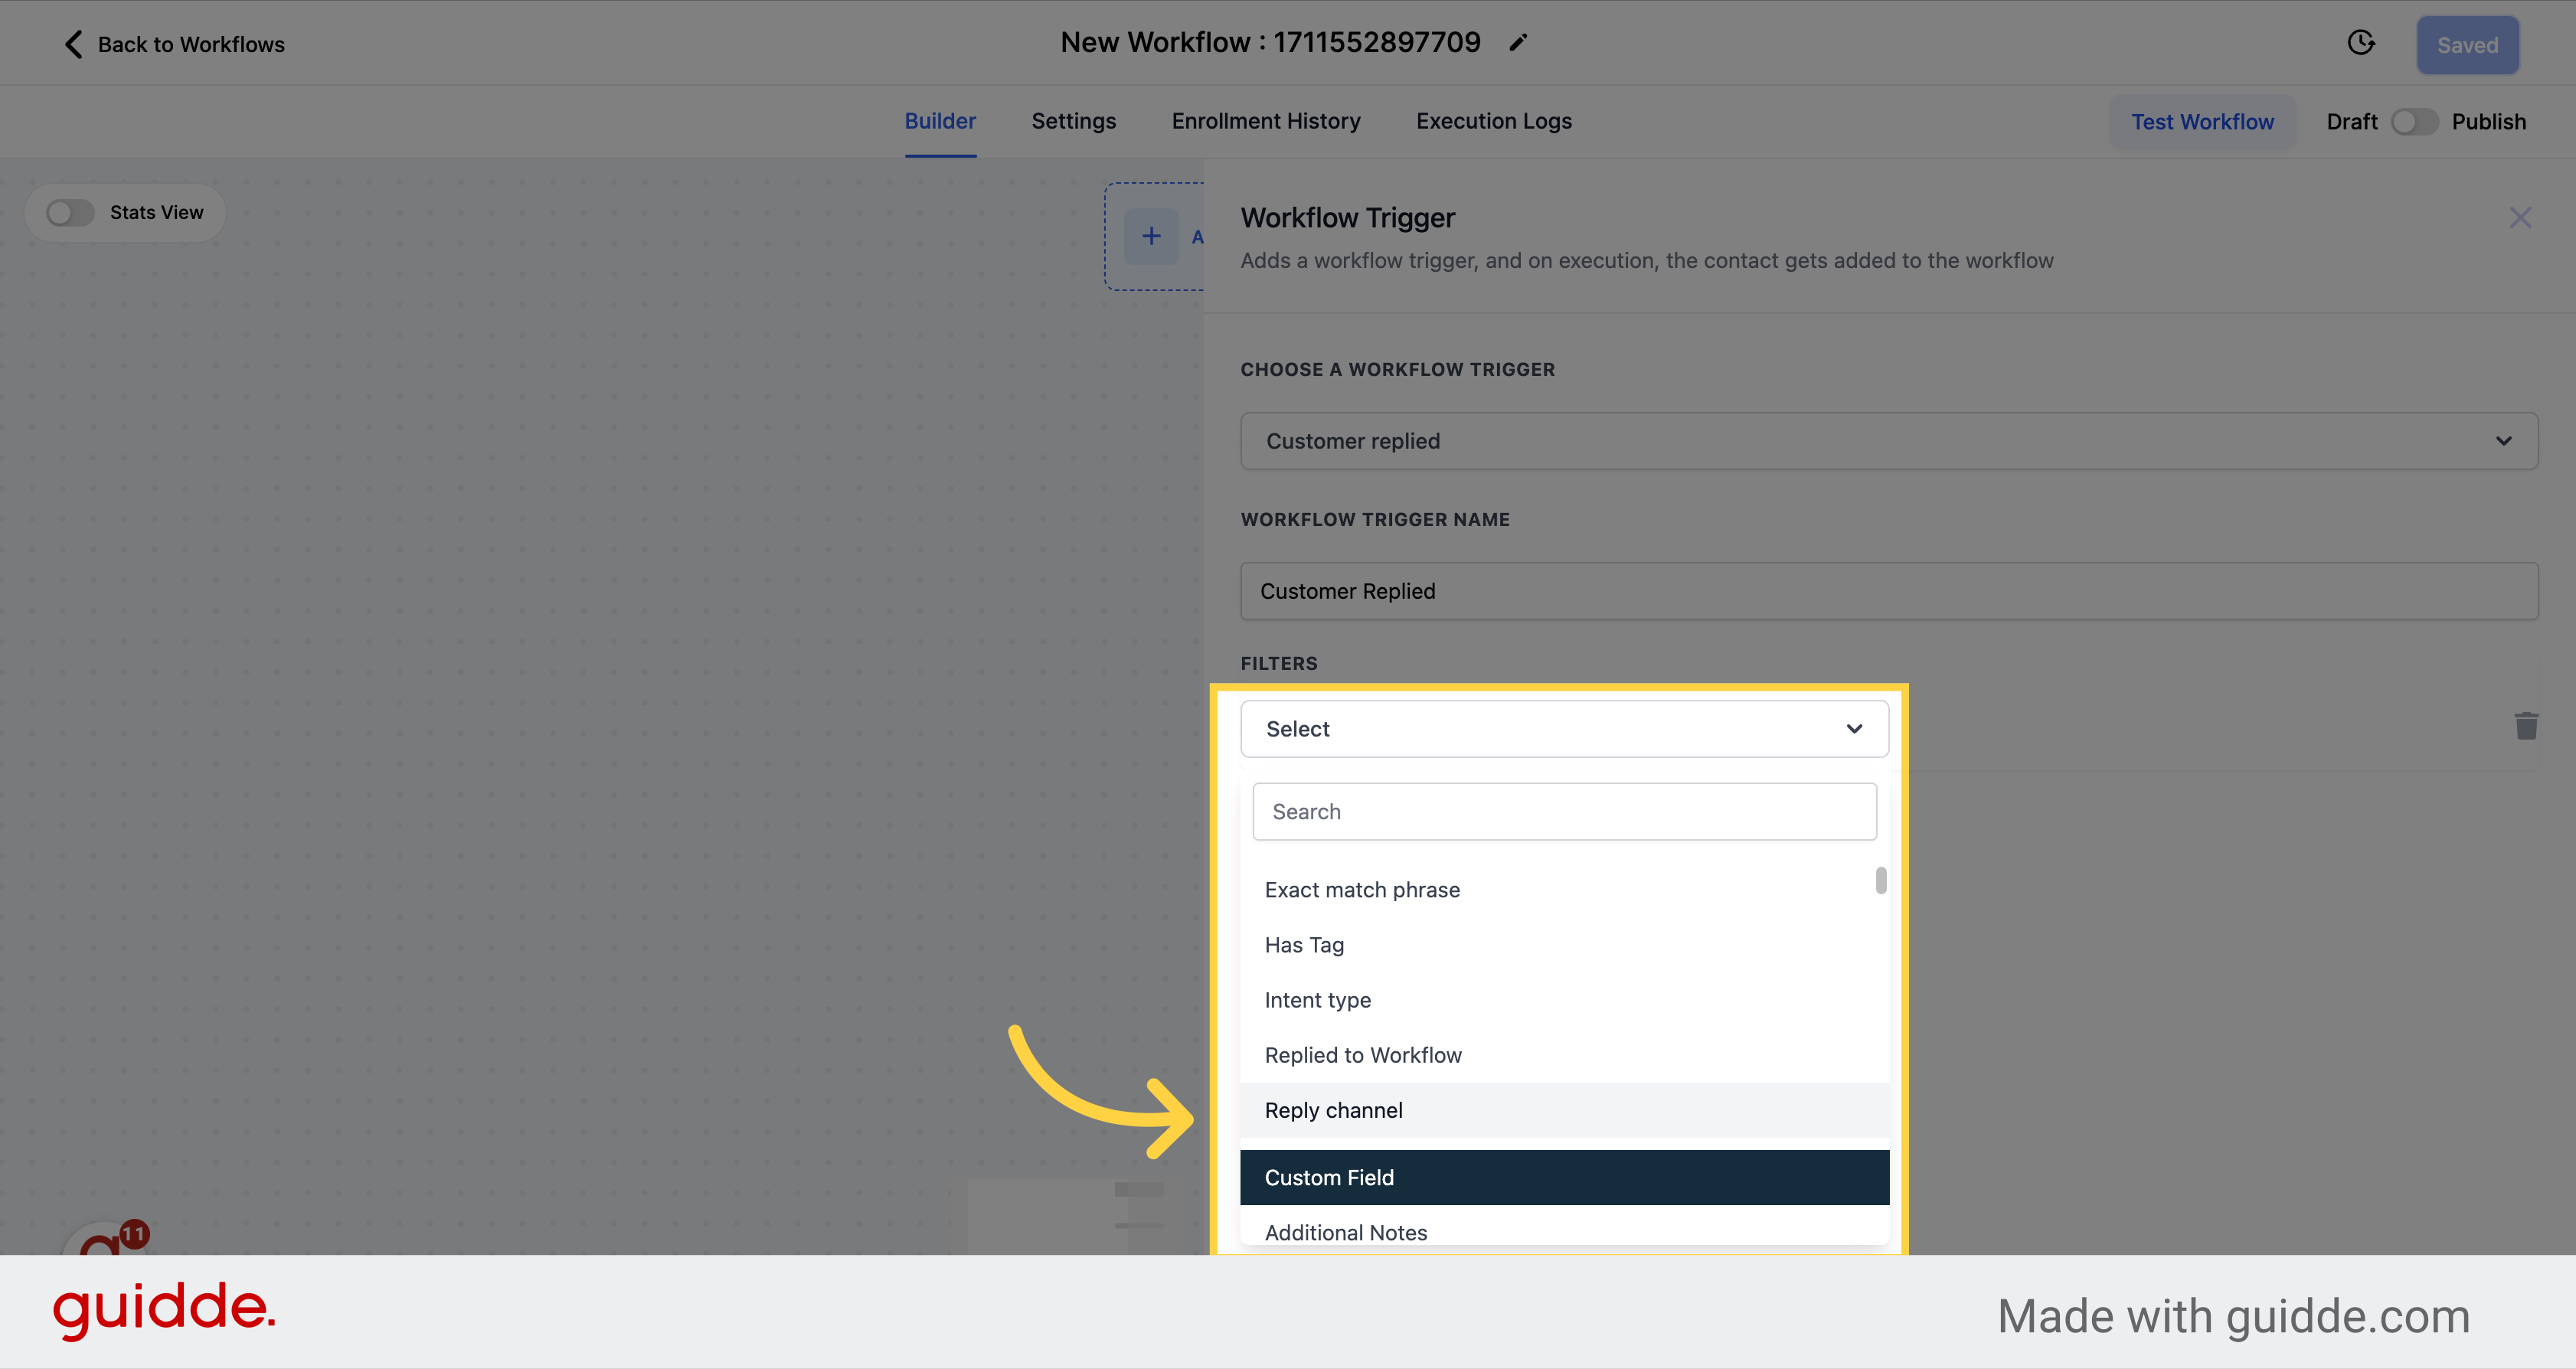
Then, choose the chat widget option.
Save the trigger configuration by clicking on the Save option.
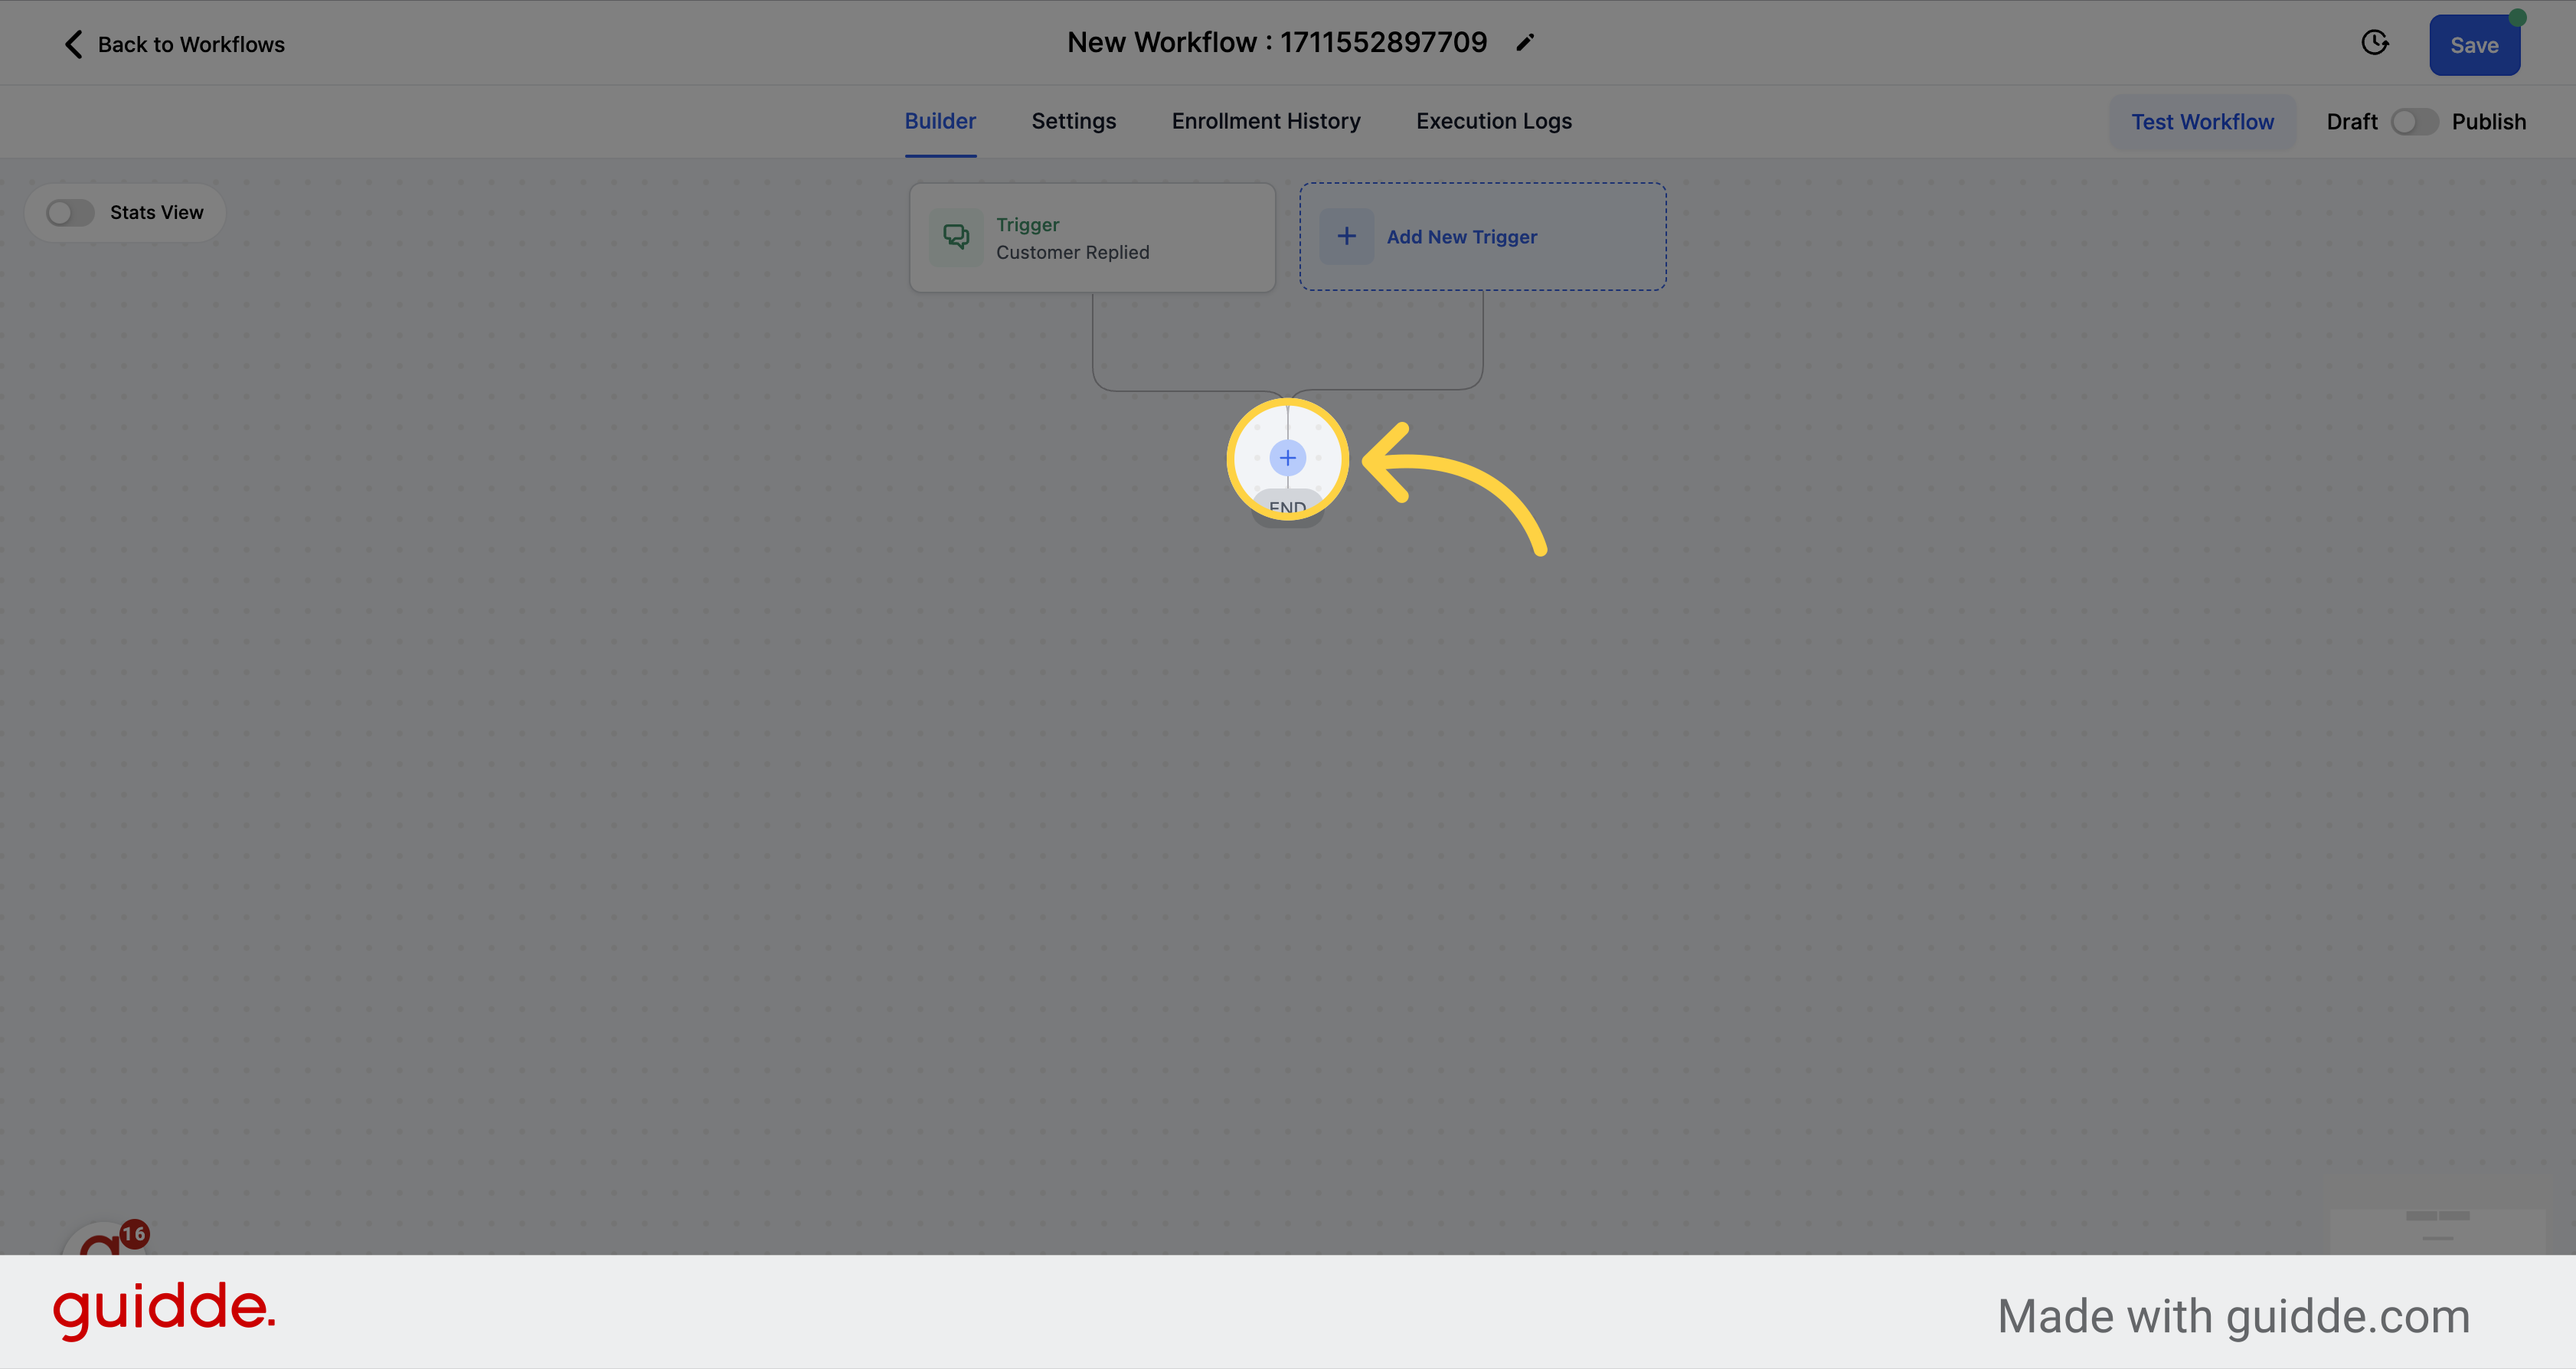
Click on the plus icon to add a new action to the workflow.
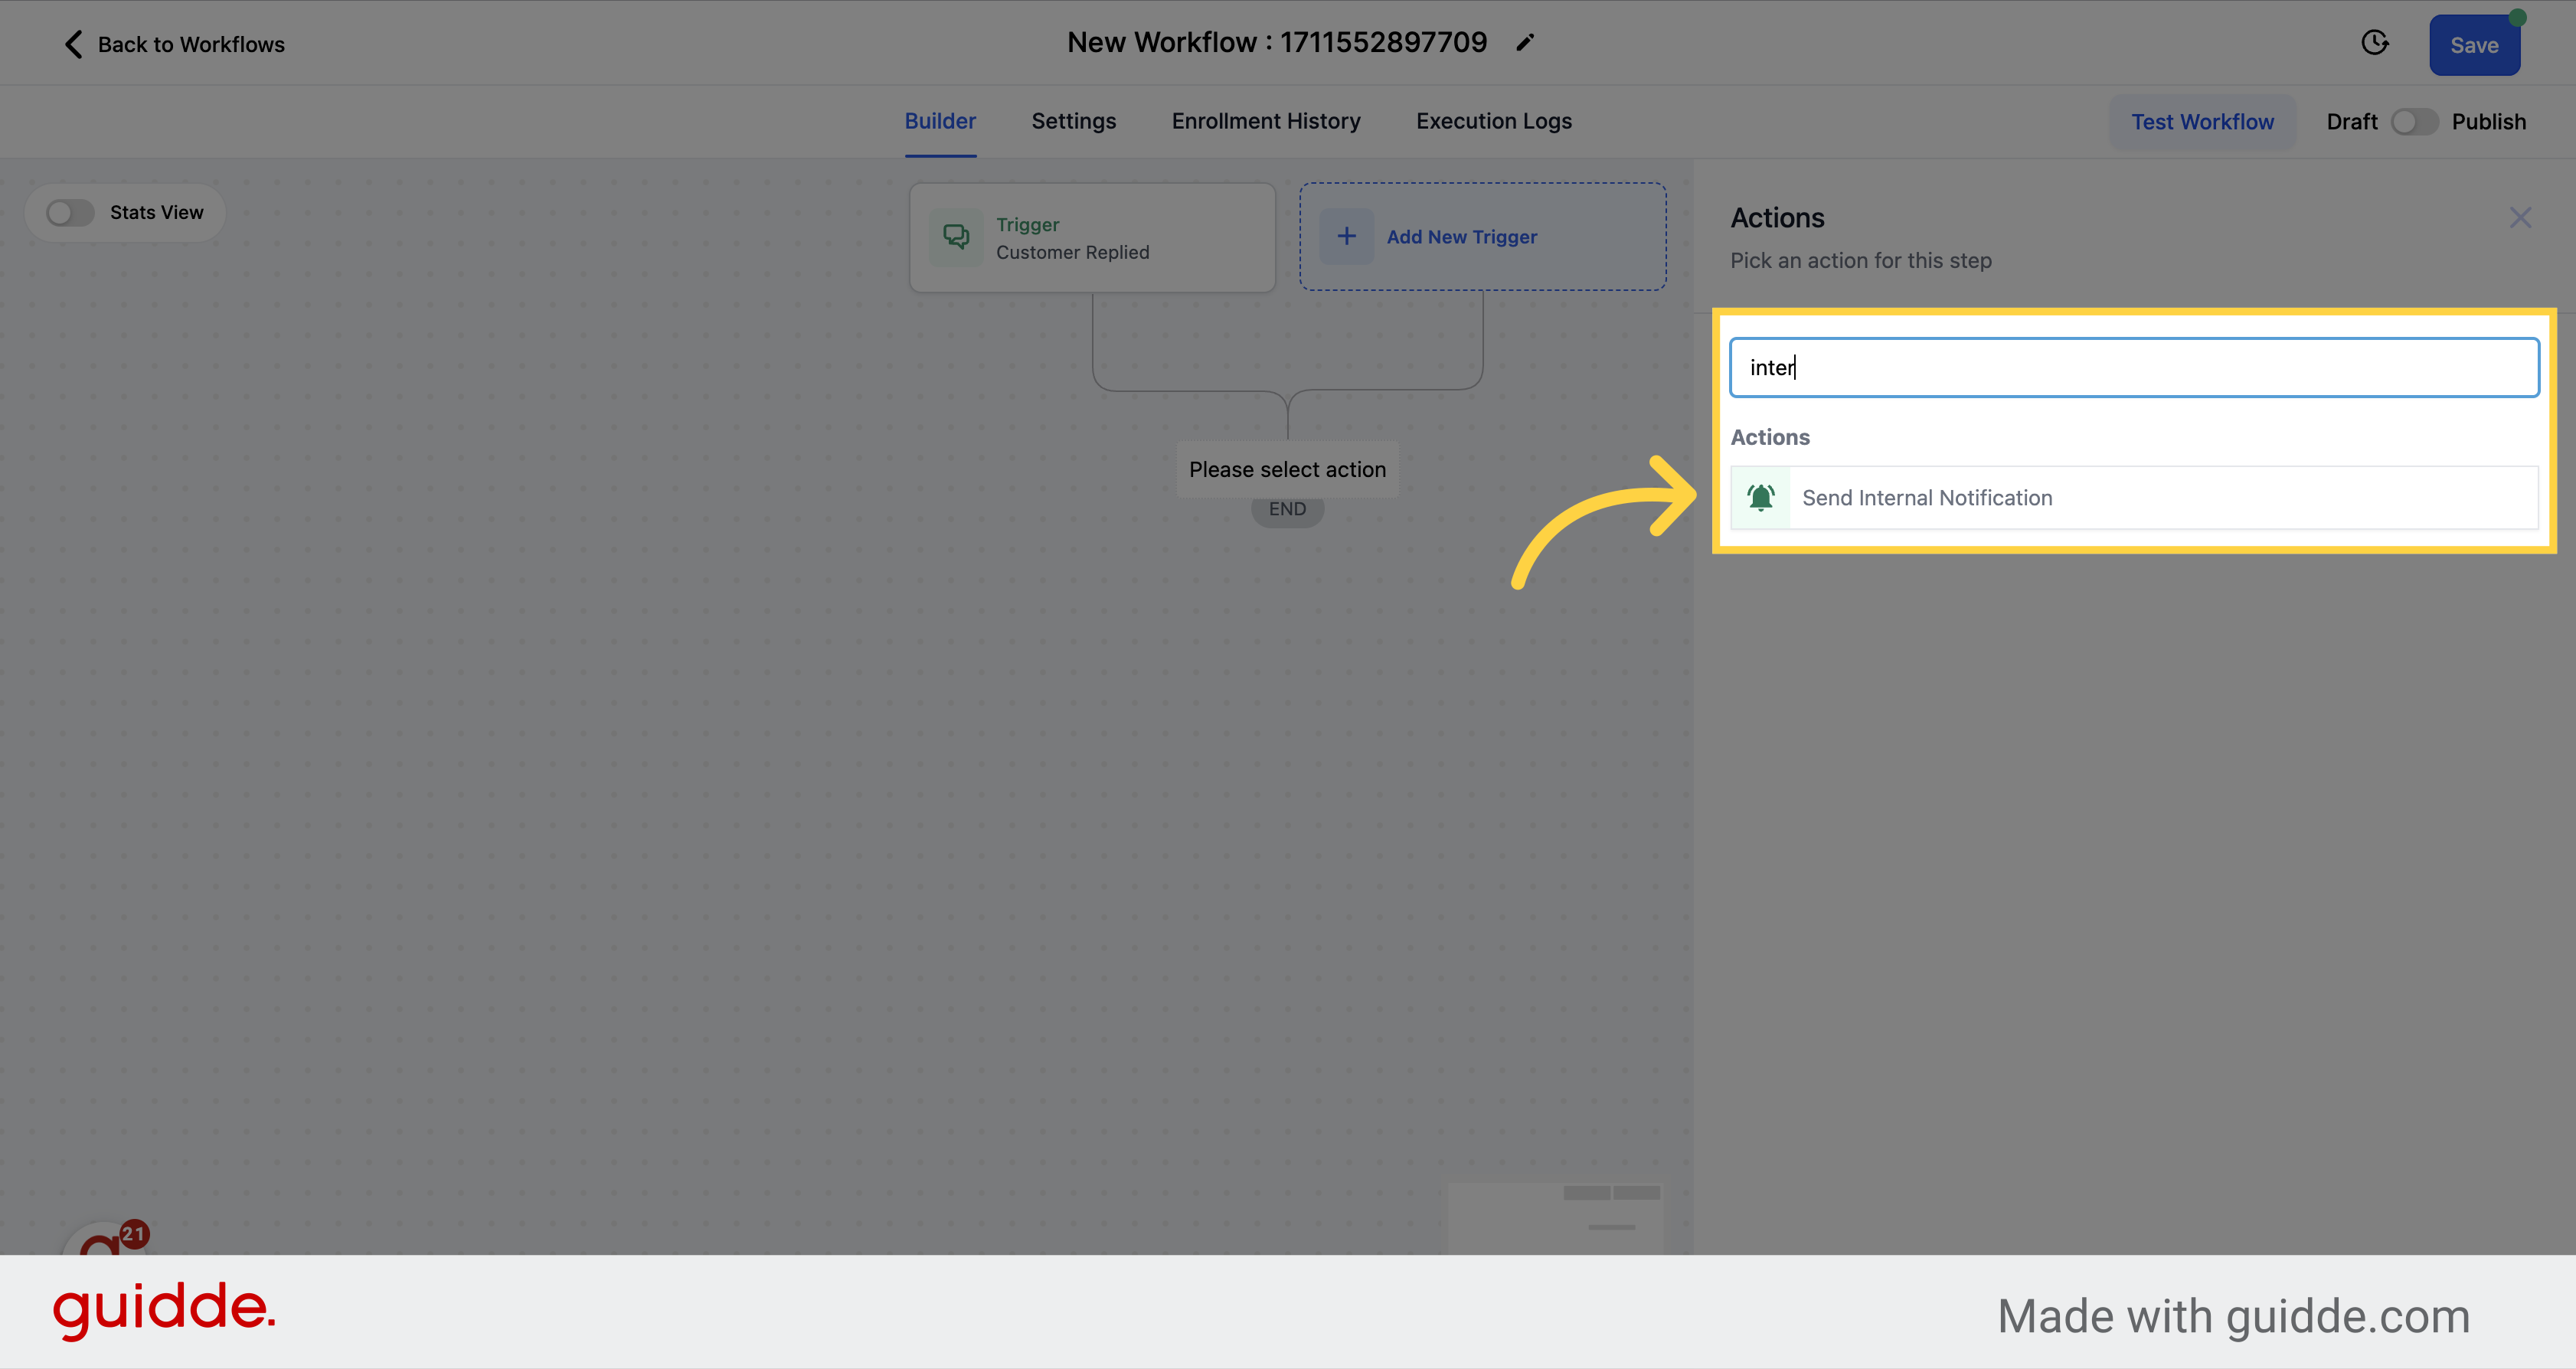
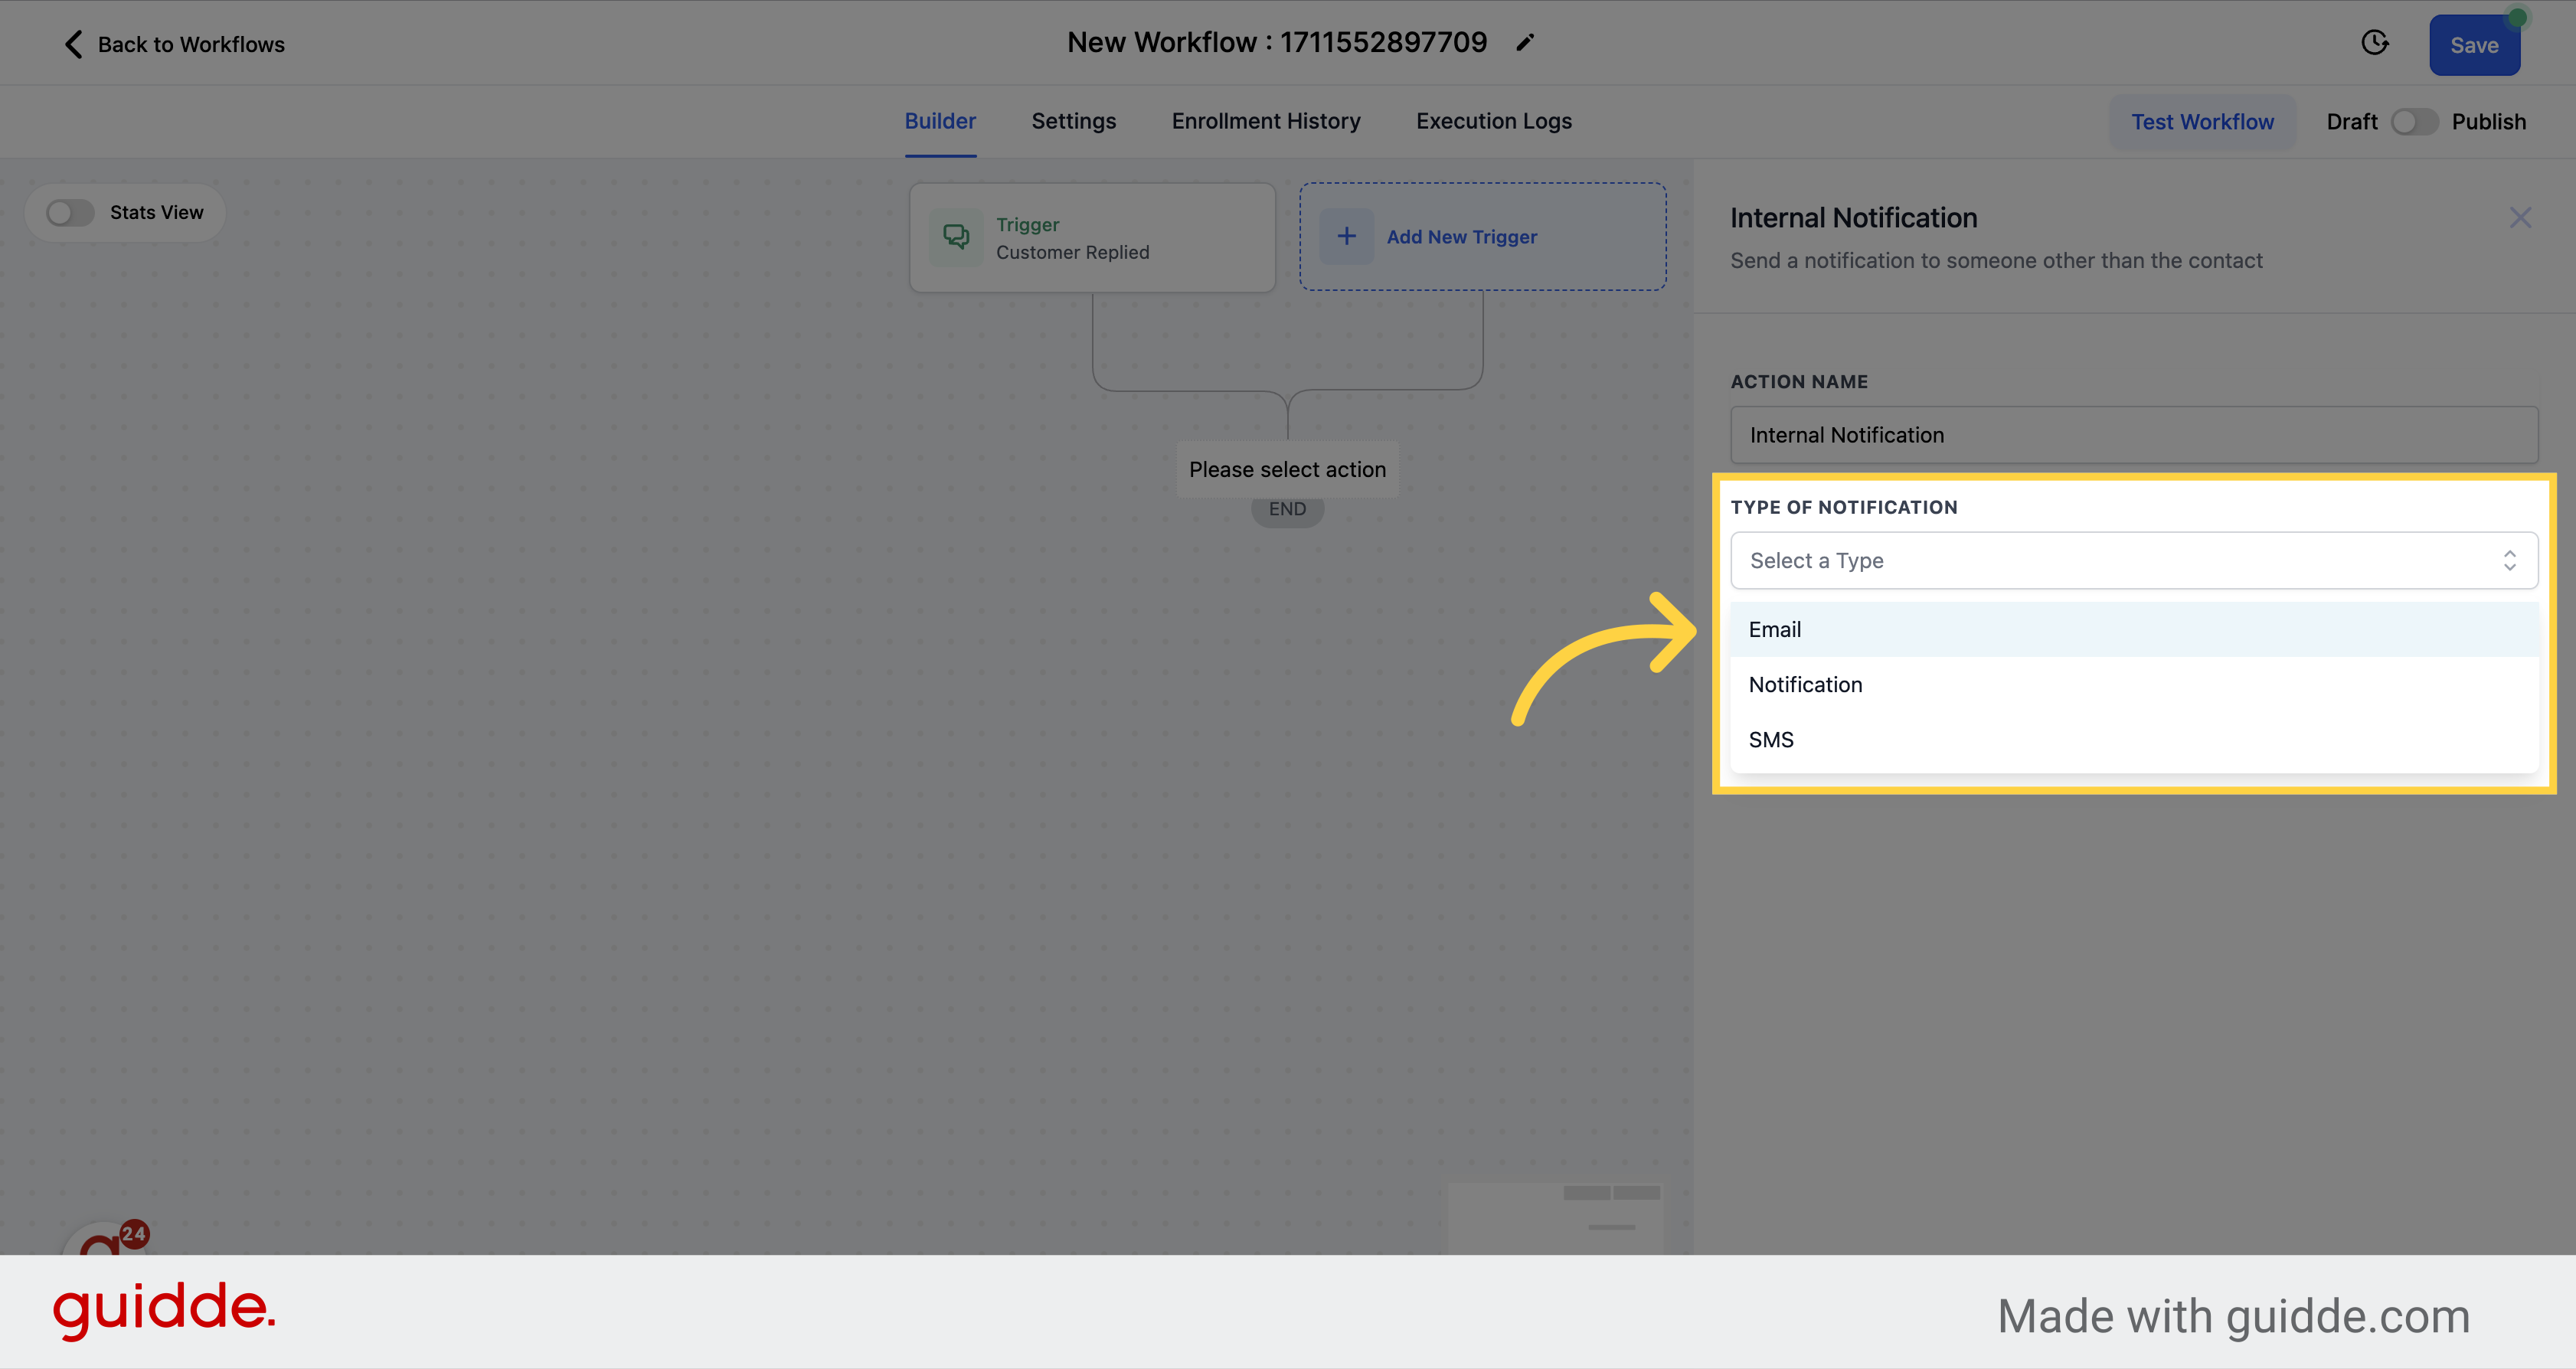
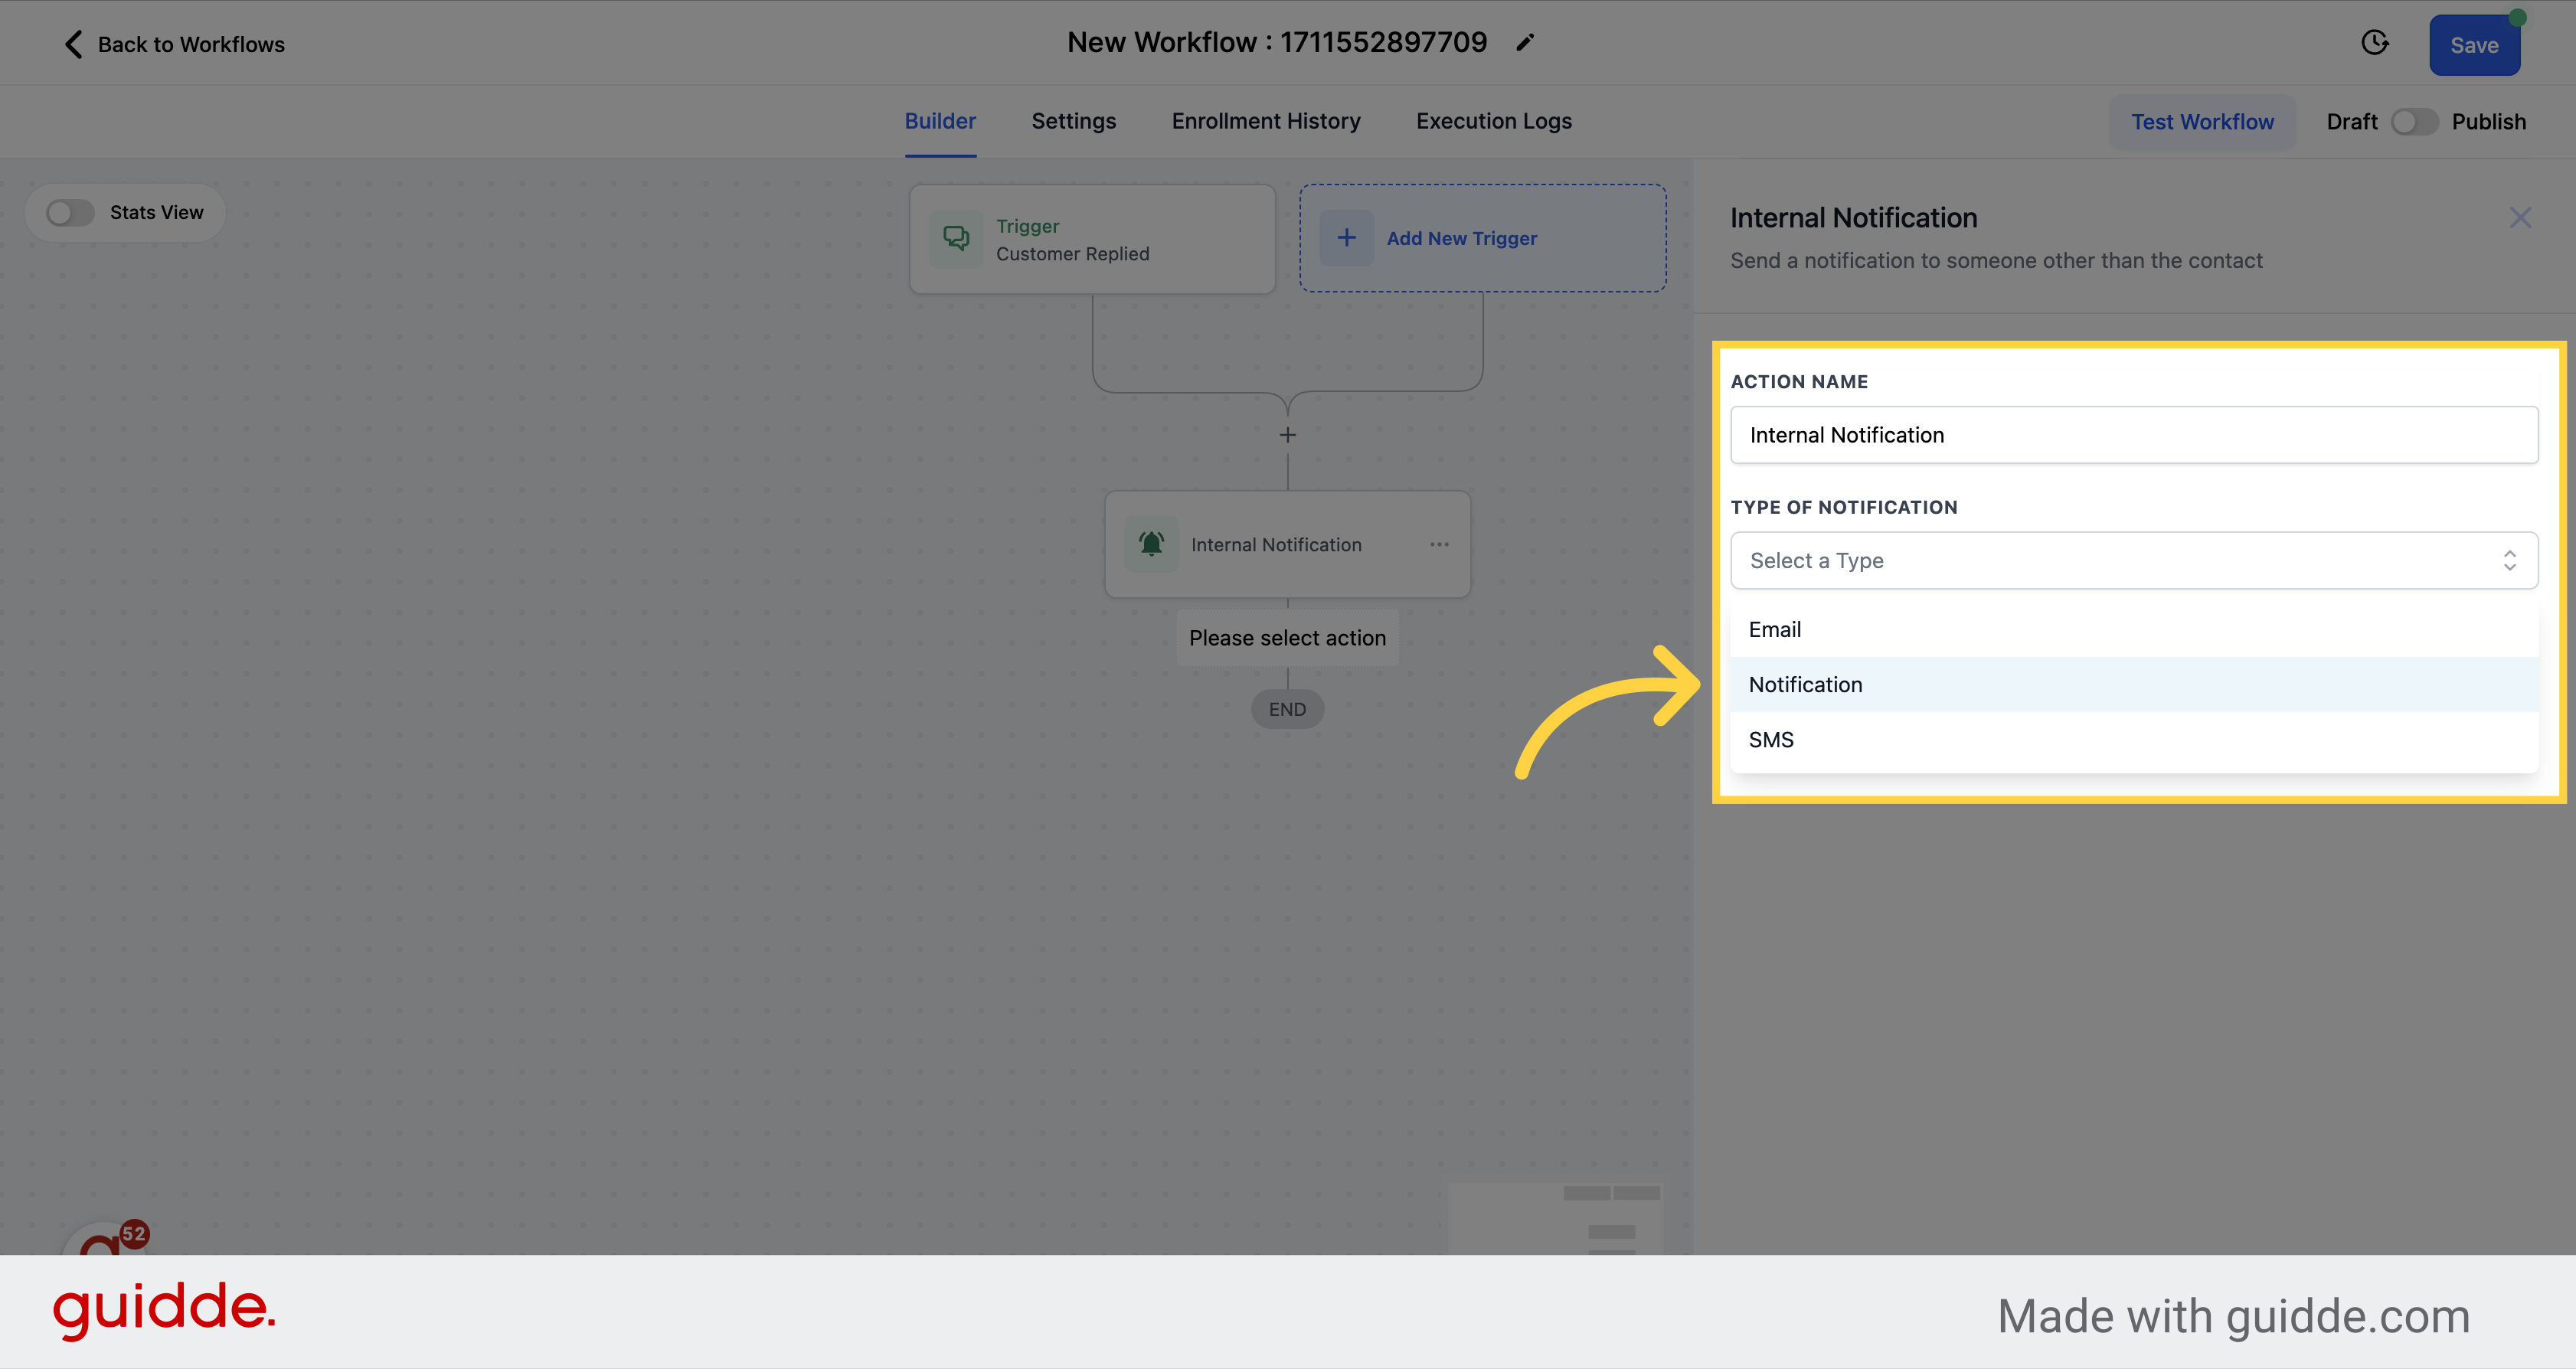
Use the search bar to look for send internal notifications, then select this option.
Choose the email option on the type of notification dropdown.
Fill the spaces with all the information needed.
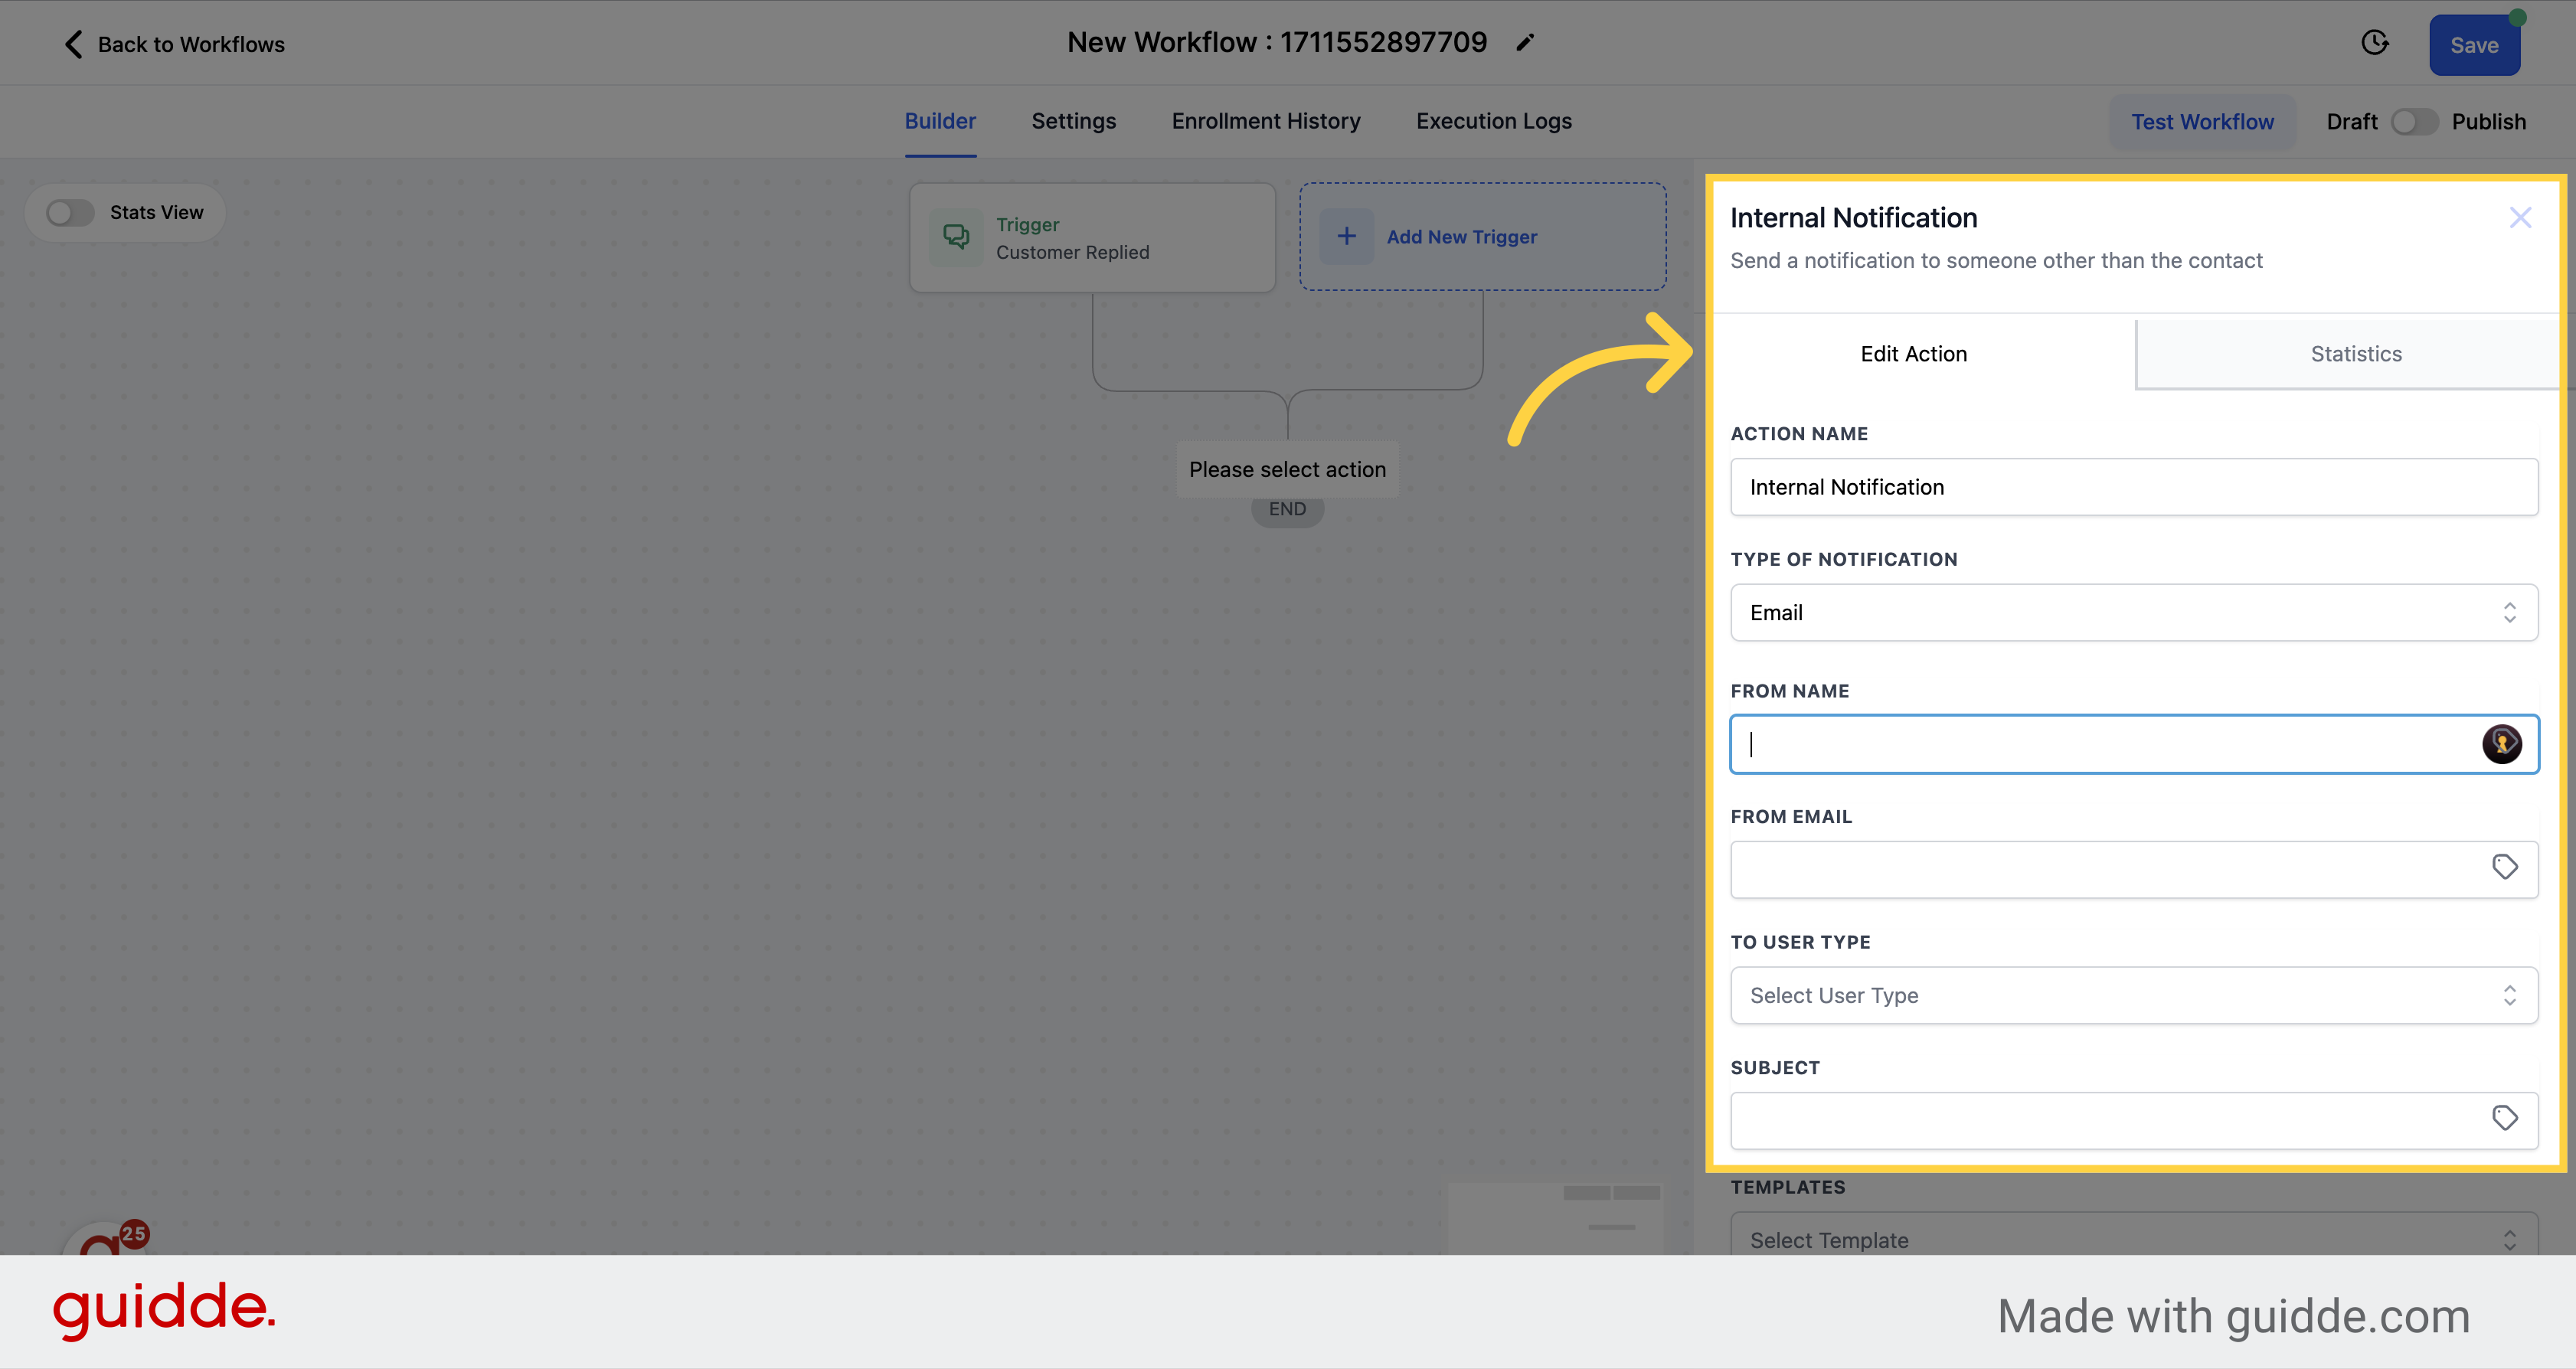
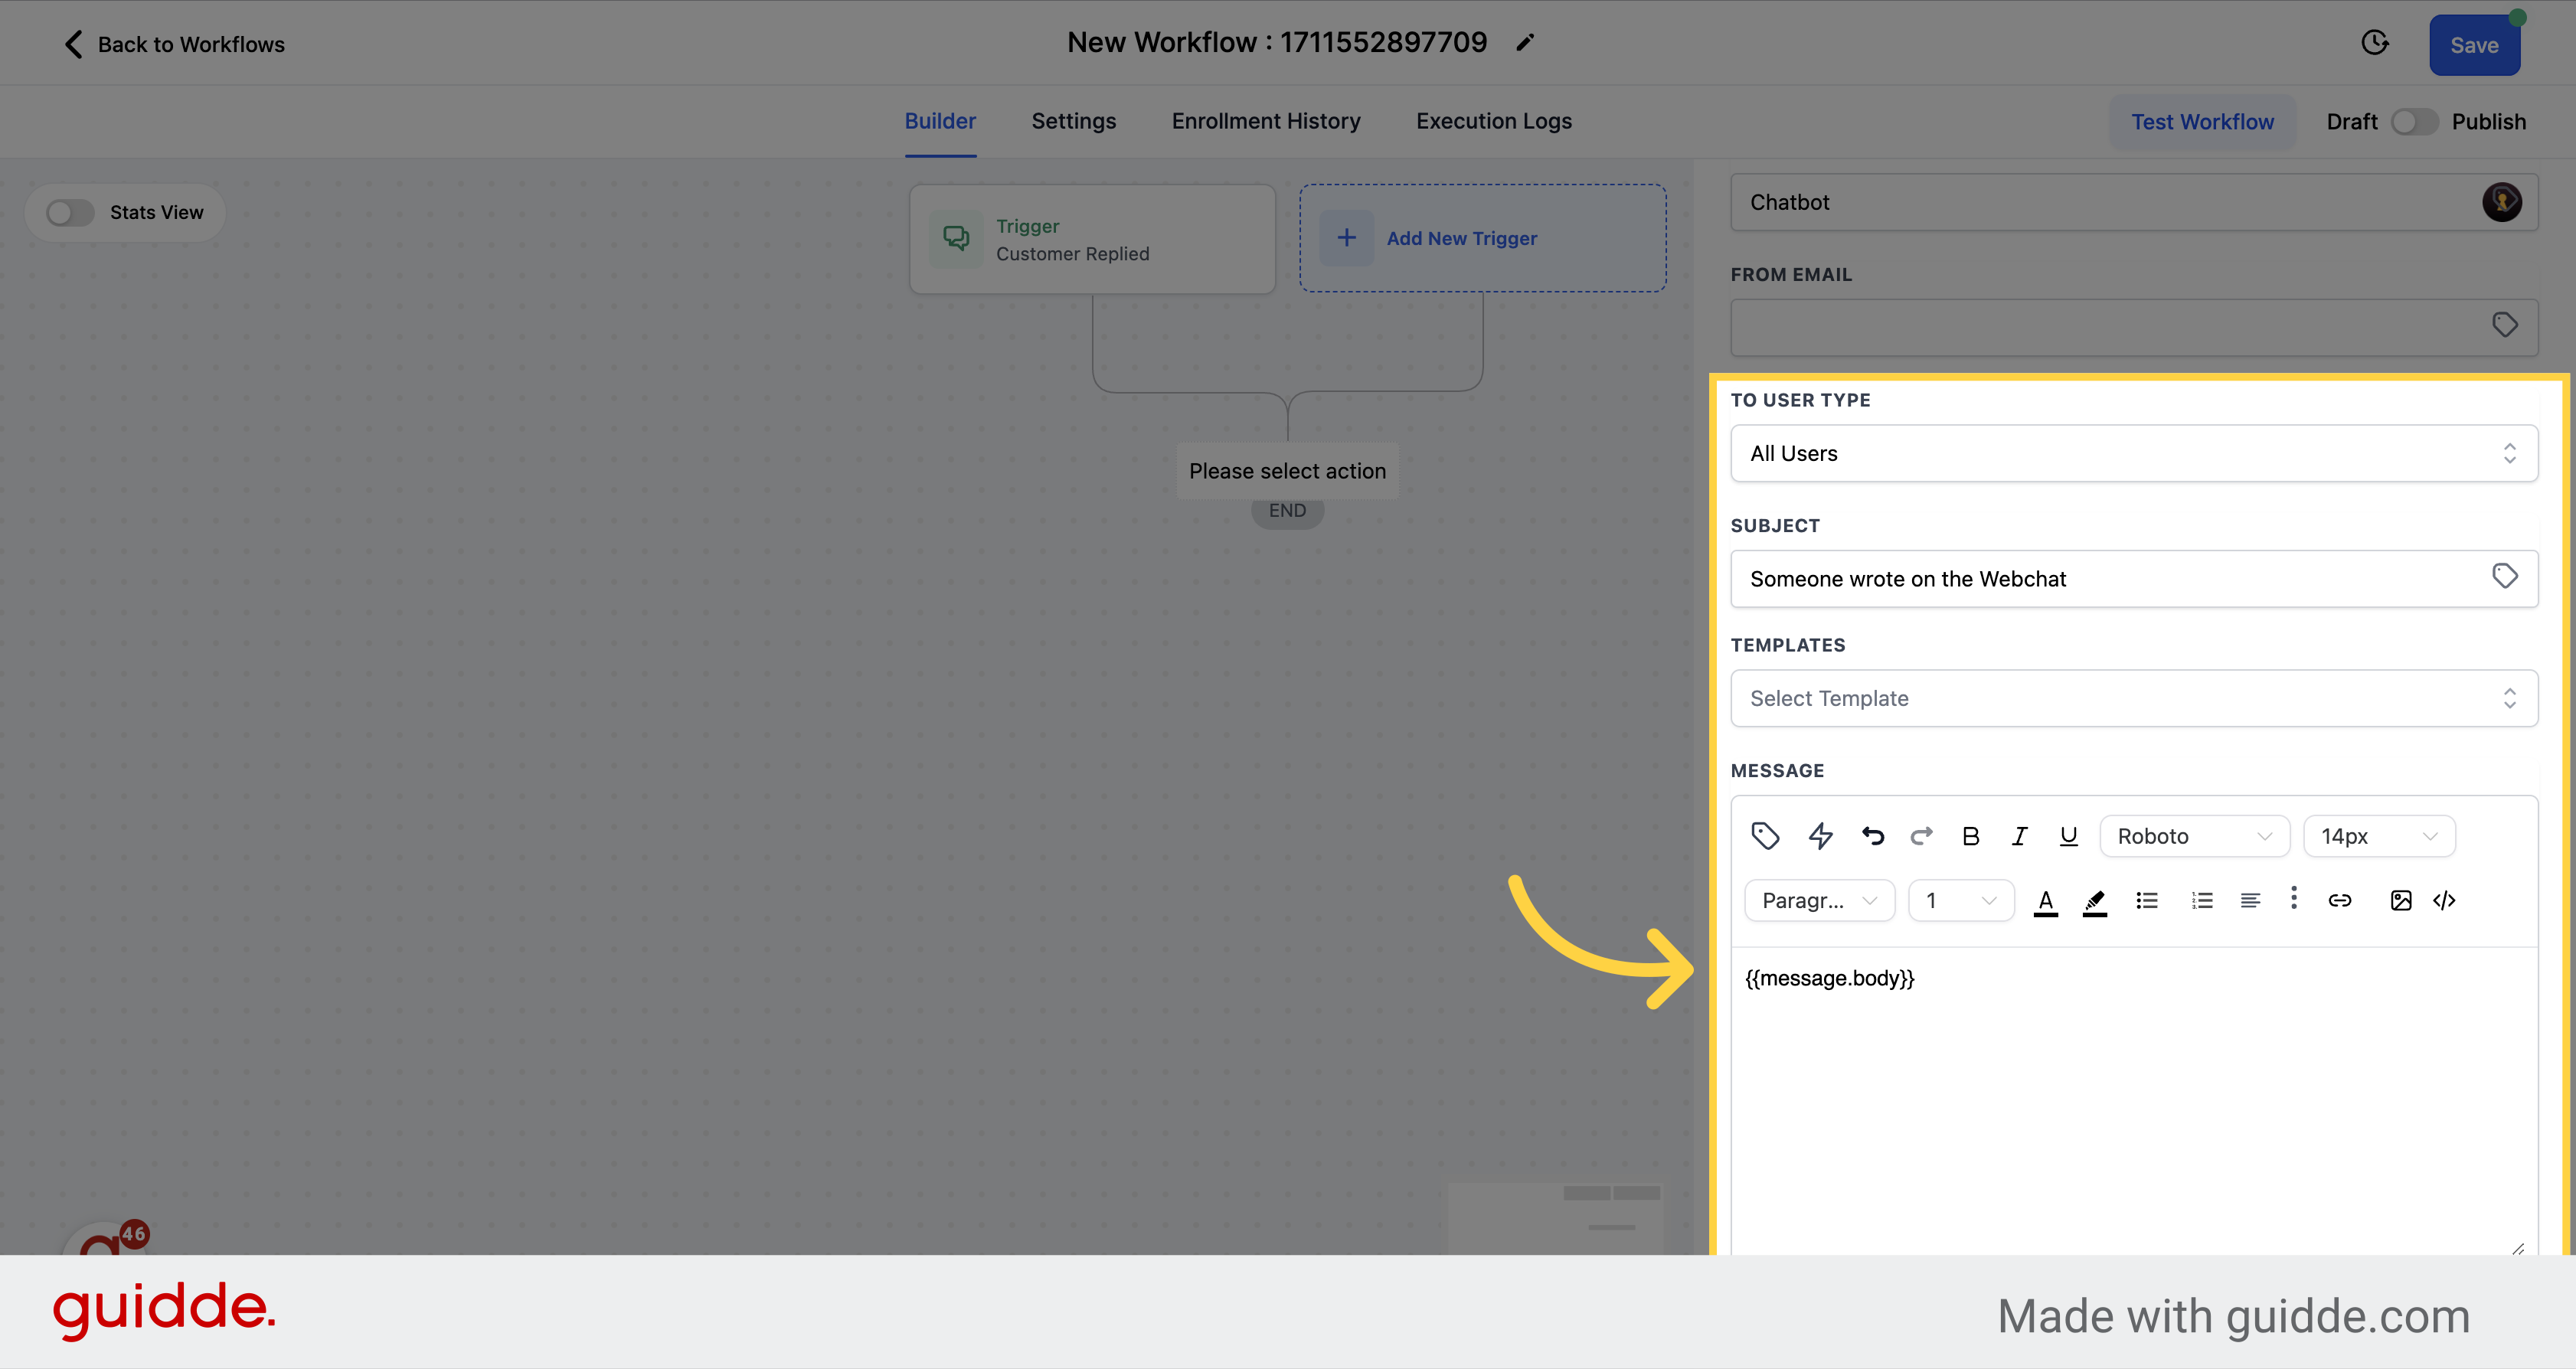
Add a subject line to the email, and on the message, add the 'Message Body' custom field.
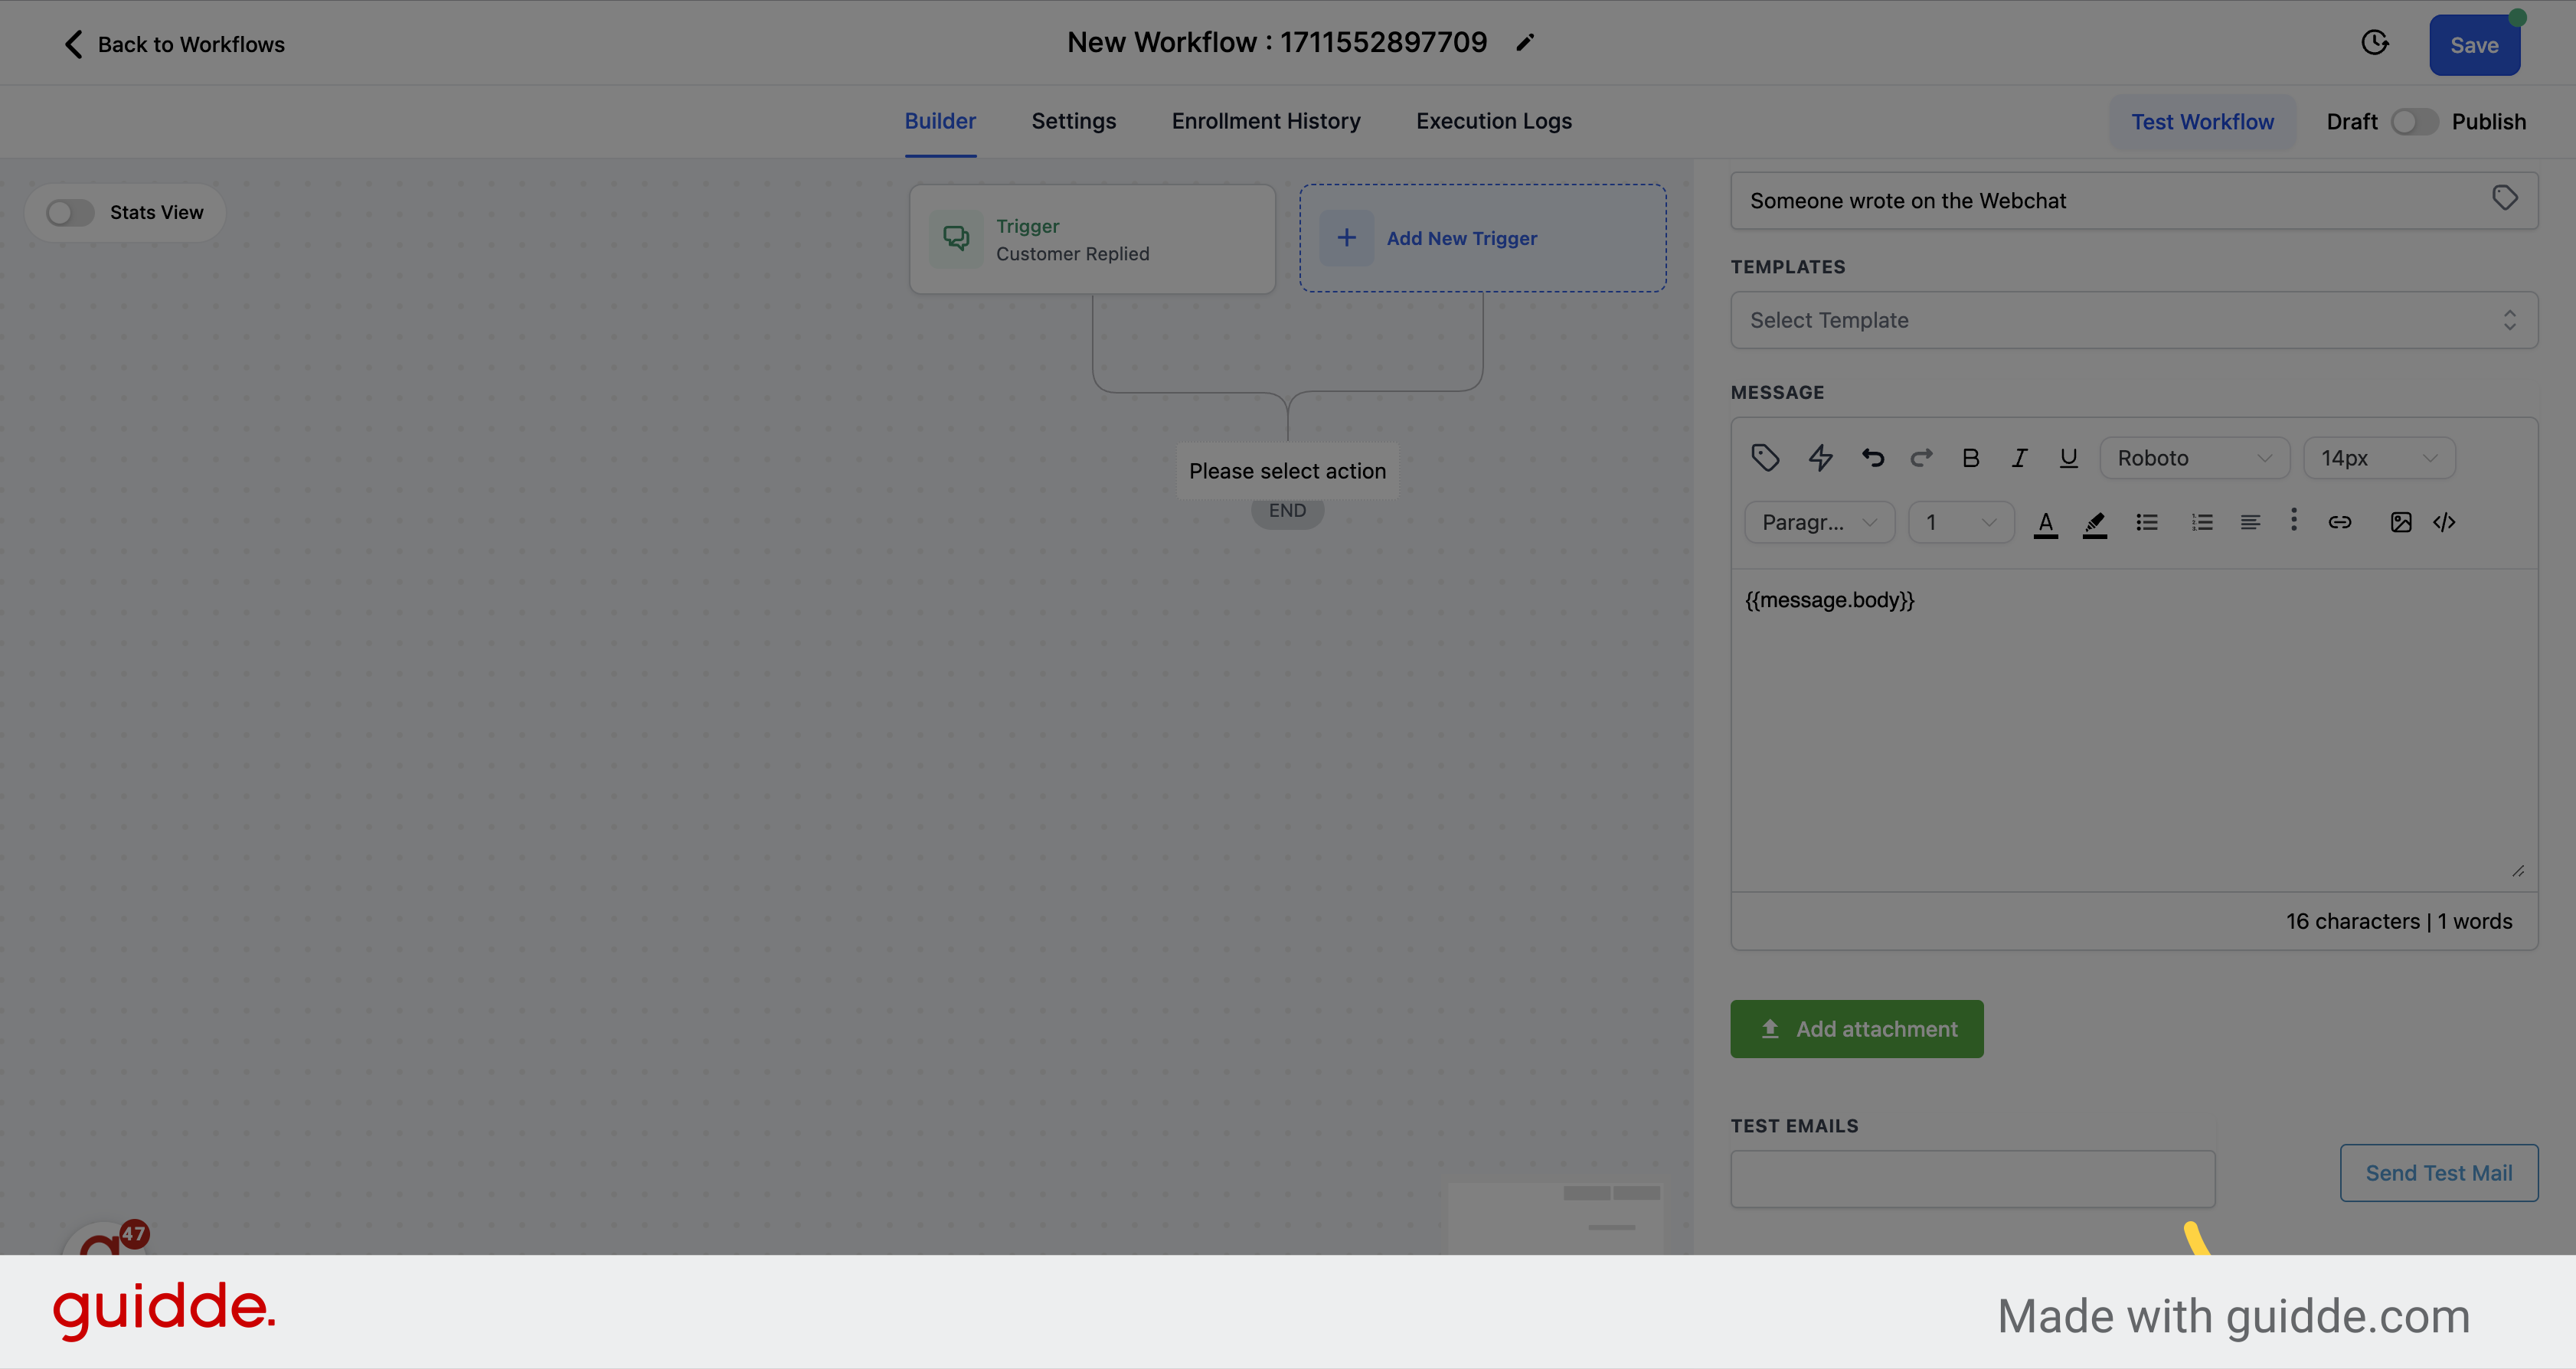
After filling up the information, click on the save action button.
Select the notification option from the type of notification dropdown menu.
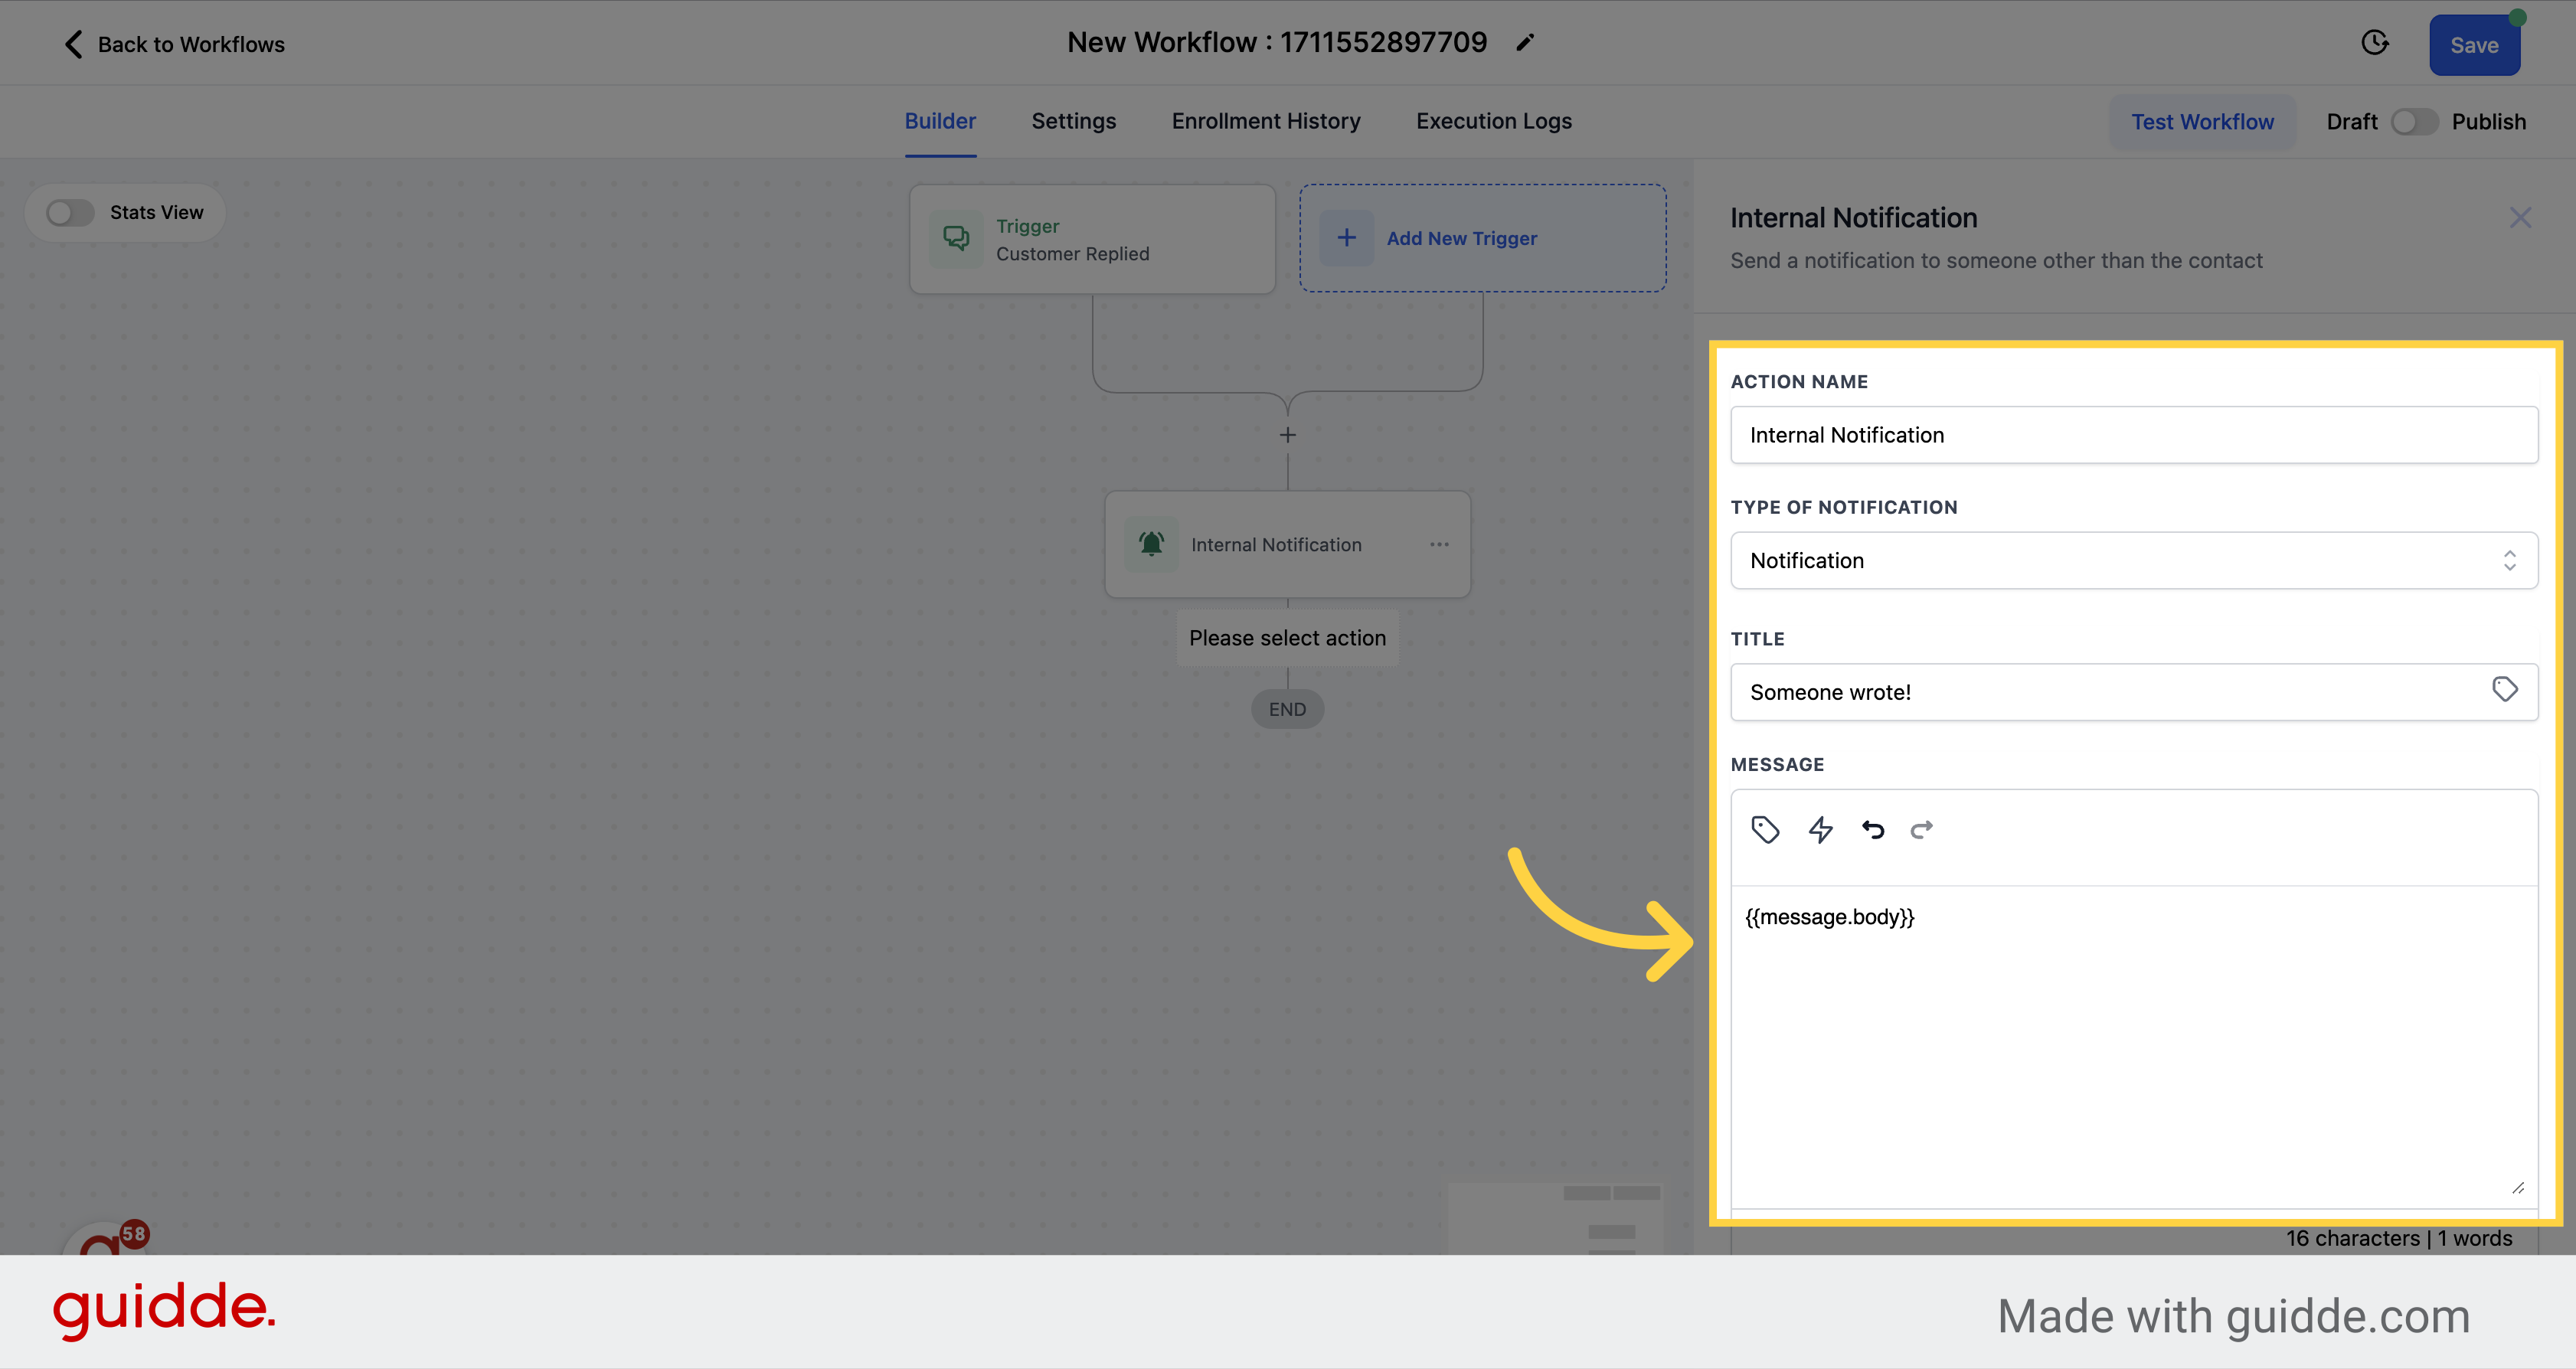
Add the notification title and, add the 'Message Body' custom field on the message space.
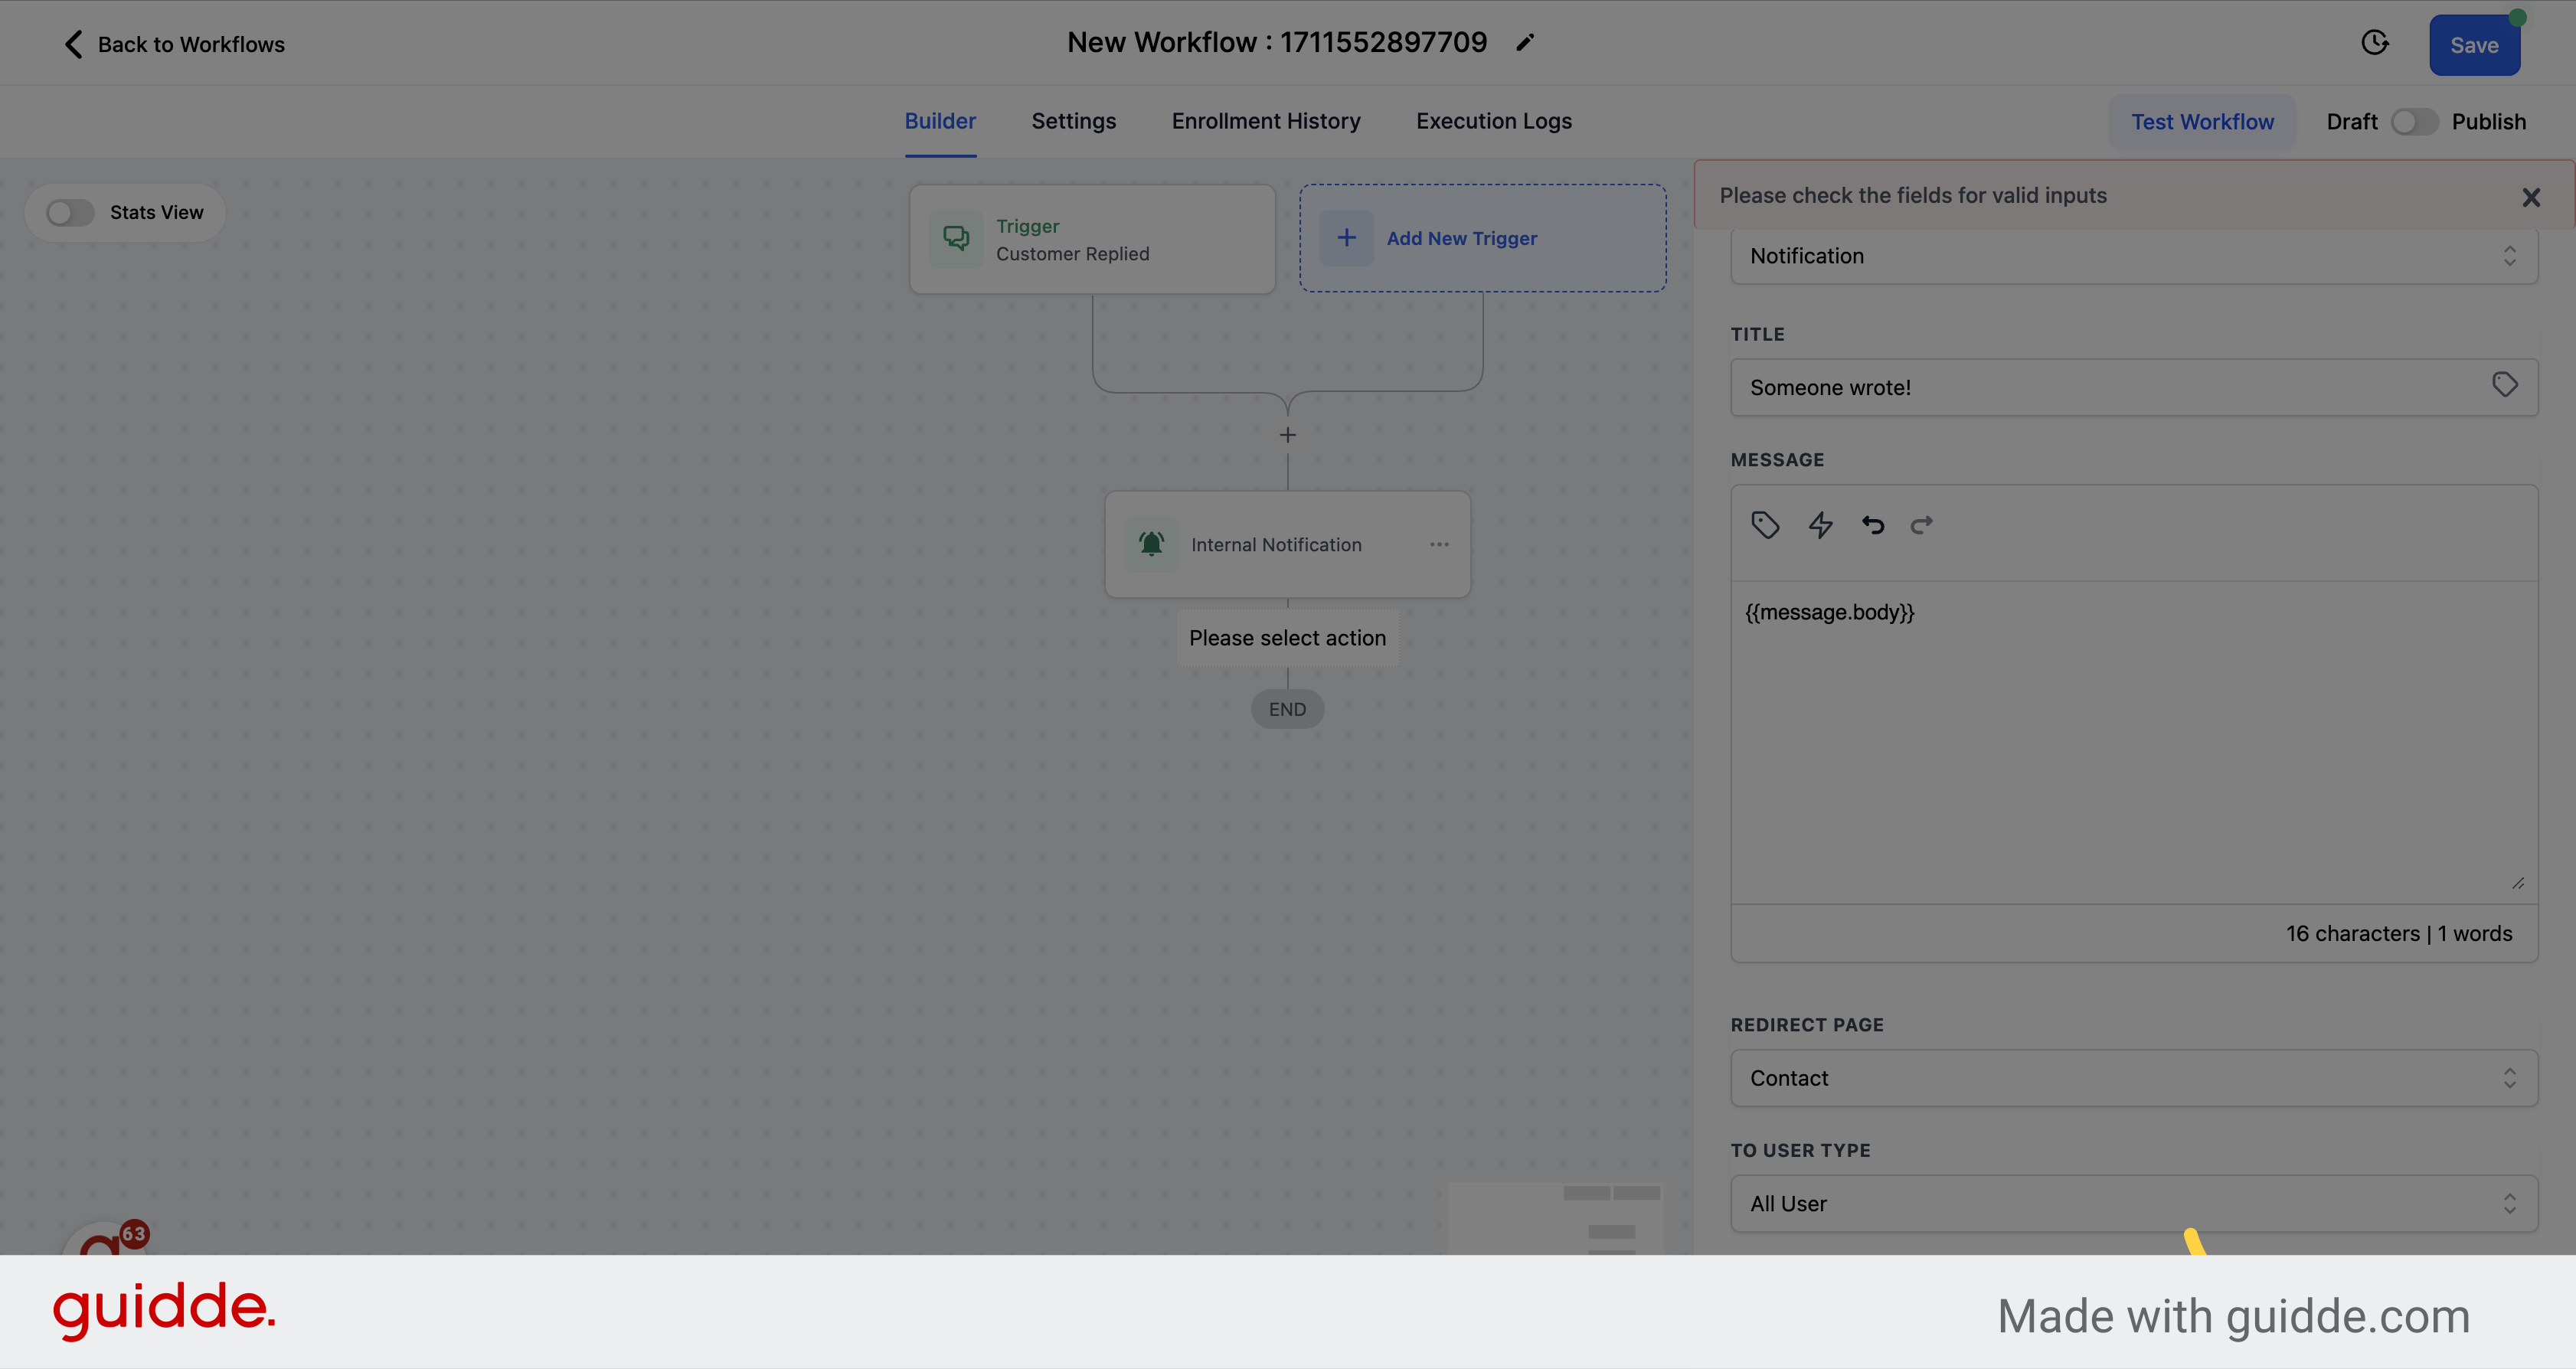
After filling up the information, click on the save action button.
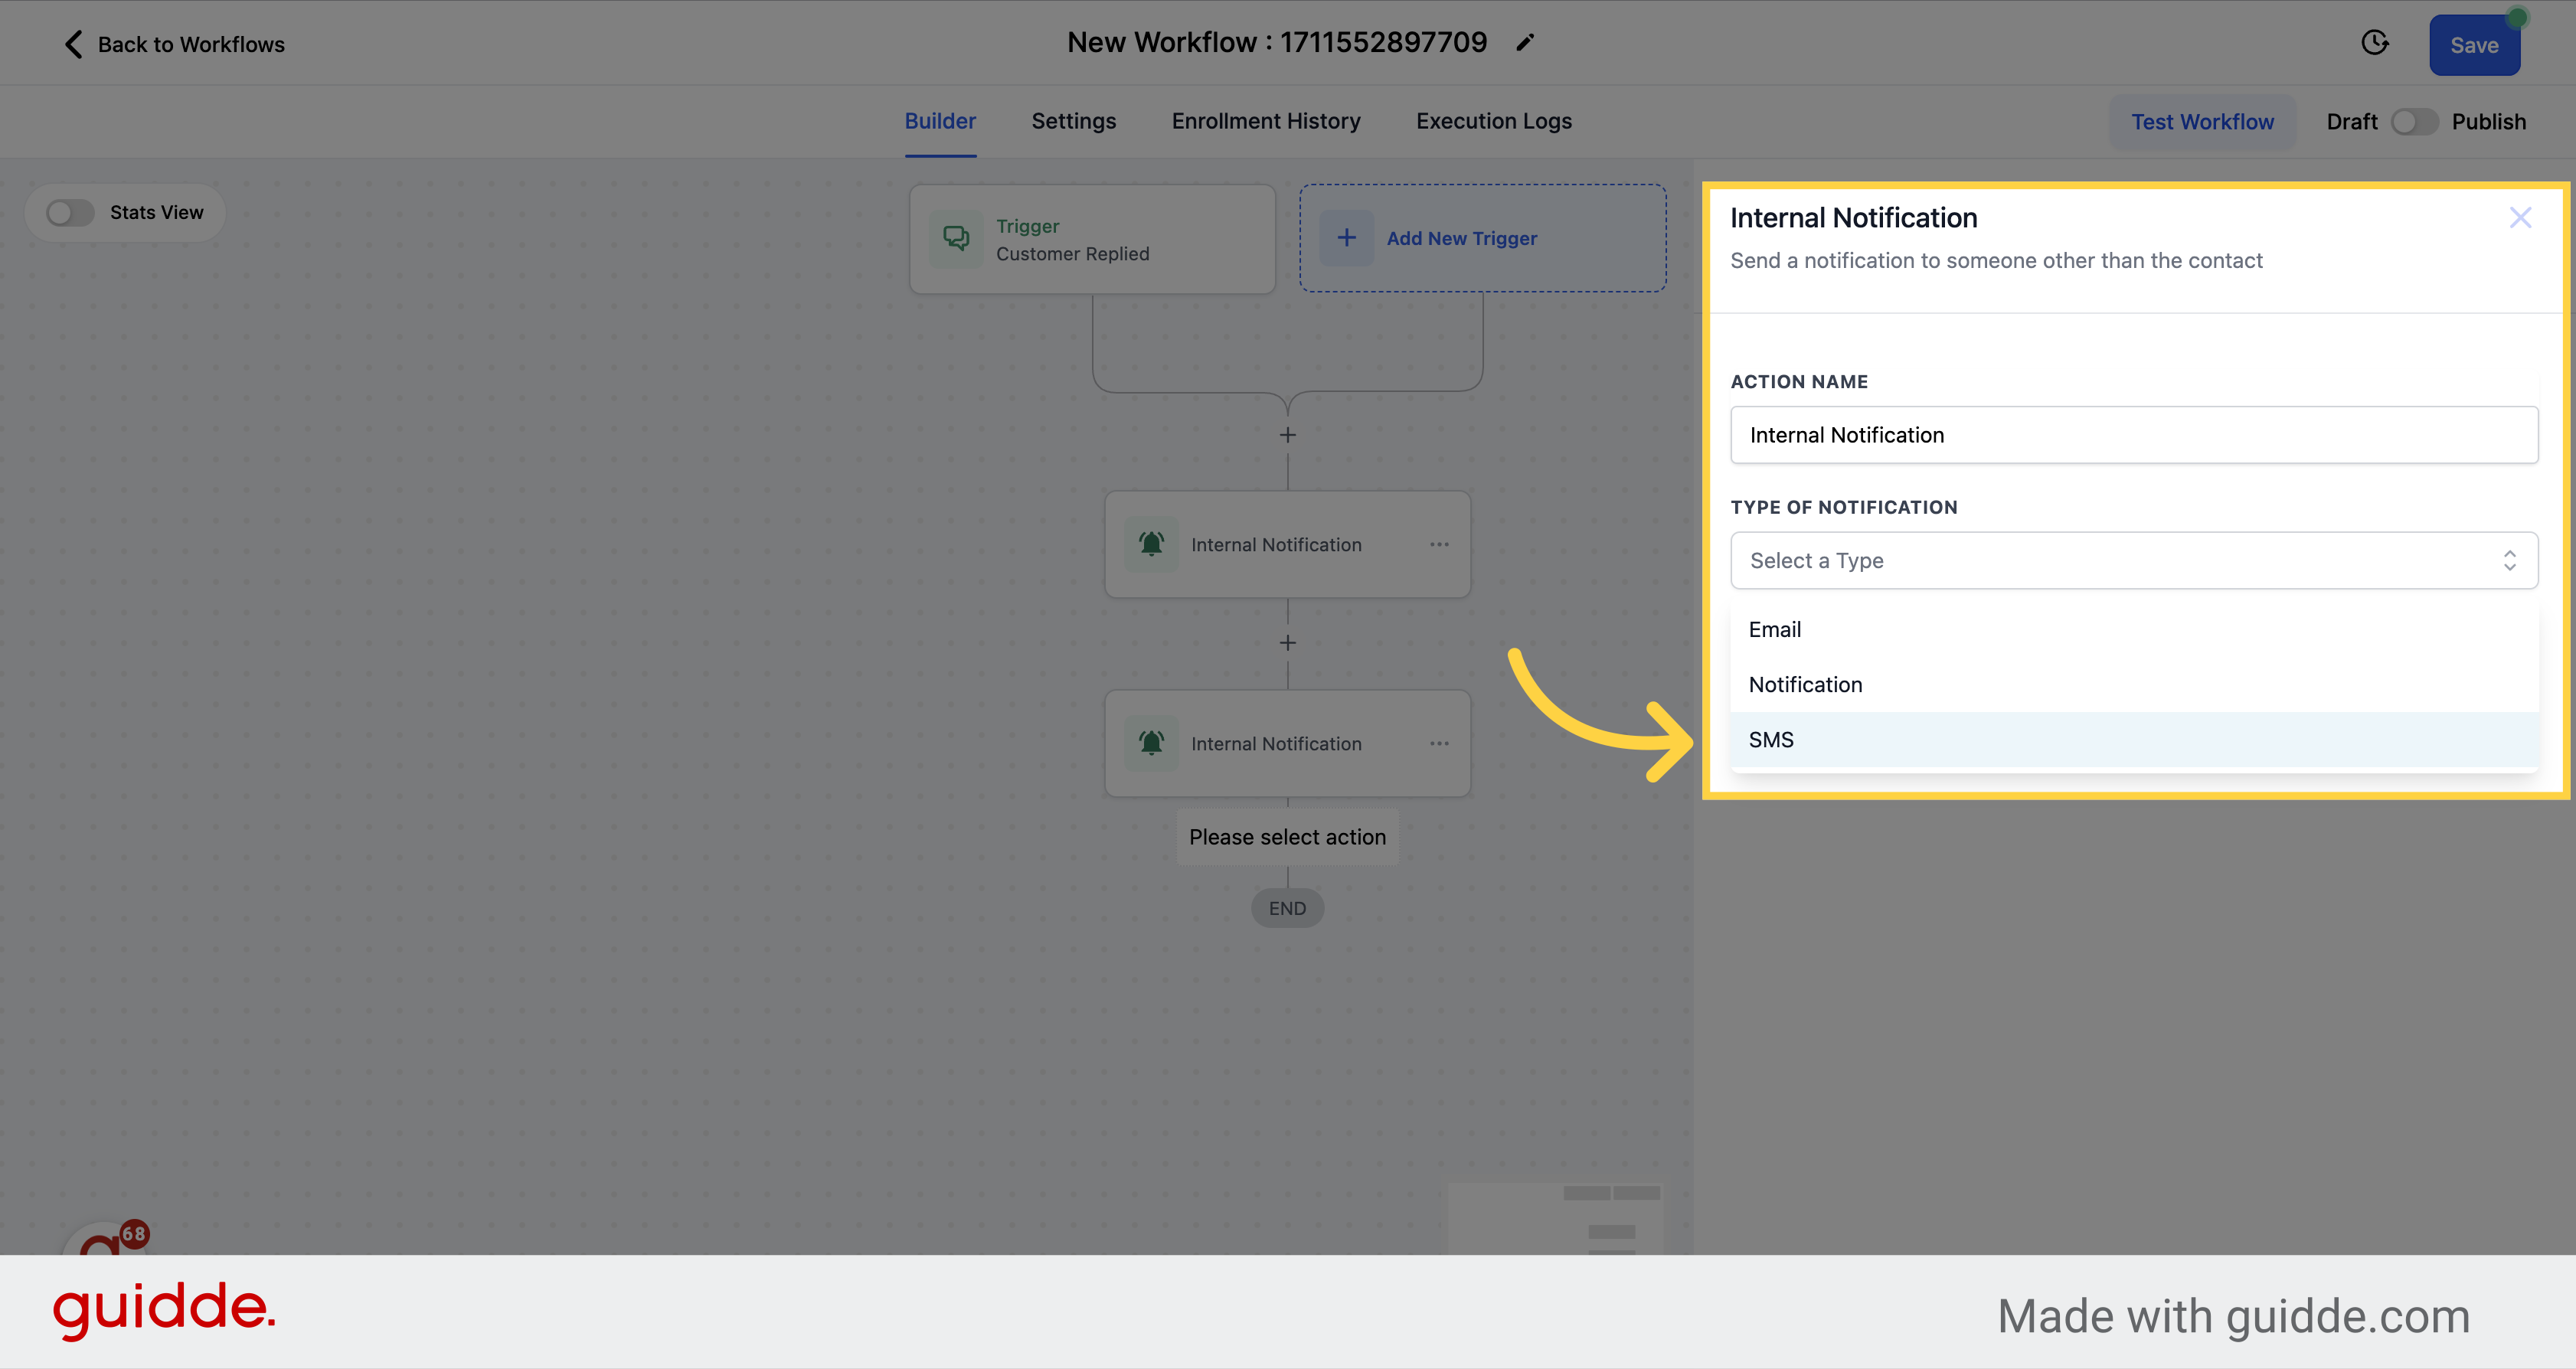
Select the SMS notification option from the type of notification dropdown menu.
Add the information you want on the message box, and the "Message Body" custom field.
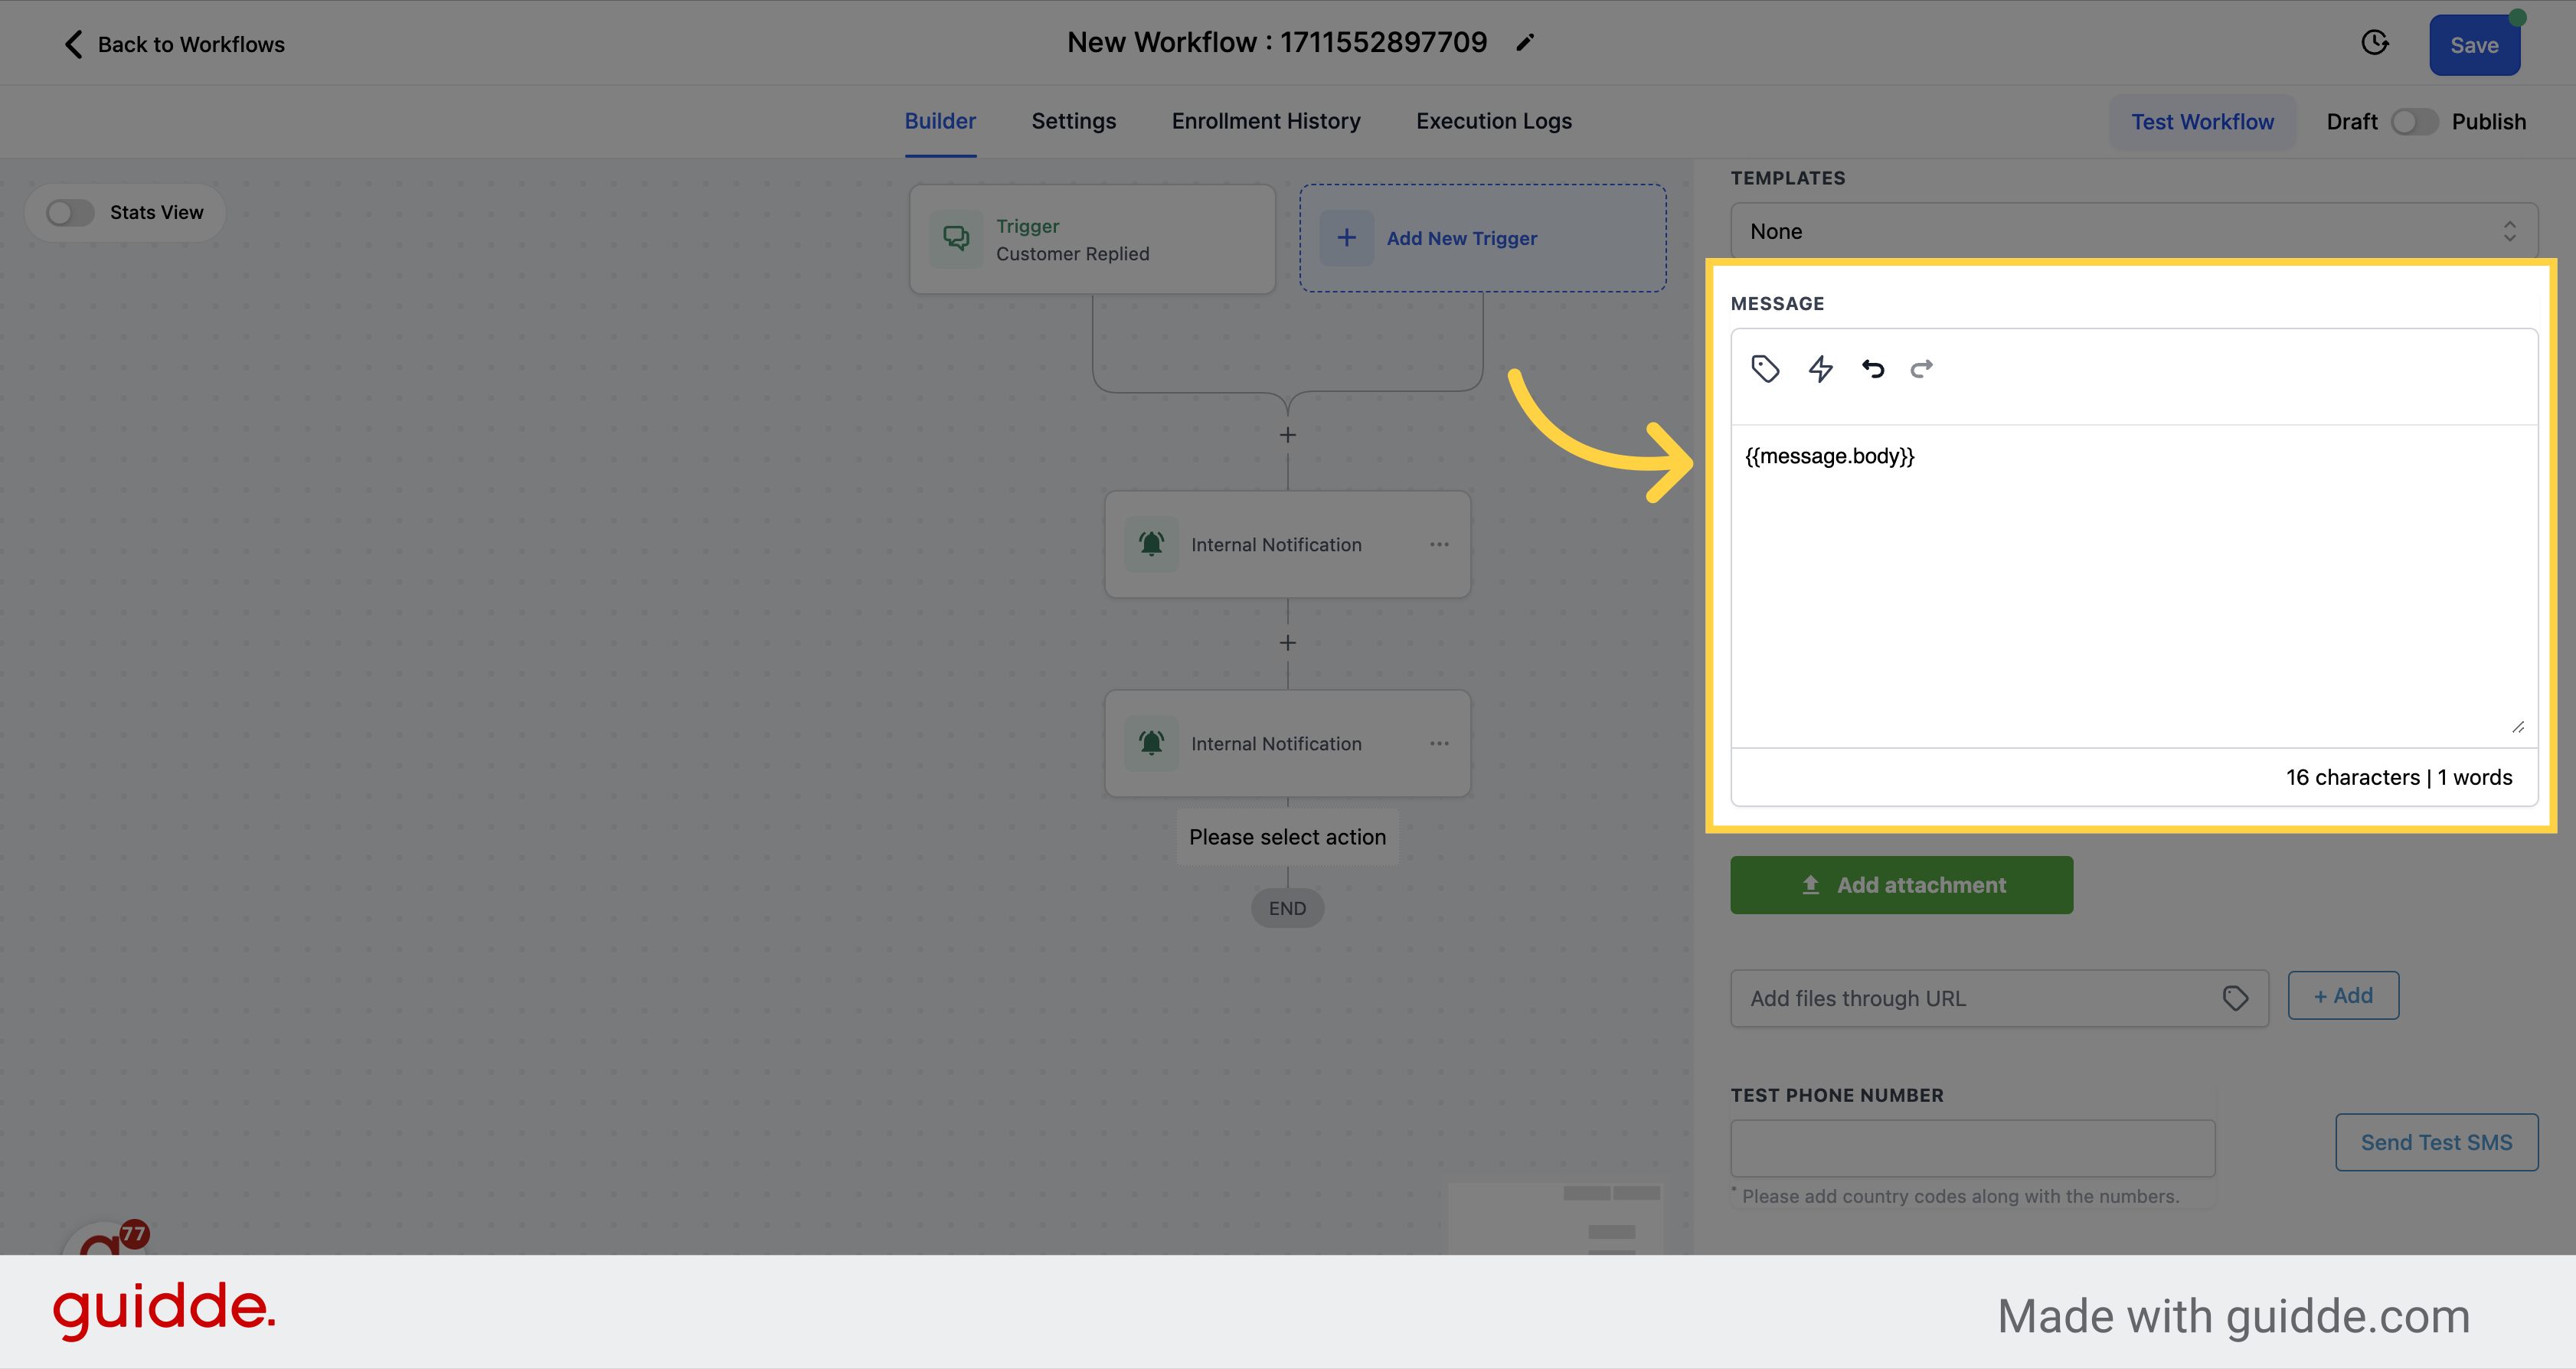
After filling up the information, click on the save action button.
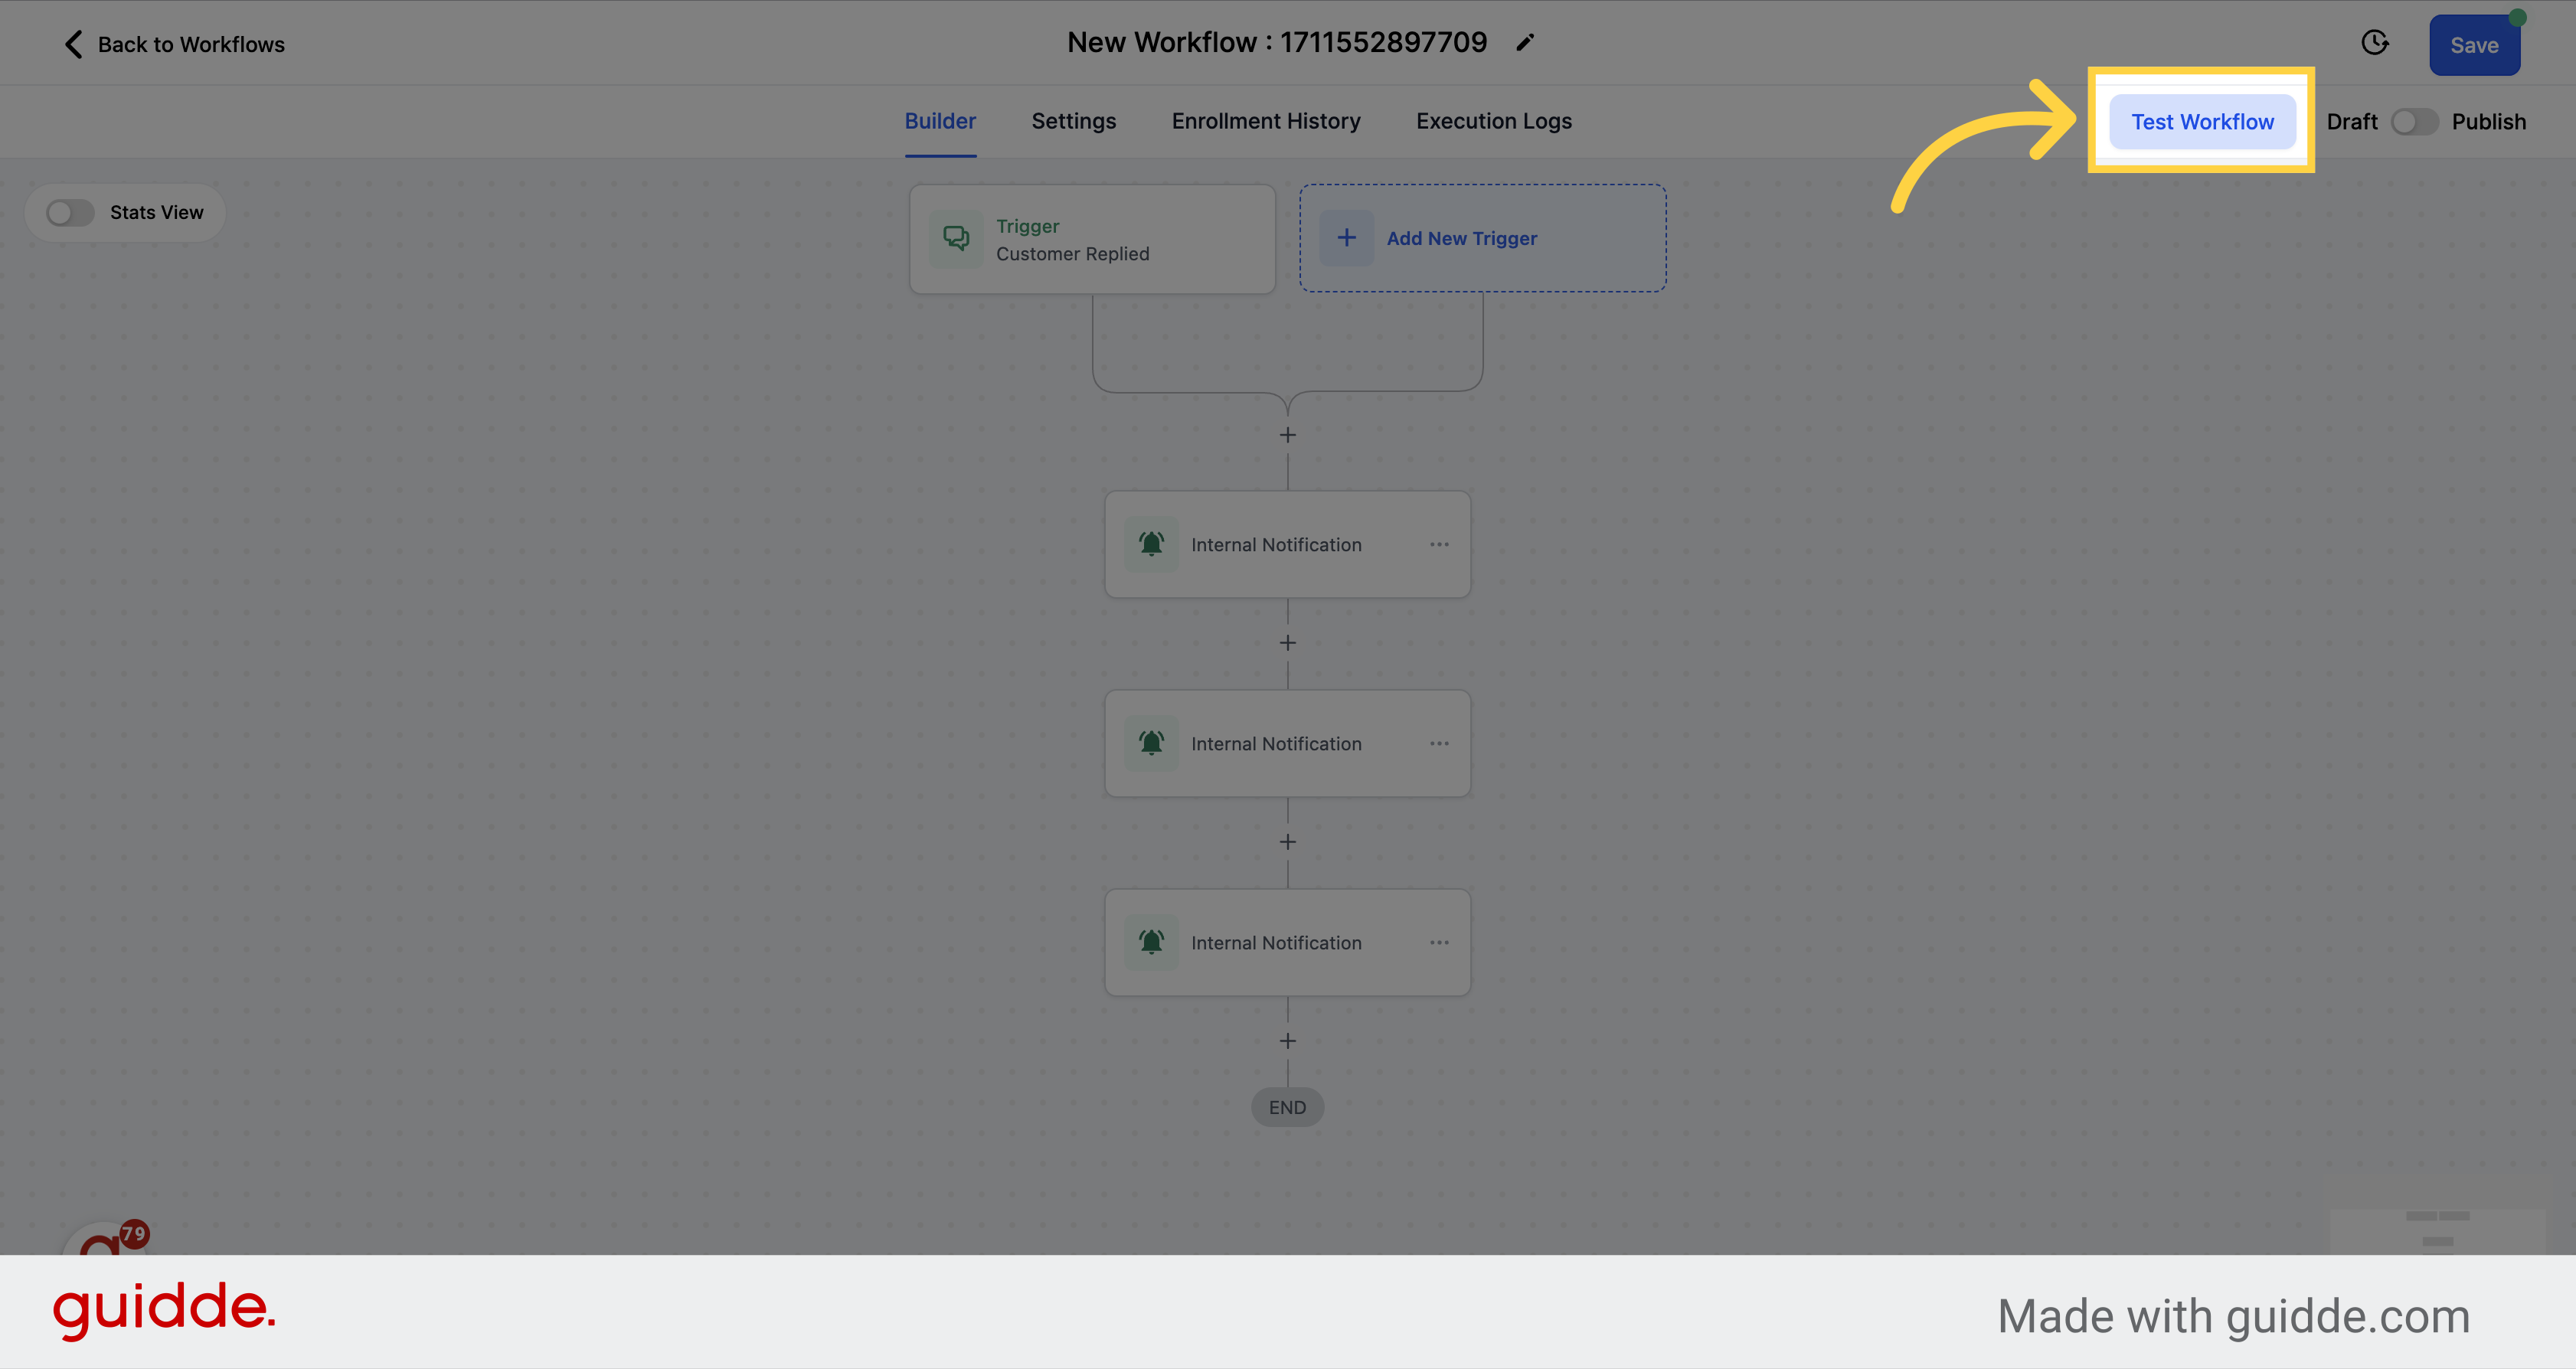
Initiate the testing of the workflow by clicking on the test workflow option.
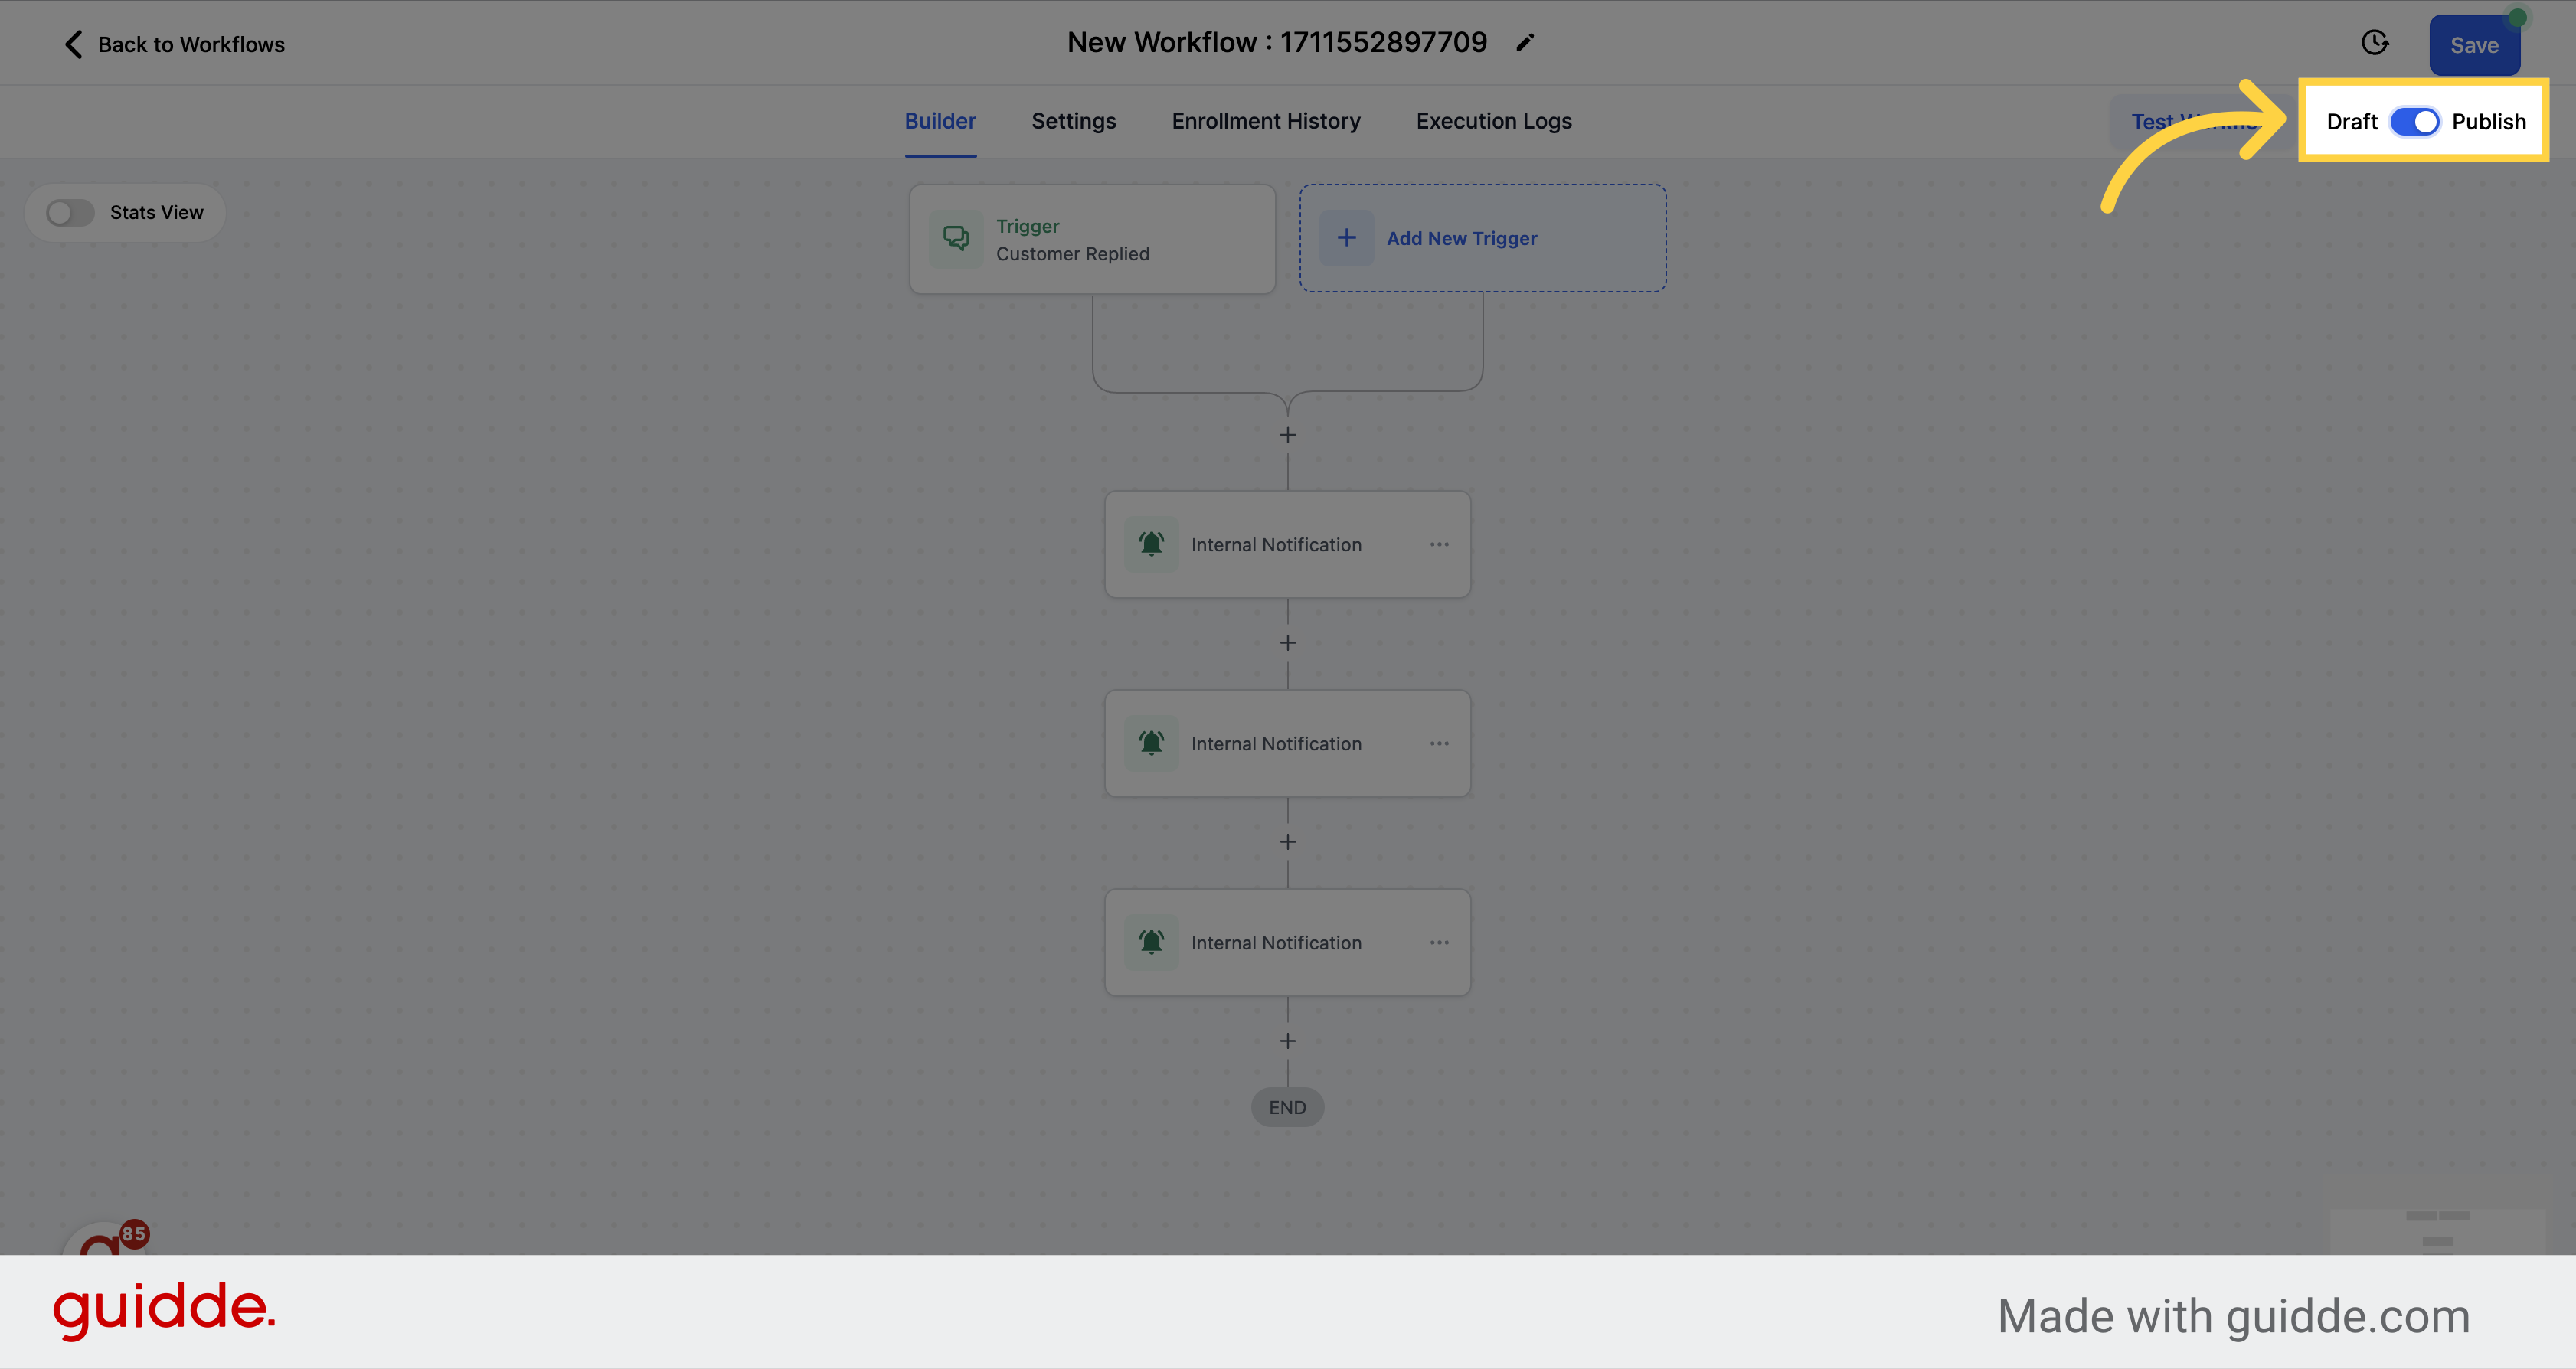
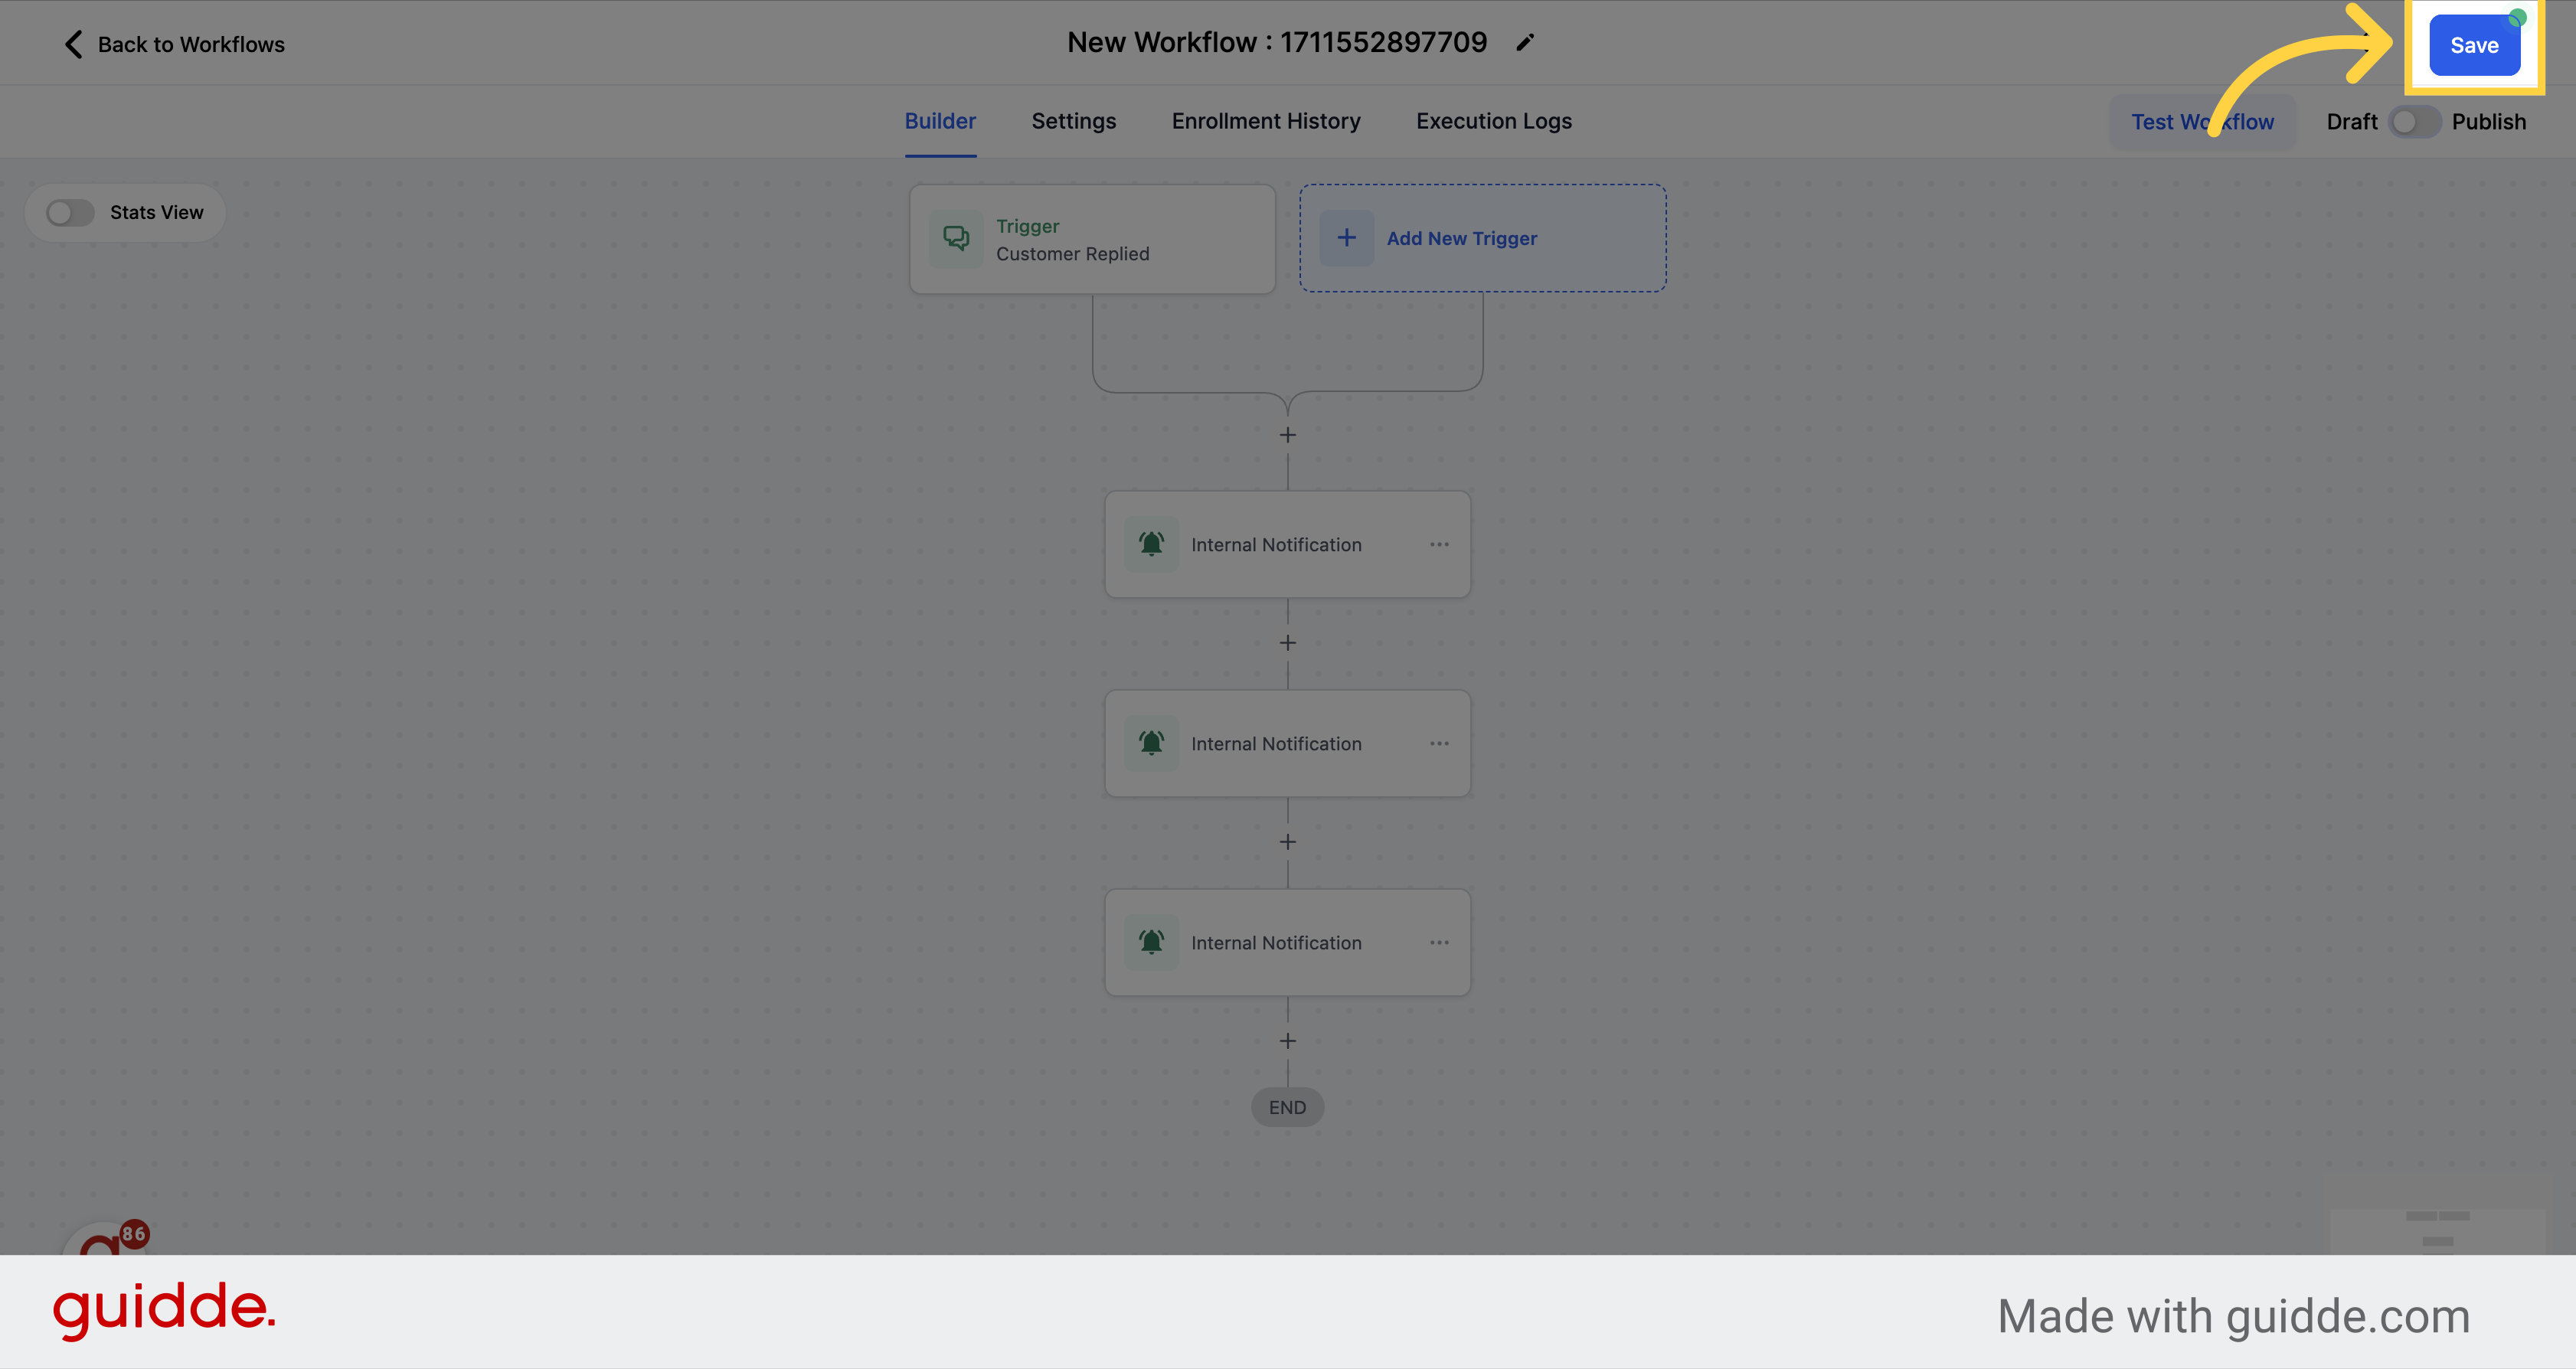
Save the workflow and changes by clicking on the save button located on the upper right corner of the view.
Toggle the switch and publish the workflow.