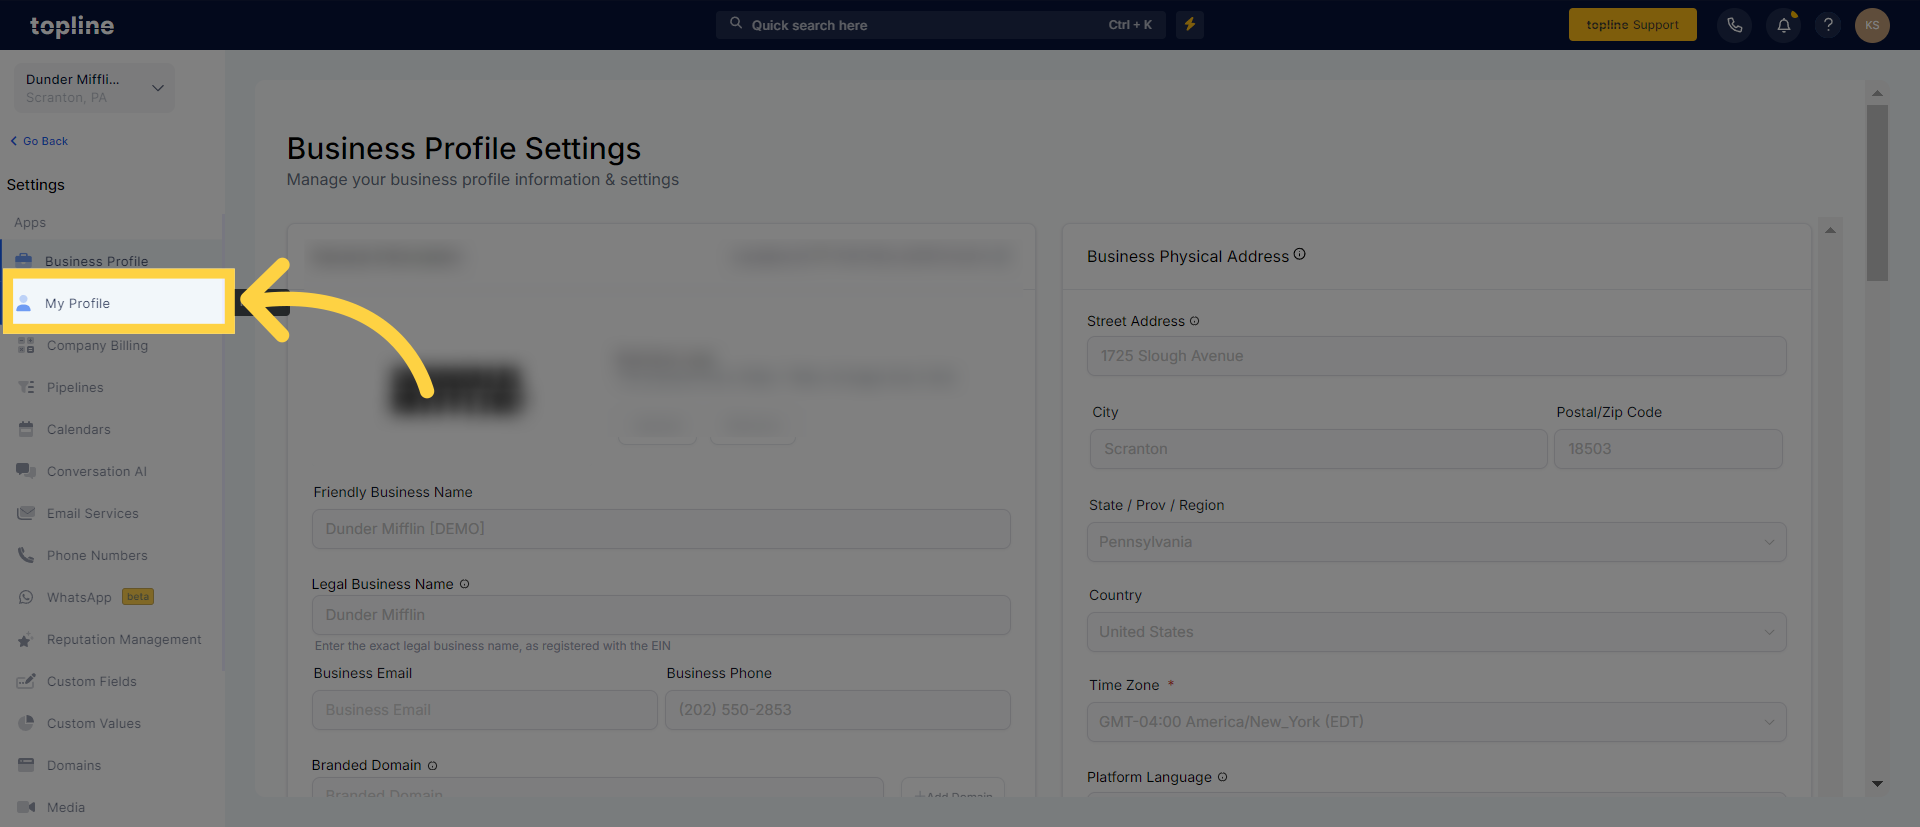
Go to "Settings", found in the lower left corner tab and click "My Profile" and look for User Availability. This allows users to update their appointment details to customize their experience on the platform.
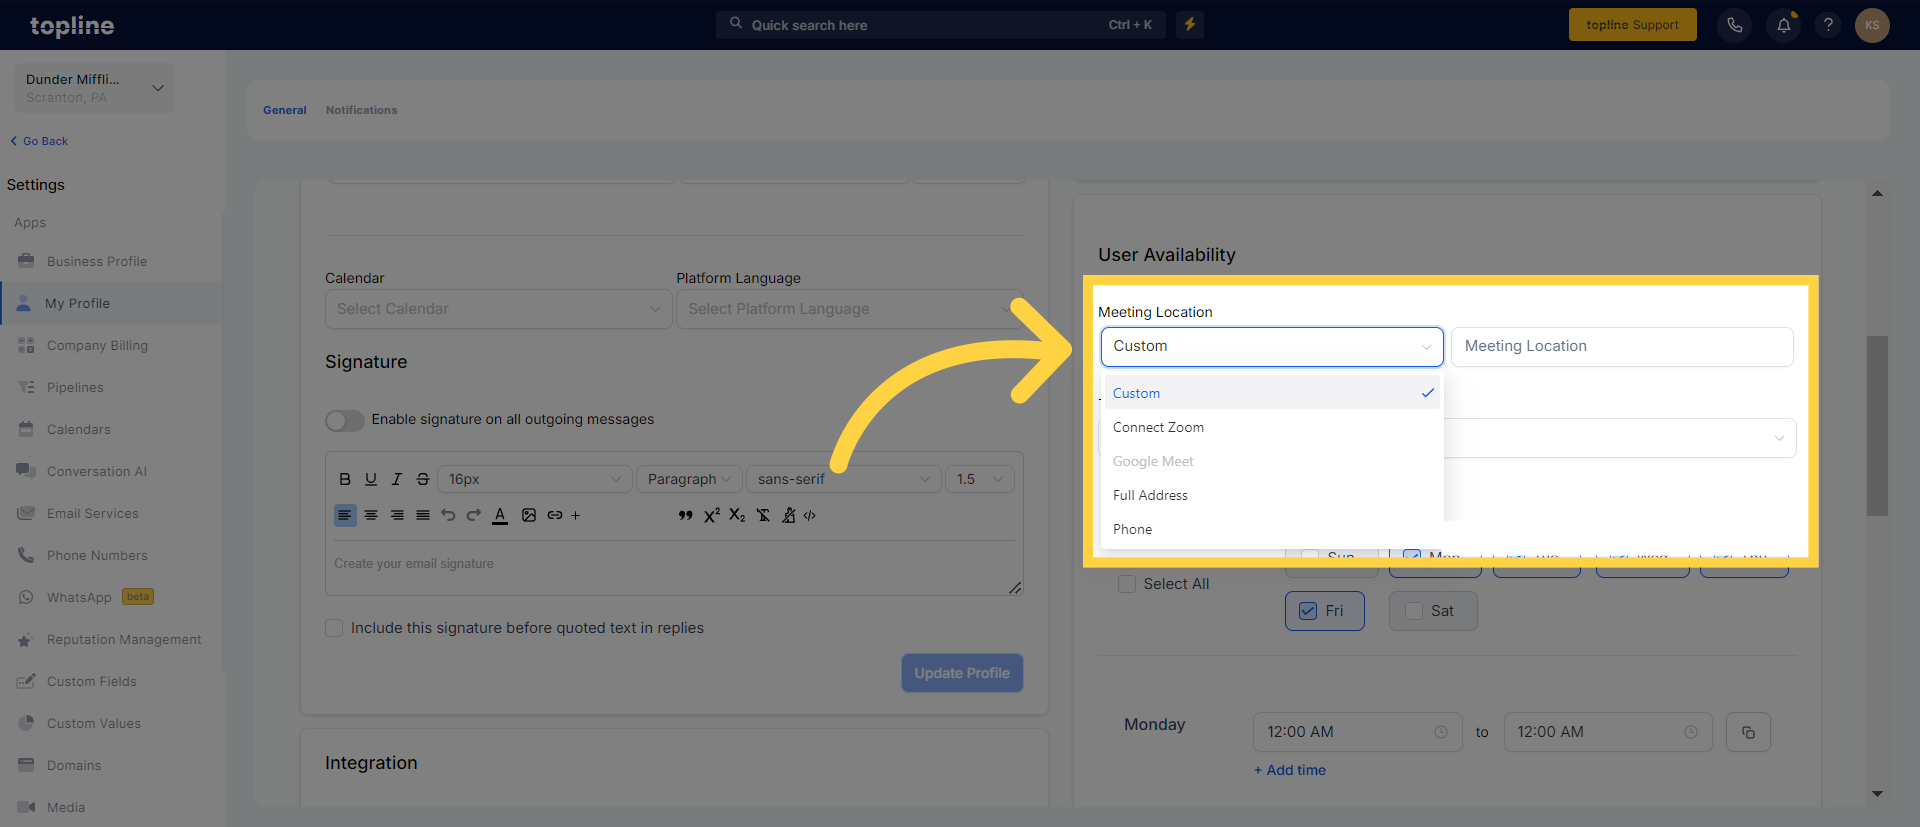
Scroll down and look for "Meeting Locations". By clicking the dropdown list, users can choose a default meeting location for calendar invitations like Zoom, Google Meet, Full Address or Phone.
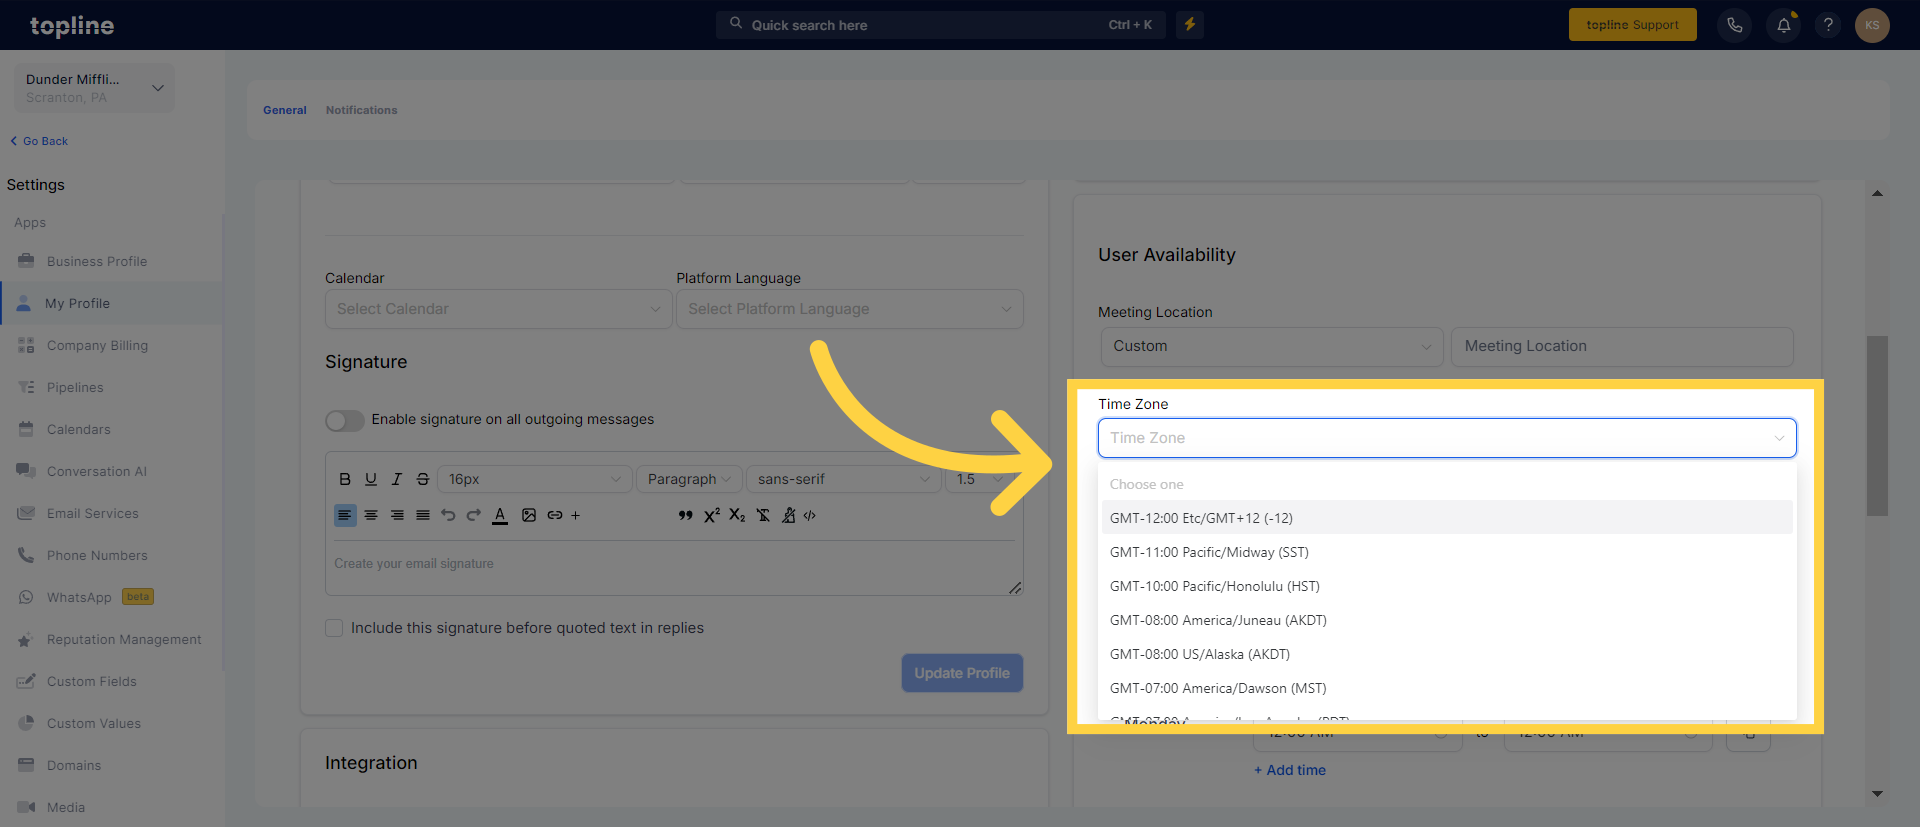
Click the dropdown menu to find and select the appropriate time zone that will fit your schedule.
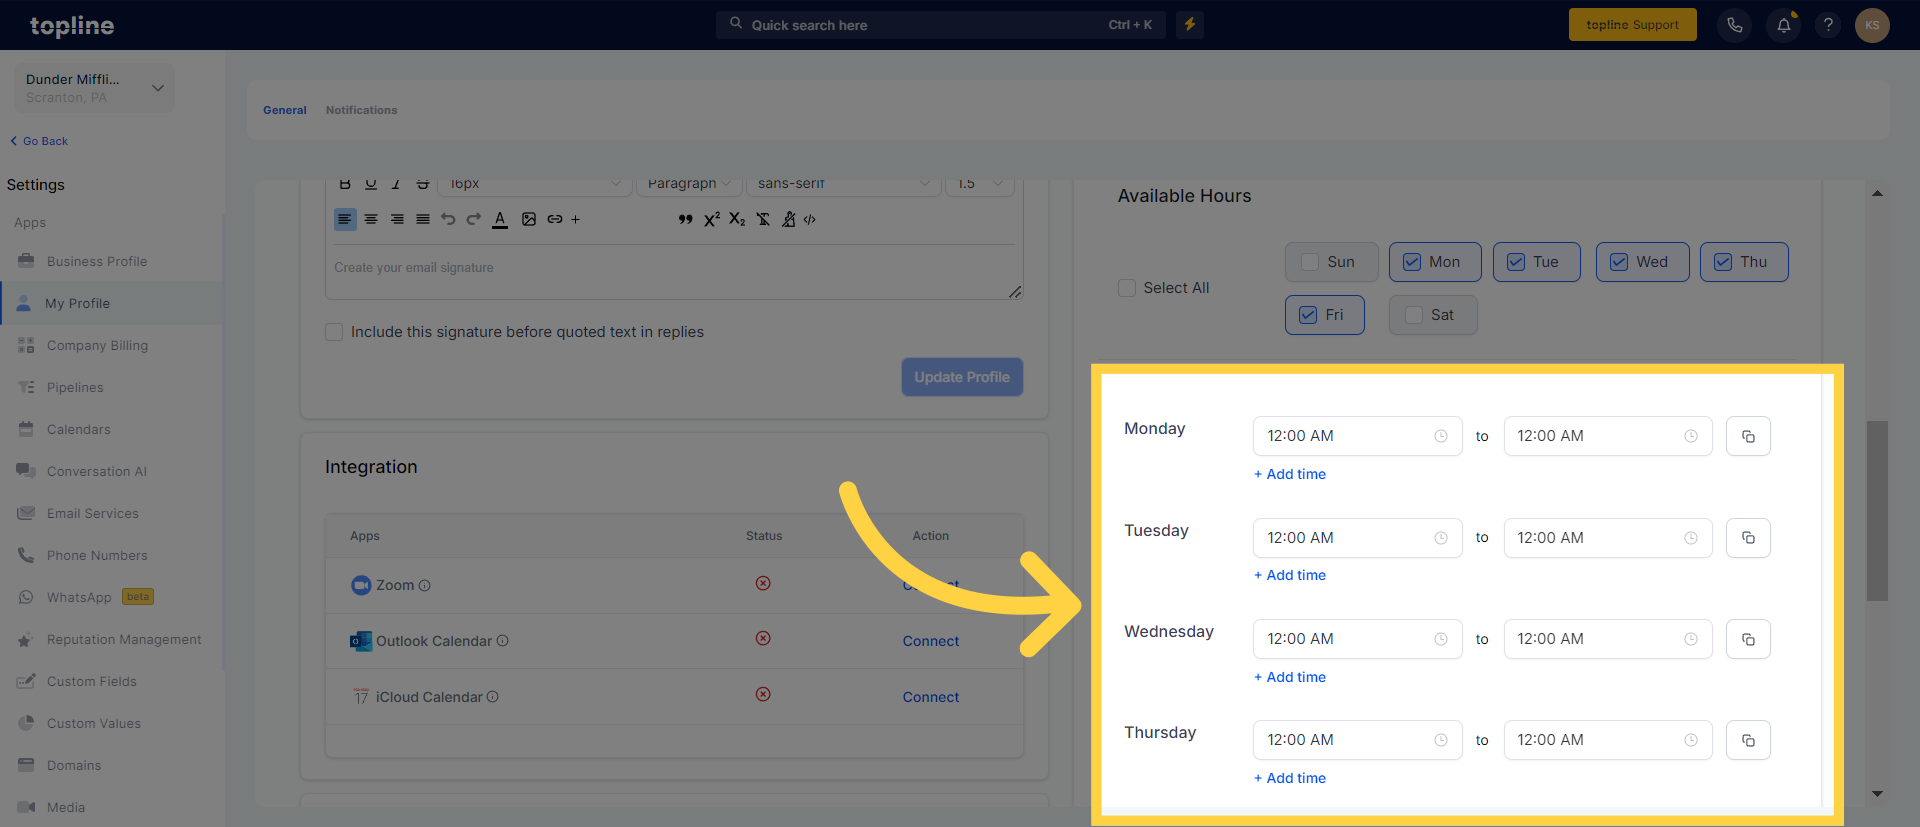
By checking the box, you can set the days when you are available for appointments.
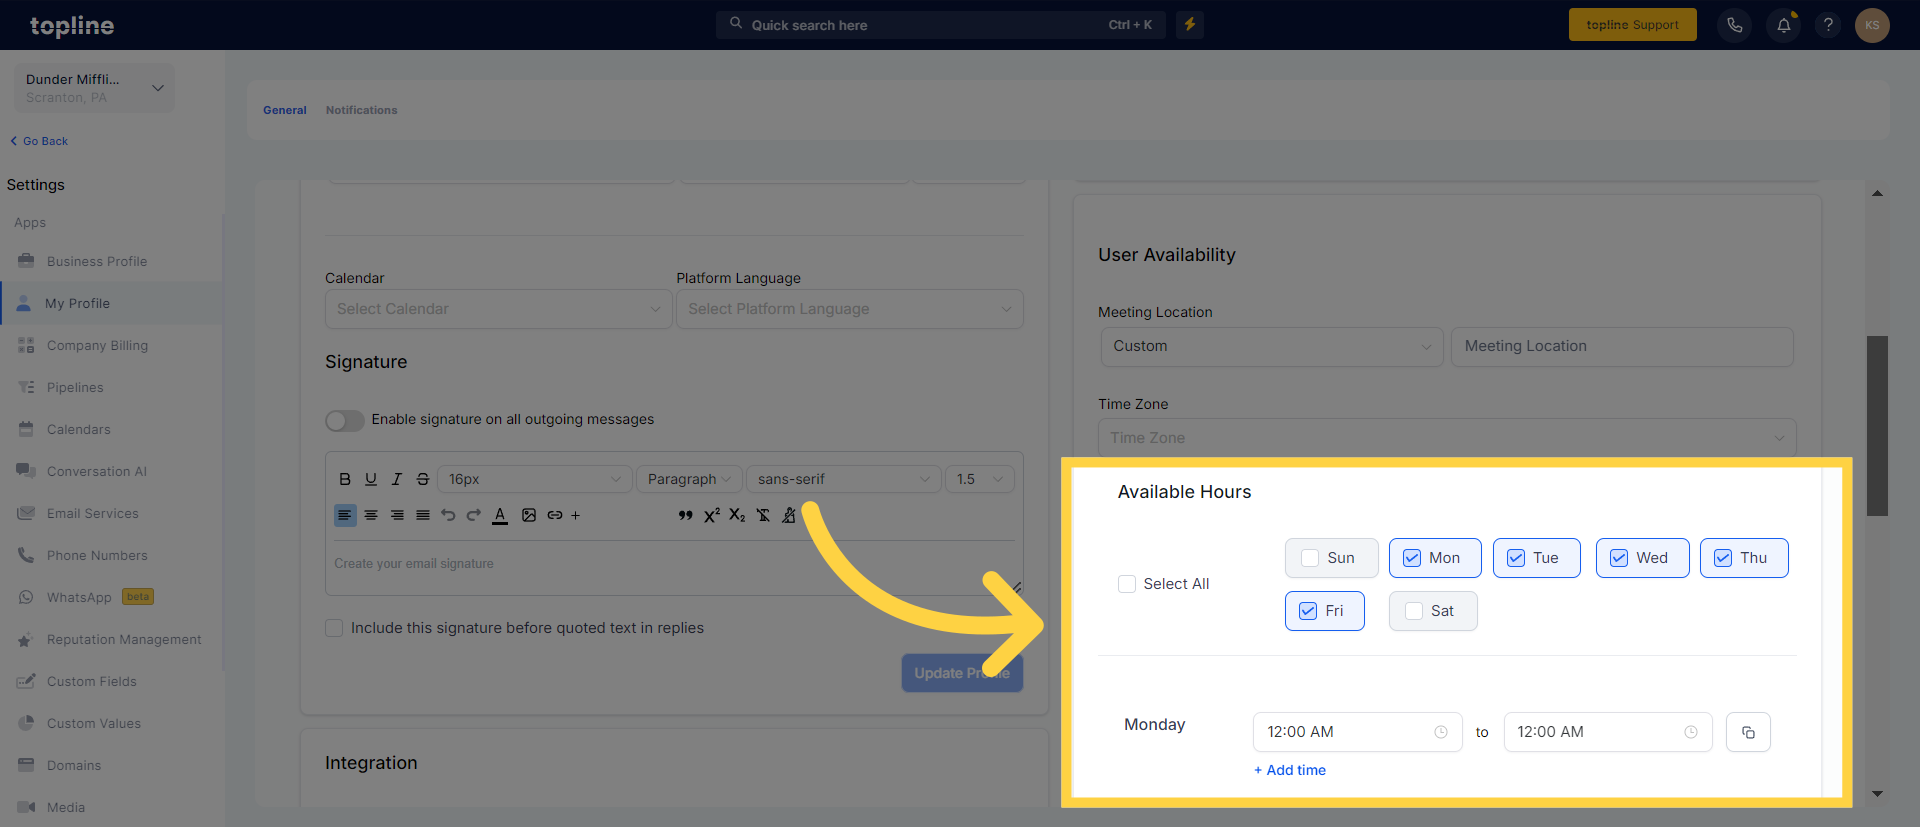
By clicking the time, you can adjust and modify user's preferences to set the time of day. You can also split the time when you click "+Add time".
Save the changes you've made by clicking "Update Availability".
