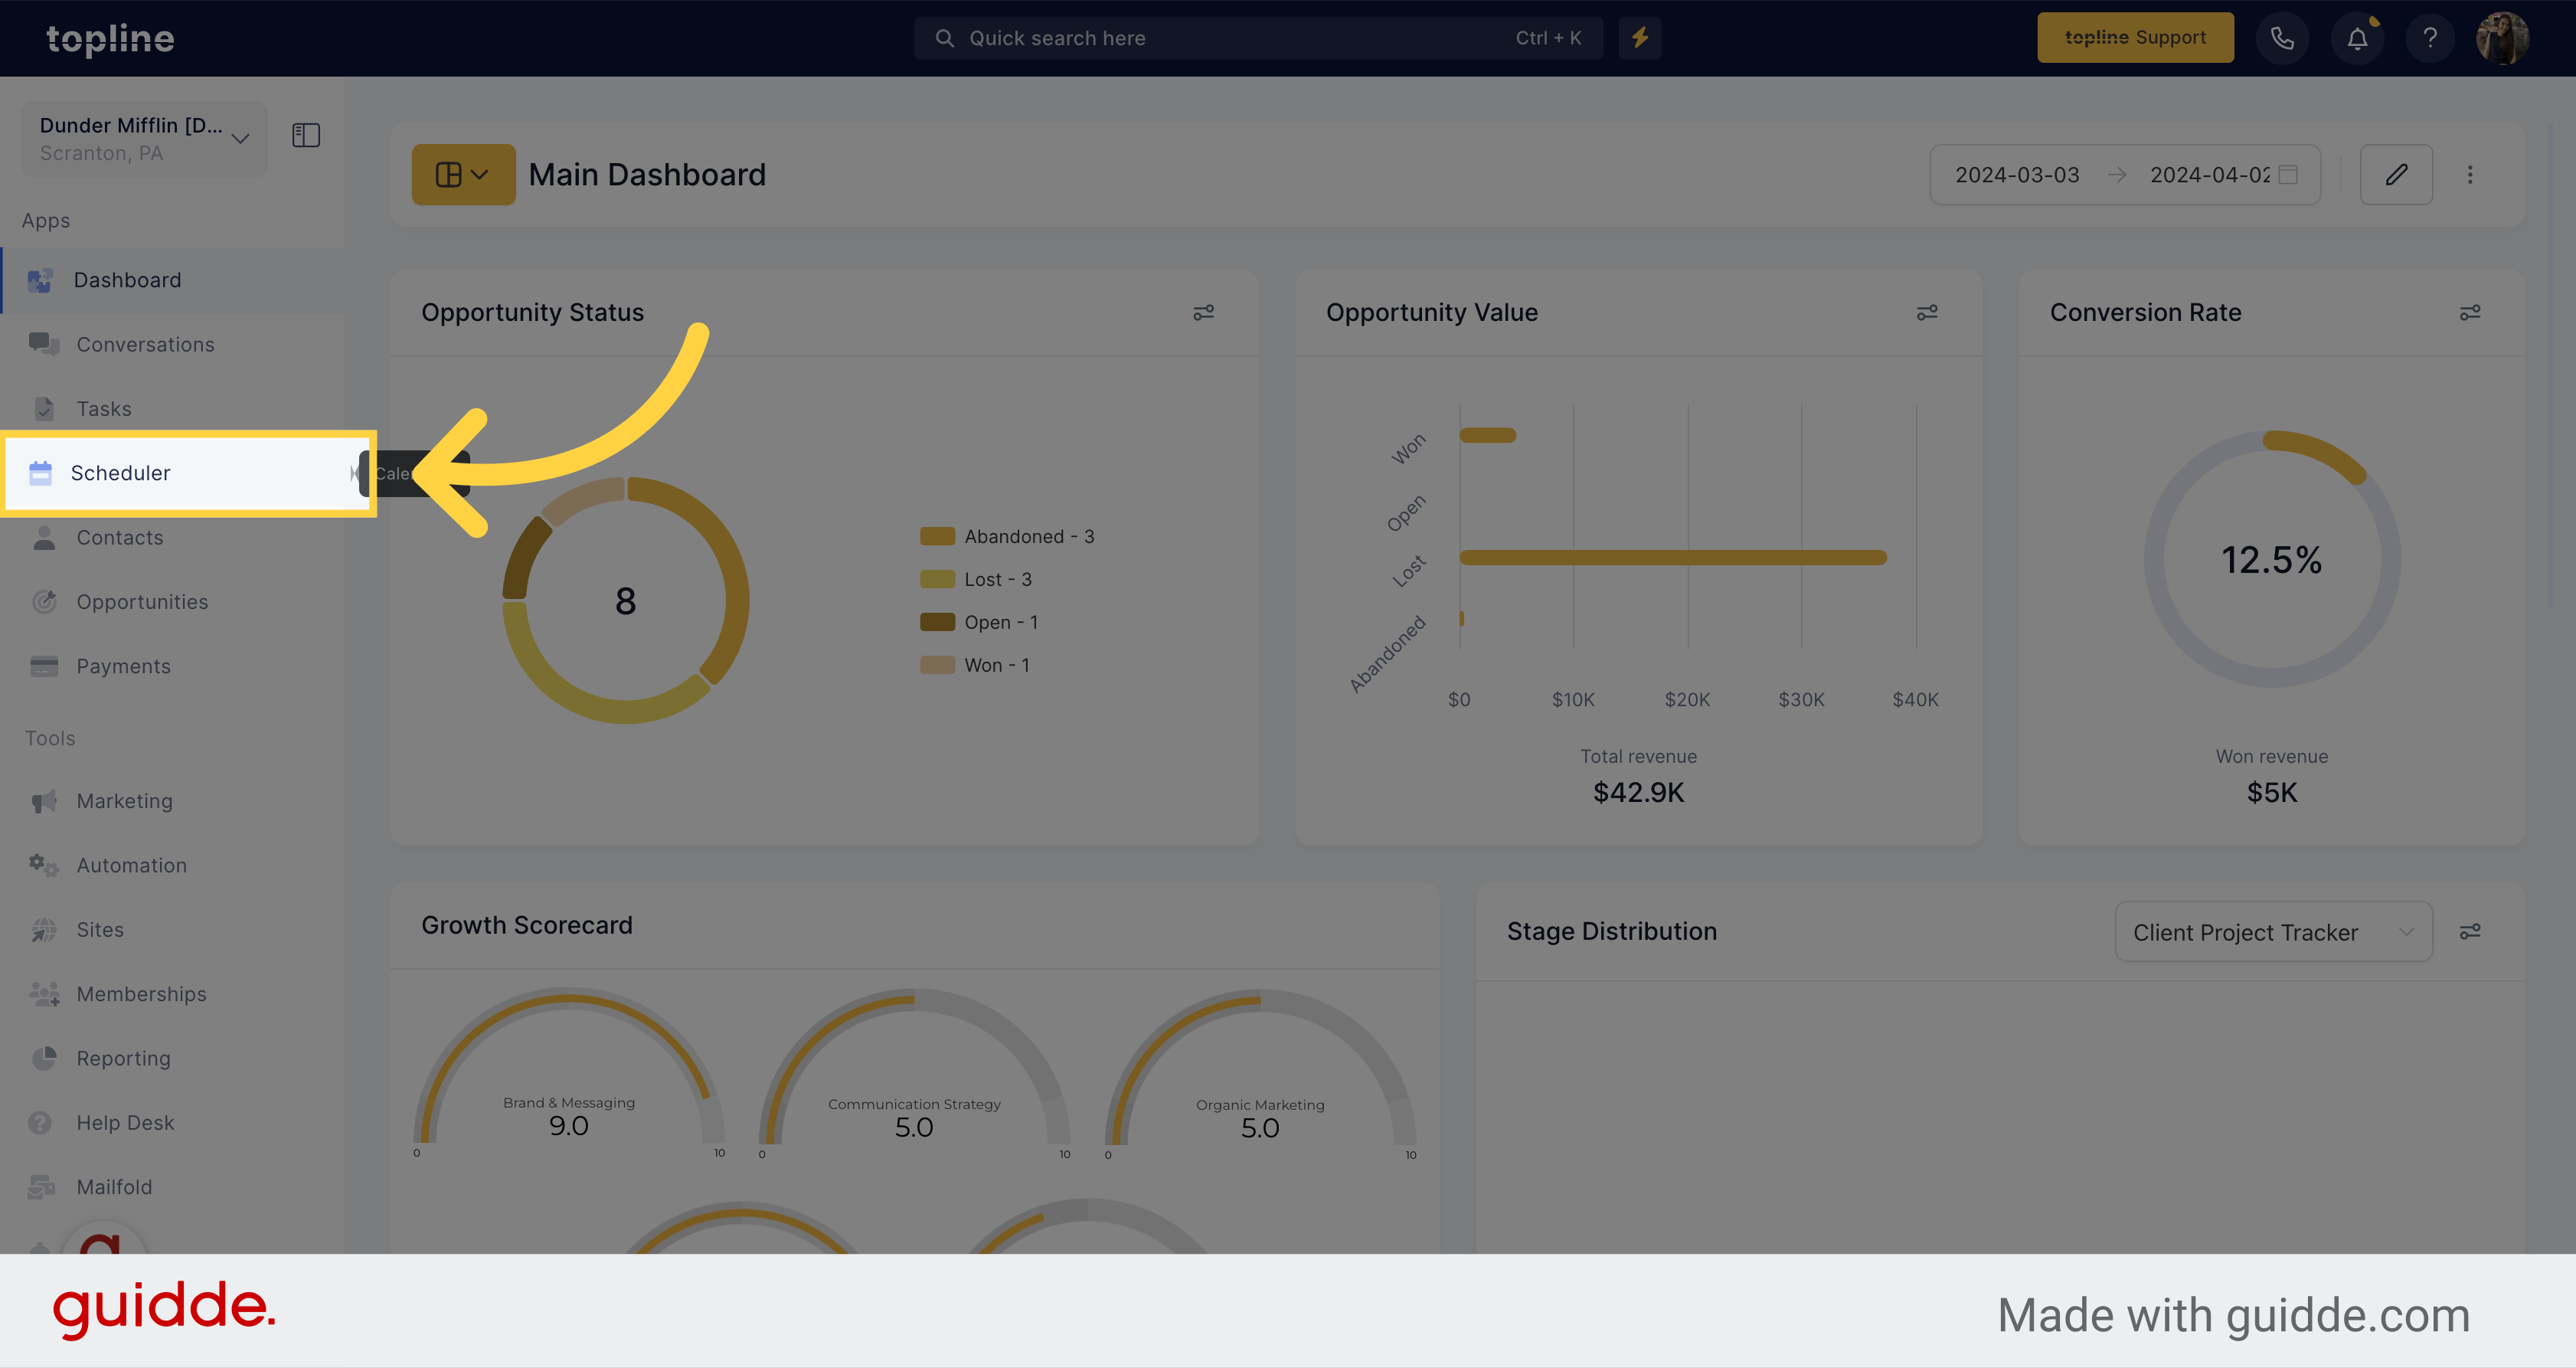
Access to the Scheduler section on the left side menu.
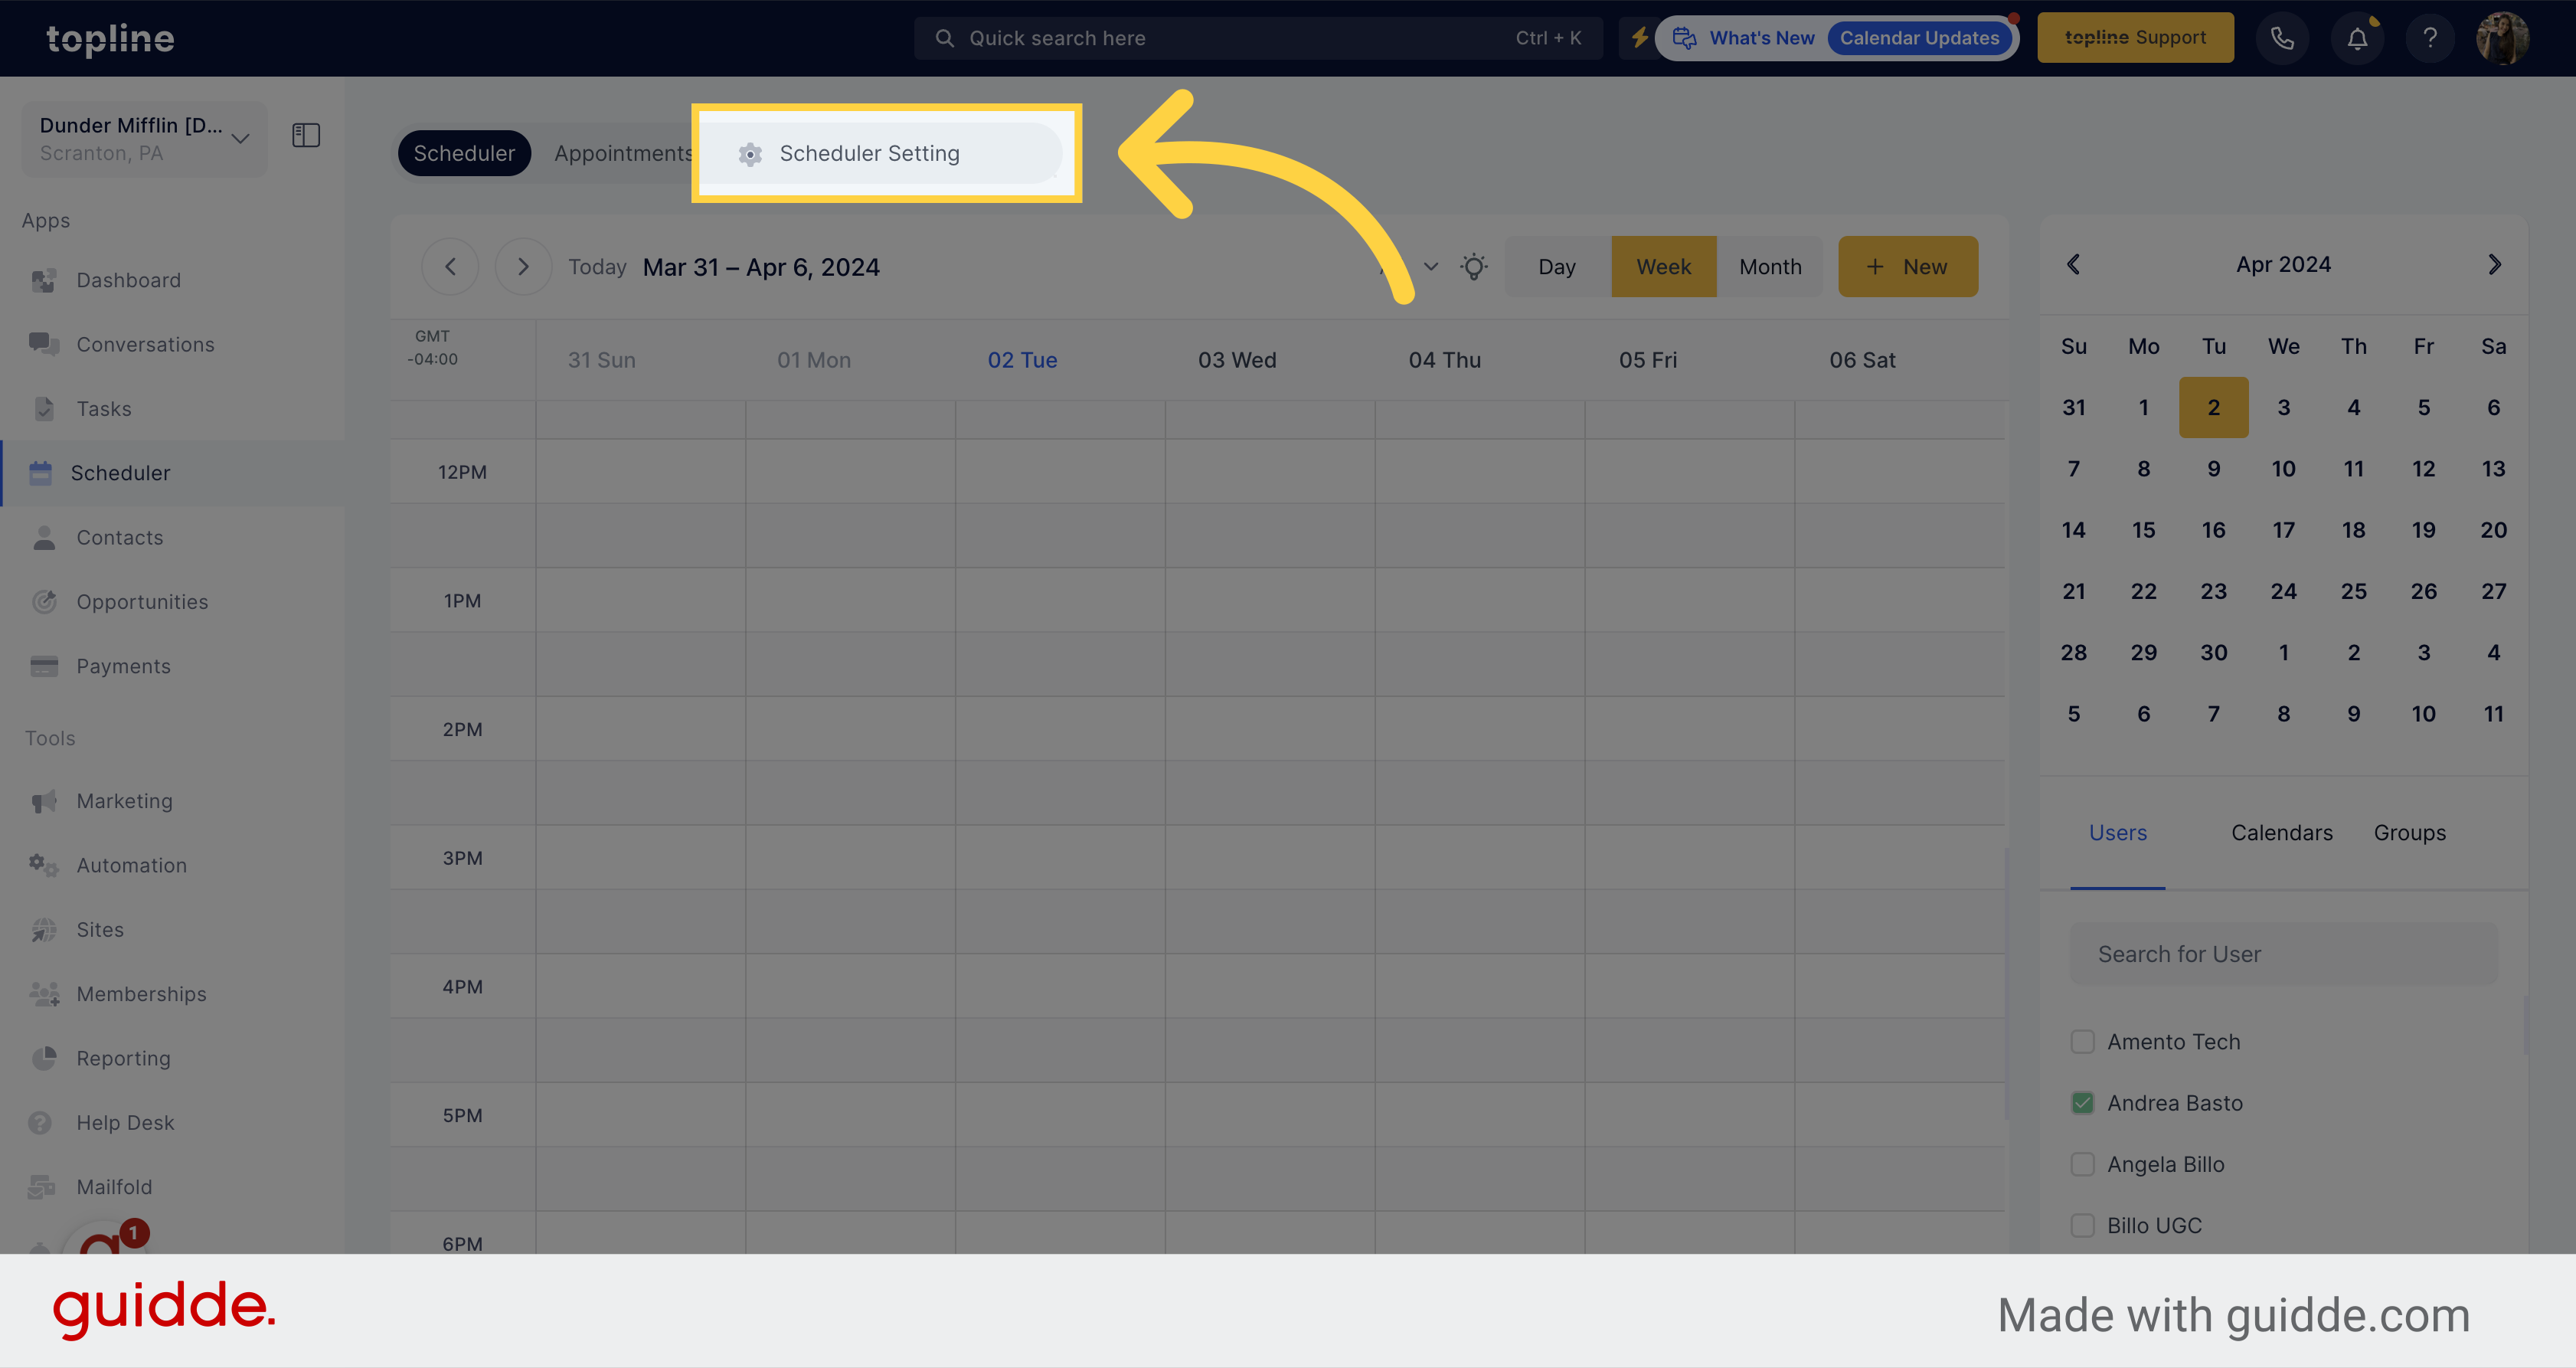
Navigate to the scheduler settings option located on the upper side.
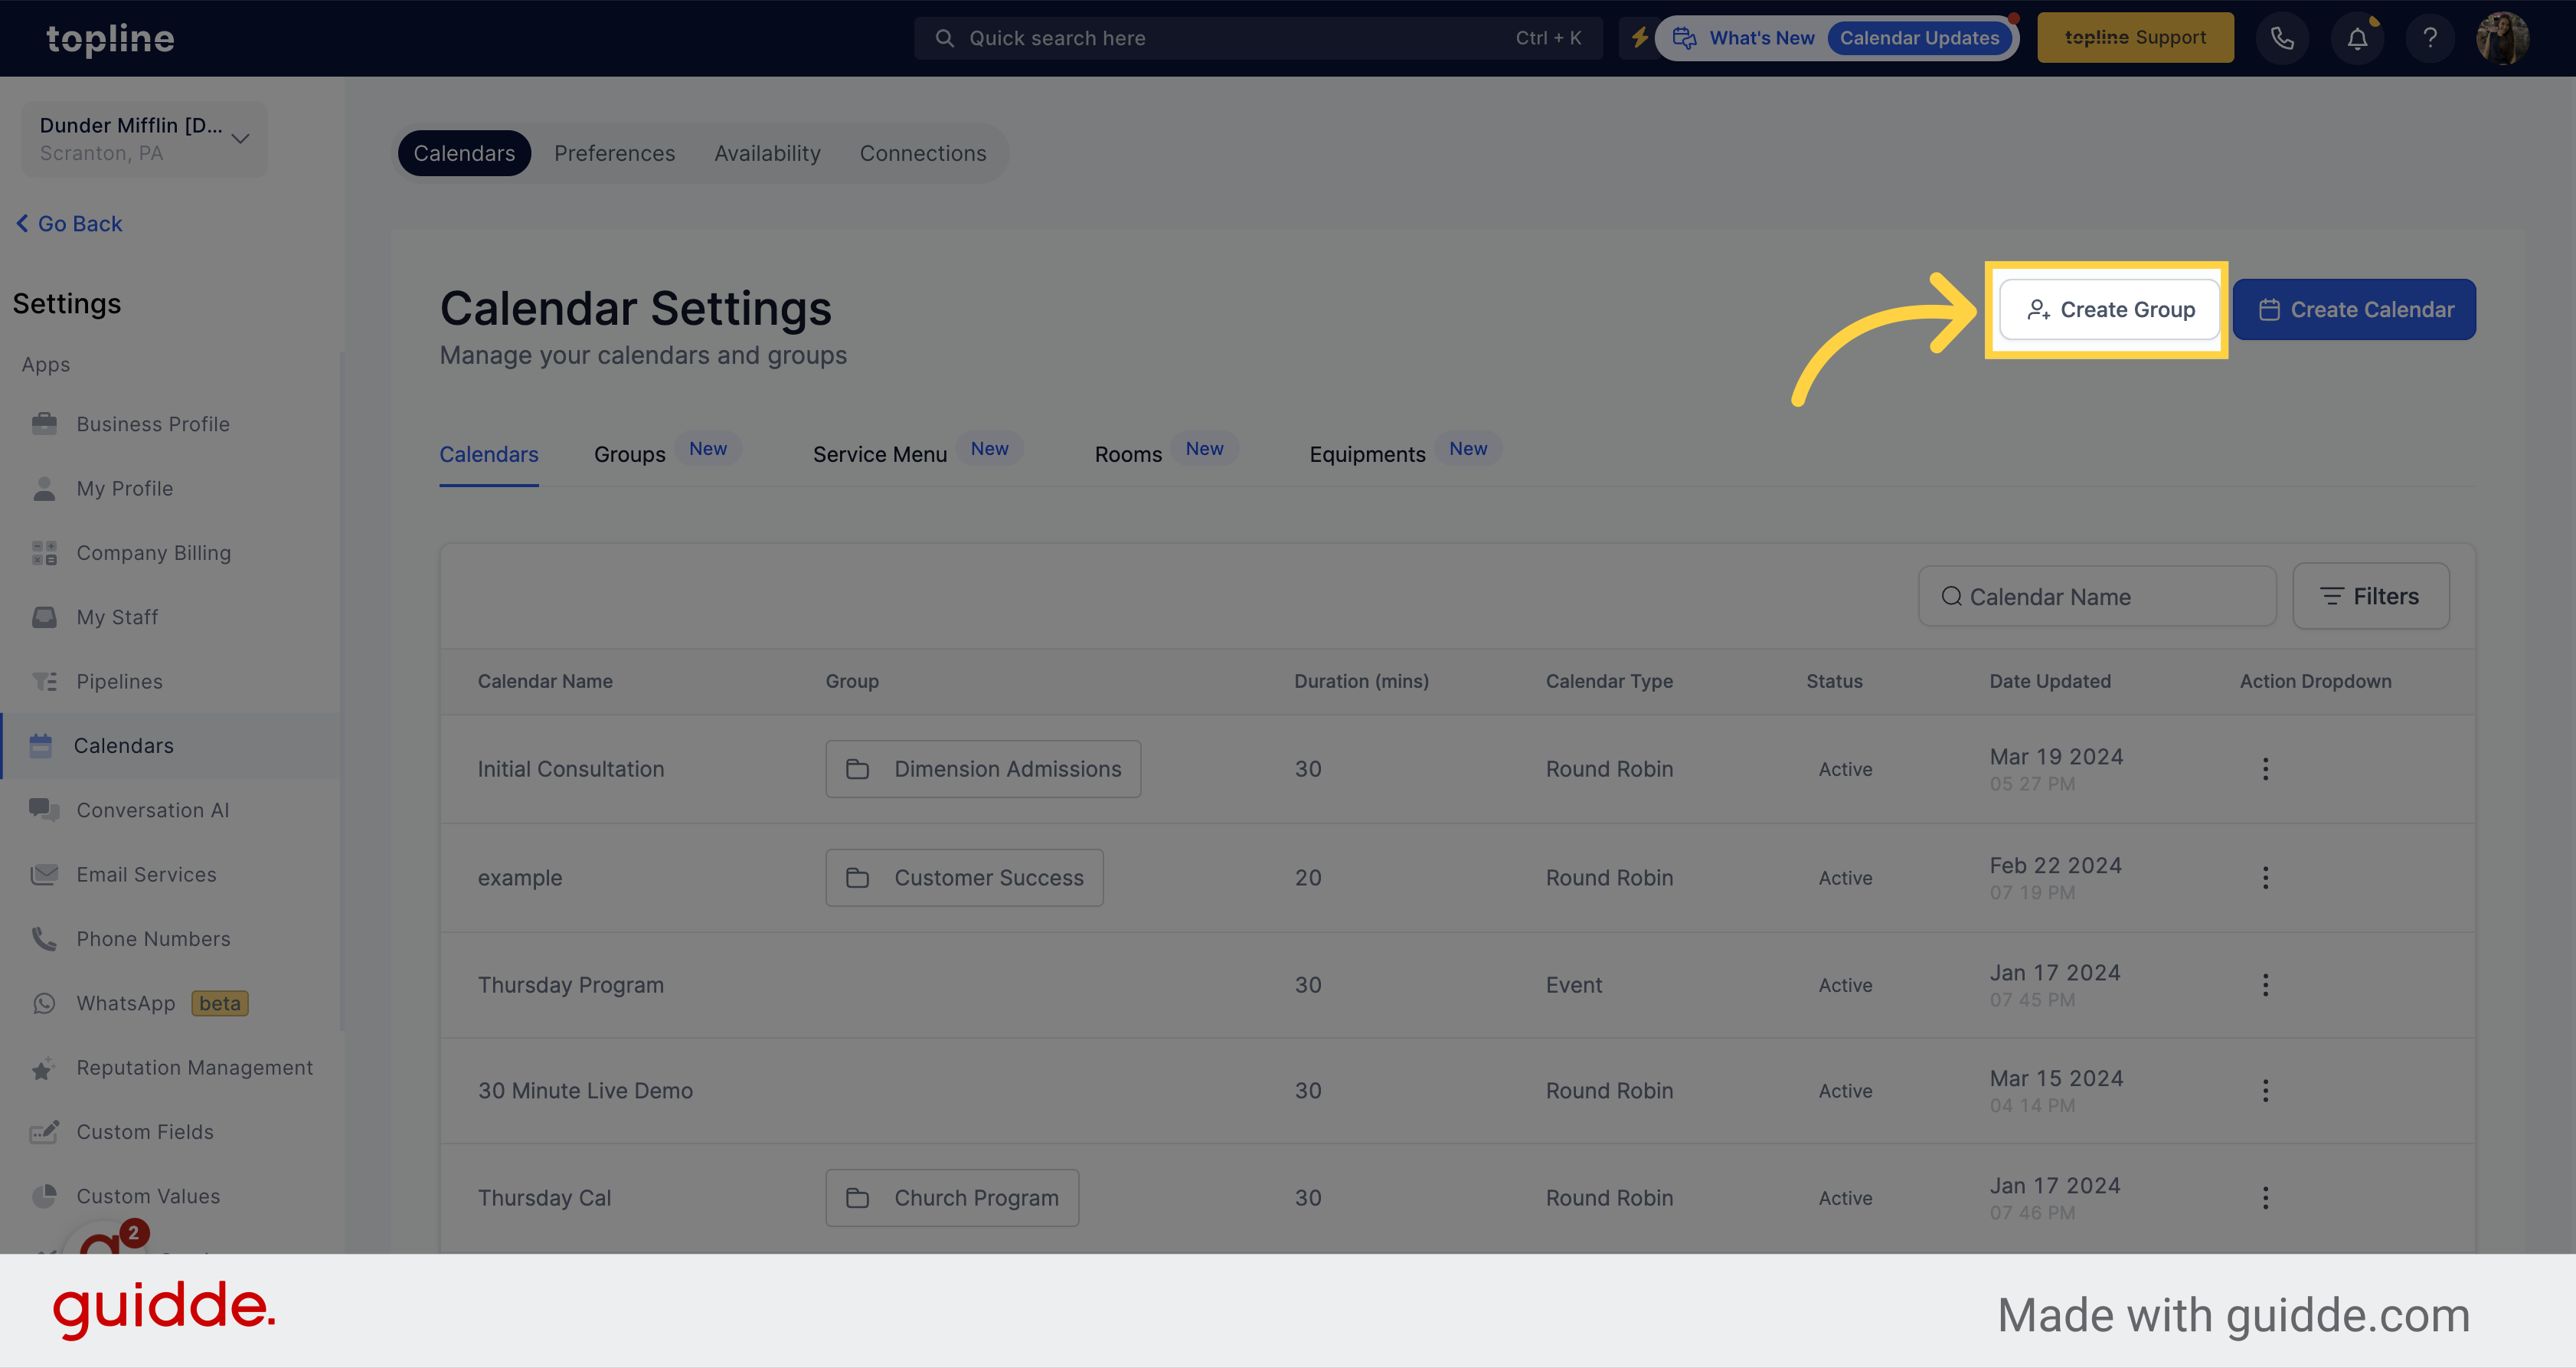
Initiate the group creation process by clicking on the Create Group option.
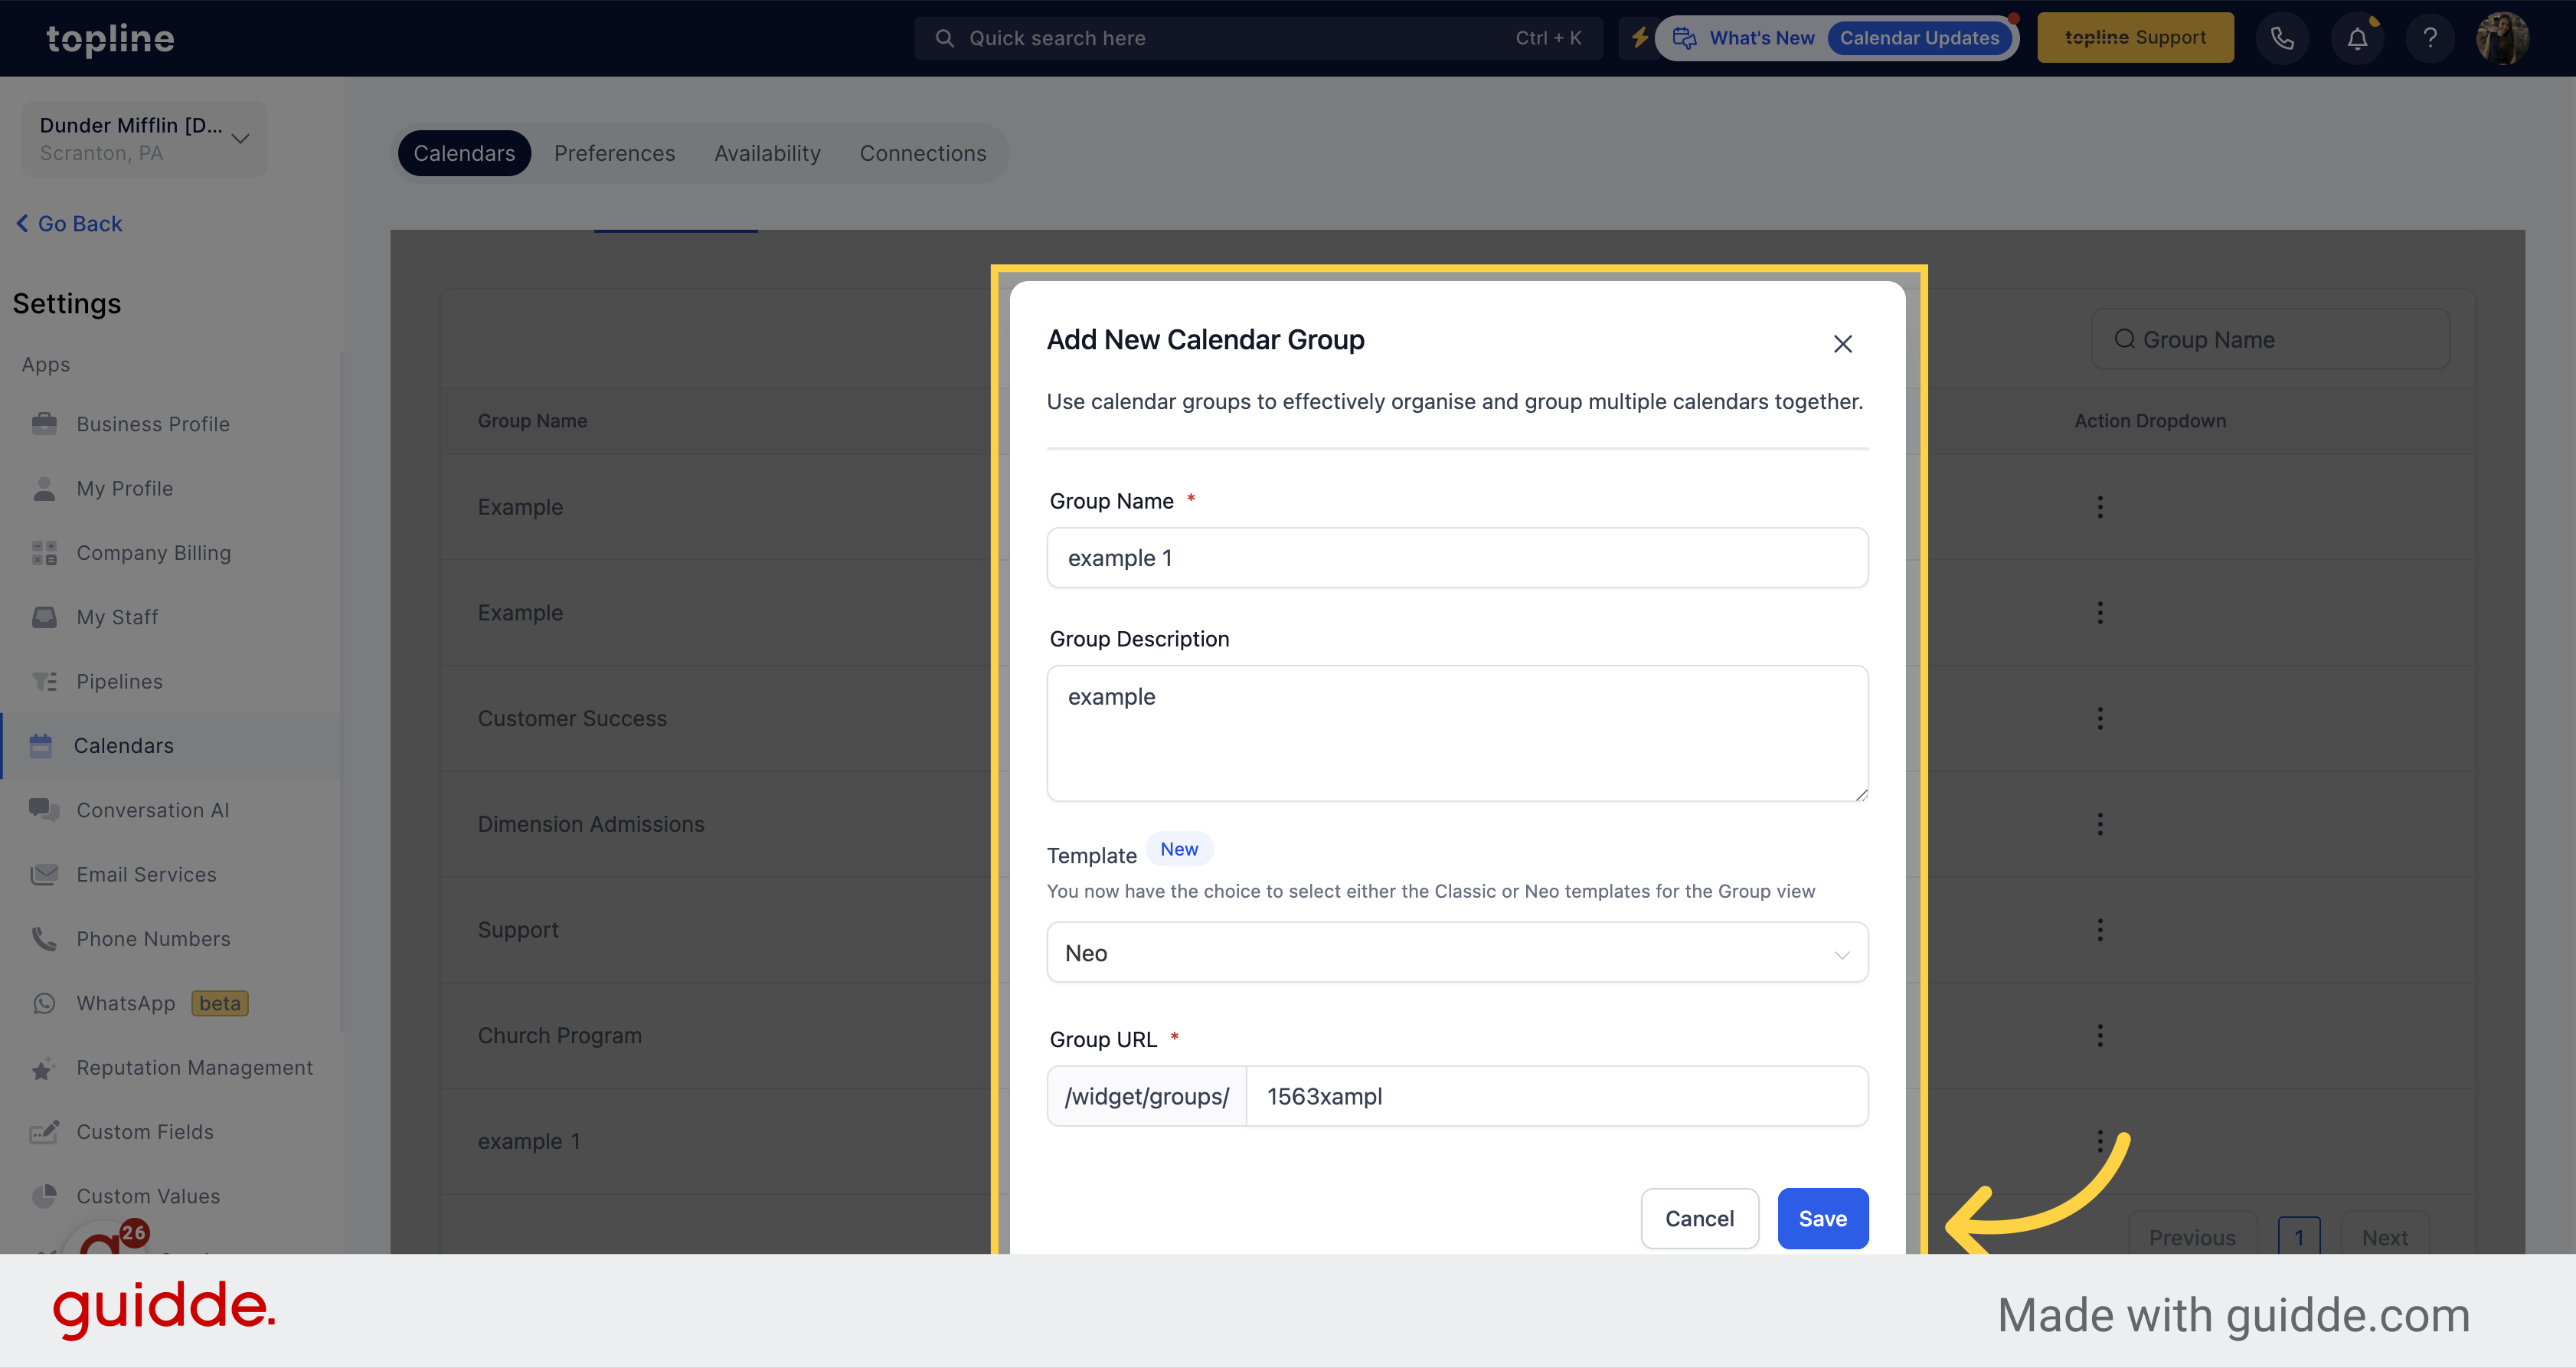
A pop up window will appear with different fields to fill.
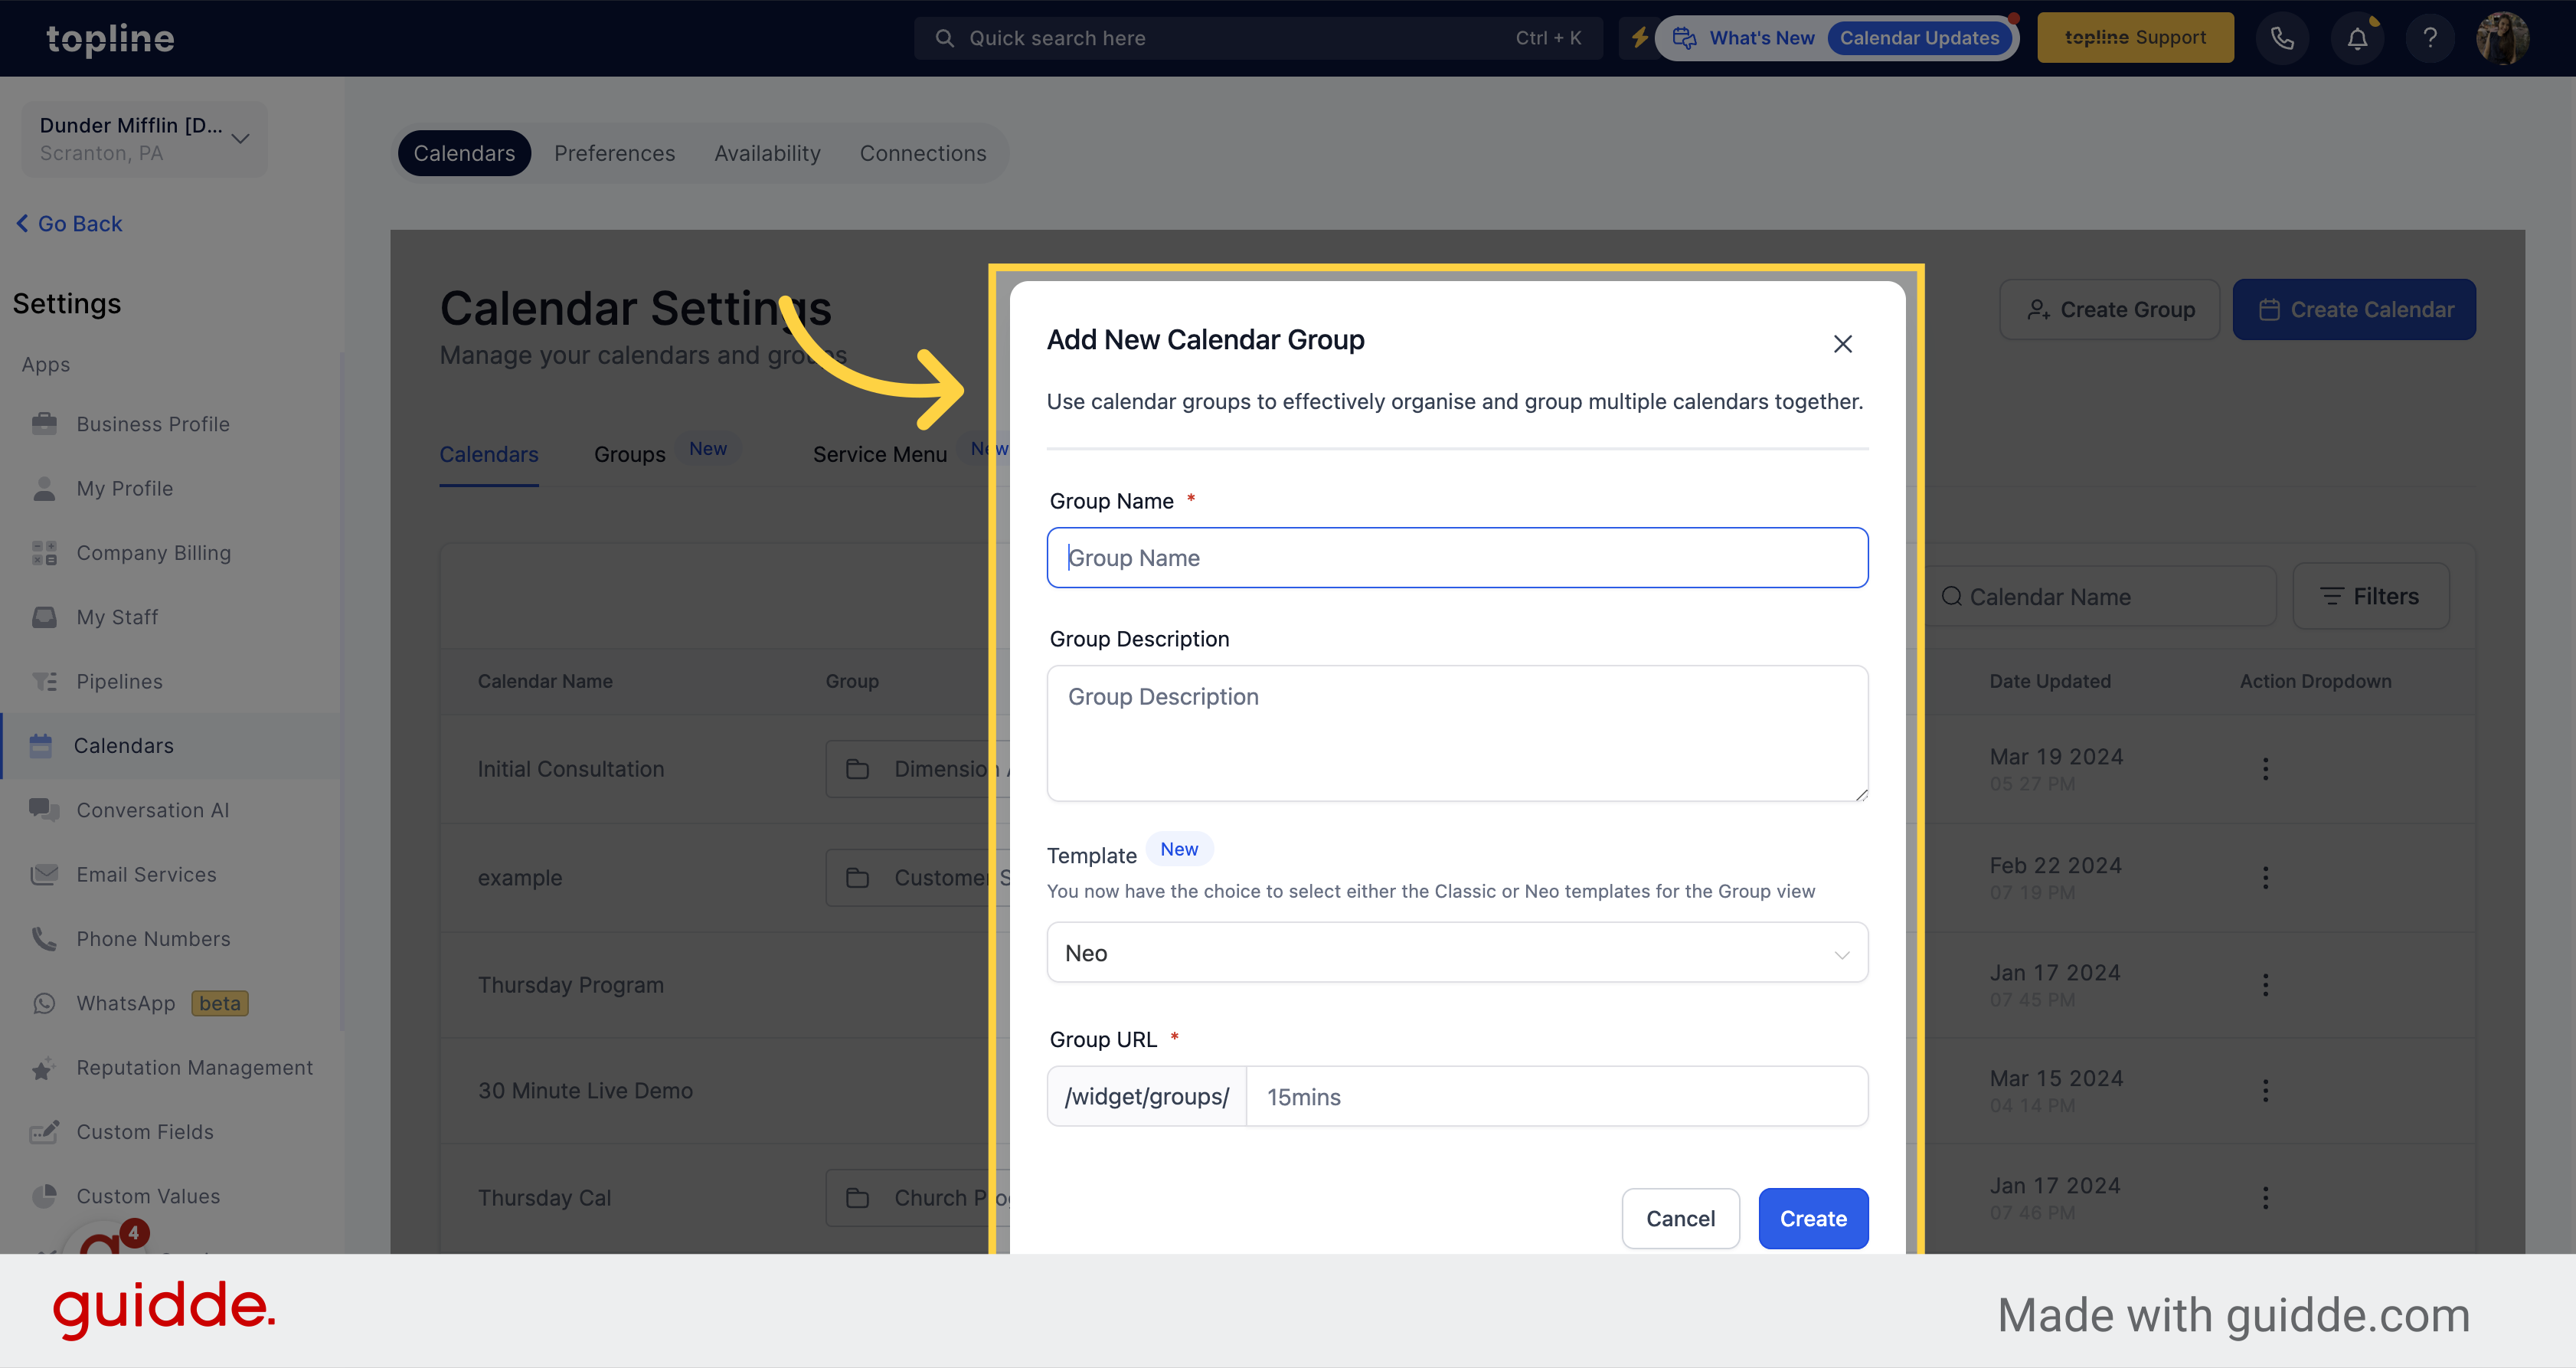
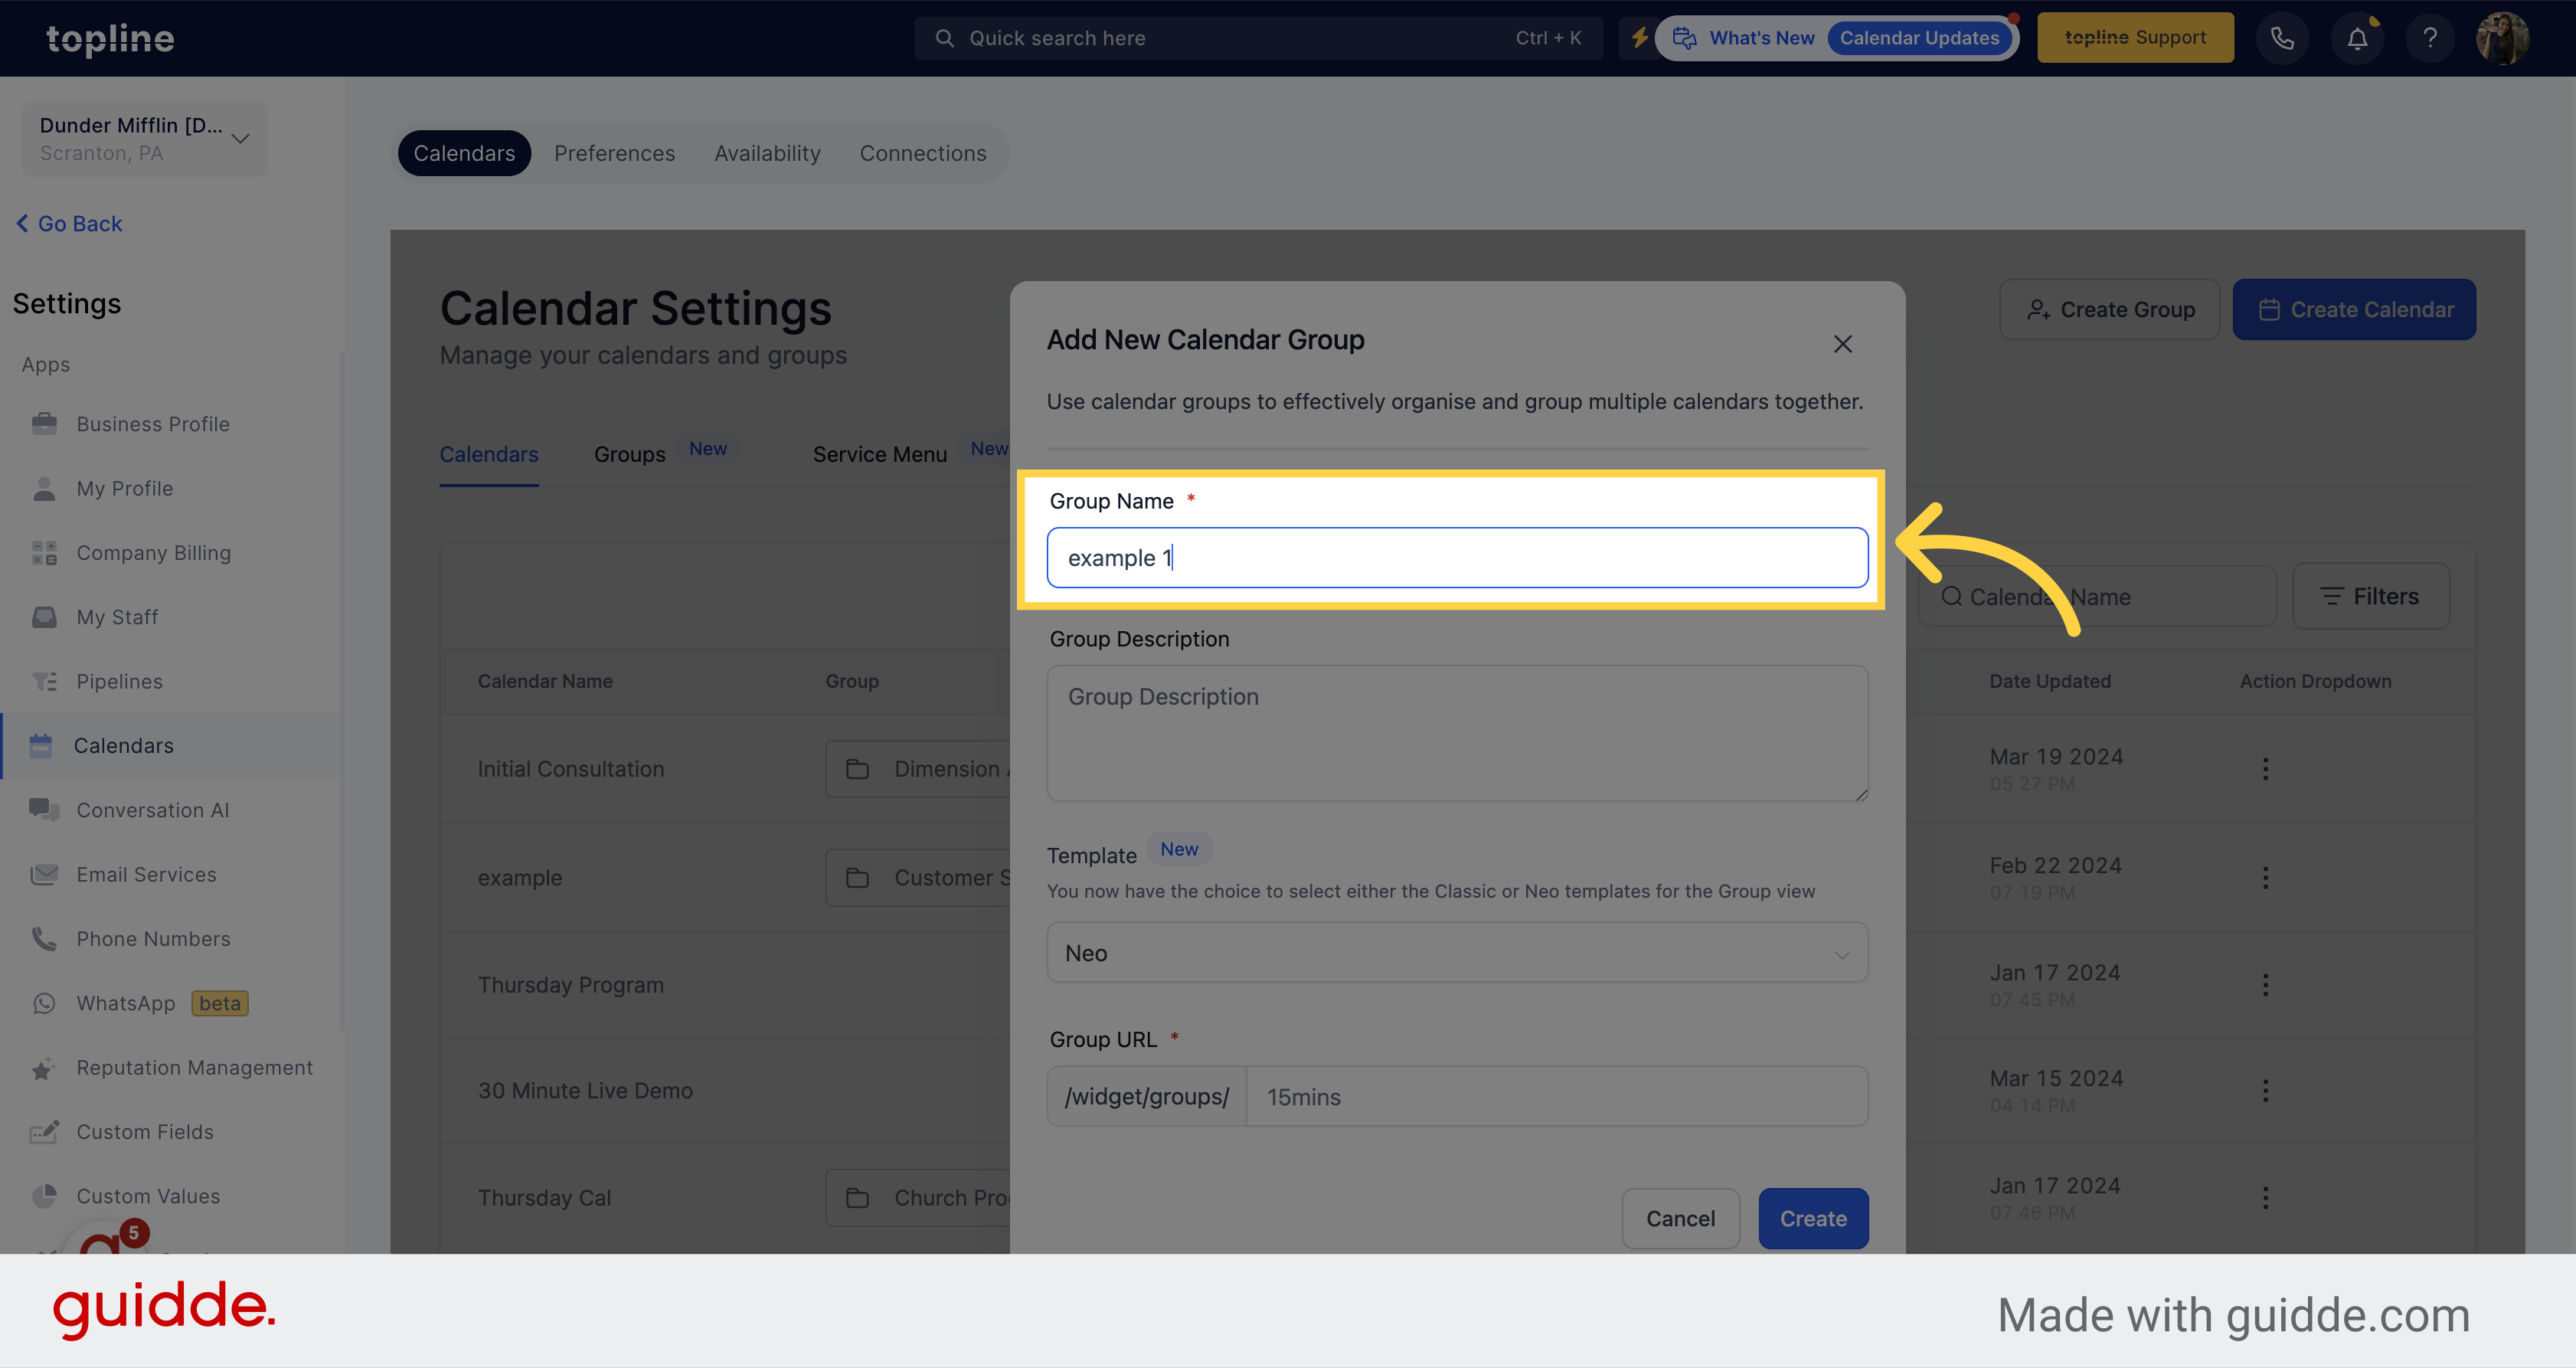
Add the name you want for the group.
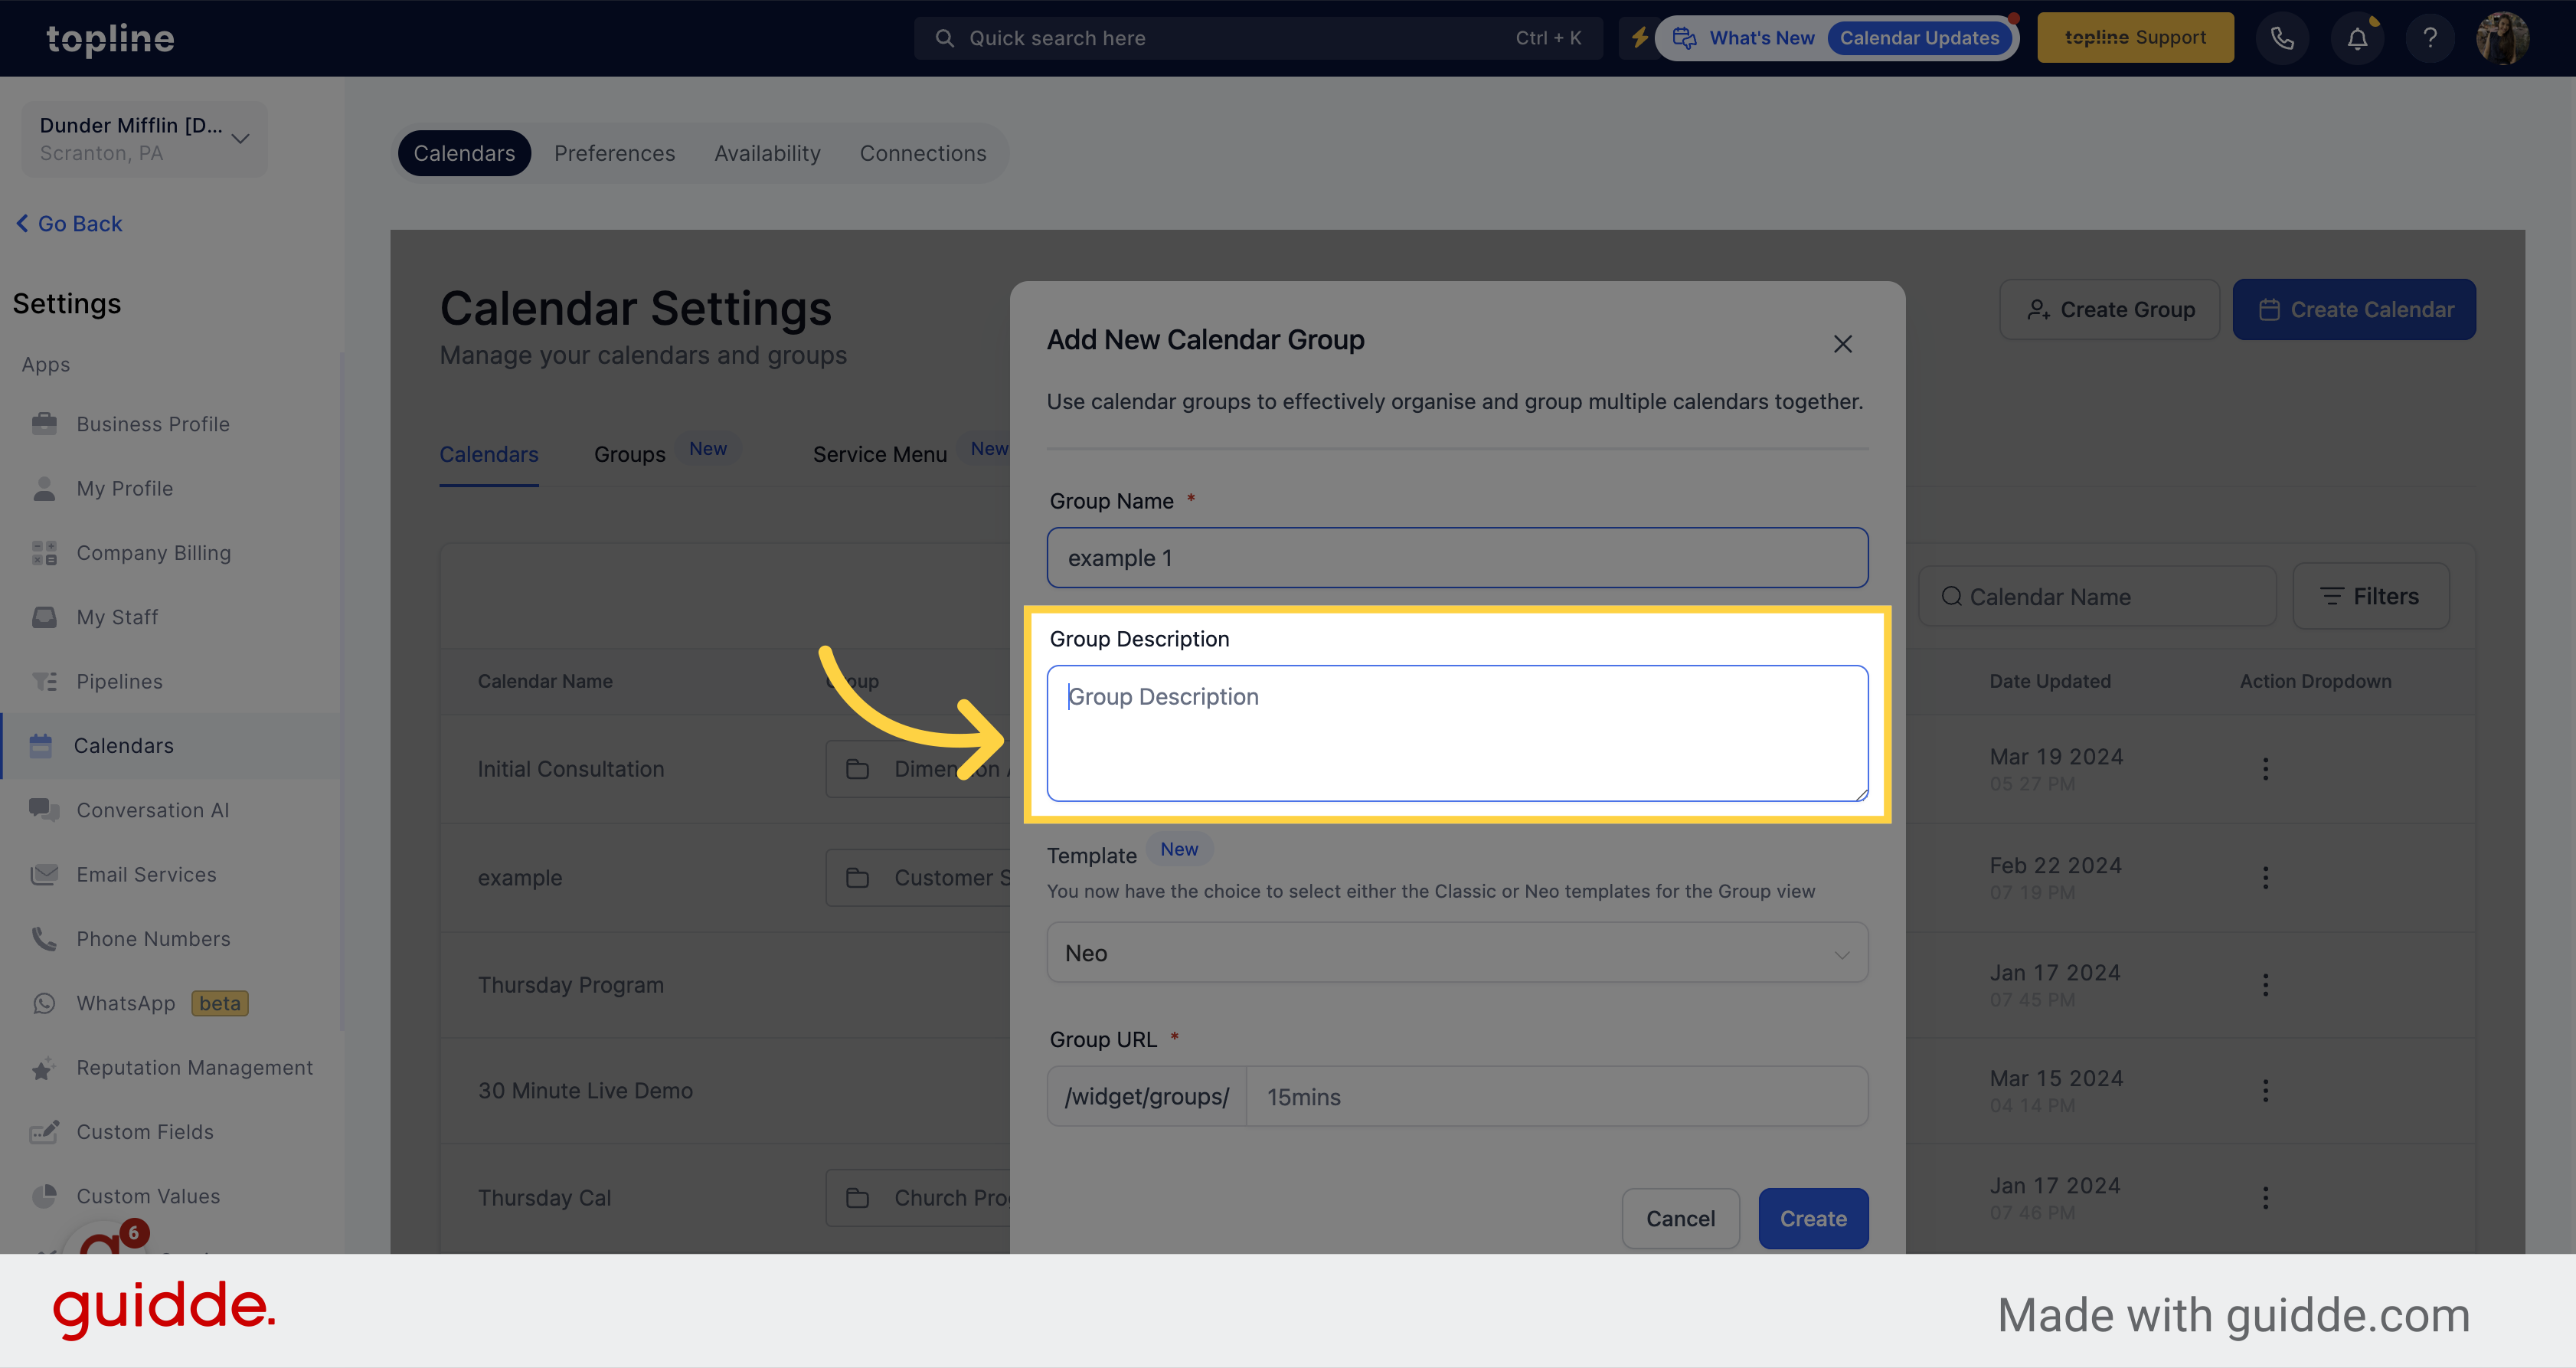
Add the group description in this field.
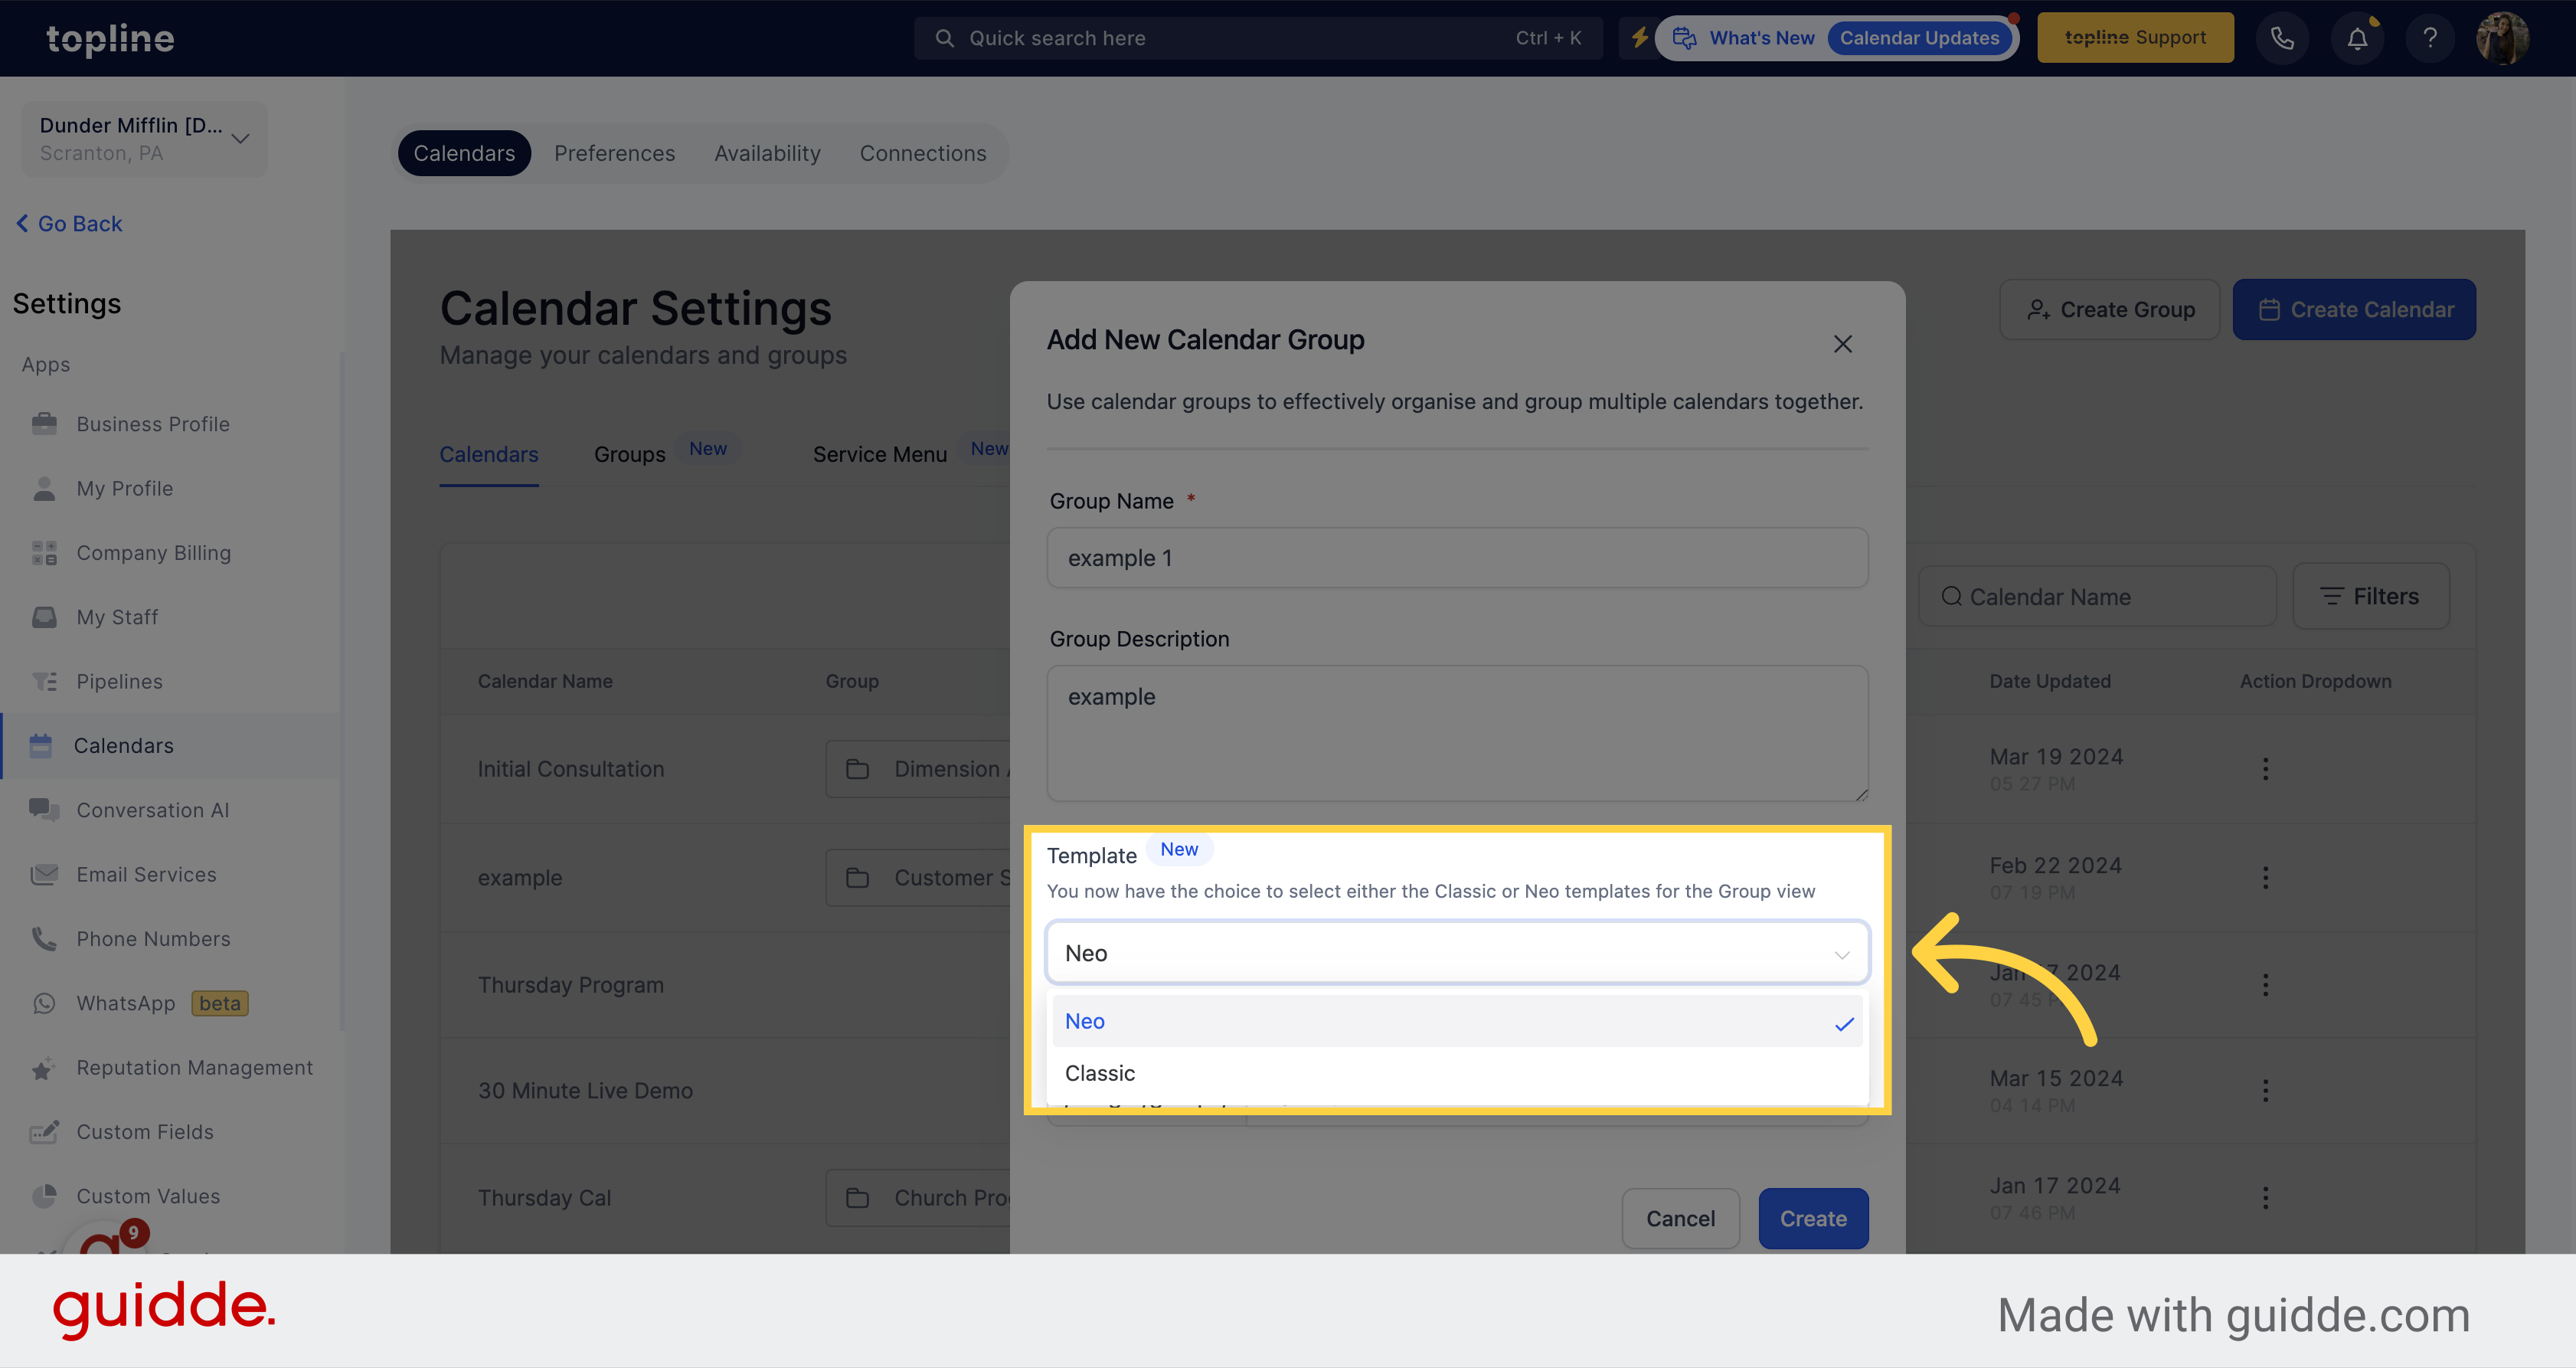
Choose either the Classic or Neo templates for the group view.
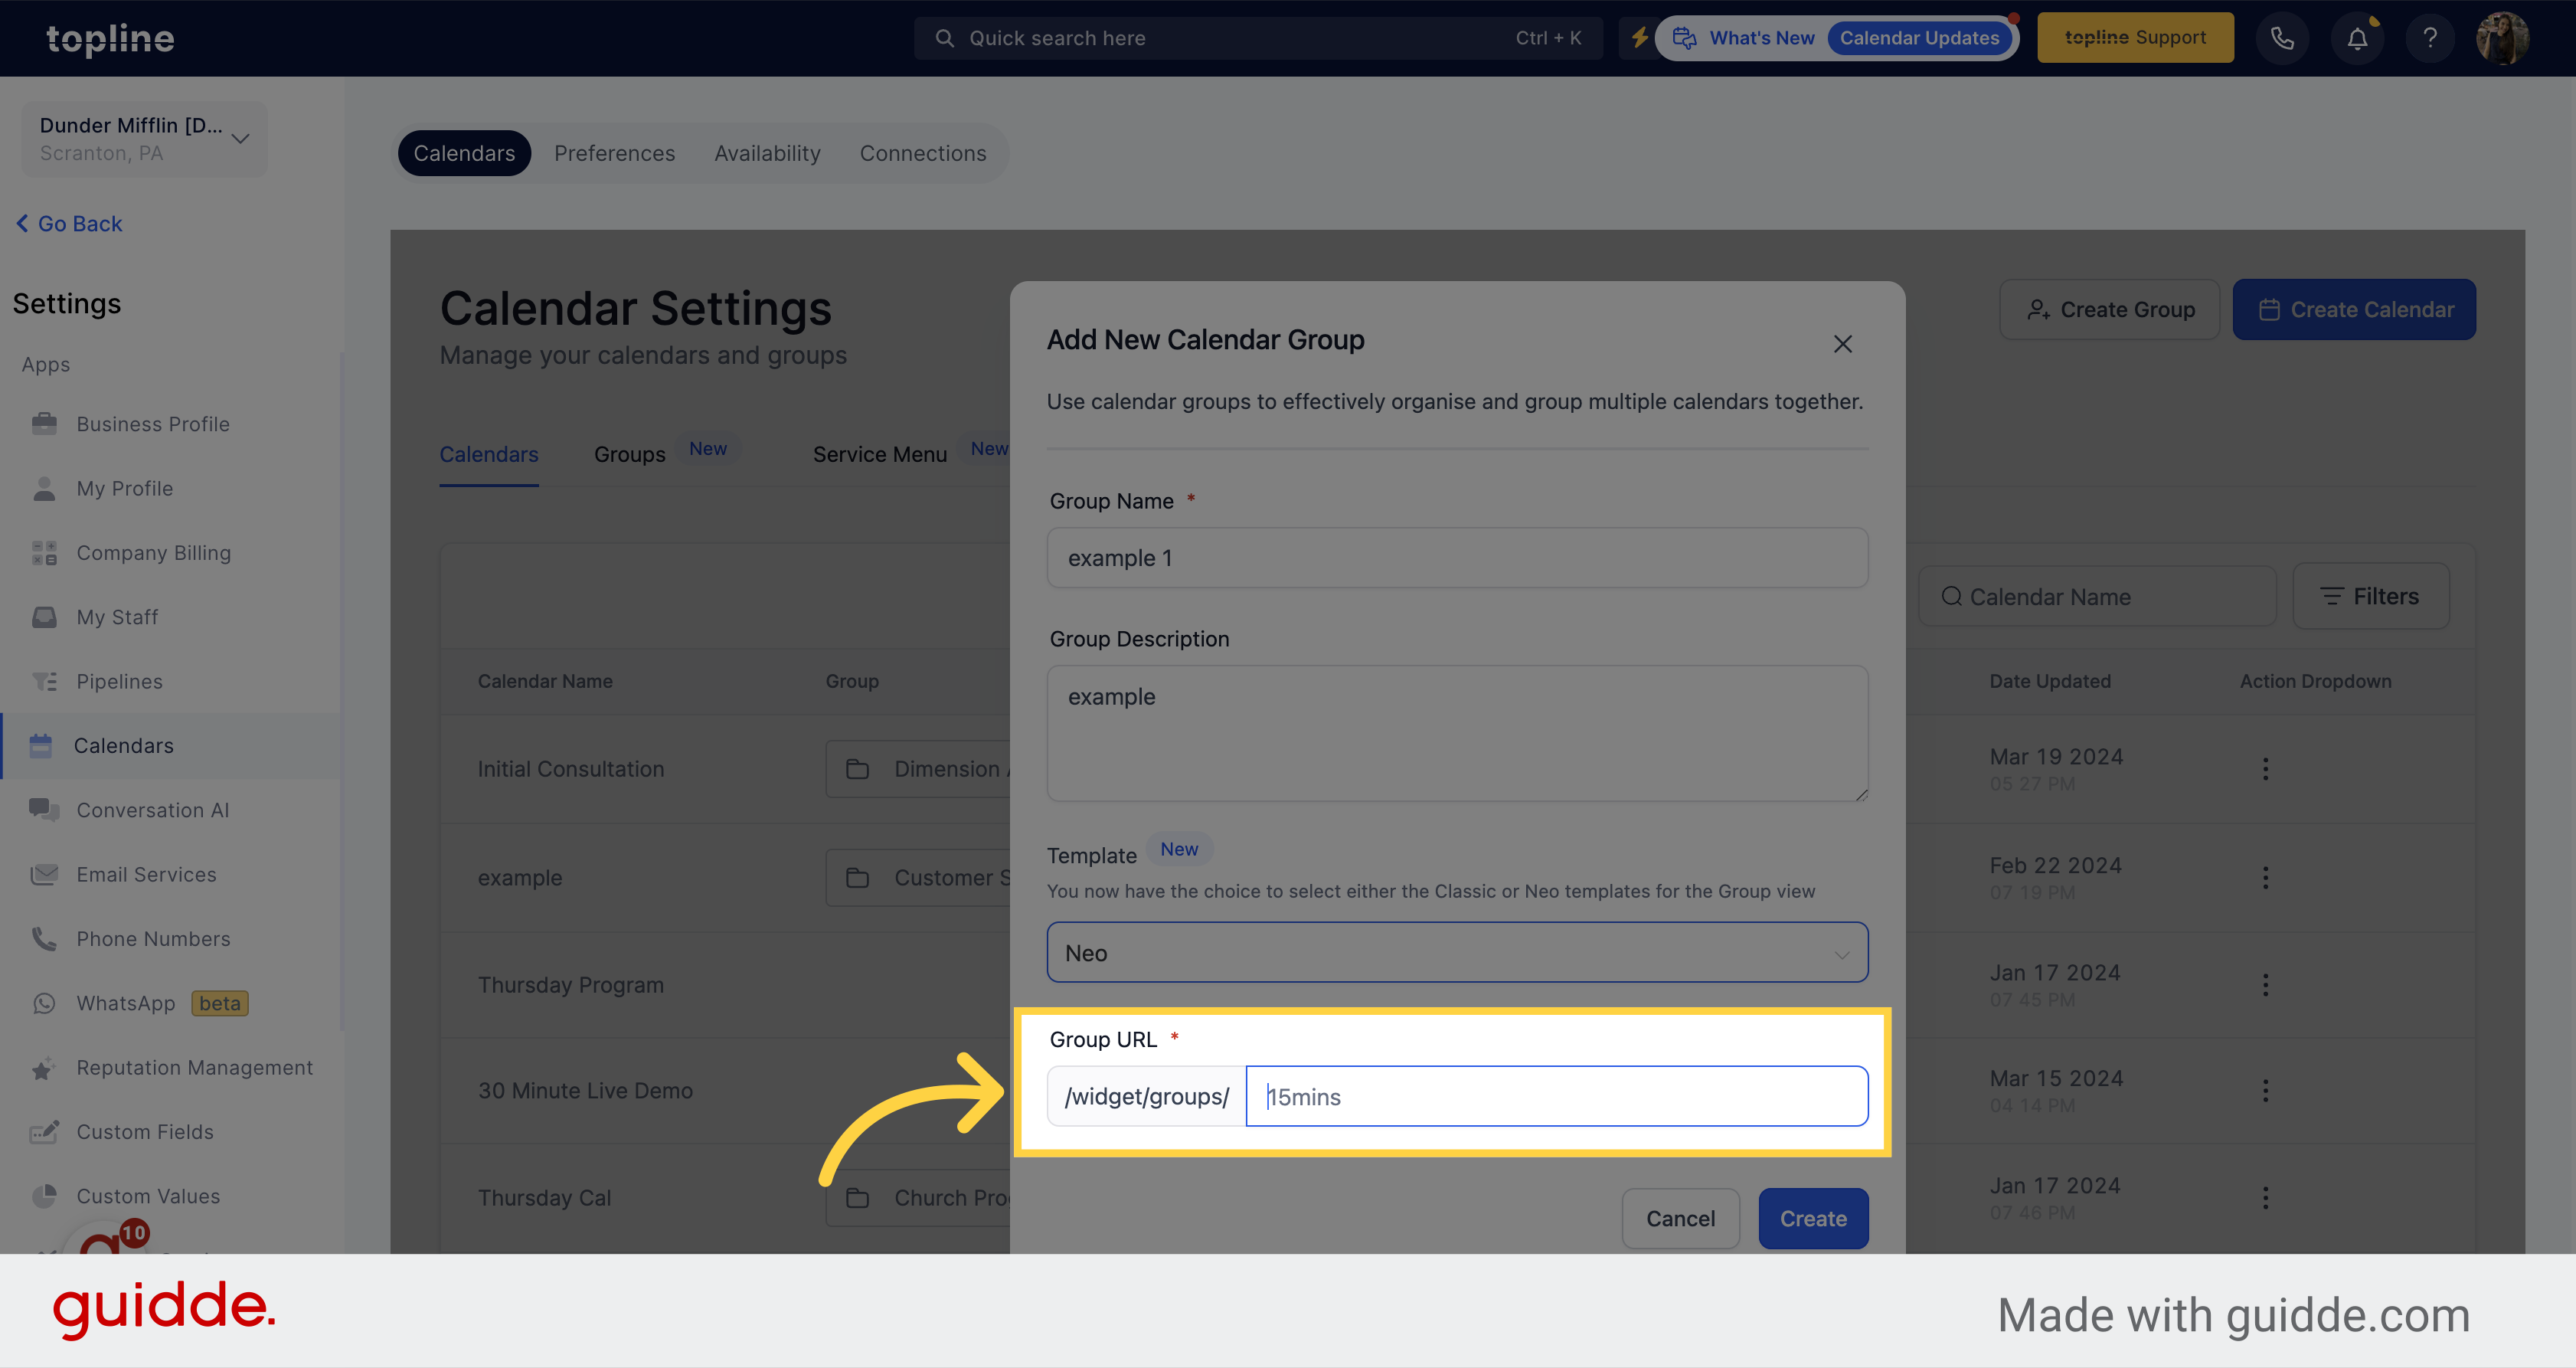
Add the url information you want for the group.
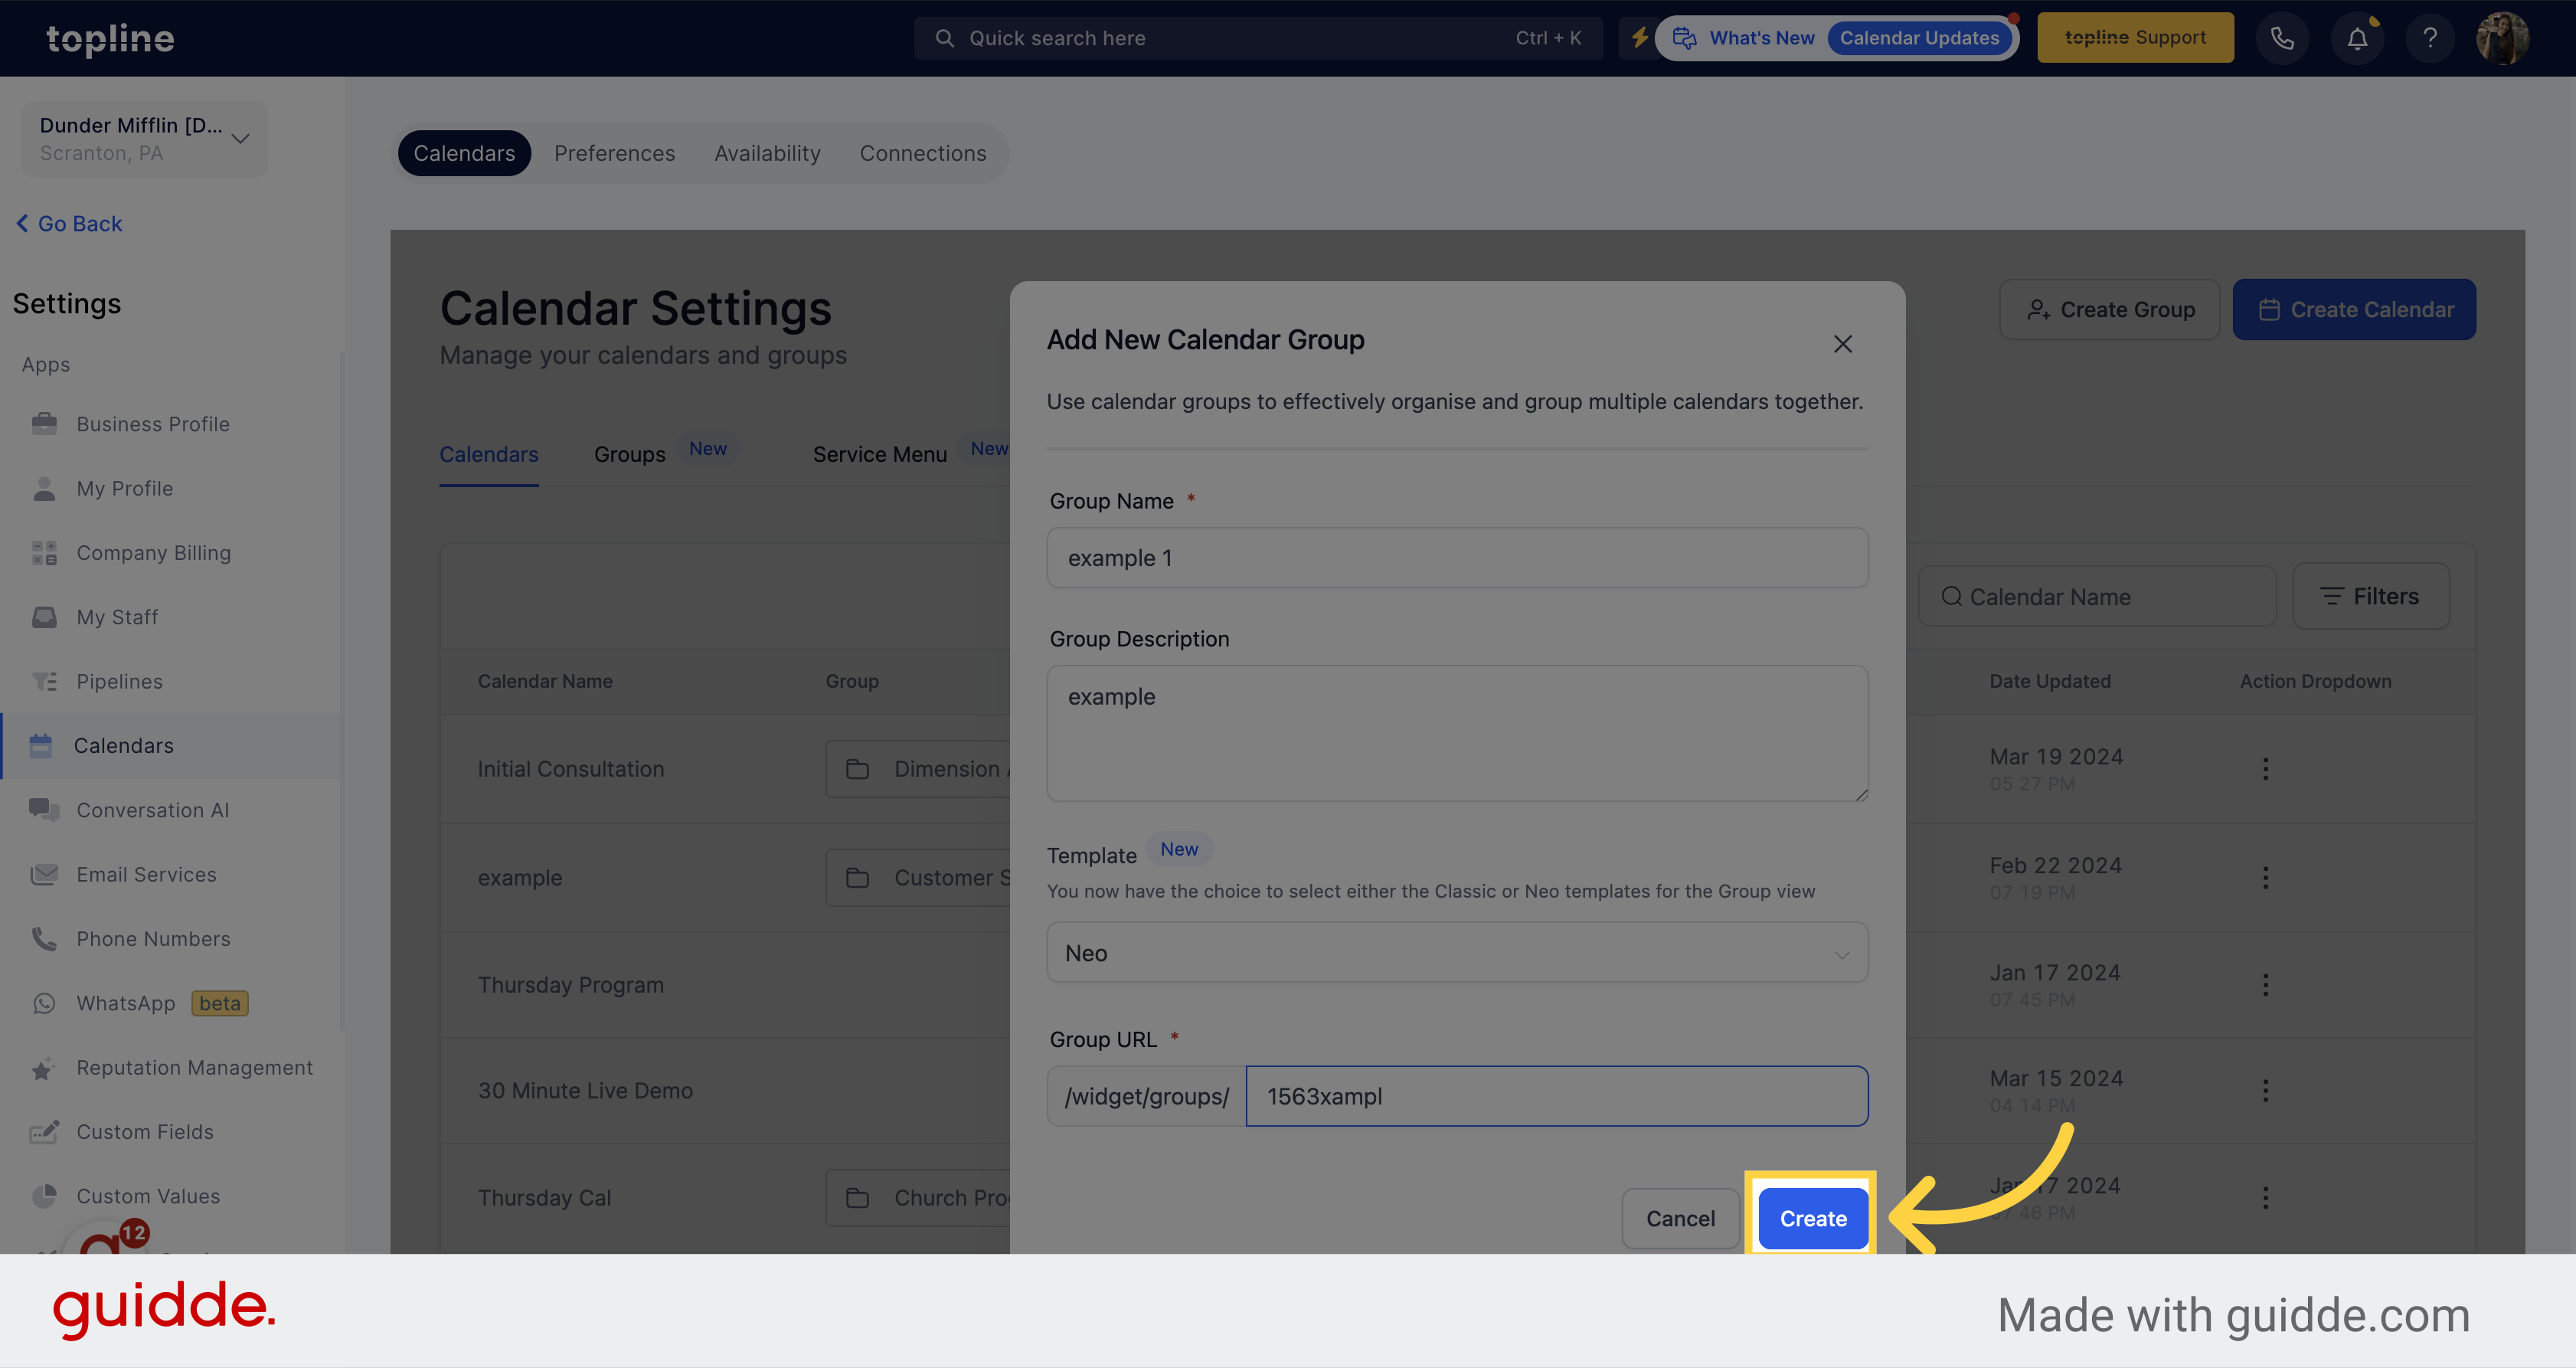
Once you have filled all the information, click on Create.
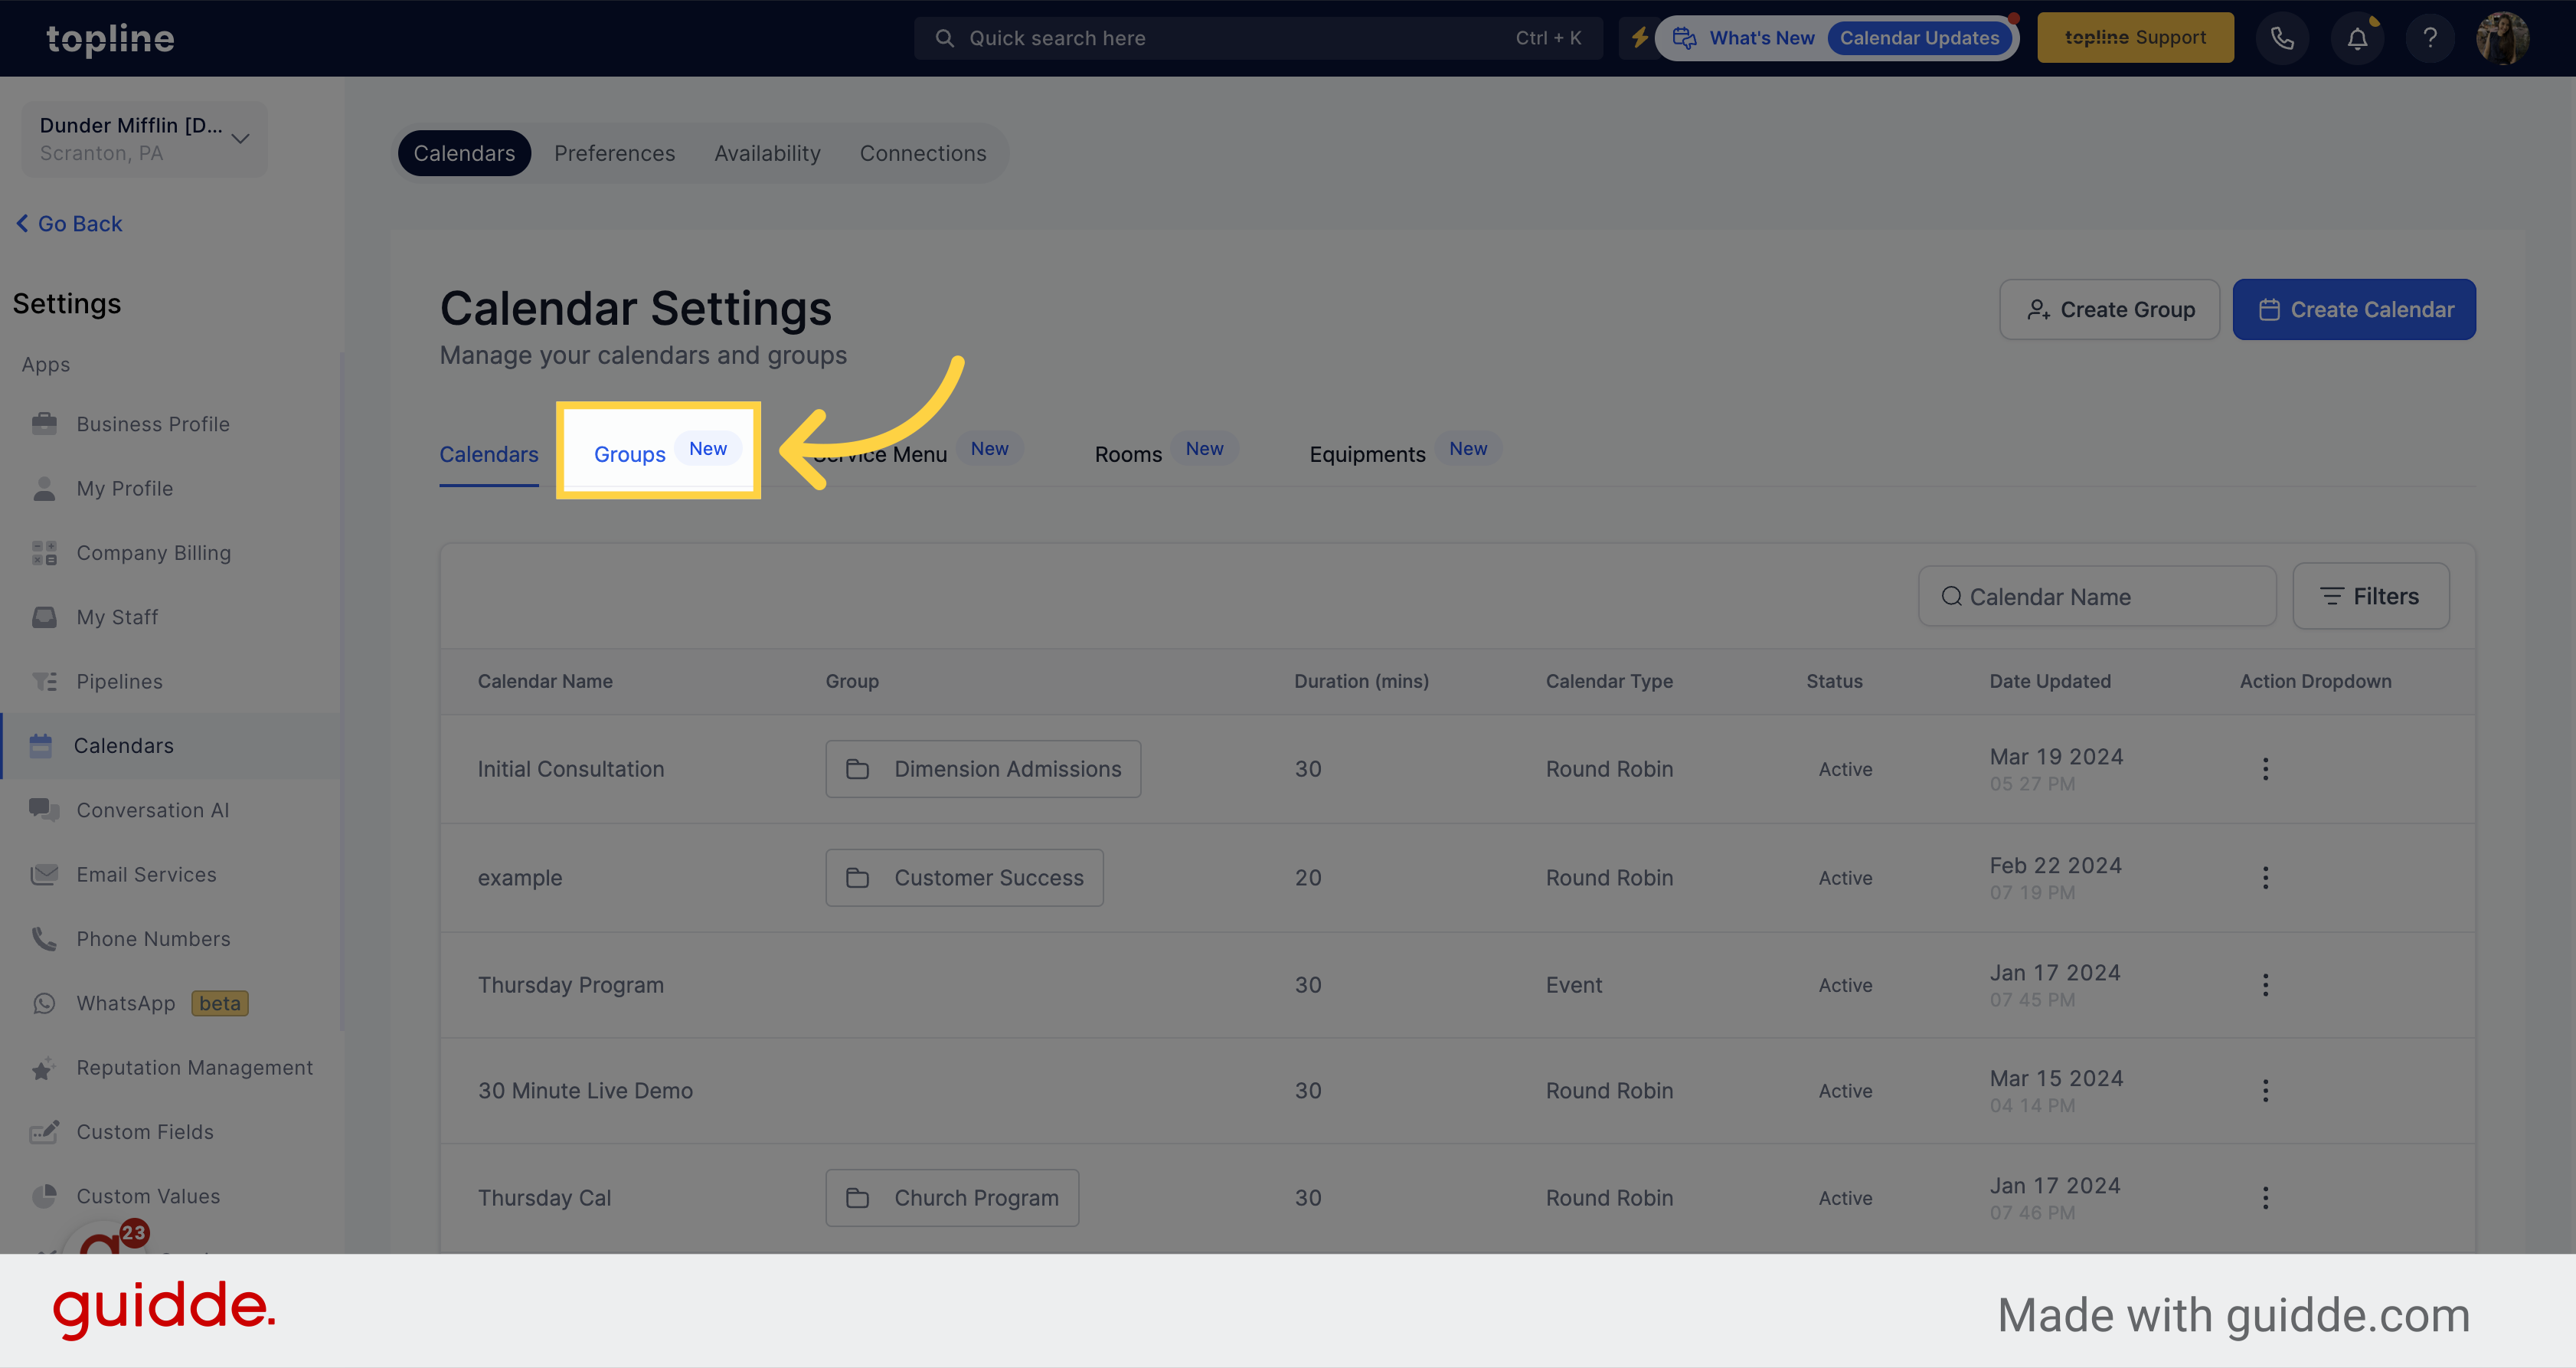
Access to the groups section by clicking on Groups on the upper side menu.
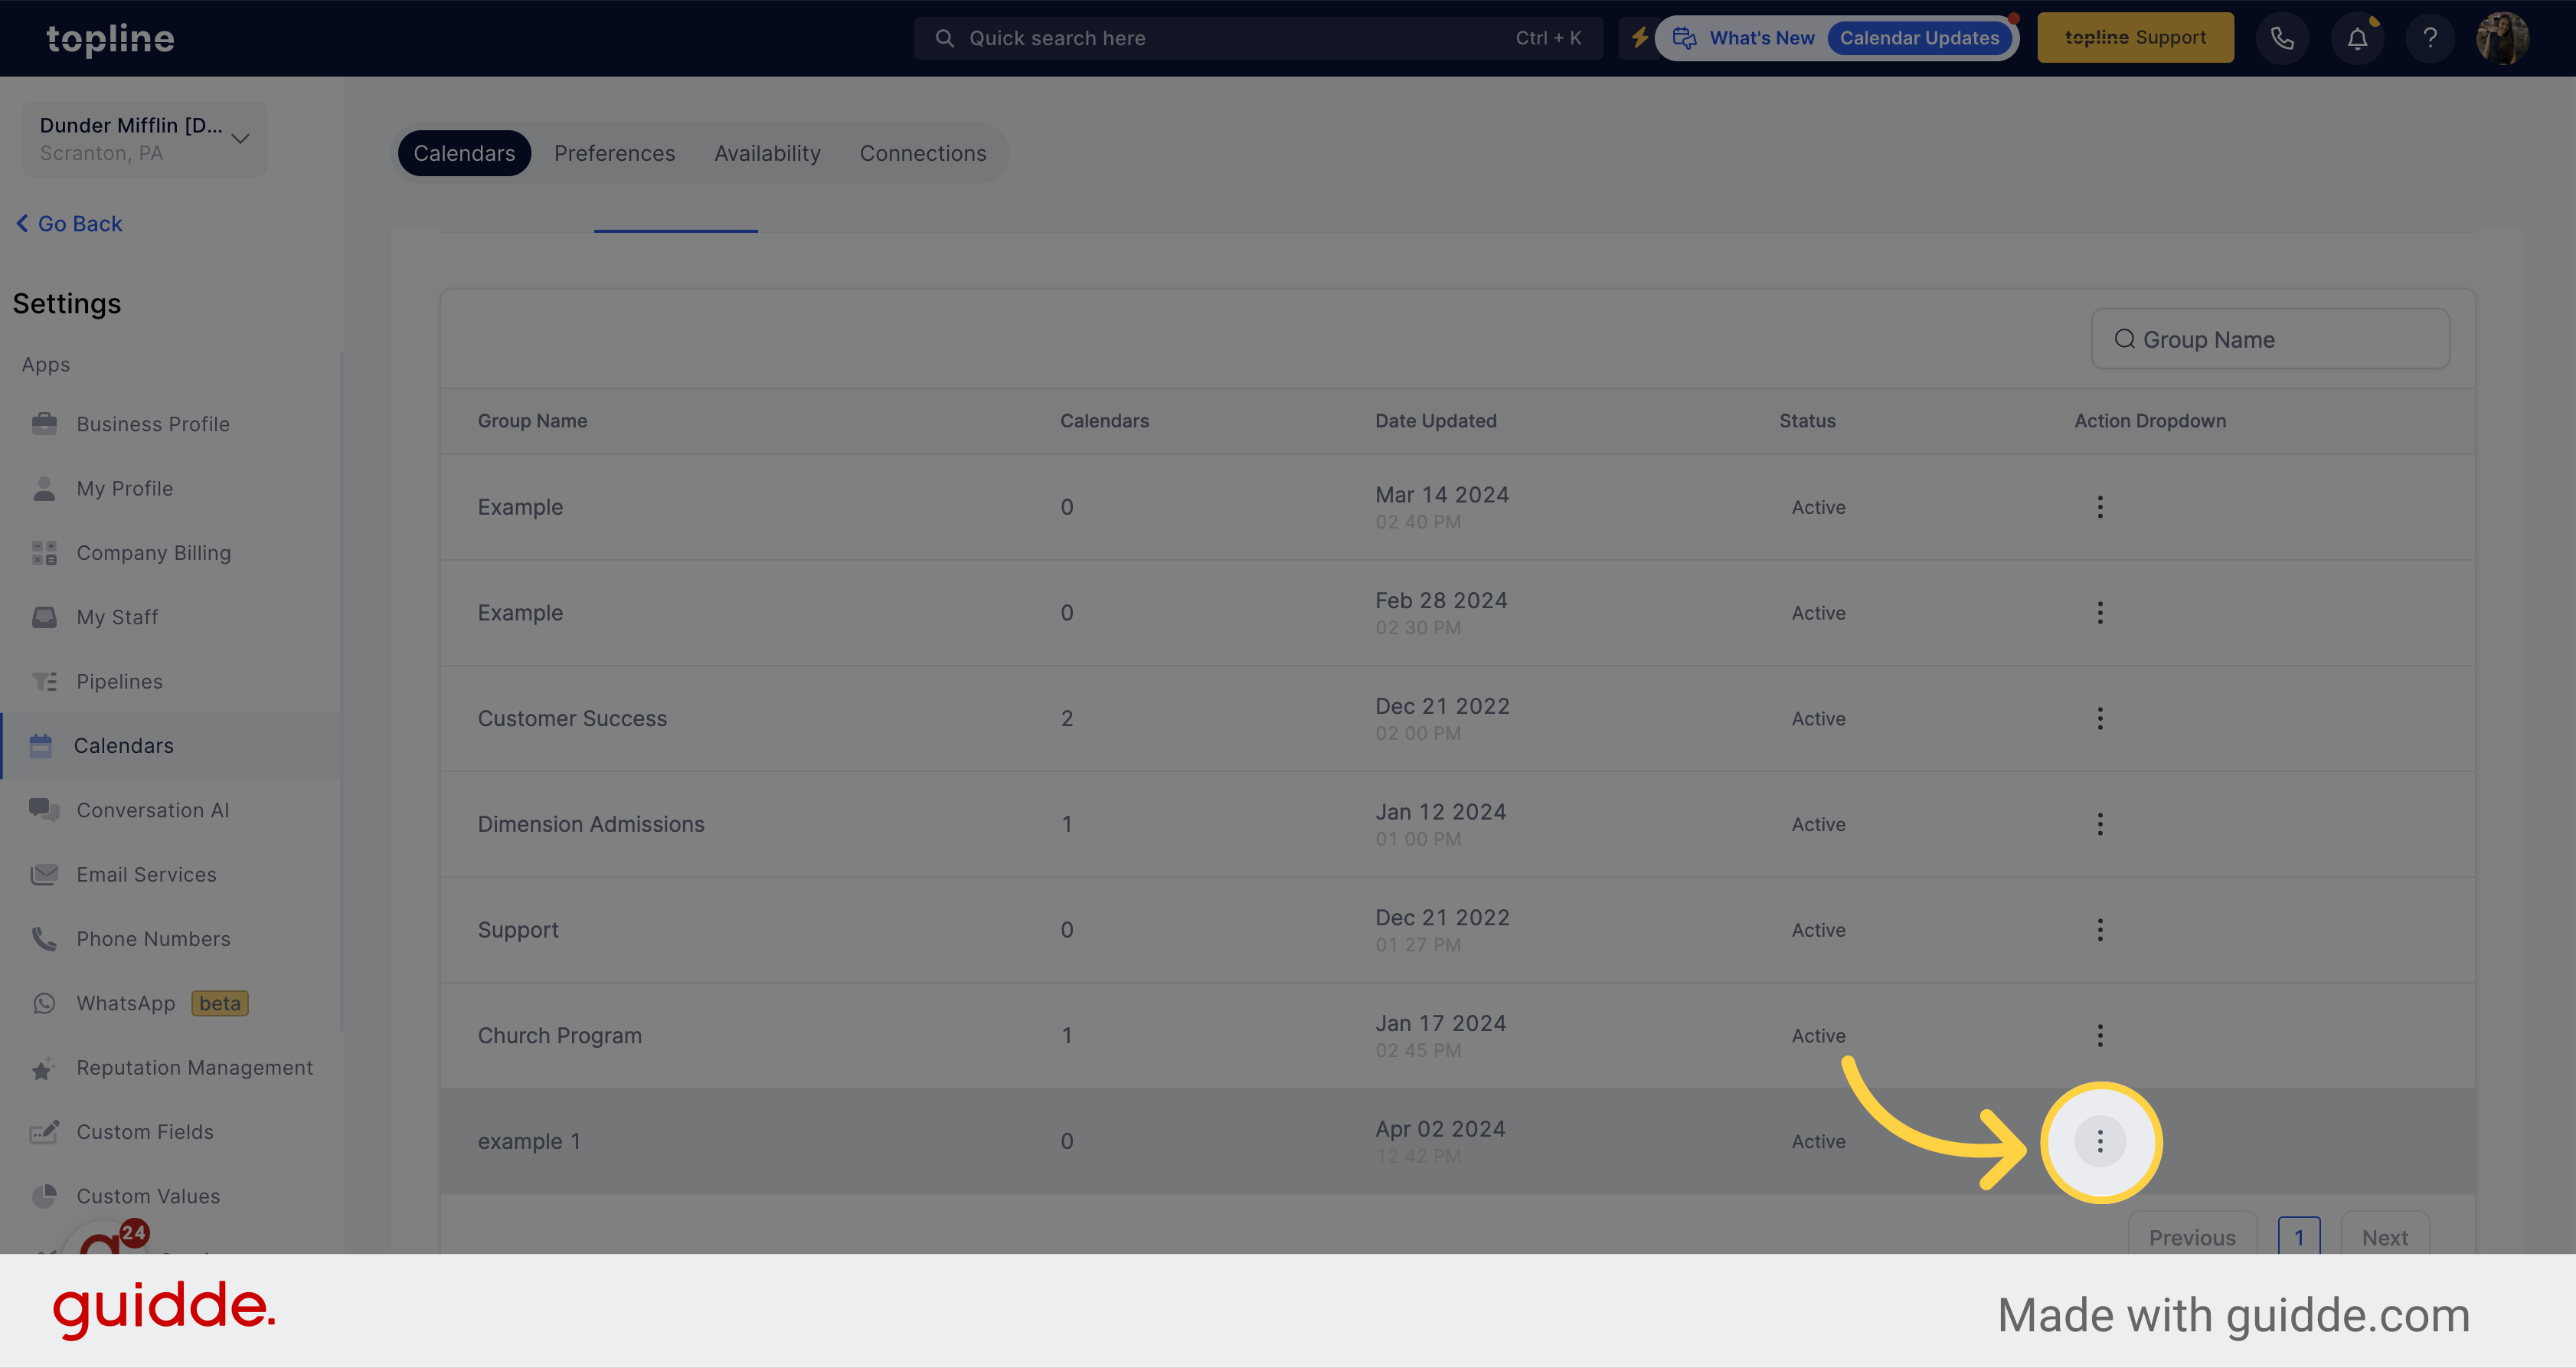
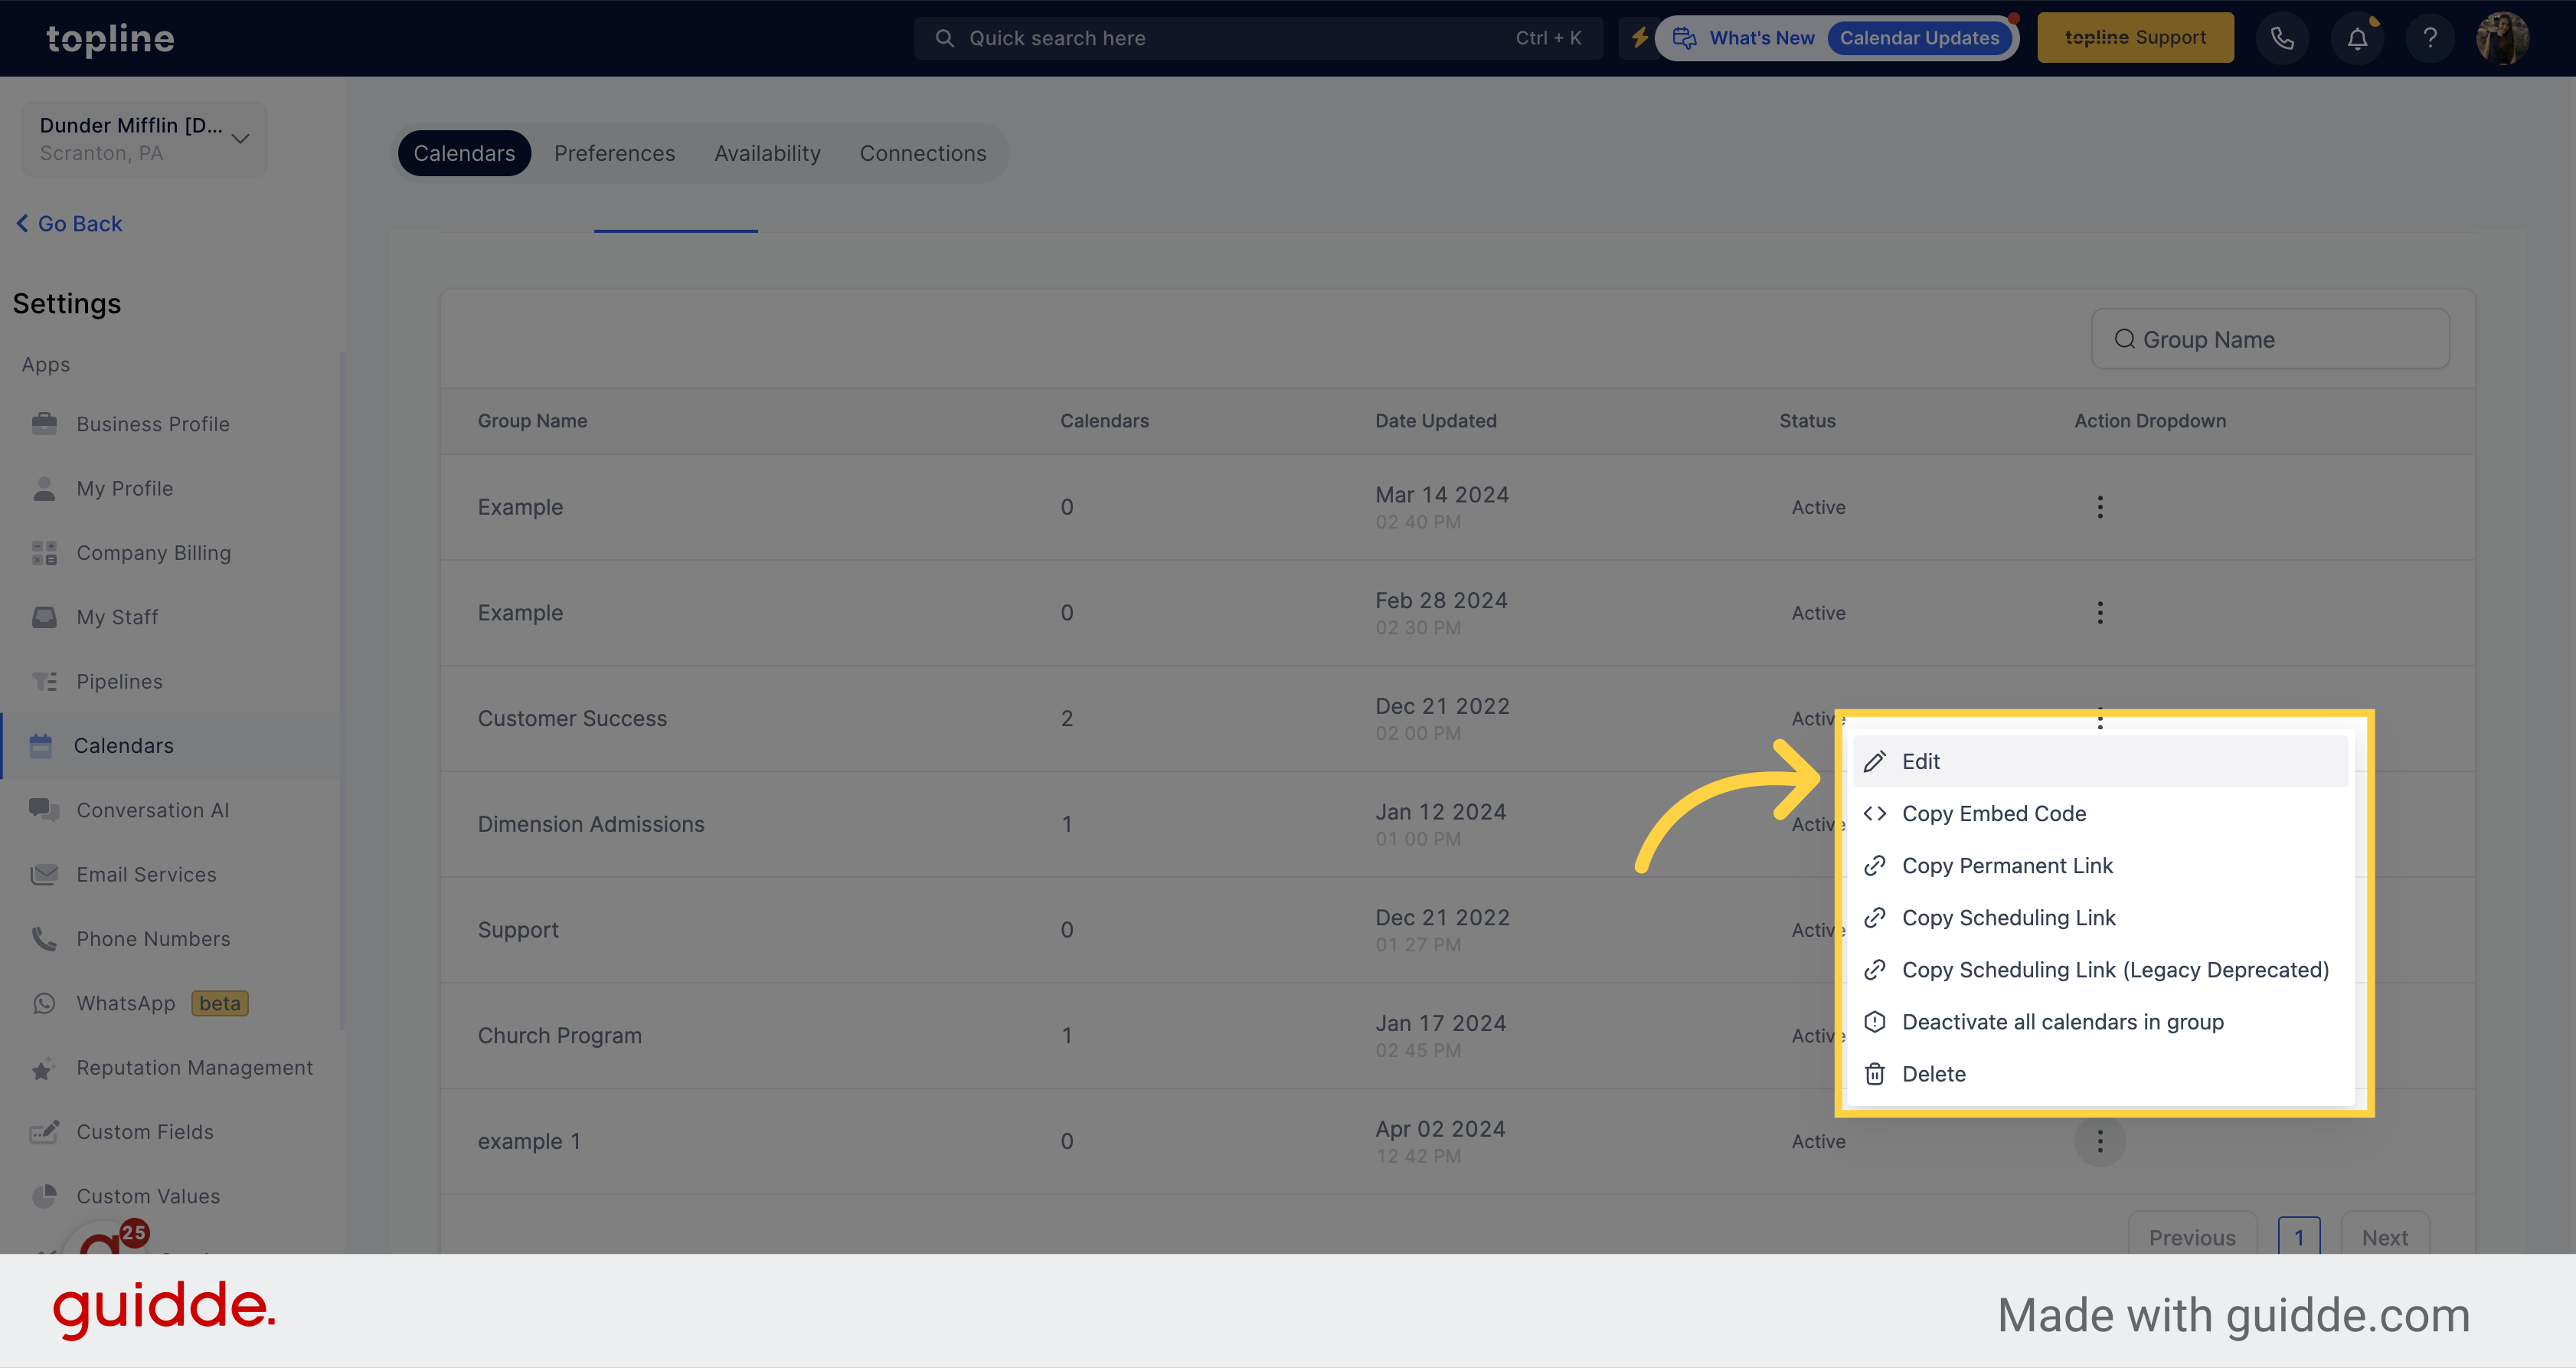
Click on the three dots button to edit the created group.
You can edit, copy embed code, permanent link, and more options here. To edit, click on that option.
You can edit all the group information. Once you are done, click on Save.