How to Set Primary Calendar

This guide will walk you through the process of setting your primary calendar. By following these steps in Topline you can efficiently configure and save your calendar preferences, ensuring seamless management of your schedules.

Go to app.topline.com

1. Click "Settings"

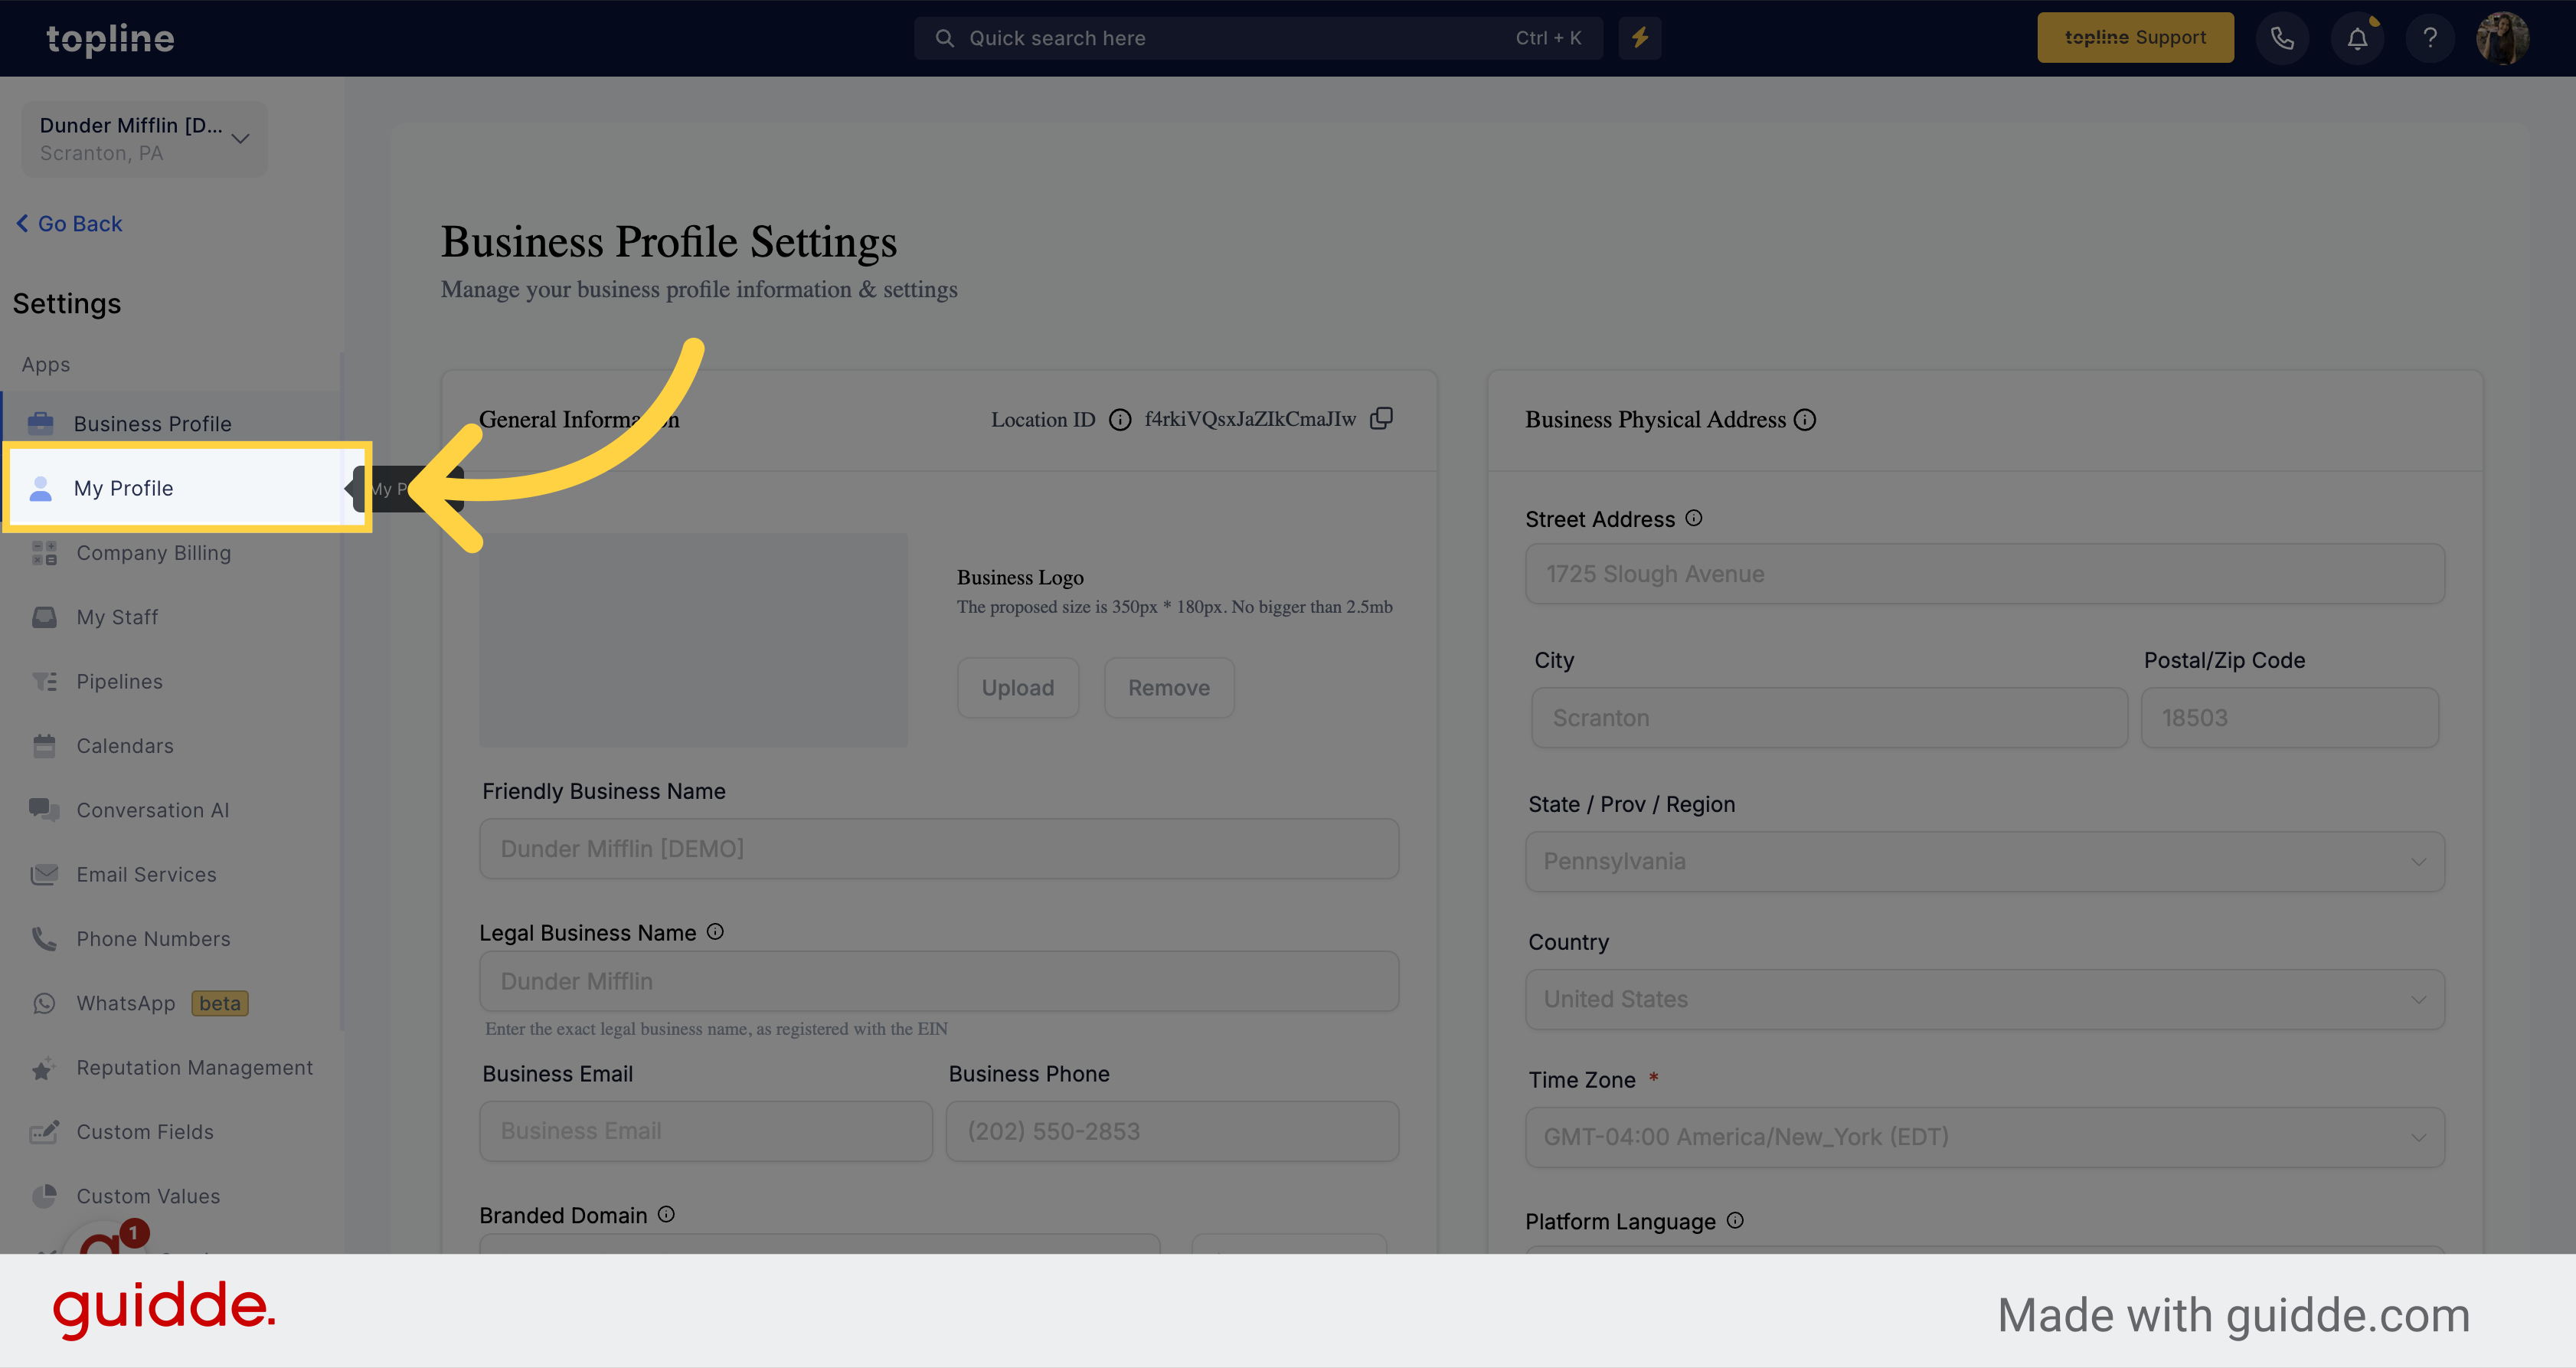
Access to the Settings menu, by clicking on the option on the left side menu.

Click 'Settings'

2. Click "My Profile"

Navigate to the My Profile section on the left side menu.

Click 'My Profile'

3. Look Calendar Configuration

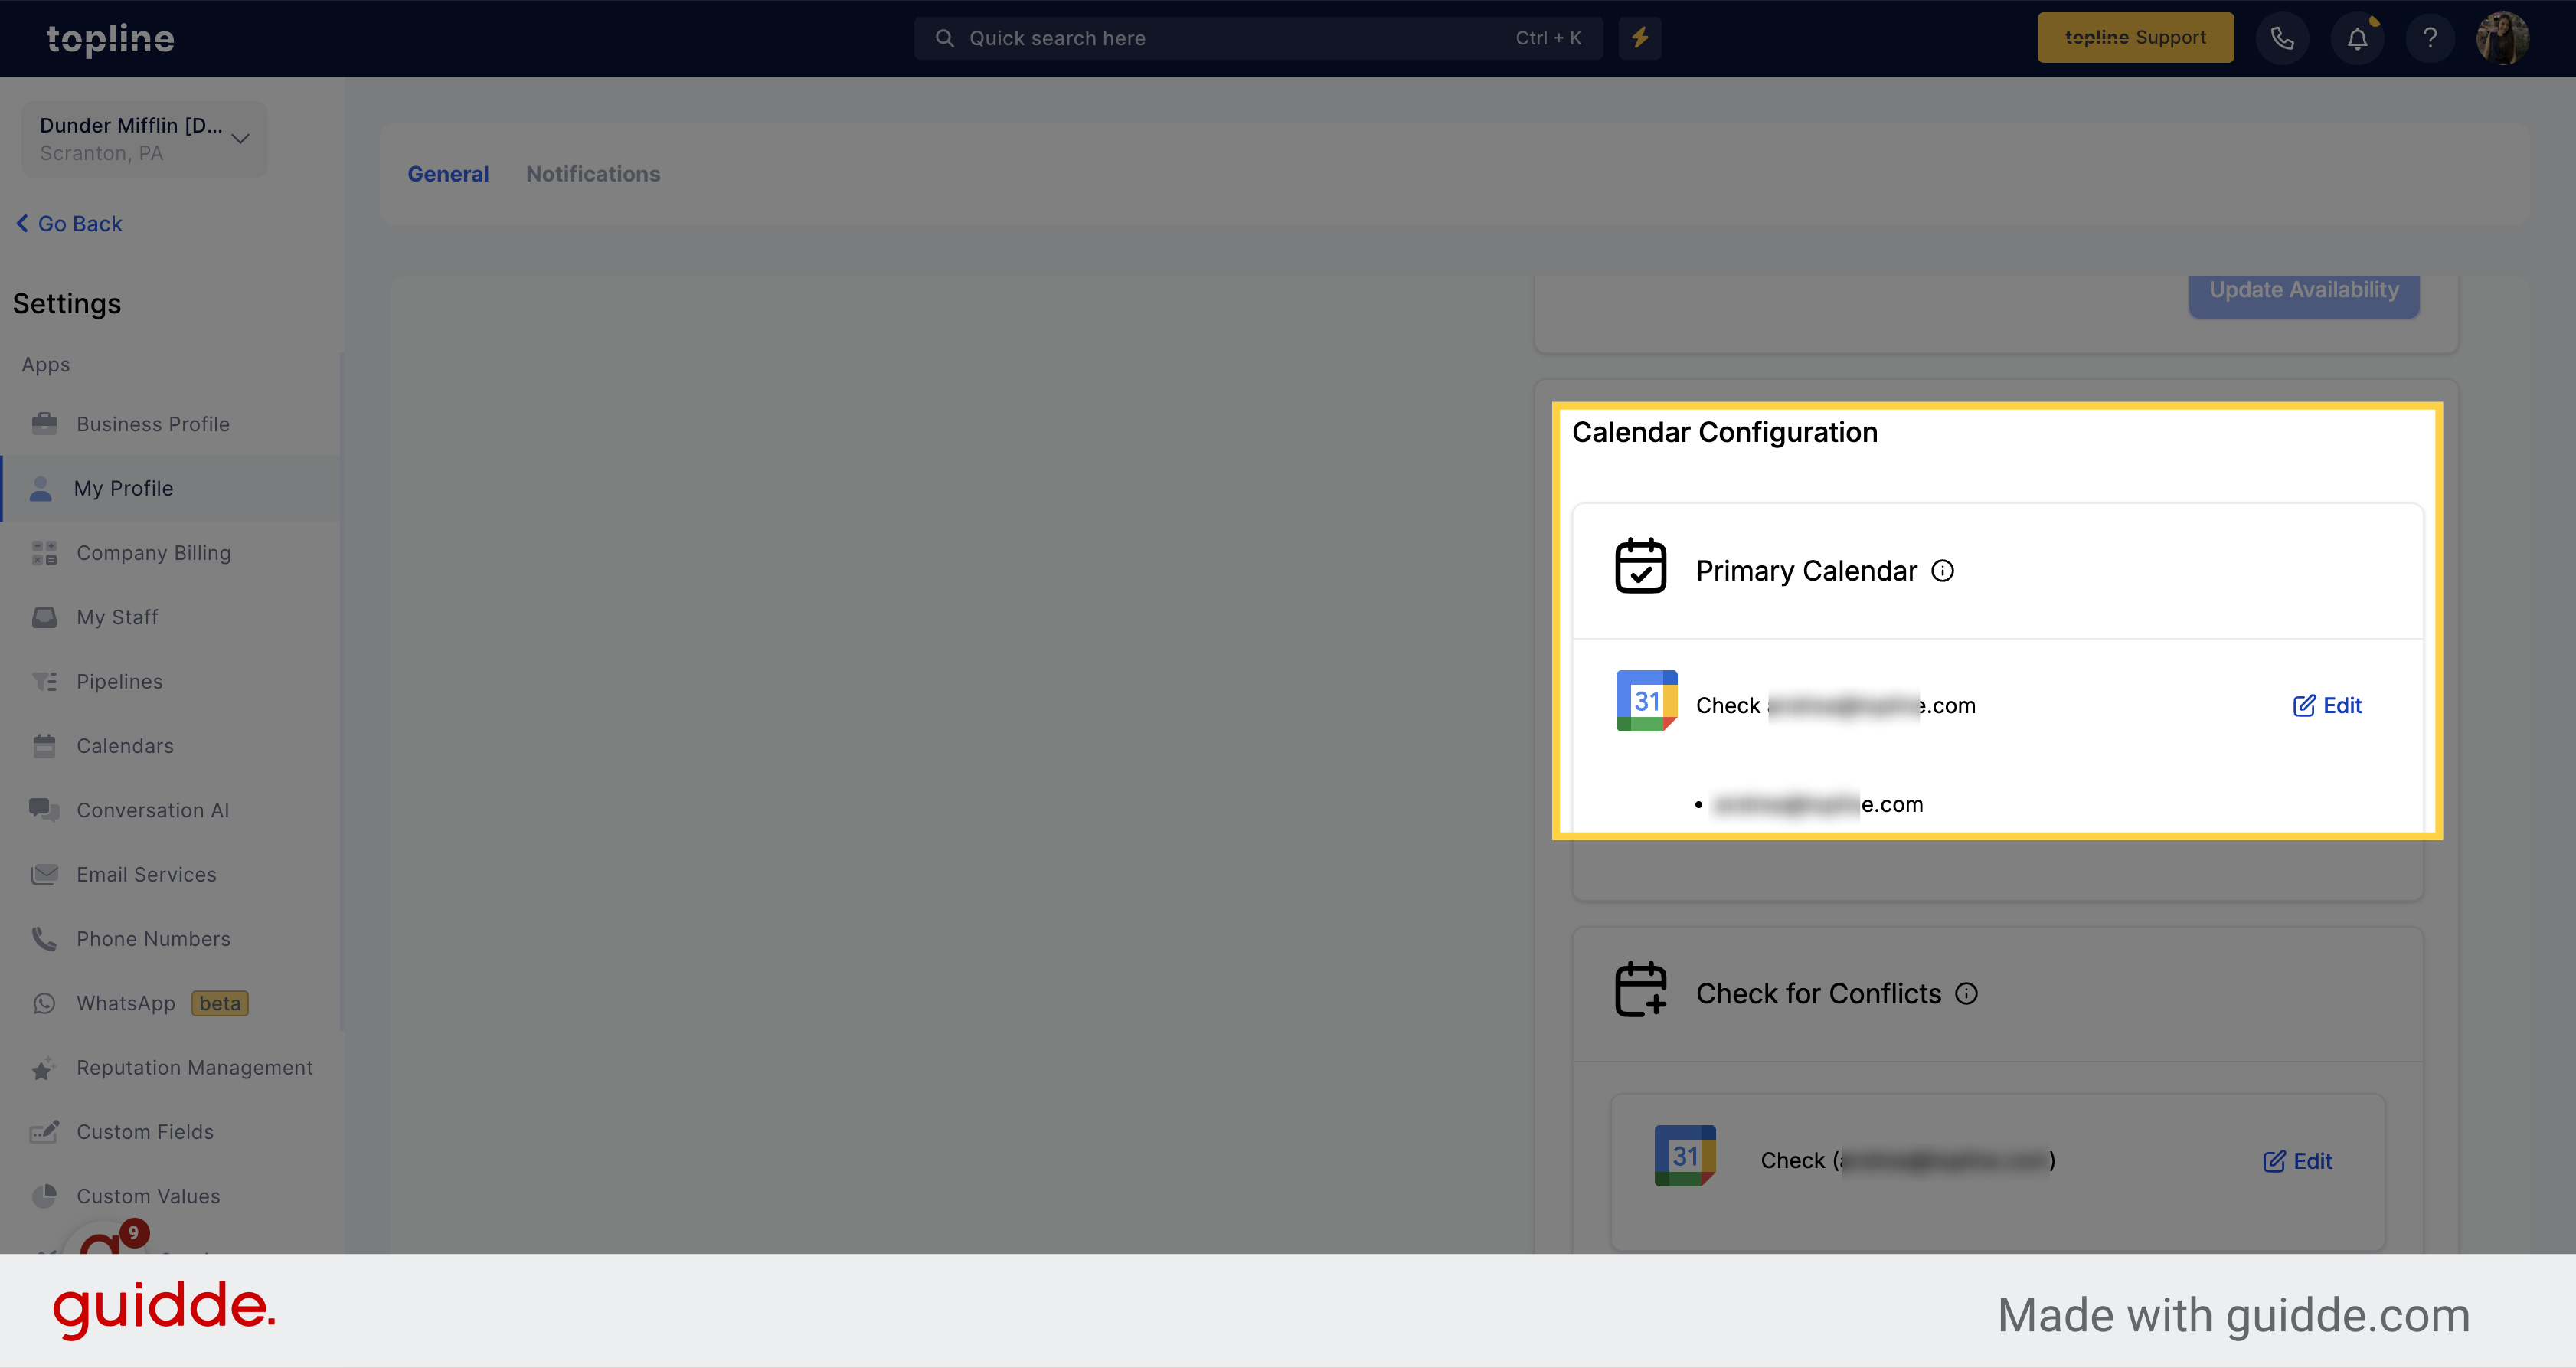
Navigate to the Calendar Configuration option.

Look Calendar Configuration

4. Click "Edit"

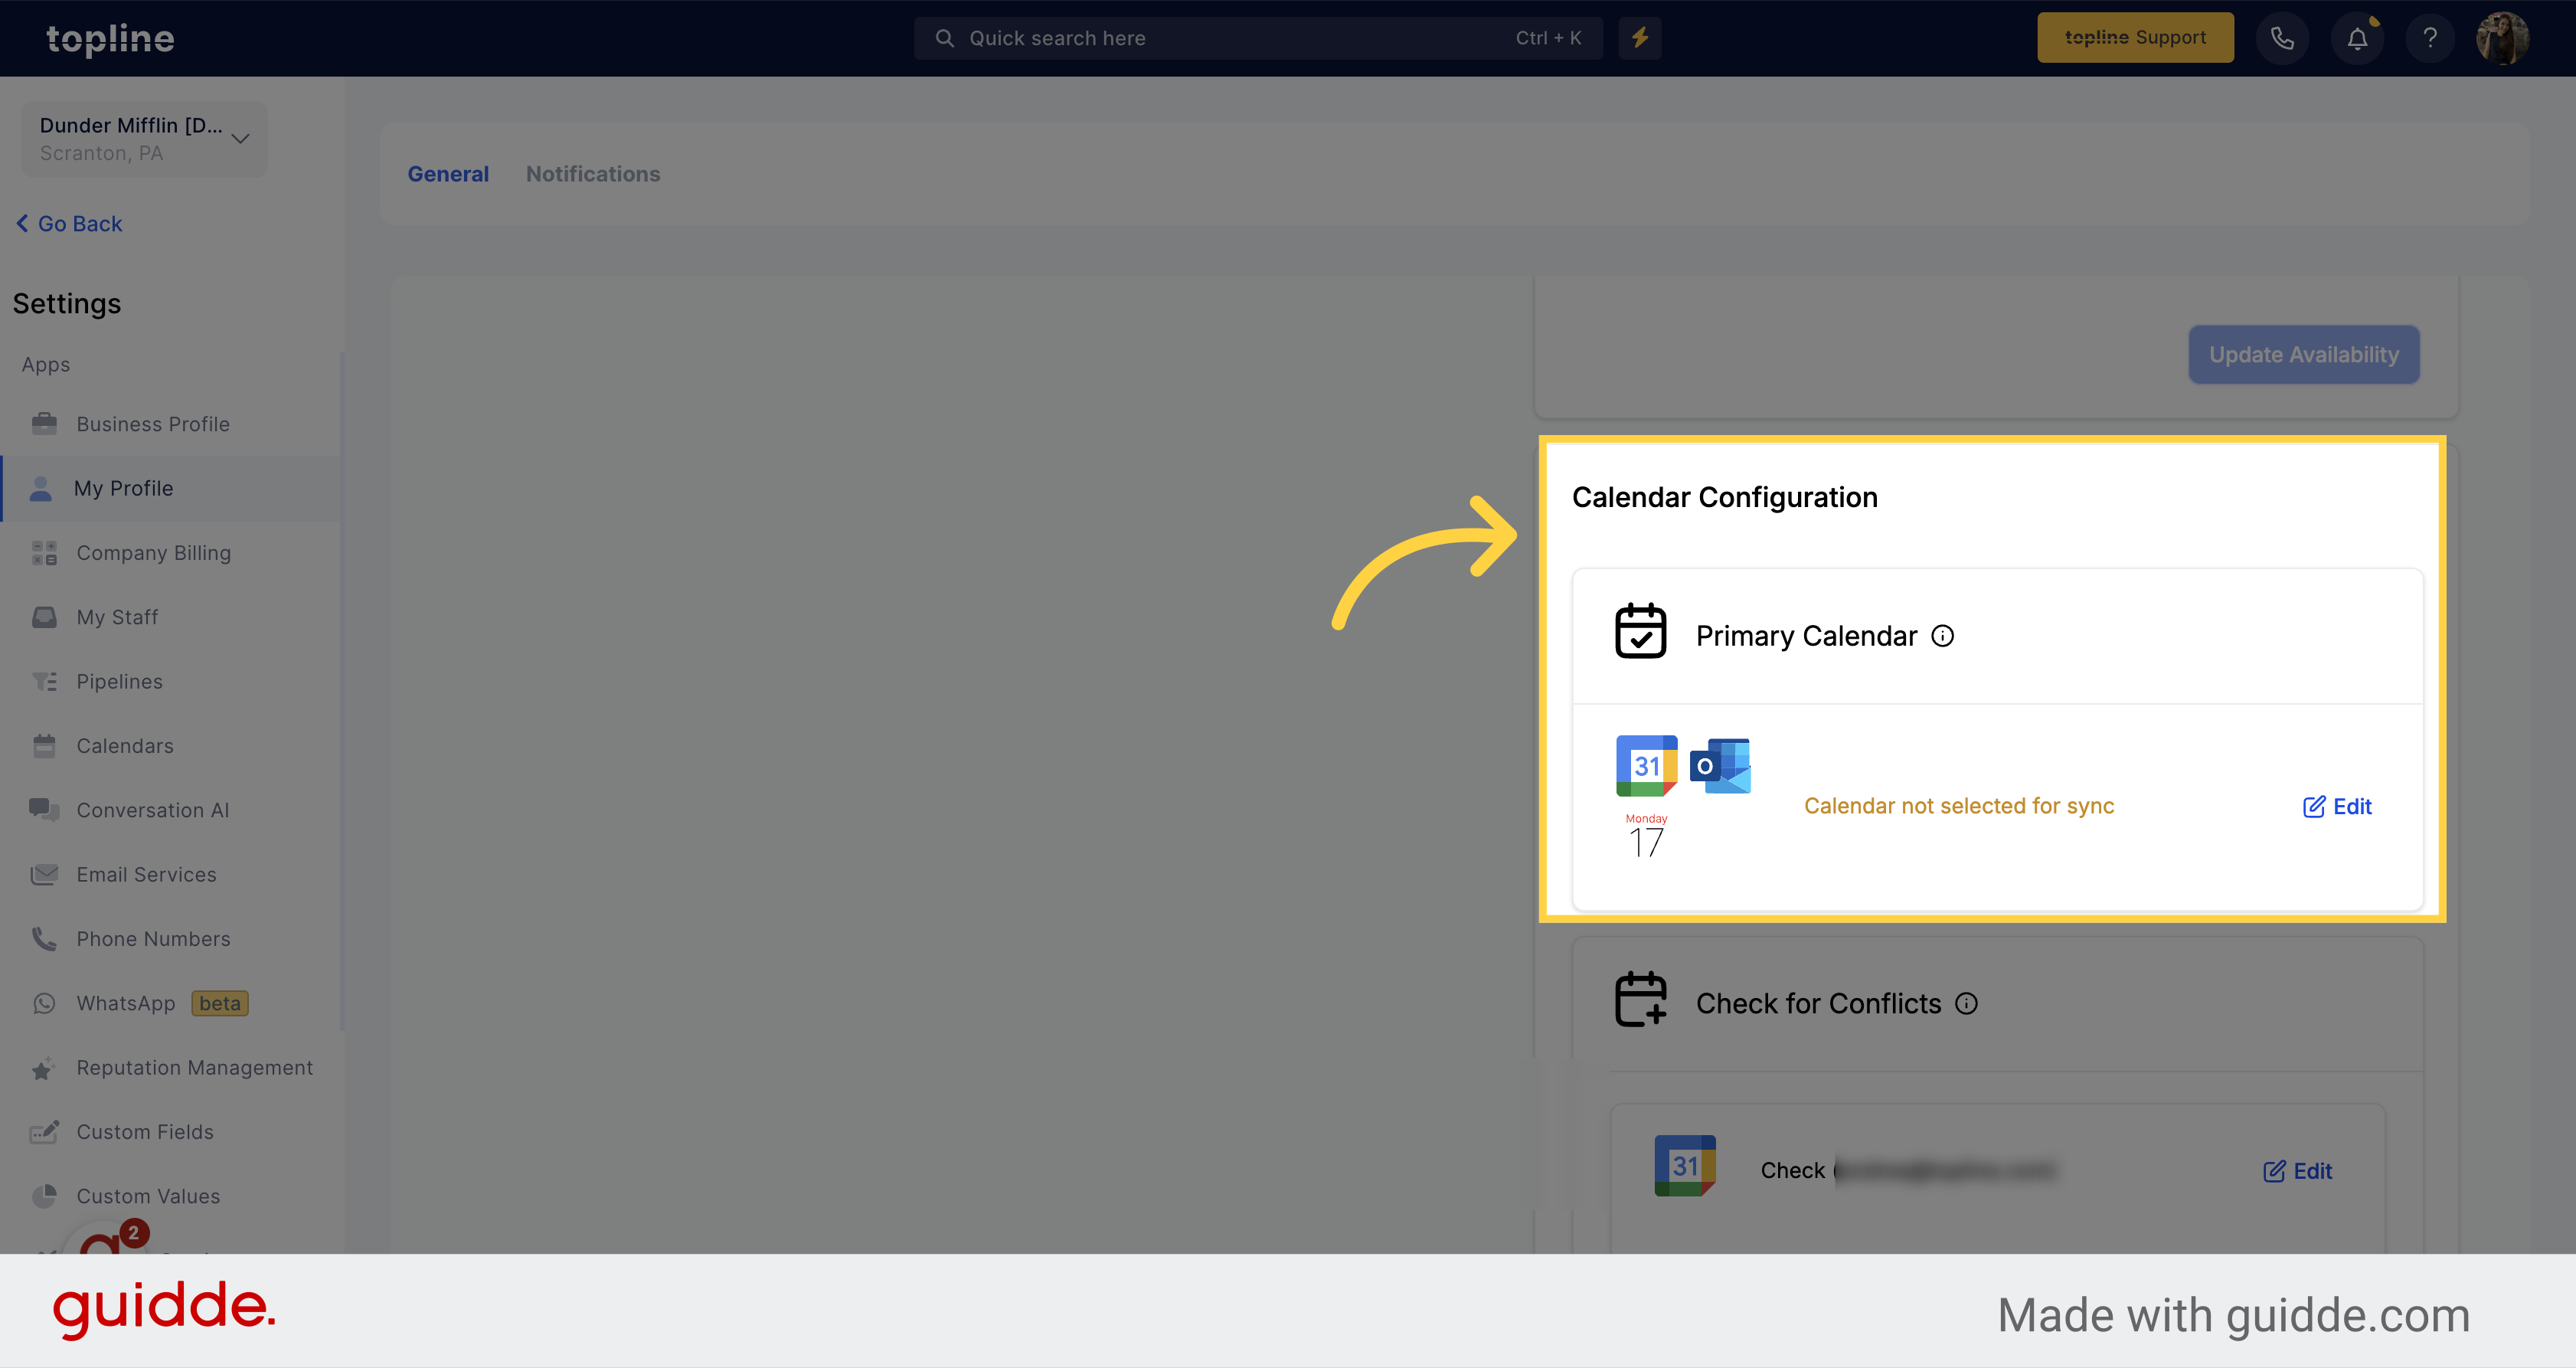
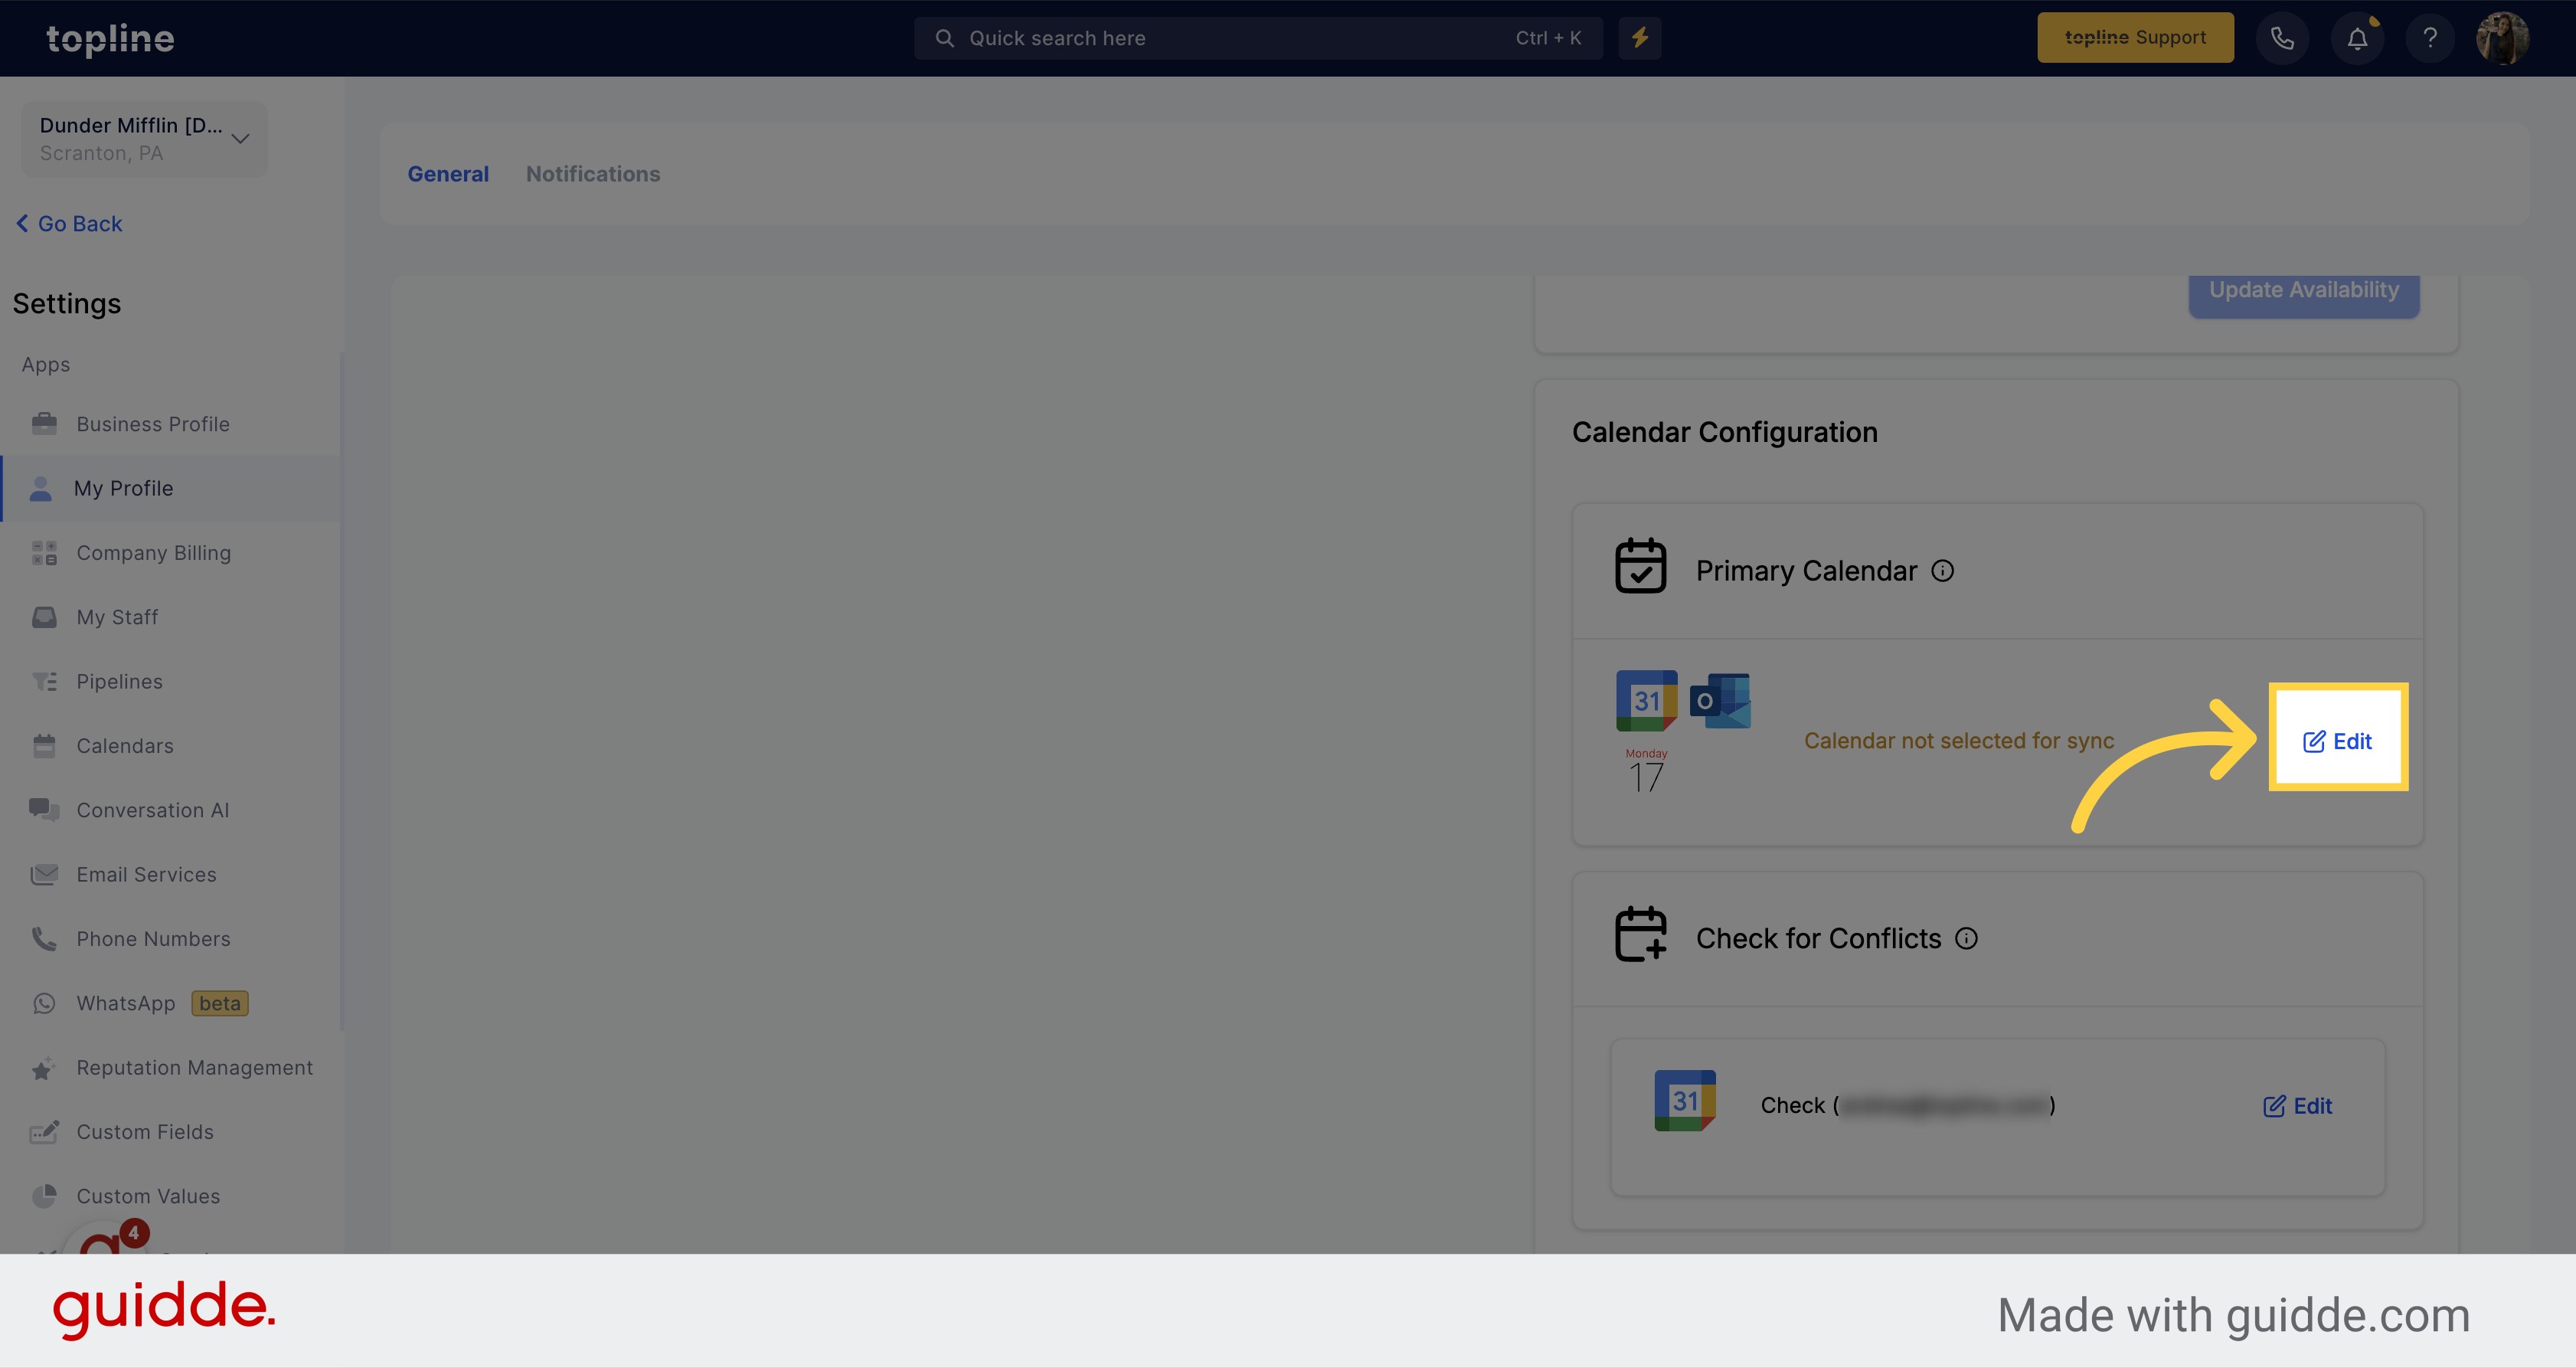
On the Primary Calendar option, click on edit.

Click 'Edit'

5. Select Calendar

On the pop up window select the calendar you want to set as primary.

Select Calendar

6. Check Information

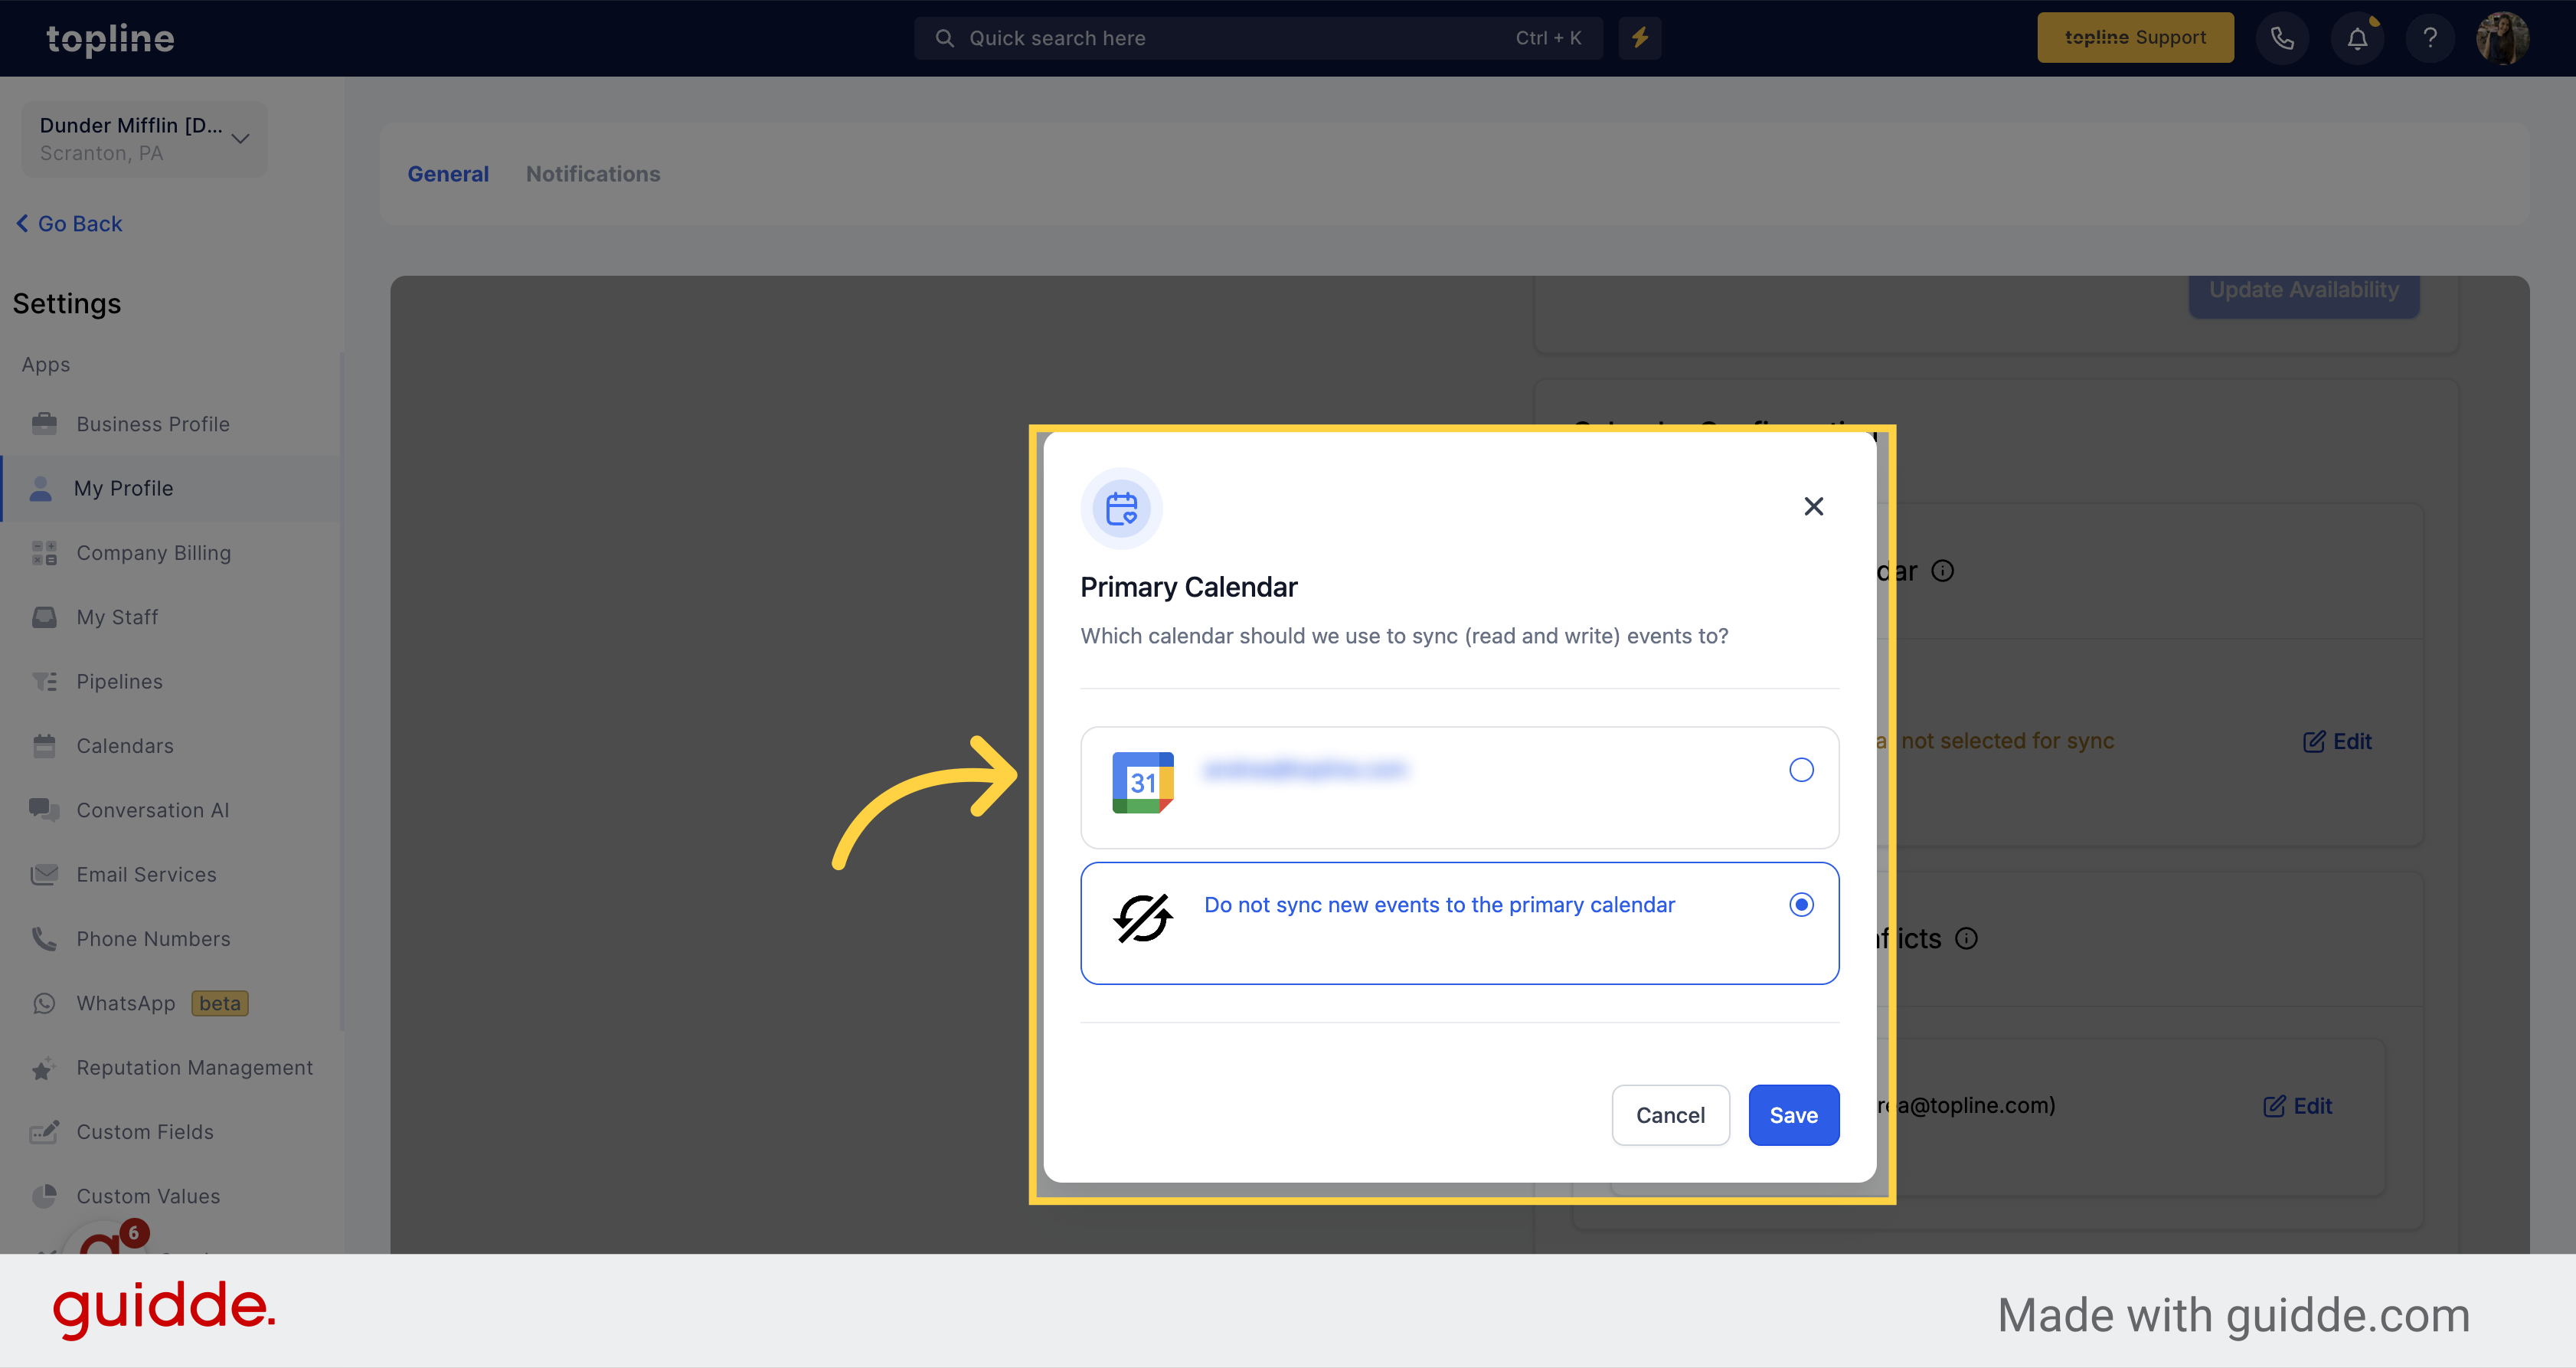
Make sure the email you selected, is the one you want to set as primary calendar.

Check Information

7. Click "Save"

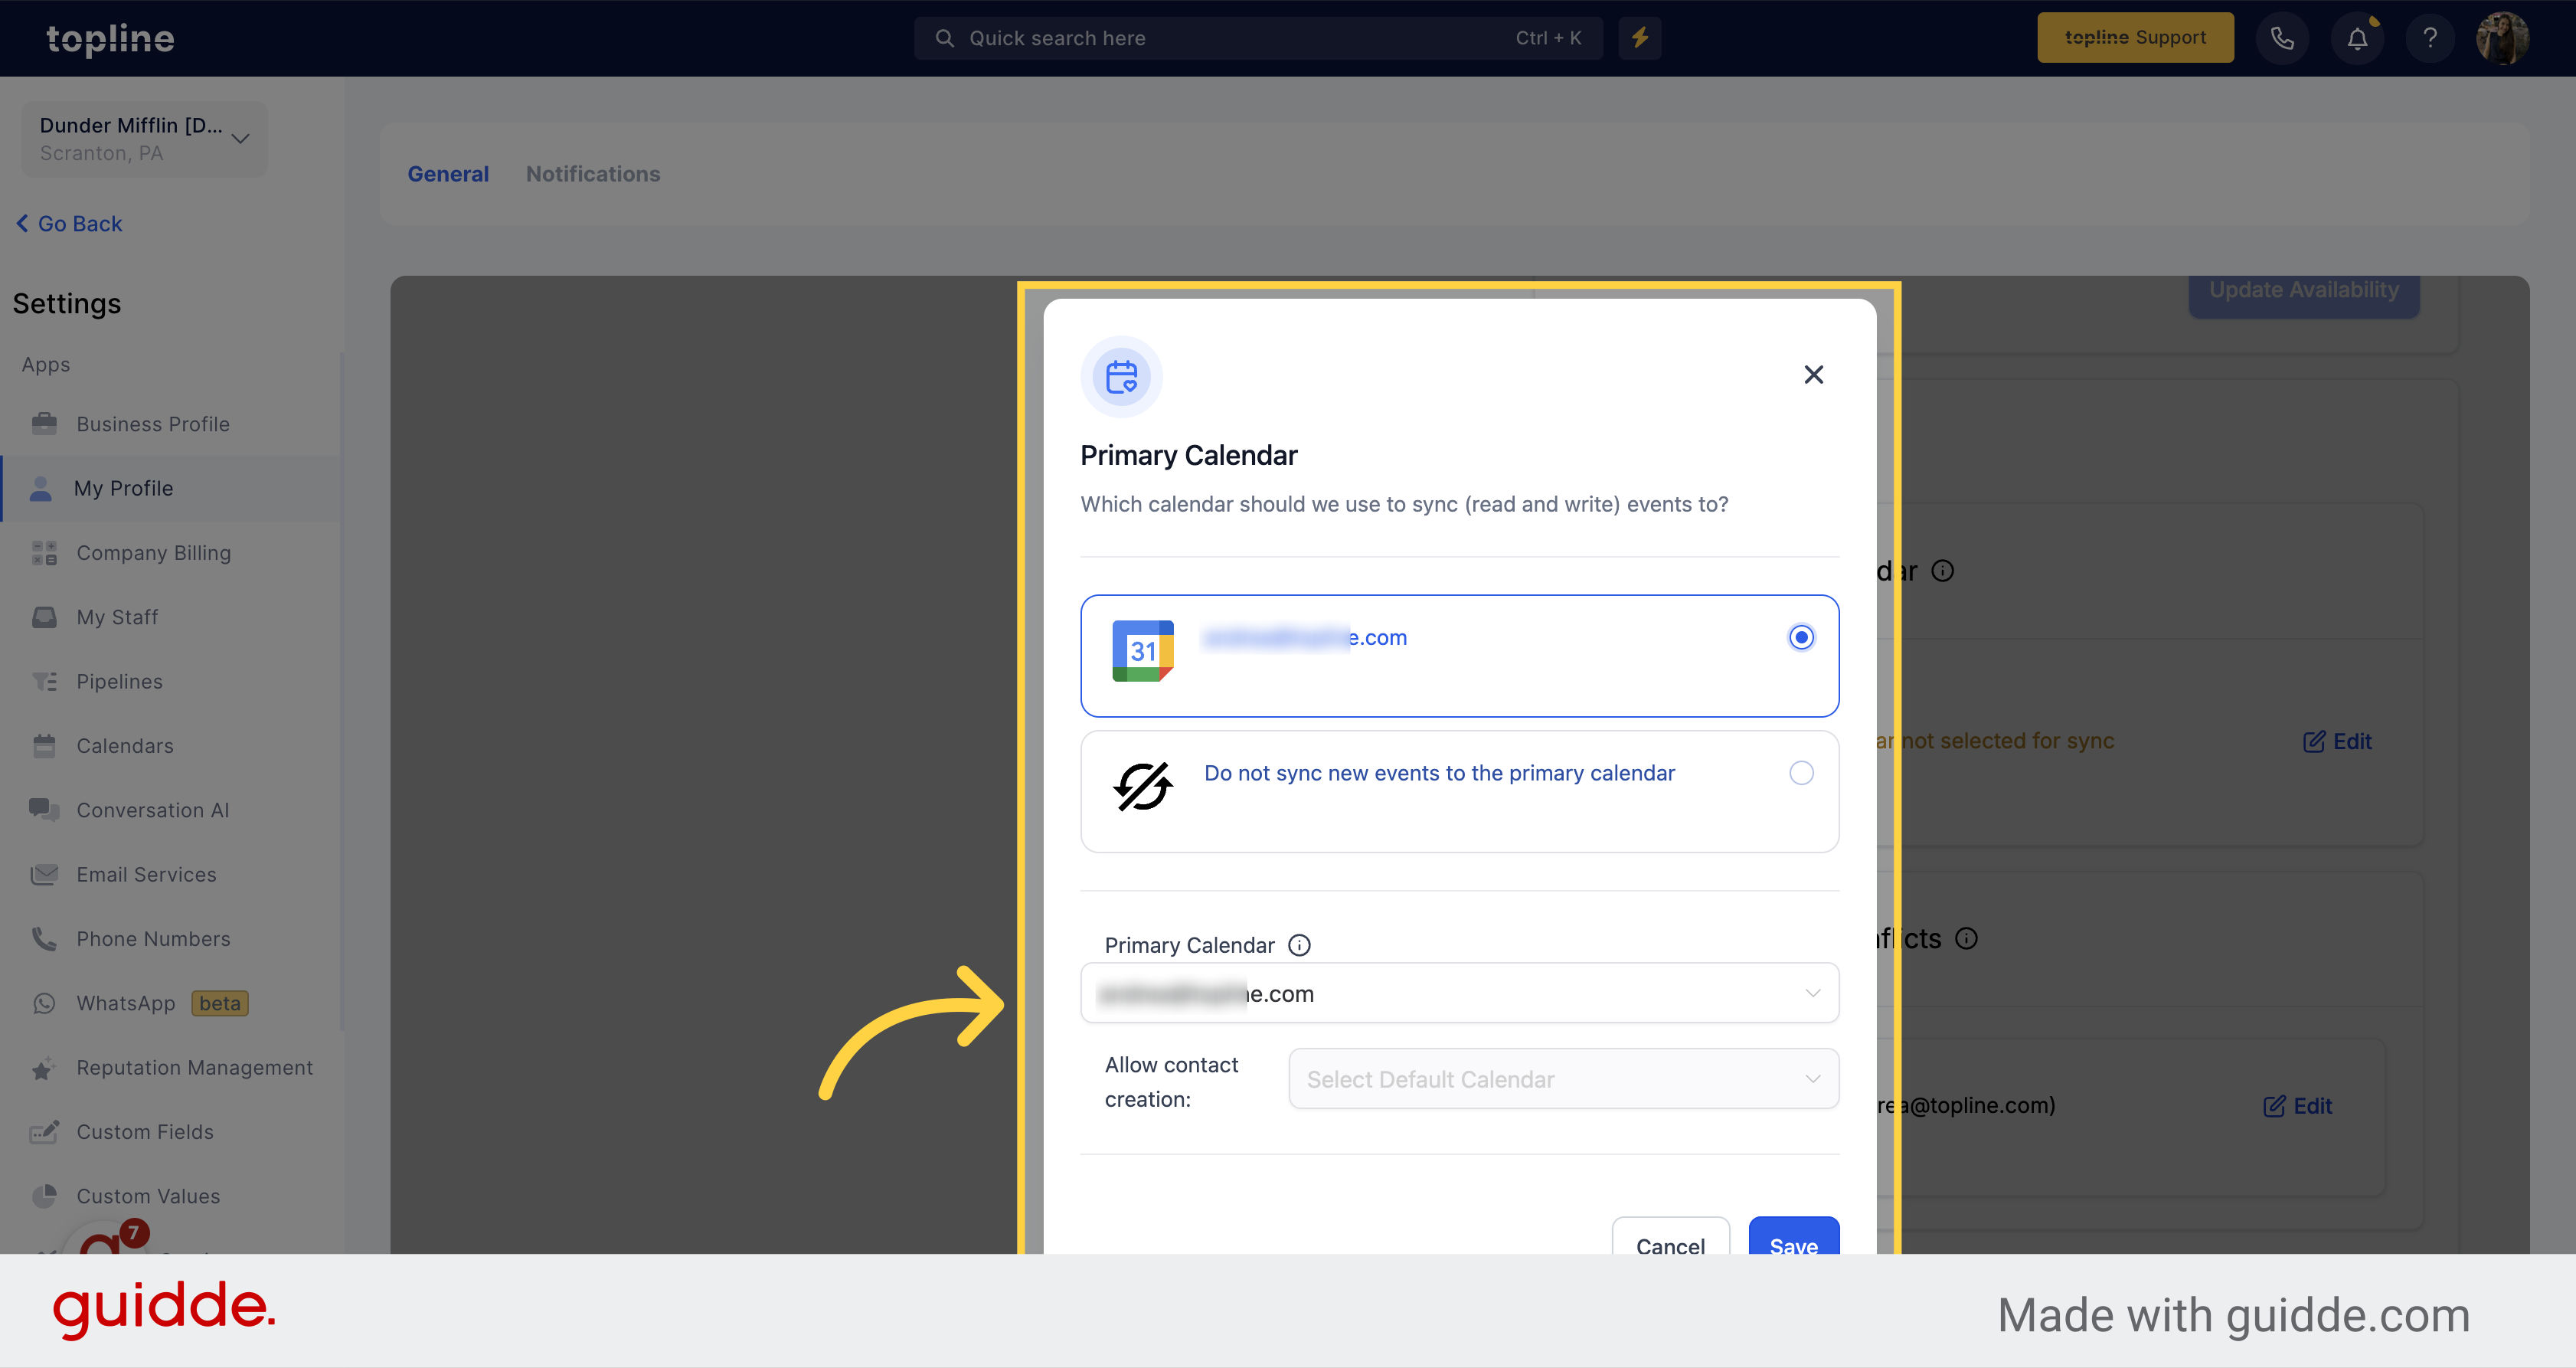
If everything is correct, click on save.

Click 'Save'

8. Primary Calendar

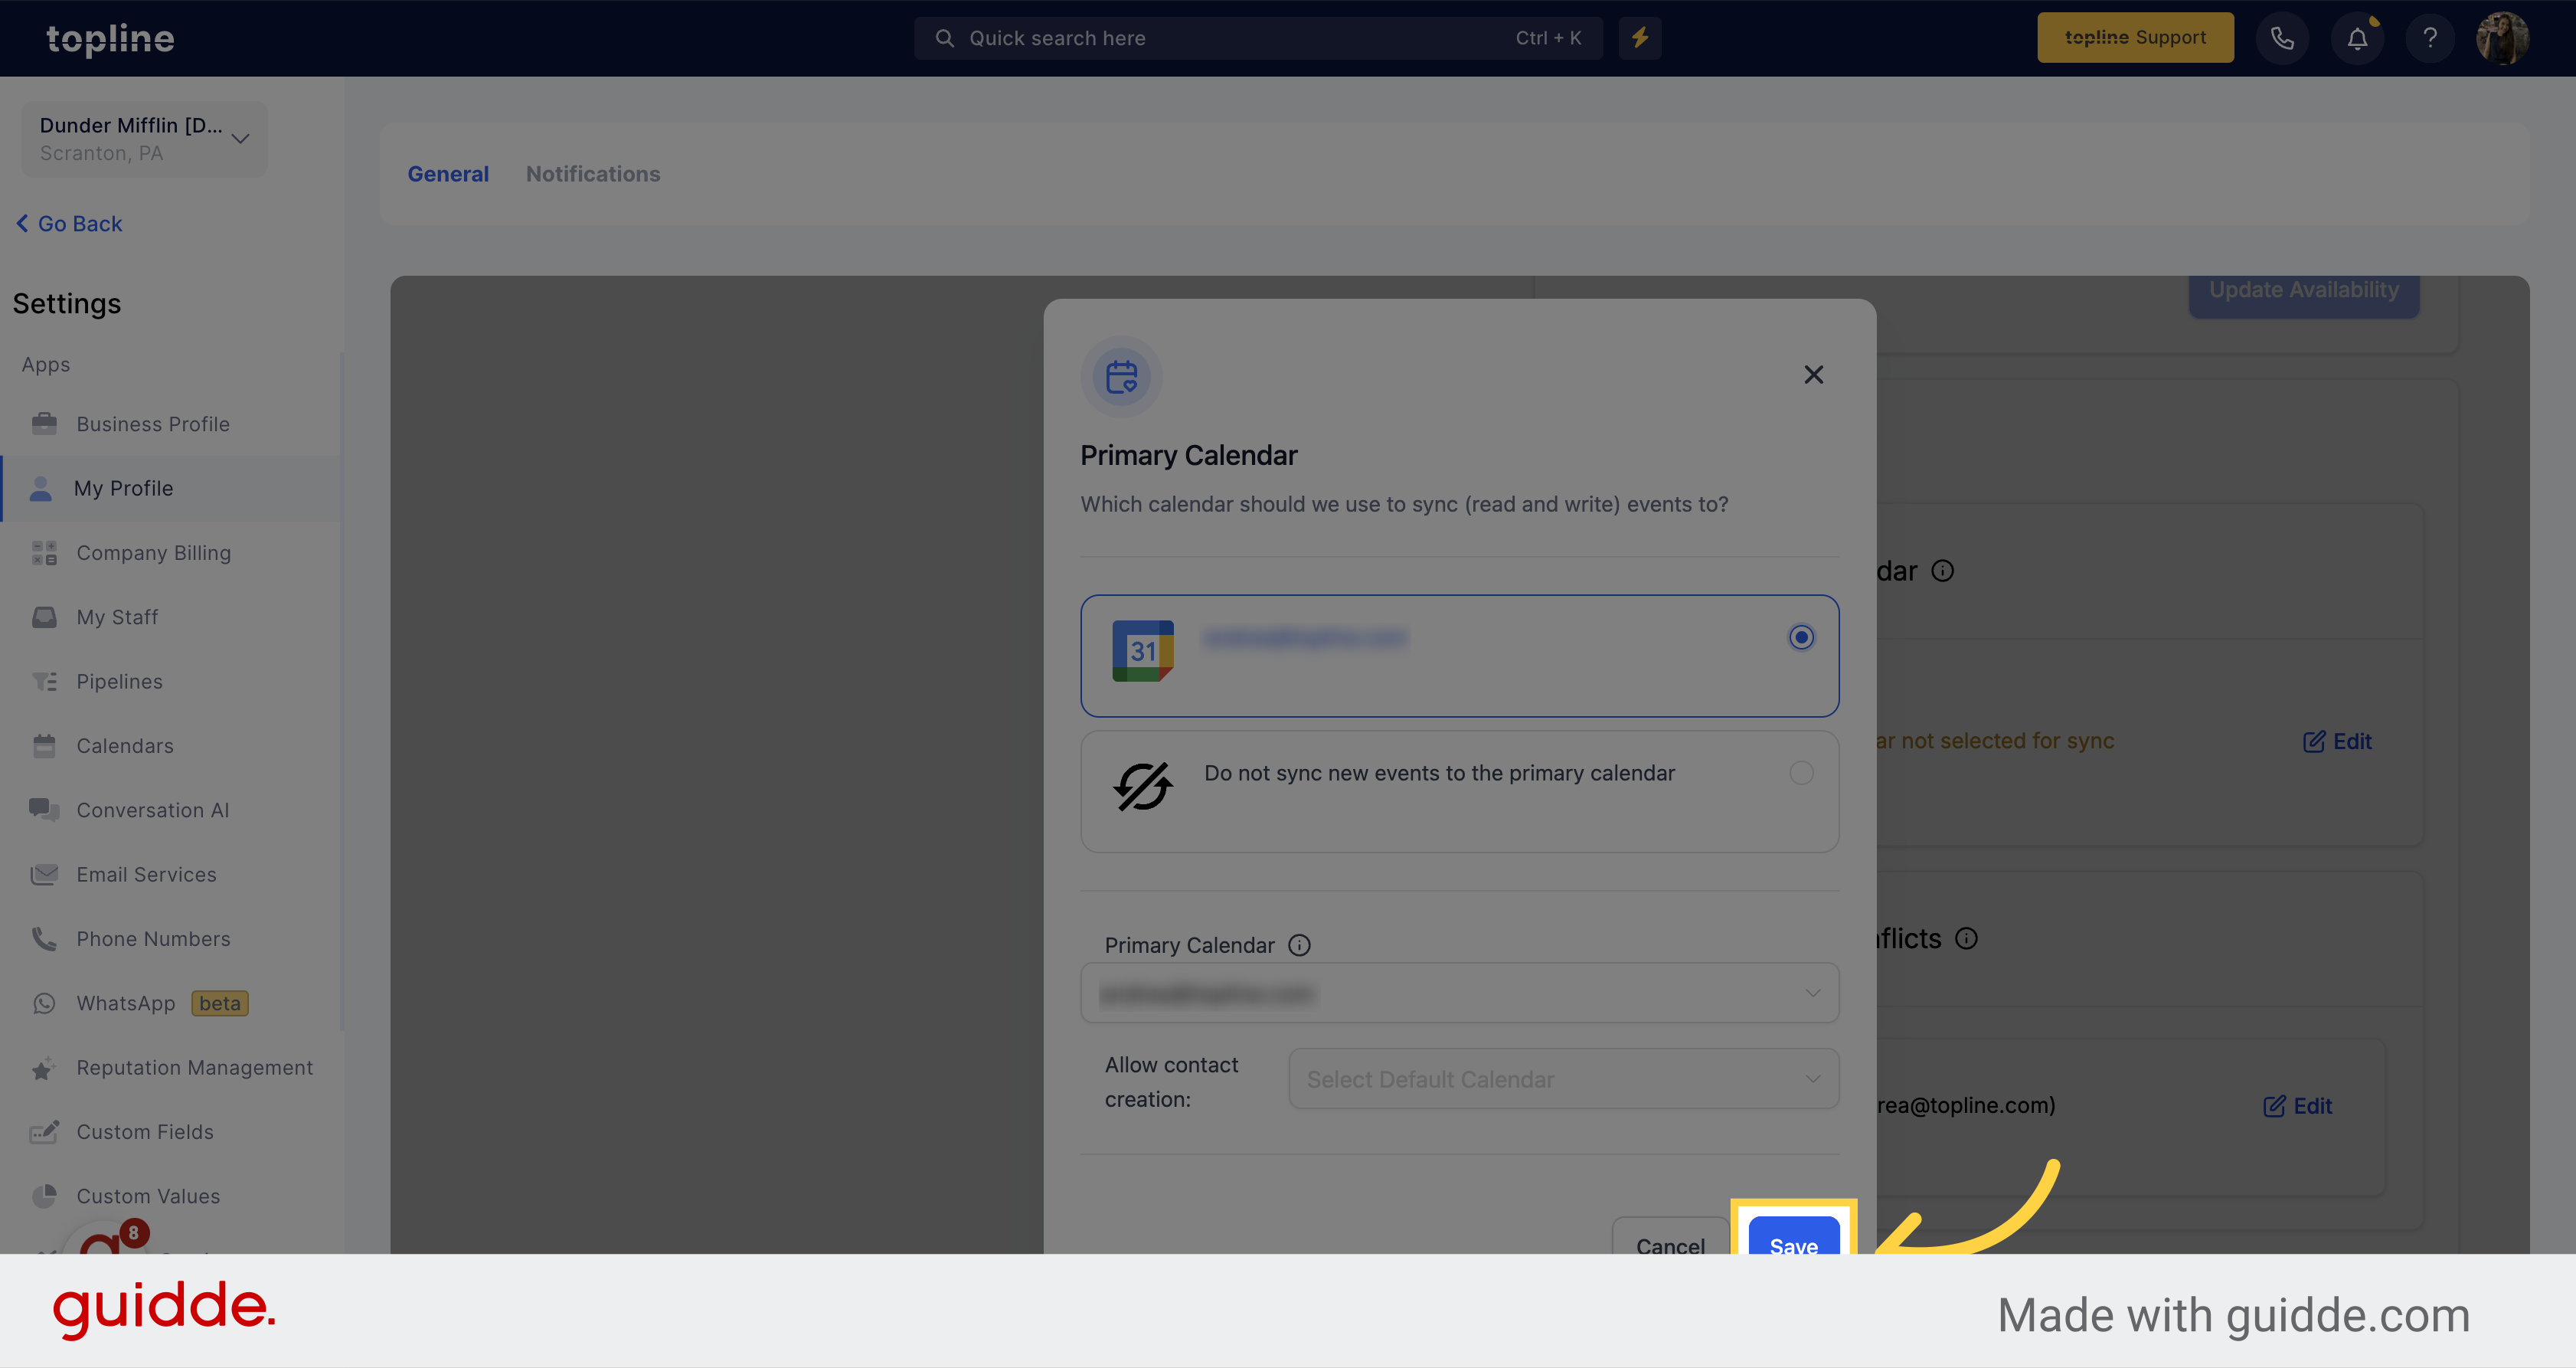
Now the email selected is the primary calendar. You can edit it anytime by repeating the process.

Primary Calendar
Did this answer your question?
😞
😐
😁