Go to app.topline.com
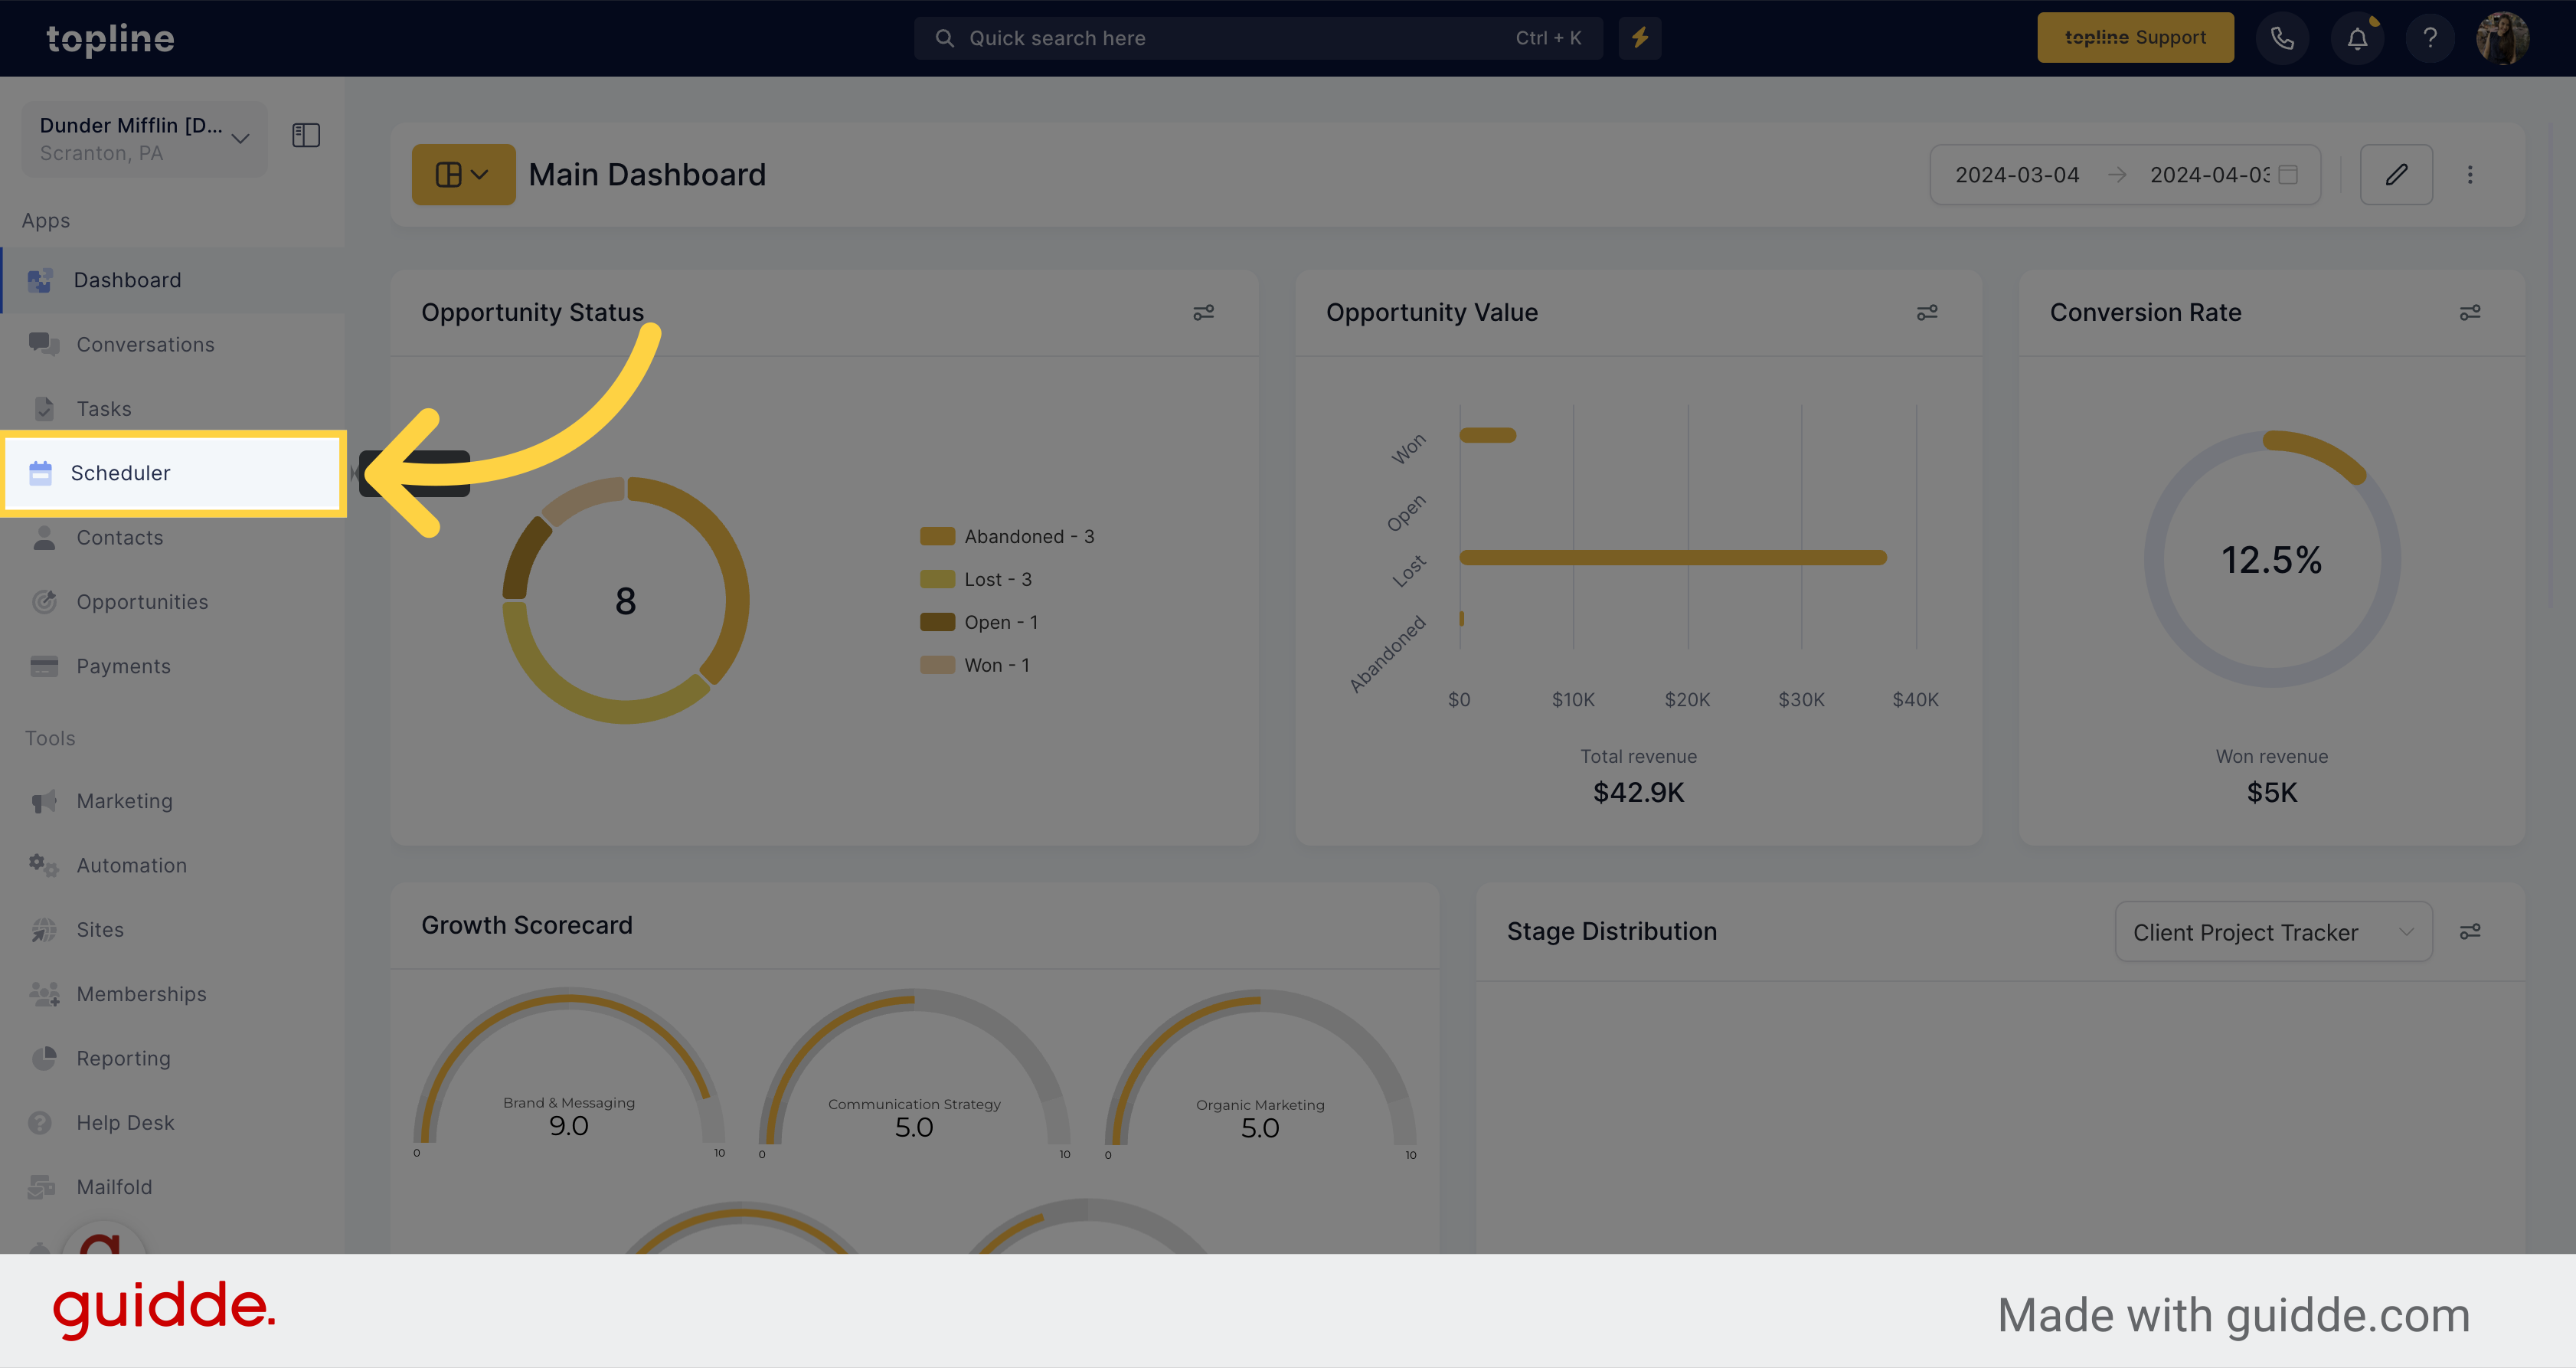
Navigate to the Scheduler section on the left side menu.
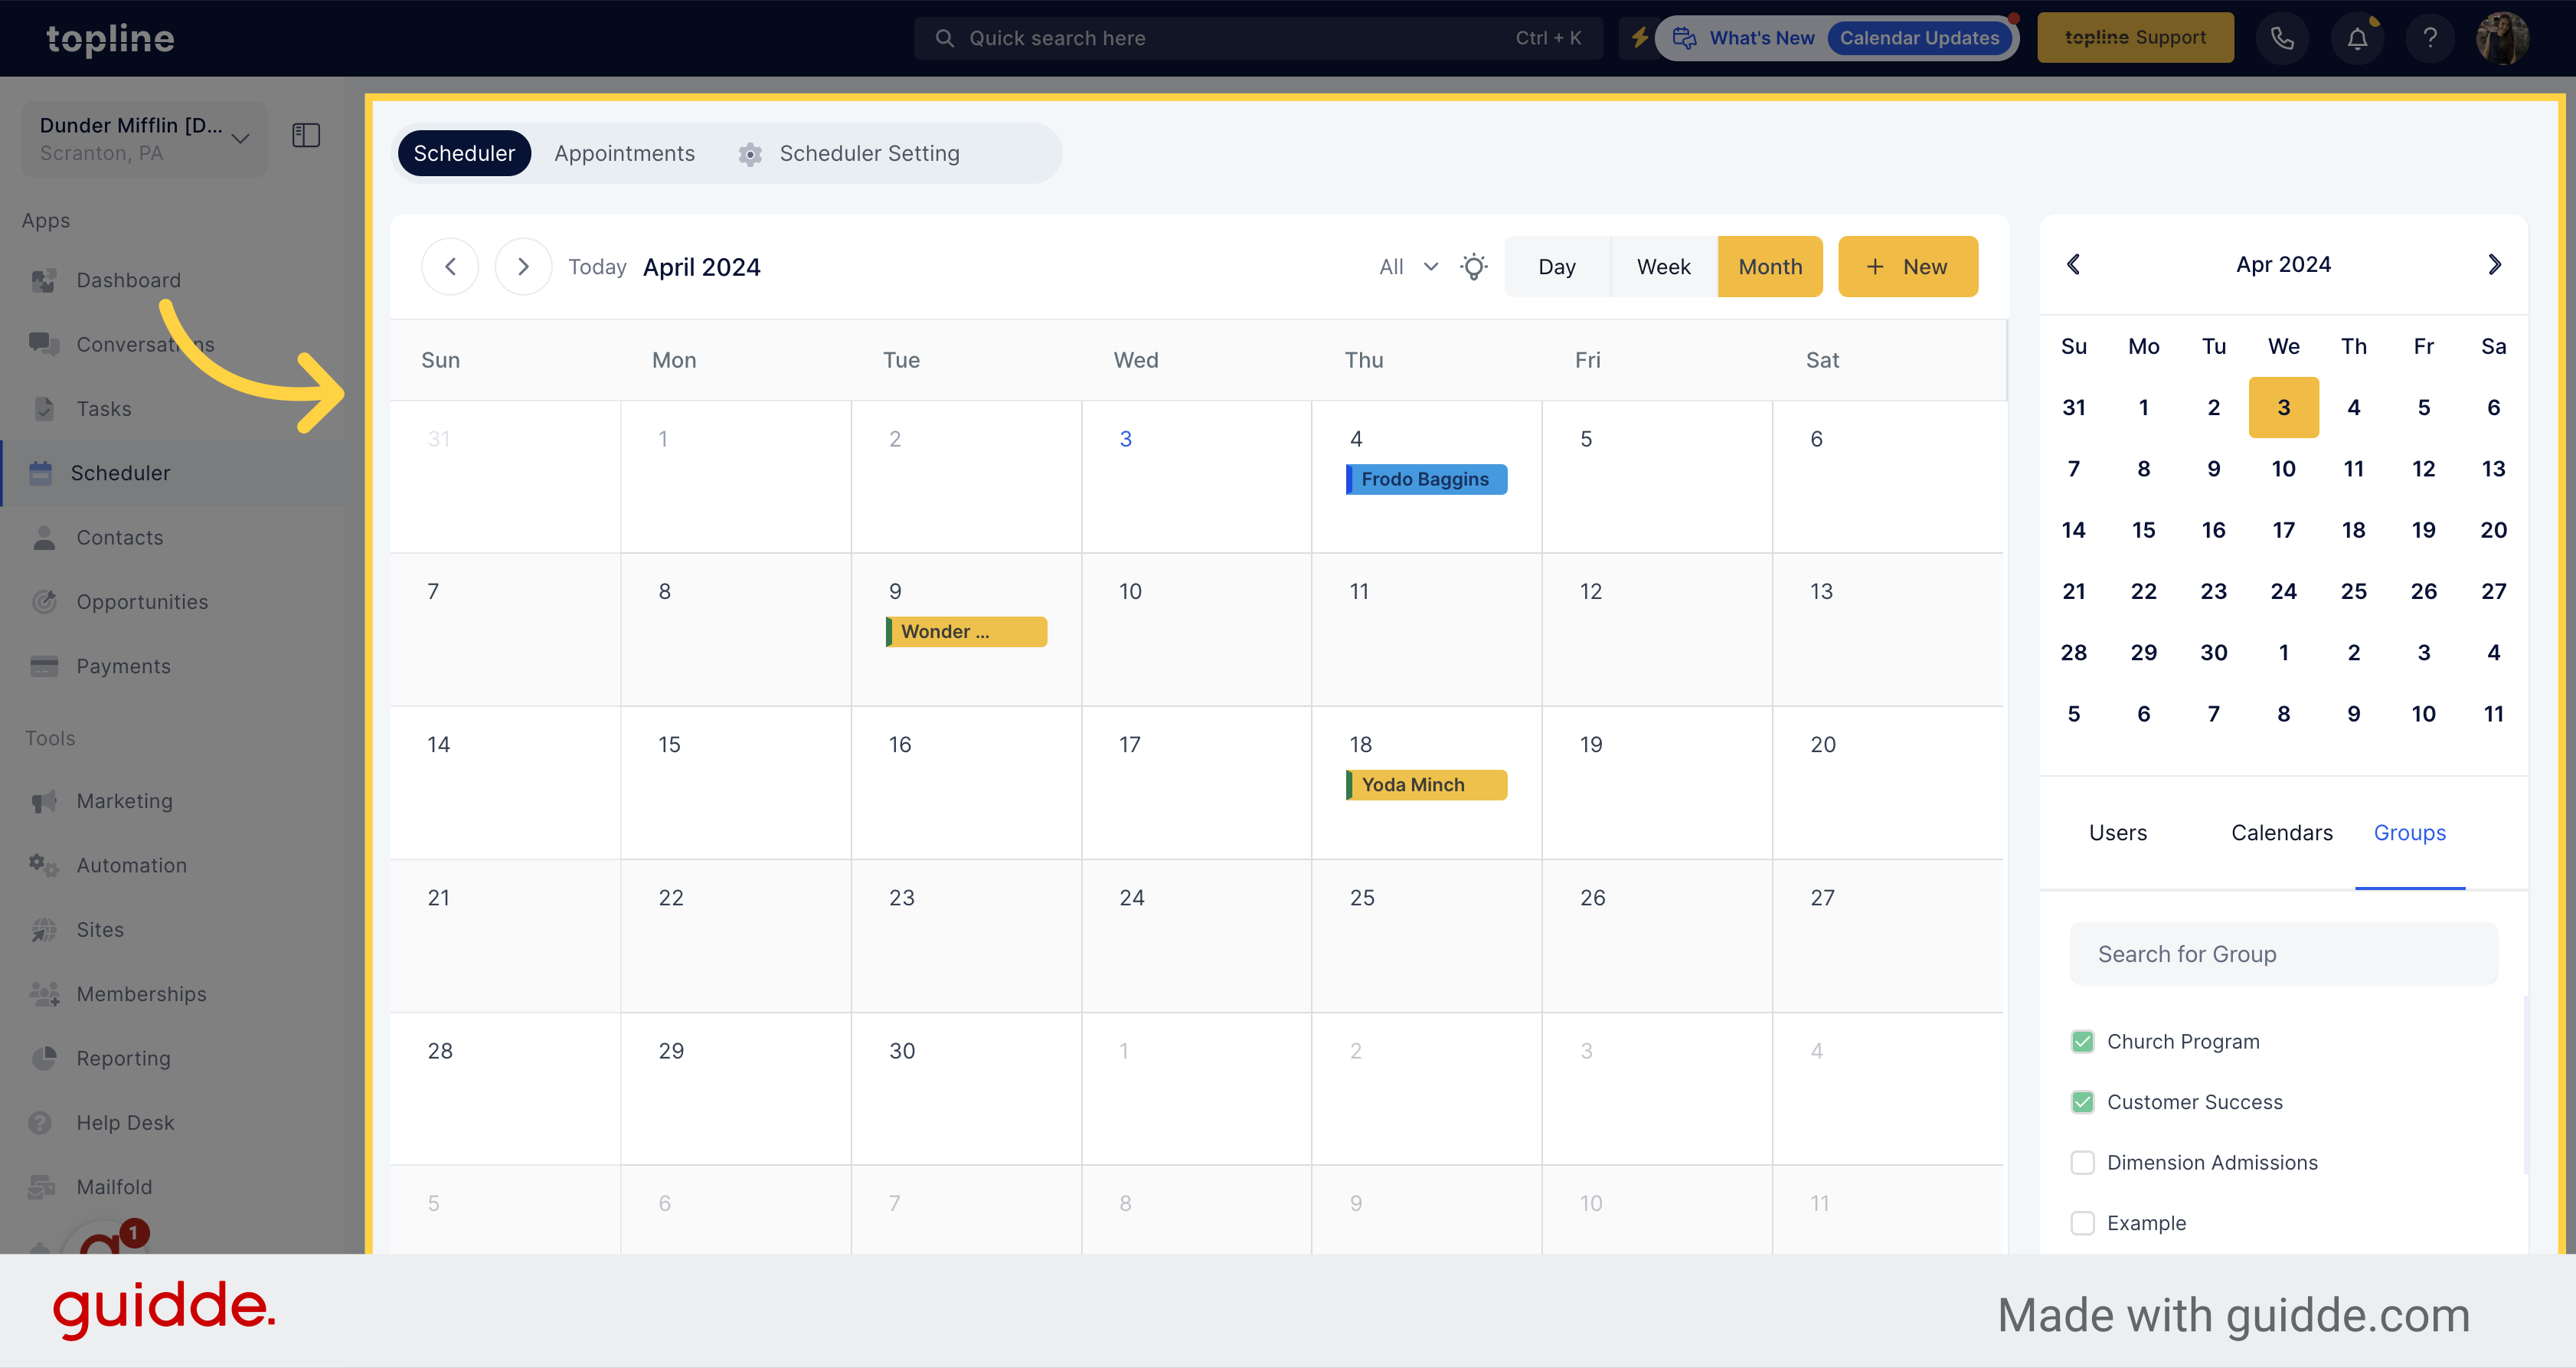
Here you can visualize all the appointments scheduled, and dates. You can sort the view by day, week or month.
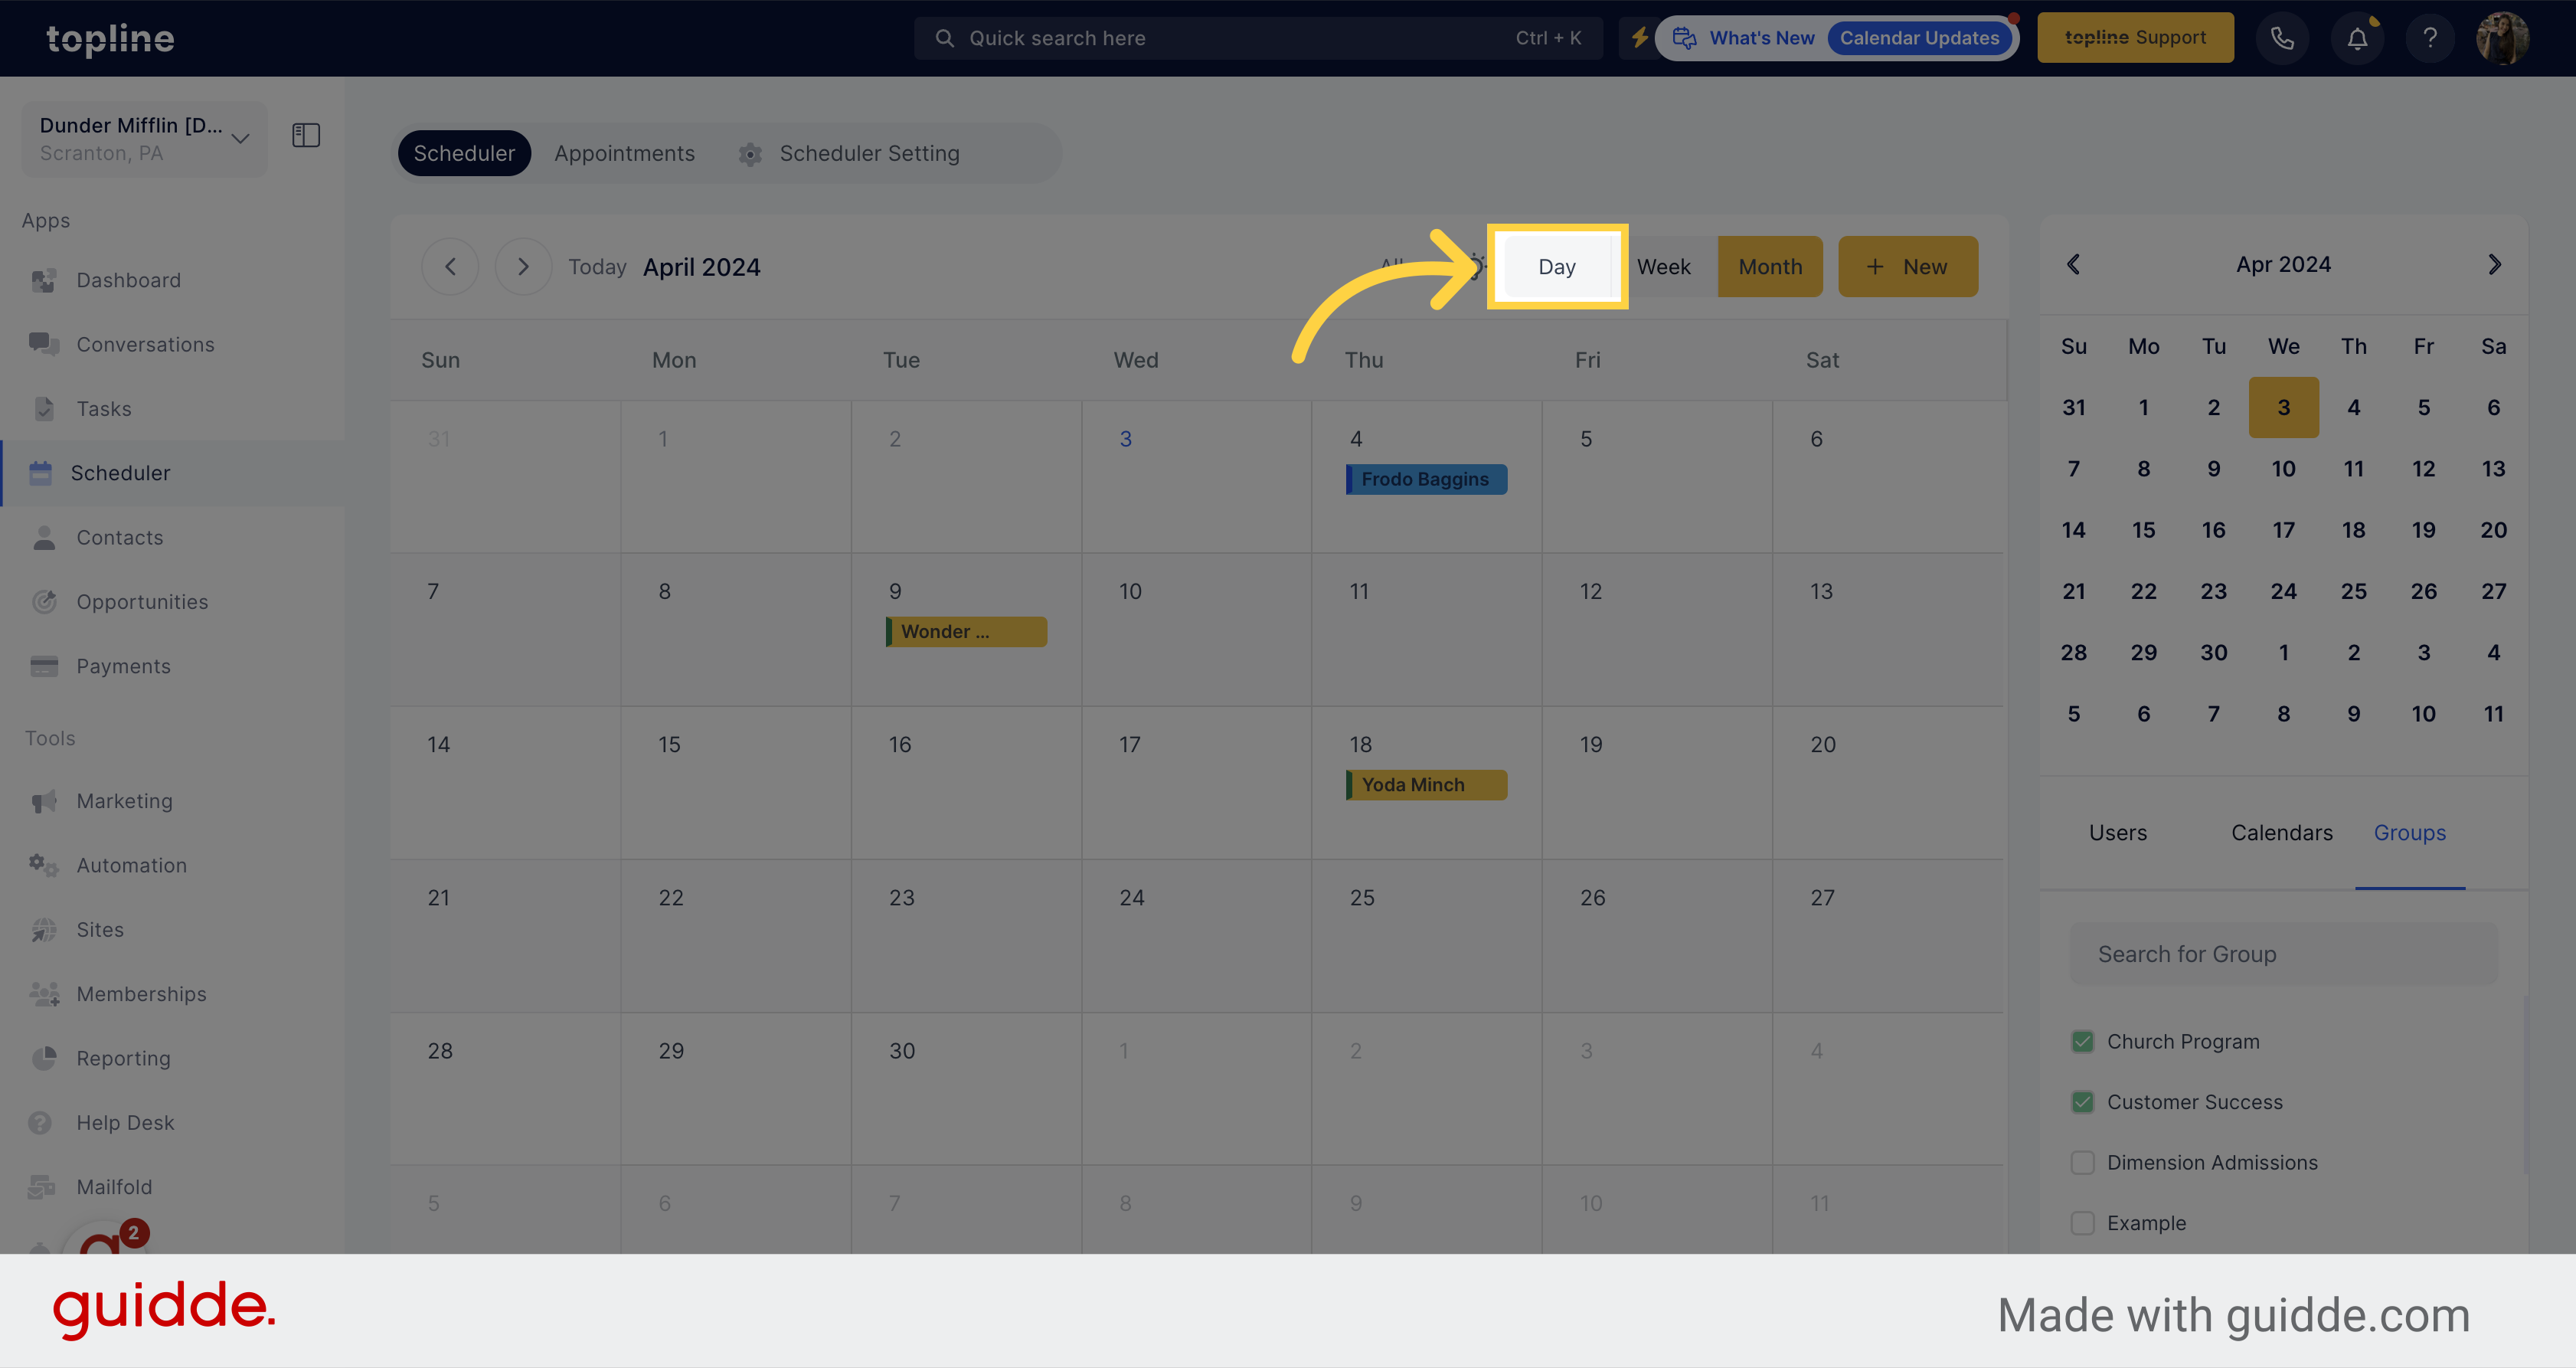
Select this option to change the view to a daily one.
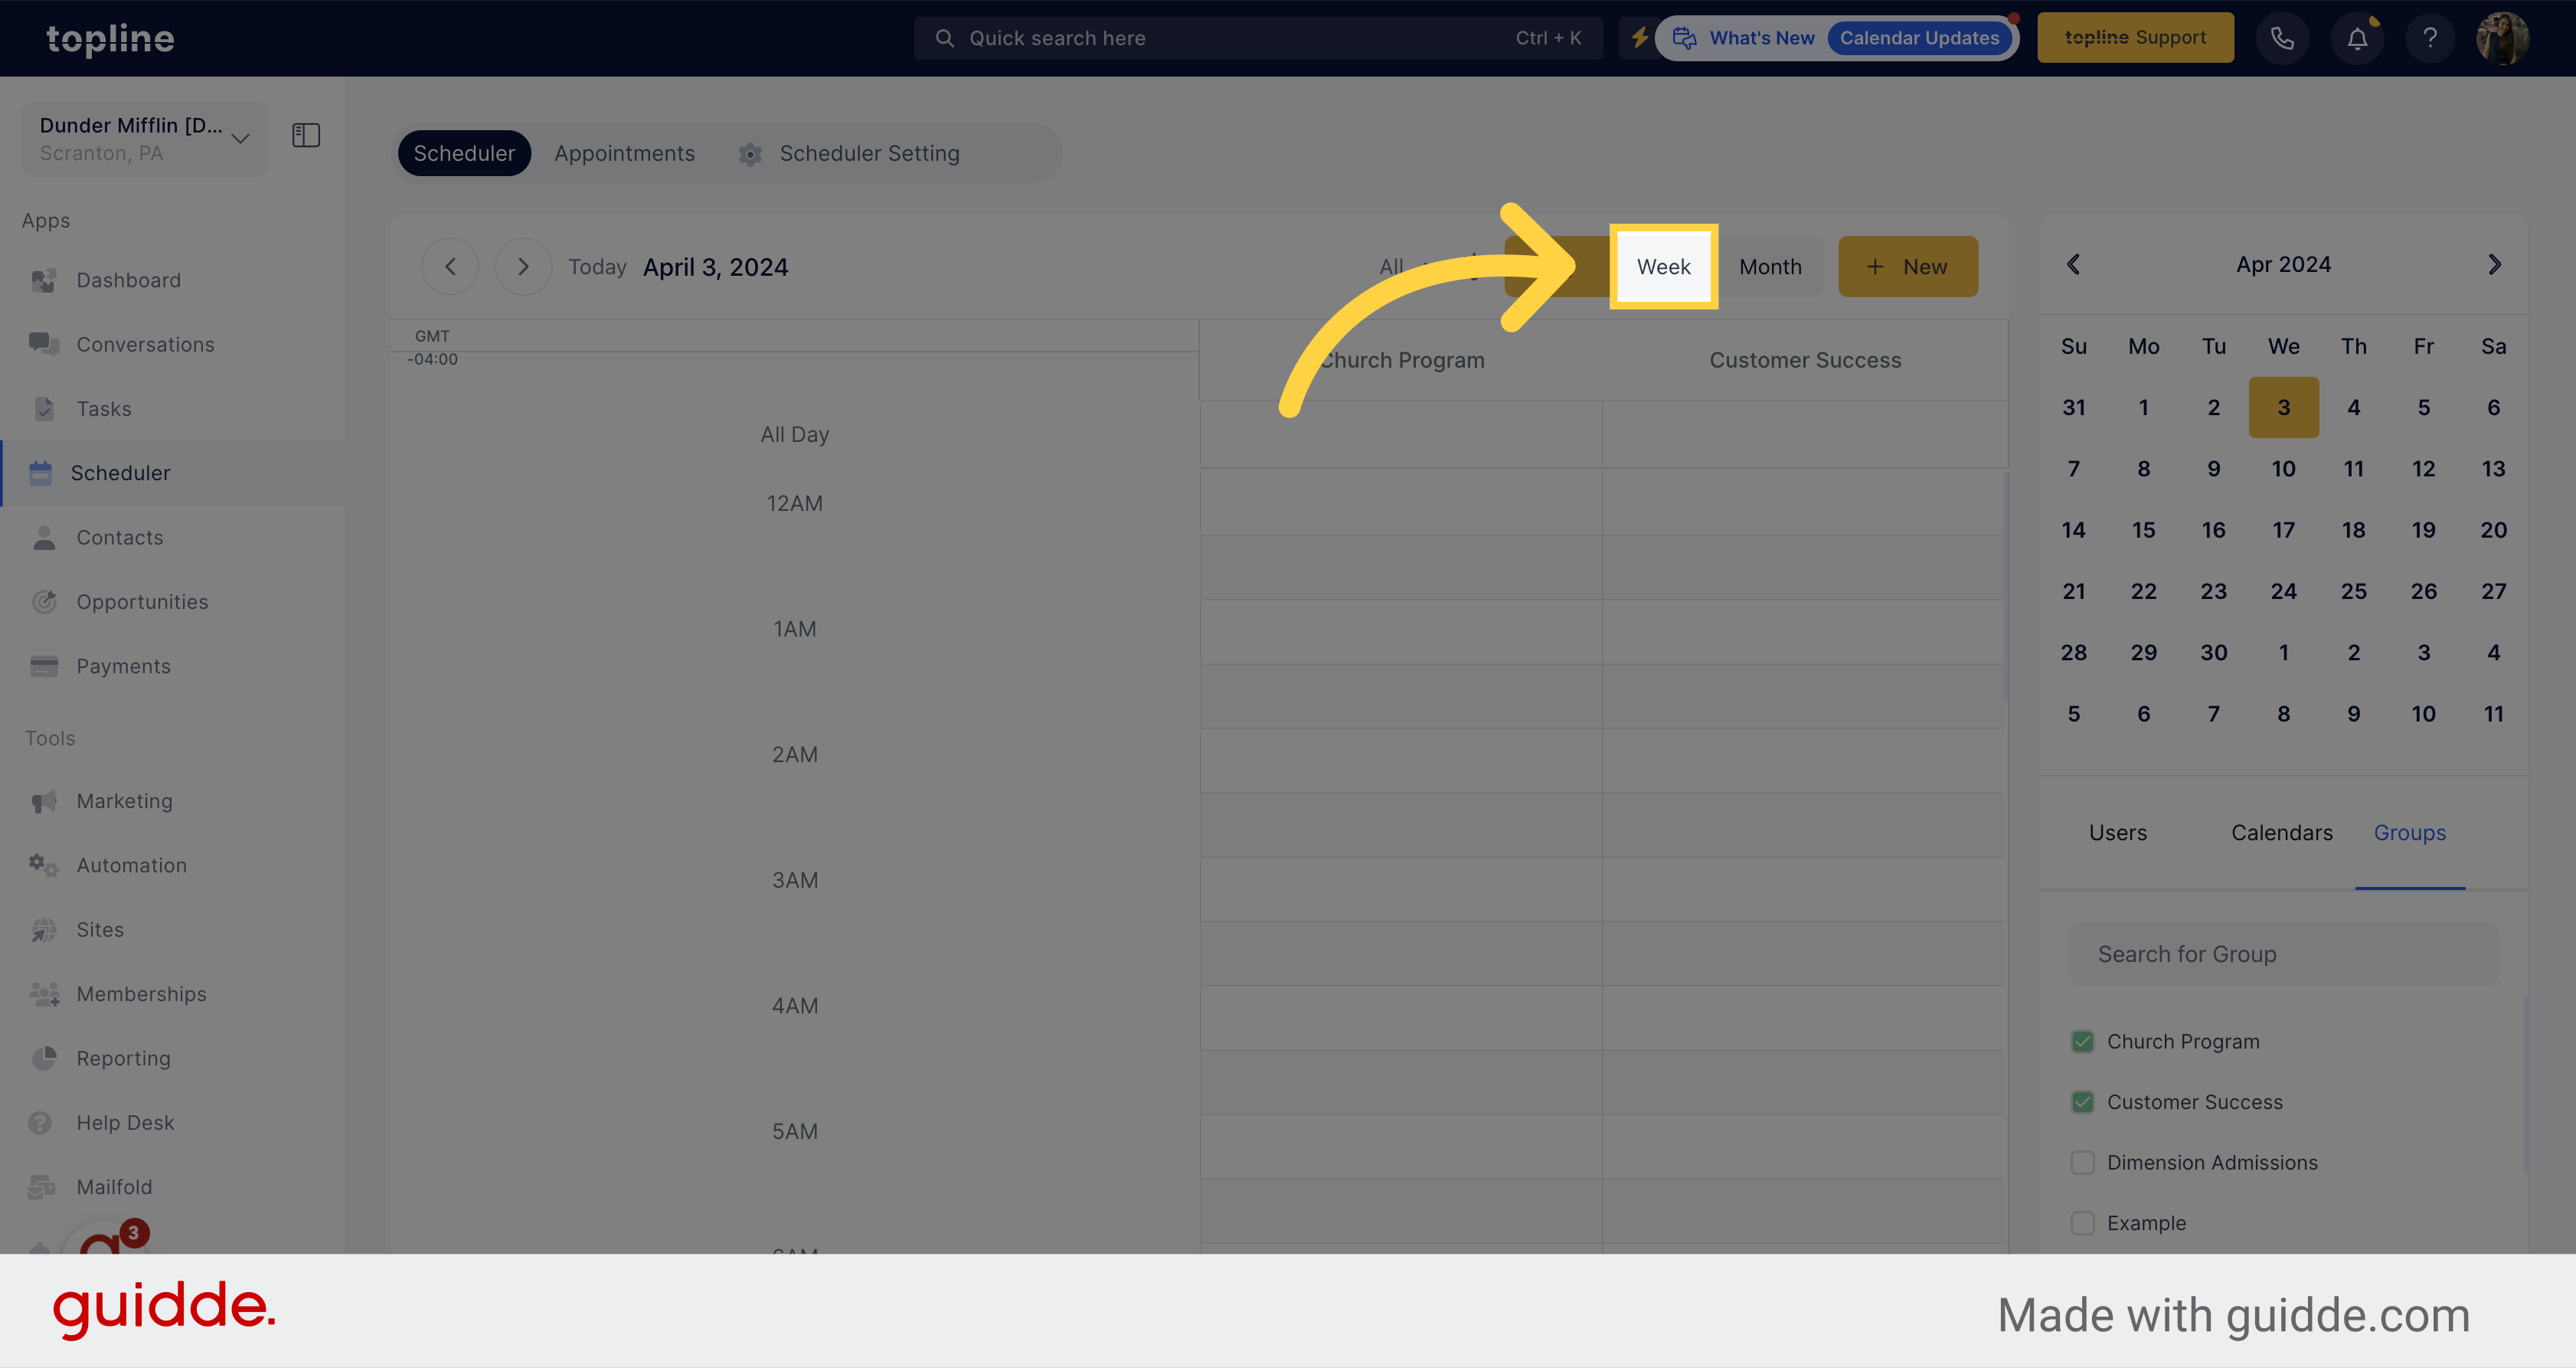
Select the week option to switch to the weekly view.
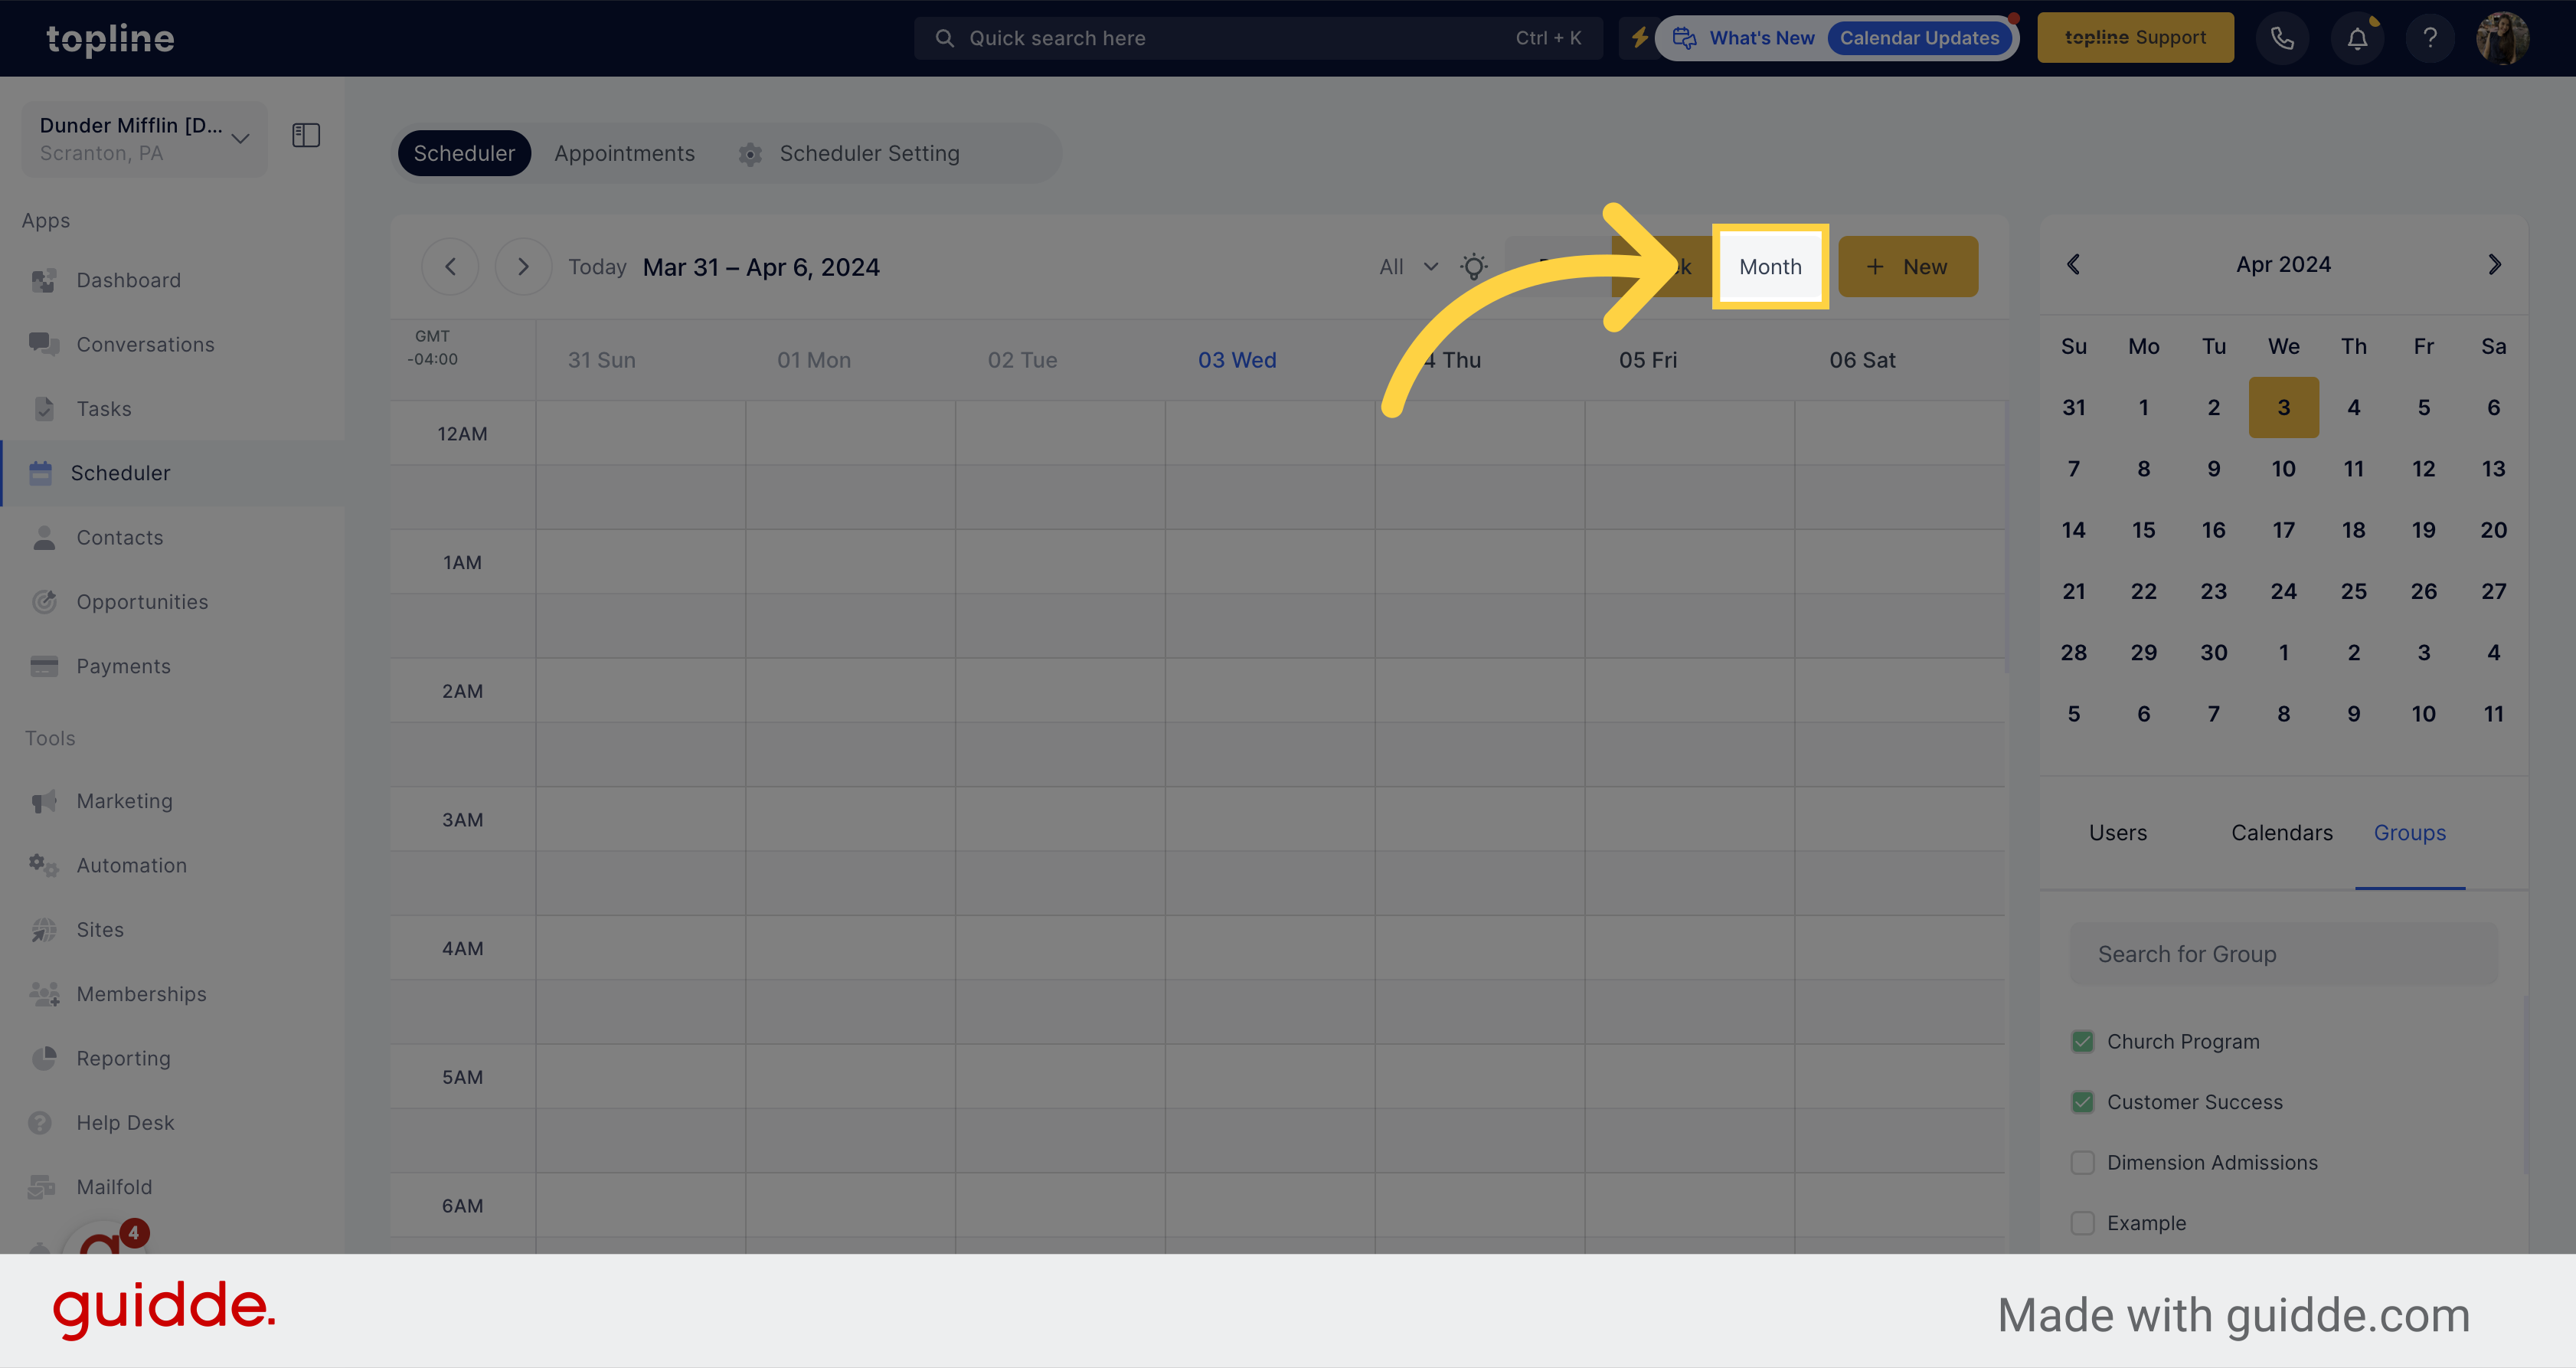
Select the Month option to switch to the monthly view.
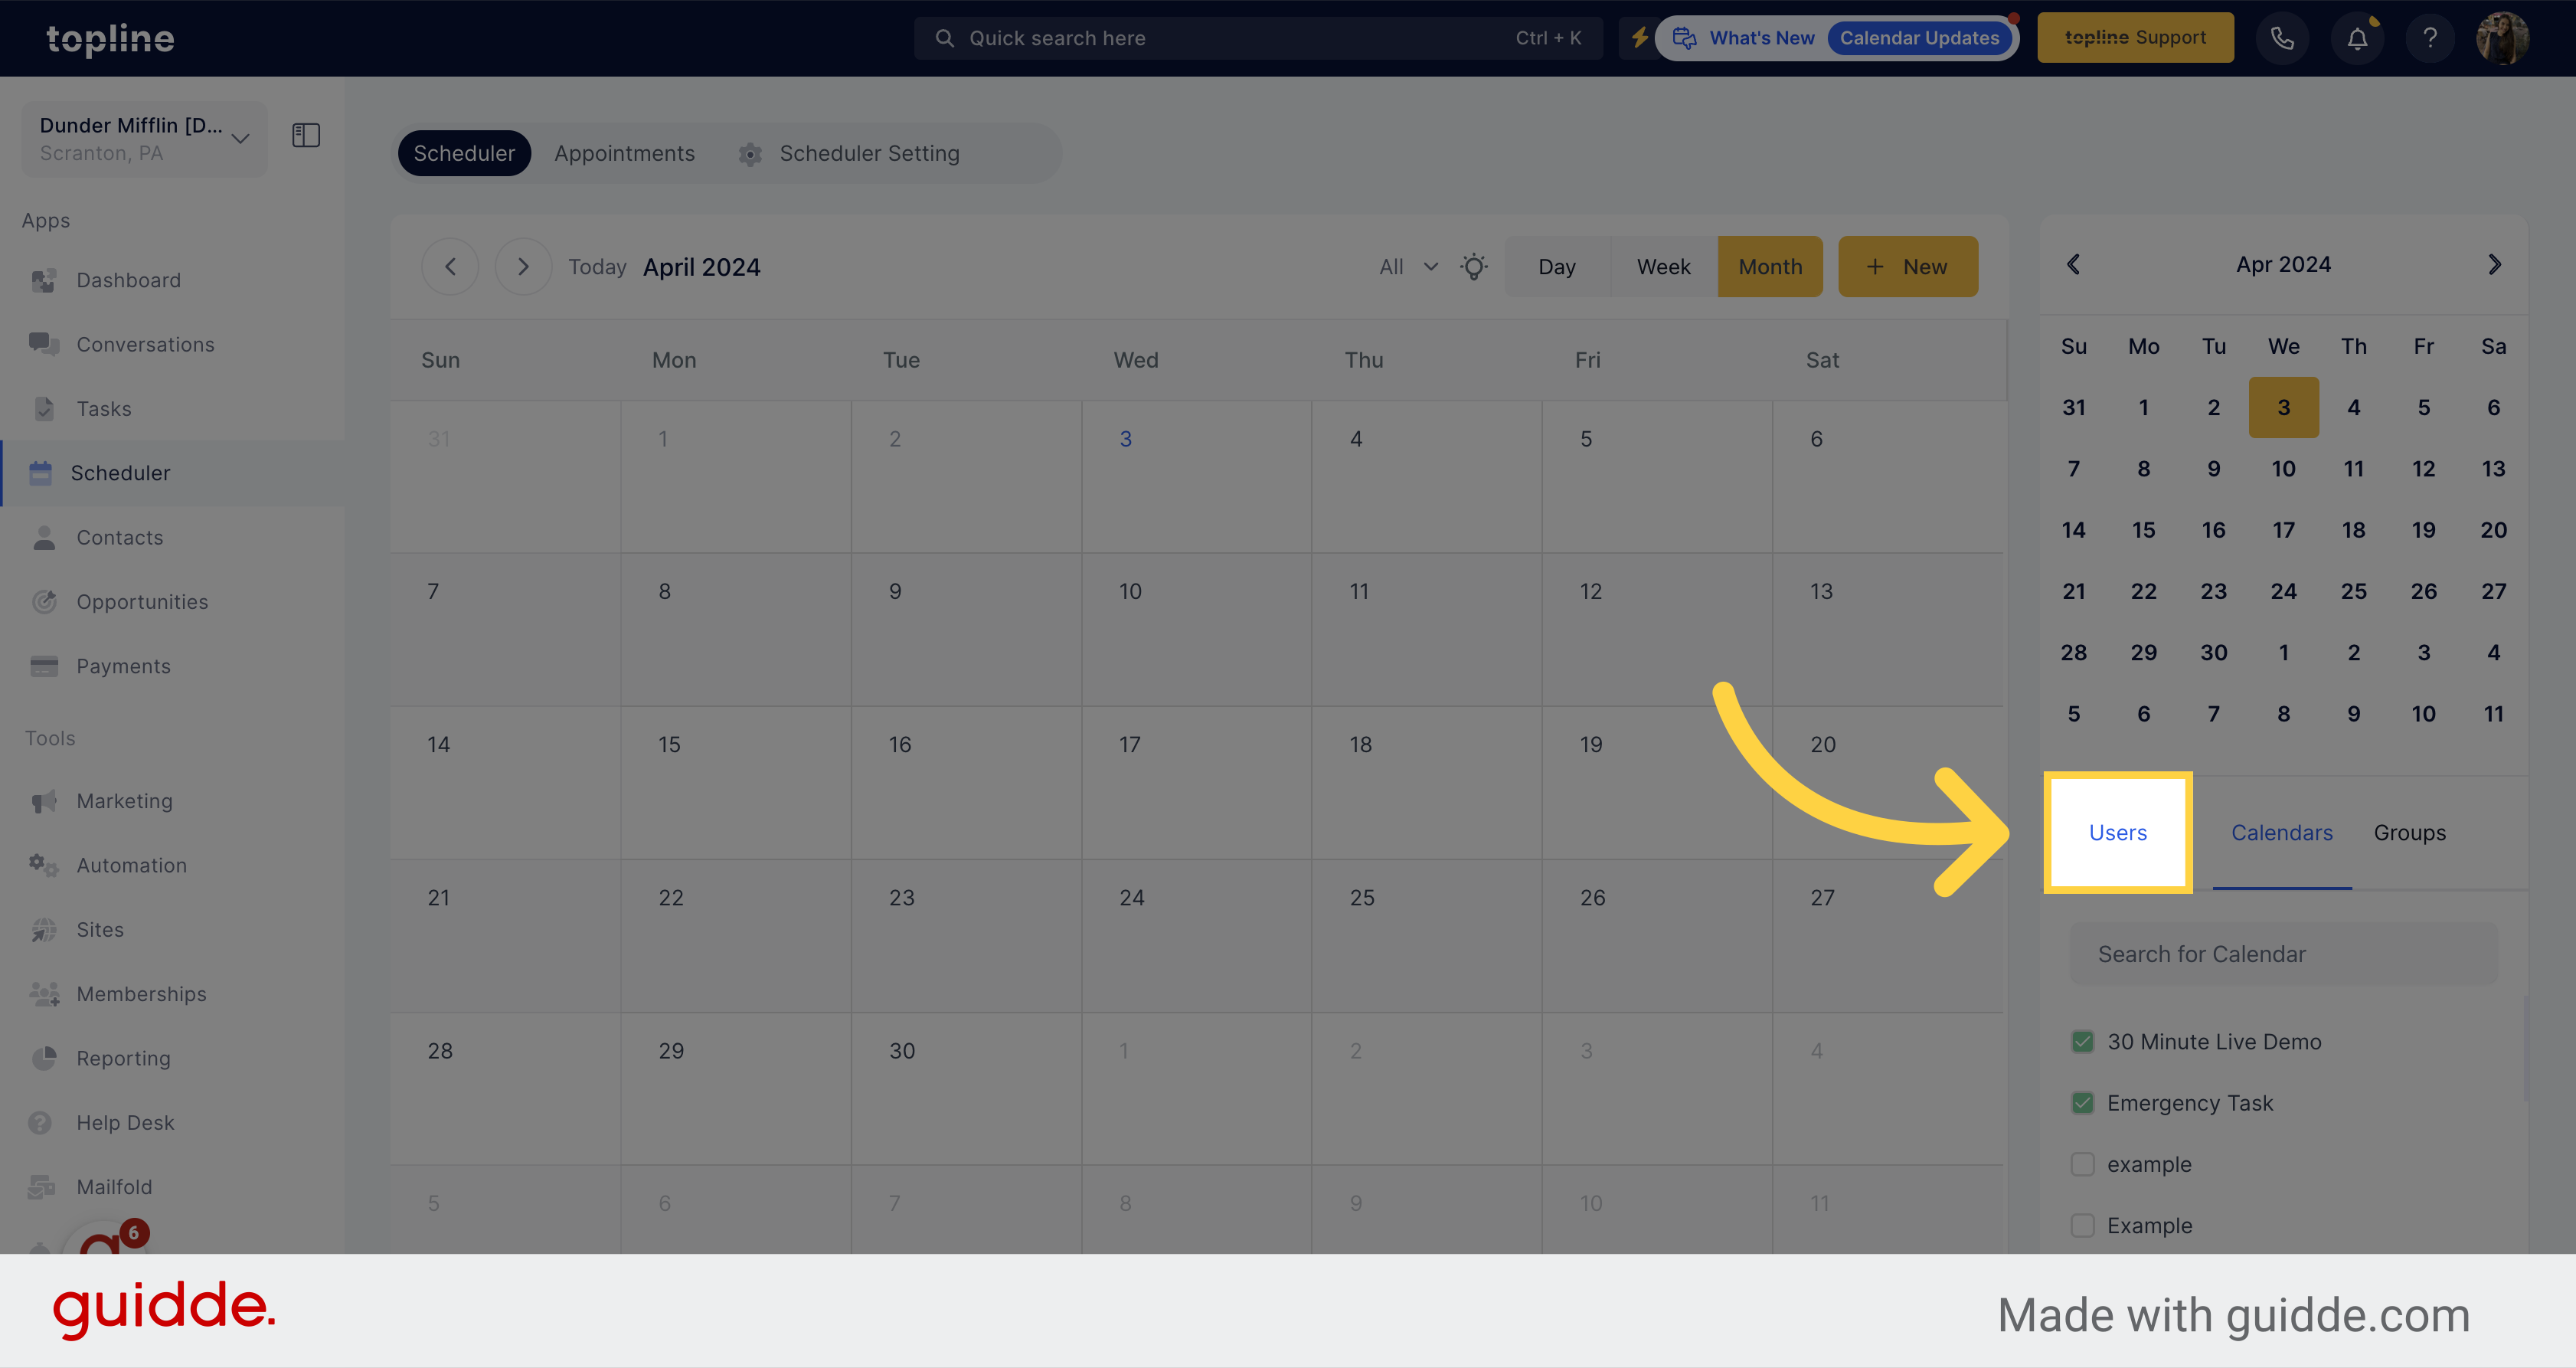
To categorize the scheduler view according users, click on this option, then select the users you want to visualize.
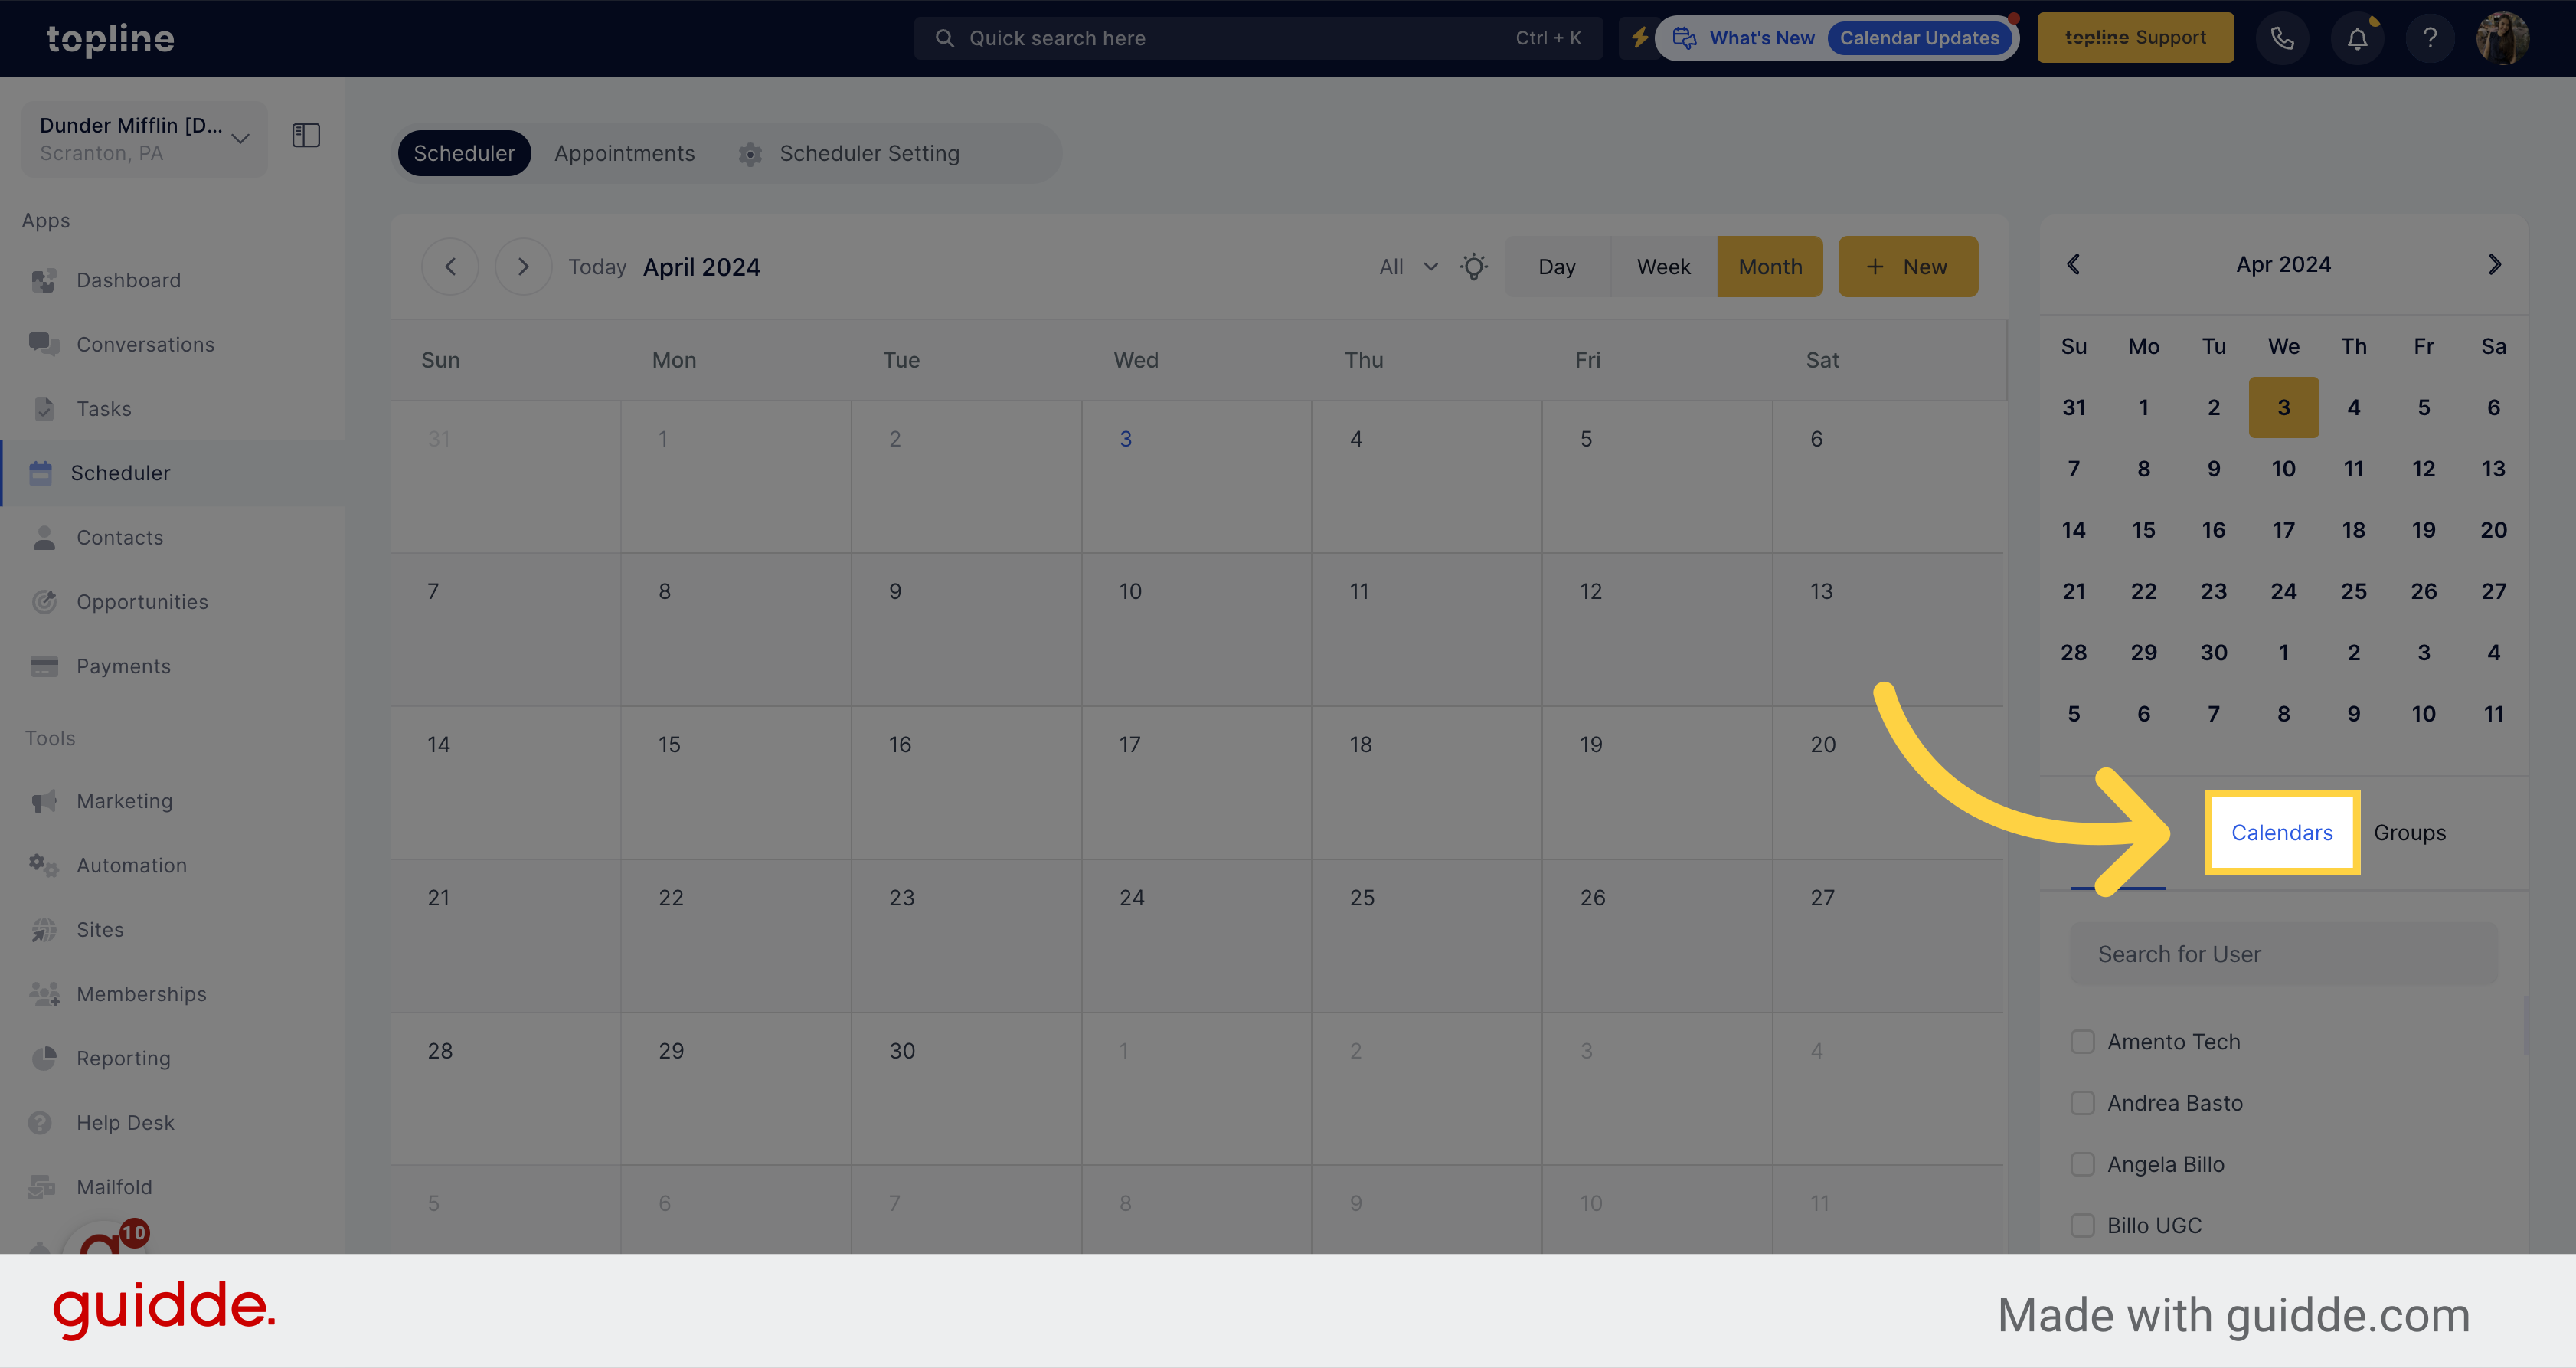
To have the information related to specific calendars, select the calendars option and select it from the list.
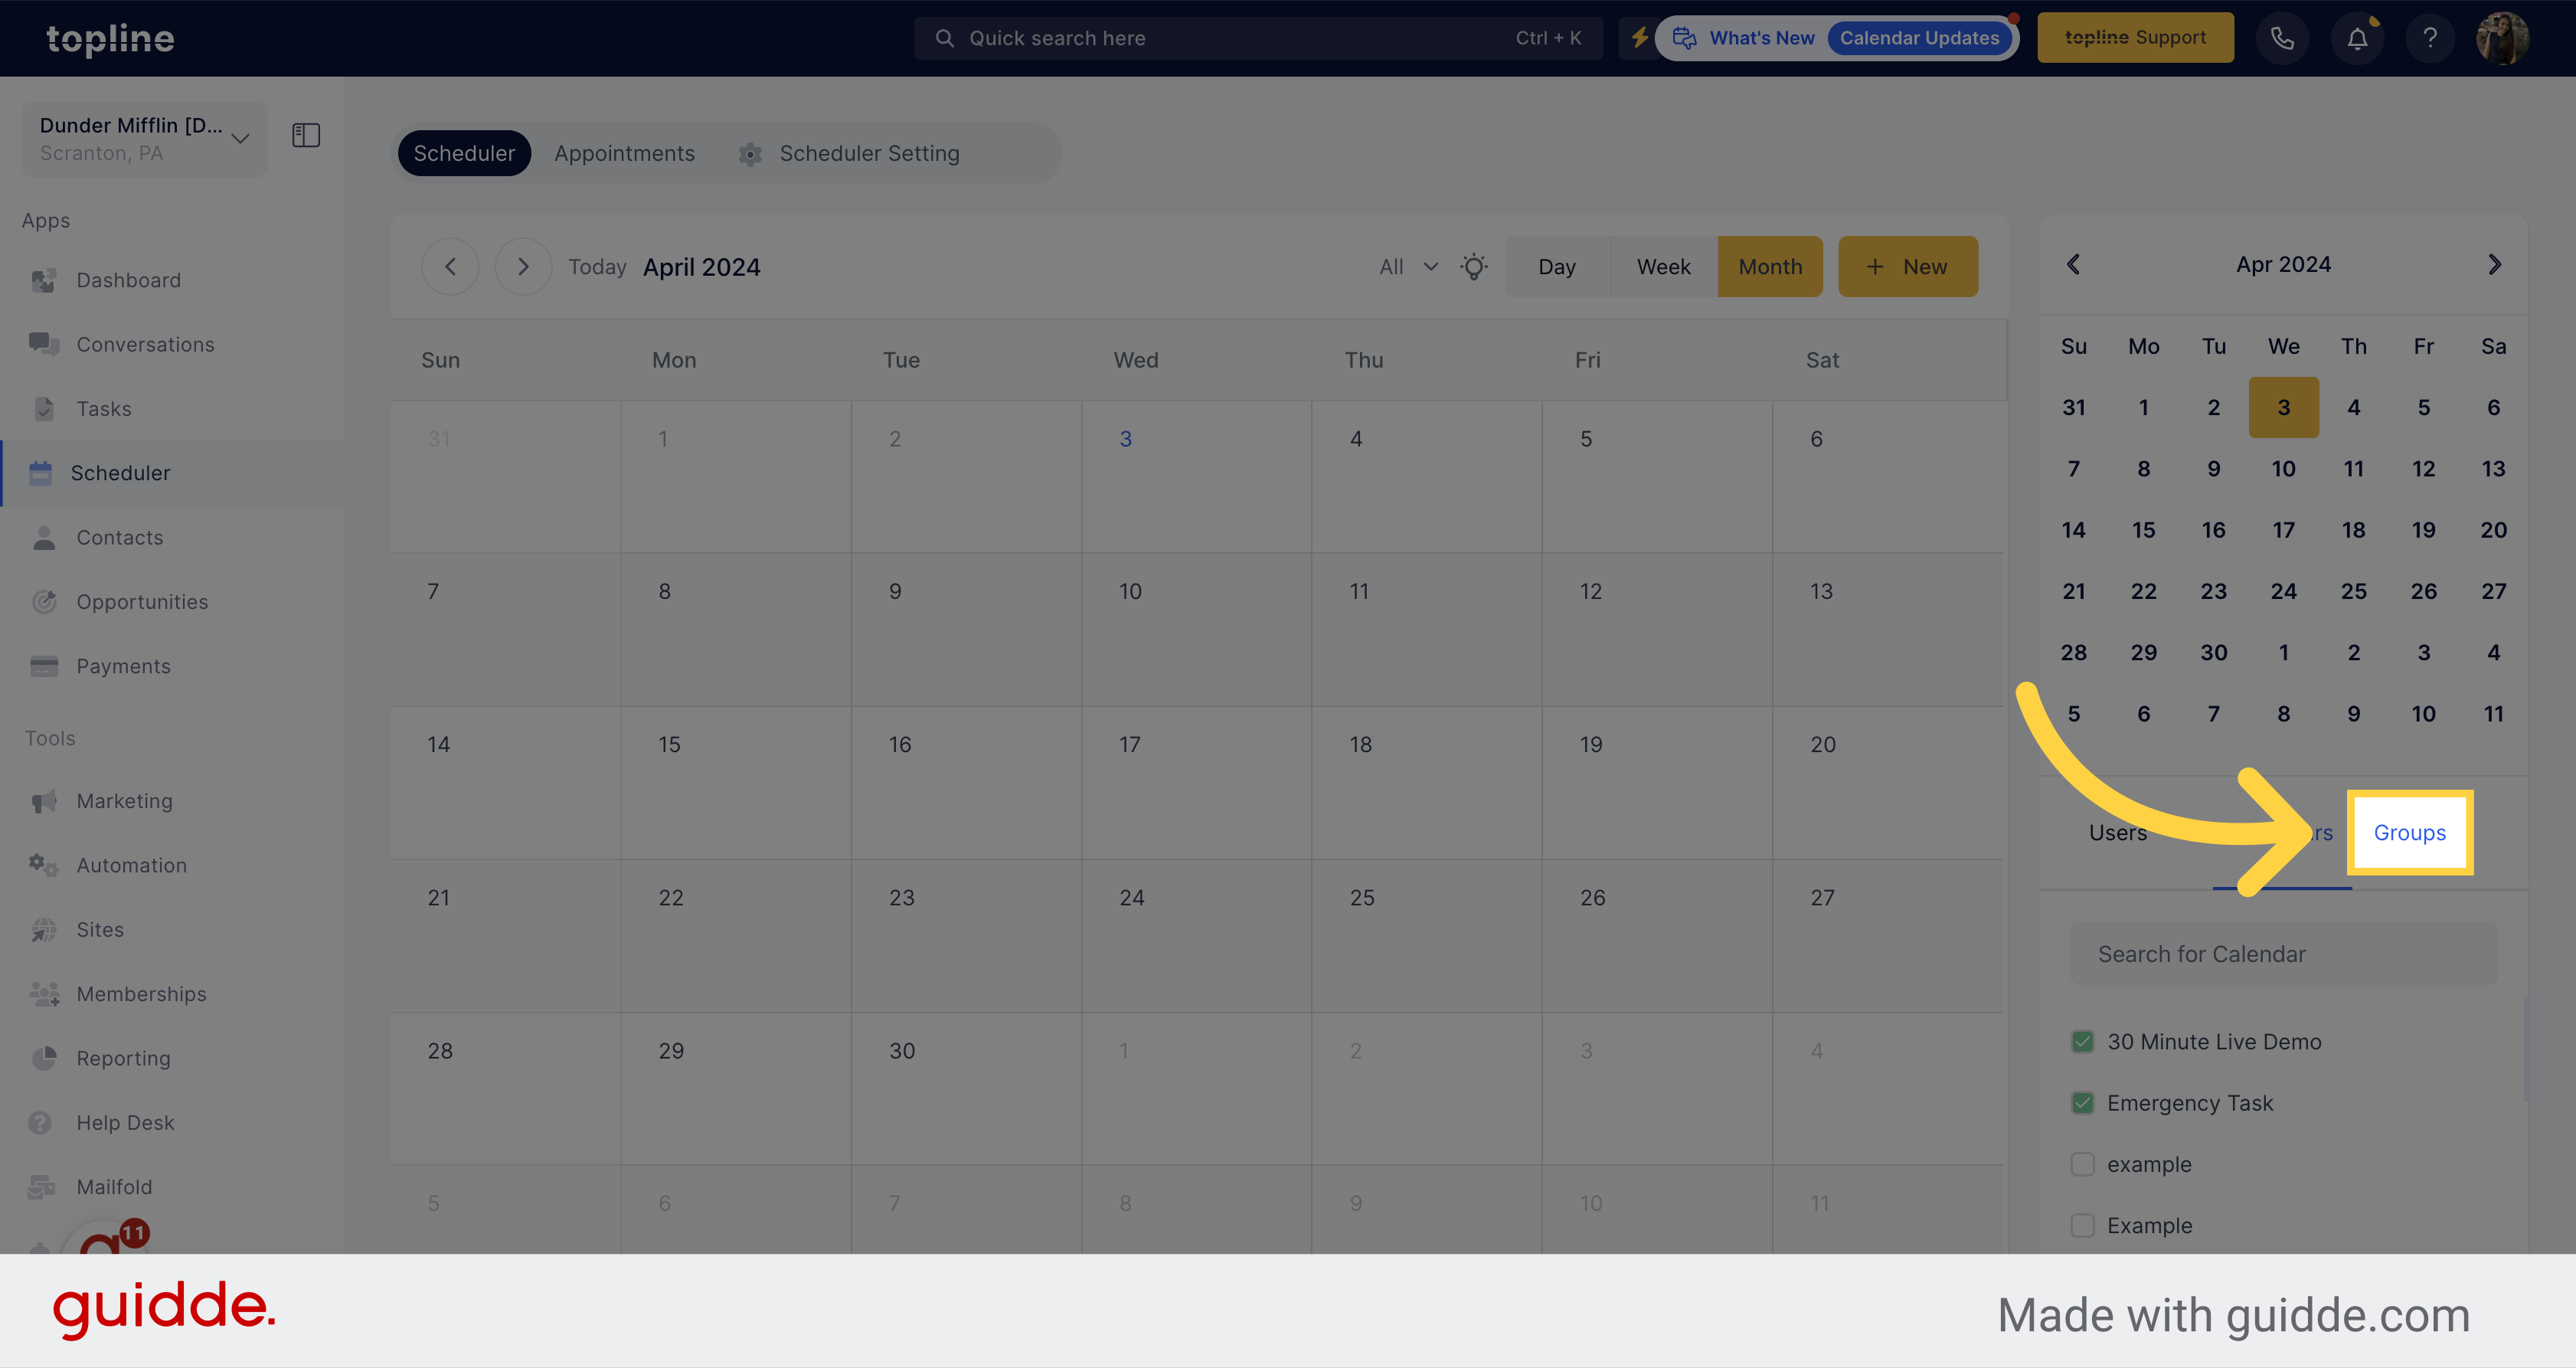
To visualize the scheduler according to groups, select the option, and then select the groups you want to visualize.
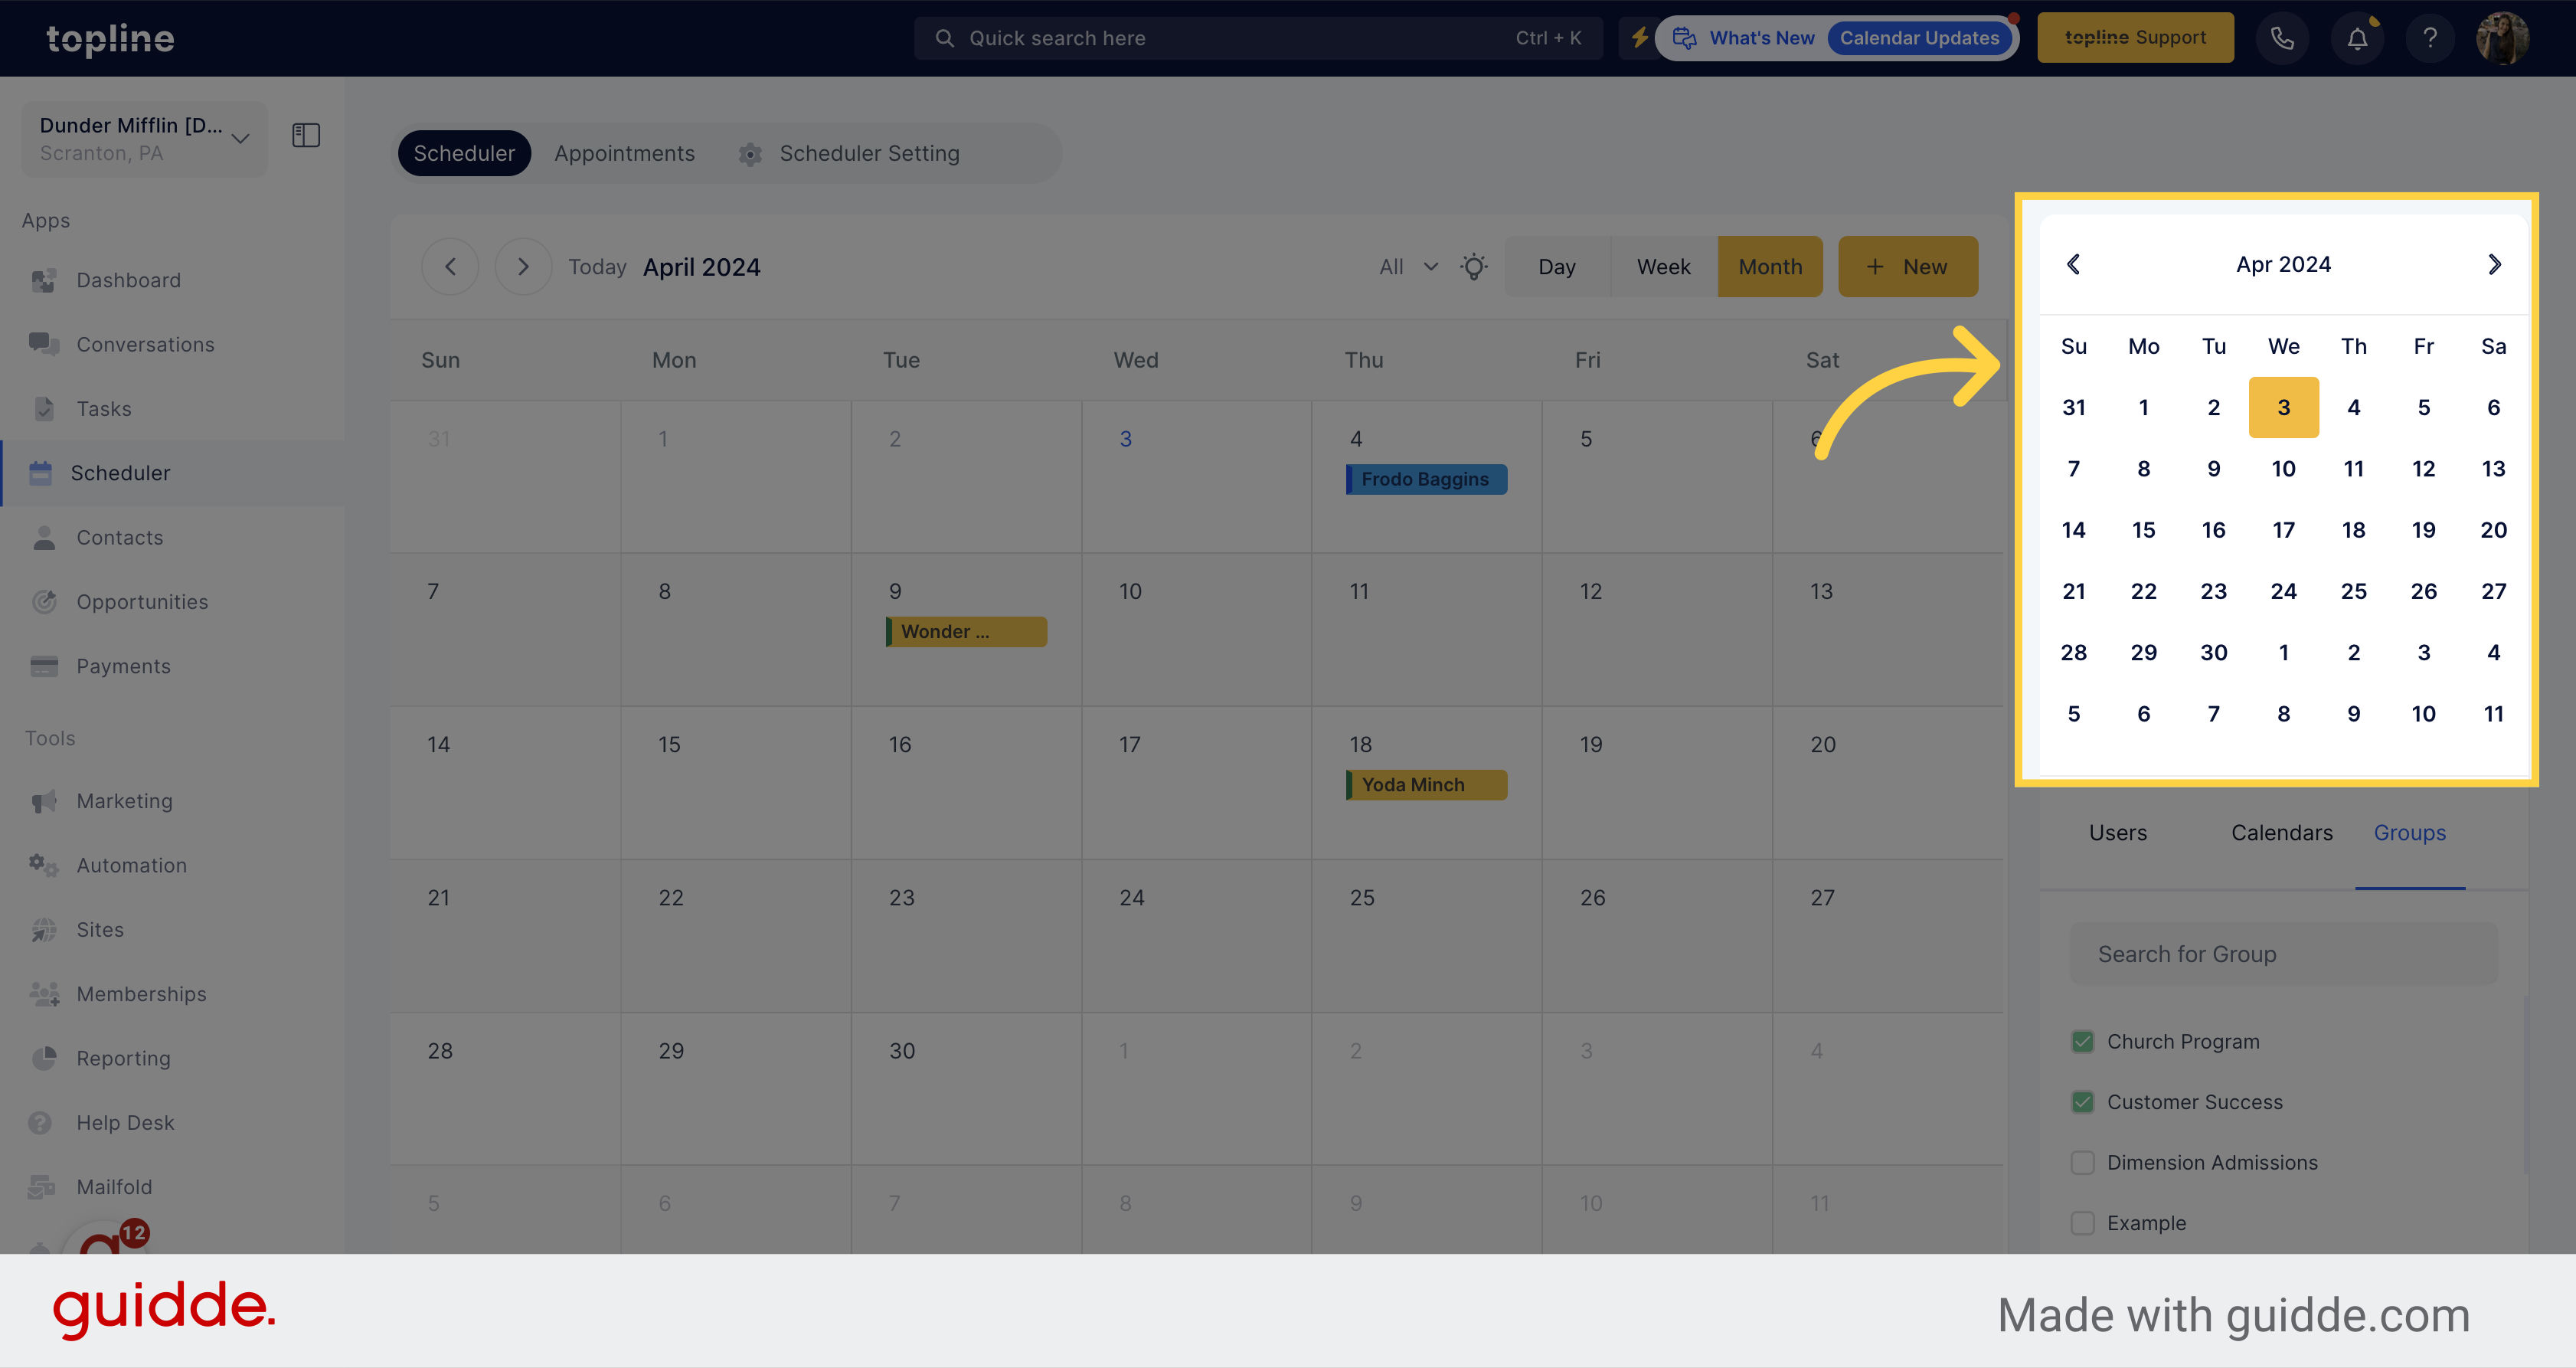
Select the specific month or date you want to visualize.
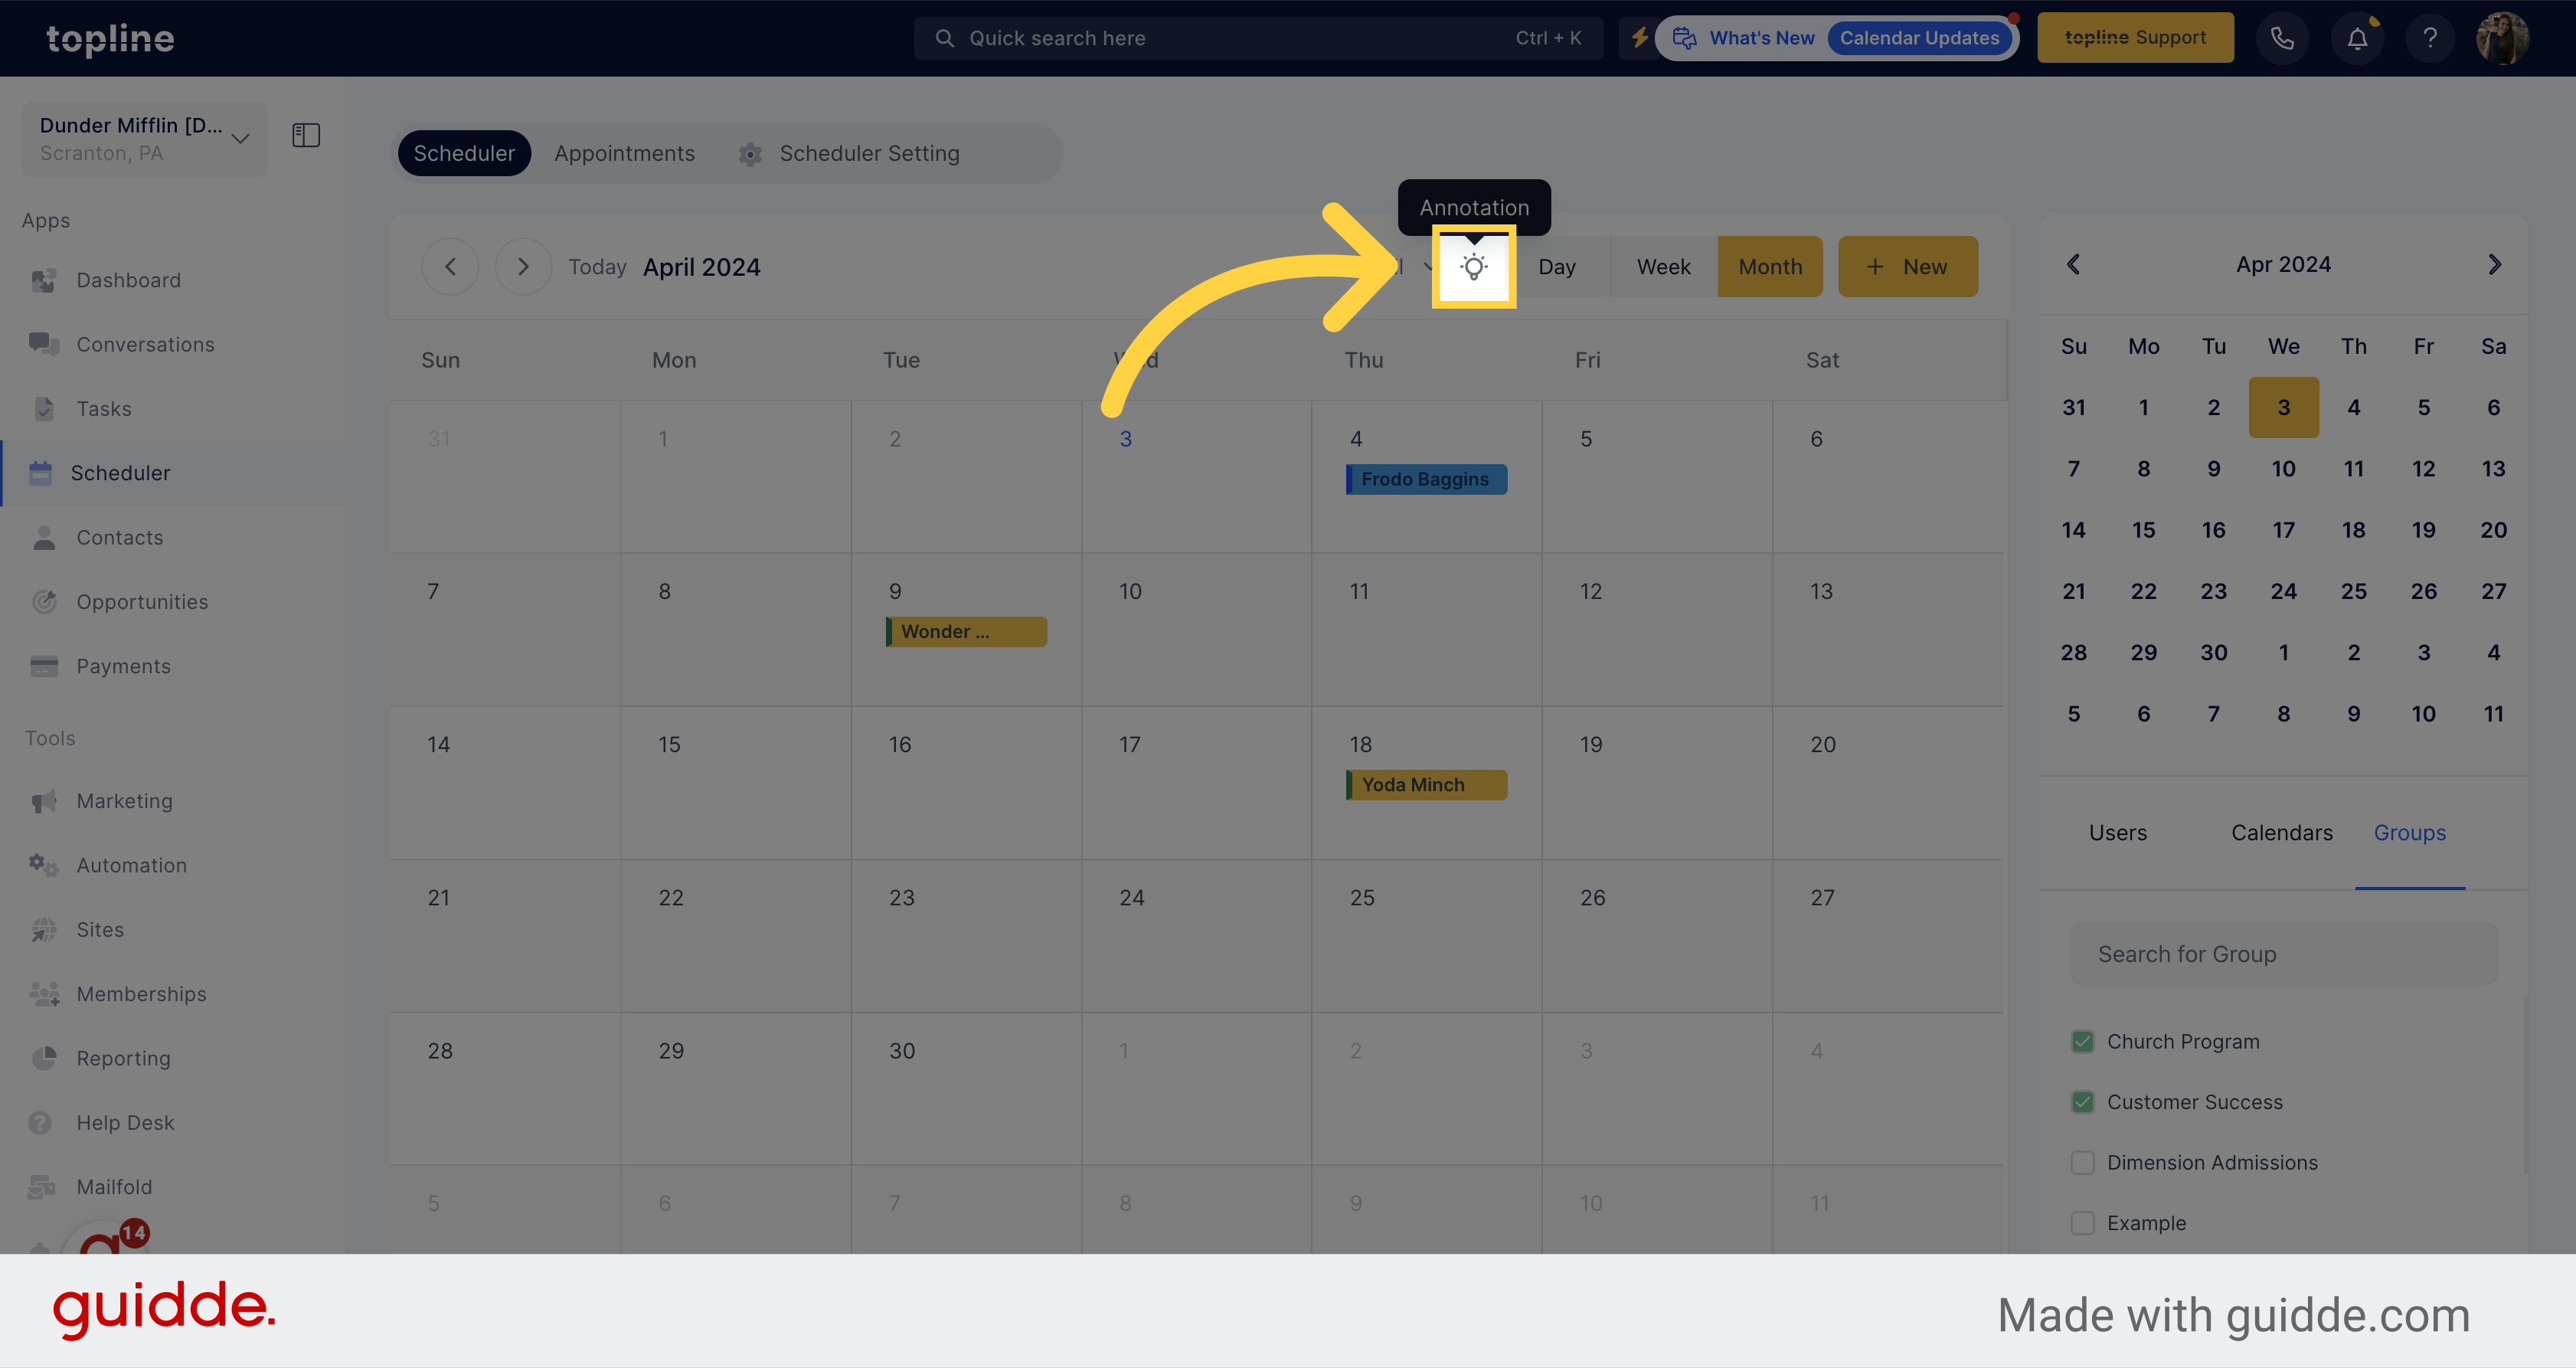
Select this option to visualize the meaning of patterns and icons used in the scheduler view.
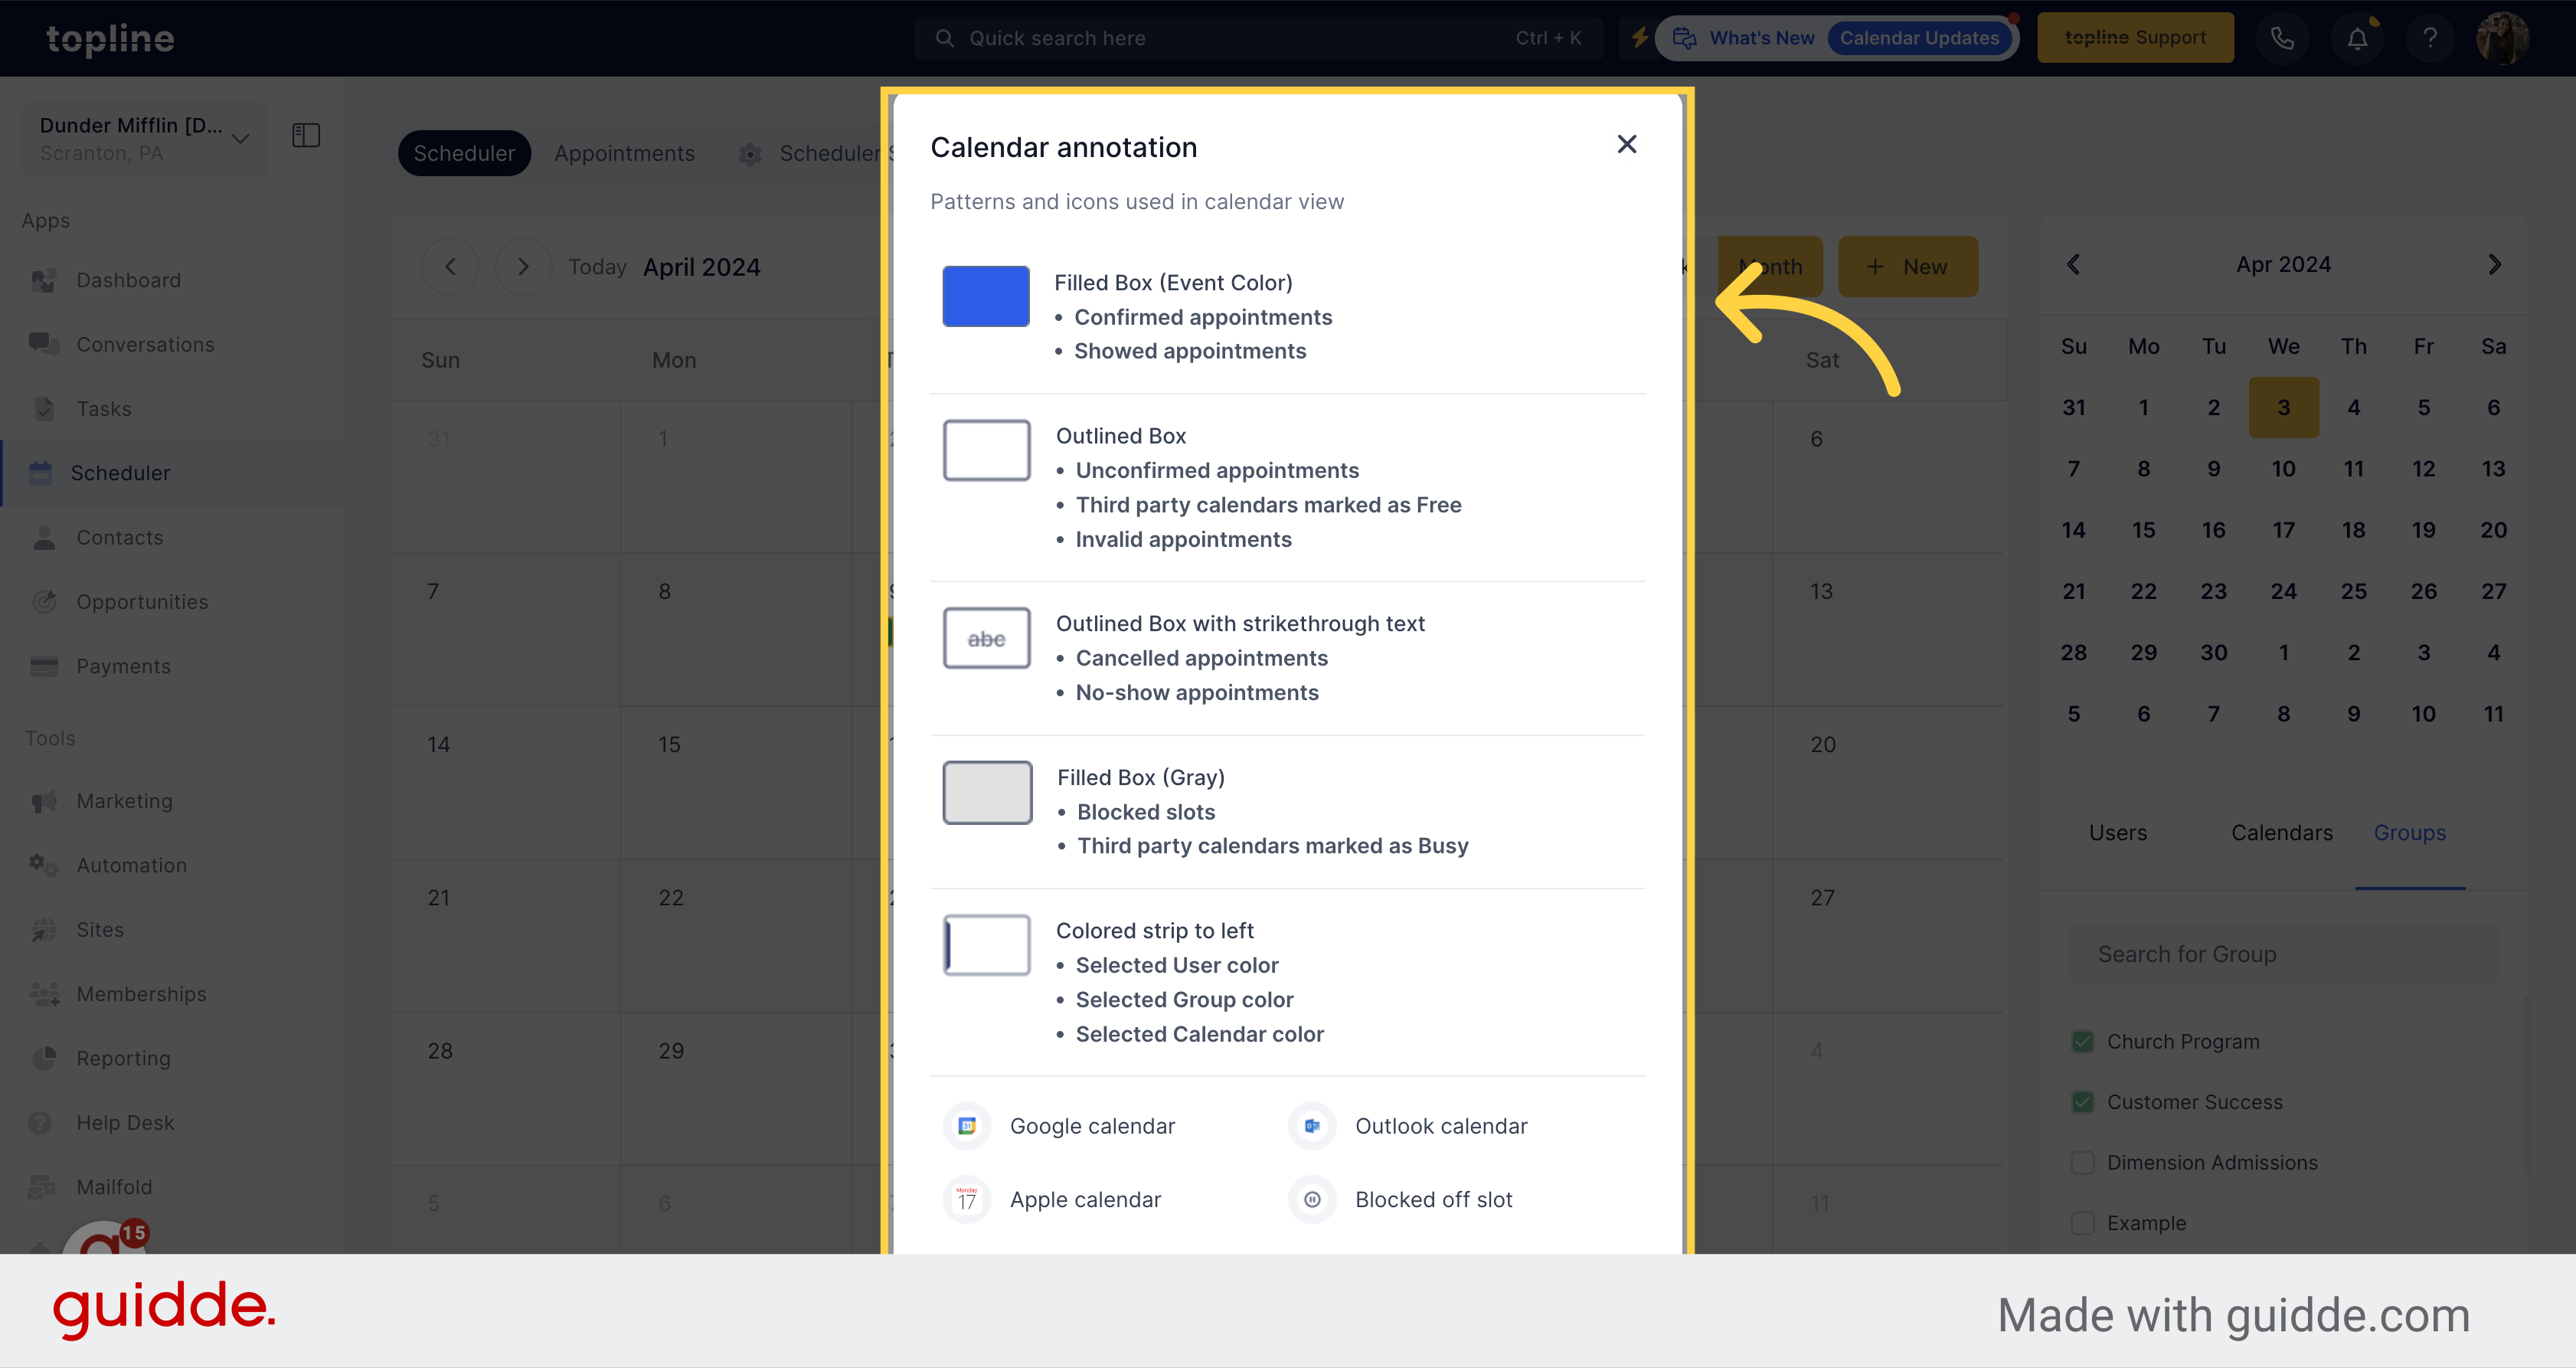
A pop up will appear with all the patterns and icons in calendars. You can find the meaning of all of them.
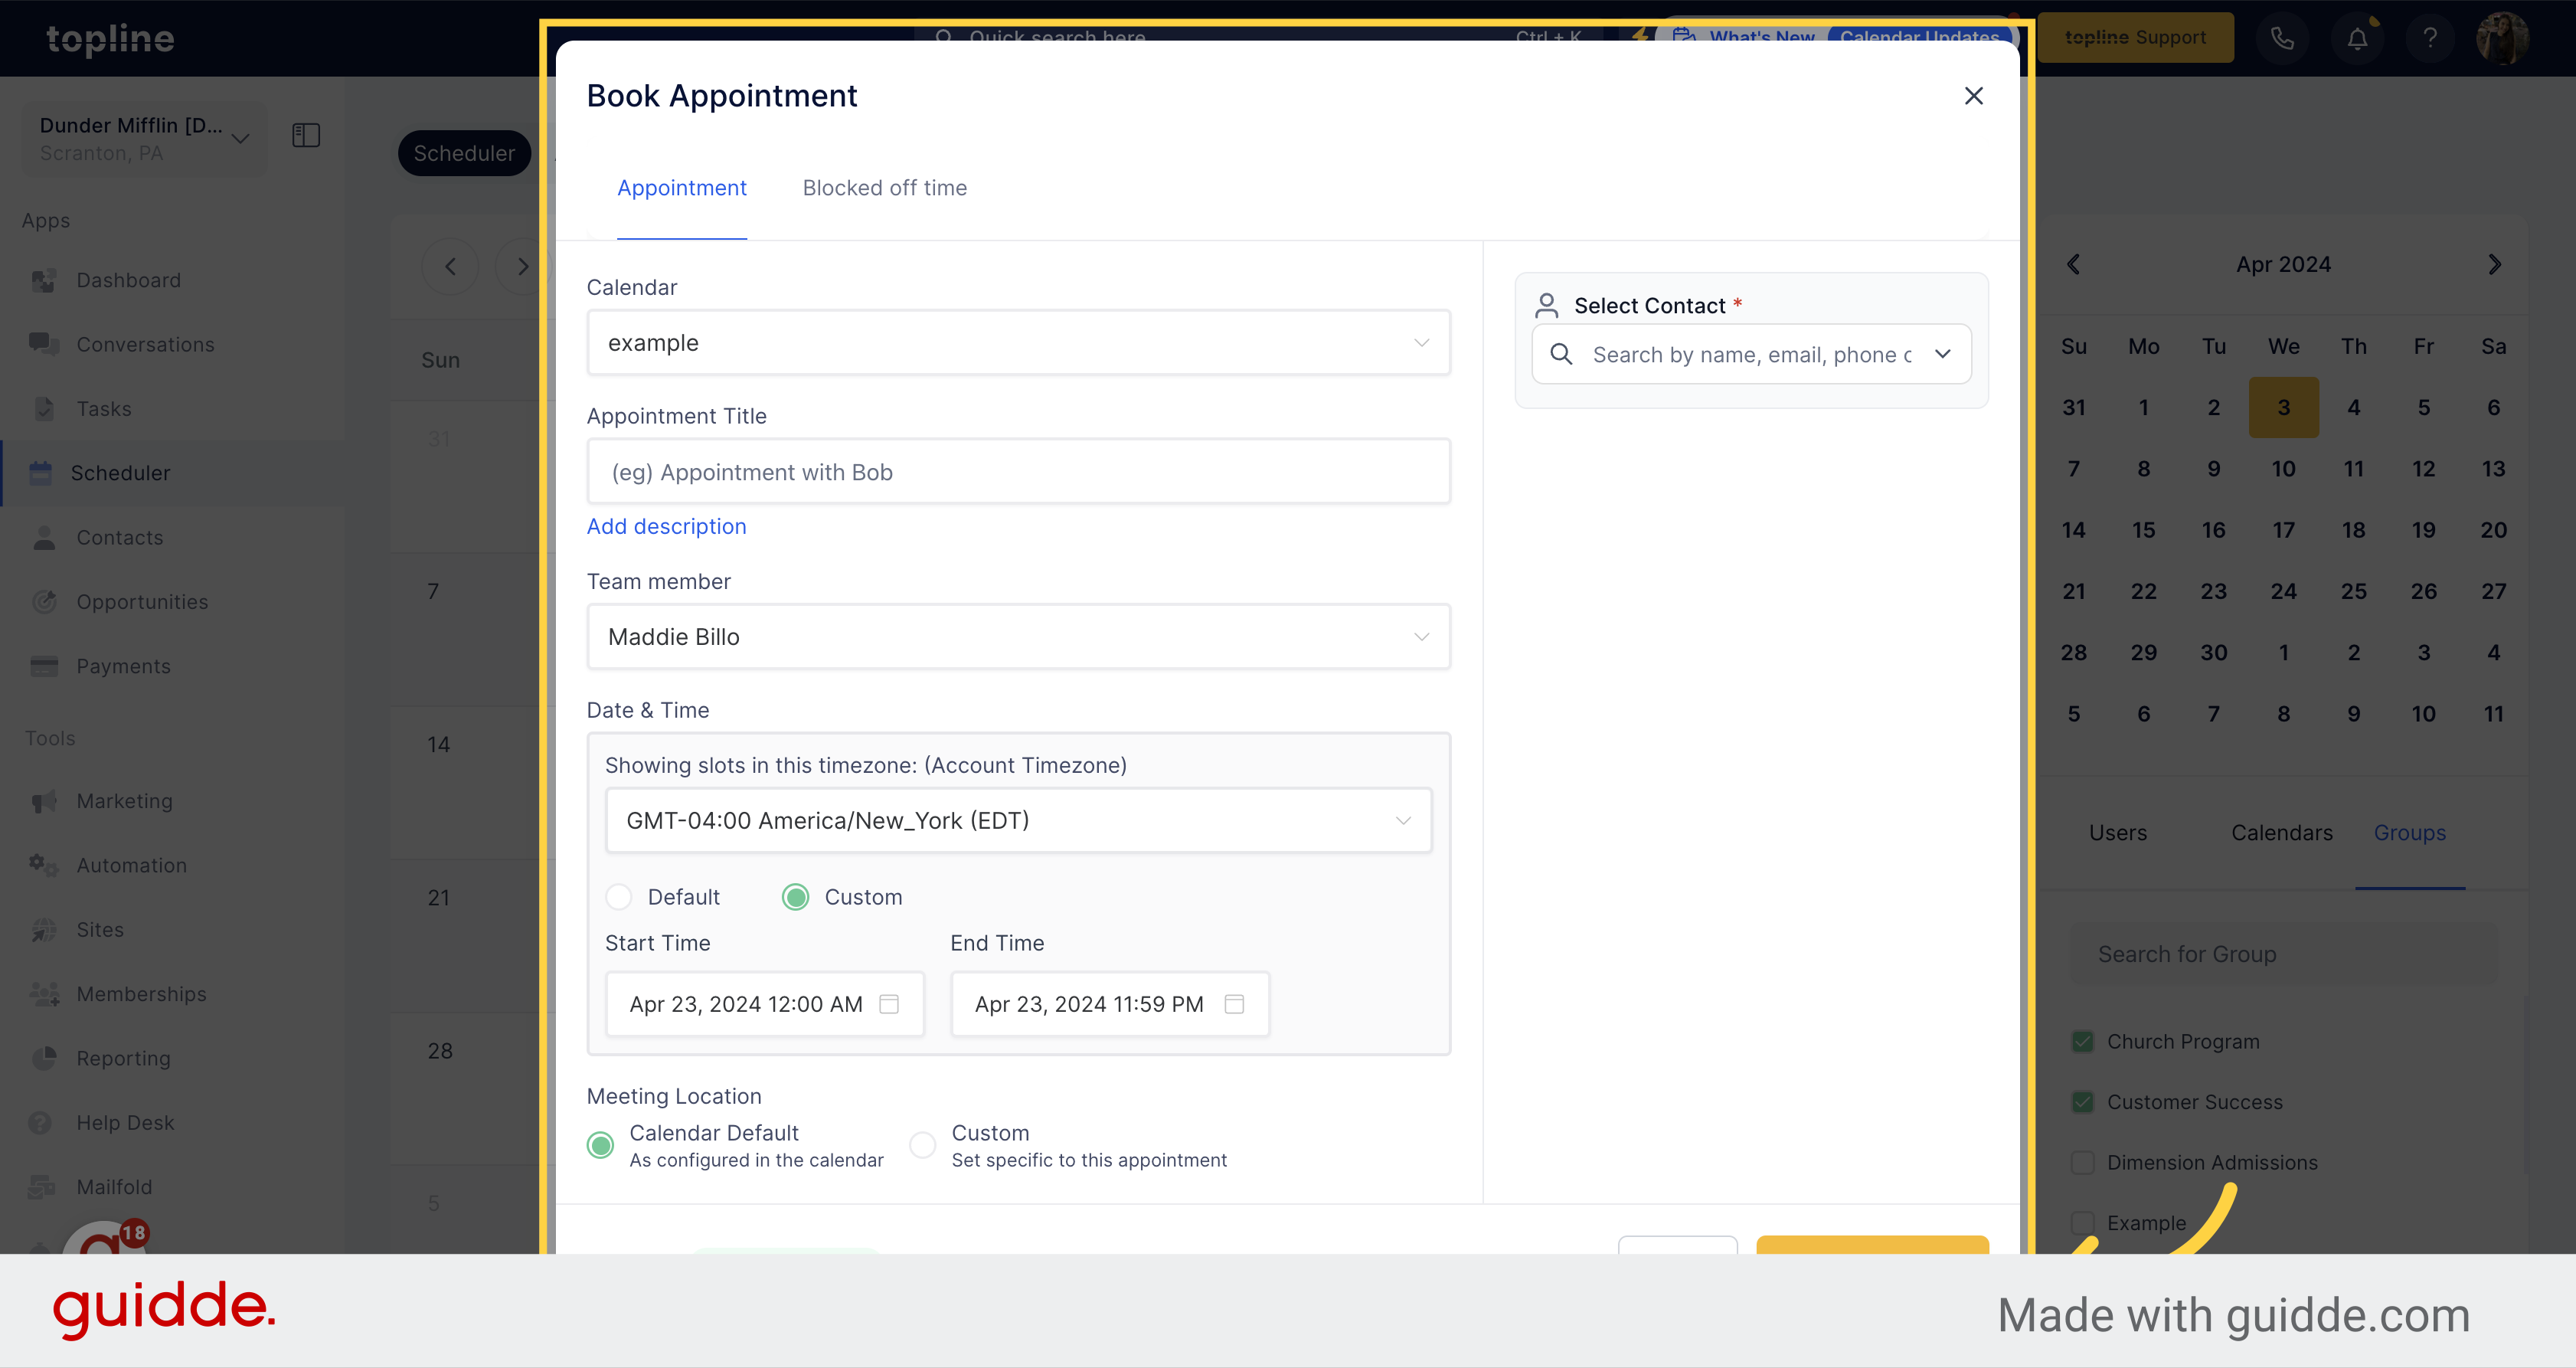
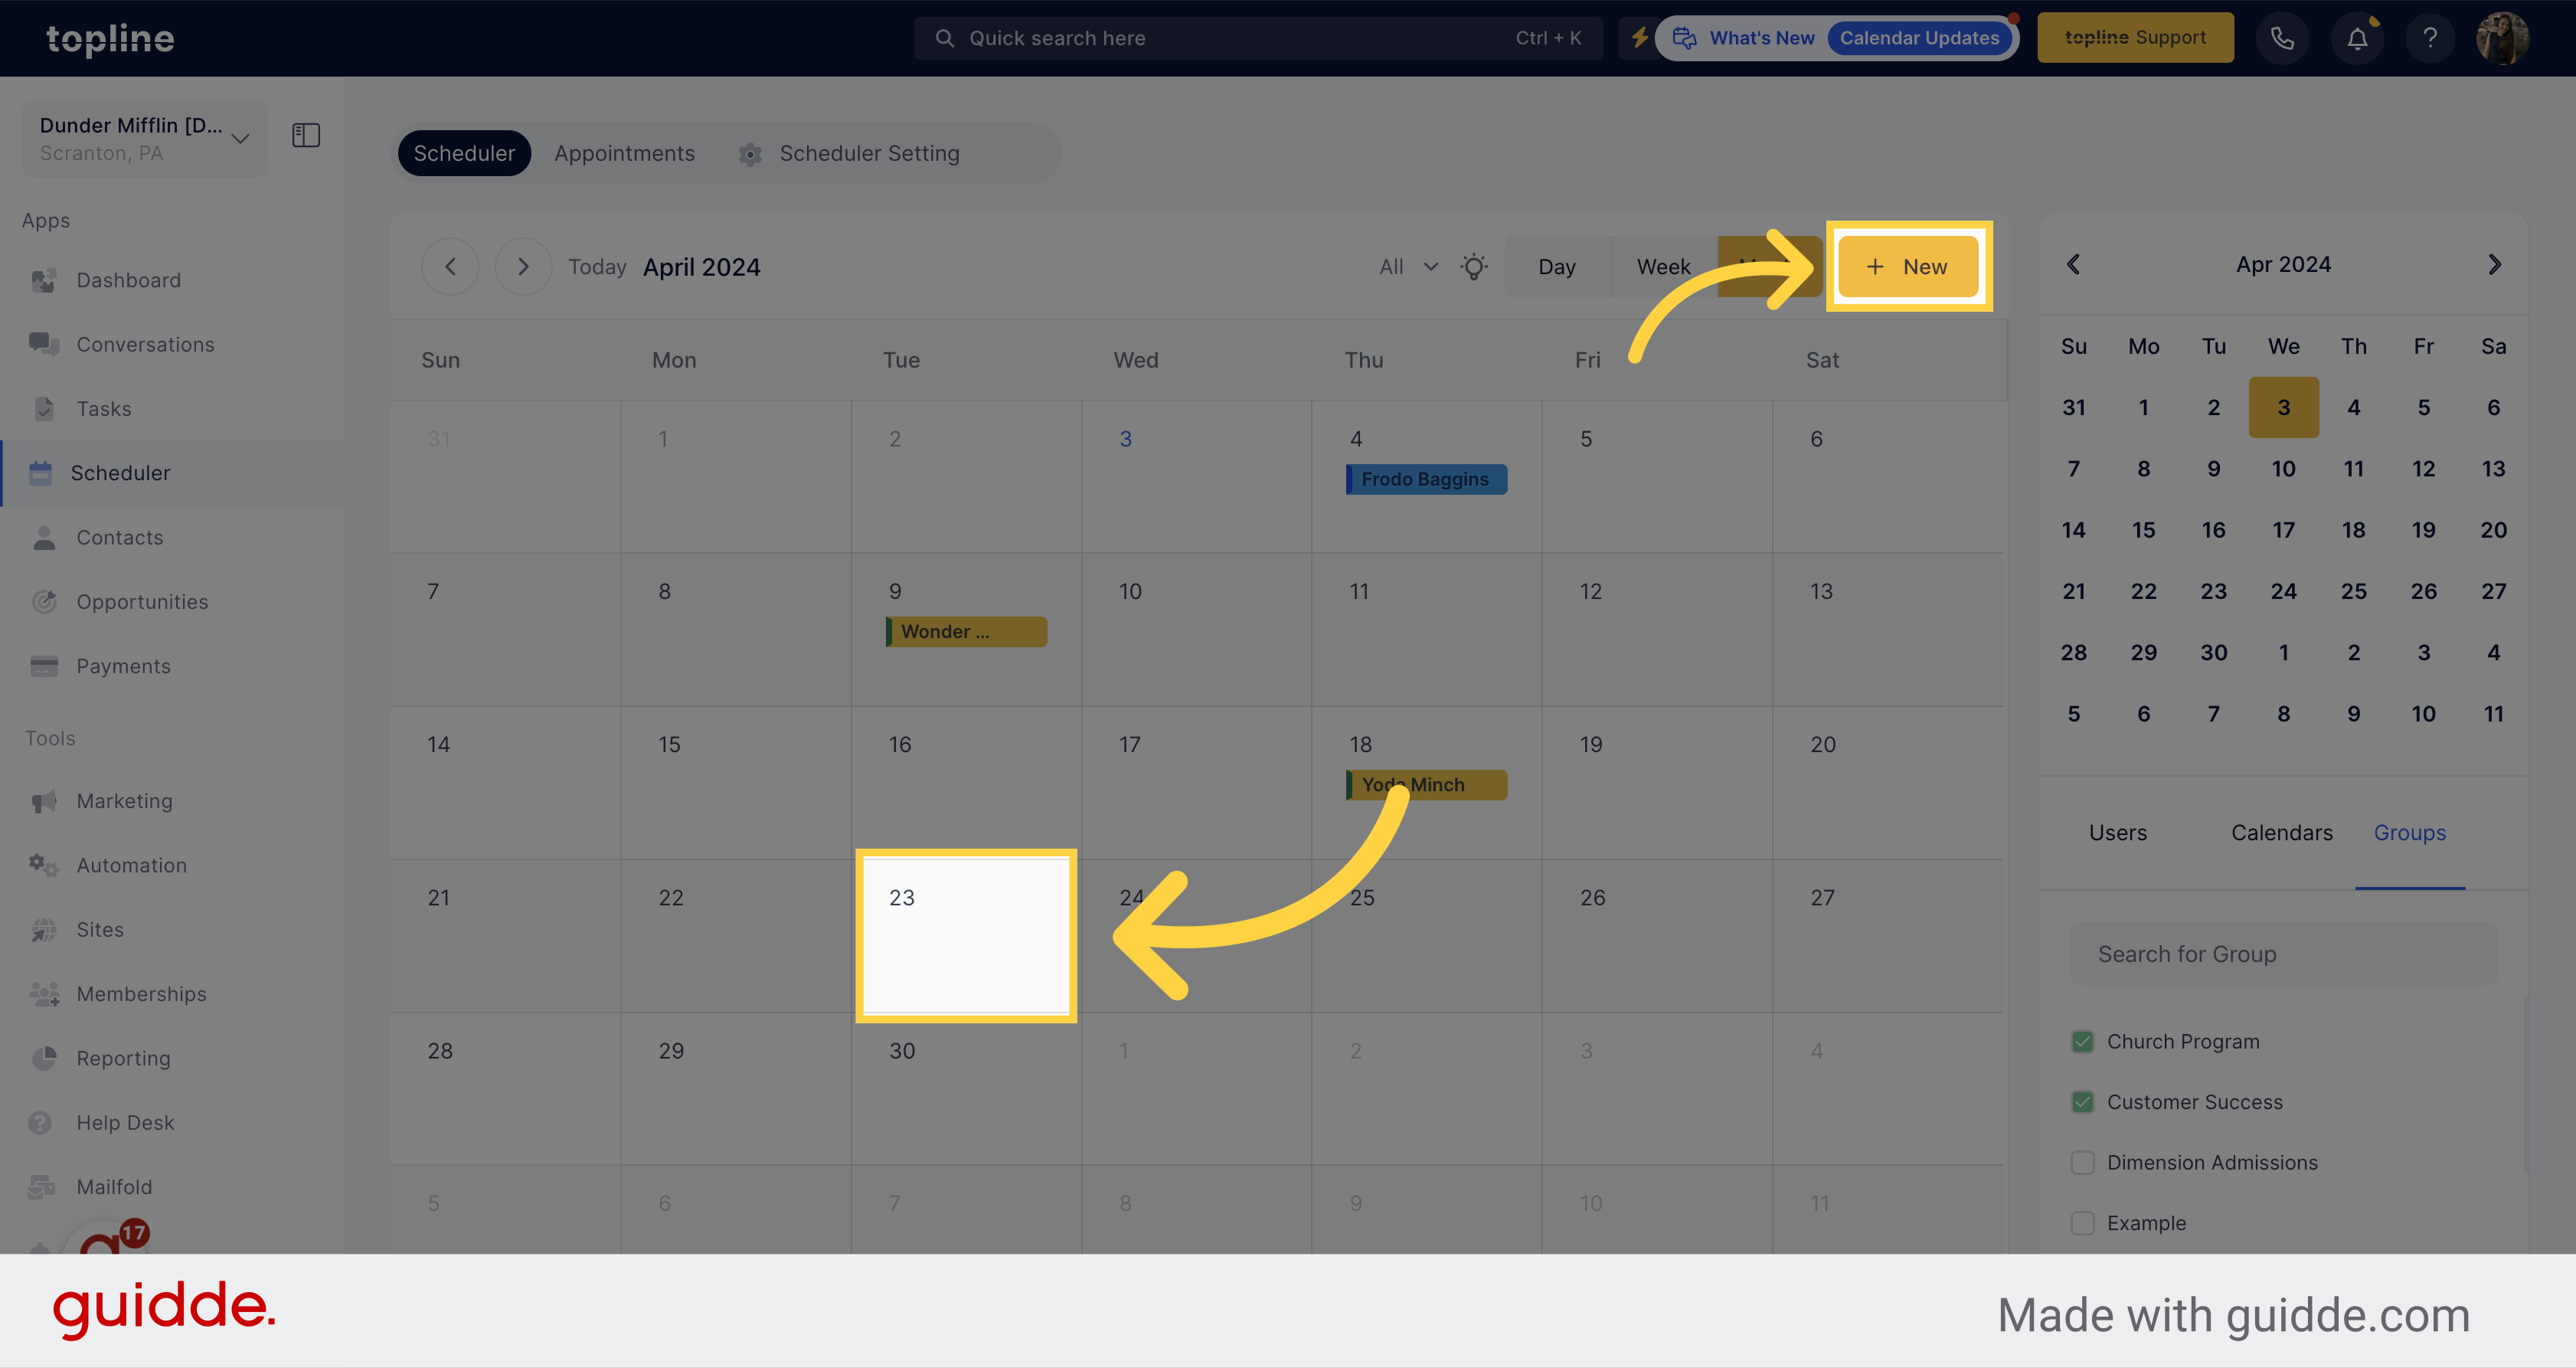
You can book appointments by either clicking on the date, or the New button located on the upper right side.
Fill up all the information and select the contact you are going to schedule the appointment with. Then click on Book Appointment.