Navigate to the Contacts section on the left side menu.
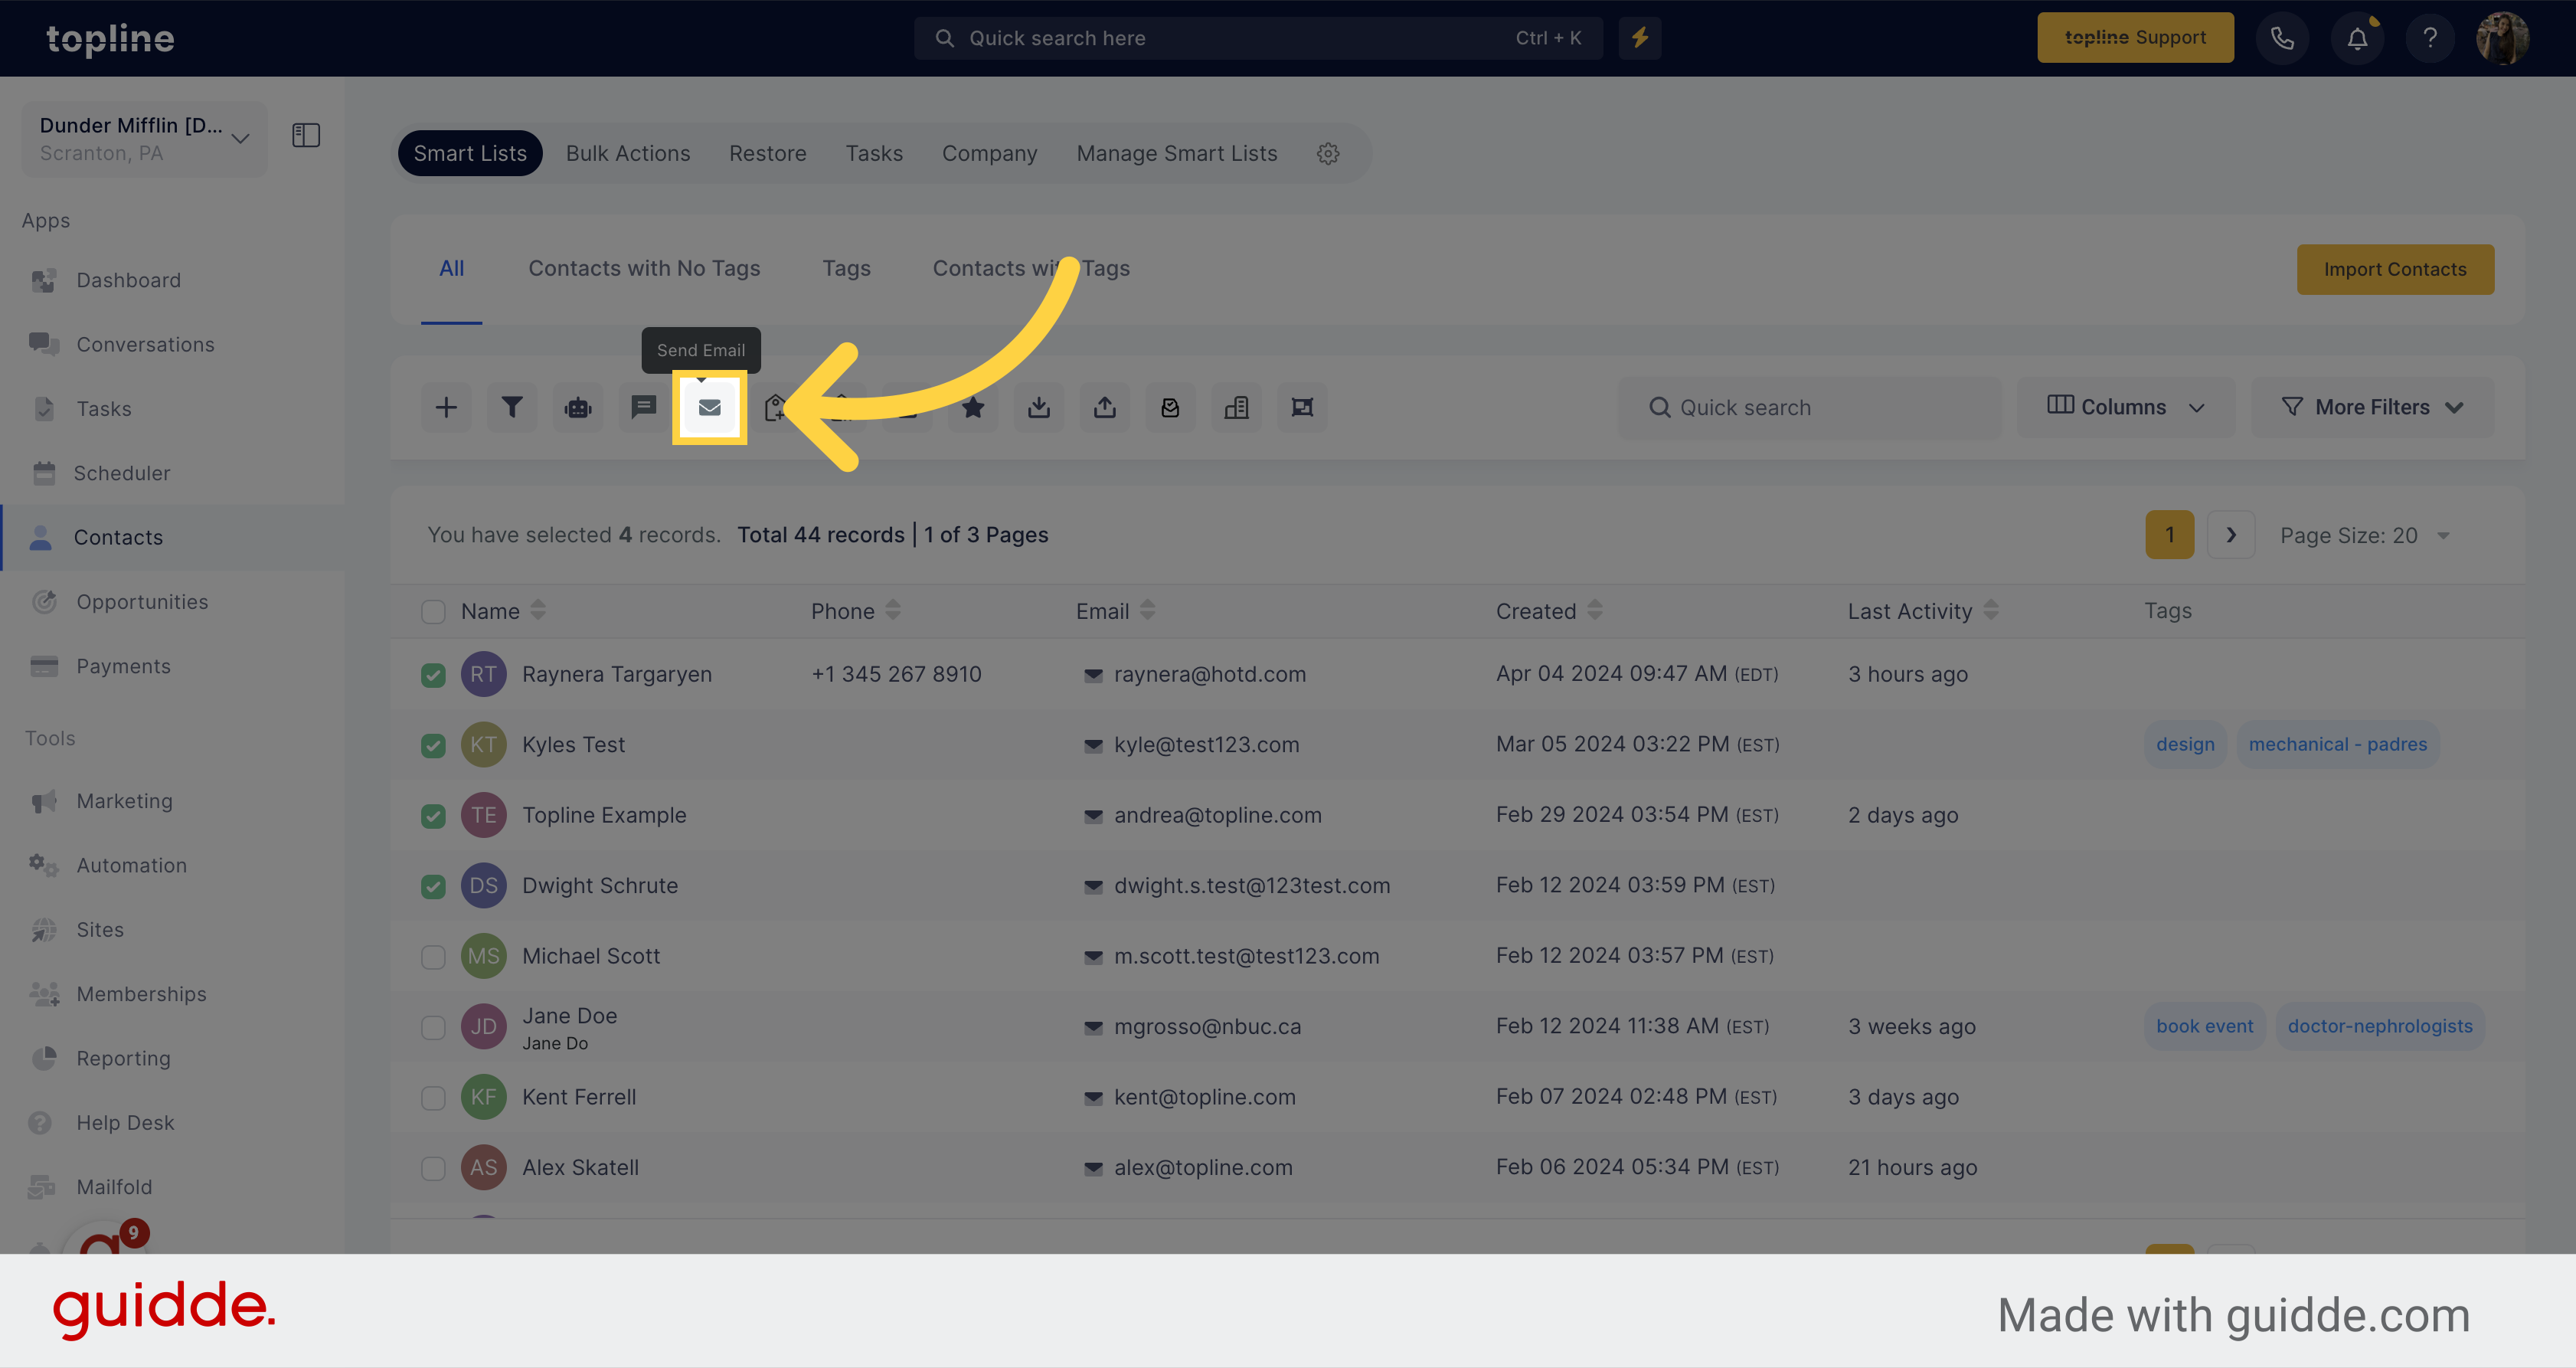
Click on the checkbox located next to the contacts name to select them.

Look for the send email icon located on the actions menu and click on it.
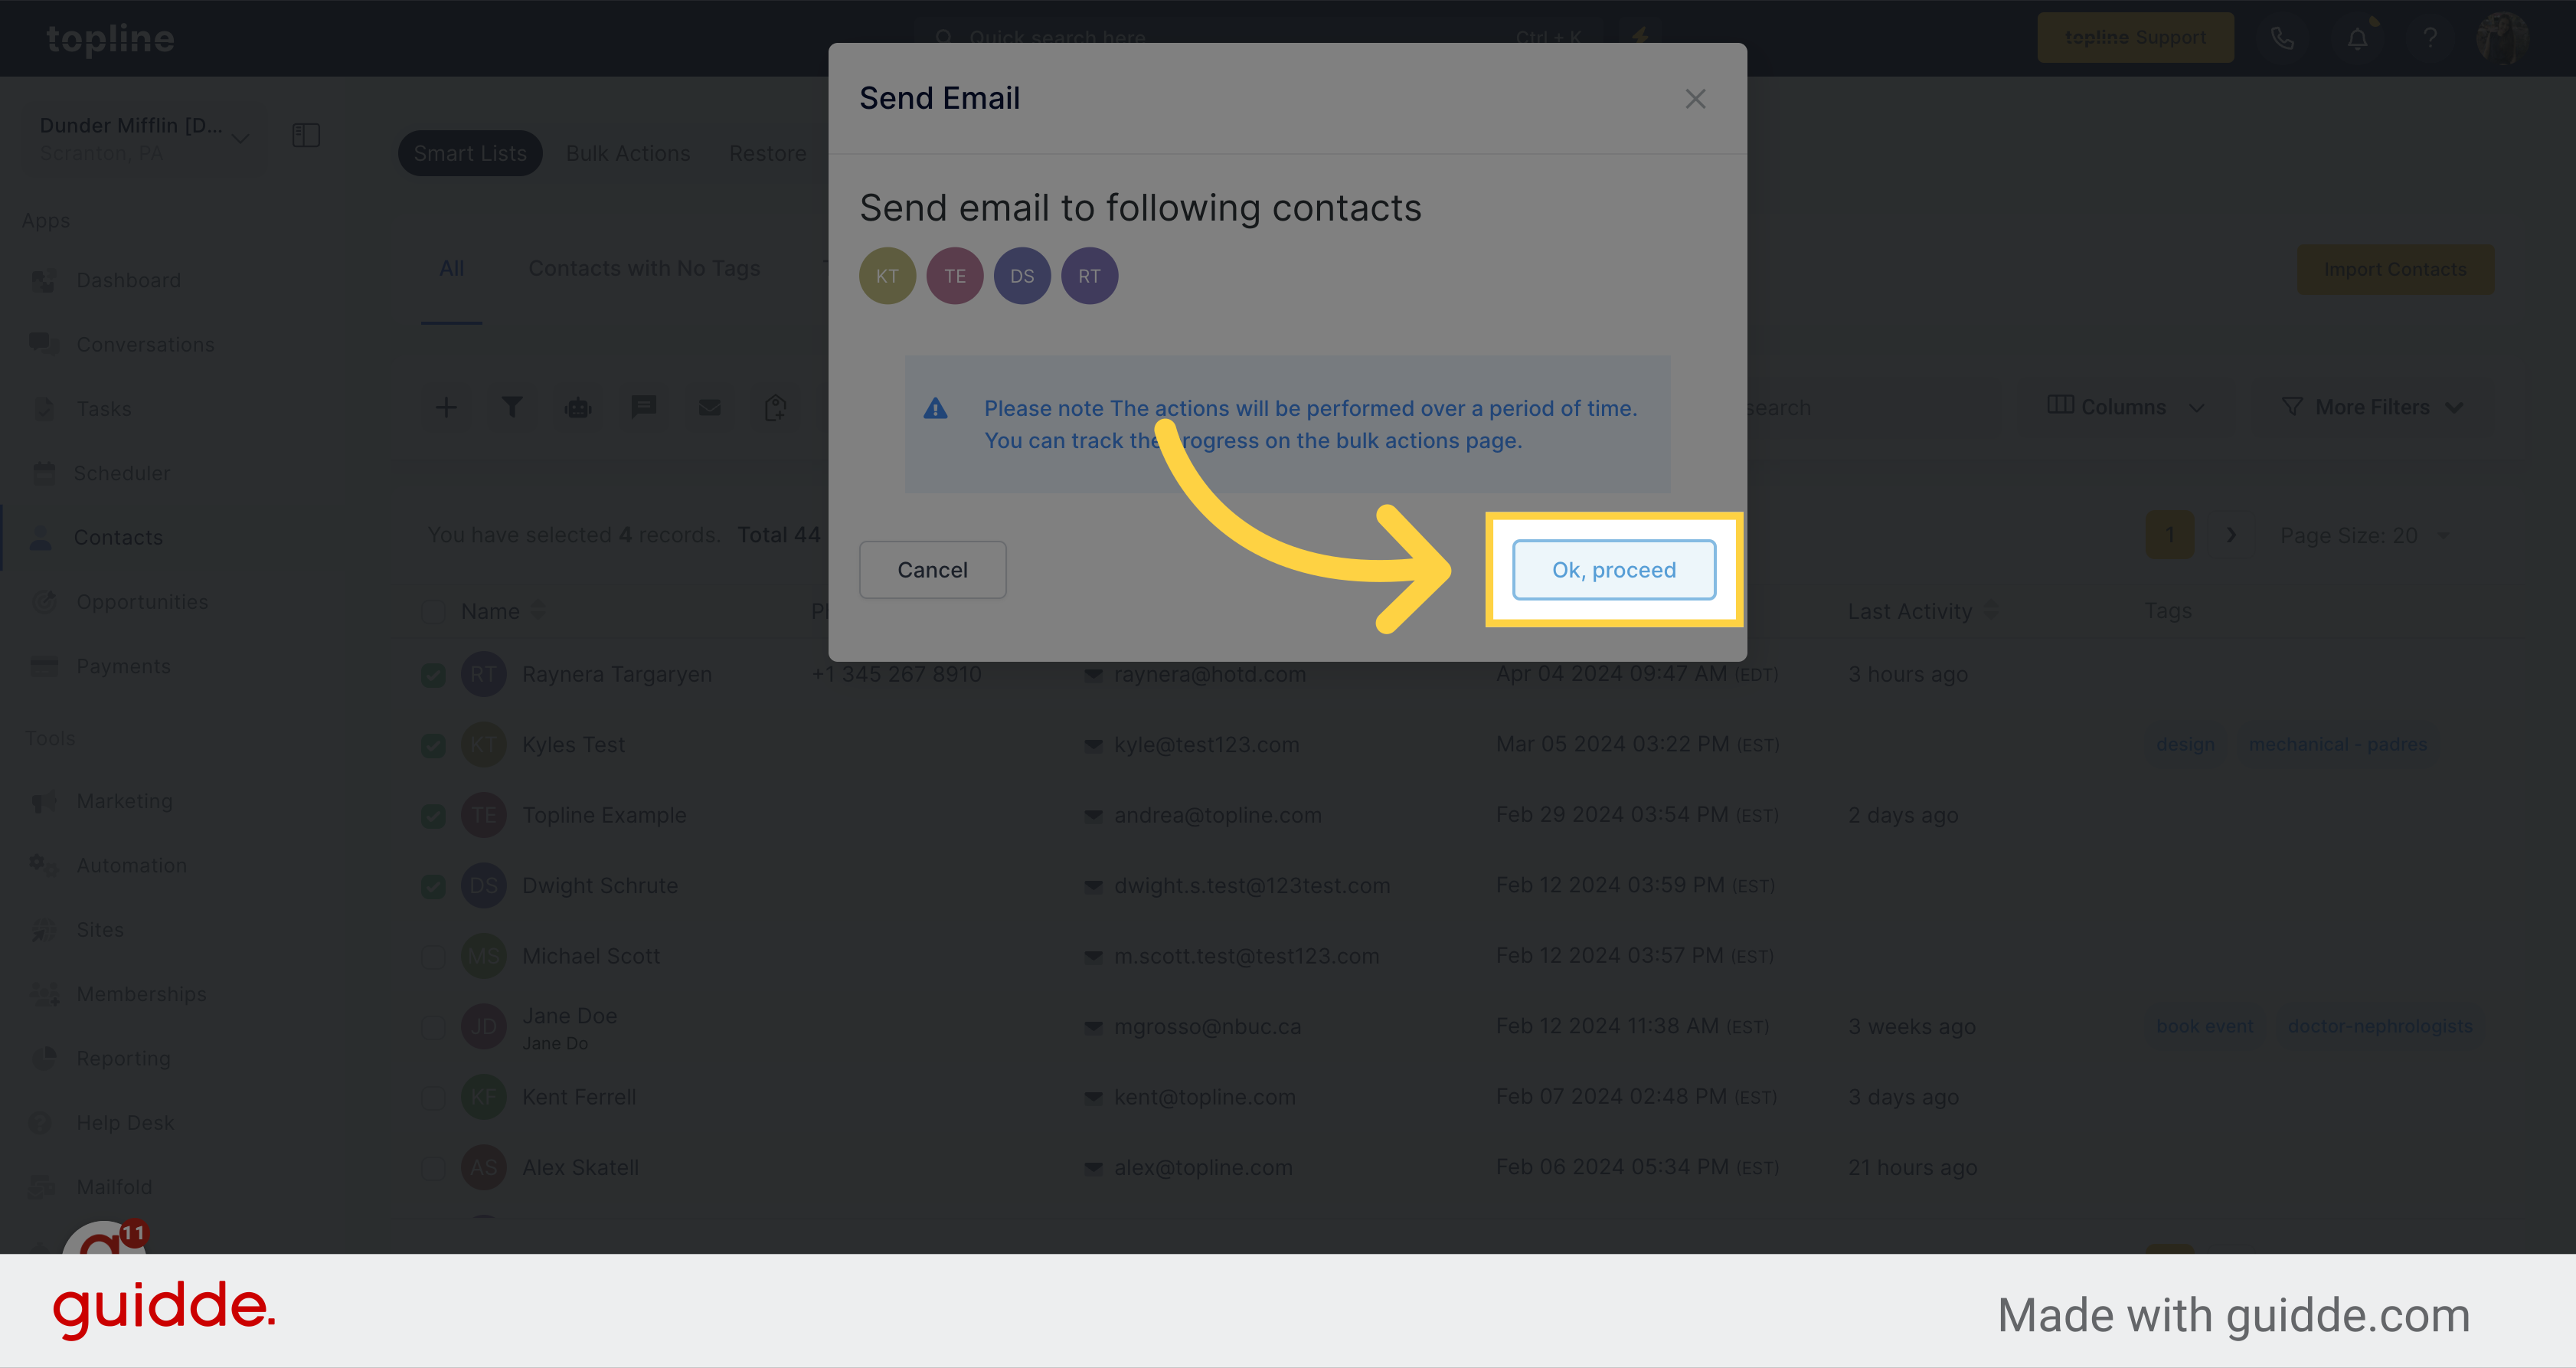
A pop up window will appear with the recipients icons.

Confirm and proceed with the action by clicking on the Ok, proceed button.
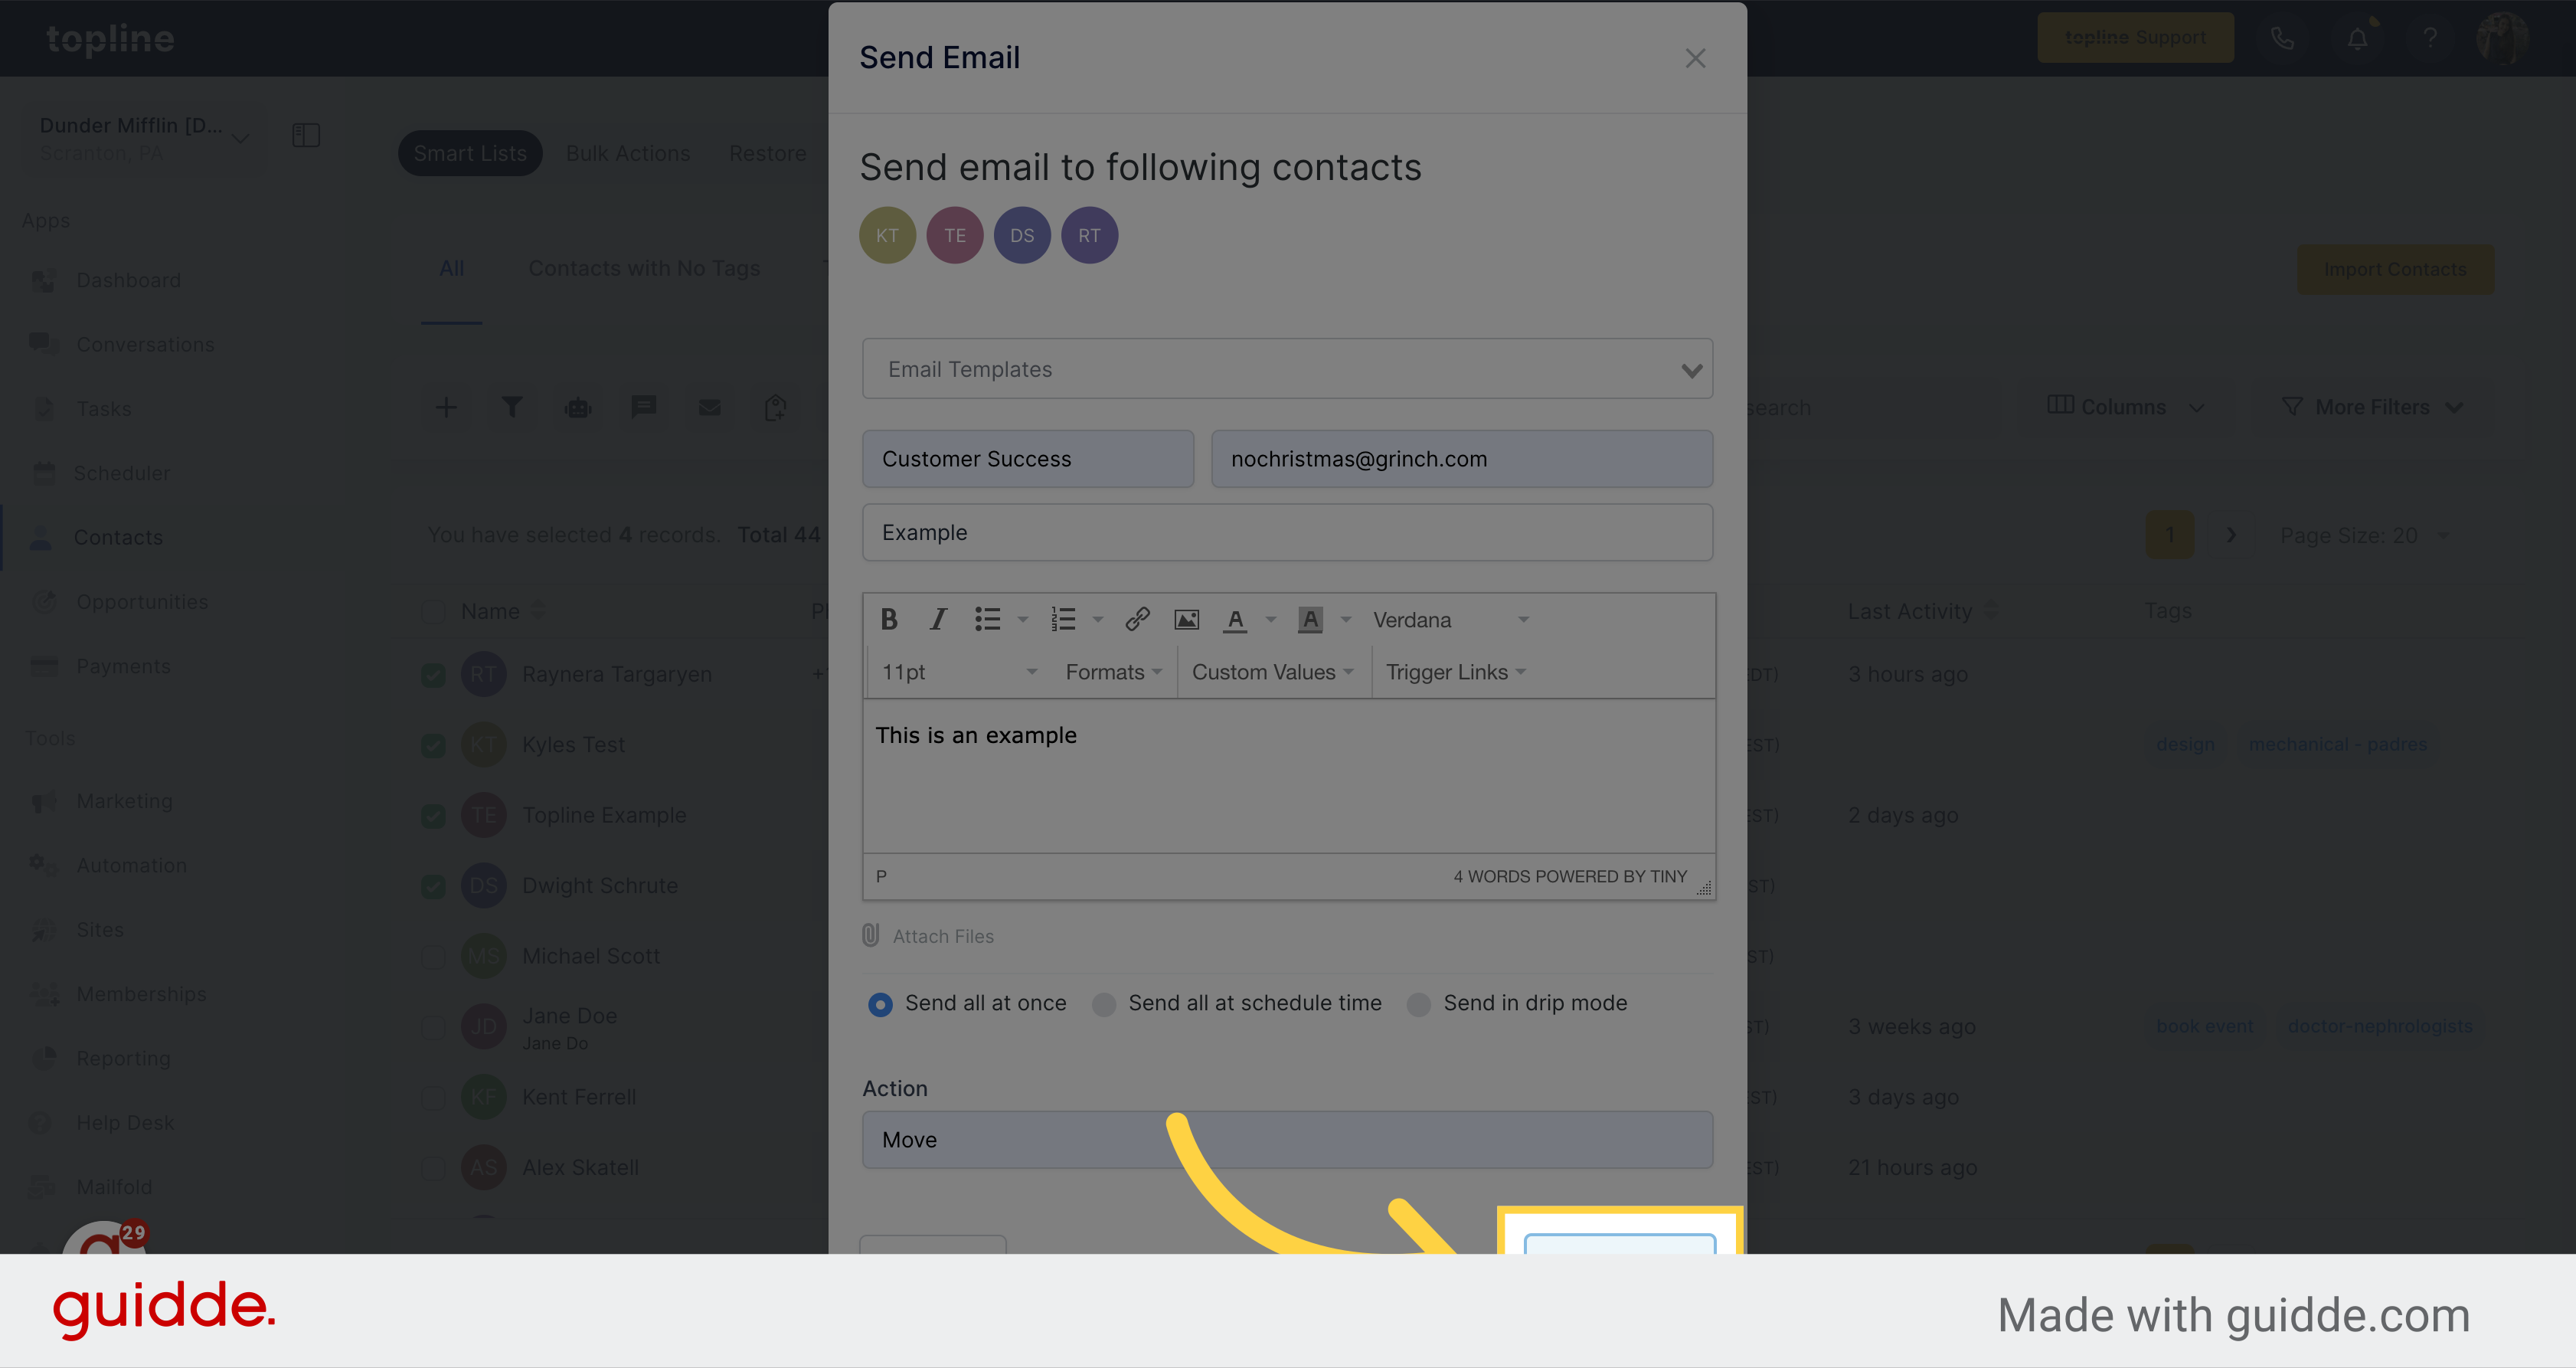
Choose the Email template you plan to use if you want to use it.
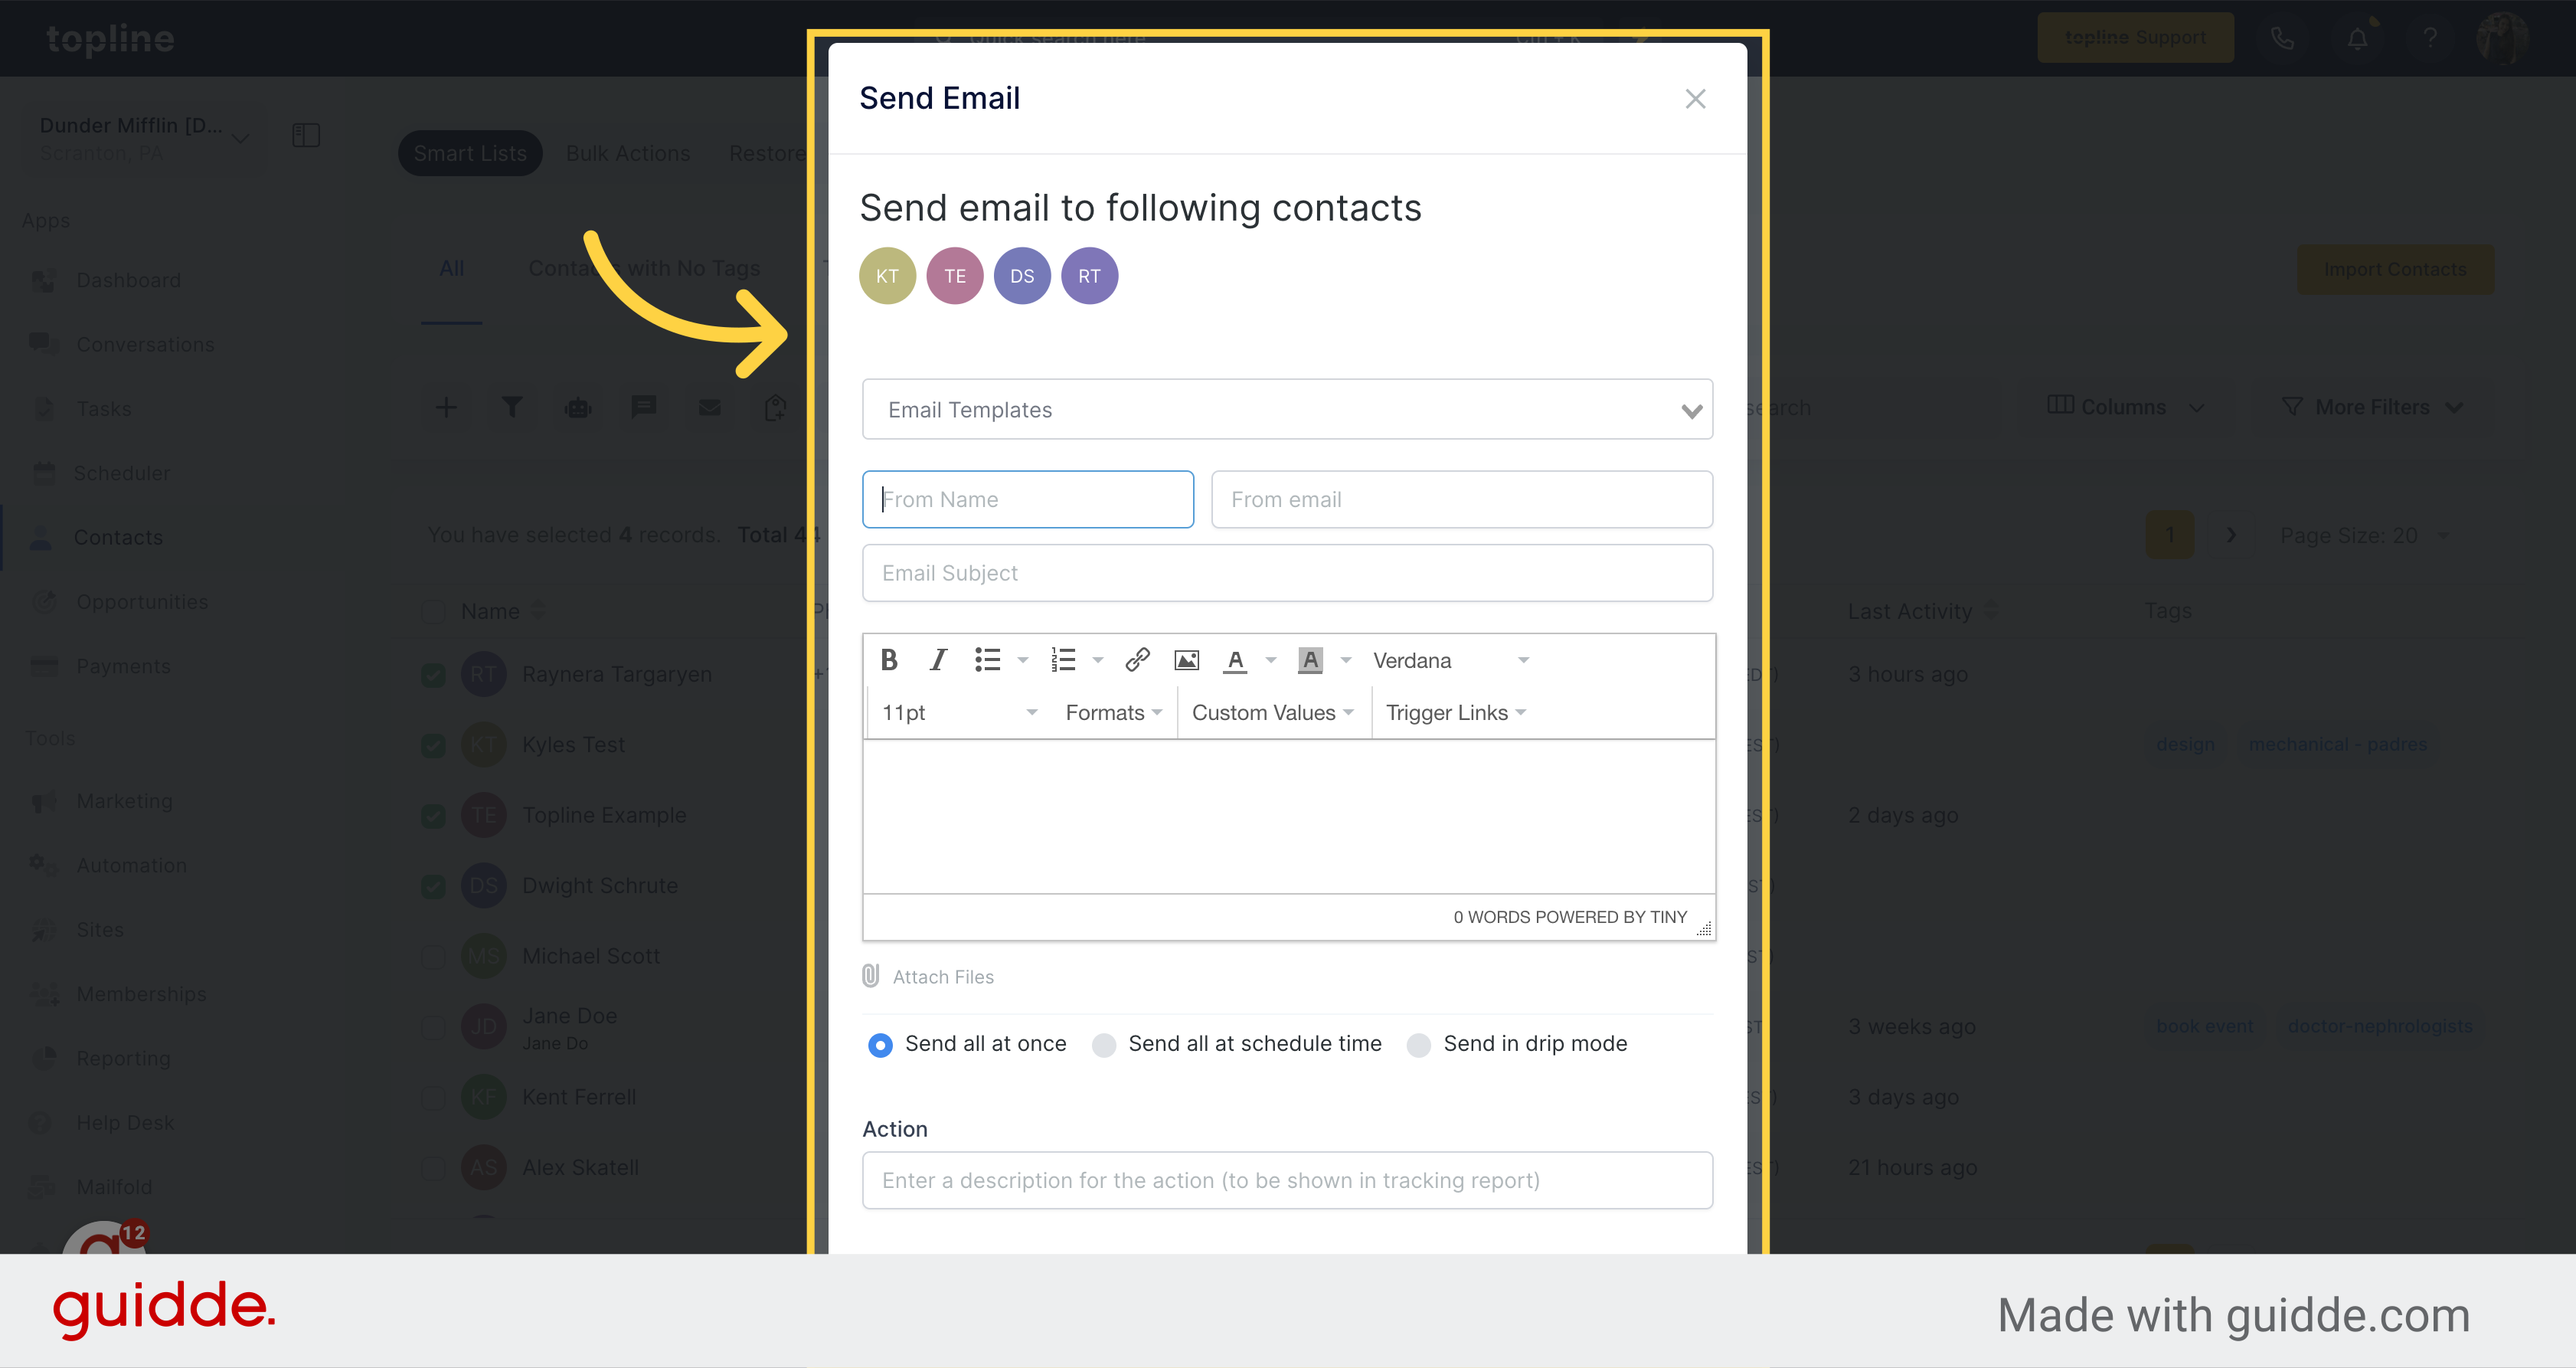
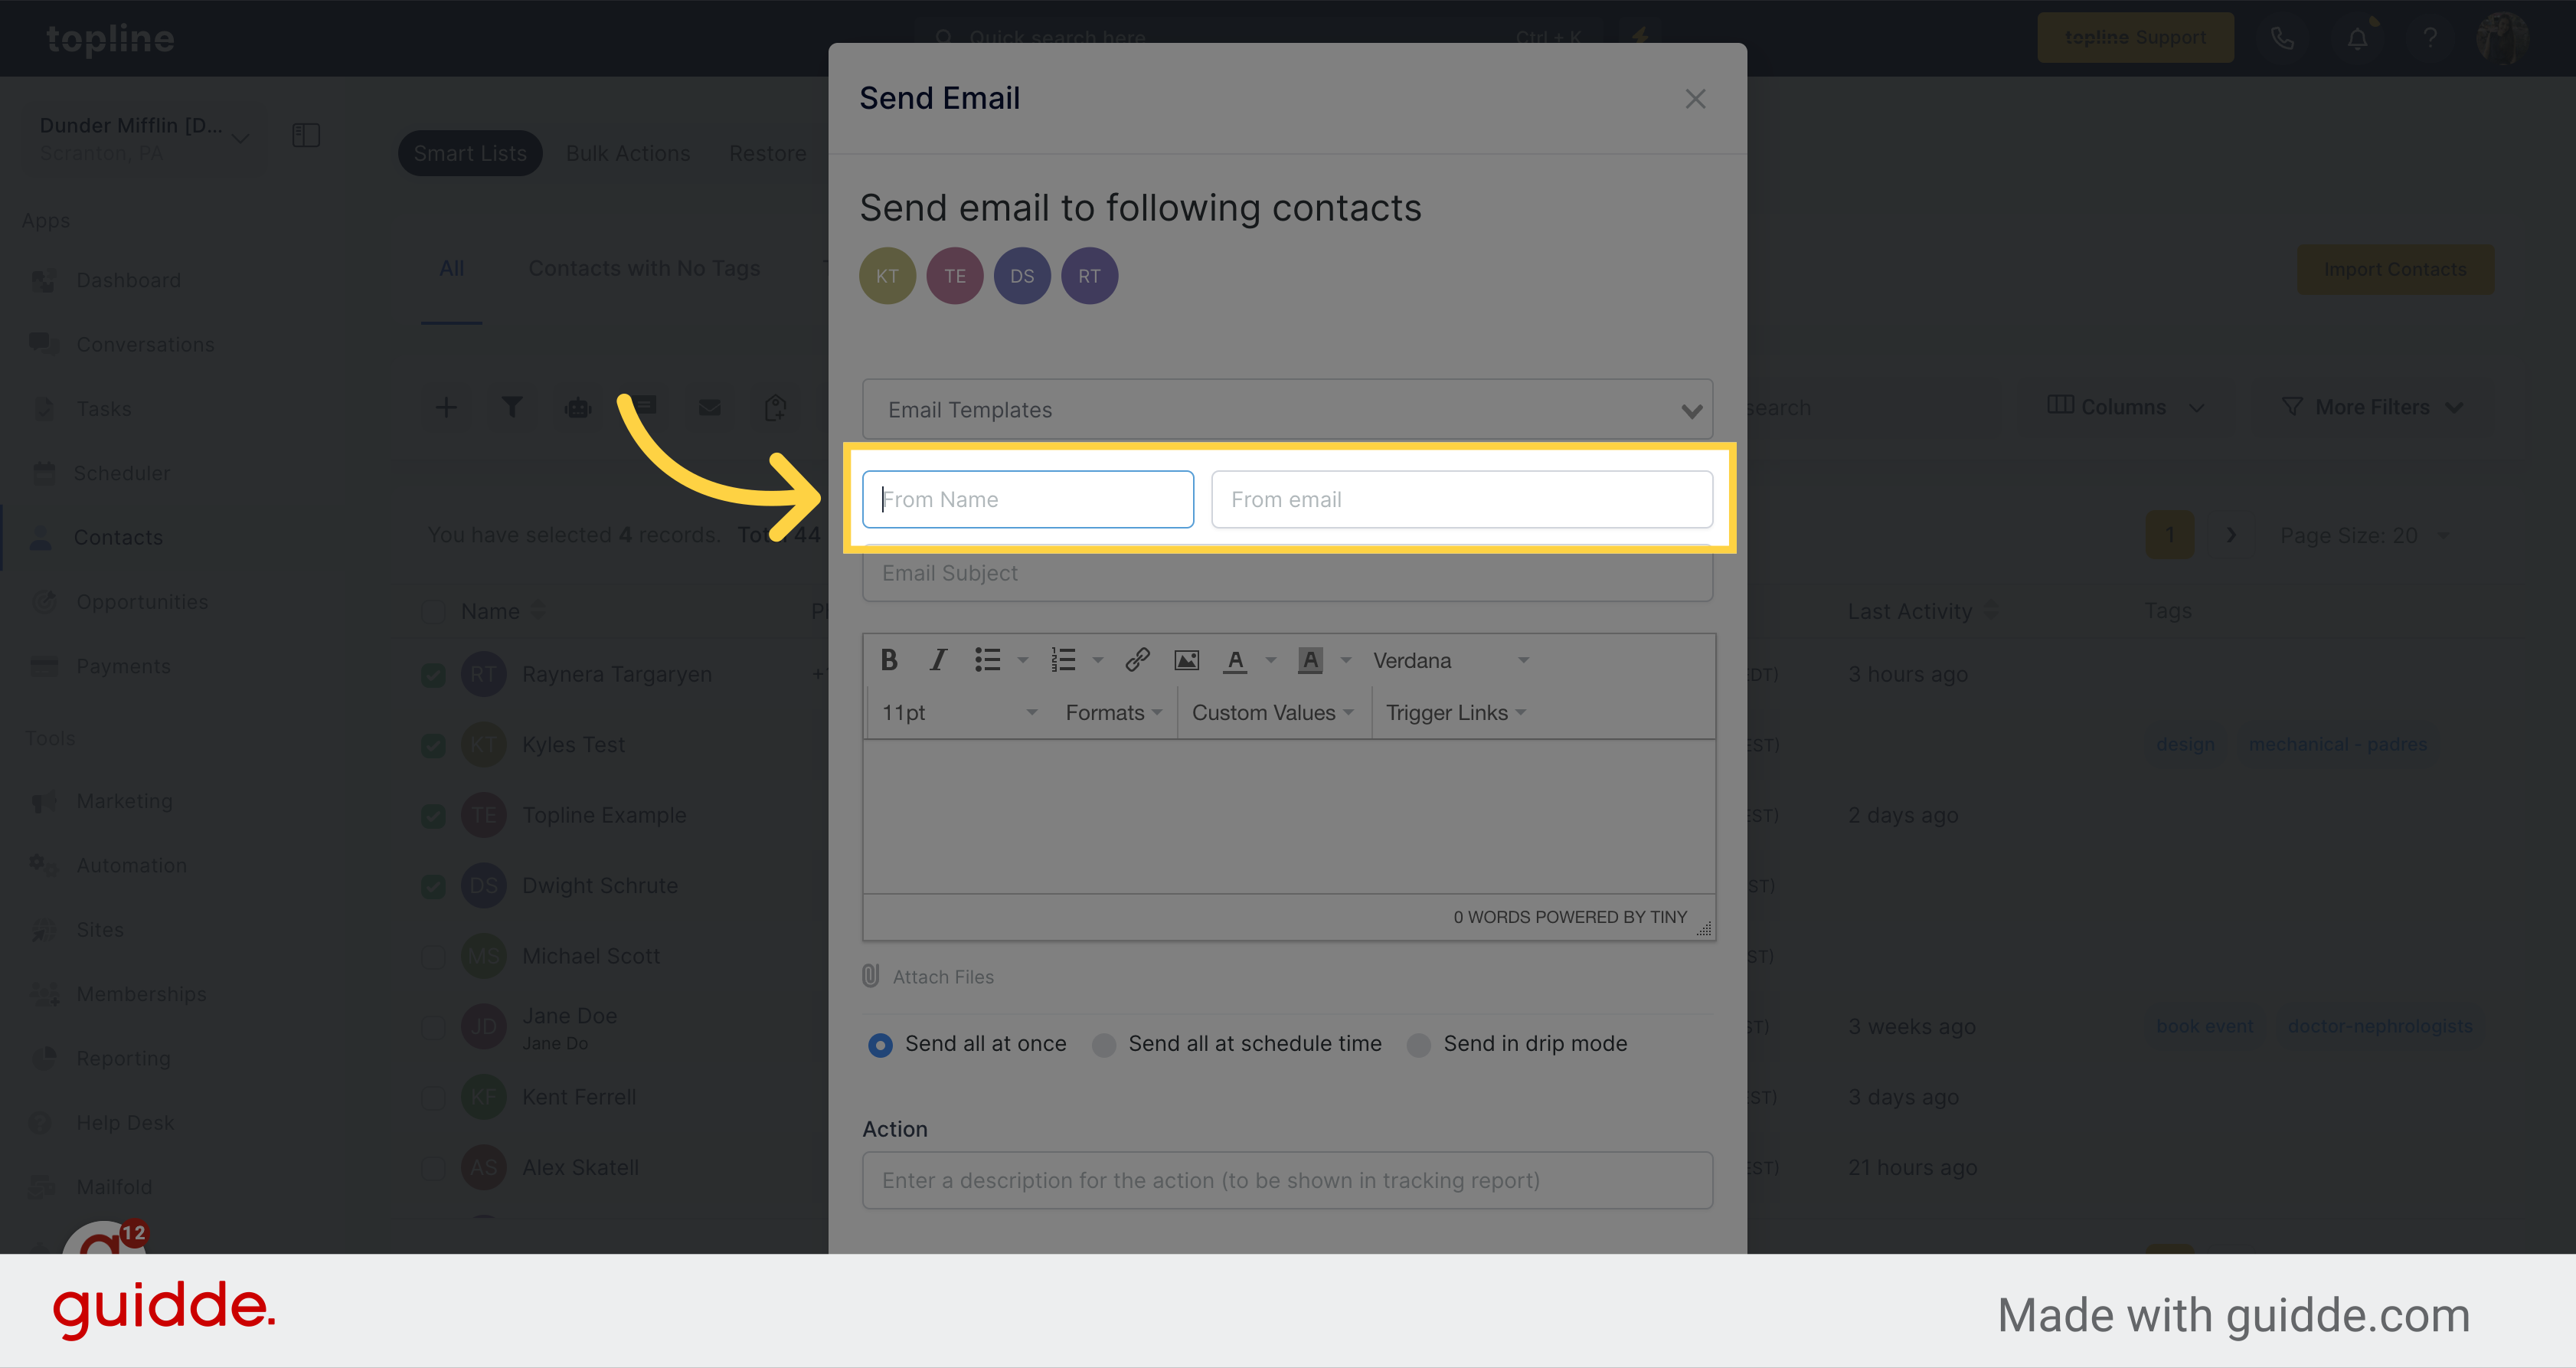
Fill in the From Name and From Email fields with the sender’s name and email respectively.
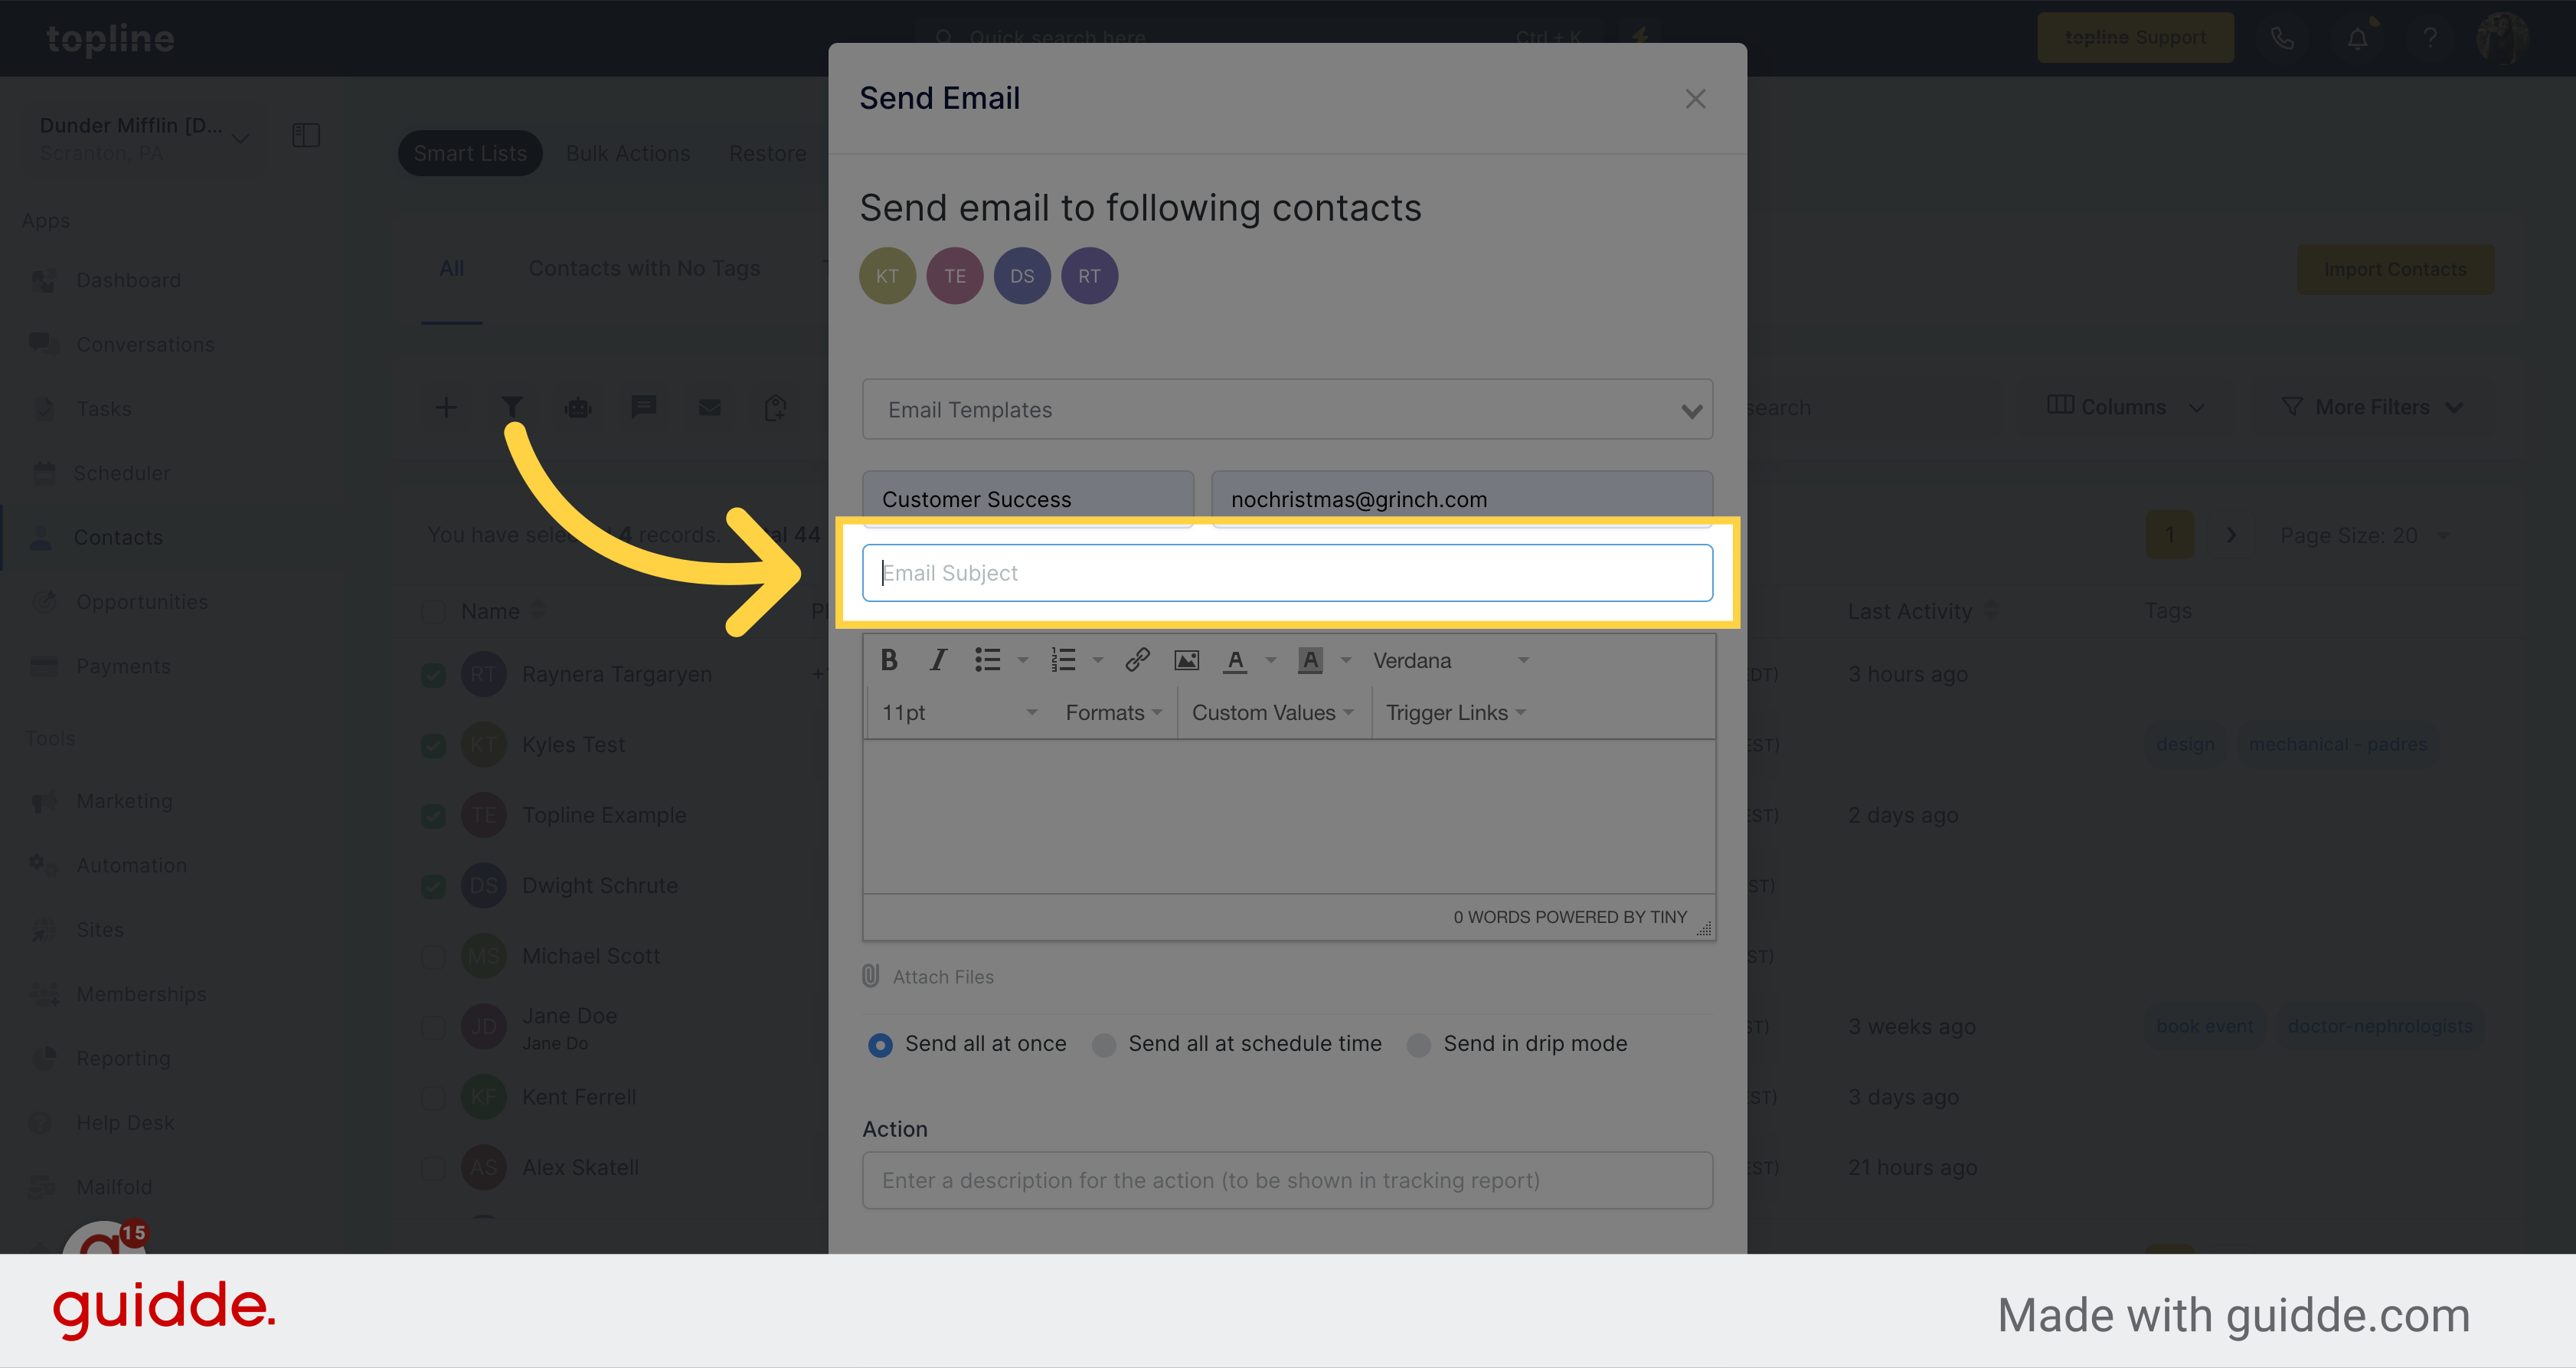
Remember to include the Email Subject. If you prefer to personalize the email instead of using a template, you can enter the message content in the designated area.
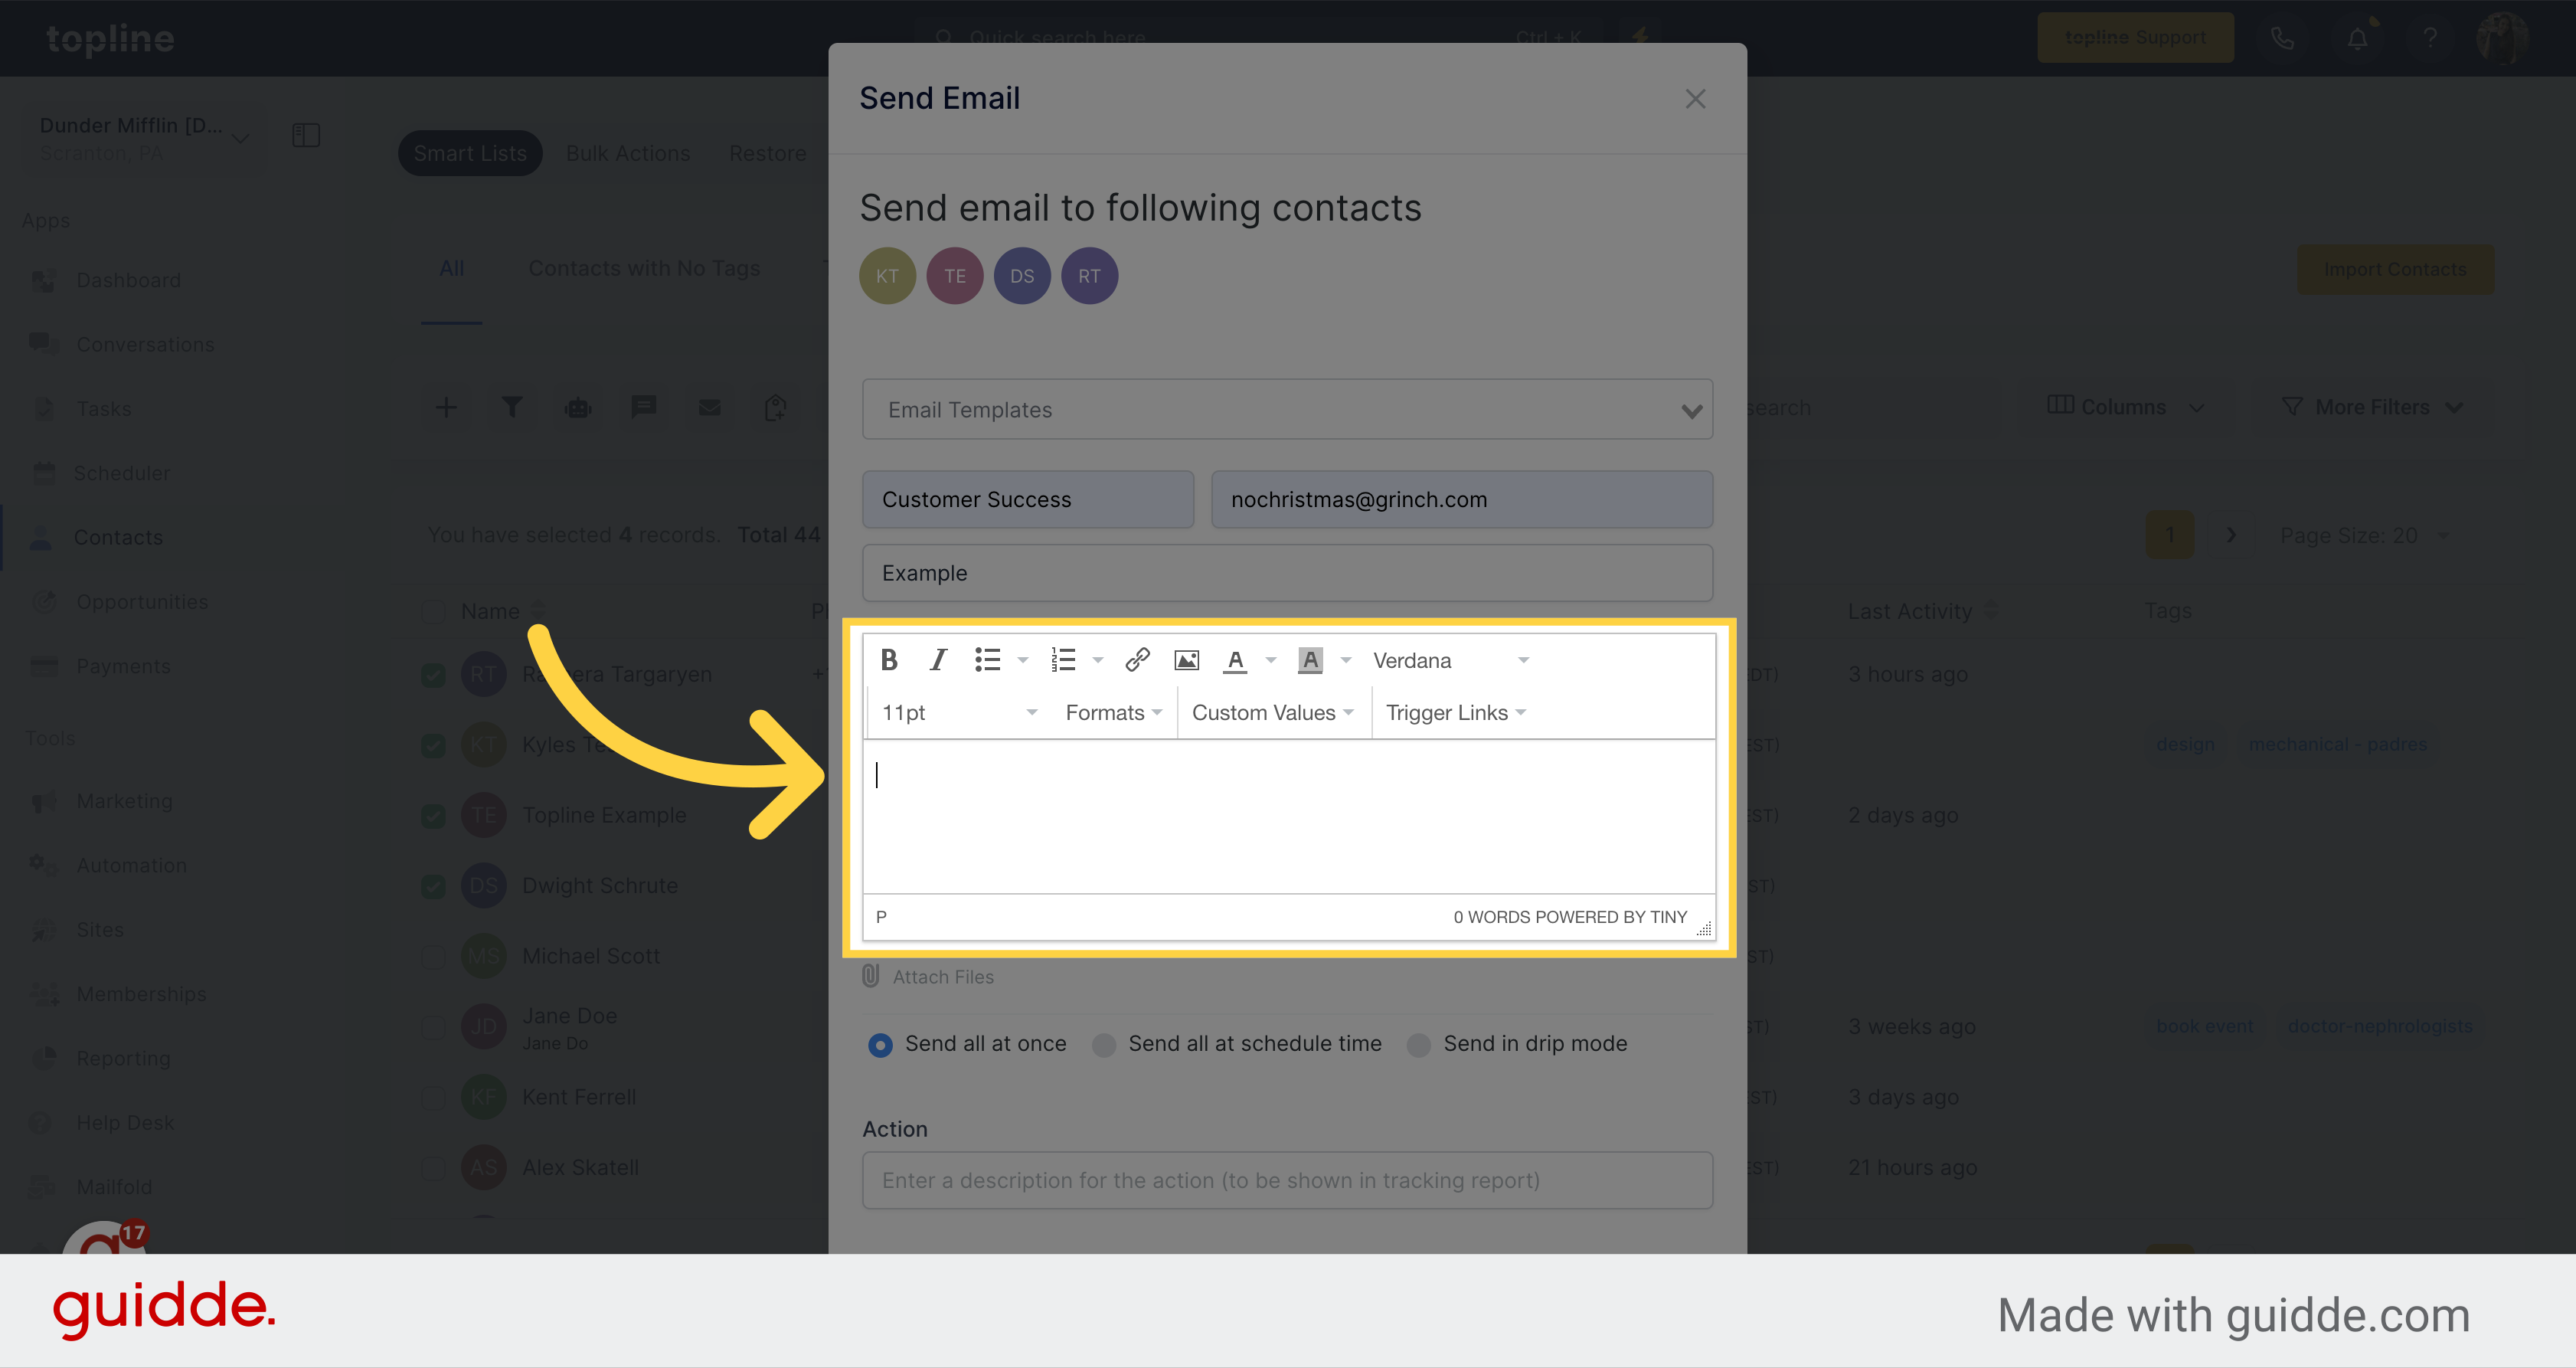
Add the email content in this area, or modify the one added with the template selected.
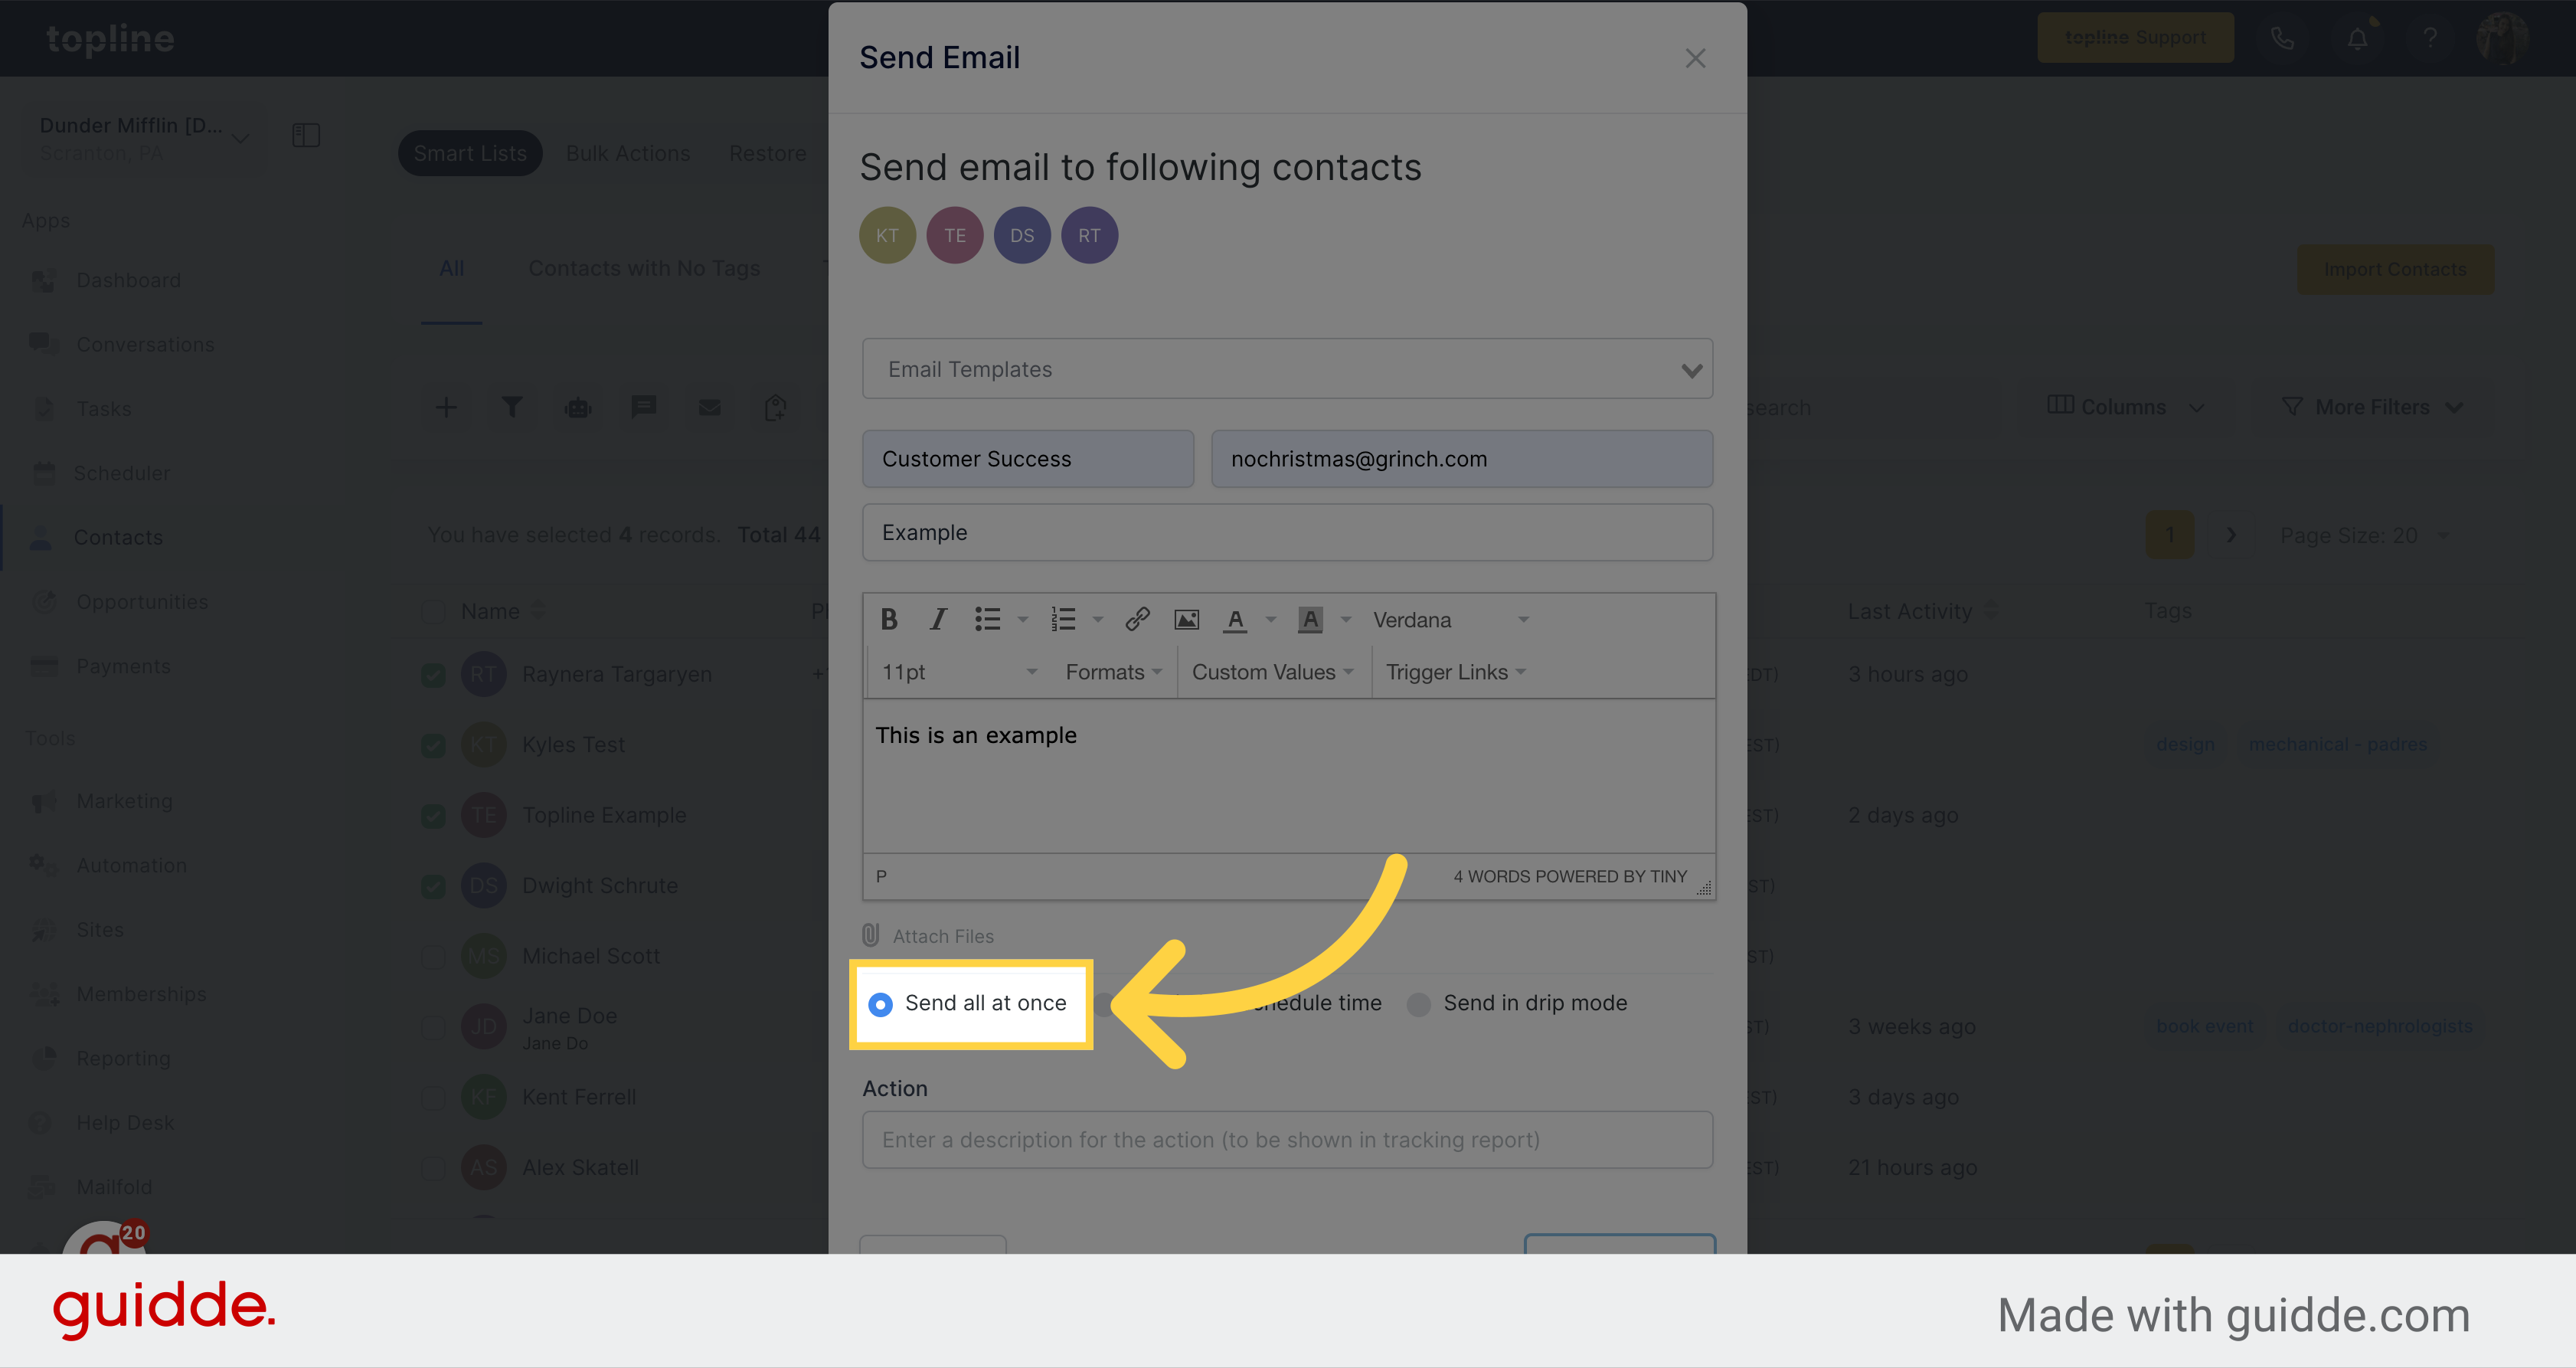
If you activate this button, you can opt to promptly incorporate all of your preferred contacts into the campaign of your choice.
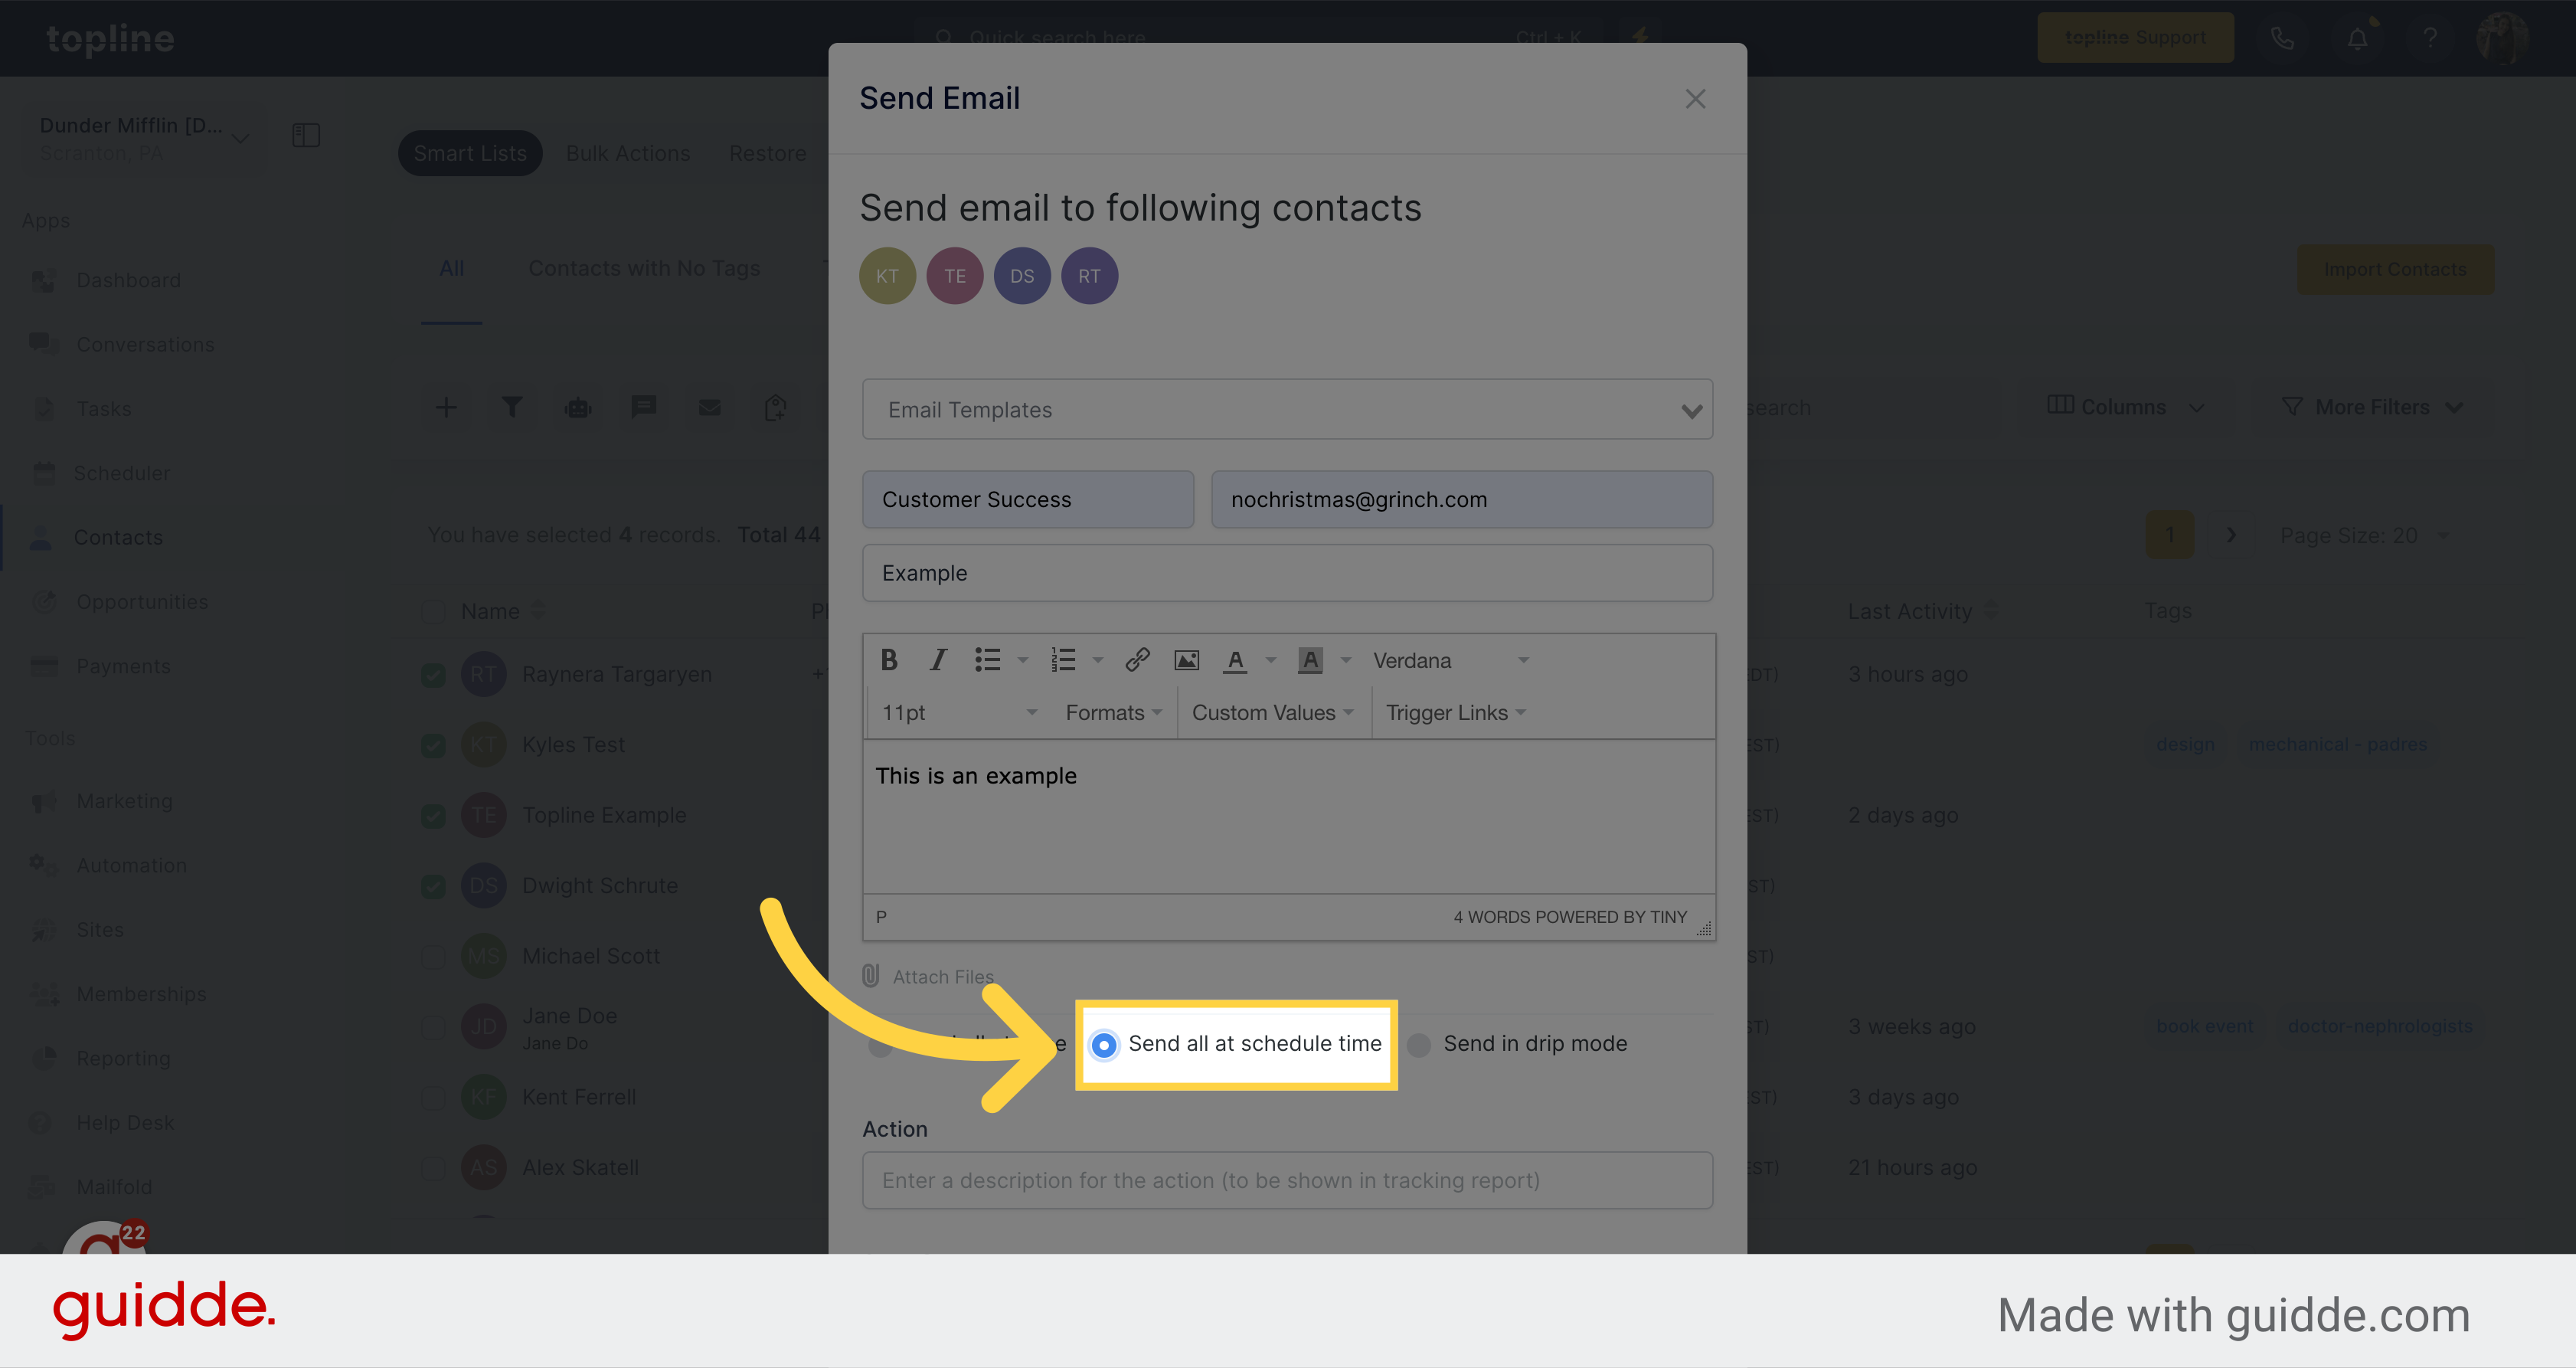
Select this option to have the ability to set a specific date and time for your message to be sent to all the contacts you have chosen.
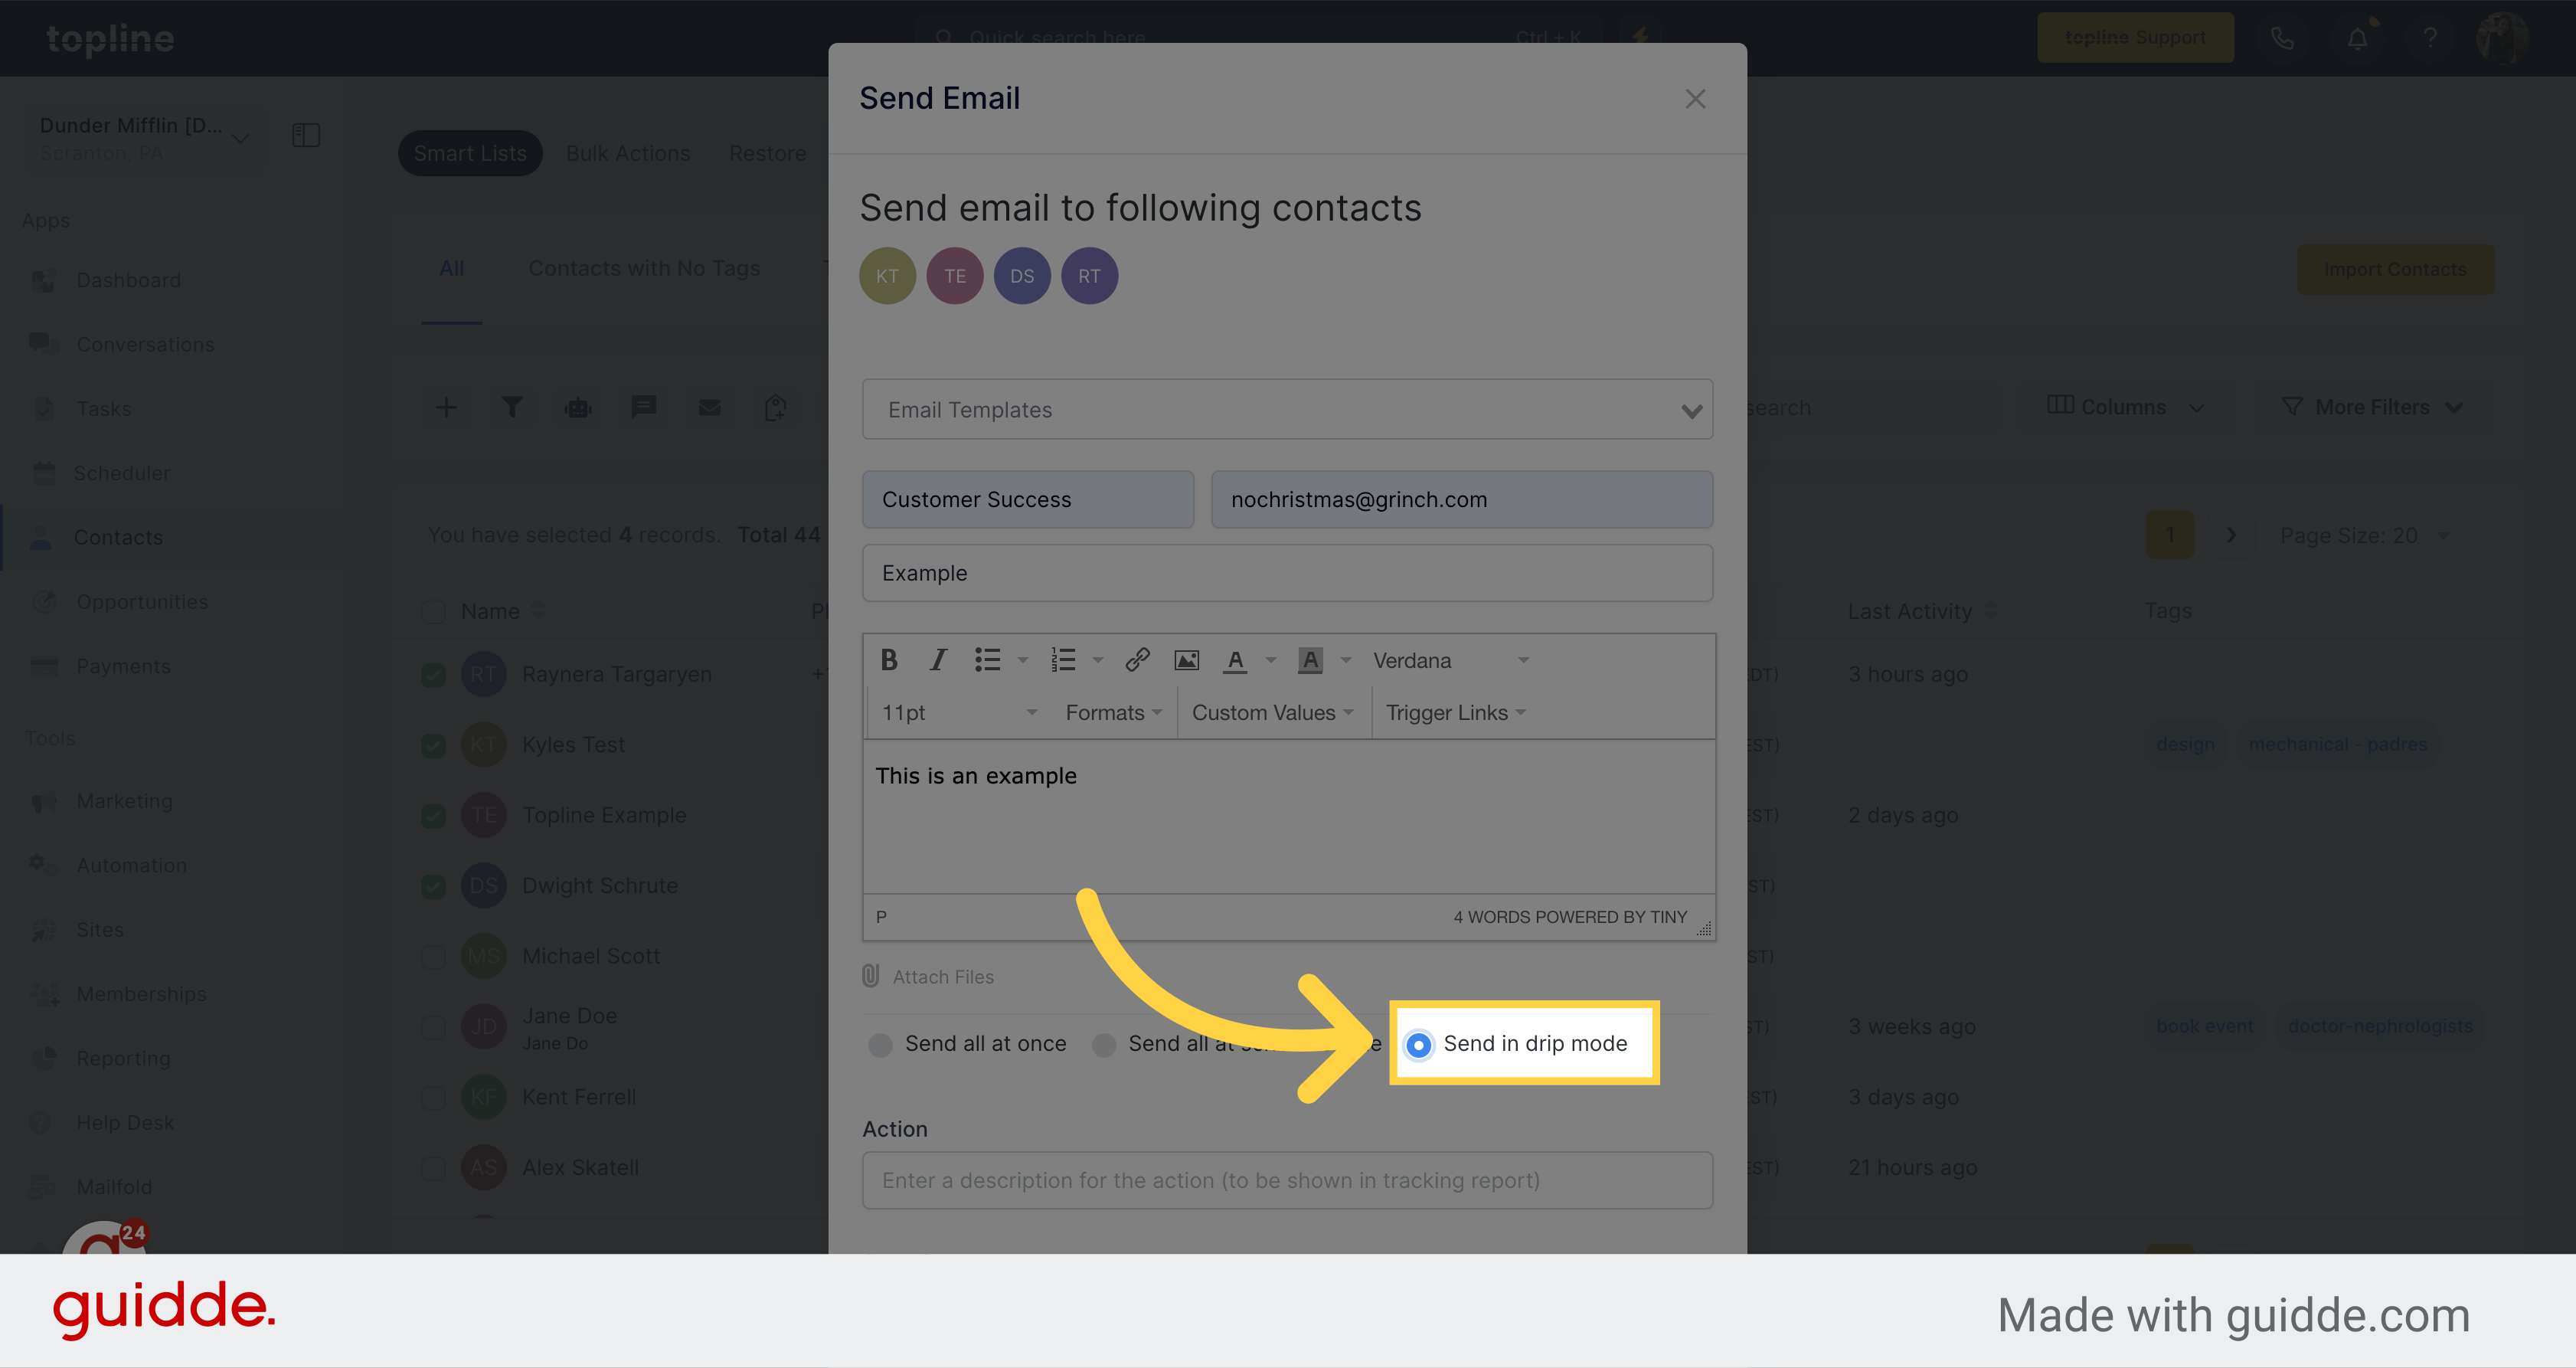
Select this option to send emails one by one.
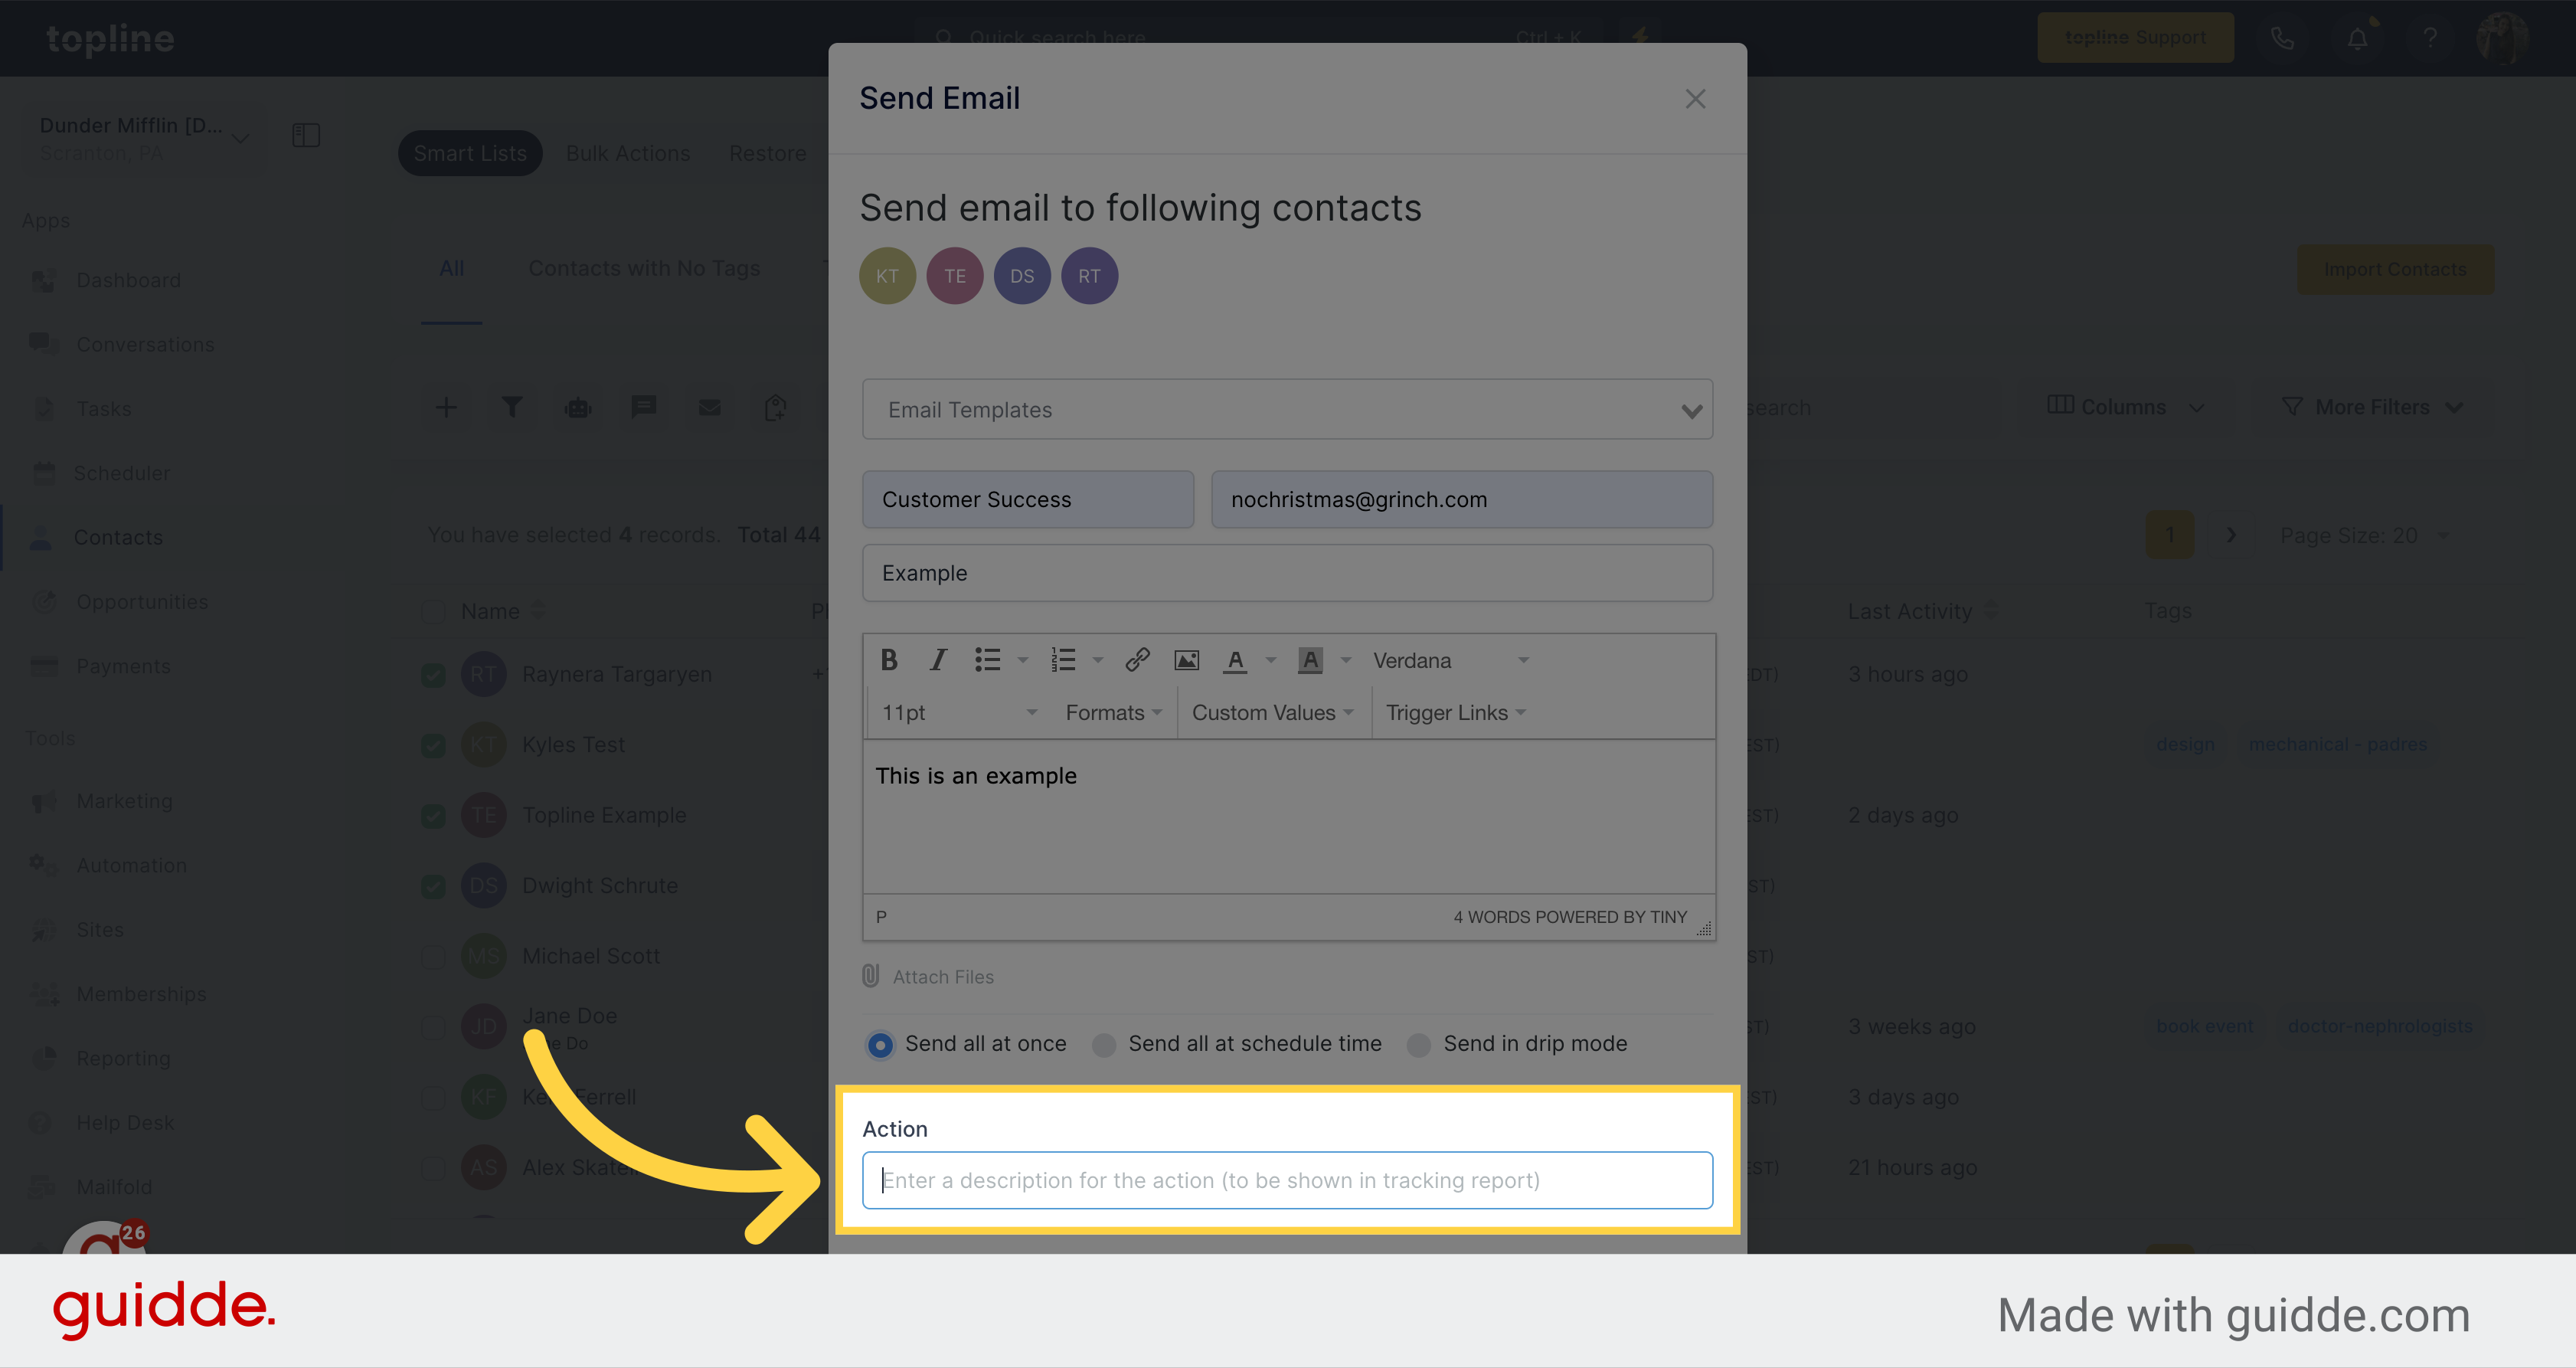
Please enter the name you would like to use to describe this action, which will be displayed in the tracking report.
Click on the send email button to send the email according to the option previously selected.
A pop up window will appear informing the action has been made.
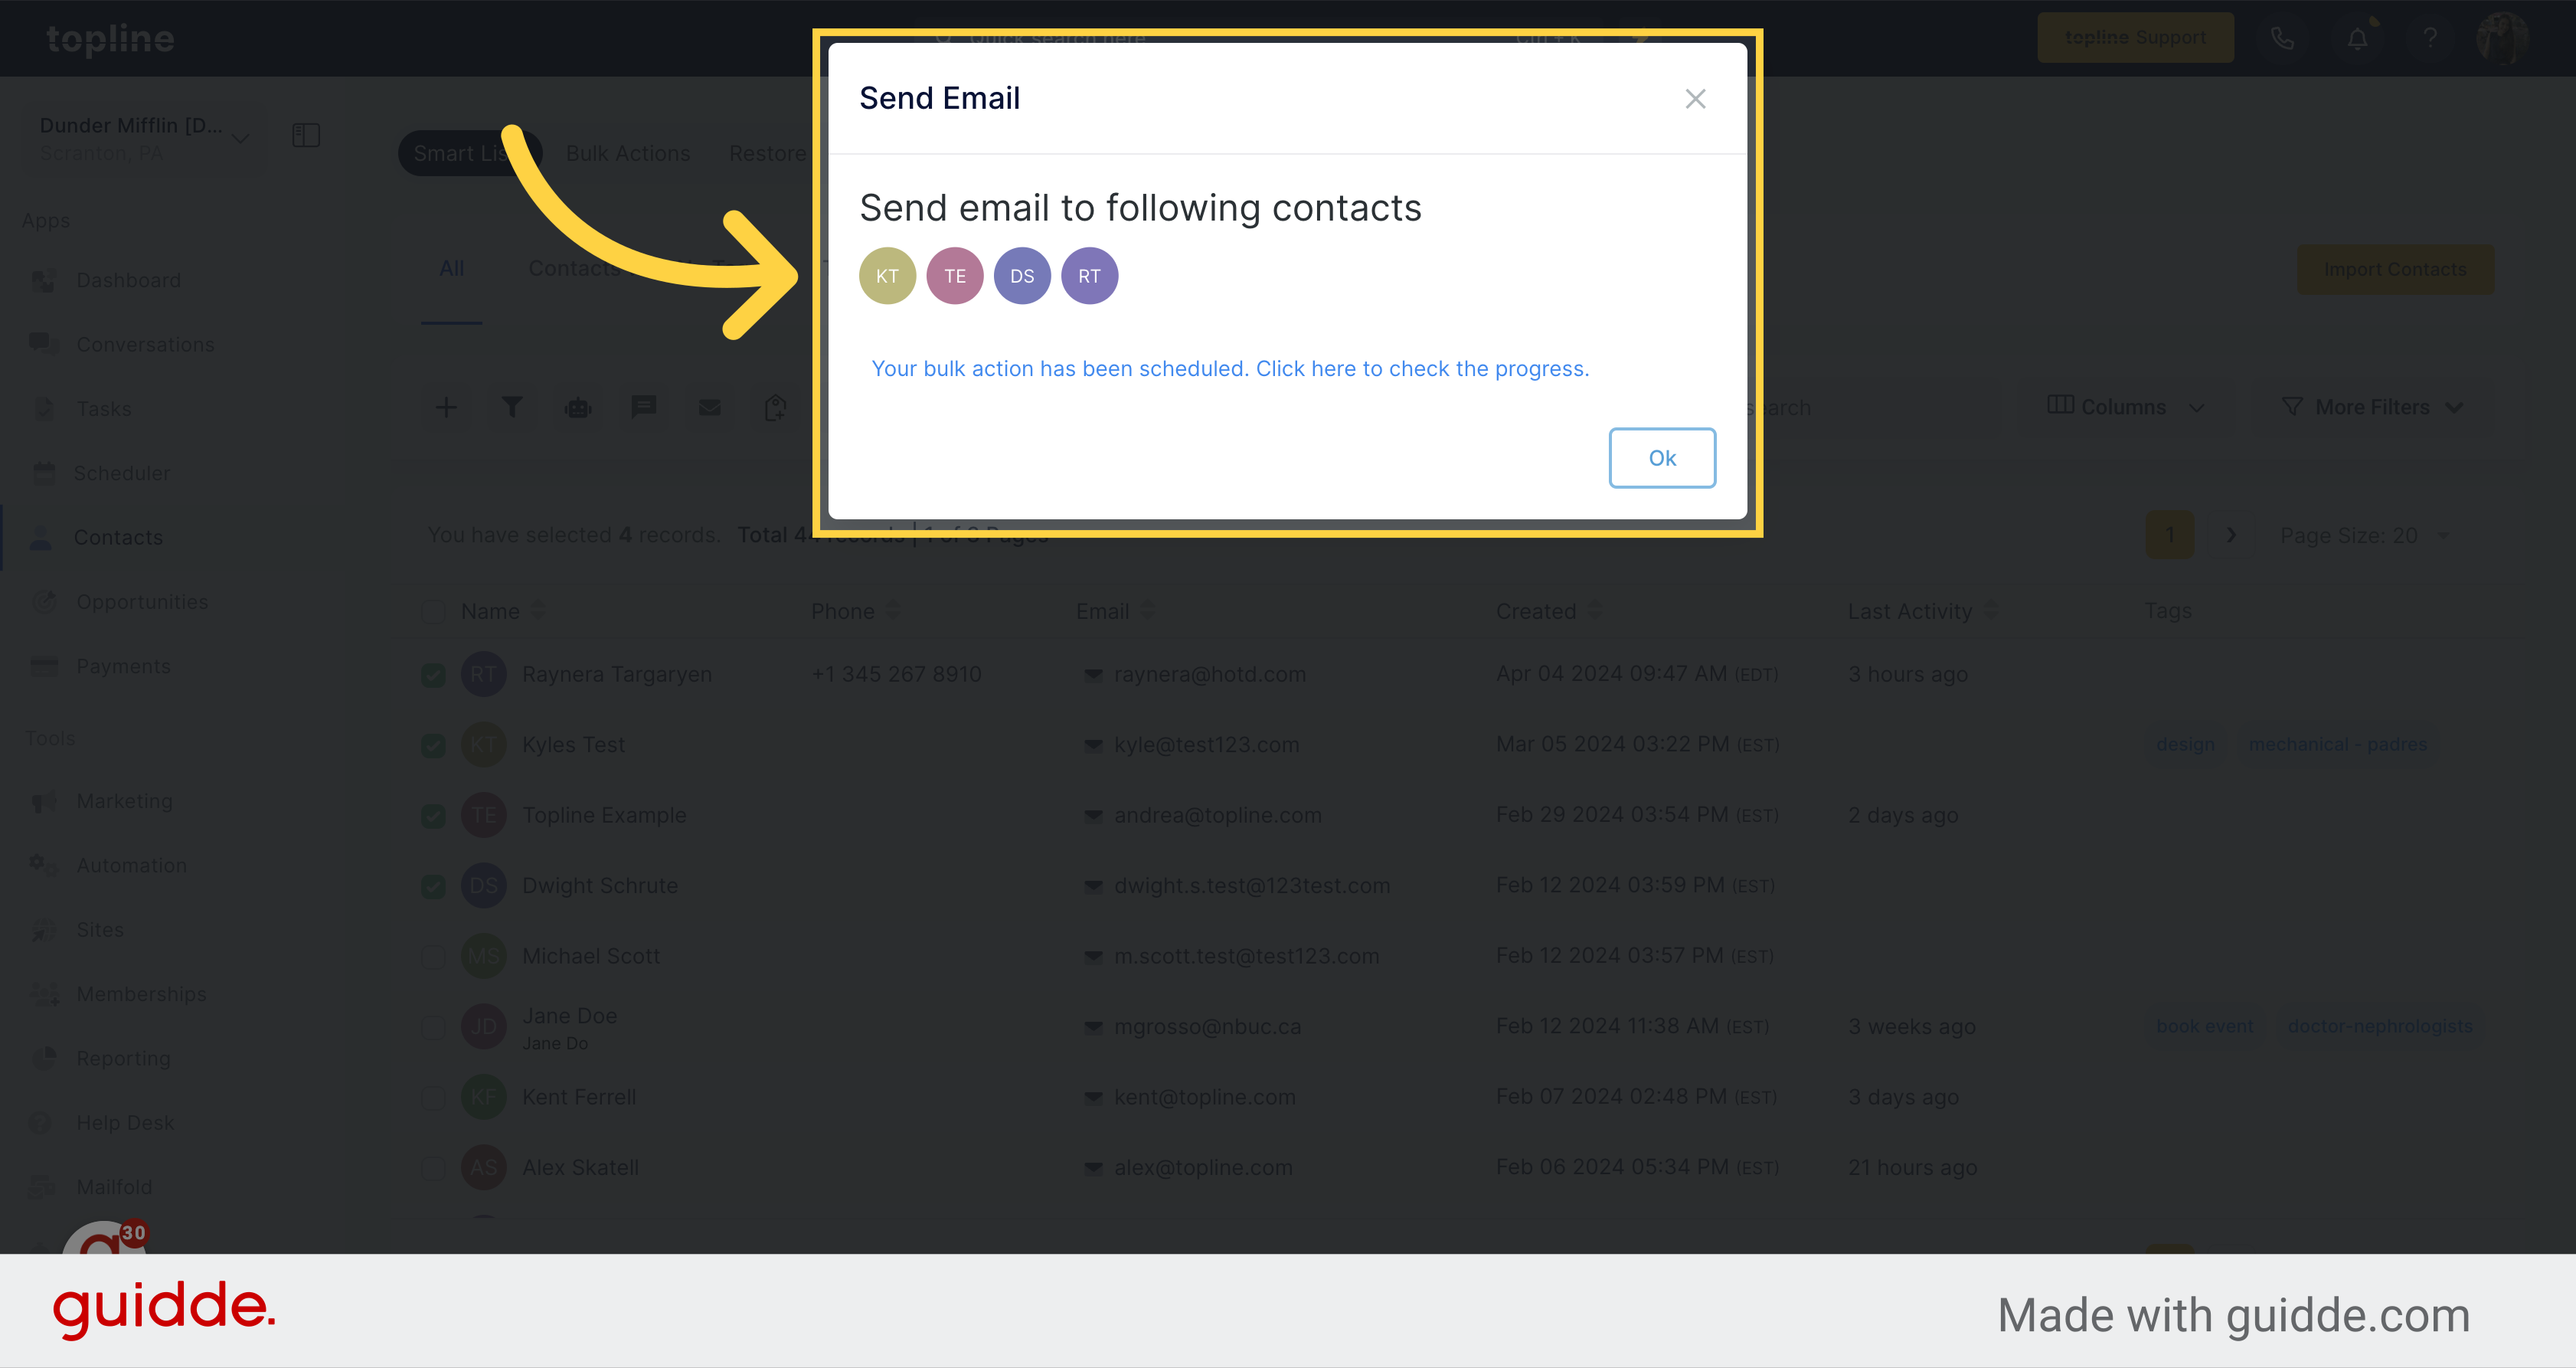
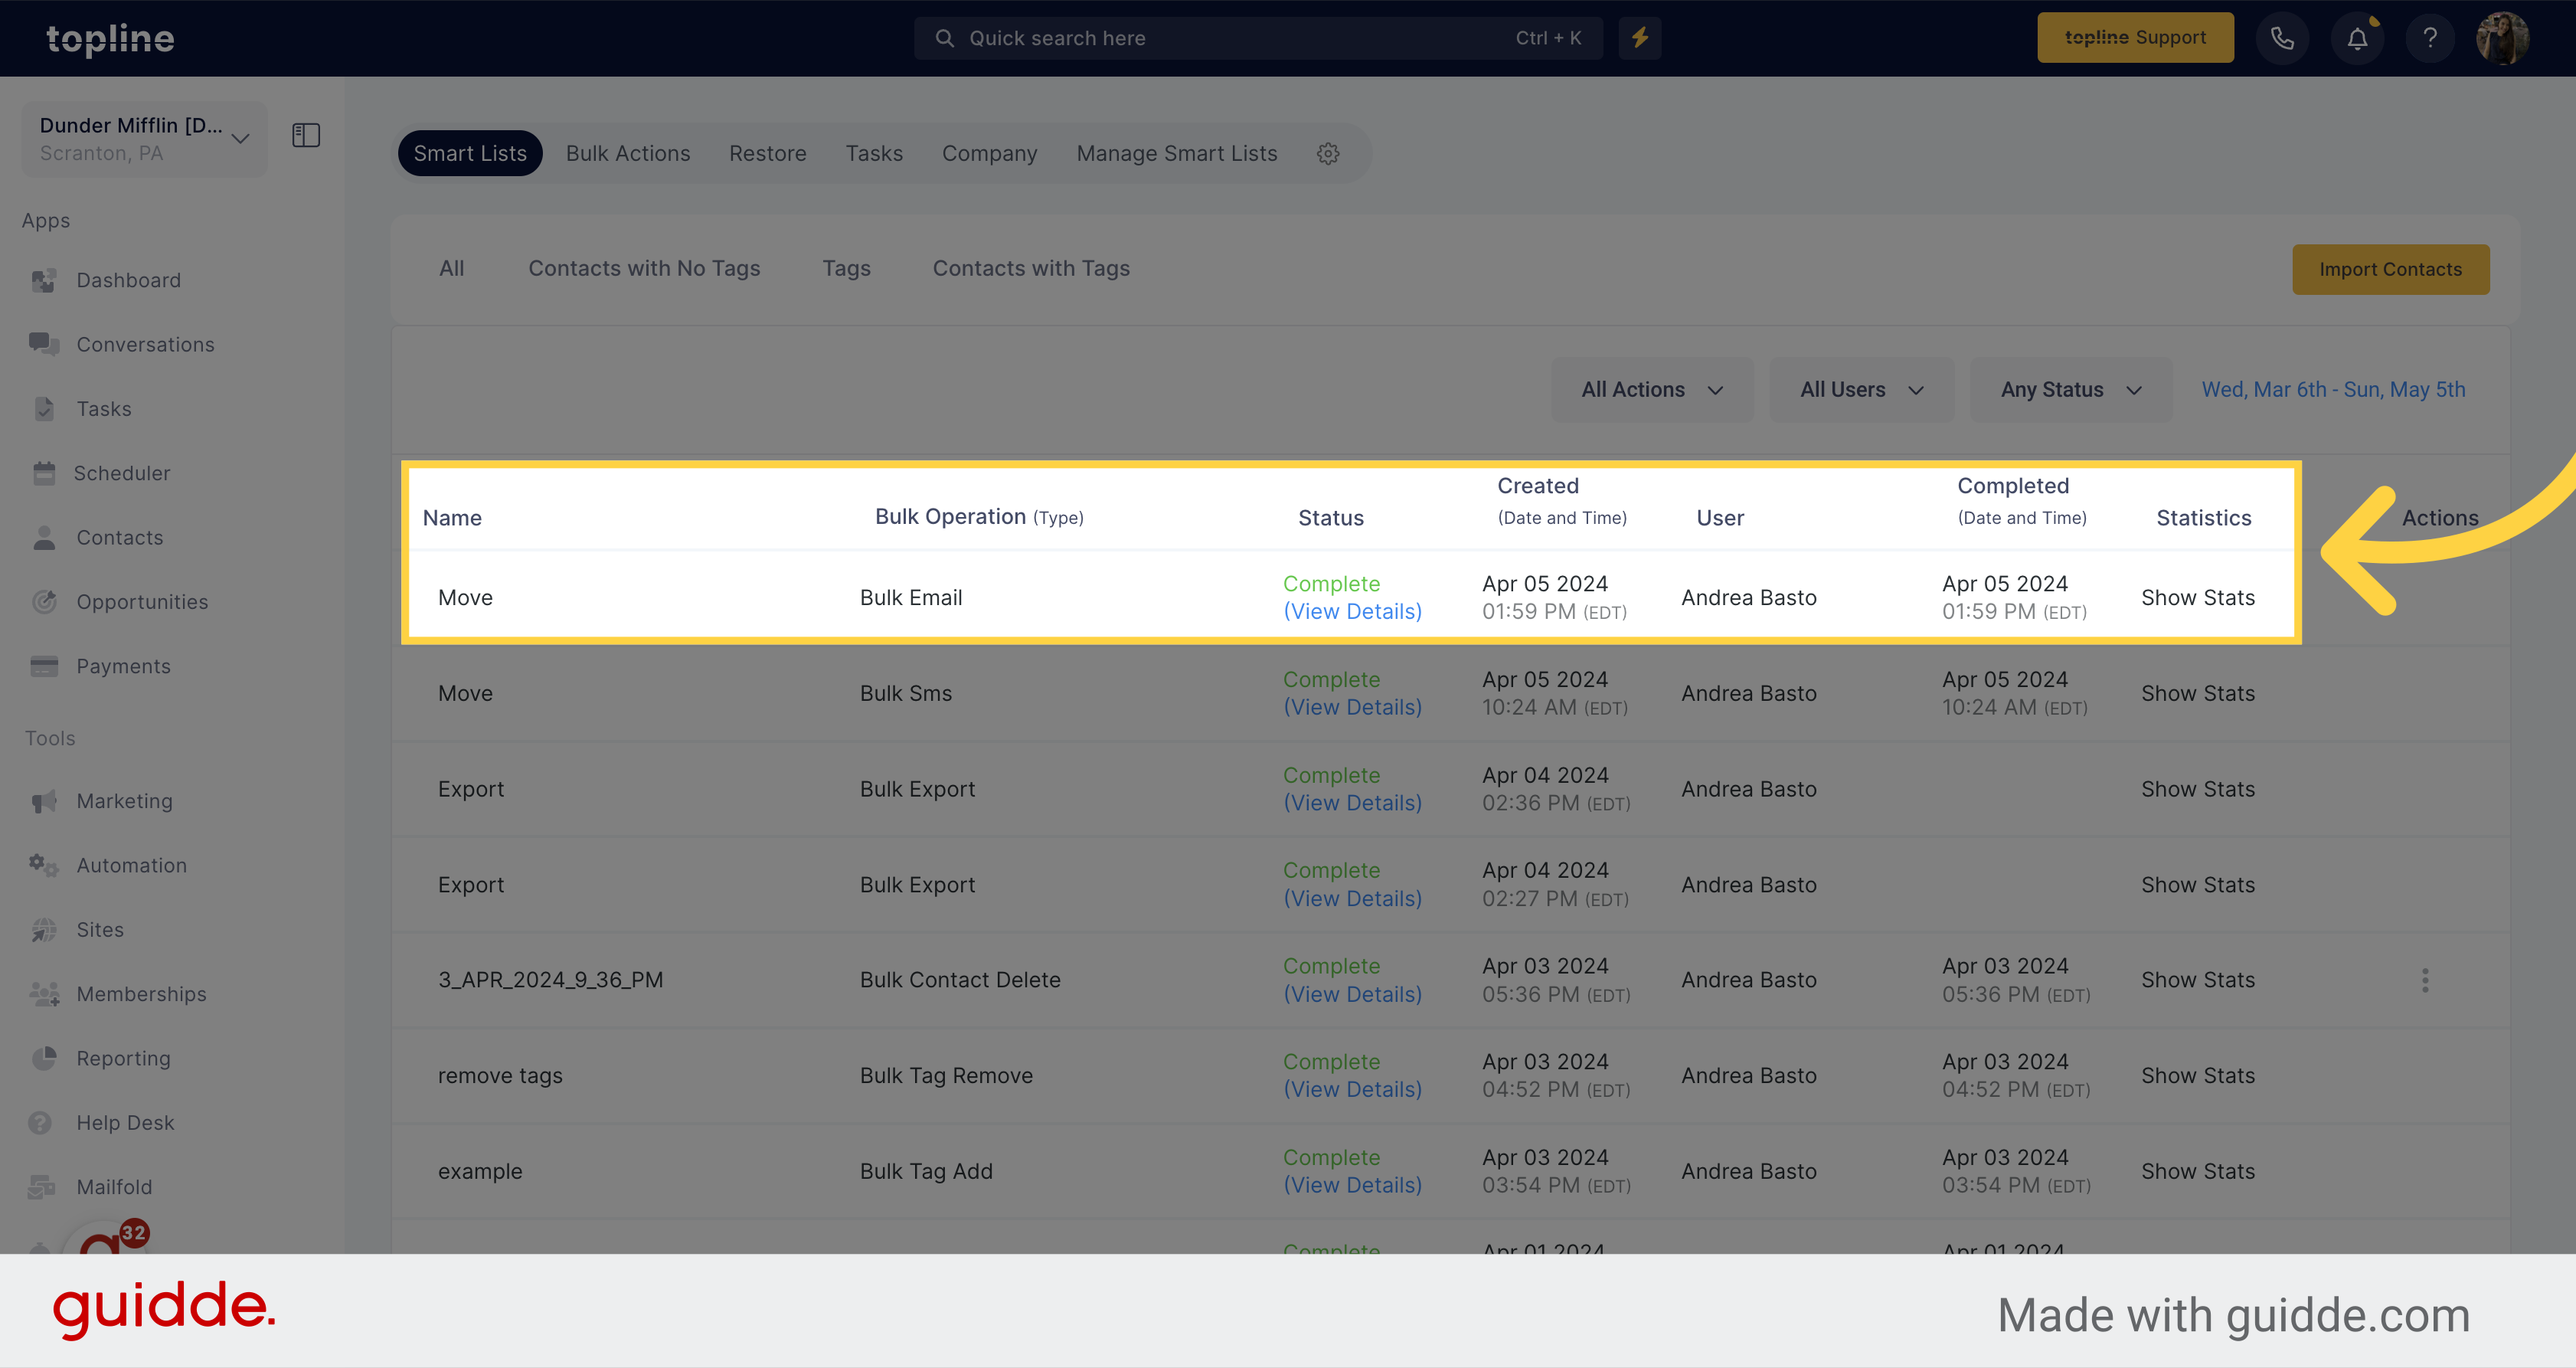
You can visualize your action status in this view.