Learn how to mask sender emails with precision using Topline. From accessing settings to managing smart lists, this guide will walk you through the necessary steps.
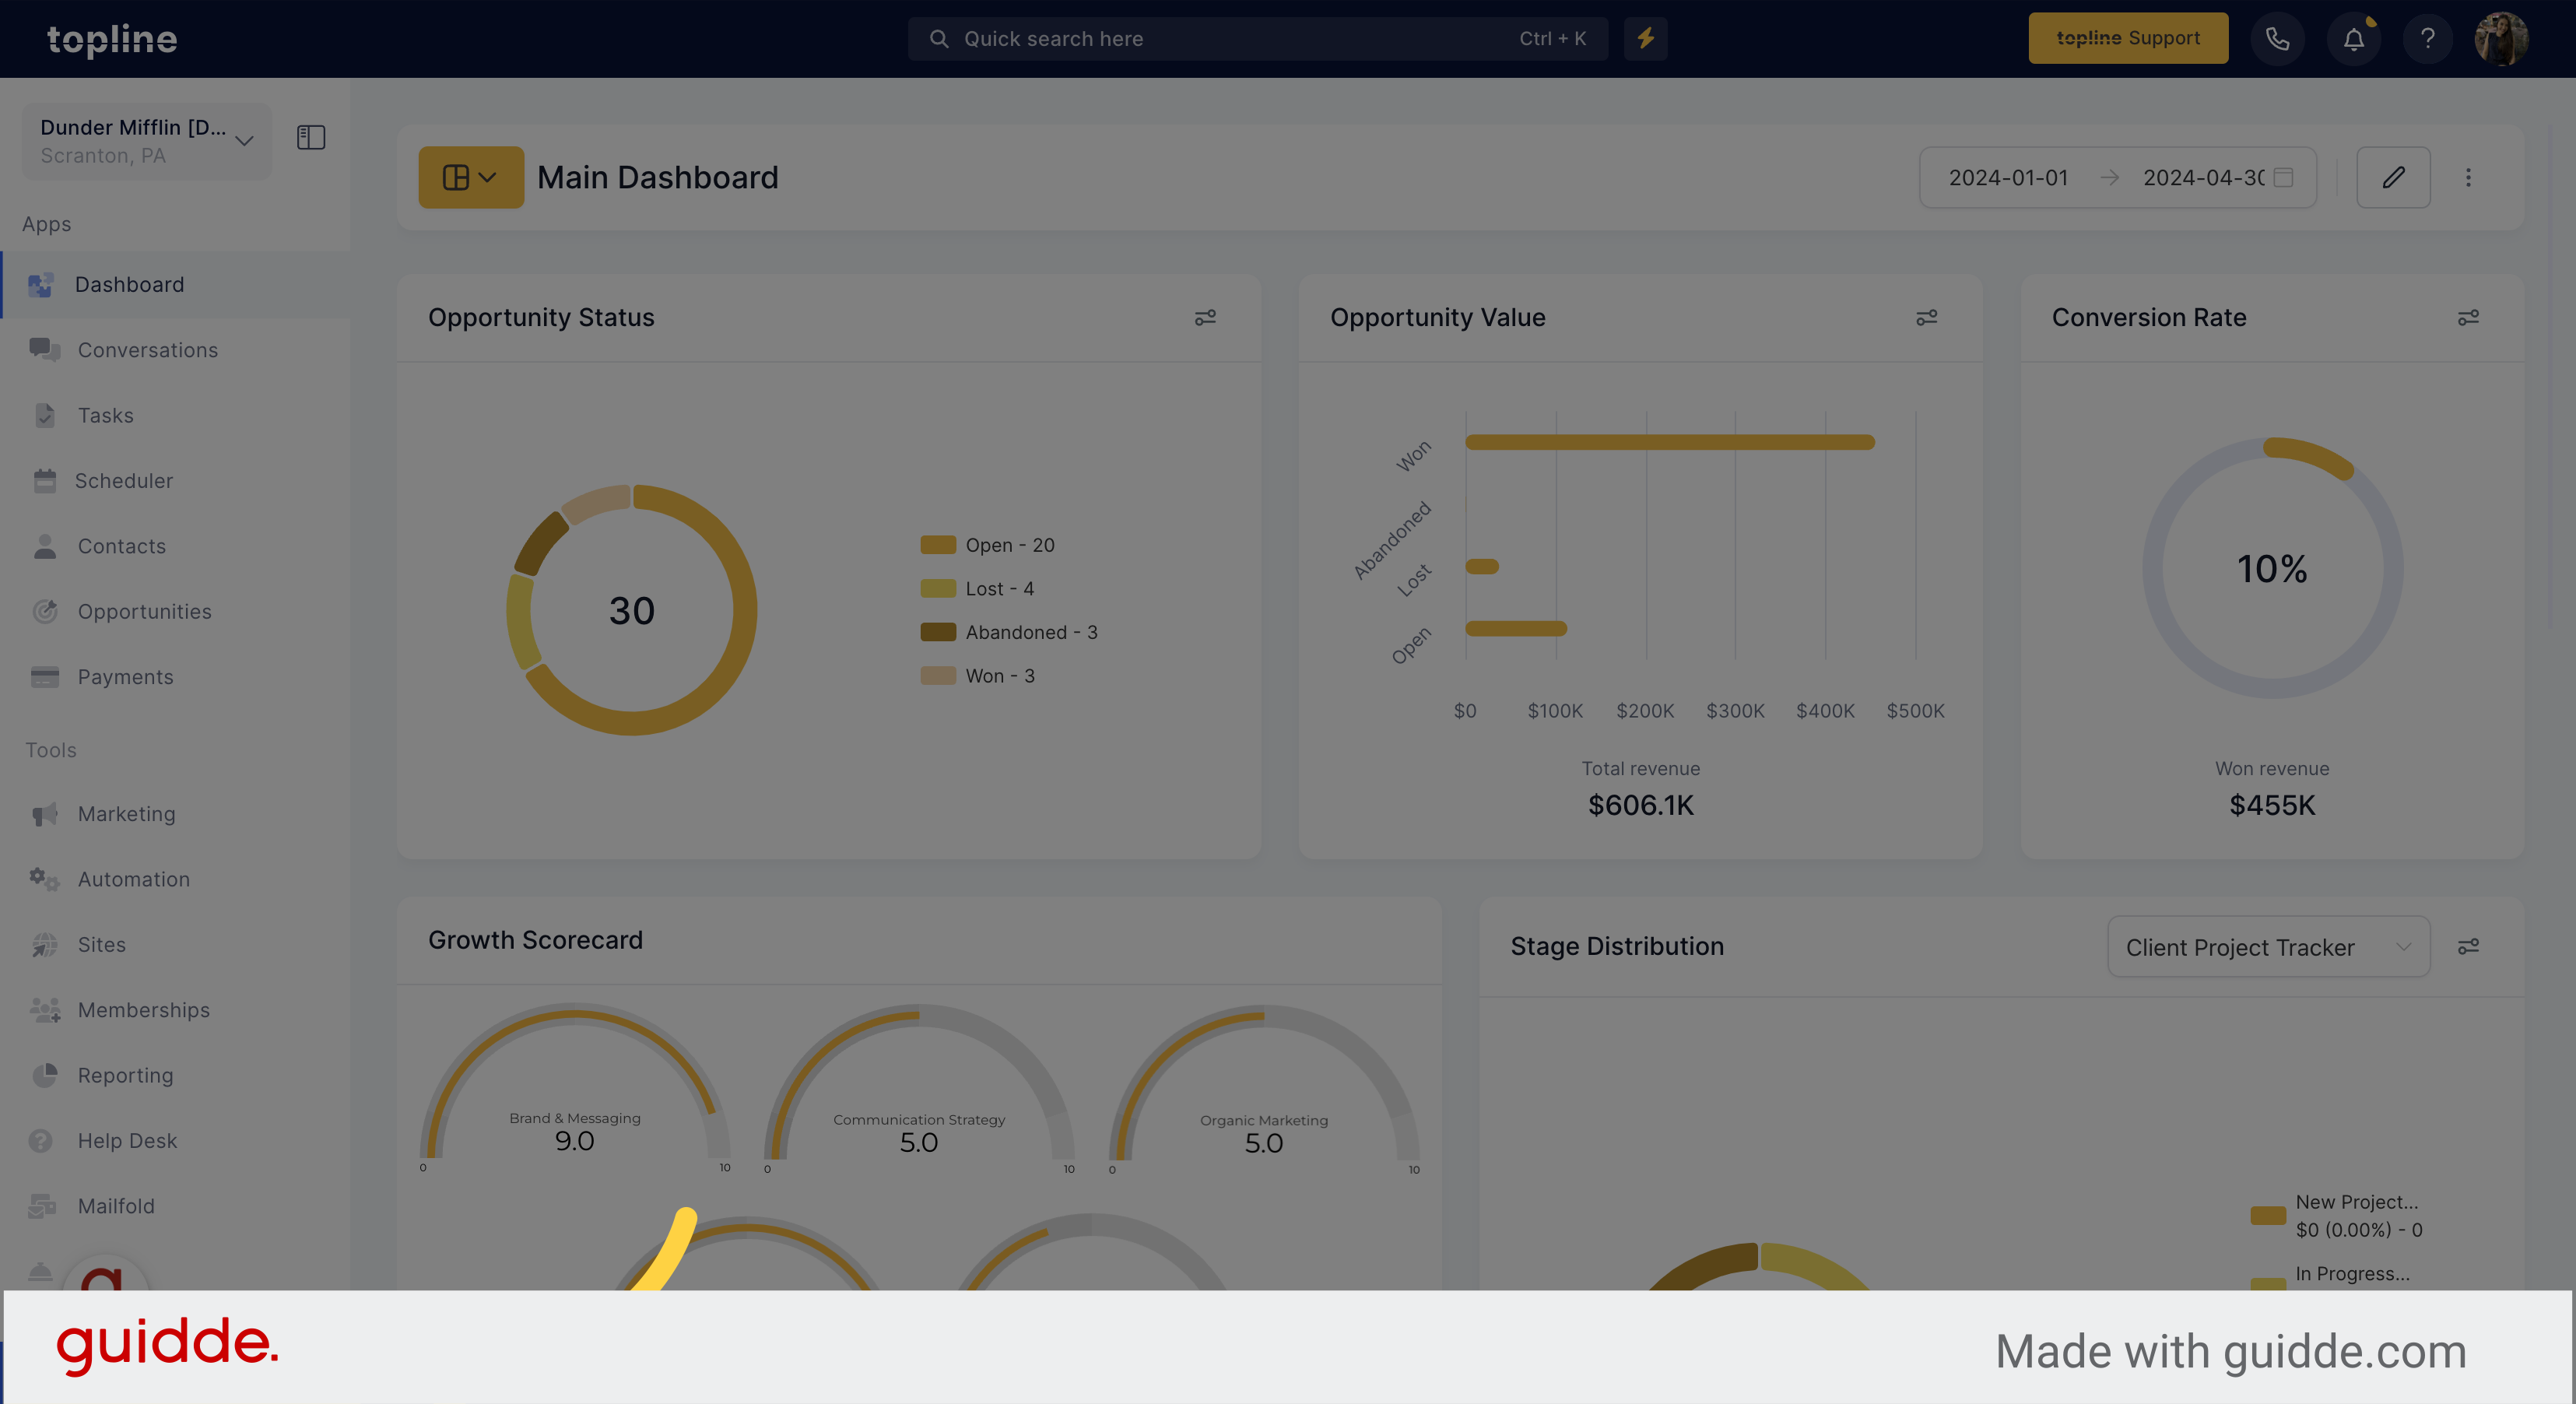
Access the settings menu on the left side menu.
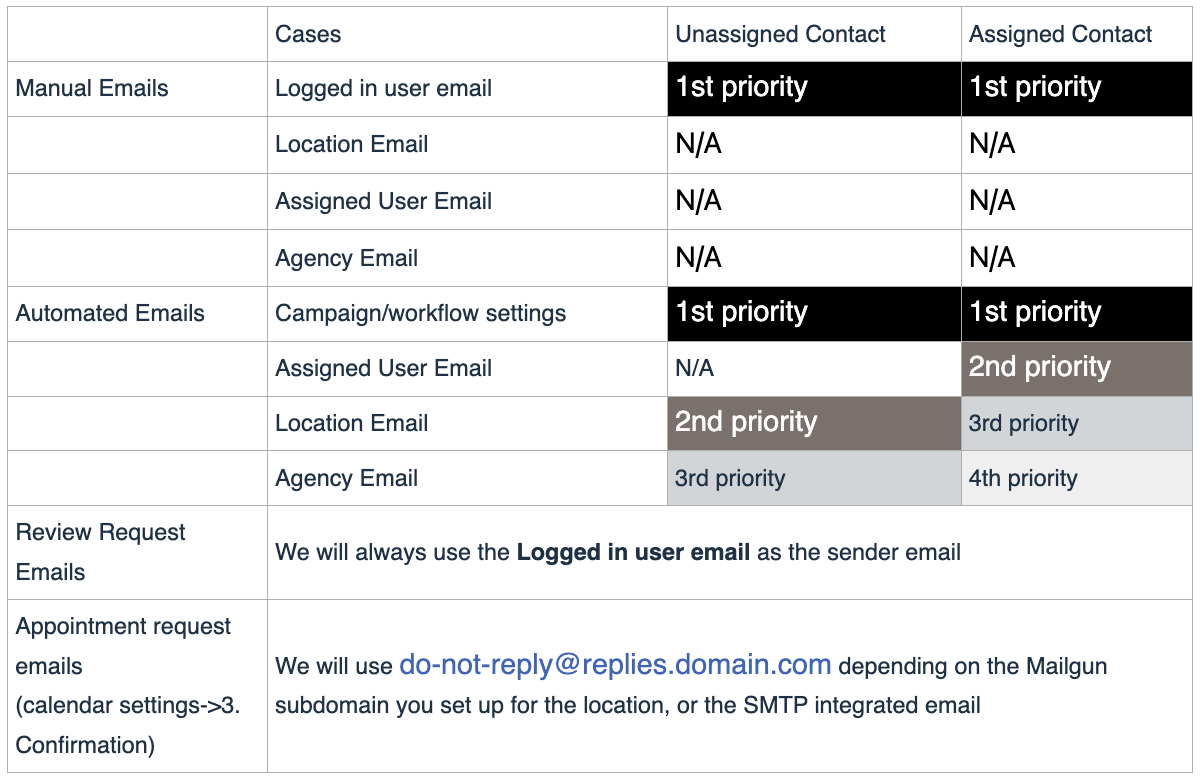
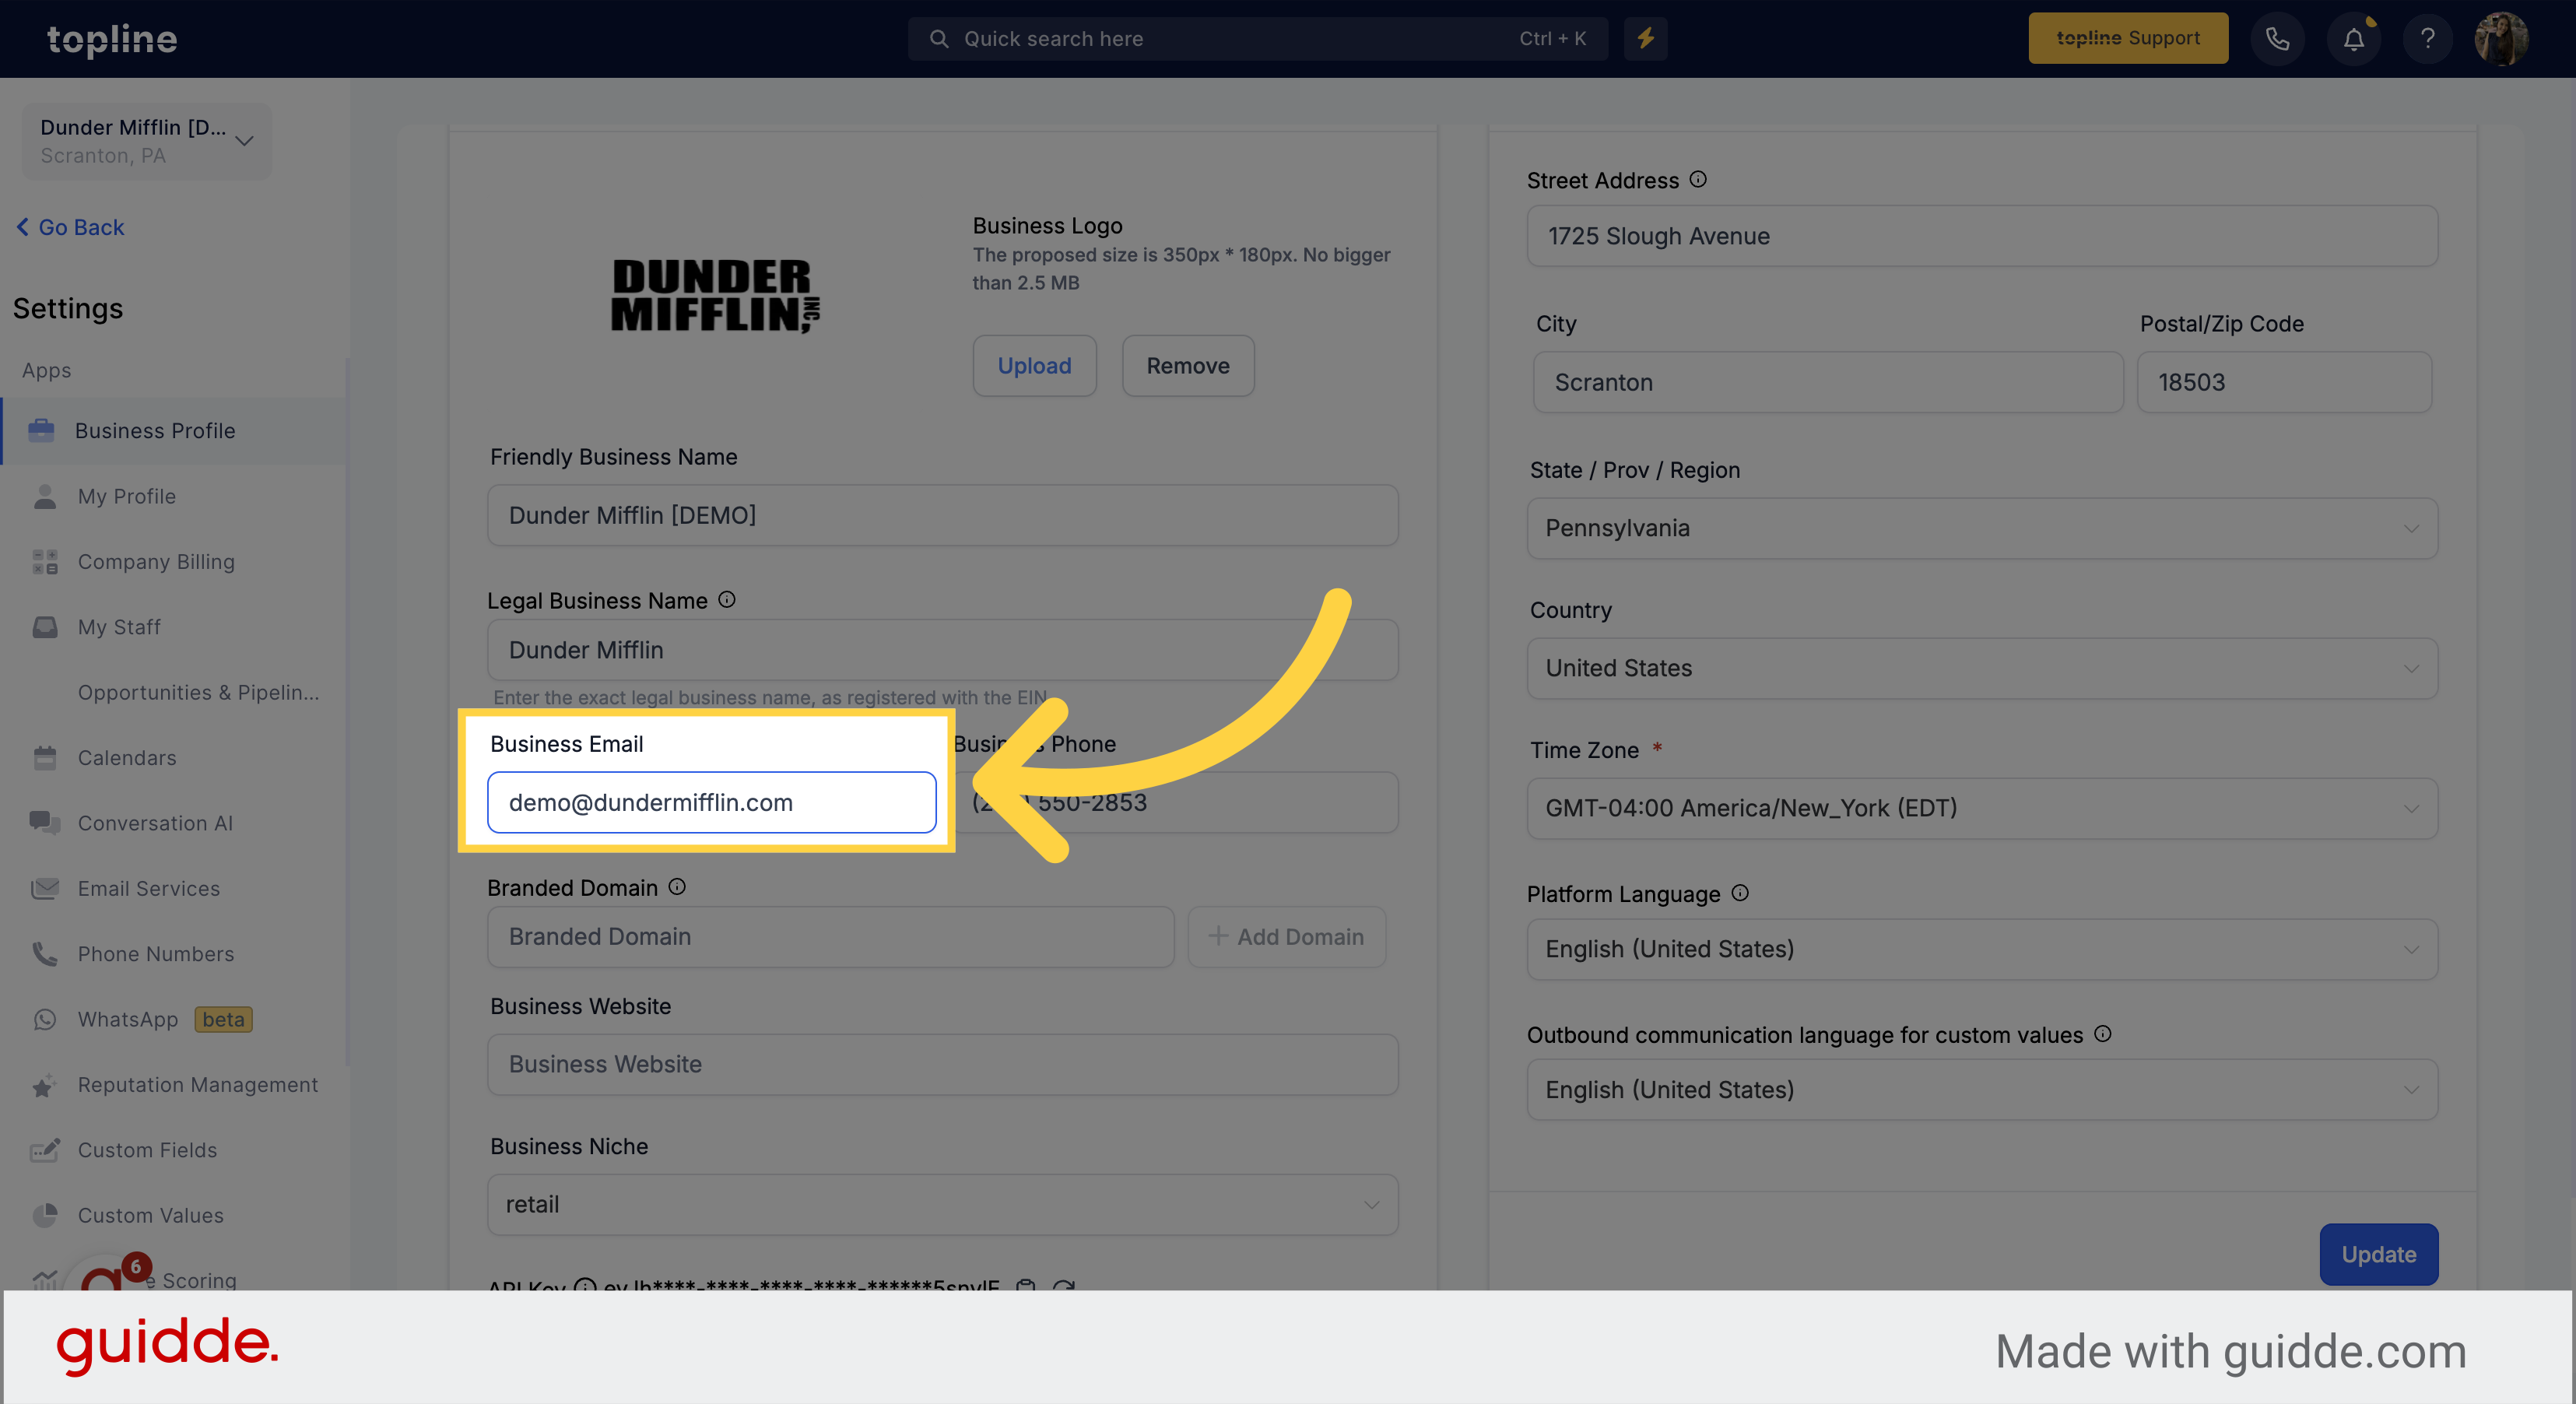
If you are using Mailgun/LC Email, we will use the Business email here if the lead is not assigned.
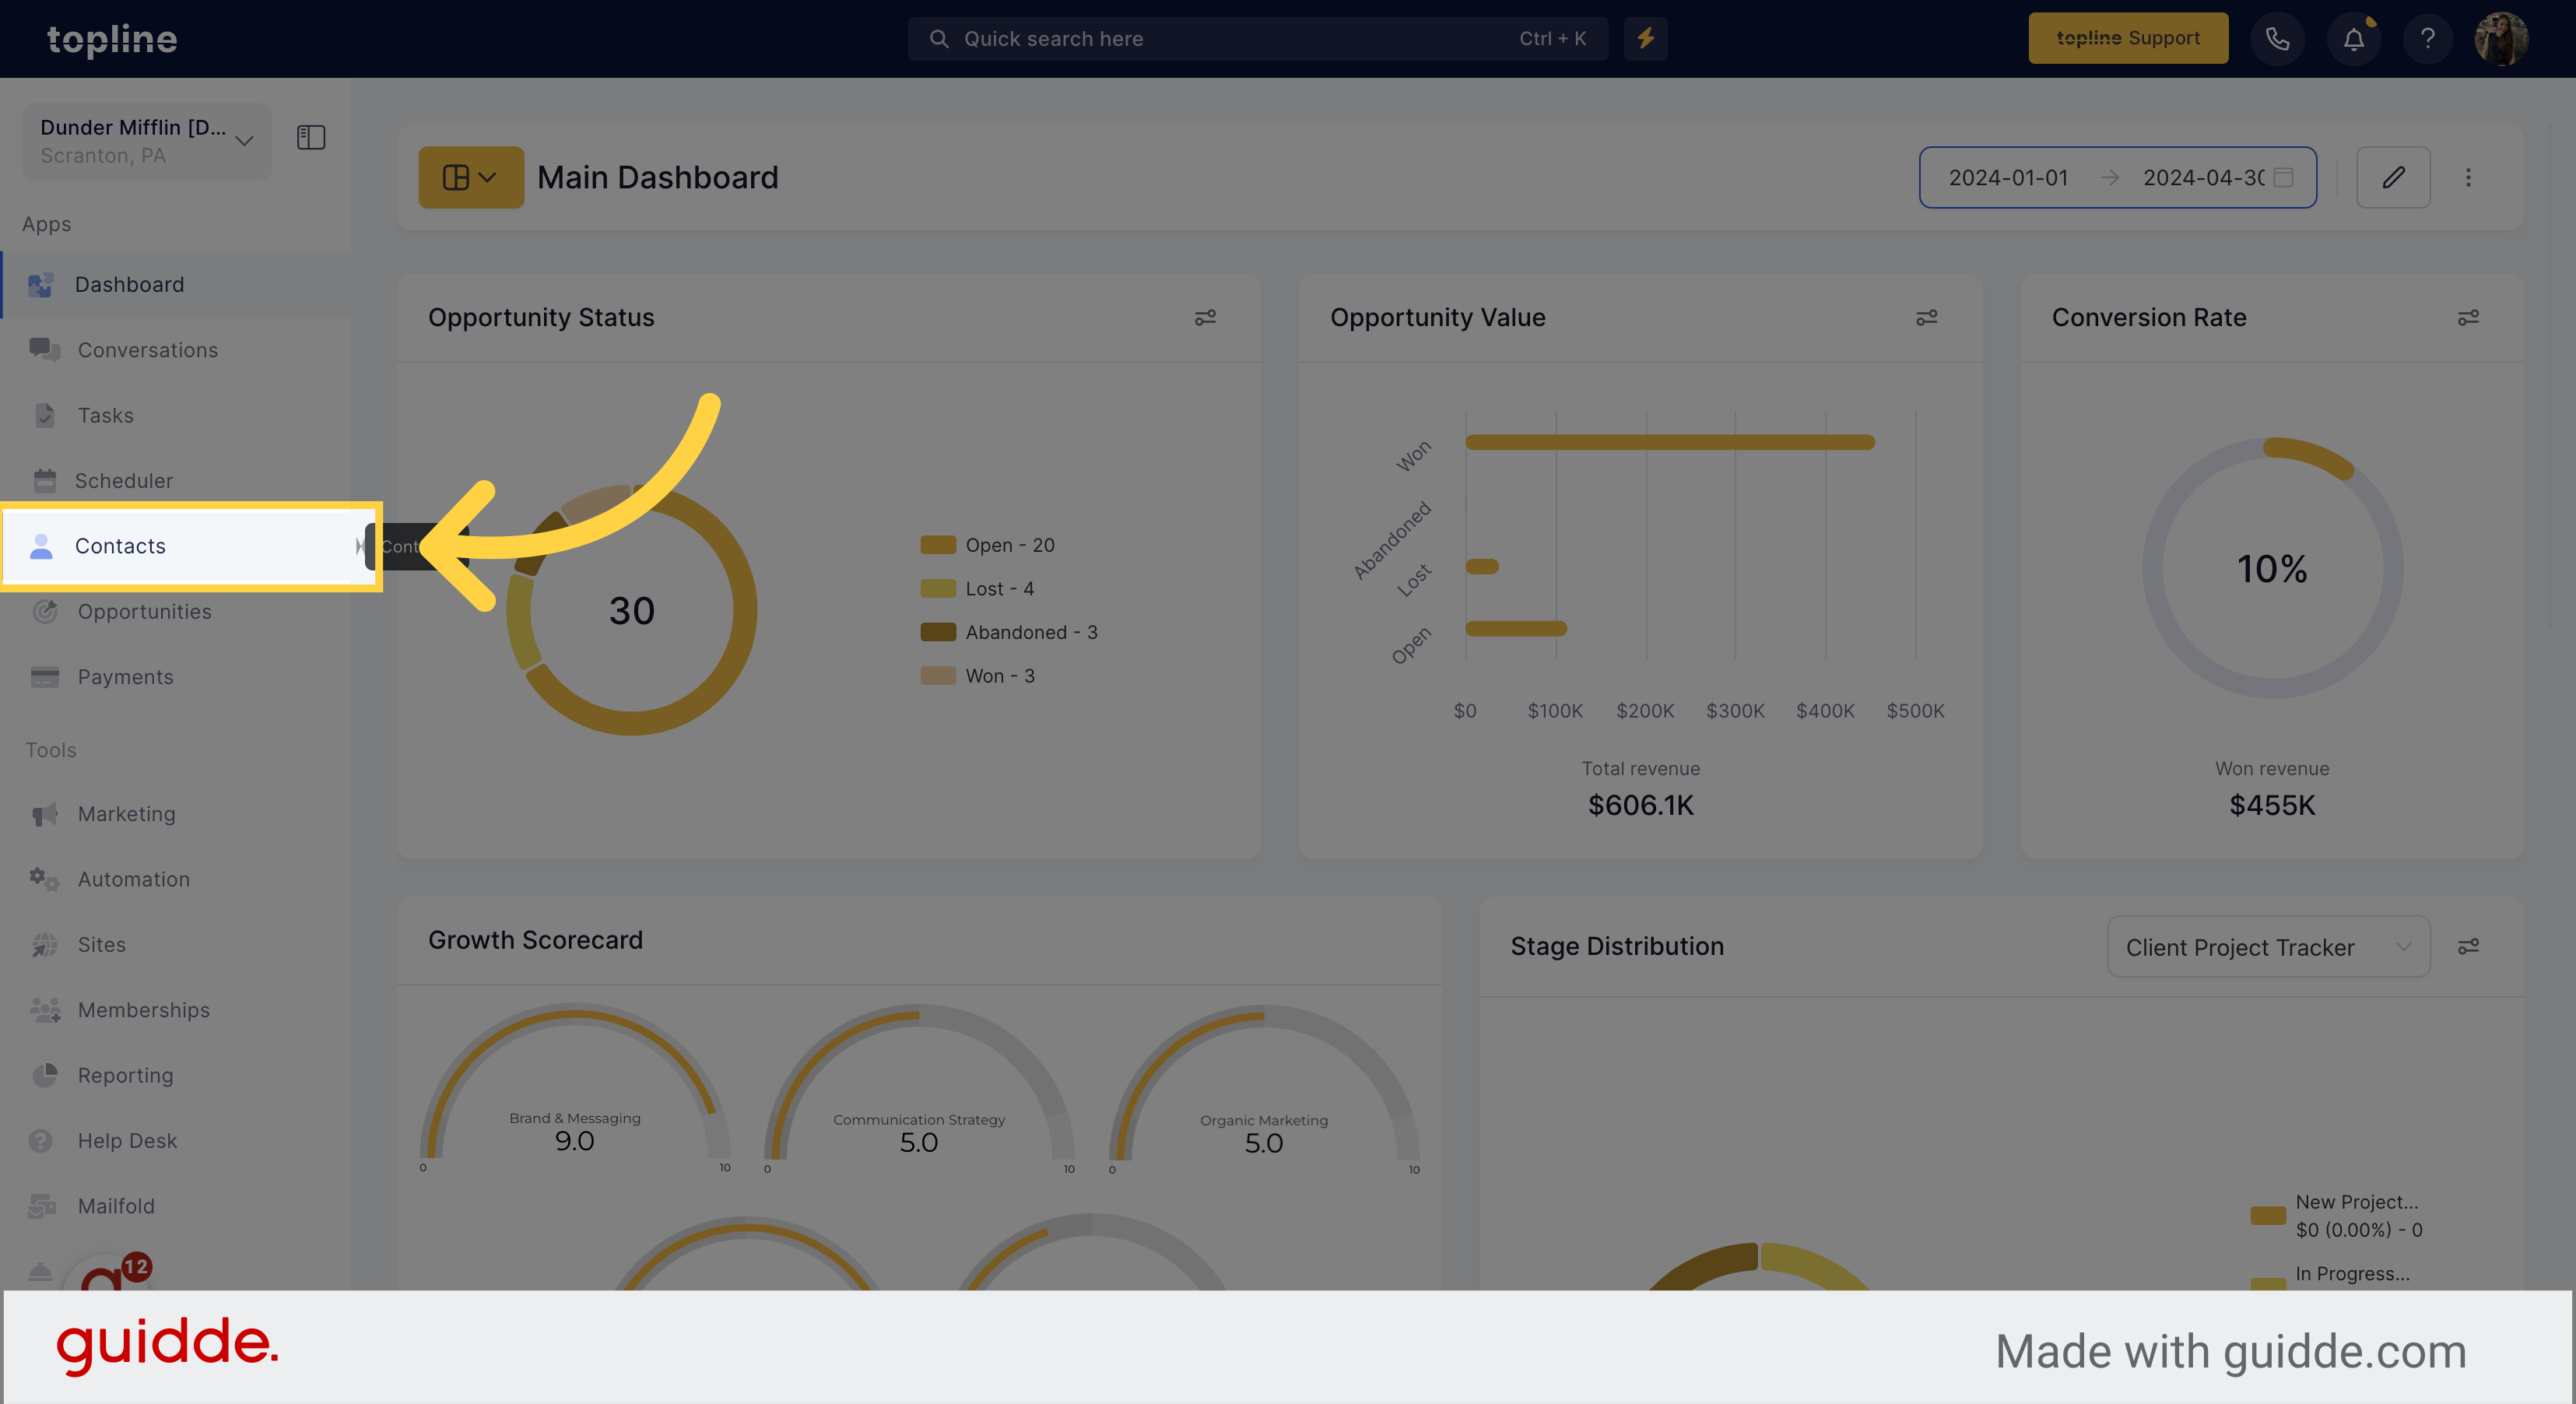
Access the Contacts section on the left side menu.
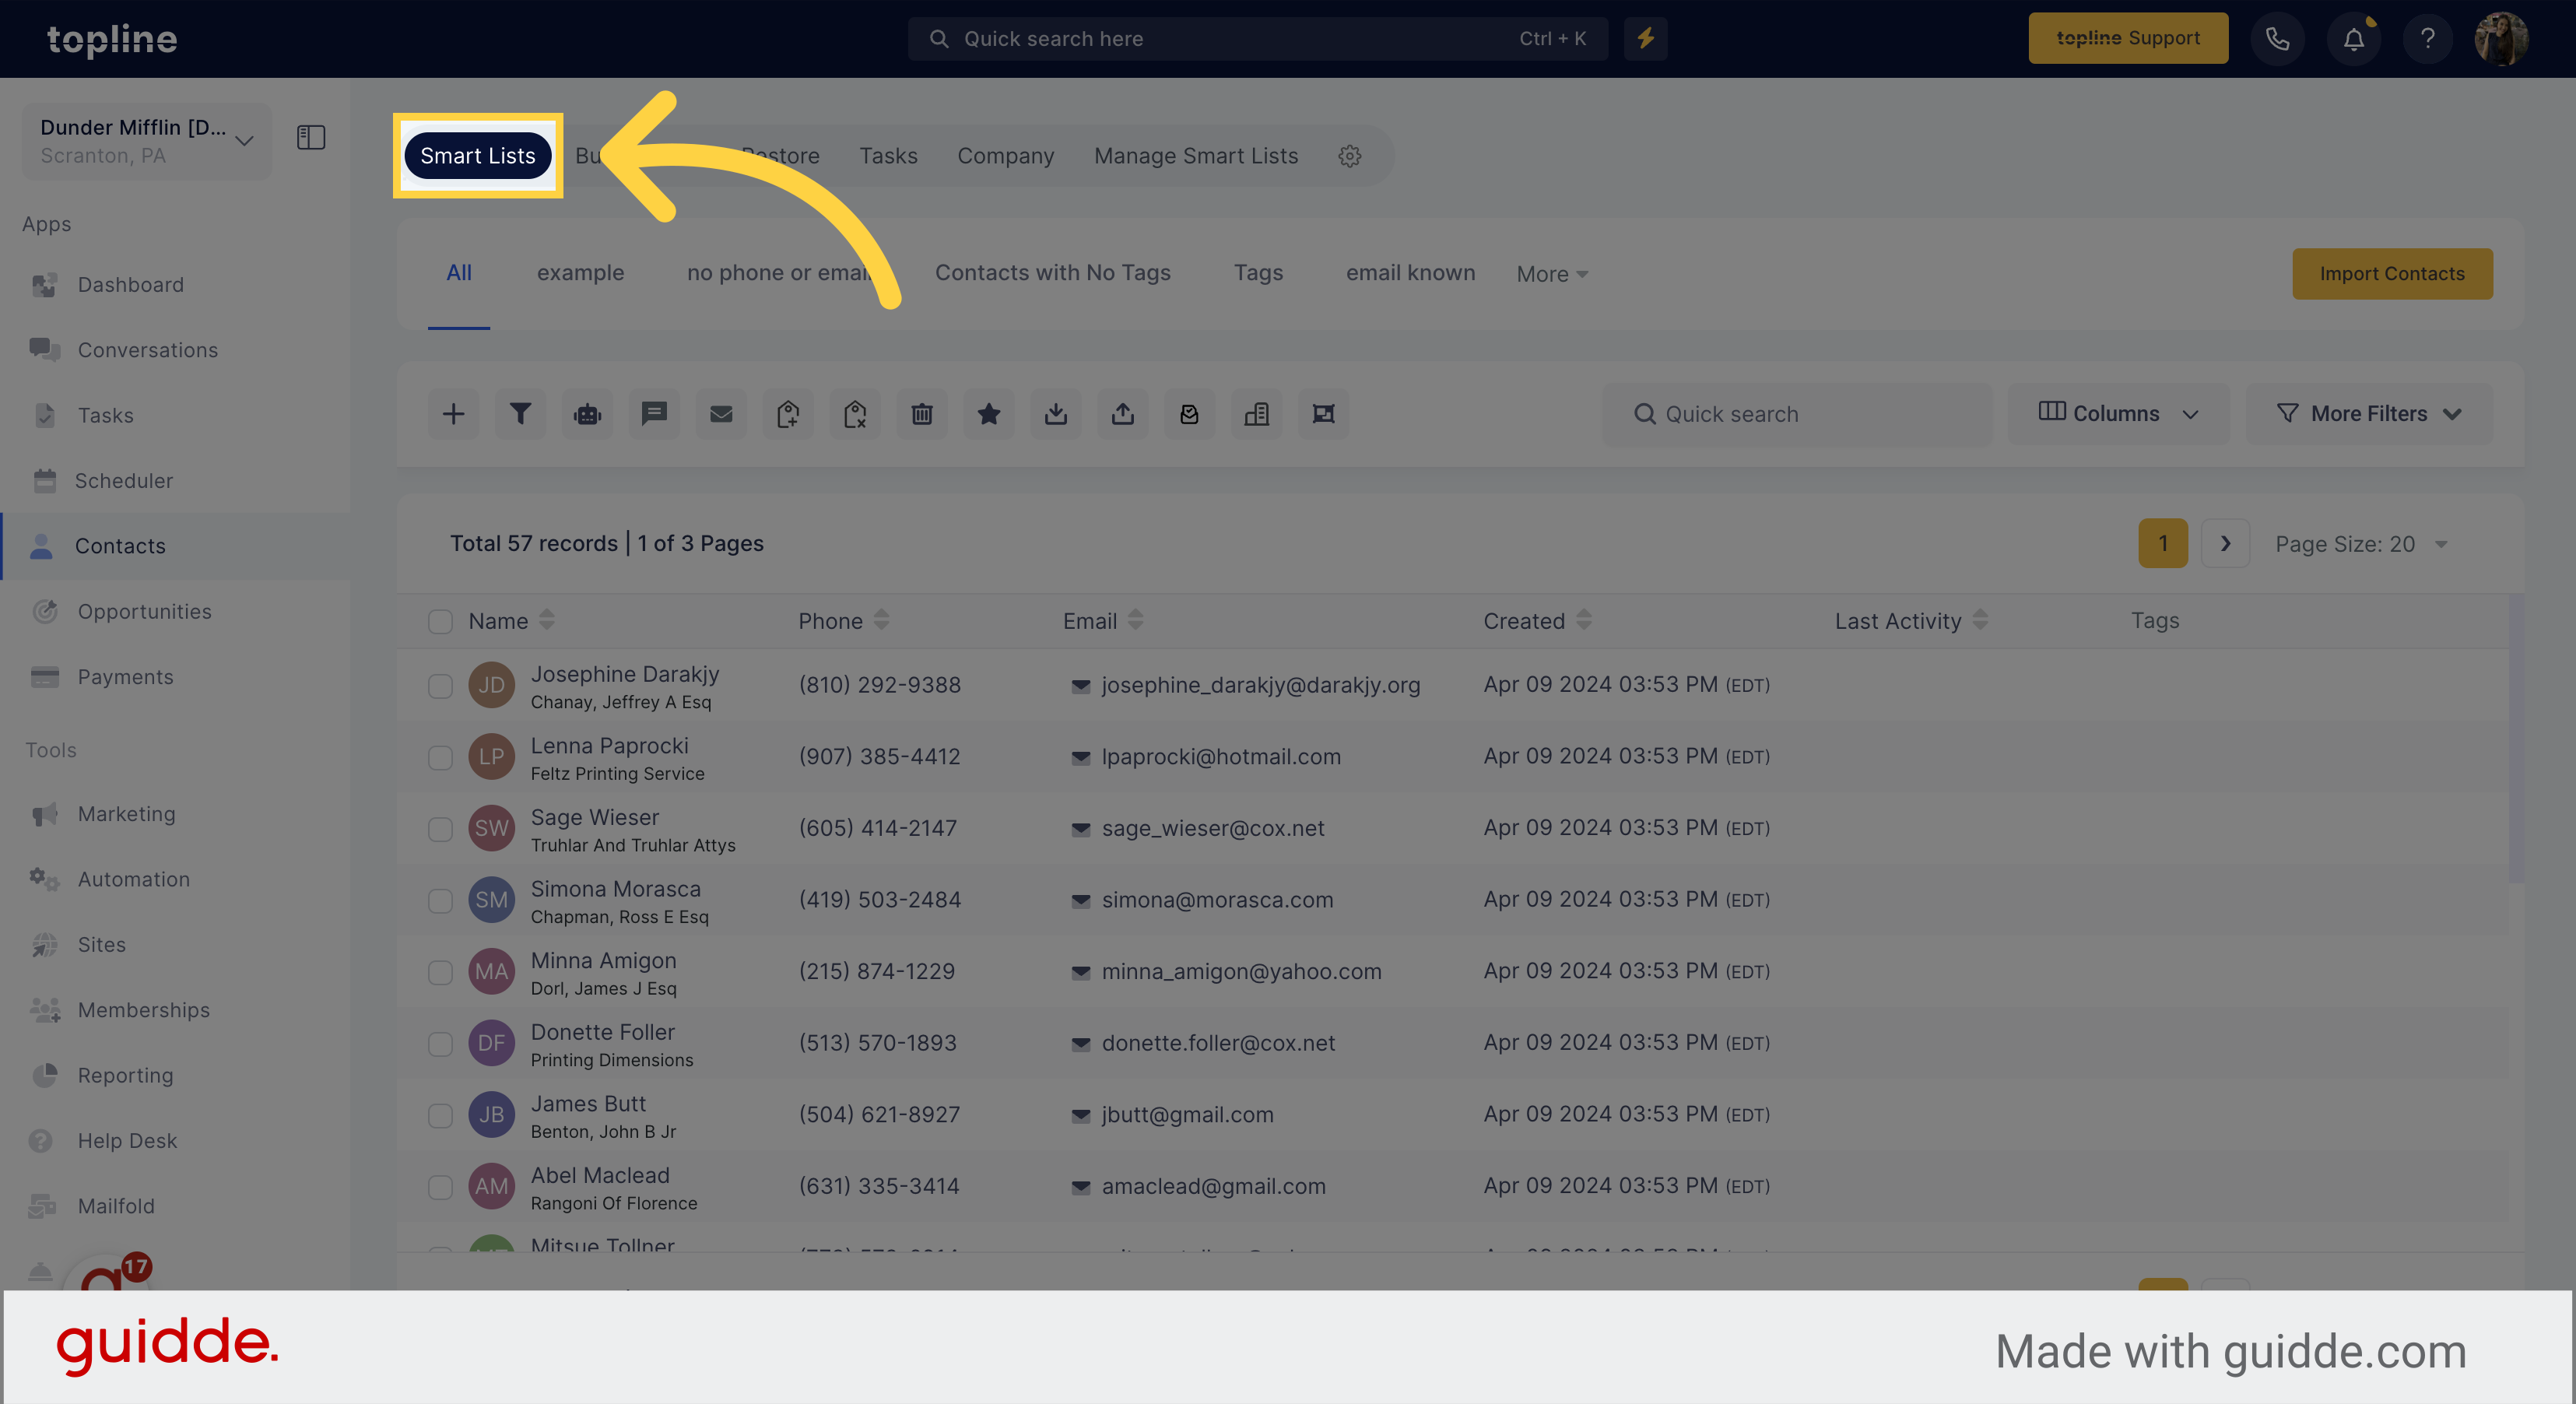
Access the Smart Lists section on the contacts section.
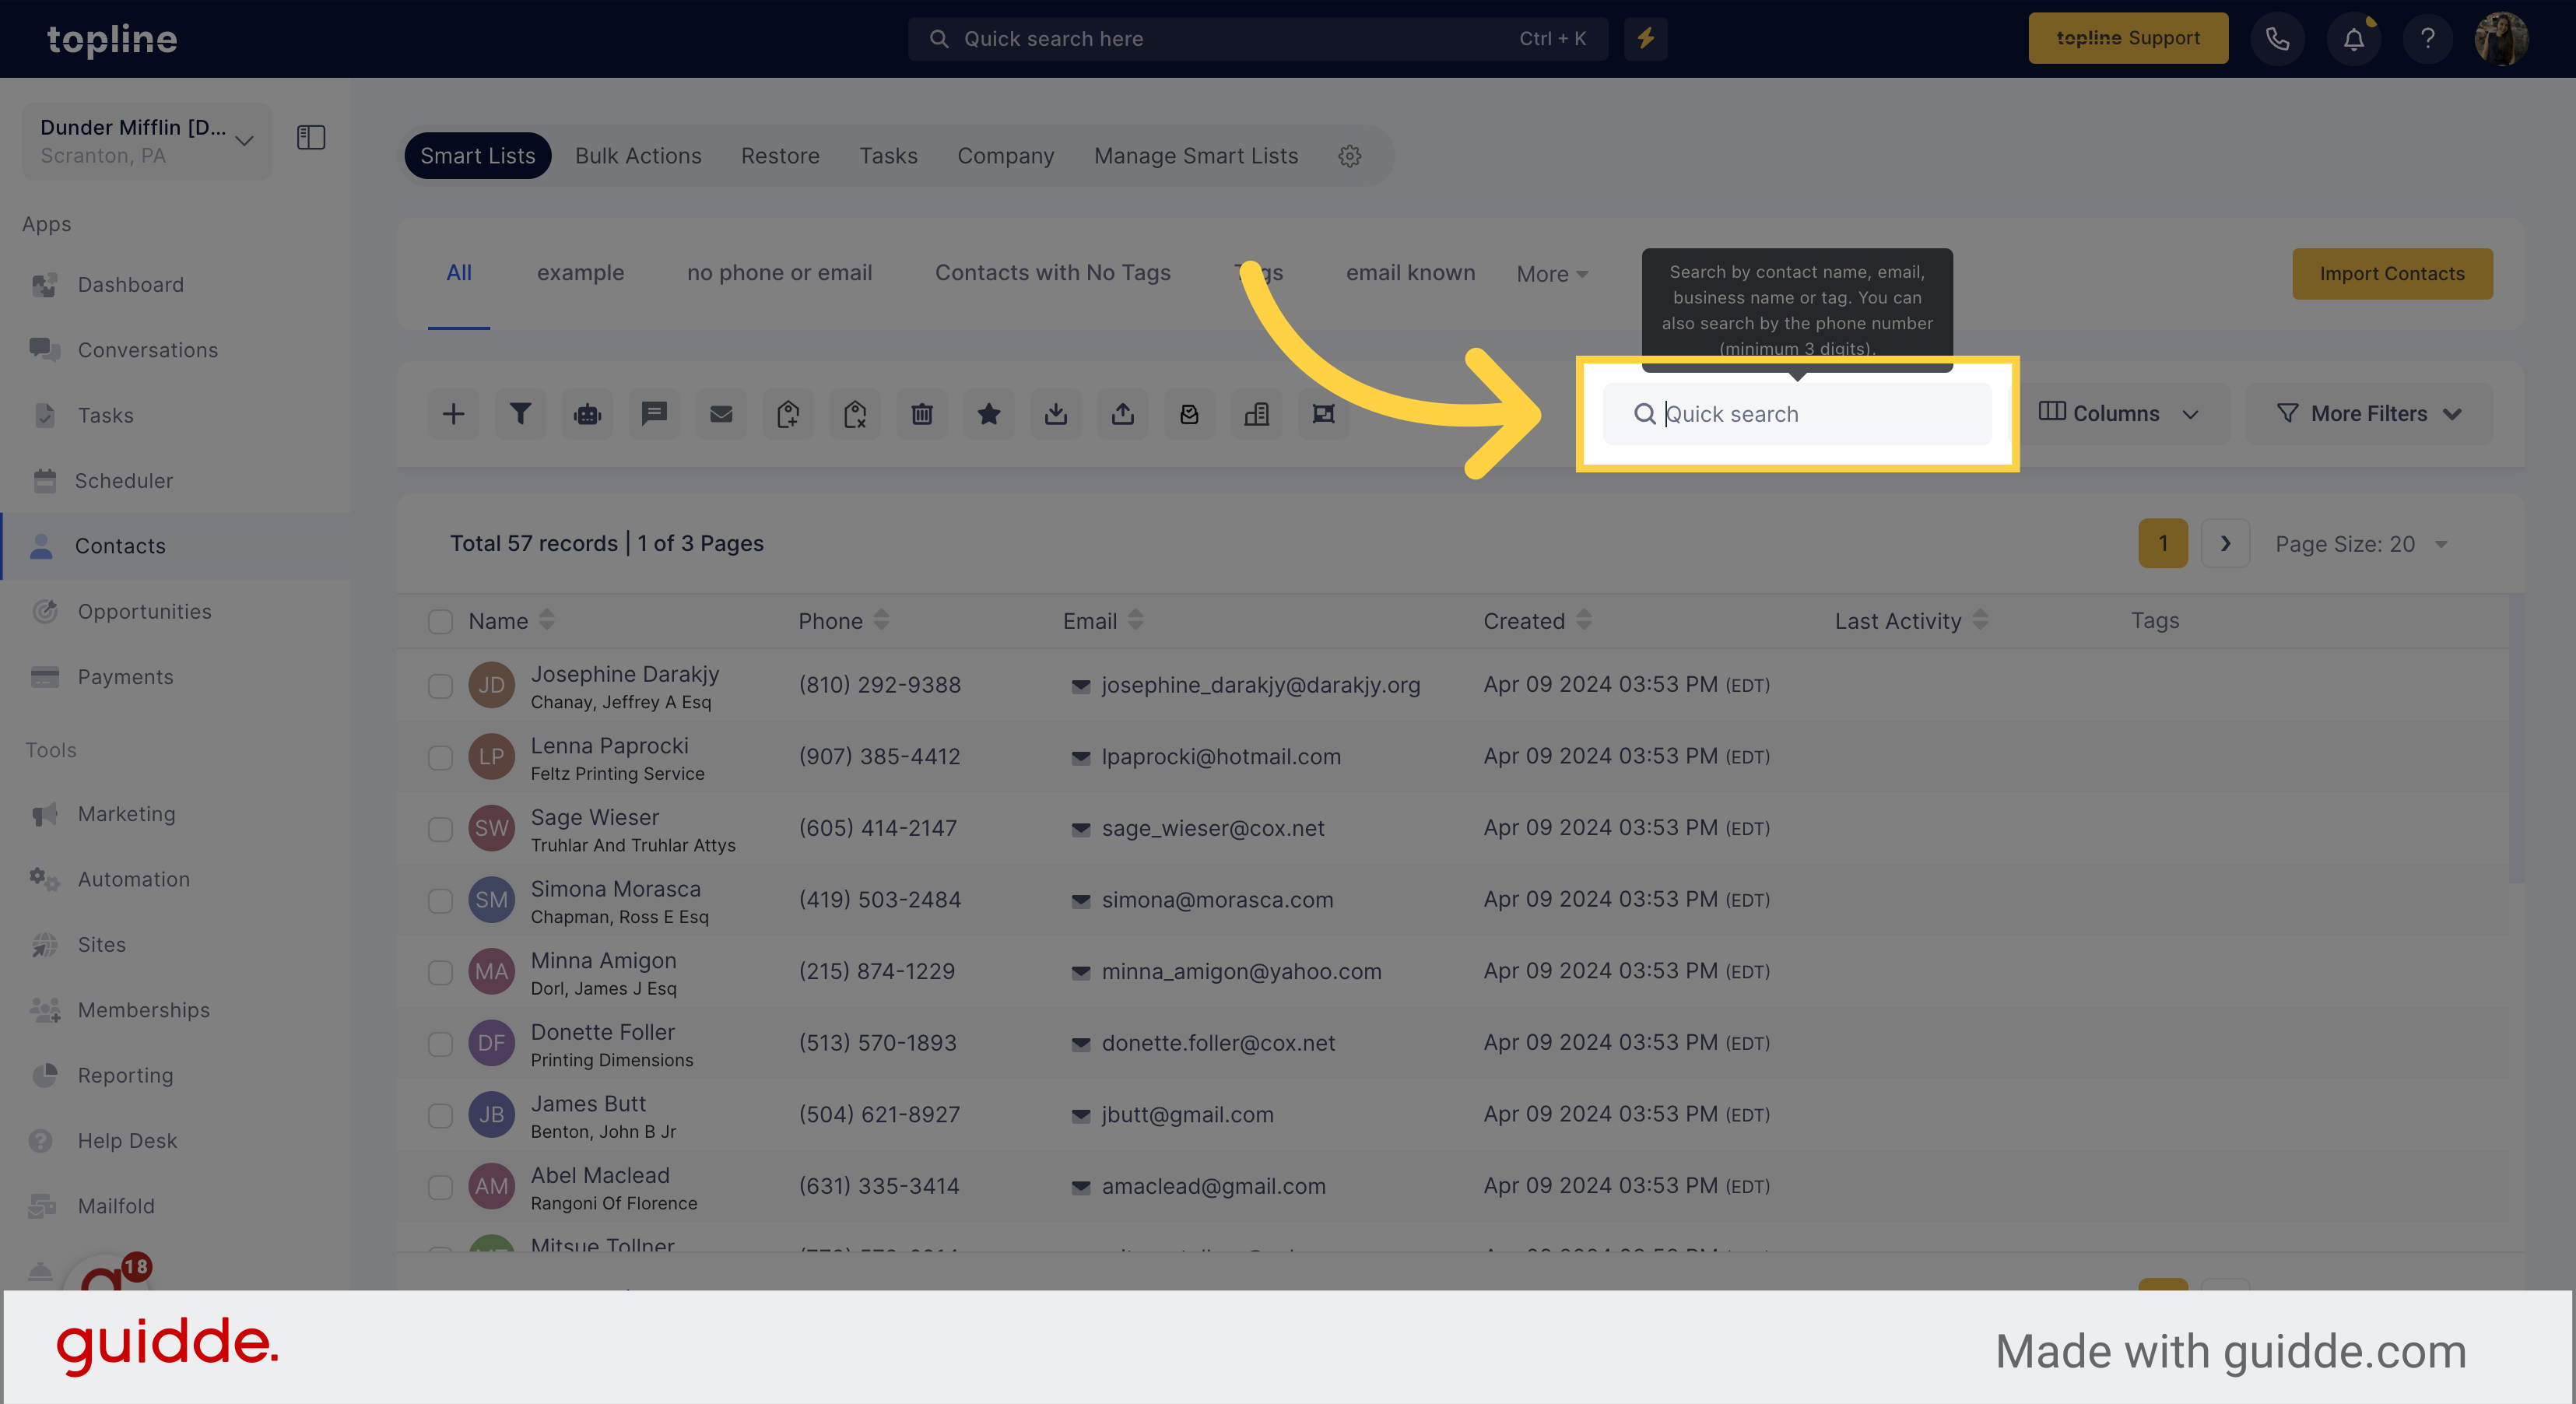
Look for the contact using the Quick Search Option.
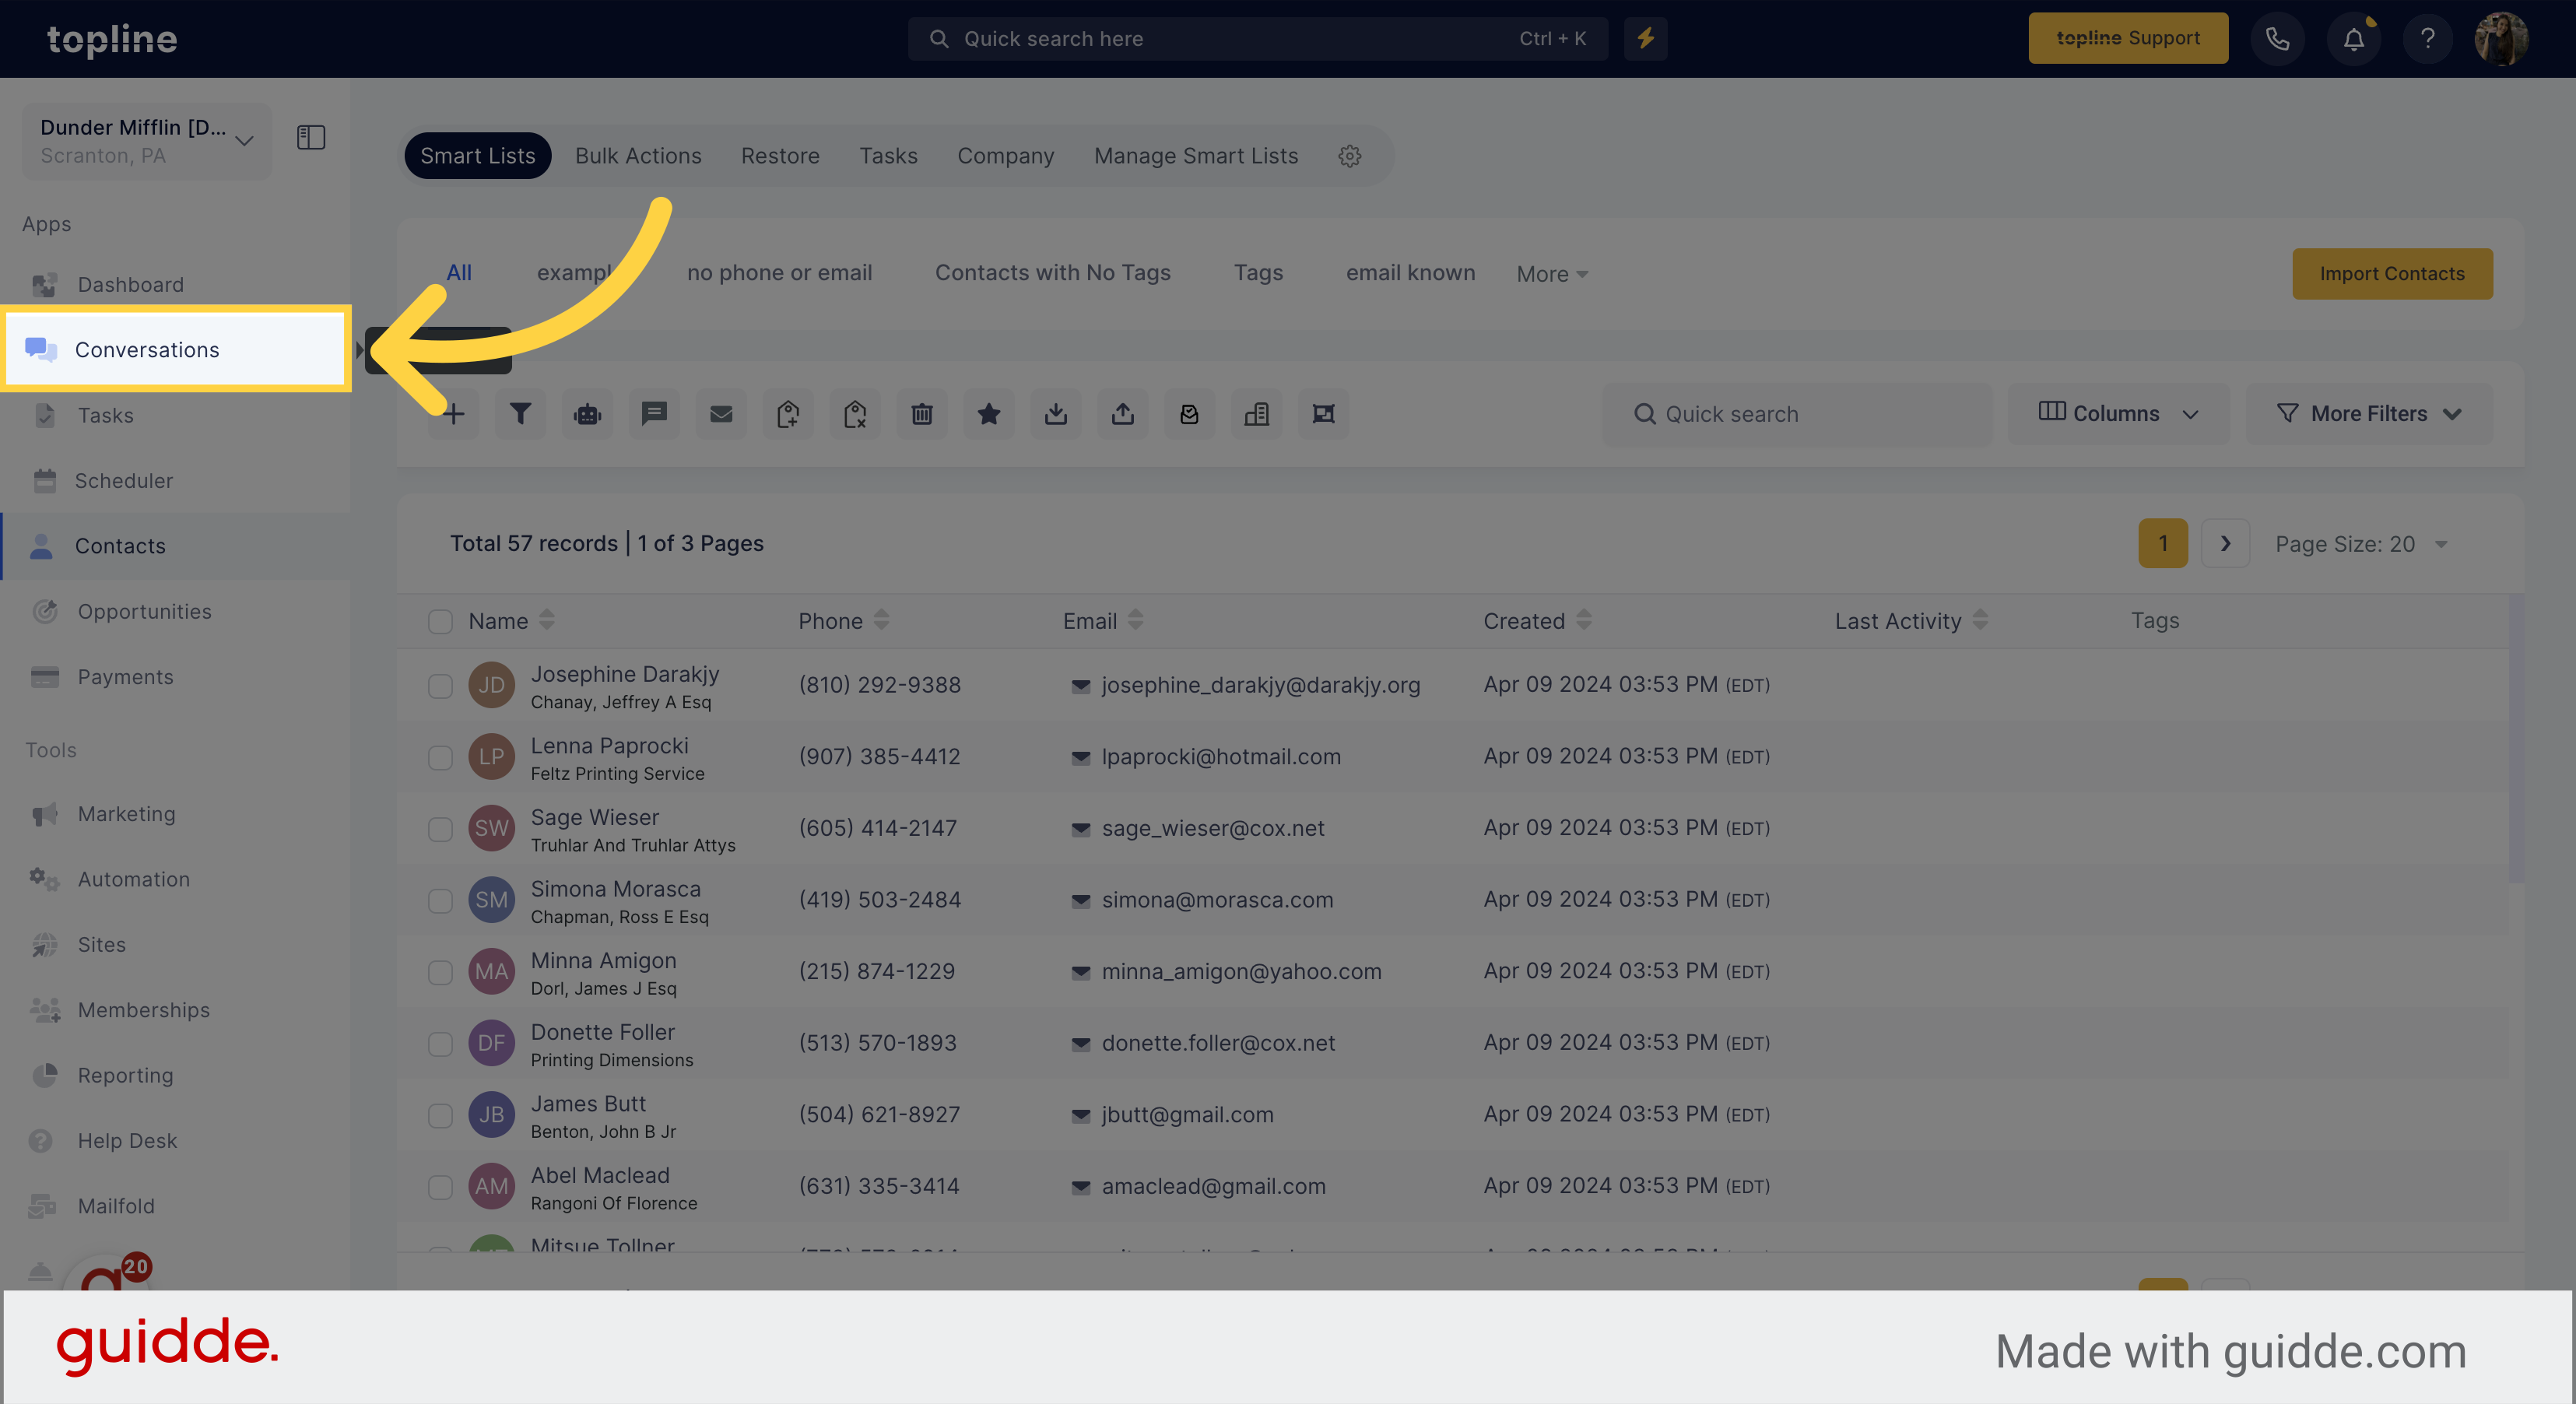
Or access the Conversations feature to look for the contact.
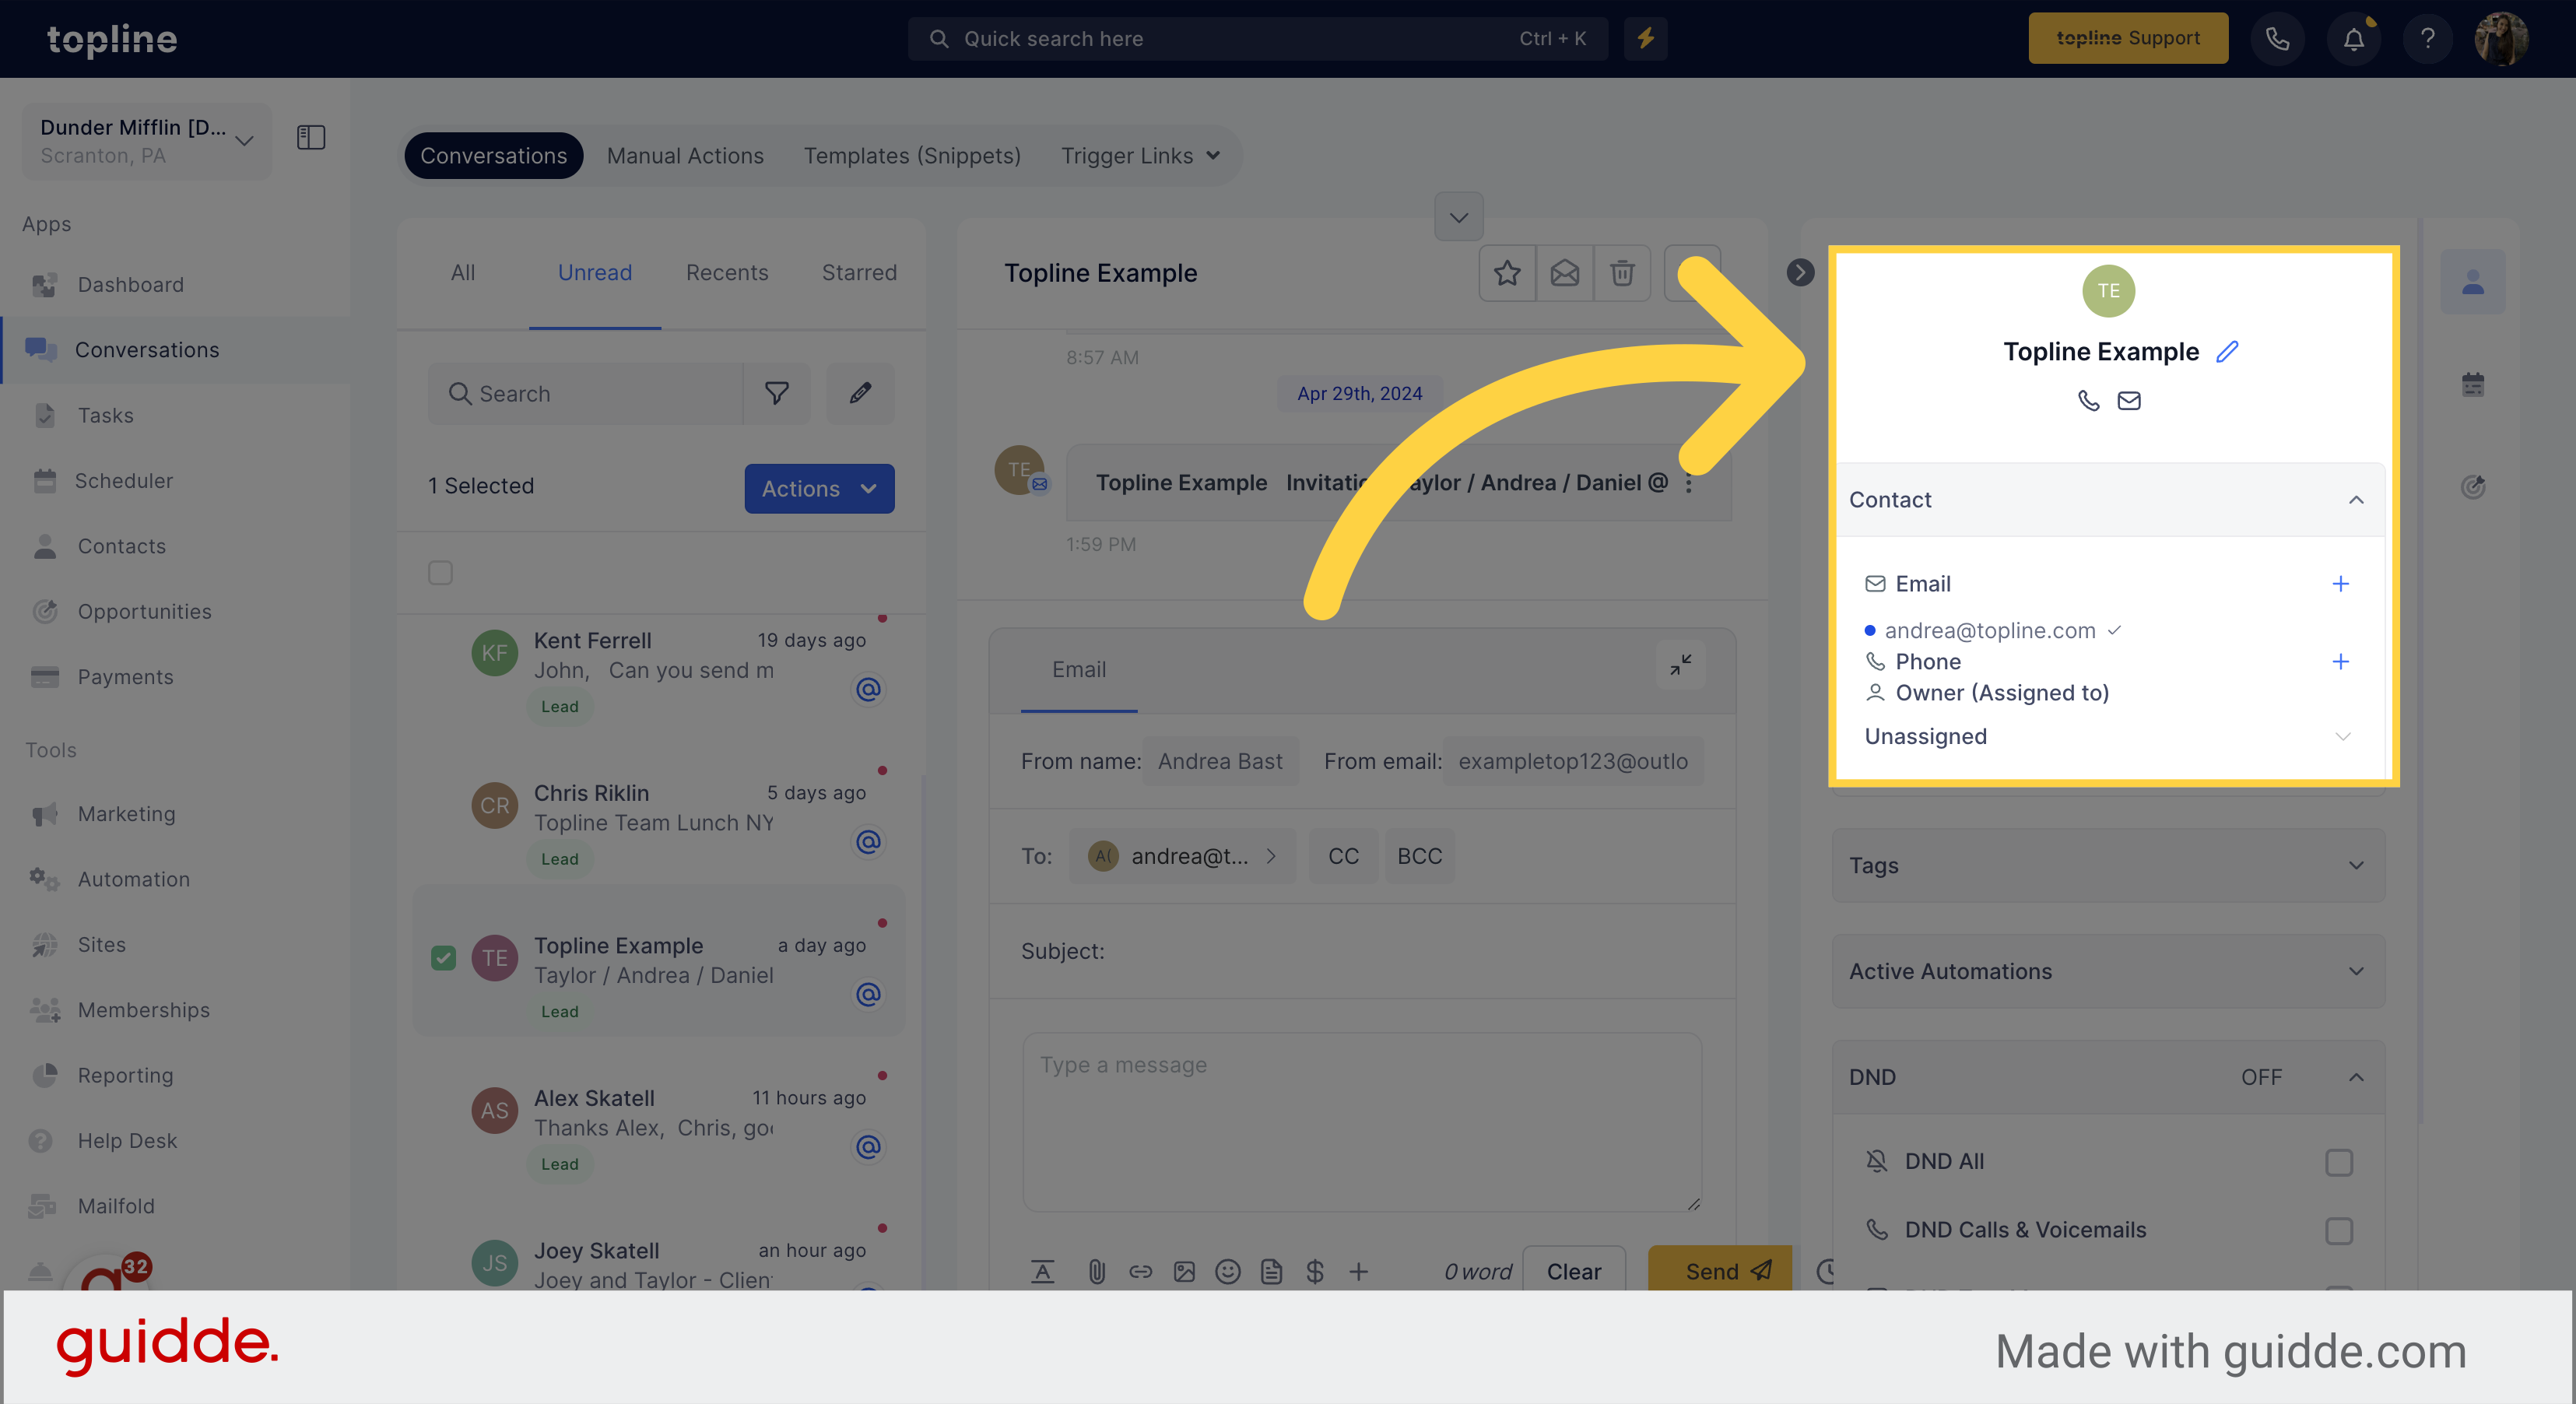
In the contact card, you can visualize if the client is already assigned or not to a user.
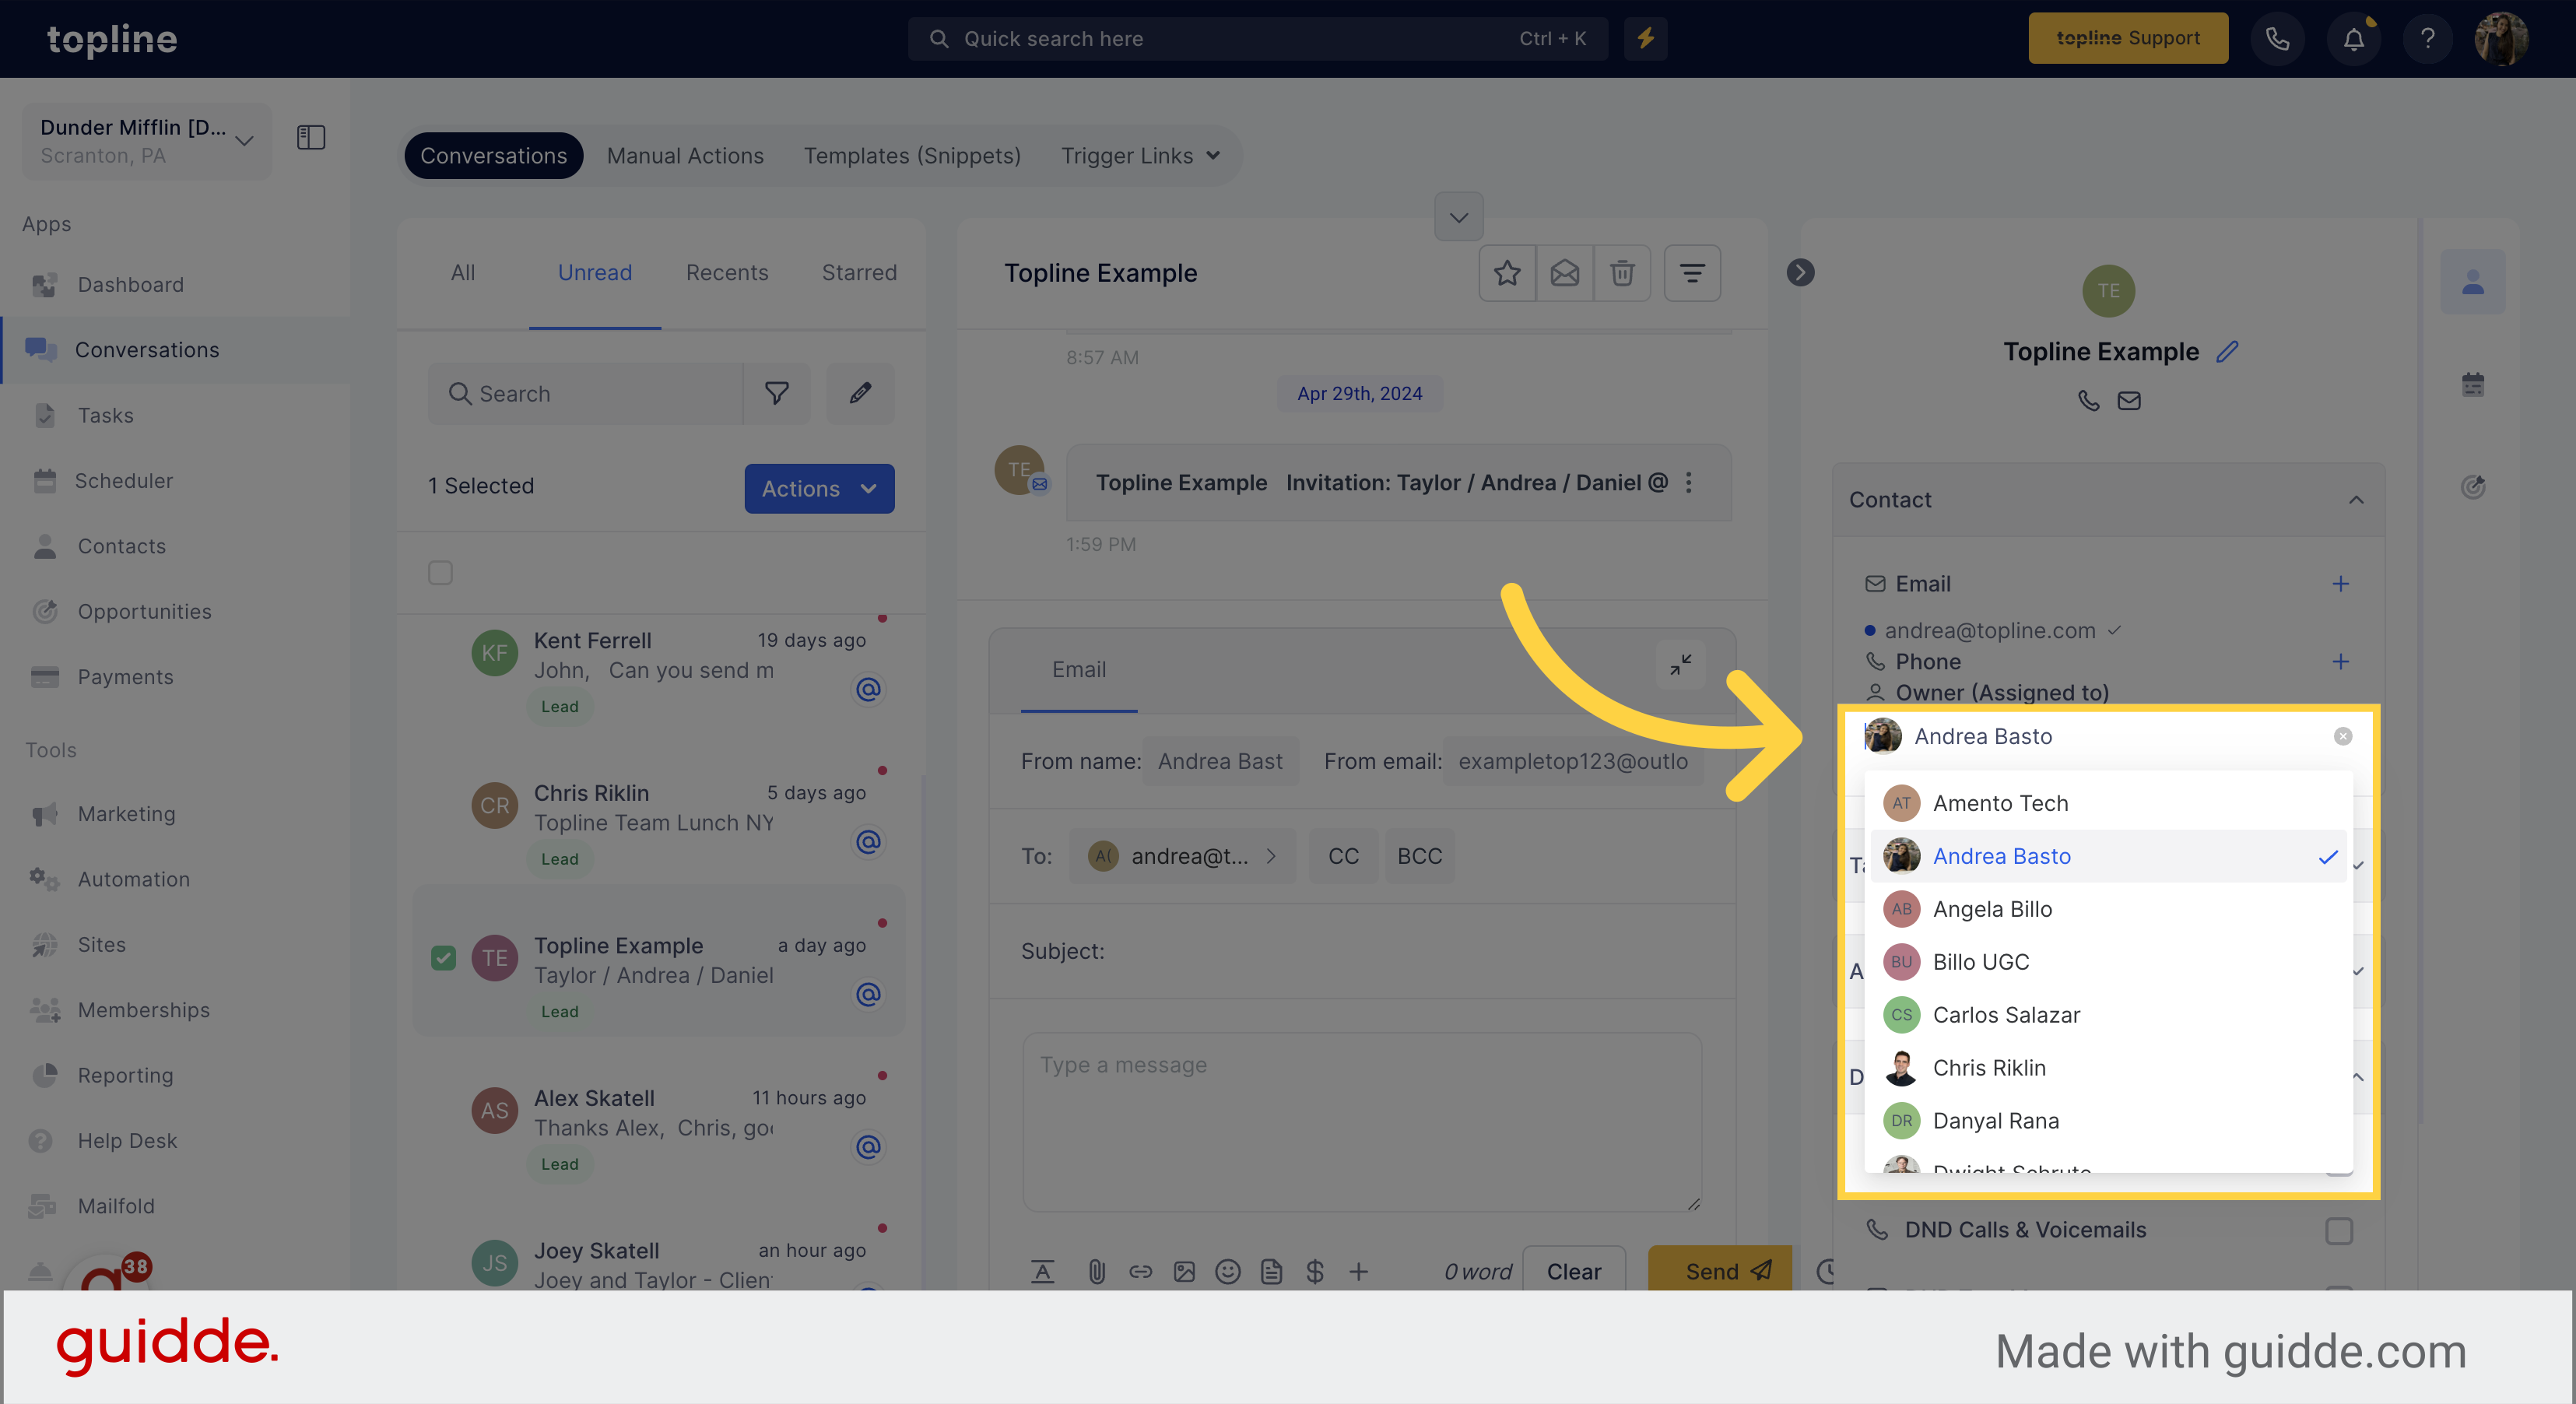
Click here and select the user you want to assign the contact.
This guide will walk you through configuring the sender's email for your campaigns. From navigating through different sections to creating a template from an existing campaign, follow these instructions to streamline the process in both Topline.
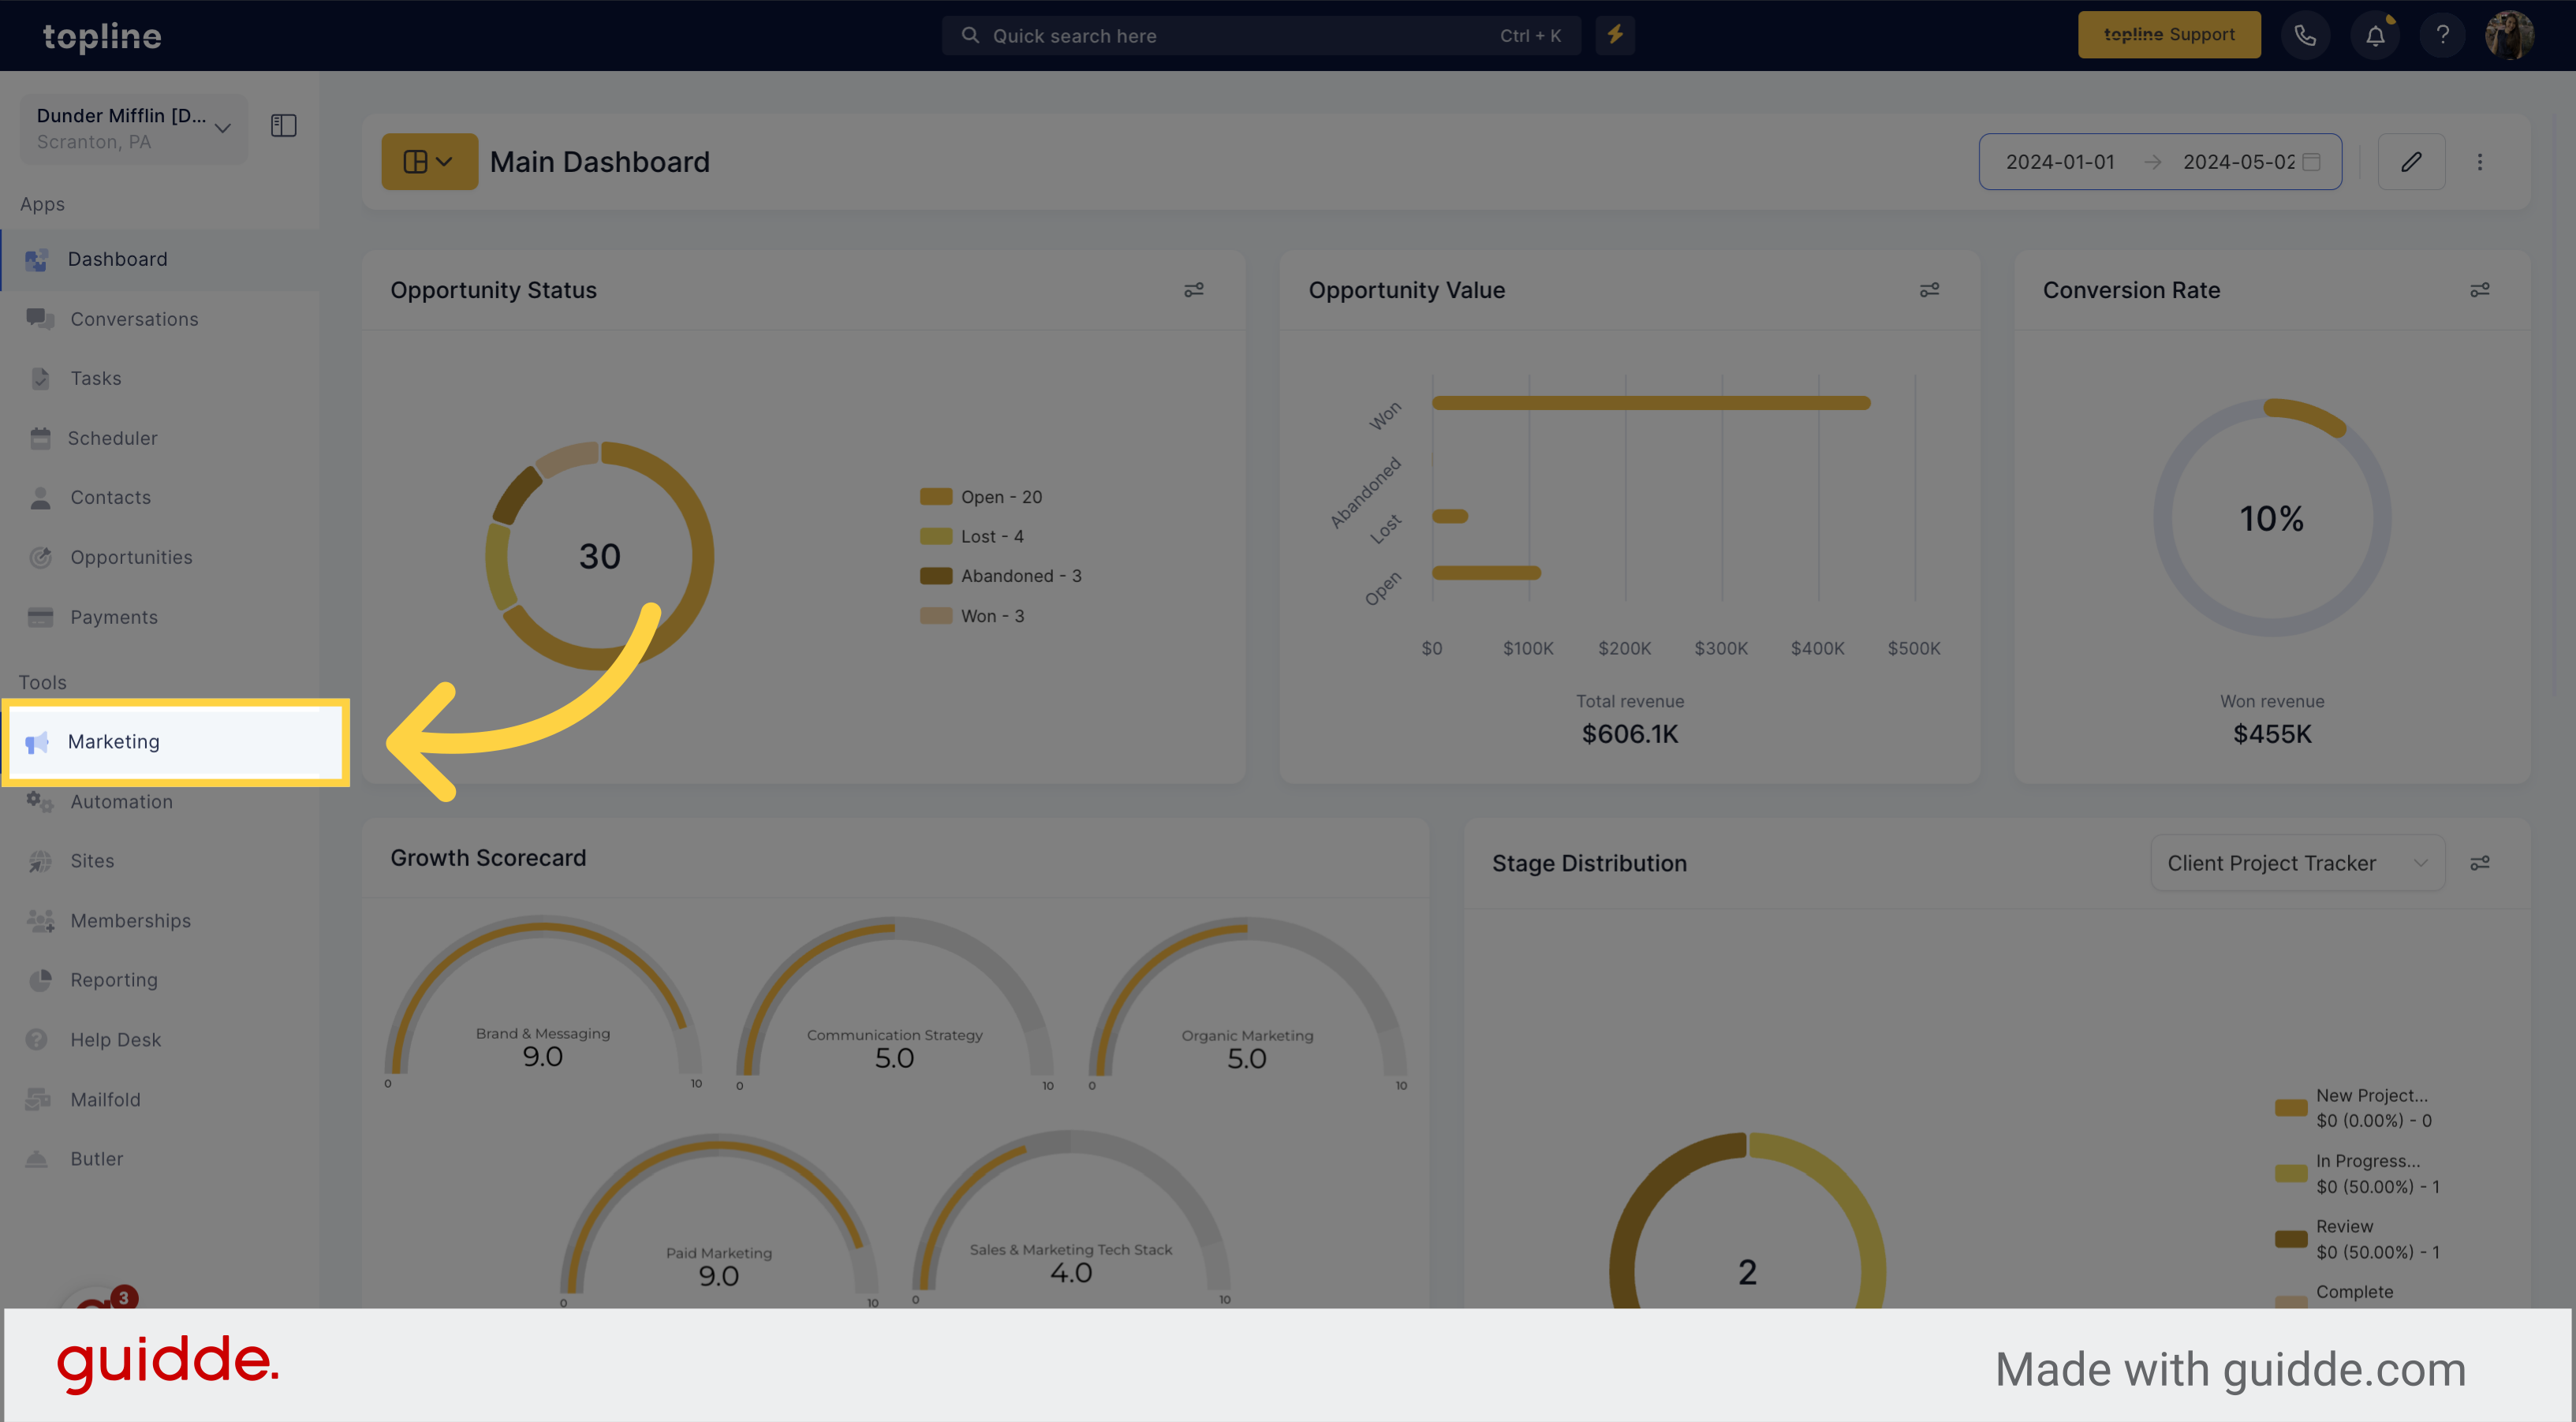
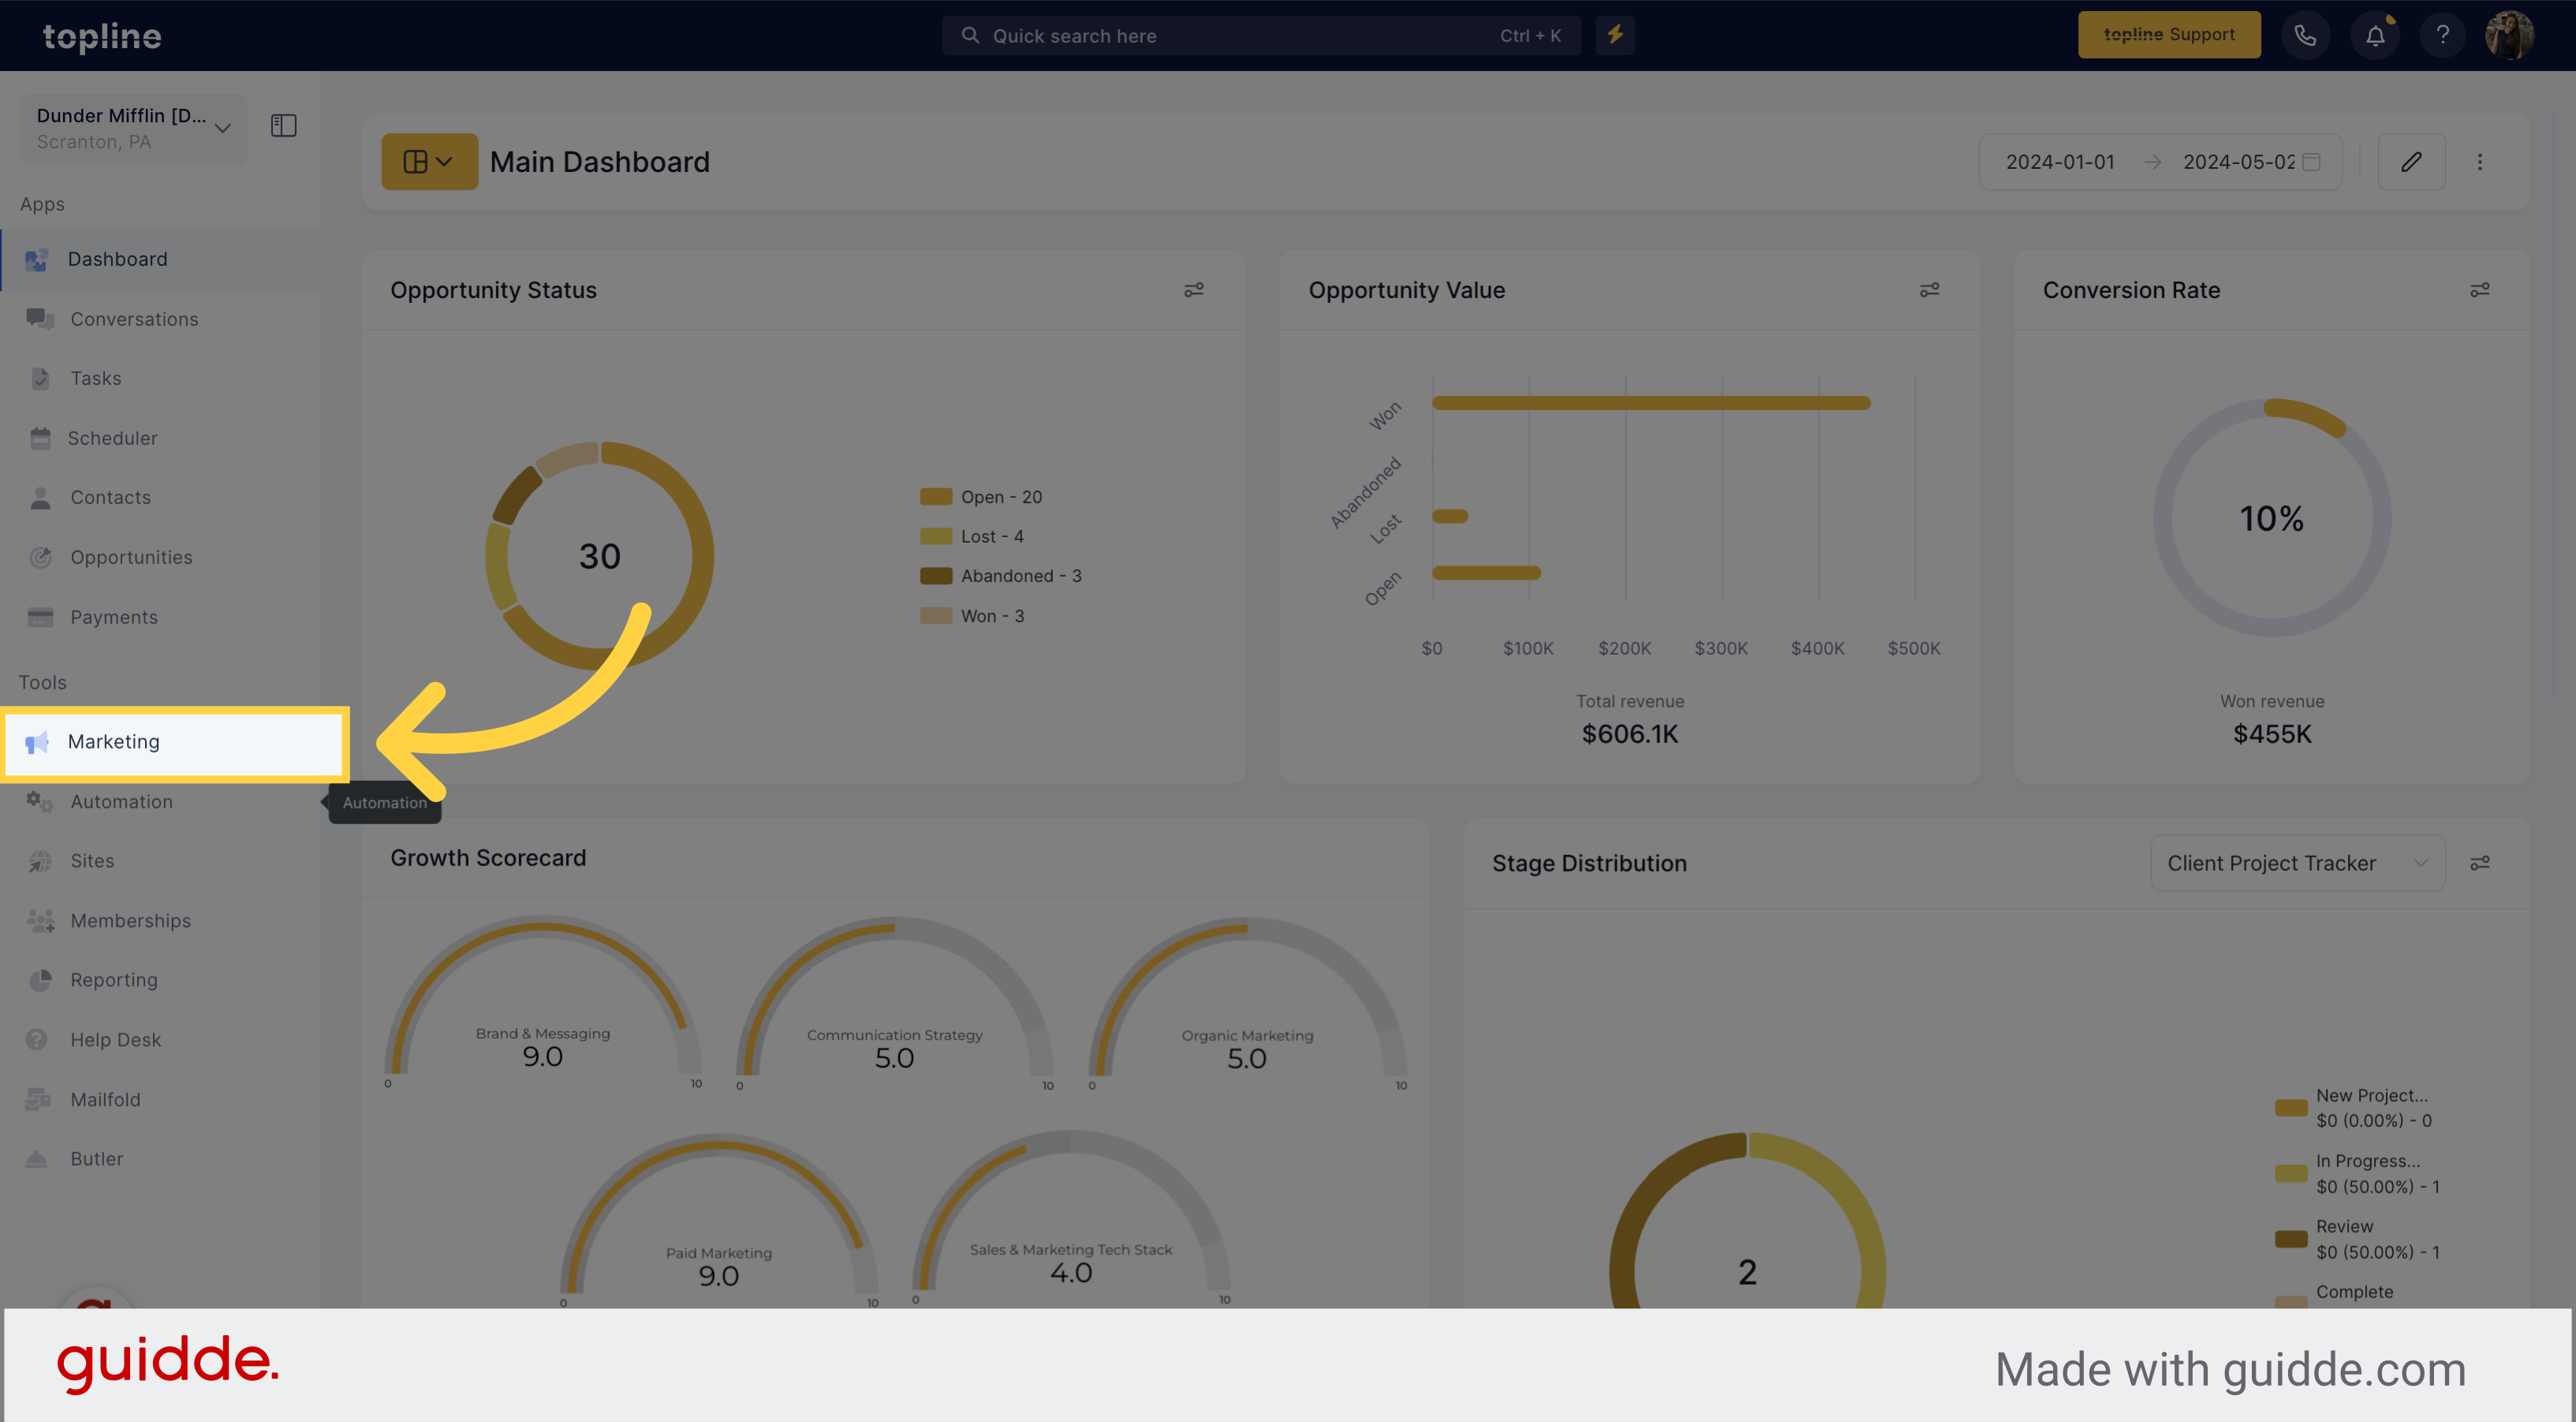
Navigate to the Marketing section on the left side menu.
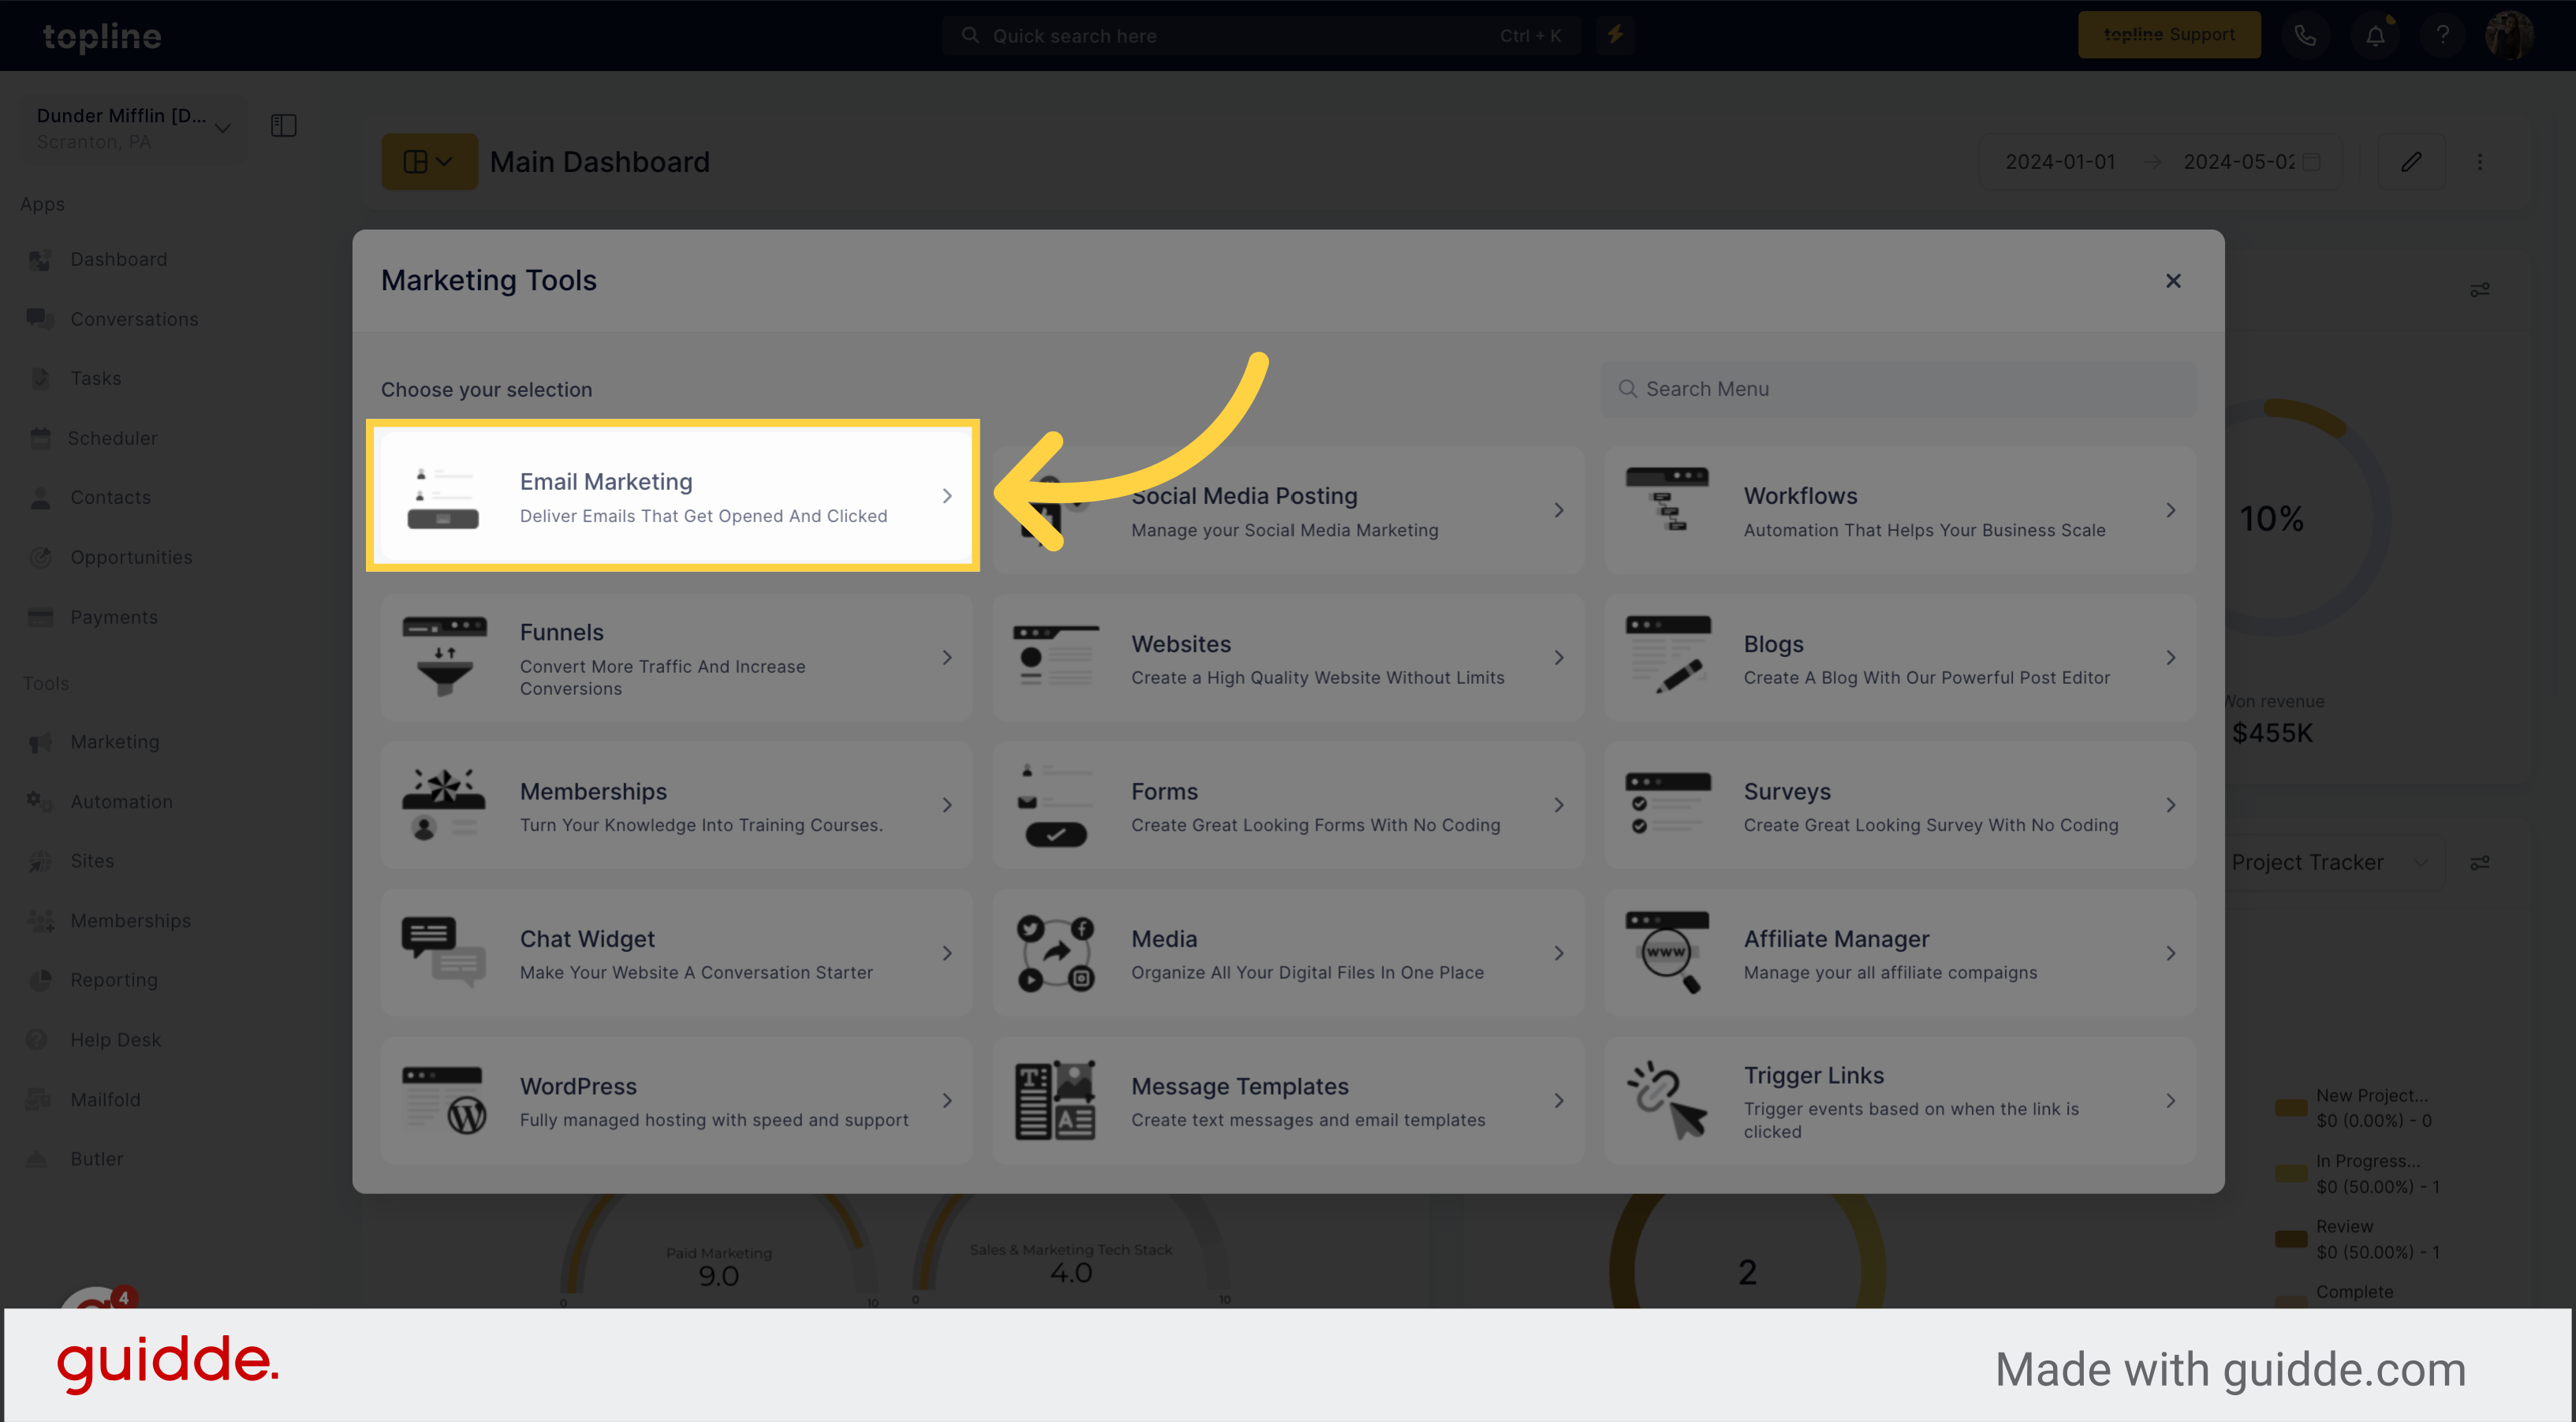
Access the Email Marketing feature in the Marketing Tools menu.
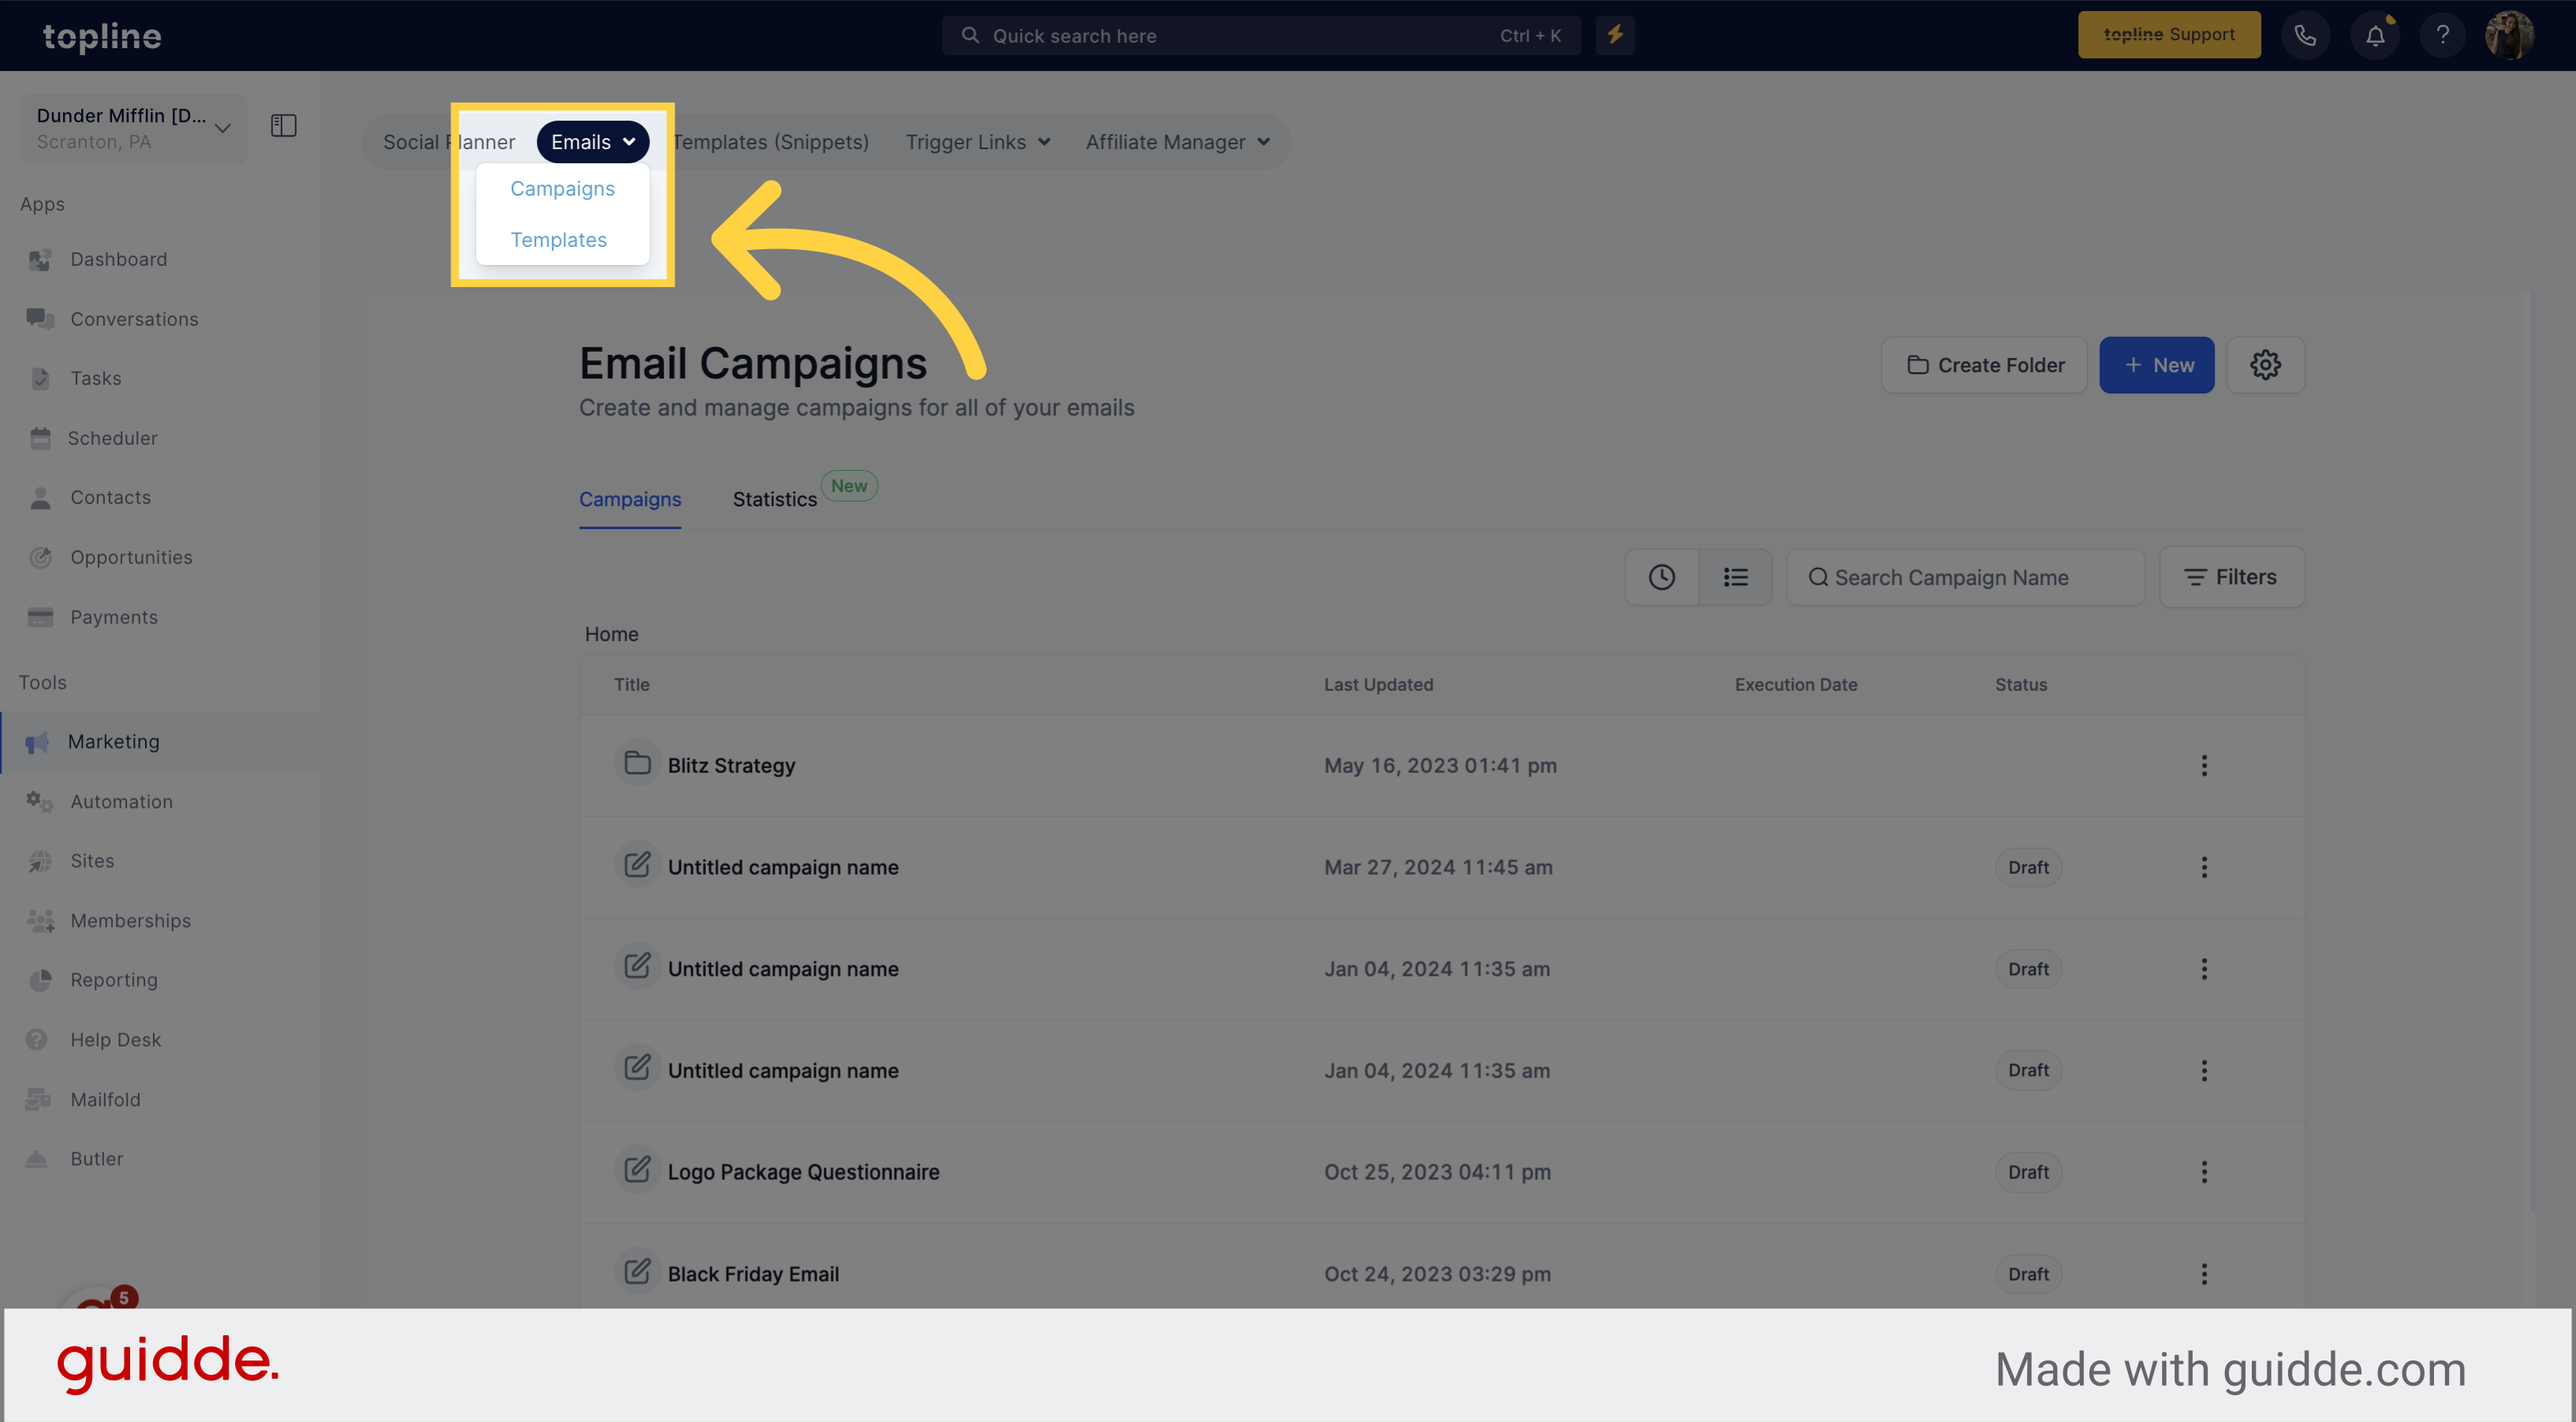
Select templates on the emails section.
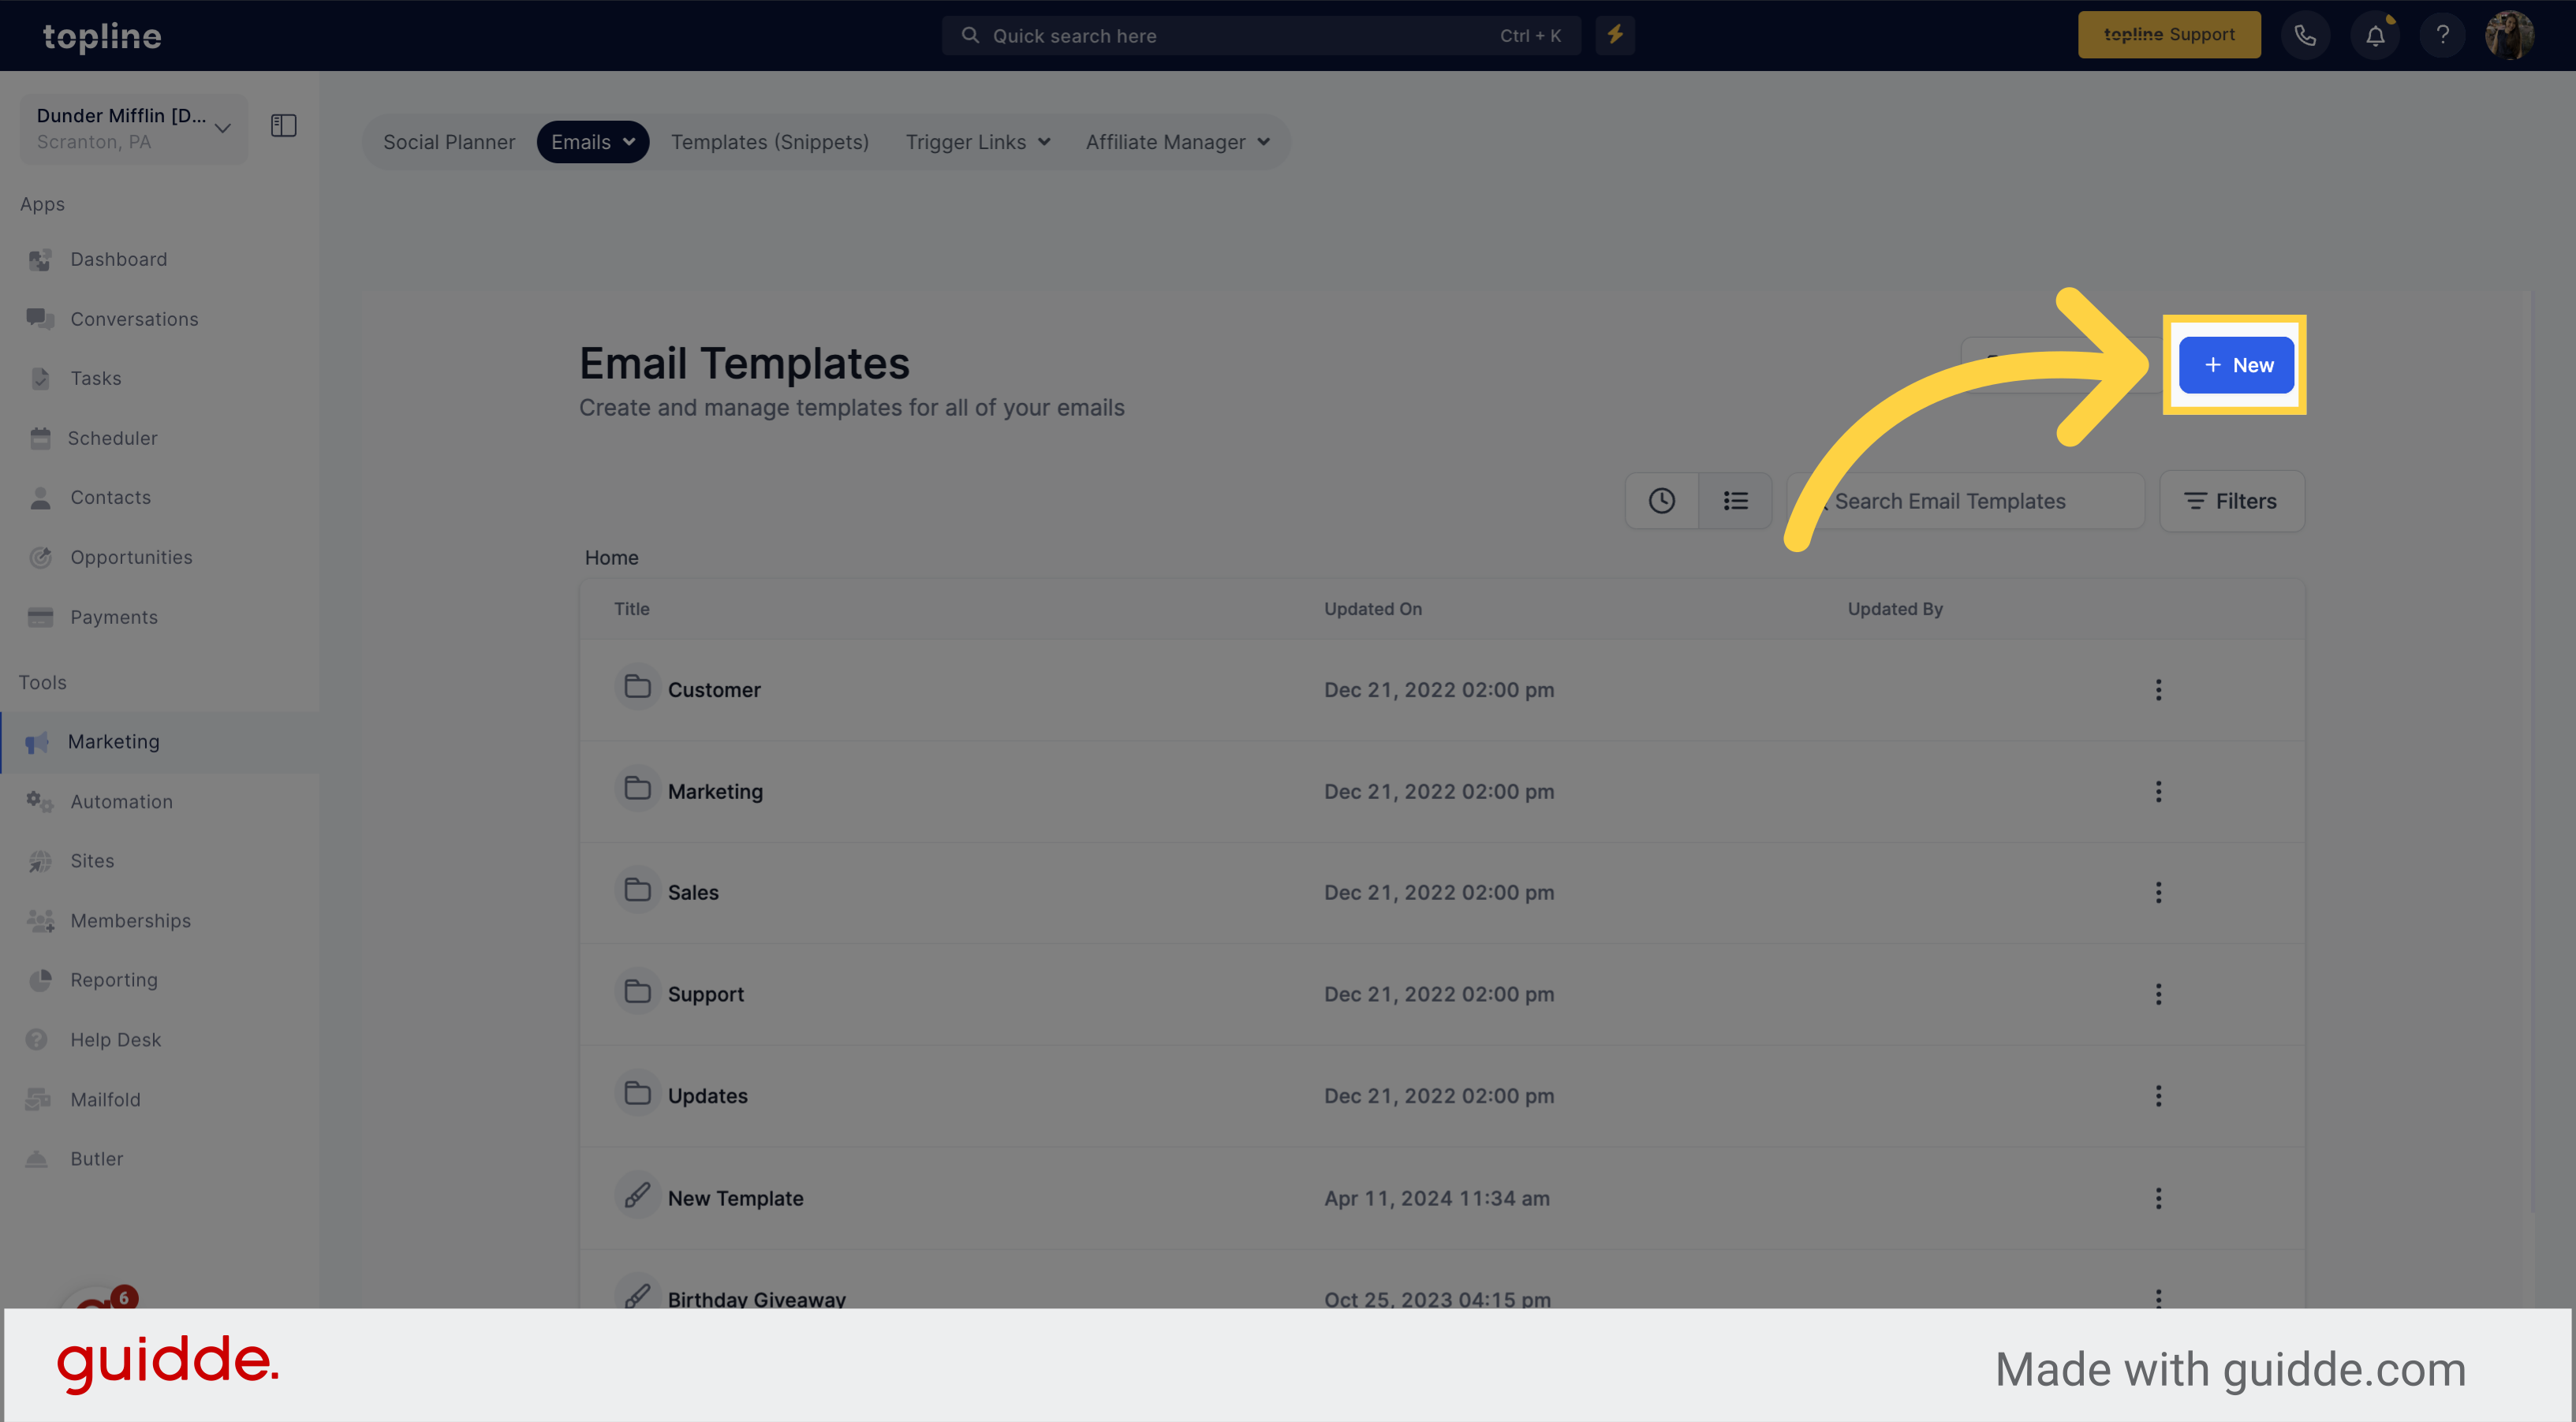
Initiate the creation of a new email template by clicking on + New.
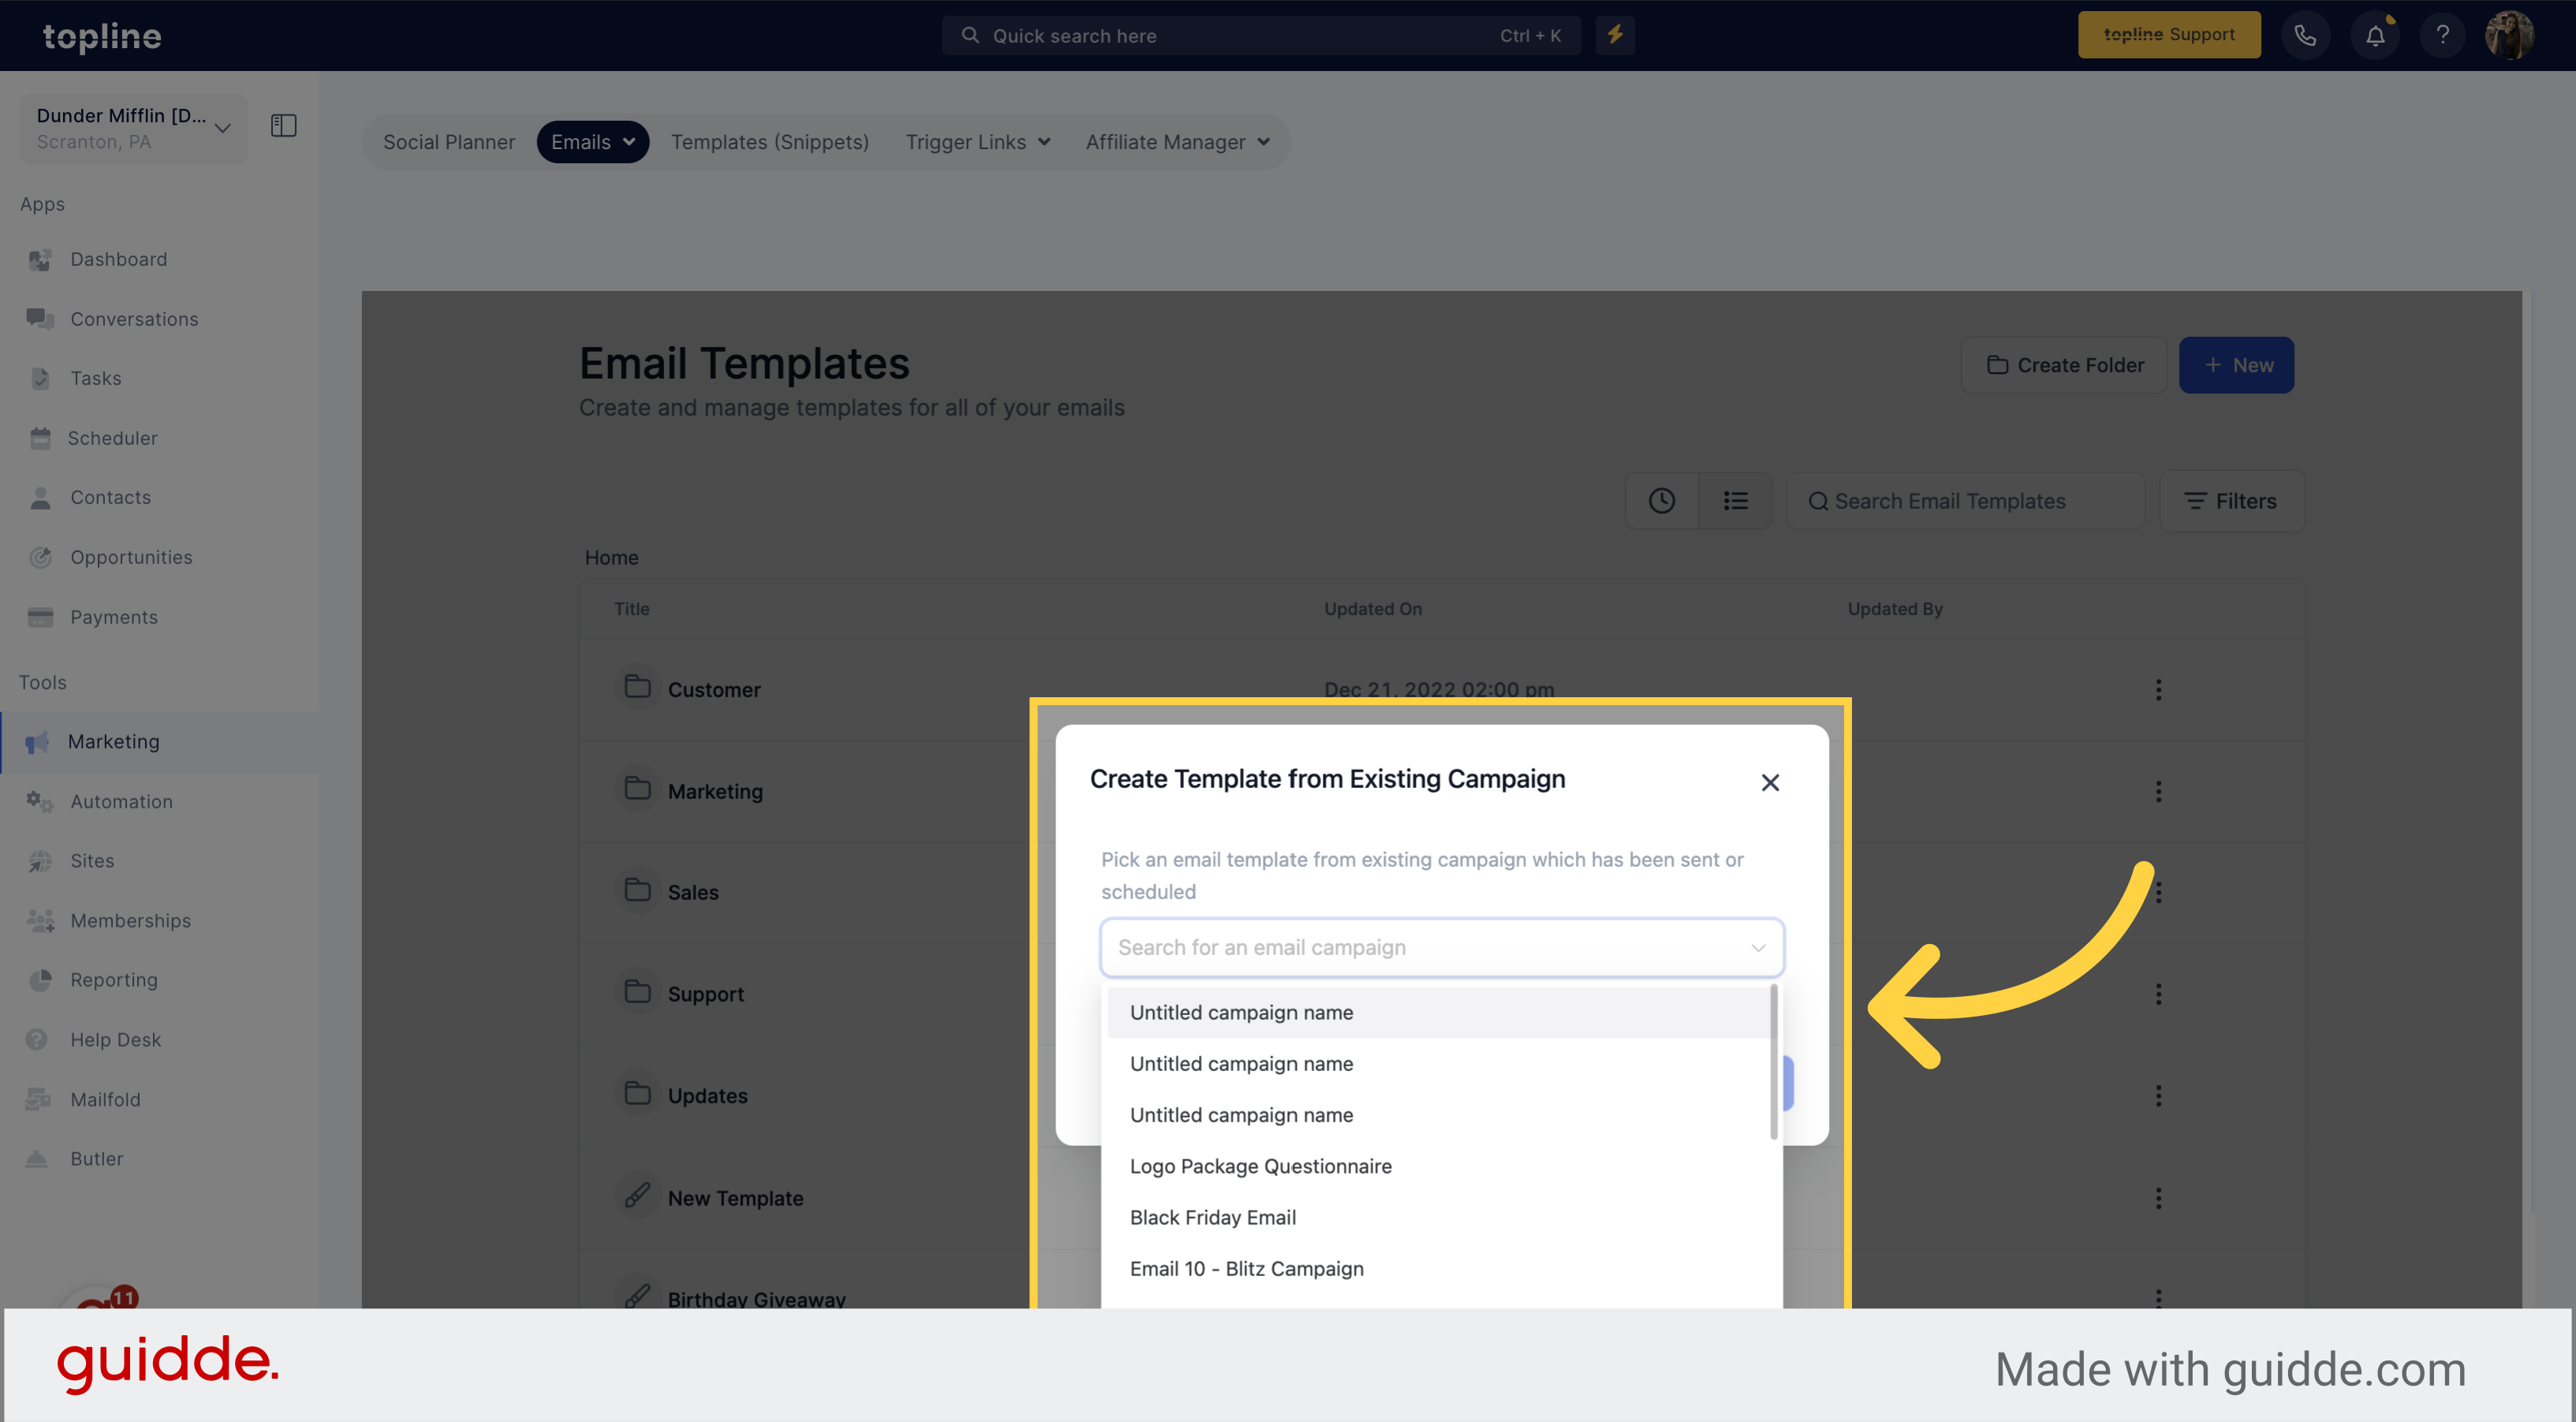
Select the campaign template from the dropdown menu.
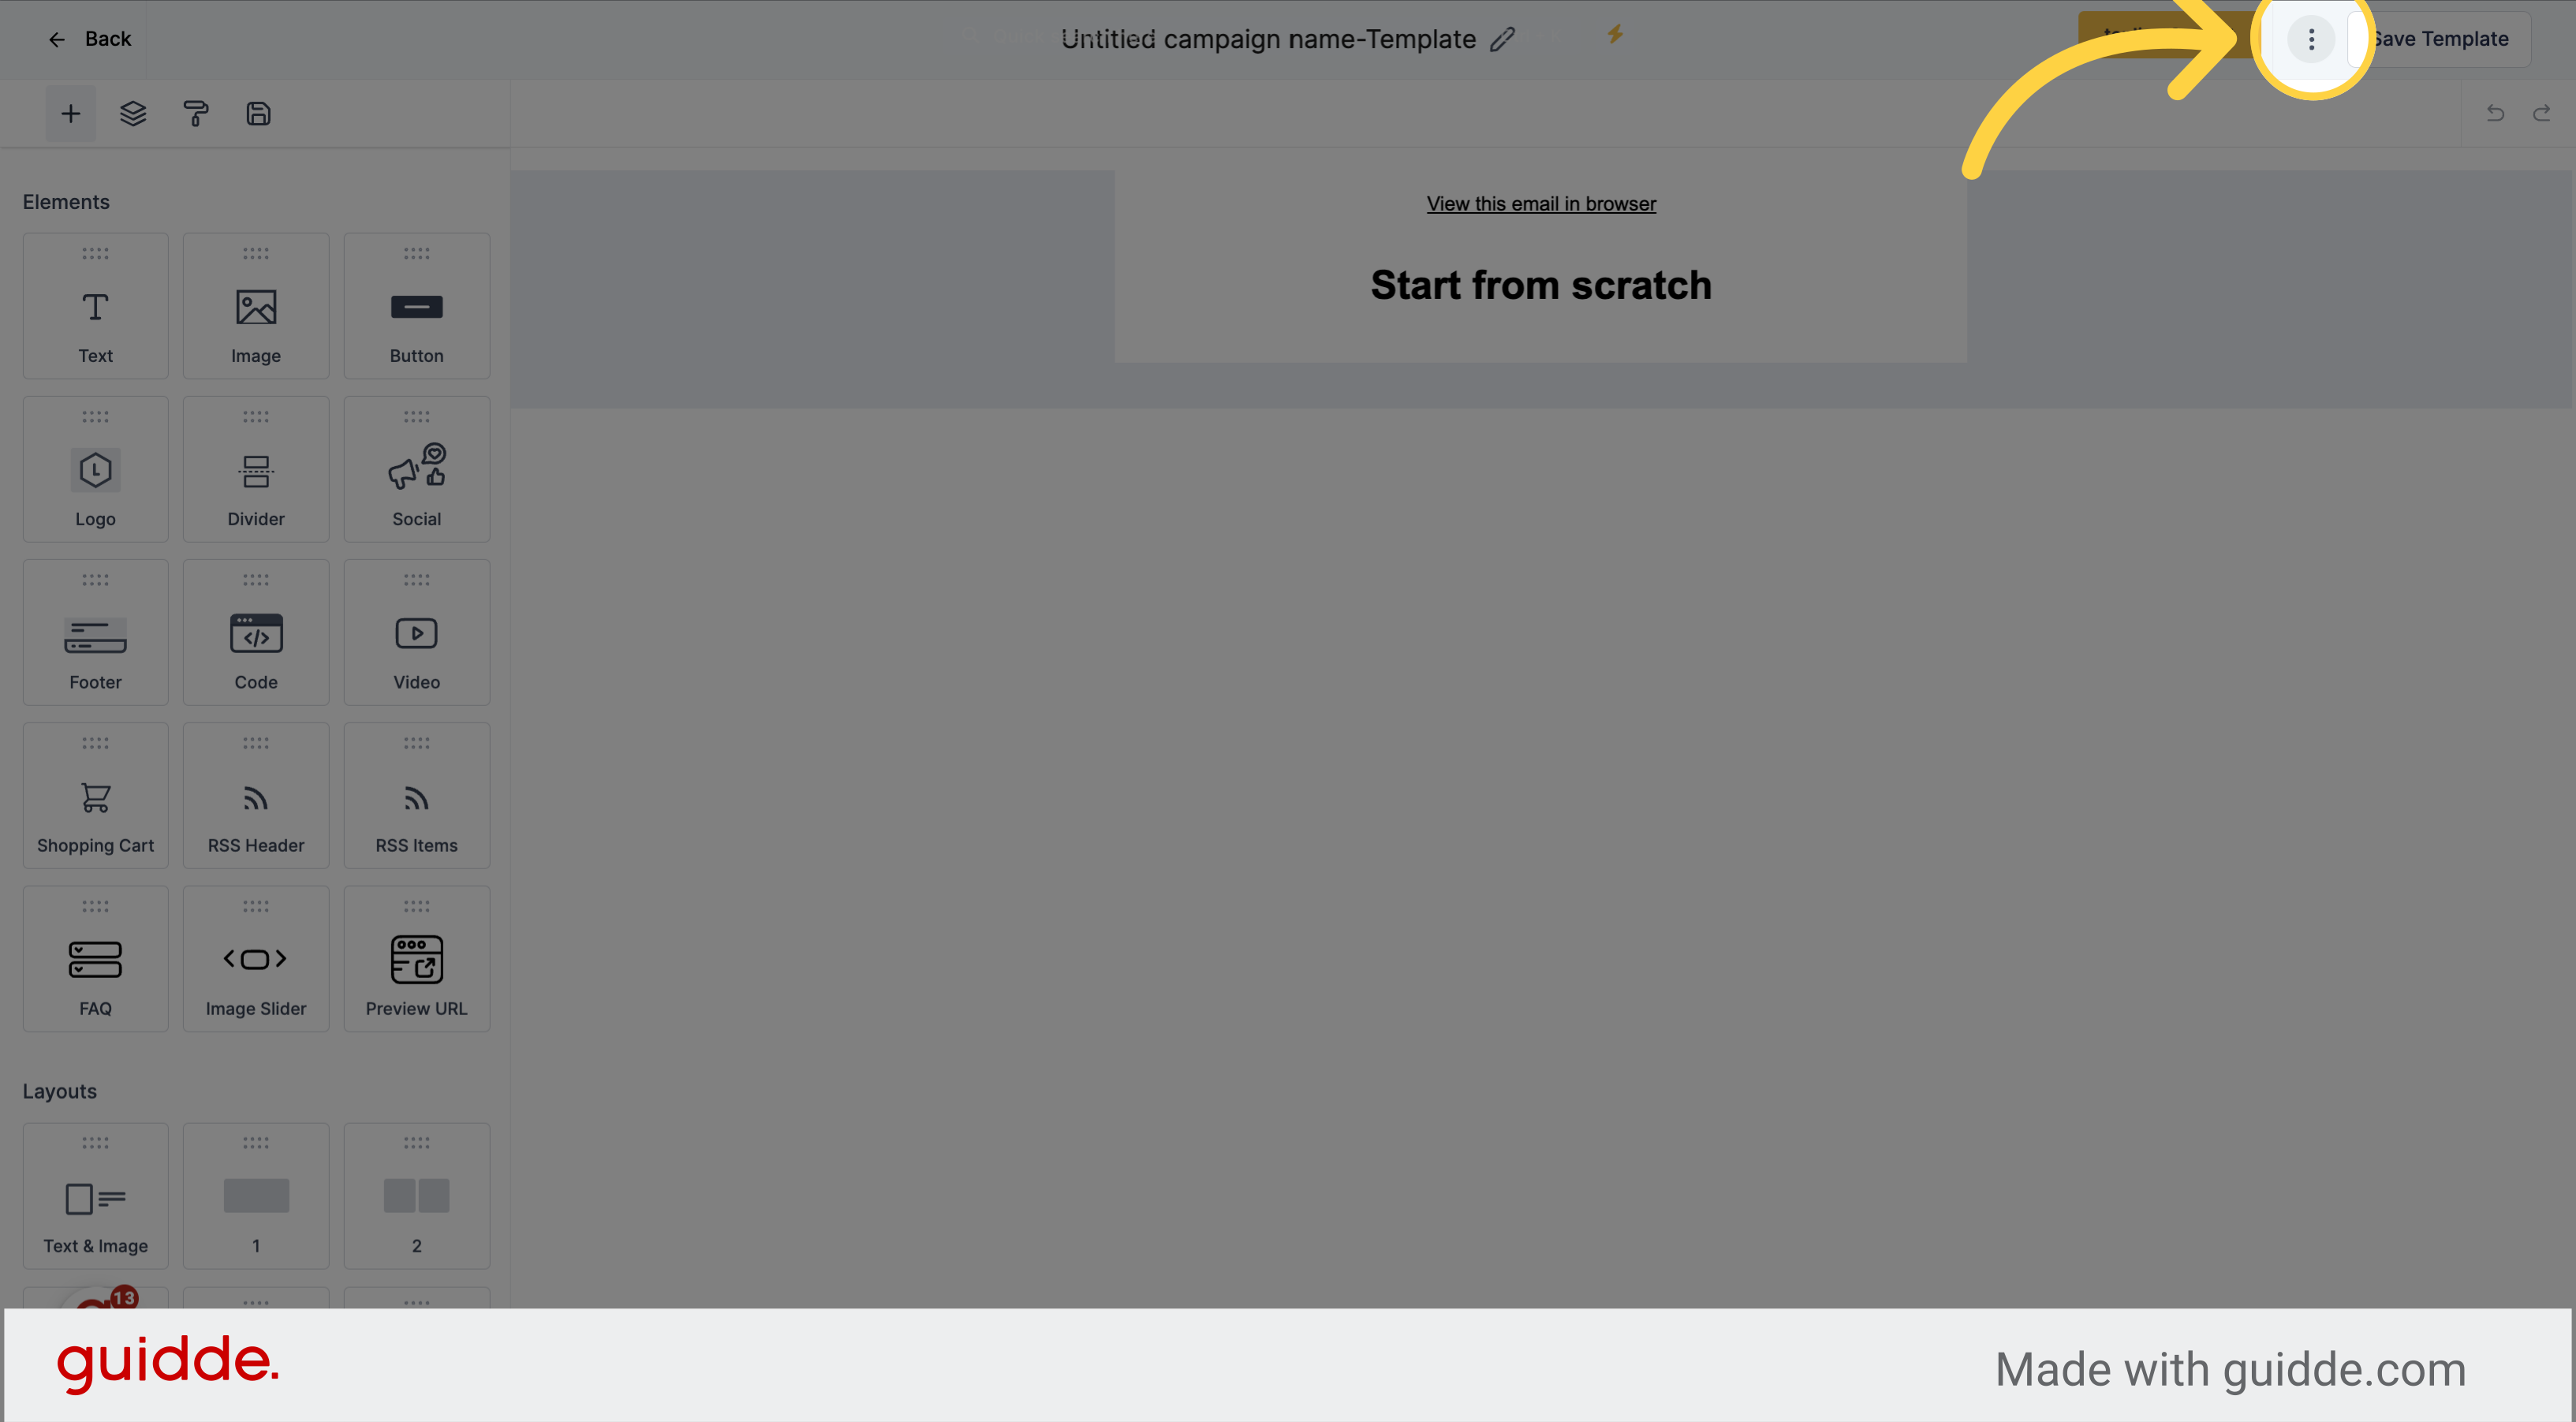
Look for the three dots option, click on it for more options.
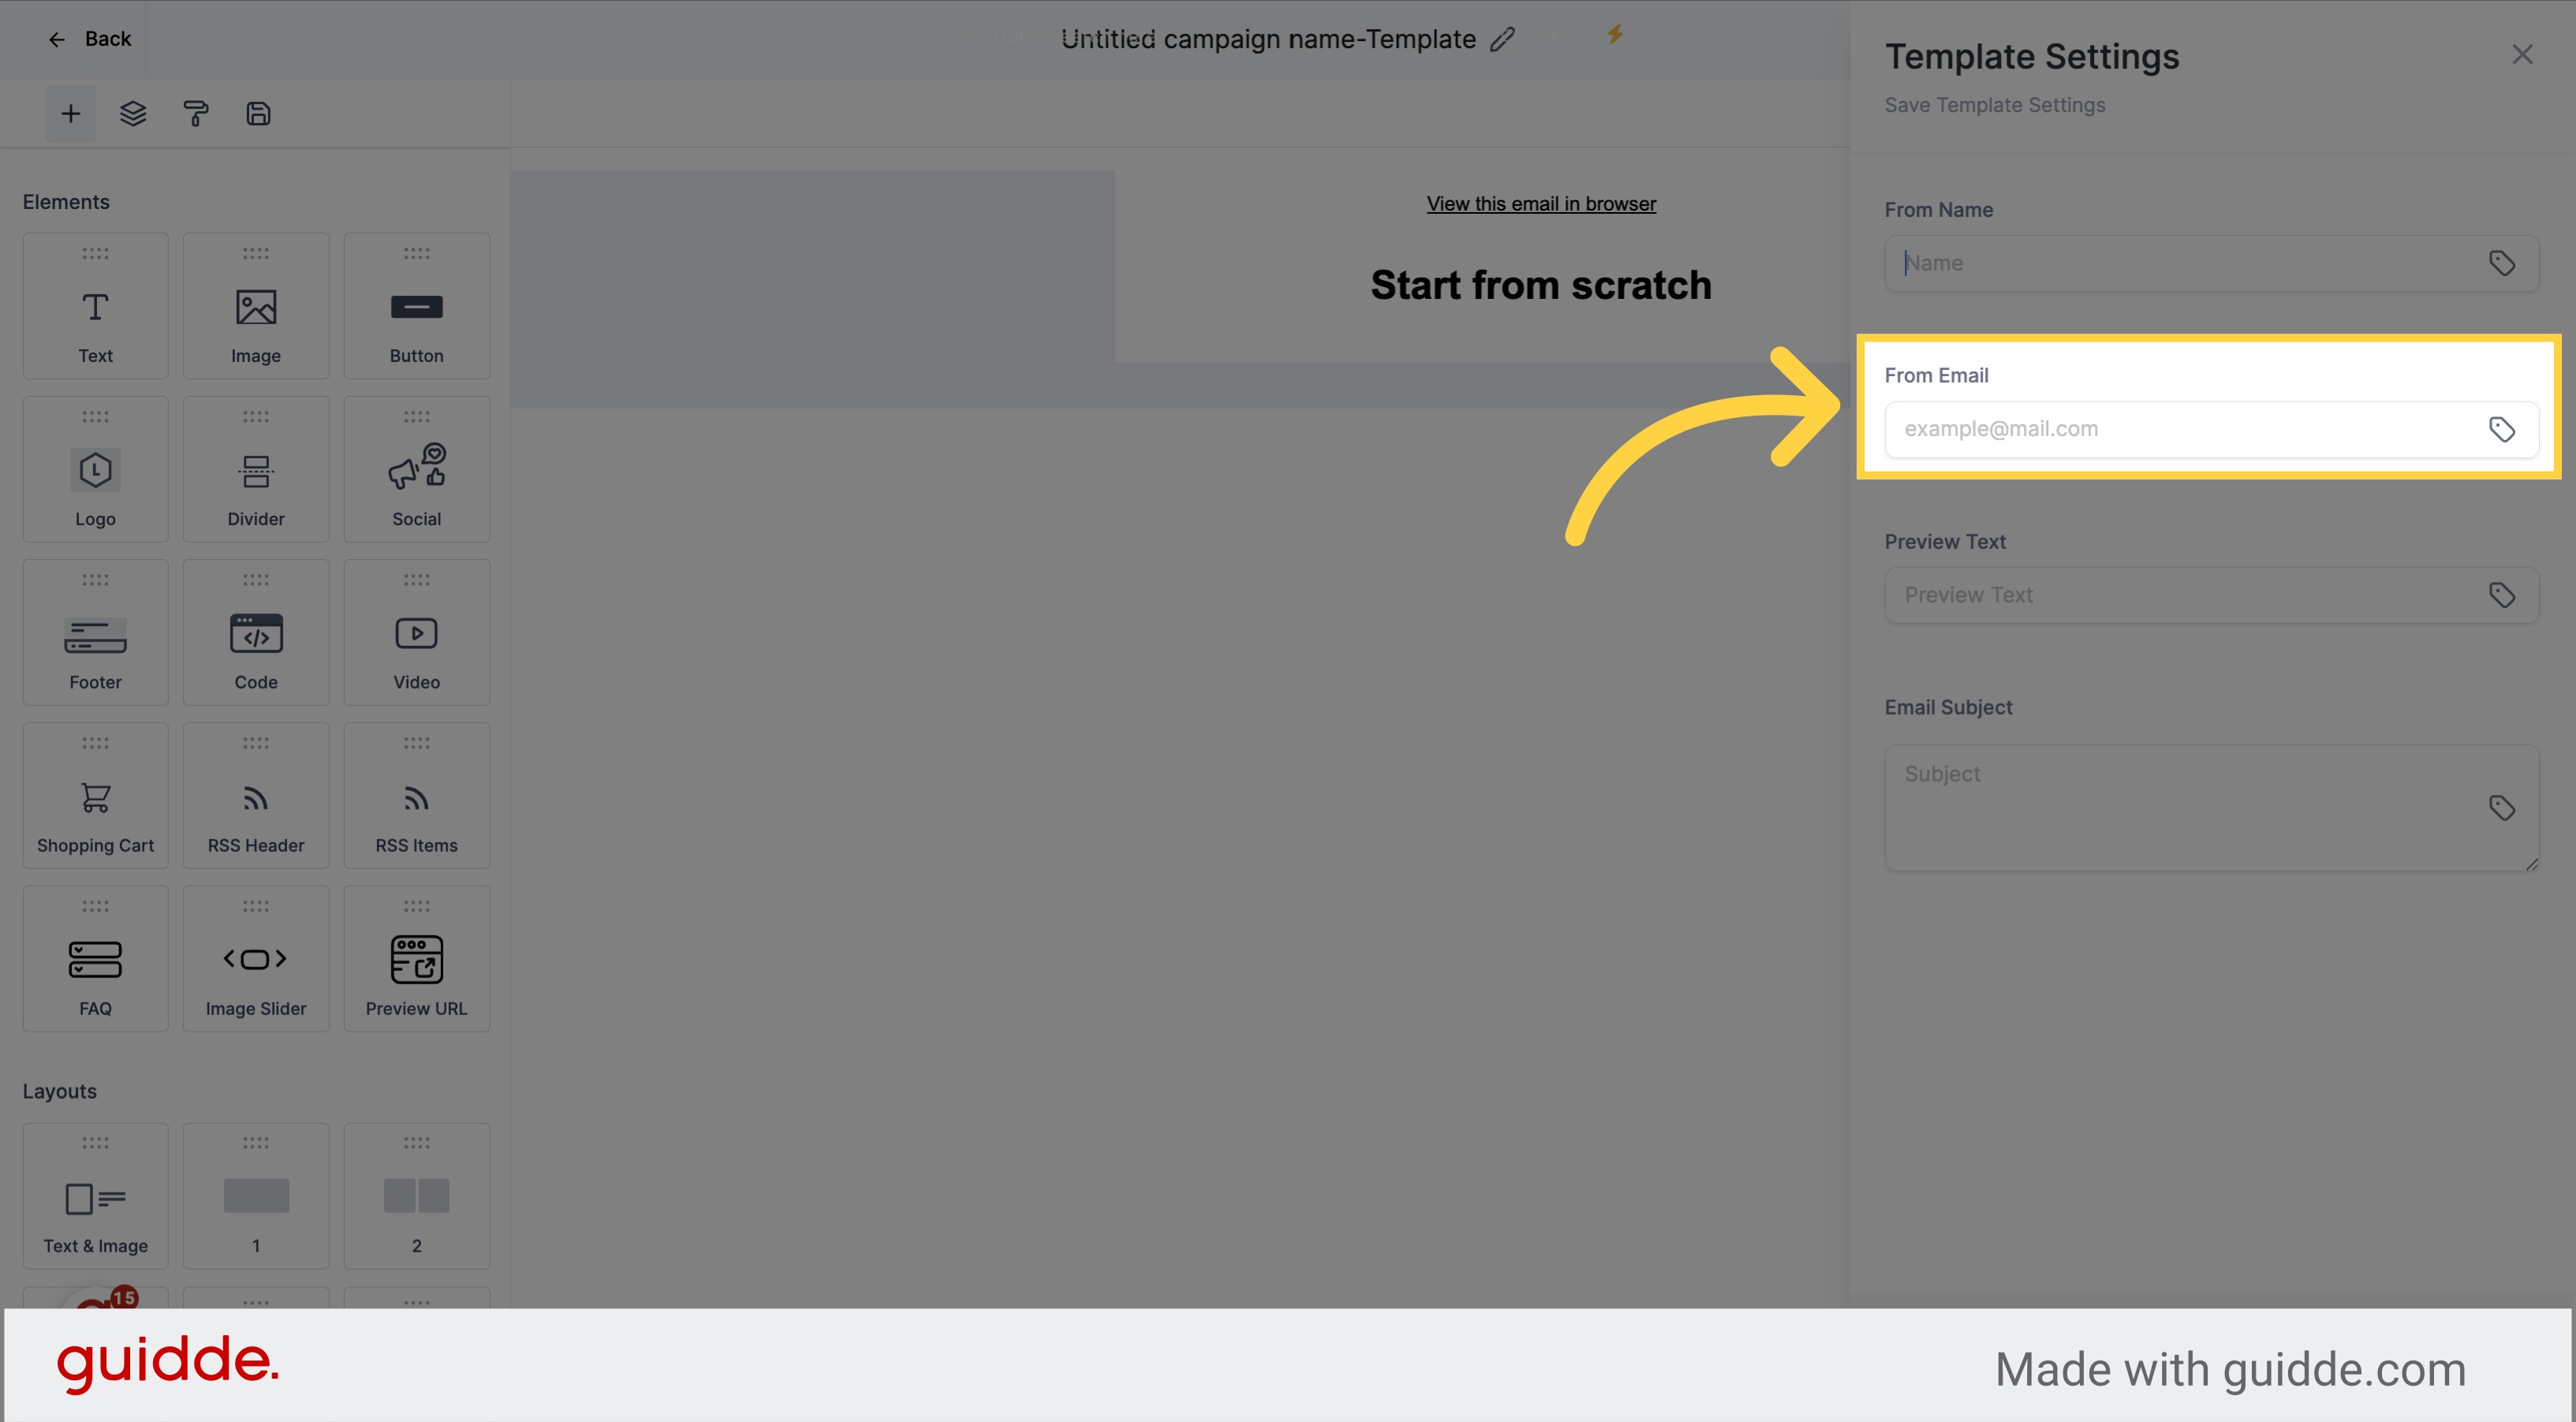
You can add the email in this field.
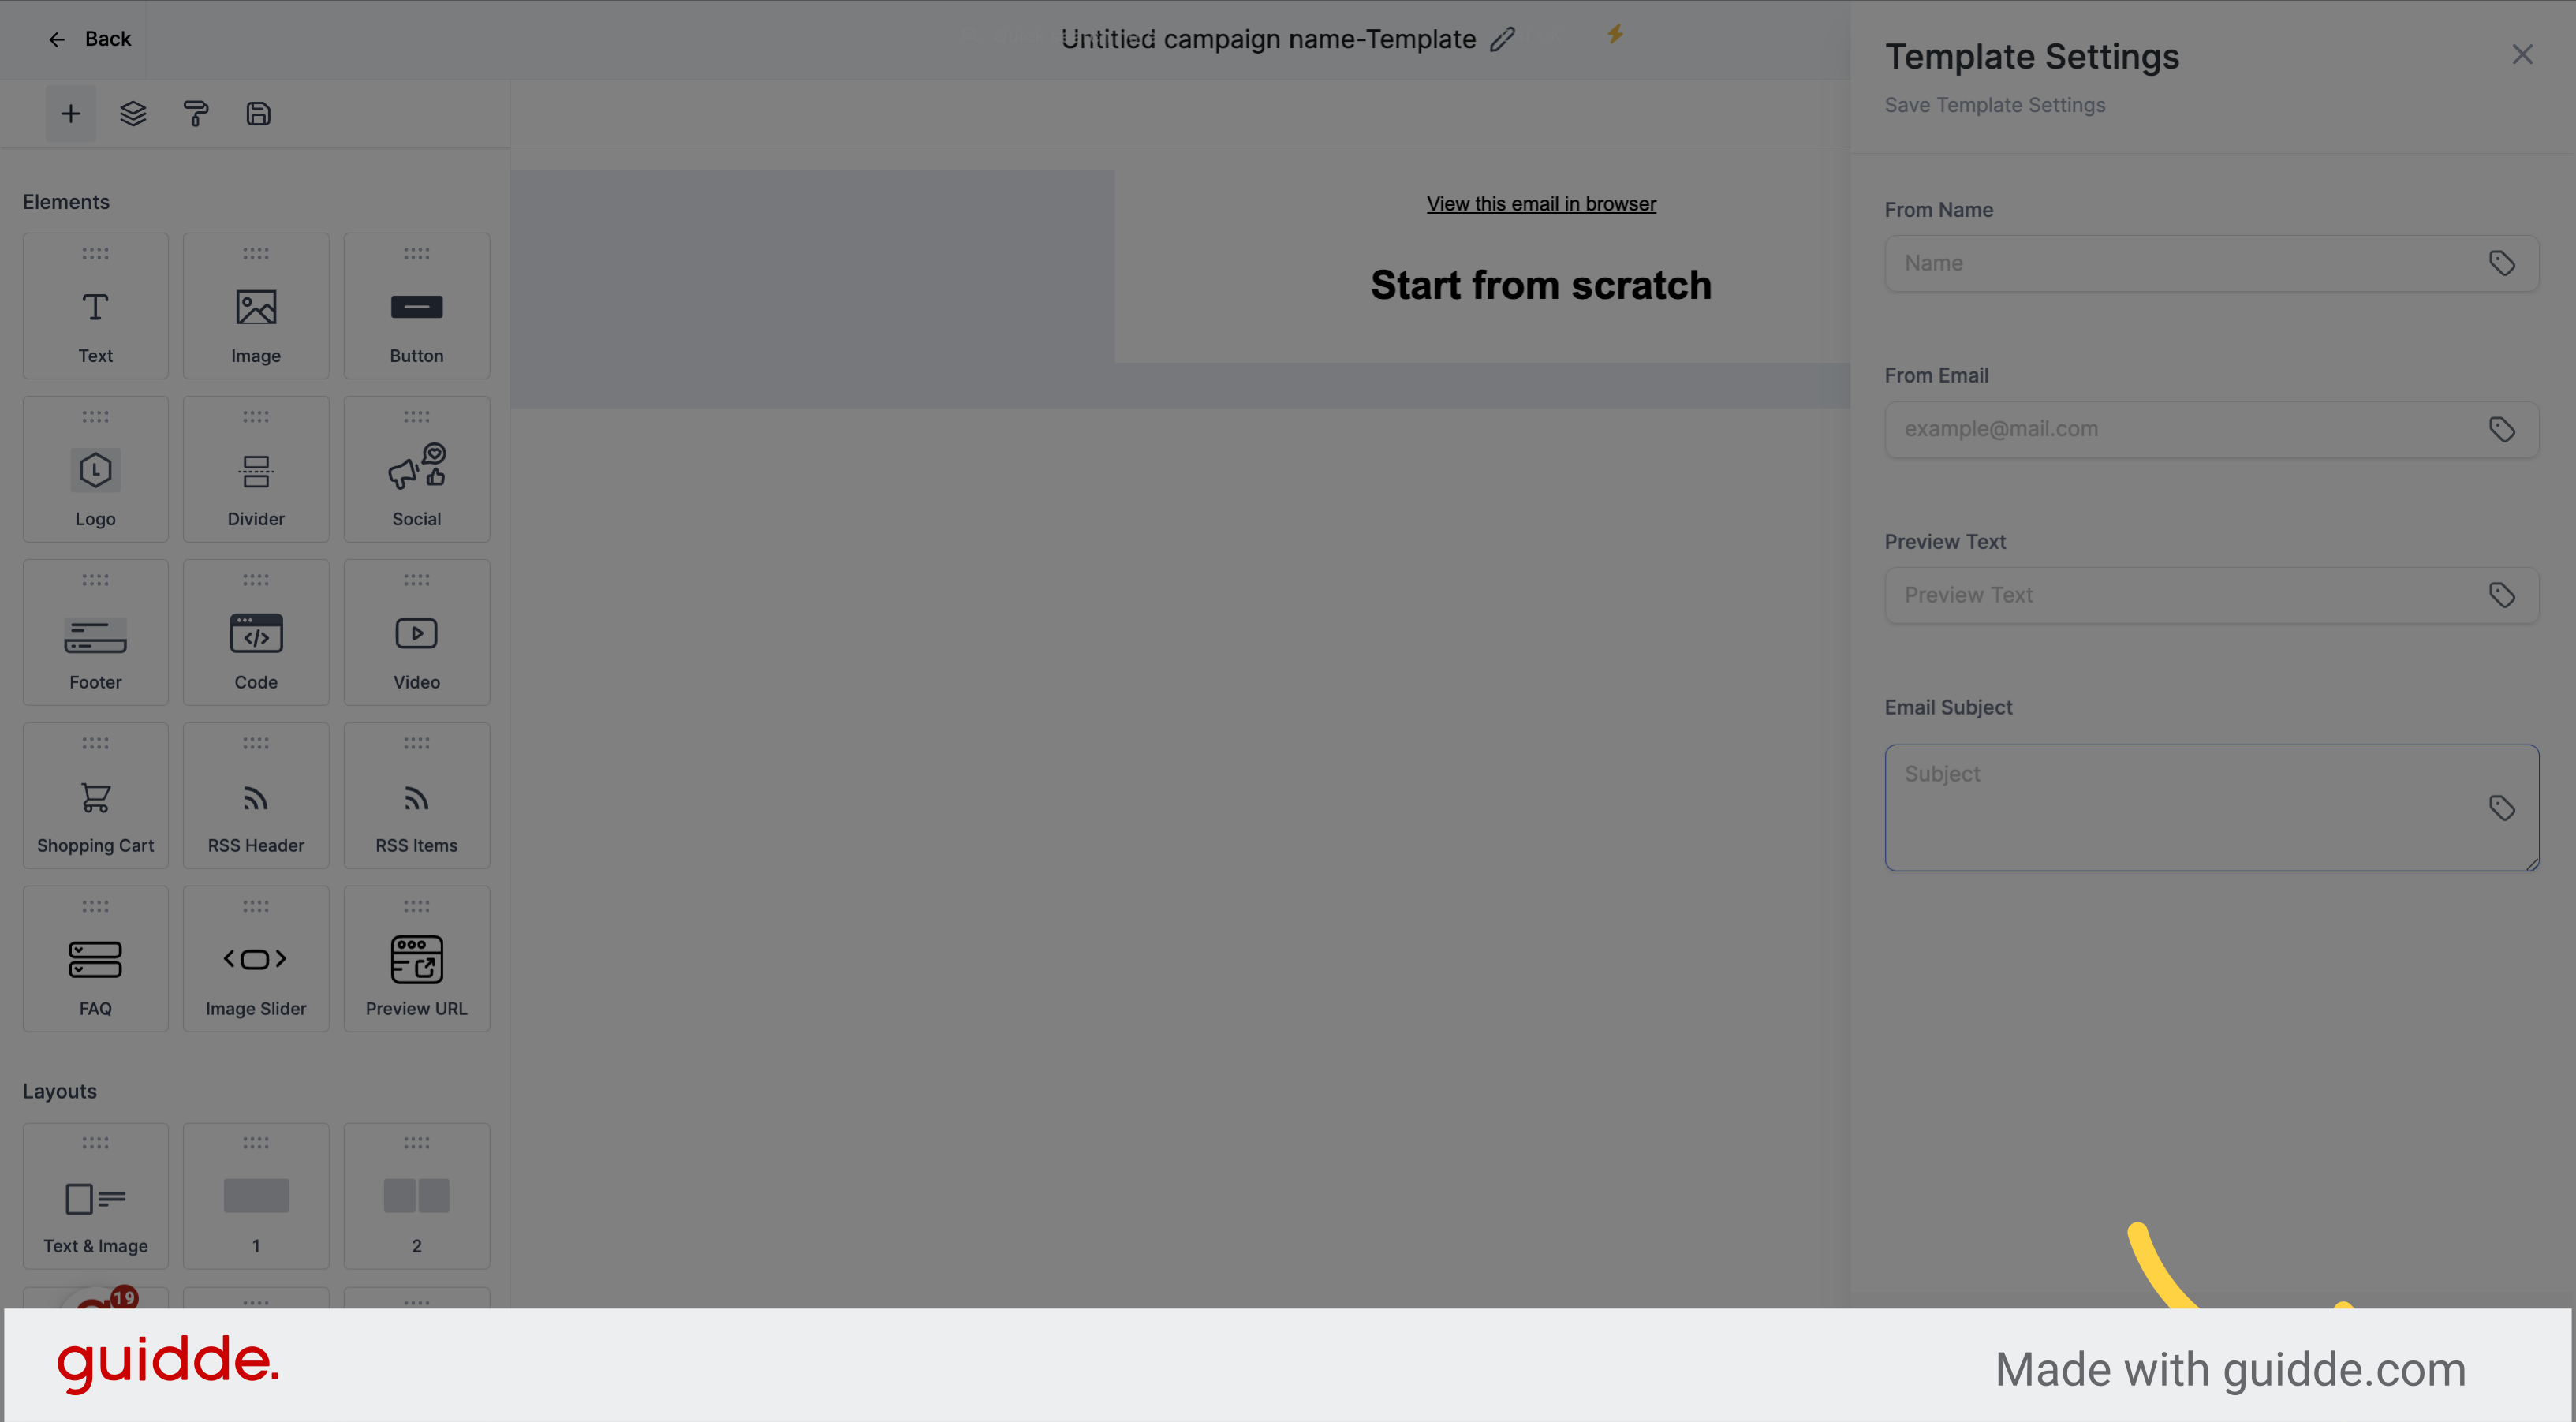
Click on the Save option to add the information to the email template.
This guide will walk you through configuring the sender details in Topline. Follow the steps below to streamline your processes.
Select the Marketing option on the left side menu.
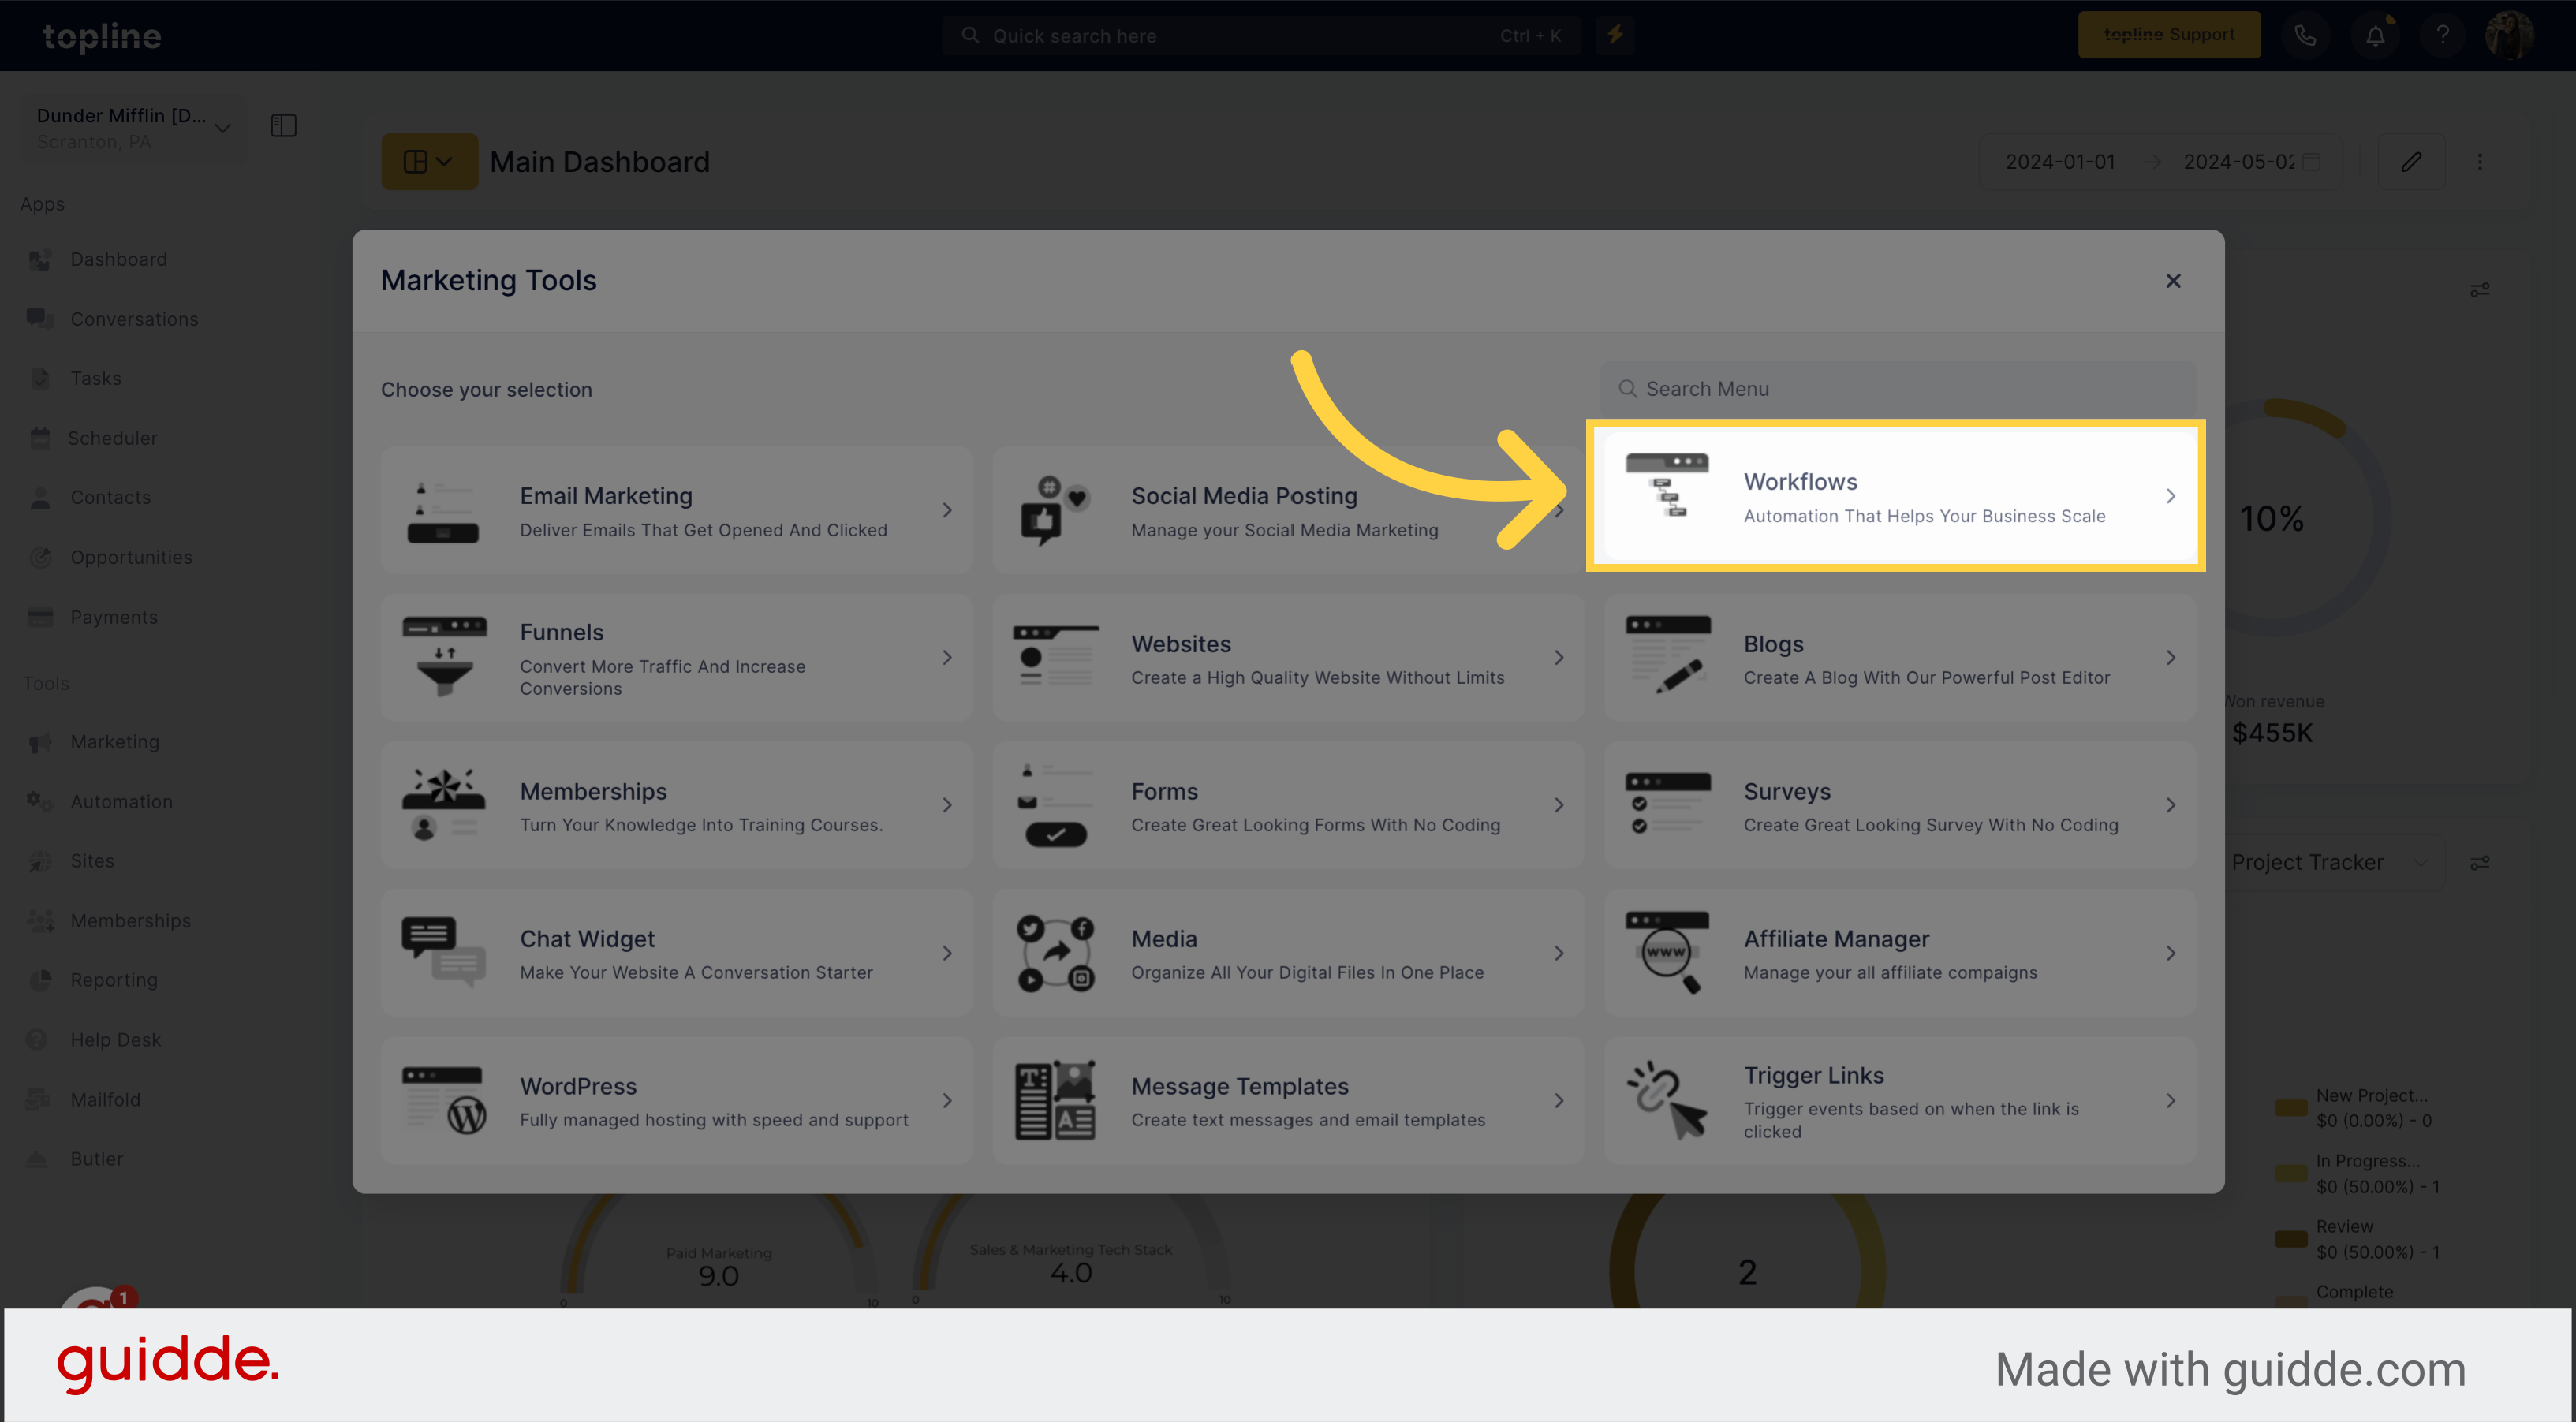
Select the workflows option in the marketing tools menu.
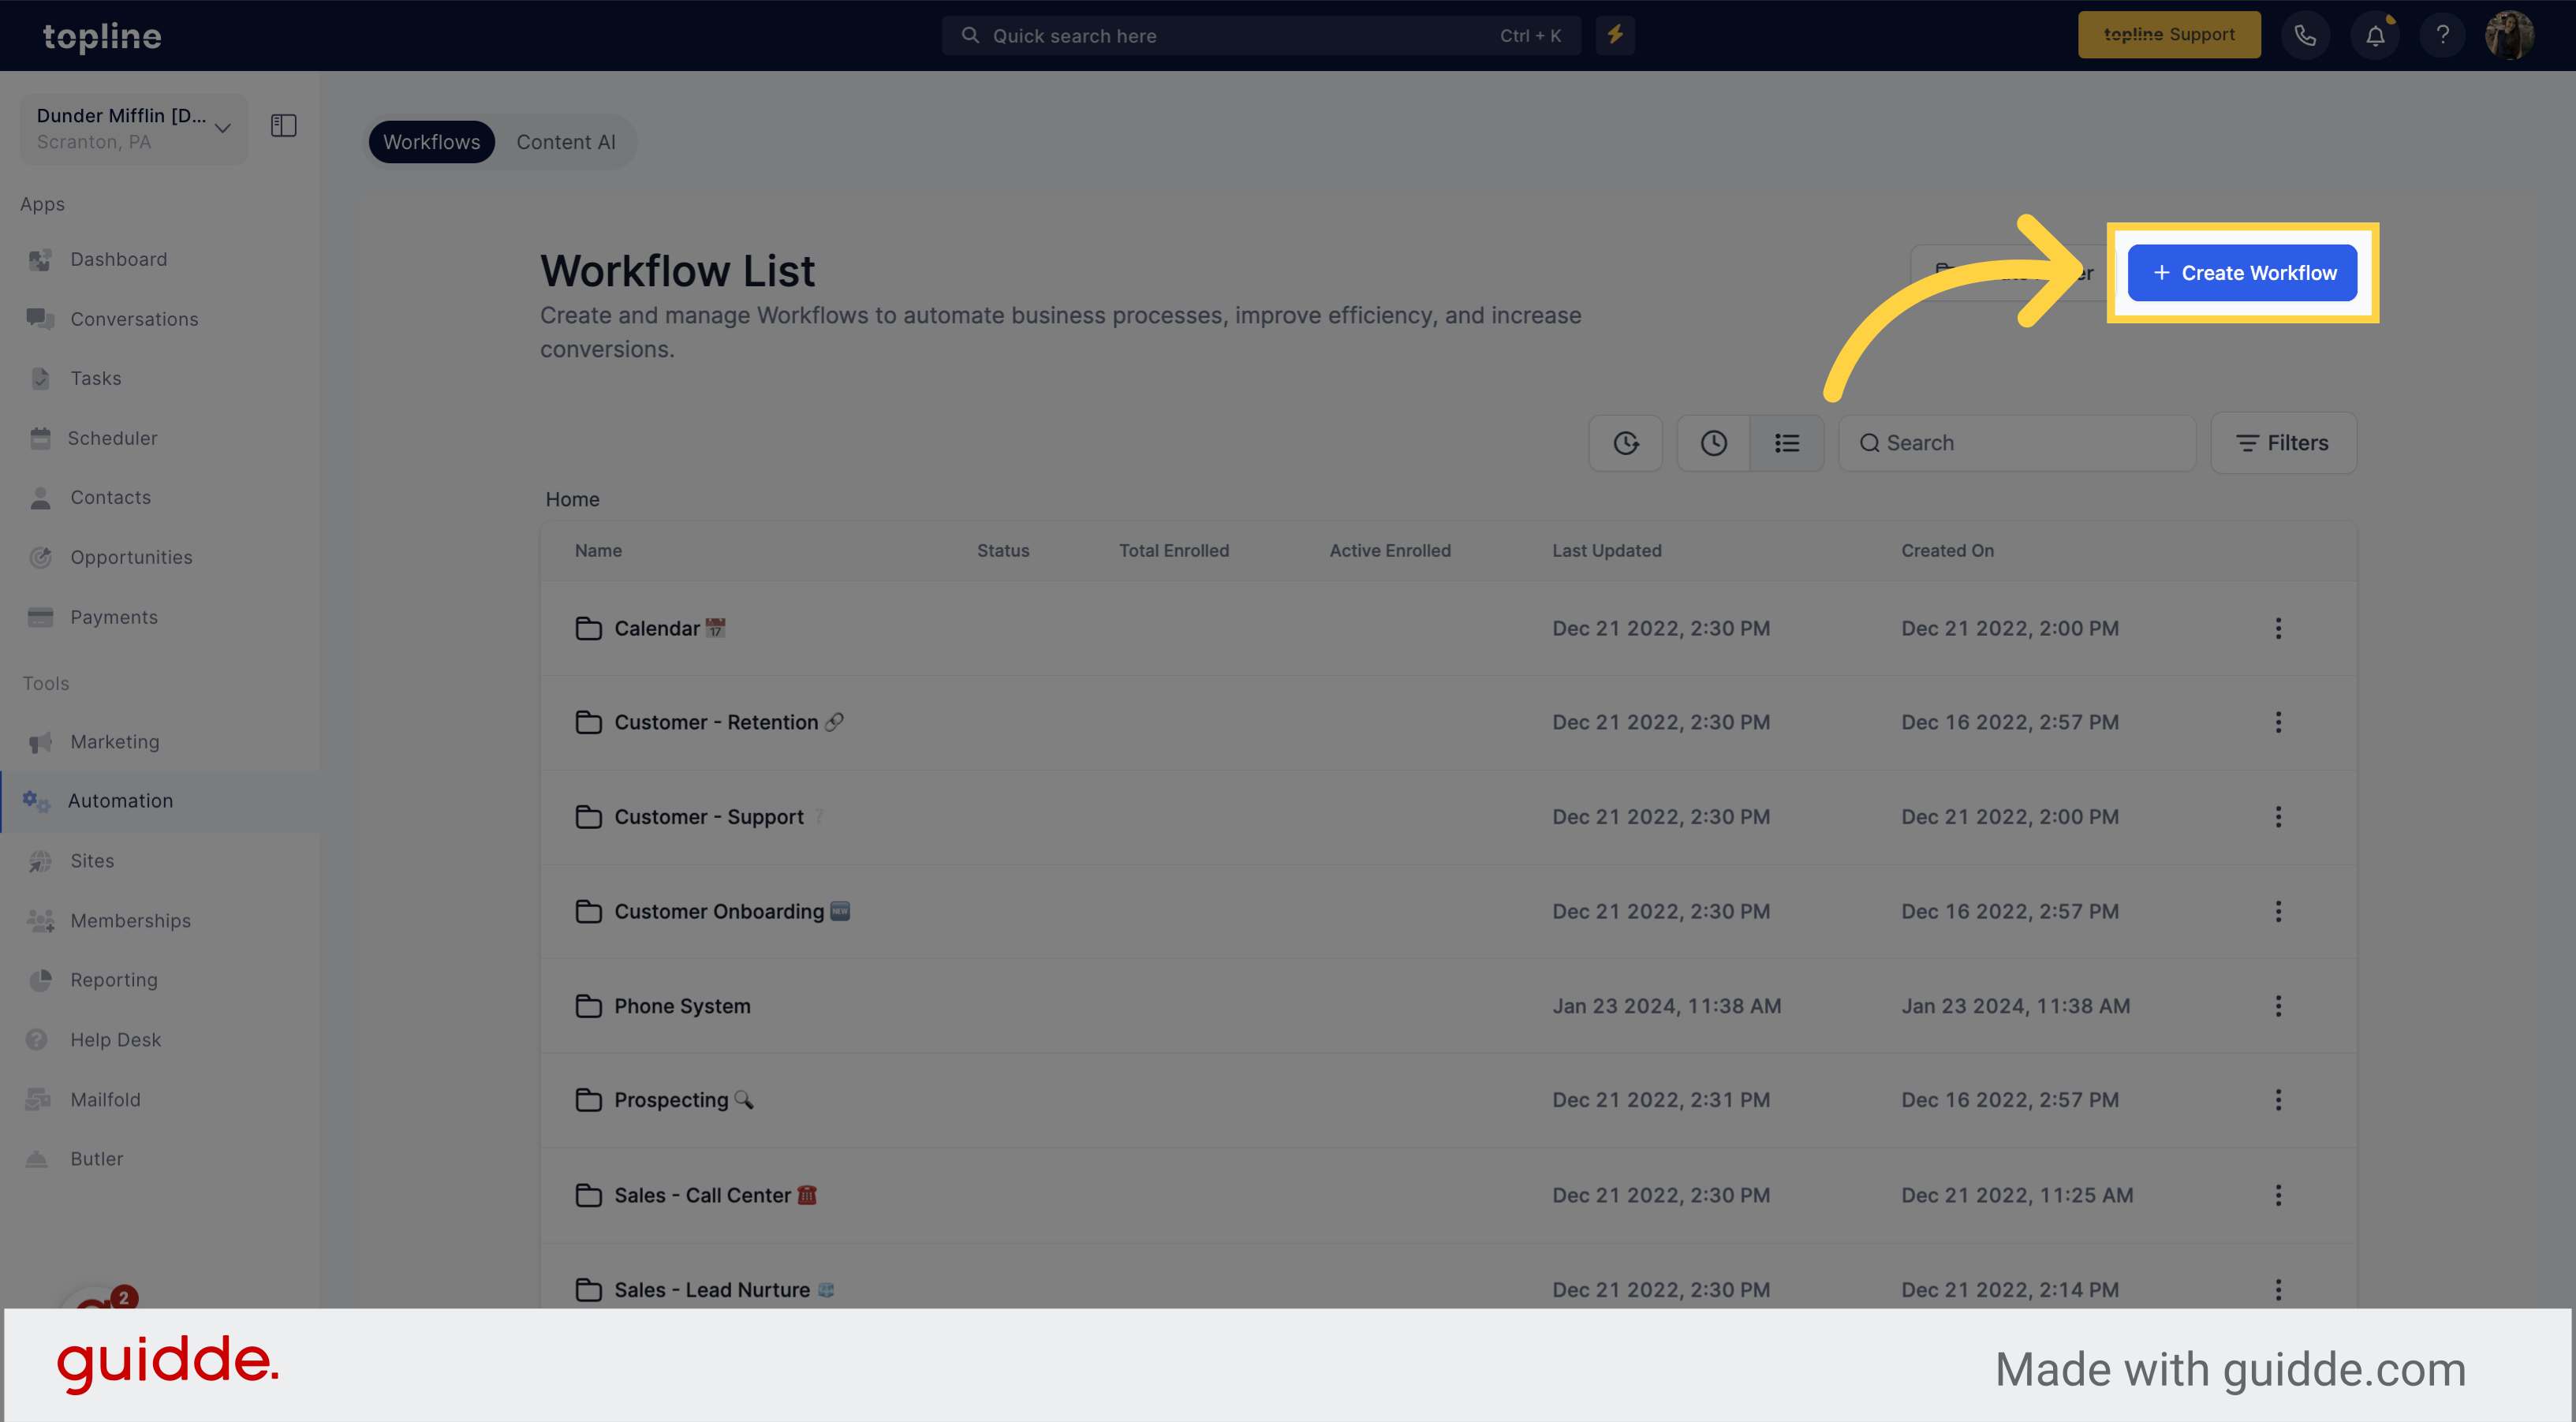
Start creating a new workflow by clicking on the Create Workflow option located on the upper right side of the view.
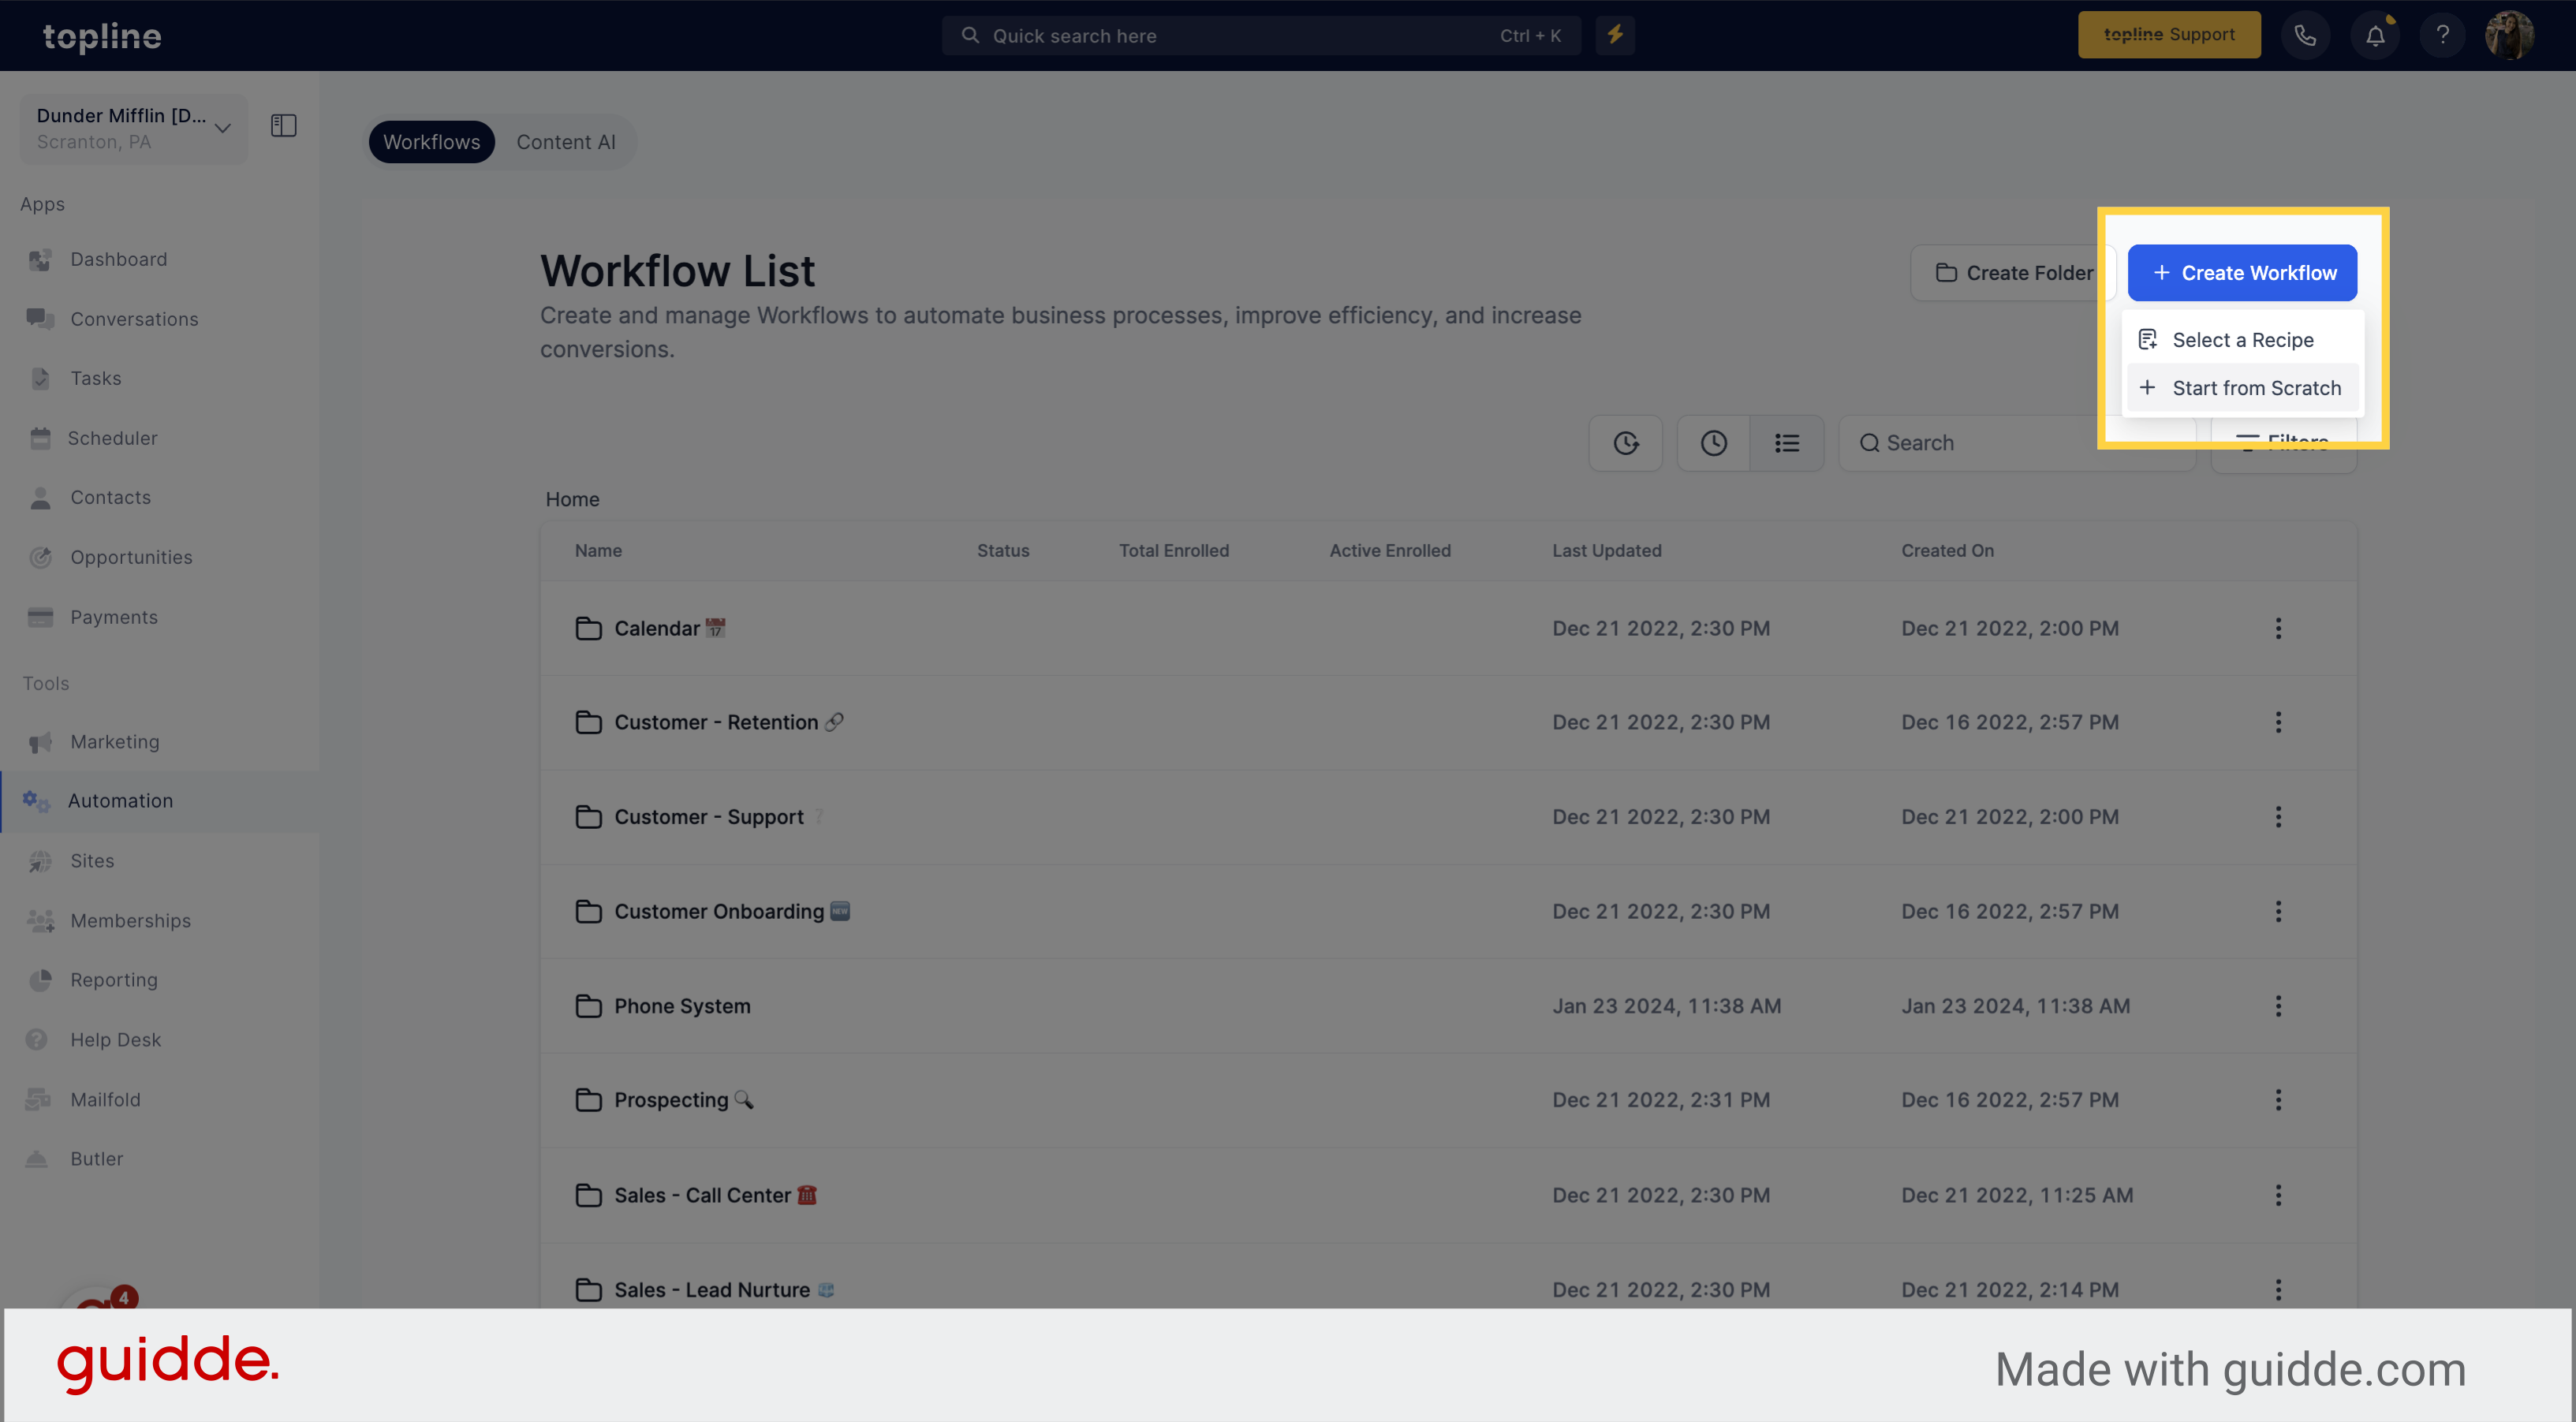
Choose the Start from Scratch option from the dropdown menu.
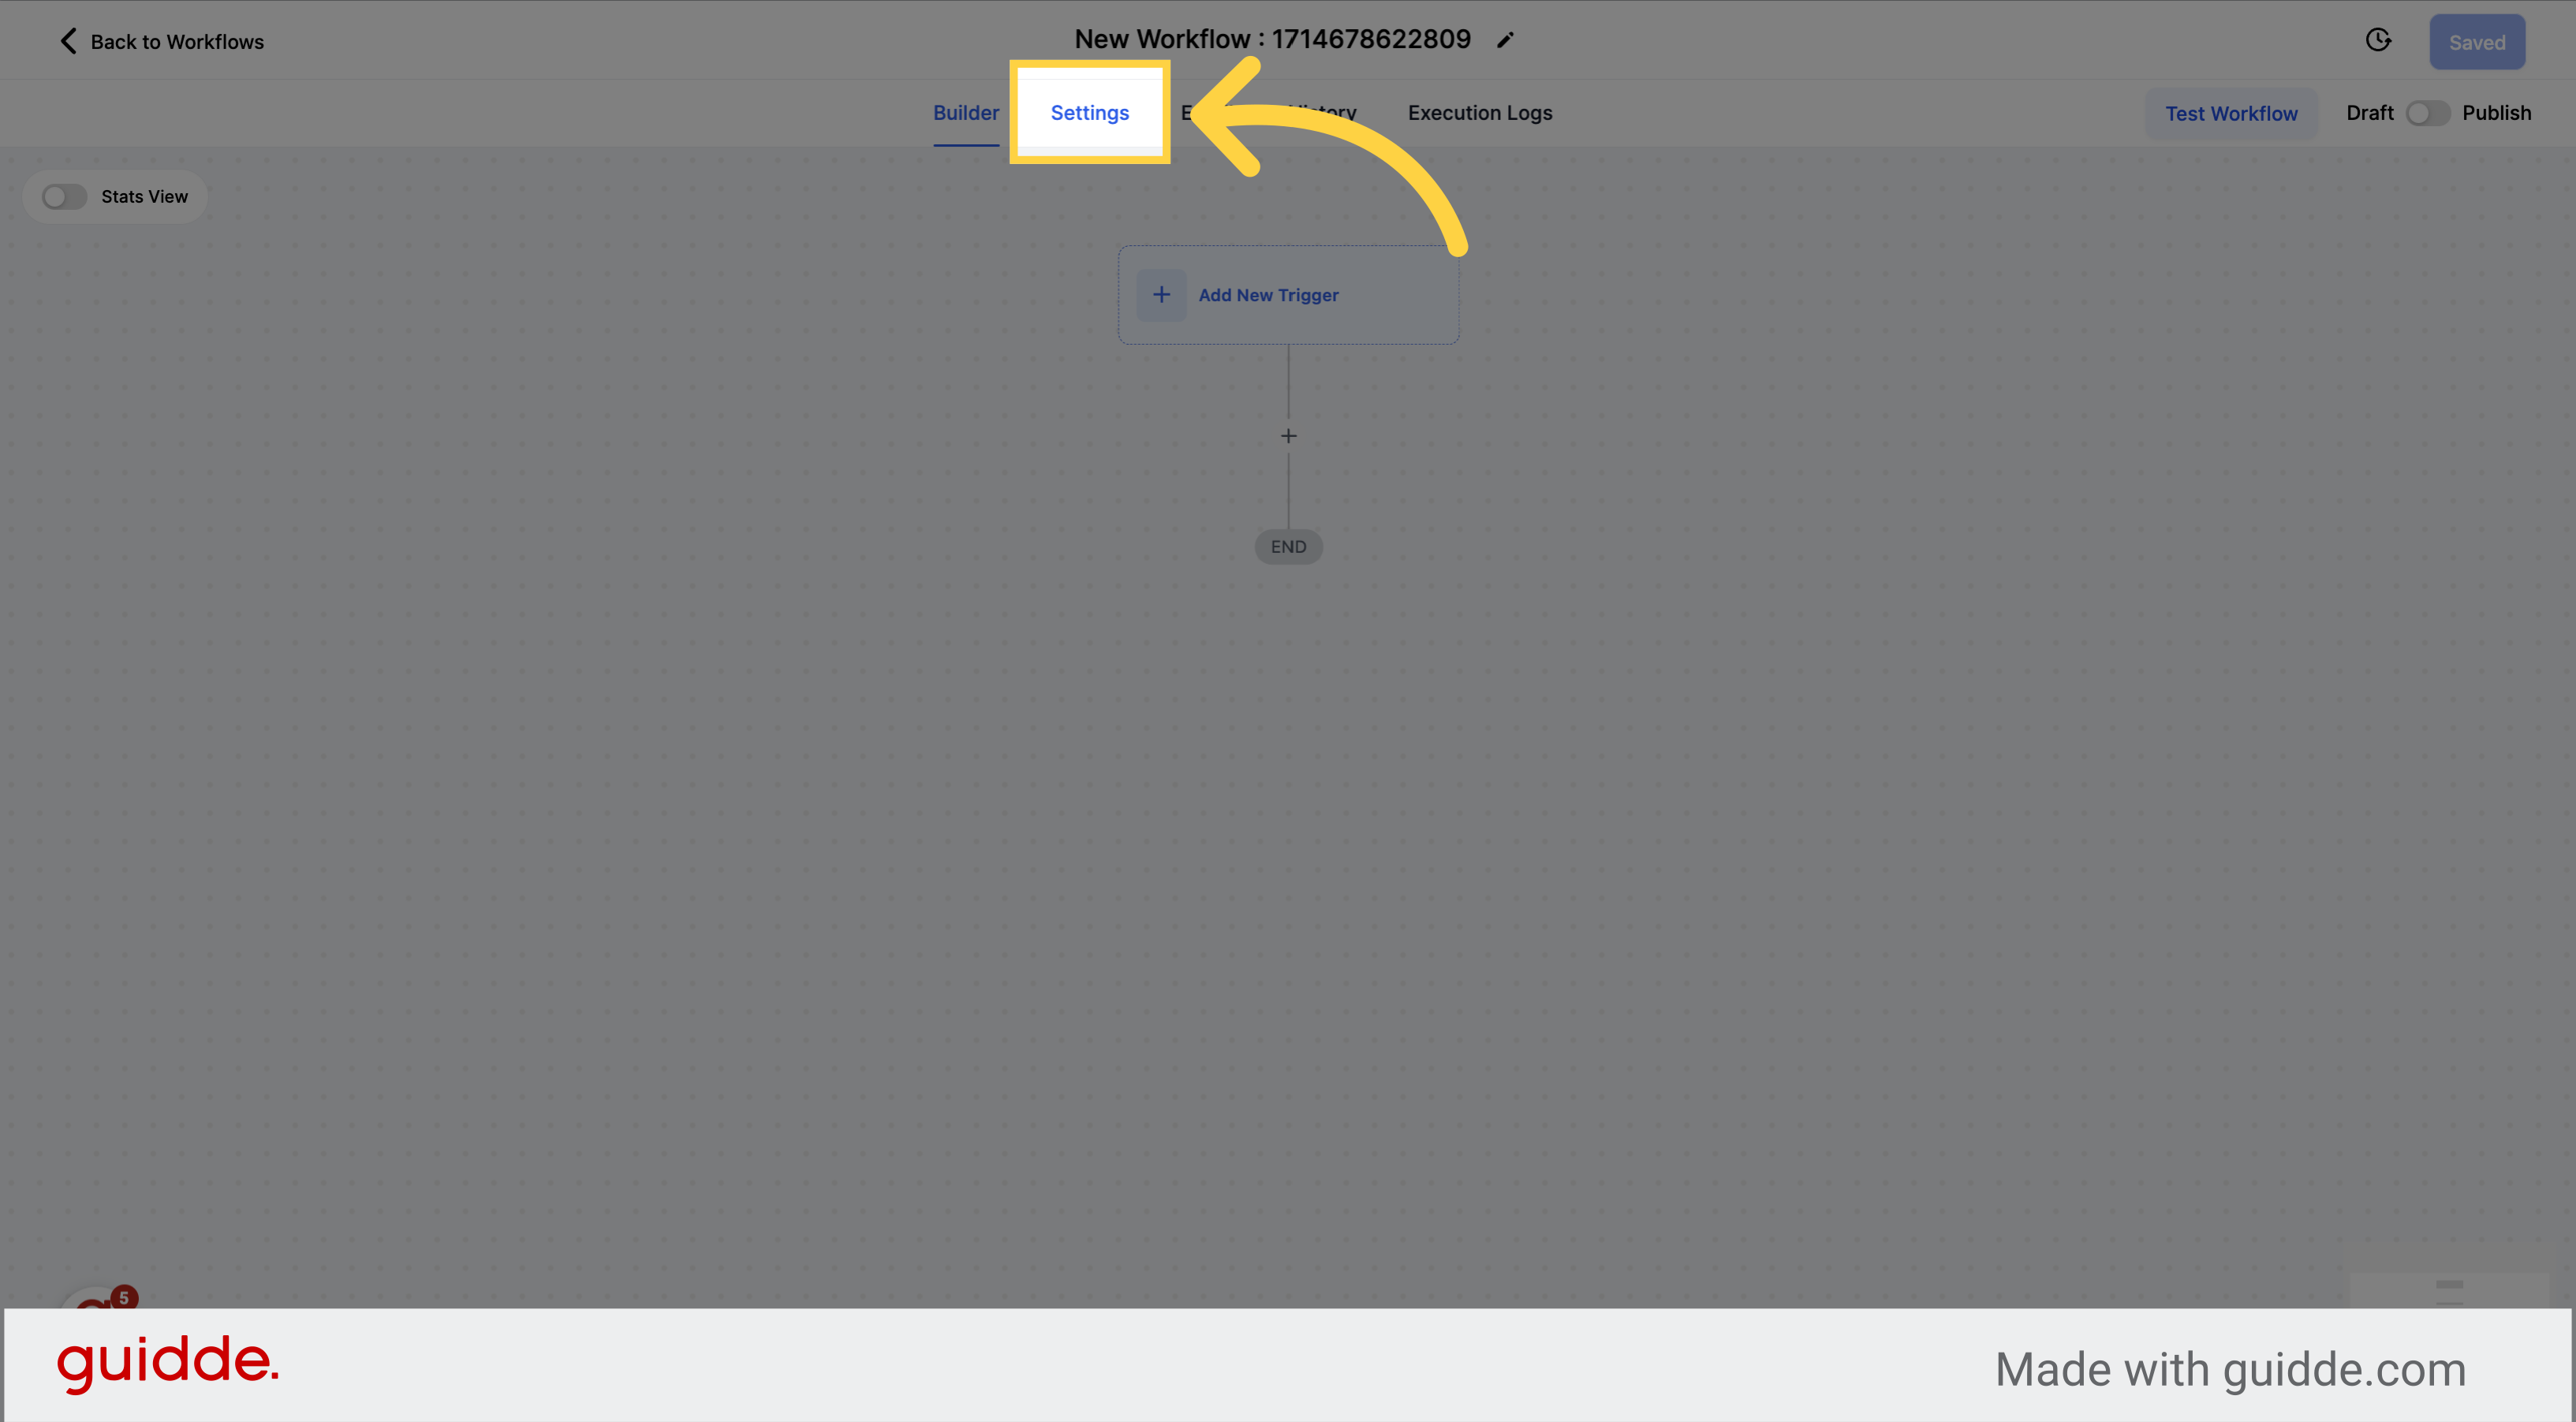
On the upper side menu, click on Settings.
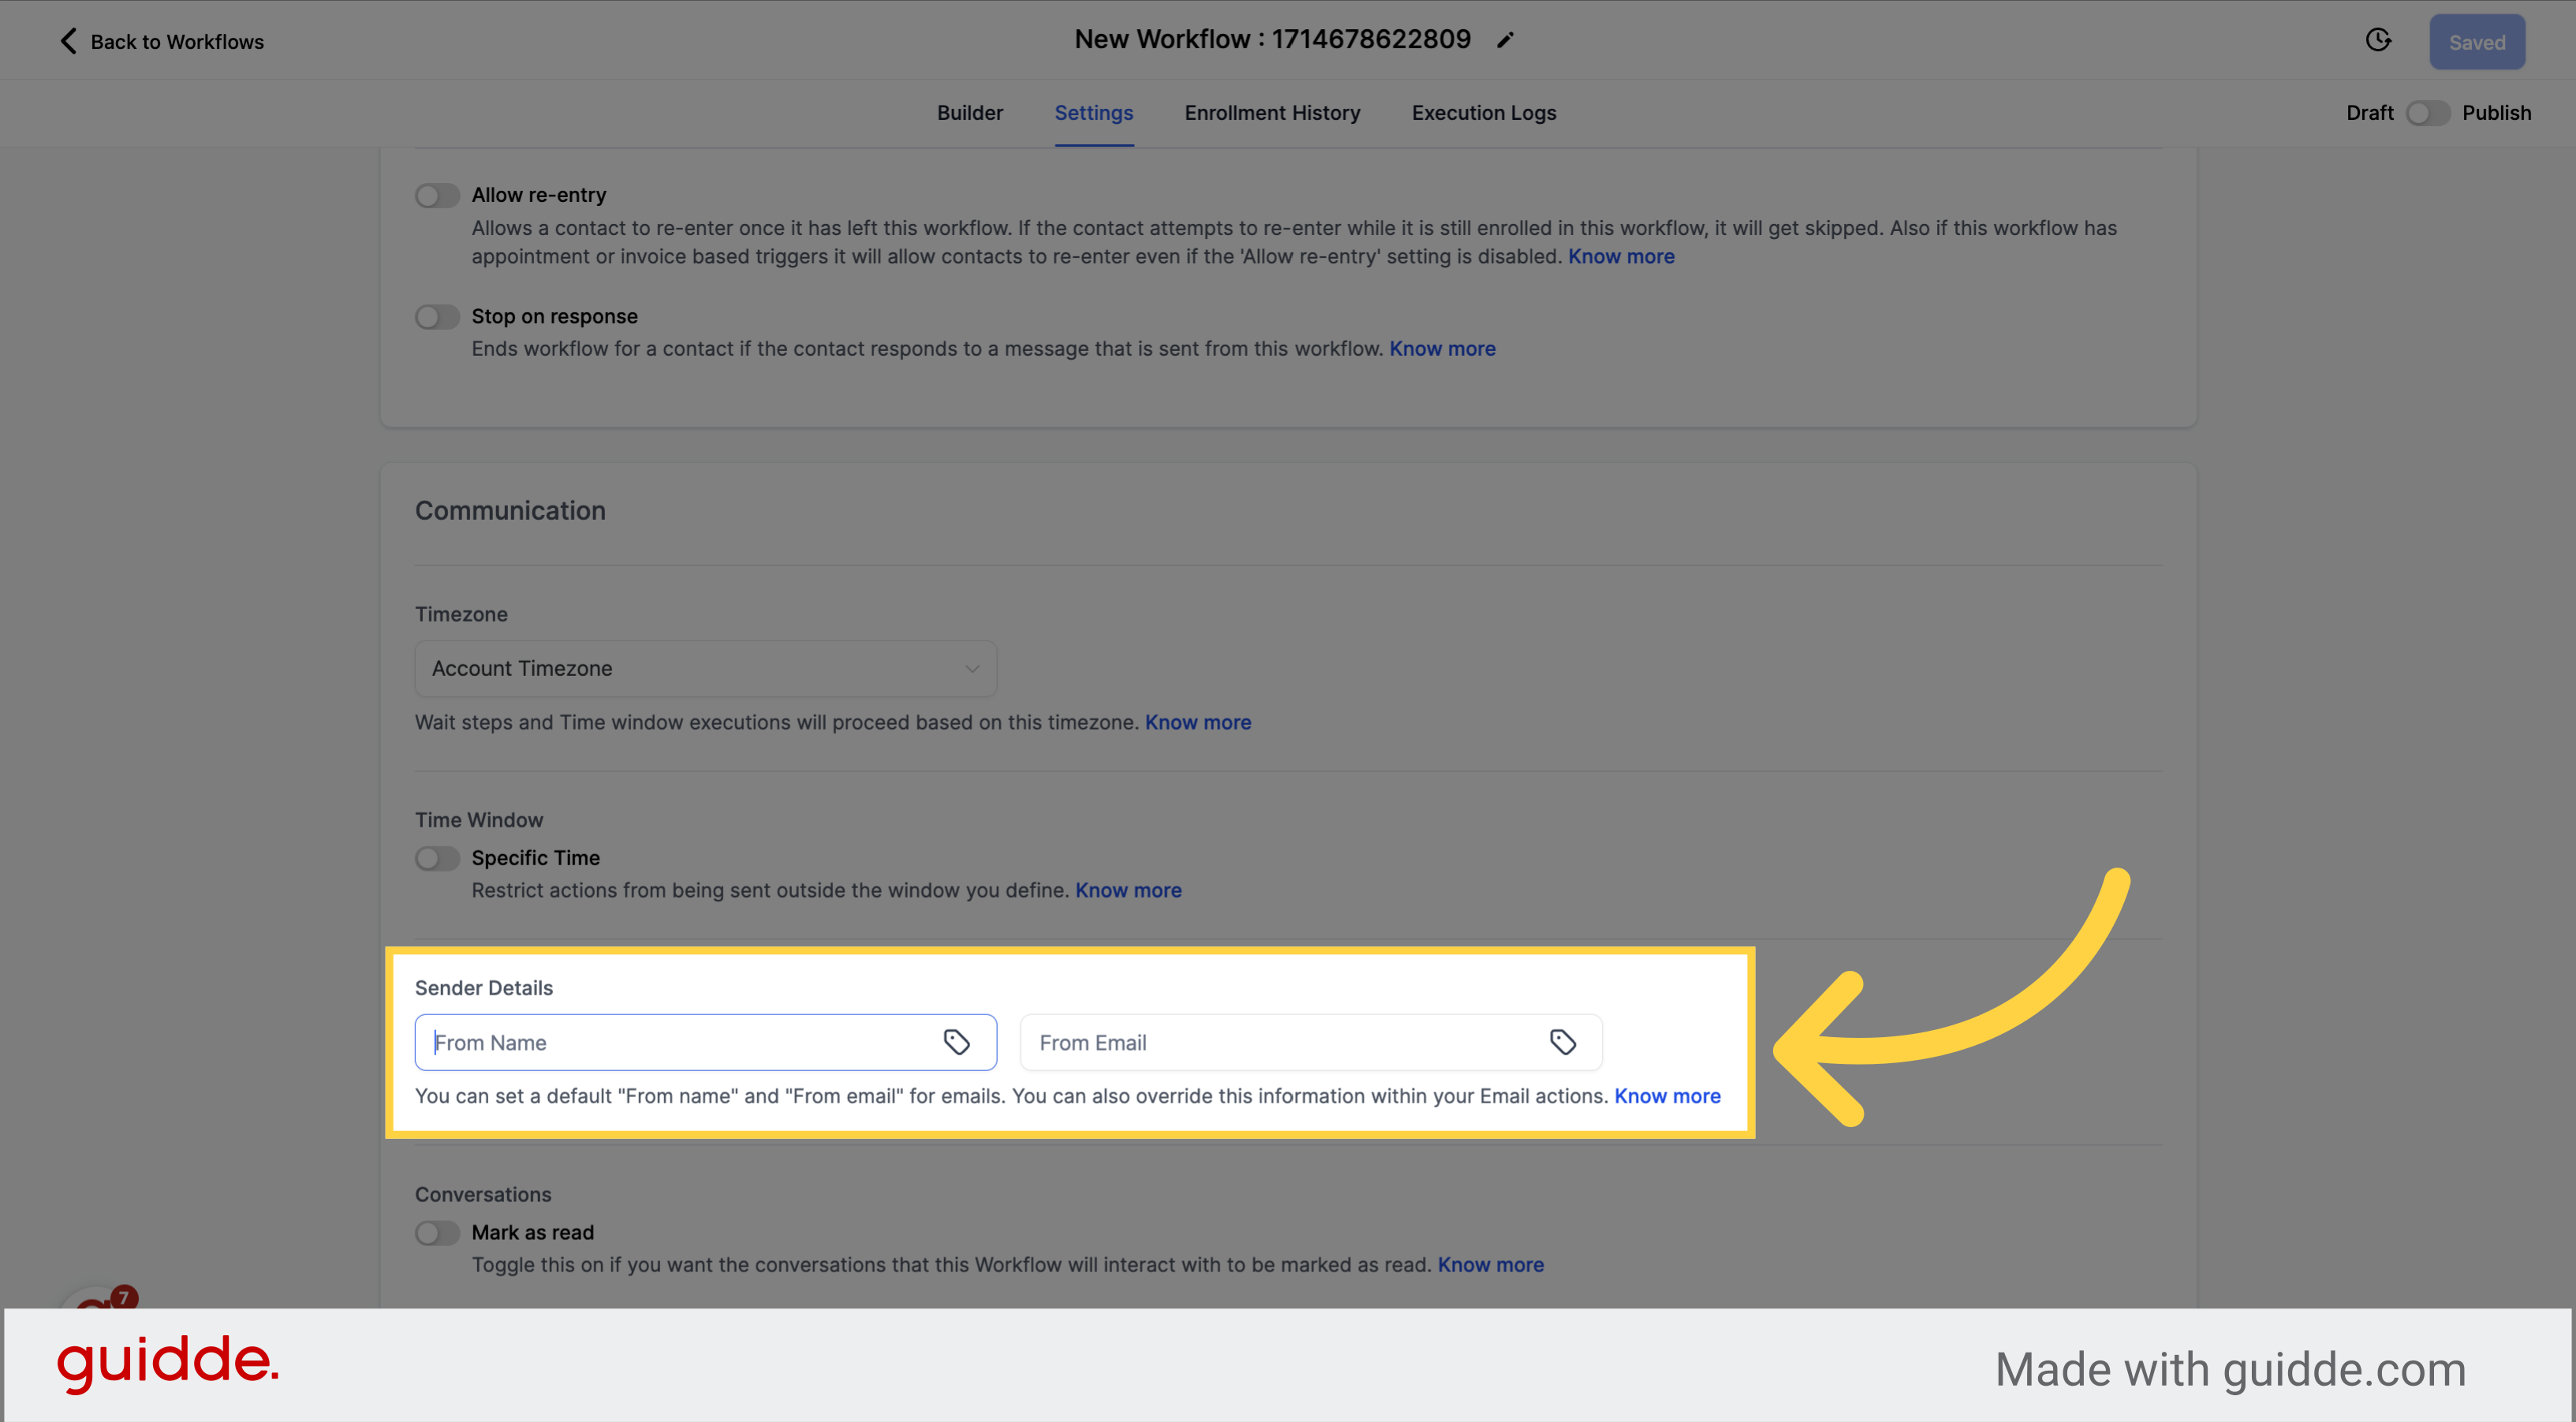
Navigate to the Sender Details and add the From Email and set it as default.
Learn how to efficiently set up email actions within Topline workflows. Follow these instructions to seamlessly create and send emails to contacts, enhancing your workflow automation.
Click on the + button to add a new action to the workflow.

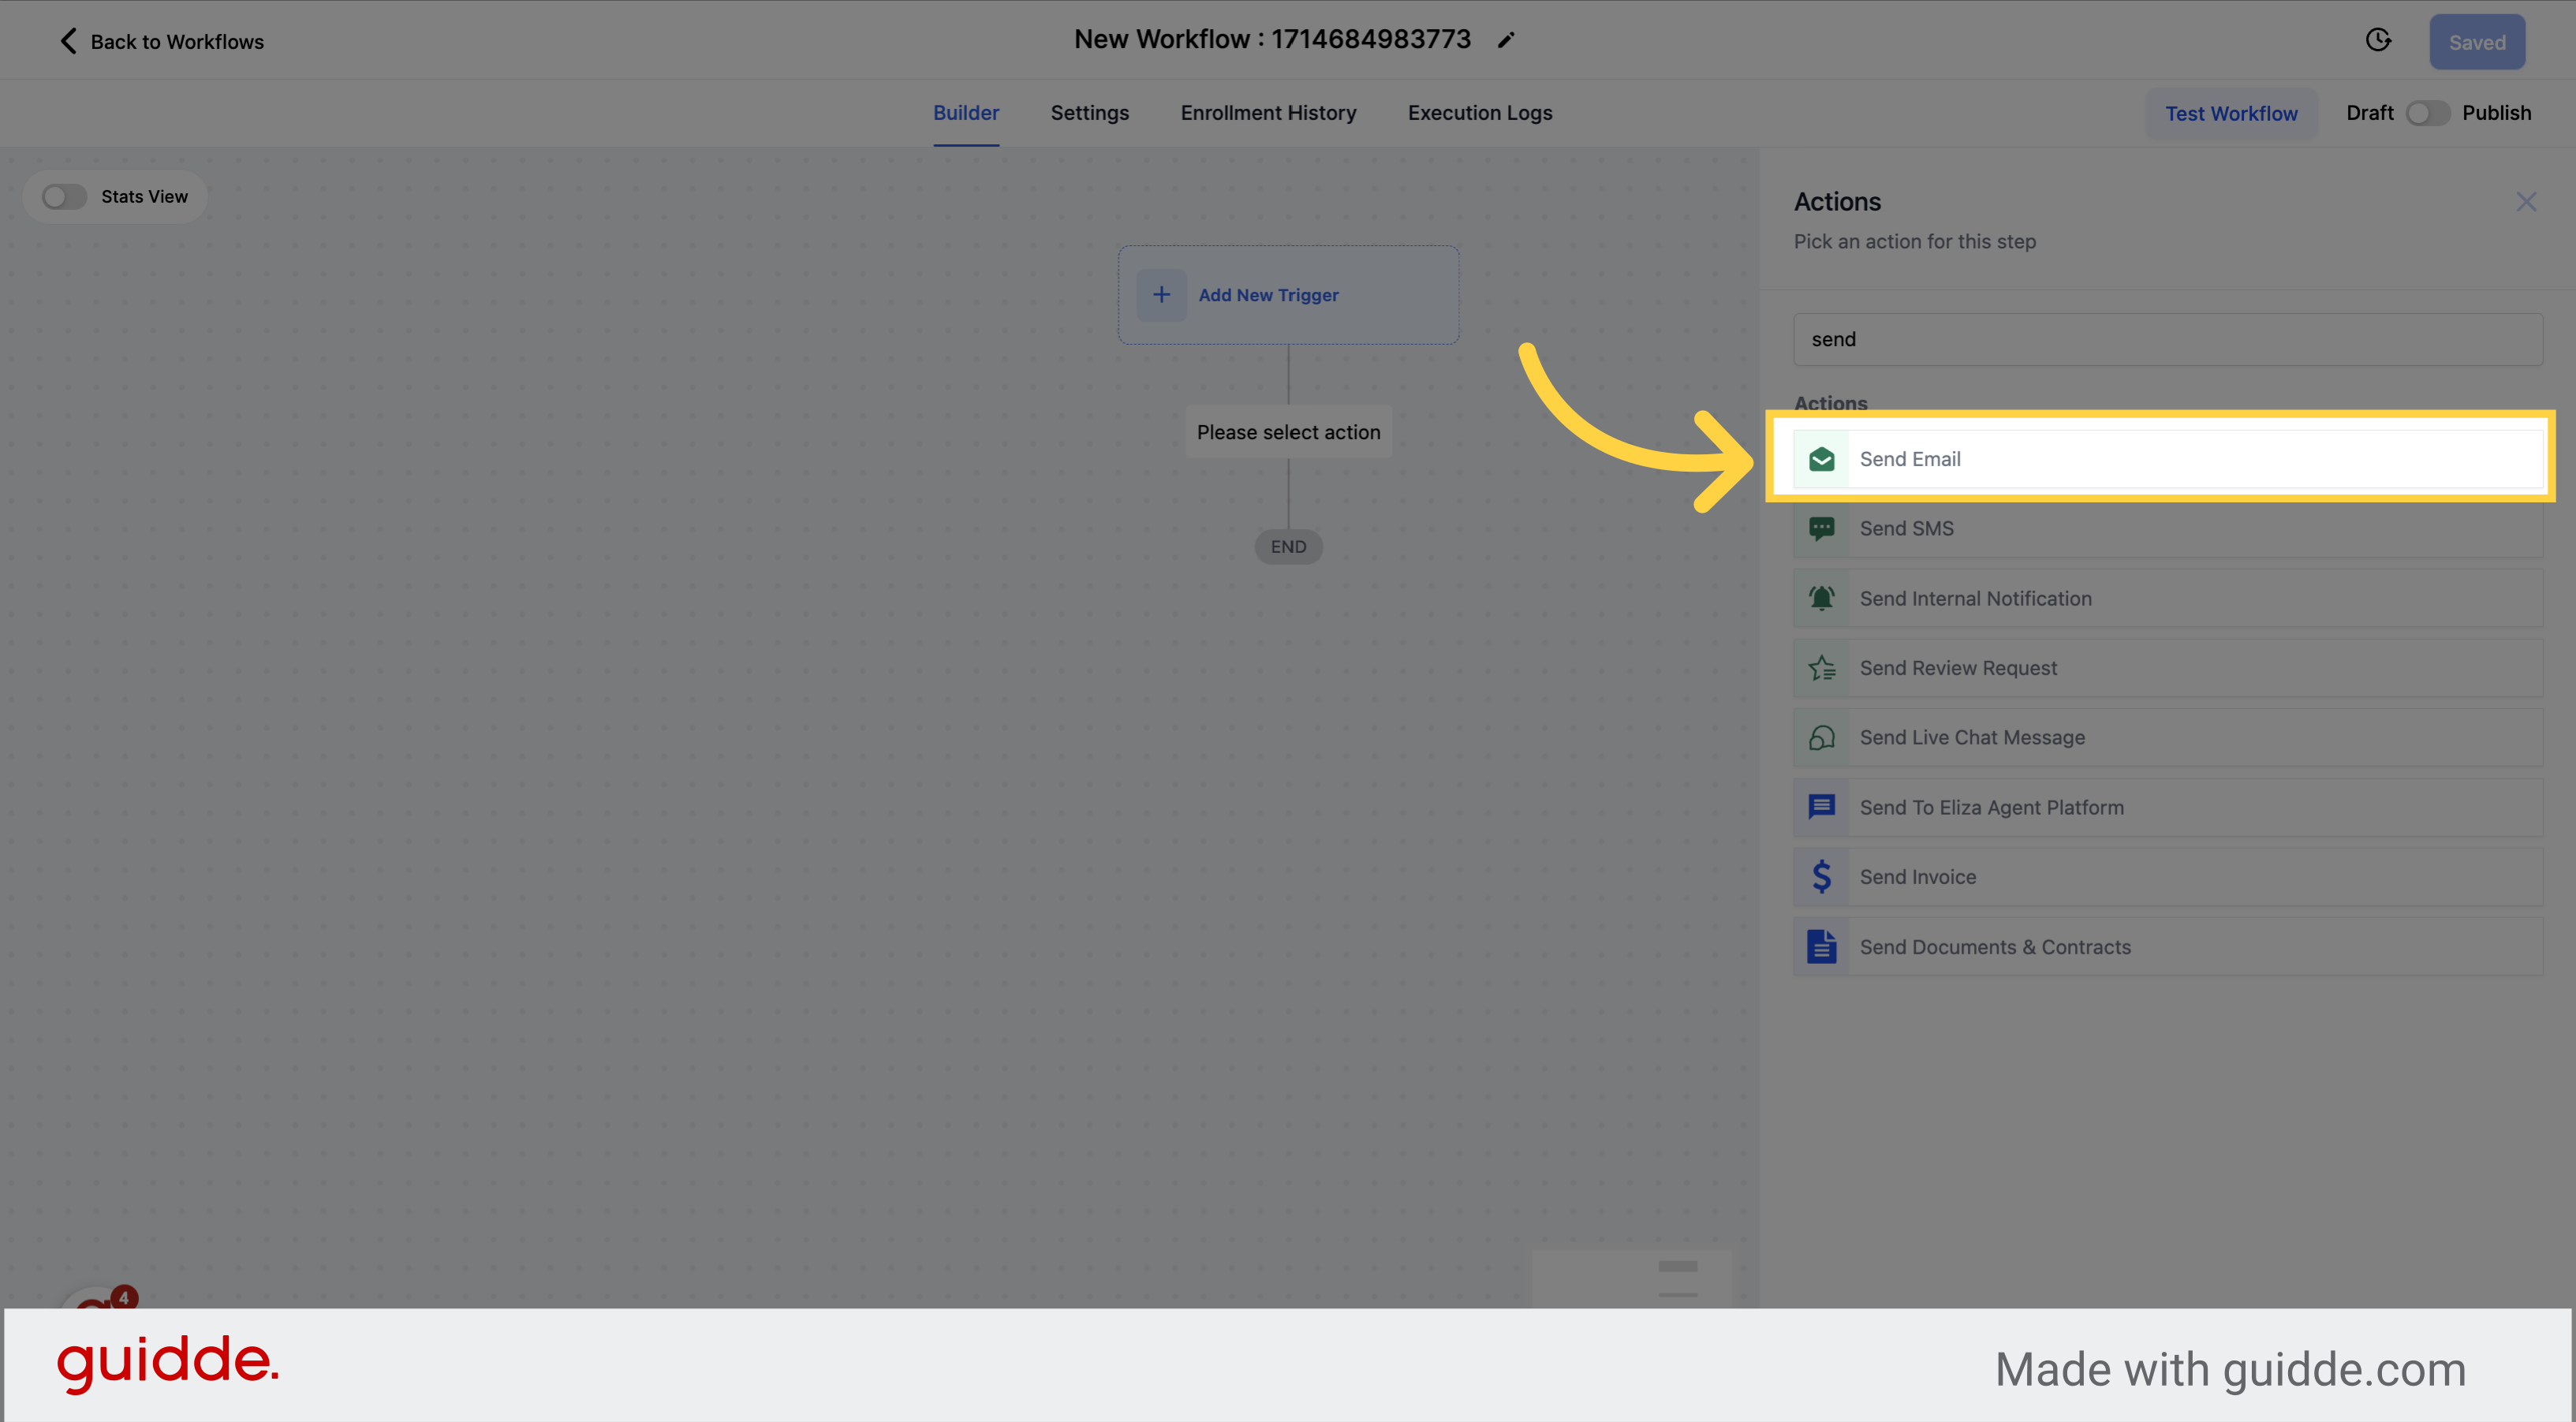
On the actions menu, select the Send Email option.
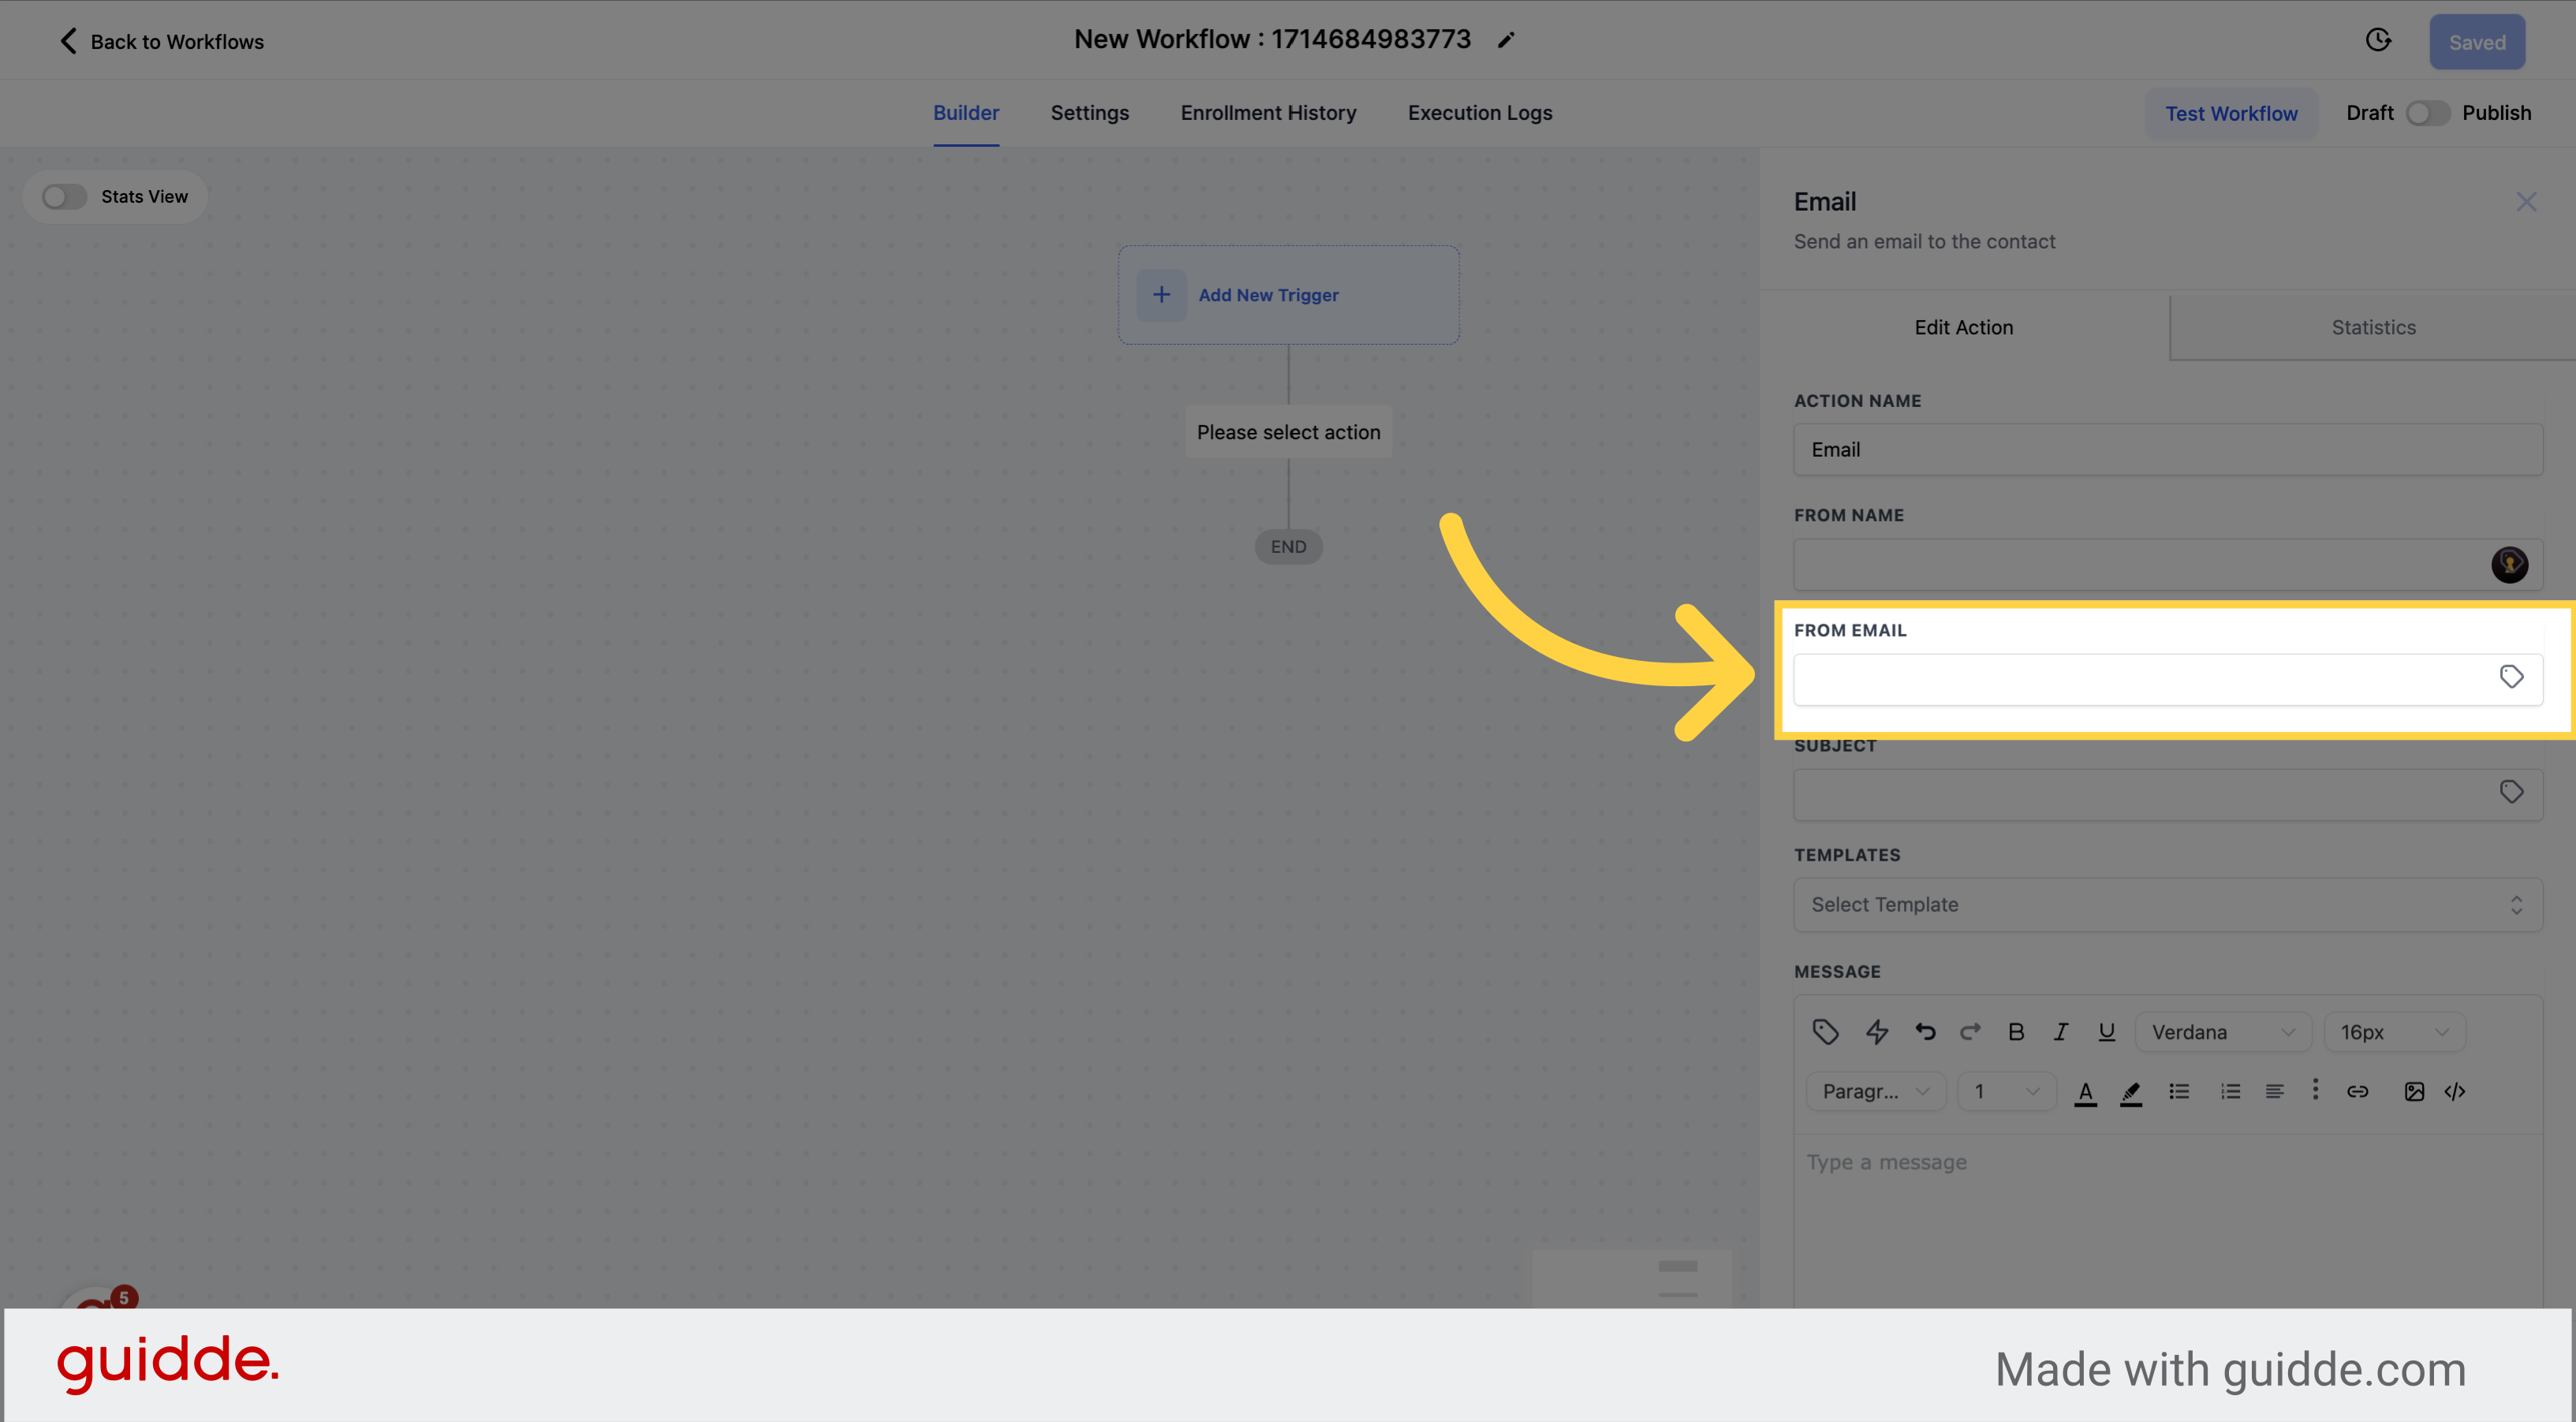
Add the from email you want to use on the workflow.