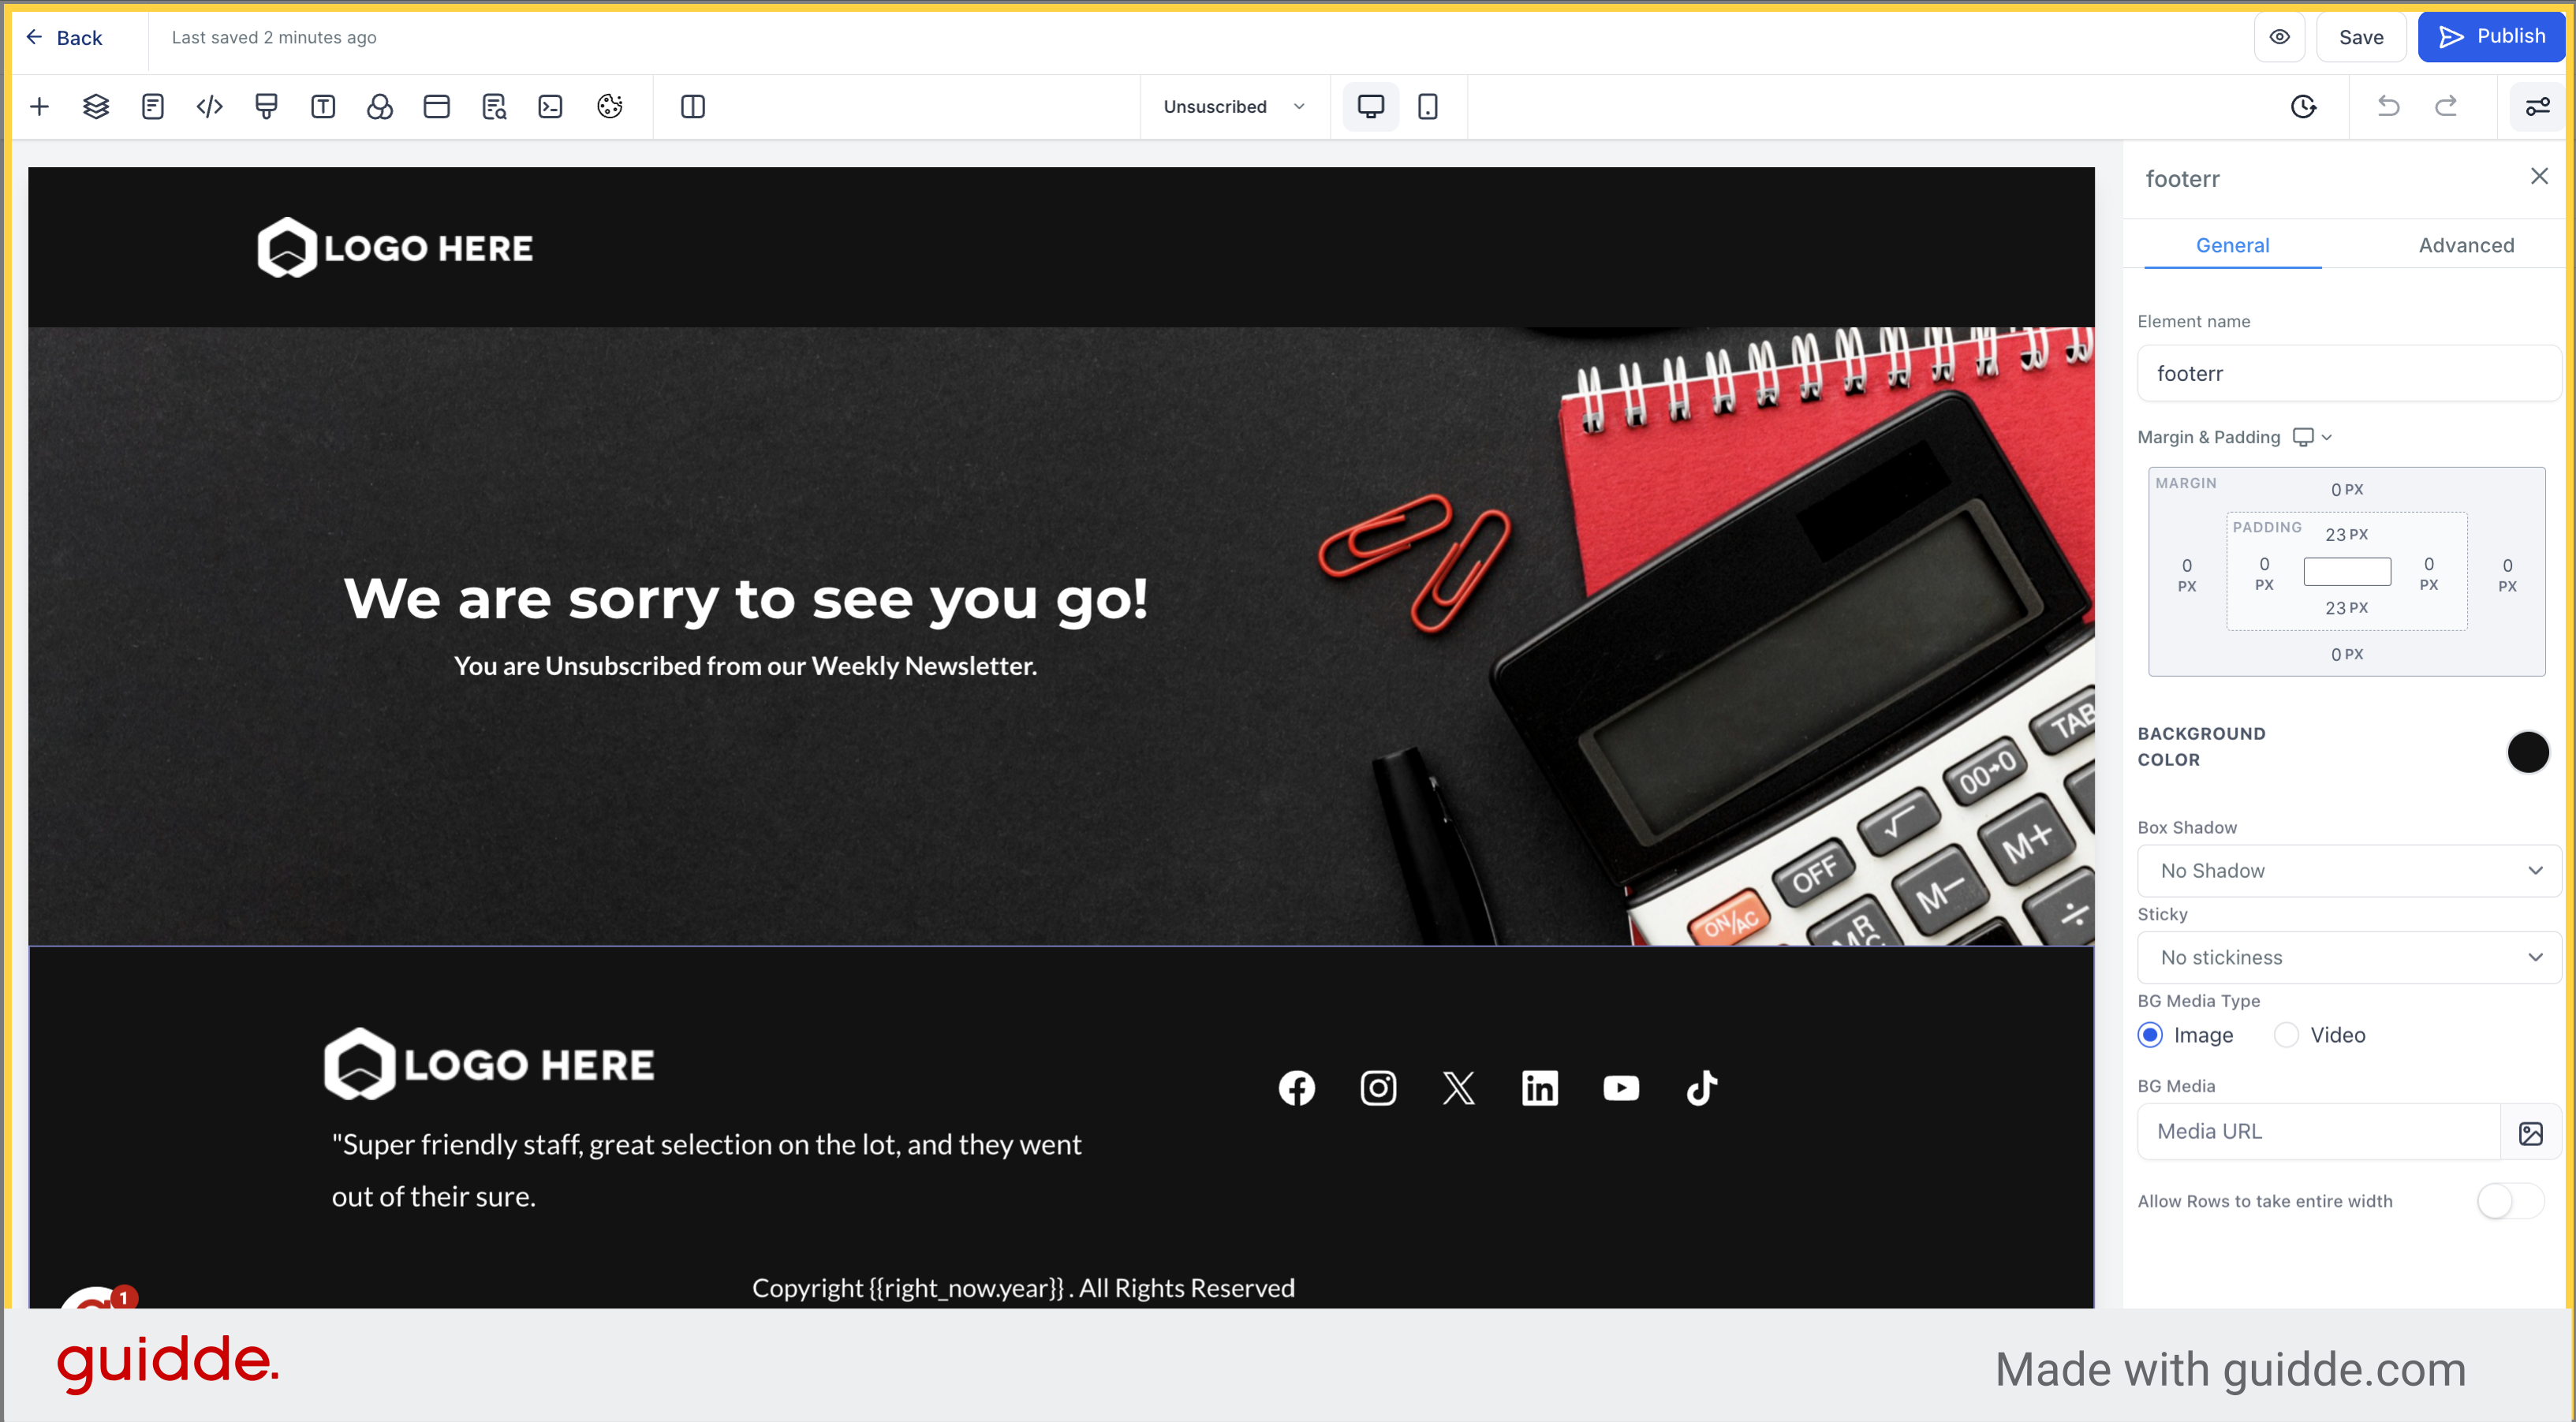
Create a landing page with messaging you want people to see when they unsubscribe.
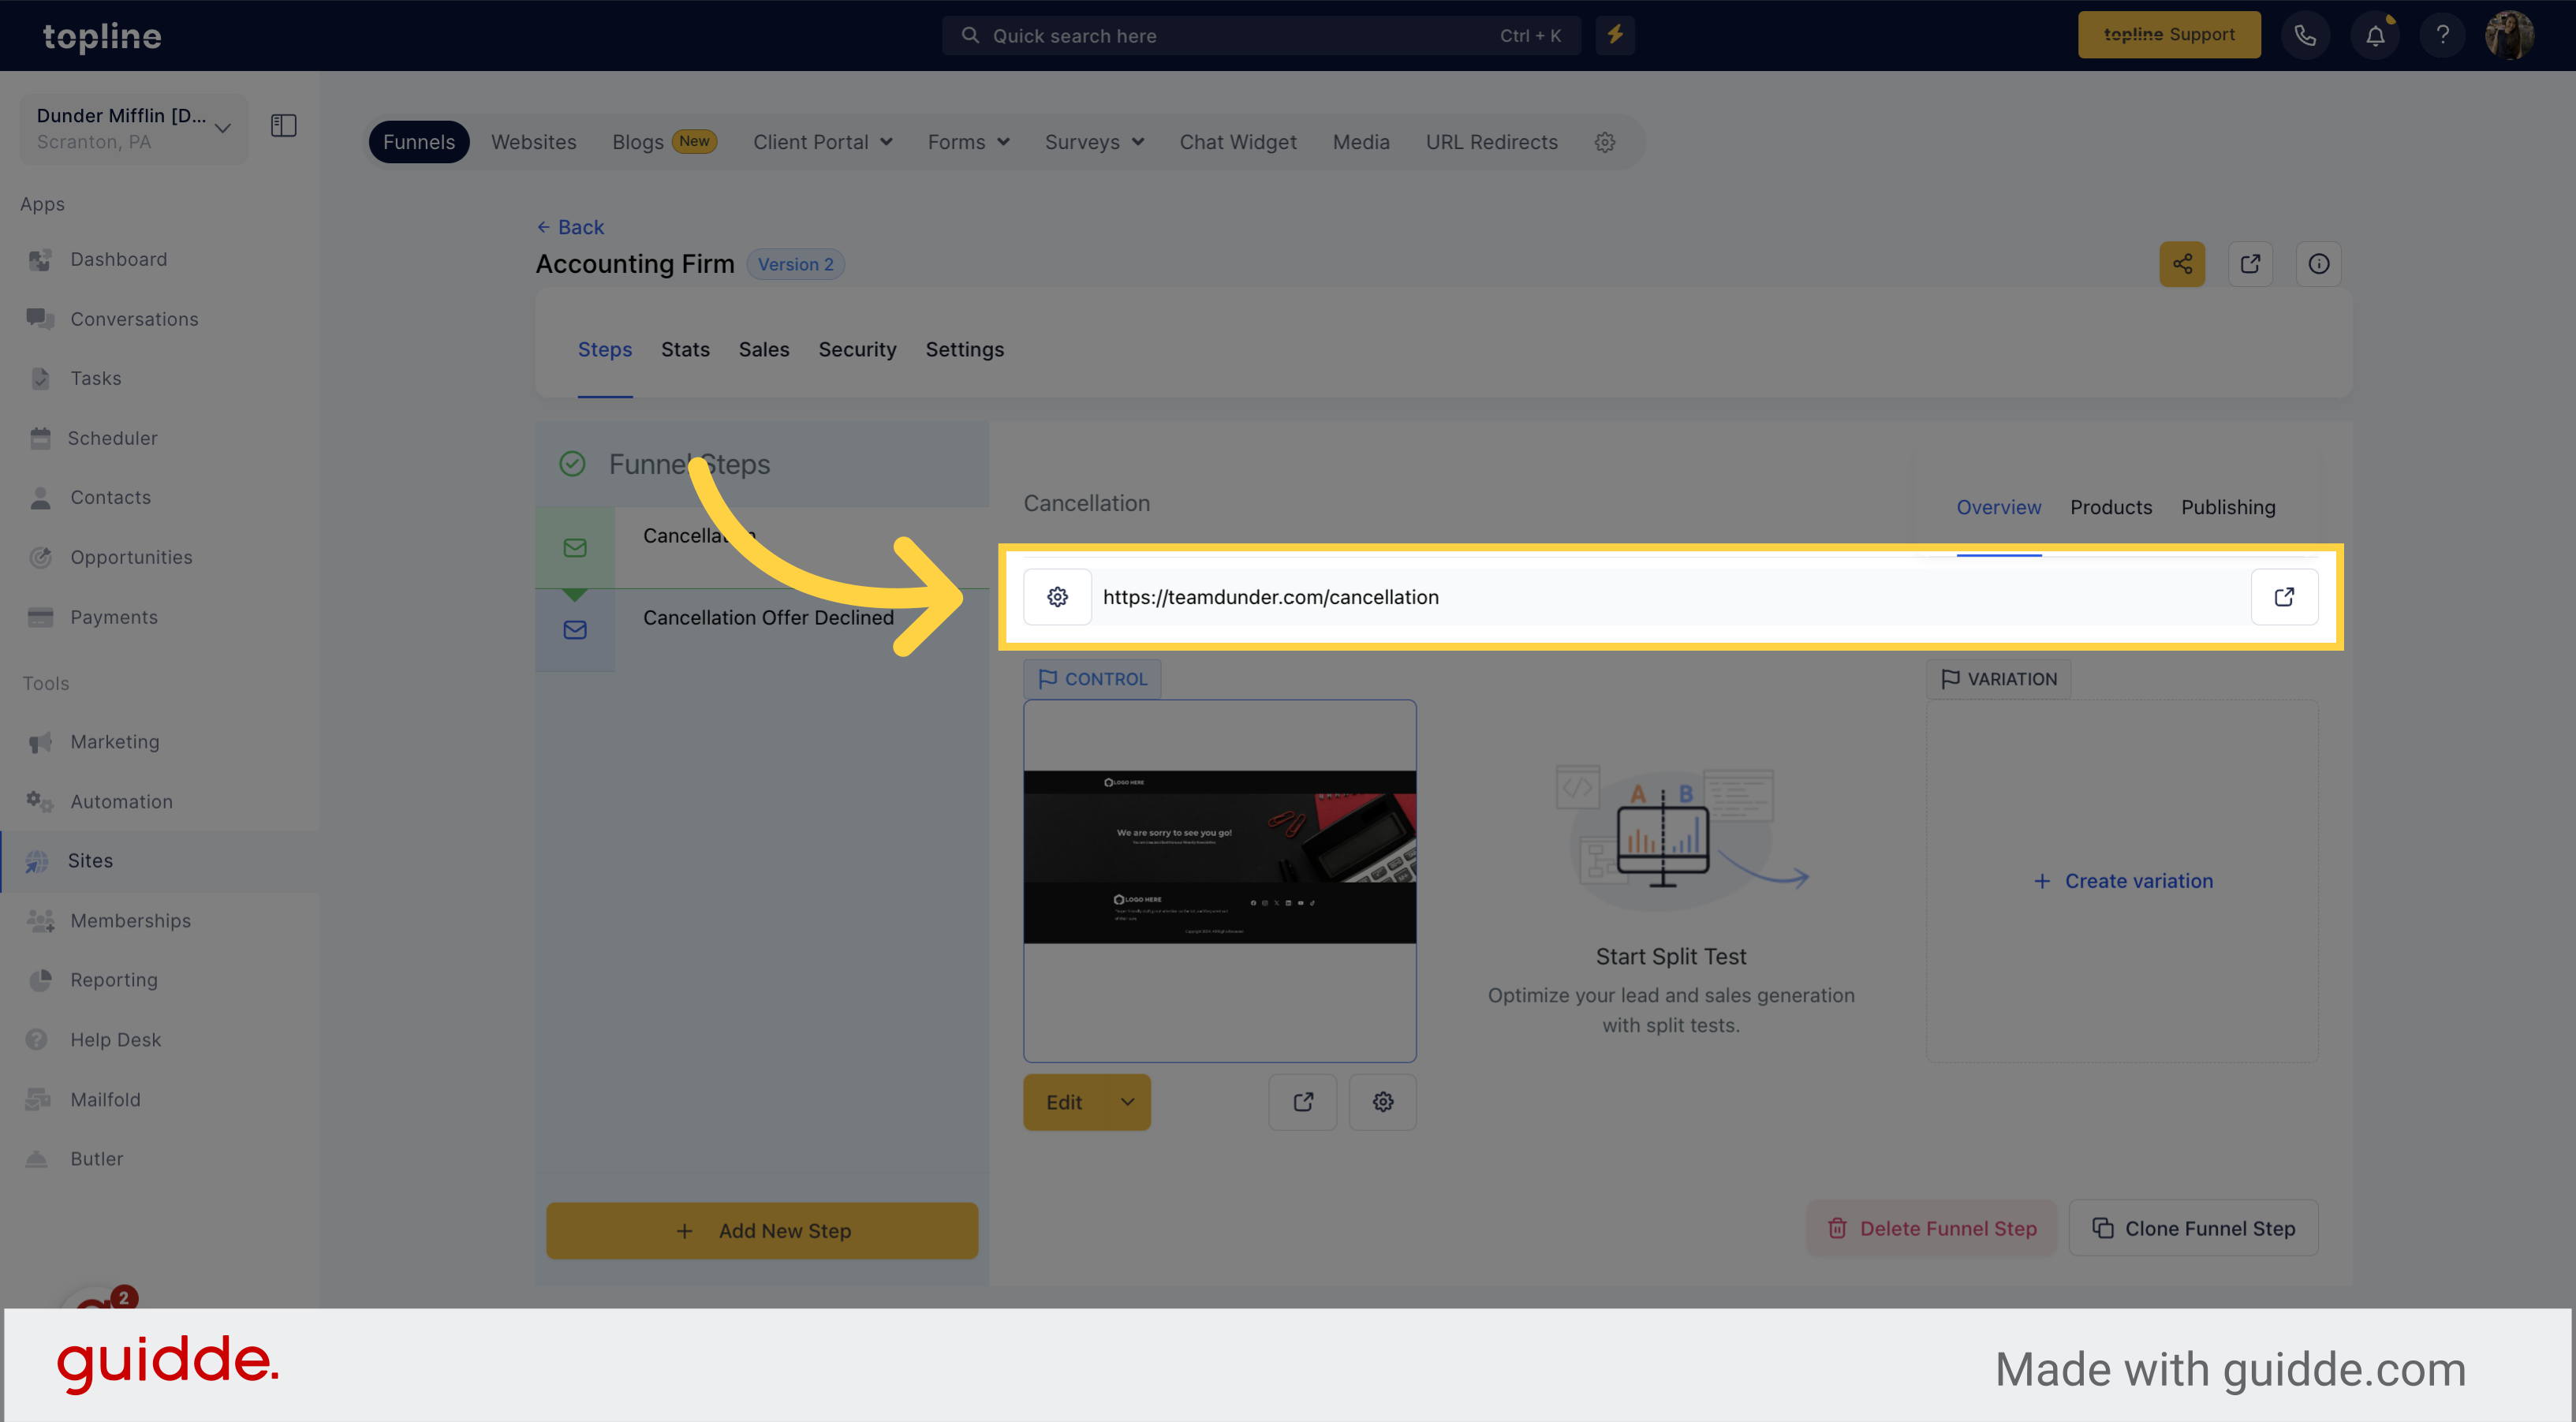
Use the URL to the landing page from Step 1 to make a Trigger Link.
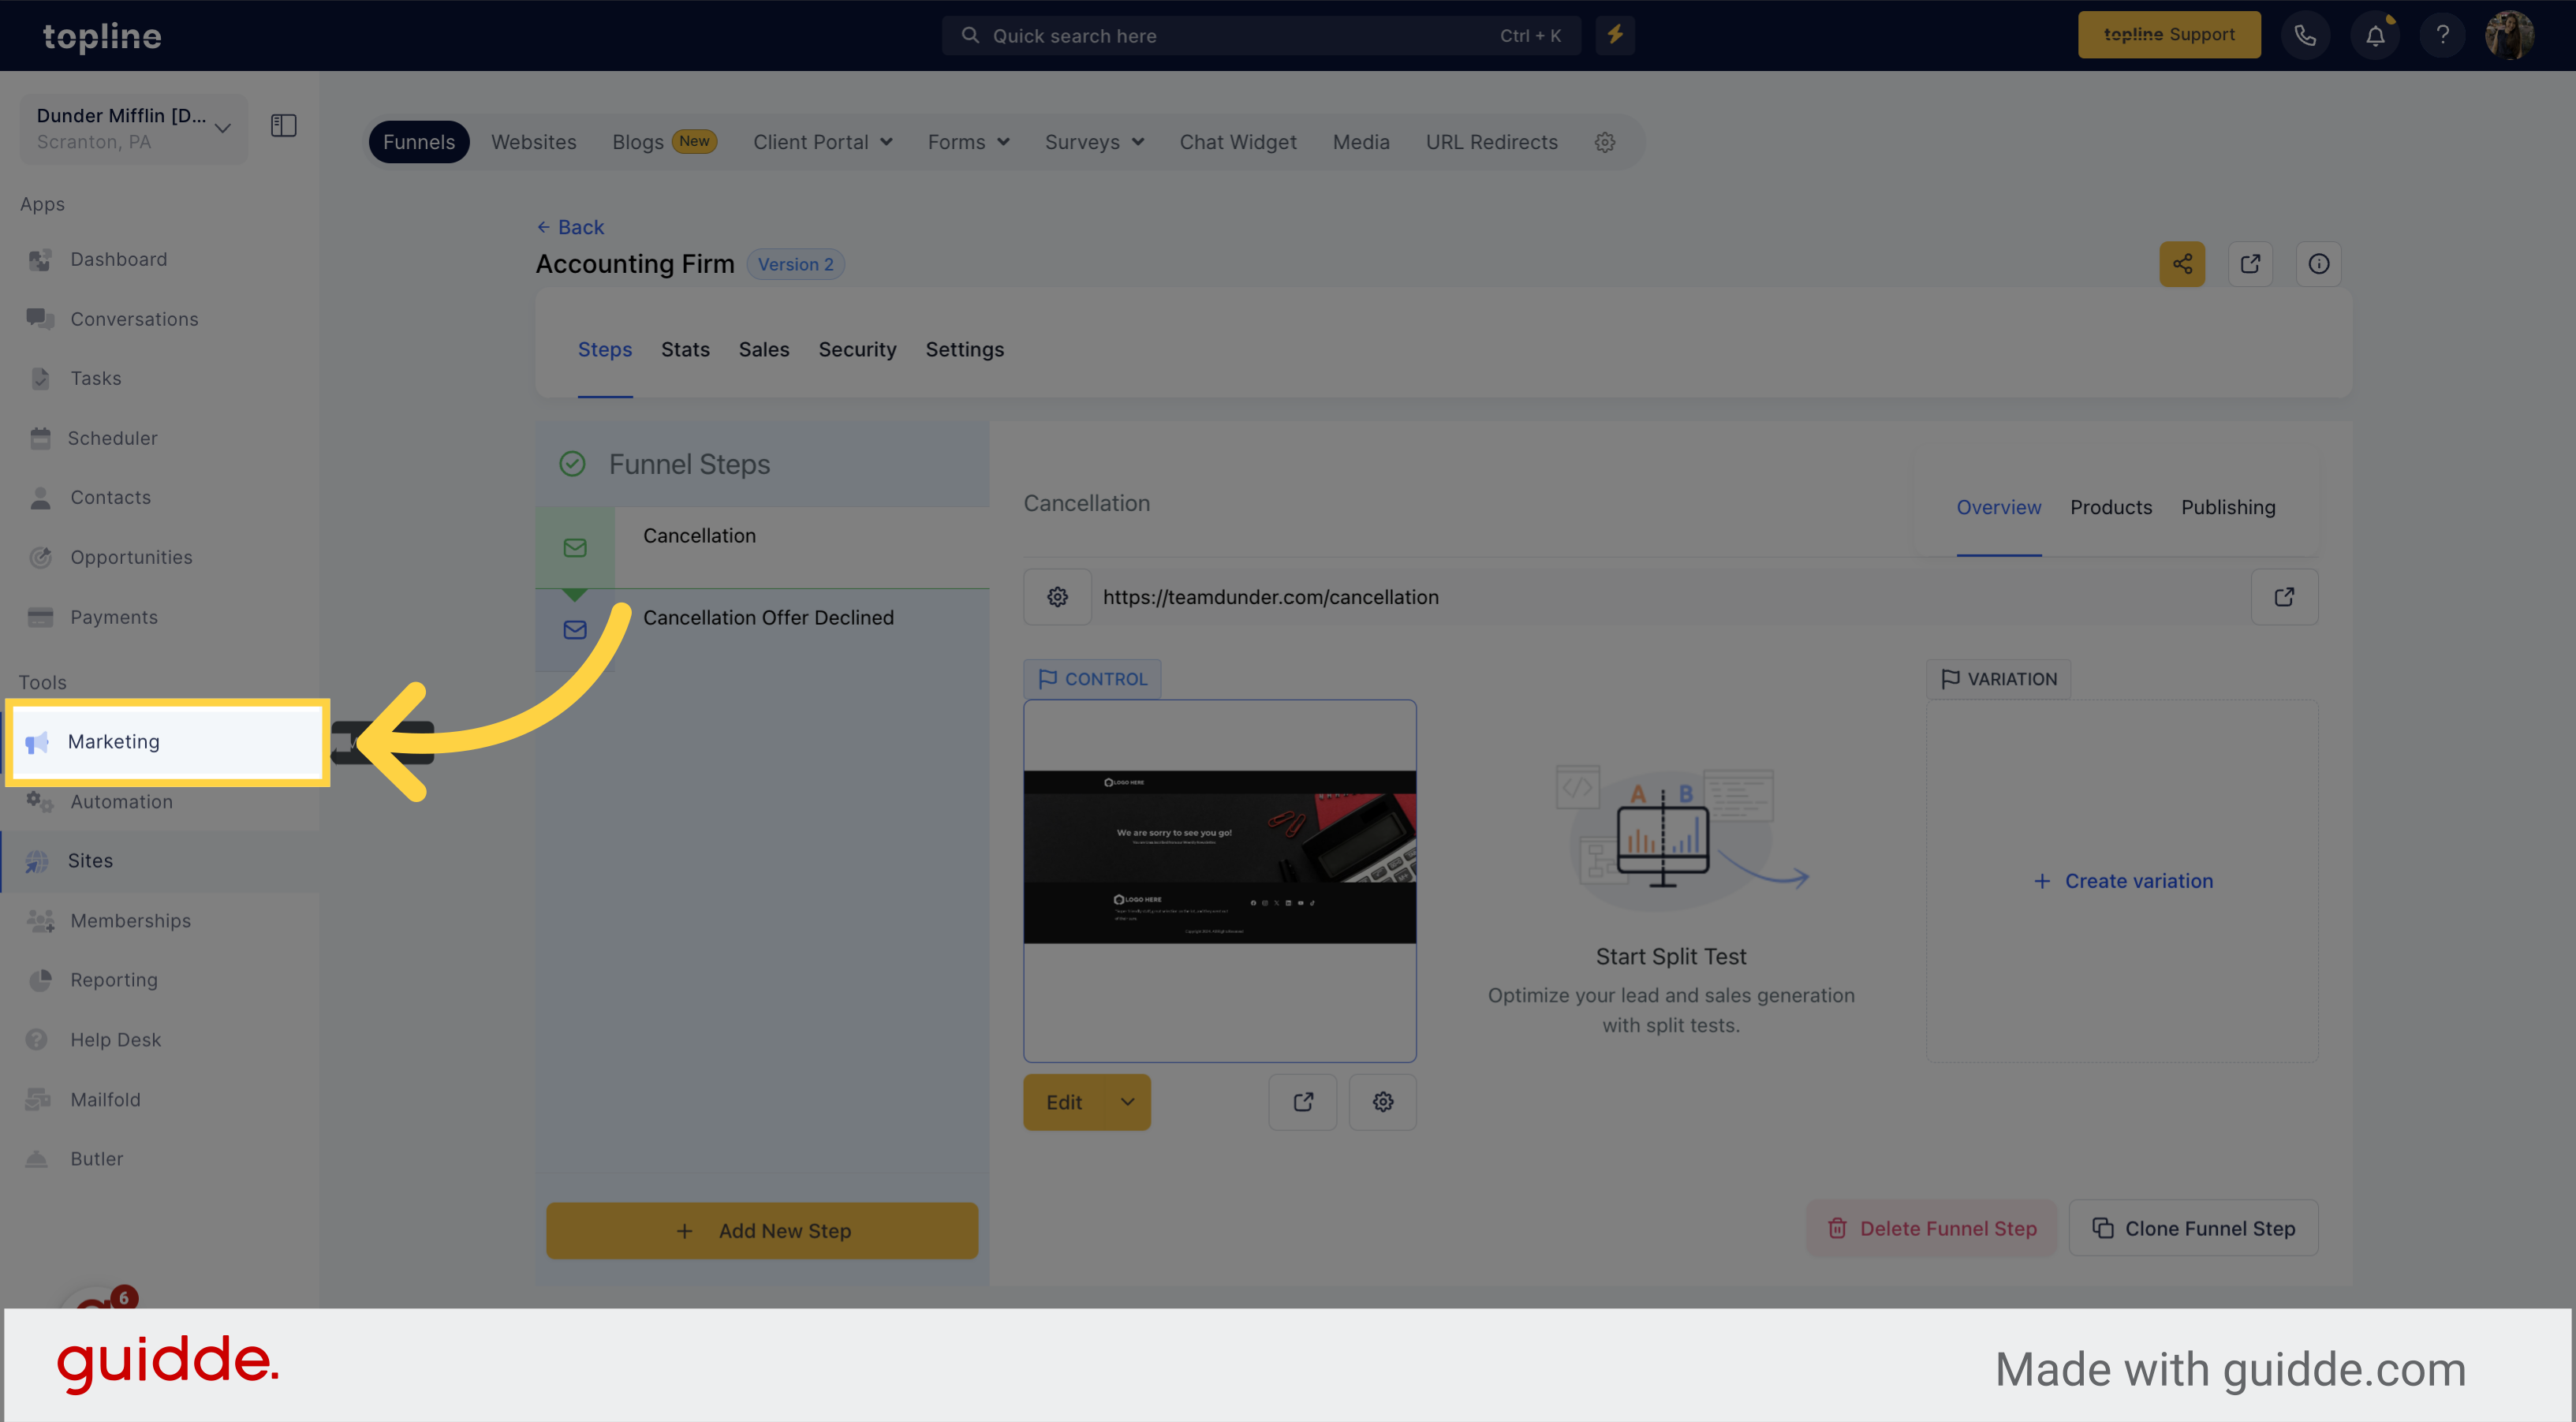
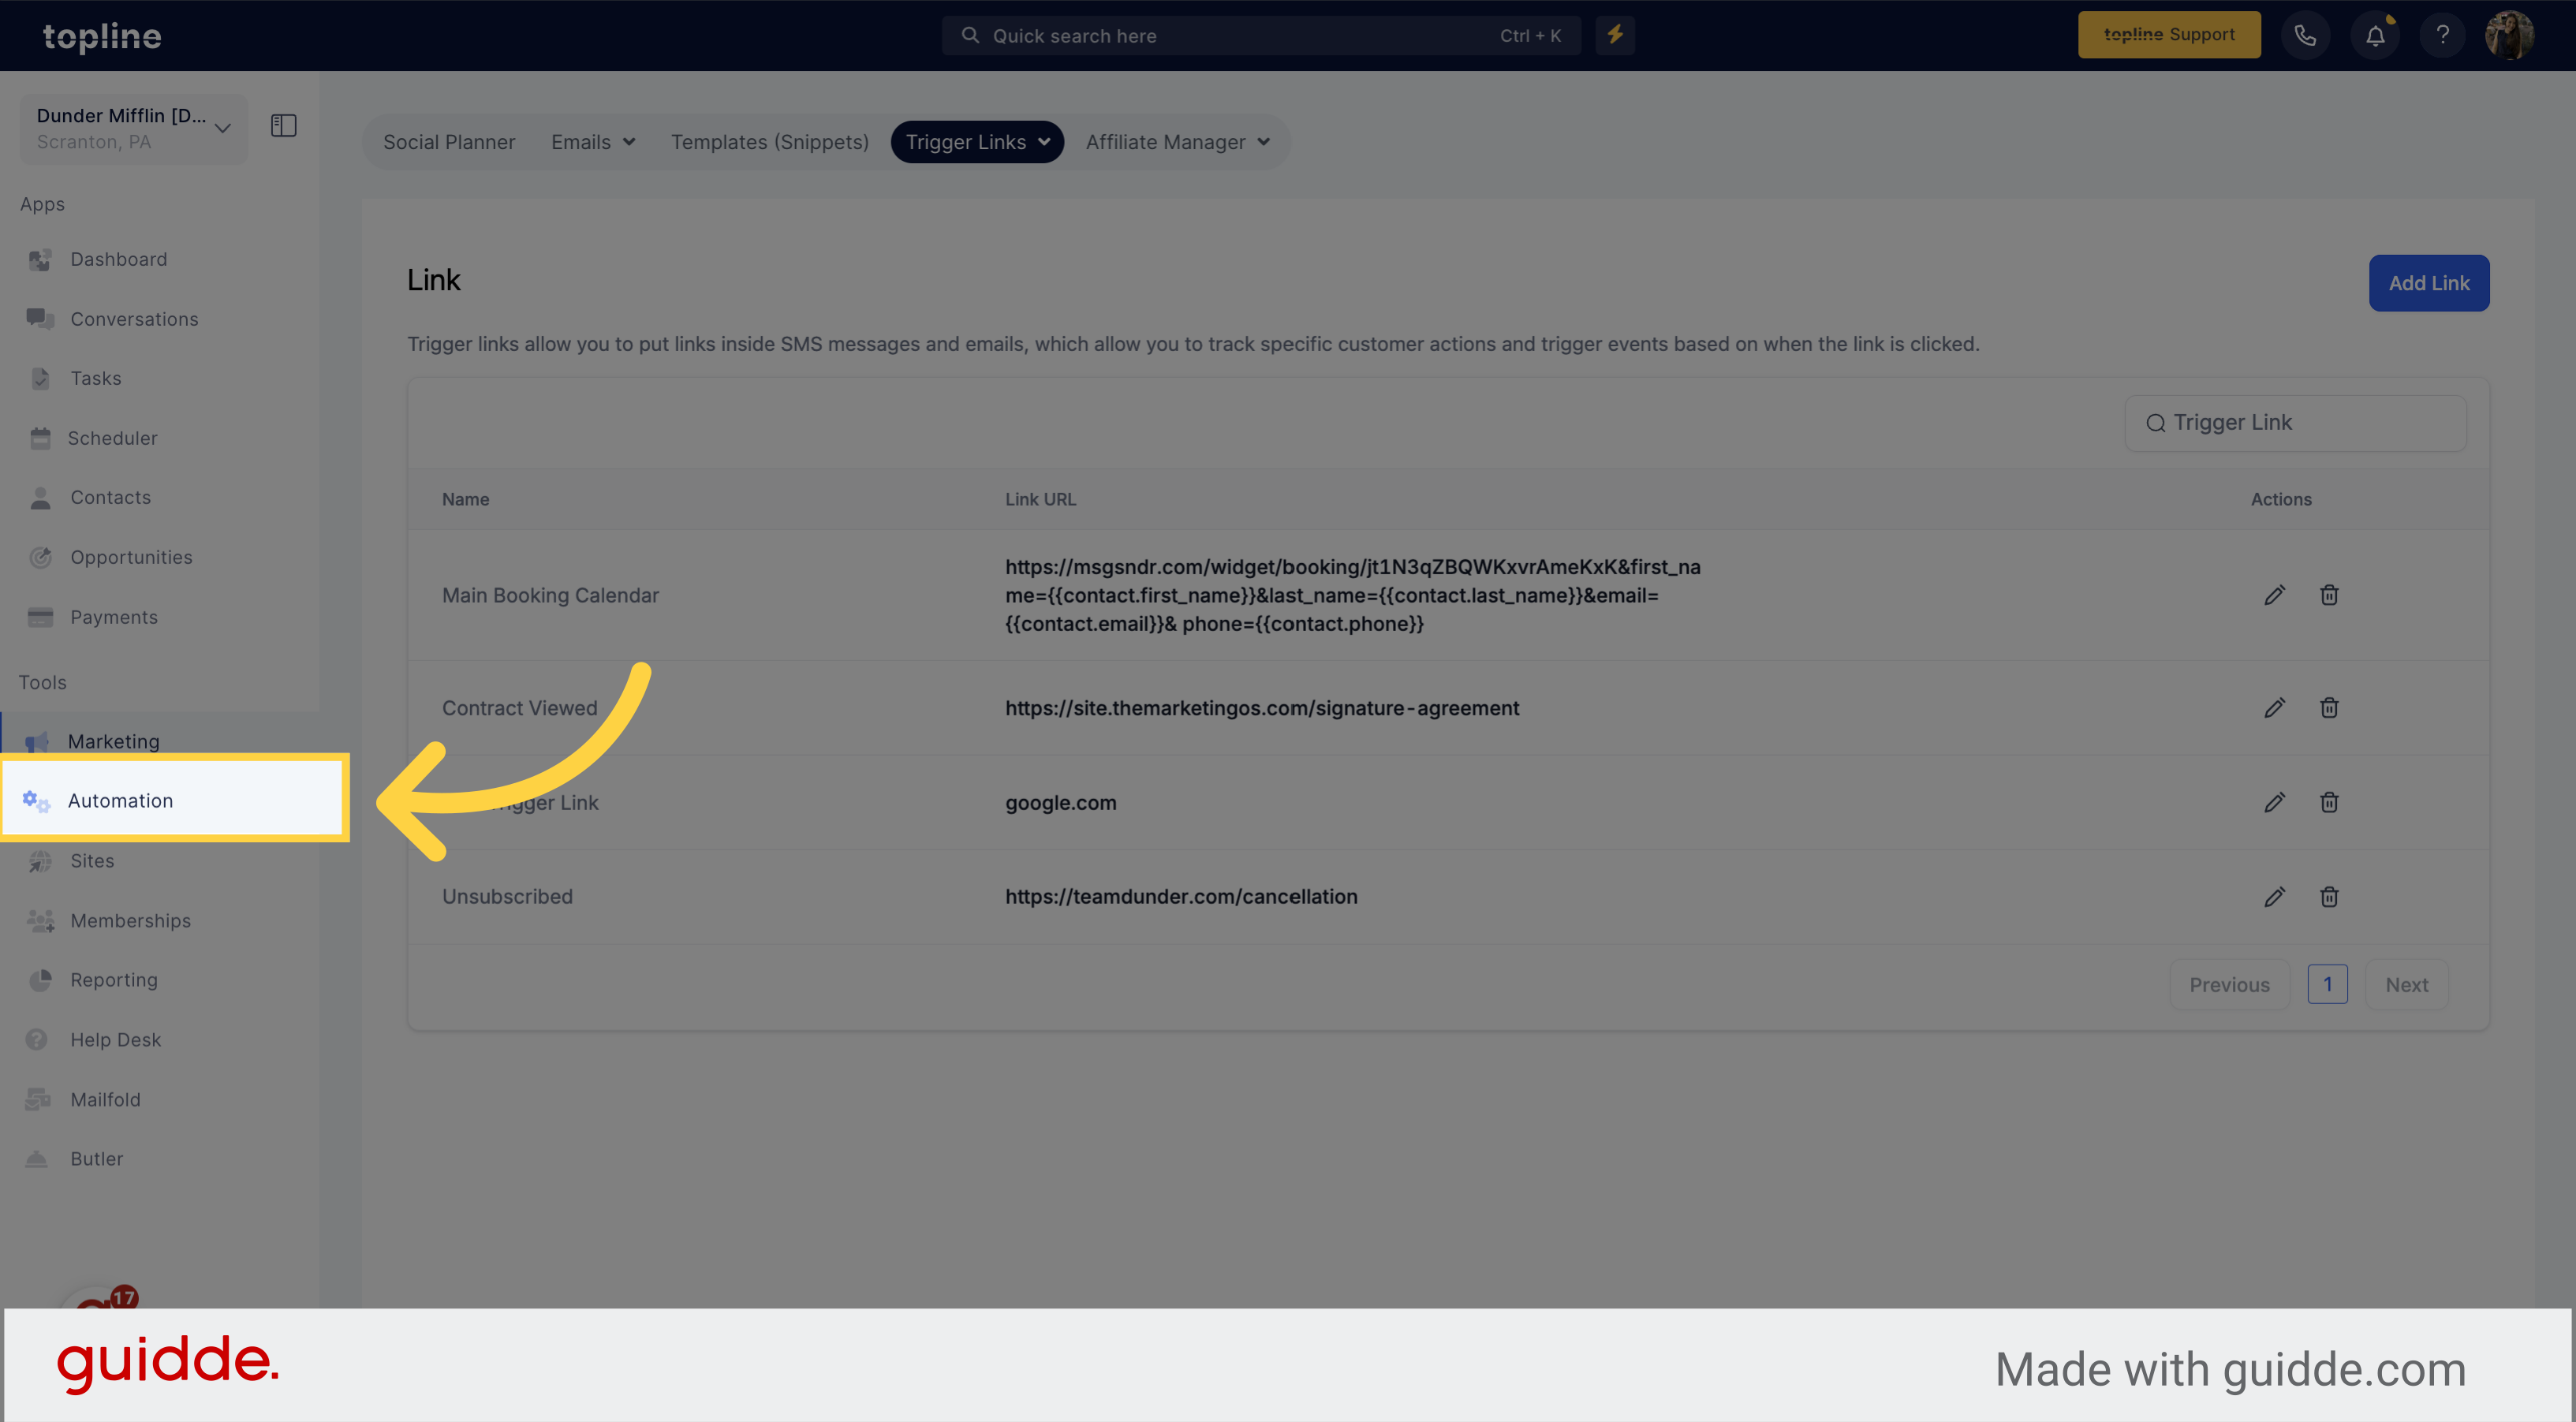
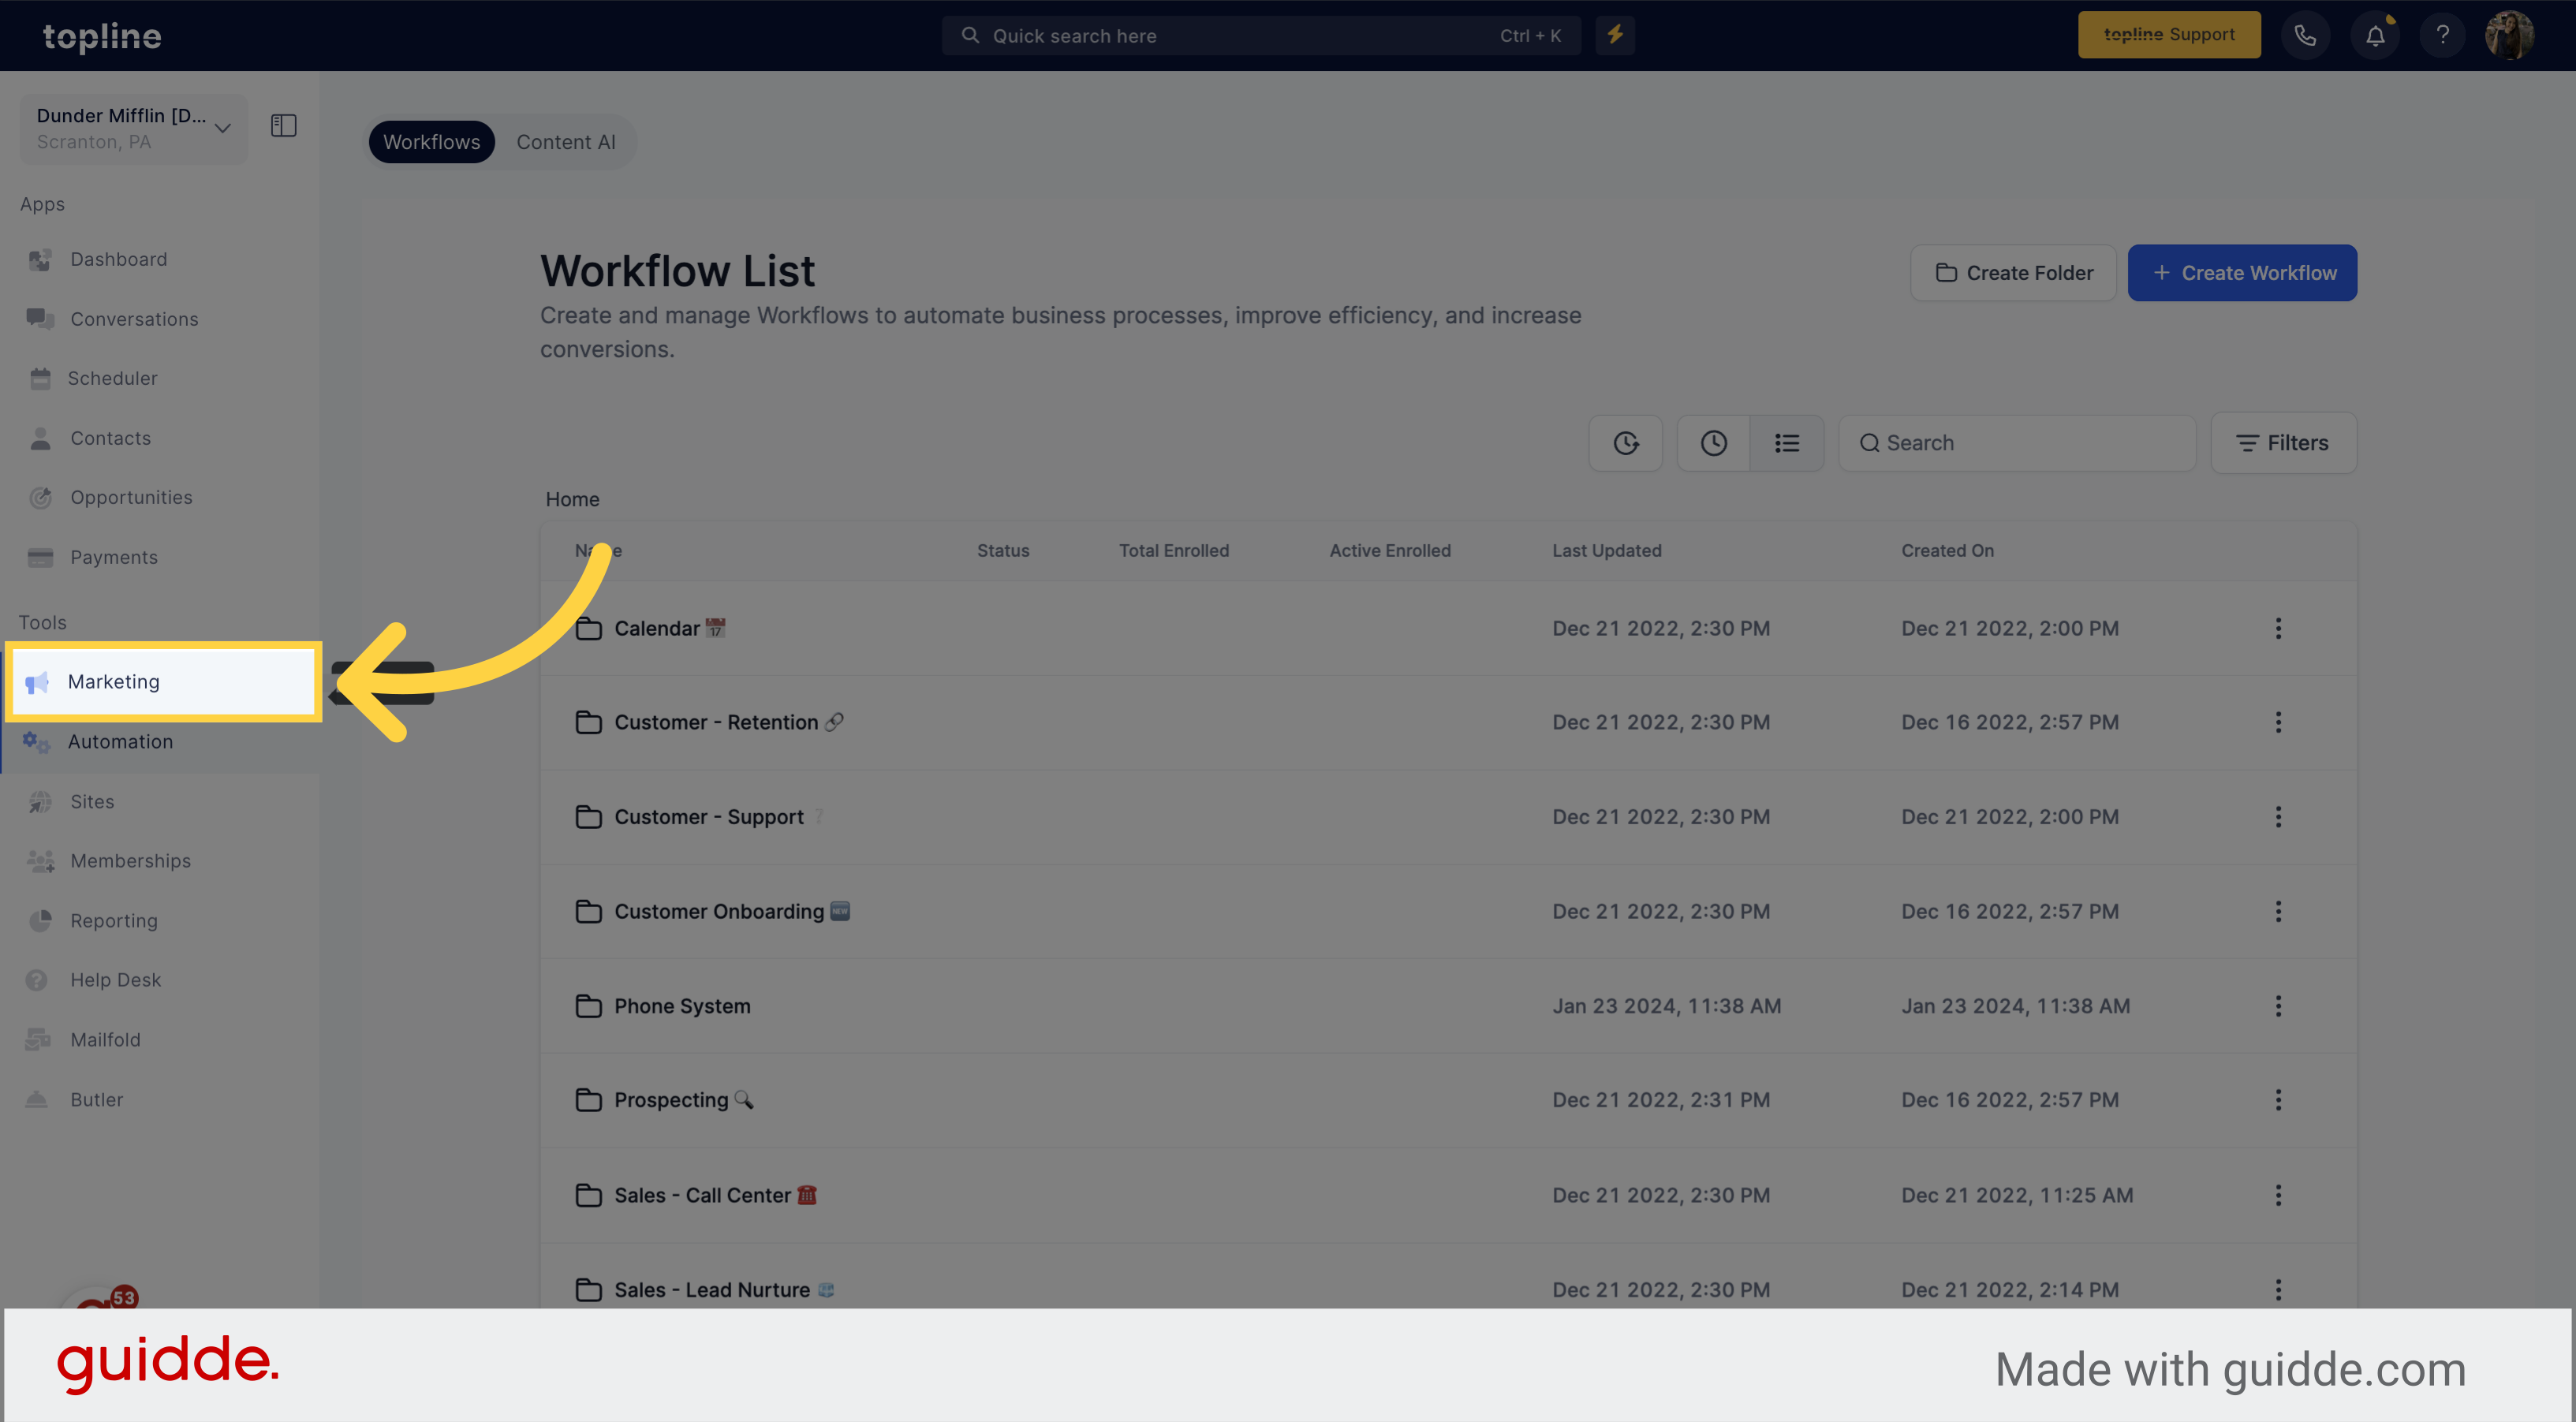
Go to the Marketing section on the left side menu.
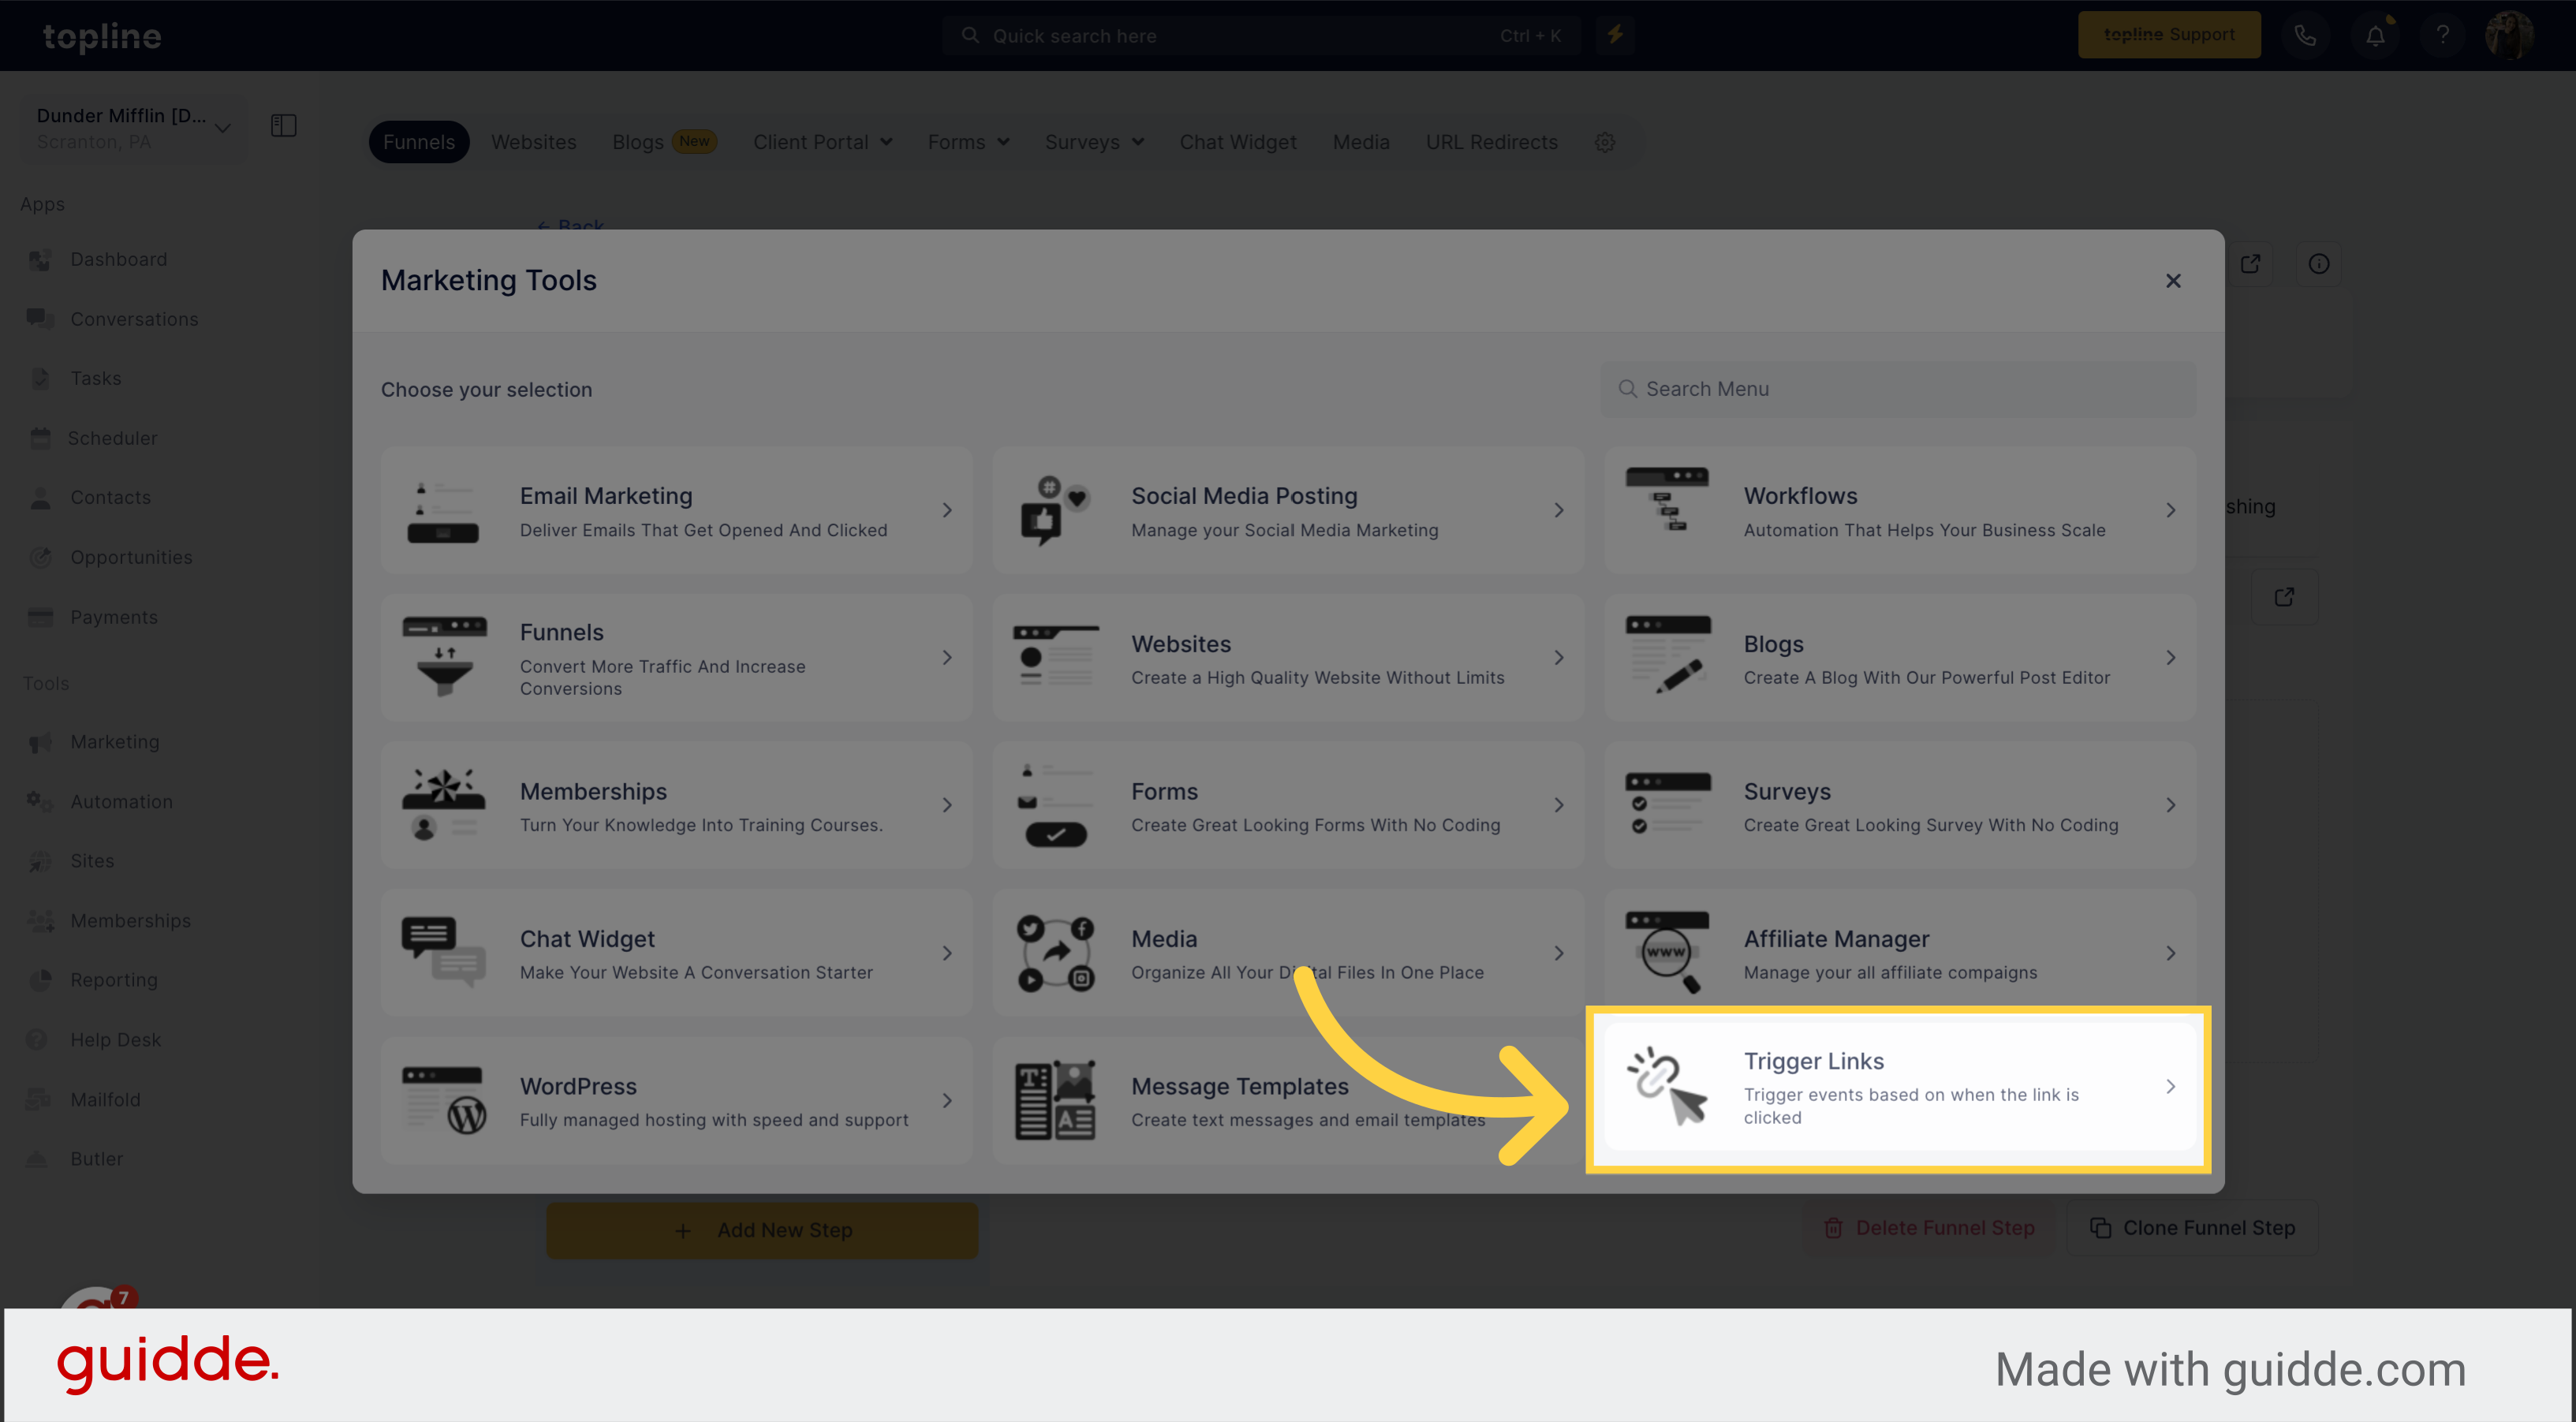
Select the option Trigger Links from the Marketing Tools menu.
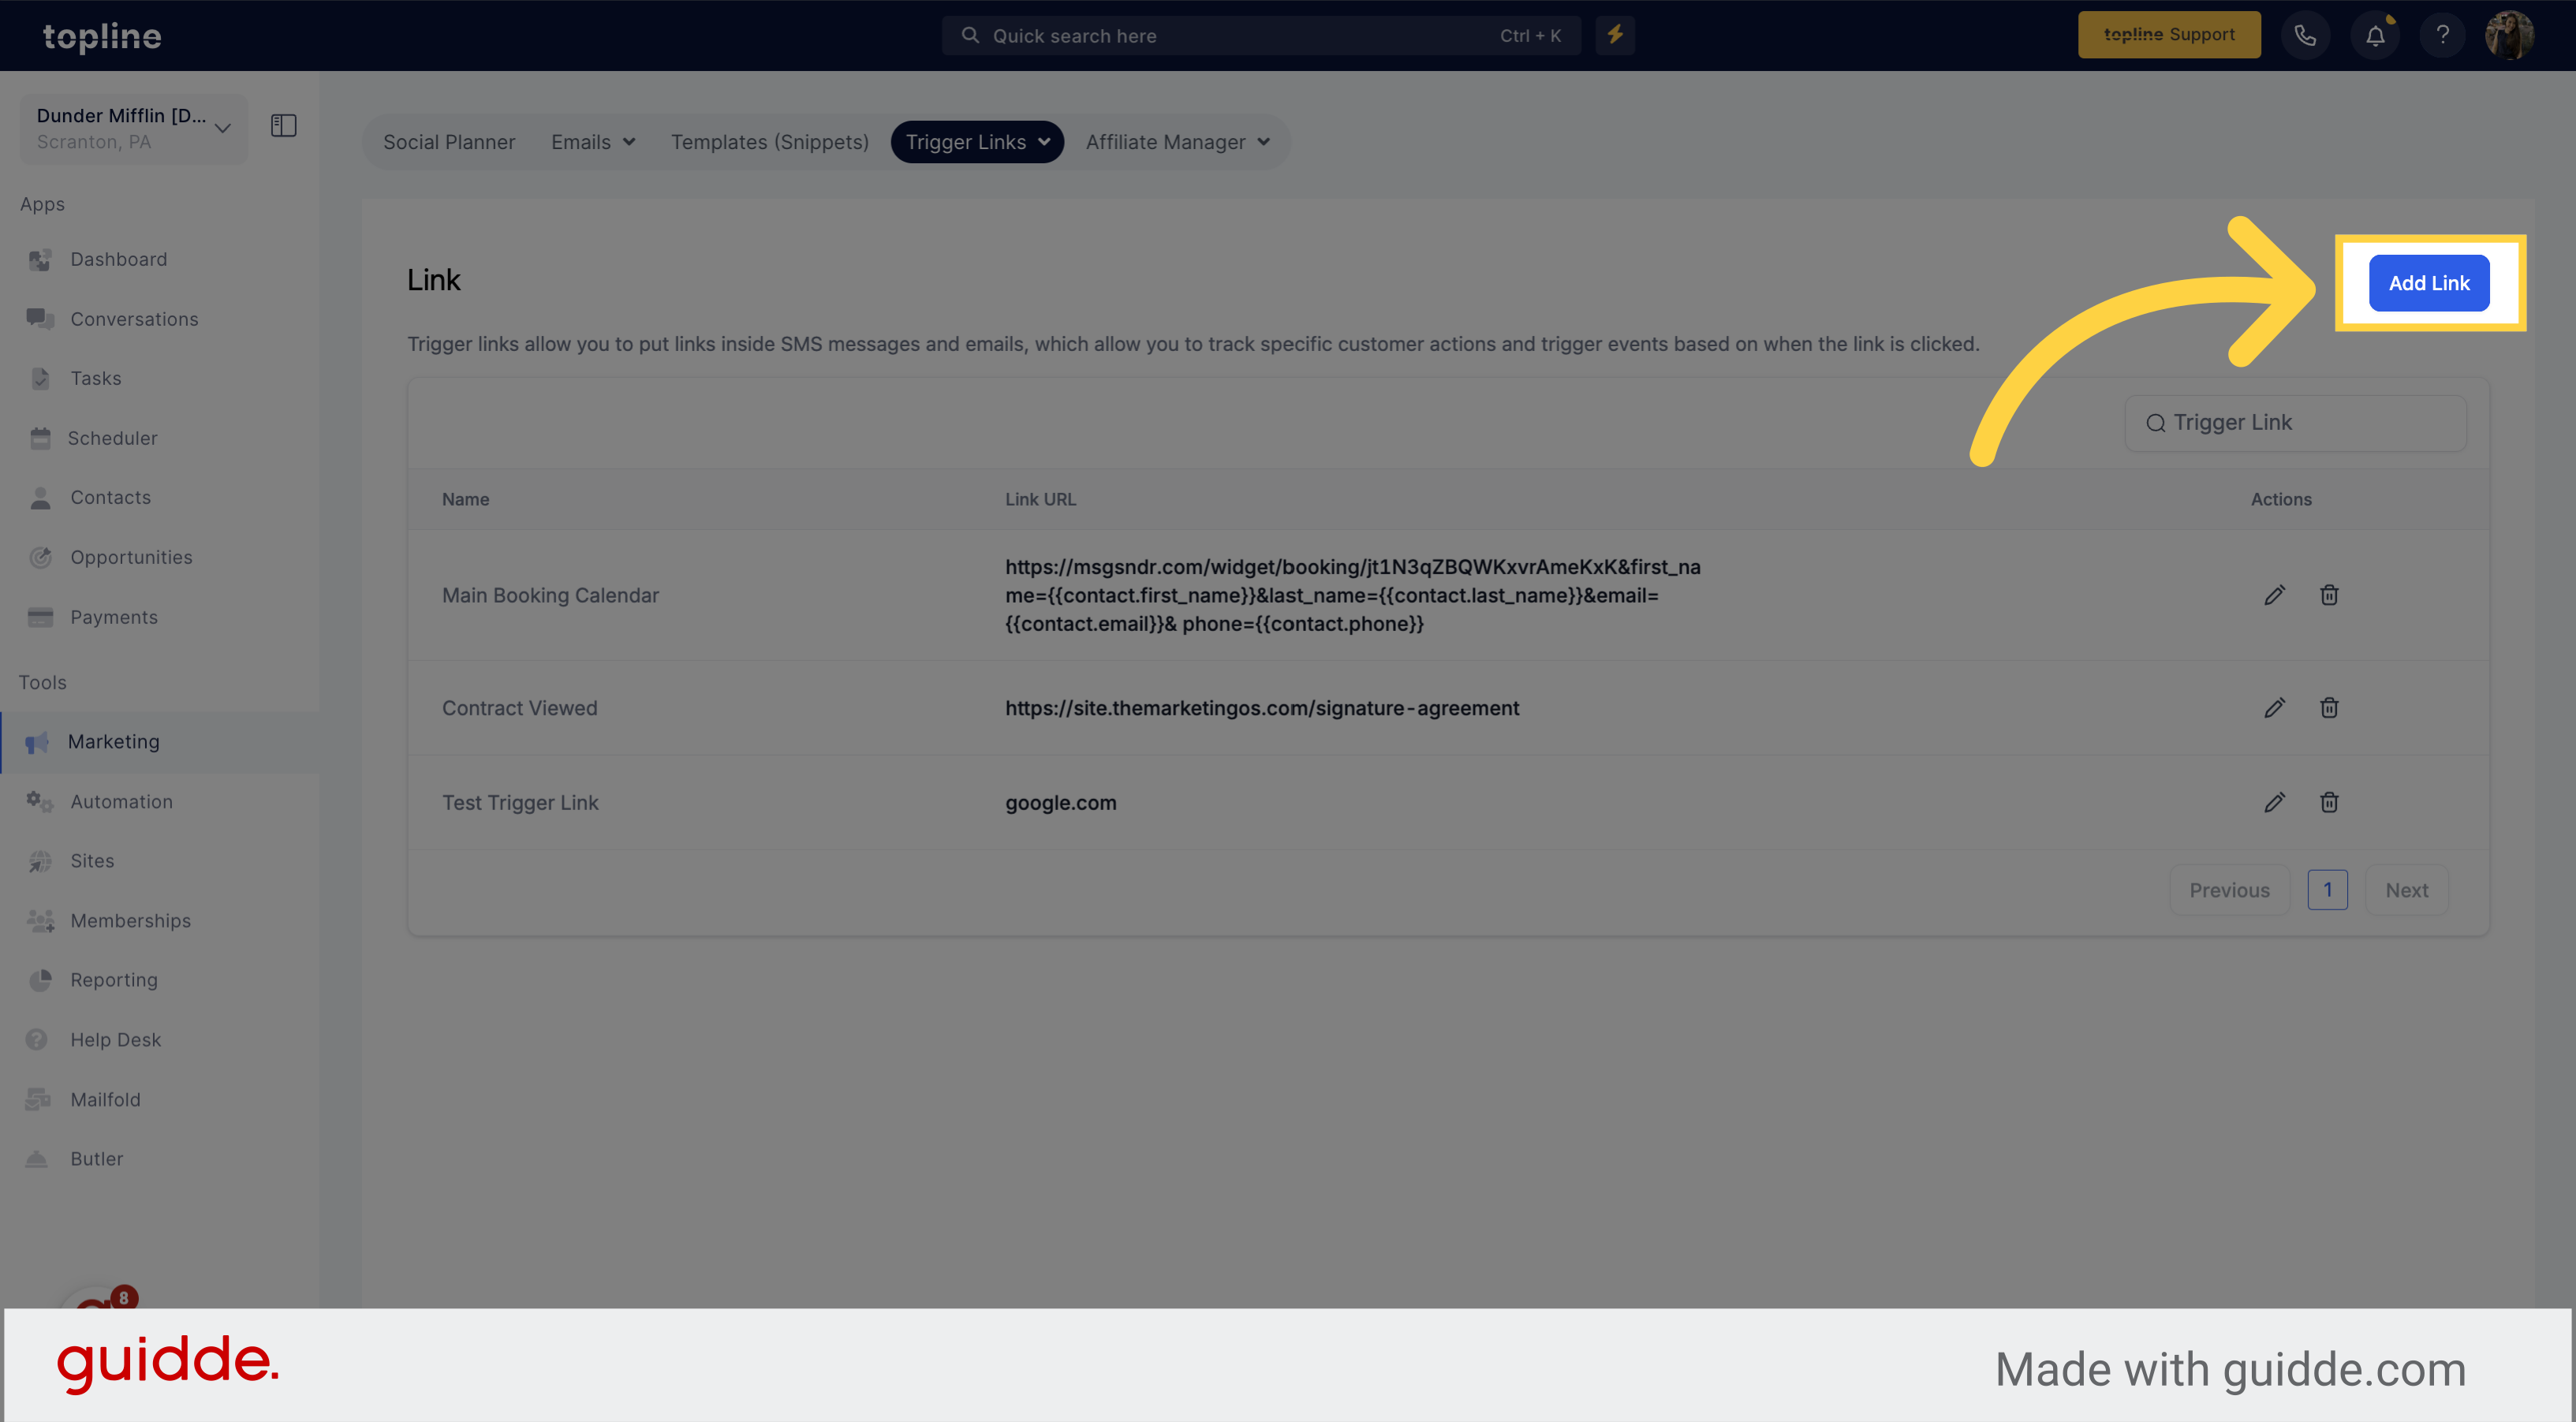
Click on the "Add Link" button located on the upper right corner.
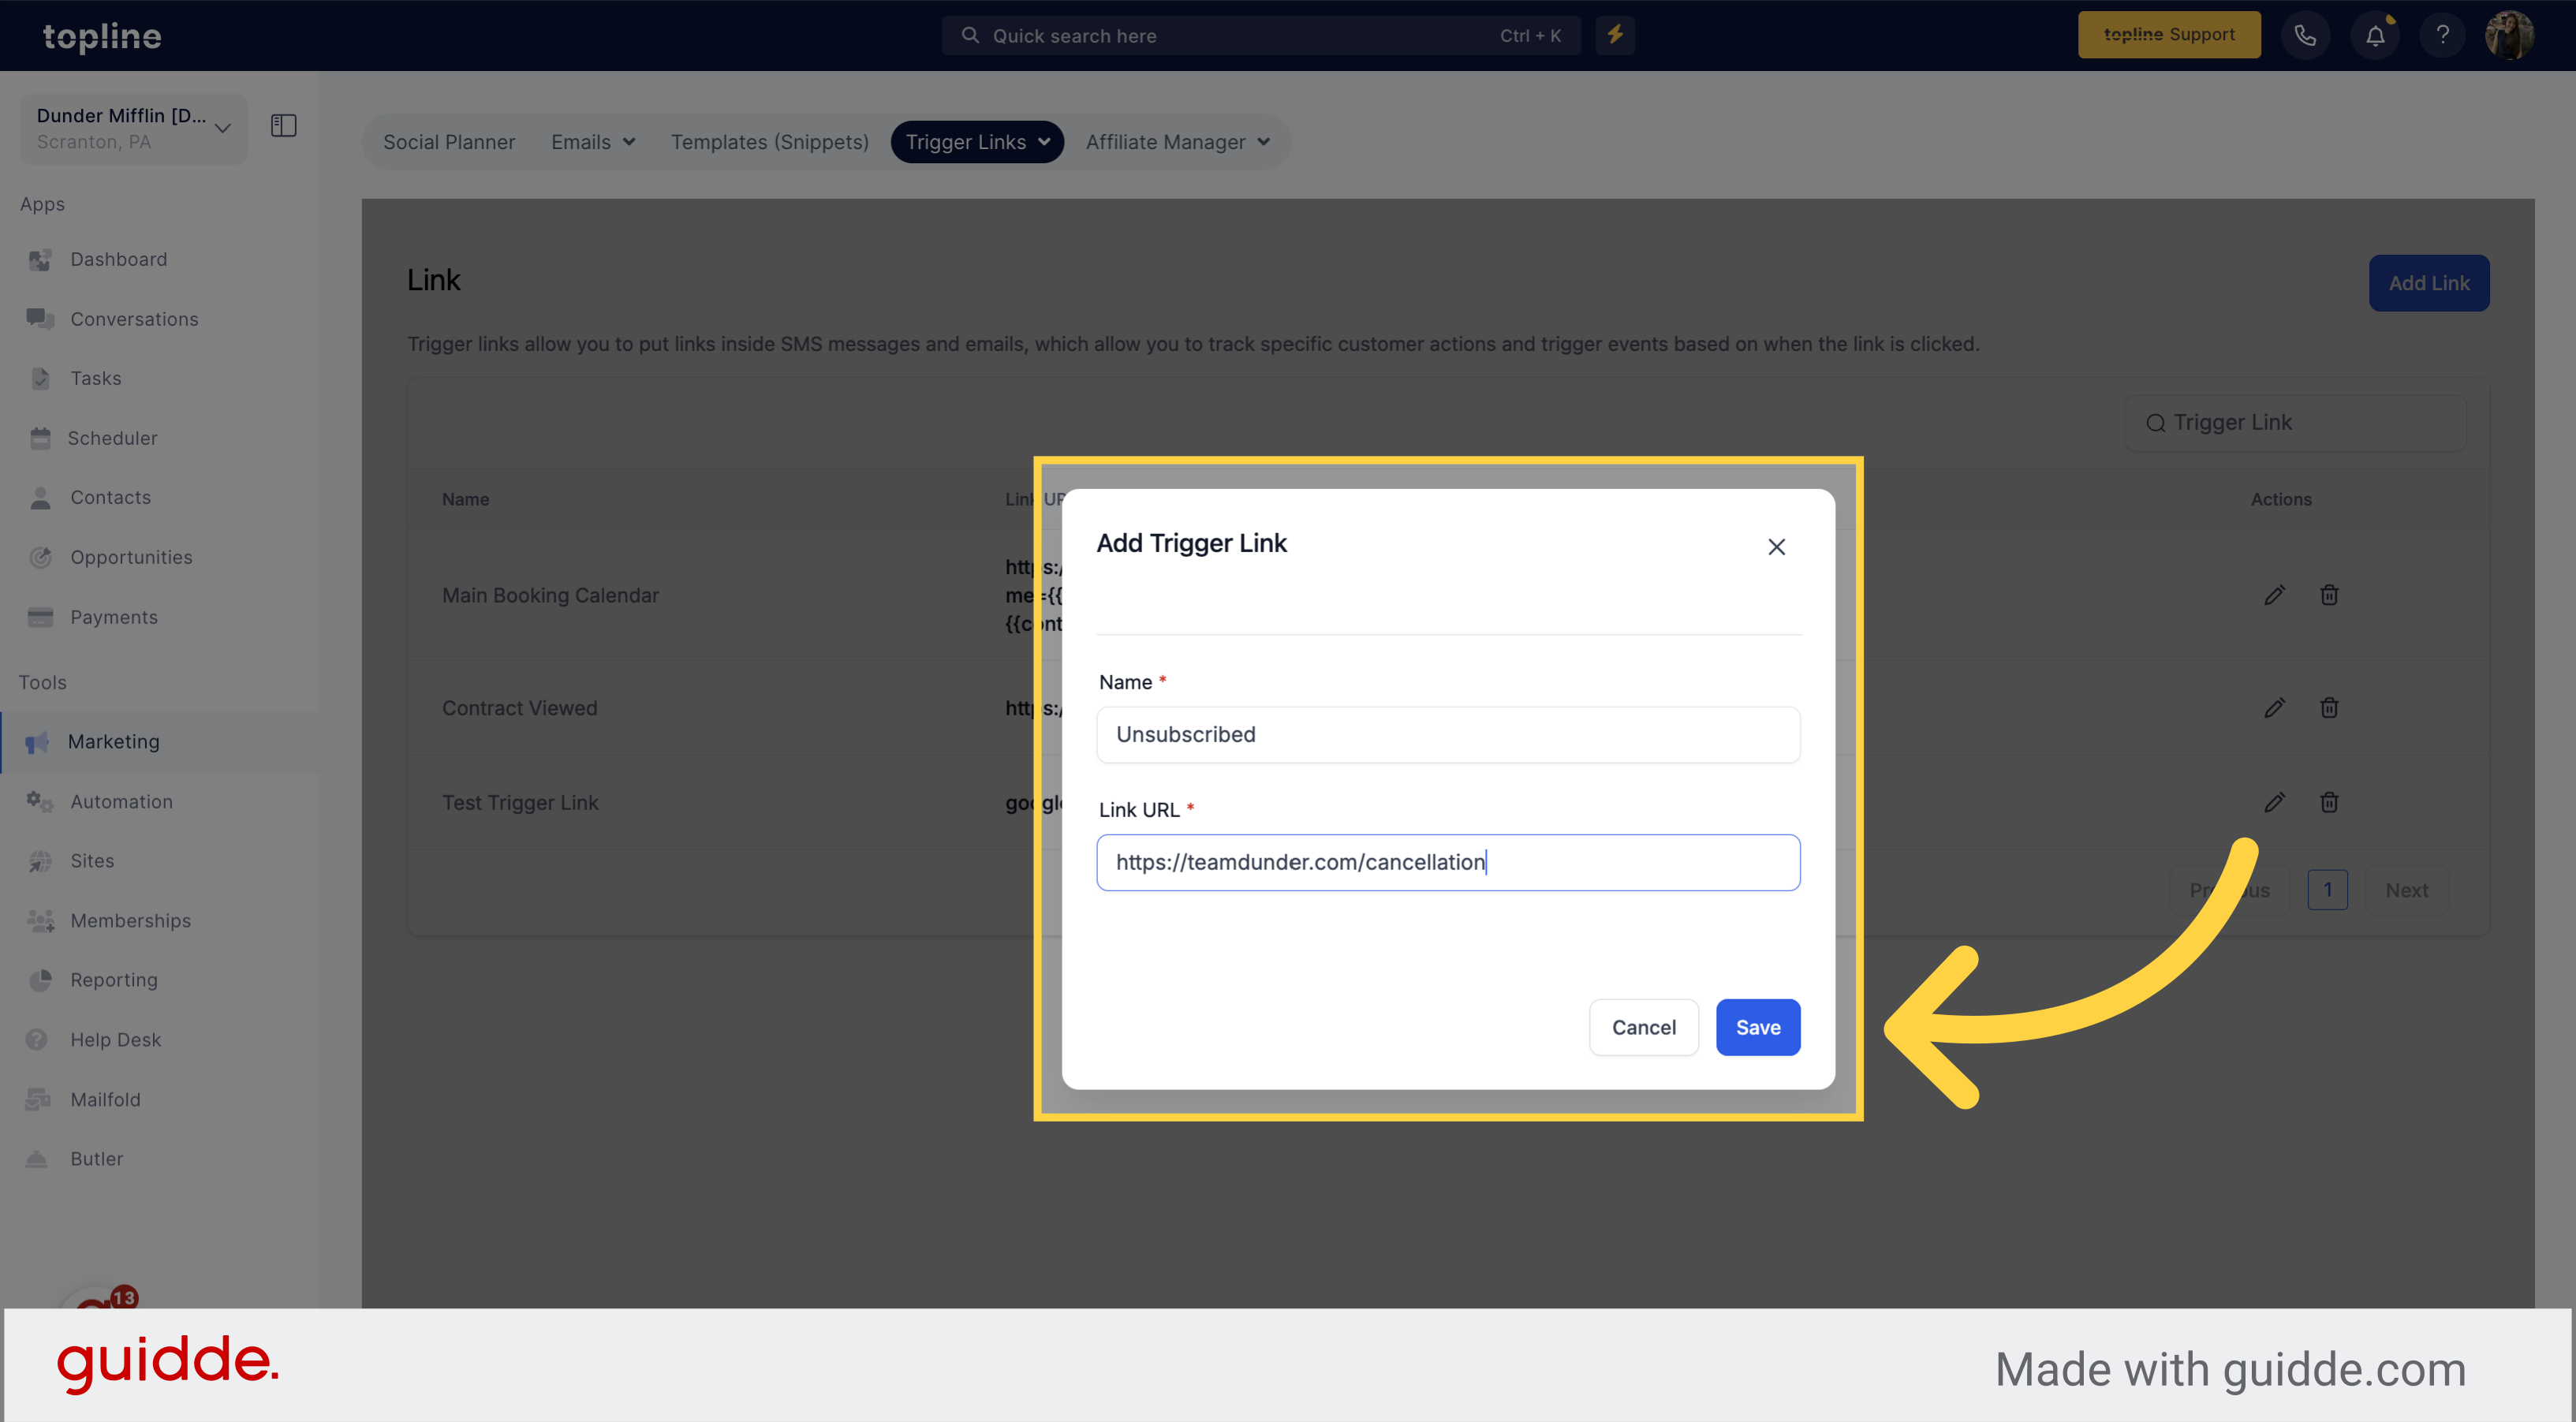
Add a name for the trigger link and the URL in the empty fields. Then click on Save.
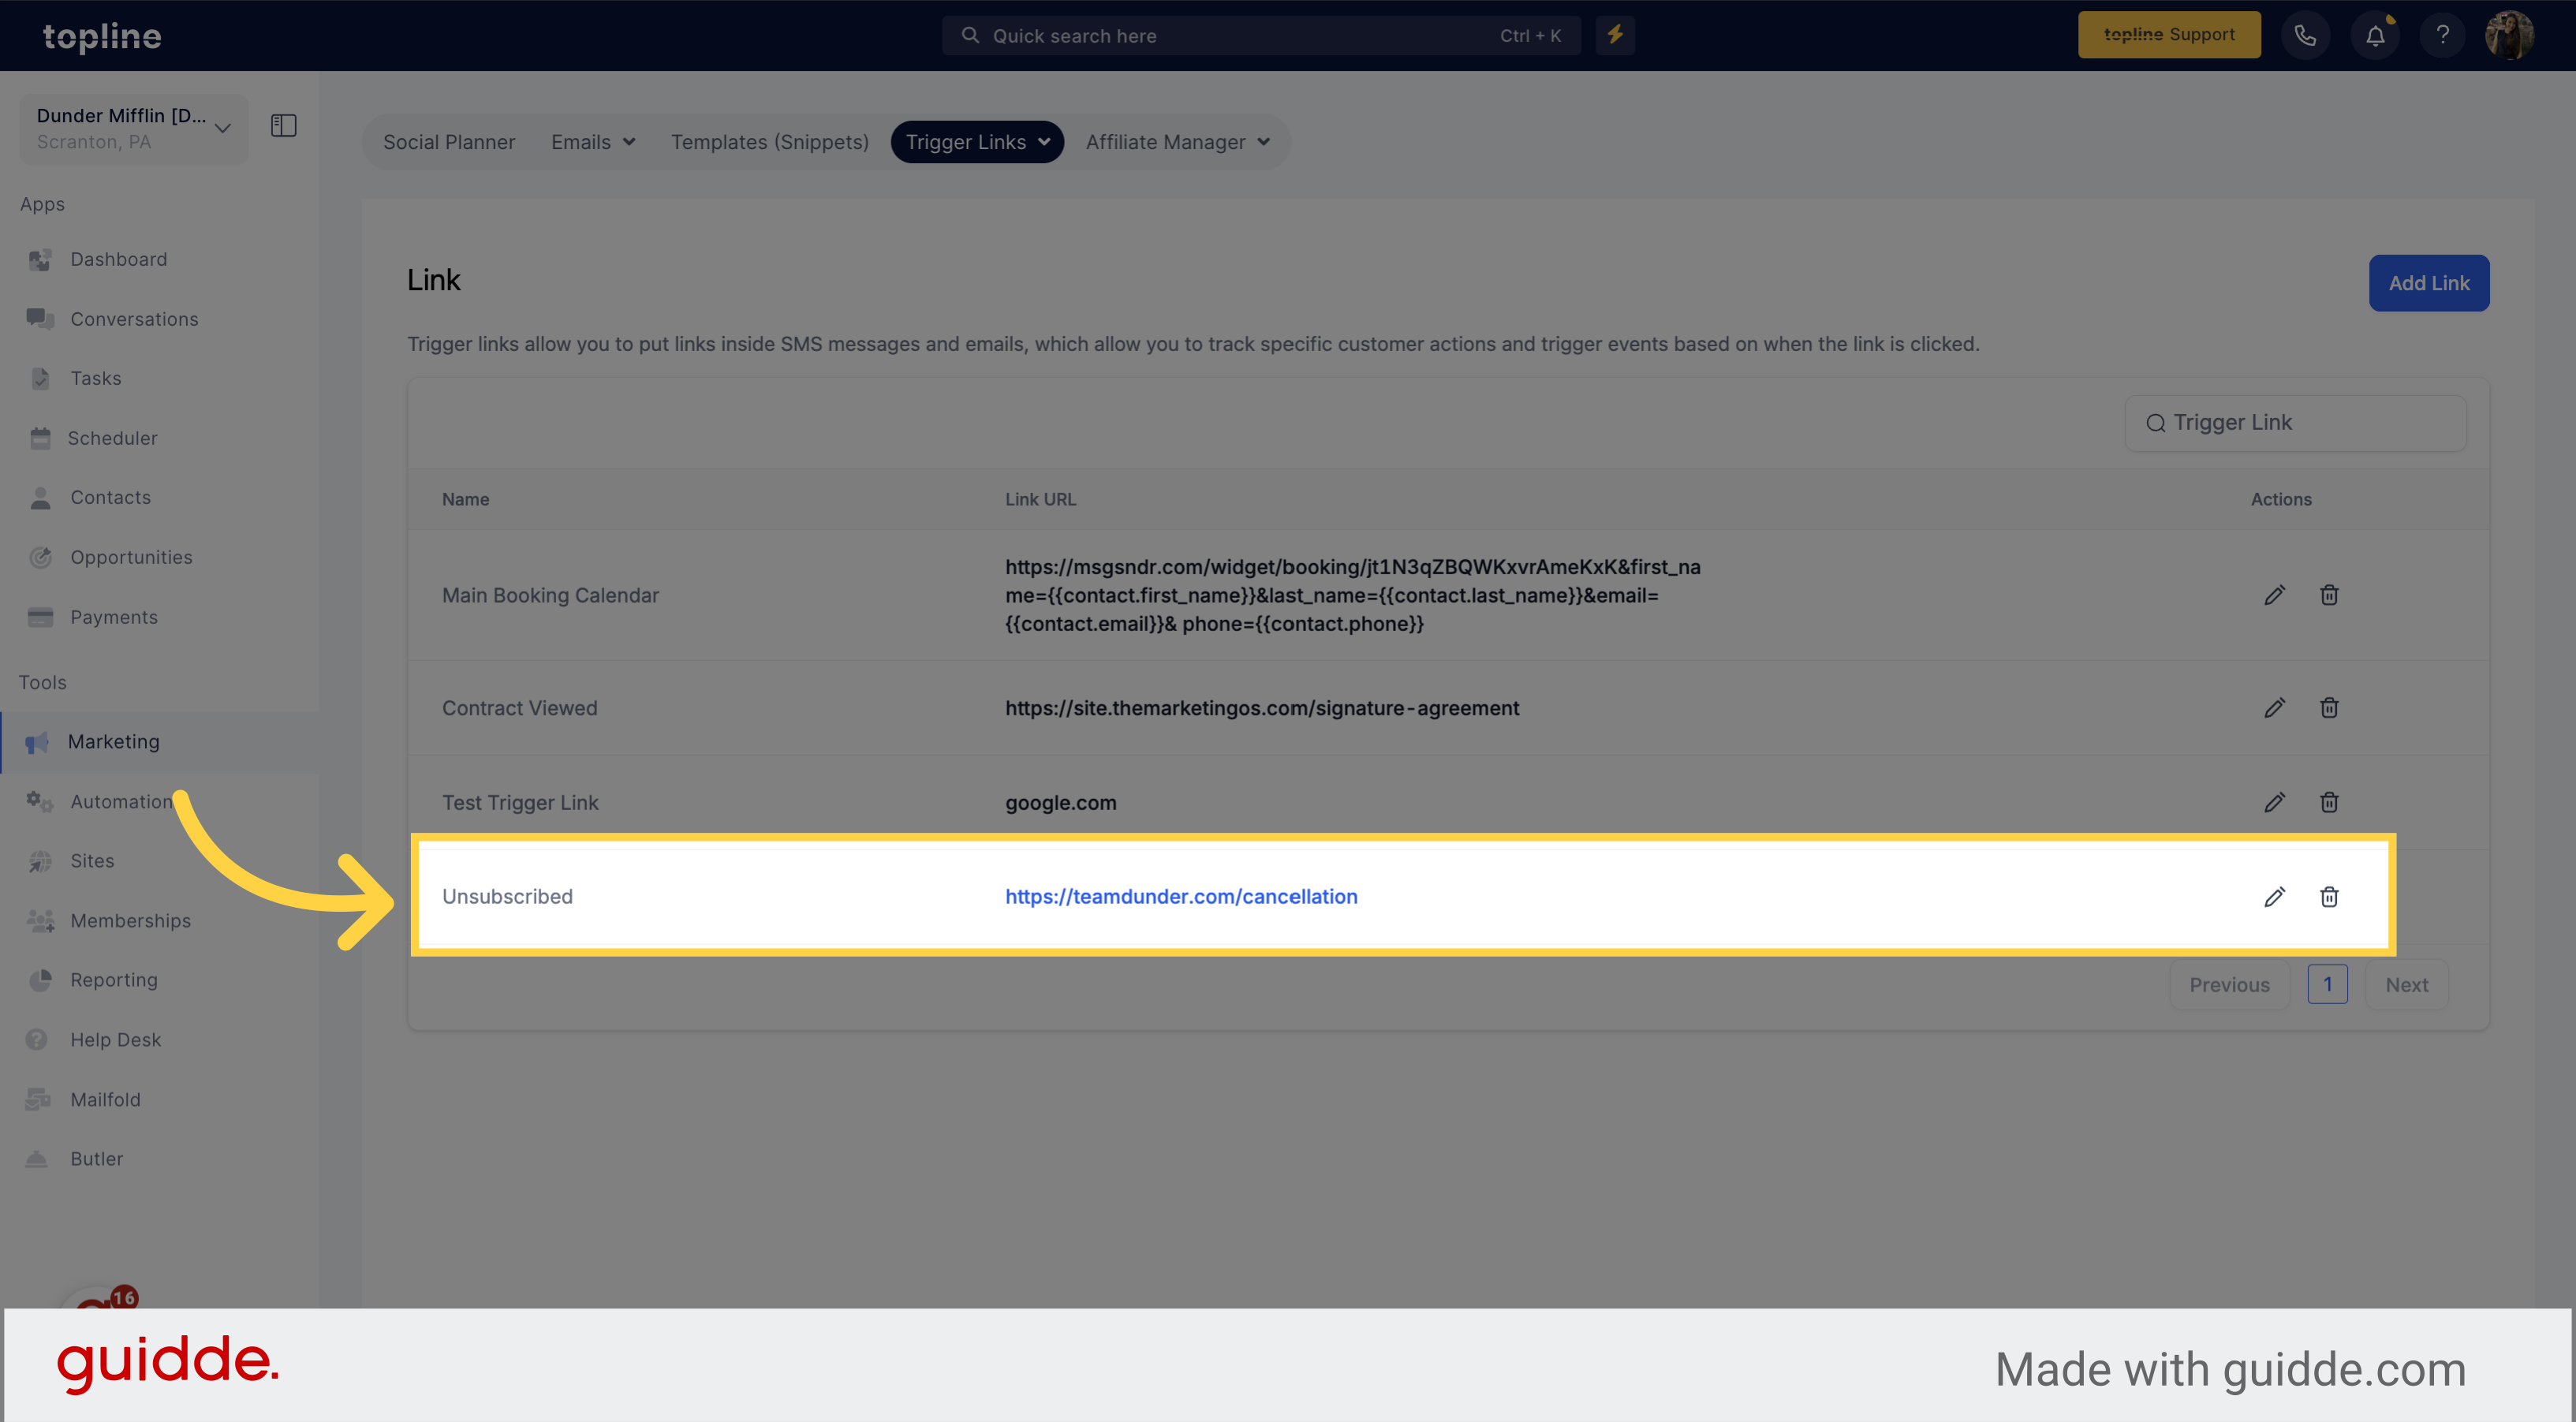
Make sure the trigger link is created correctly.
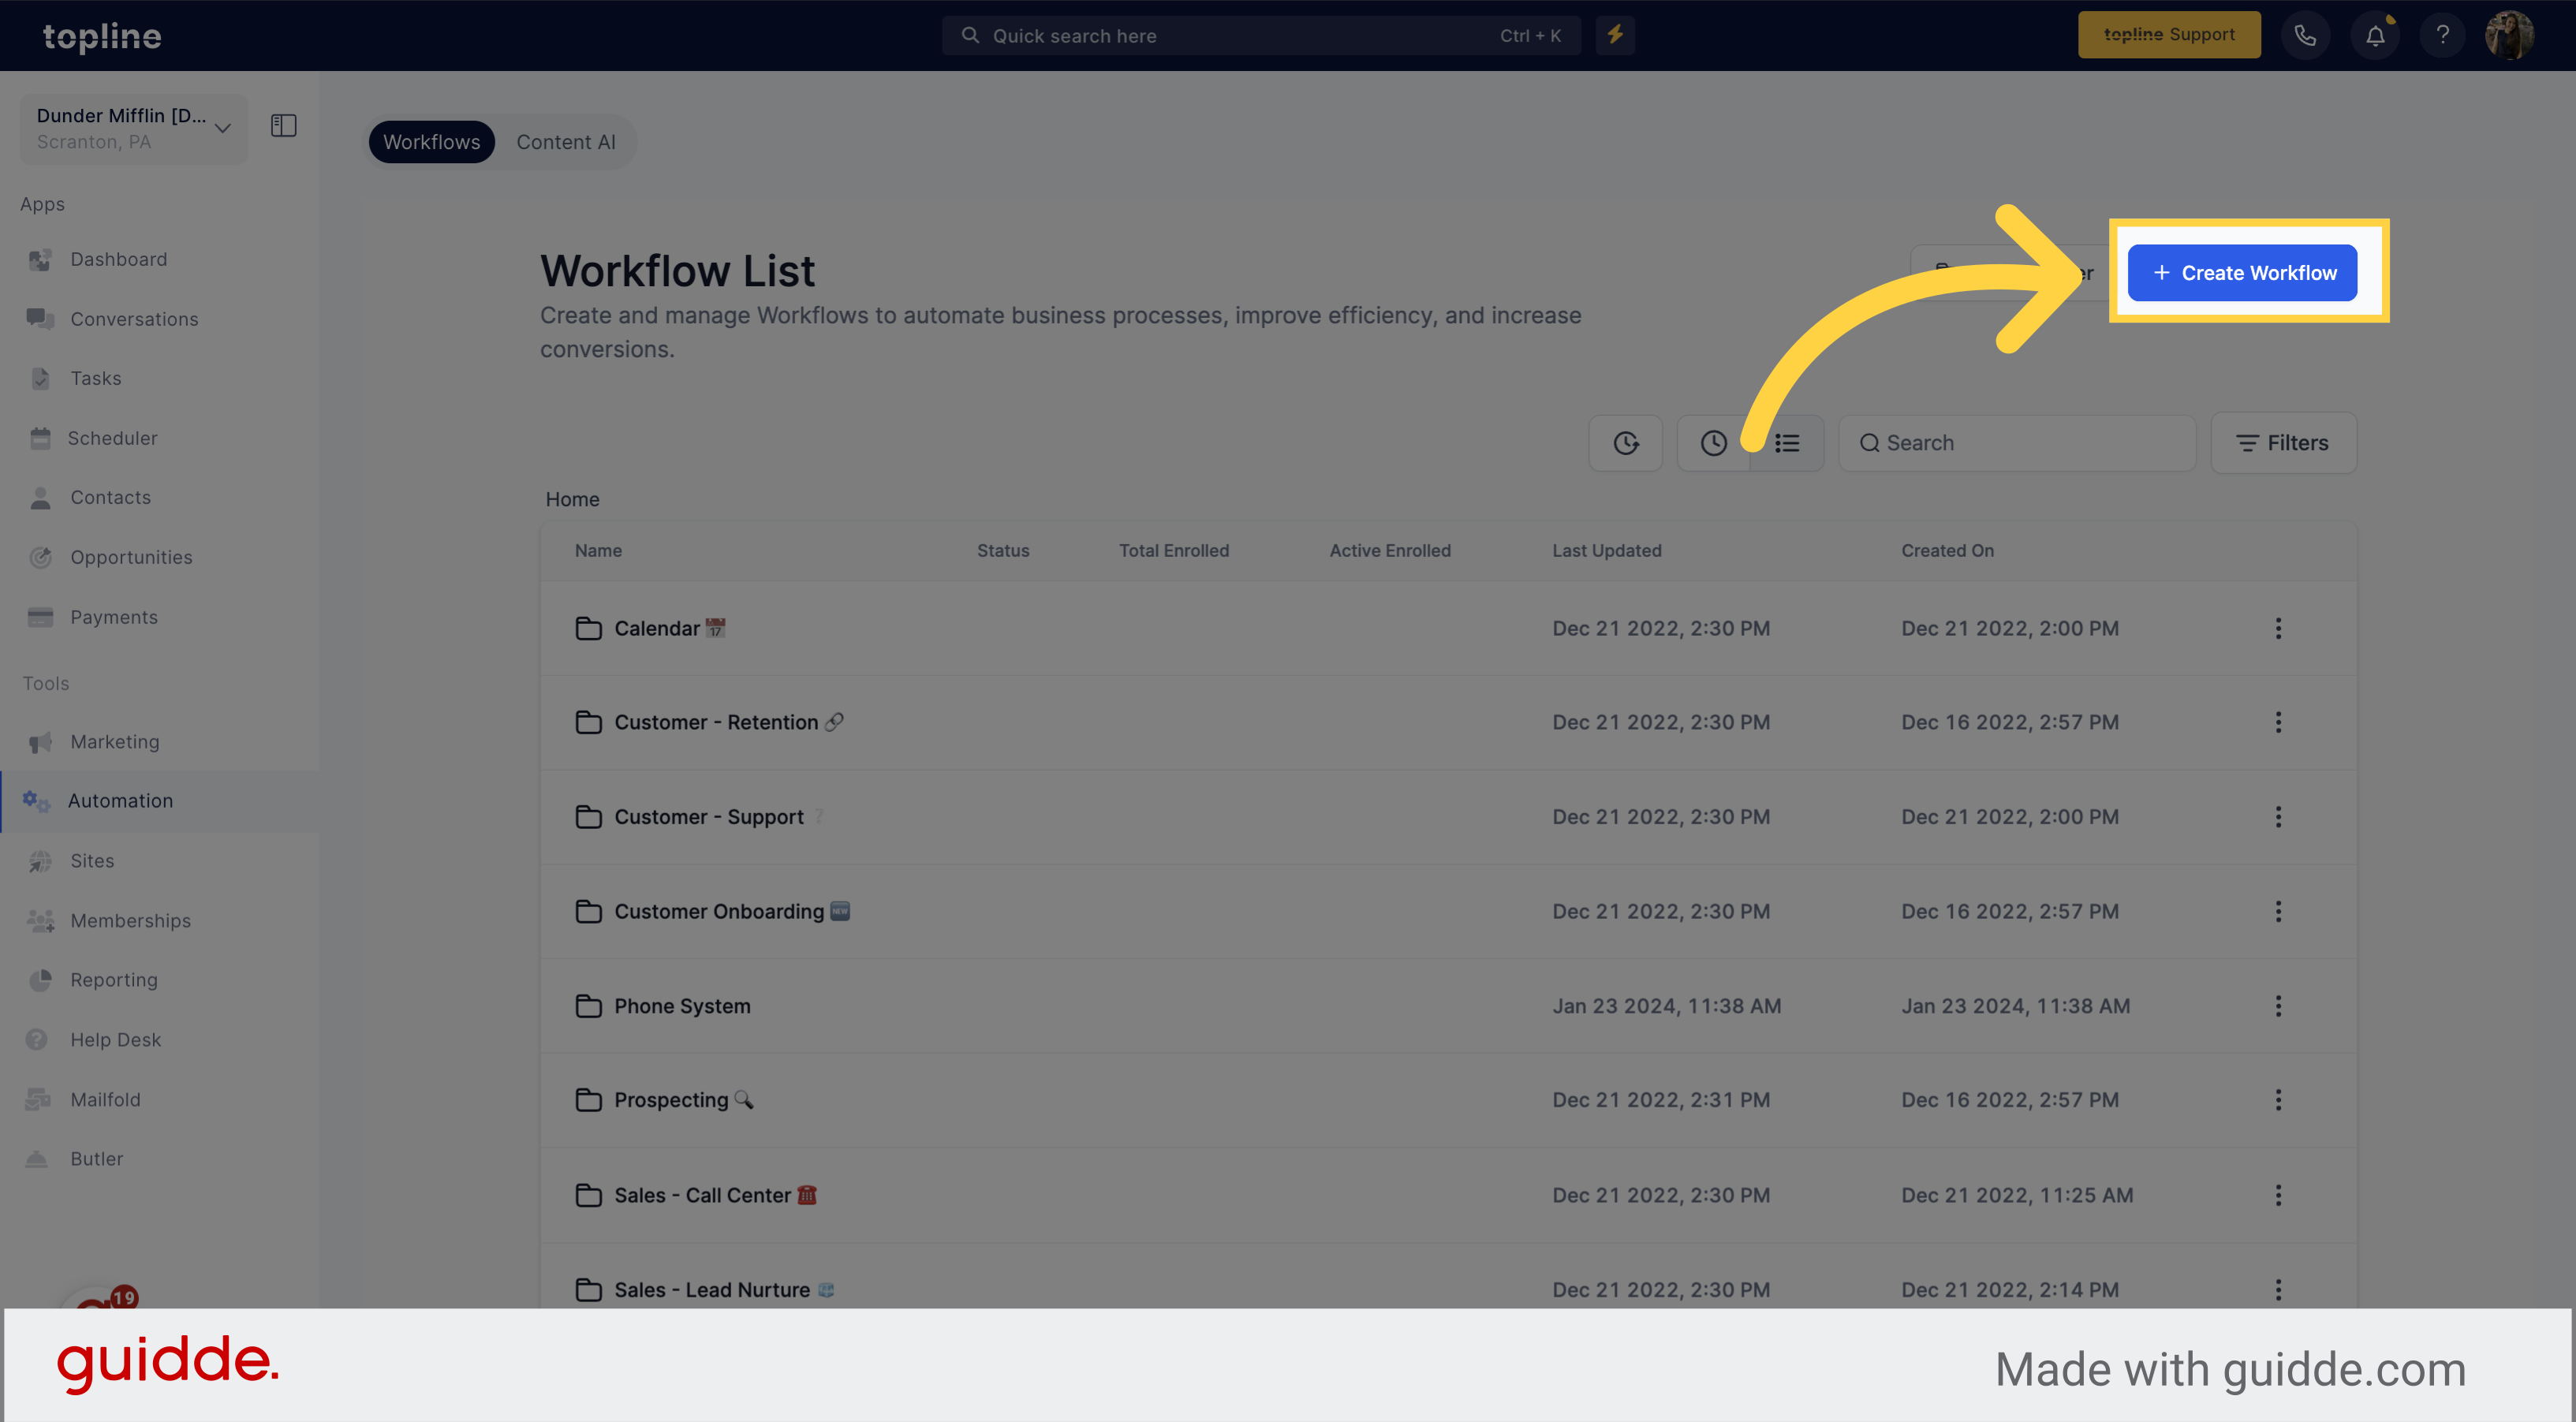
Go to the "Automation" section on the left side menu.
Select the option to create a new workflow.
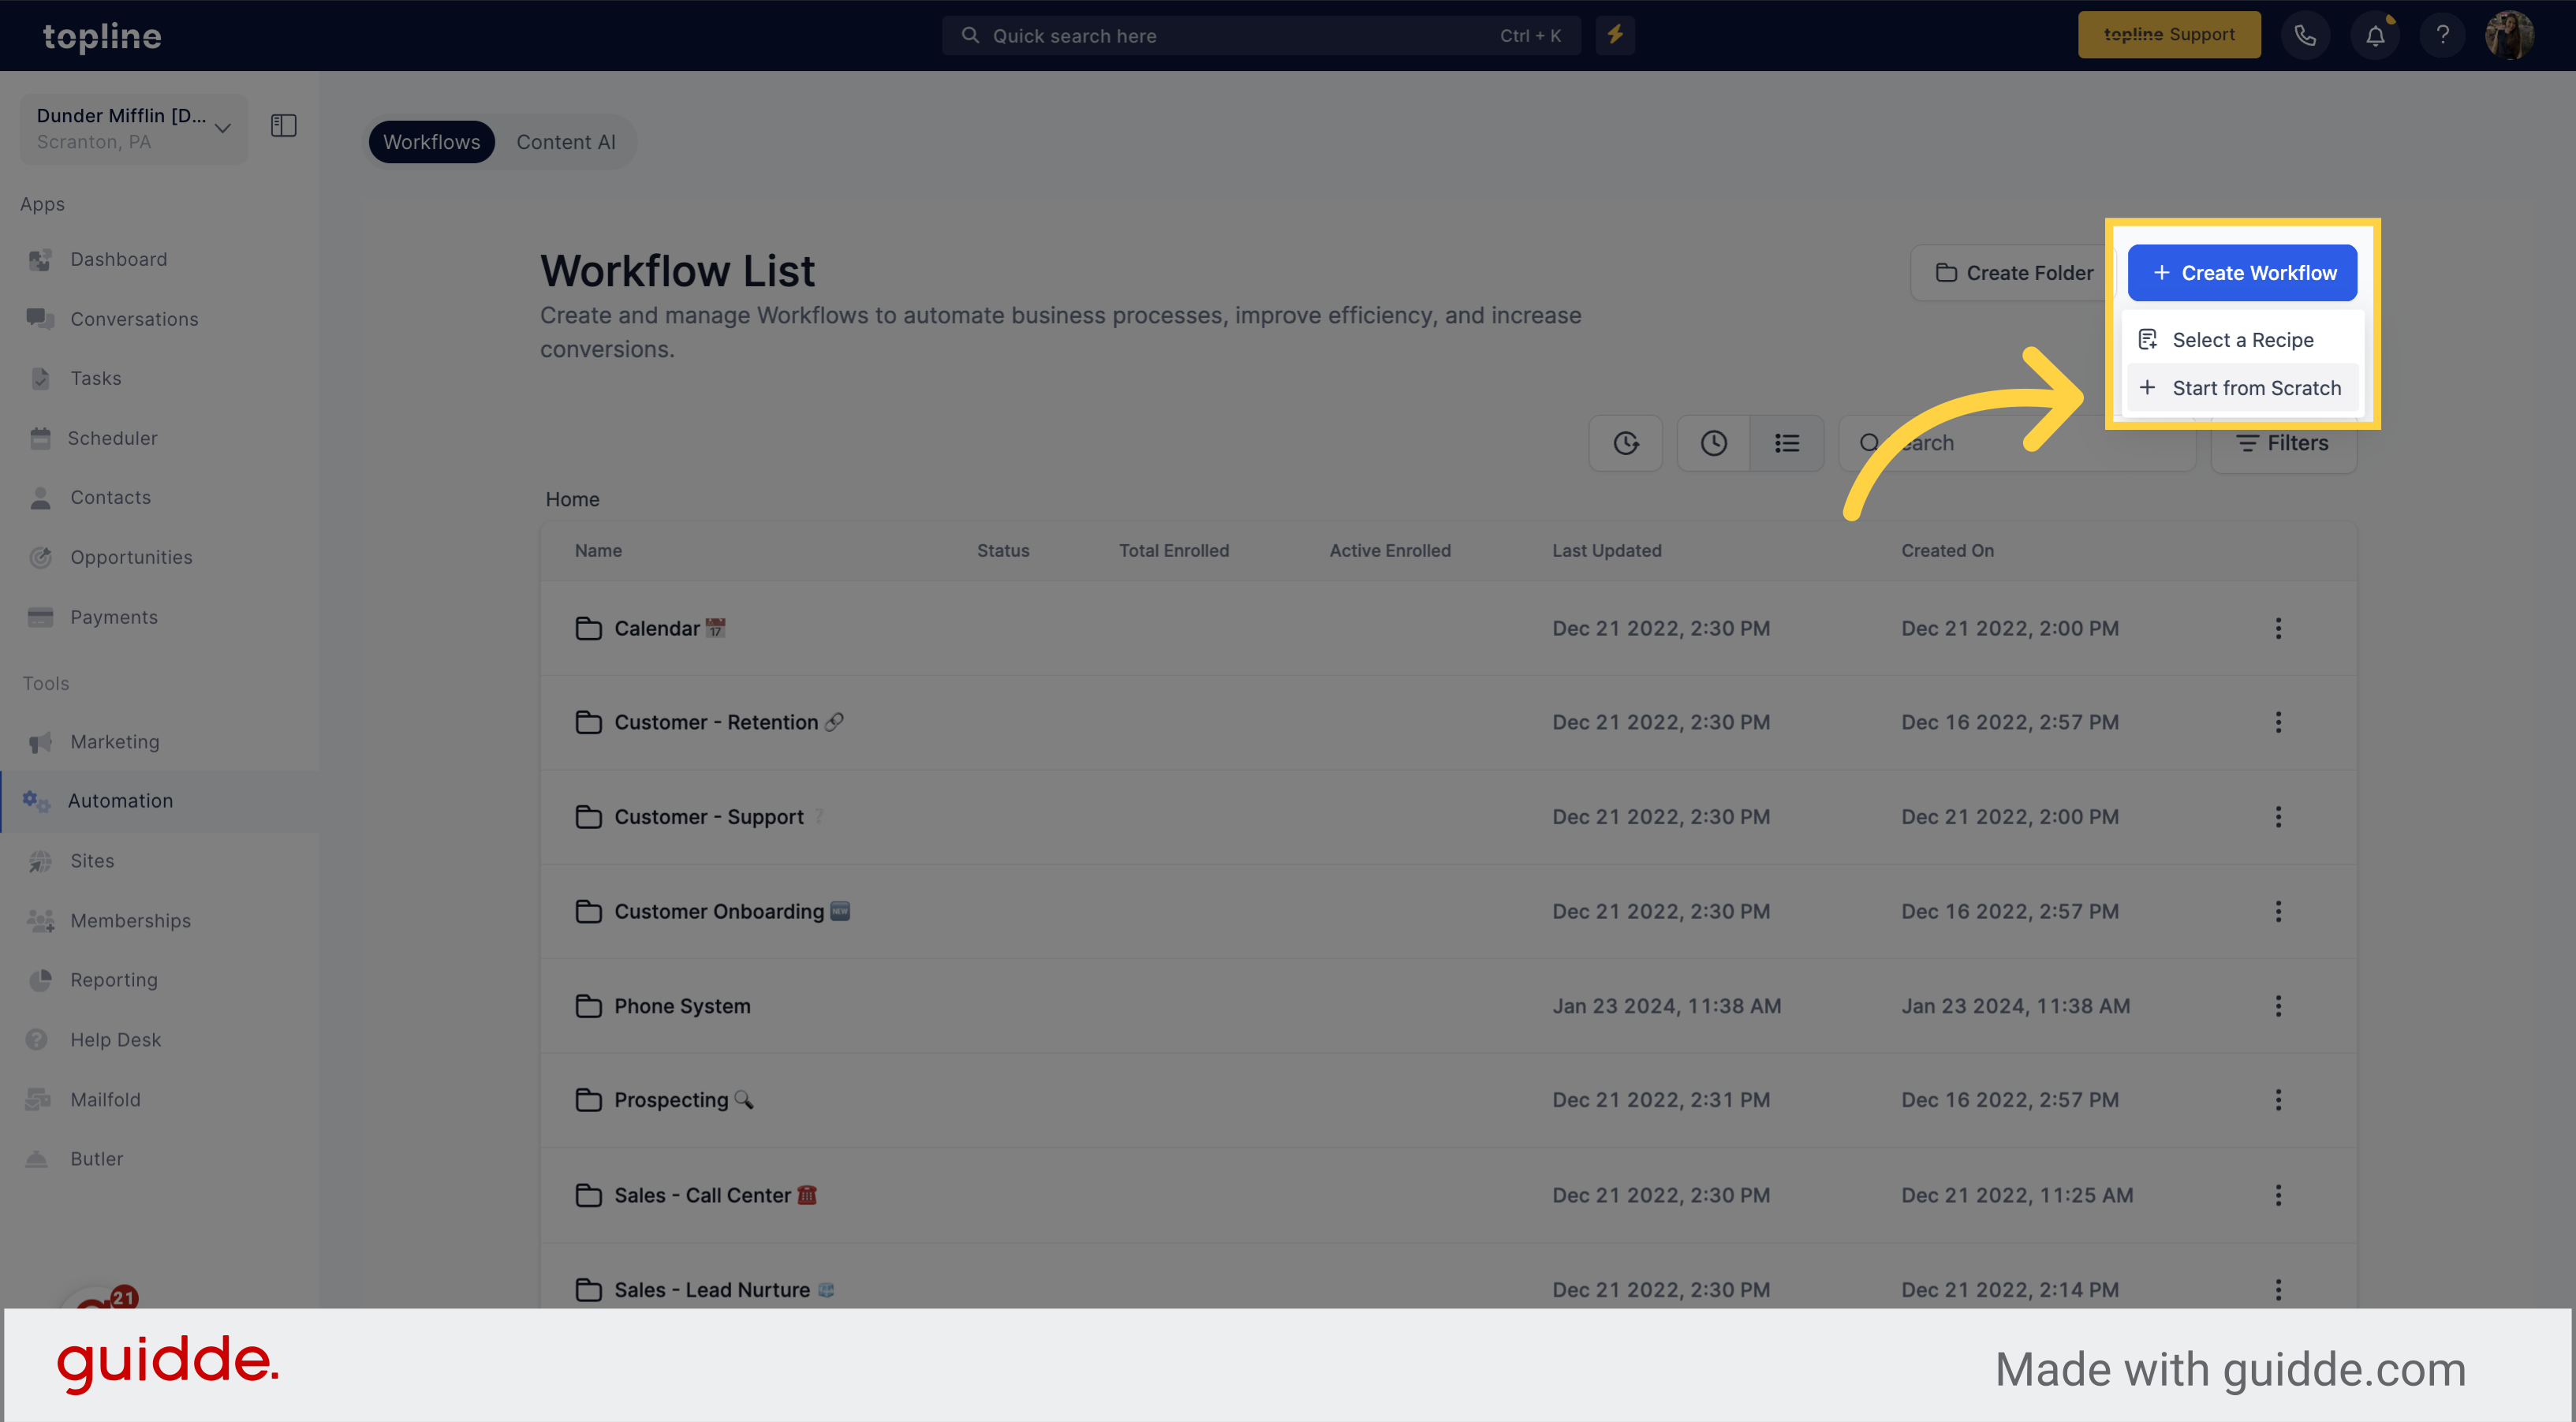
Choose the Start from Scratch option from the dropdown.
Select the option to add a new trigger.

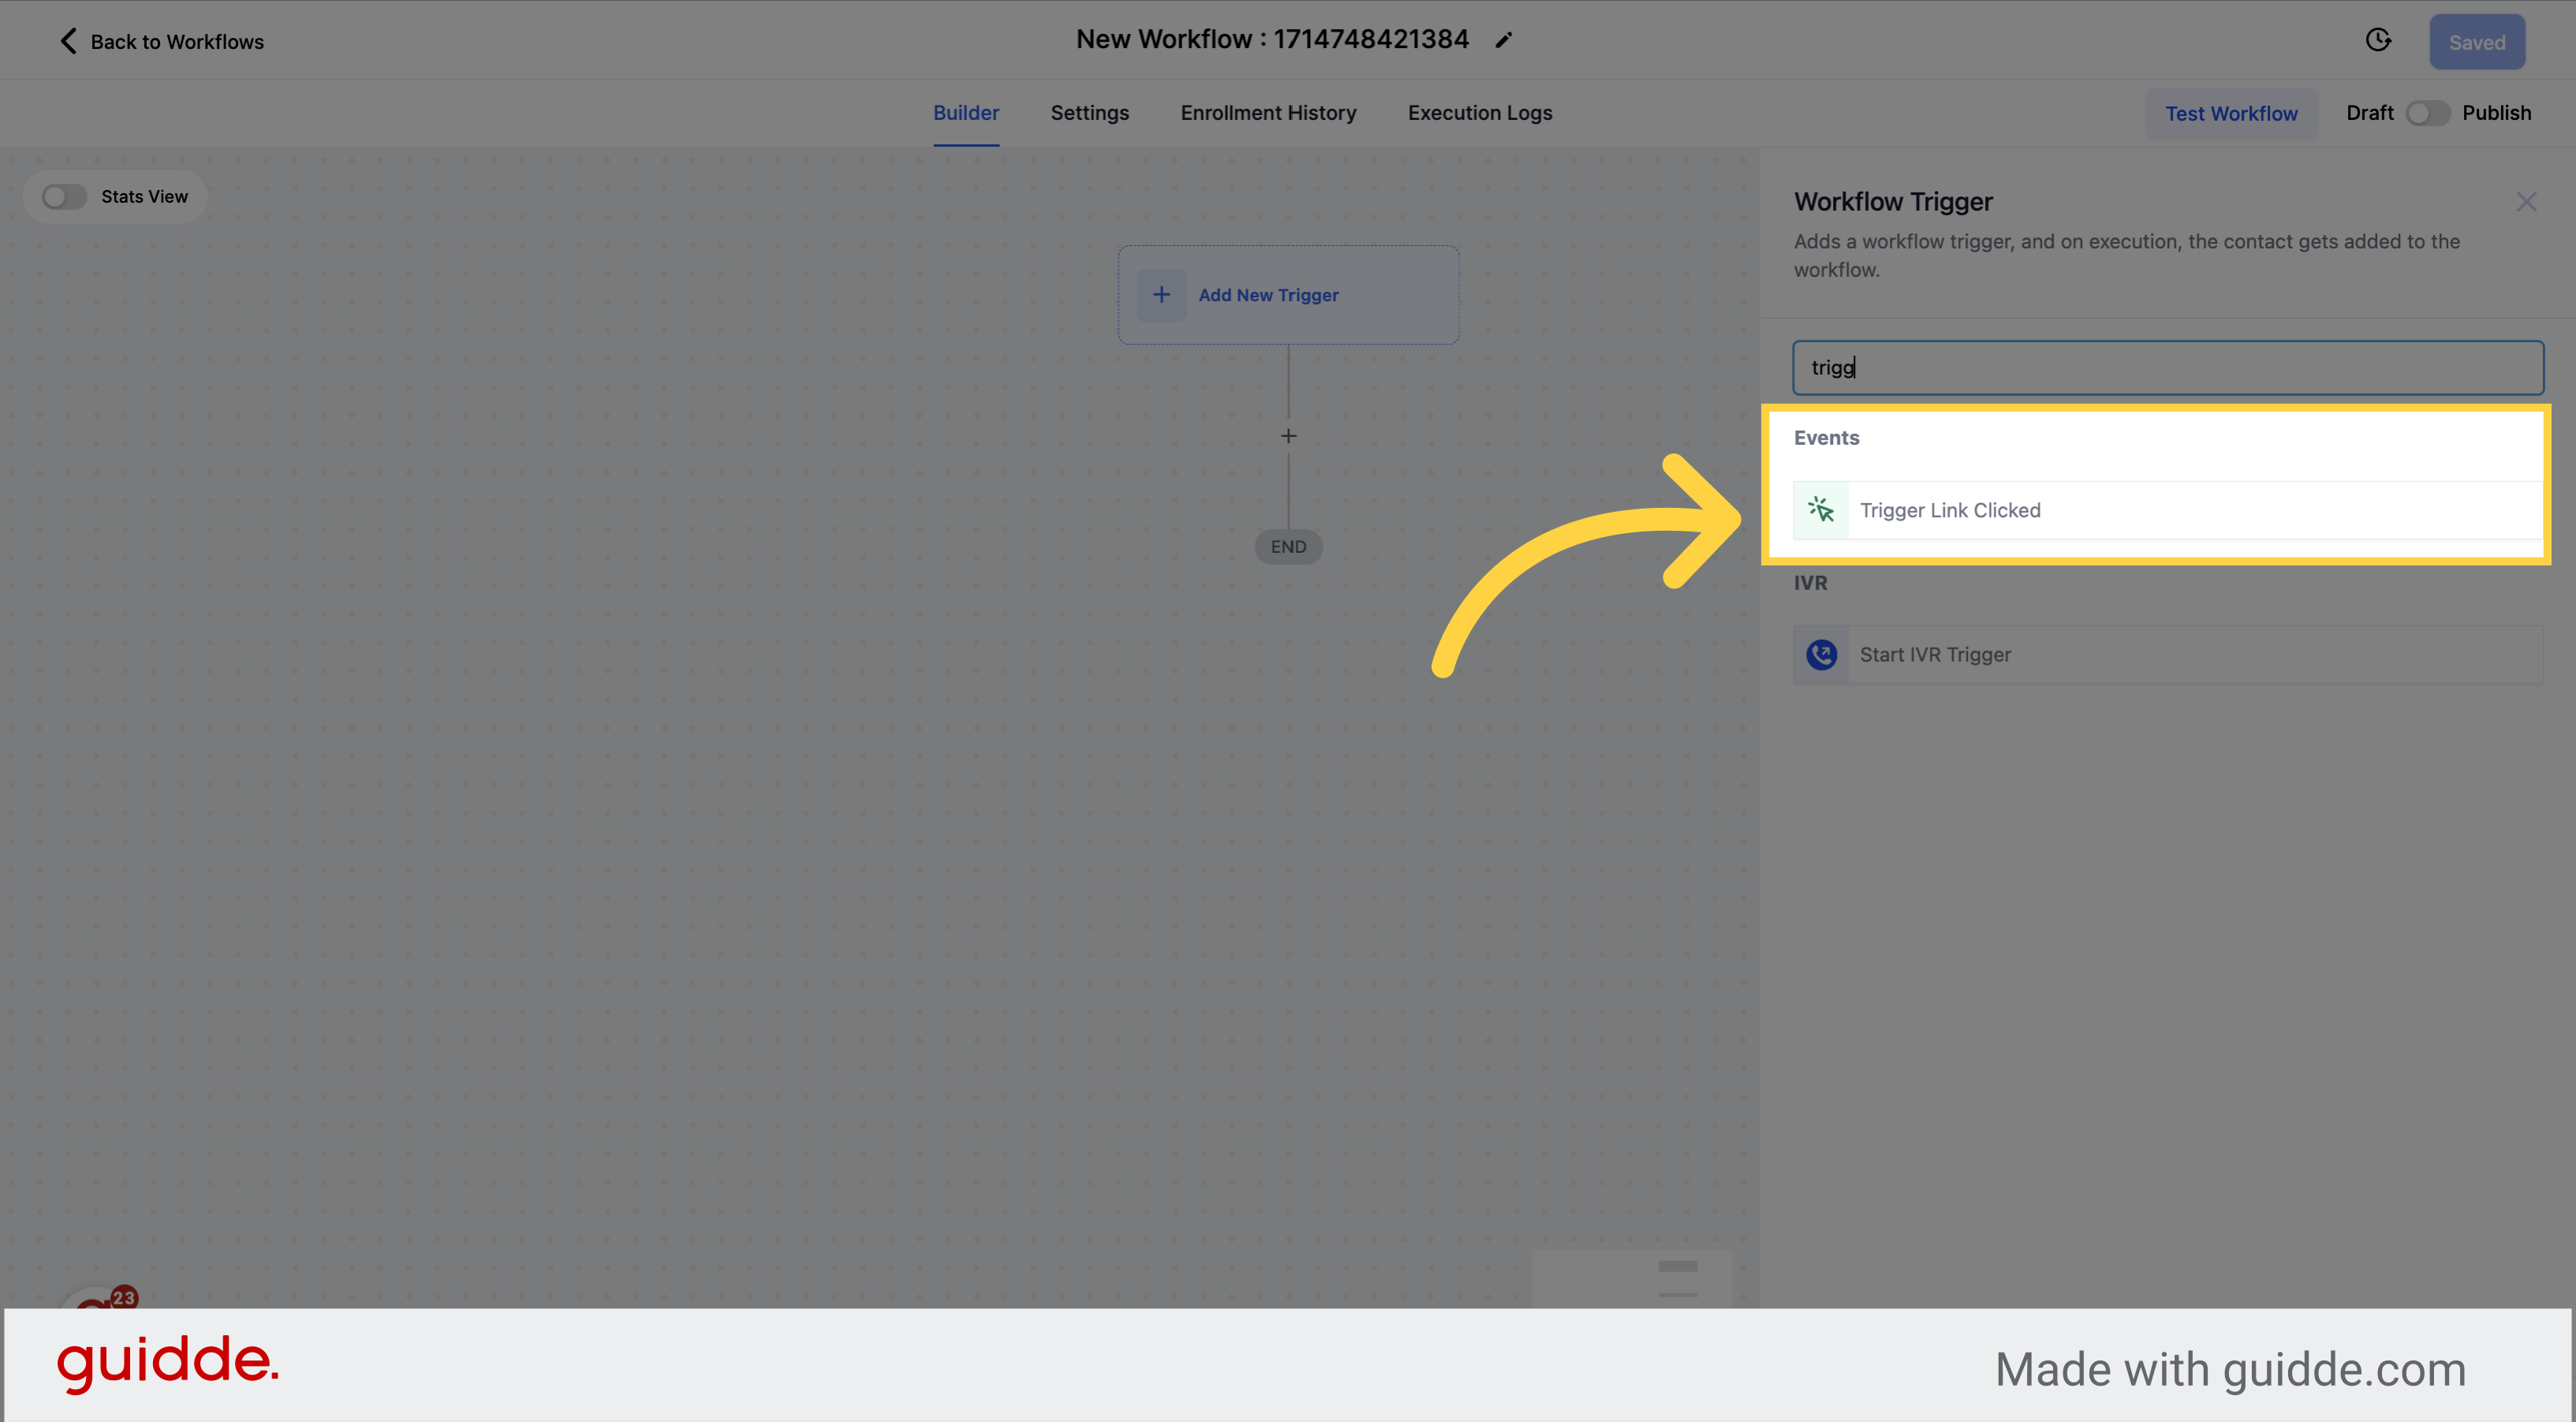
Look for the Trigger Link Clicked option from the events options, then select it.
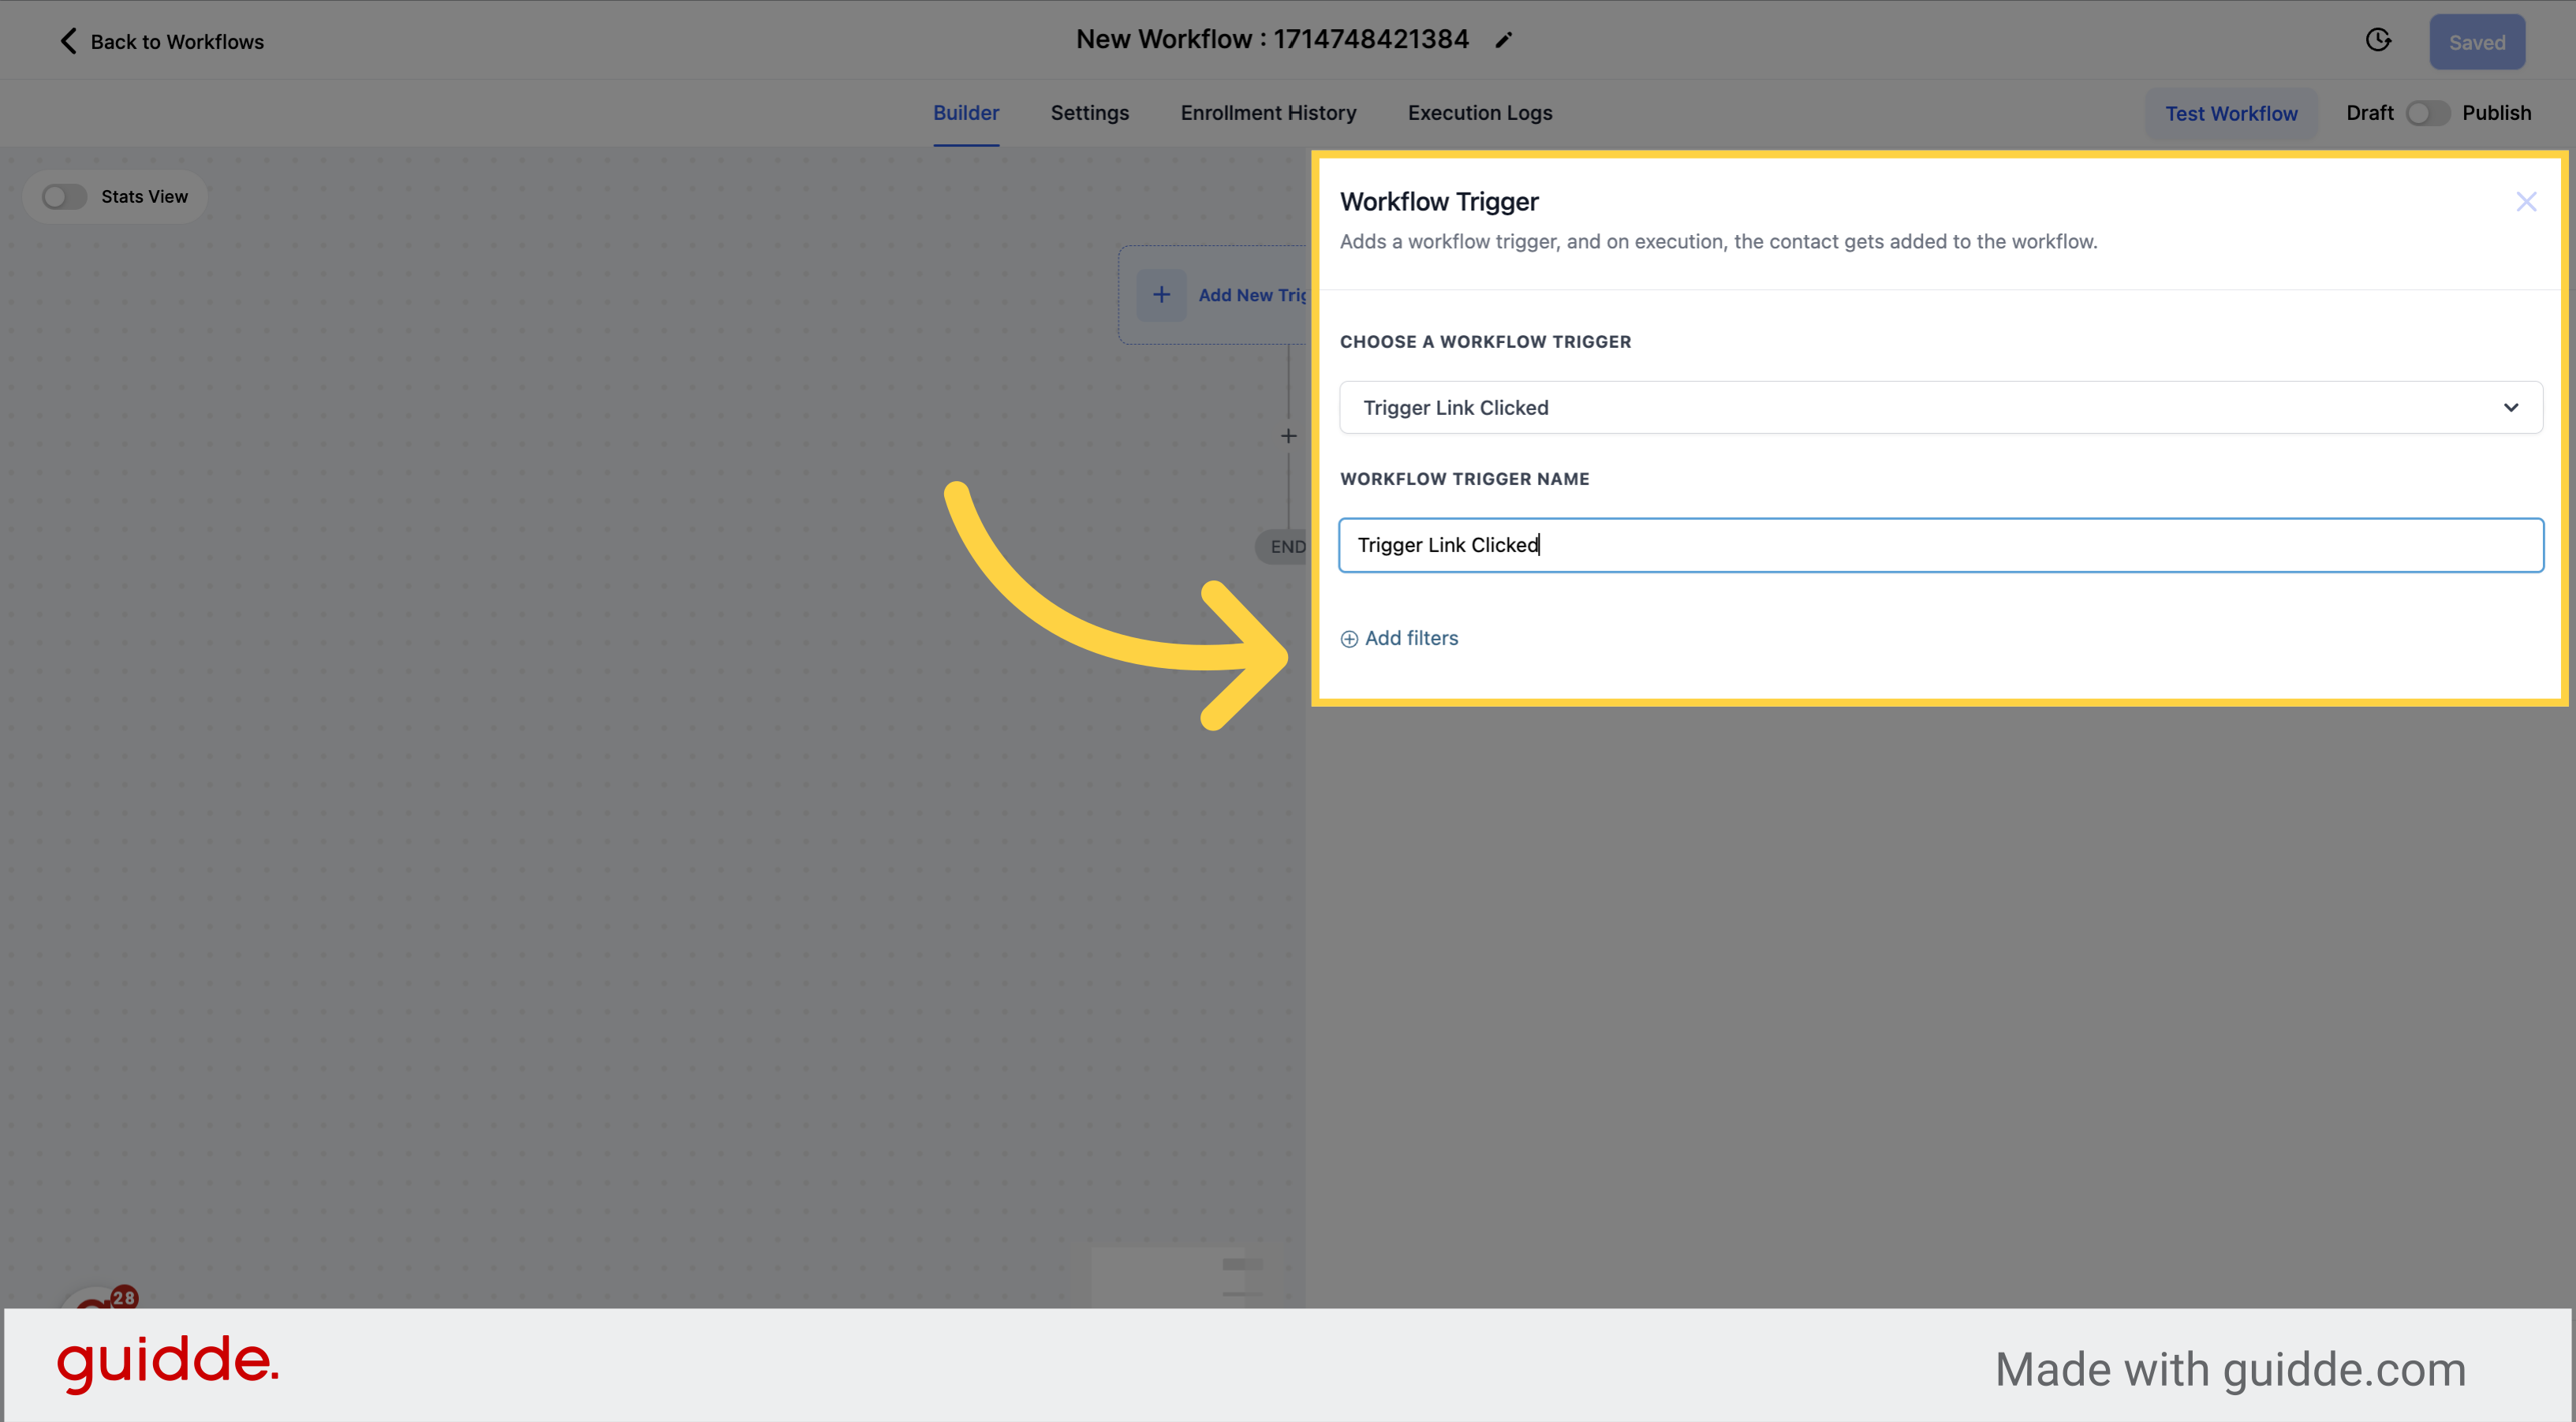
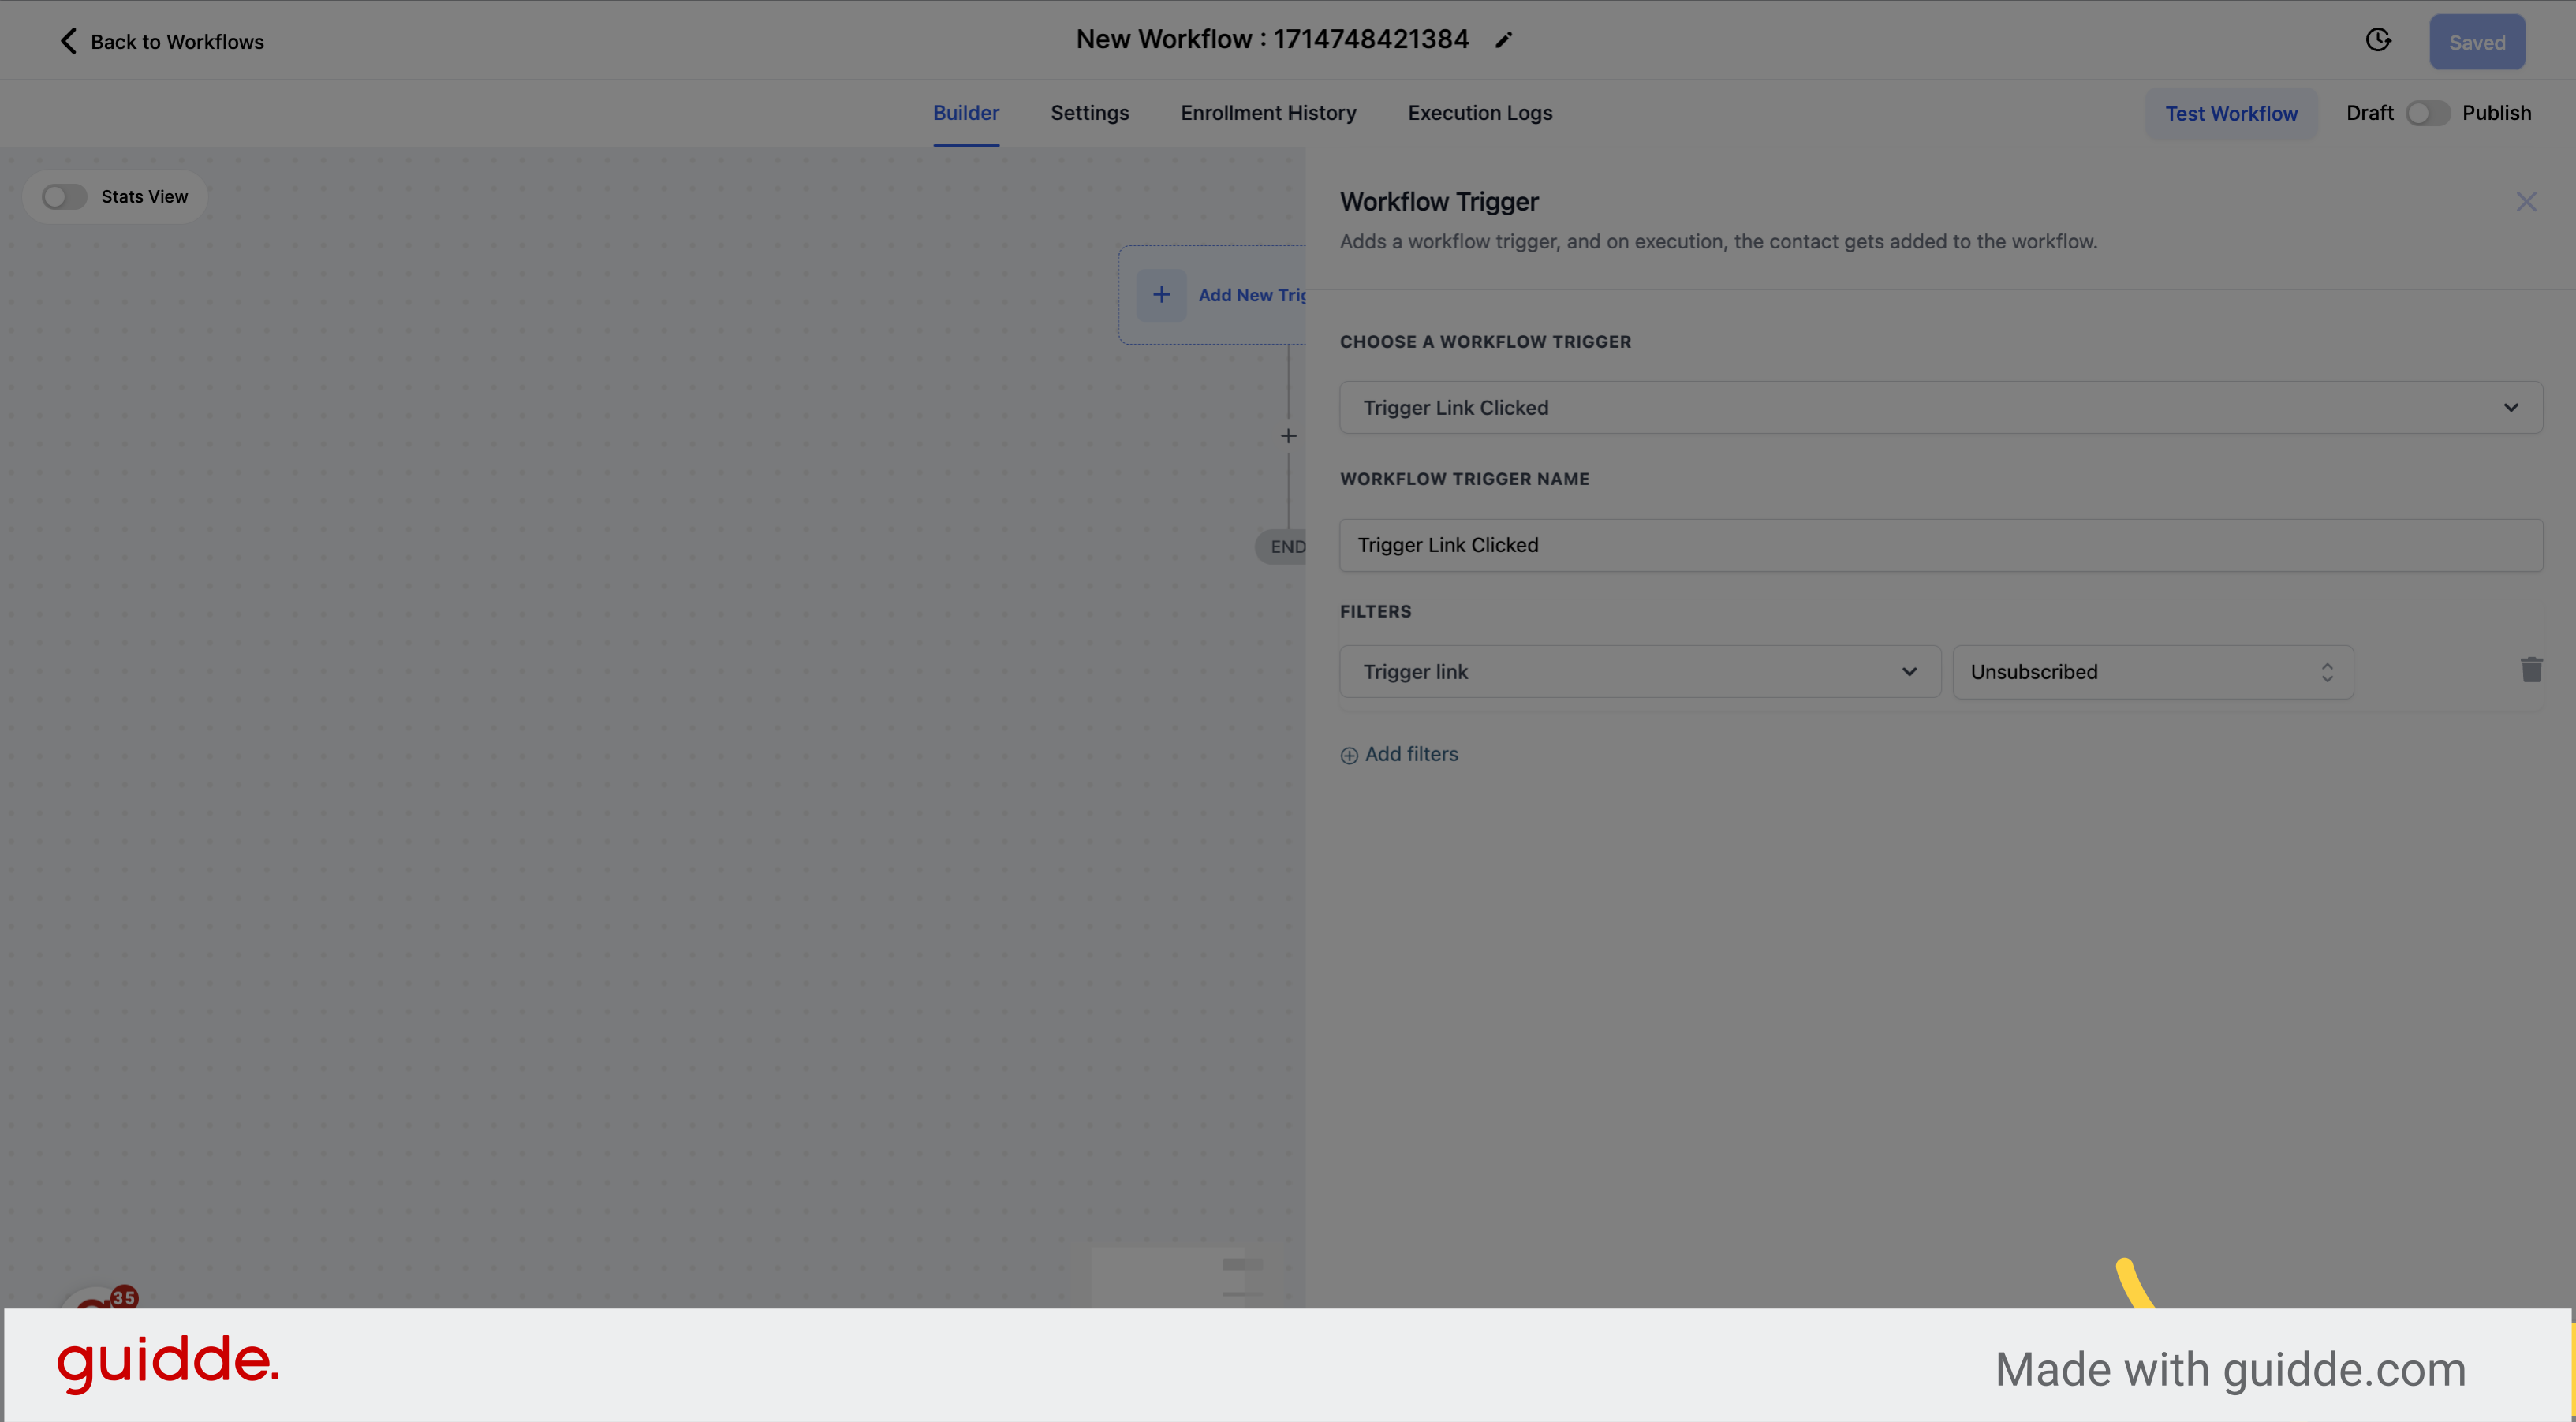
Select the trigger for link clicks and add a name to it.
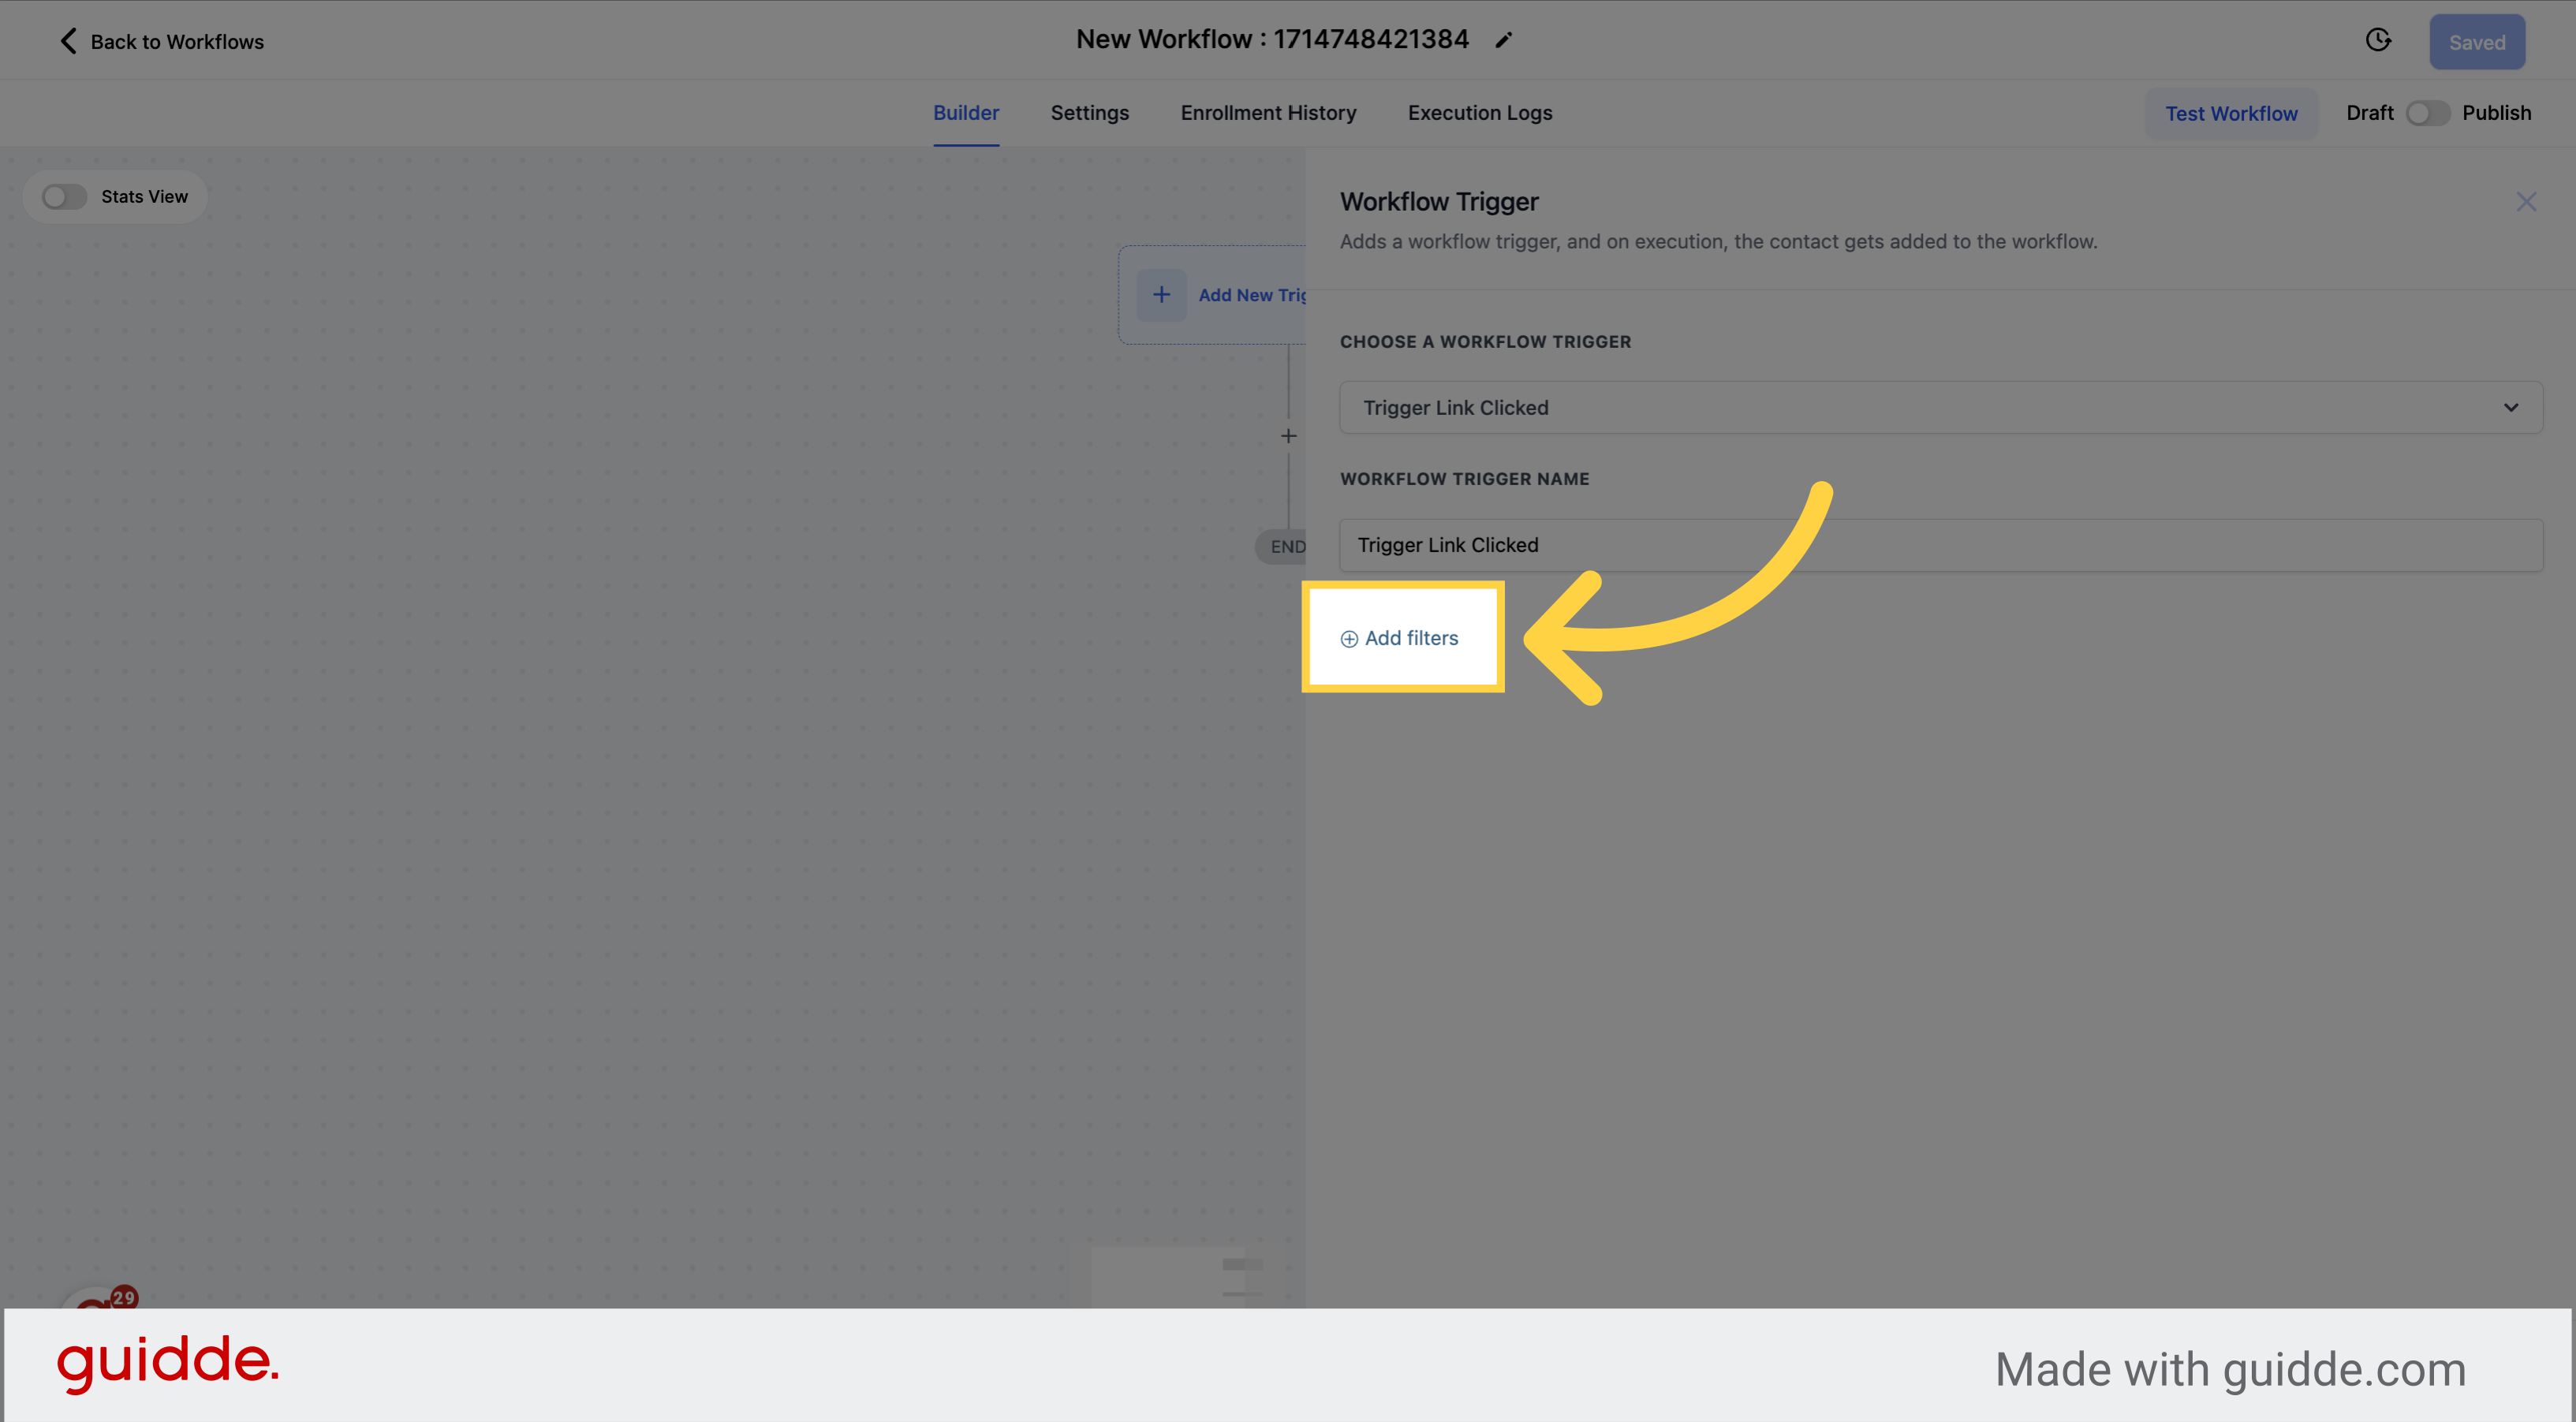
Select this option to add filters to the trigger.
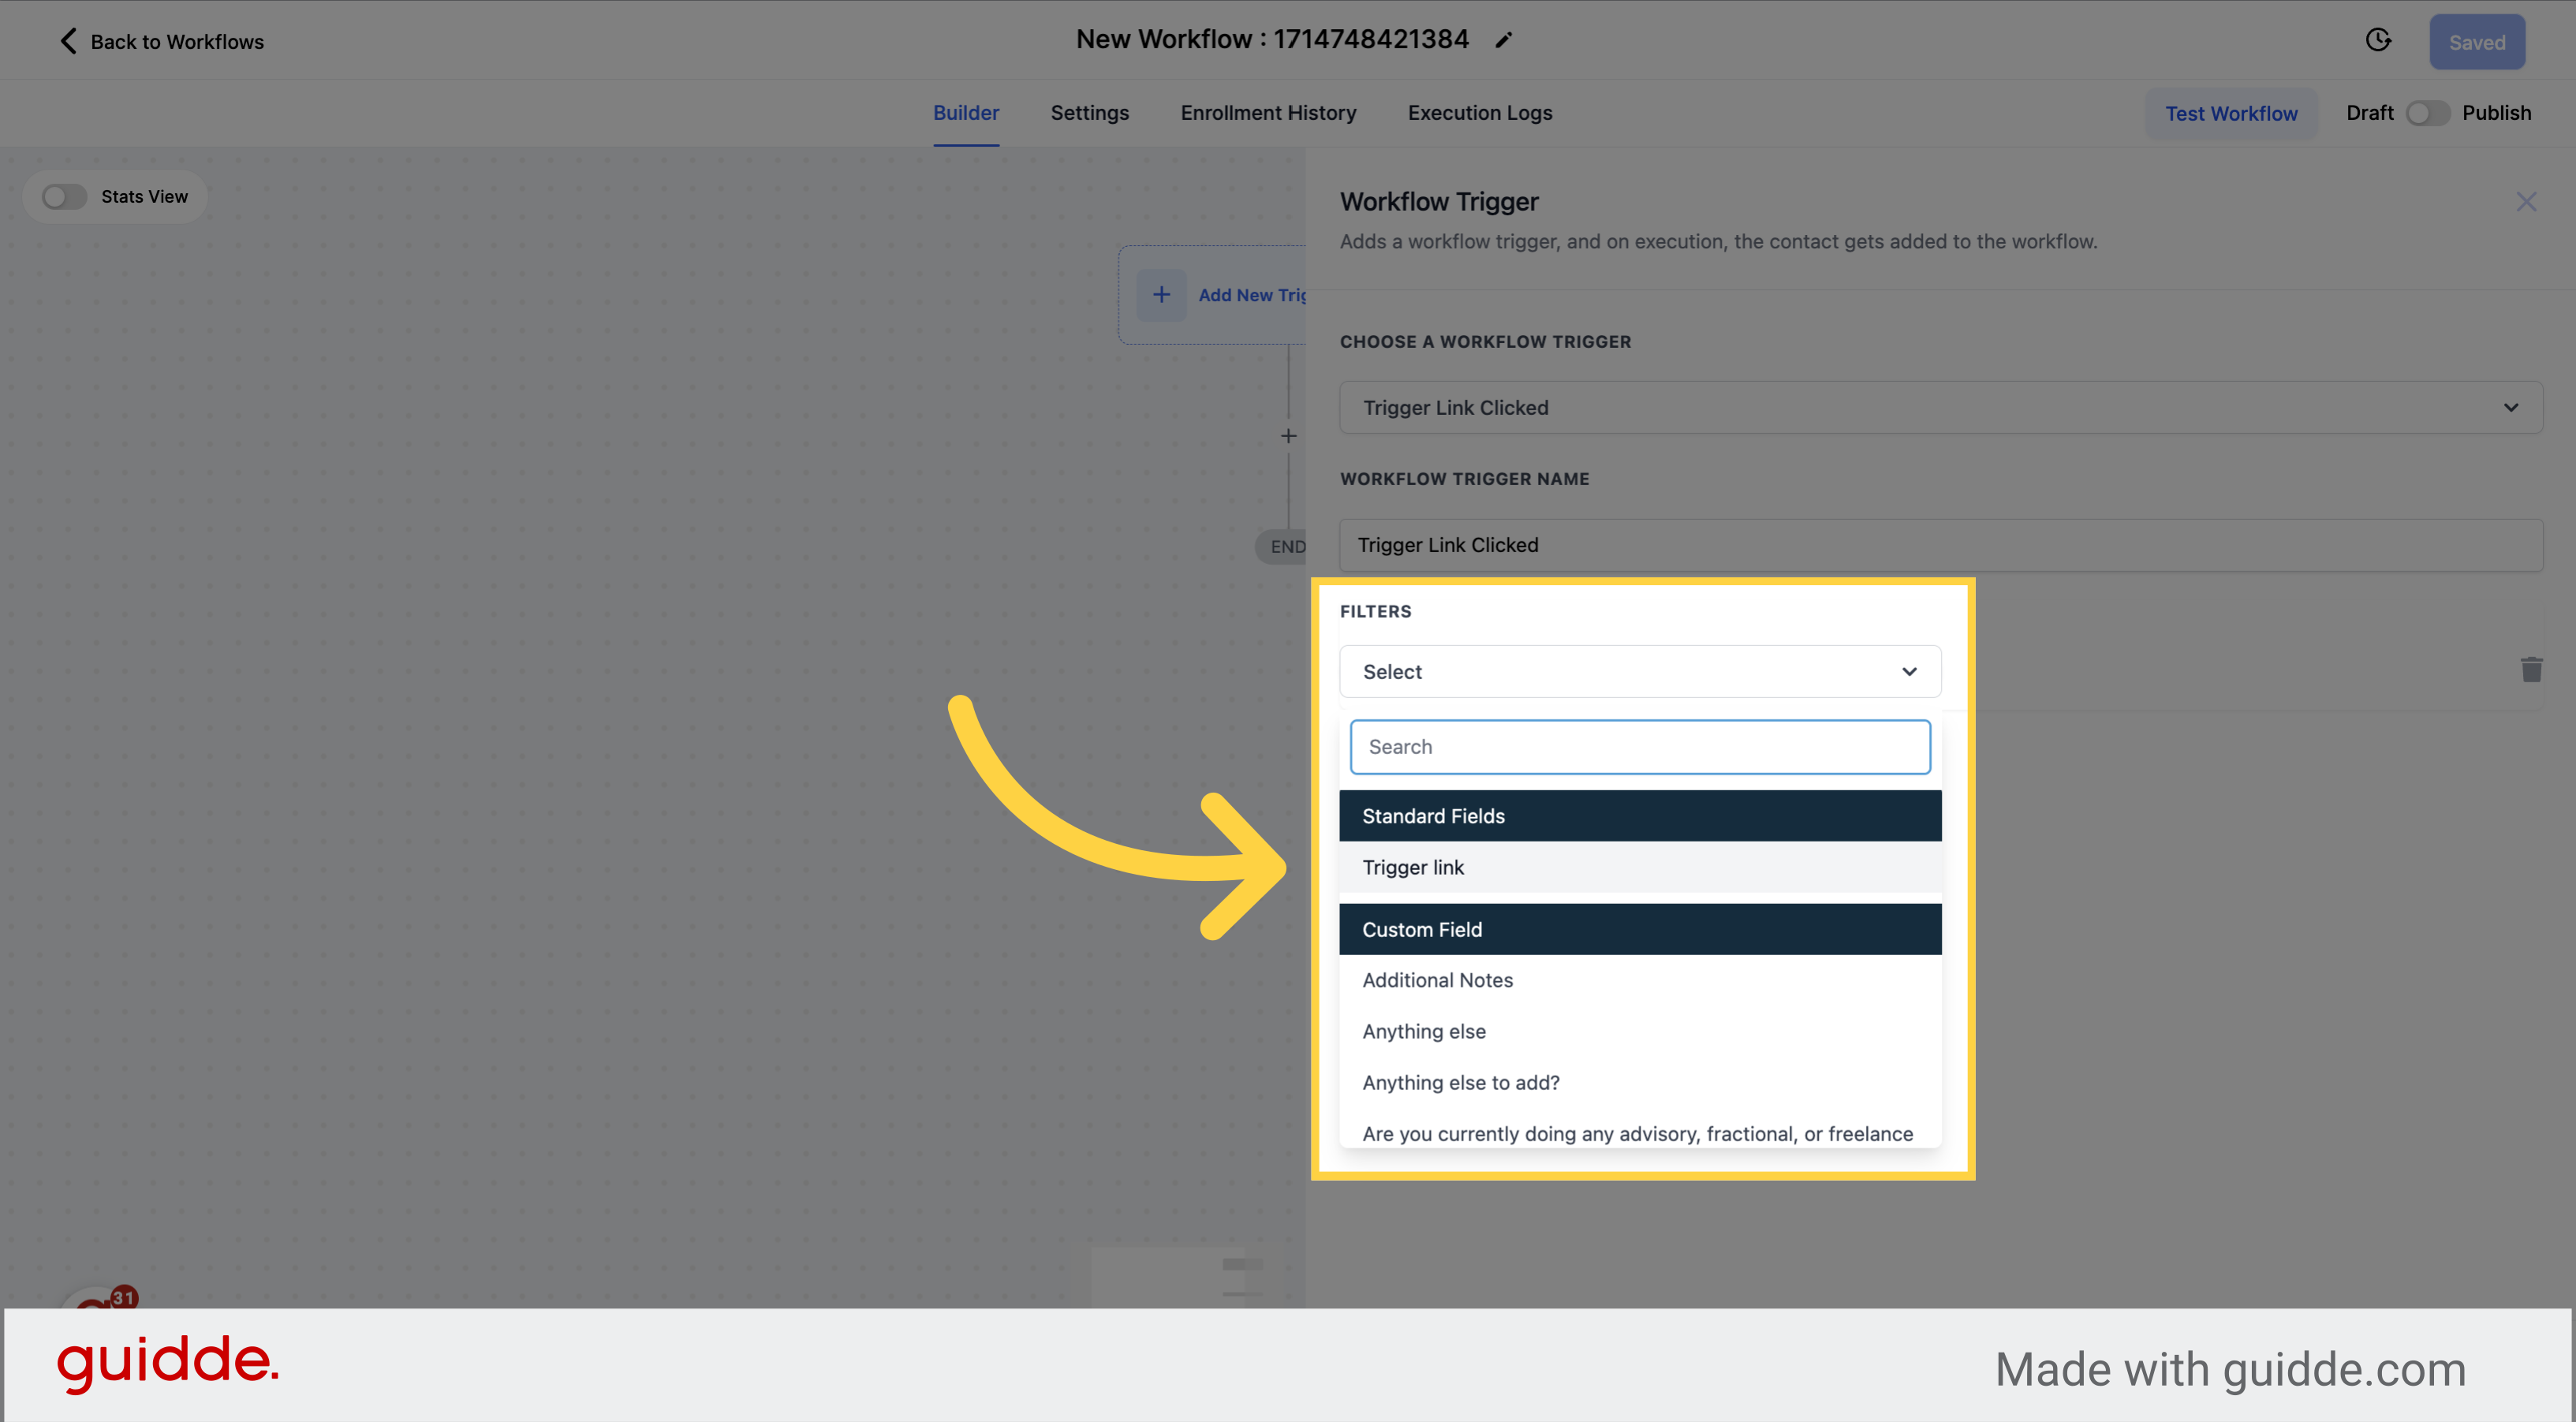
Select the Trigger Link option from the filters menu.
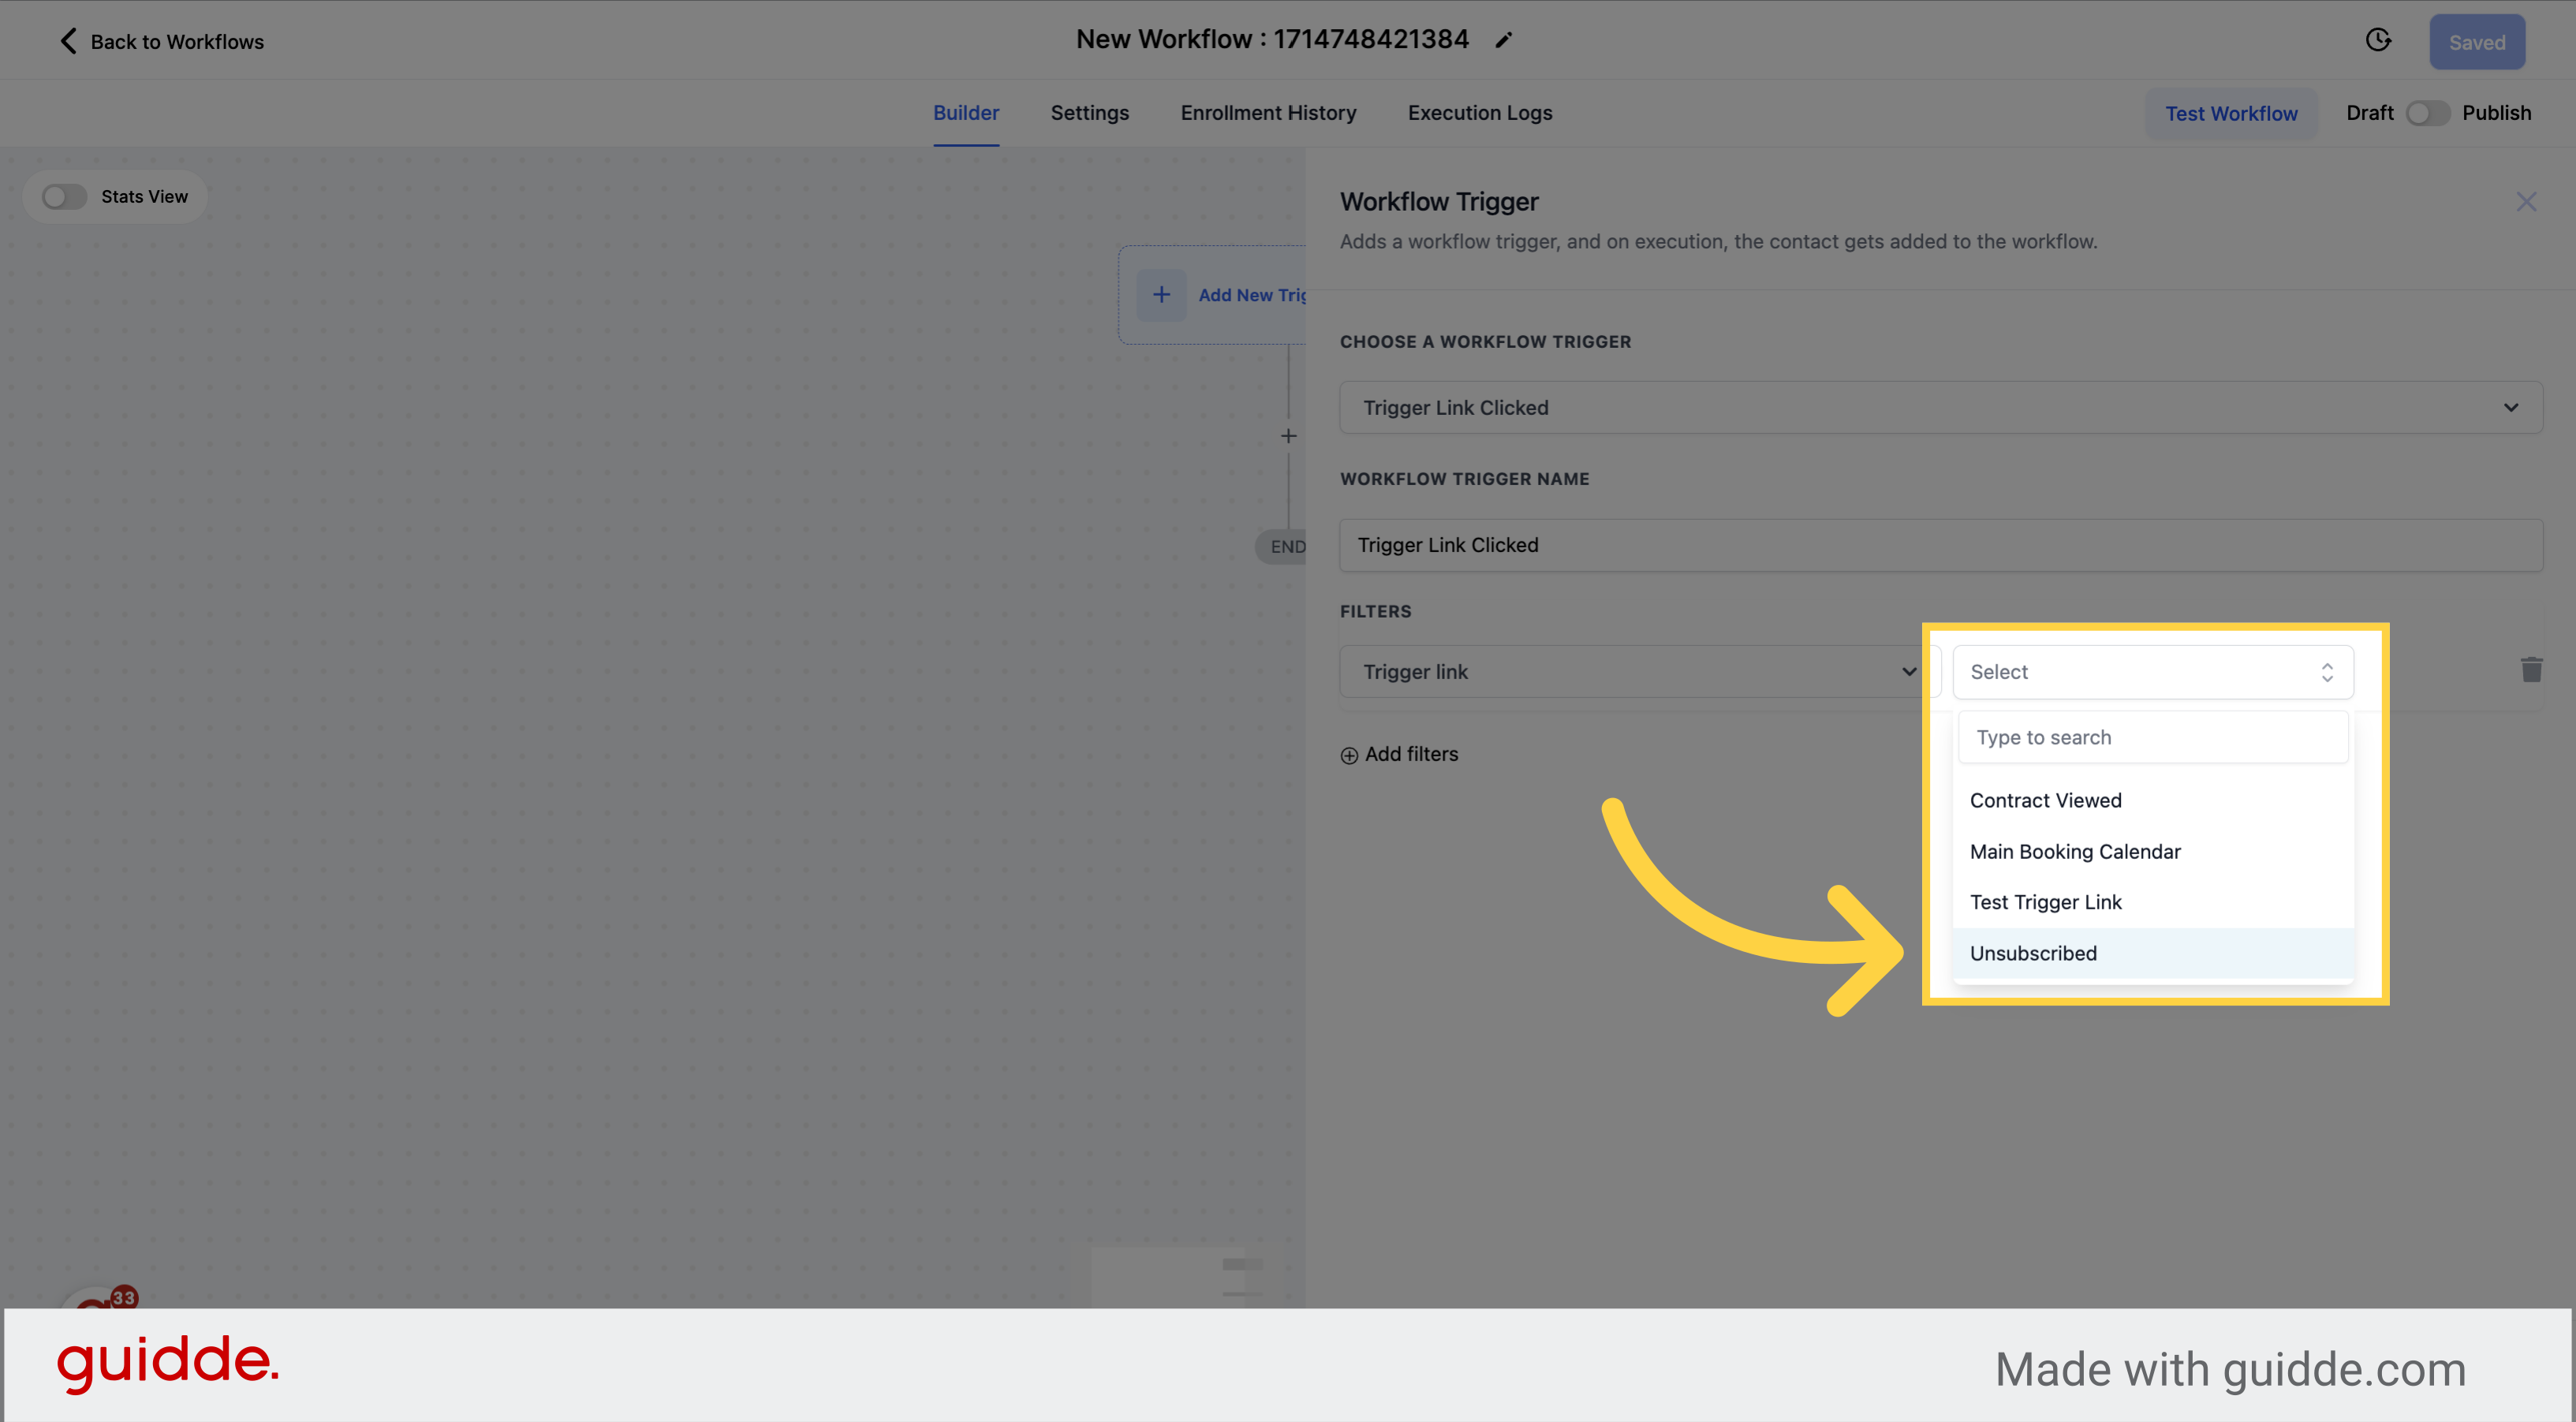
Select the Unsubscribed option from the dropdown.
Save the trigger configuration by clicking on Save Trigger.
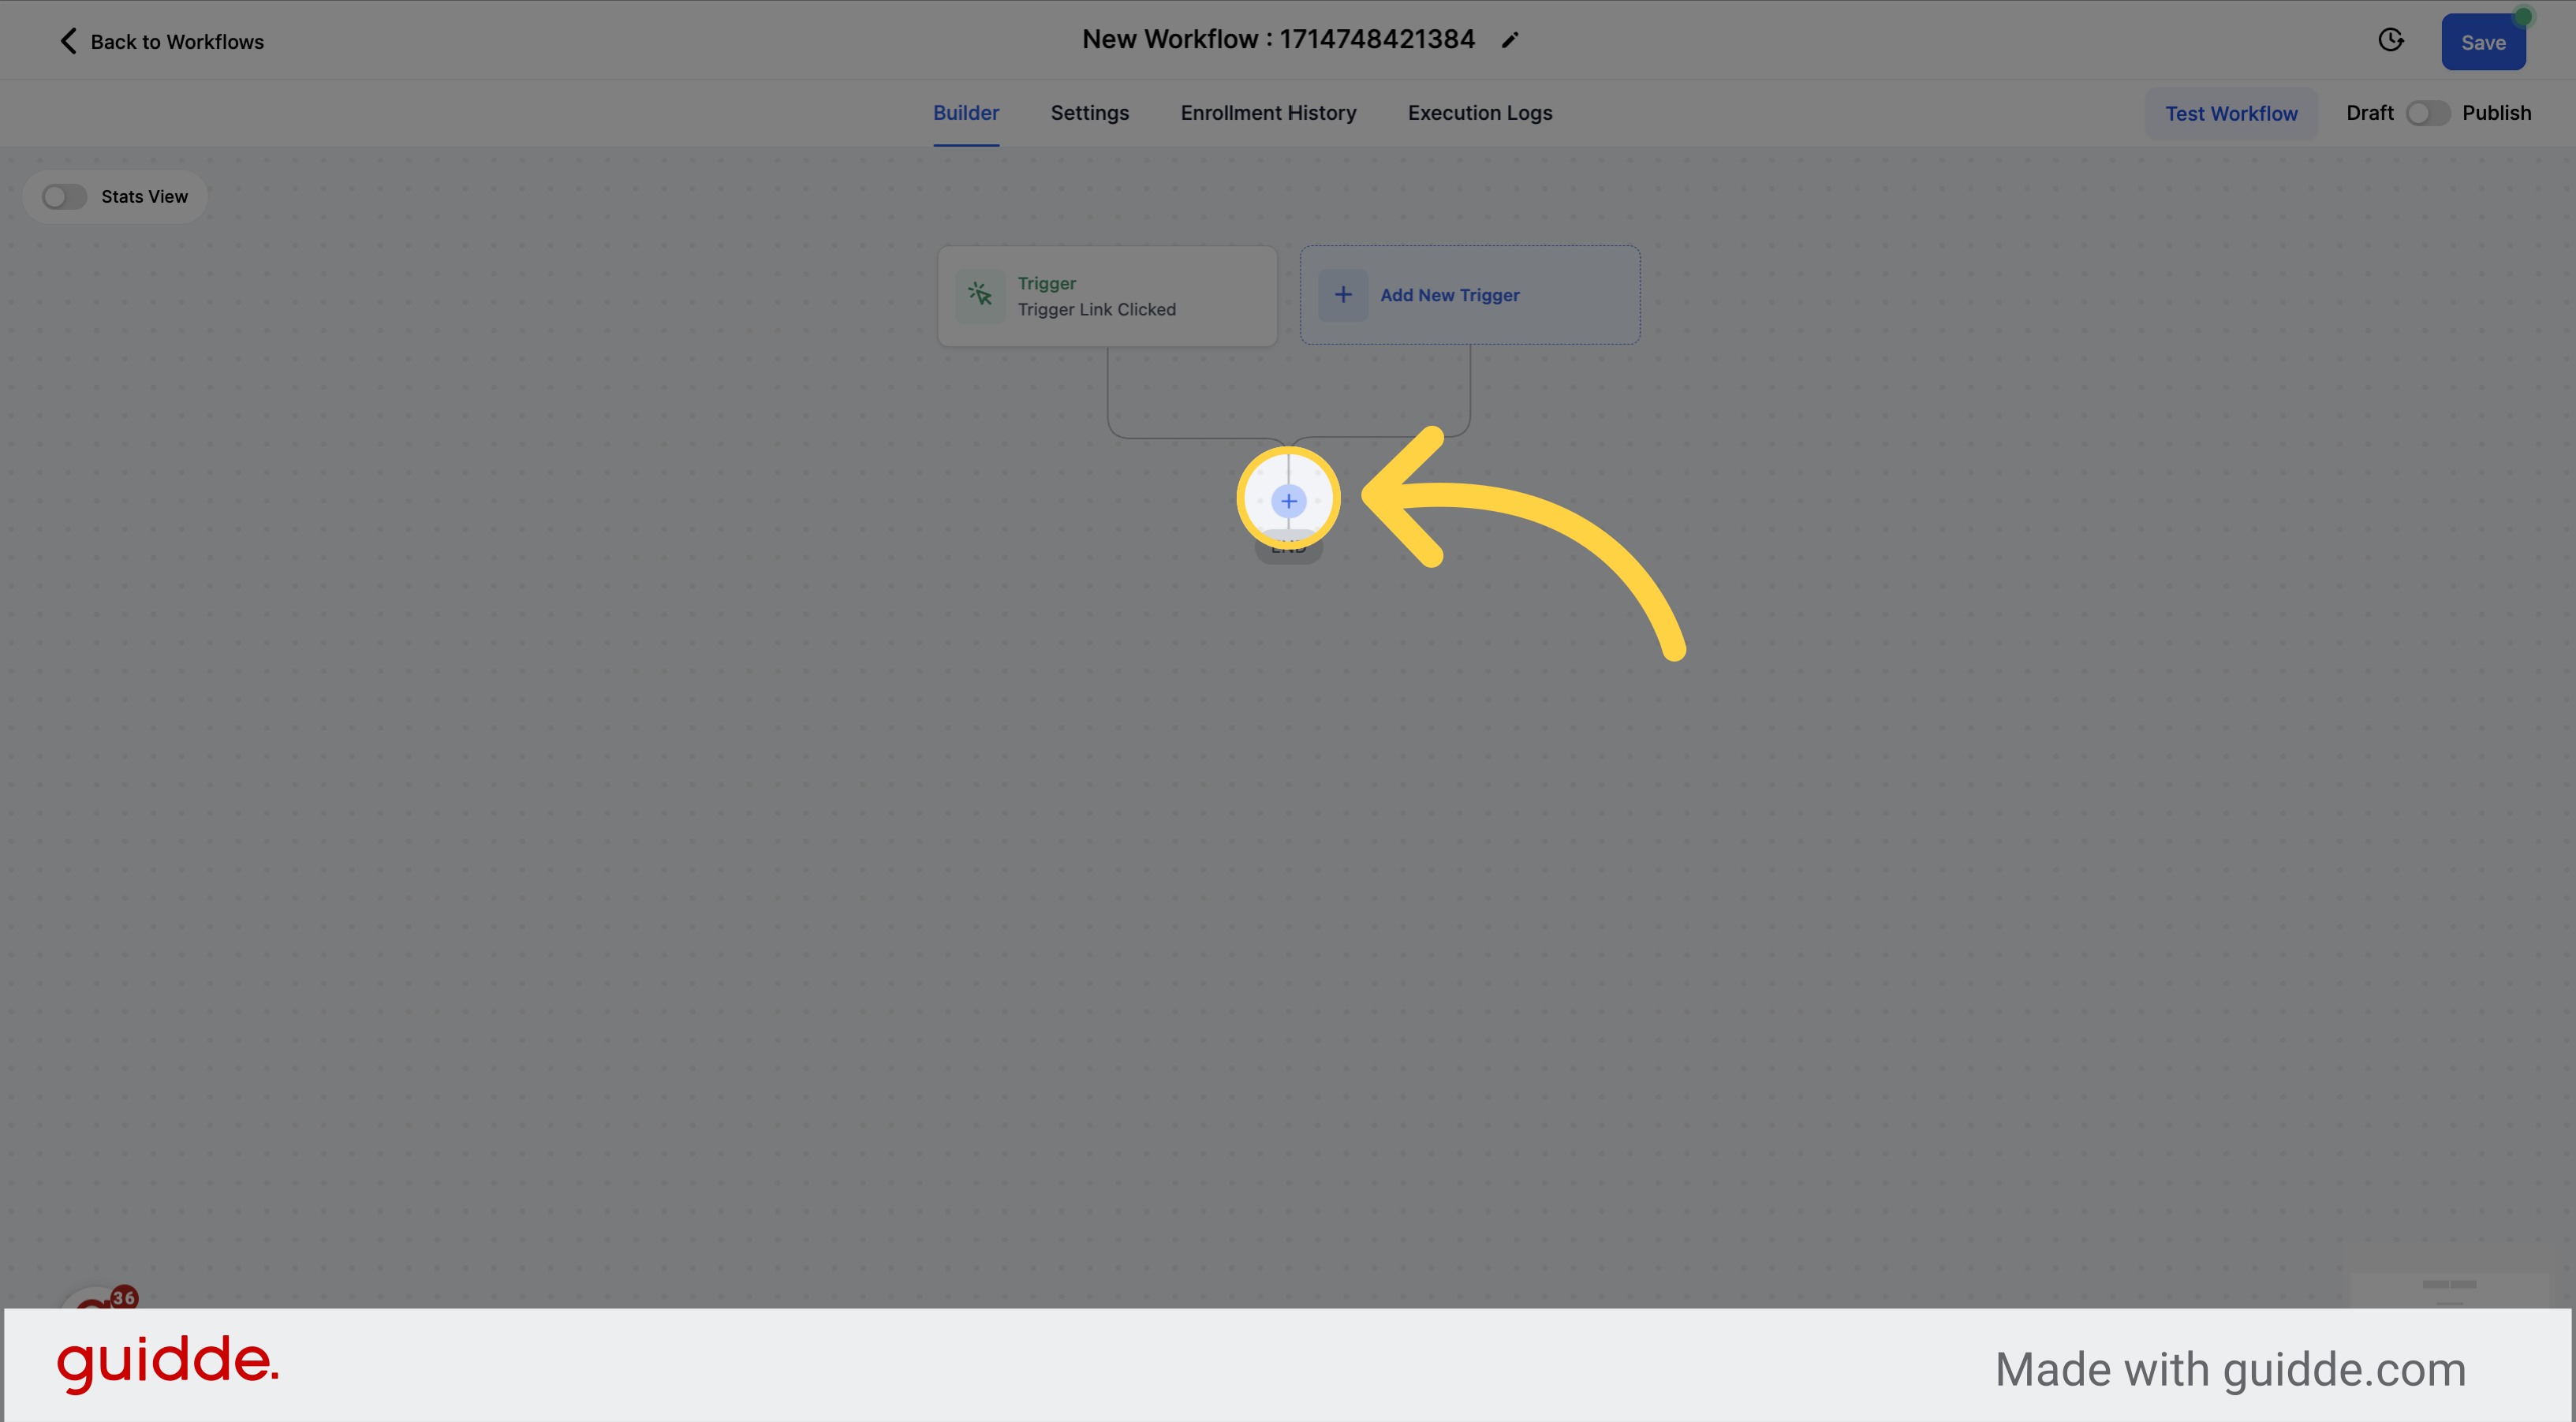
Click on the plus icon to add a new step to the workflow.
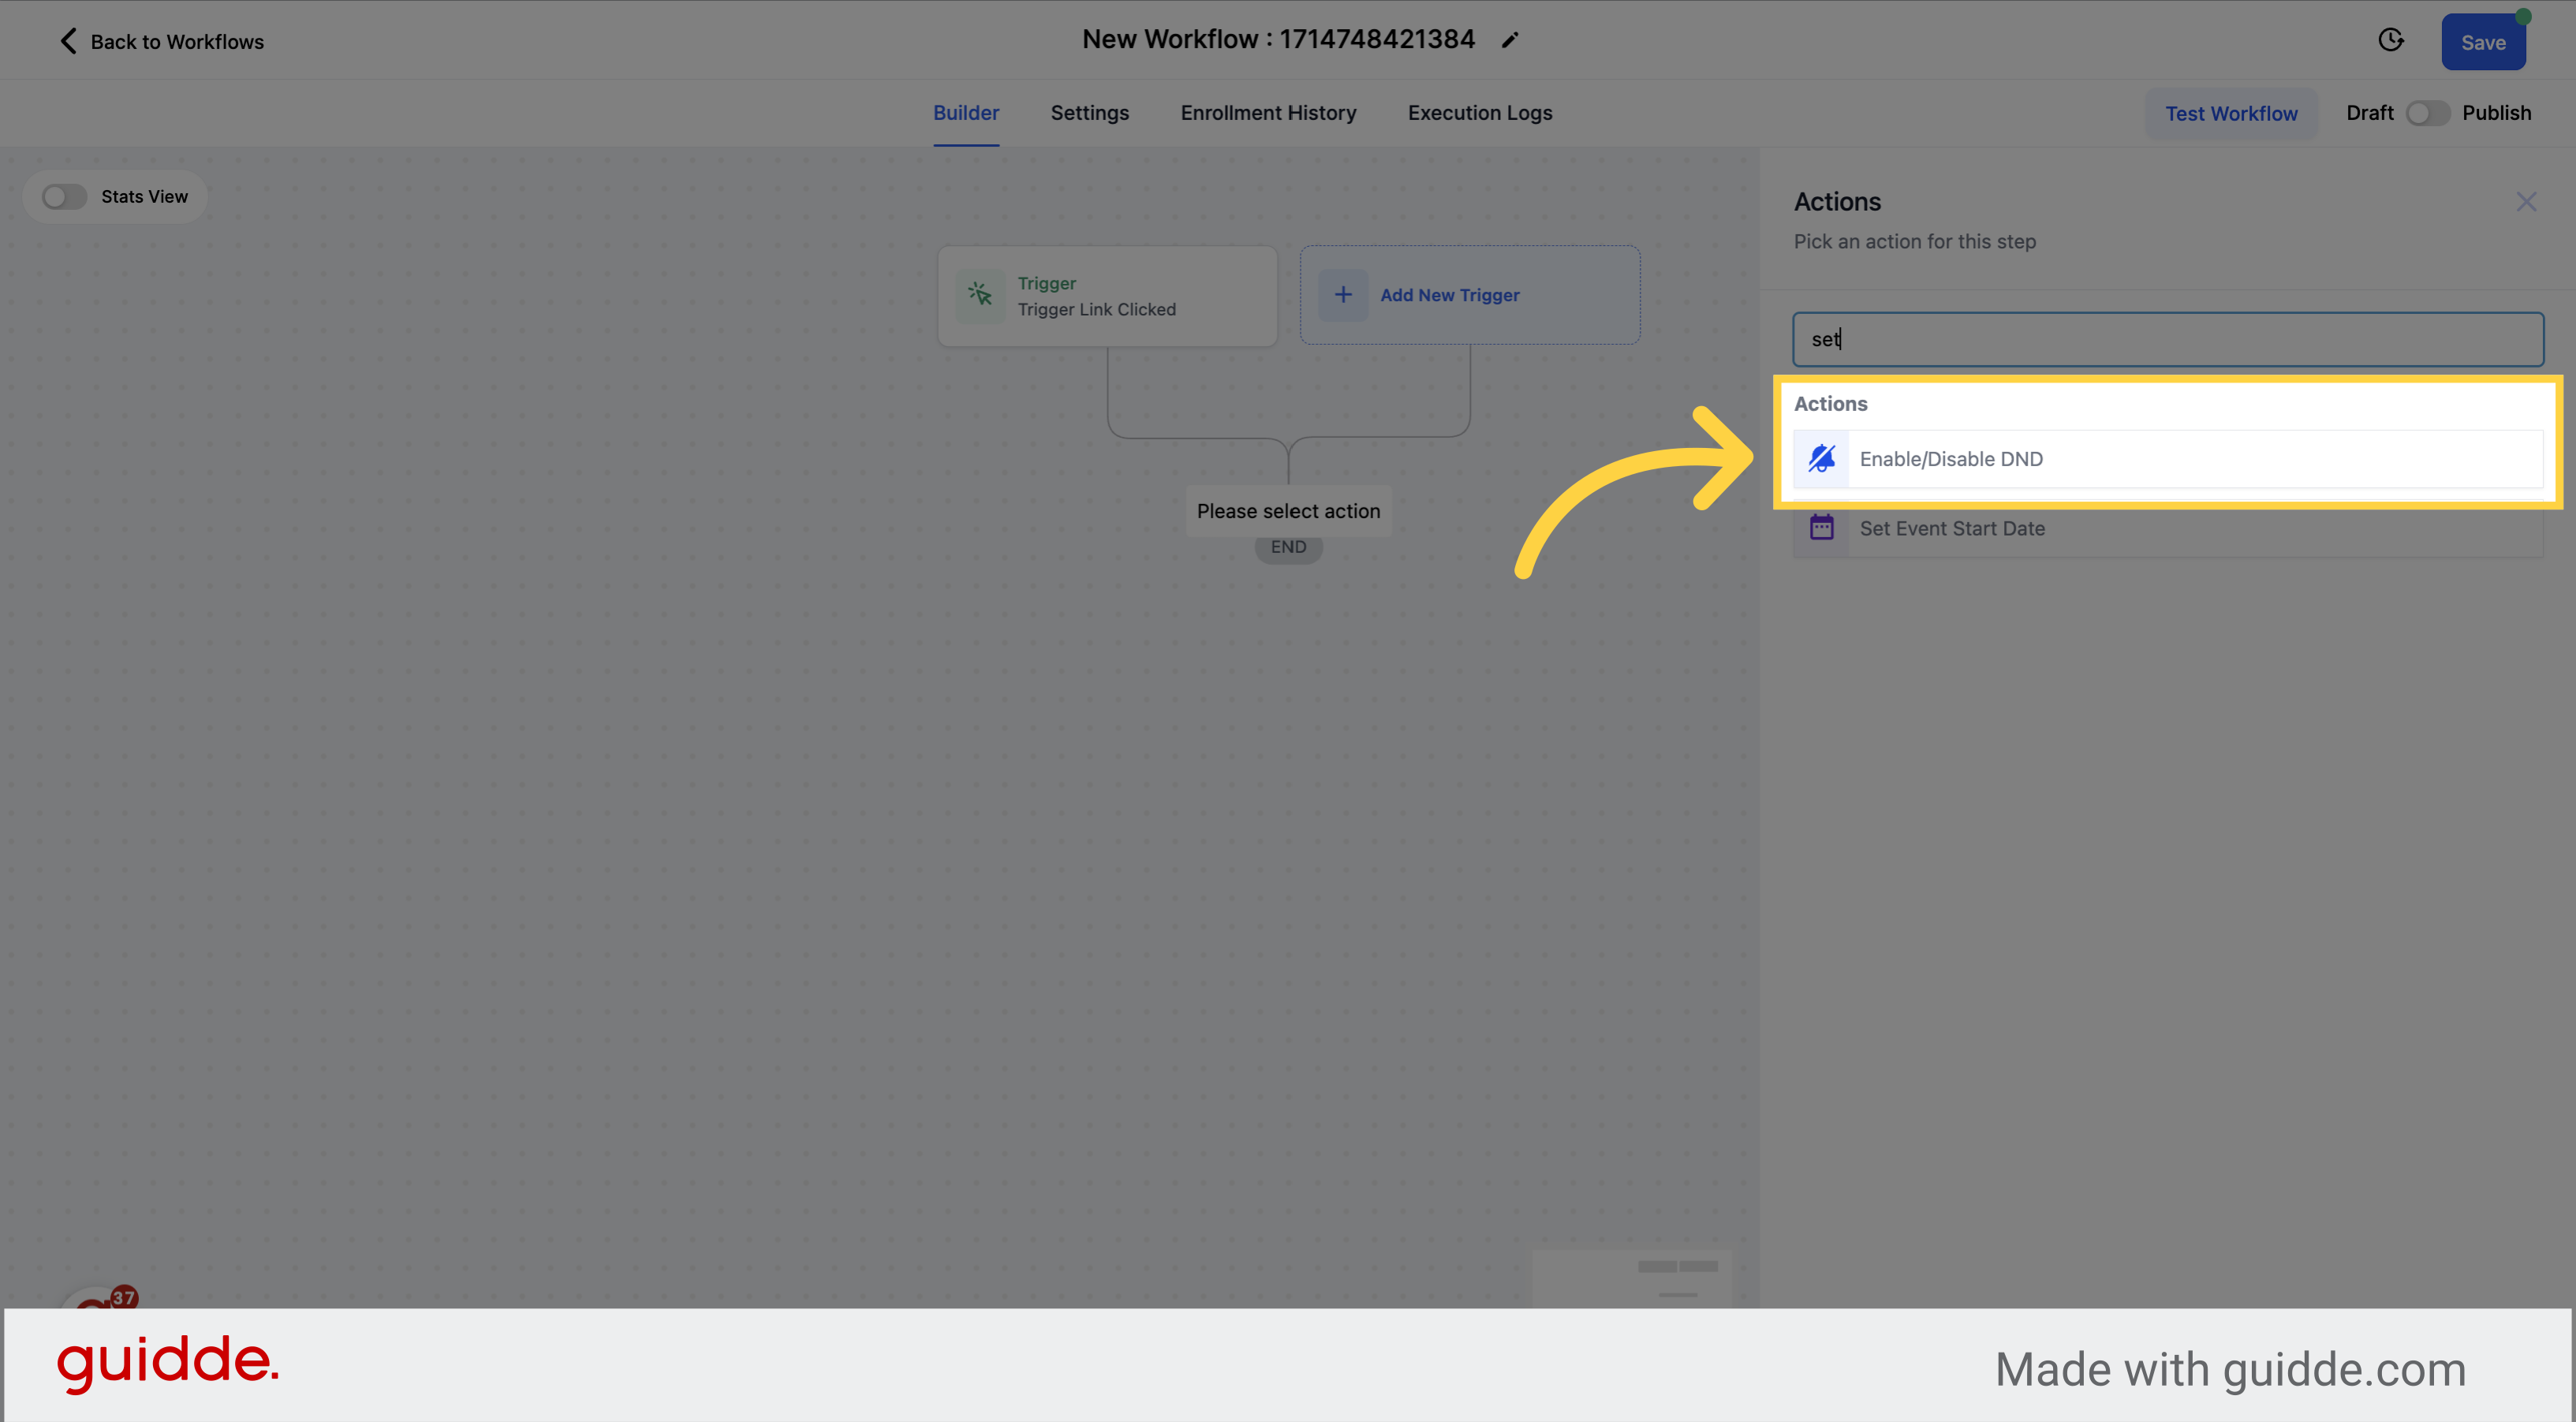
Look for the Enable/Disable DND option from the actions menu.
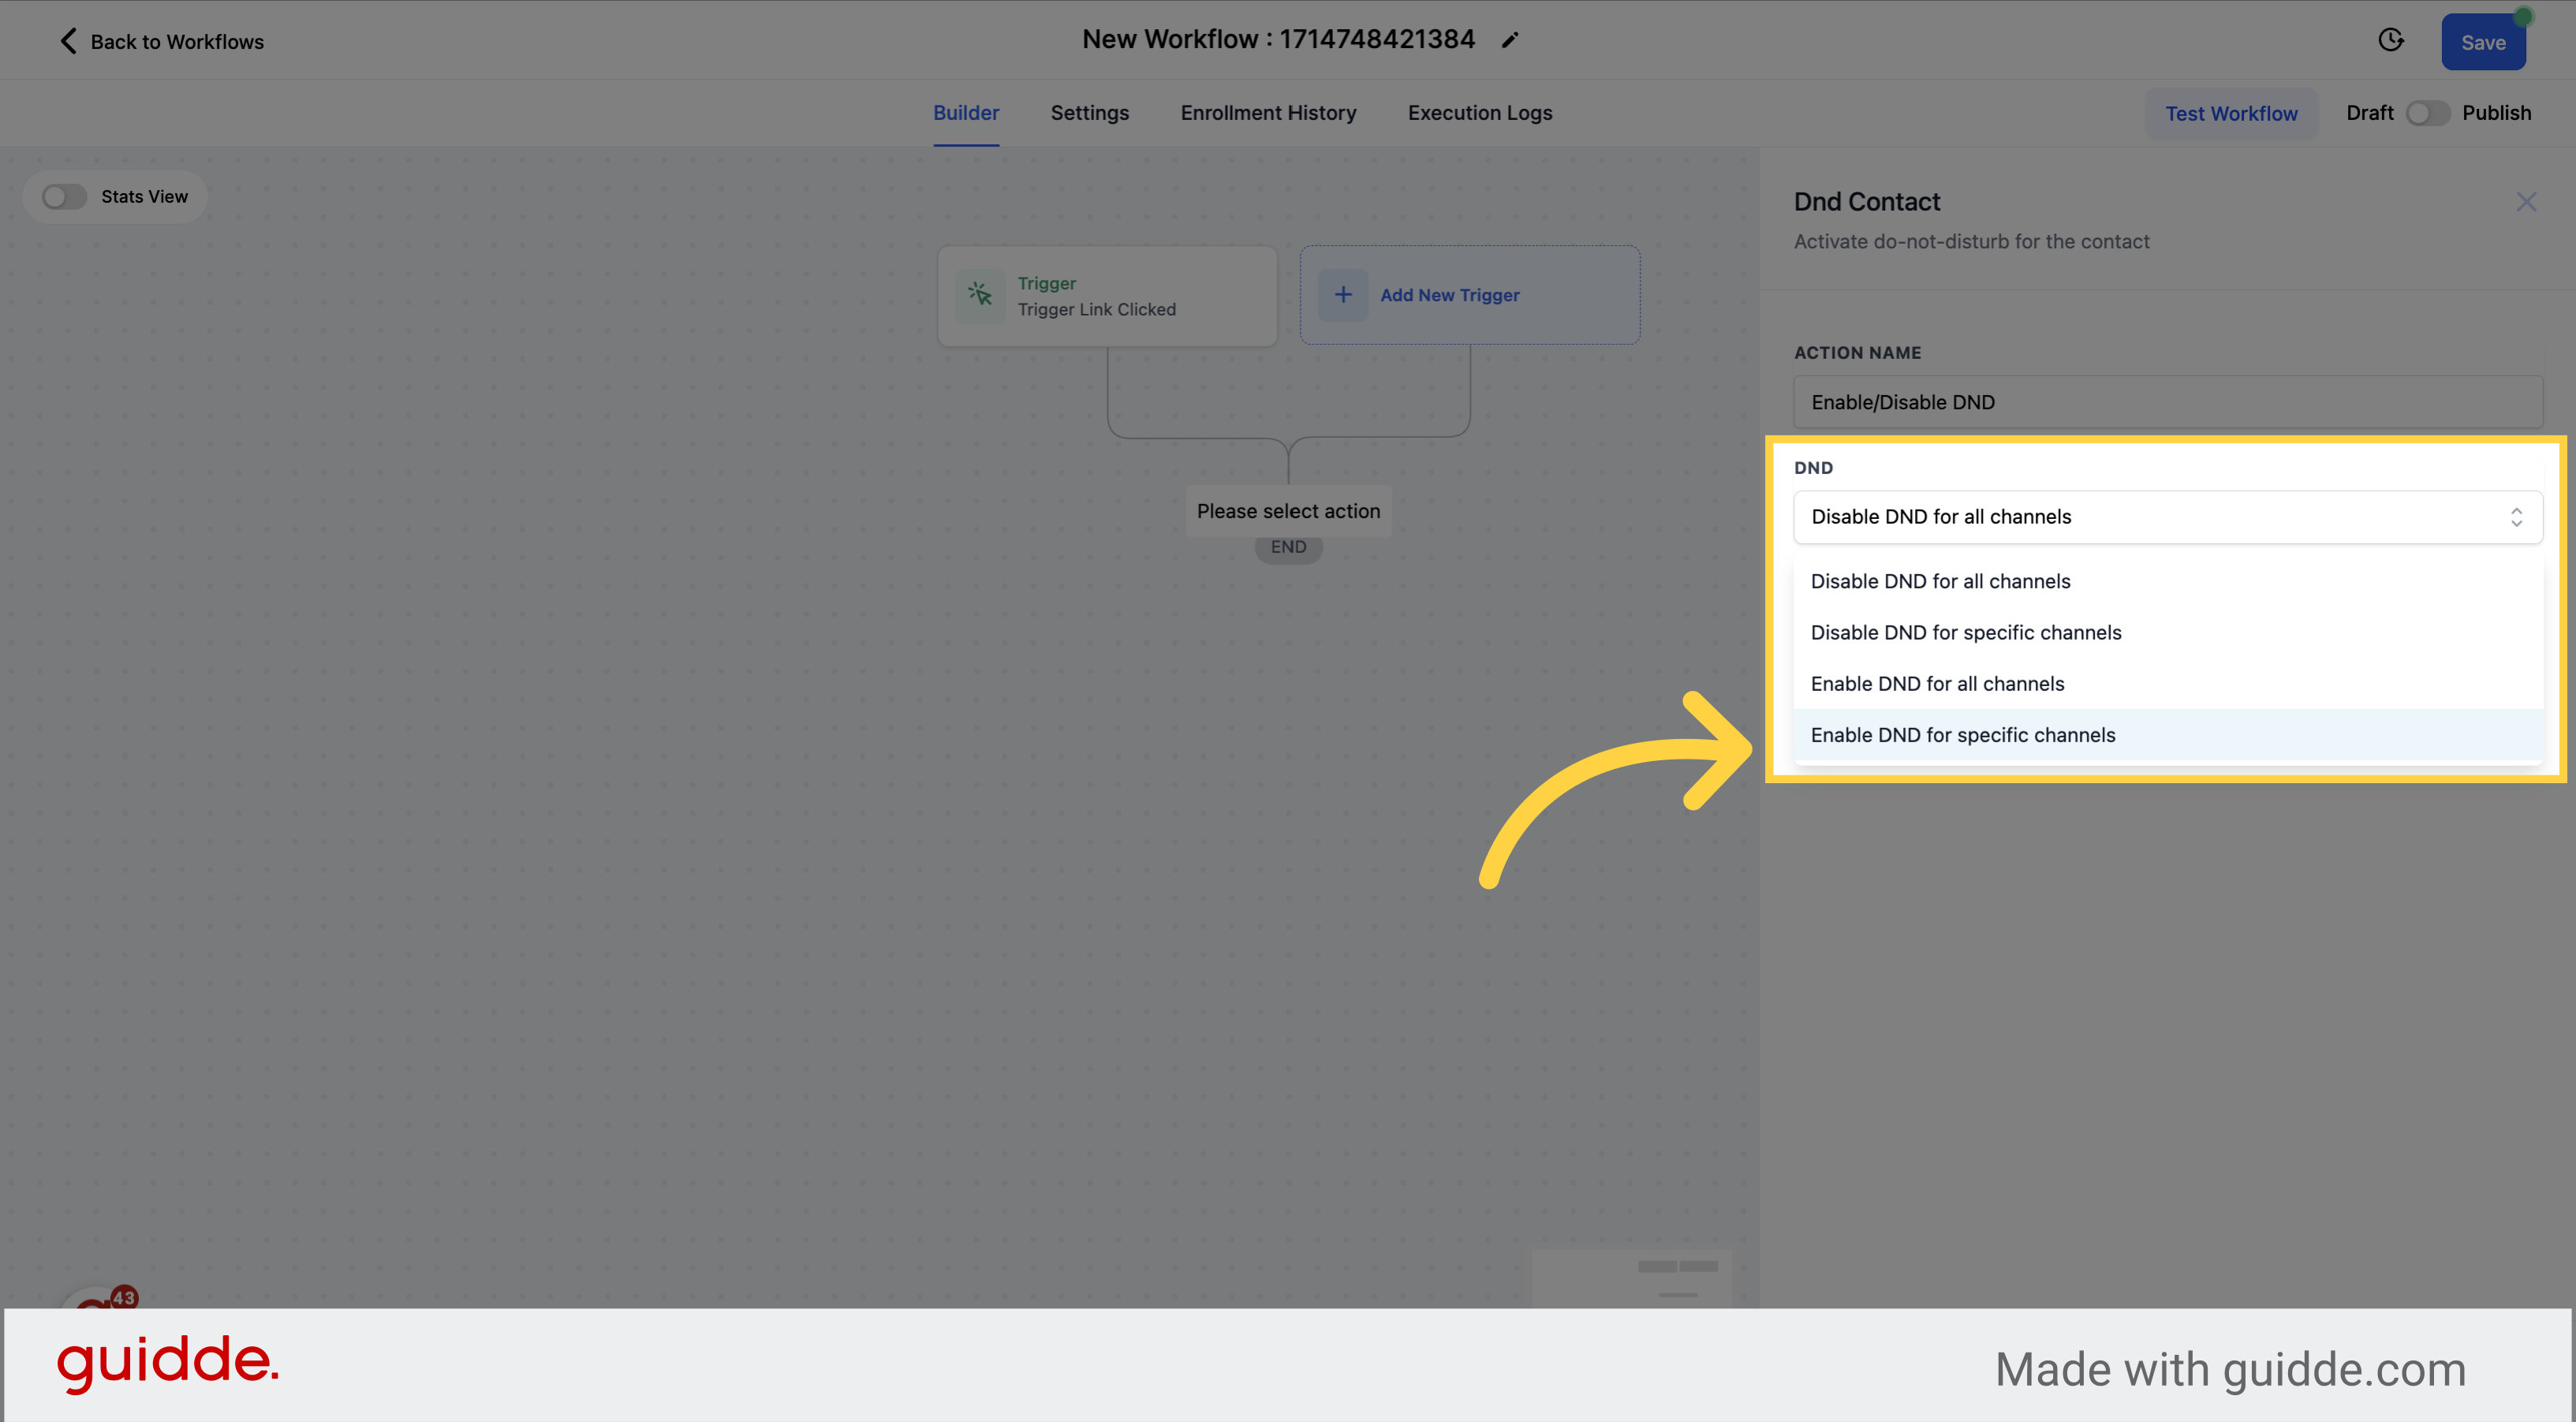
Click on select to find the different options to enable/disable DND.
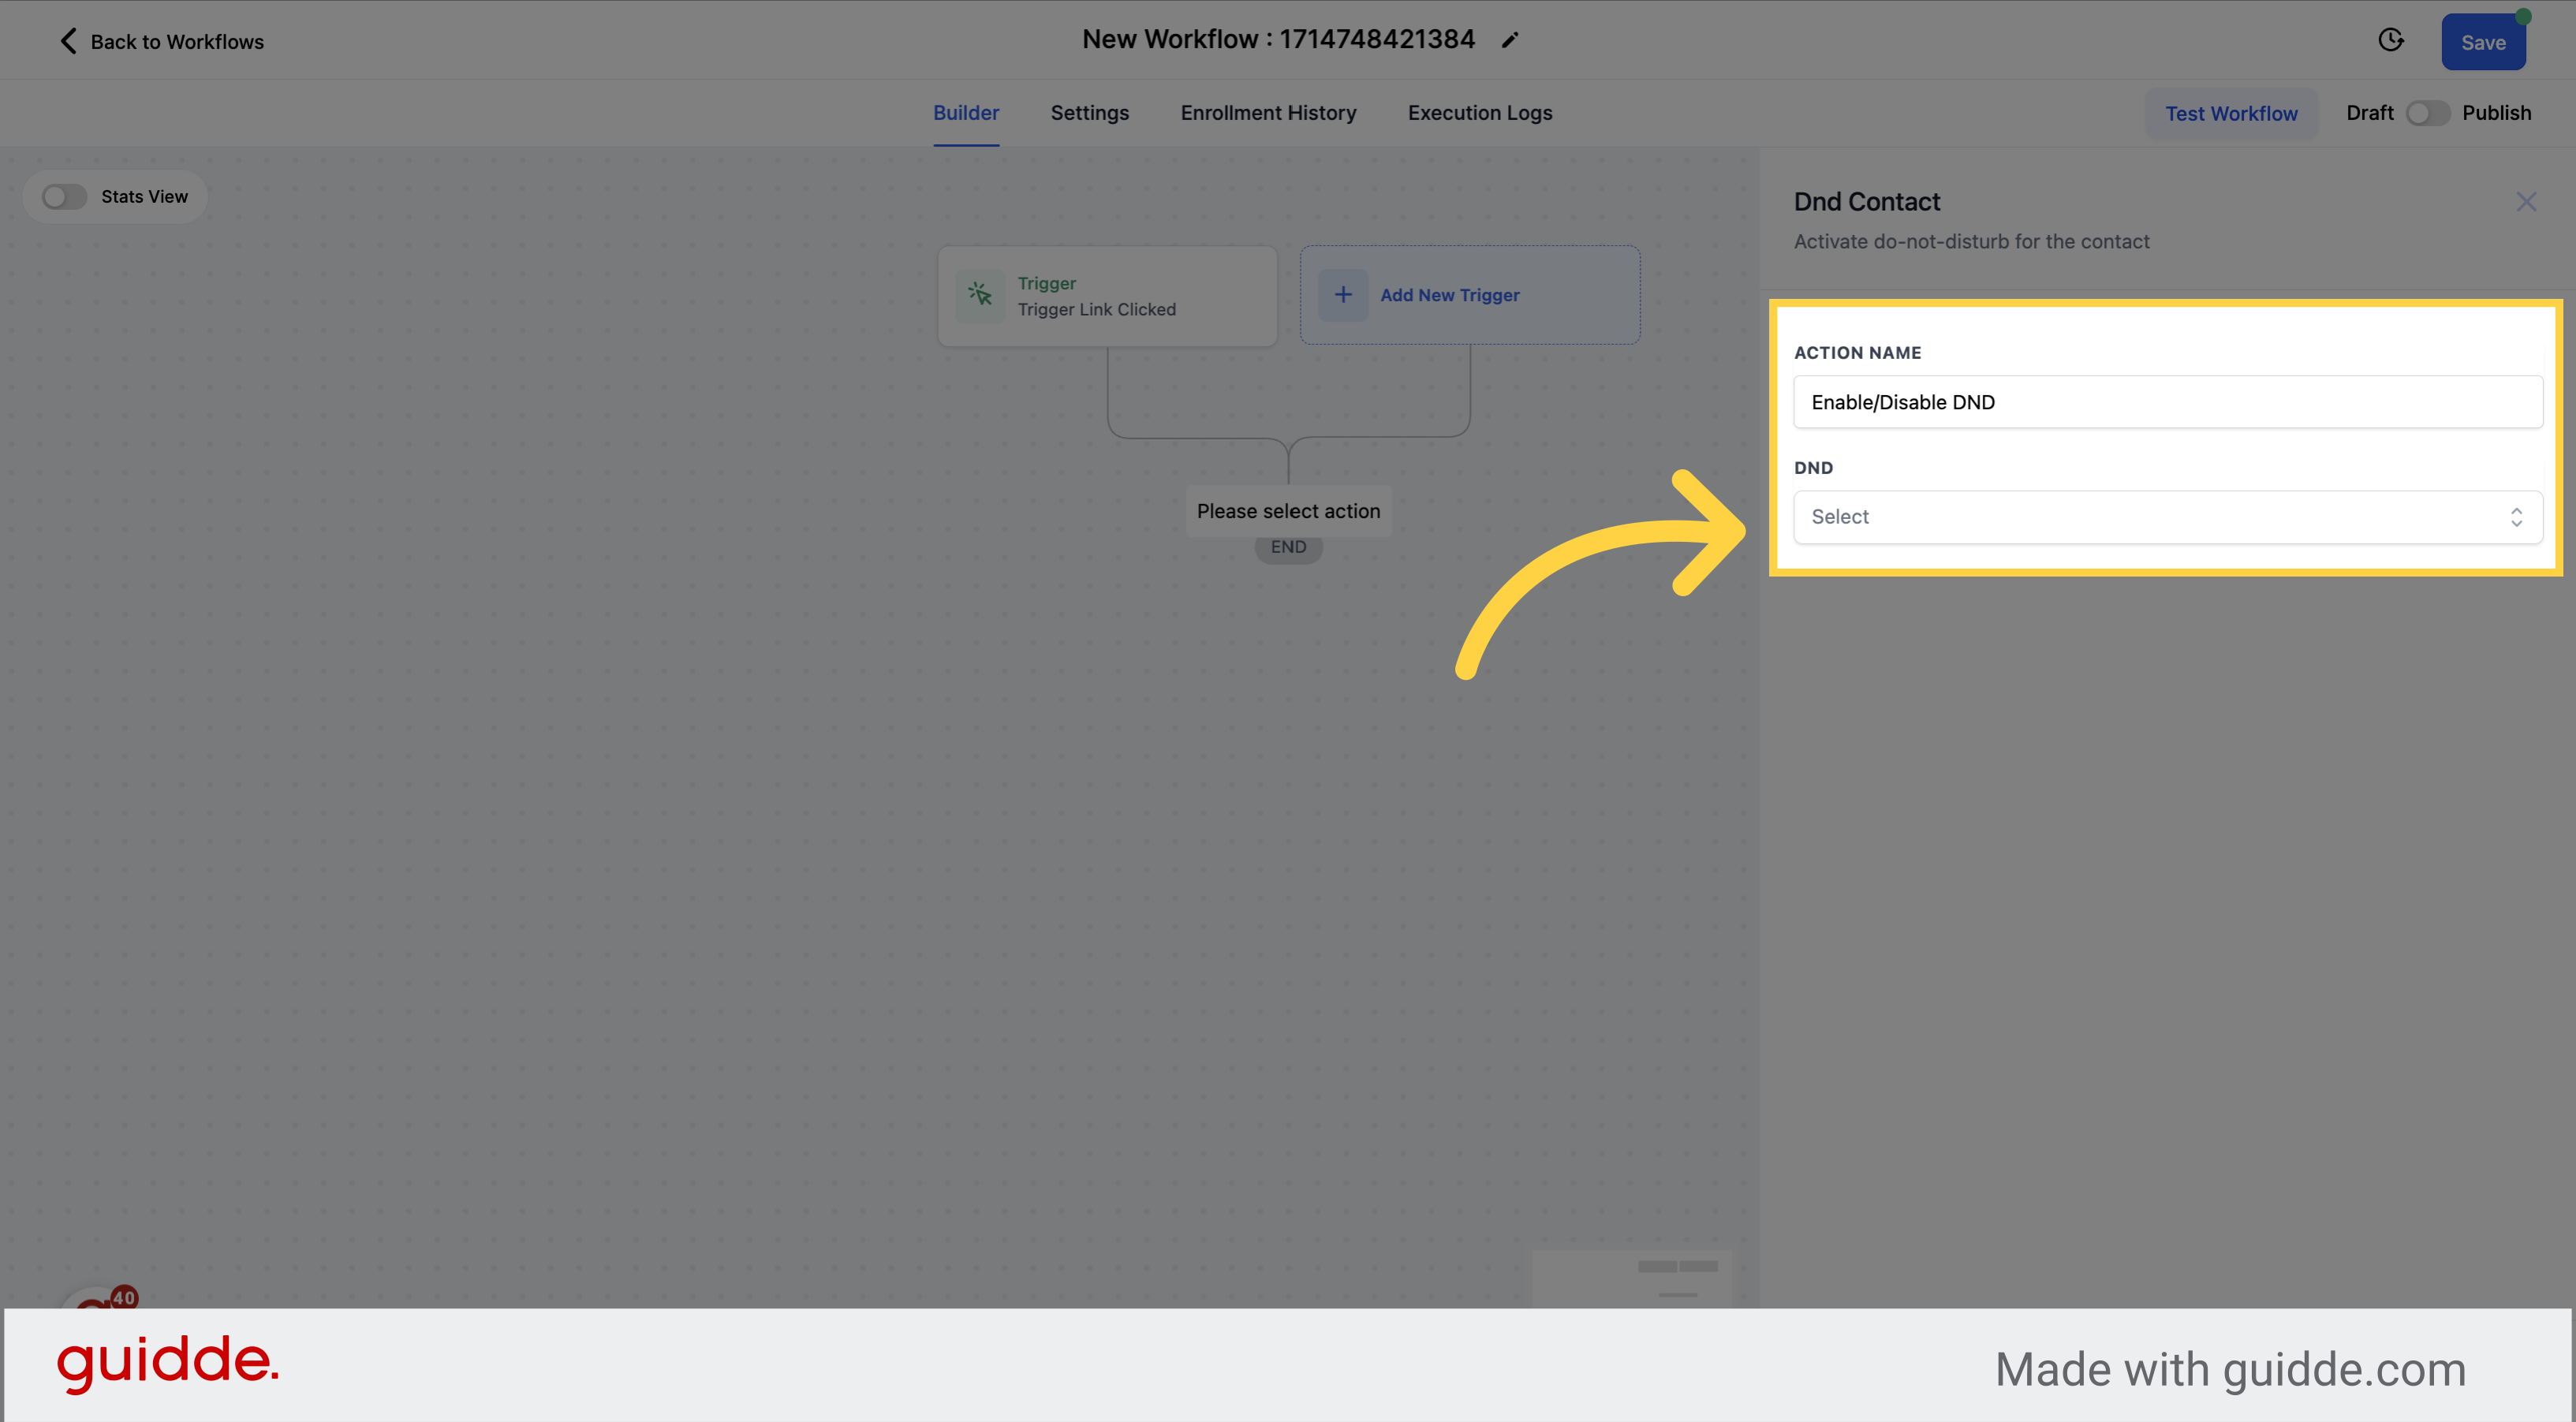
Choose the options to enable Do Not Disturb for specific channels.
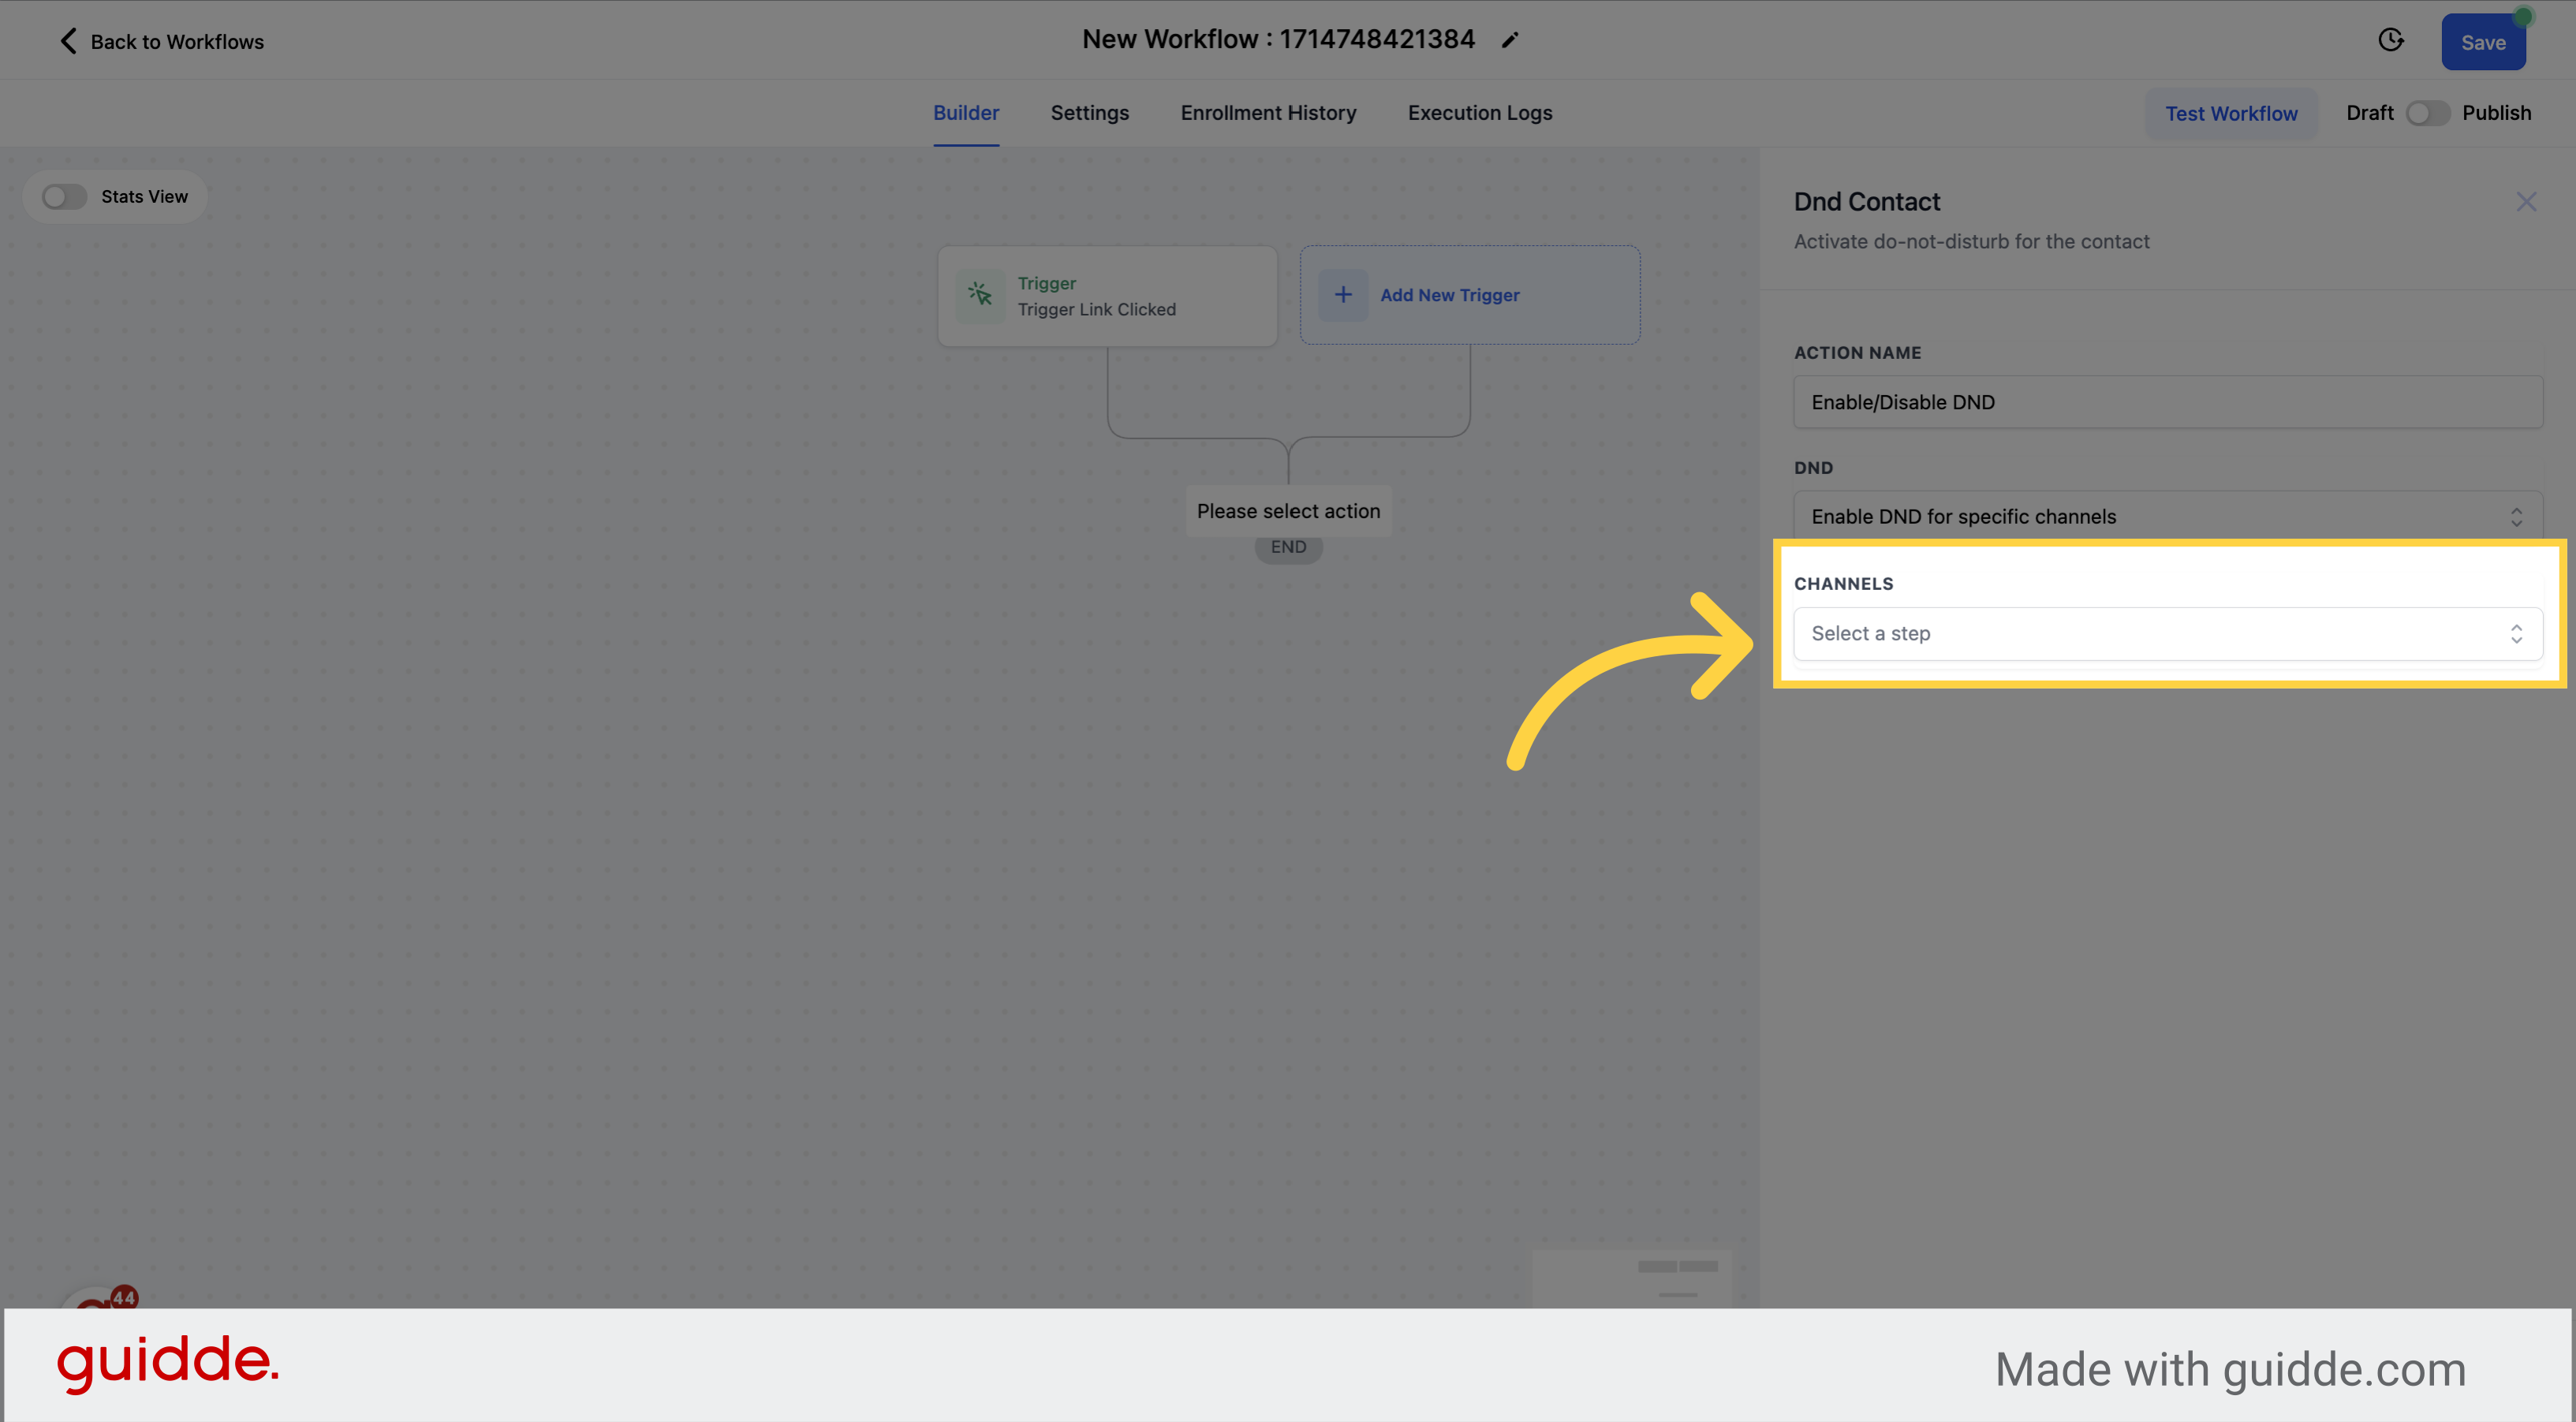
Click on select a step to have more options for channels.
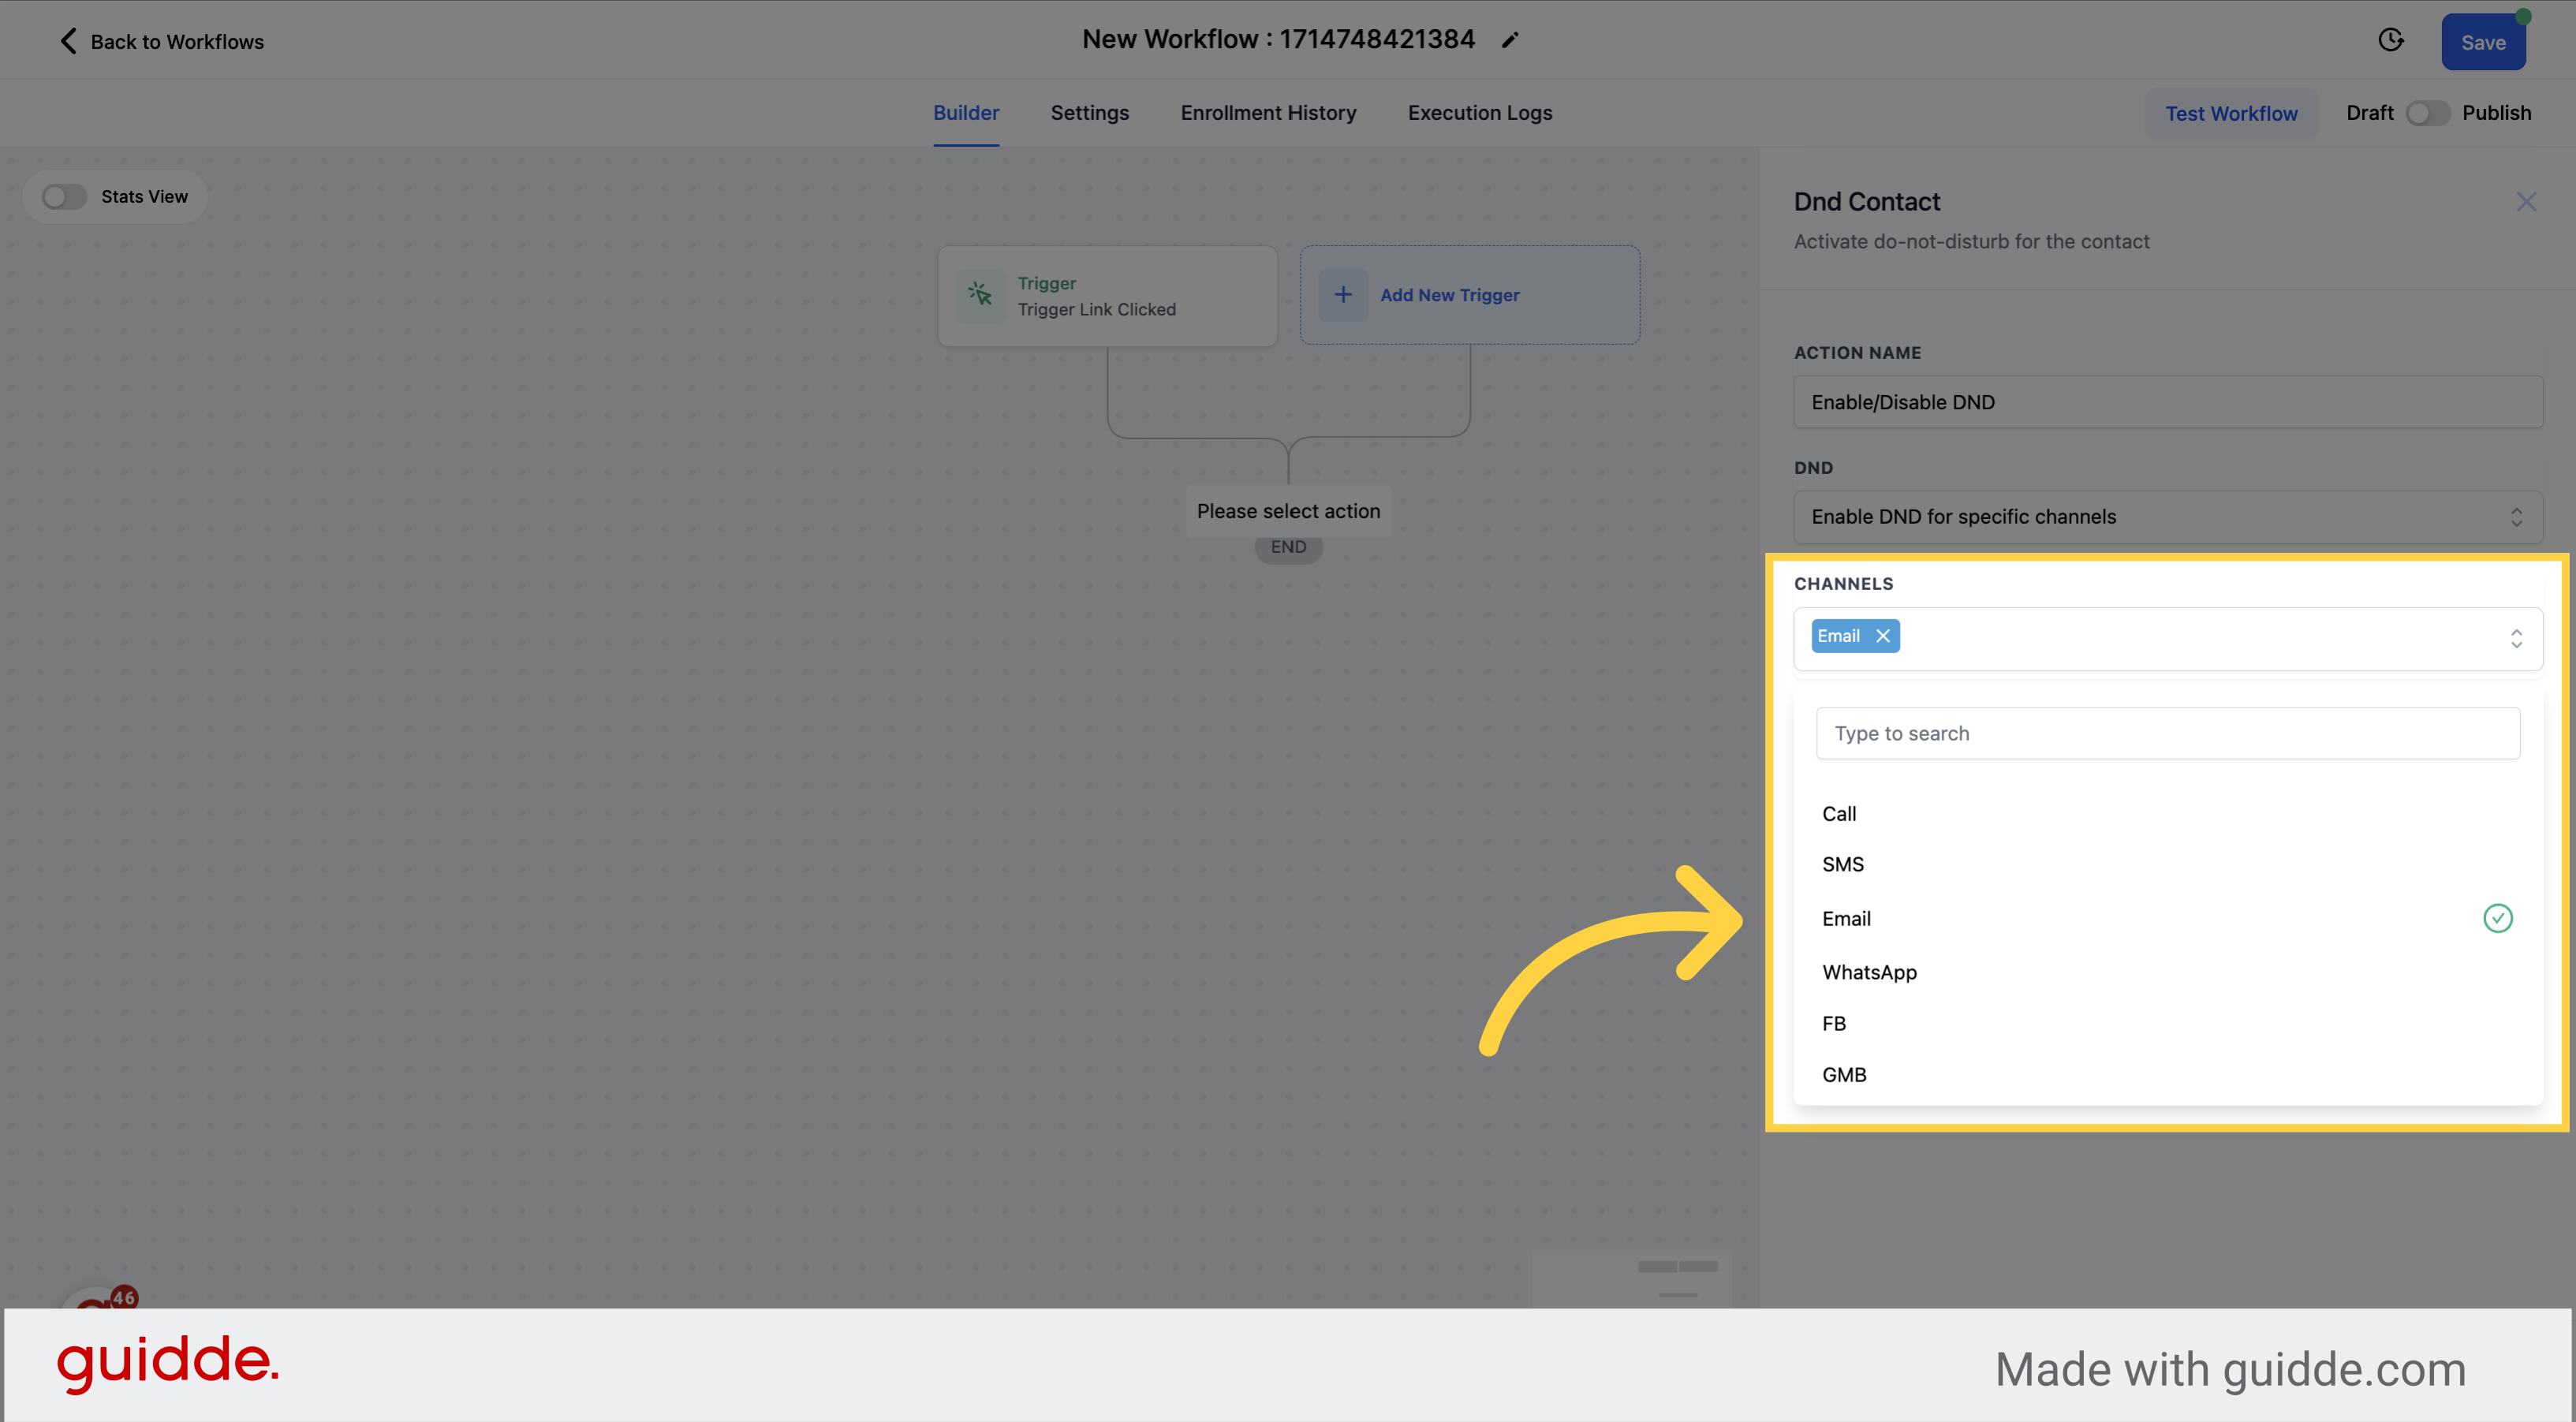
Select the Email option from the dropdown.
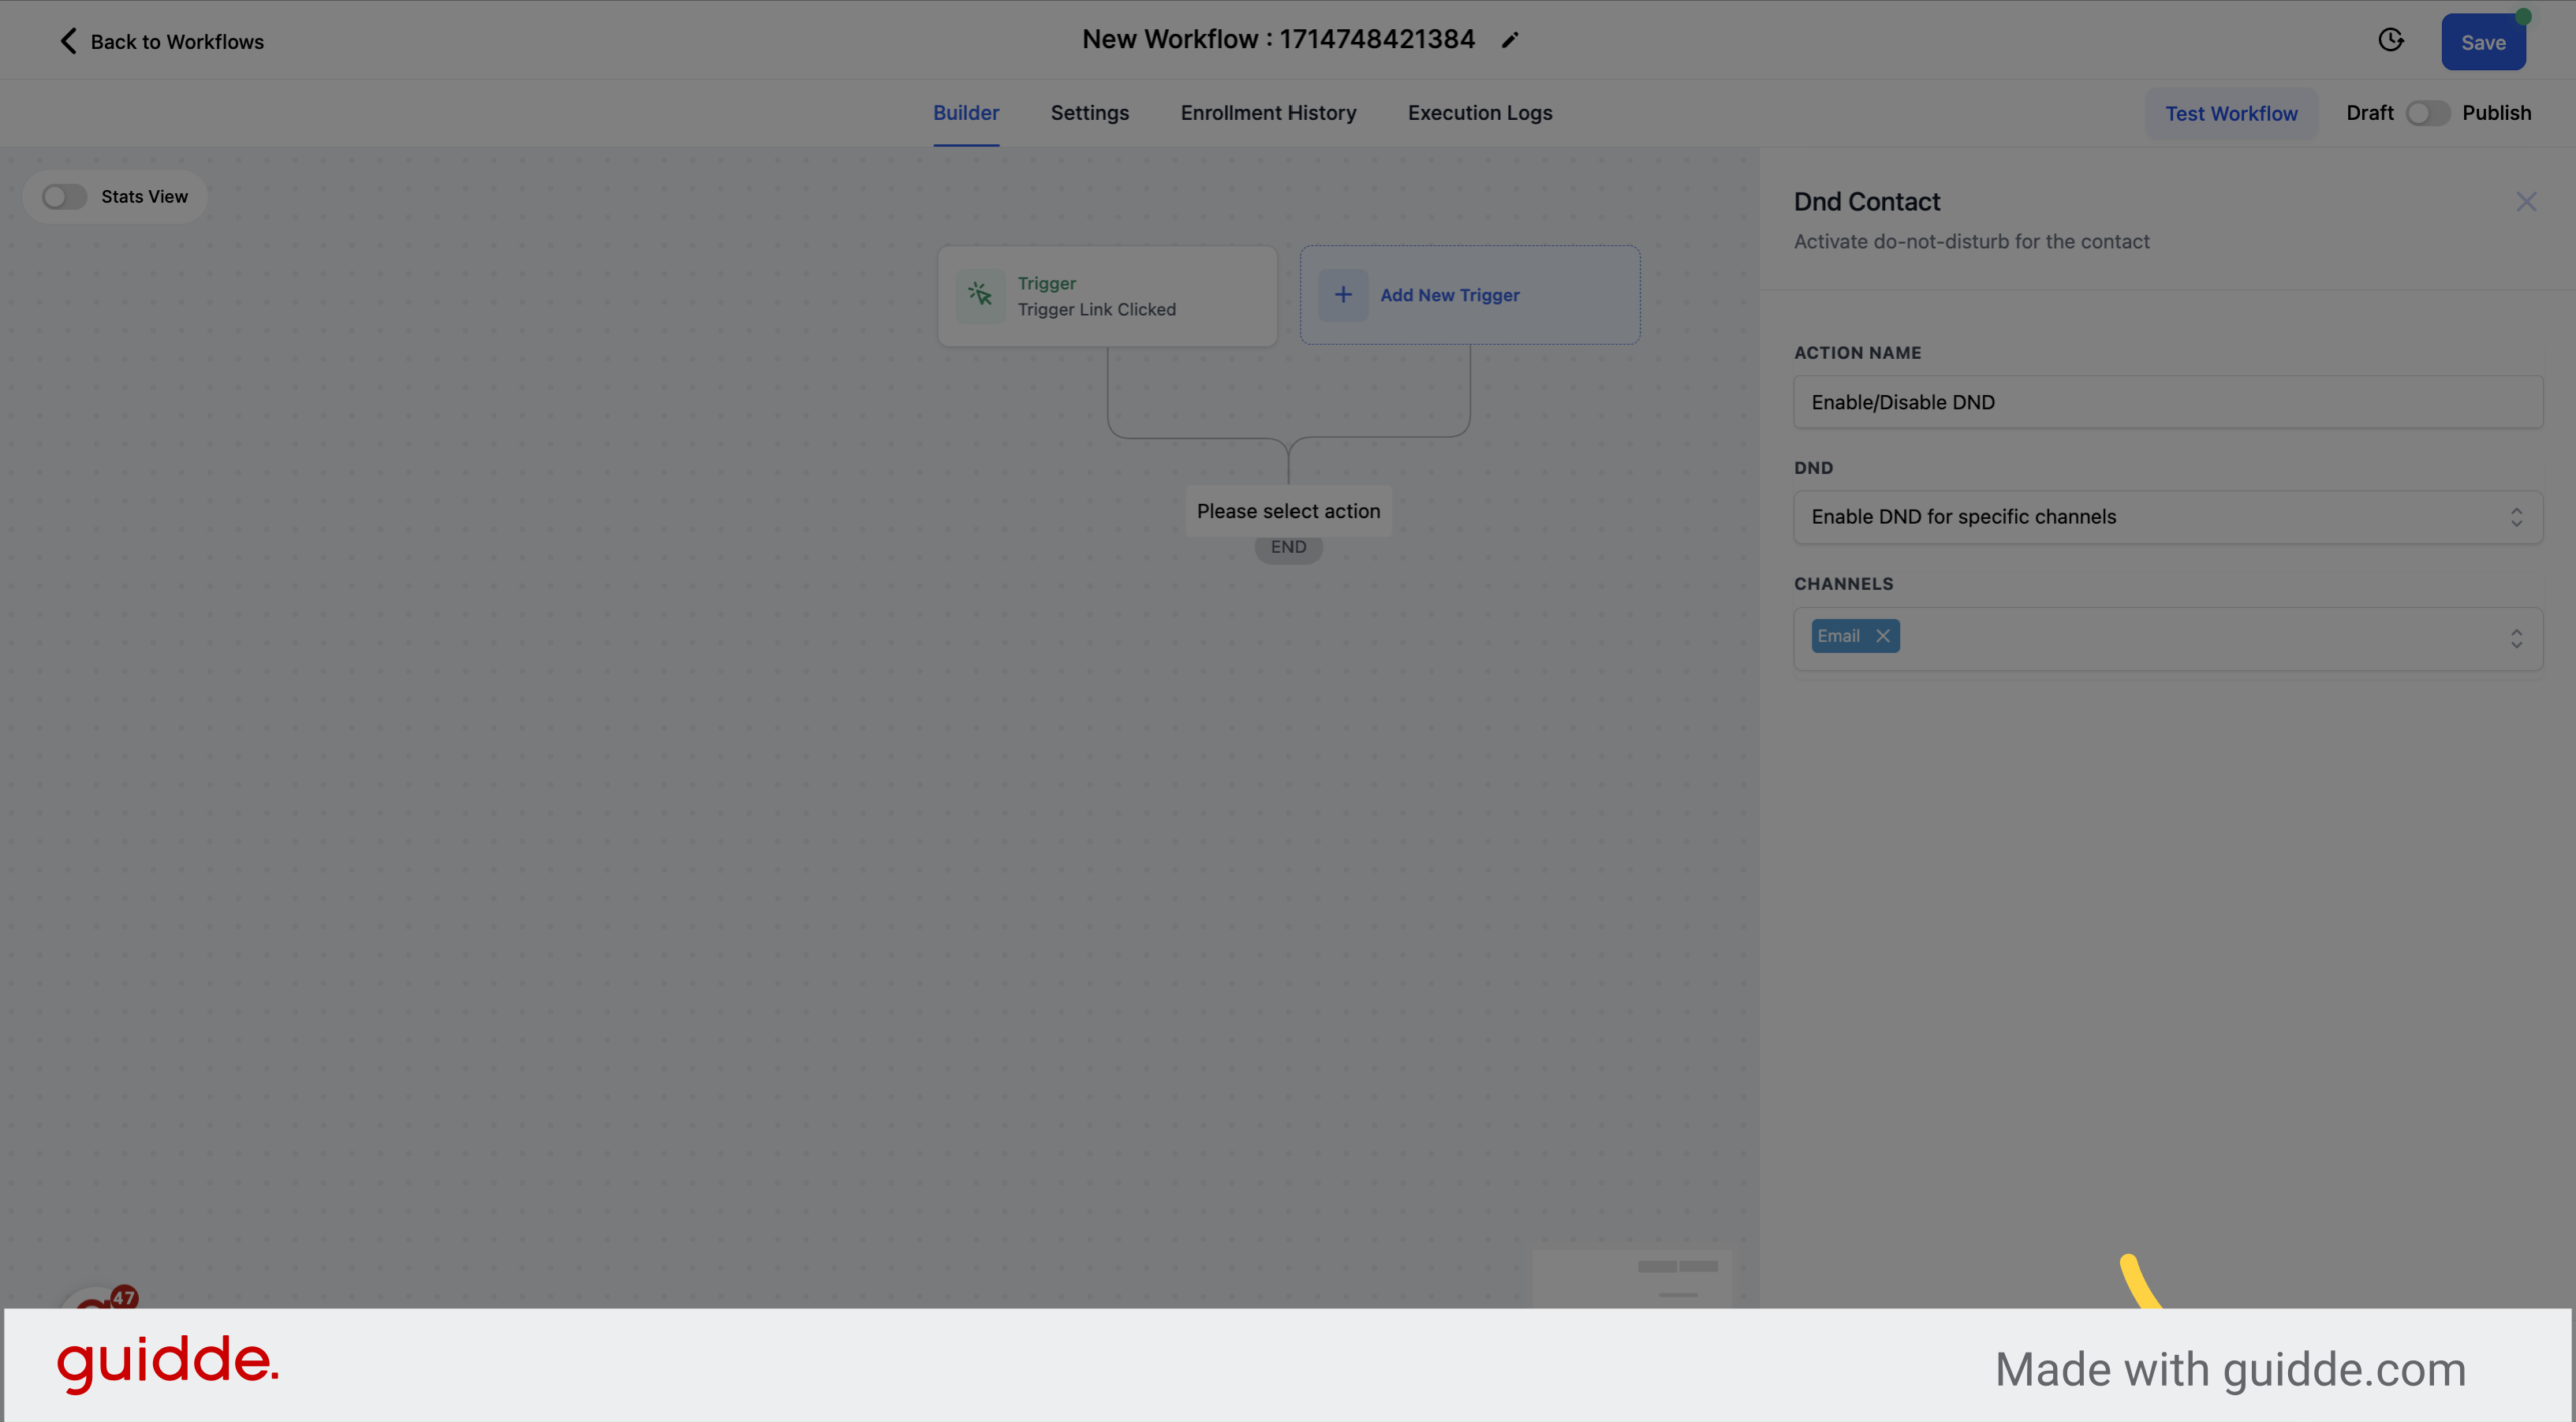
Once you have selected the channels, click on Save Action.
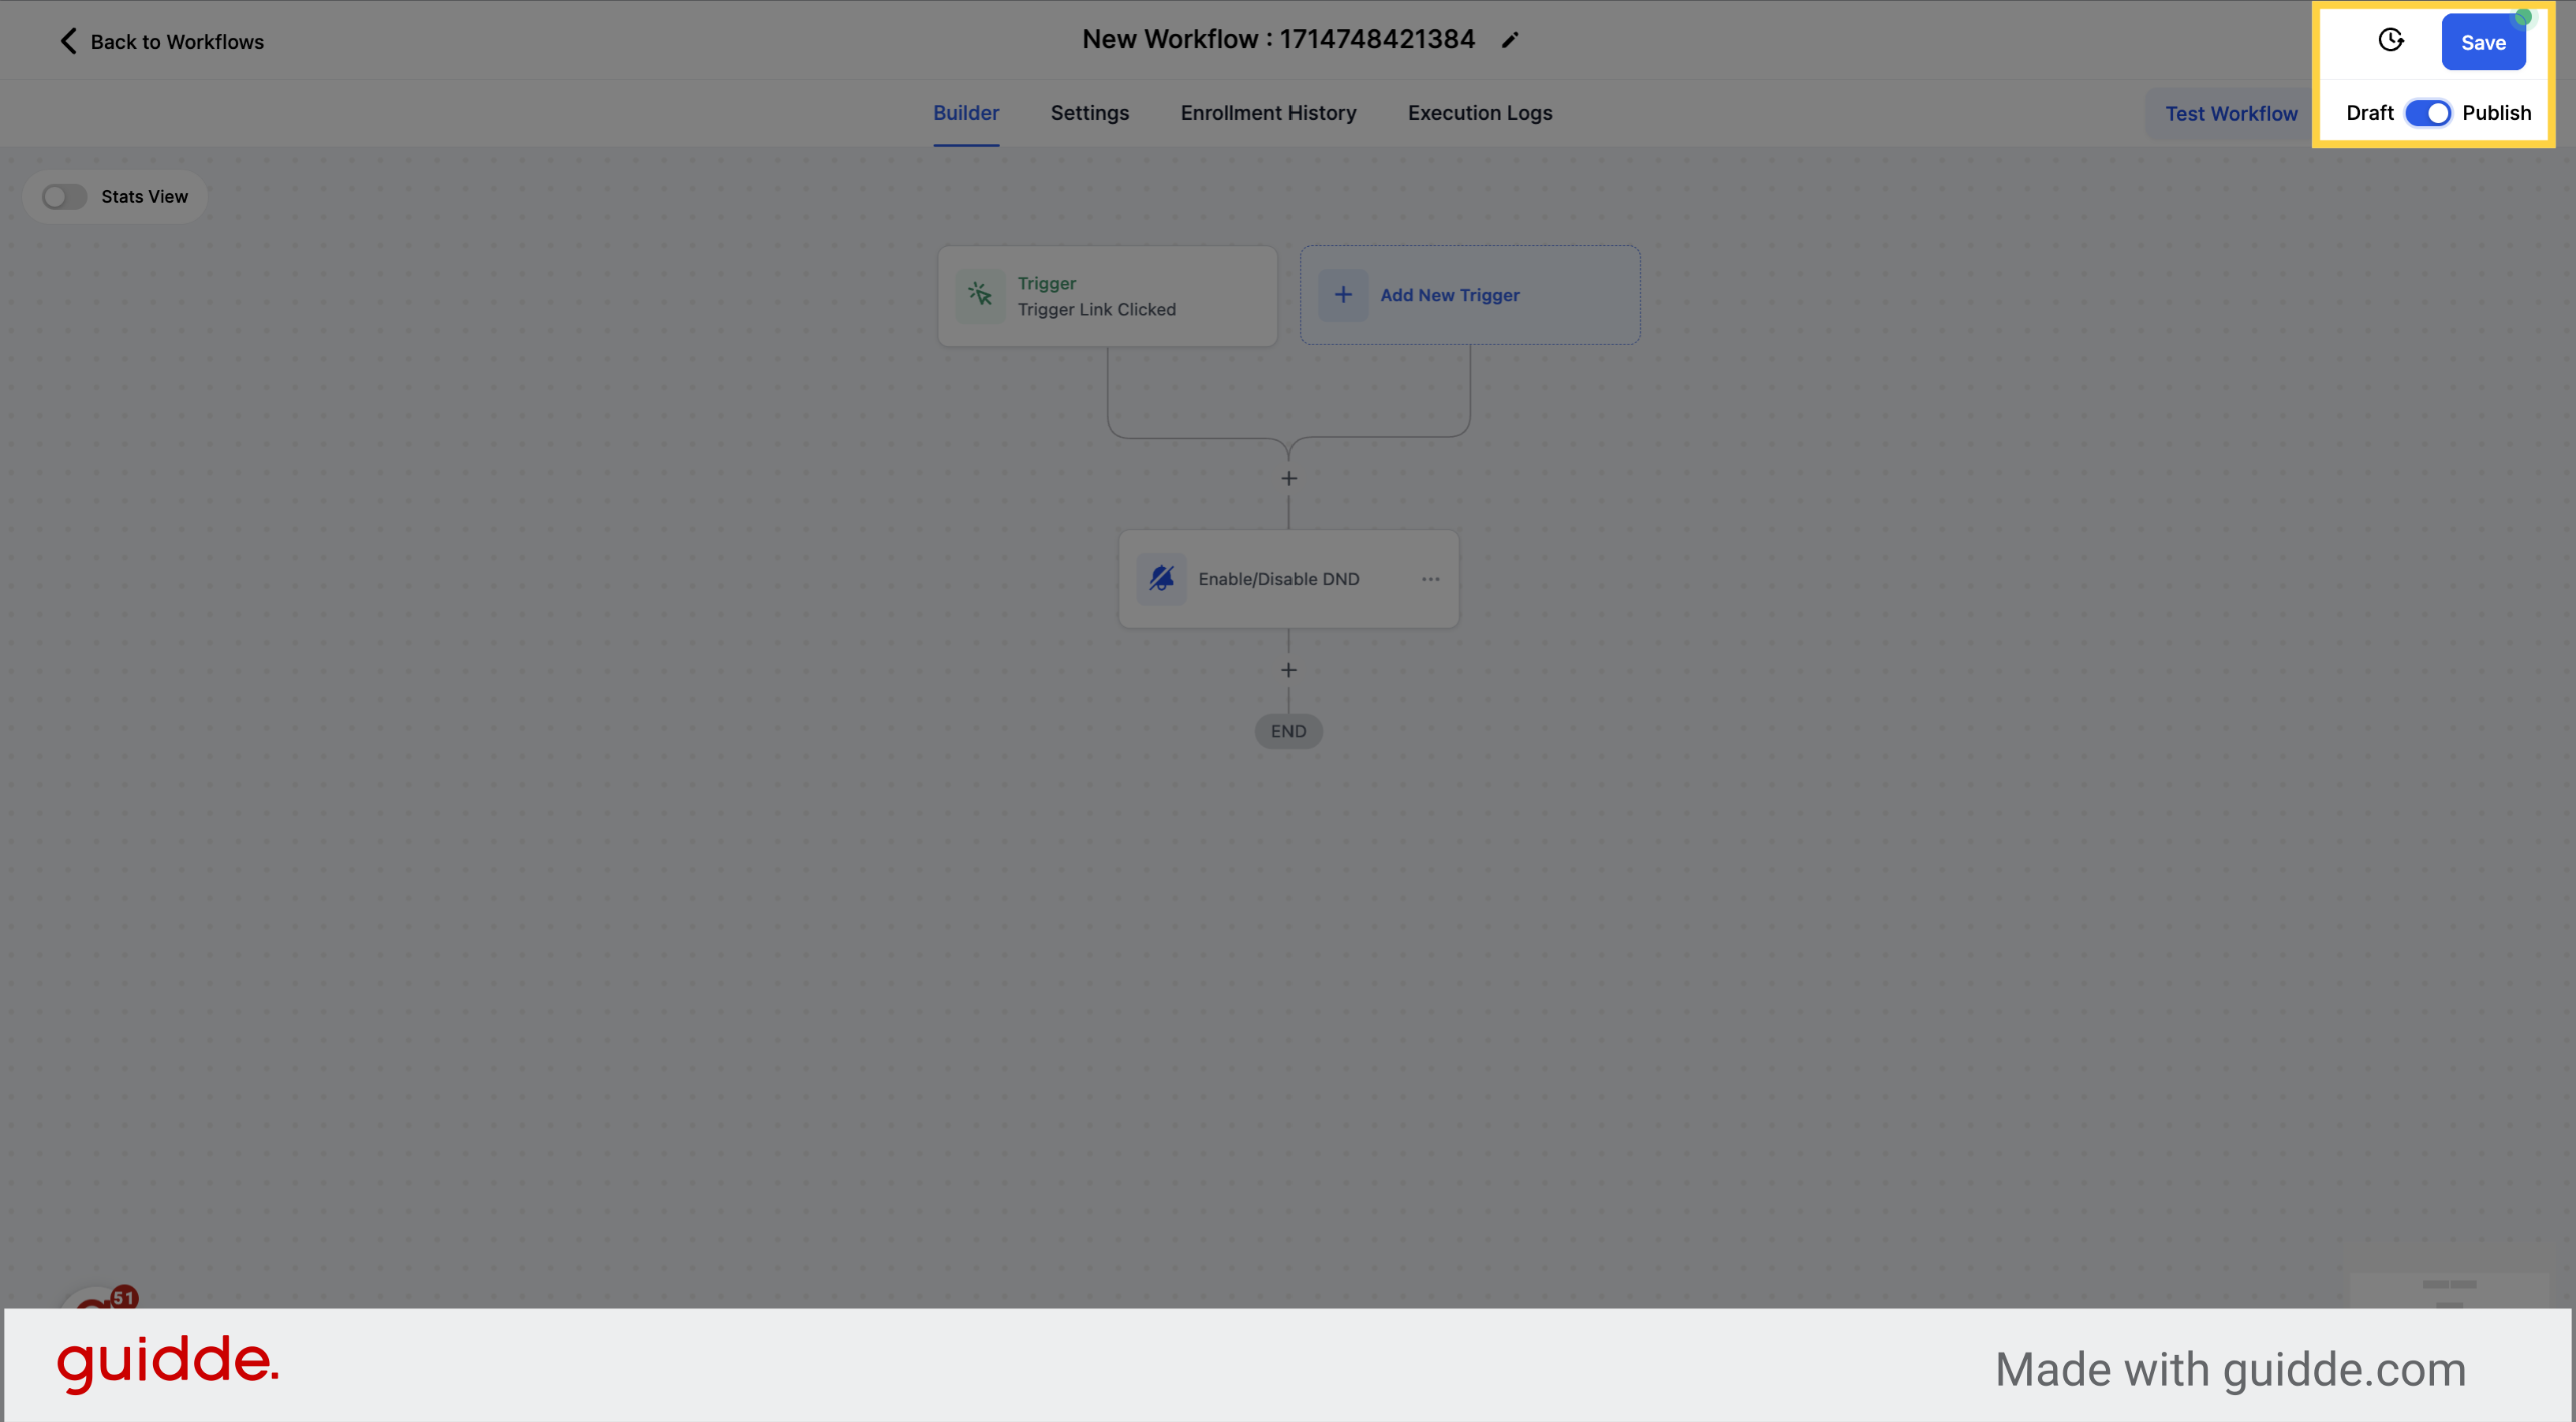
Save the changes and publish the workflow.
Navigate to the "Marketing" section on the left side menu.
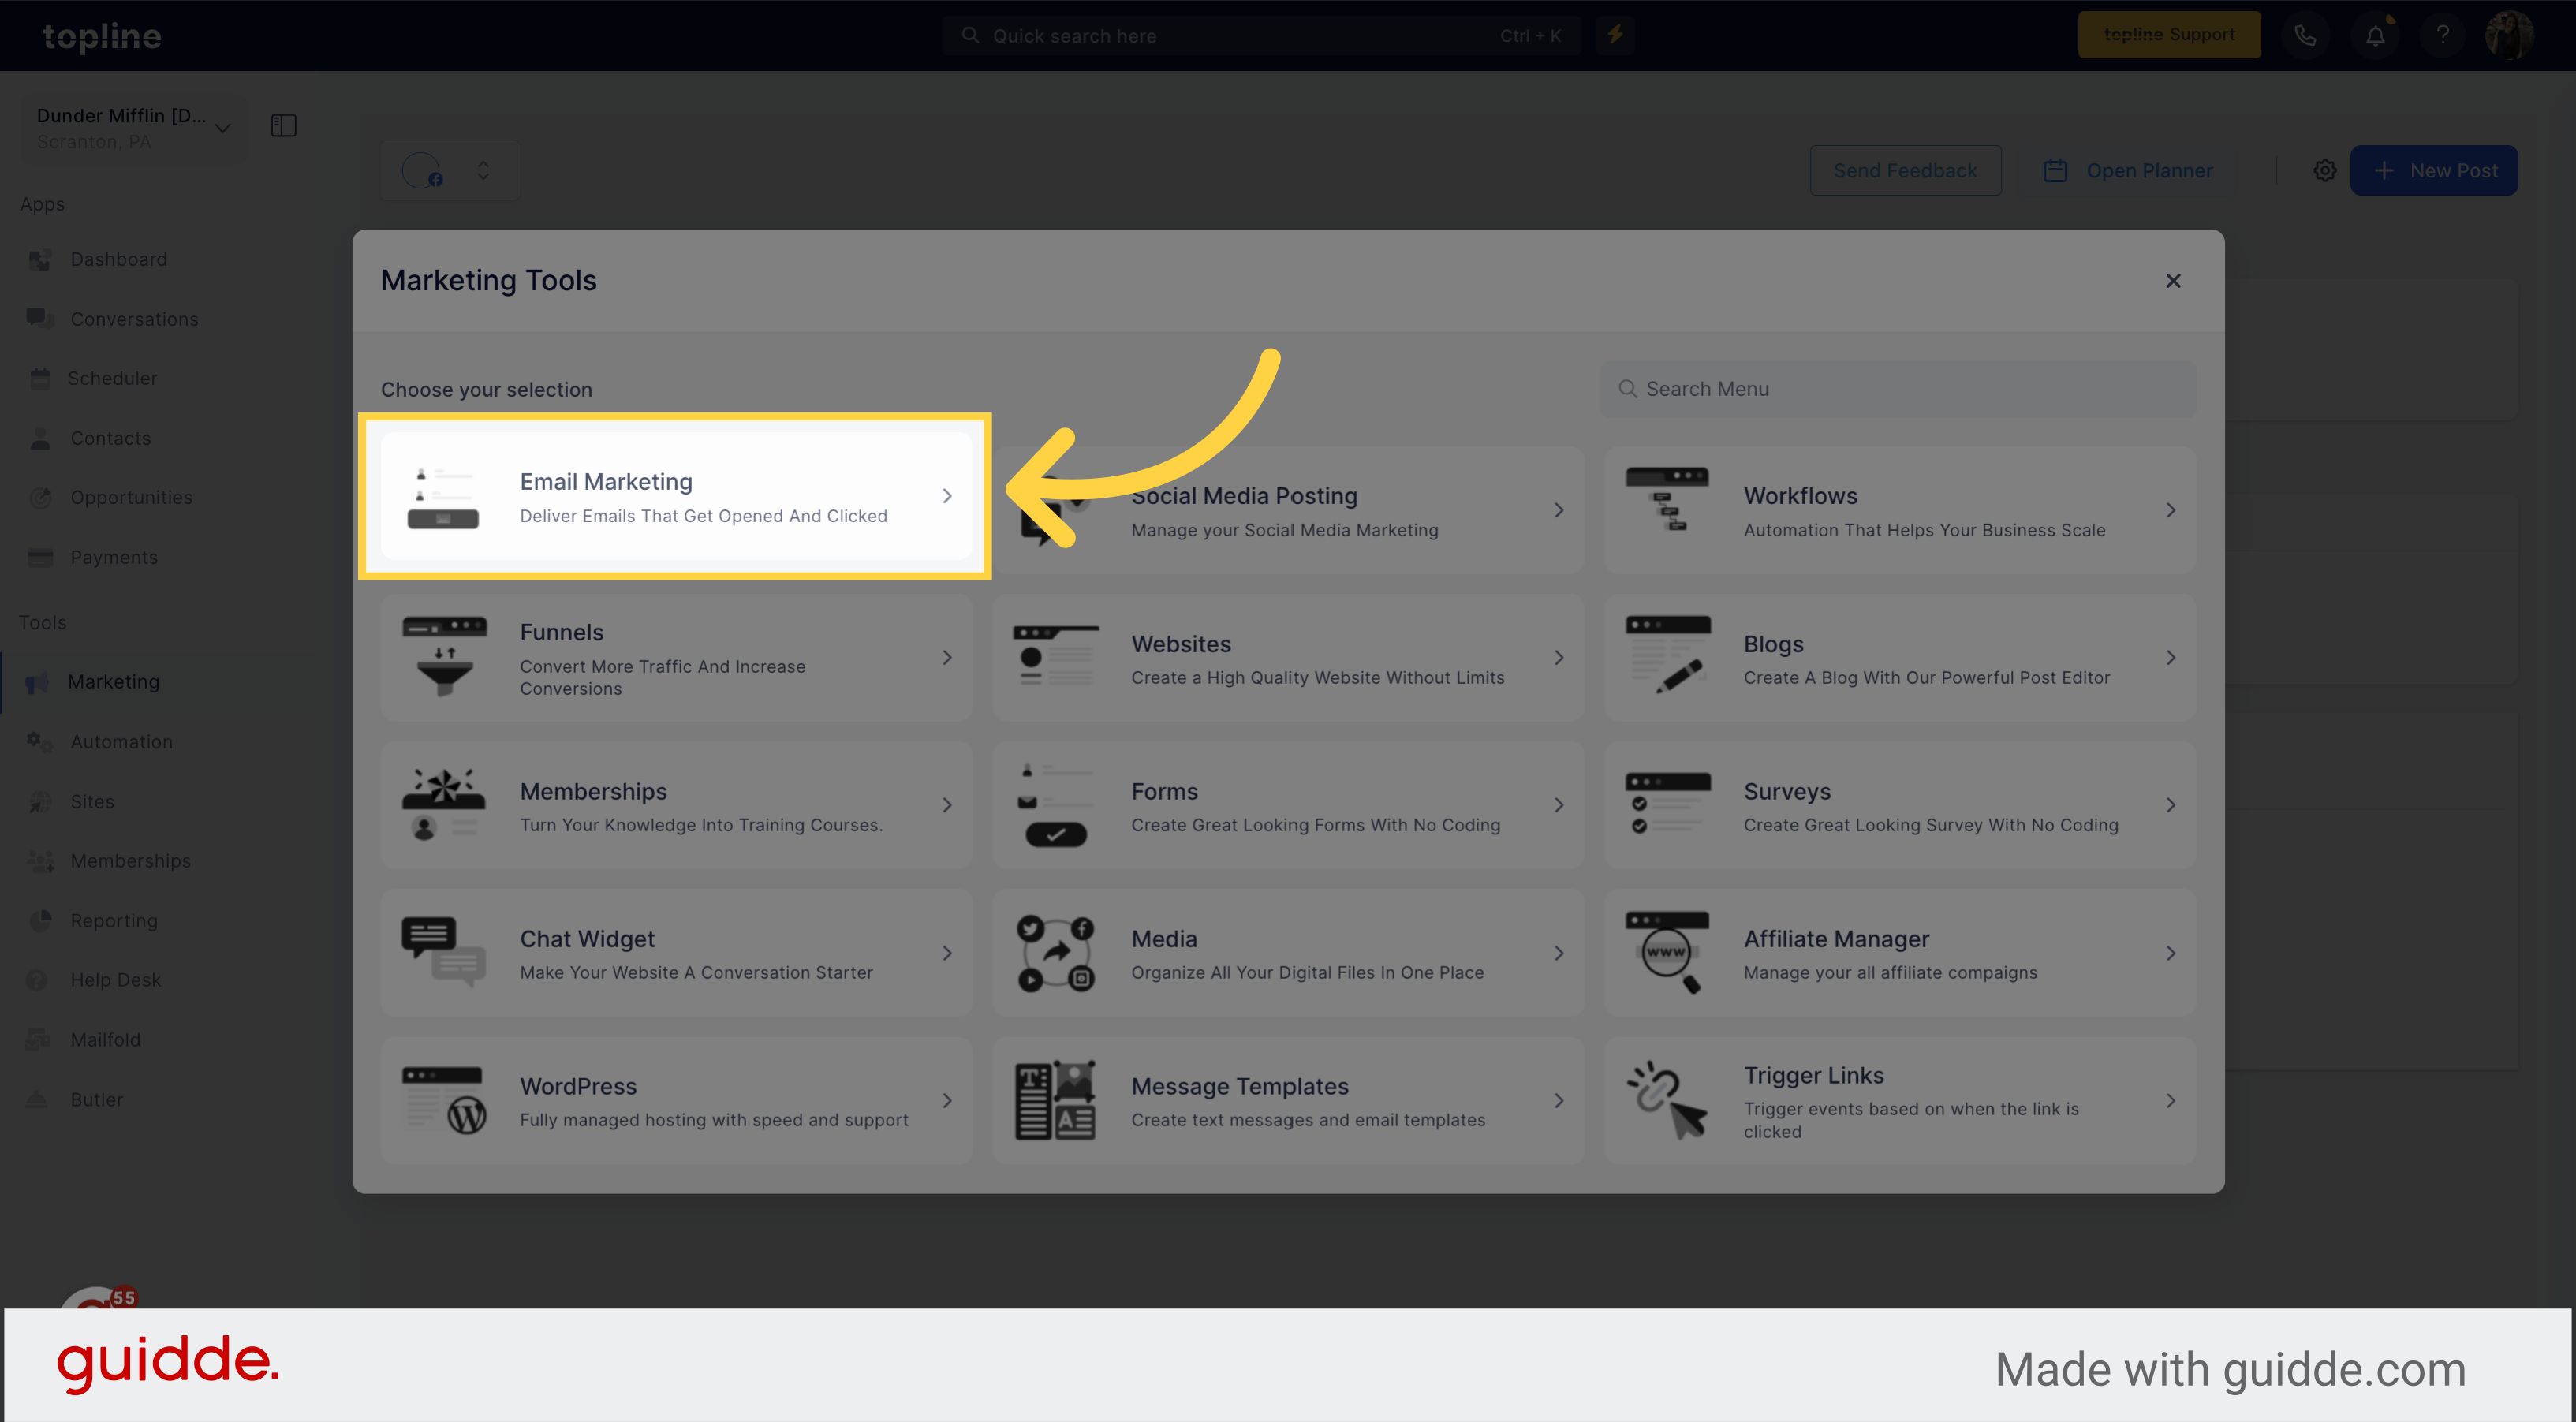
Select the Email Marketing option on the marketing tools menu.
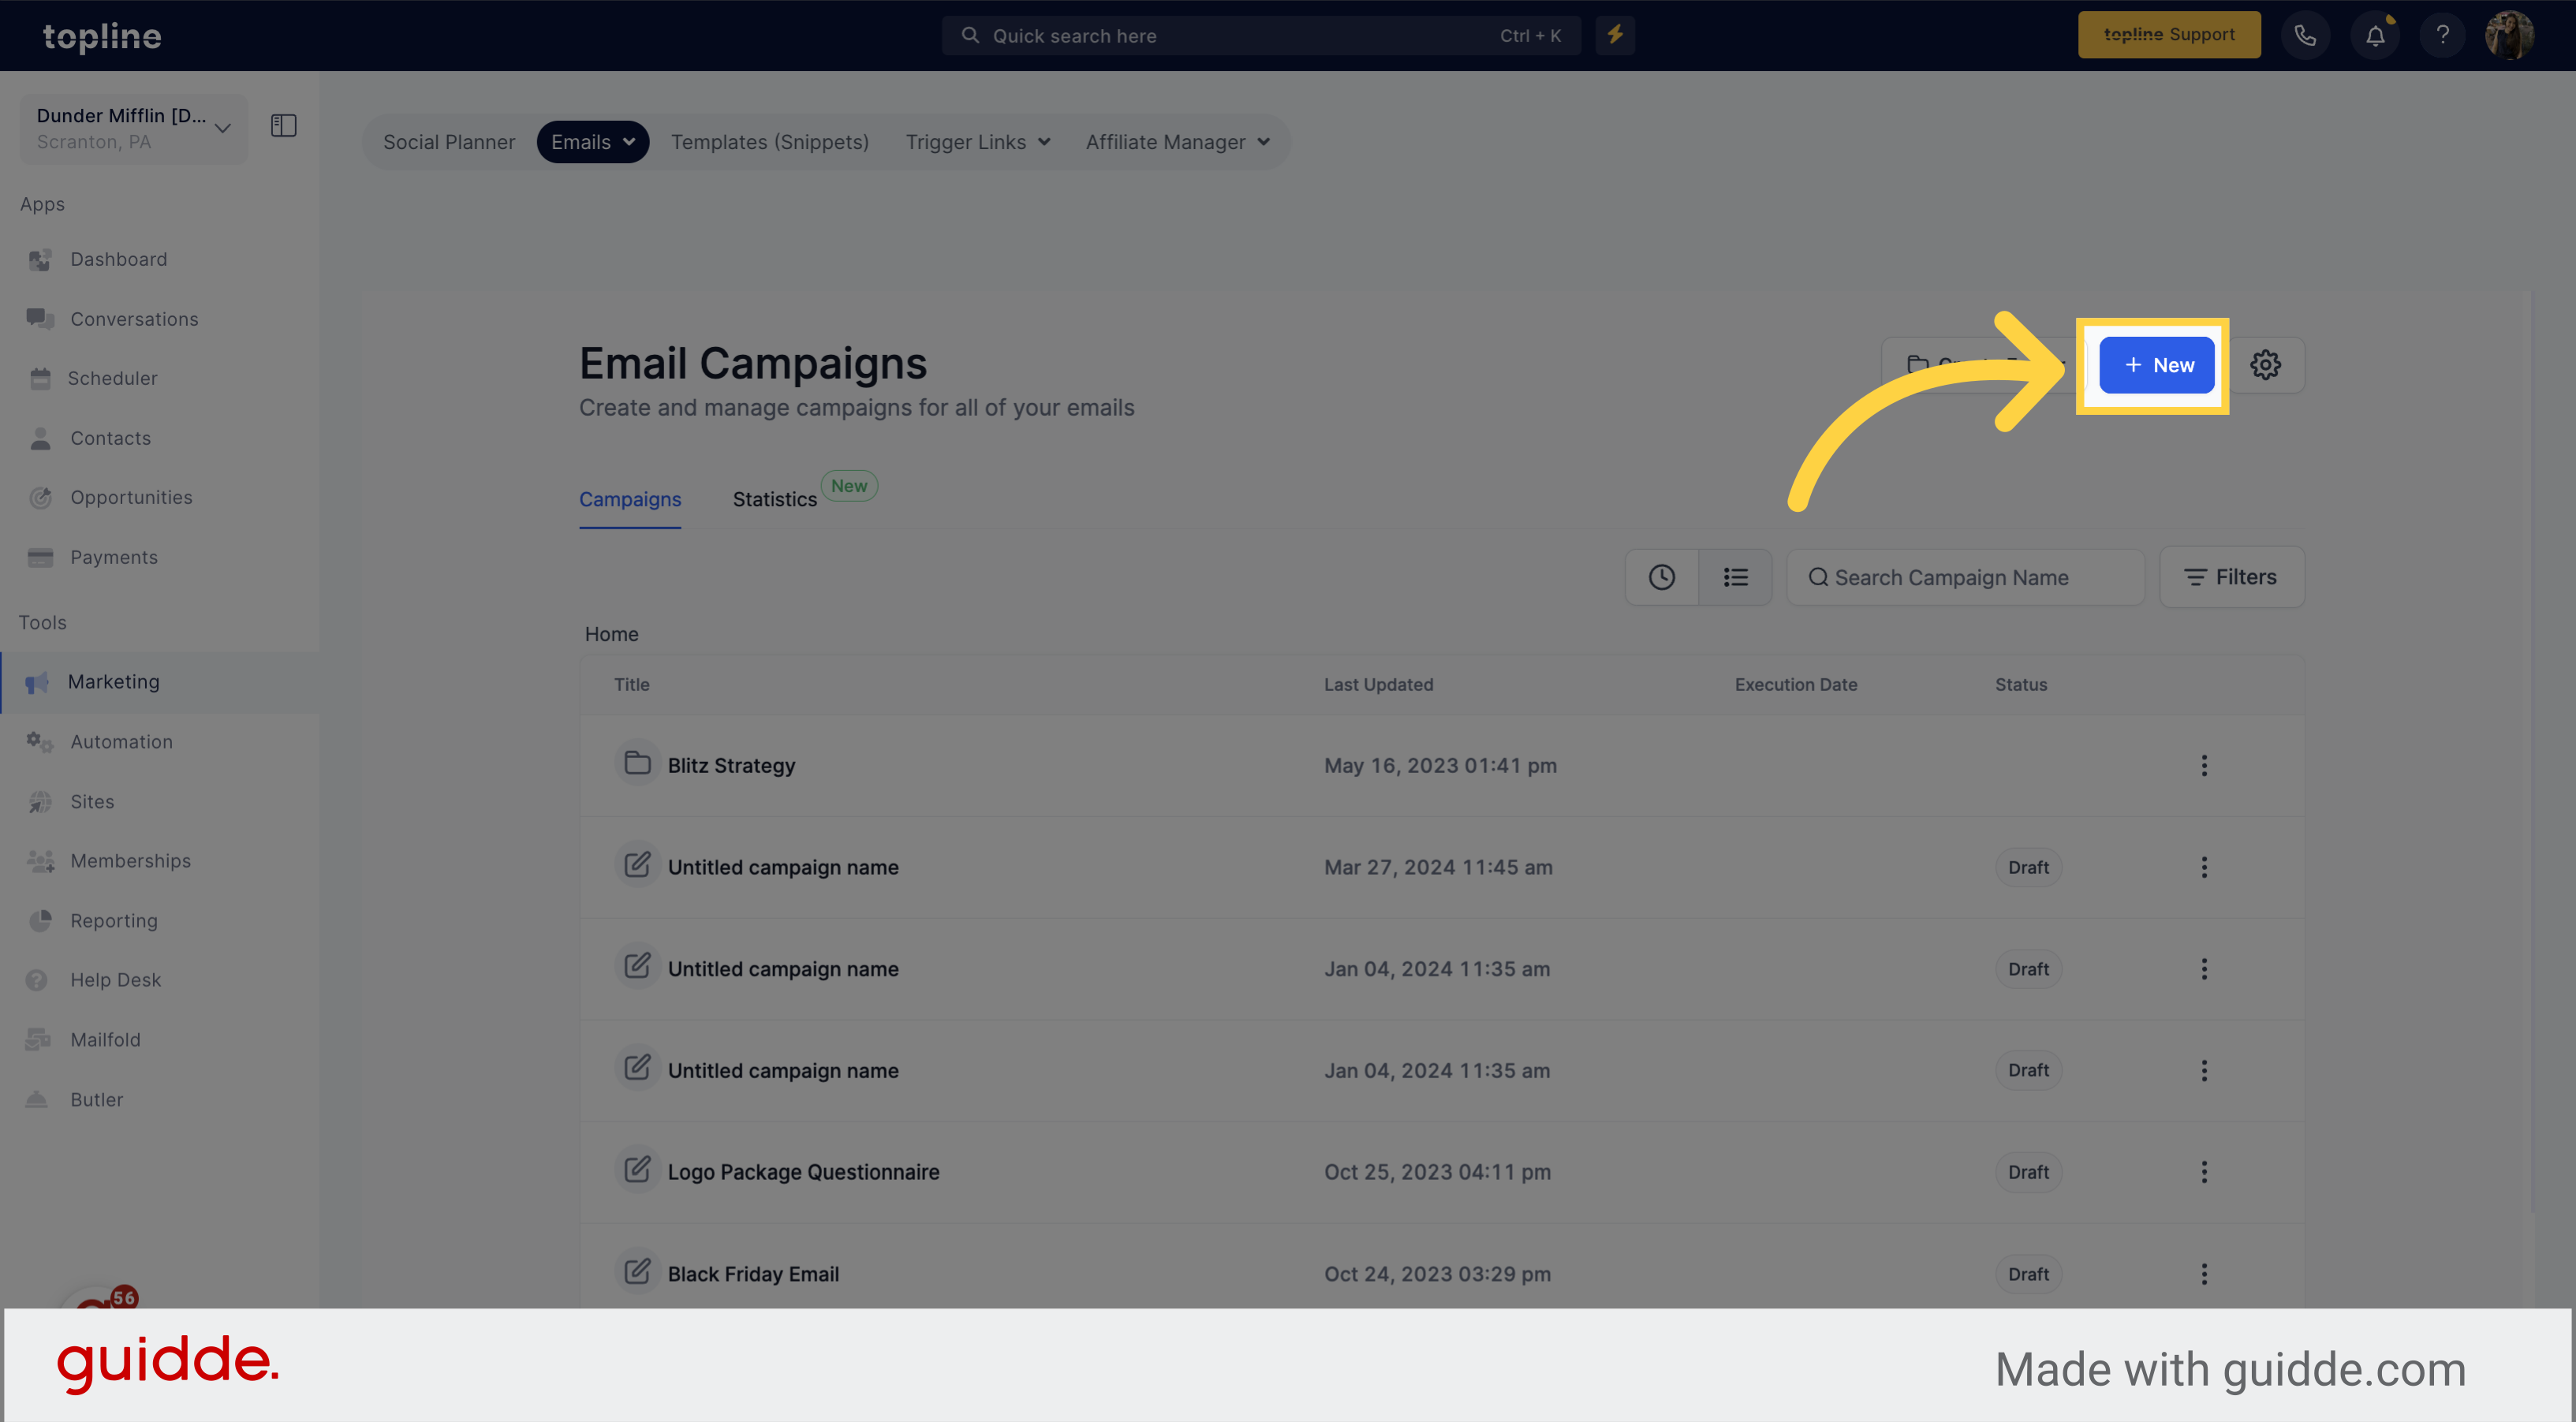
Choose the option to create a new email.
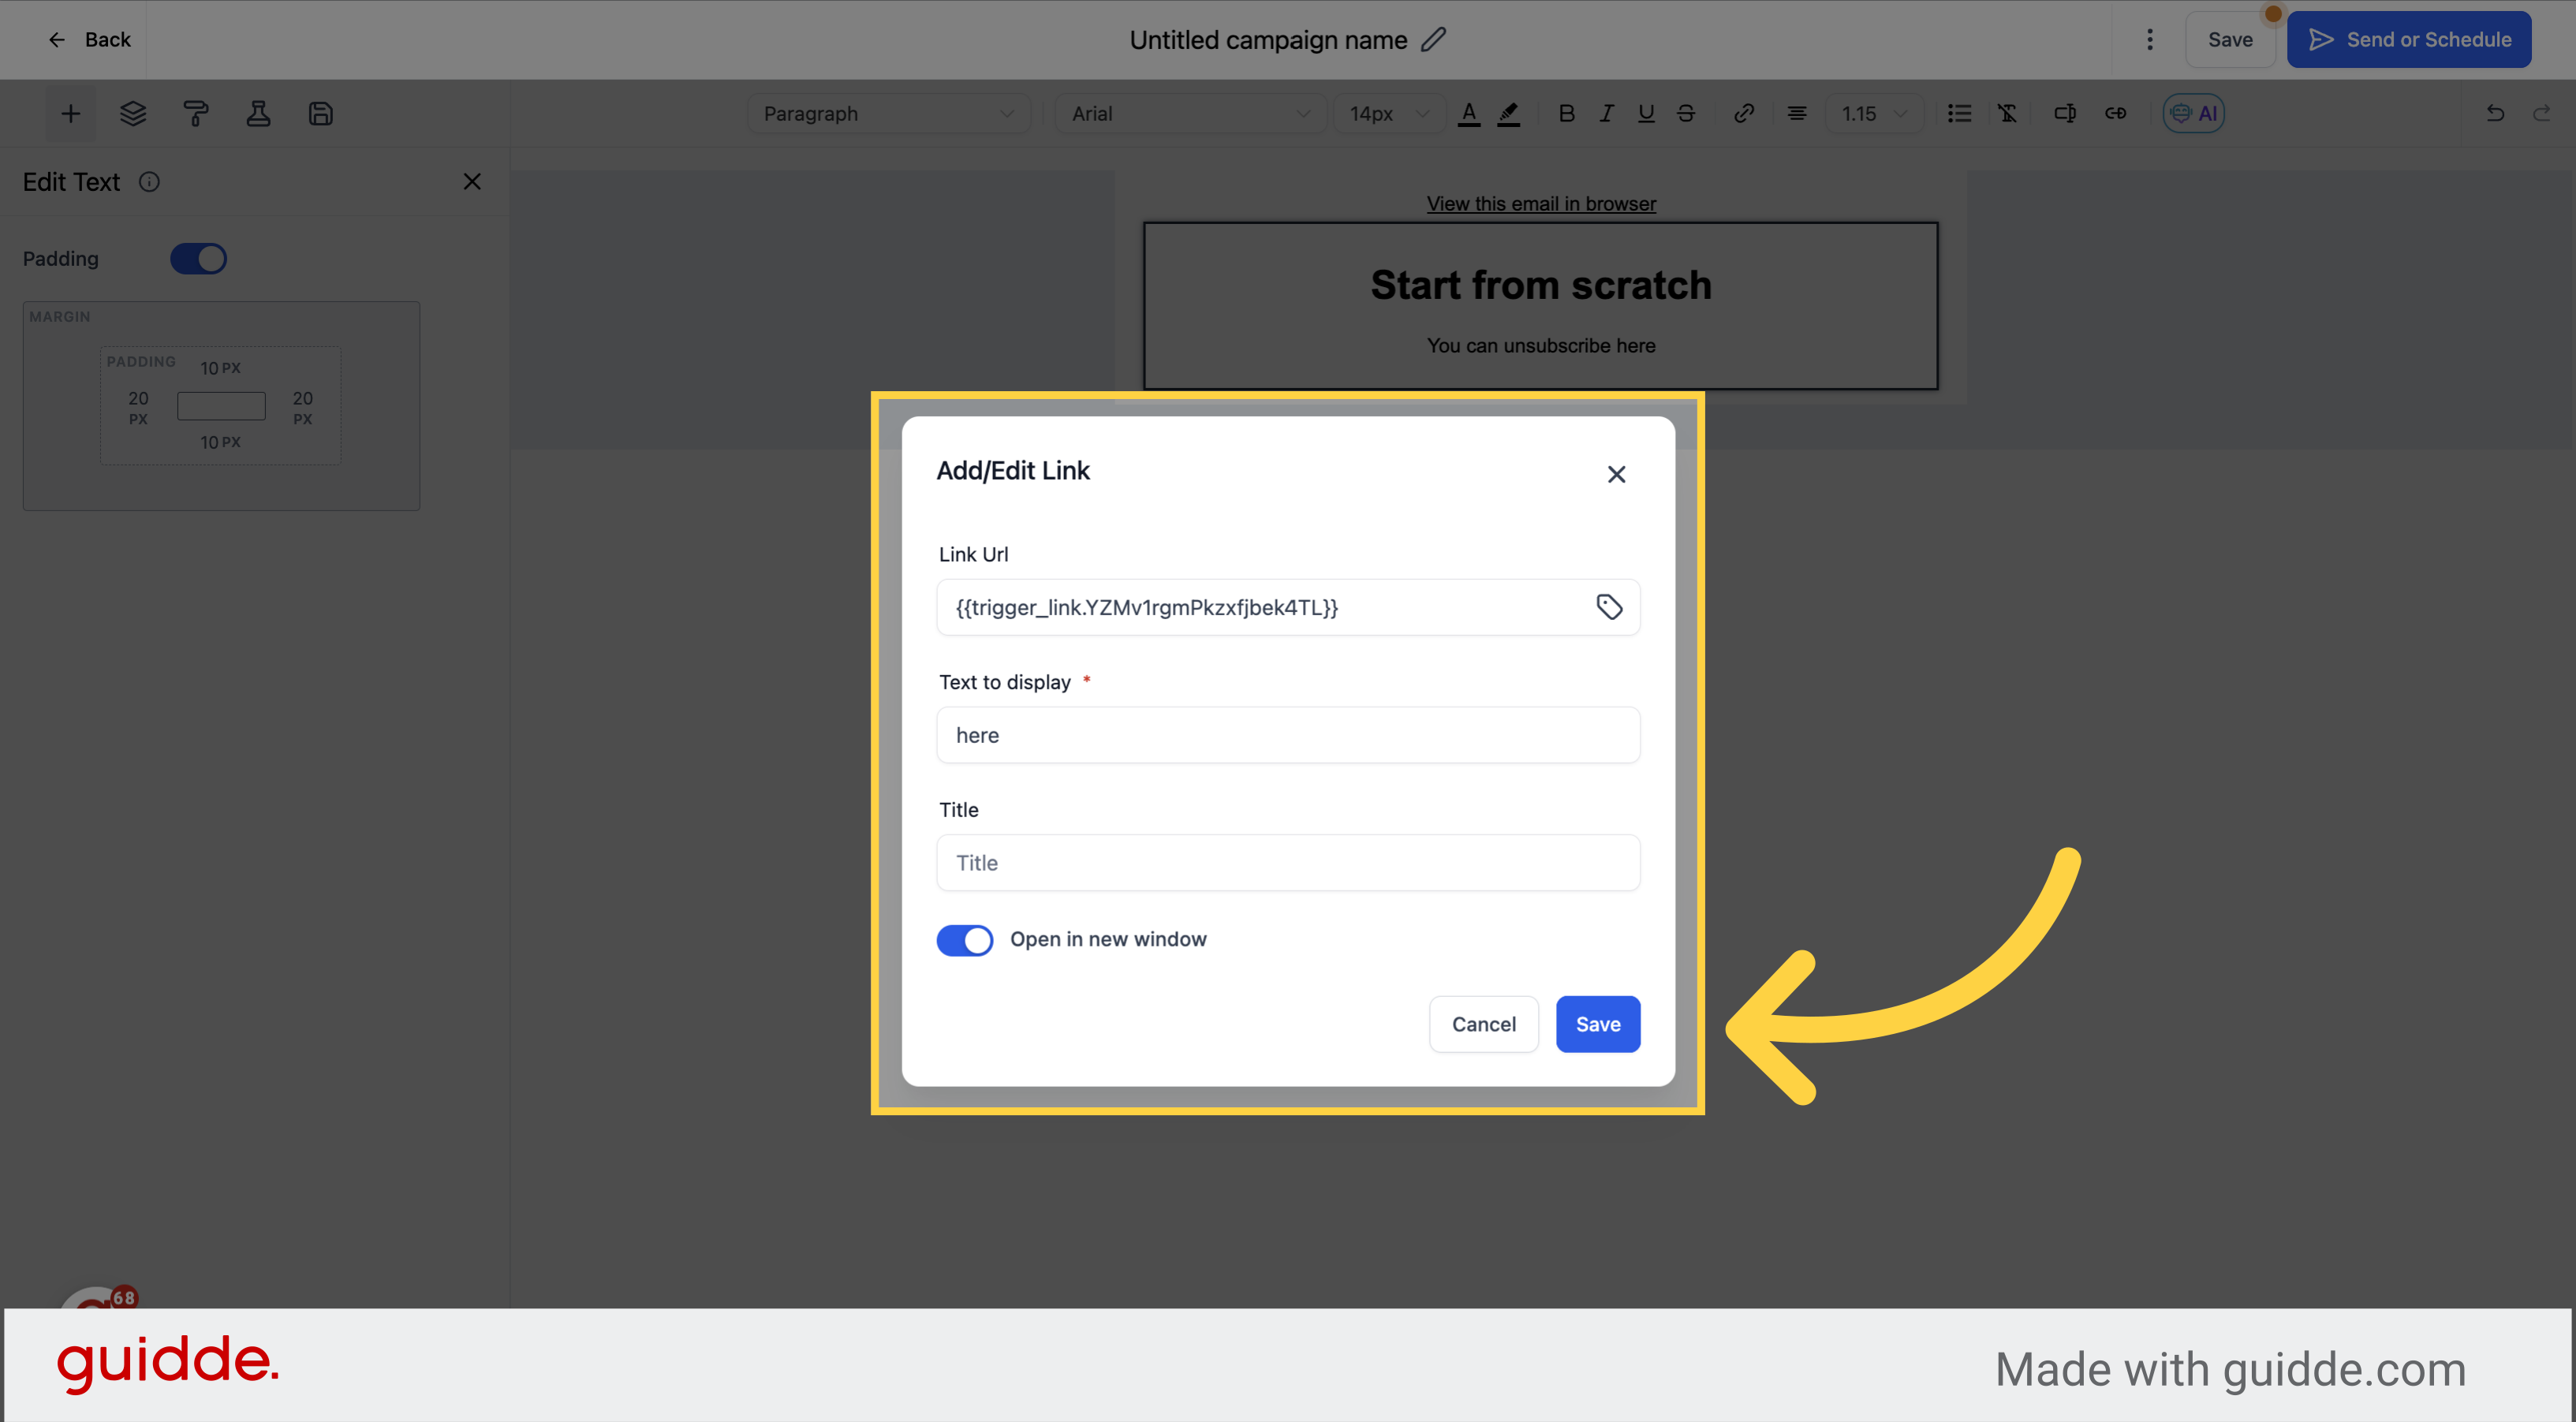
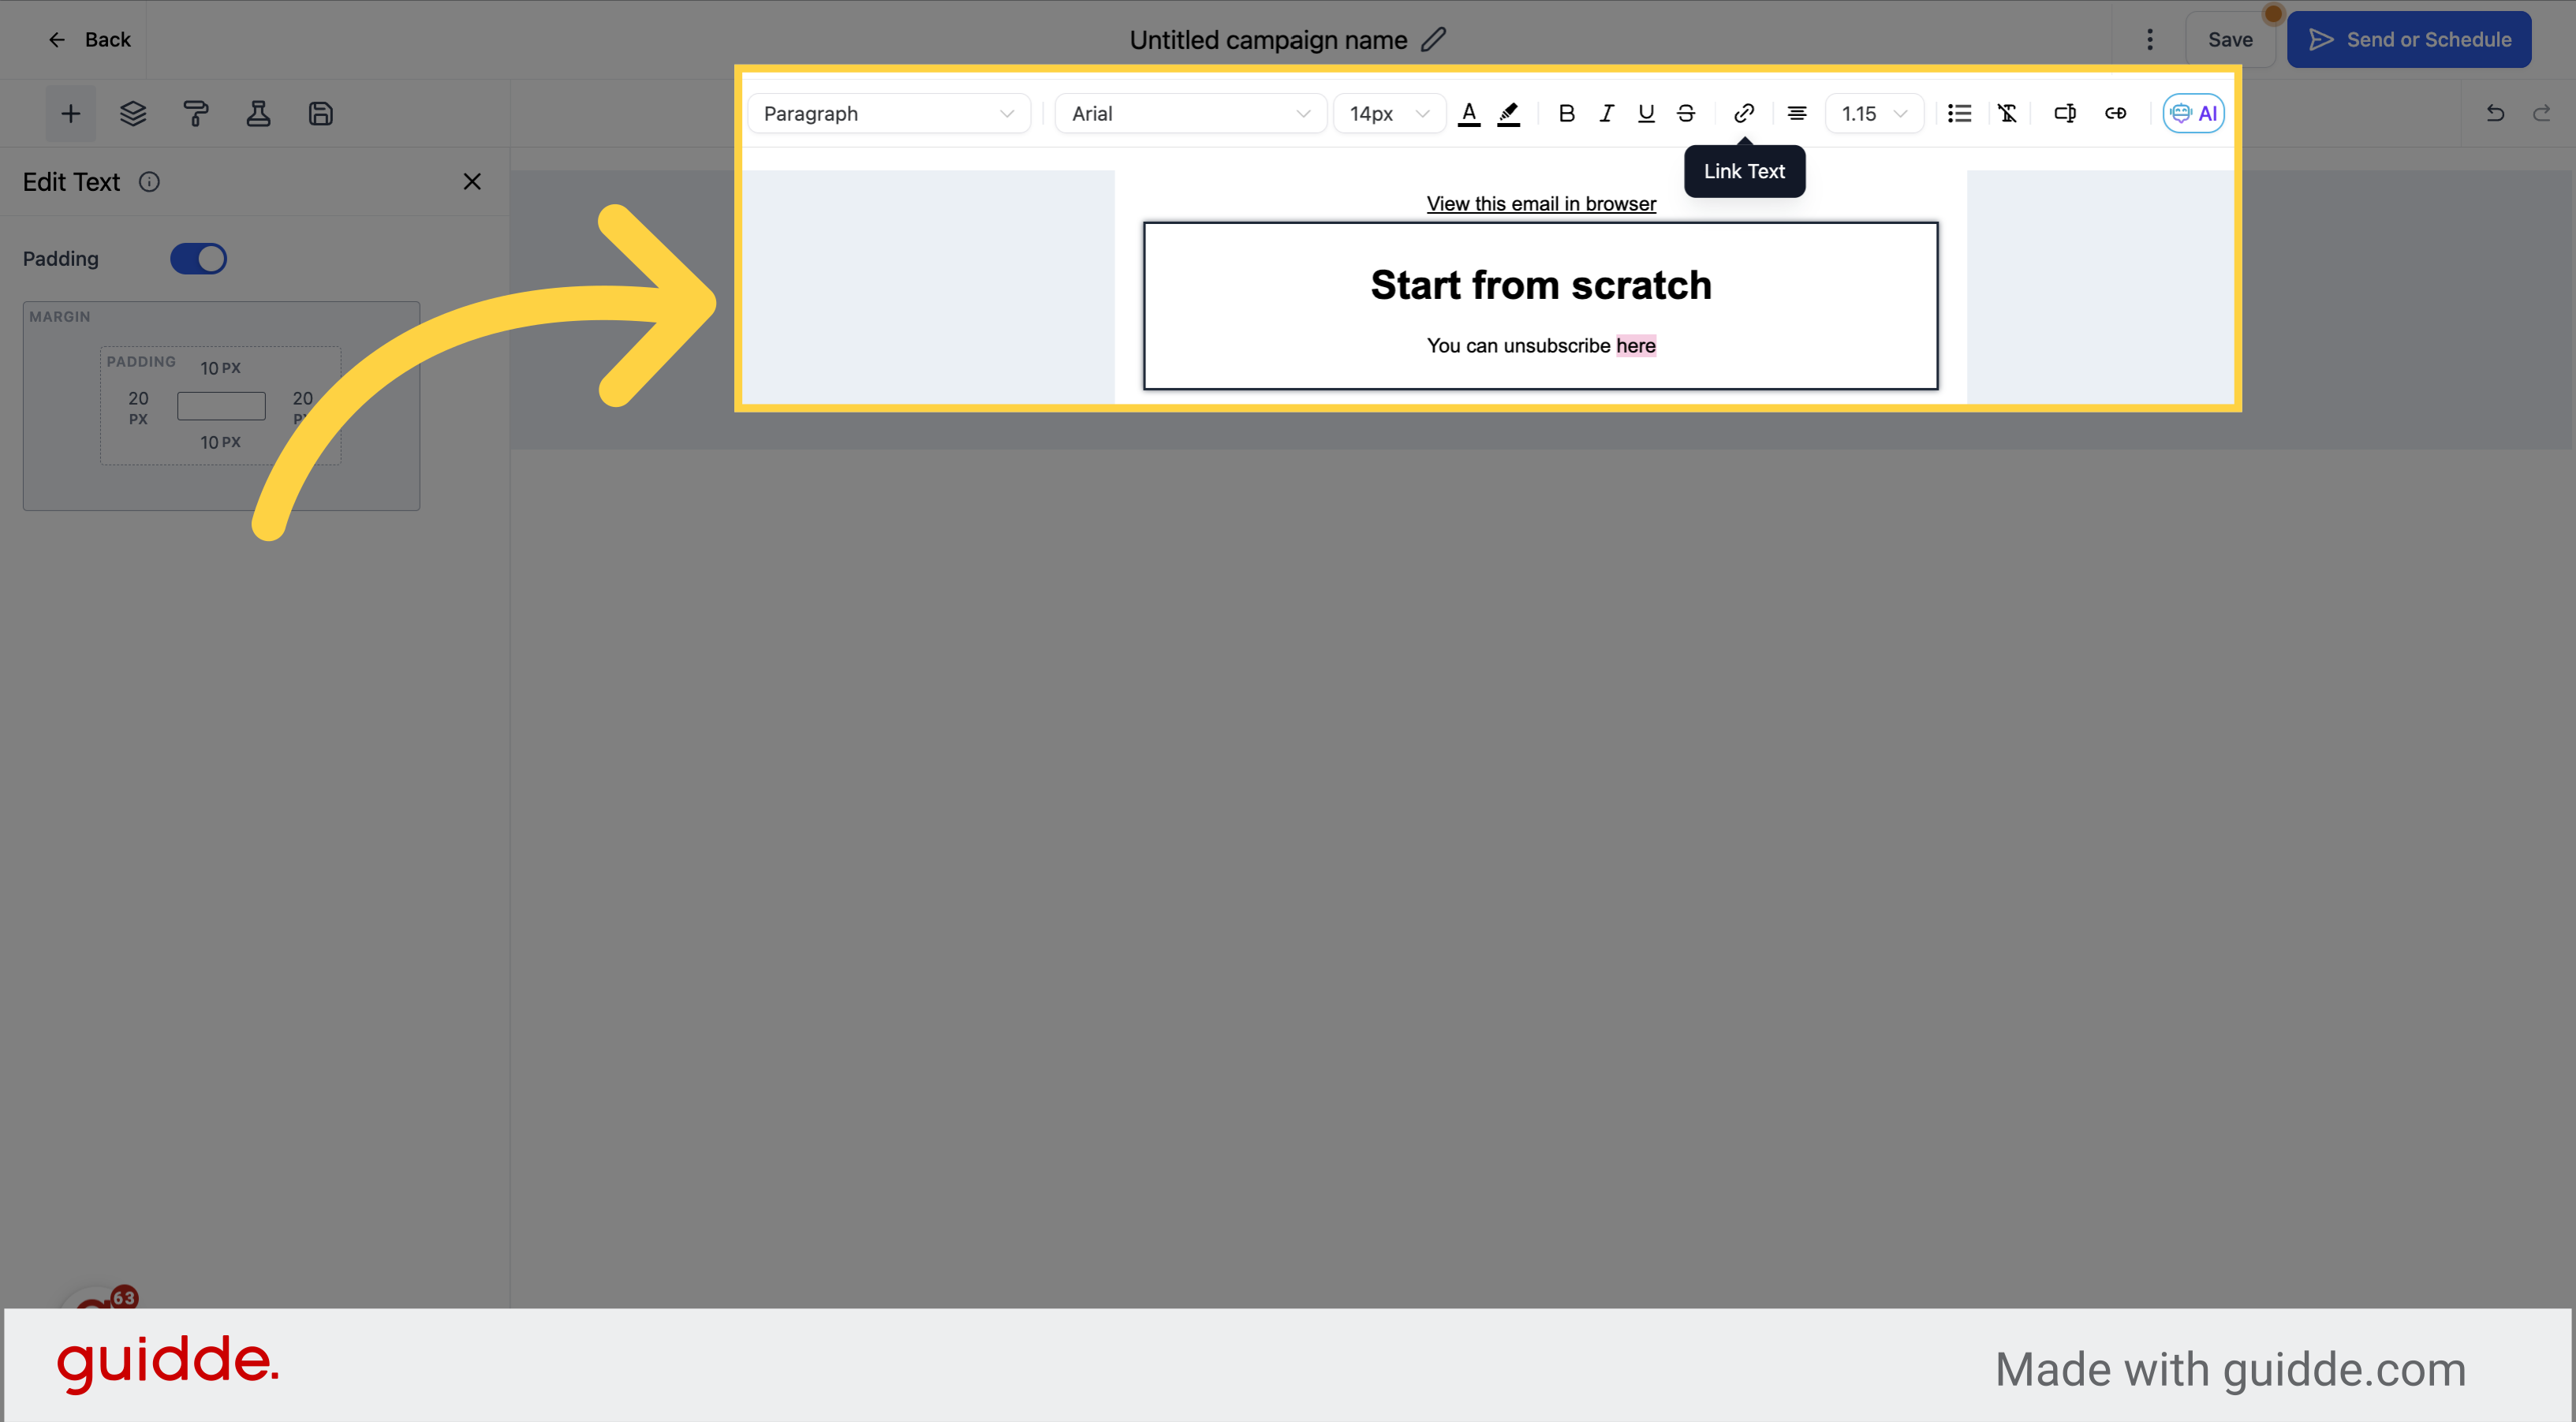
Add the Unsubscribe link into the email content. Click on the Link Text option on the upper menu.
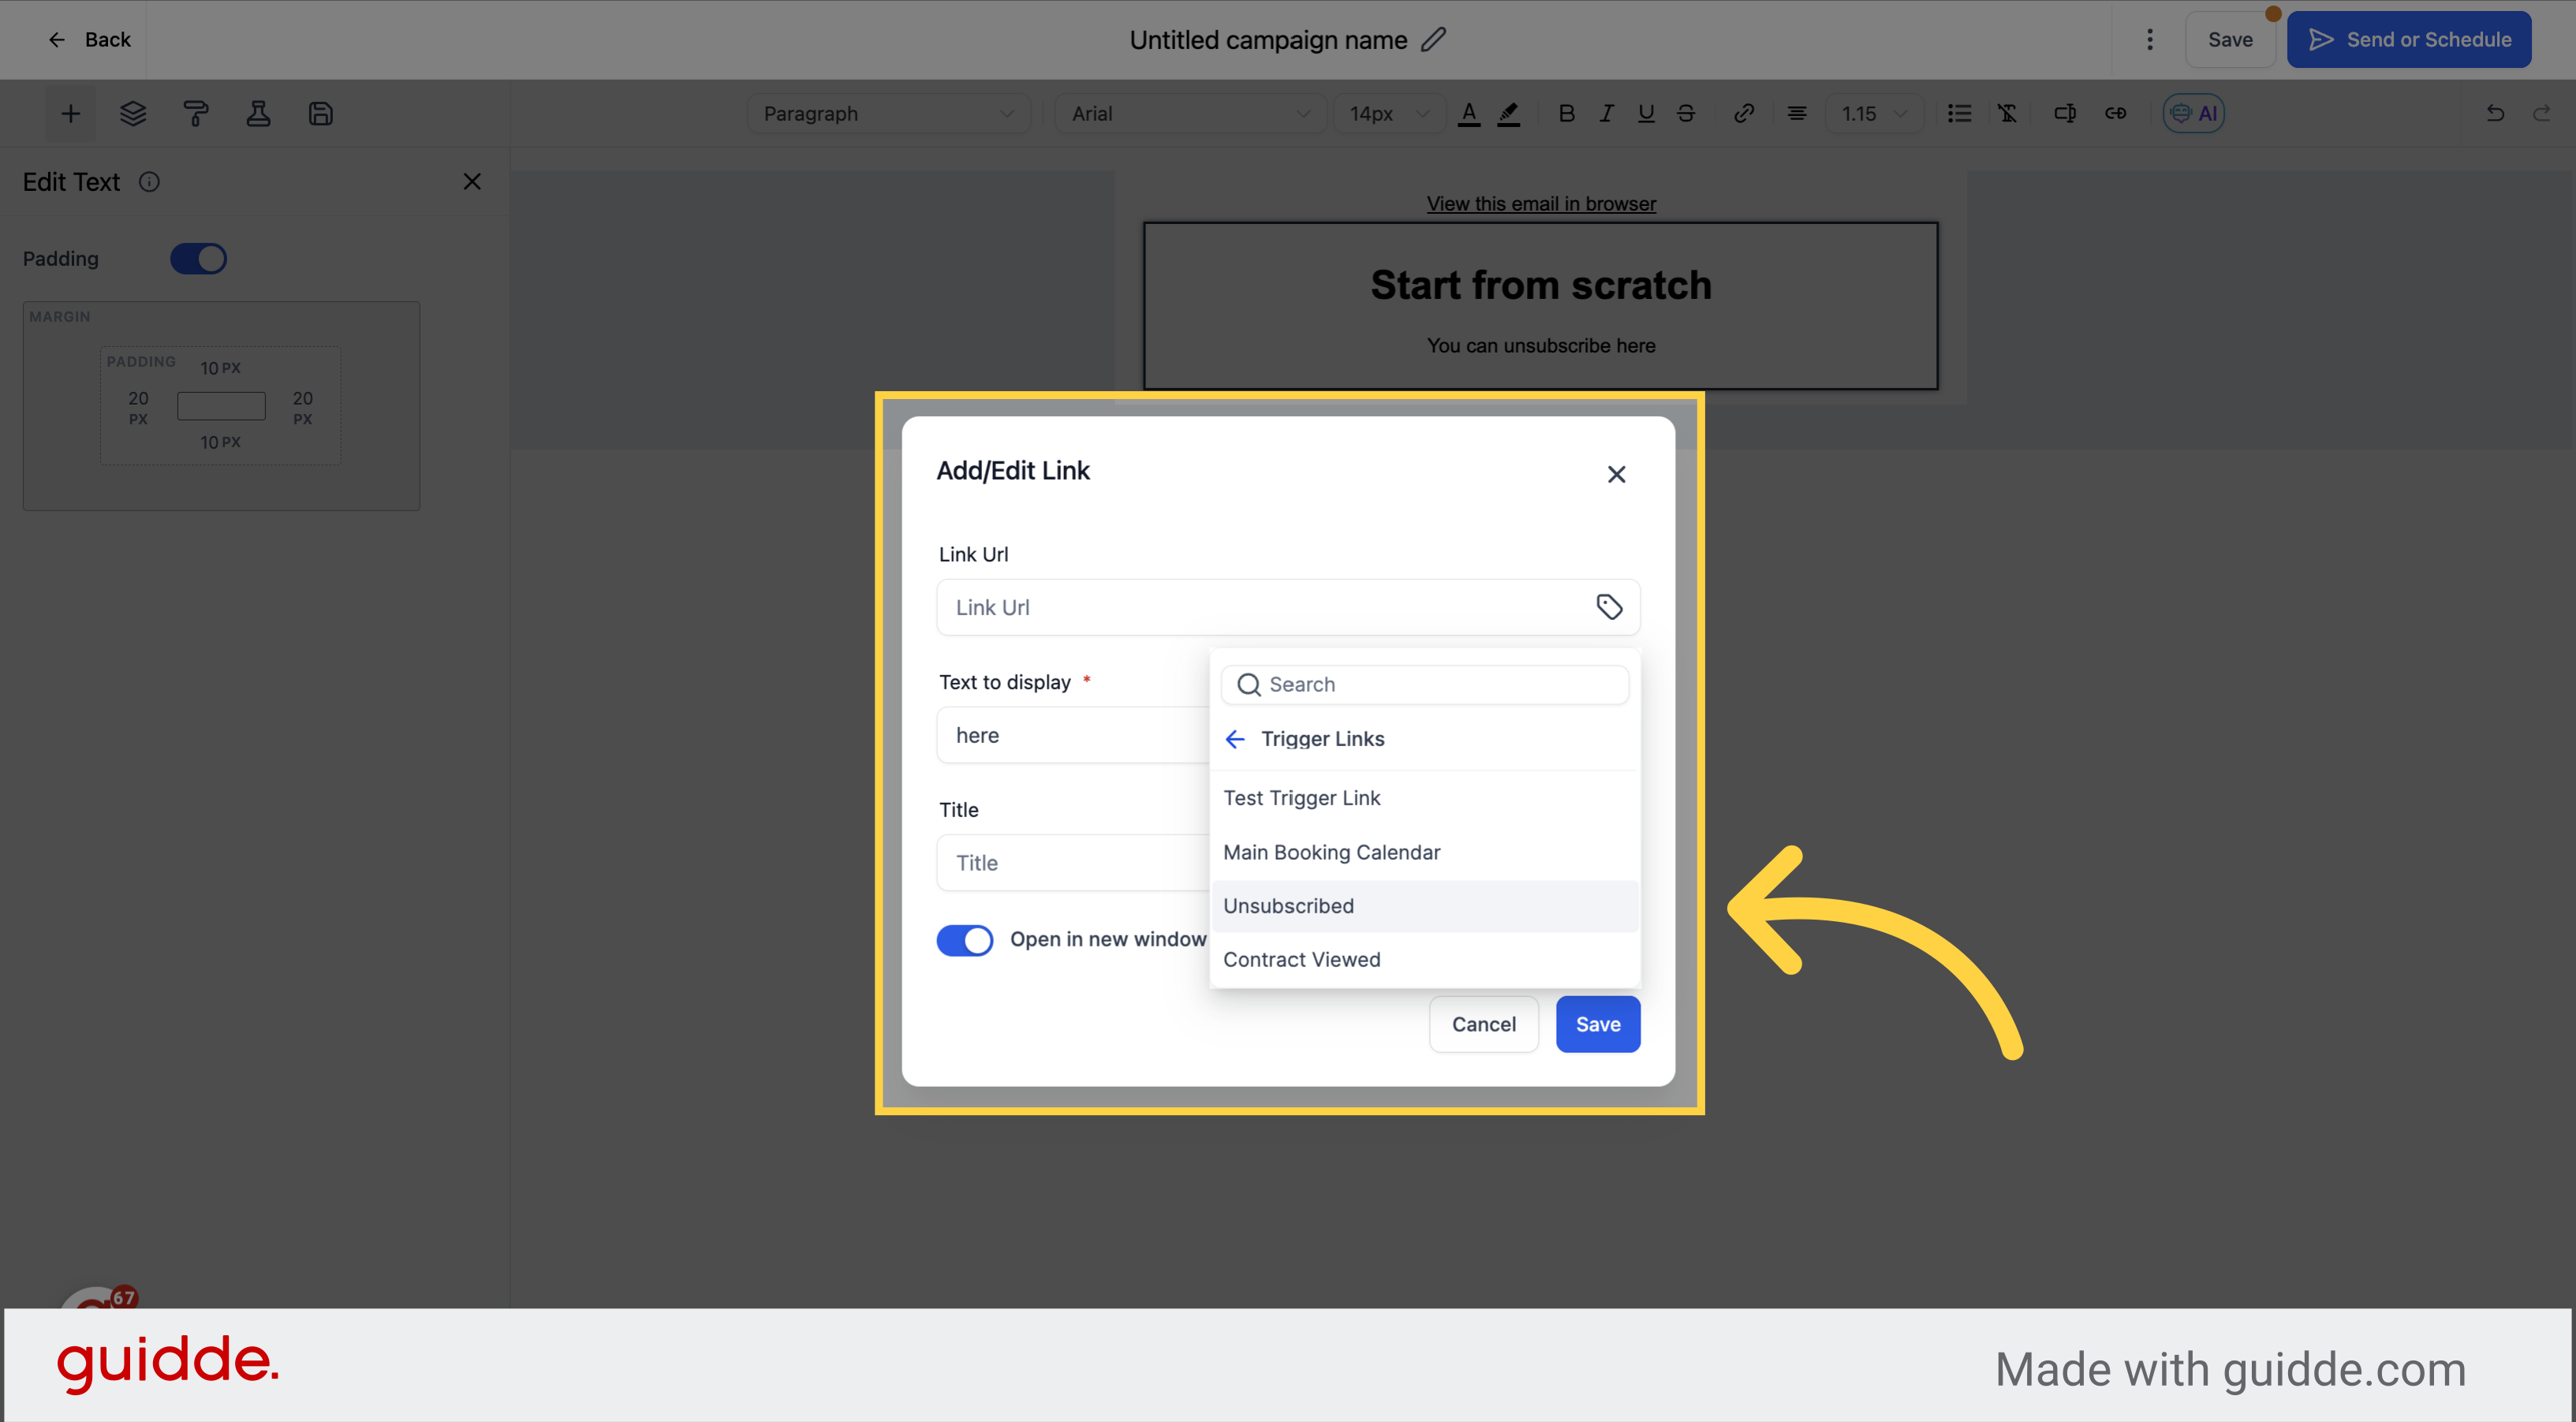
Choose the "Unsubscribed" option from the dropdown menu.
The link will be added automatically, once it's ready, click on Save.