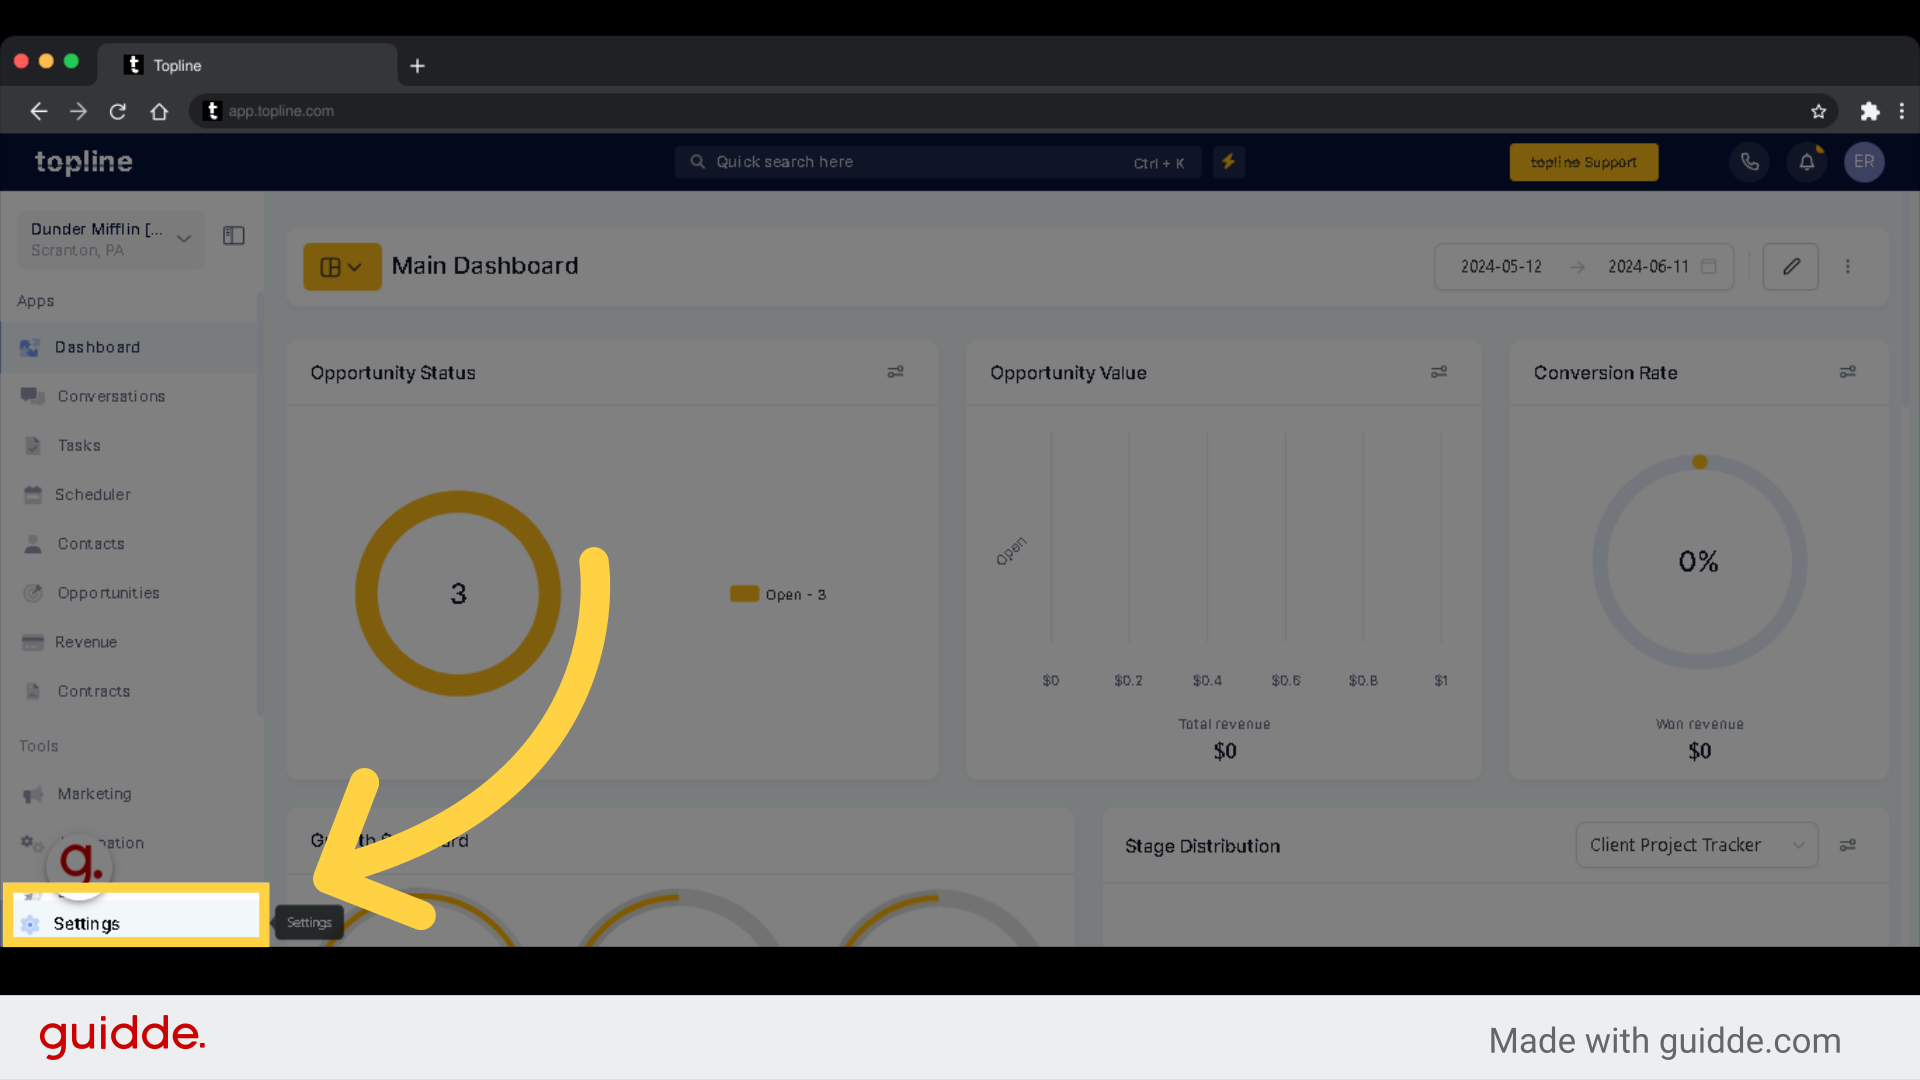
Access to the Settings option on the lower left side Menu.
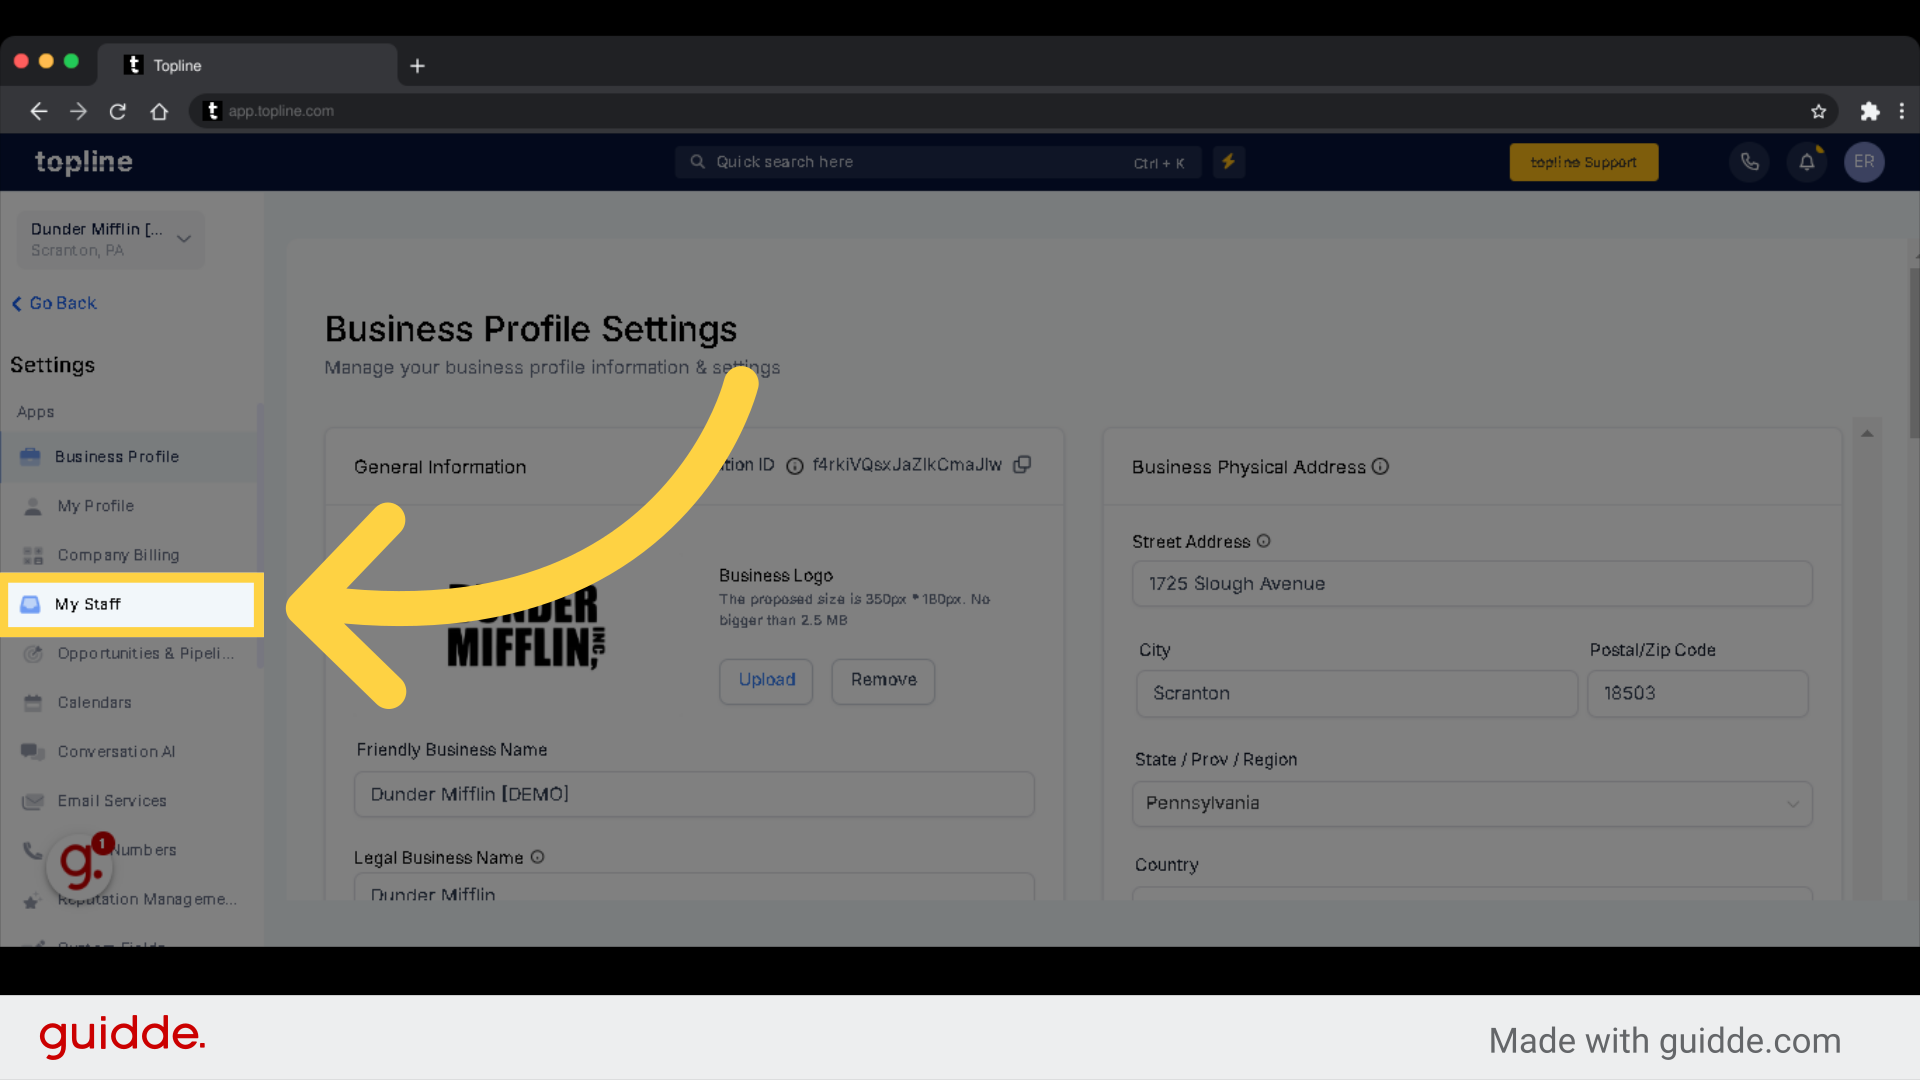
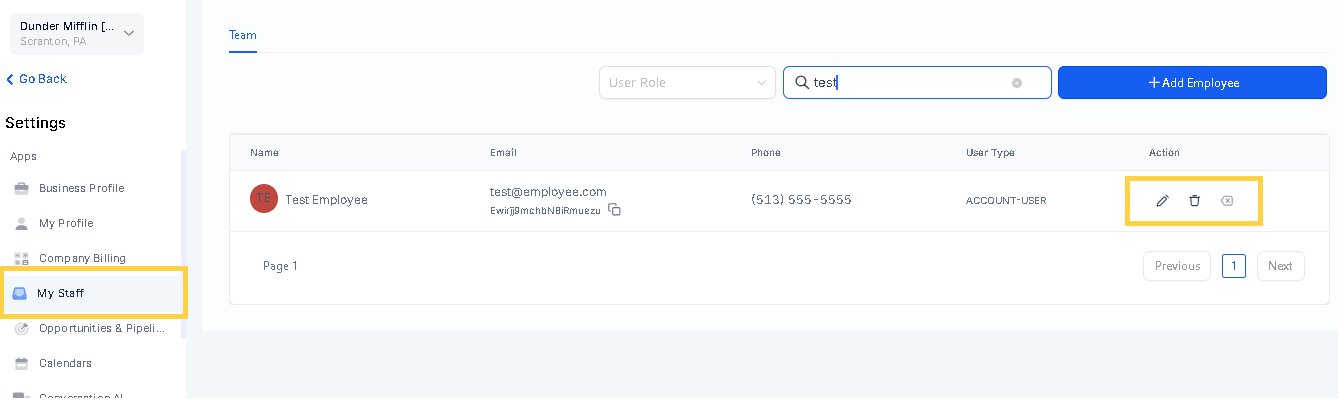
Access "My Staff" on the left side features menu.
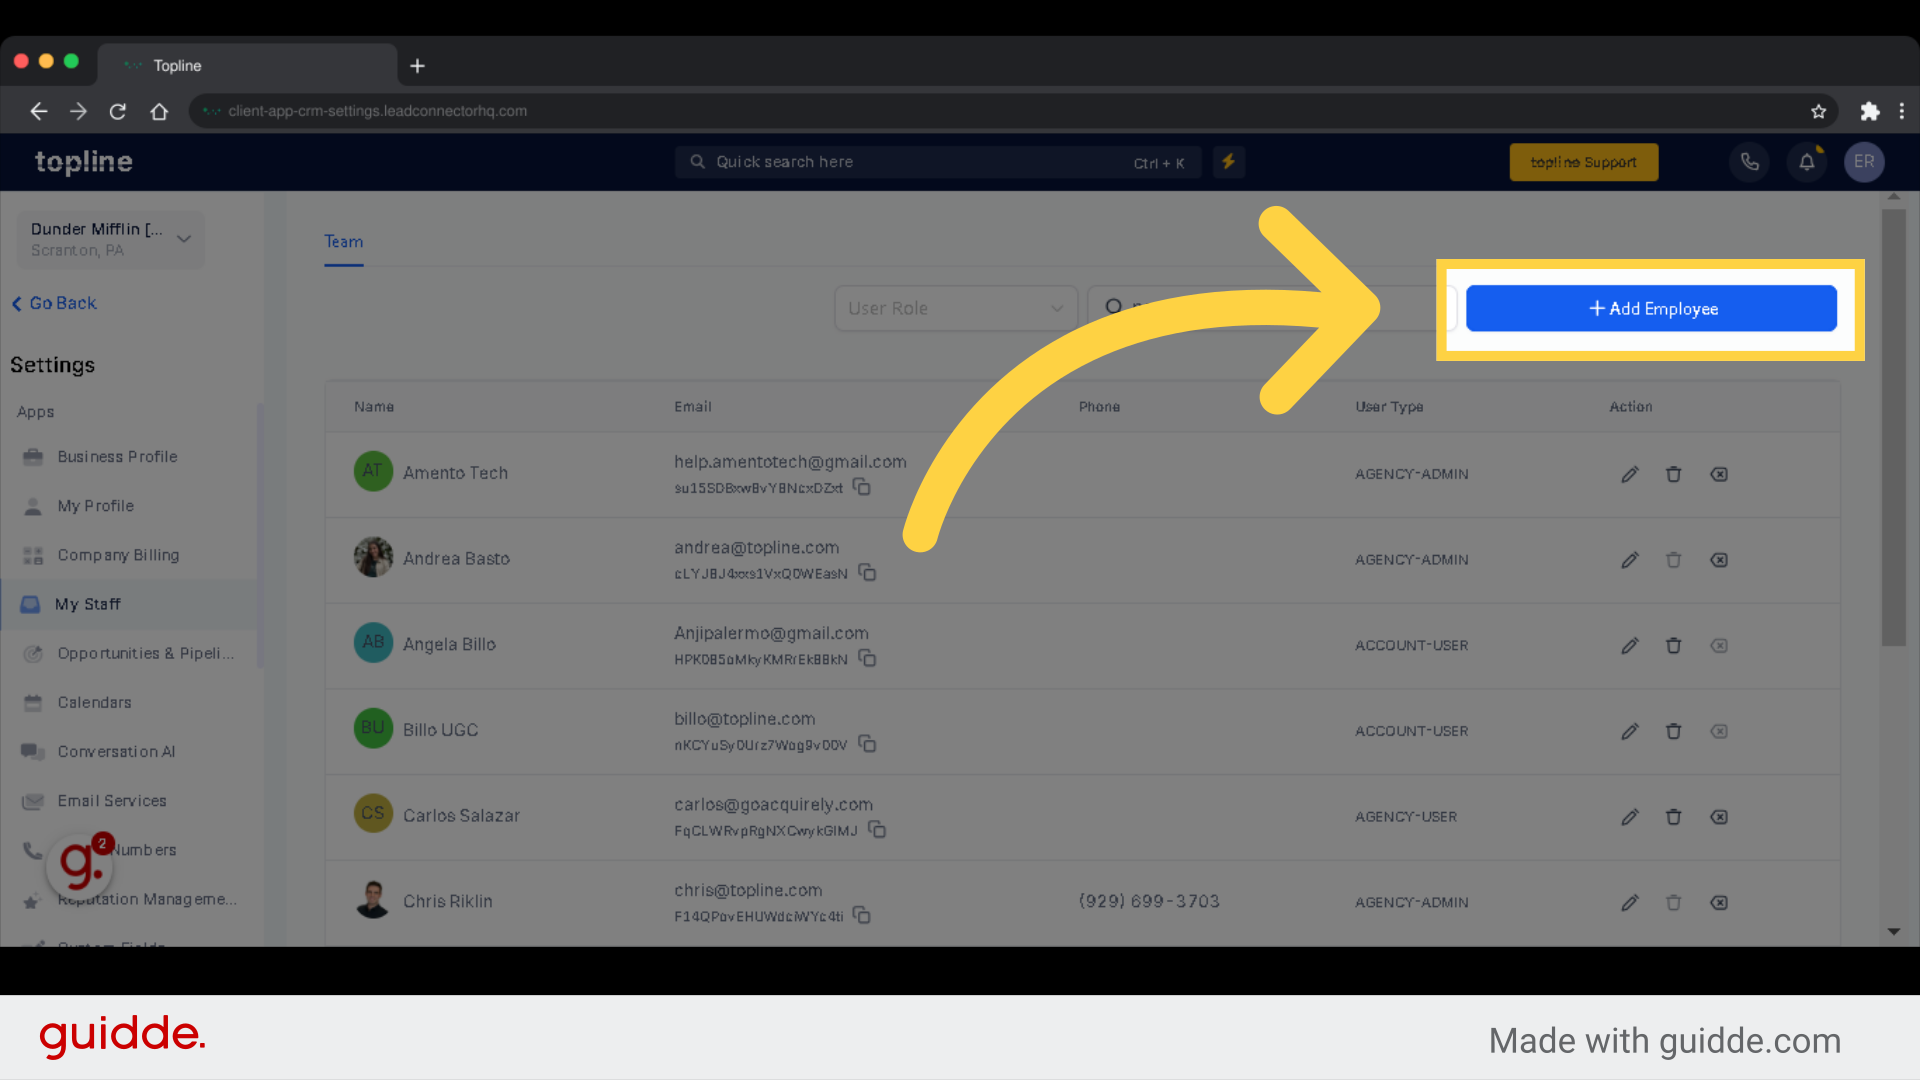
Click on Add Employee to grant your employees access to all your account information.
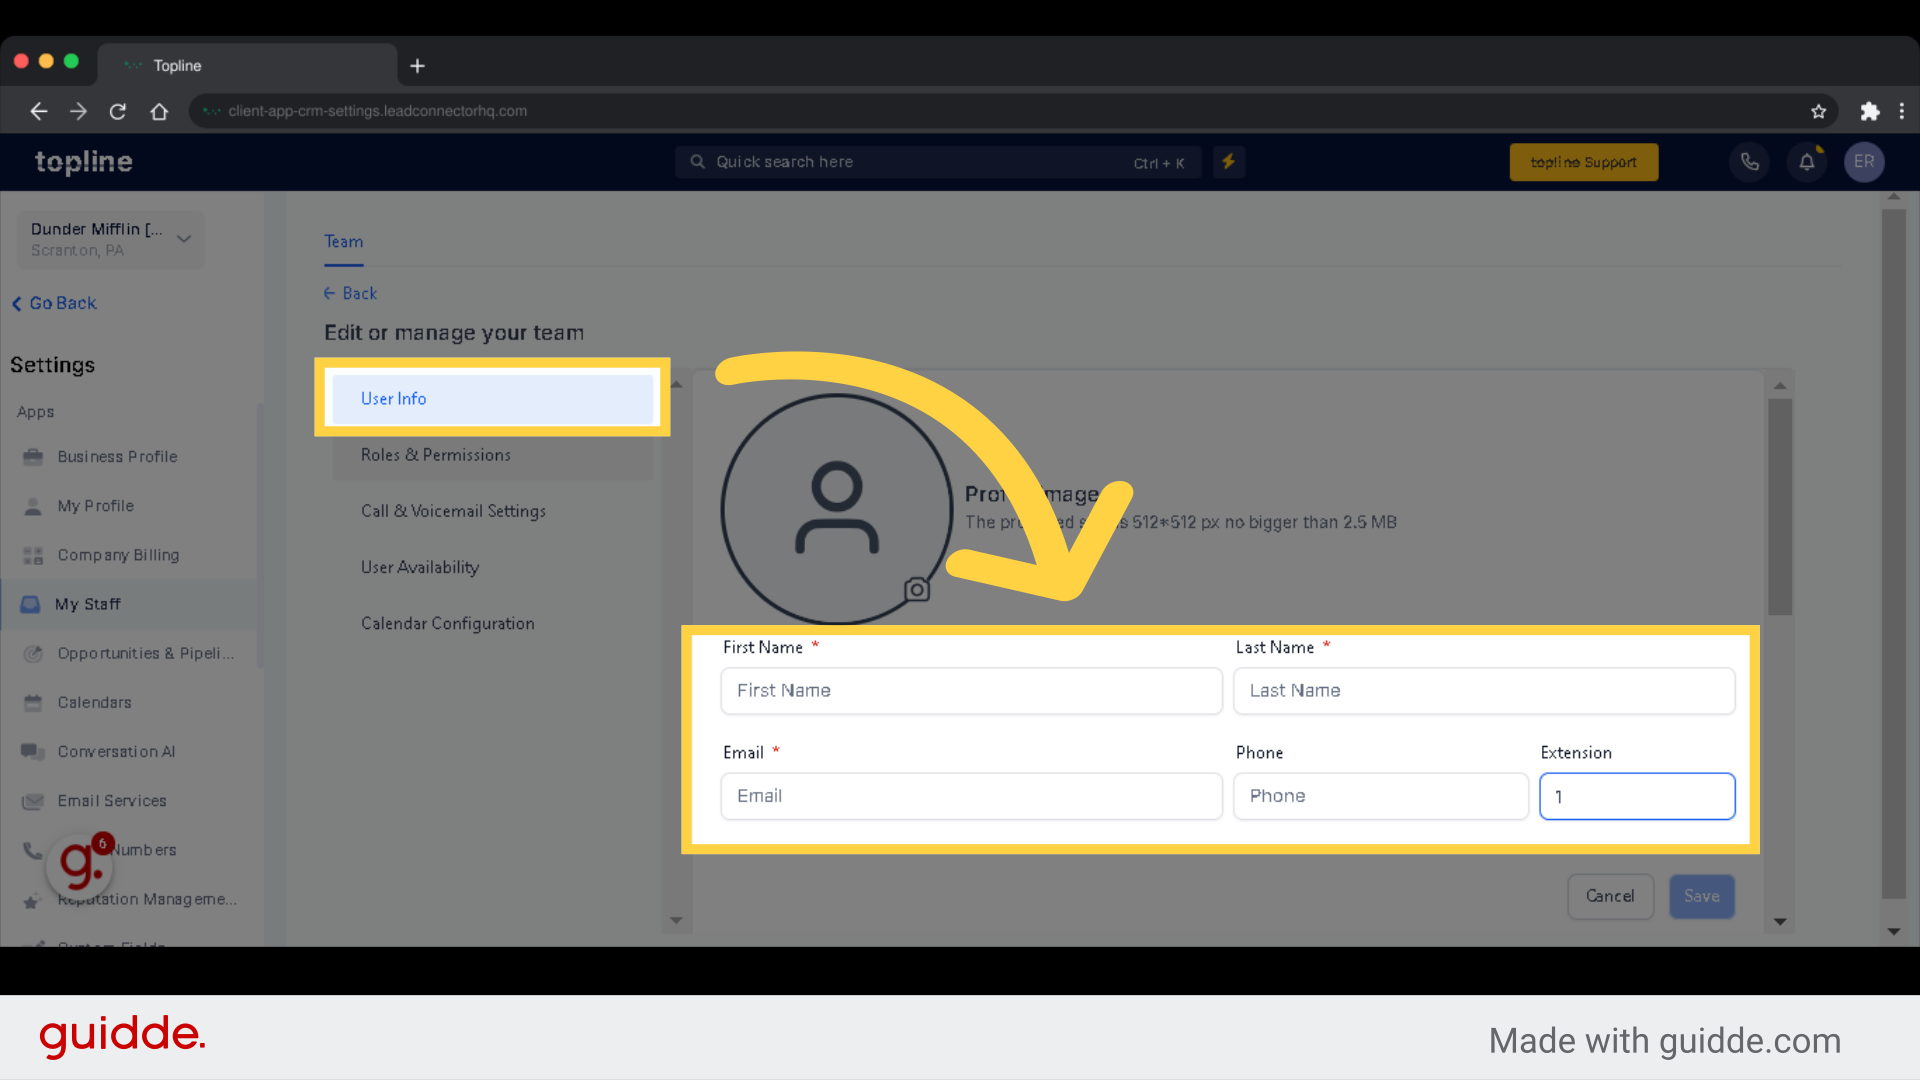
A profile image is a photo that will appear as your employee/user profile picture.
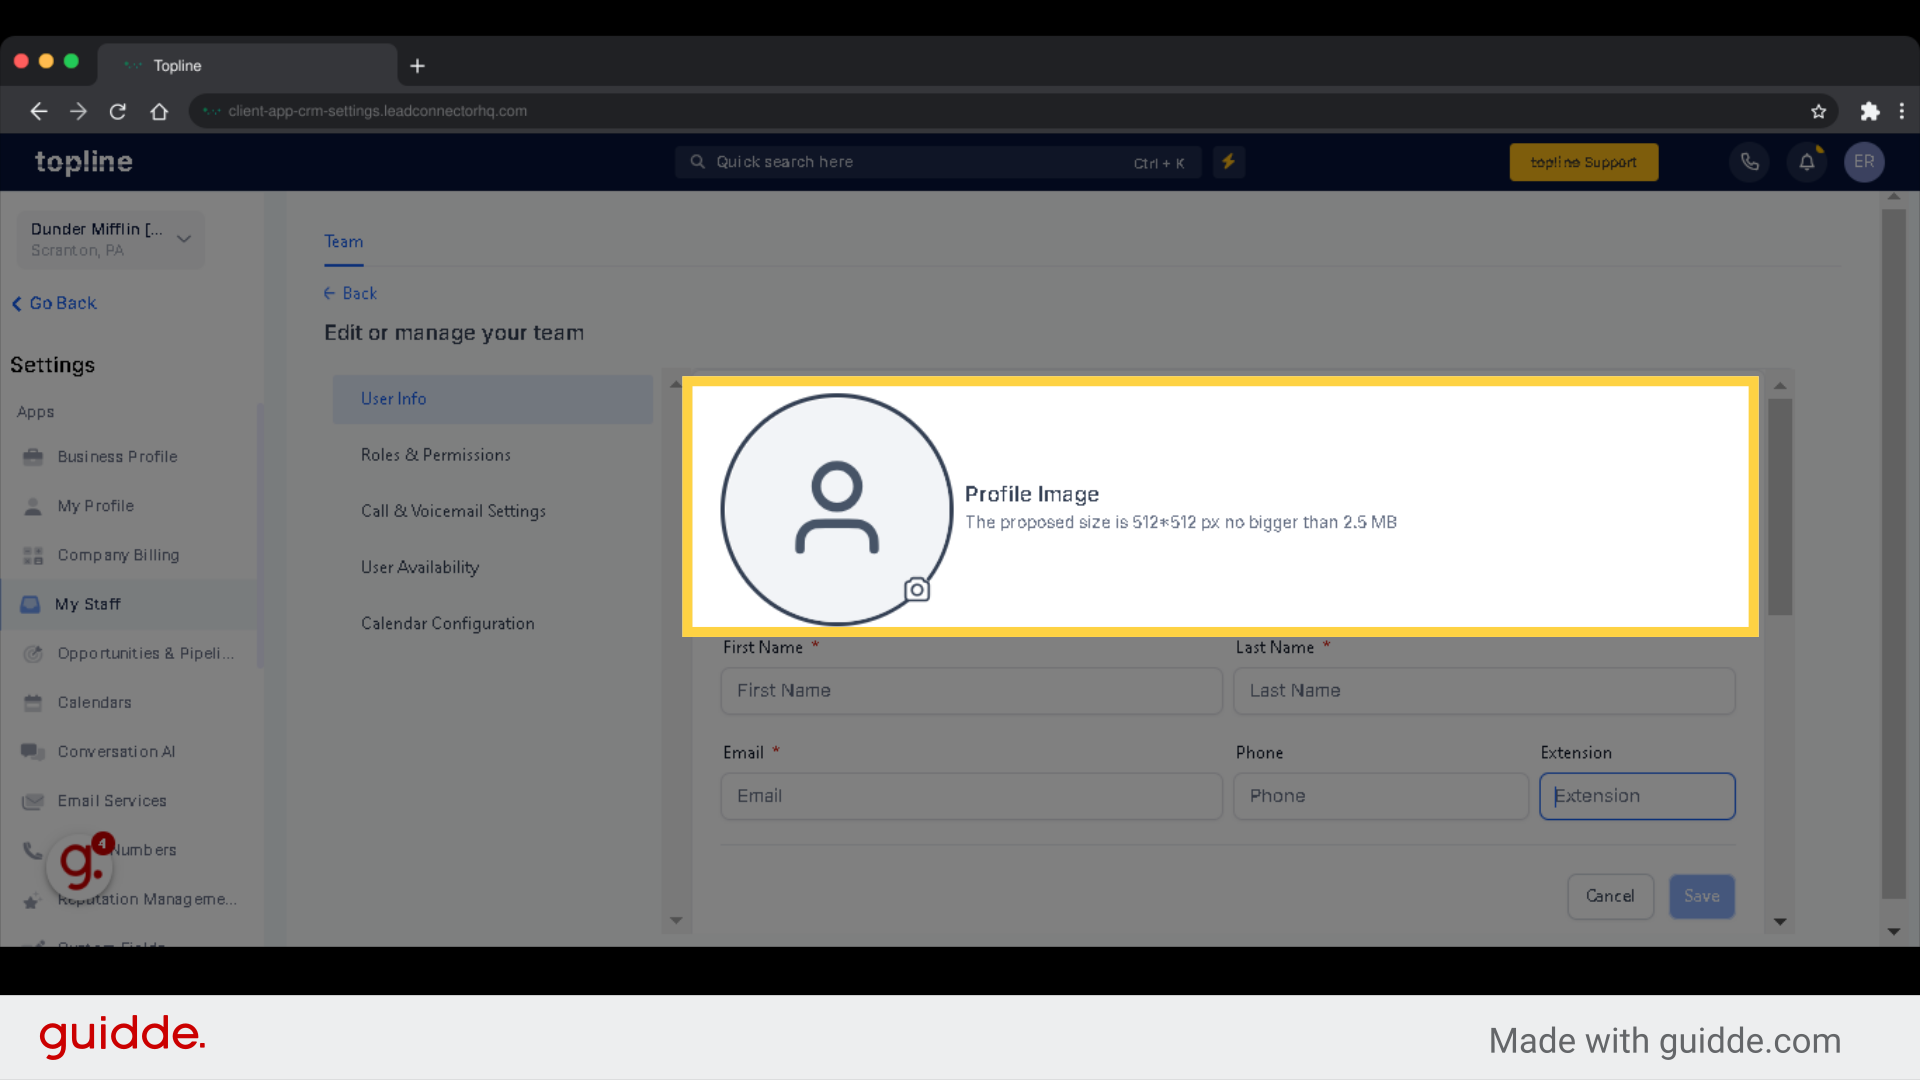
Fill in the required fields, such as name, and email.
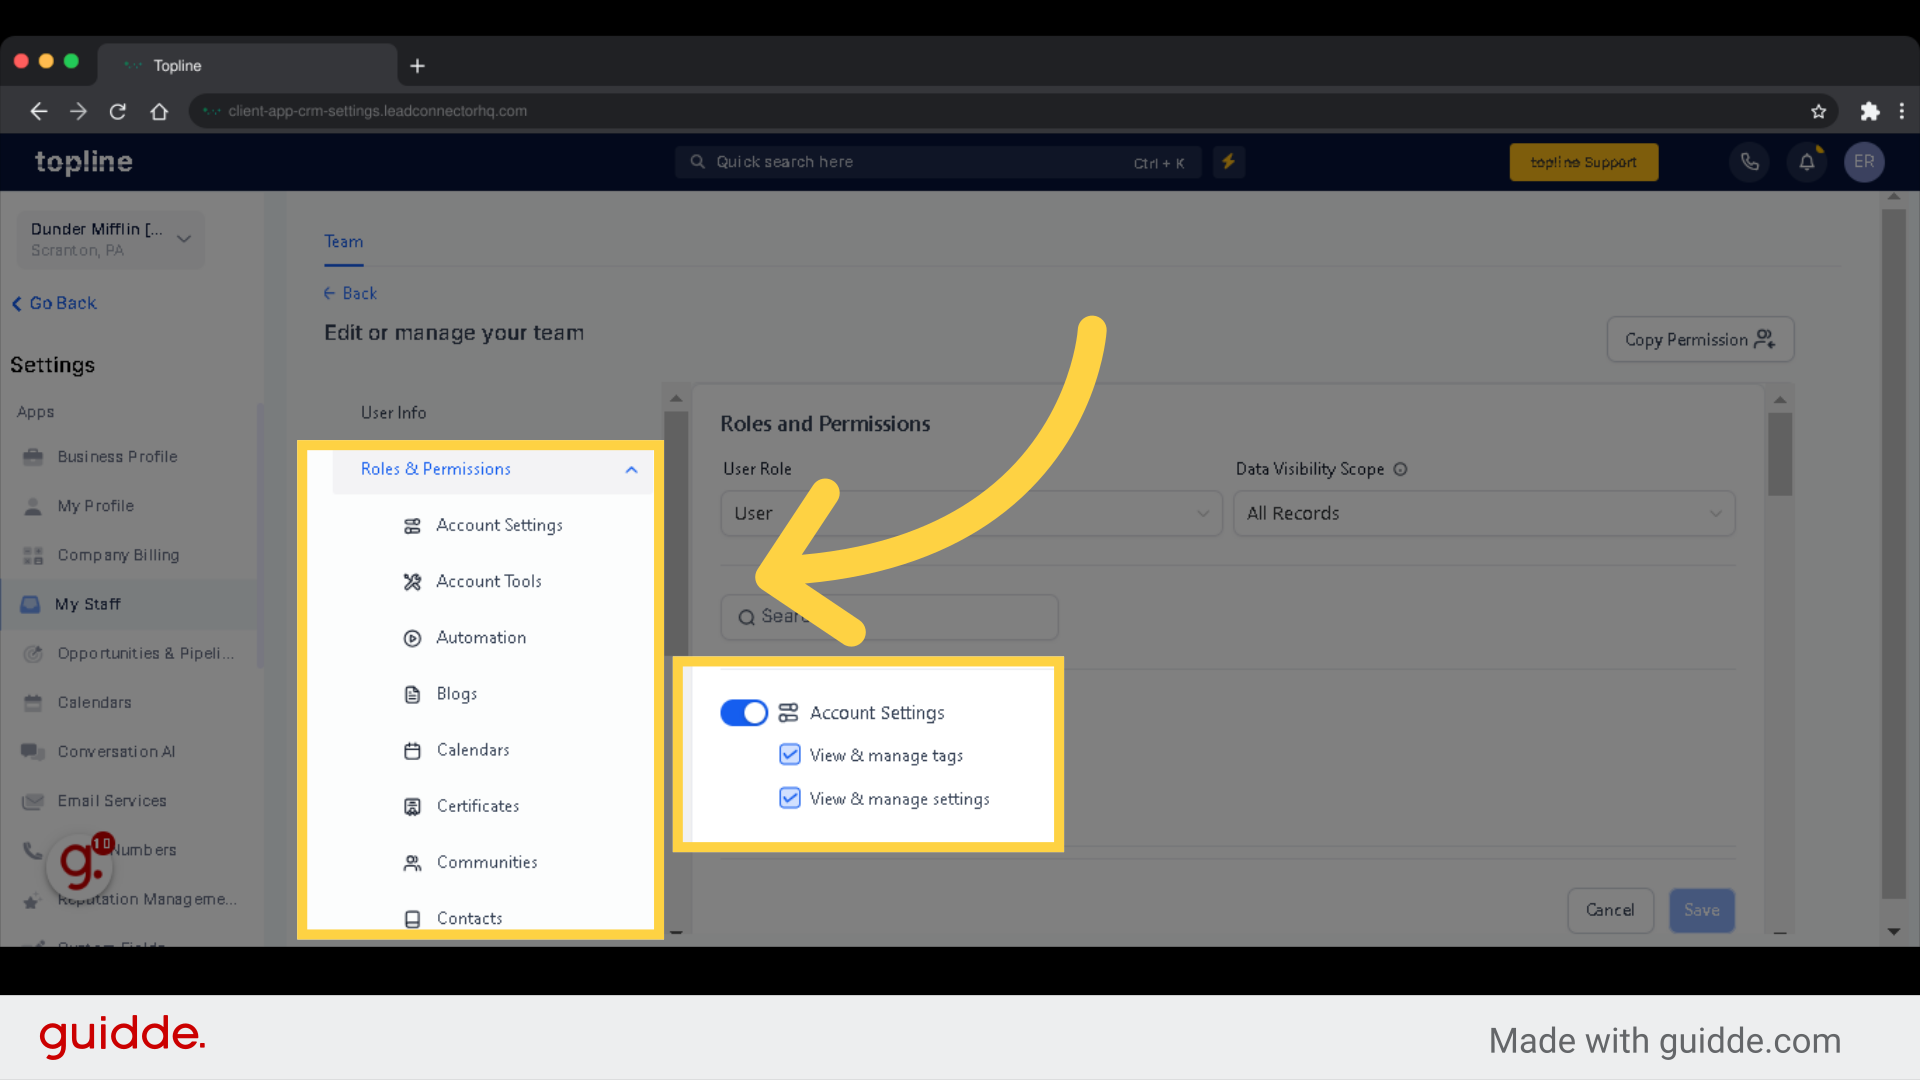
Tick the box to grant all or limit access to certain areas.
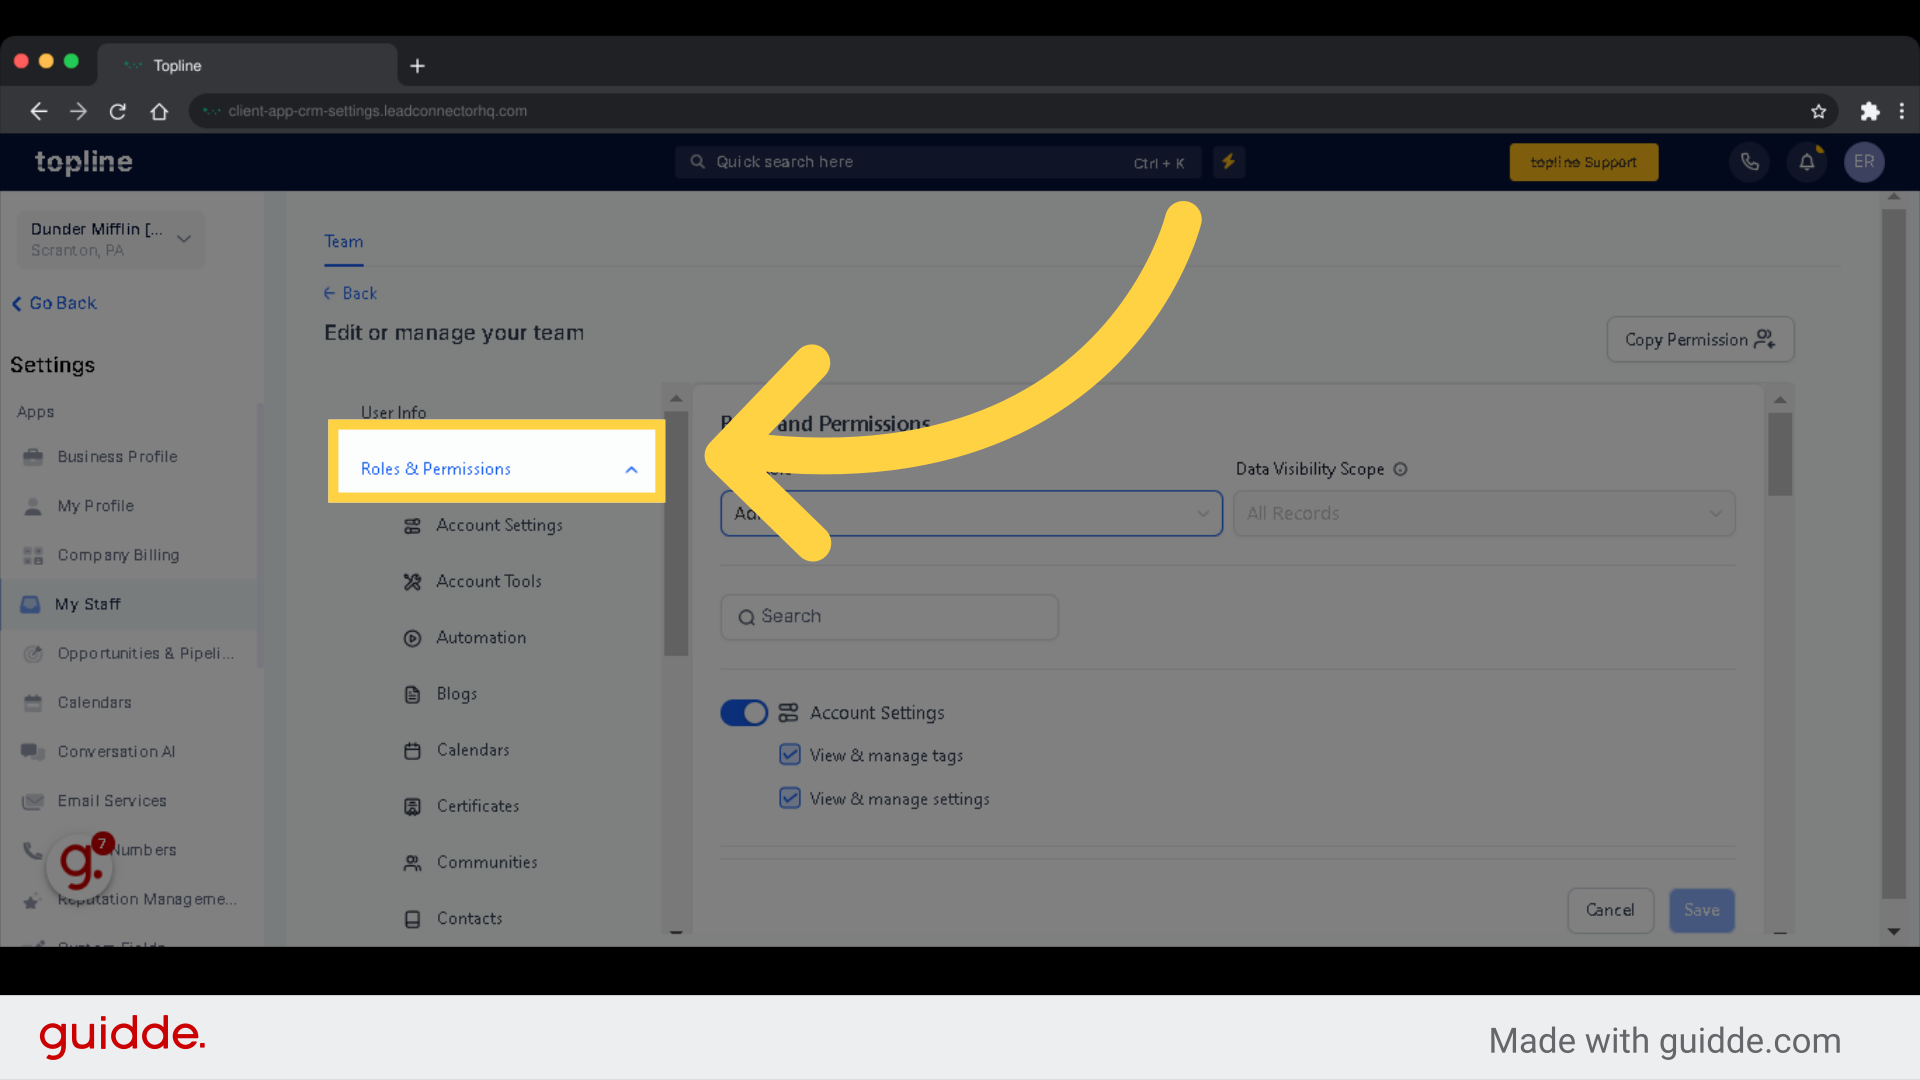
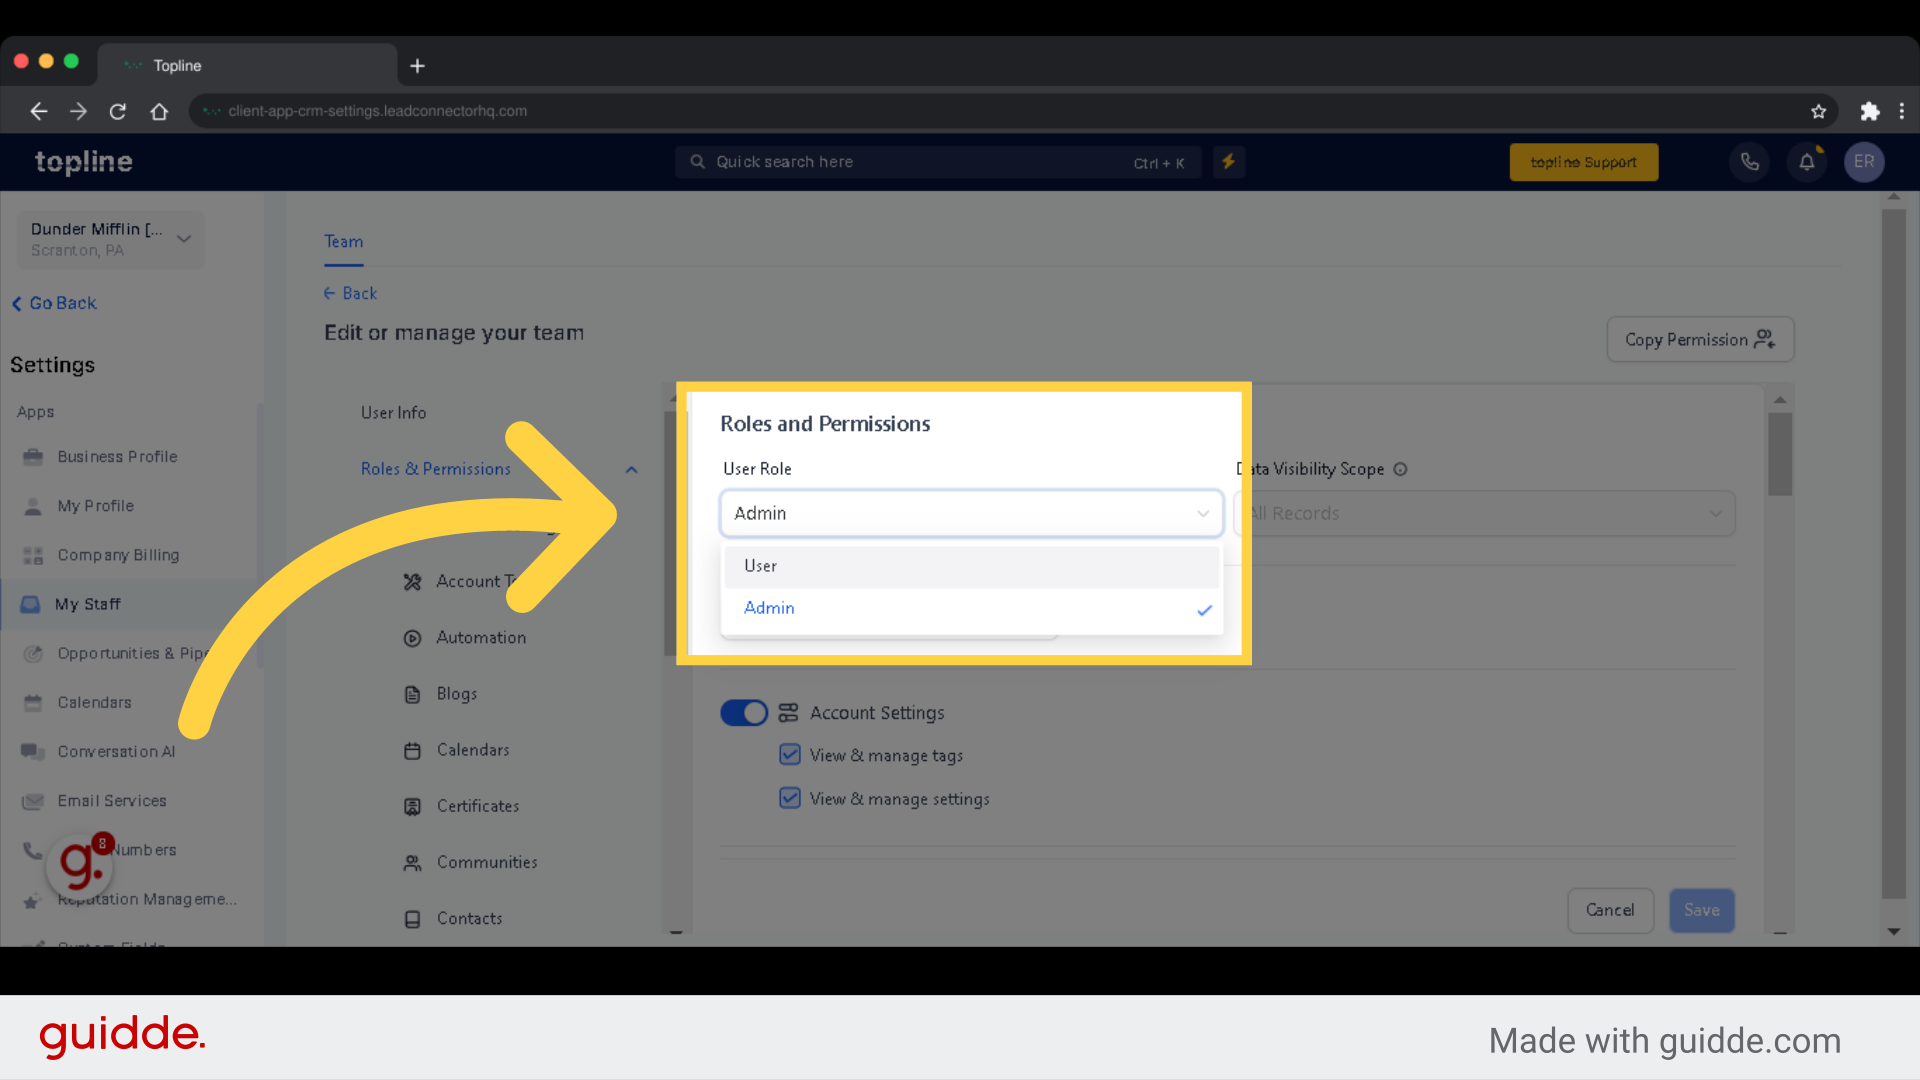
When assigning user roles, it is important to consider the impact on system access and permissions. By selecting the appropriate user role, administrators can control the level of access and permissions granted to each user, ensuring that they have the necessary rights to perform their tasks without compromising system security.
Tick the box to grant all or limit access to certain areas.
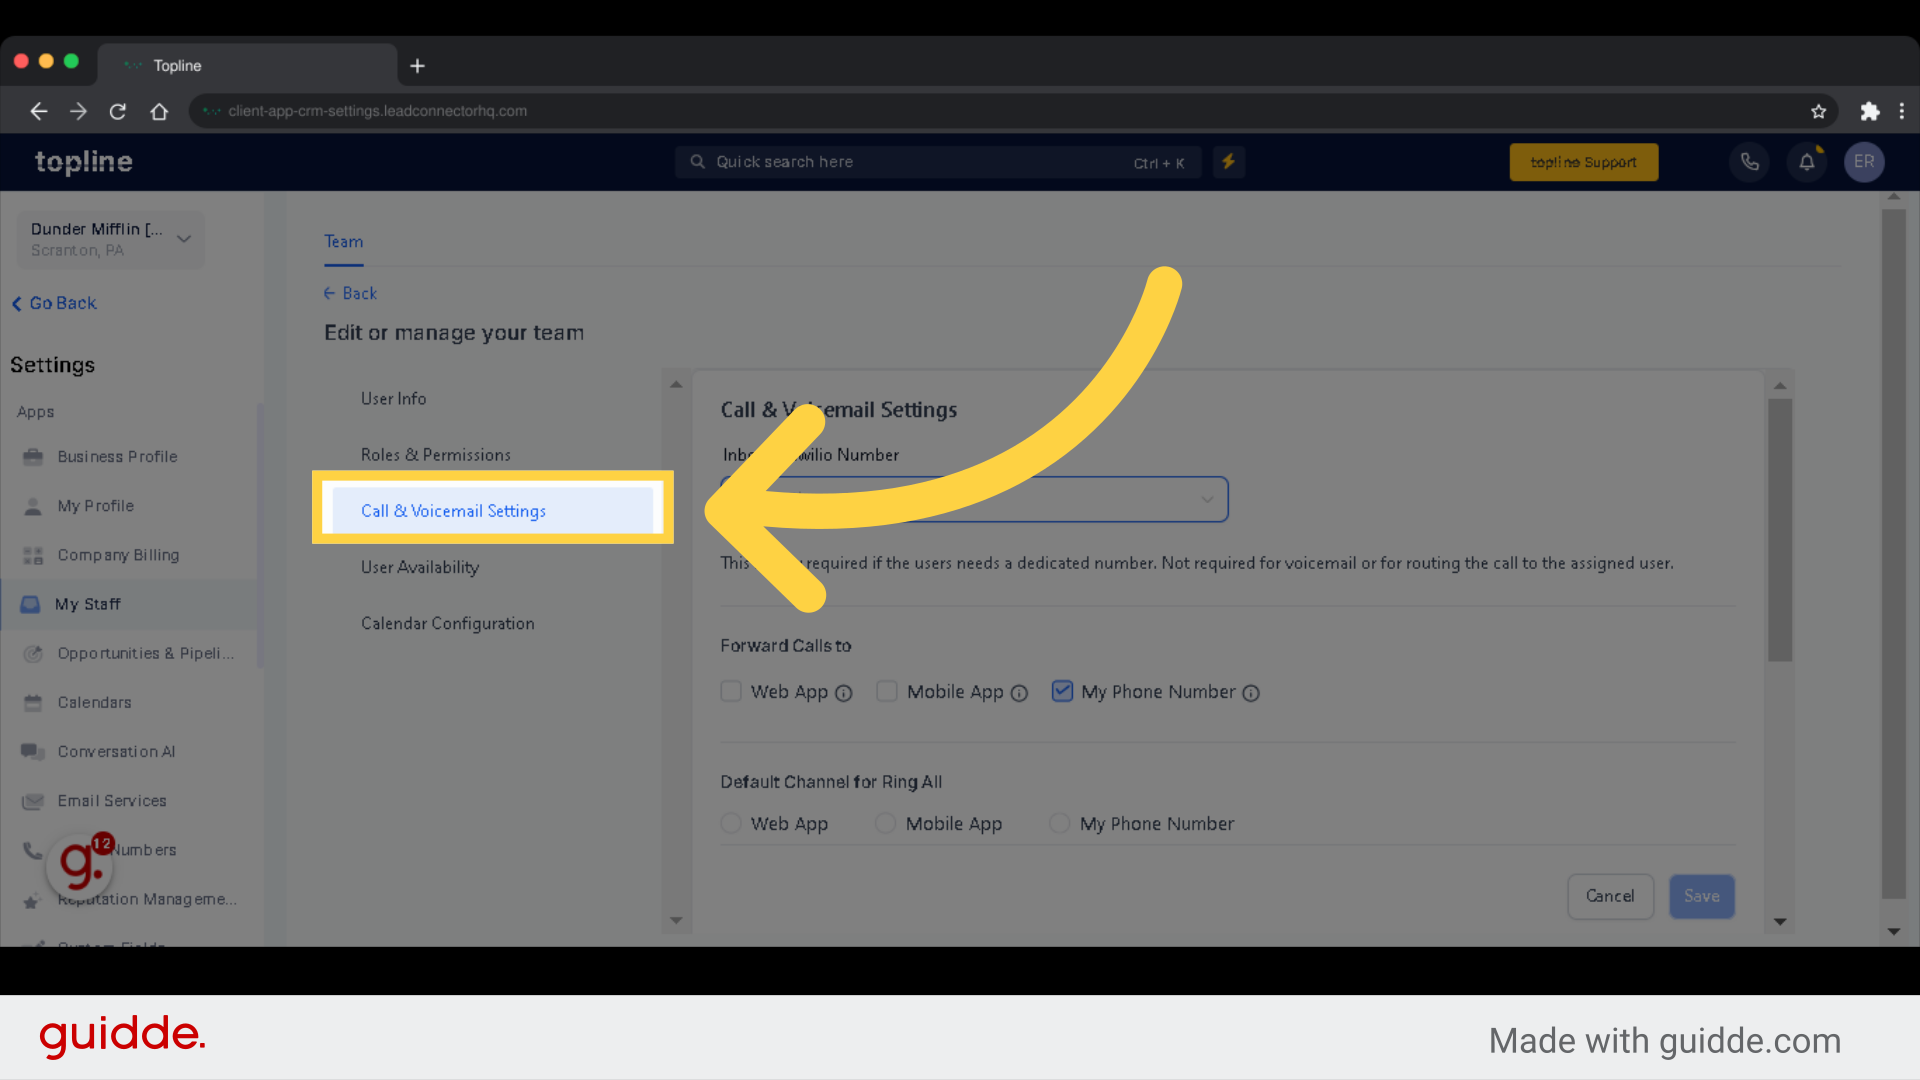
By customizing your voicemail settings allows you to provide clear instructions and information for callers, improving the overall communication experience.
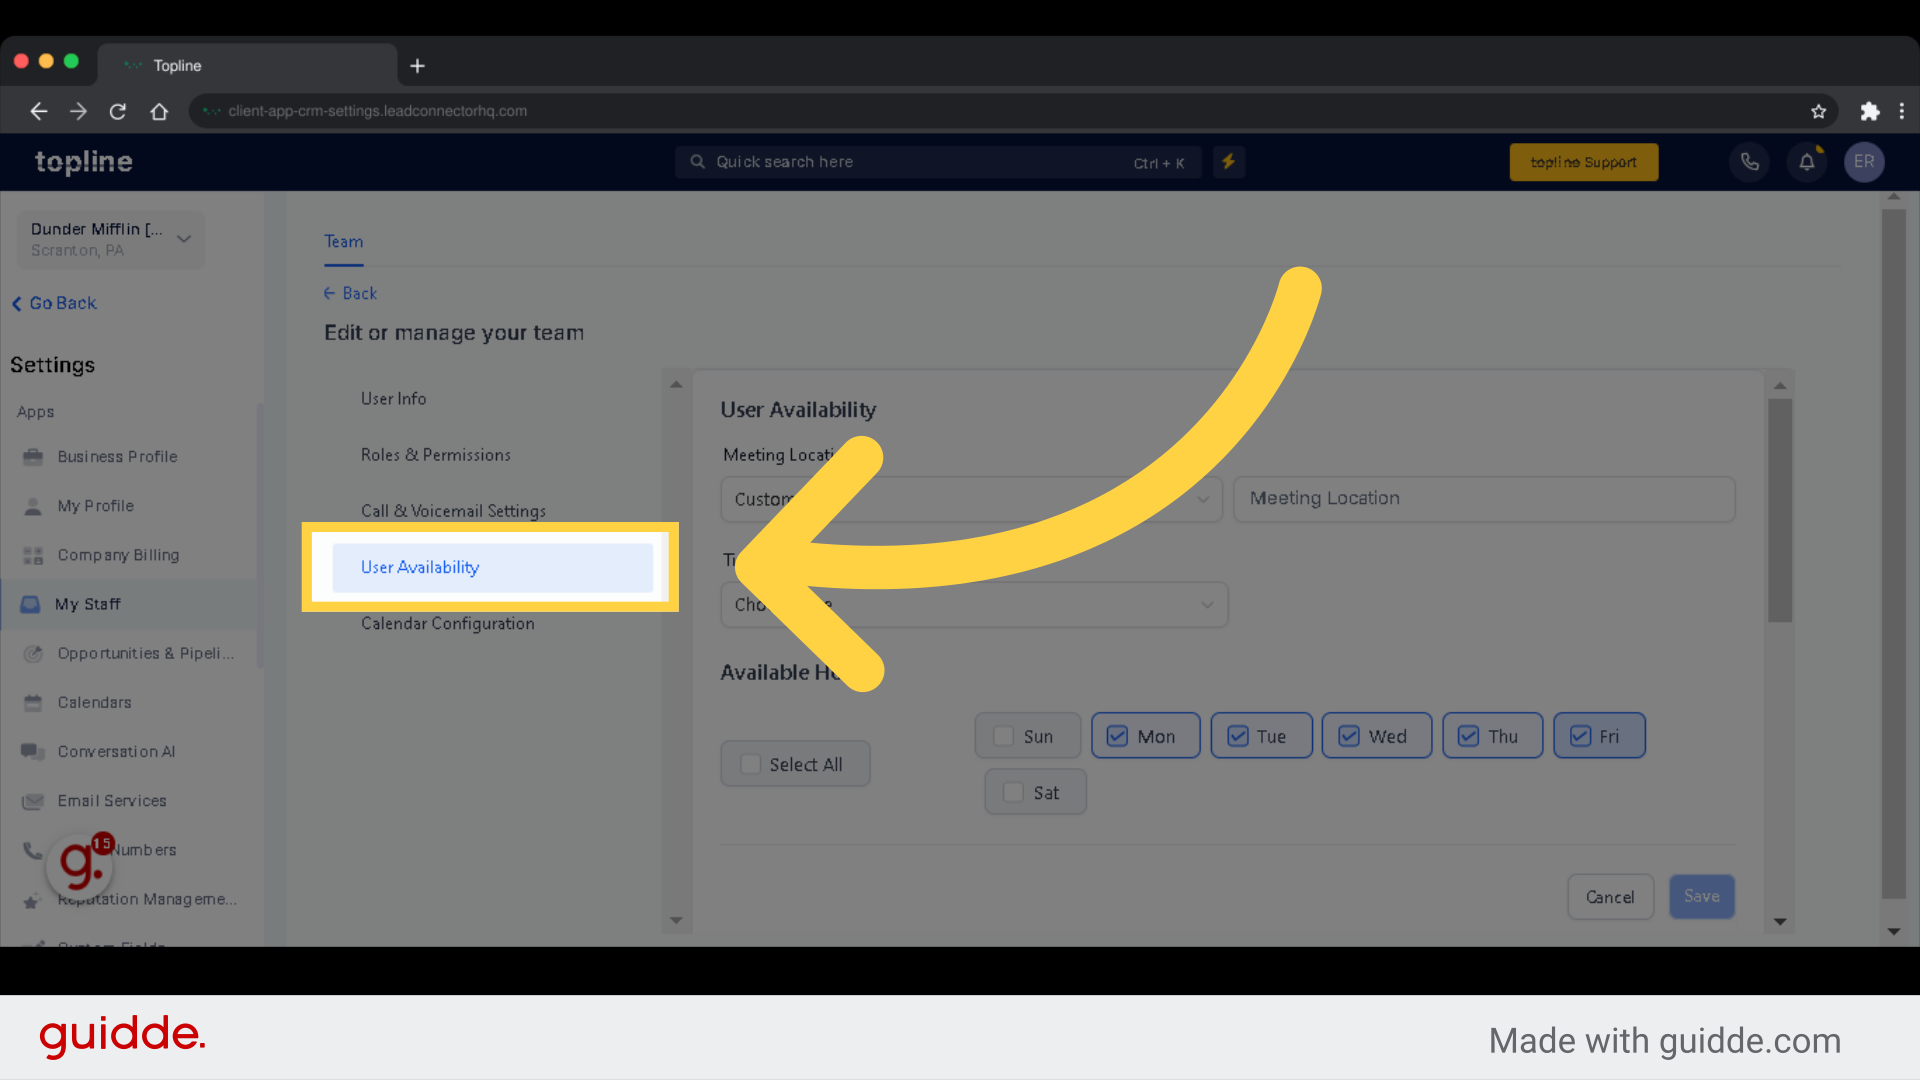
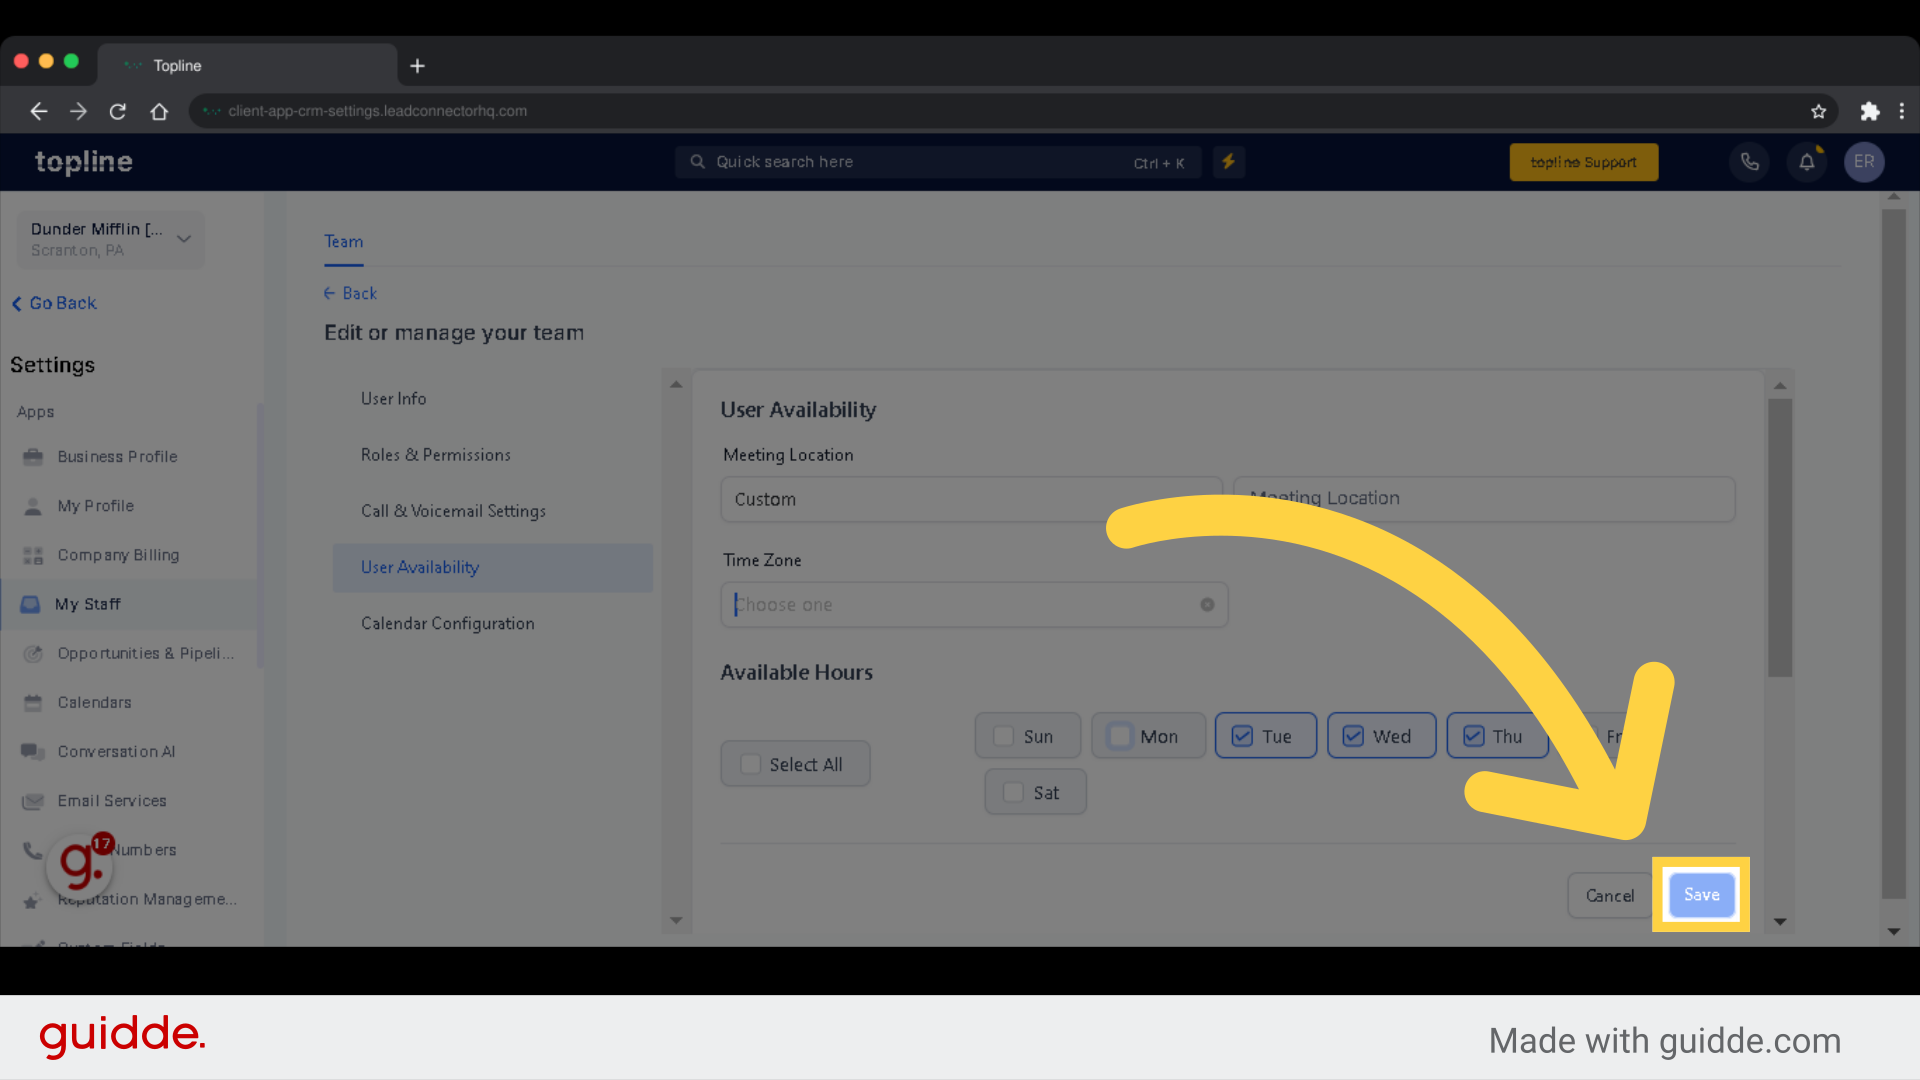
This helps to avoid delays and misunderstandings, and ensures that important information is communicated in a timely manner. It also promotes a culture of respect and consideration for each other's time and commitments.
Click on "Save" to apply changes.
This section is used by the client to grant its employees access to their specific Topline OS account. Any employee created here will show up in Agency Team Management (1. above).
To access Team Management complete the following steps:
Click "Settings" in the side navigation menu of the sub-account view
Click "My Staff"
Adding or editing an user allows you to update:
Personal logo
First name
Last name
Email (login email)
Phone
Password (login password)
Permissions
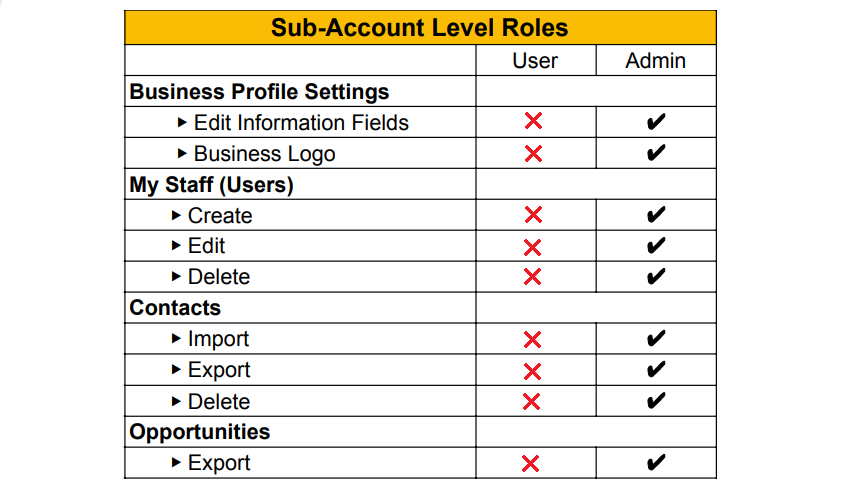
The following is a table outlining permissions of sub-account level roles.