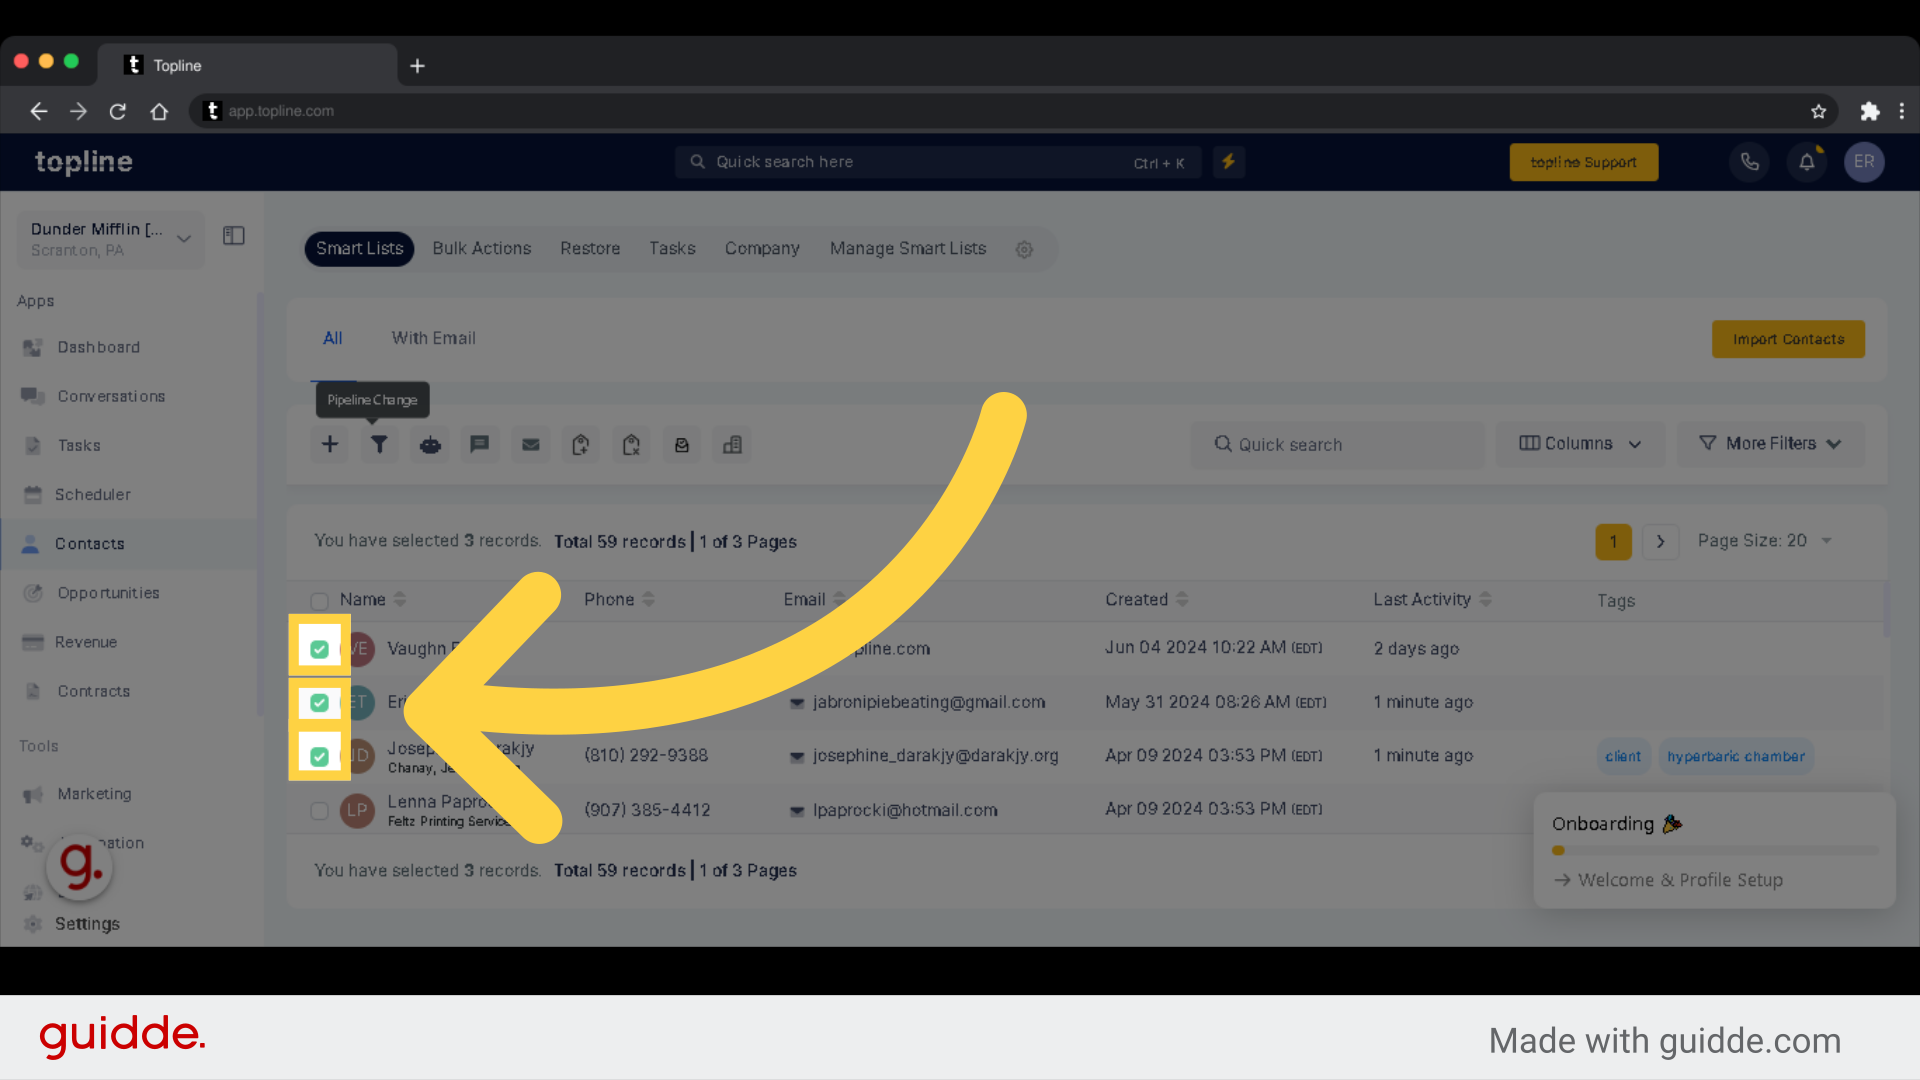
This option gives you freedom to select any number of contacts you wanted for Bulk Actions by ticking the box.
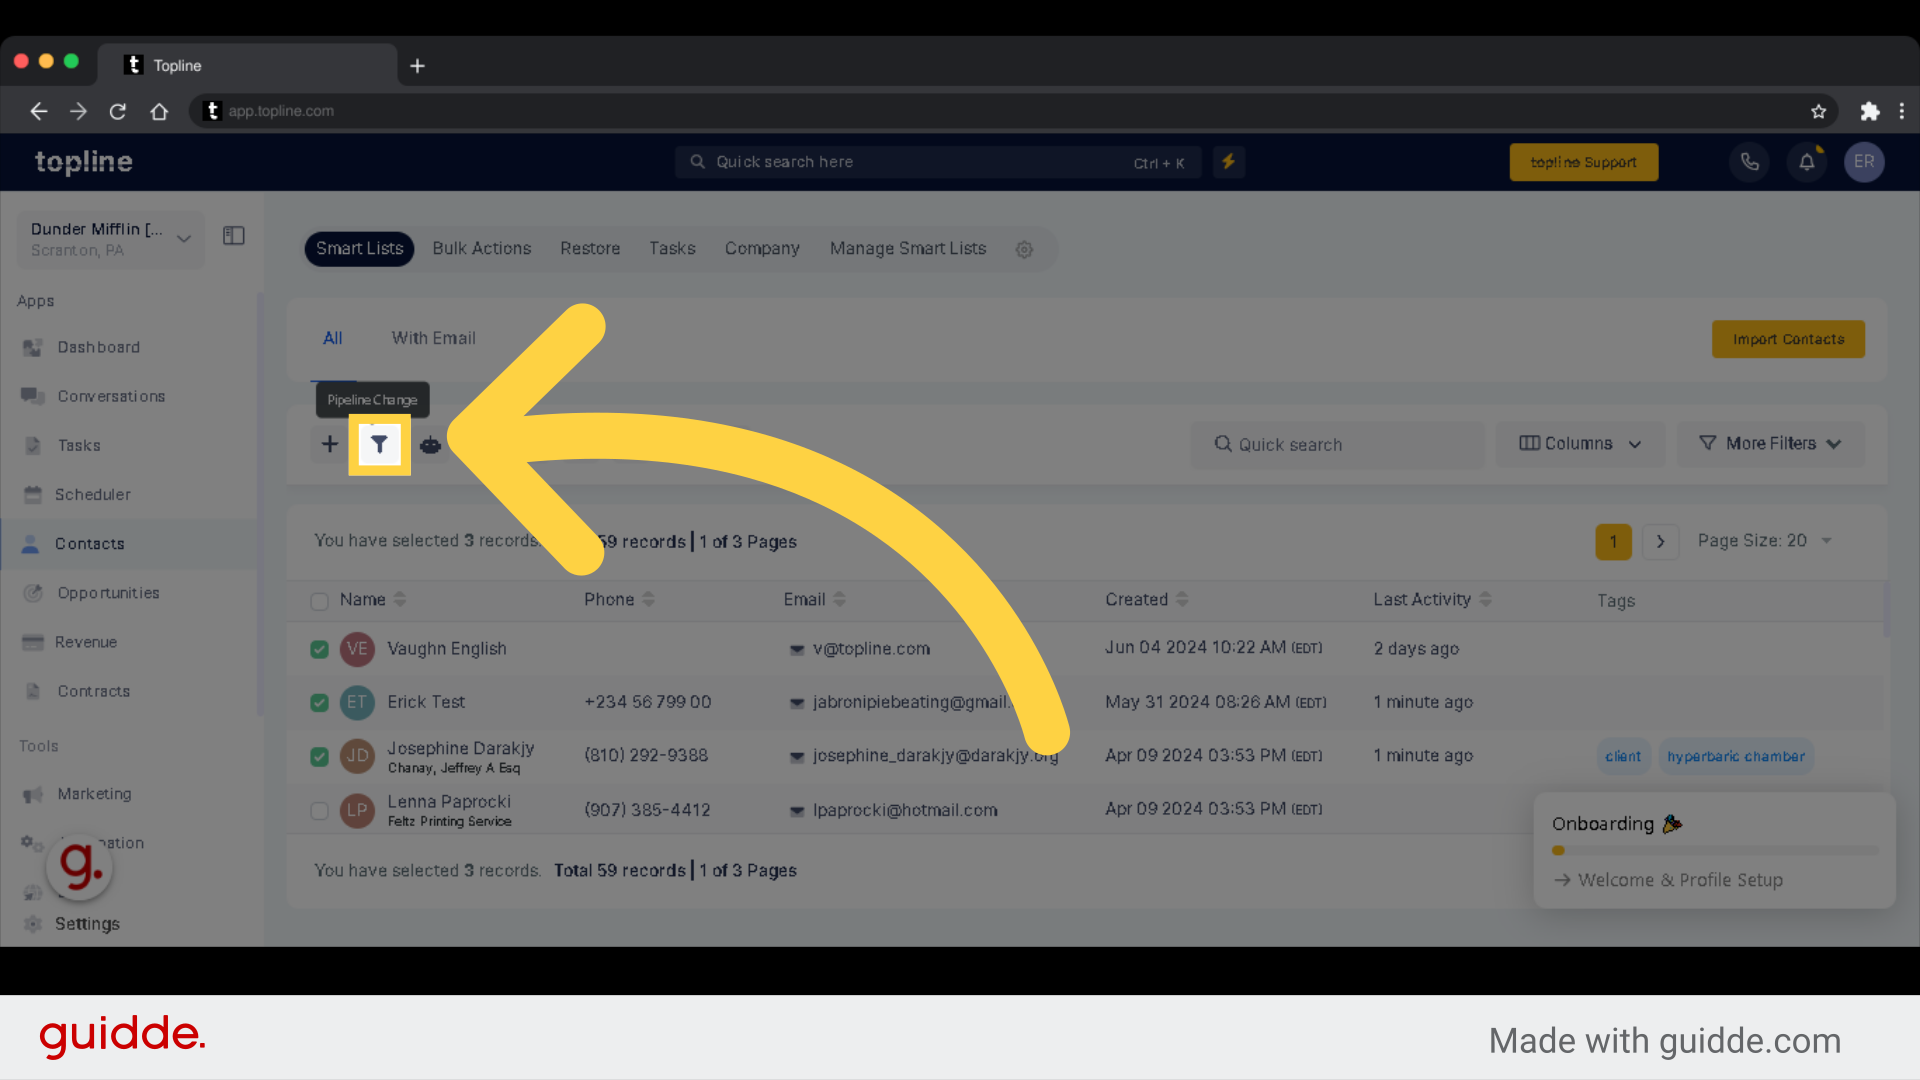
Pipeline change is significant because it allows organizations to adapt to evolving market conditions, streamline operations, and stay competitive in a rapidly changing business landscape.
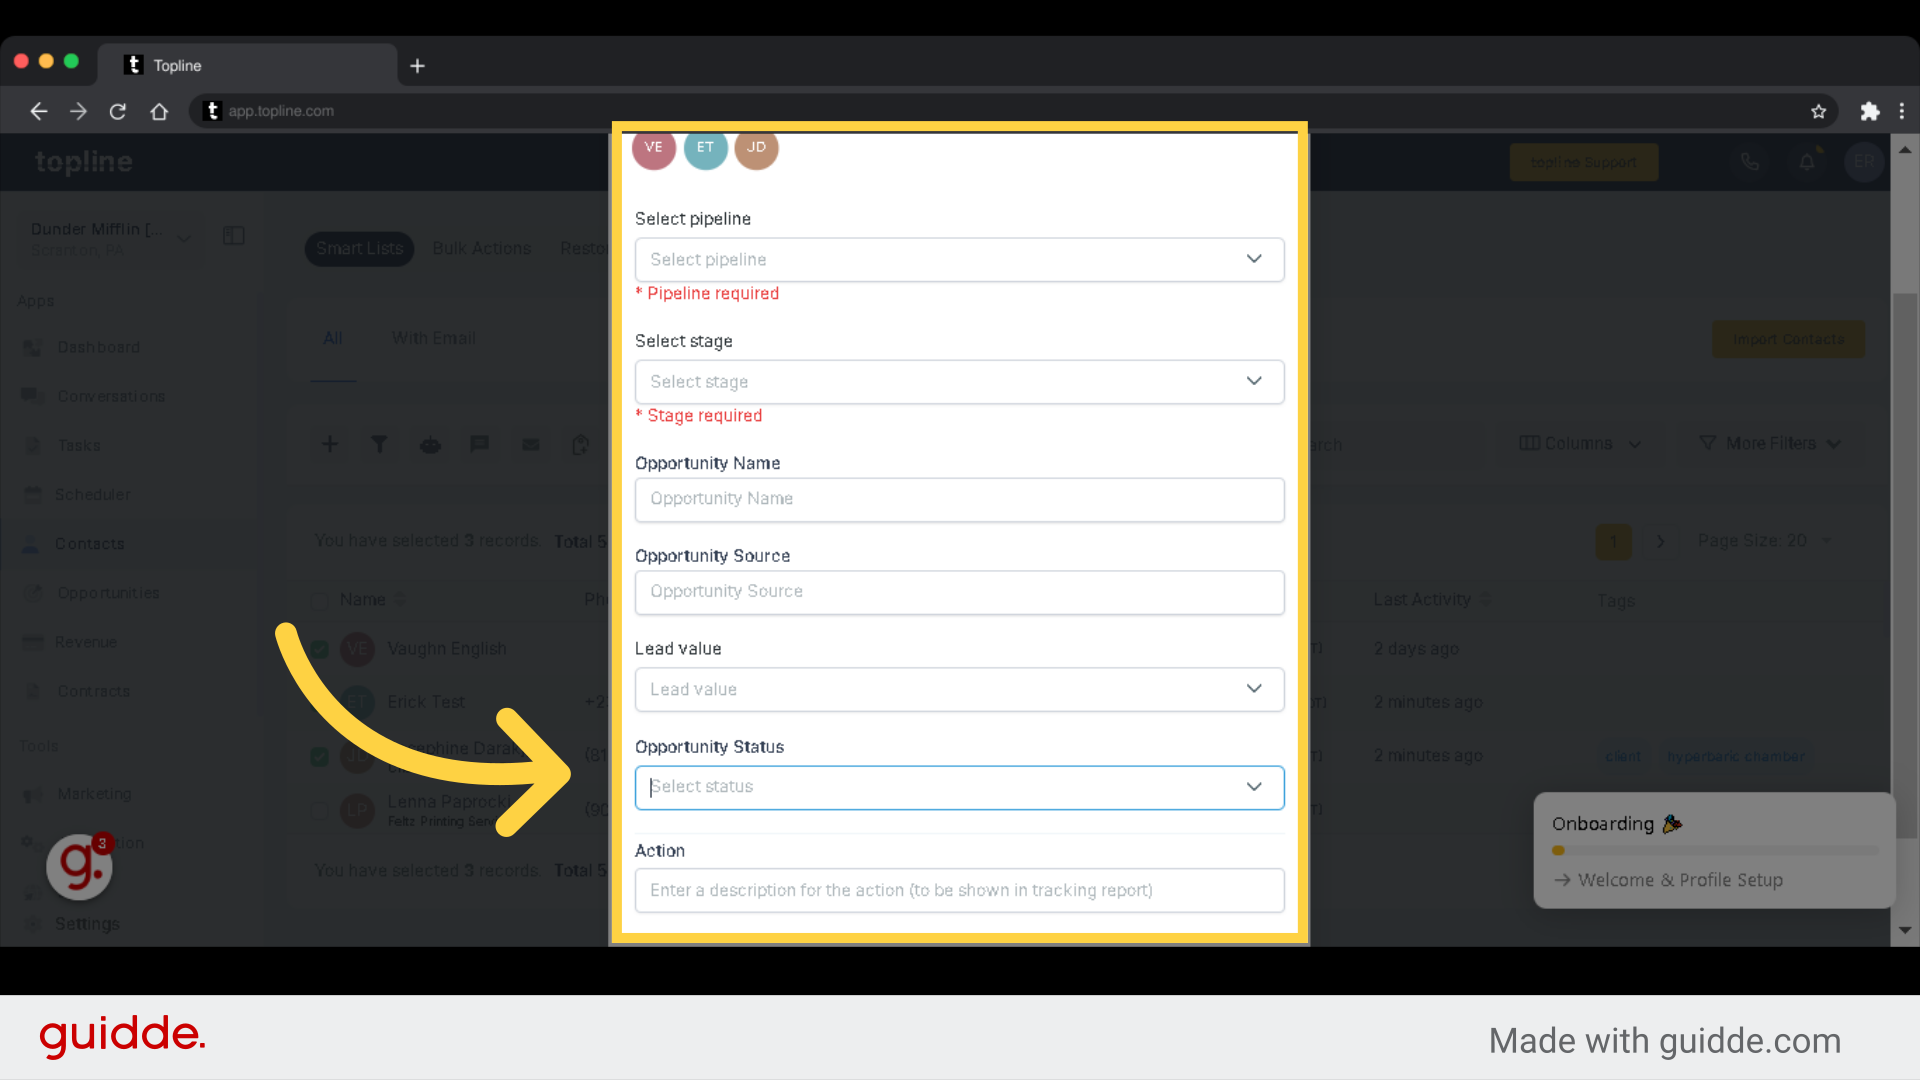
Apply Opportunity to following Contacts. Note: These are the same options that are found in triggers when you use the "Add/Update Opportunity" Option. Note that once you've activated a bulk request, you can monitor it's progress or edit by going to Contacts and Bulk Action tab.
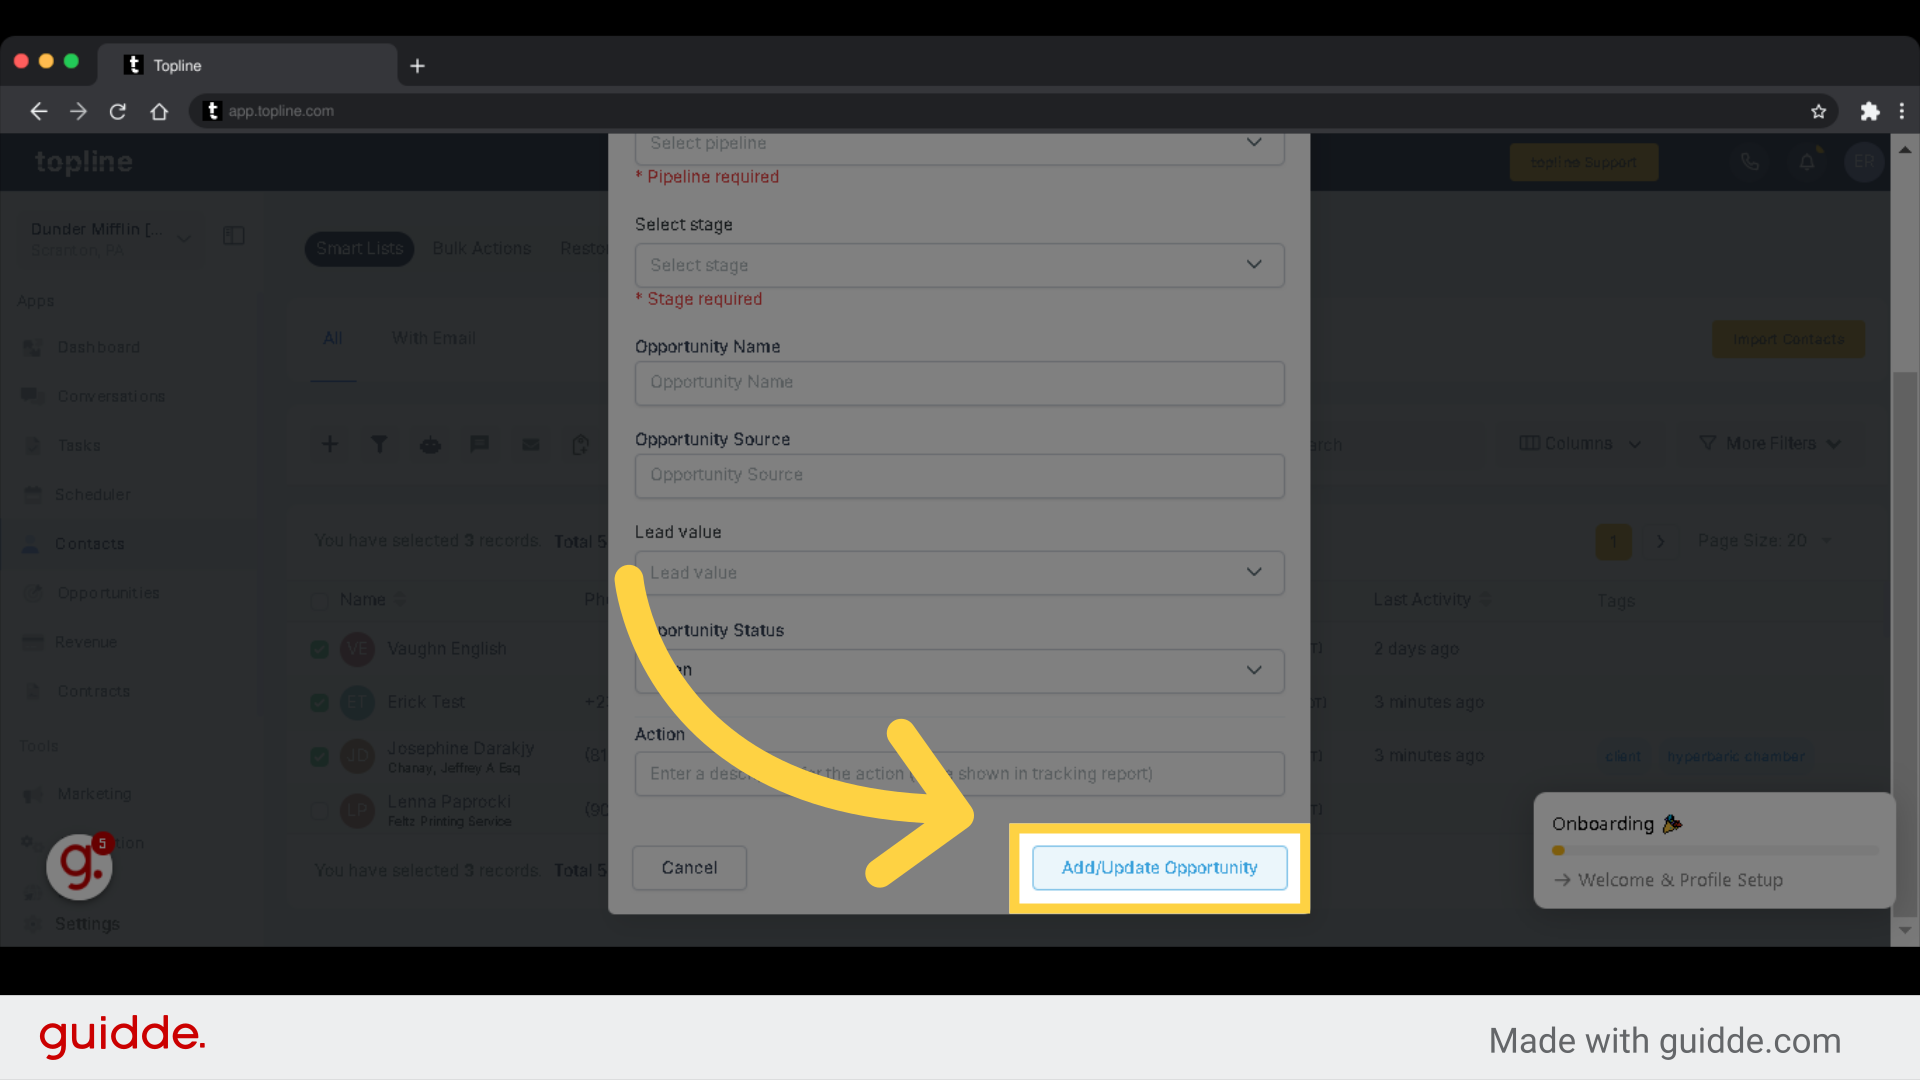
Click on "Add/Update Opportunity" to save.
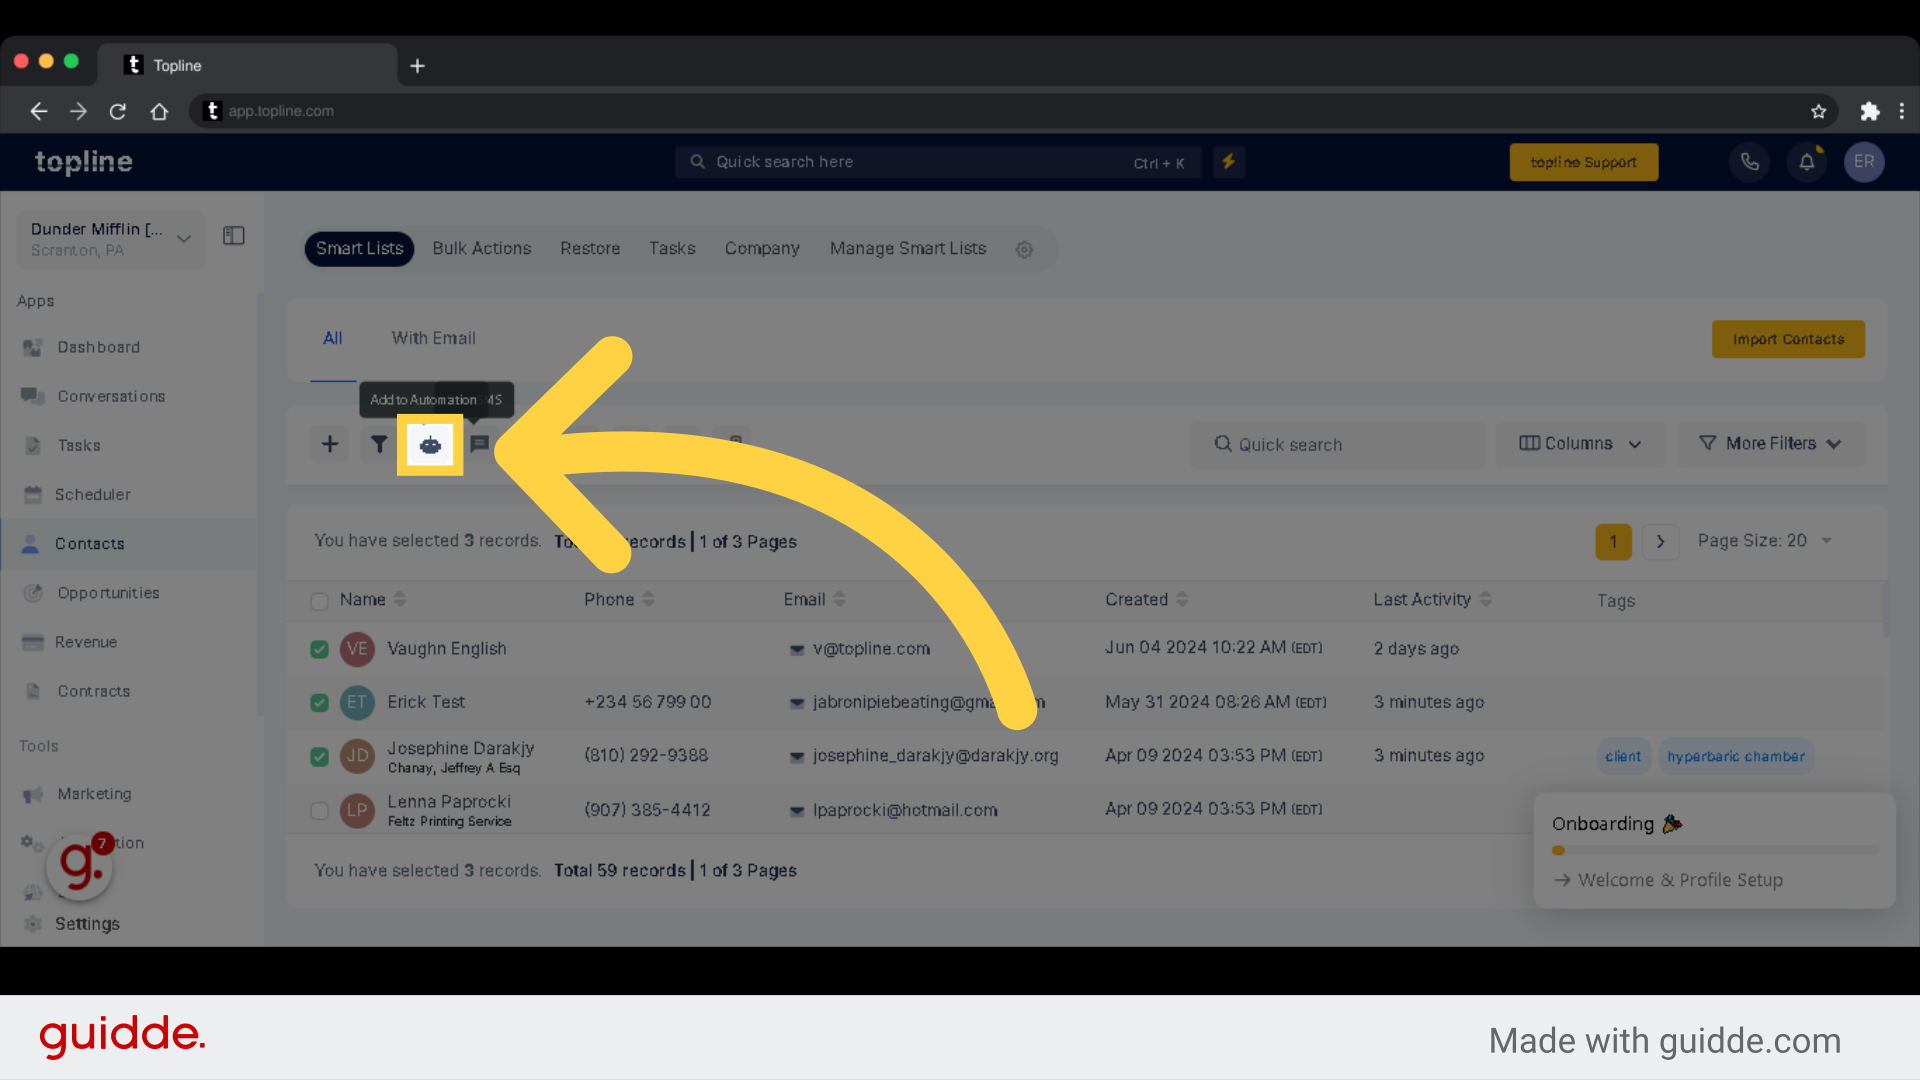
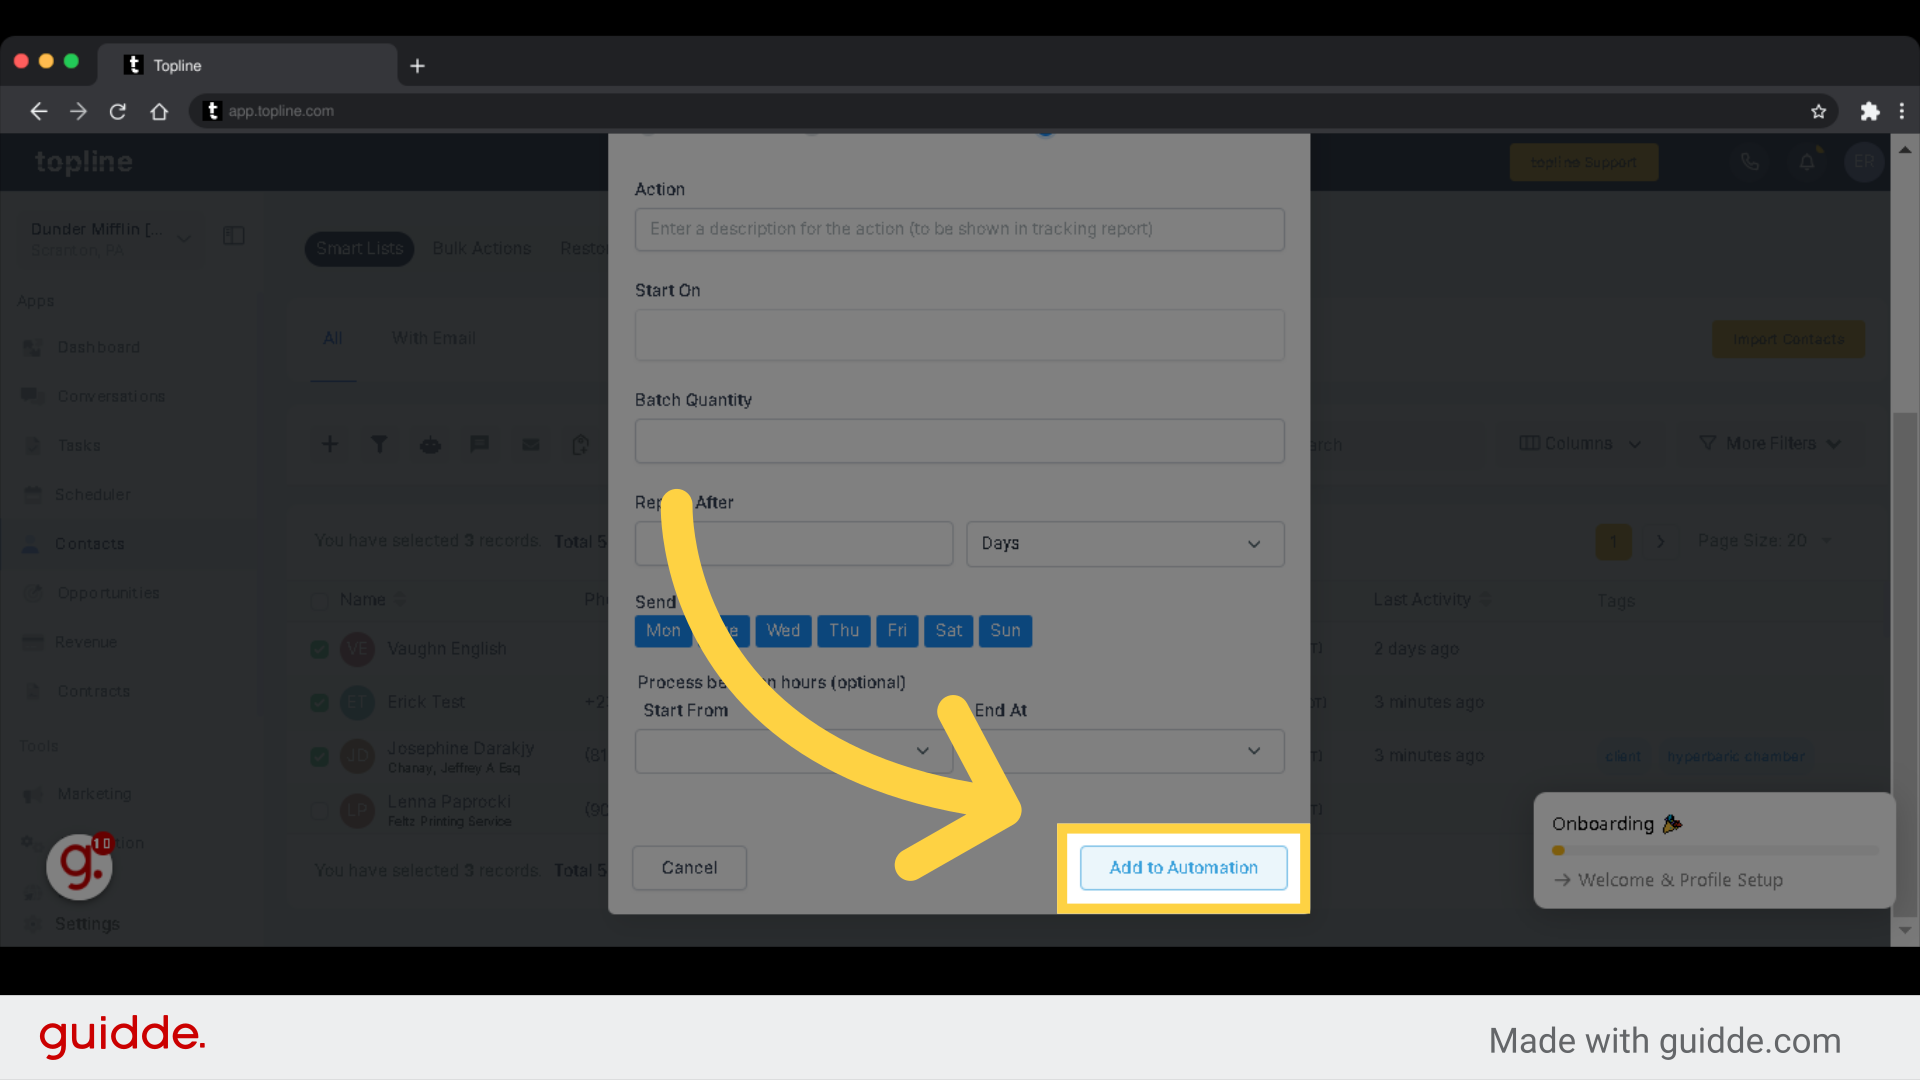
Click Add to Automation, its purpose is to increase efficiency, accuracy, and productivity by reducing the need for manual labor and streamlining operations.
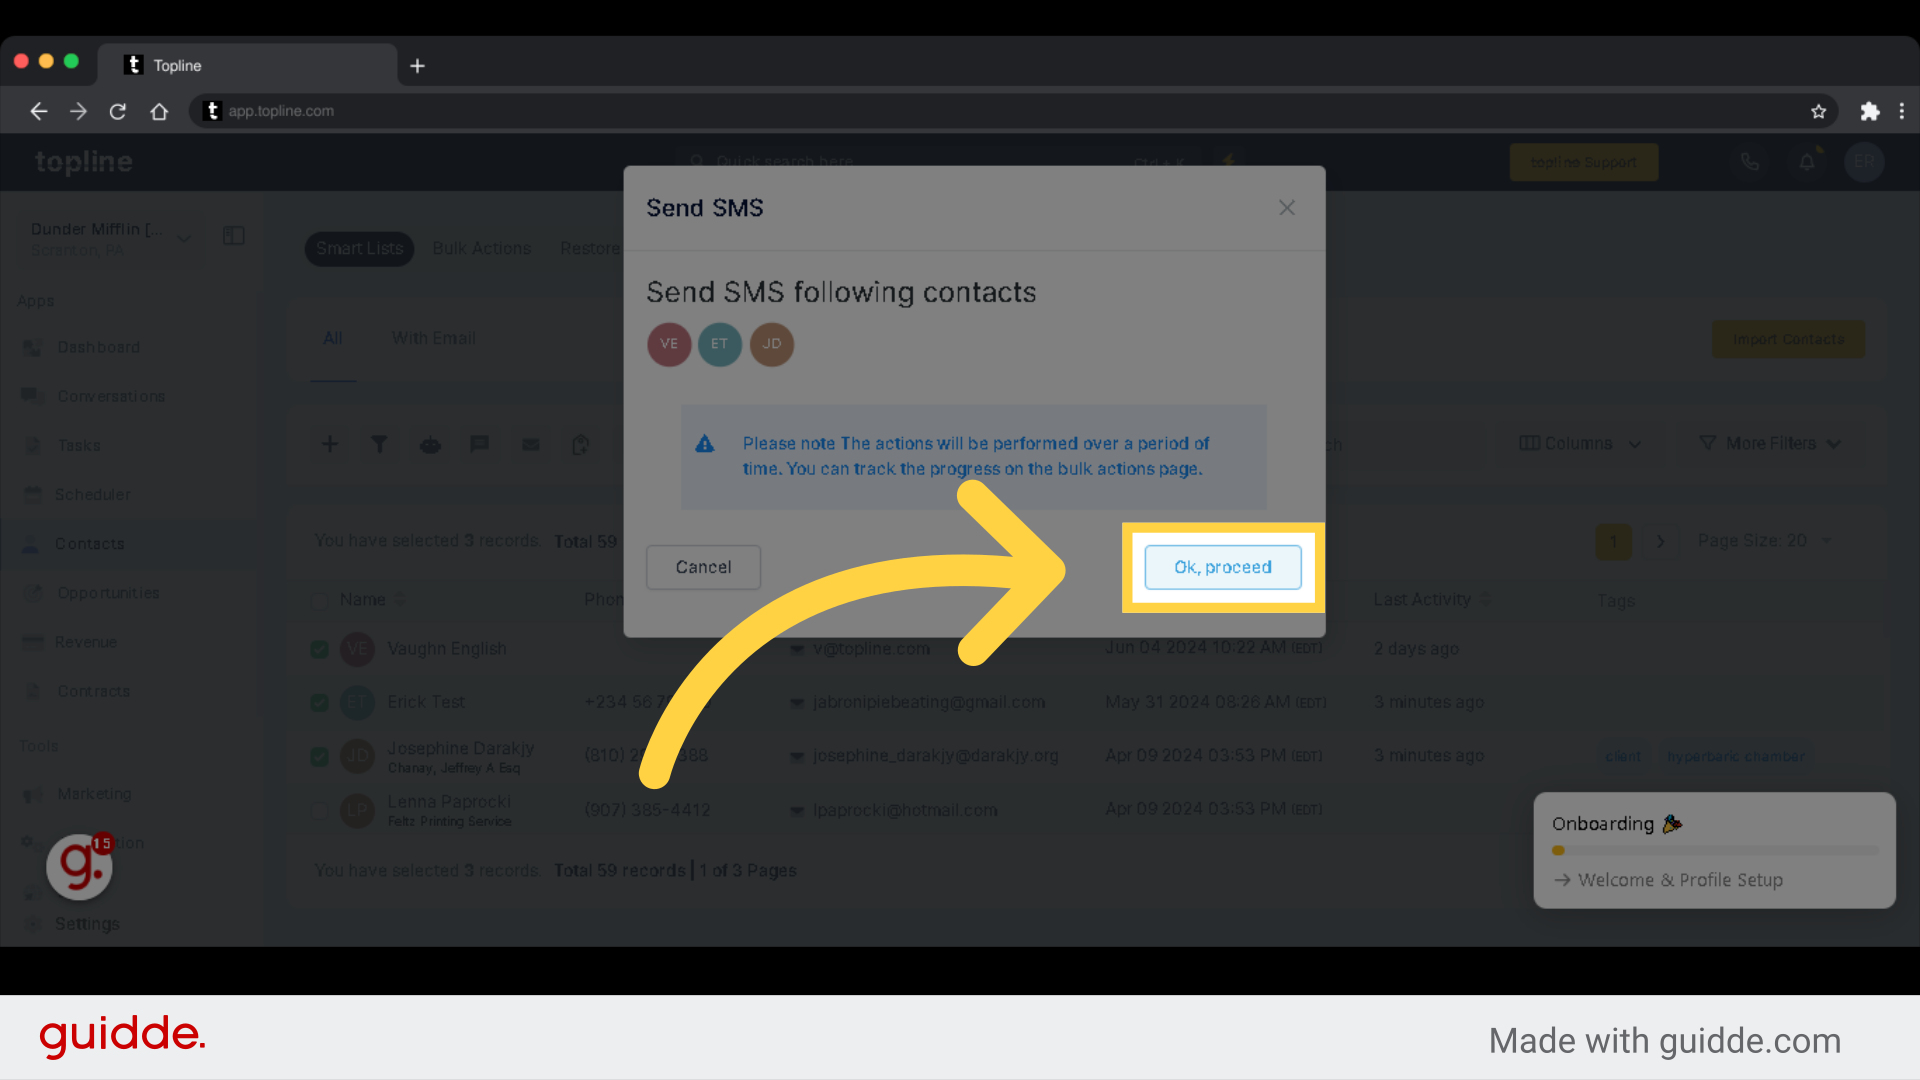
Please note The actions will be performed over a period of time. You can track the progress on the bulk actions page.

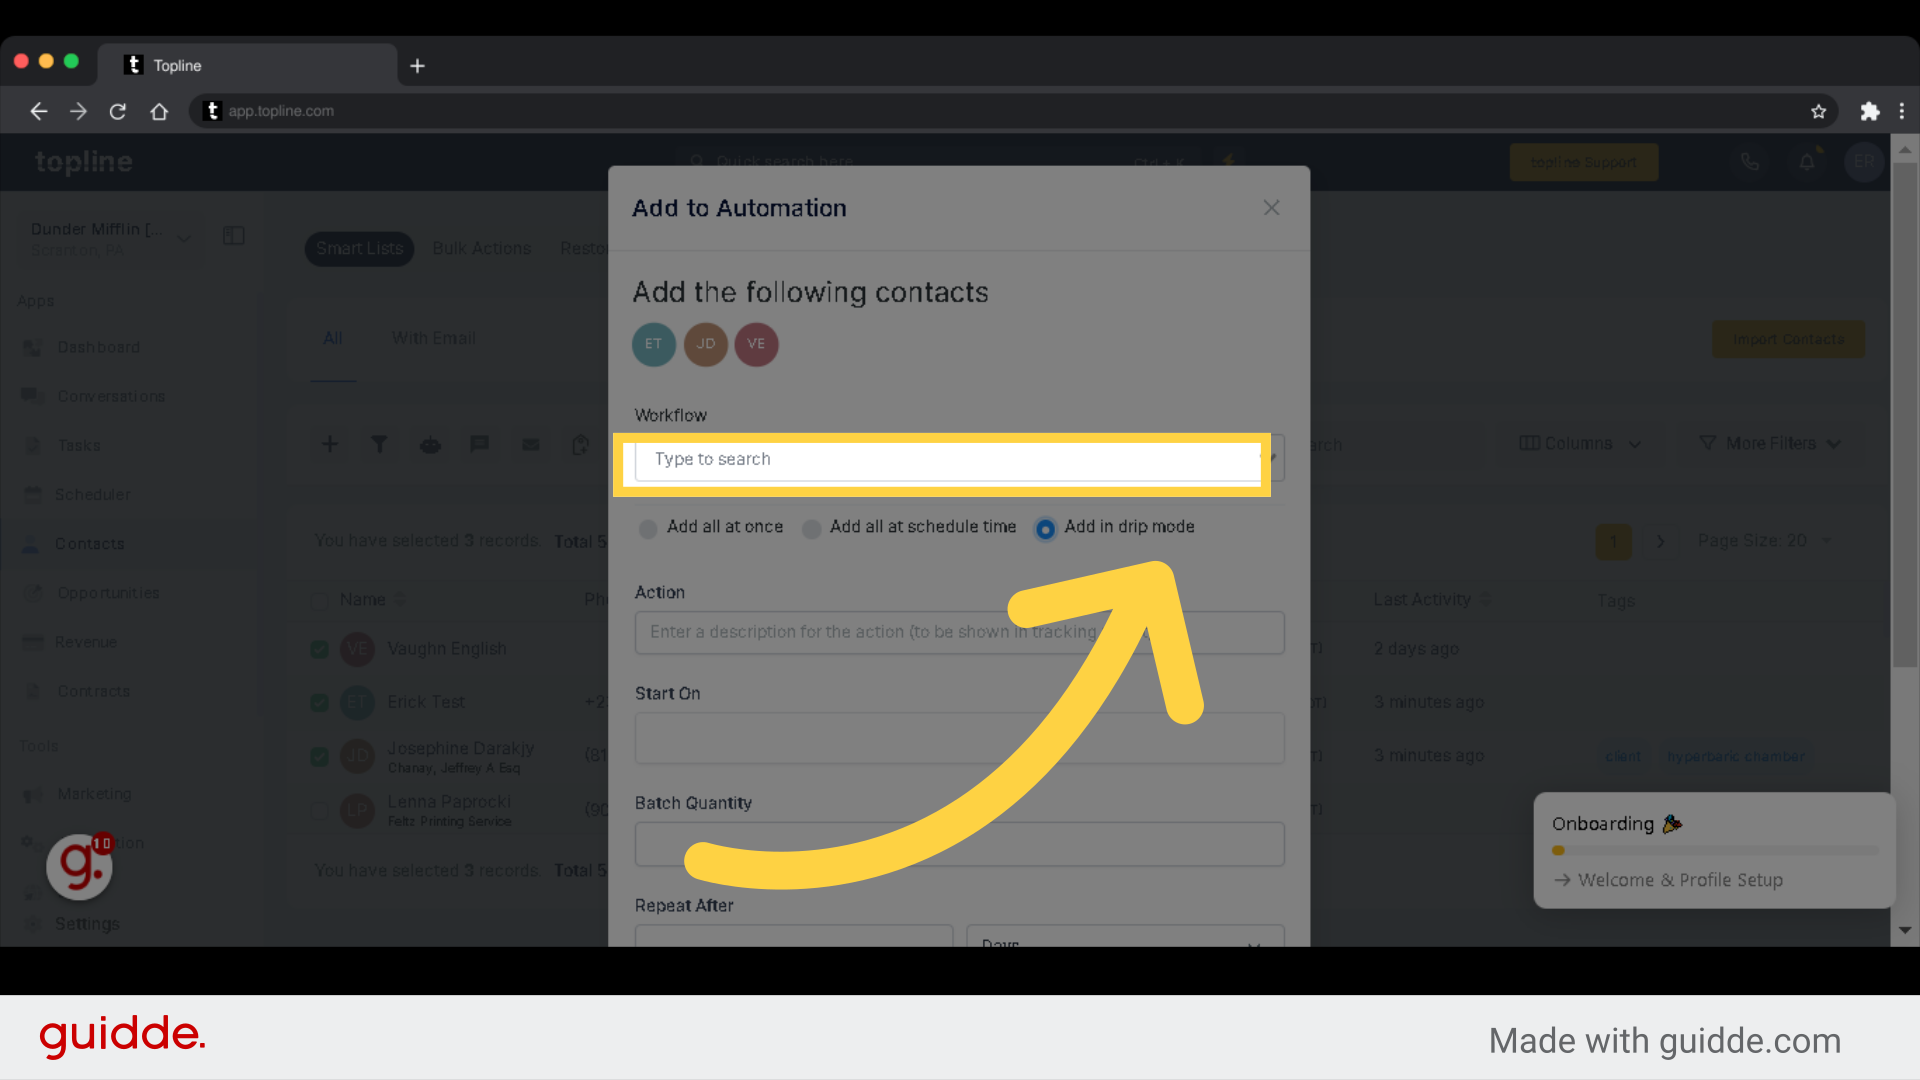
Select Workflow and schedule an action.
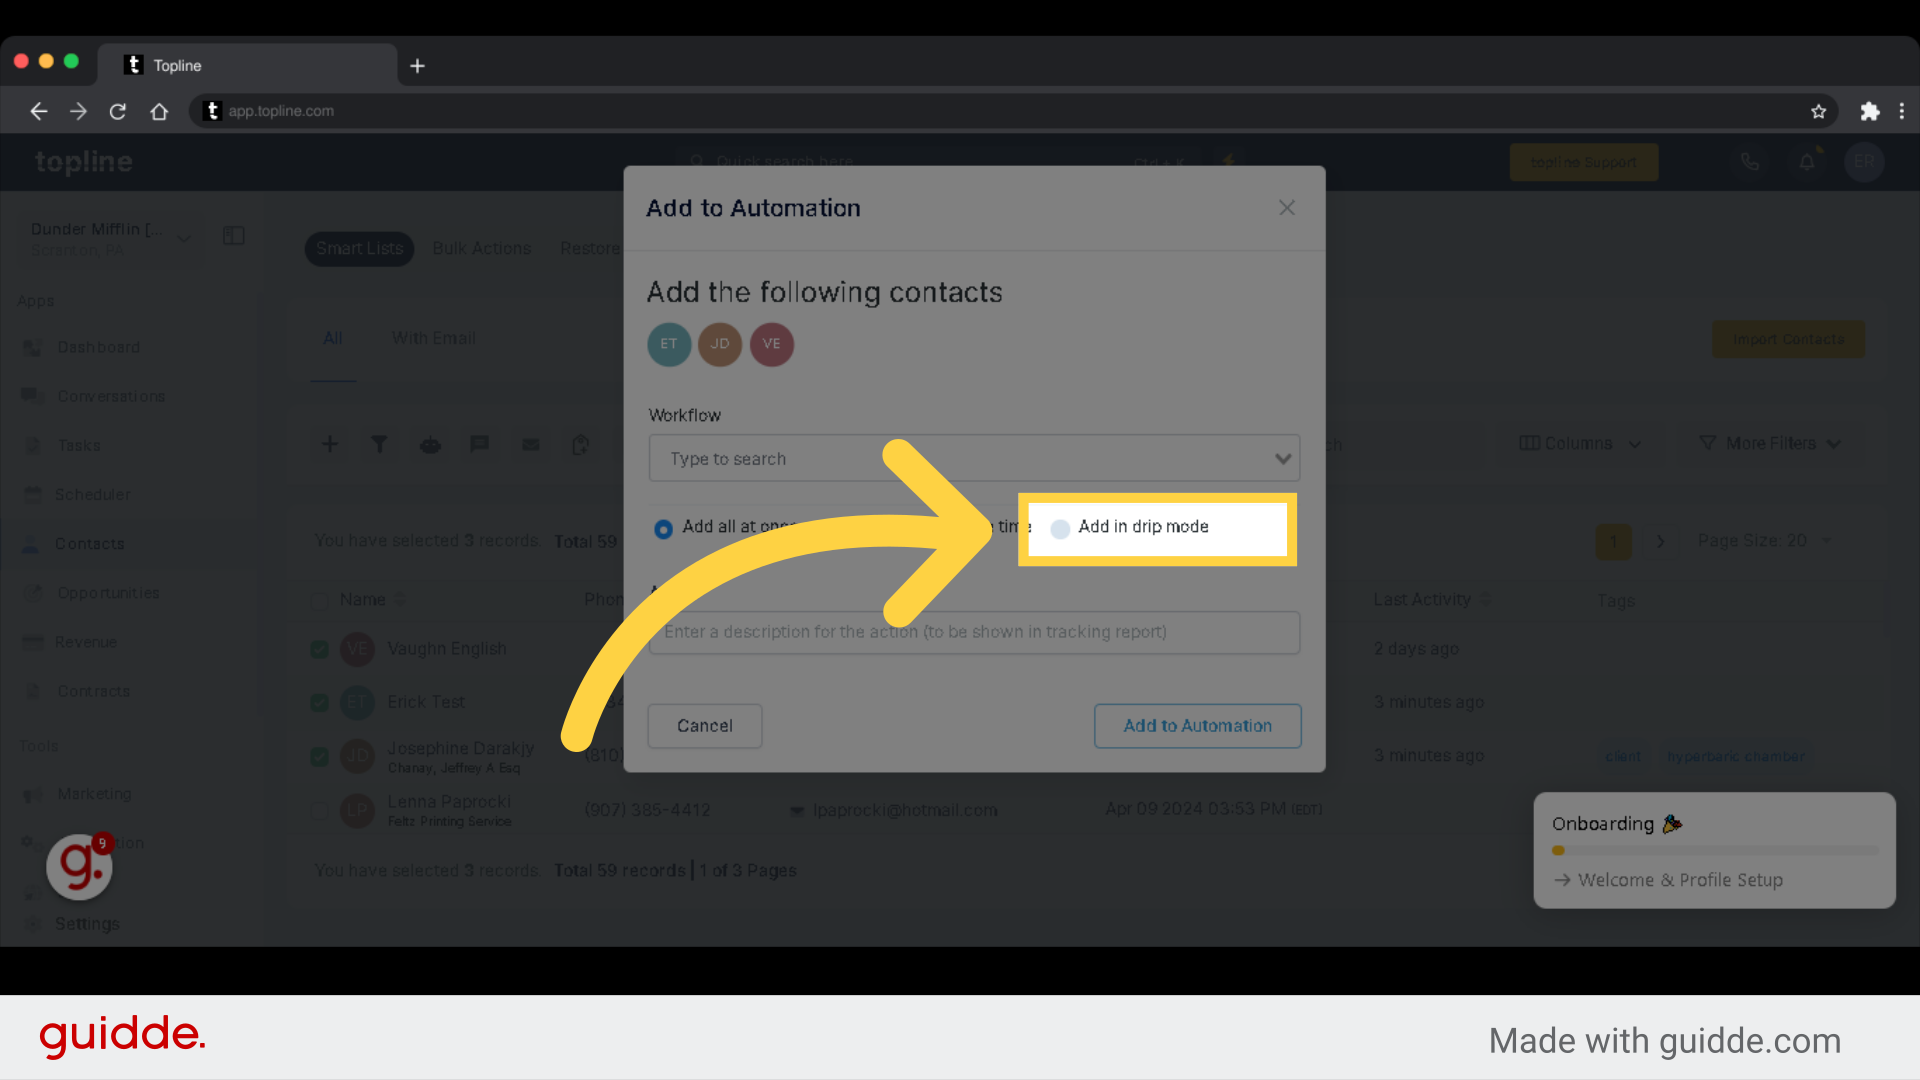
Drip mode in automation refers to a method of delivering content or messages to recipients gradually over a period of time. It allows businesses to engage with their audience in a more targeted and personalized way, by sending out automated emails, notifications, or other forms of communication in a staggered and timely manner.
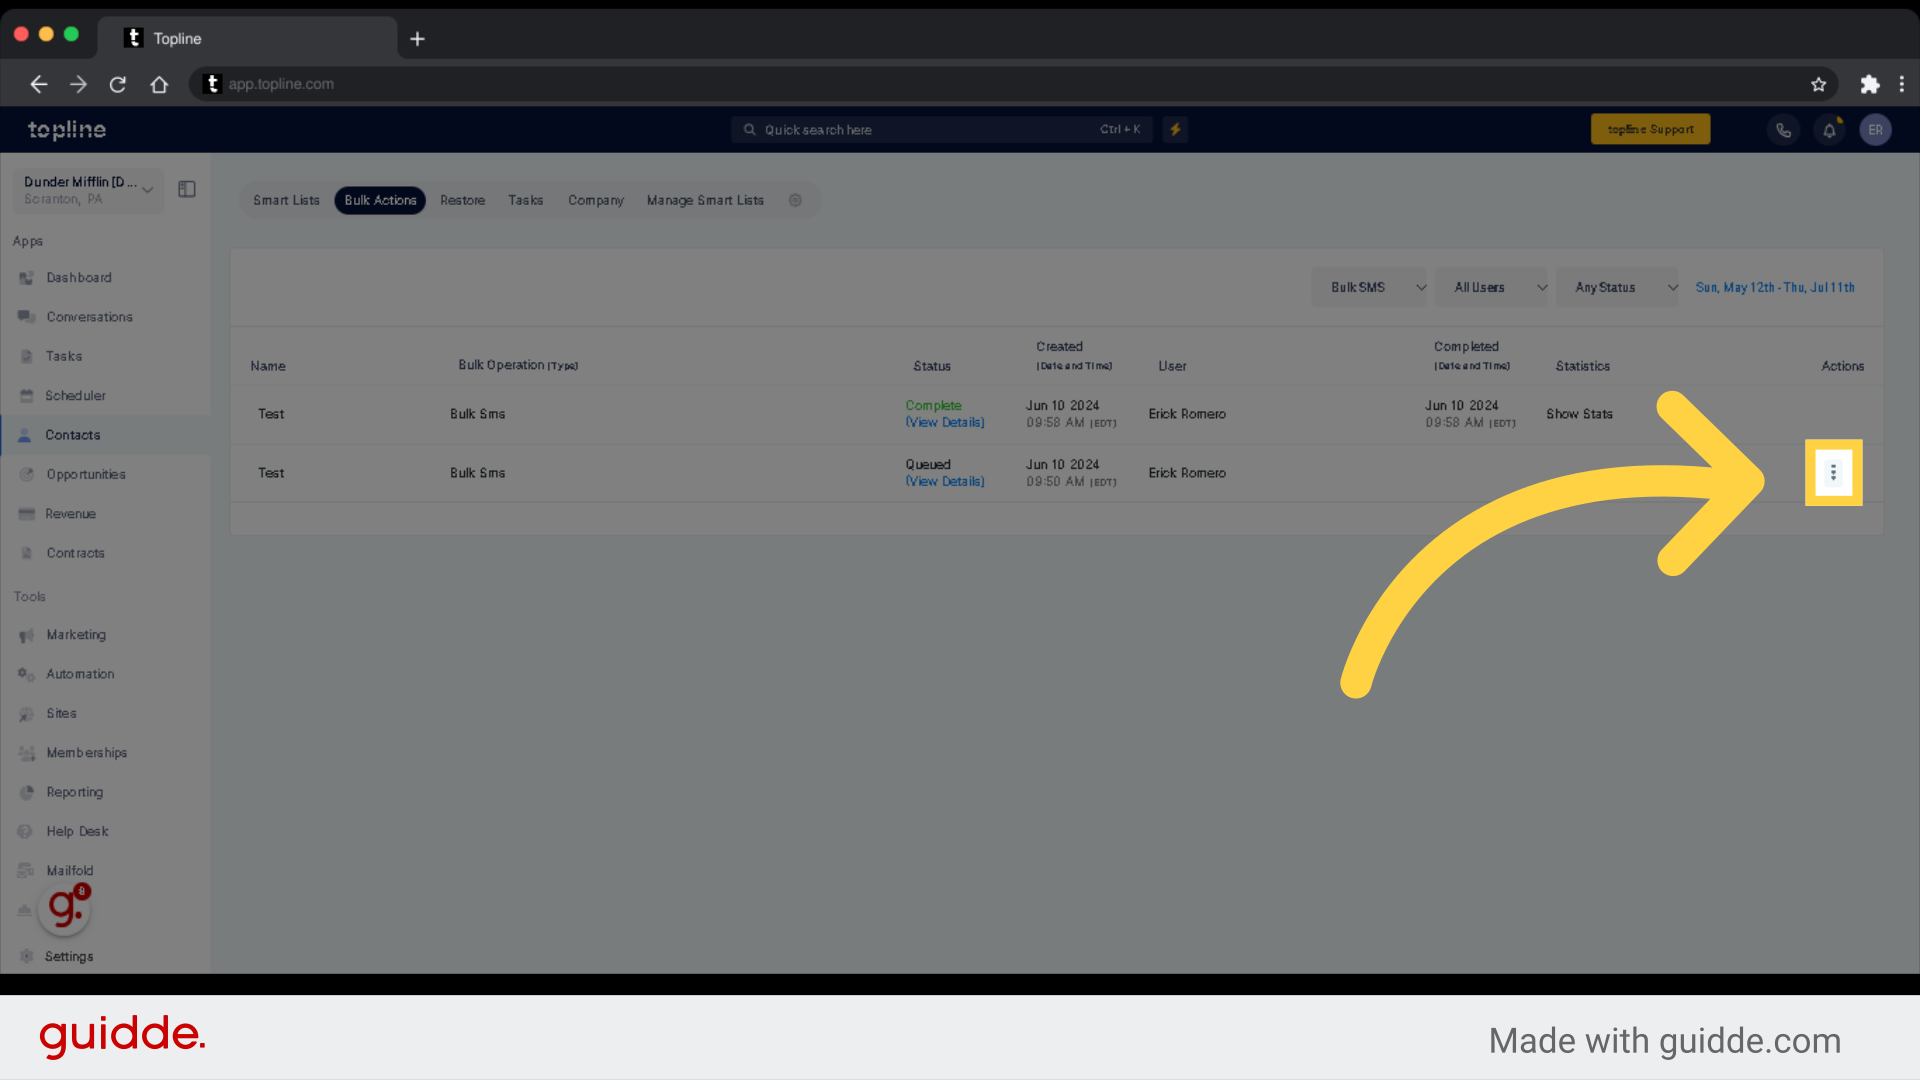
If you've scheduled the bulk action for the future or in drip mode, you'll see this three dot icon here where can pause, edit and cancel.
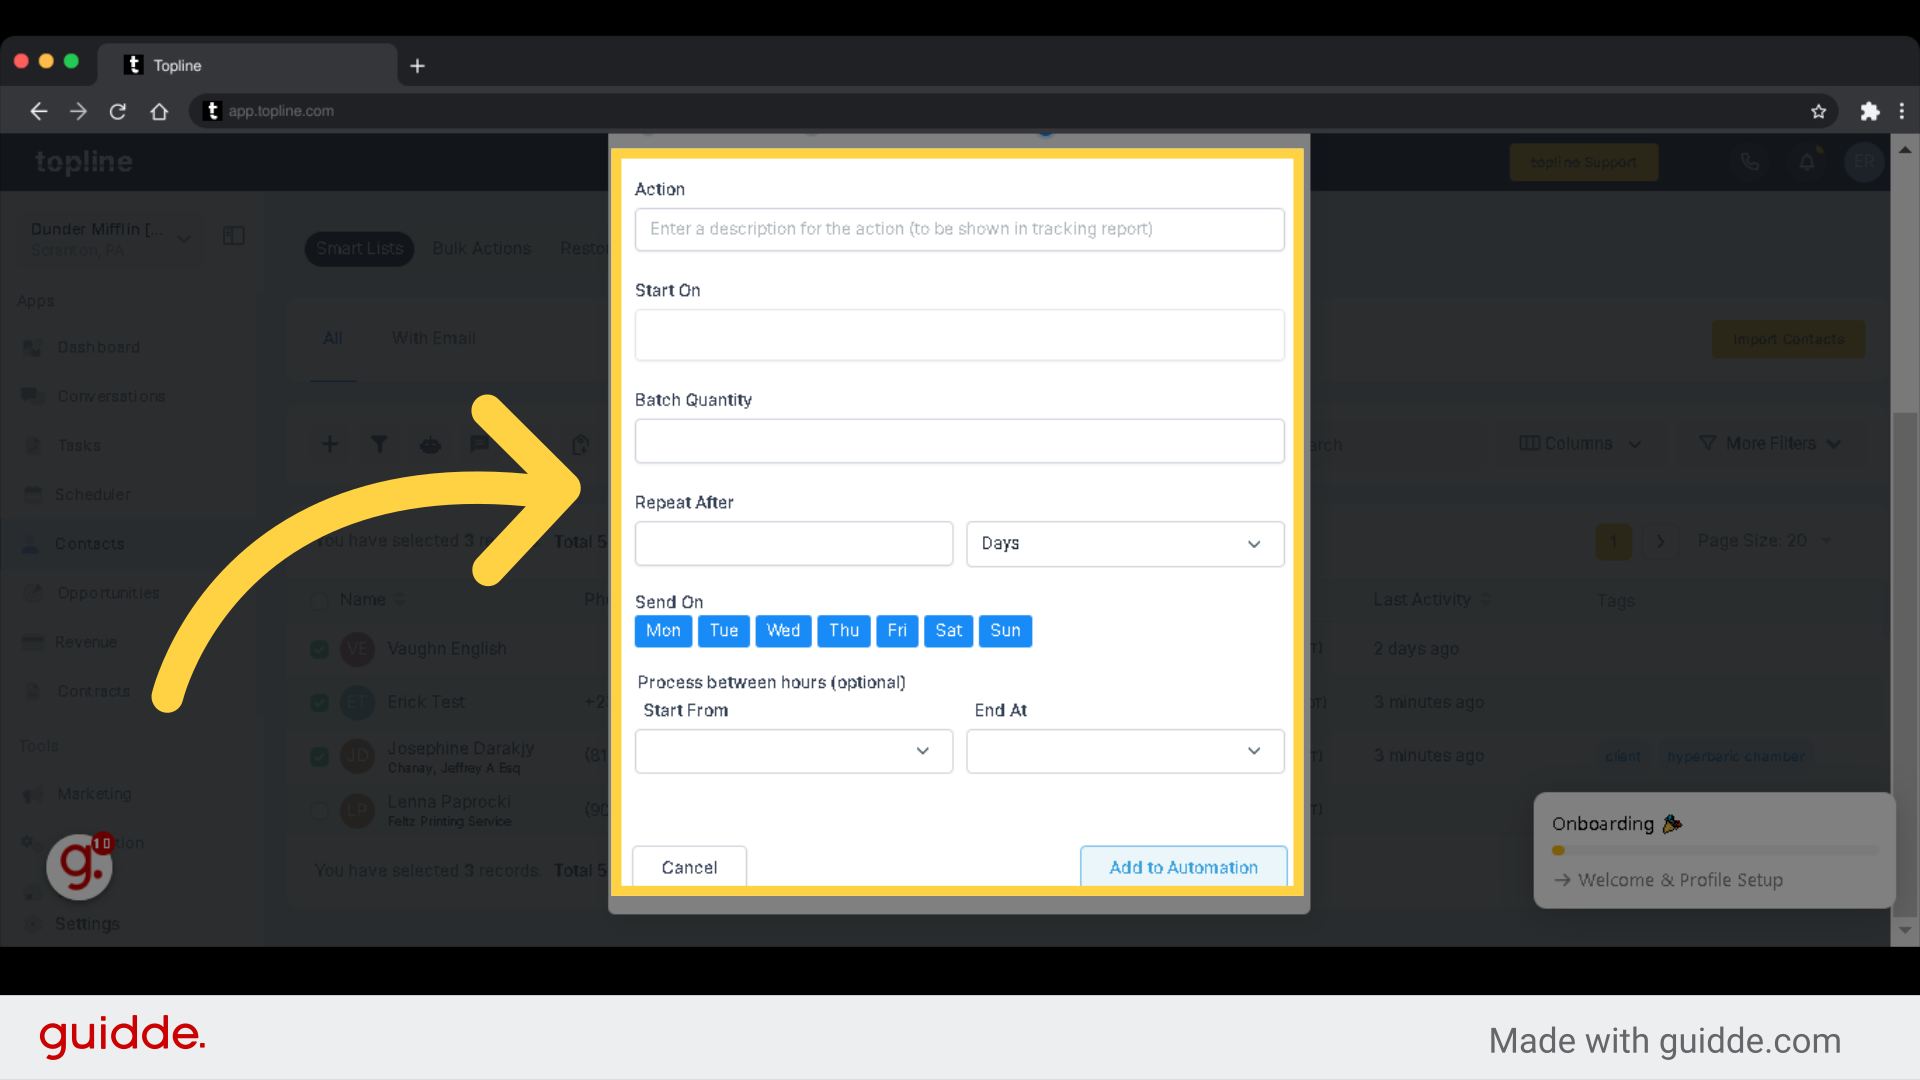
Click on "Add to Automation" to save.
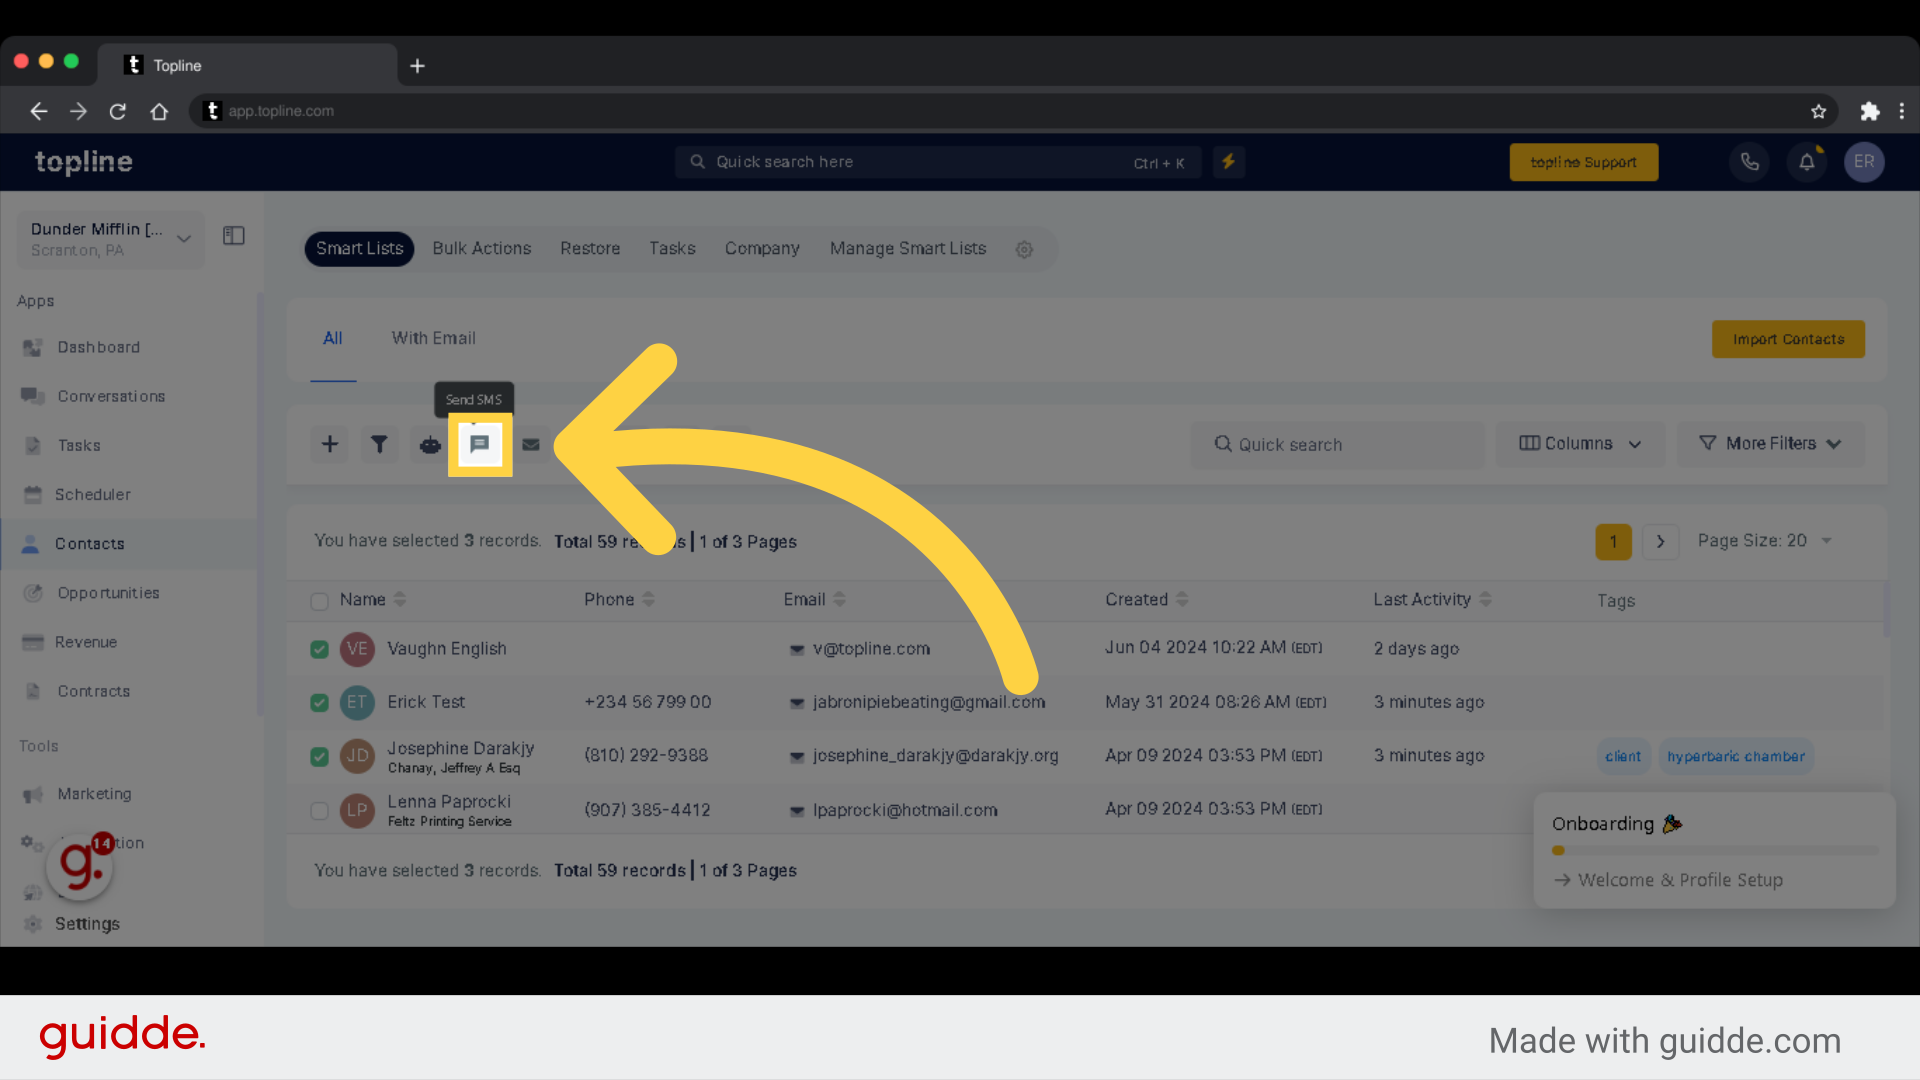
SMS allows for quick and direct communication, as messages are delivered instantly to the recipient's mobile device.
Confirm and proceed with the action.
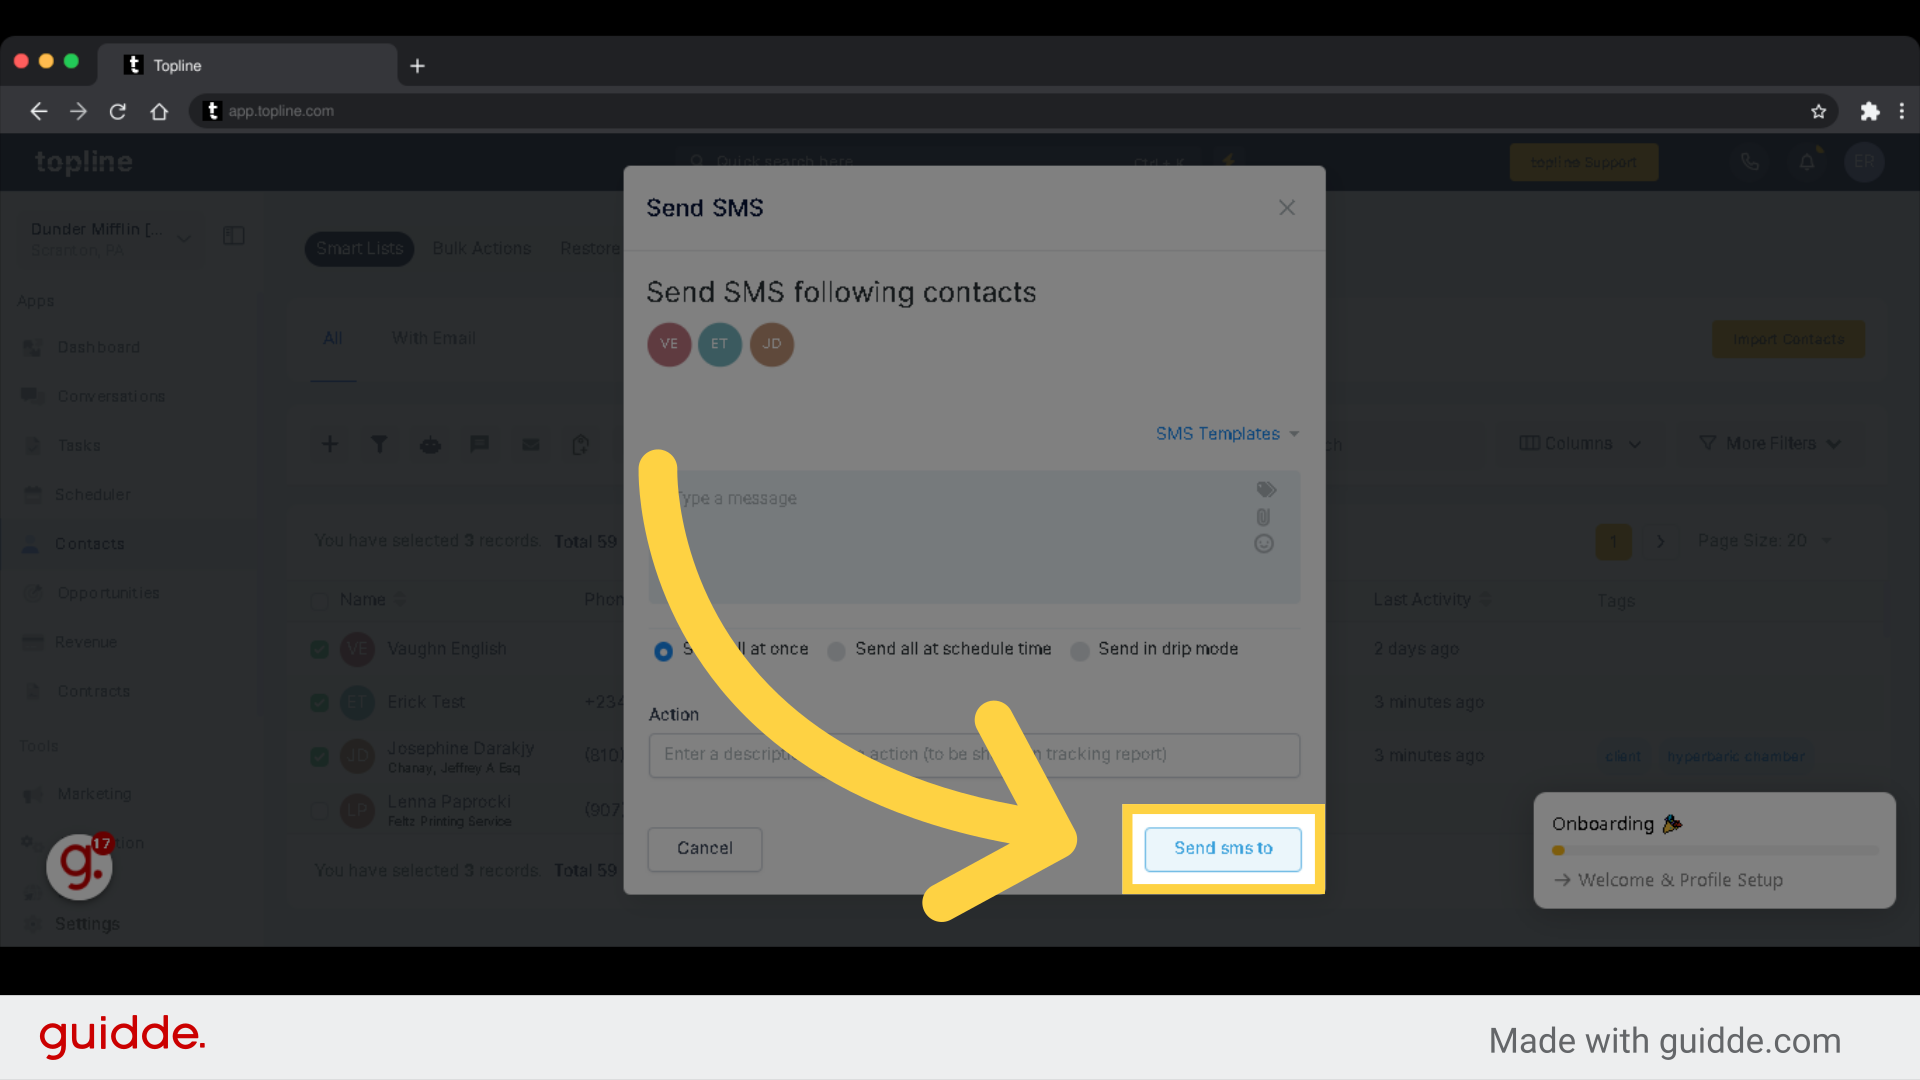
Here is where you can compose your SMS message.
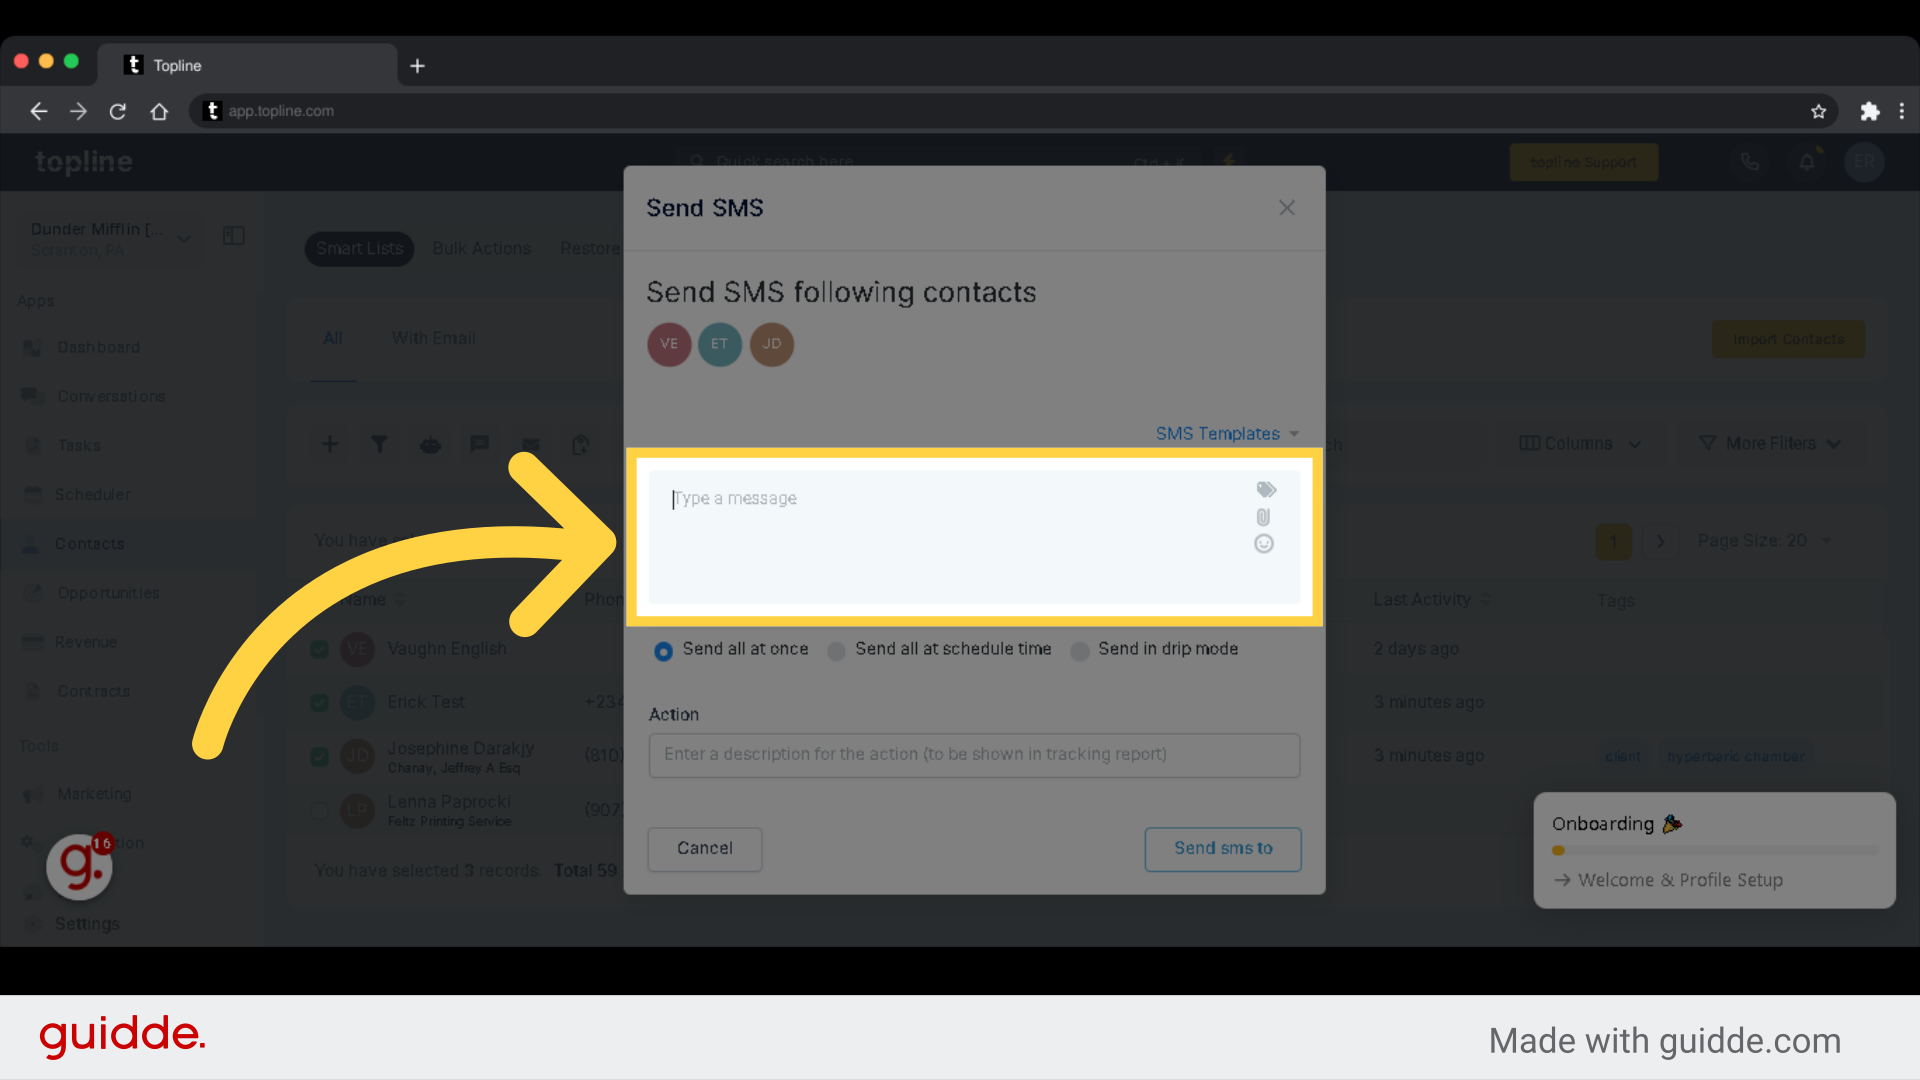
Select "Send SMS to" to proceed.
Email is a beneficial way to communicate with individuals or small groups. It enables users to easily send and receive documents, images, links and other files. It also gives users the flexibility to communicate with others on their own schedule.
Confirm and proceed with the action.

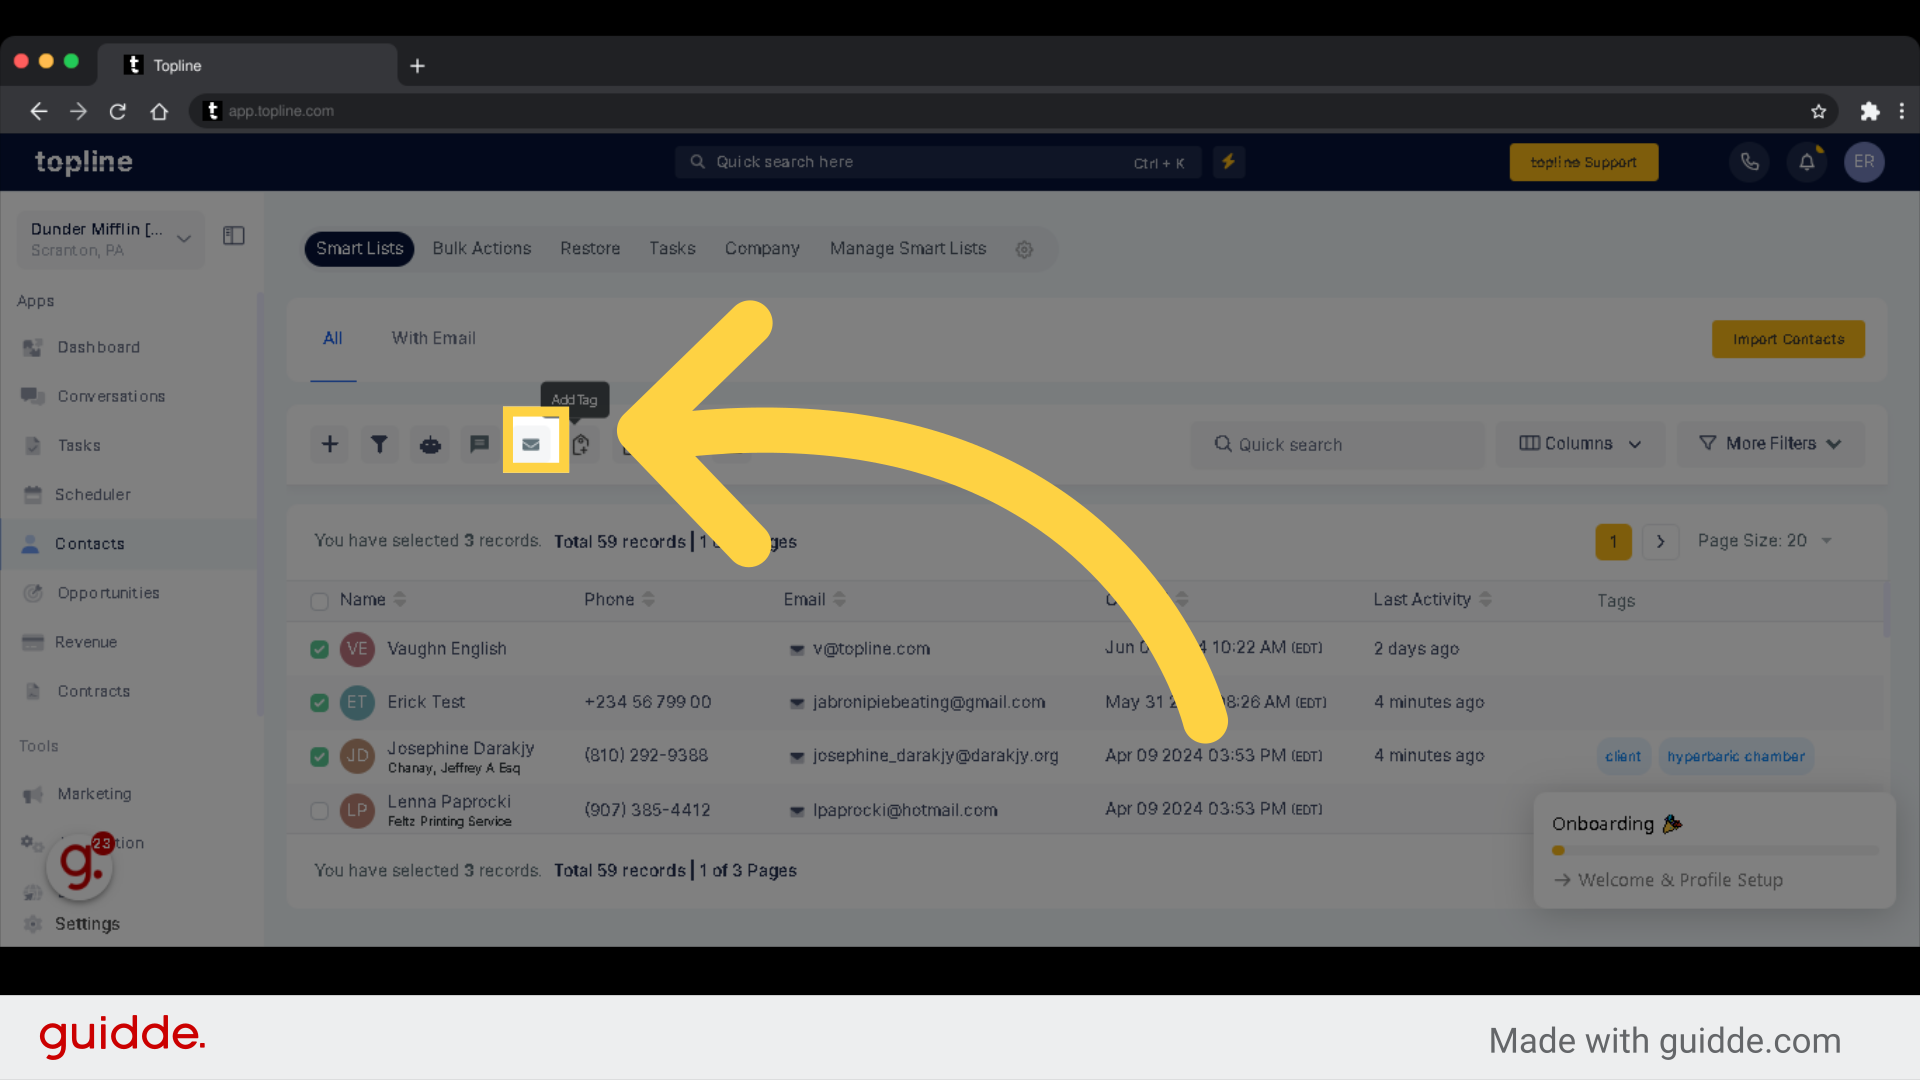
Click "Send Email" to initiate sending an email.

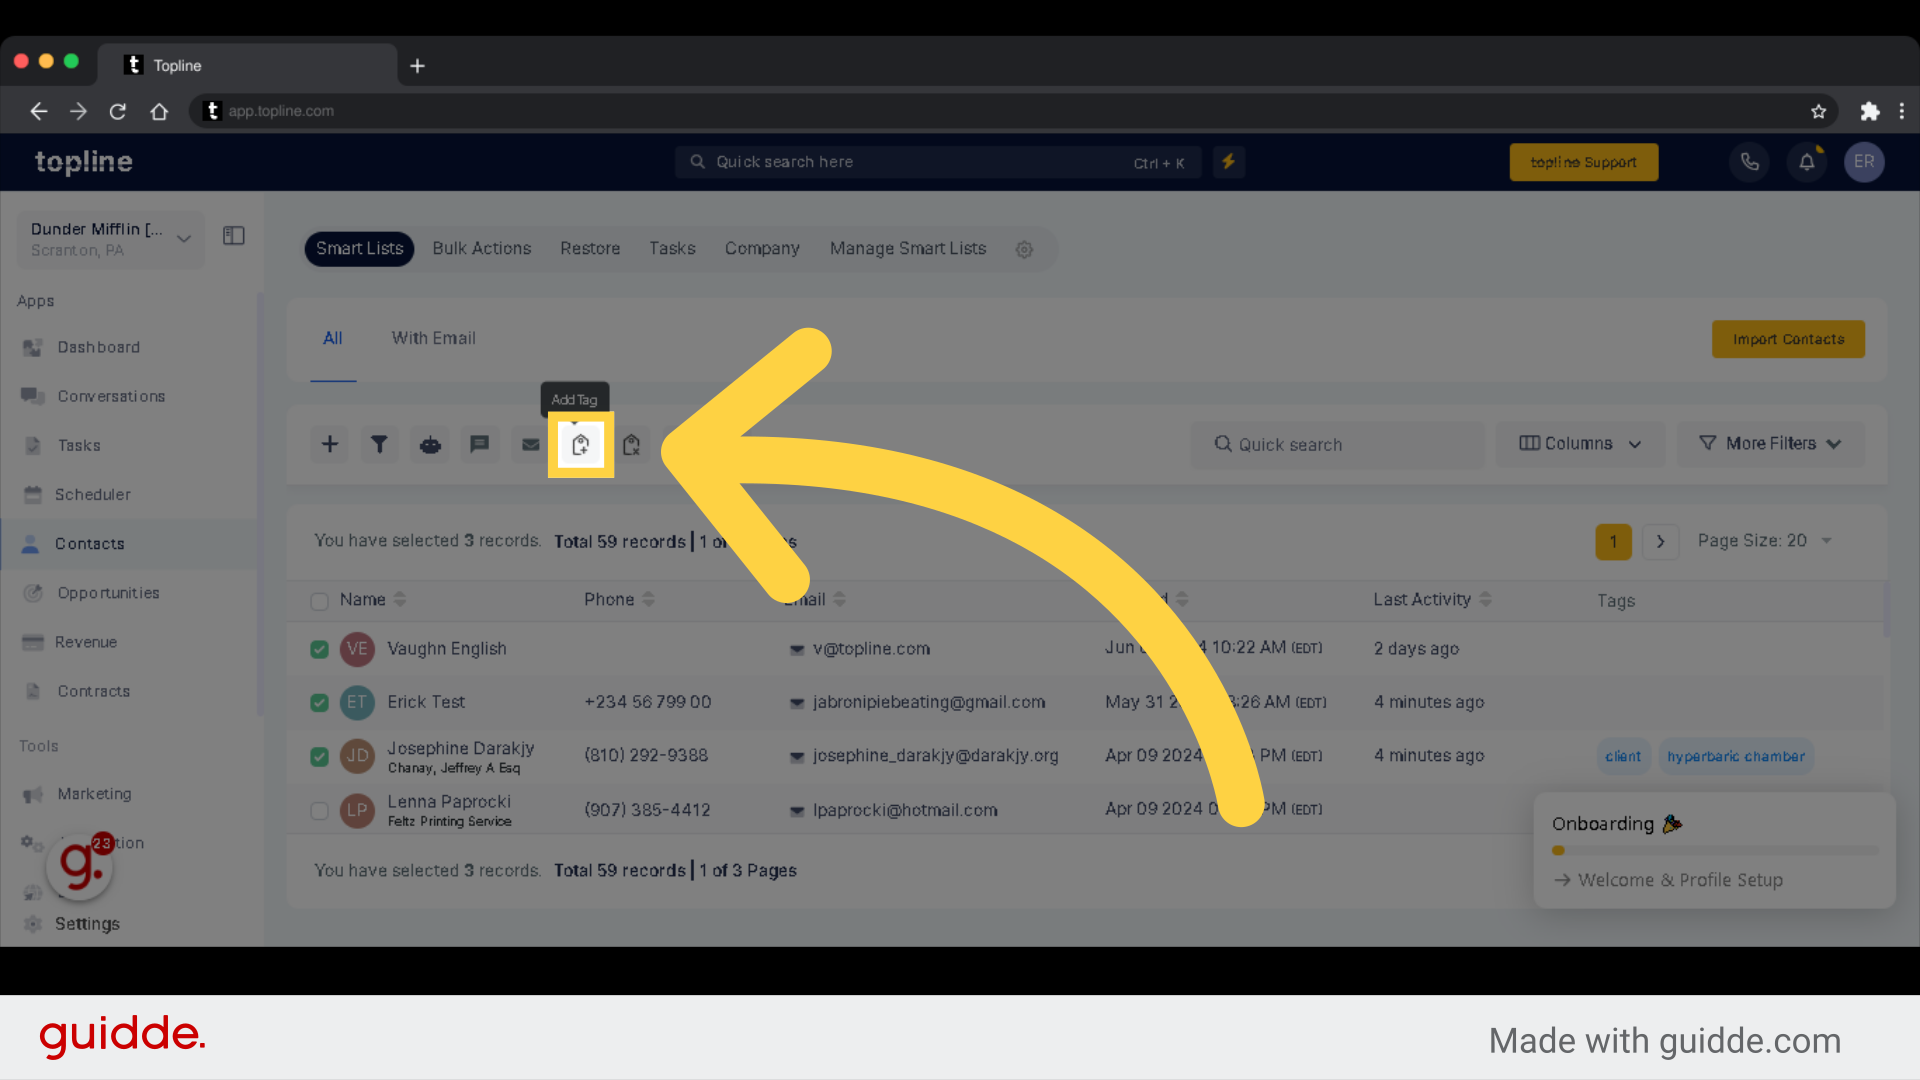
By using tagging, individuals can easily categorize and retrieve specific information, making it easier to navigate and search through large amounts of data.
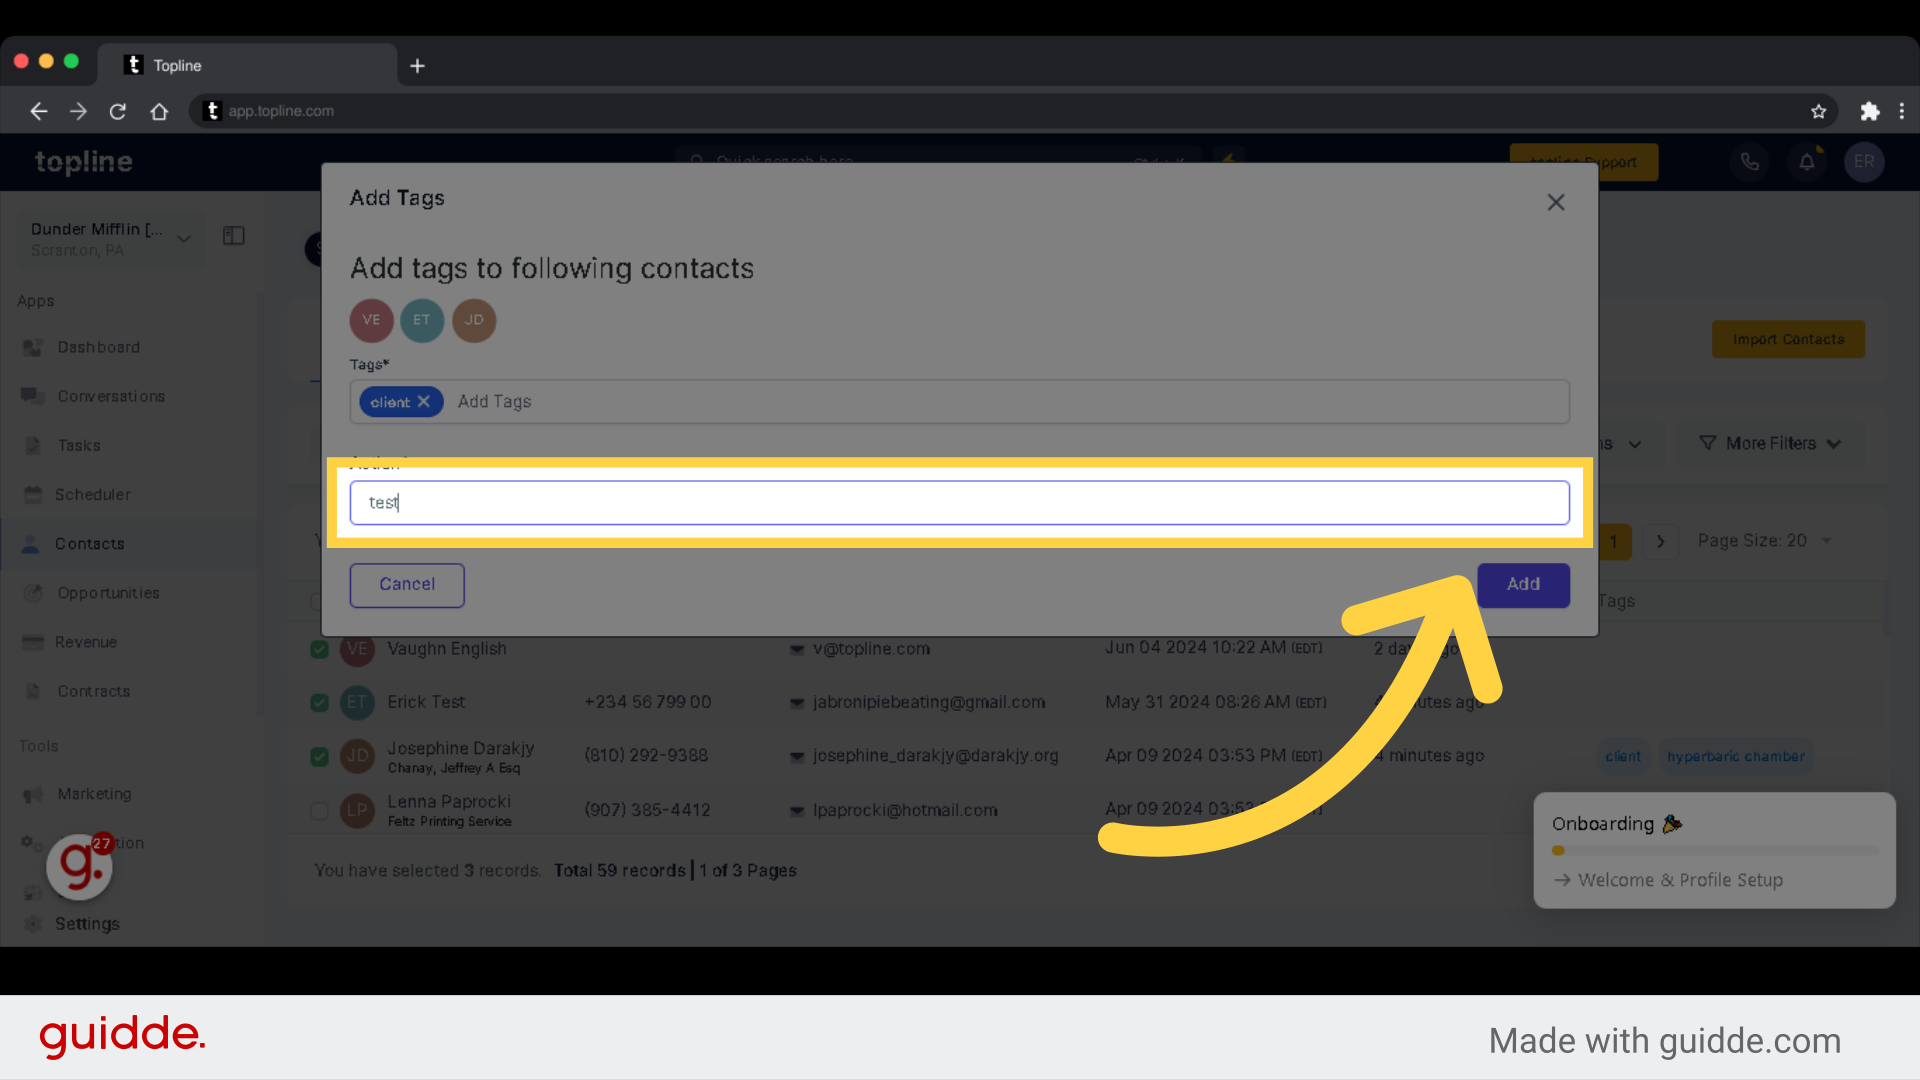
Select Tags to add to the contact.
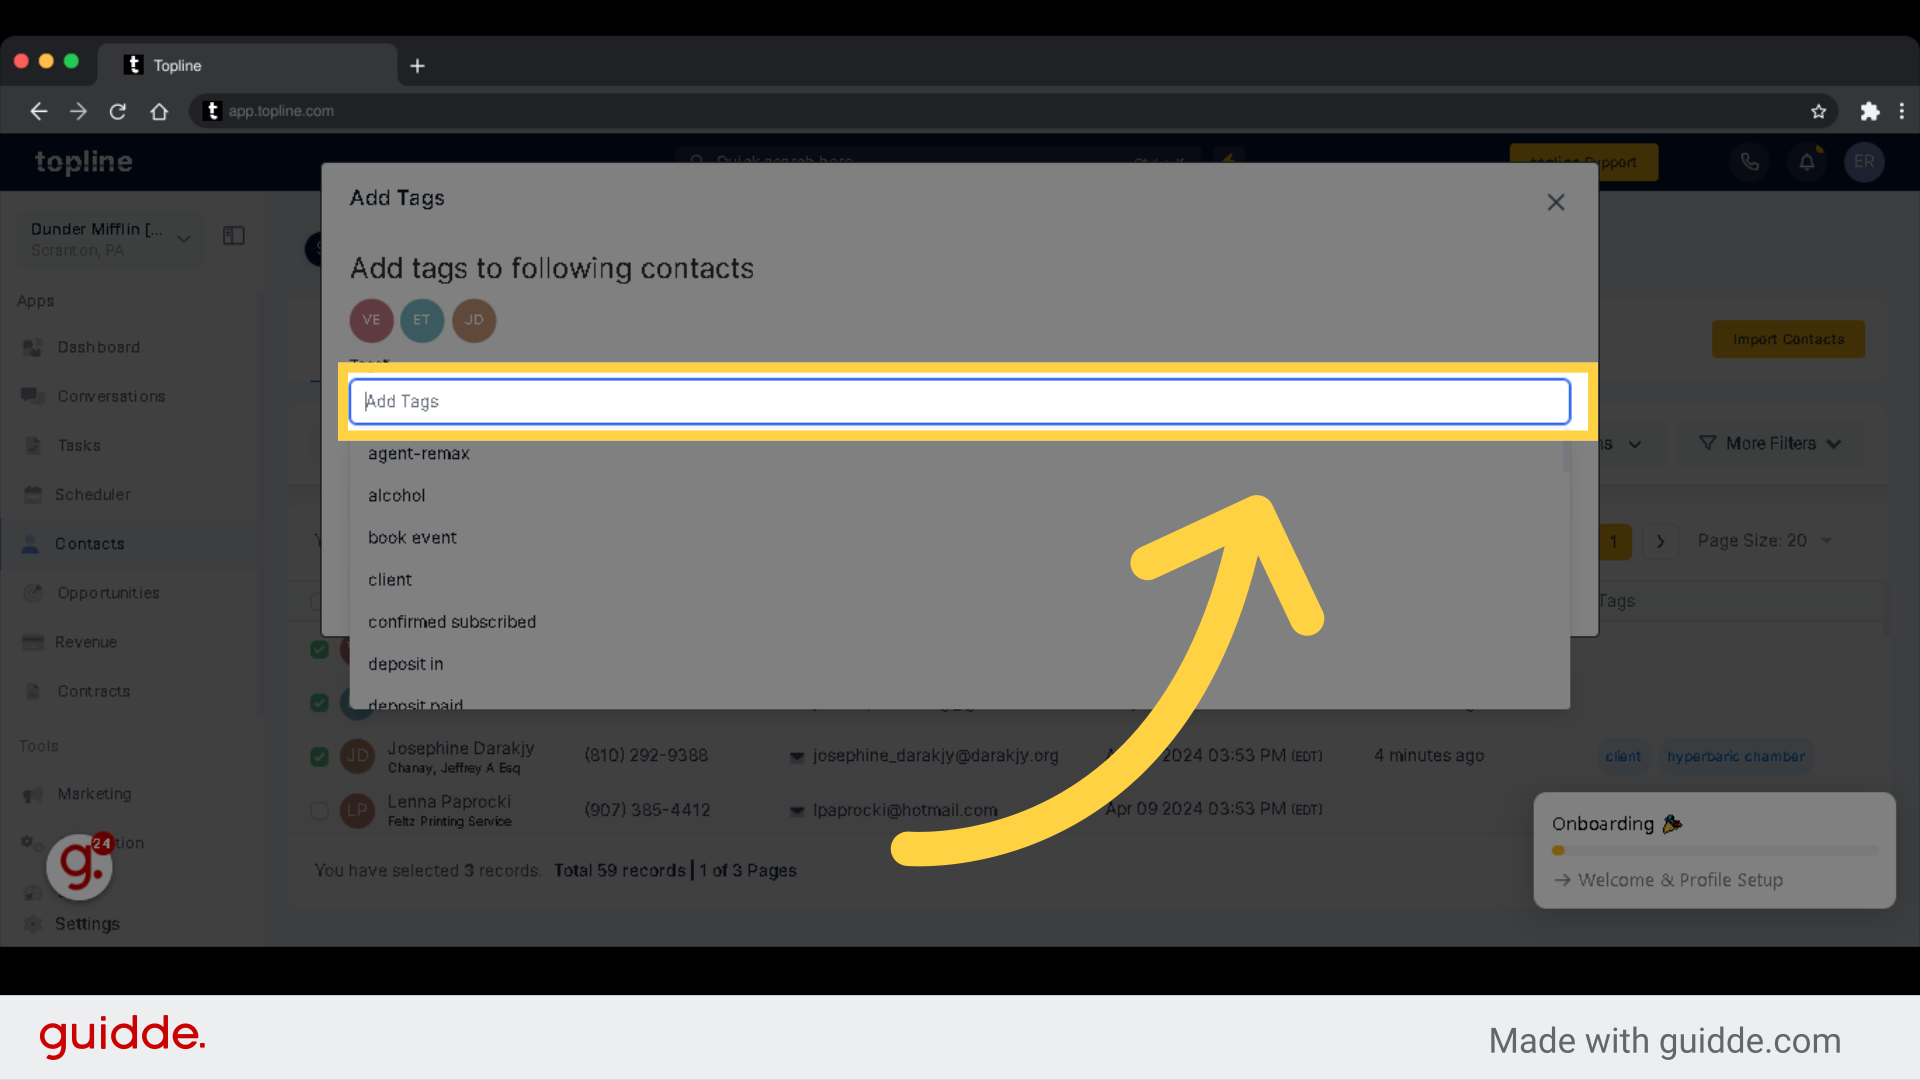
Enter a description for the action to be shown in tracking report.
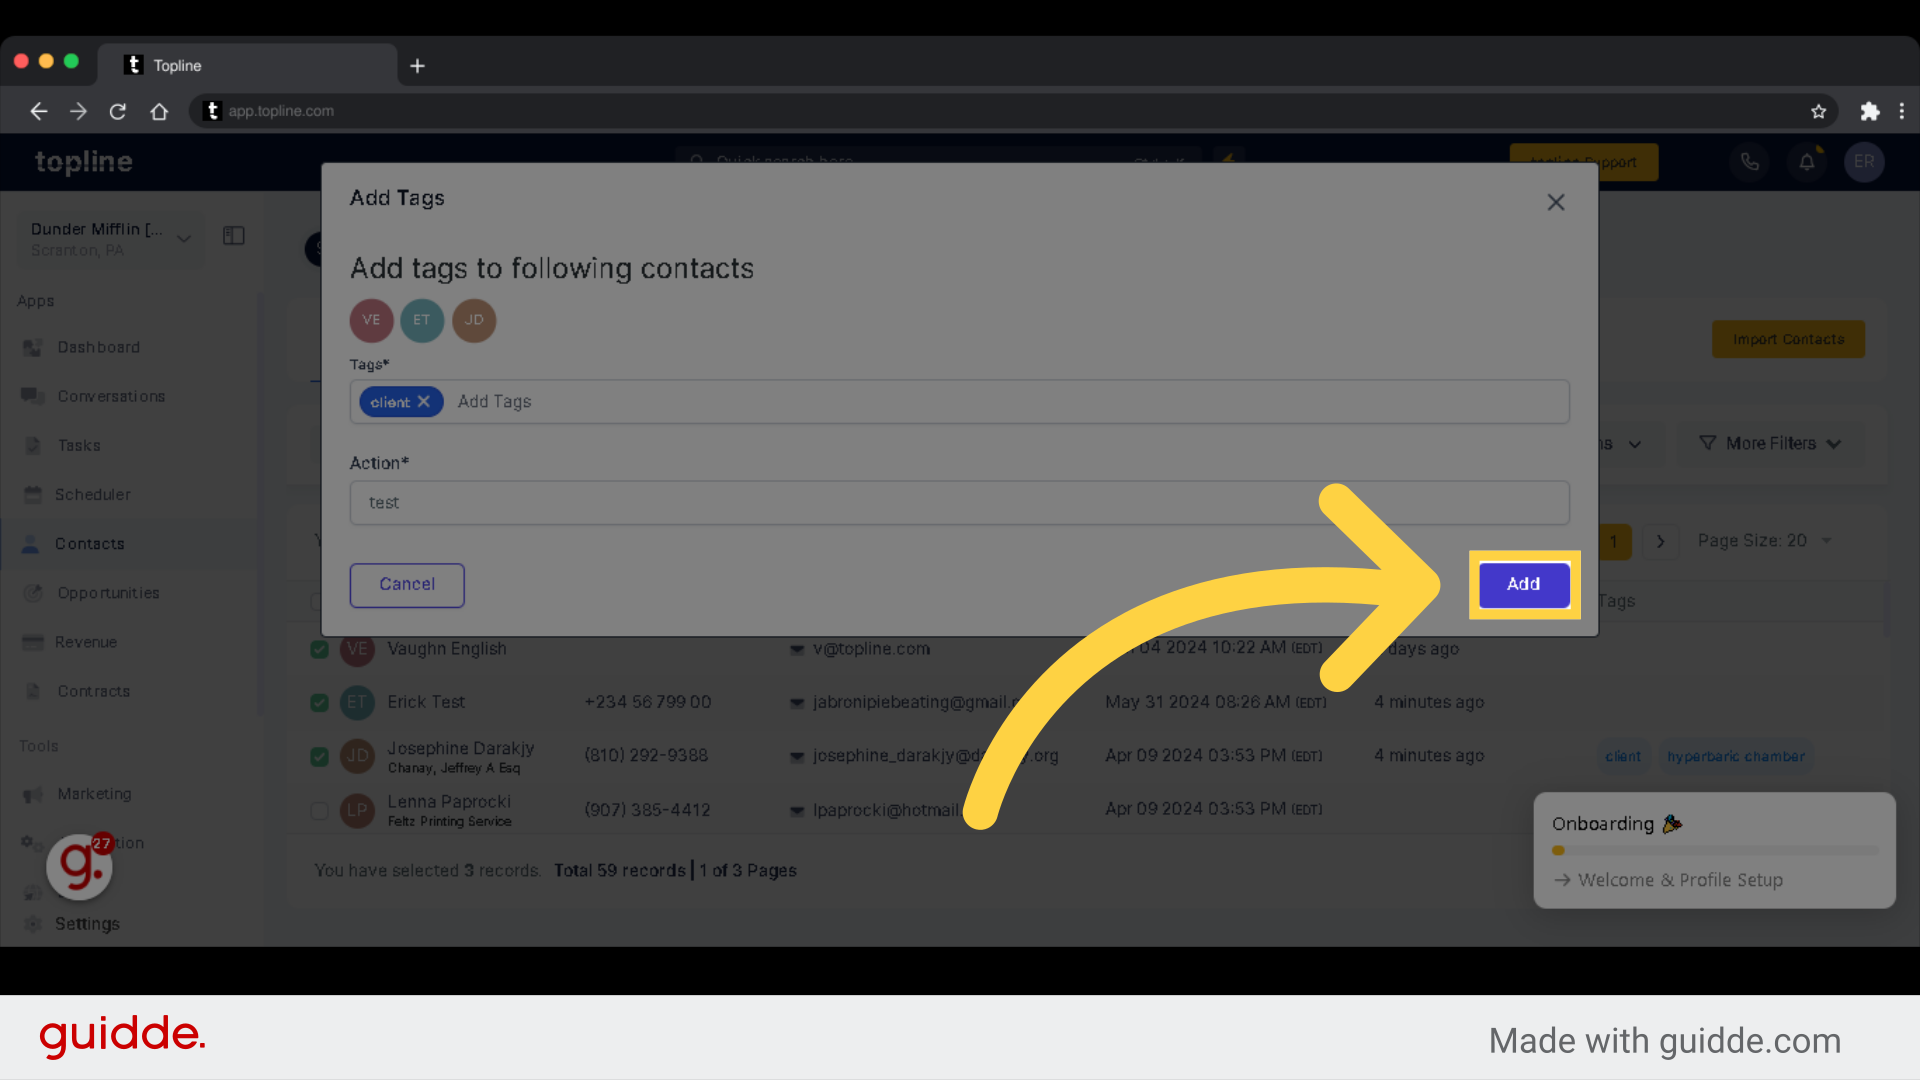
Click on Add to save.
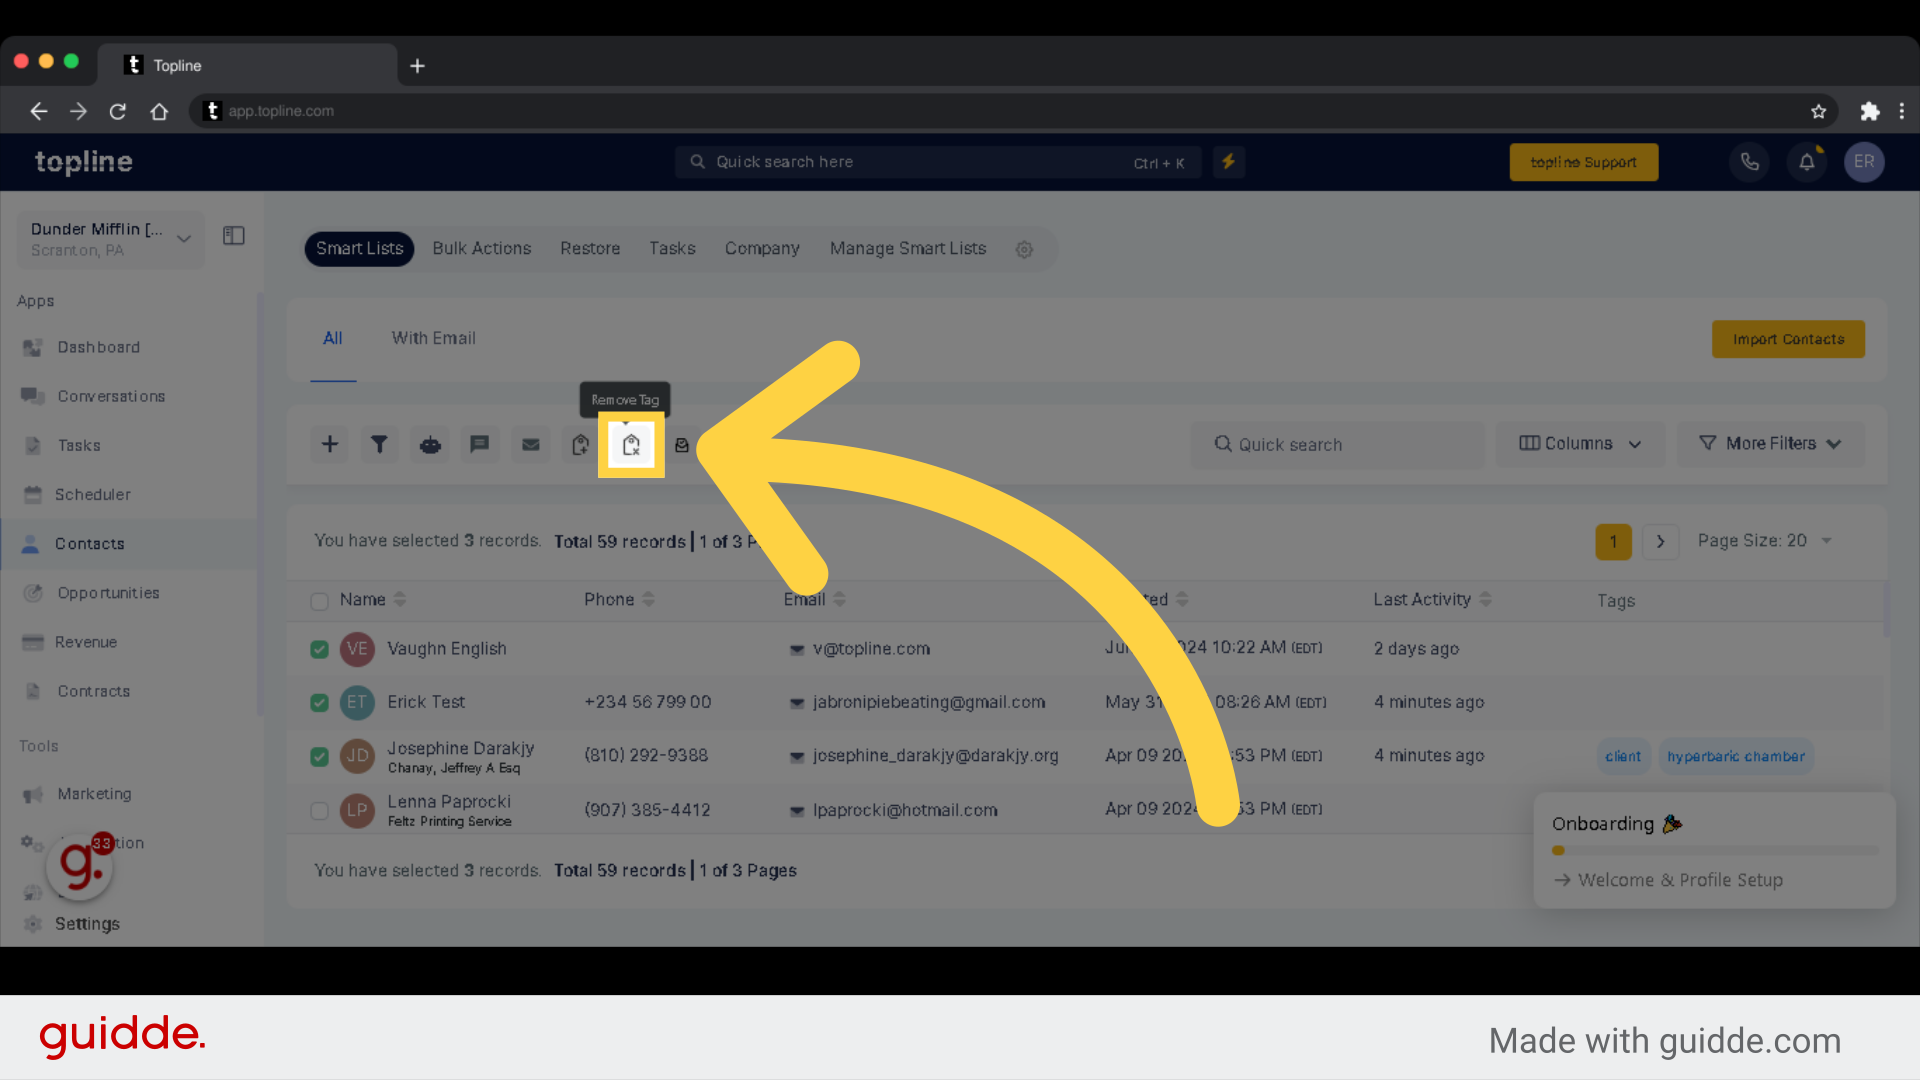
Click here to remove tag.
Select Tags to remove.
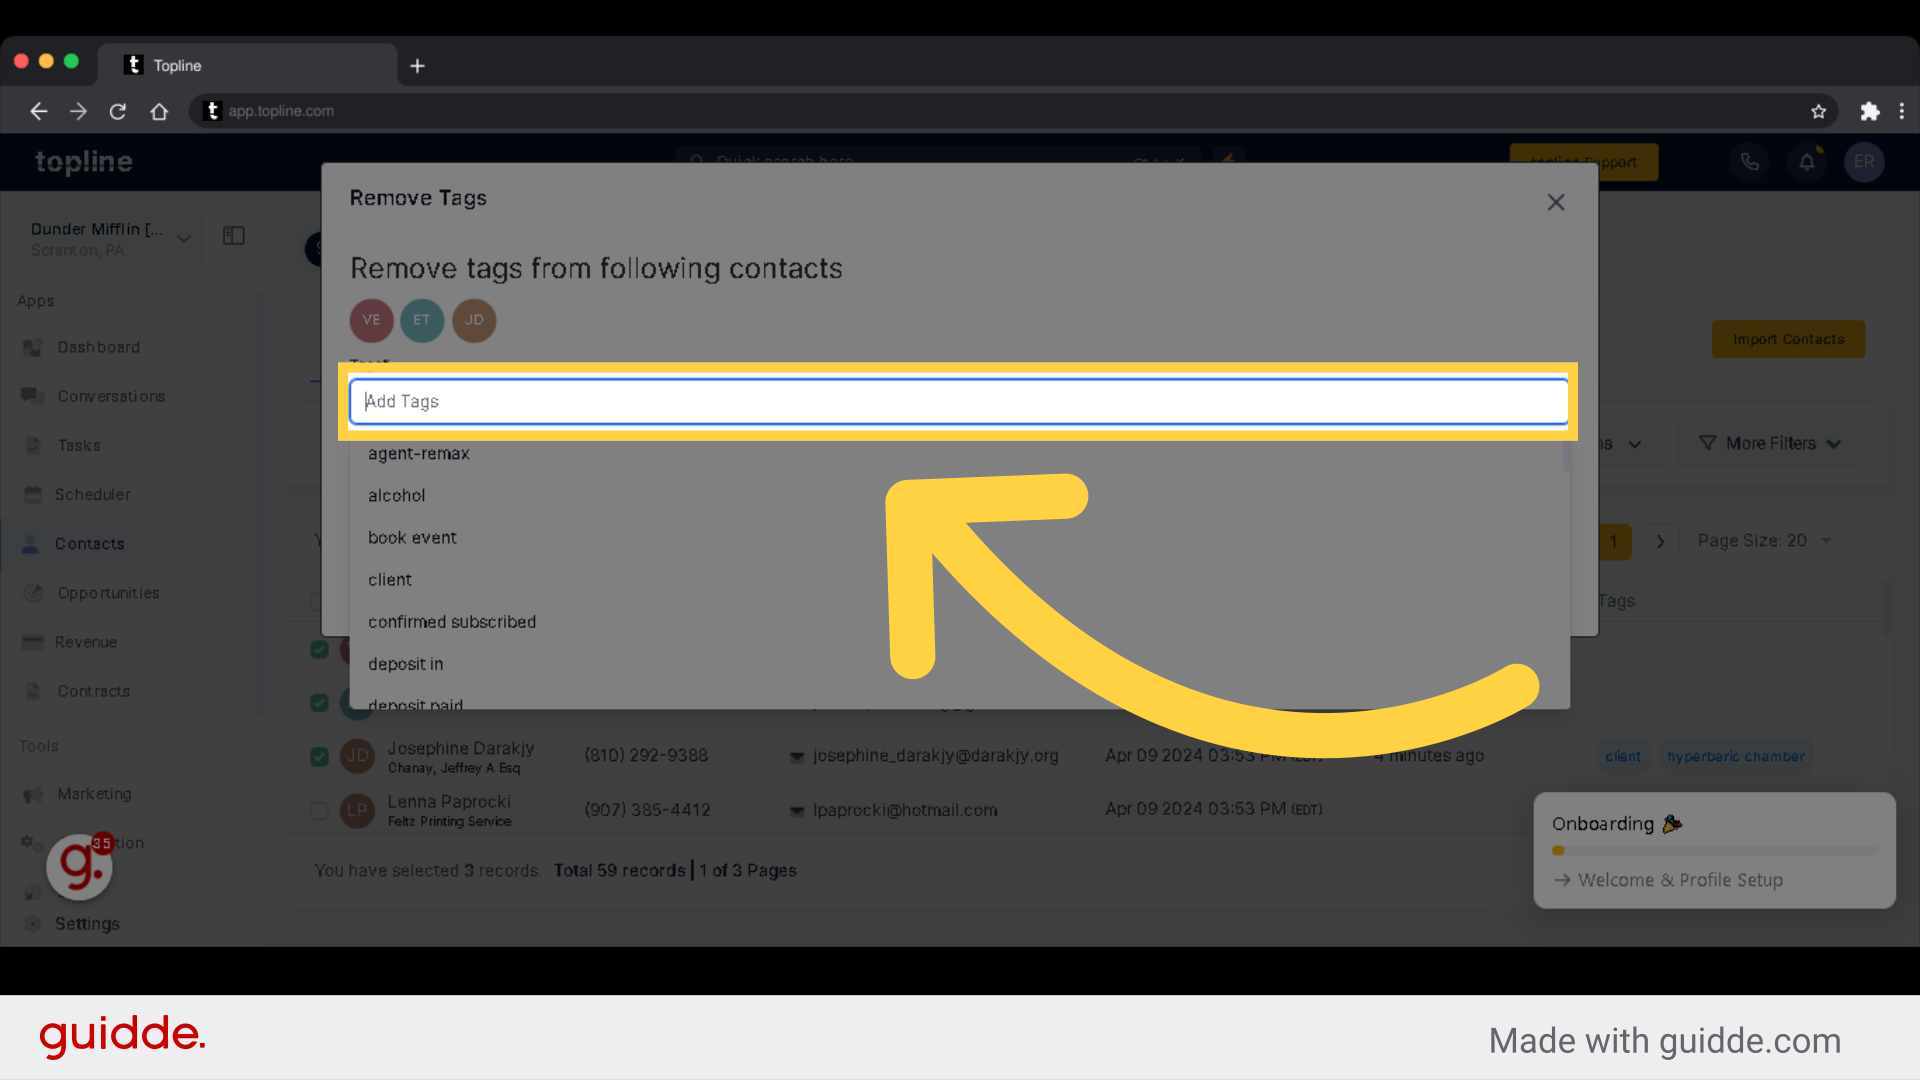
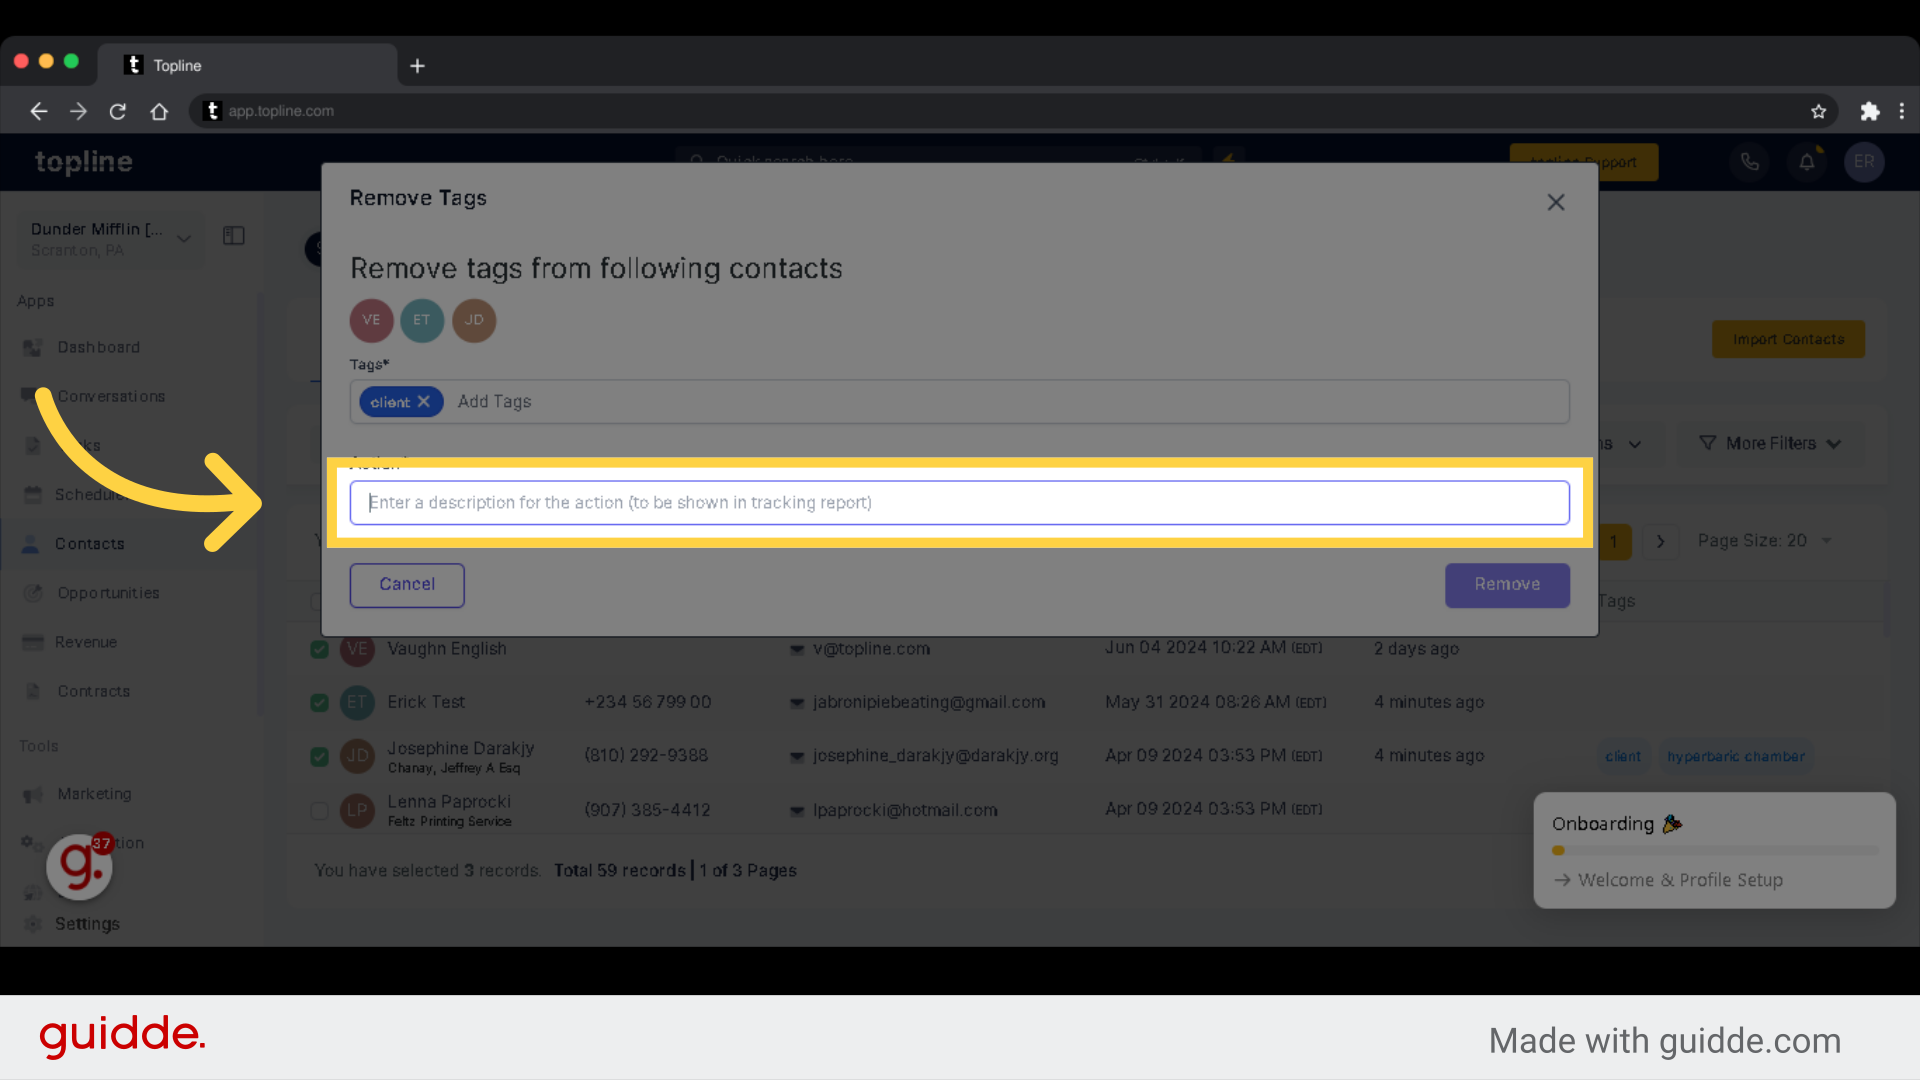
Enter a description for the action to be shown in tracking report.
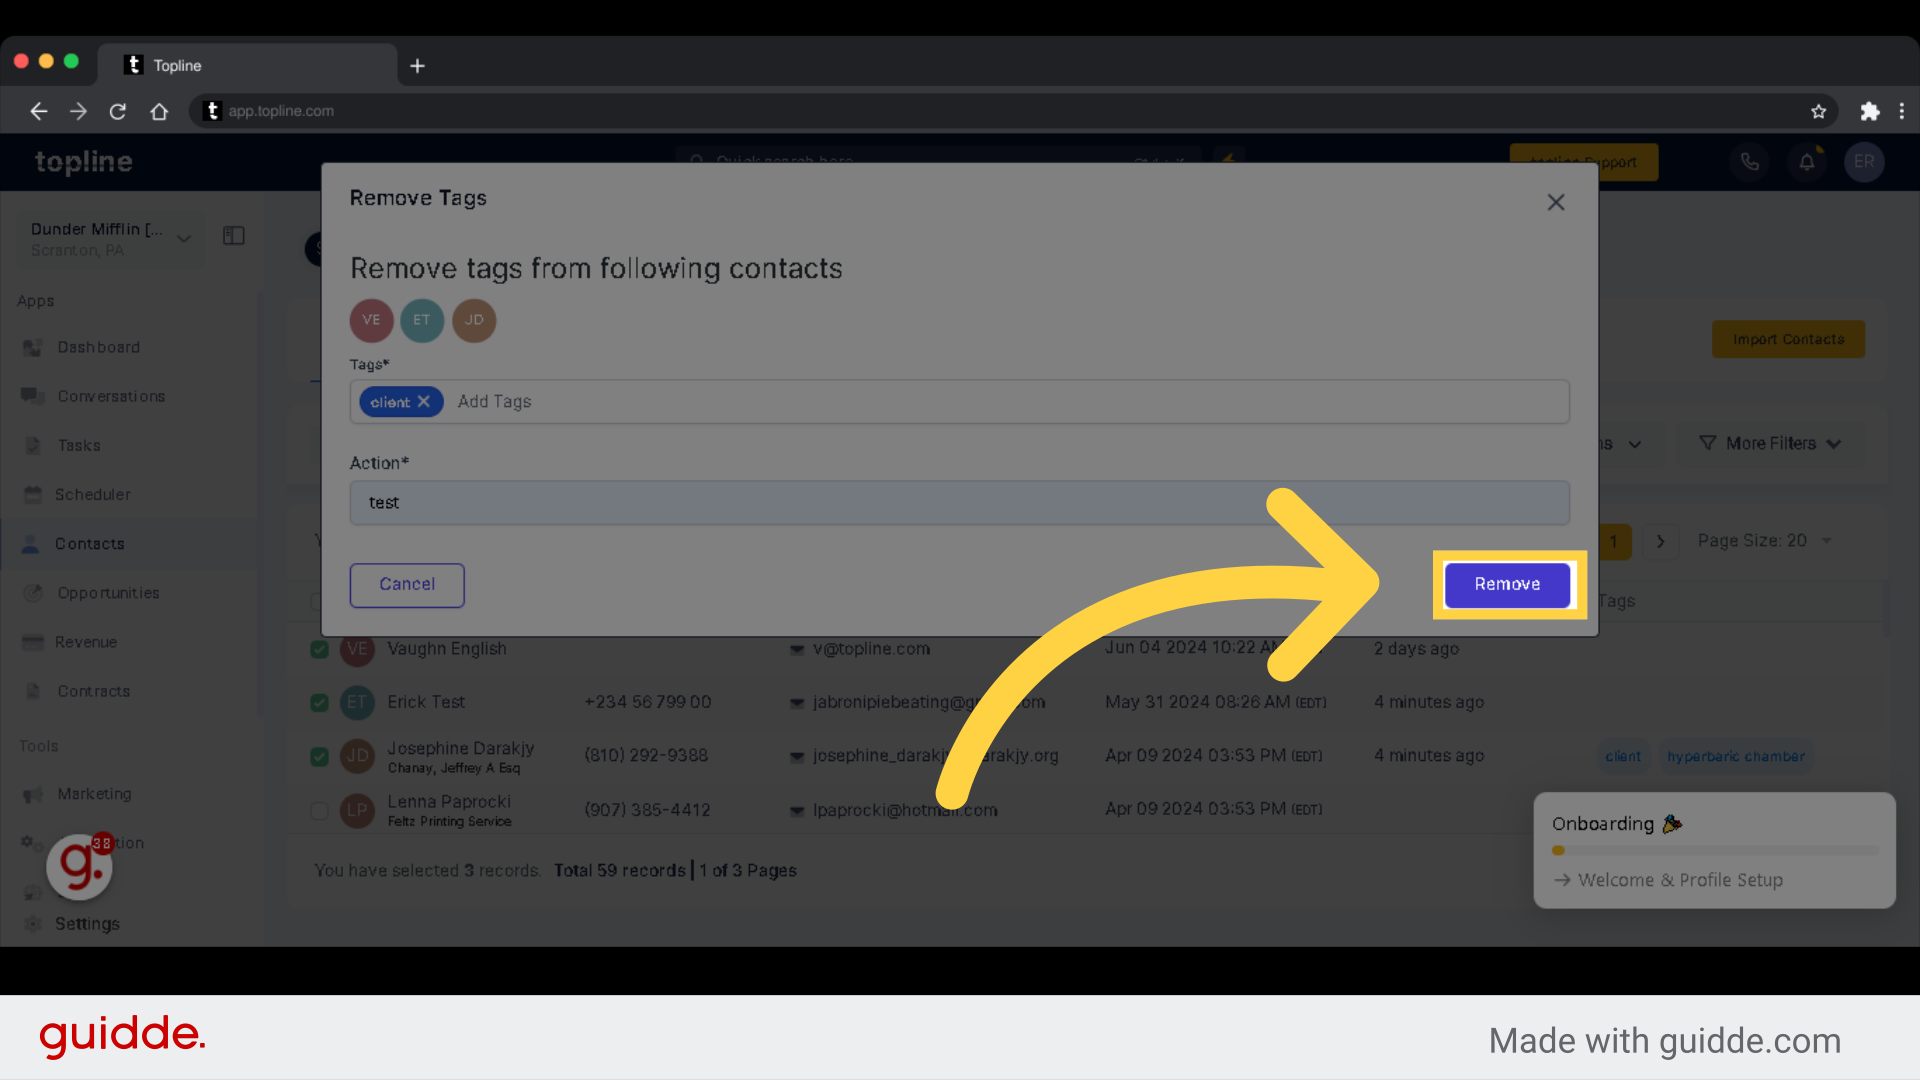
Click on "Remove" to save.
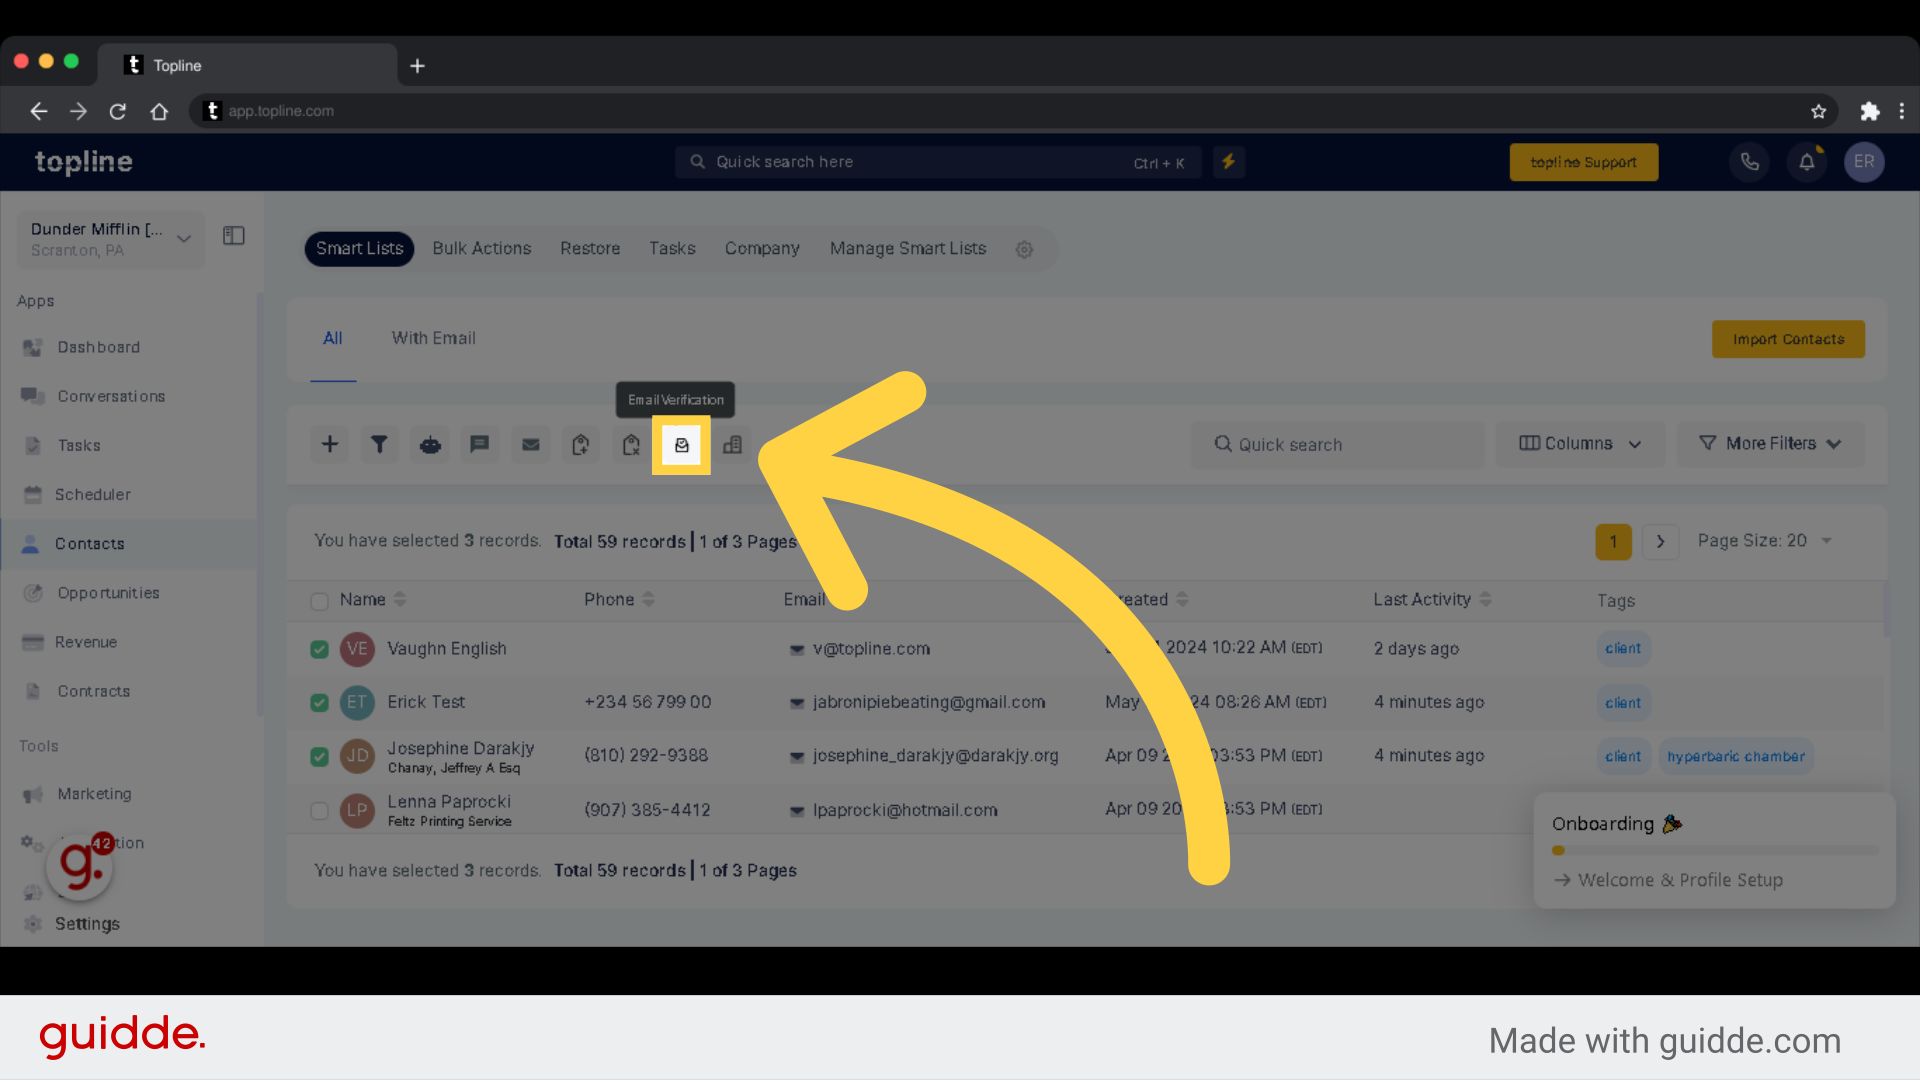
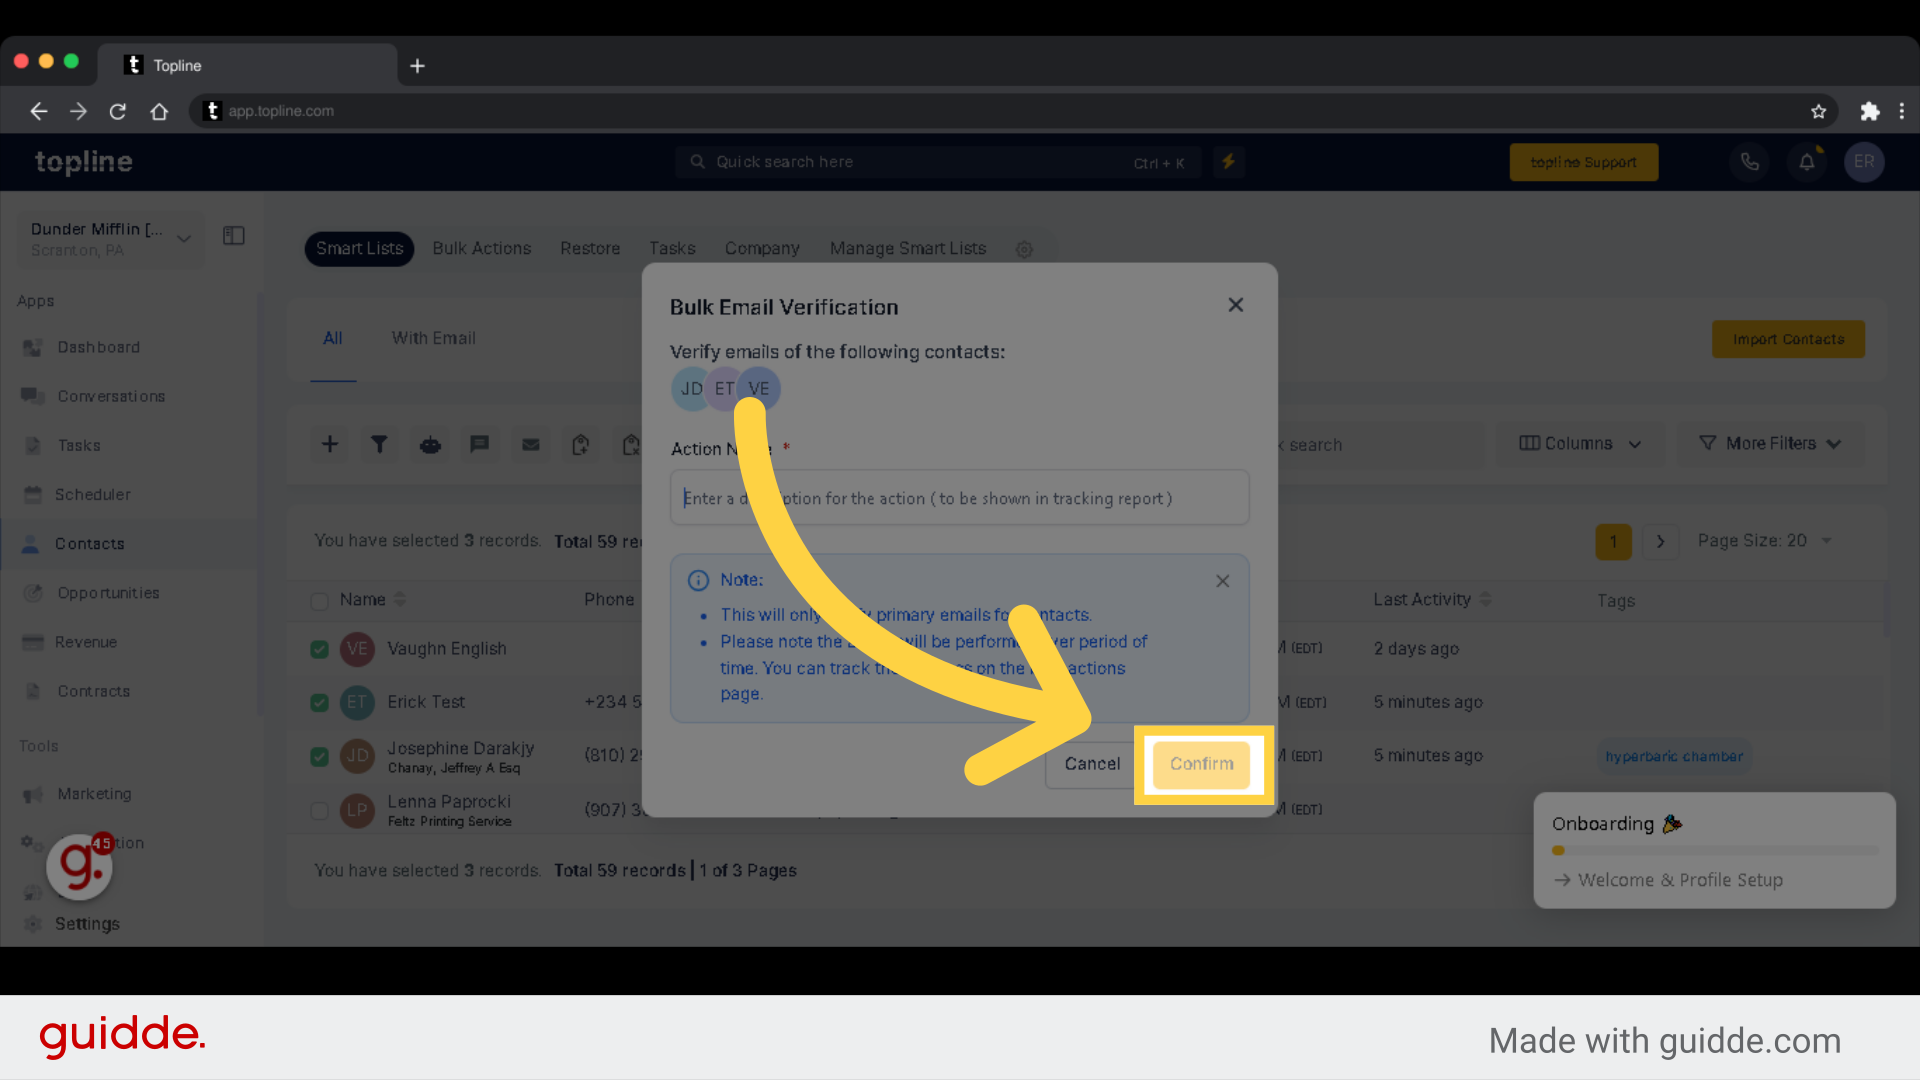
This will only verify primary emails for contacts. Please note the action will be performed over period of time. You can track the progress on the bulk actions page.
Enter a description for the action to be shown in tracking report.
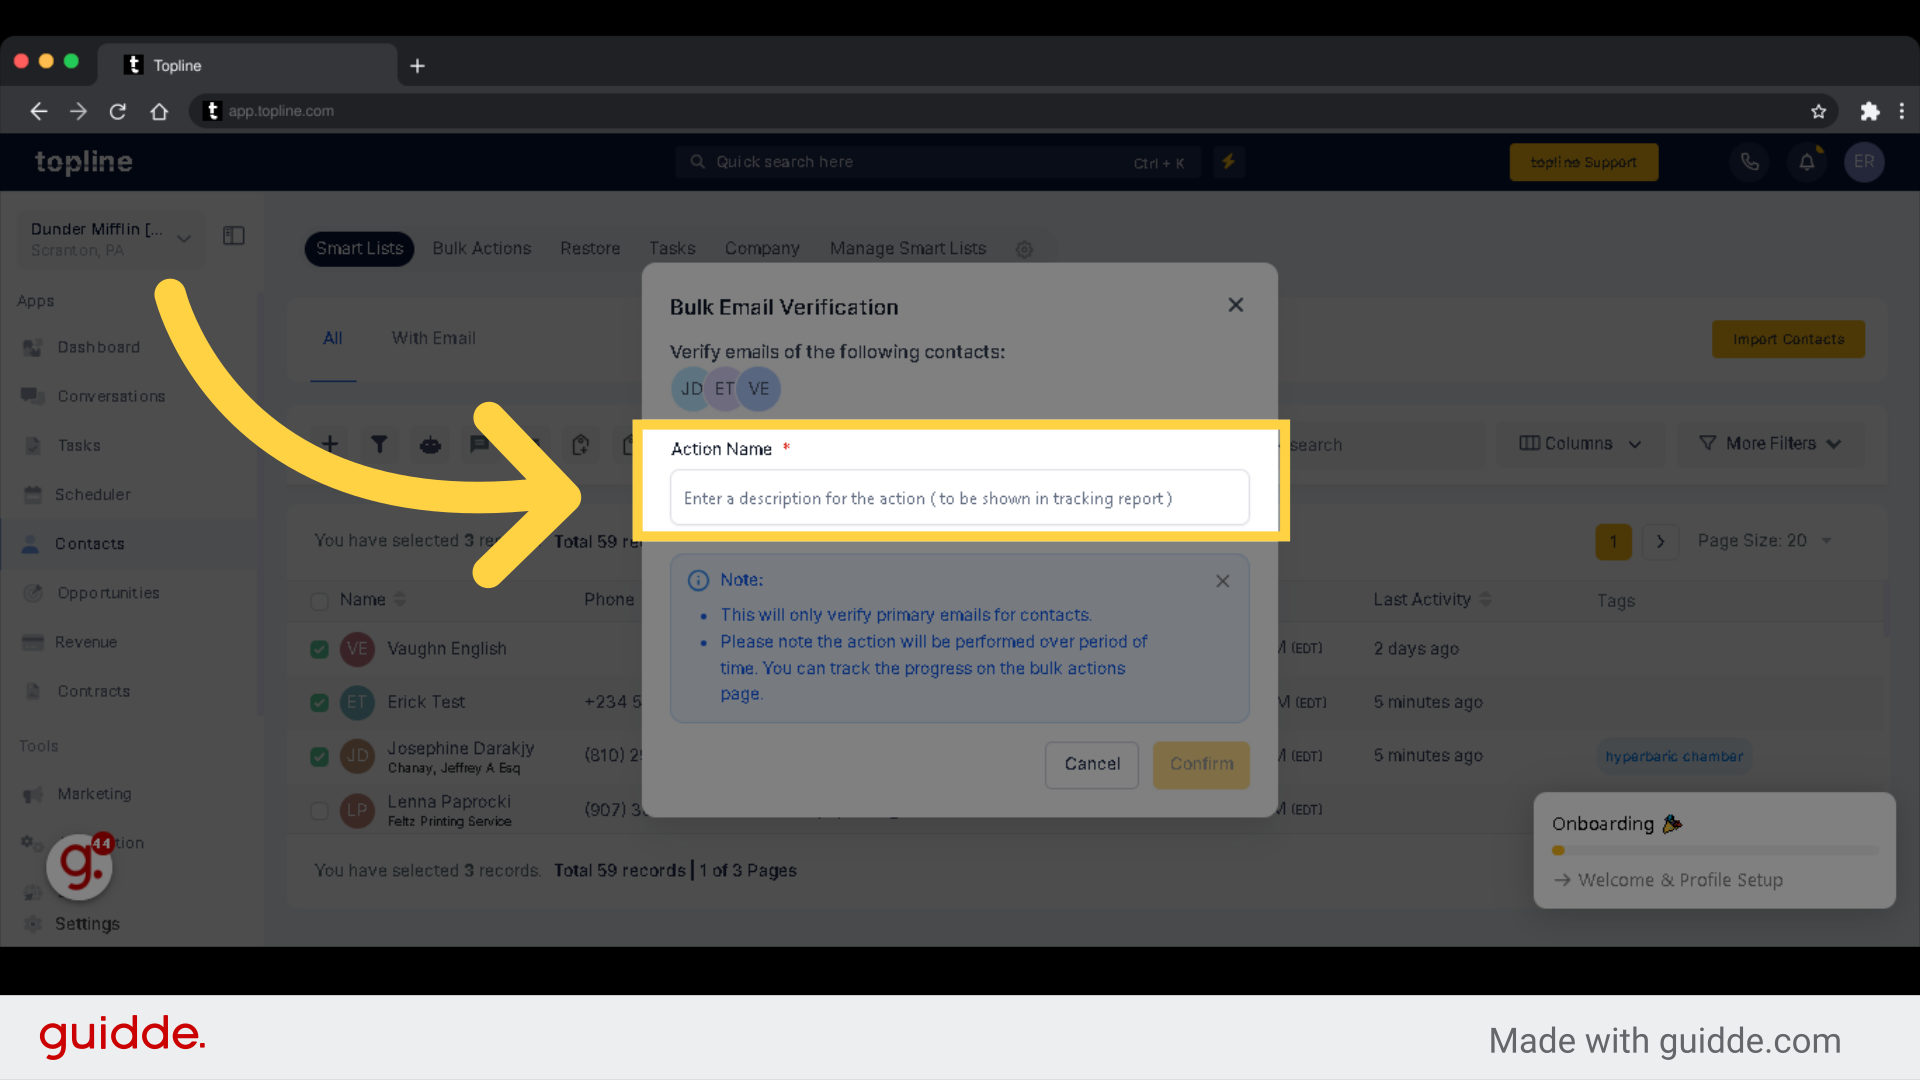
Click on "Confirm" to save.
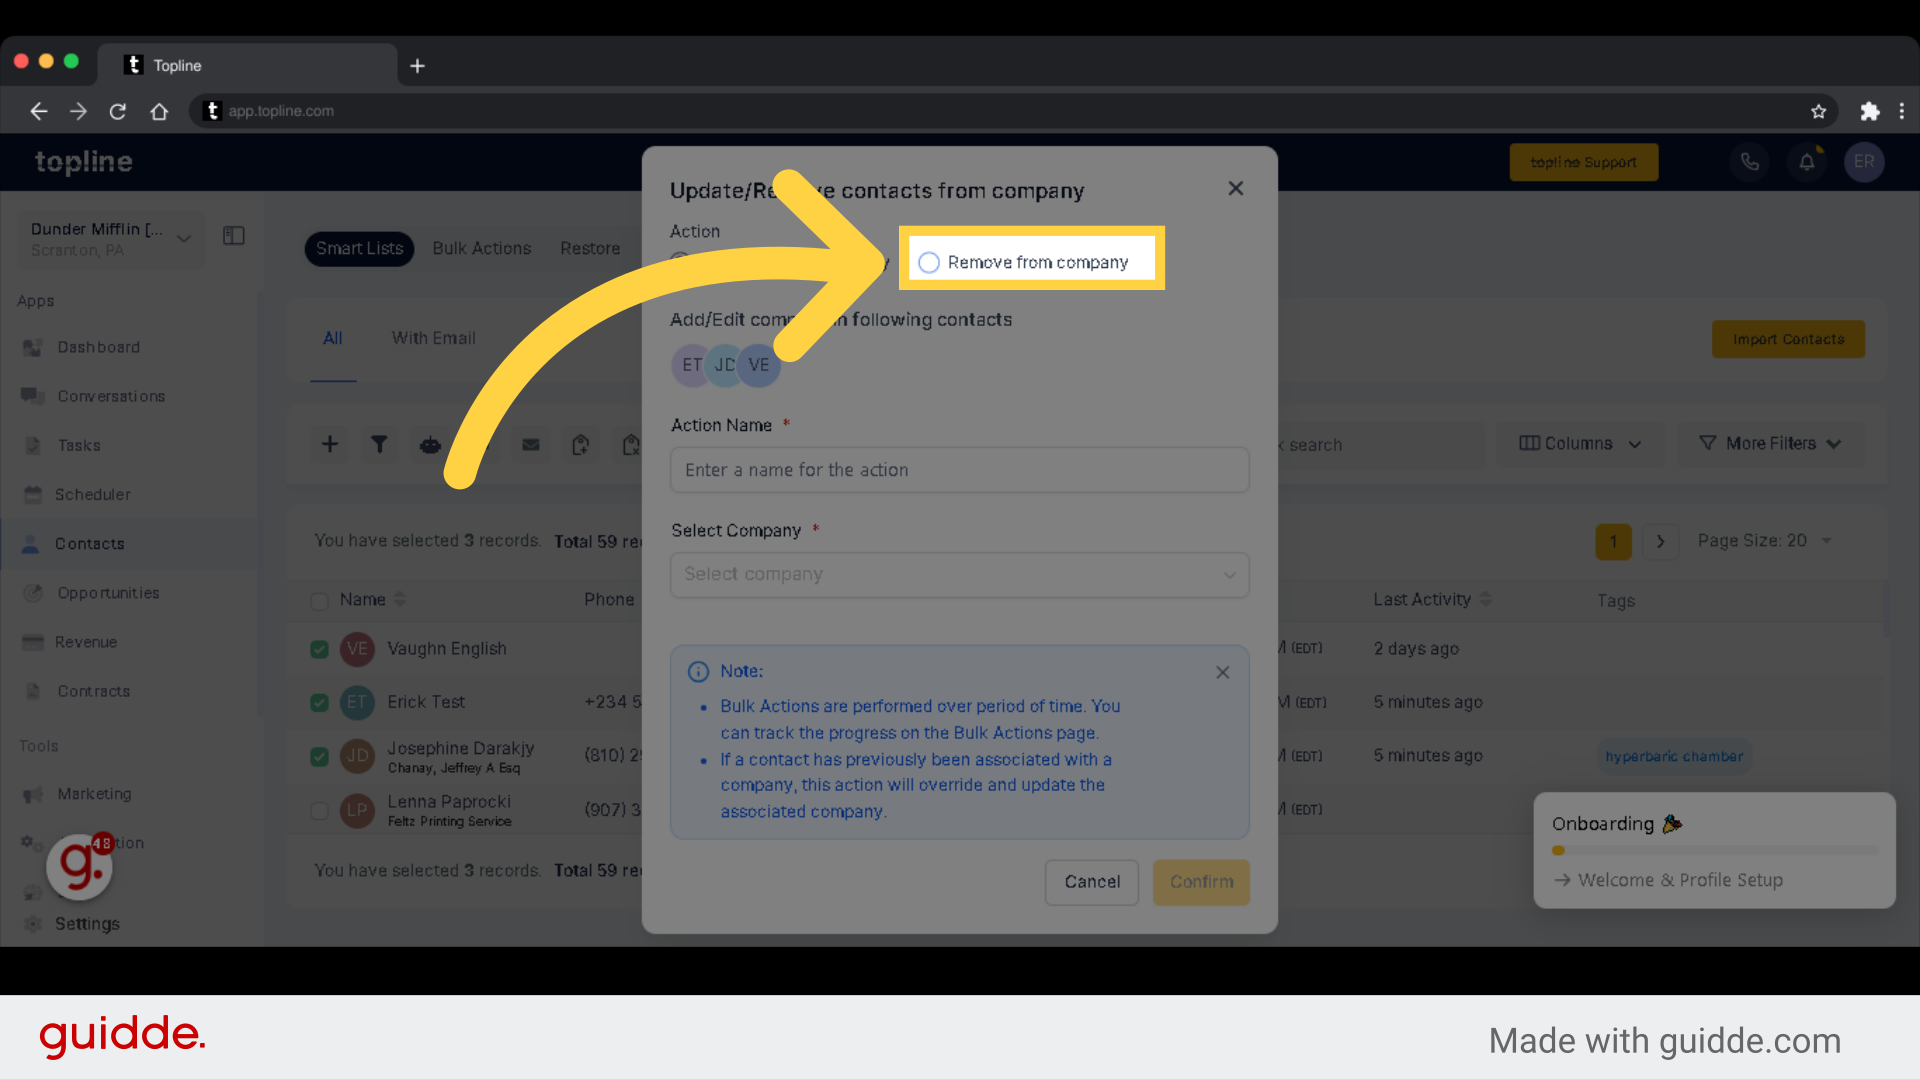
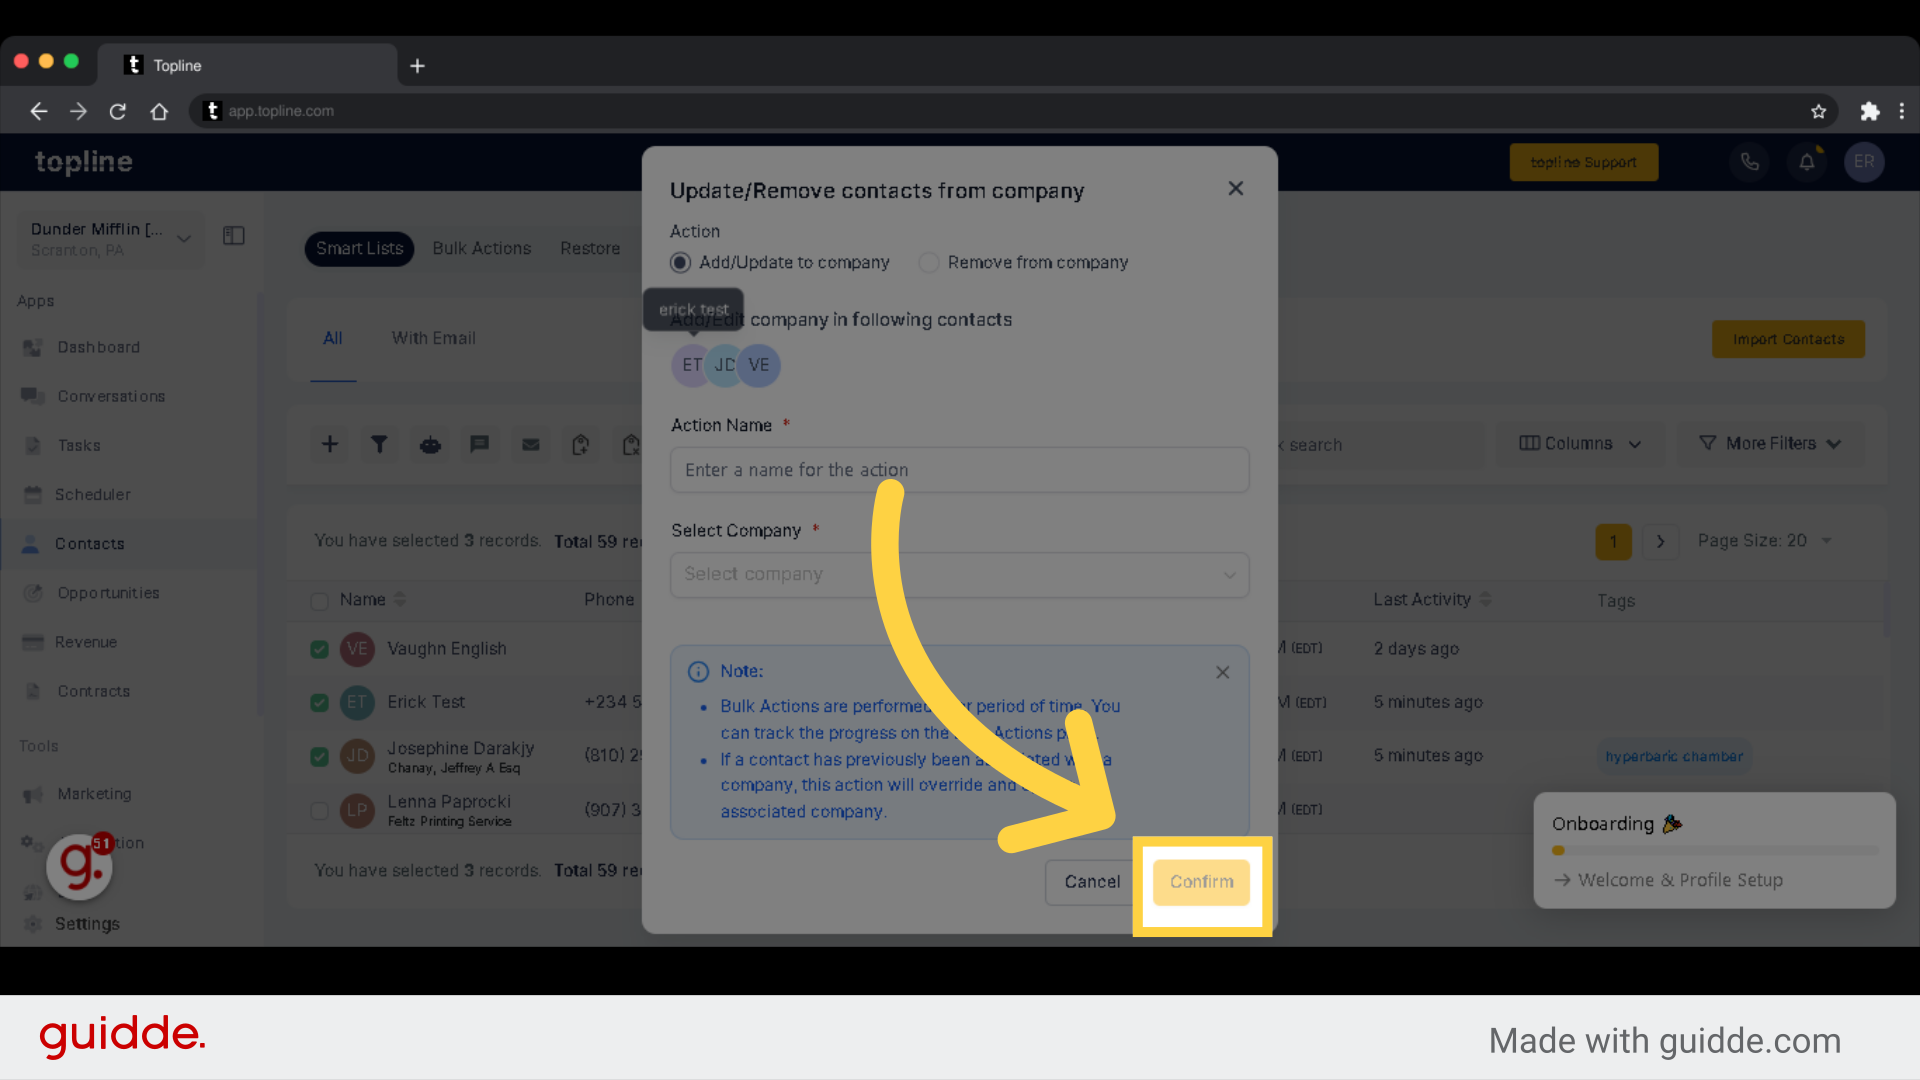
If a contact has previously been associated with a company, this action will override and update the associated company.
Tick Remove from Company, if you wish to remove a contact from the list.
Tick Add/update from company, if you wish to add or edit from the list.
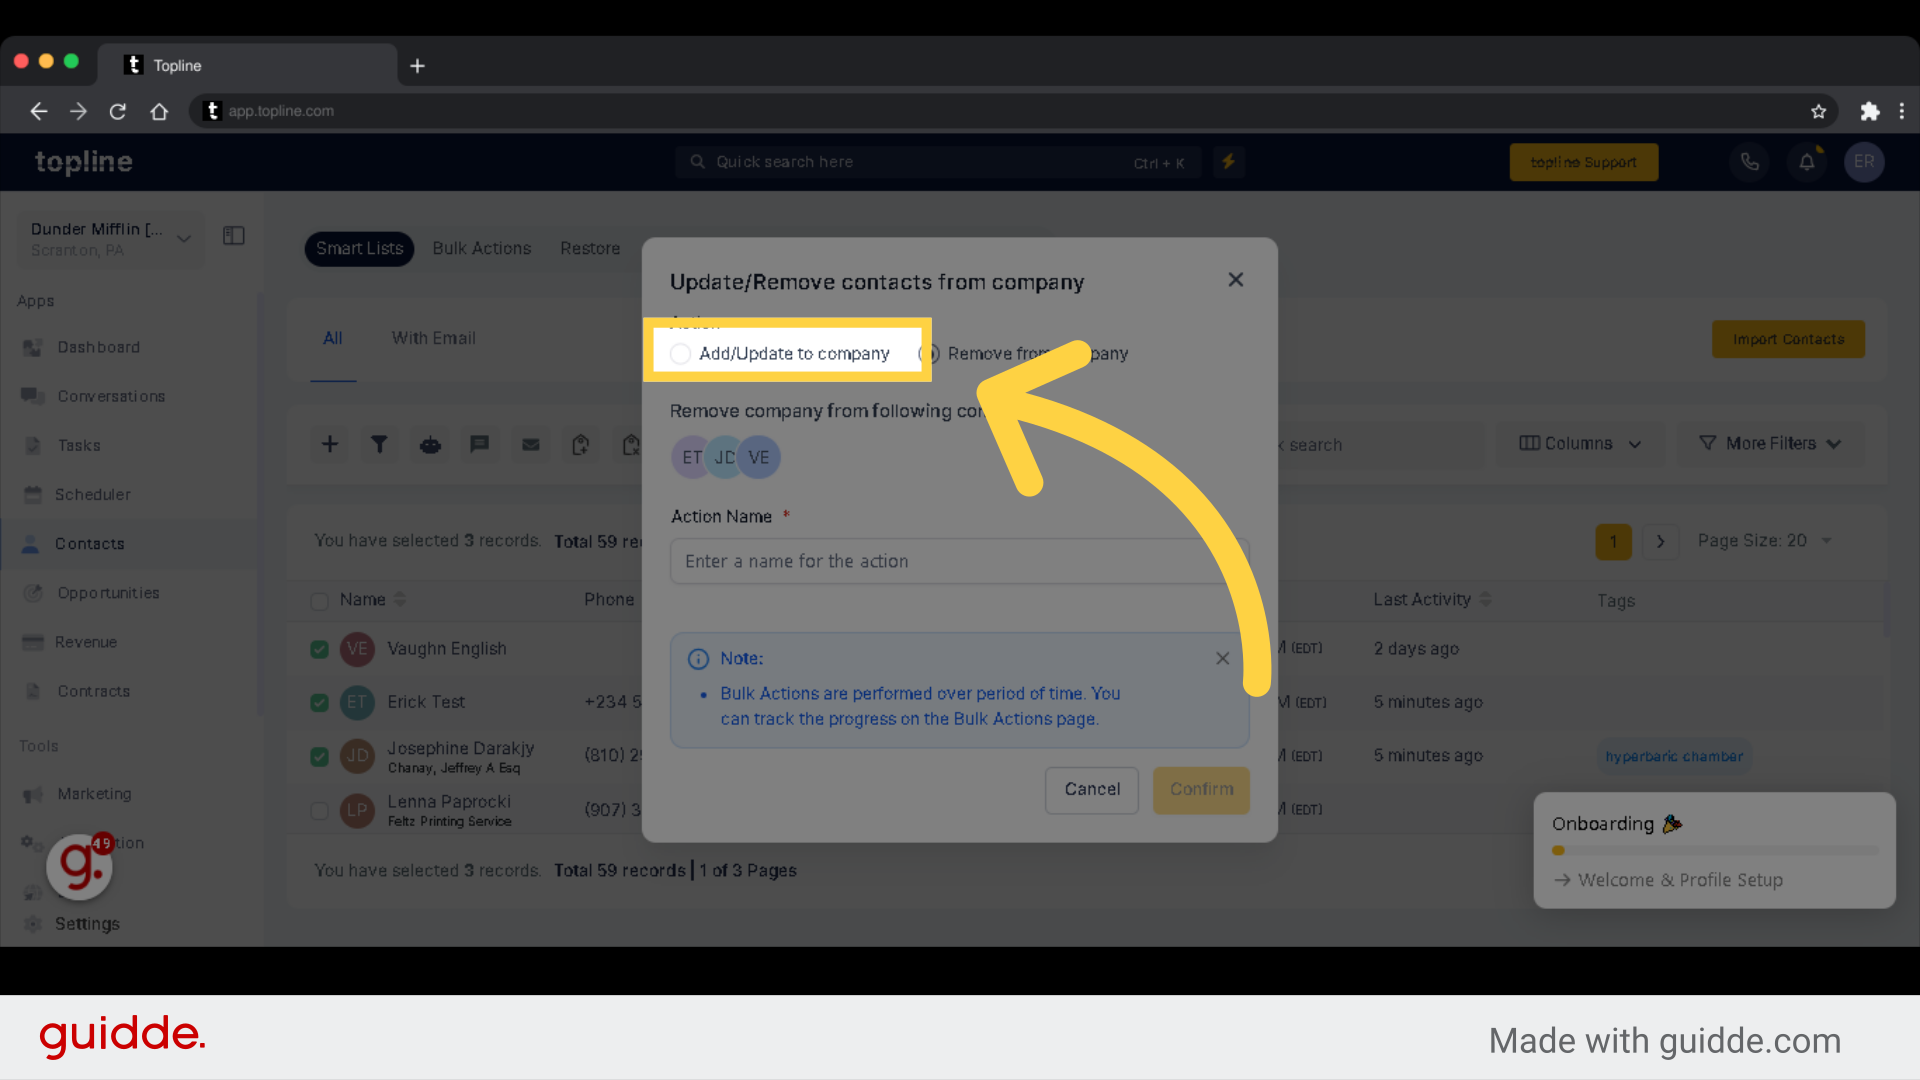
Click on "Confirm" to save.
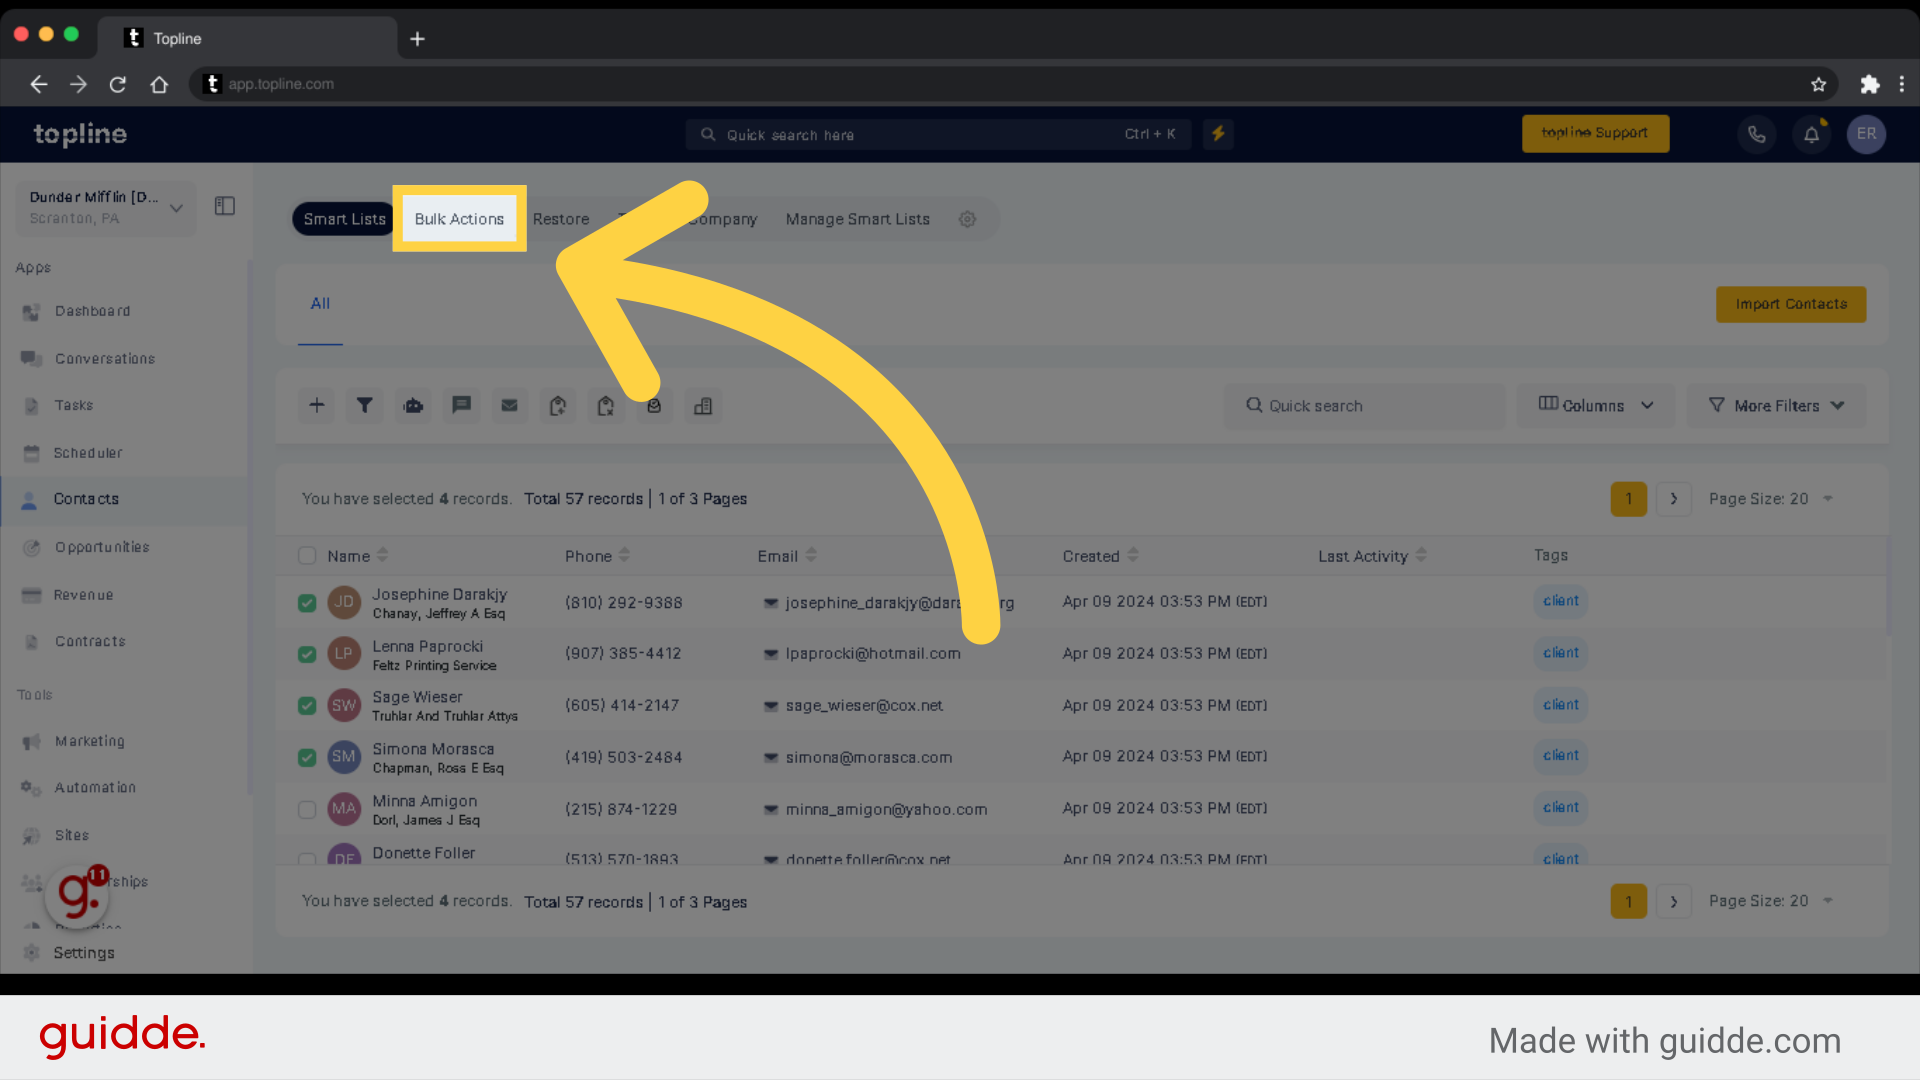
To view the status of a Bulk Action, go to Contacts > Bulk Actions > Click on the 3 dots Tab where you can view the status and/or pause the action.
This page will give you access to view or filter the contacts in your bulk action list.
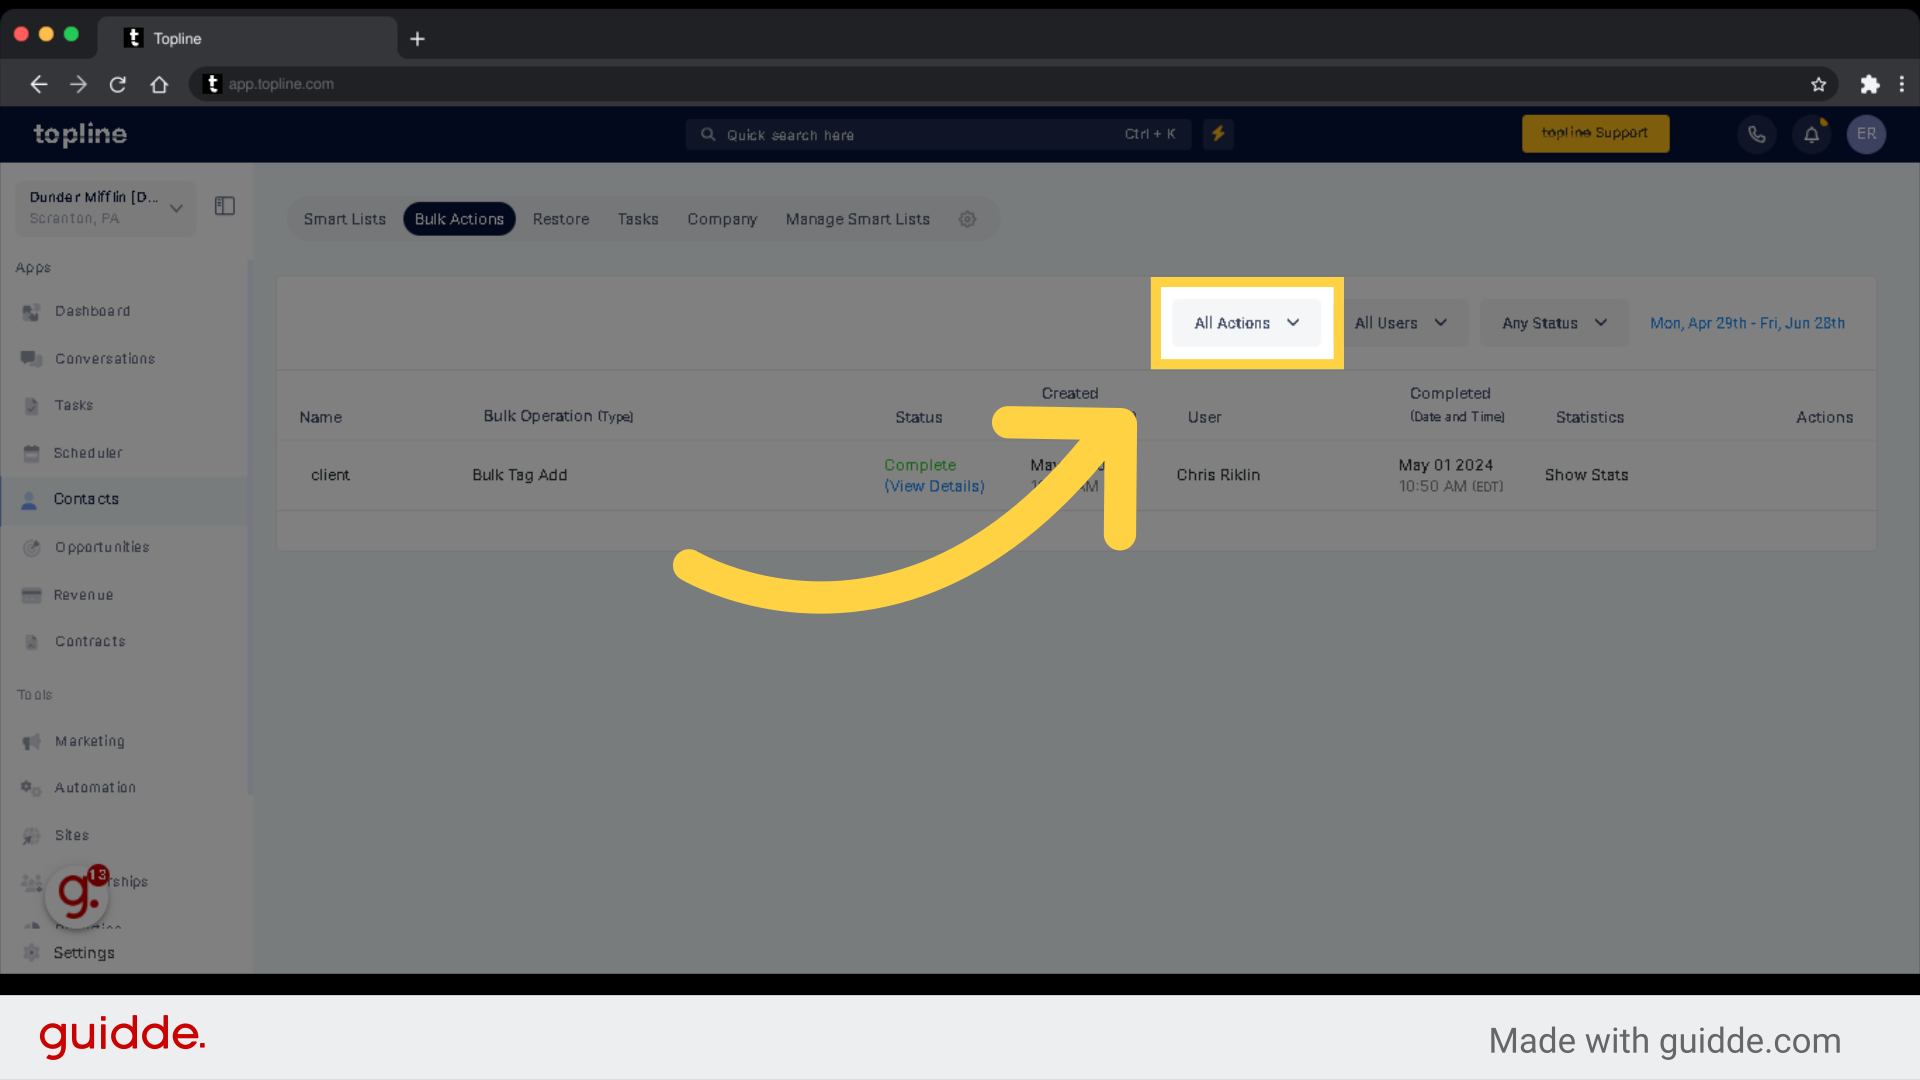
If you click All Actions tab, it will show you a drop list filter you can view in the following format: All actions, Bulk Email, Bulk SMS, Bulk Campaign, Bulk Workflow and Bulk Review Request.
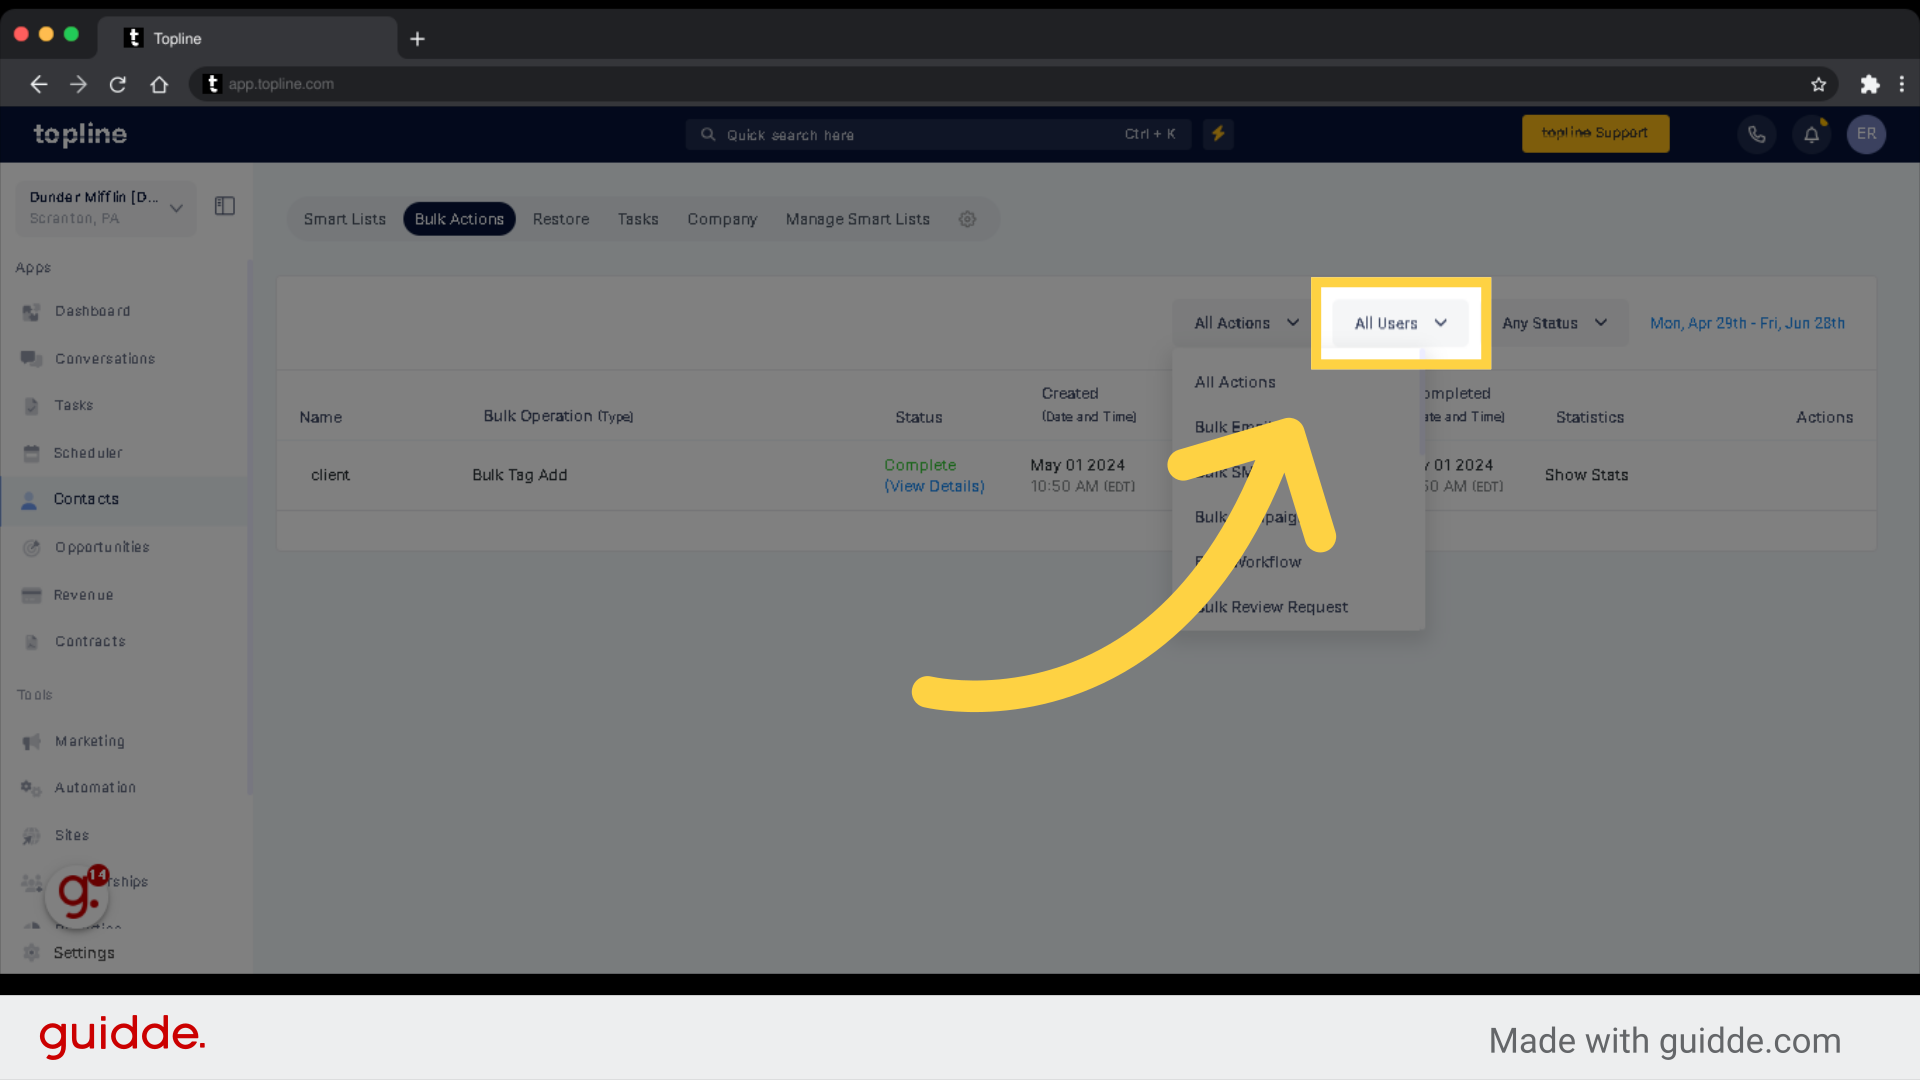
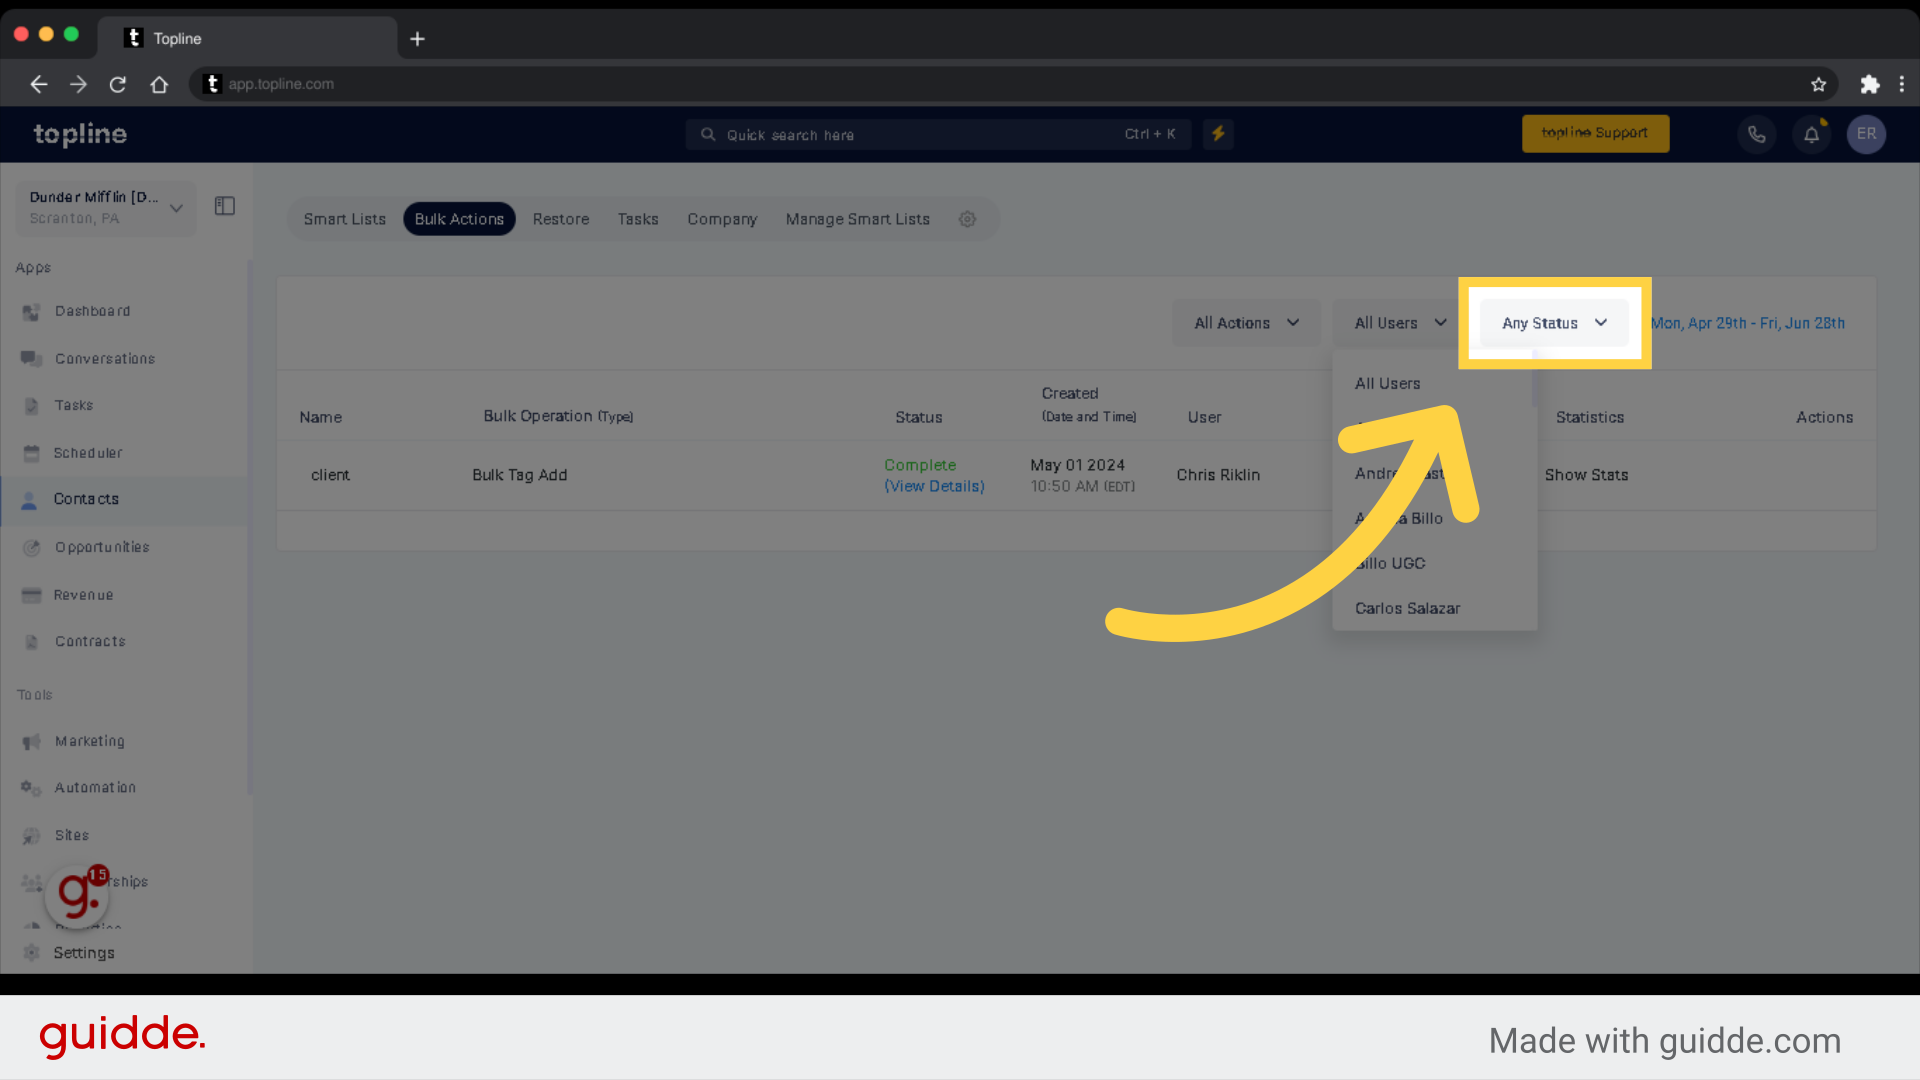
If you tick All Users tab, it will show you a drop list filter you can view all name of the users in alphabetical order.
This option will show the statistics or percentage of your Bulk Actions.
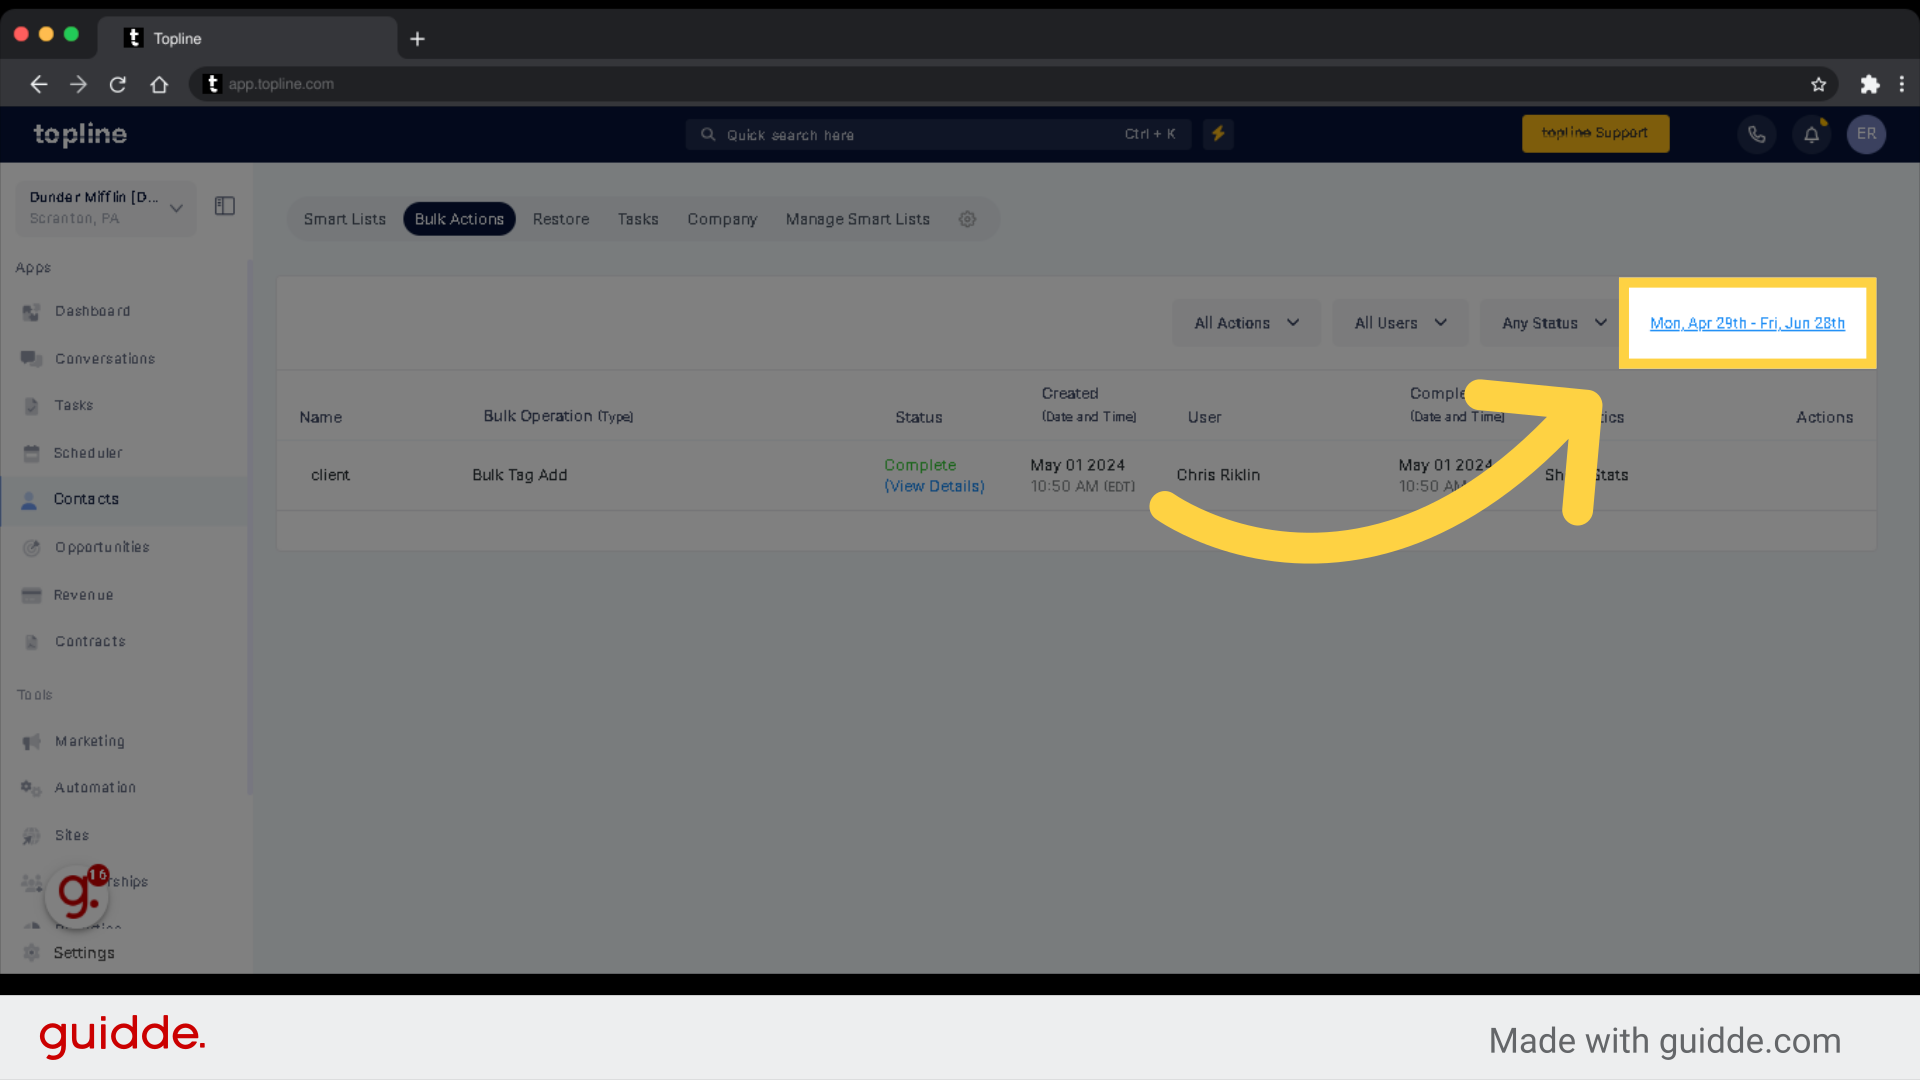
By clicking this tab, you will be presented with a broad range of dates, weeks, months, and years that can be used to filter a selected bulk action.
If you've scheduled the bulk action for the future or in drip mode, you'll see this three dot icon here where can pause, edit or cancel.
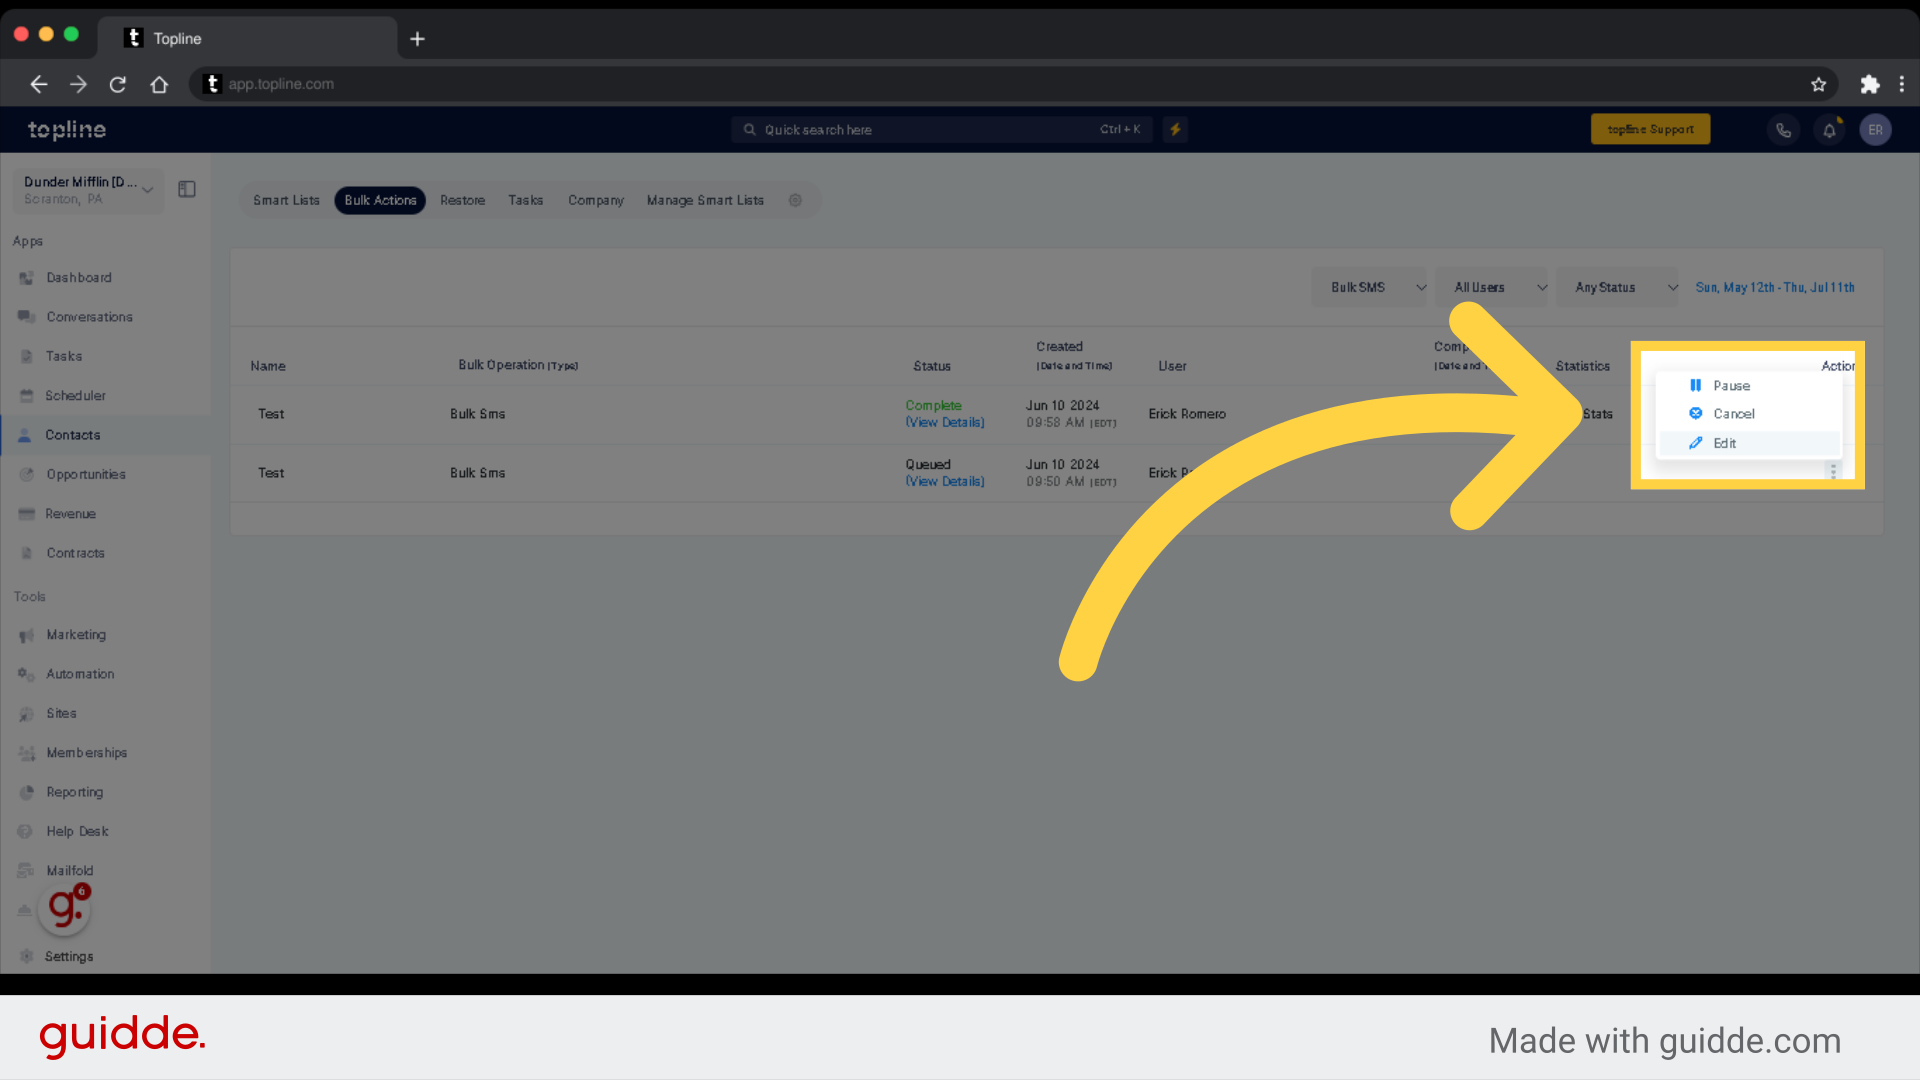
Modify selected items to pause, edit or cancel.
Frequencies of 30 sec - 1 min: 1,000 messages per minute
Frequencies of 5 min: 4,999 messages per minute
Frequencies of 6 min - 10min: 5,000 messages per minute
Frequencies of Above 10 min: 10,000 messages per minute
0 to 25k contacts -> 60K contacts processed per hour
25k to 50k contacts -> 30K contacts processed per hour
50k to 100k contacts -> 24K contacts processed per hour
100k contacts and above -> 18K contacts processed per hour
60K contacts processed per hour
Bulk Actions cannot be scheduled to run more than 720 hours in the future (approximately 30 days)
