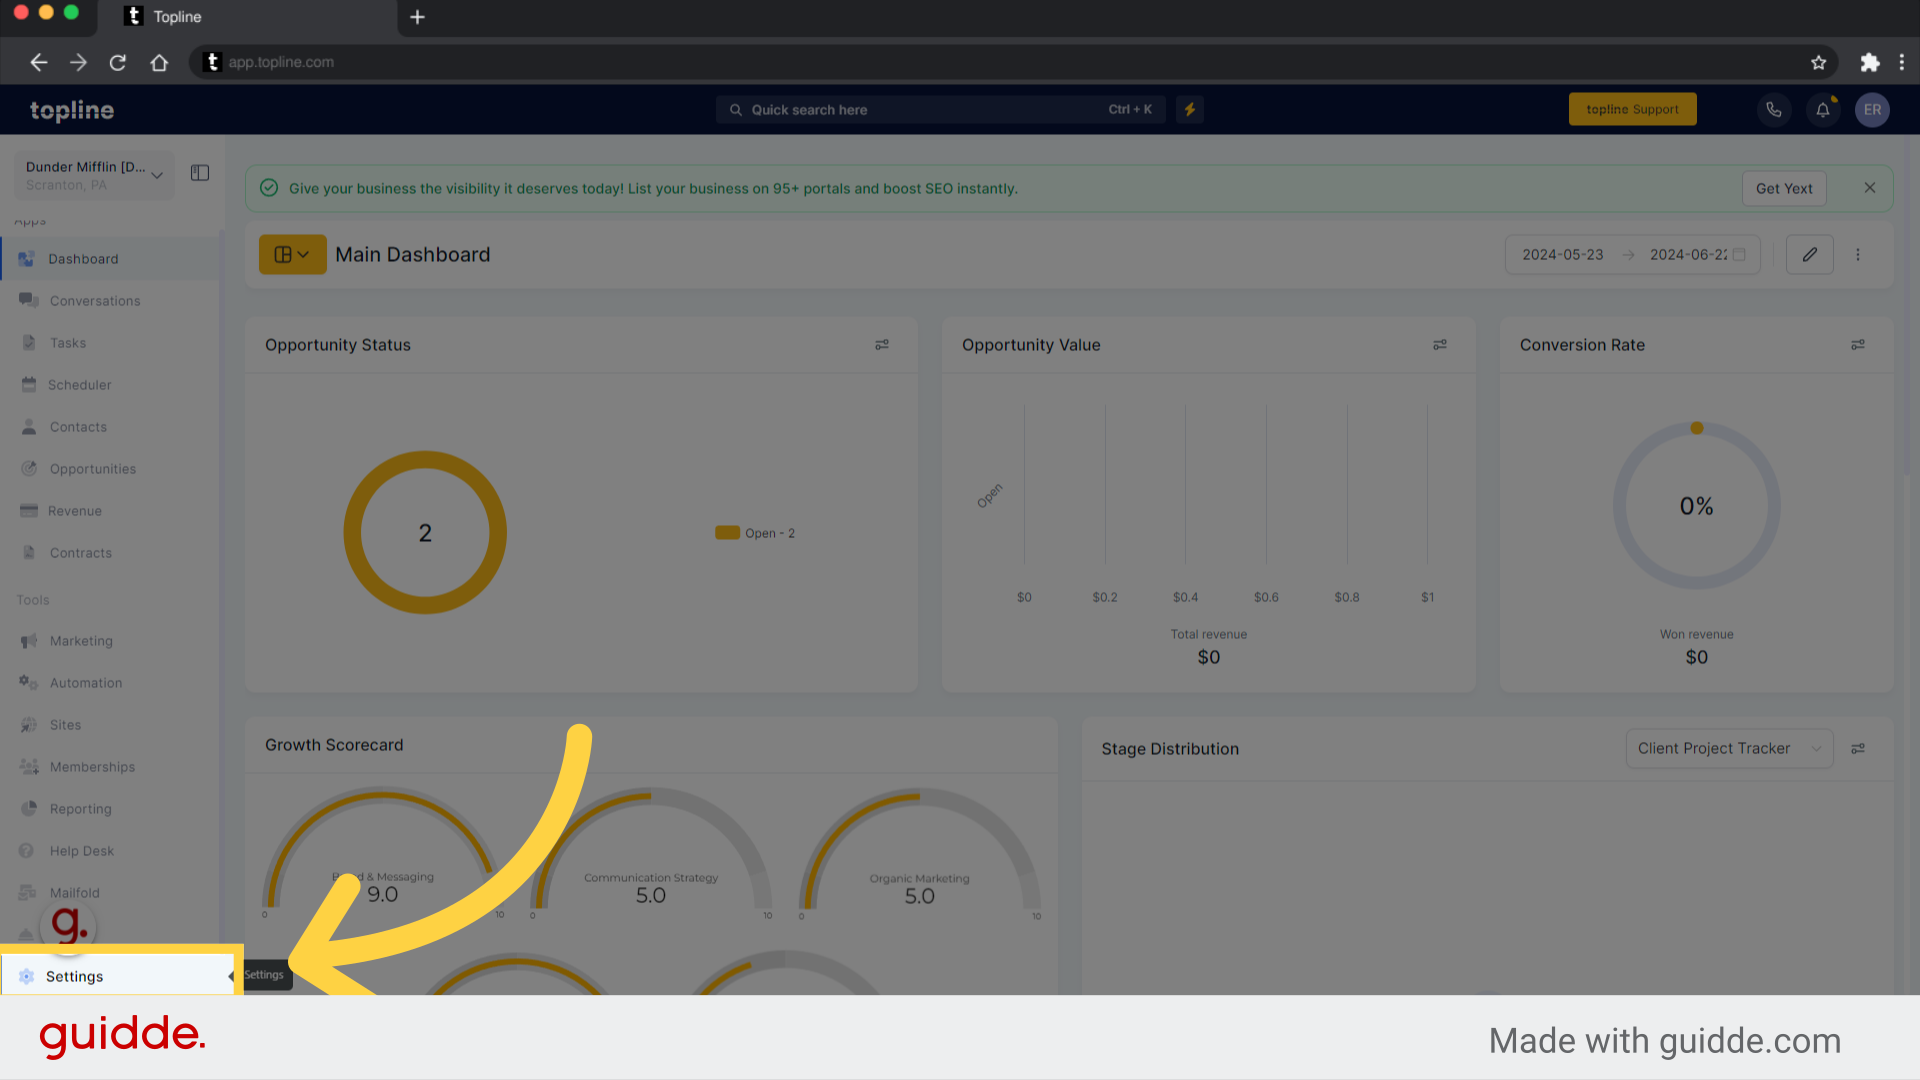
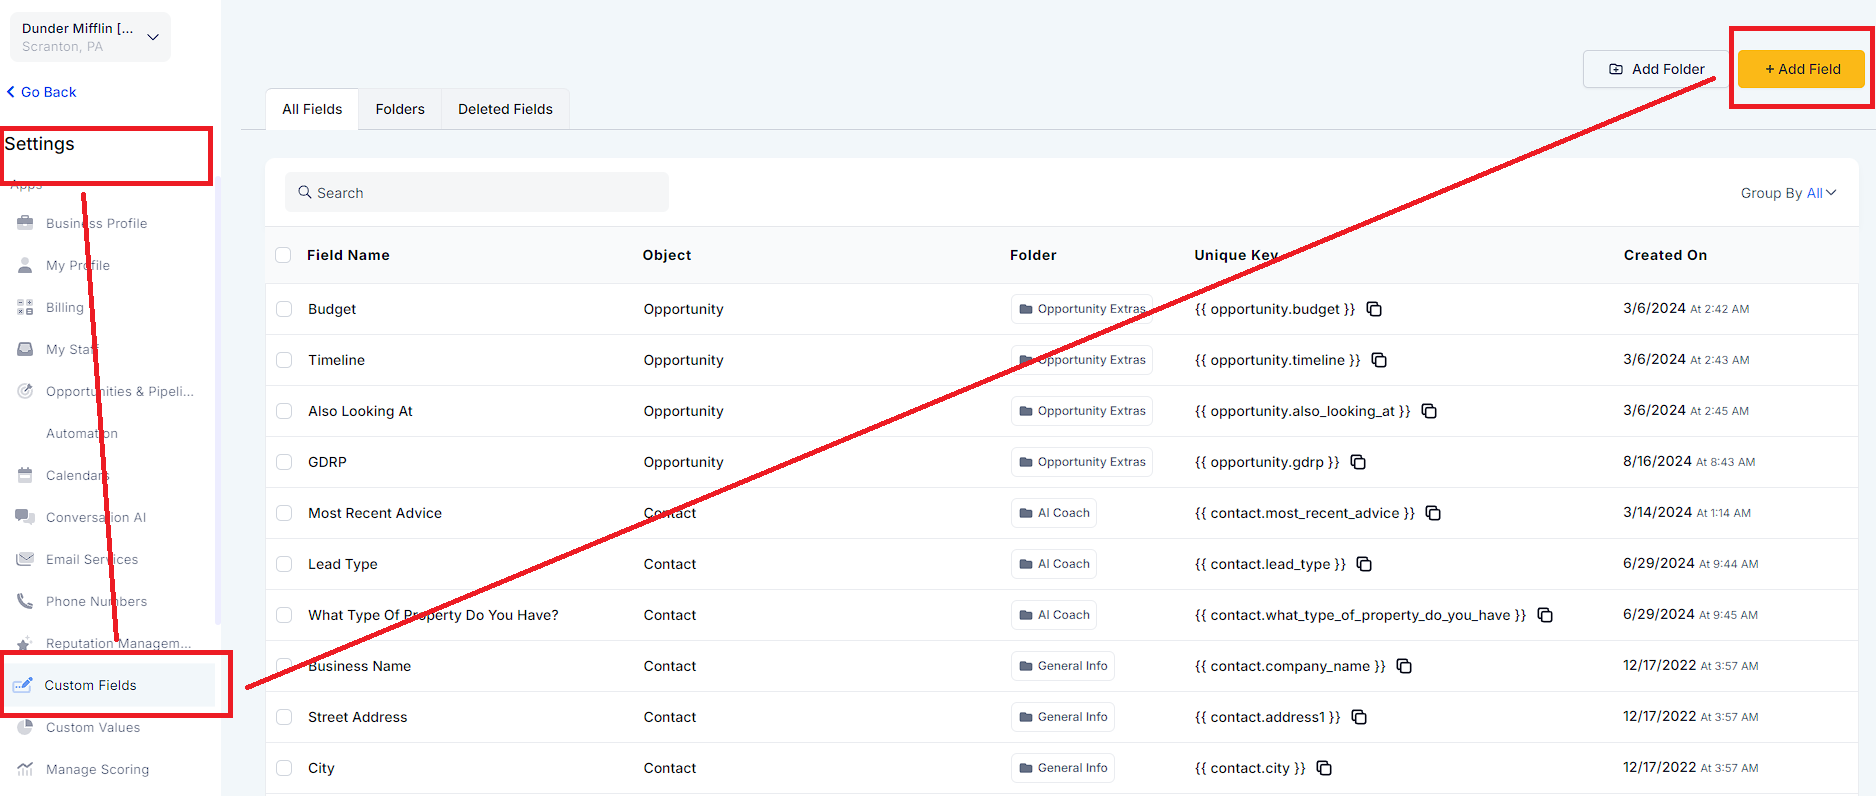
Access to the Settings option on the lower left side Menu.
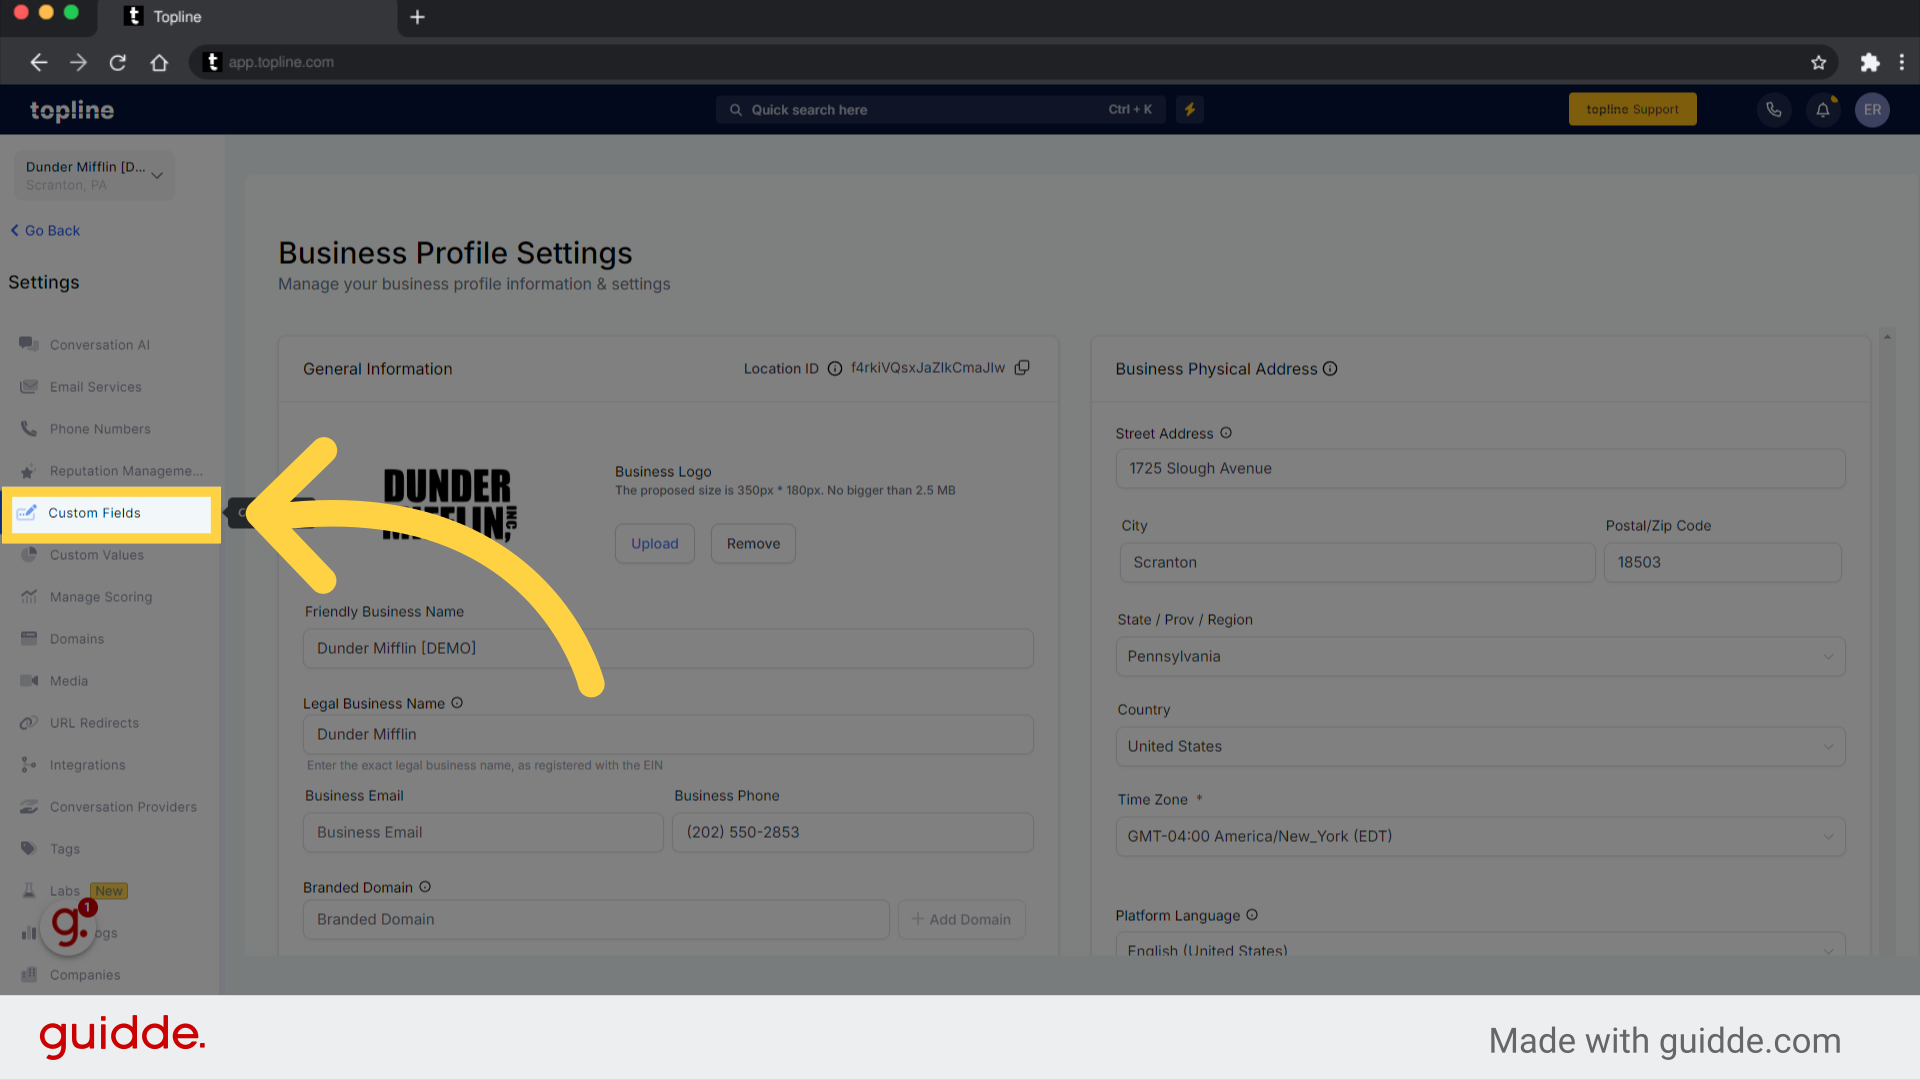
Access Custom Fields on the left side features menu.
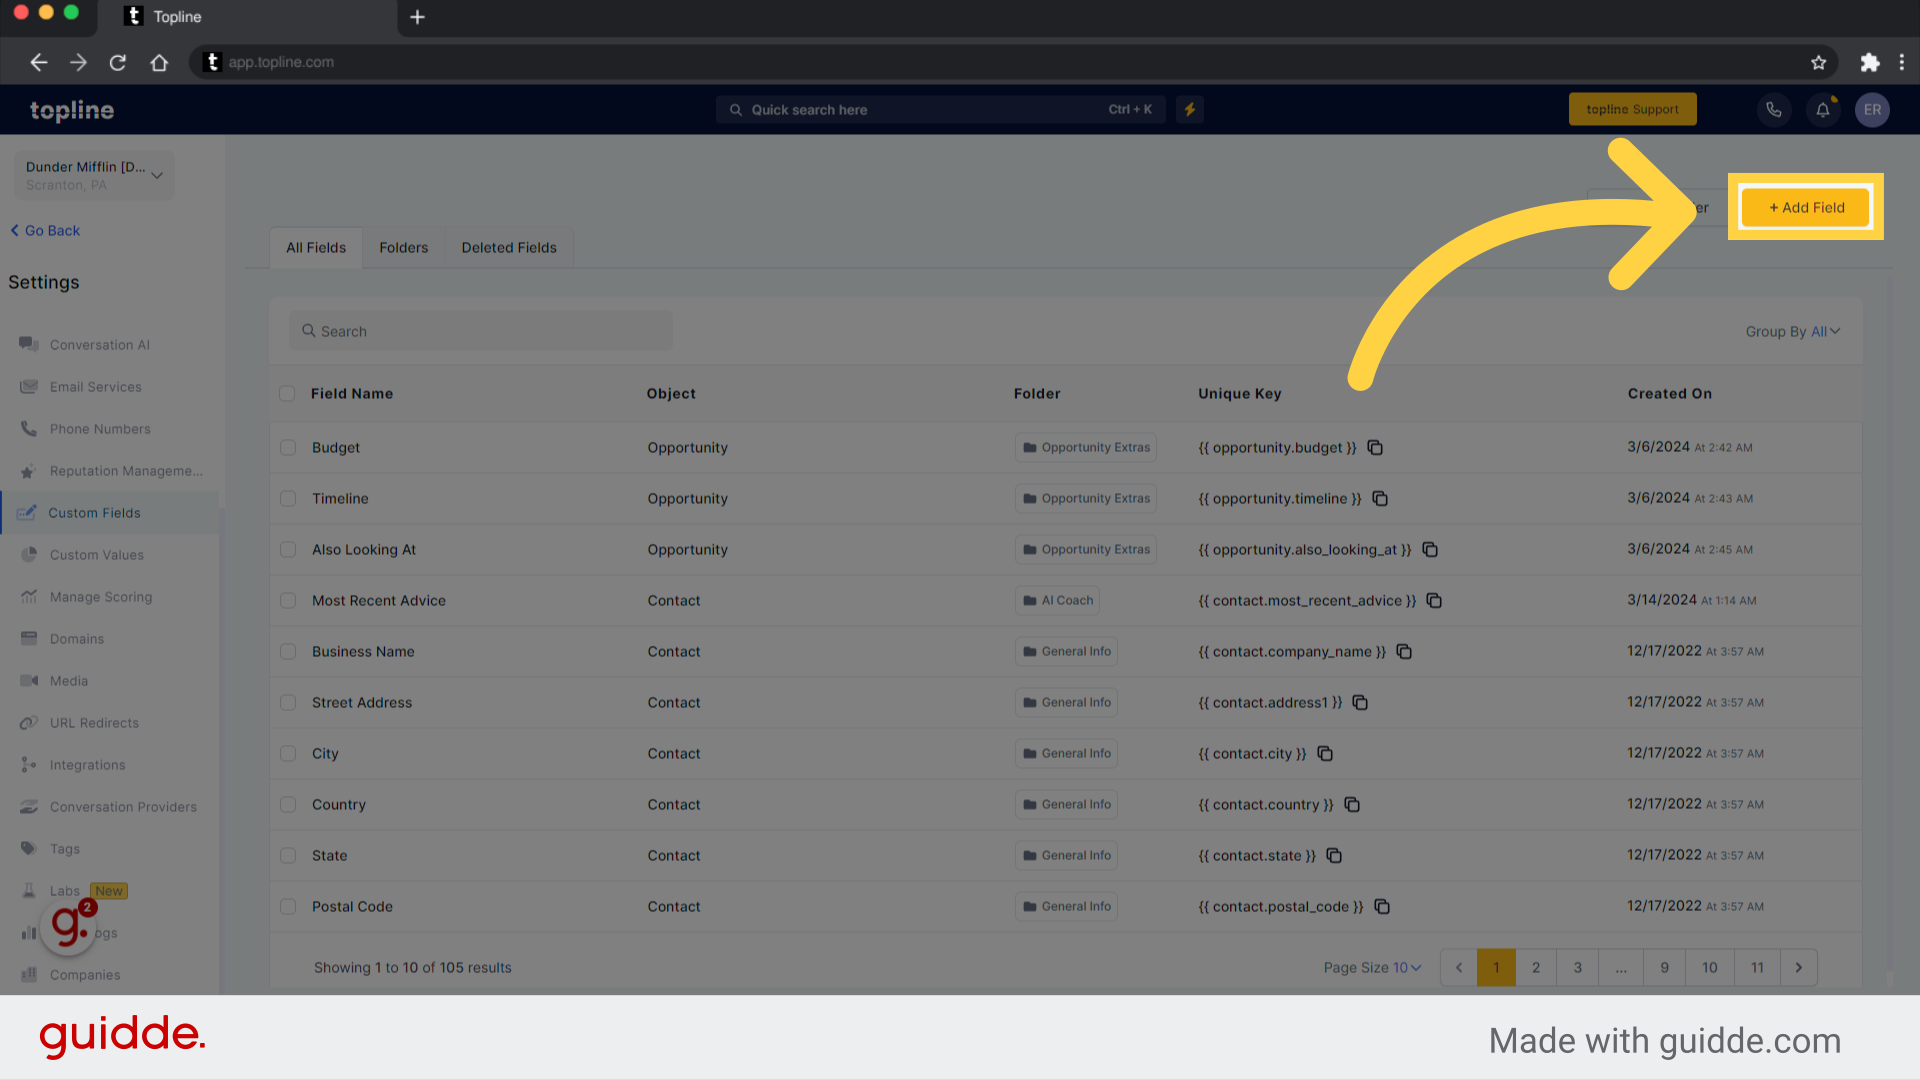
In the upper left corner, click the add field button to start adding a new field.
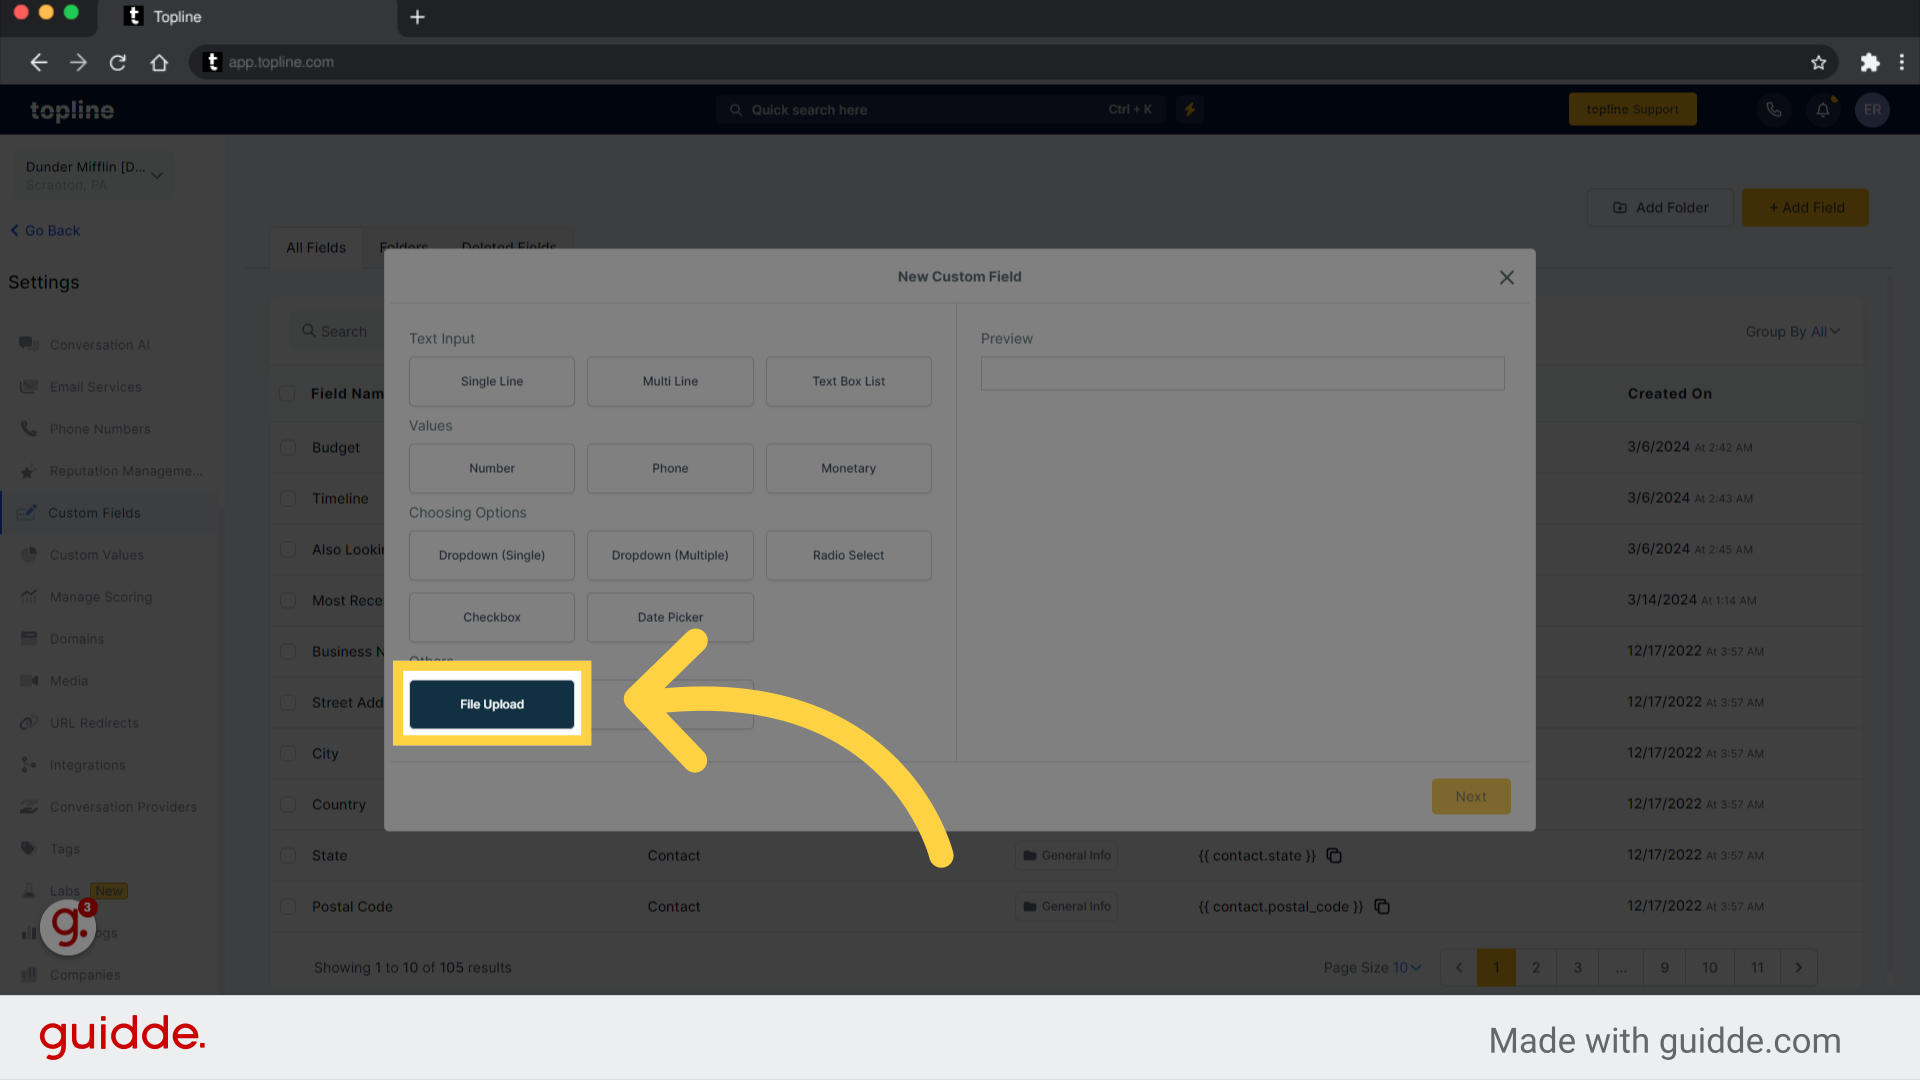
Files can be uploaded by clicking the File Upload tab.
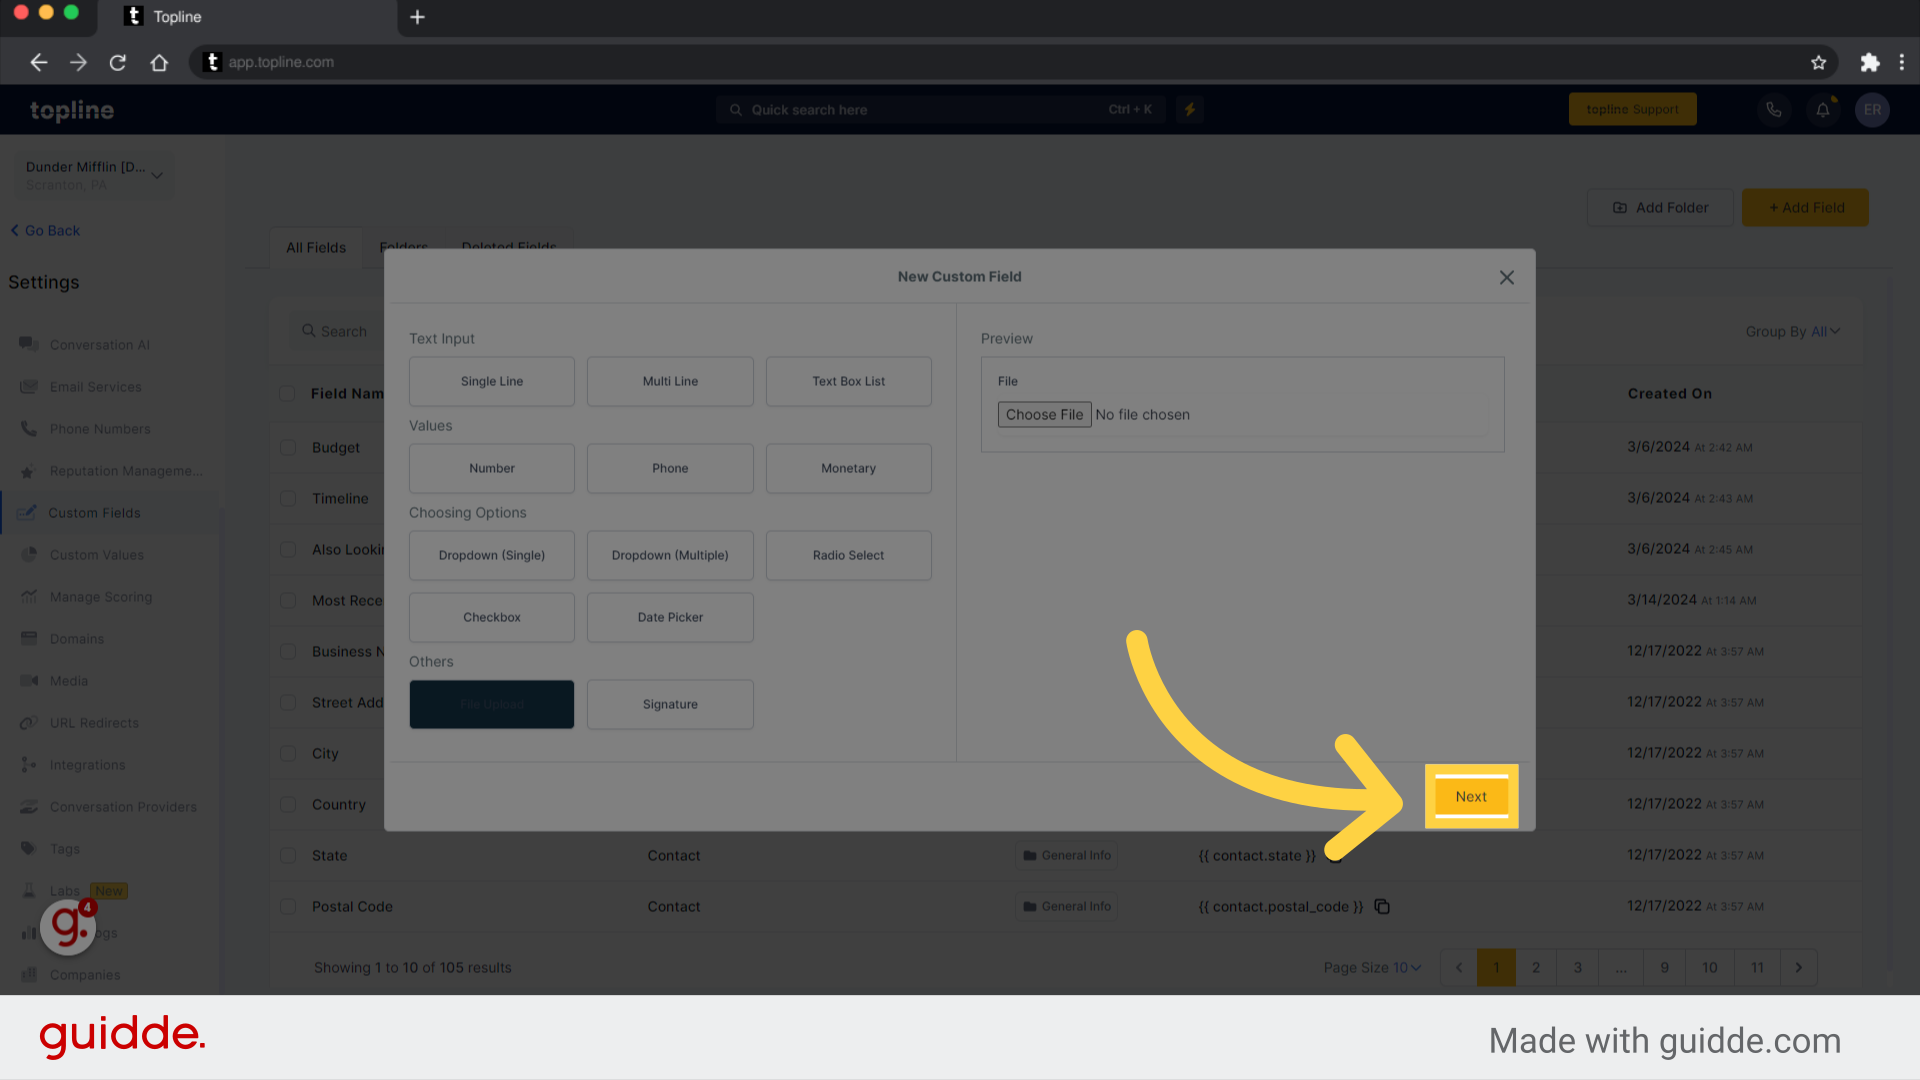
You can proceed to the next step by clicking the next button.
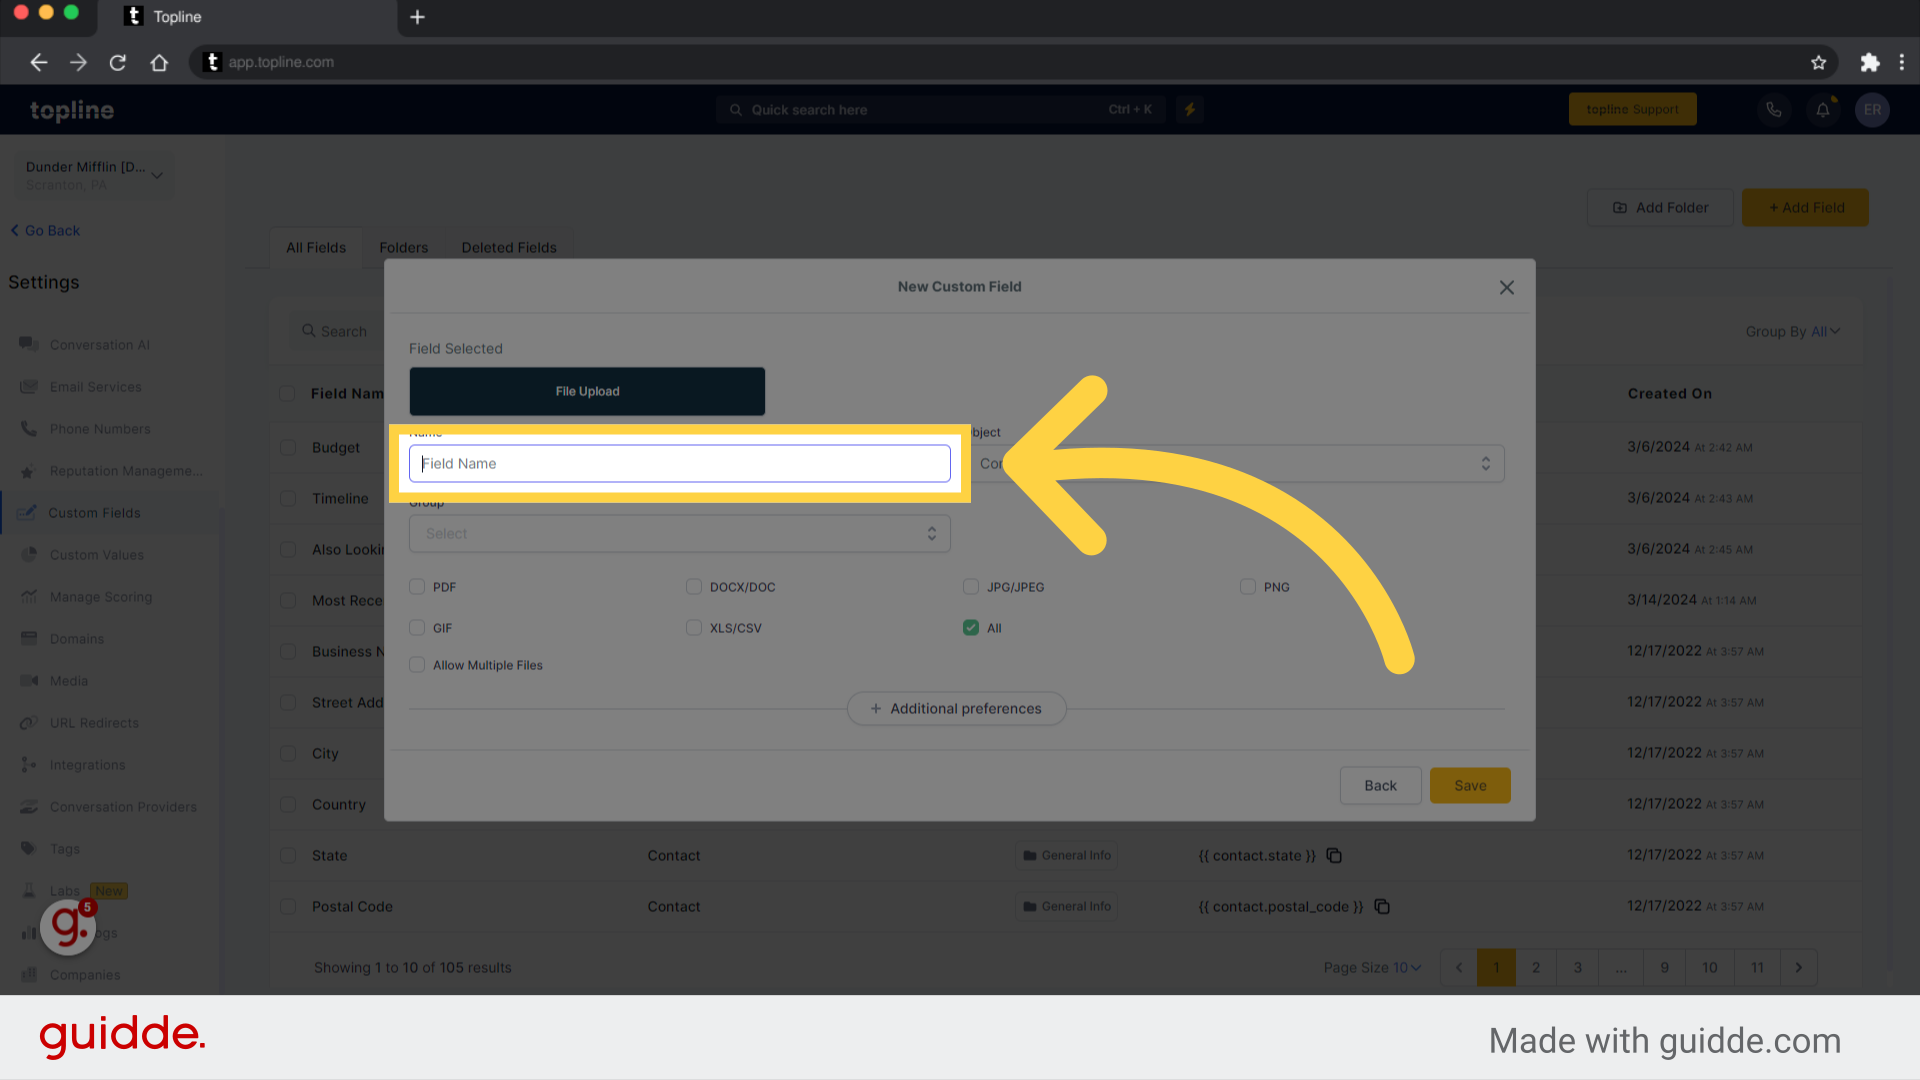
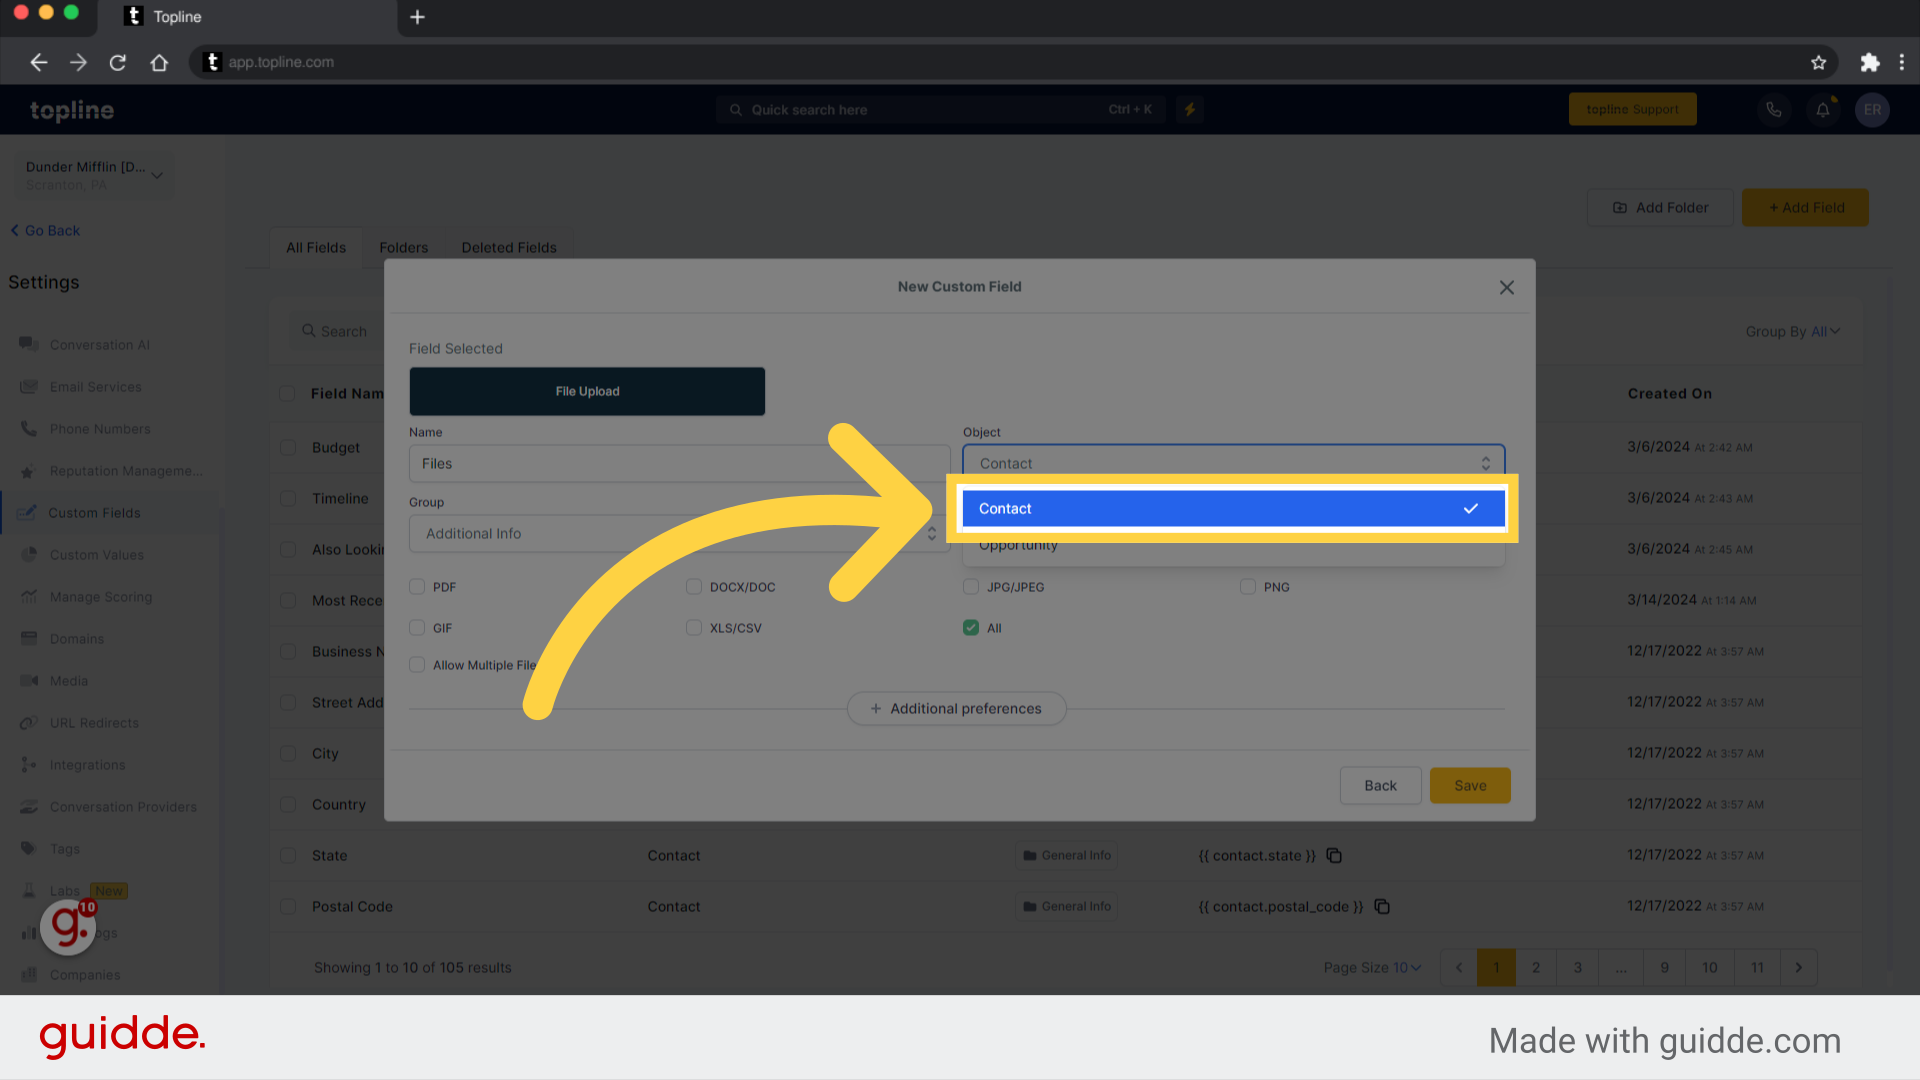
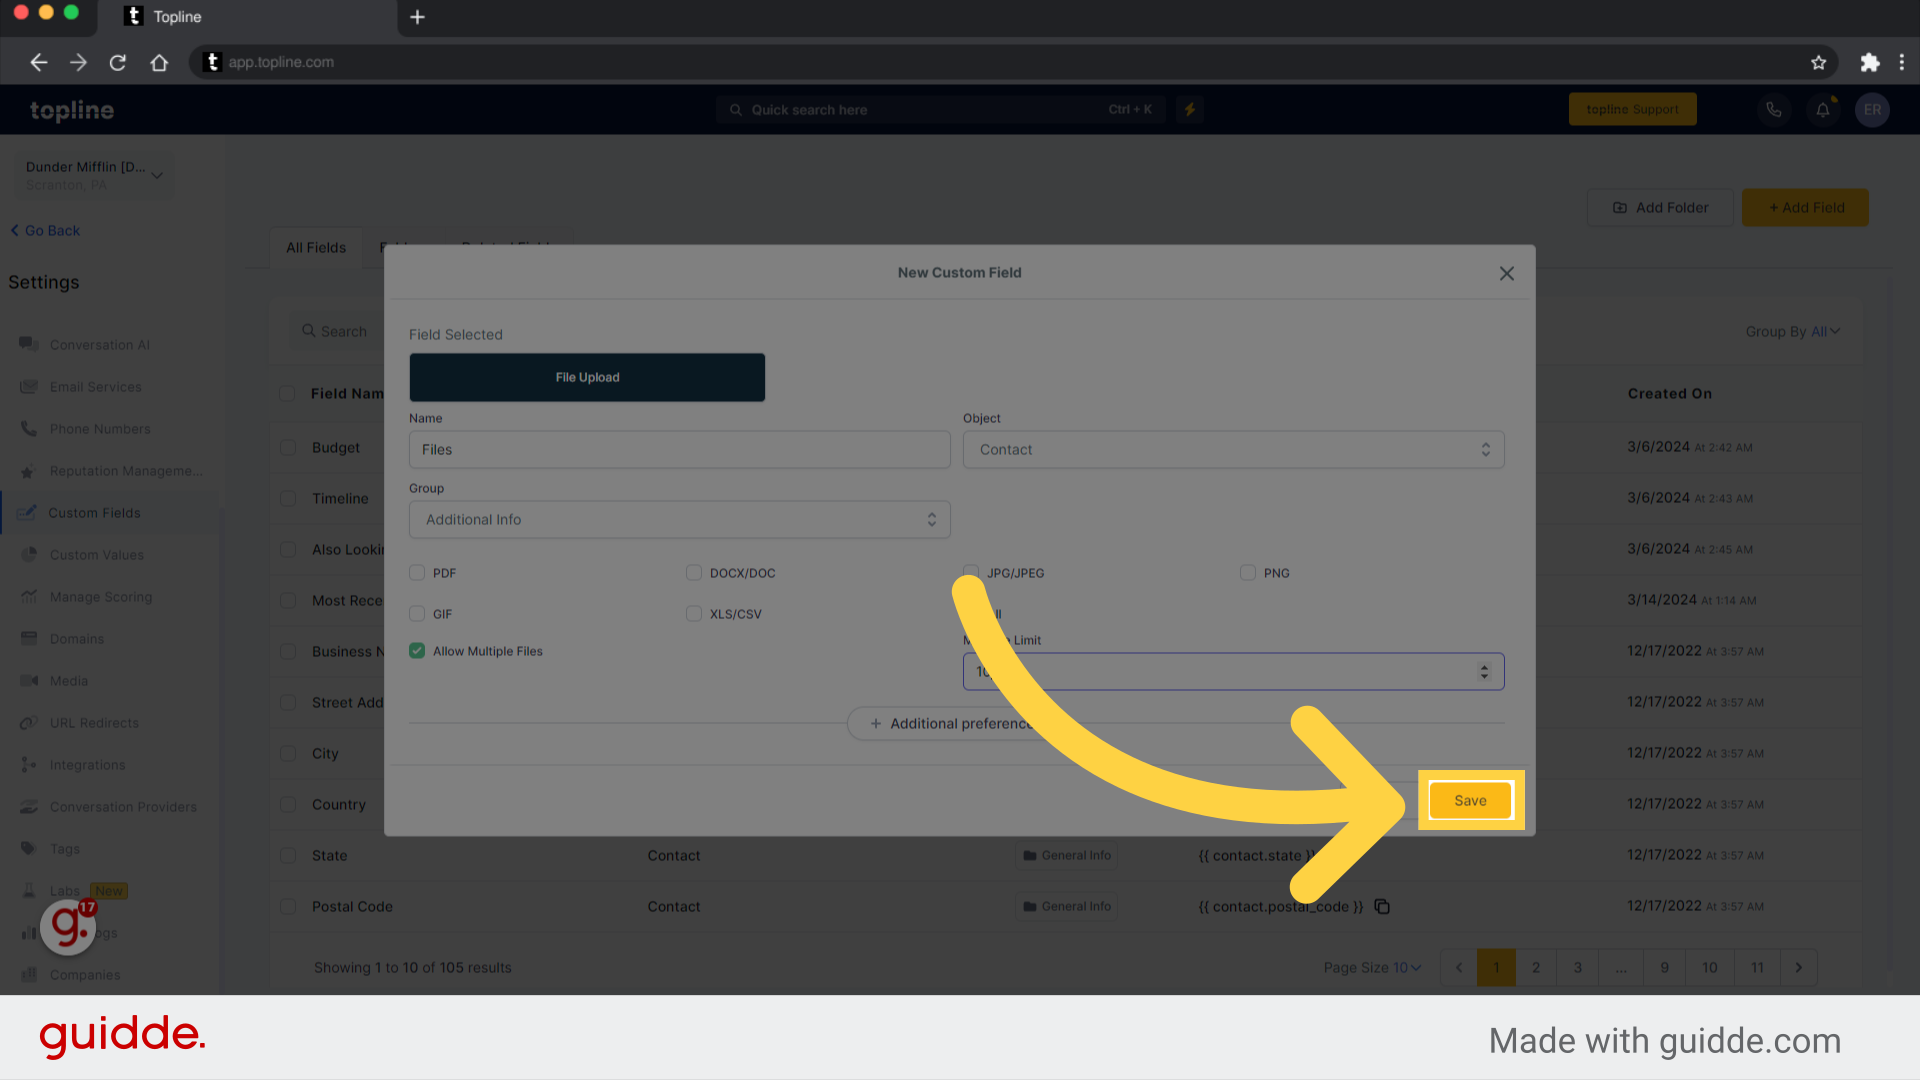
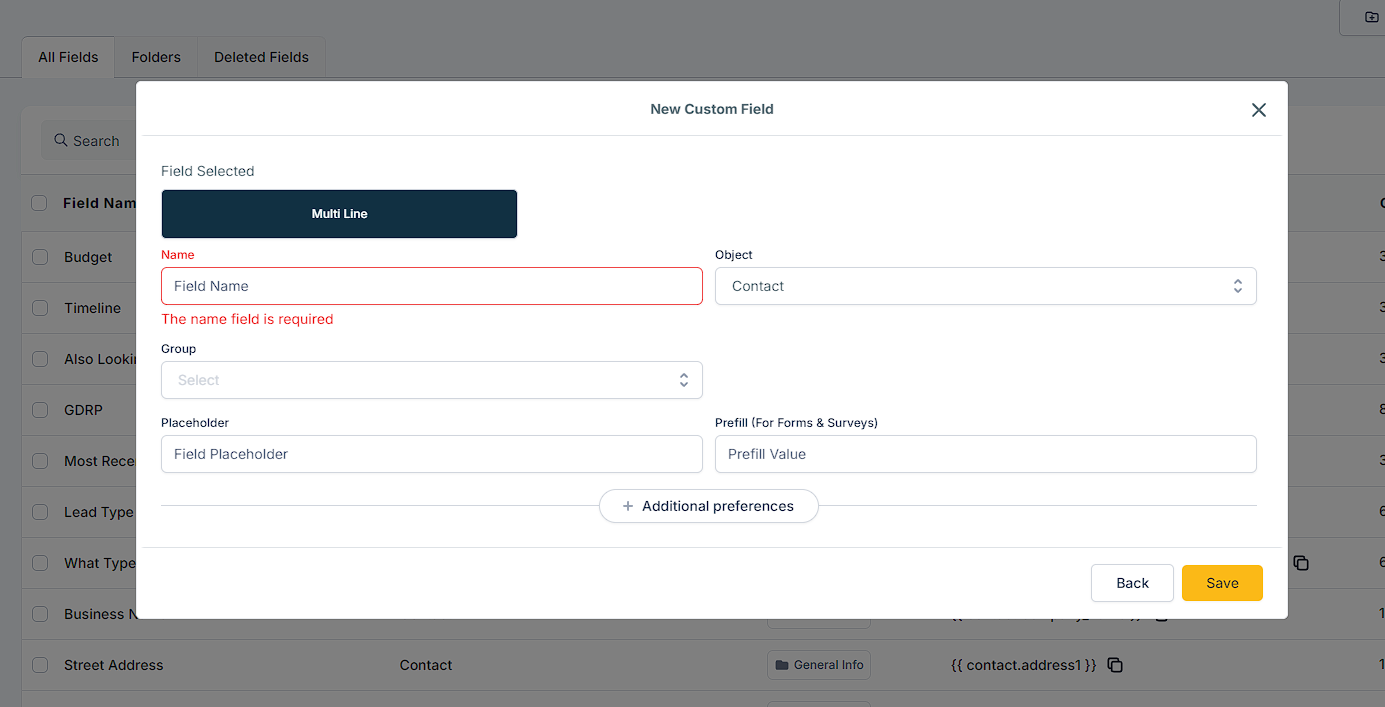
Add a name to your custom field for easier identification.
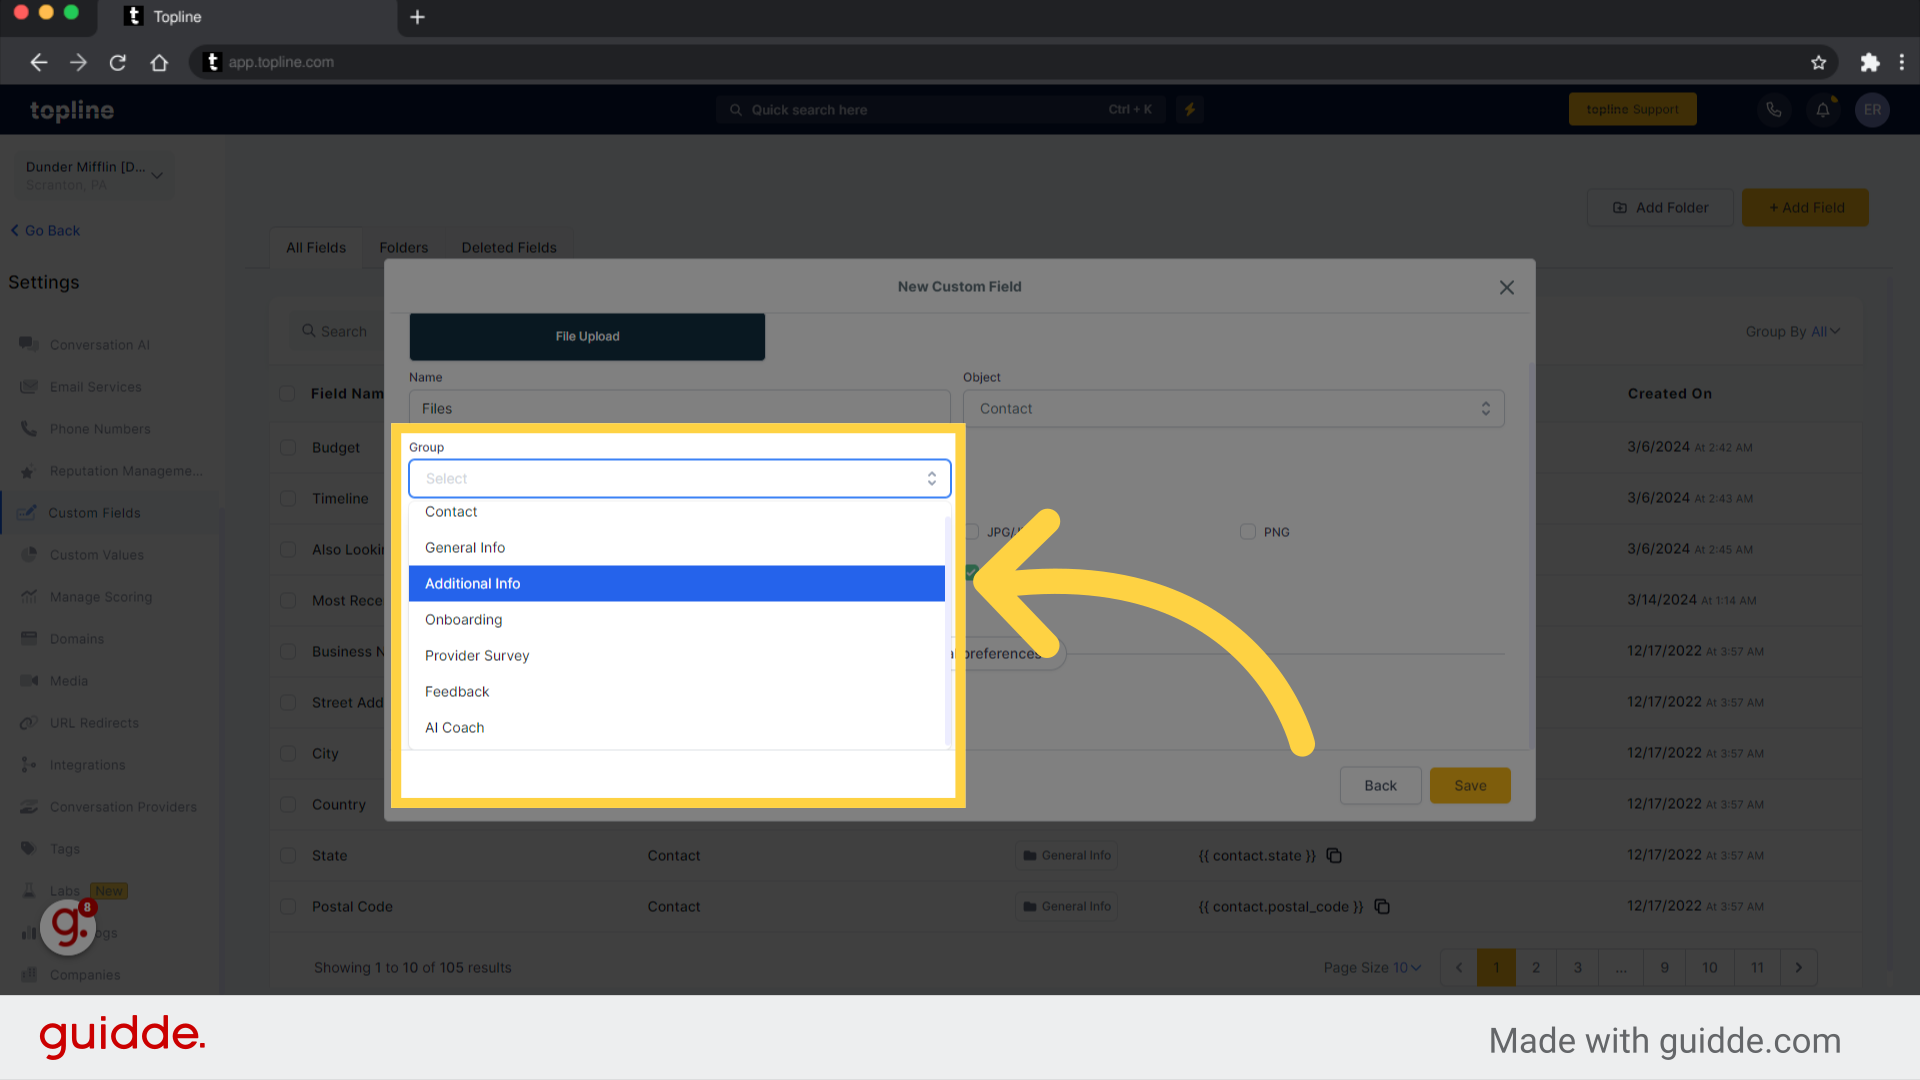
You can assign your custom field under the Groups option by selecting Additional Info from the drop-down menu.
Select Contact from the dropdown menu under the Object option.
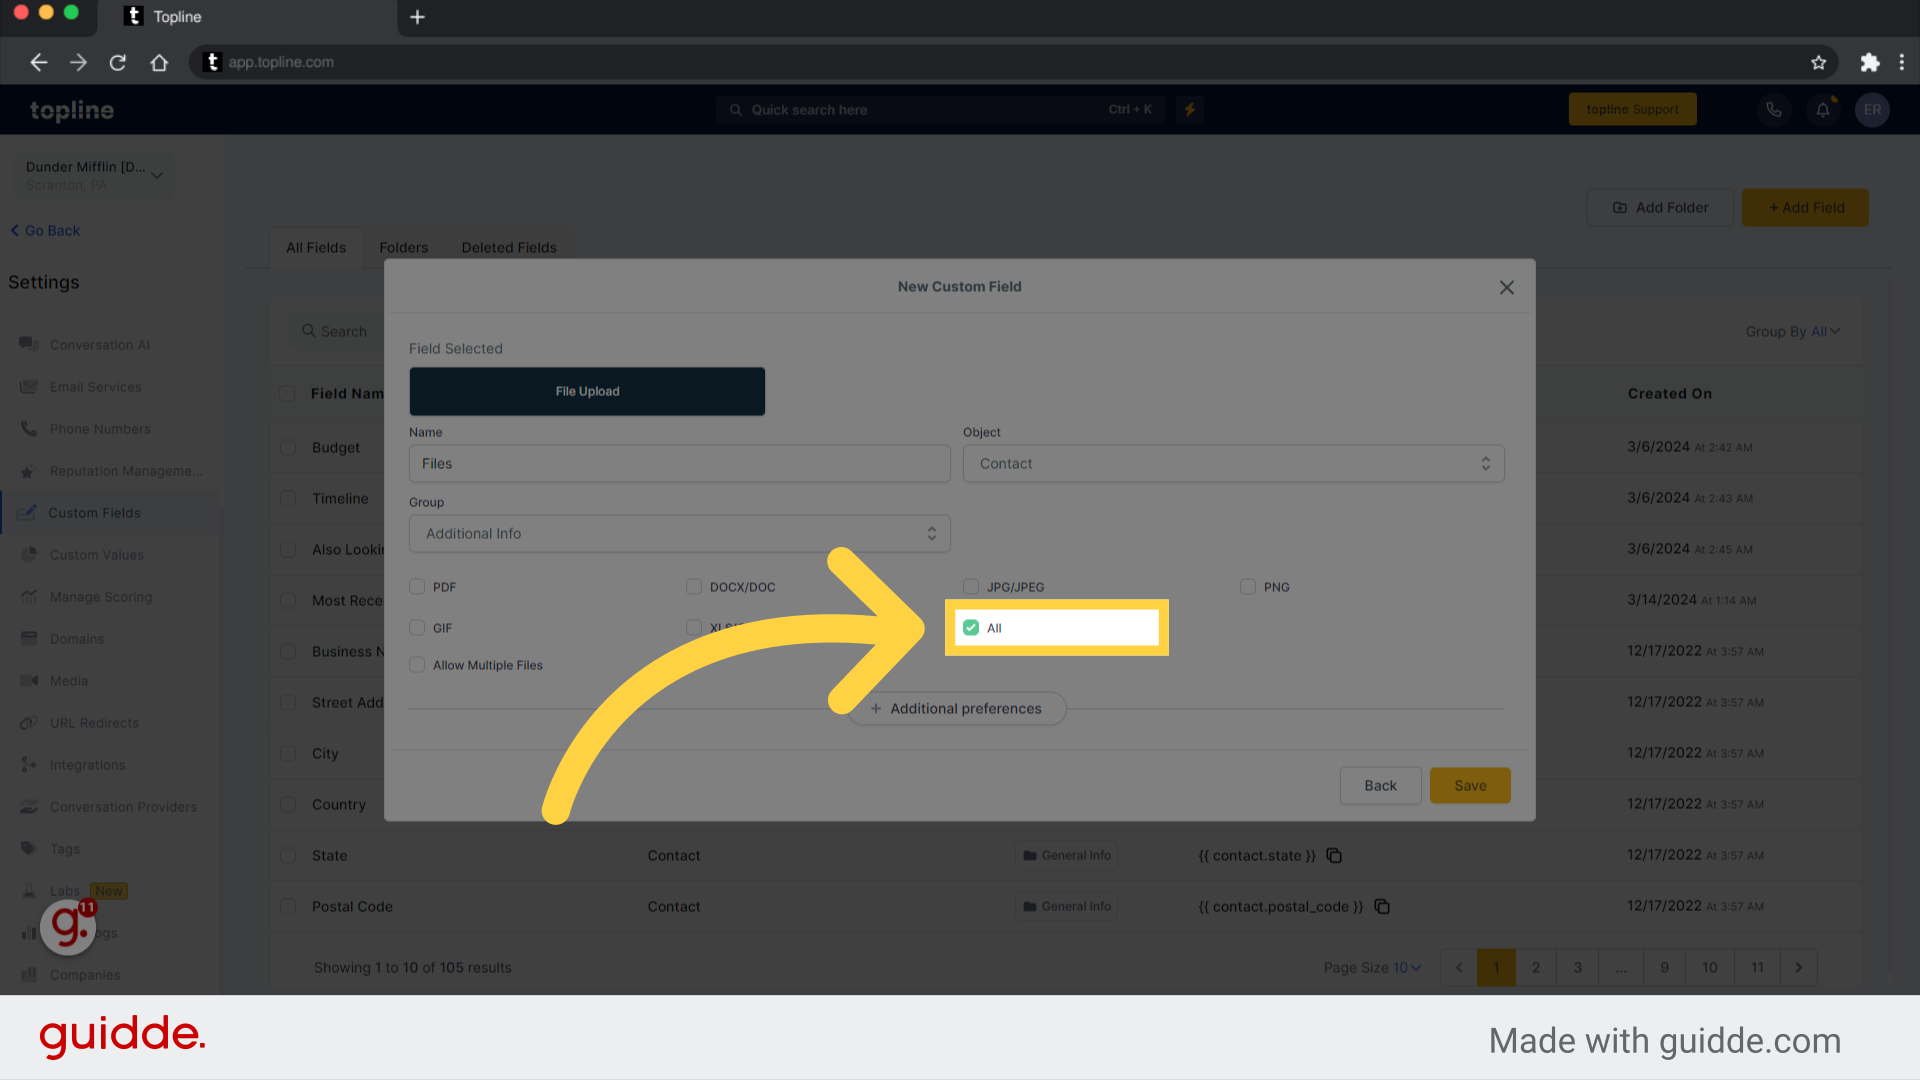
It is possible to select which types of files can be attached, in this case you may select all.
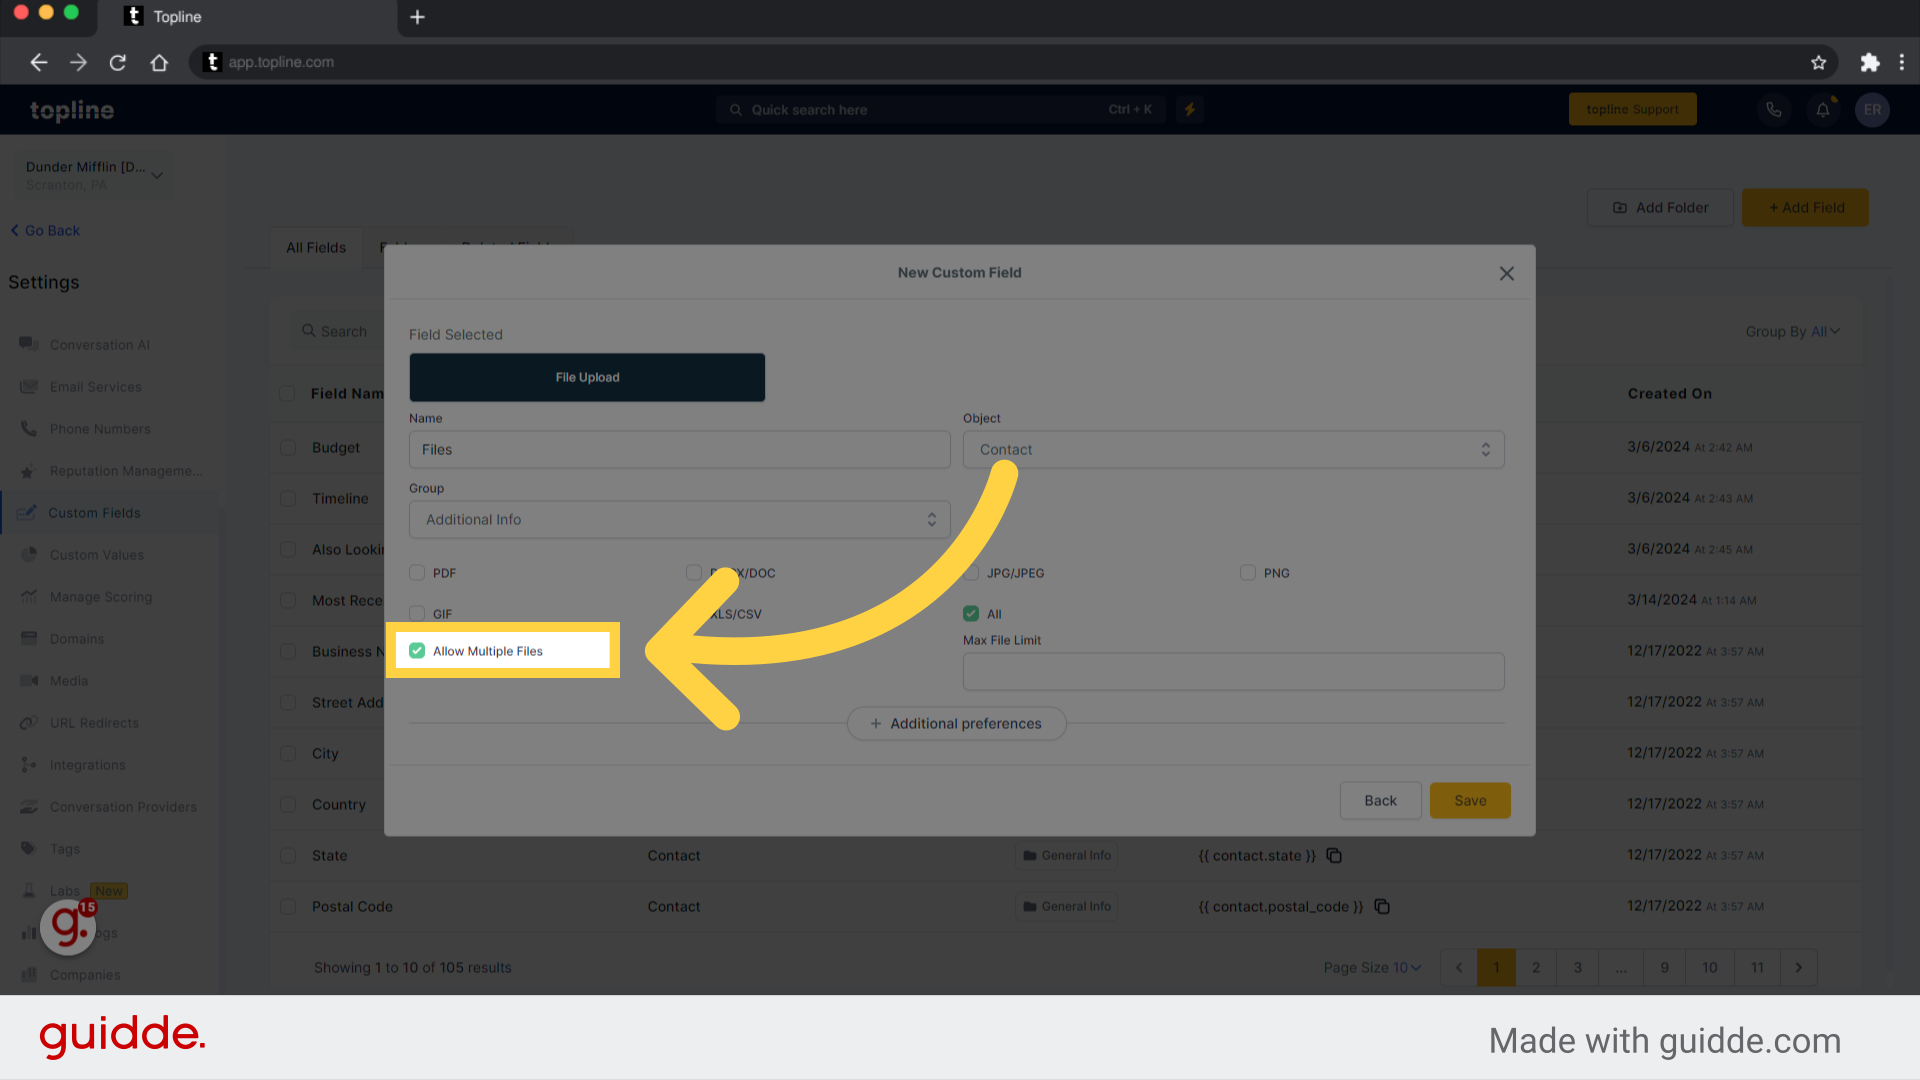
By selecting this option, you can upload or attach multiple files.
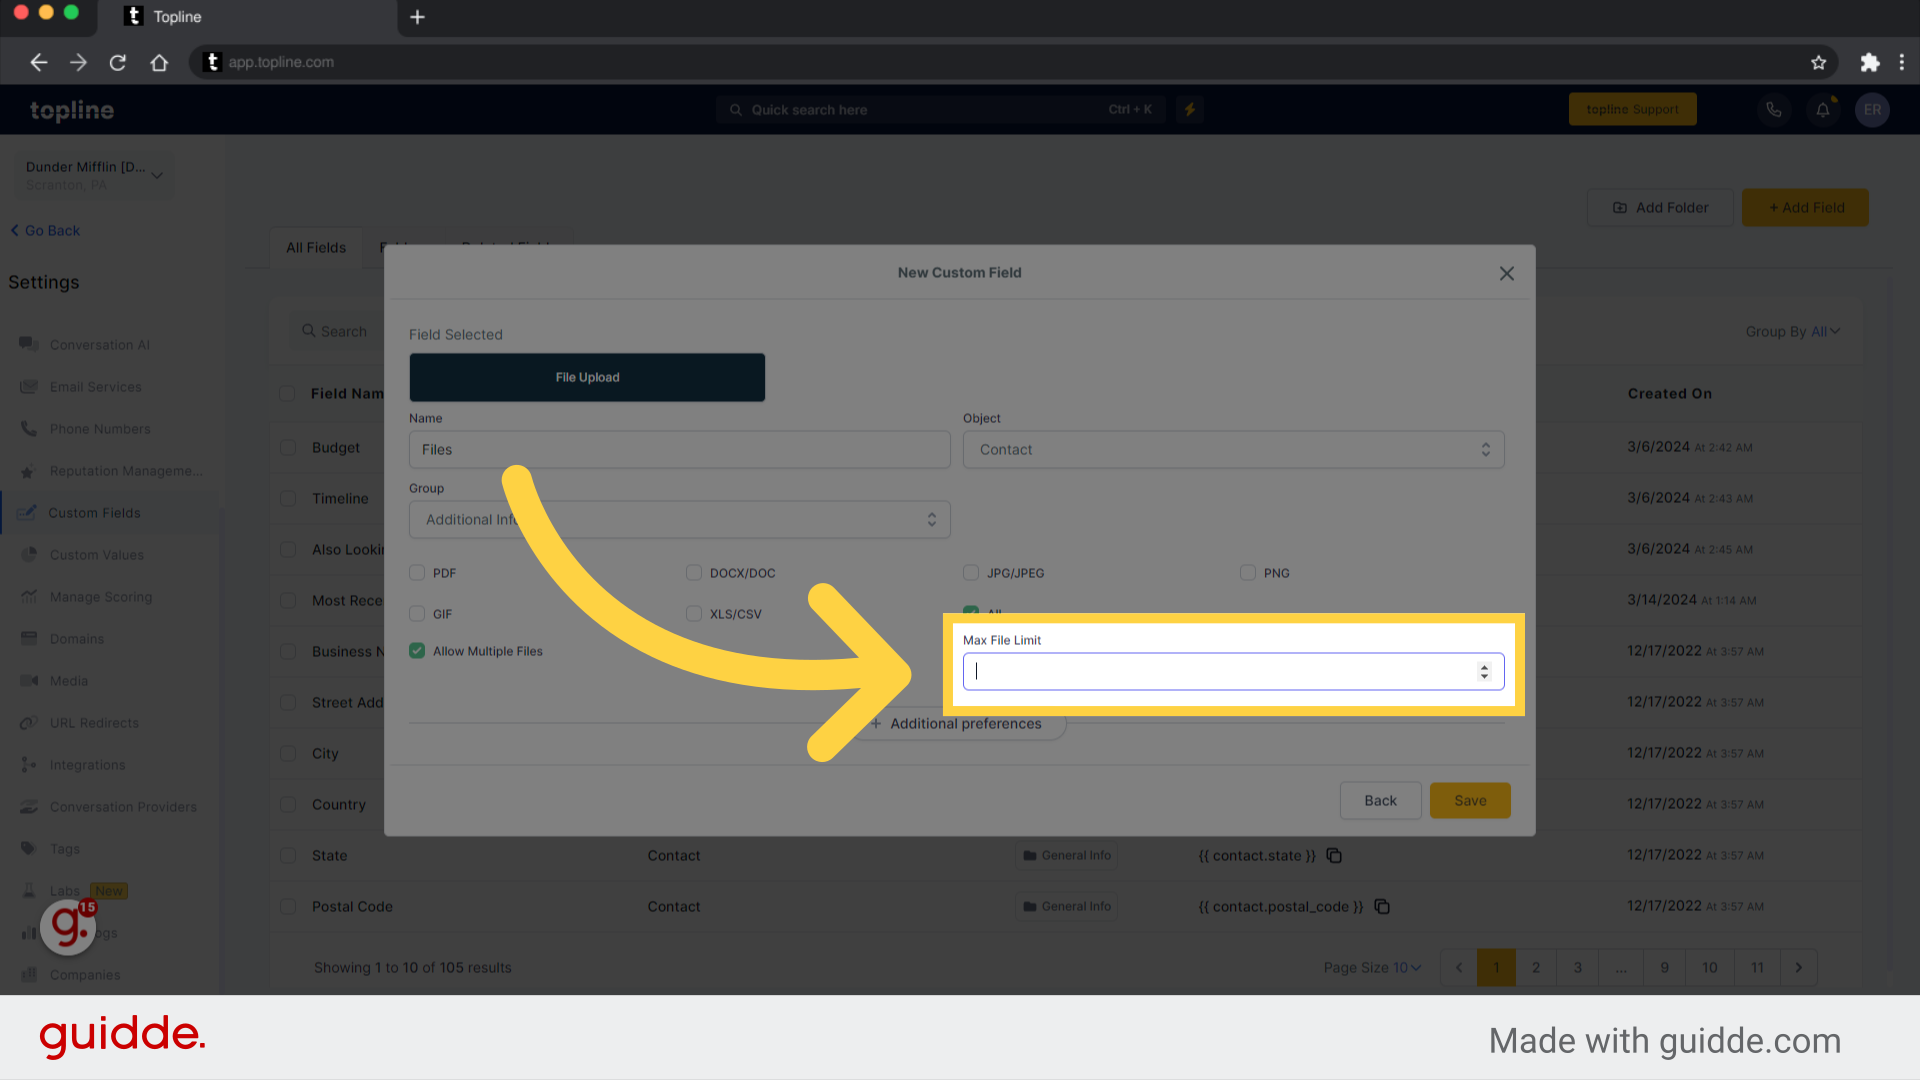
This section allows you to define the maximum file limit that can be uploaded.
You can proceed to the next step by clicking the save button.
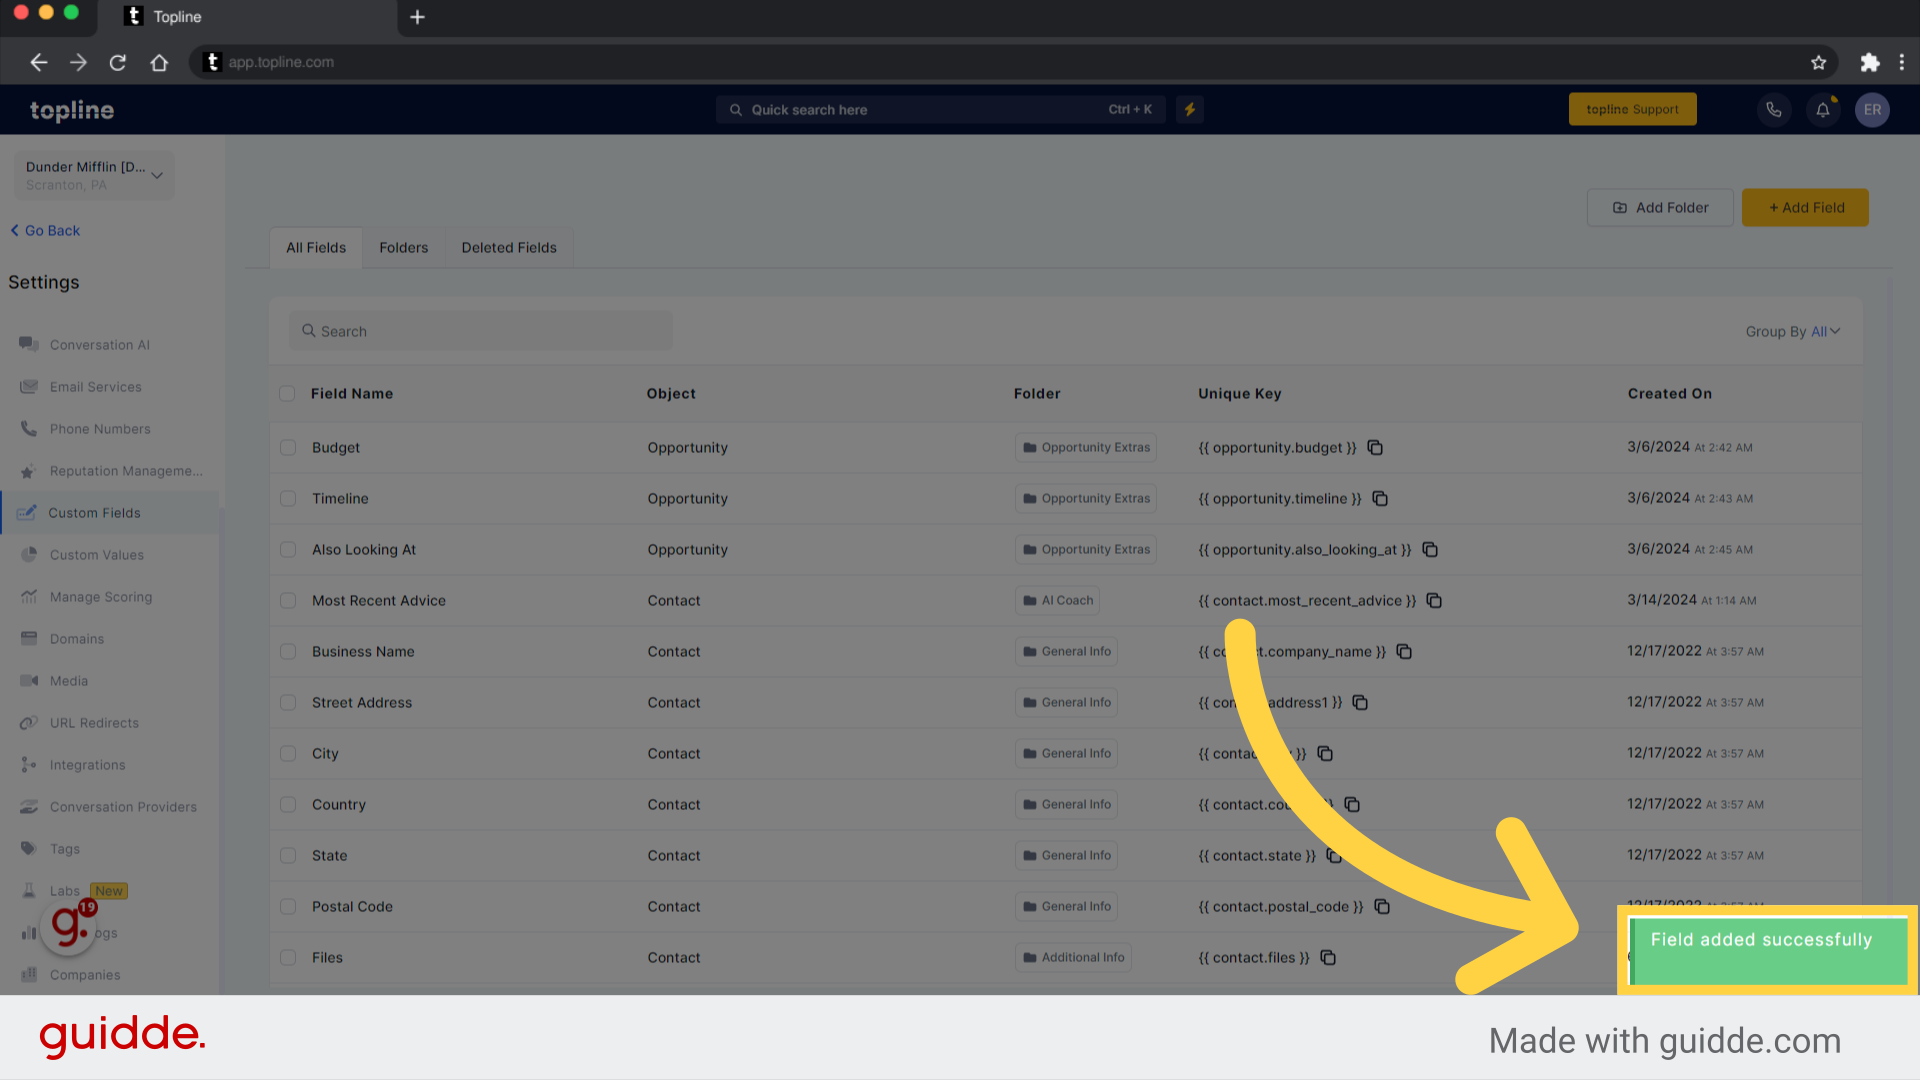
A confirmation message will appear in the lower left corner showing that a new field has been added.
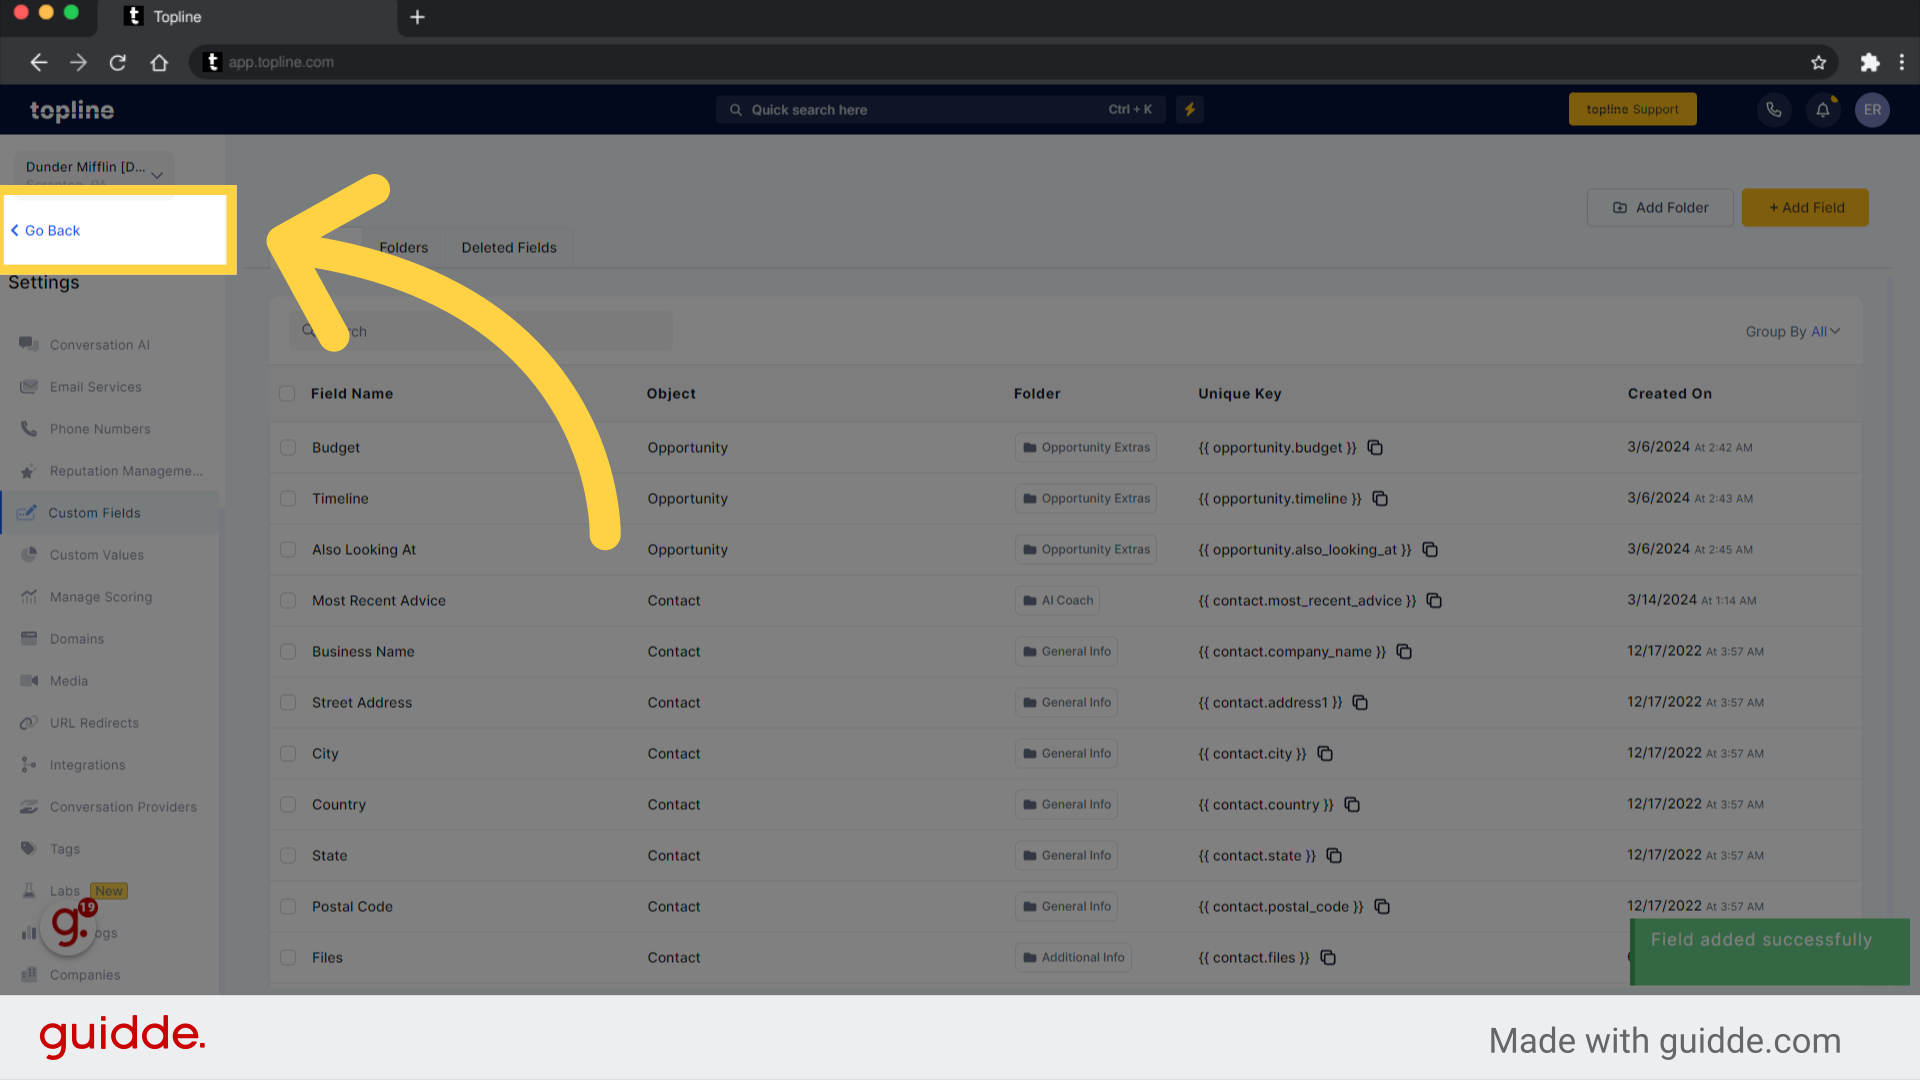
Click go back to exit settings. With the new custom field tab, contact files can now be uploaded.
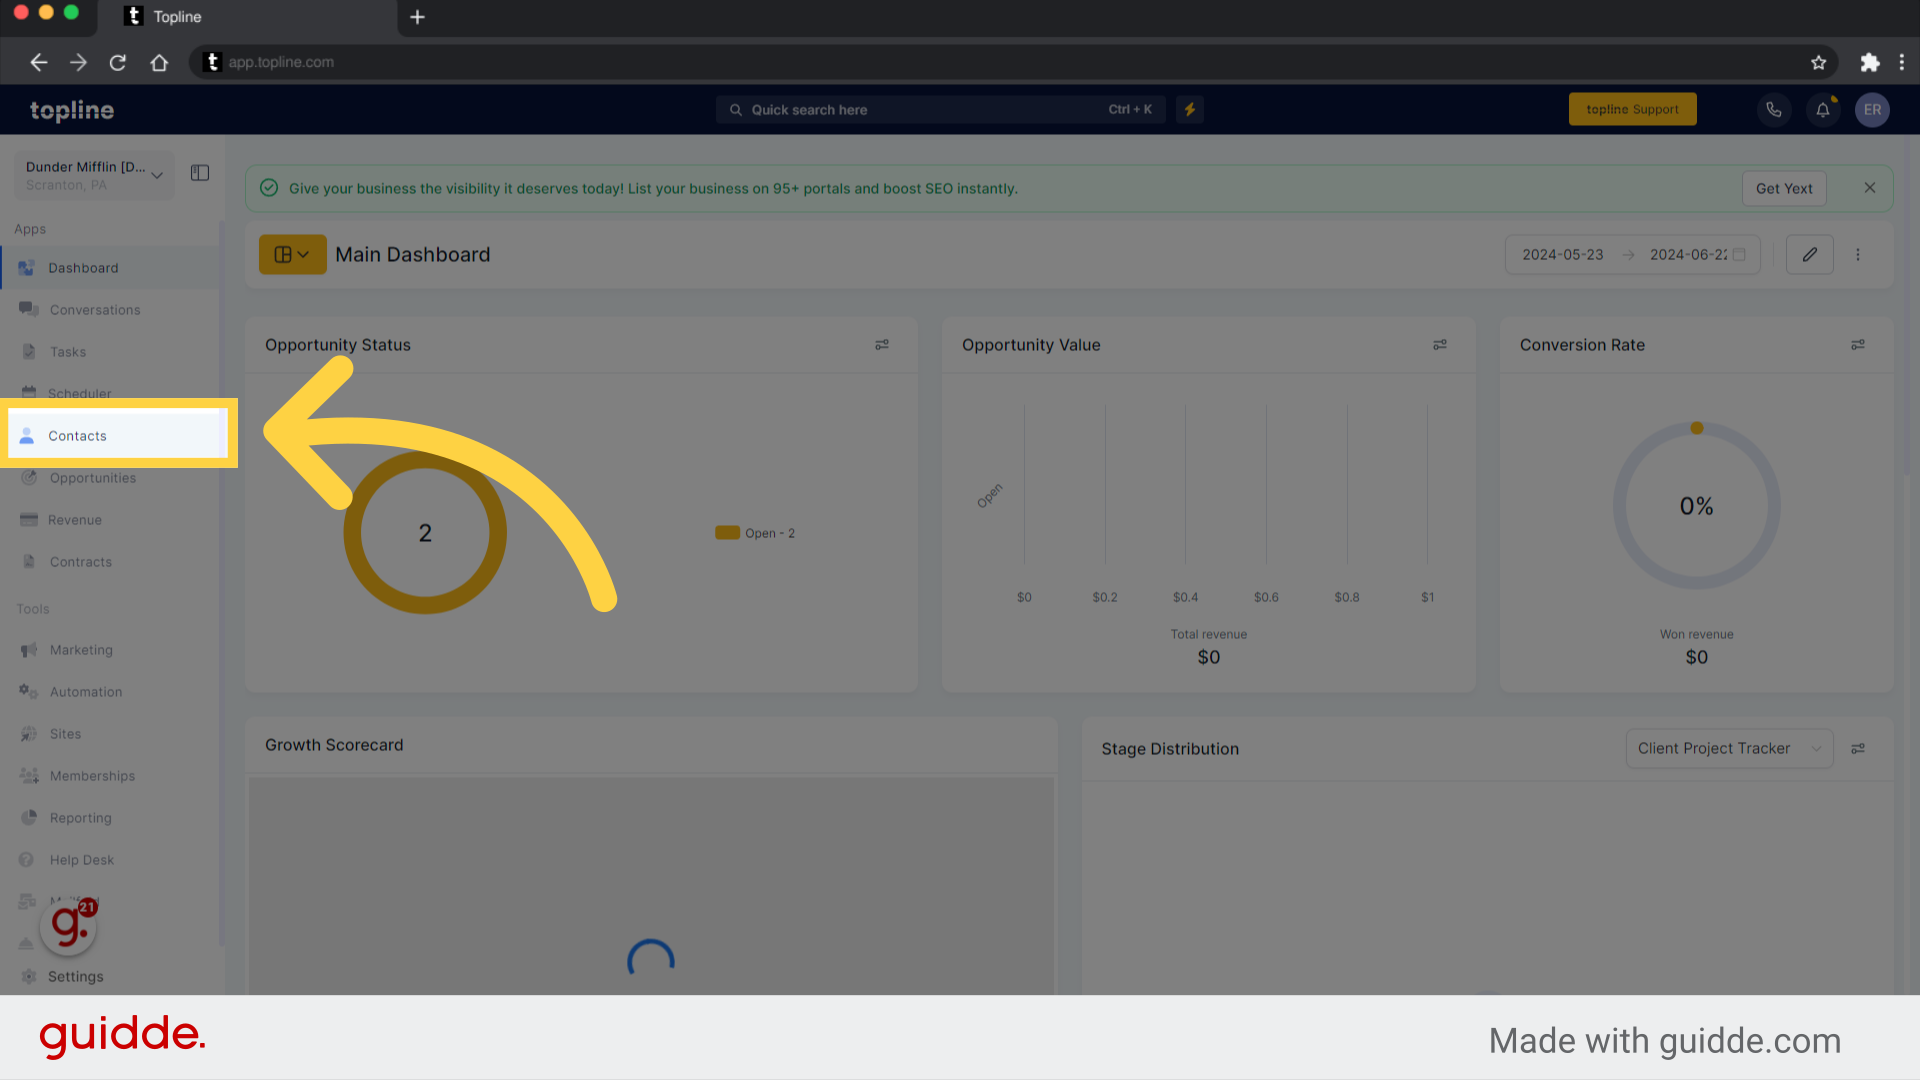
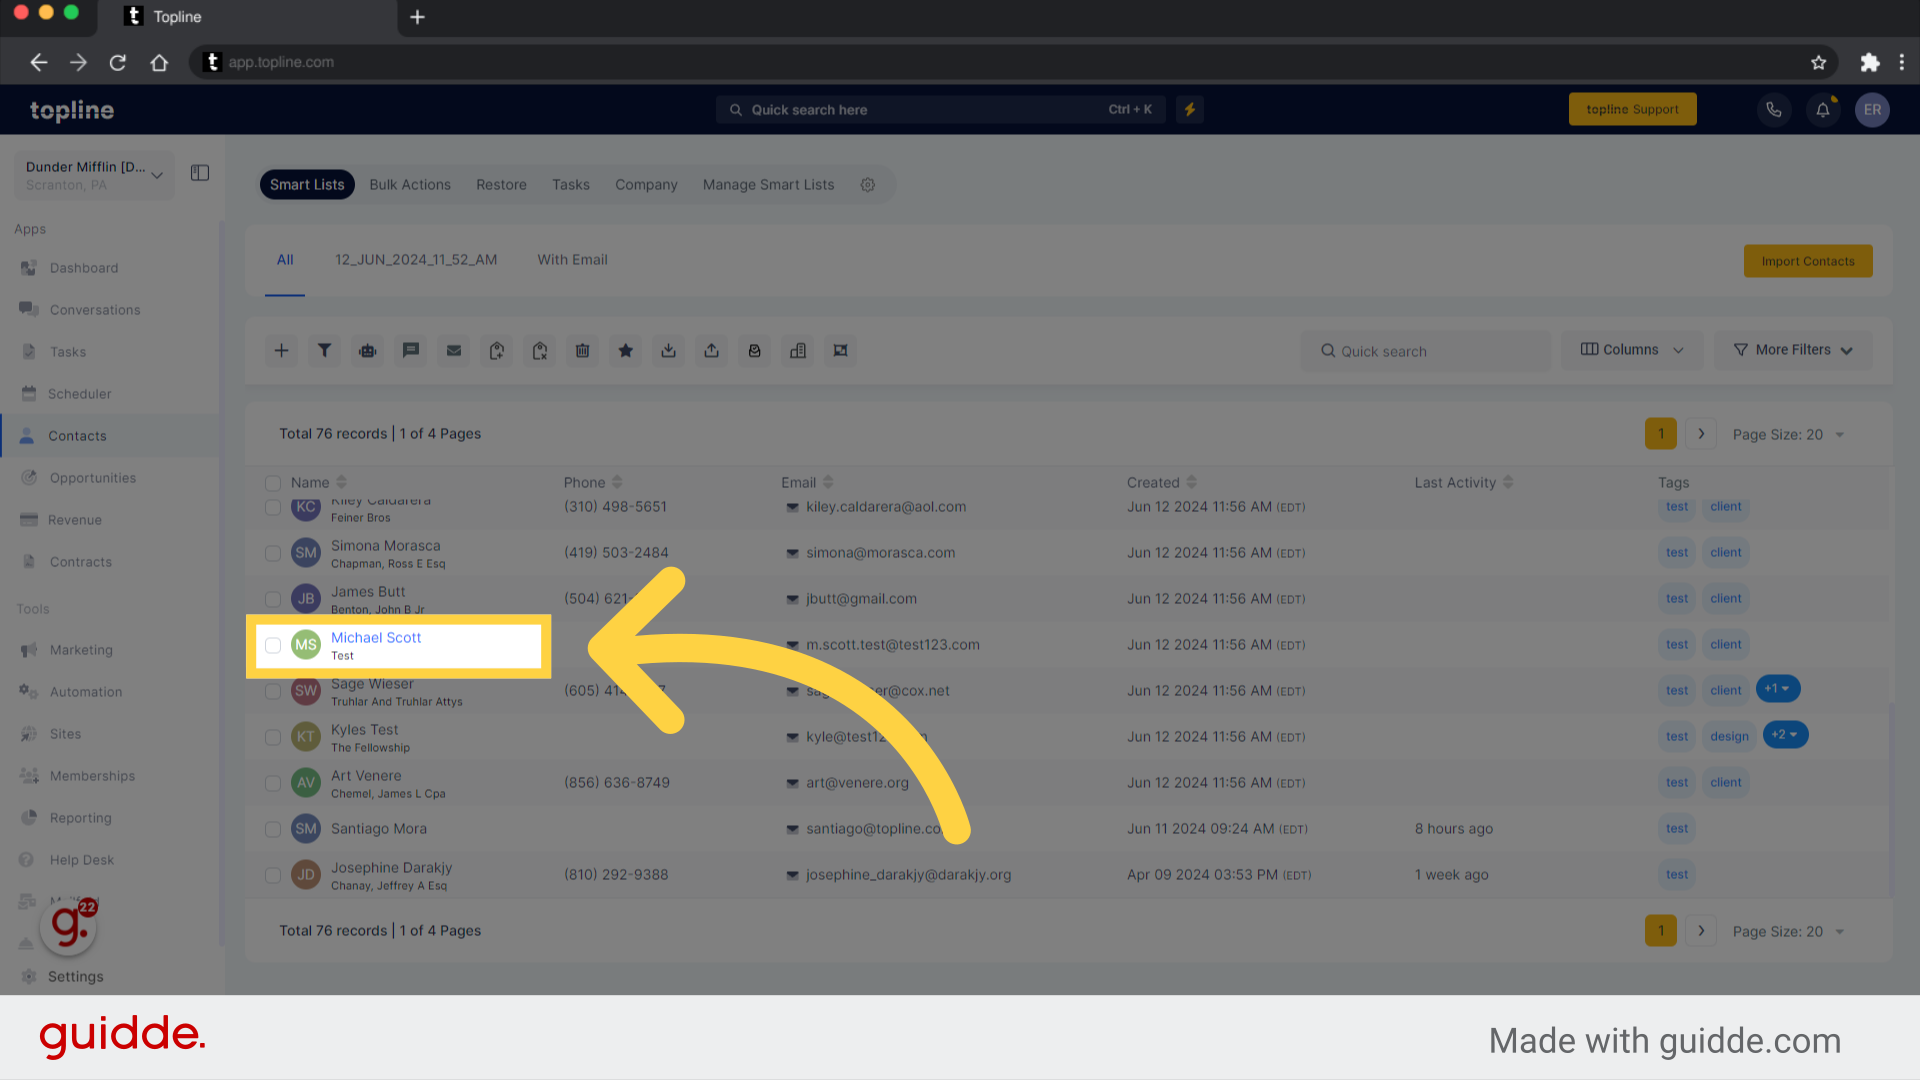
Navigate to the side panel and click Contacts.
By clicking on a contact name, you can select the specific contact you wish to upload a file to.
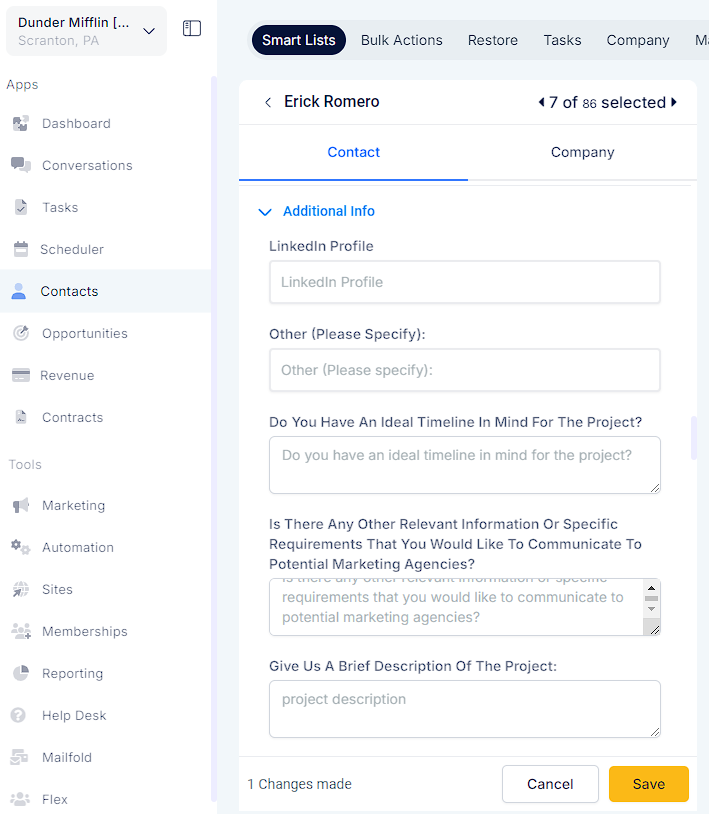
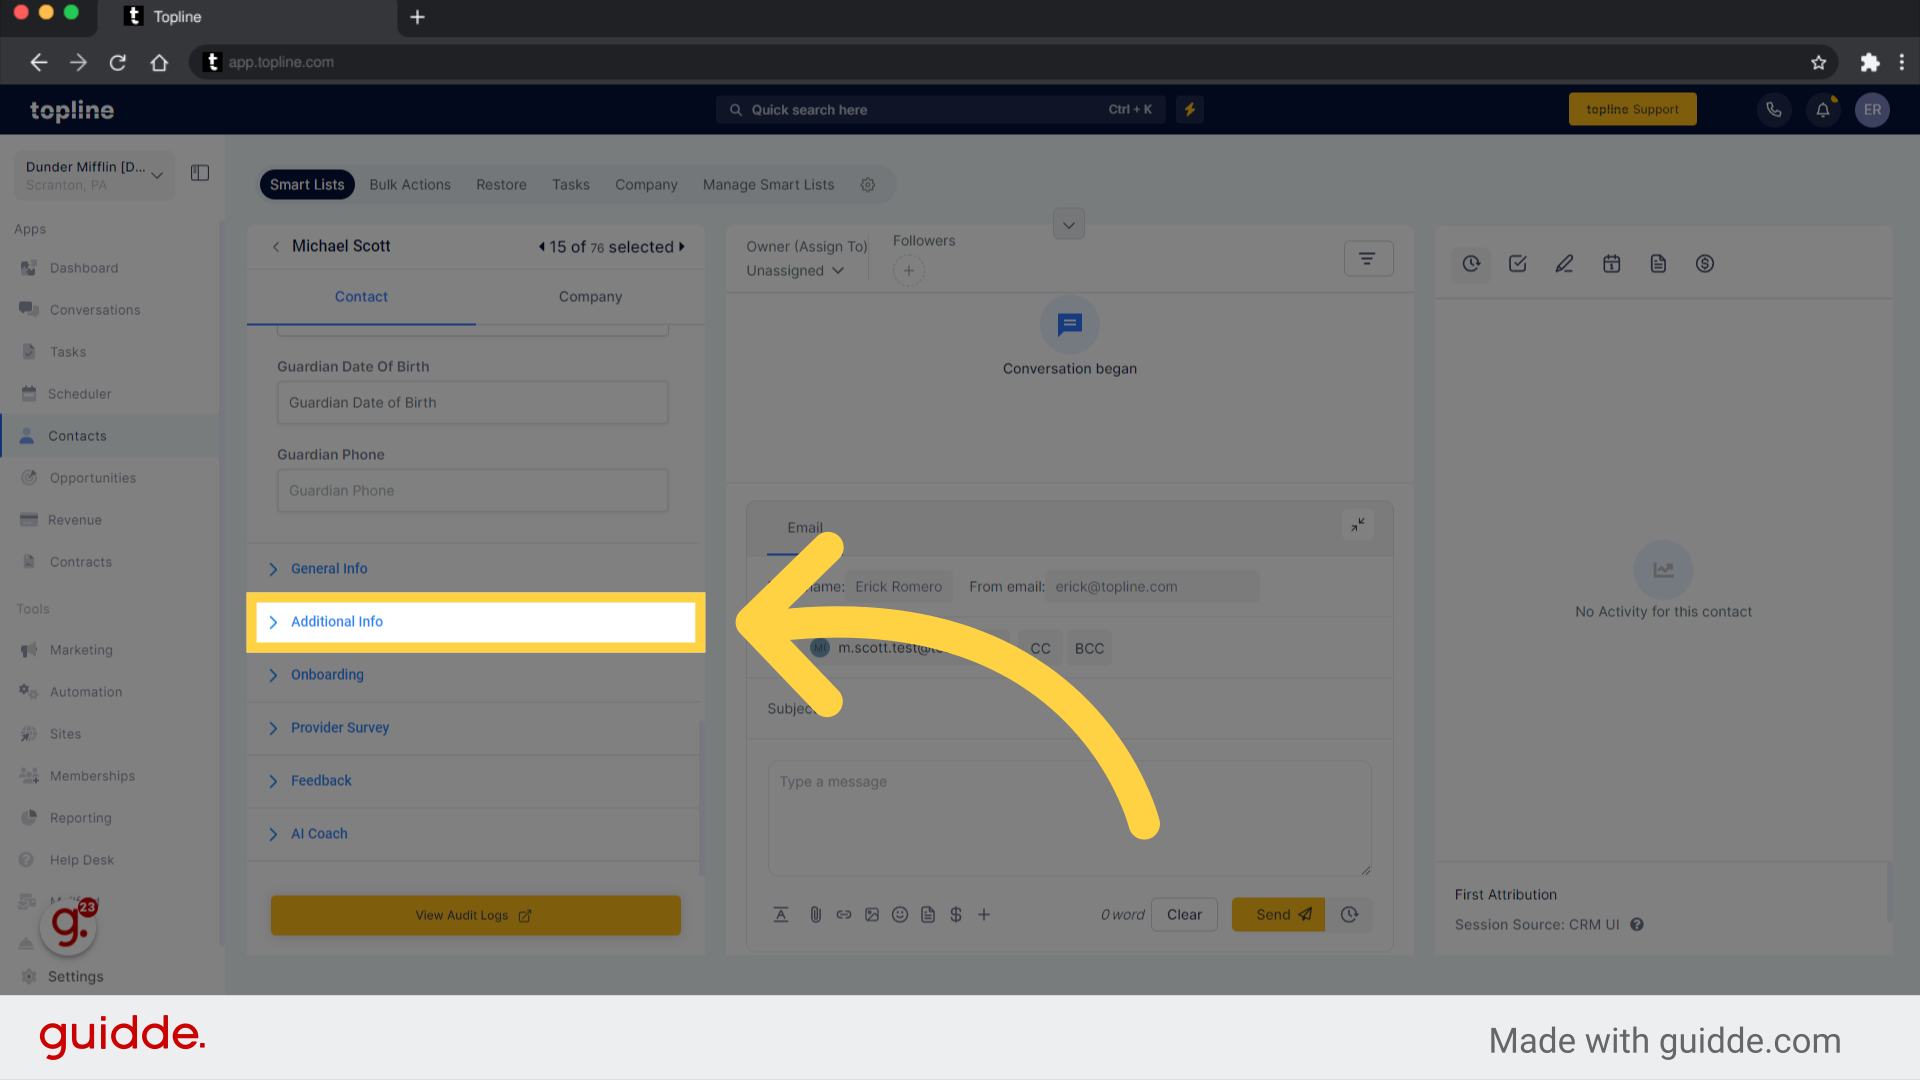
Scroll down and look at the bottom of the page. Expand the menu by clicking the arrow next to additional information.
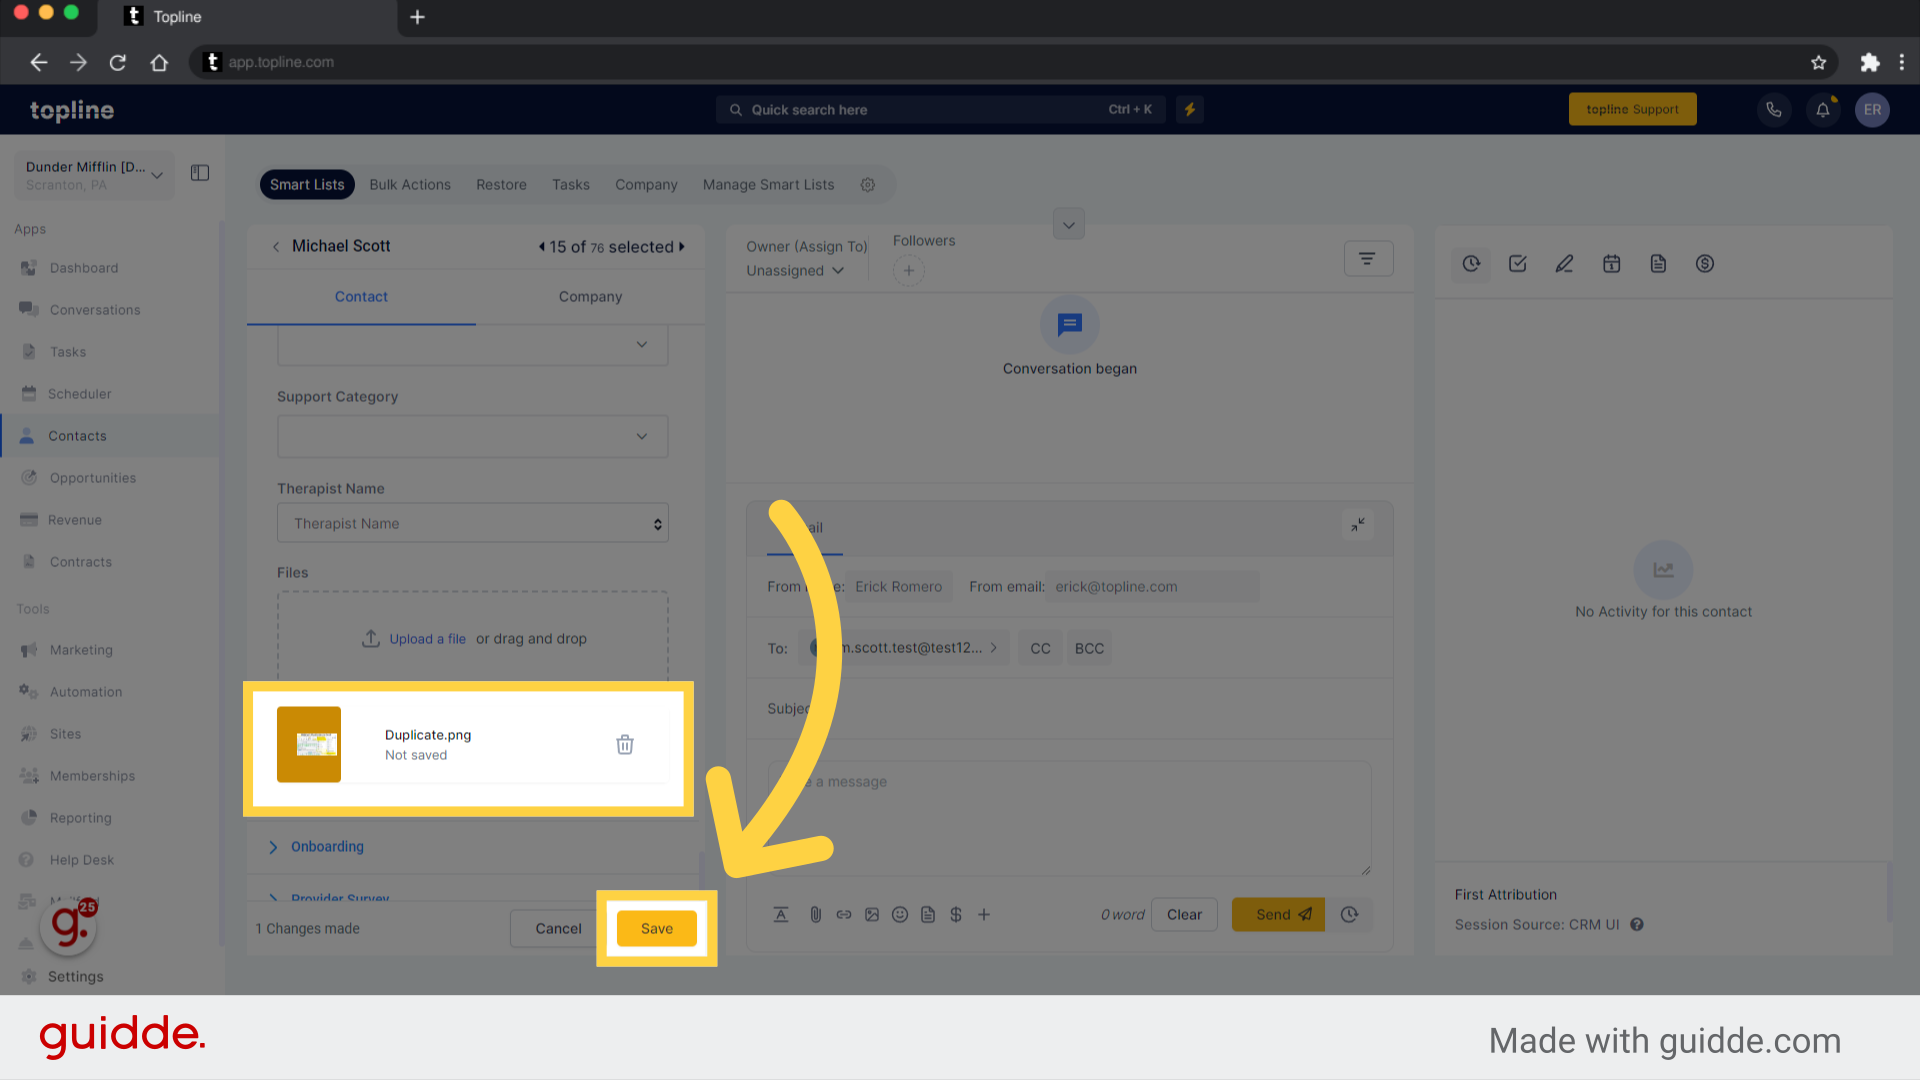
Simply drag and drop a file into the upload box or click upload a file to select the file you want to upload.

Click on the save button to save your uploaded file.
The Custom Fields for Opportunities feature enables businesses to add, customize, and organize specific data fields for sales opportunities.
Go to Settings: The settings for creating custom fields can be found on the settings page of your account. Navigate to 'Custom Fields' under settings. Click on "+Add Field"
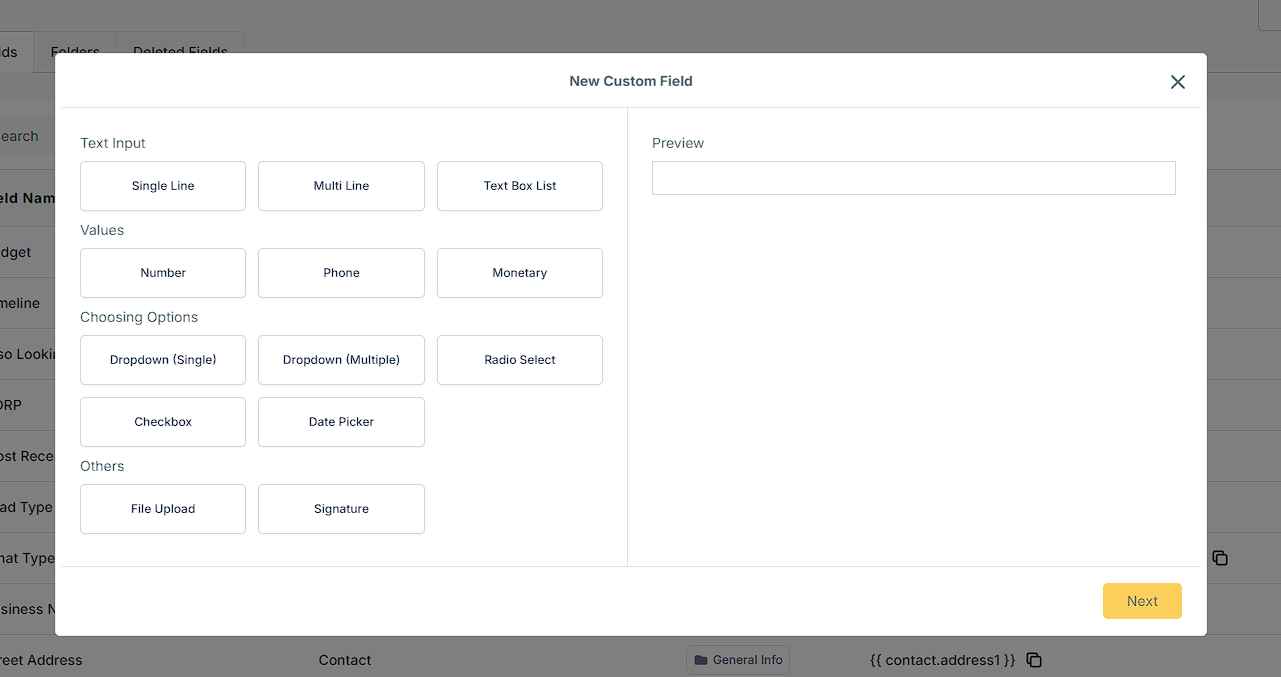
Text Input
Single Line
Multi-Line
Text Box List
Values
Number
Phone
Monetary
Choosing Options
Dropdown (Single)
Dropdown (Multiple)
Radio Select
Checkbox
Date Picker
Others
File Upload
Signature
Select New Custom Field and enter the name of the field, select "Contact" for the object, select the group in which it should be displayed, and click "Save". In addition, you can select "Multi Line" if you want a field where you will be able to enter data manually.
You can see the displayed Custom Field you made under contacts by clicking on a contact name. You will need to click on the "Save" button after you have entered manual data.