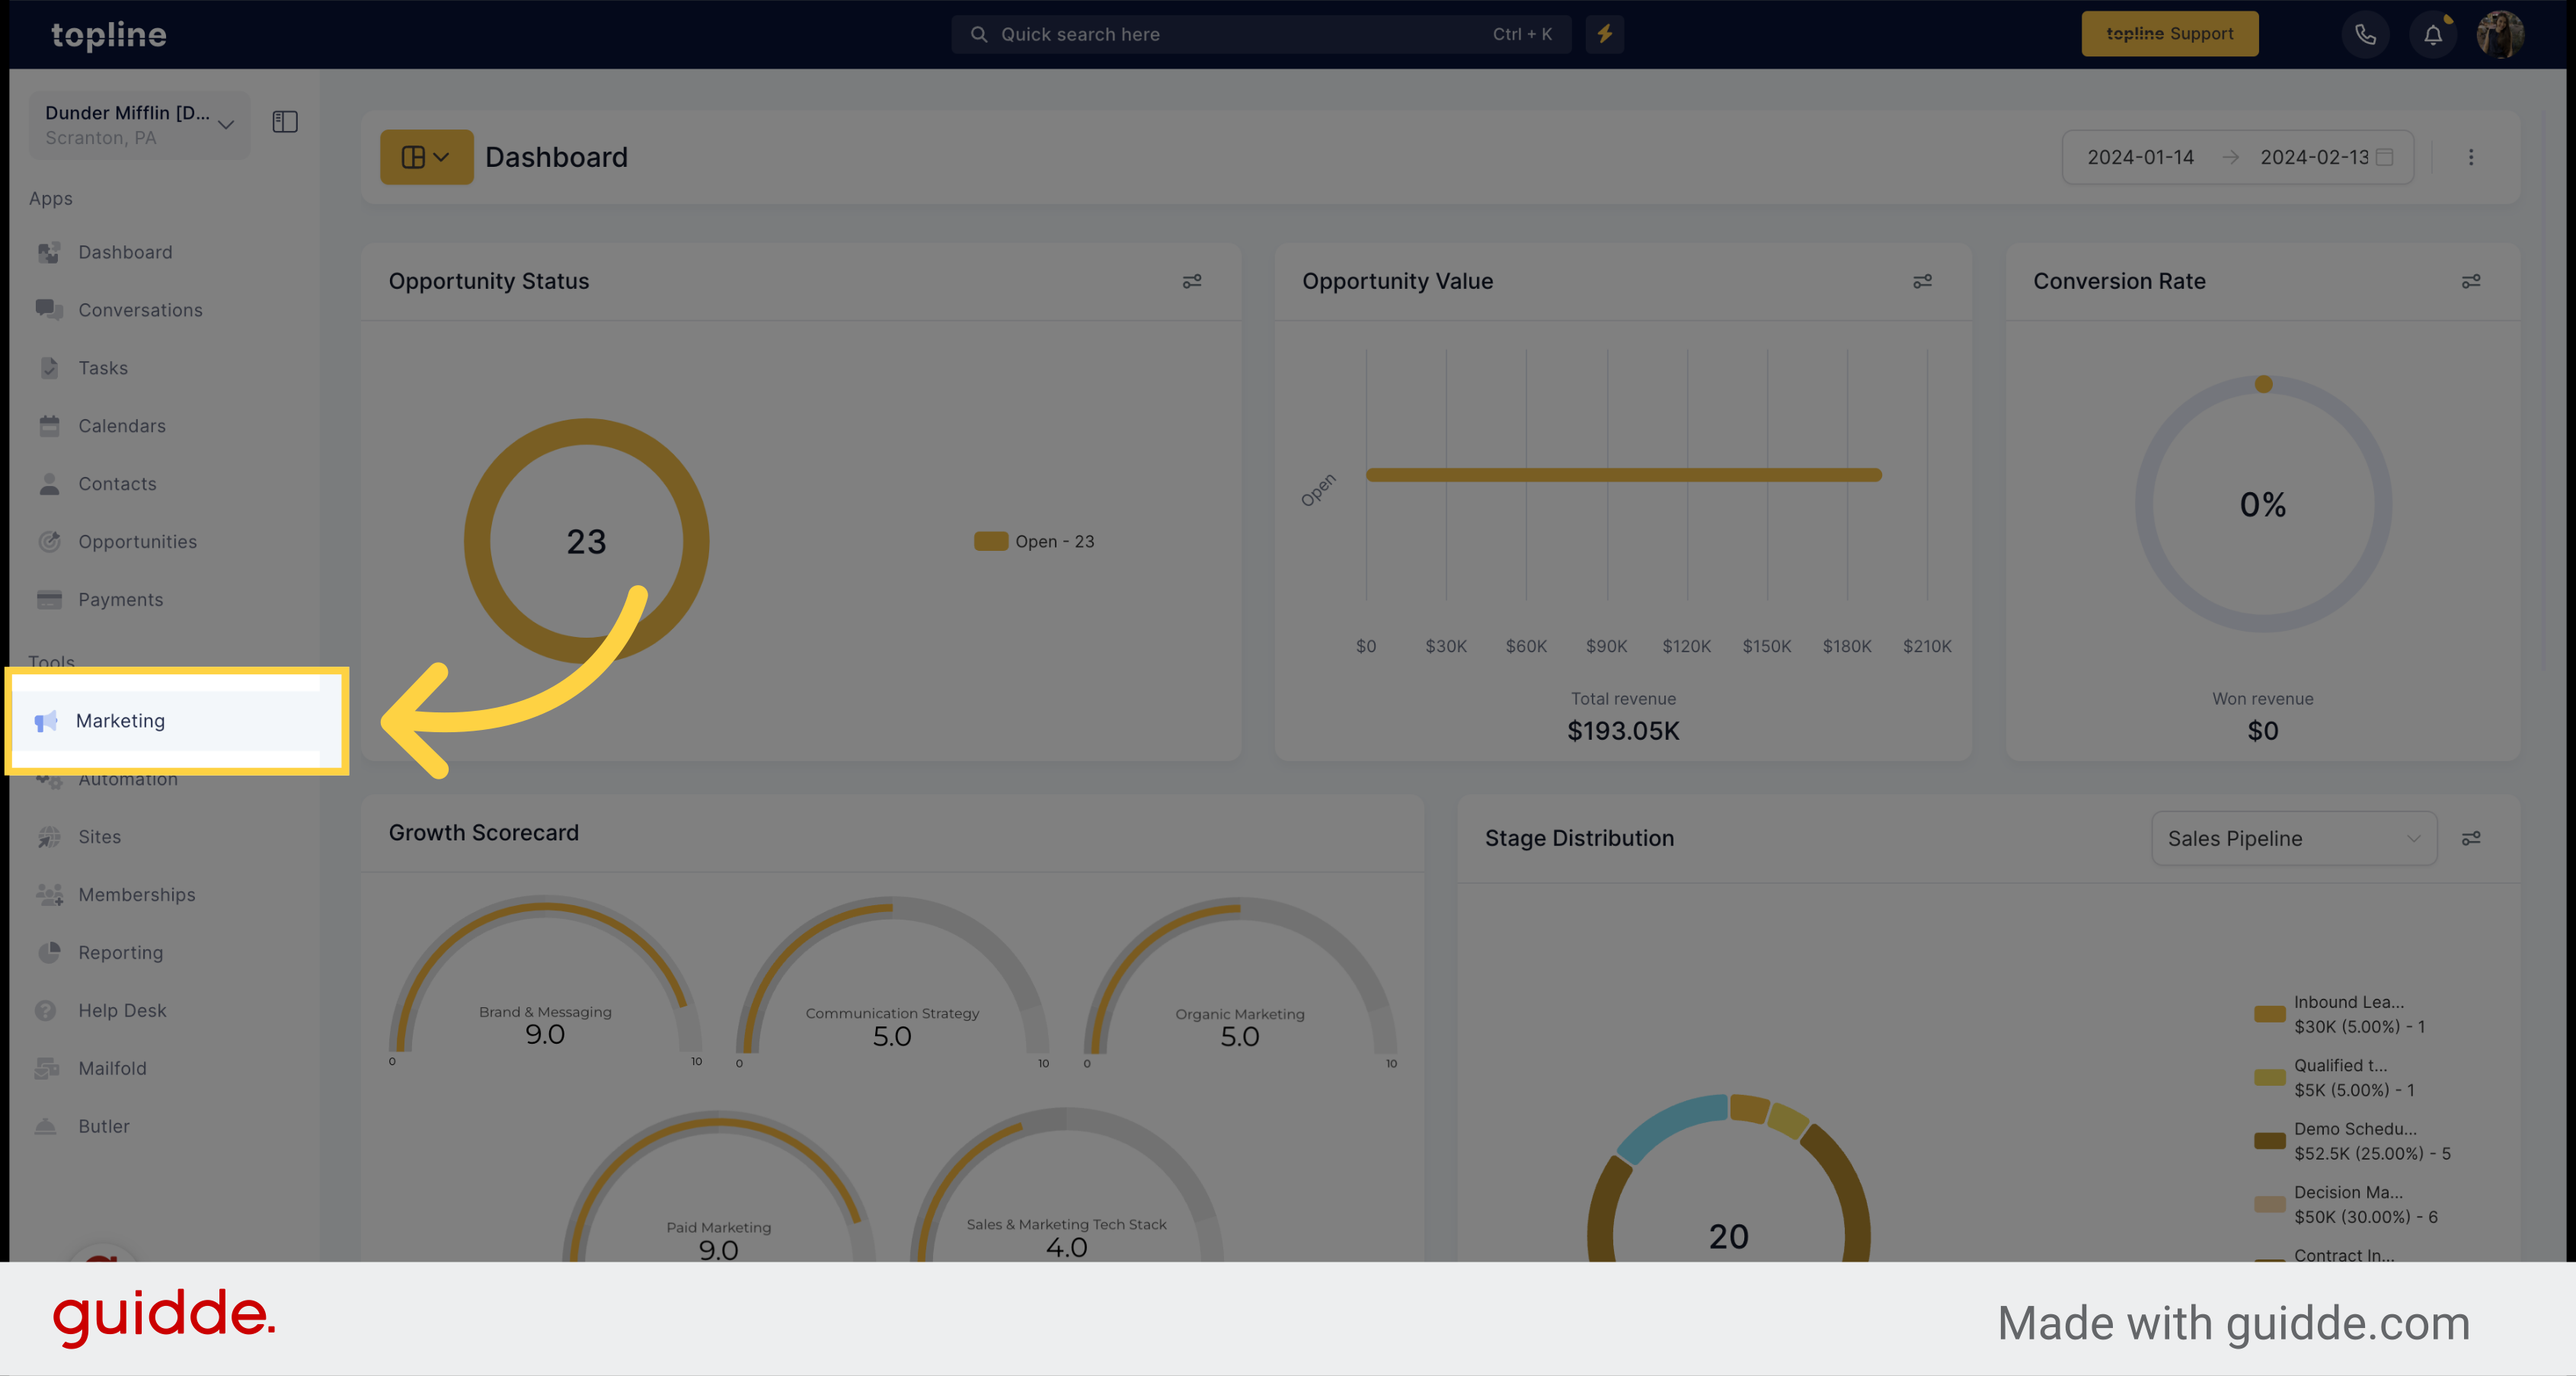
Click on "Marketing"
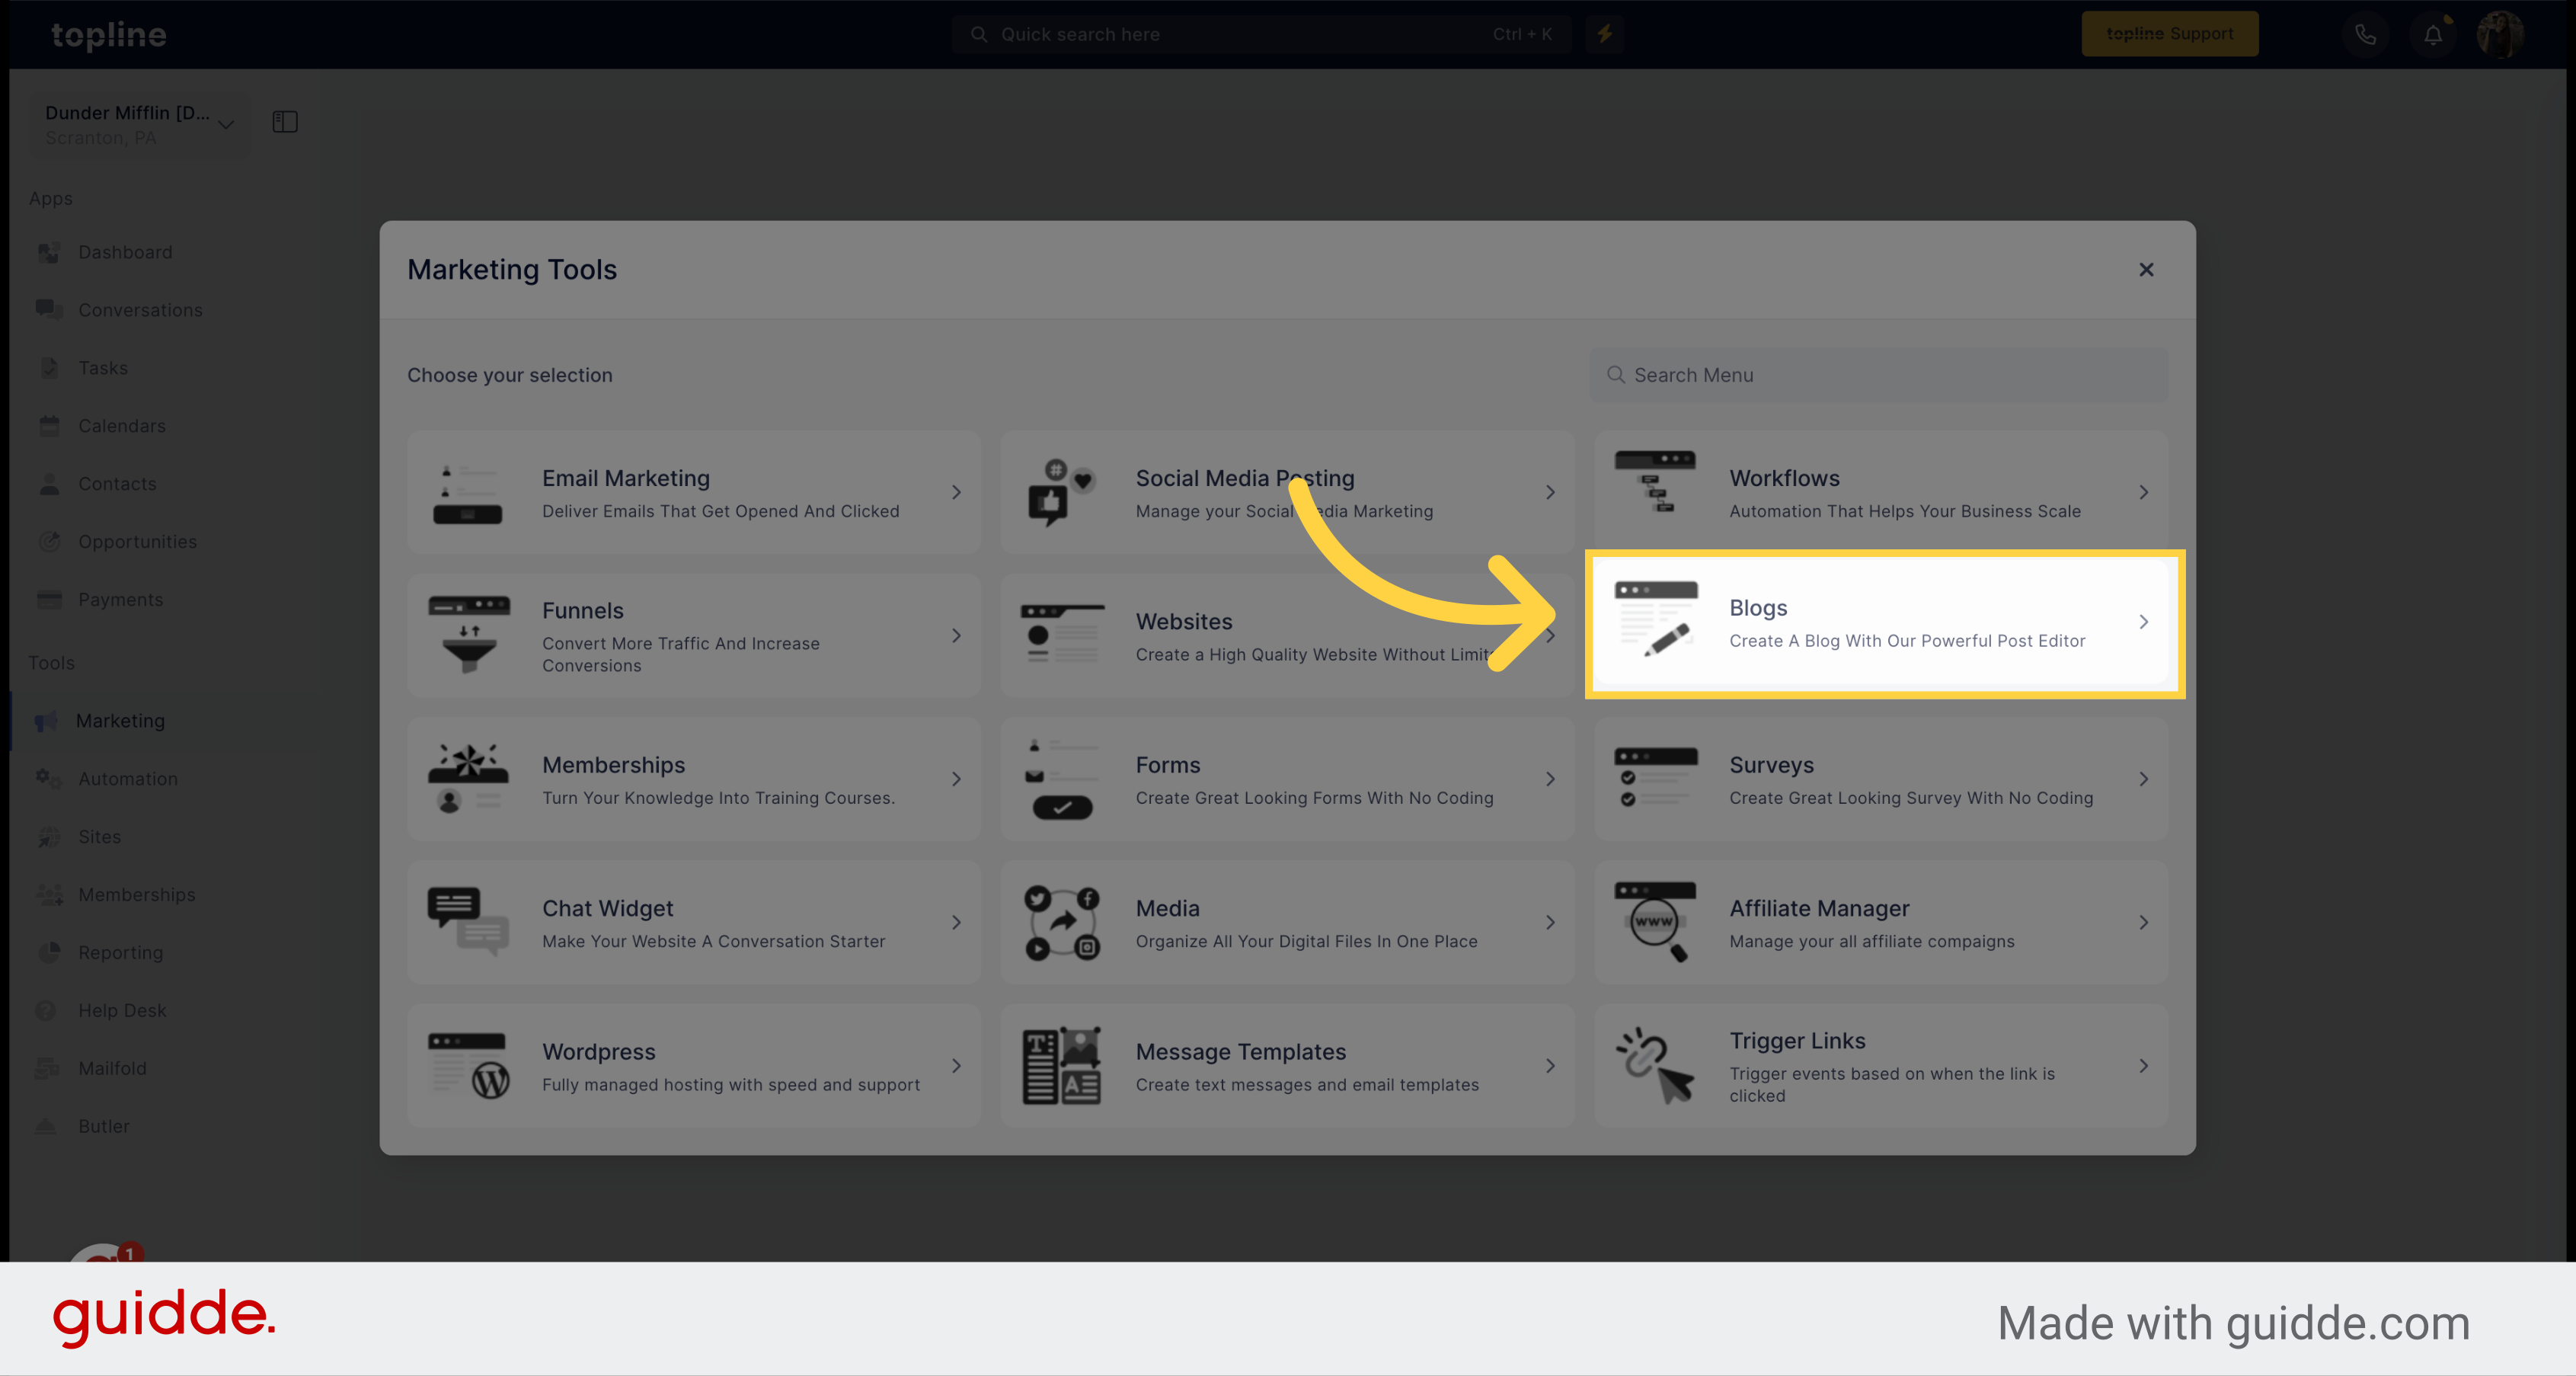
On the Marketing Tools menu navigate to "Blogs".
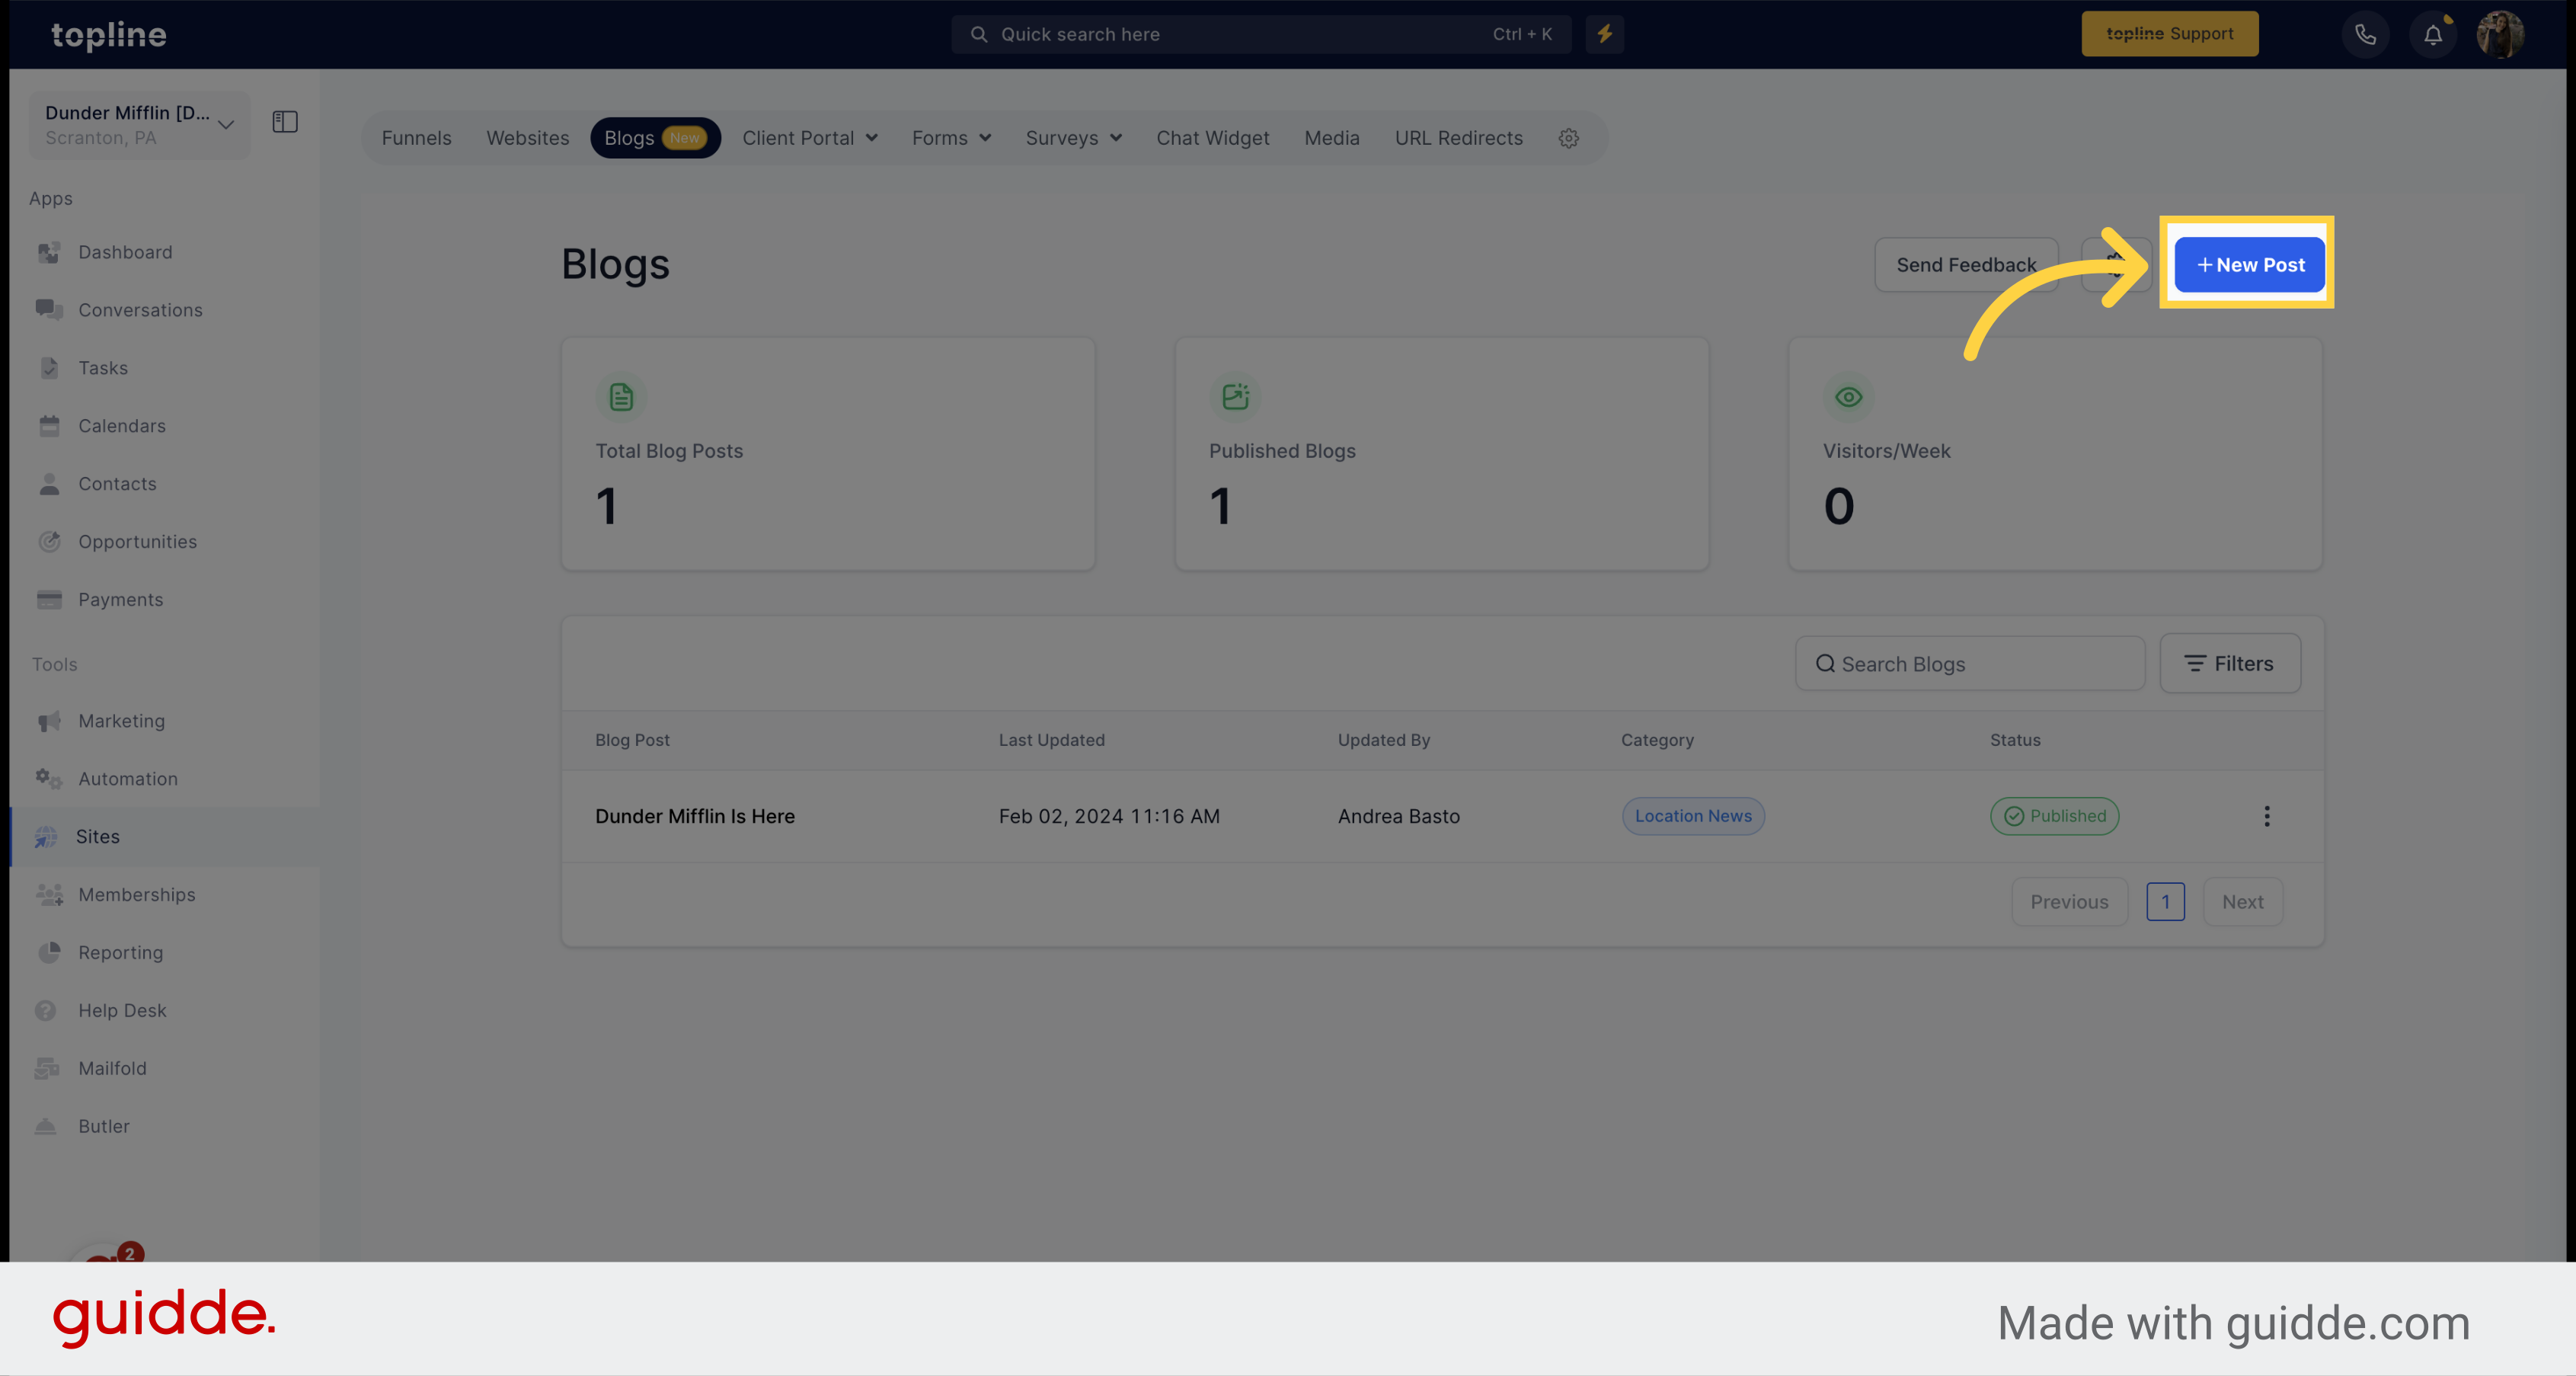
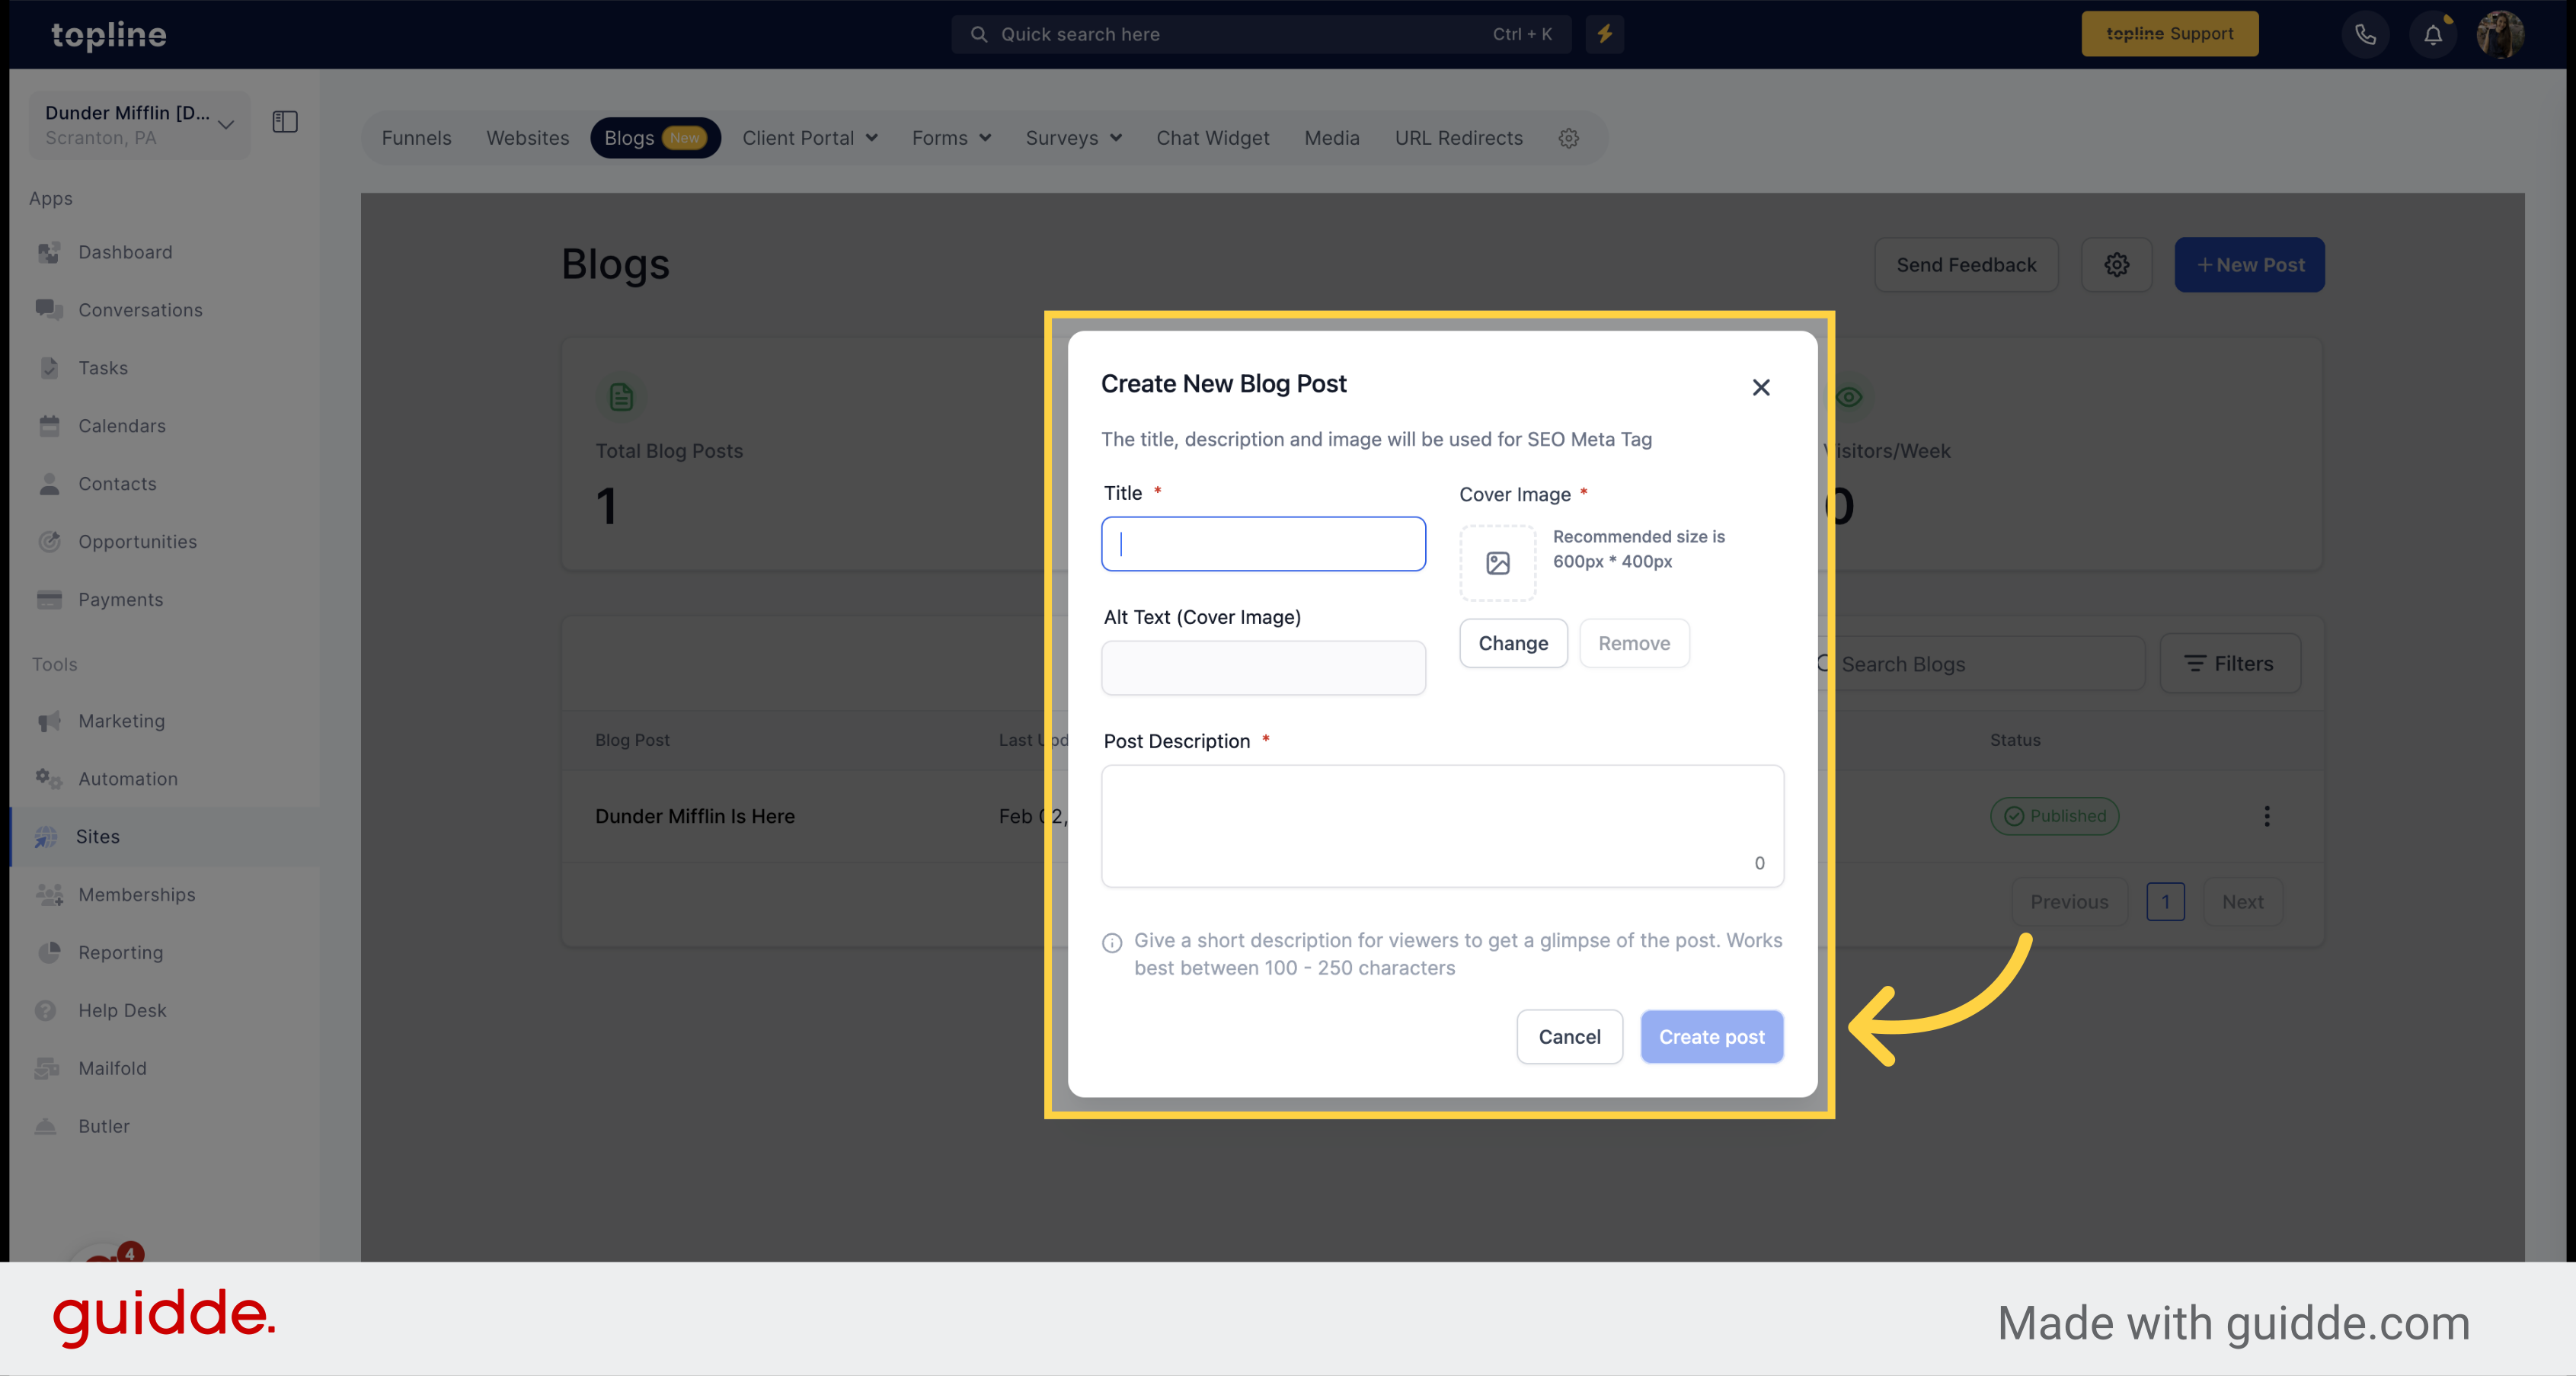
Select the "+ New Post" option.
Add a title, cover image, and post description to create a new post.
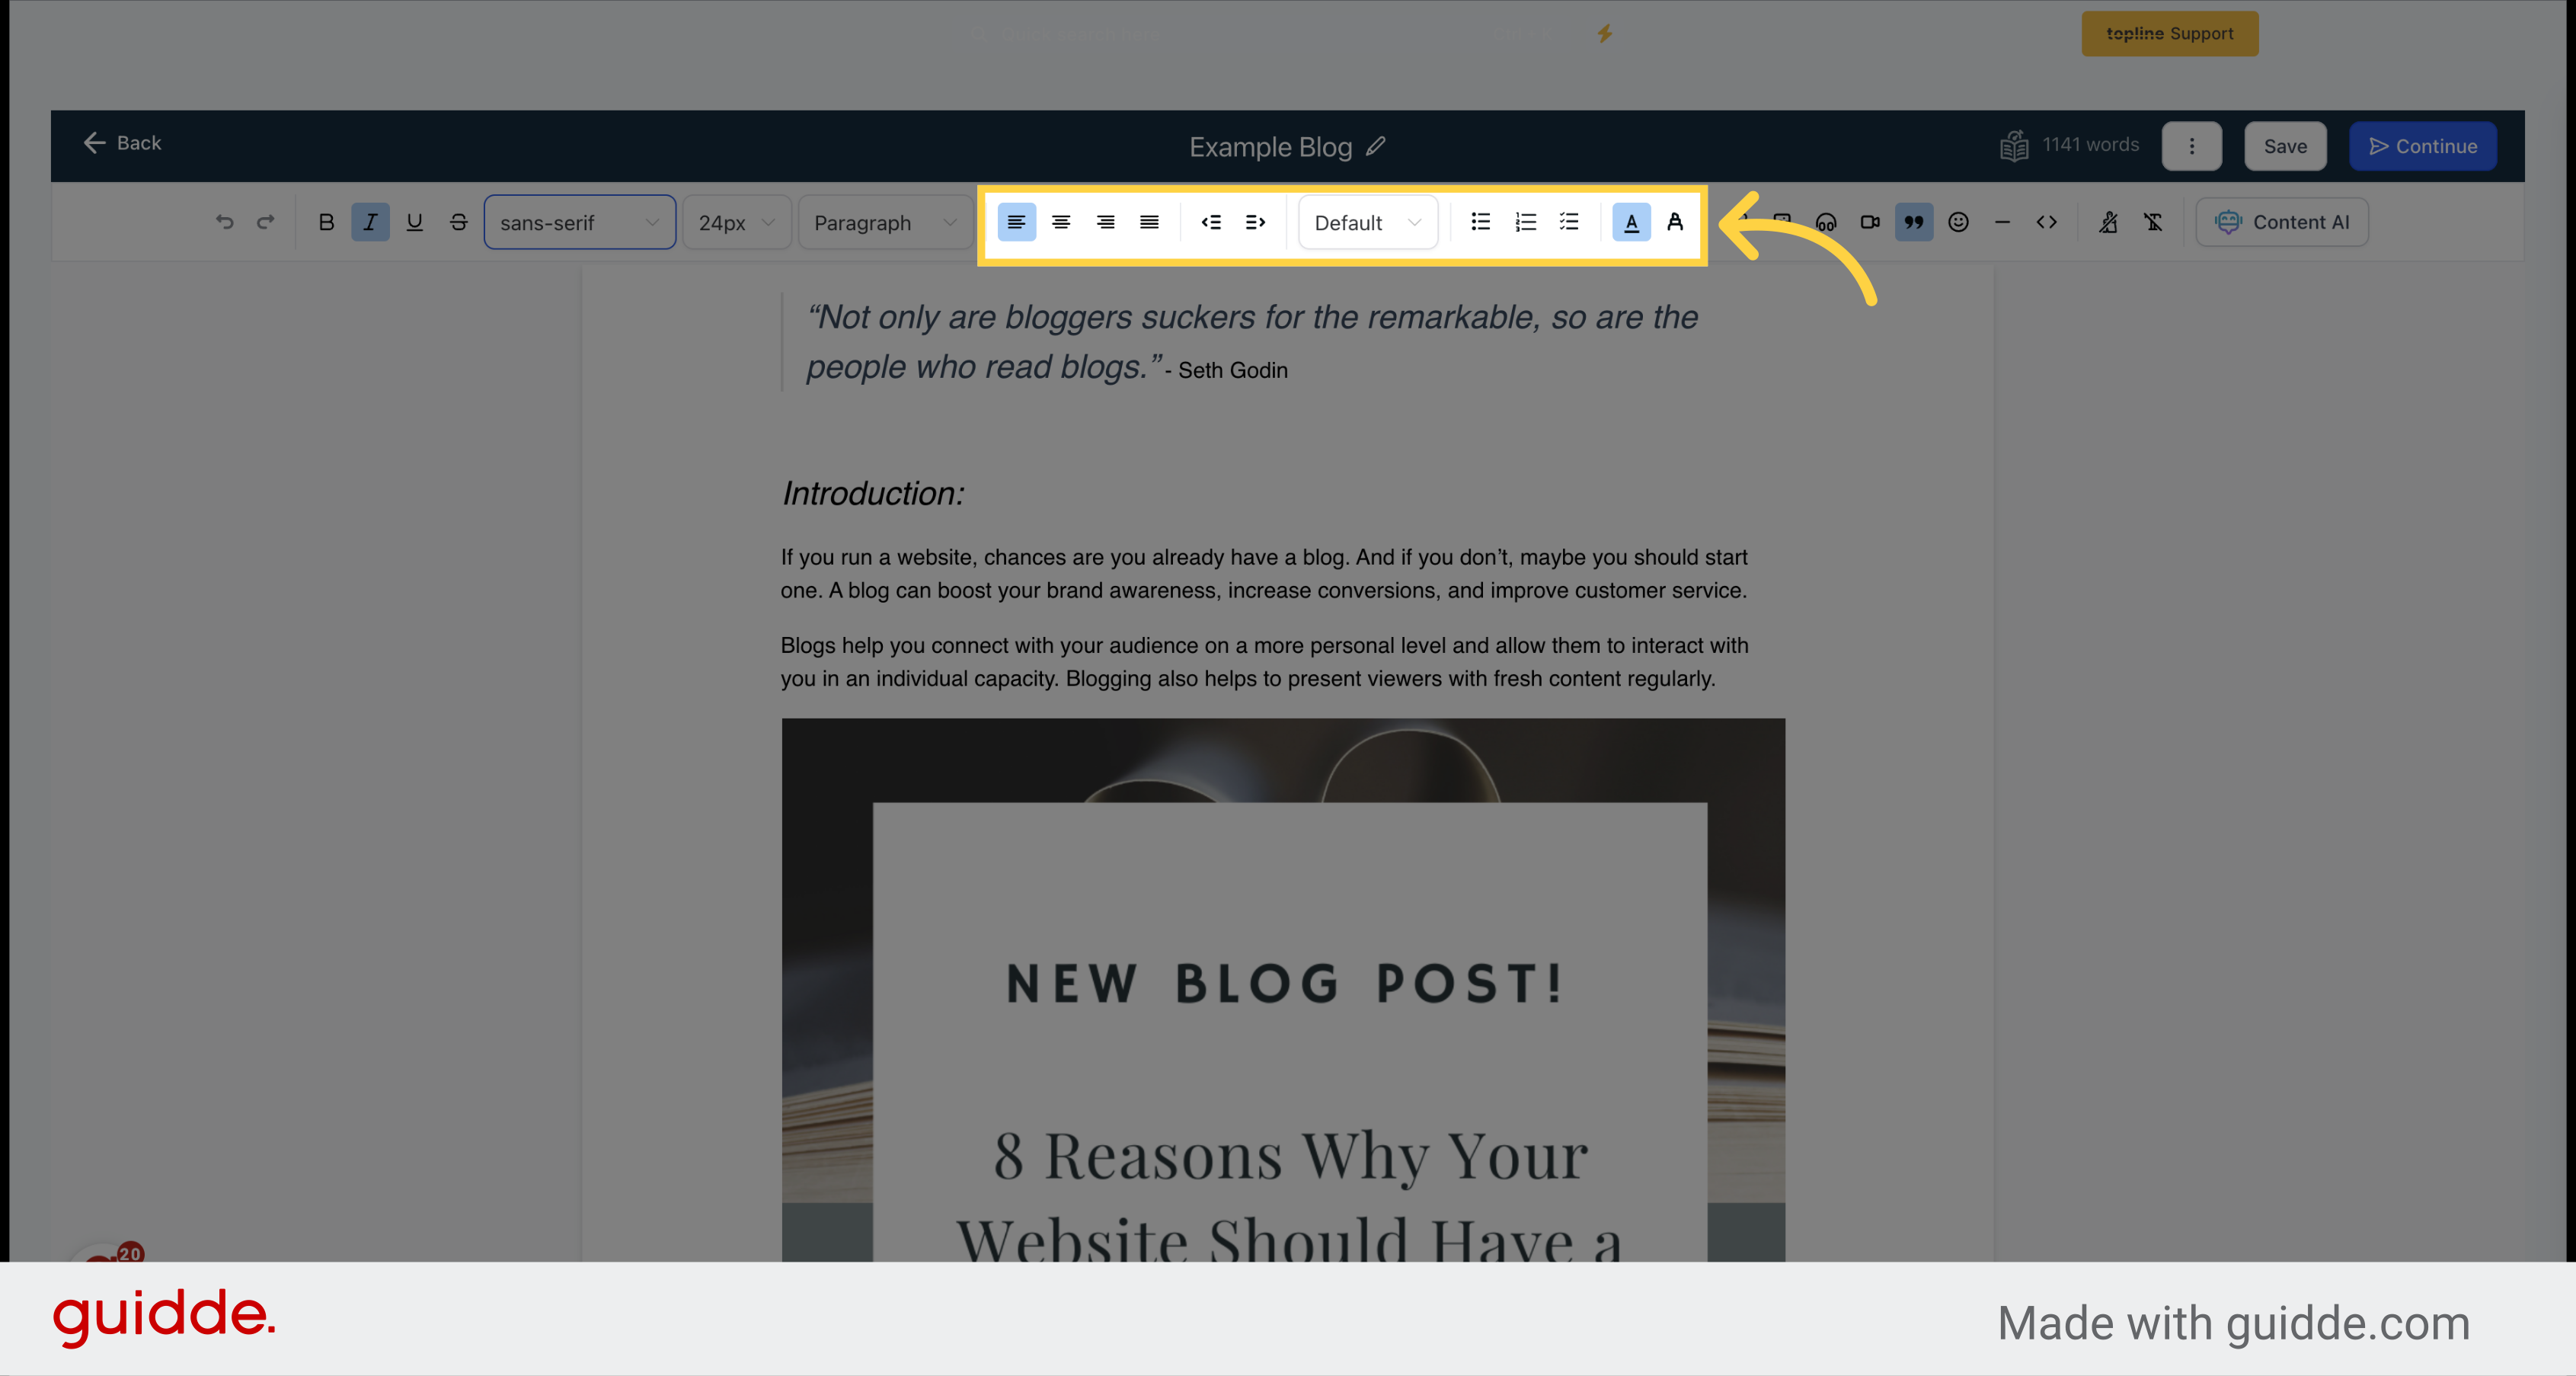
Use the icons to set the document format.
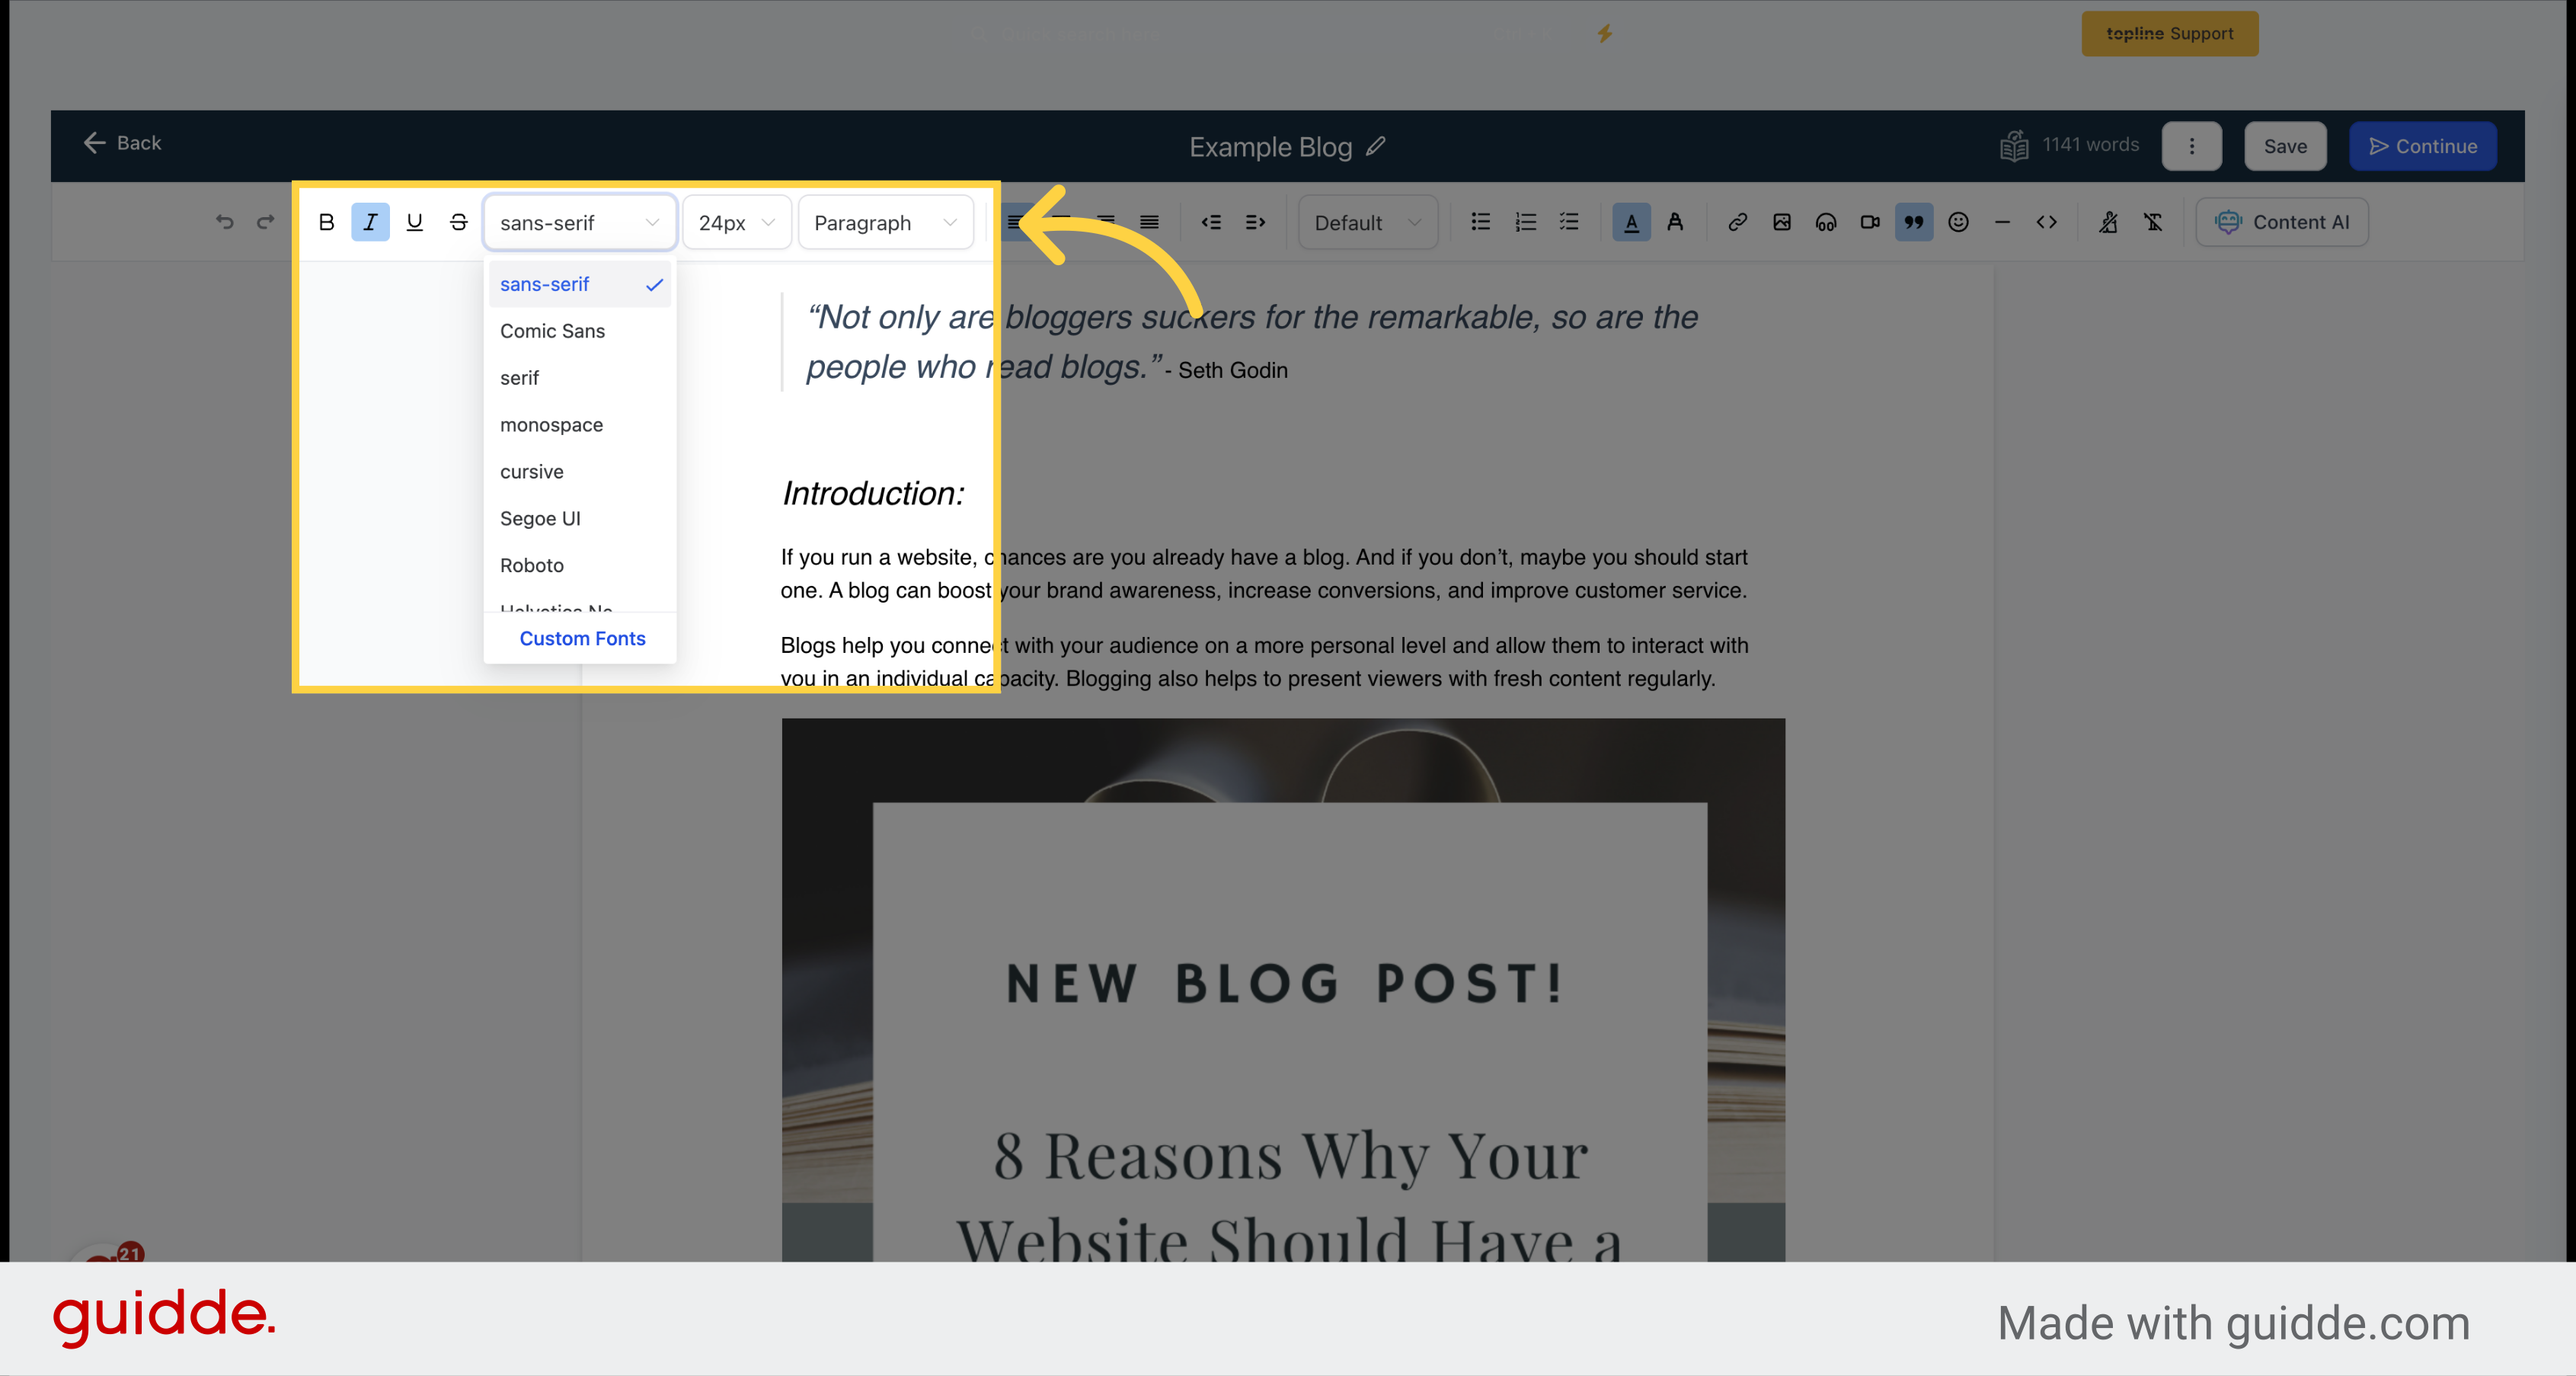
Personalize the styles and designs of fonts.
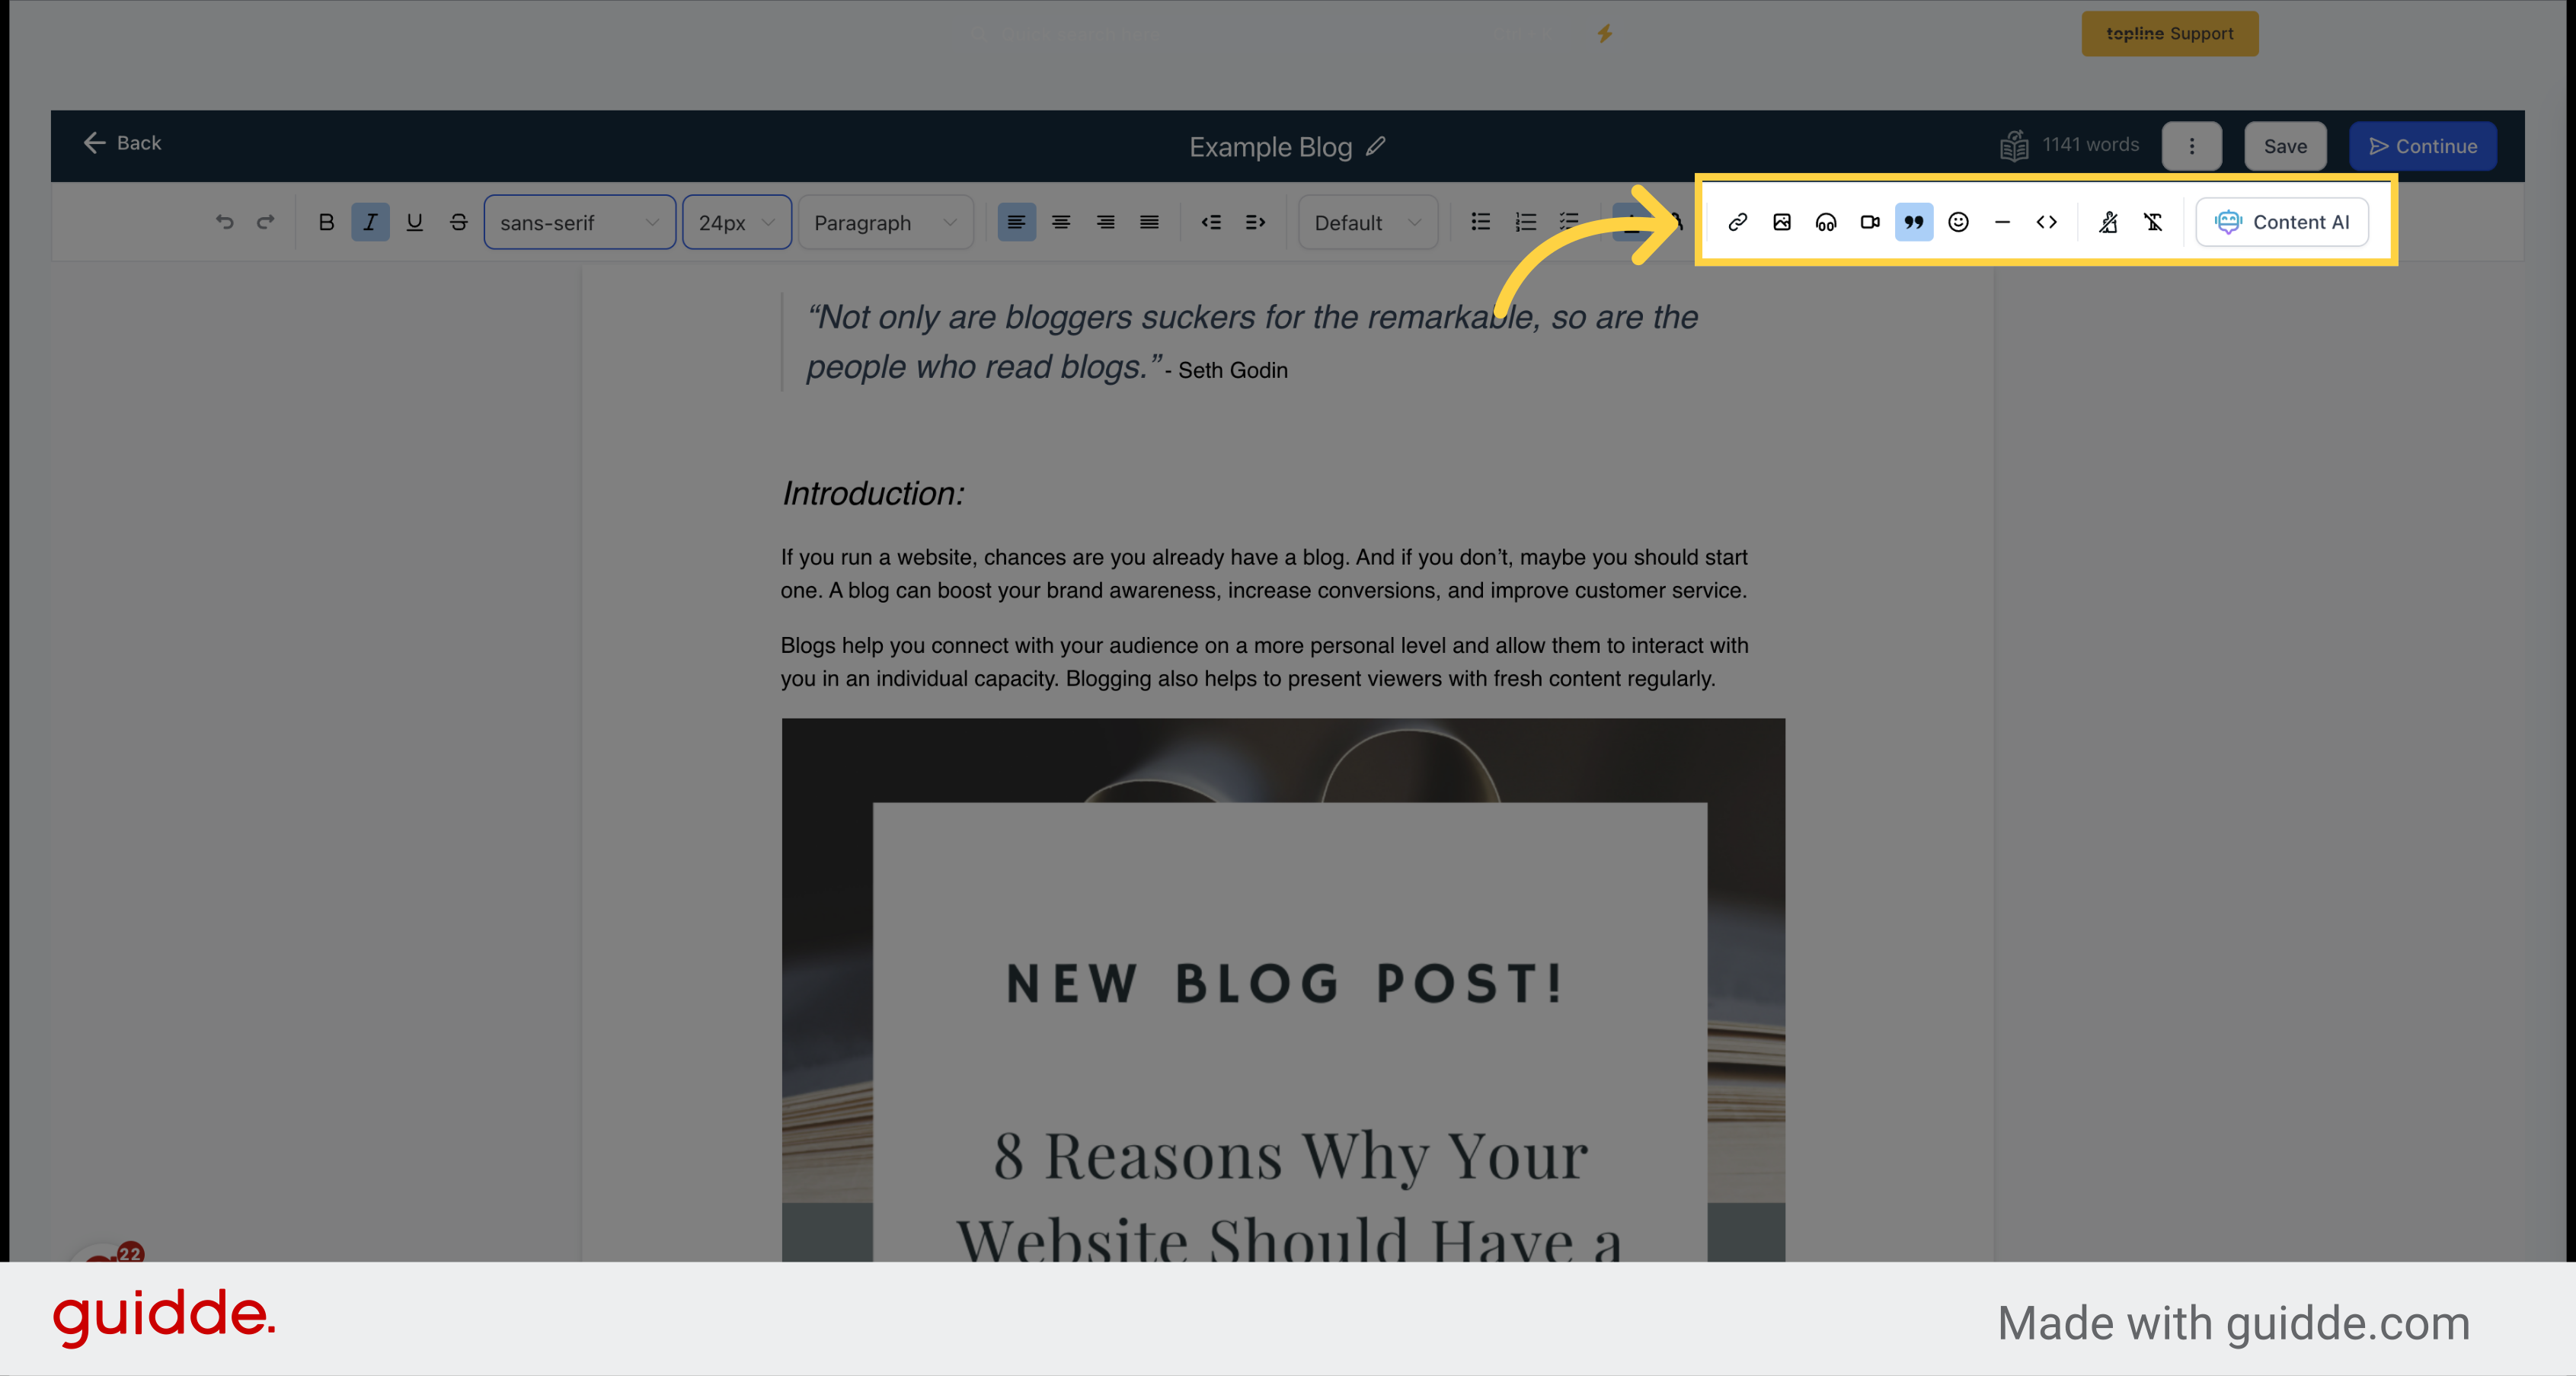
Integrate image(s) and/or video(s) from your Media Library. The option to add YouTube videos or insert hyperlinks is also available.
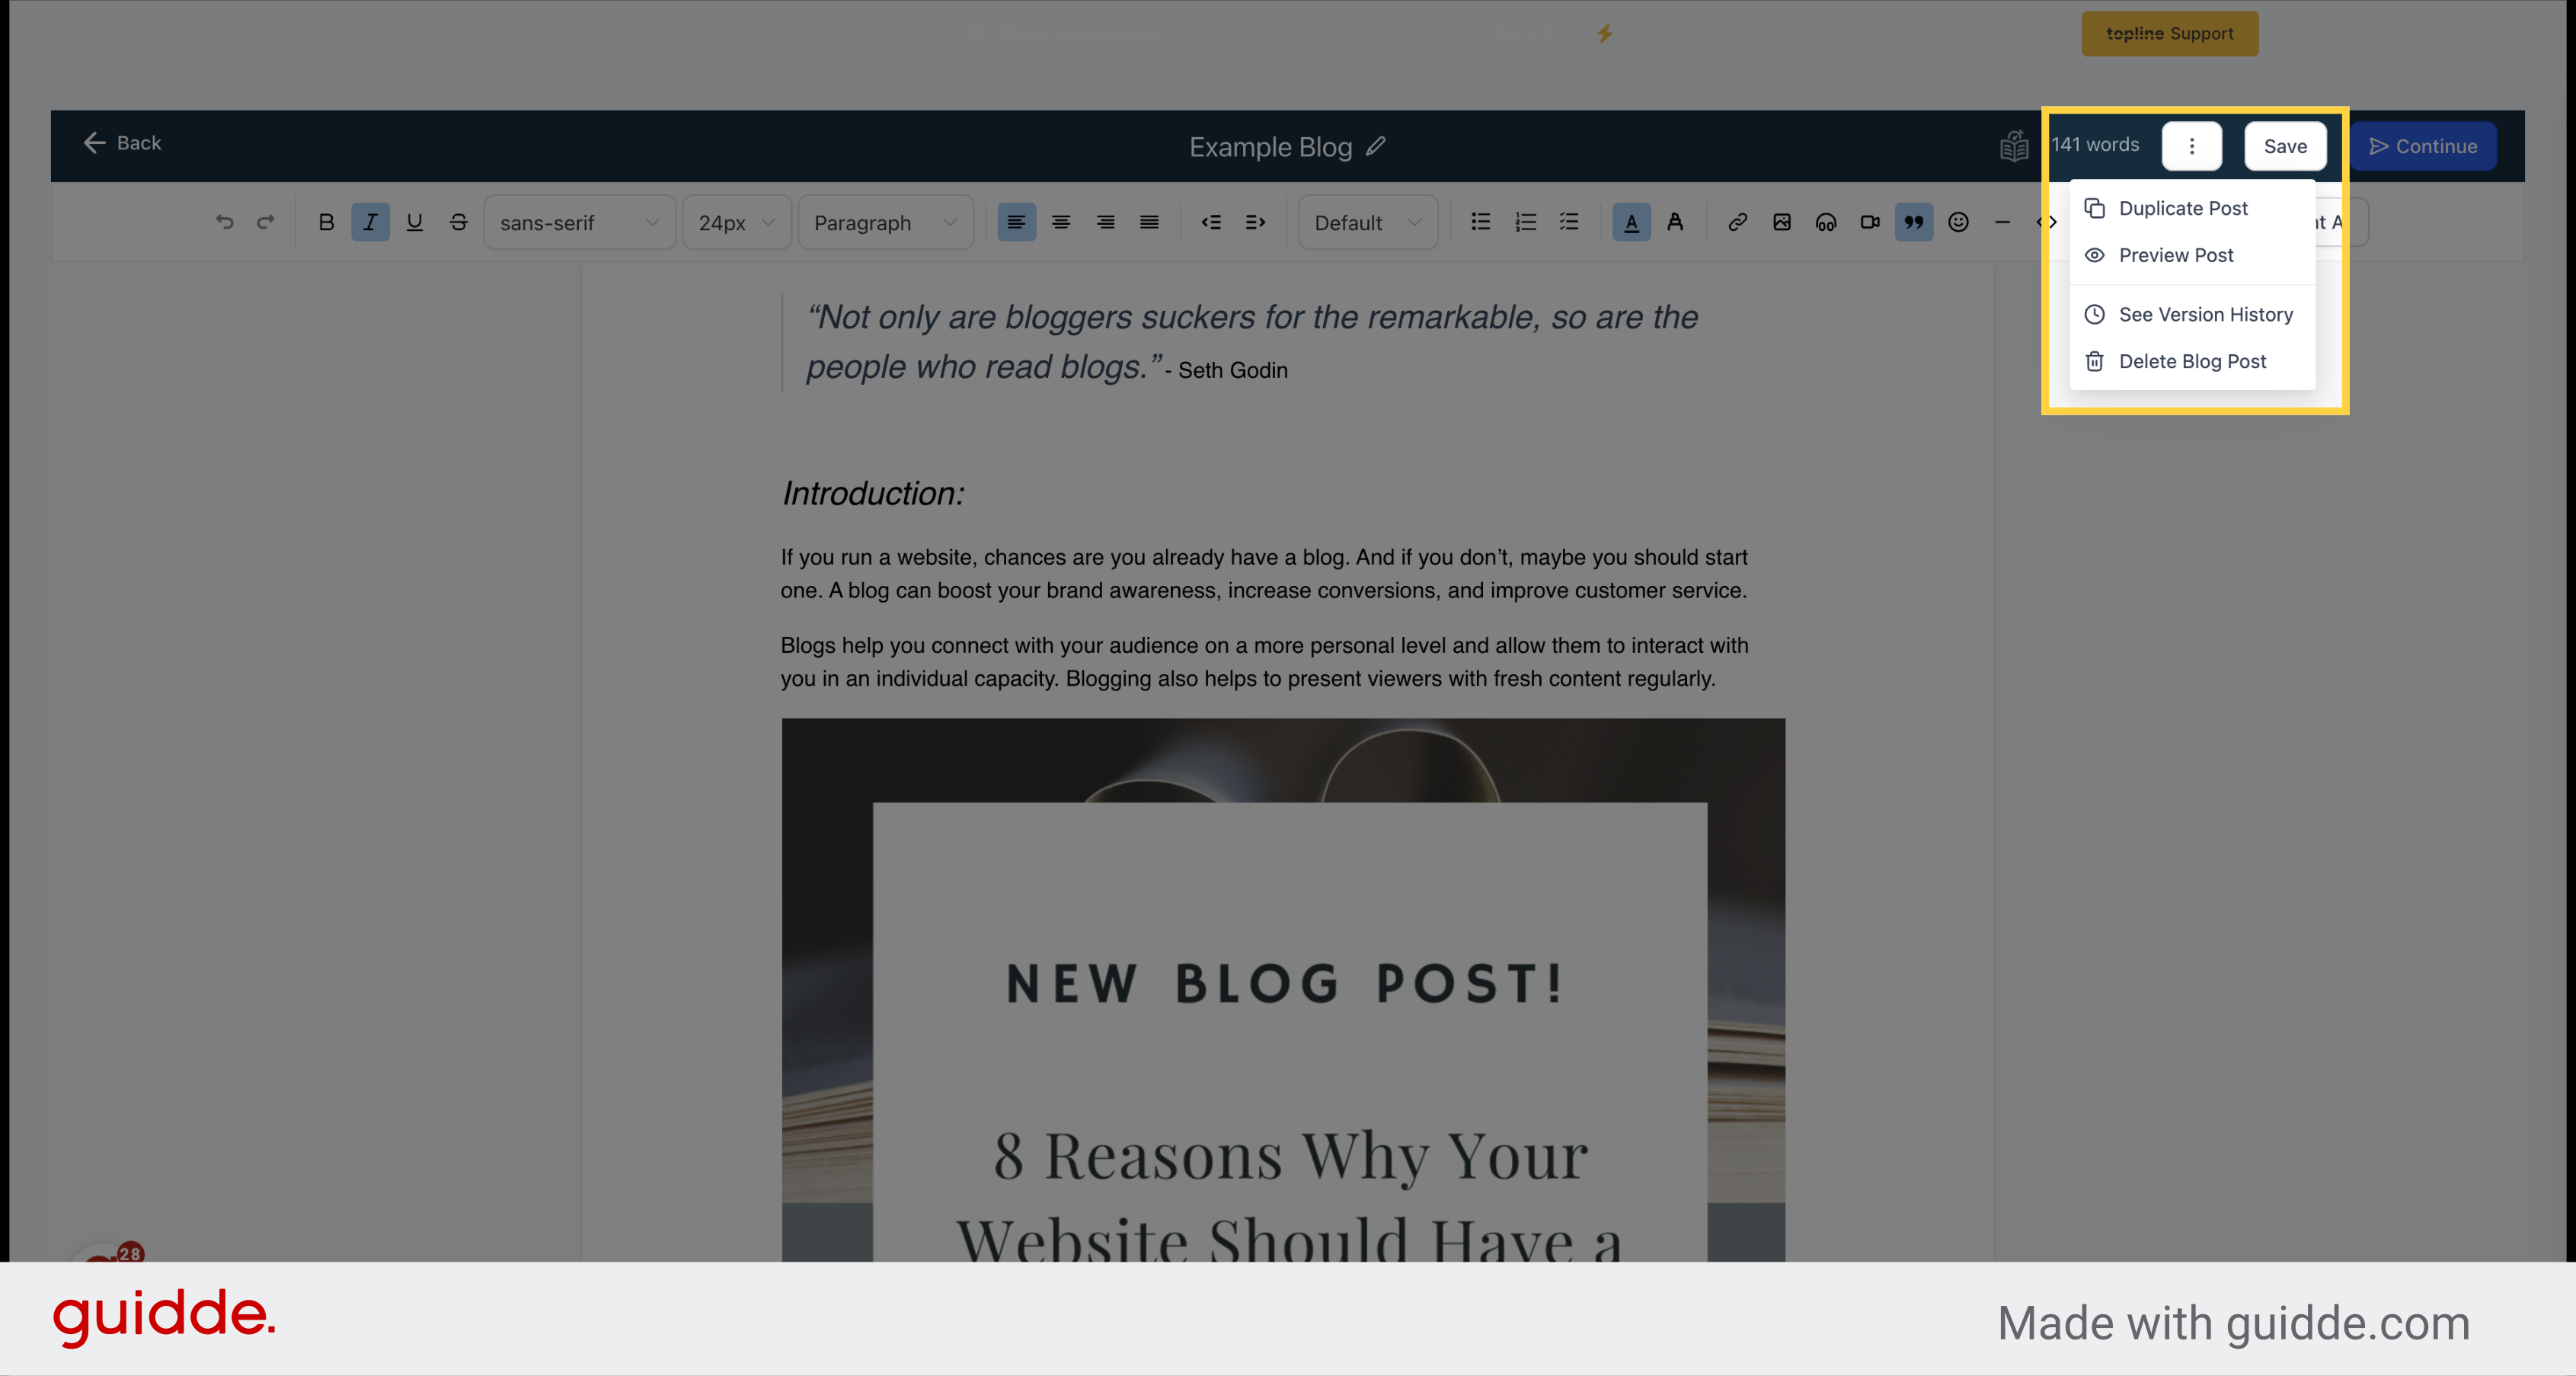
Click on the three dots to duplicate post, preview post, see version history, or delete blog post.
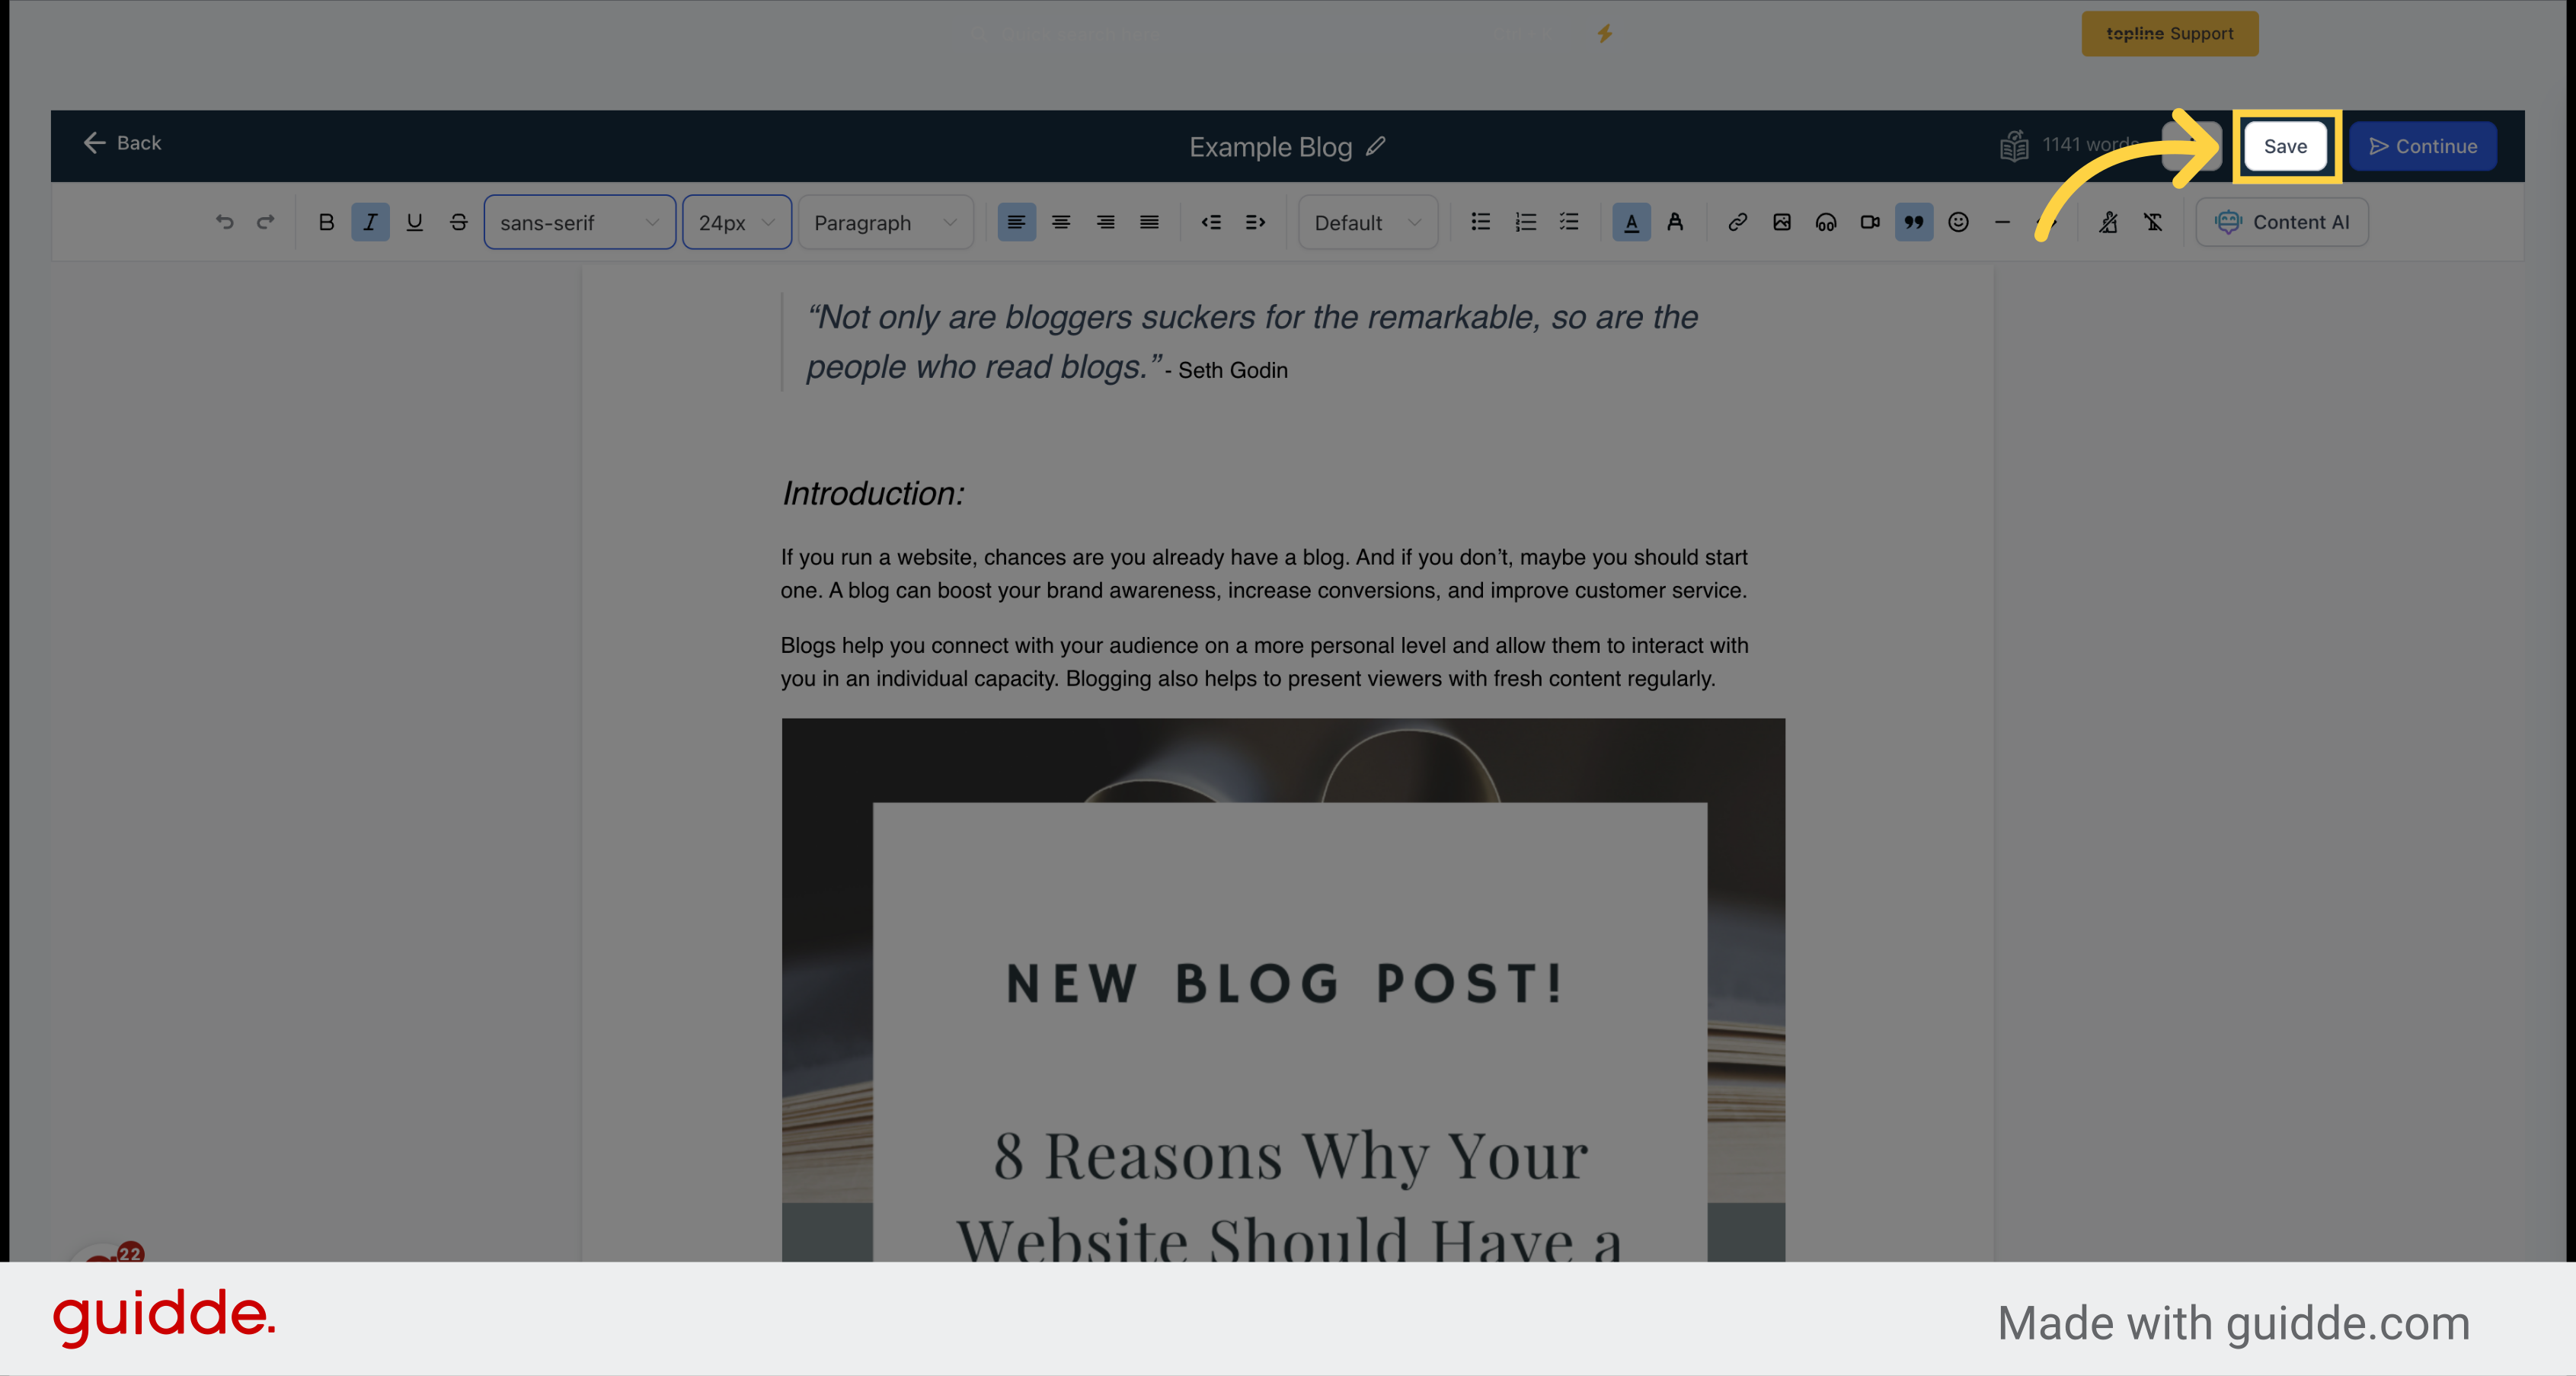
Click on the white button located on the upper side.
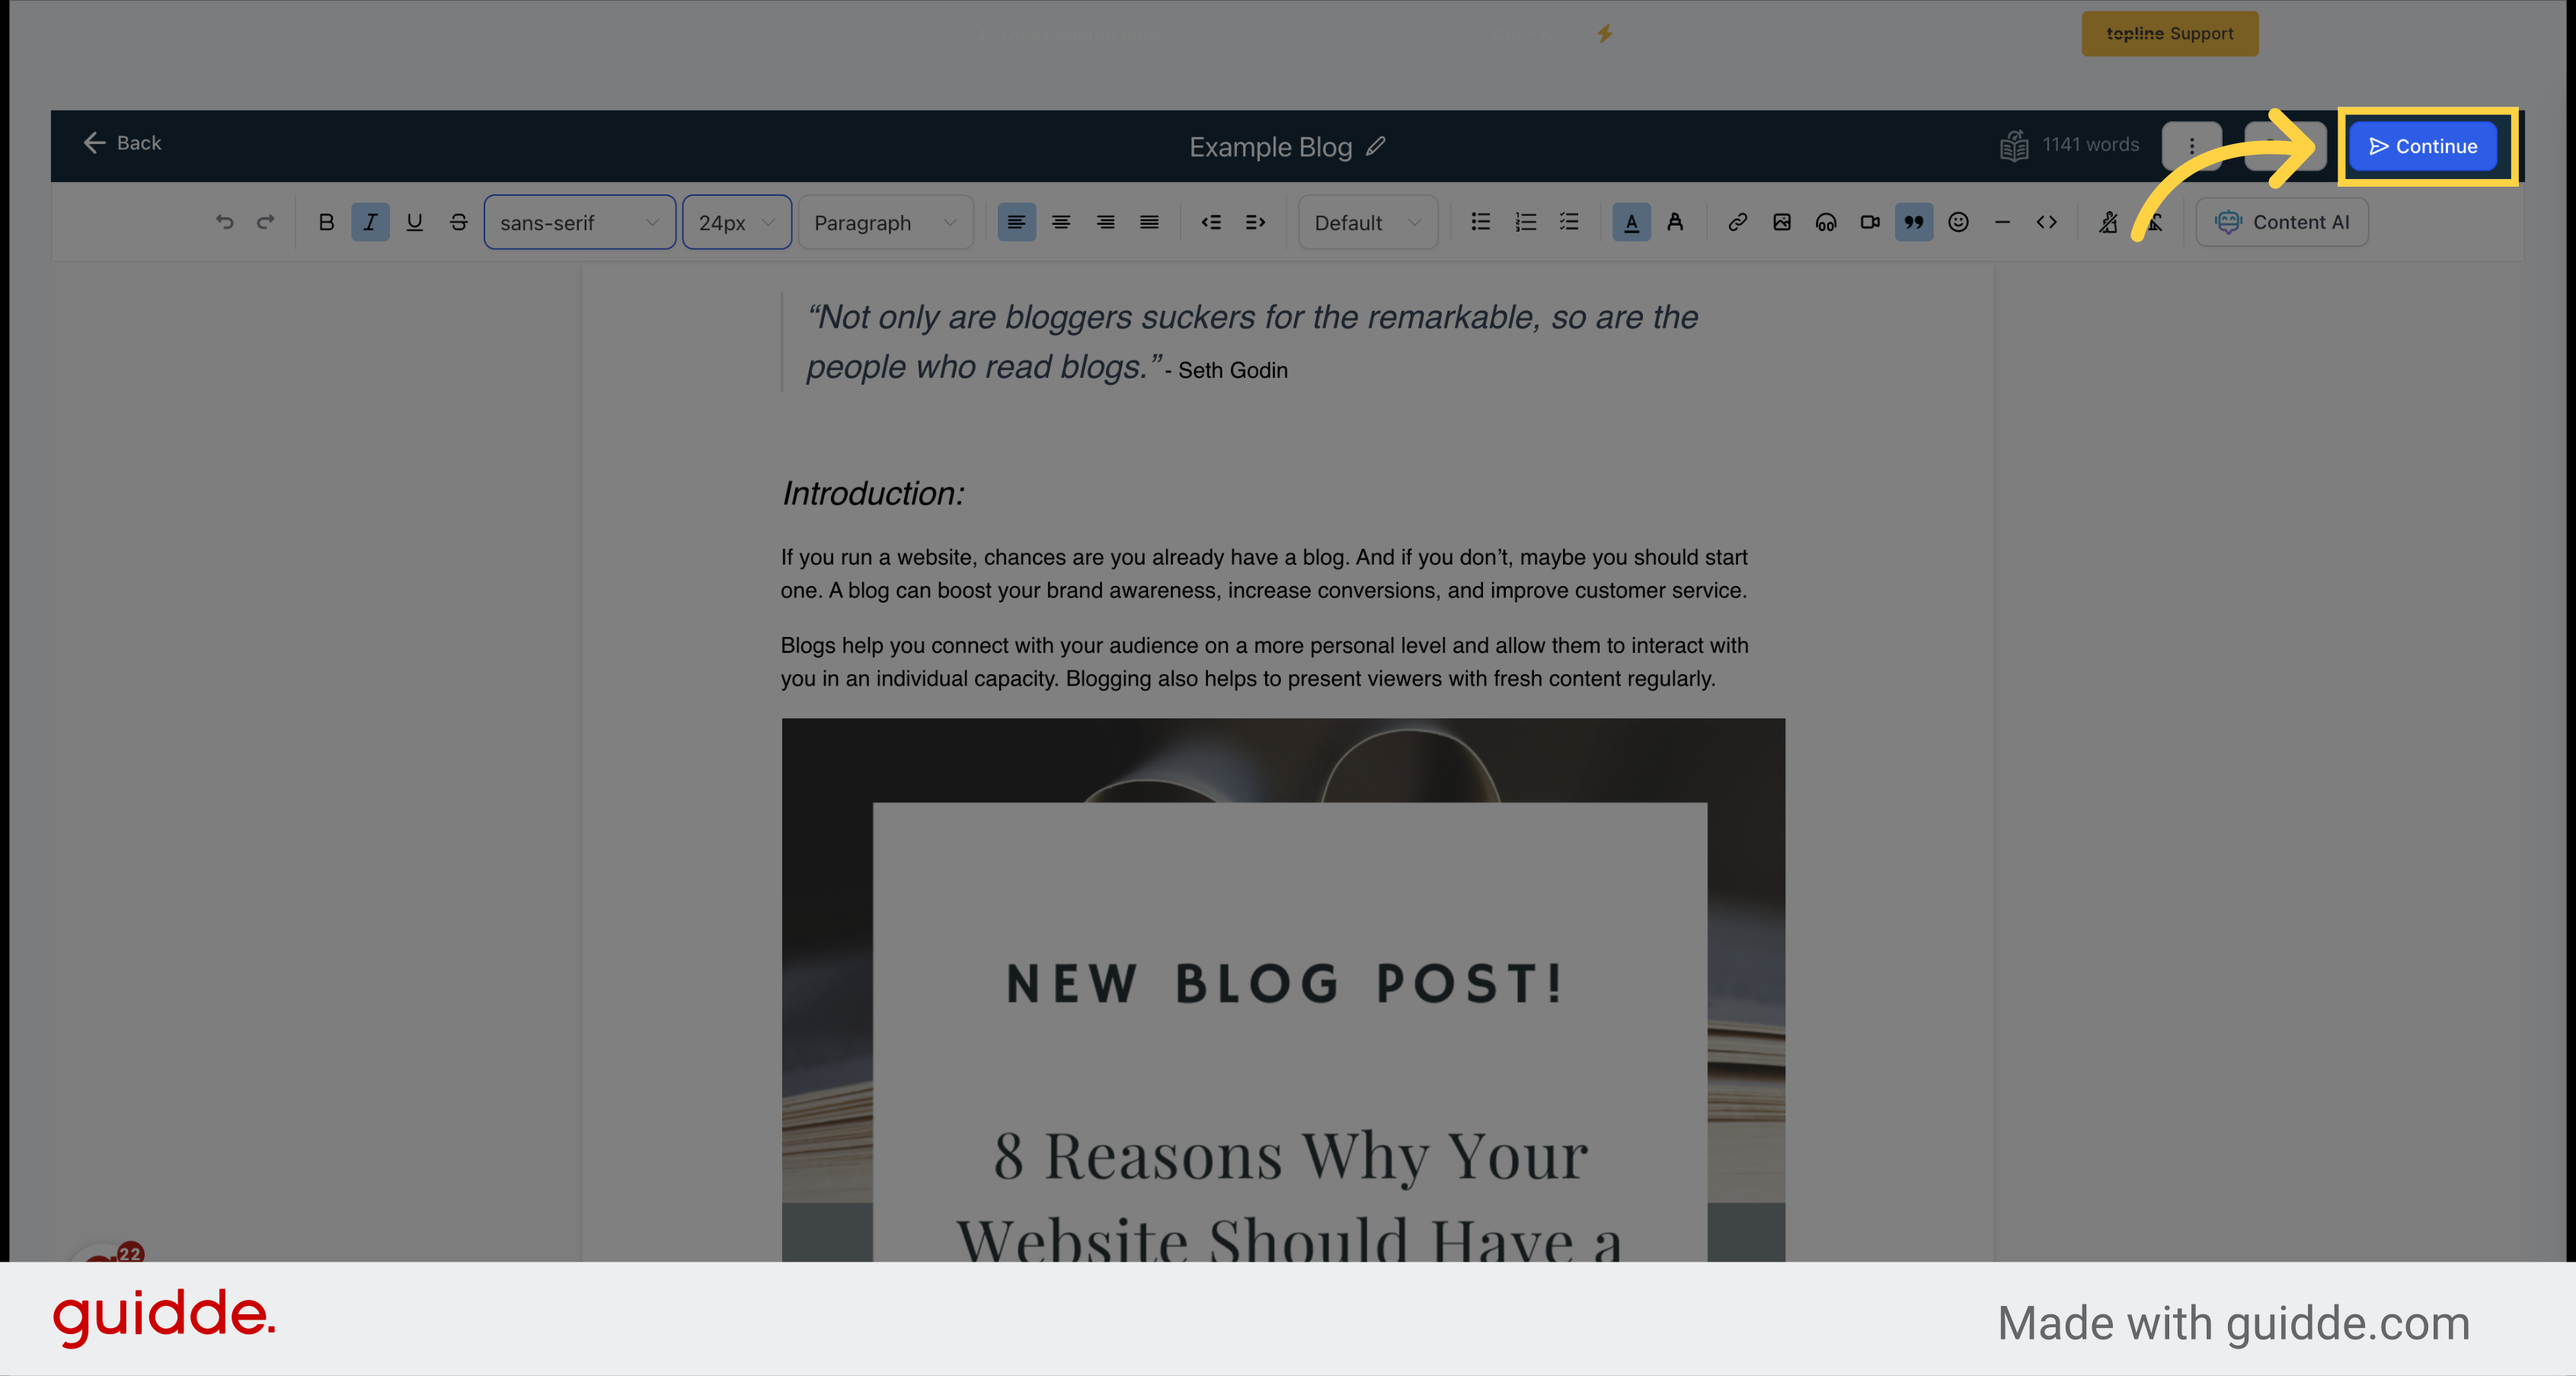
Click on the "Continue" button located on the upper right corner of the view.
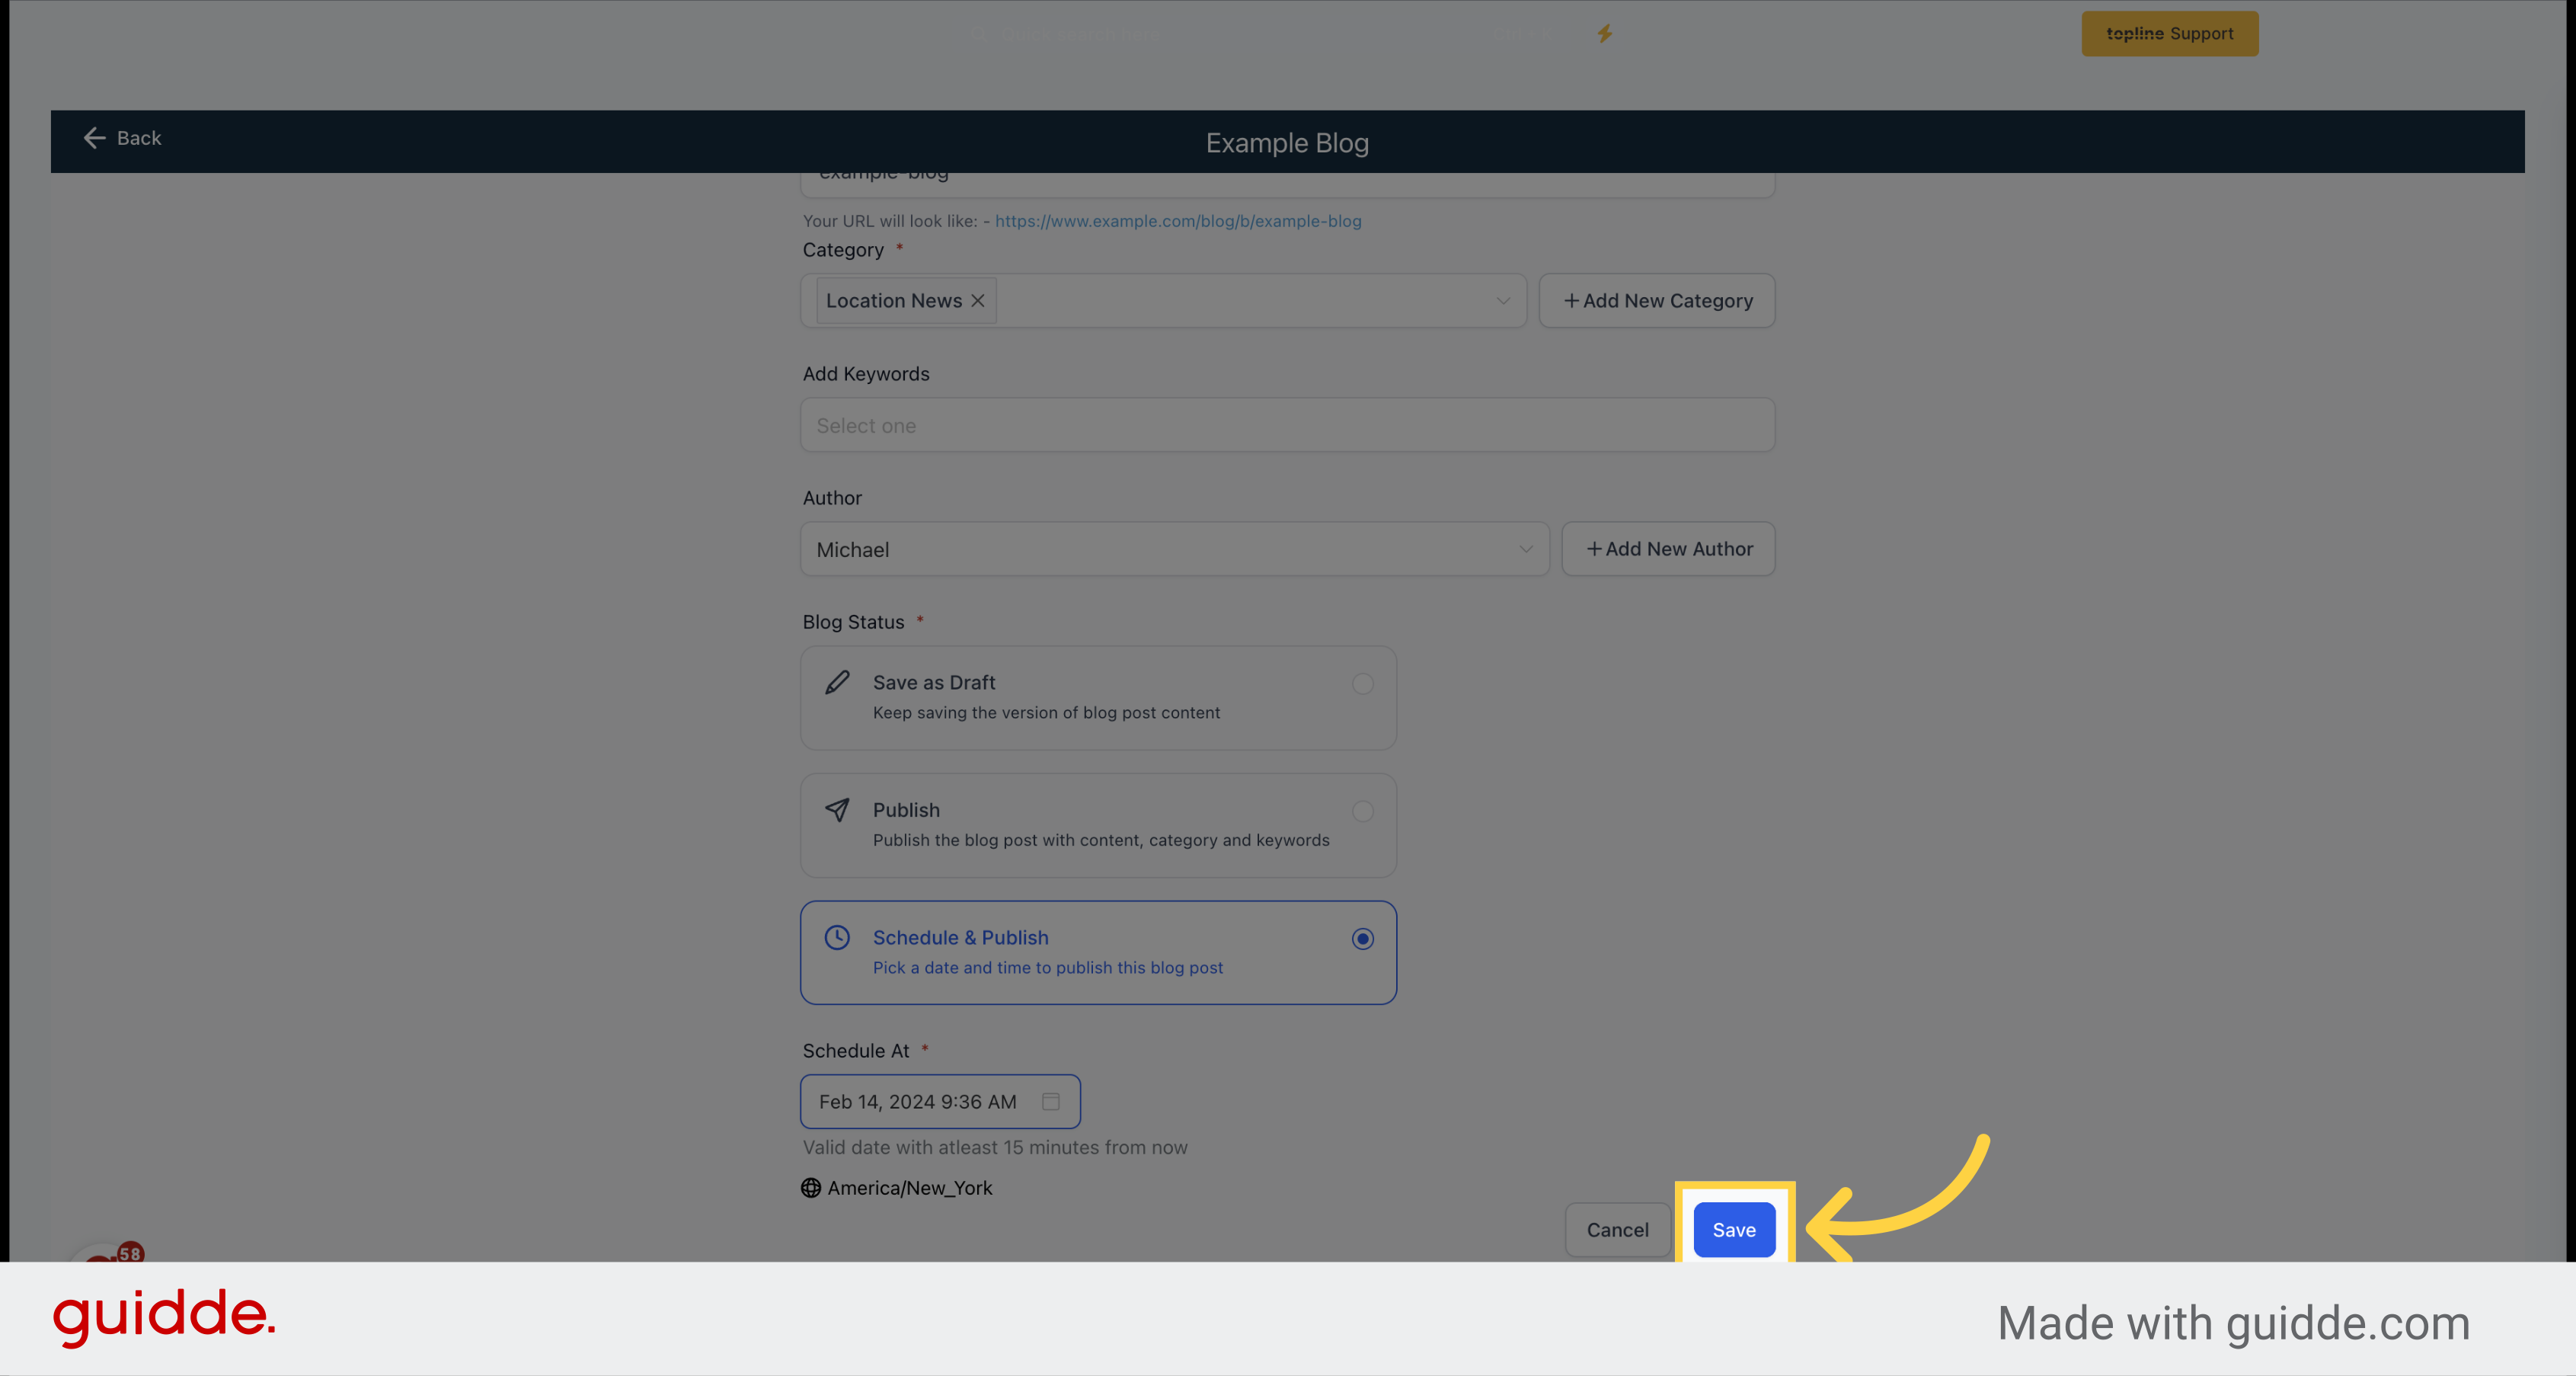
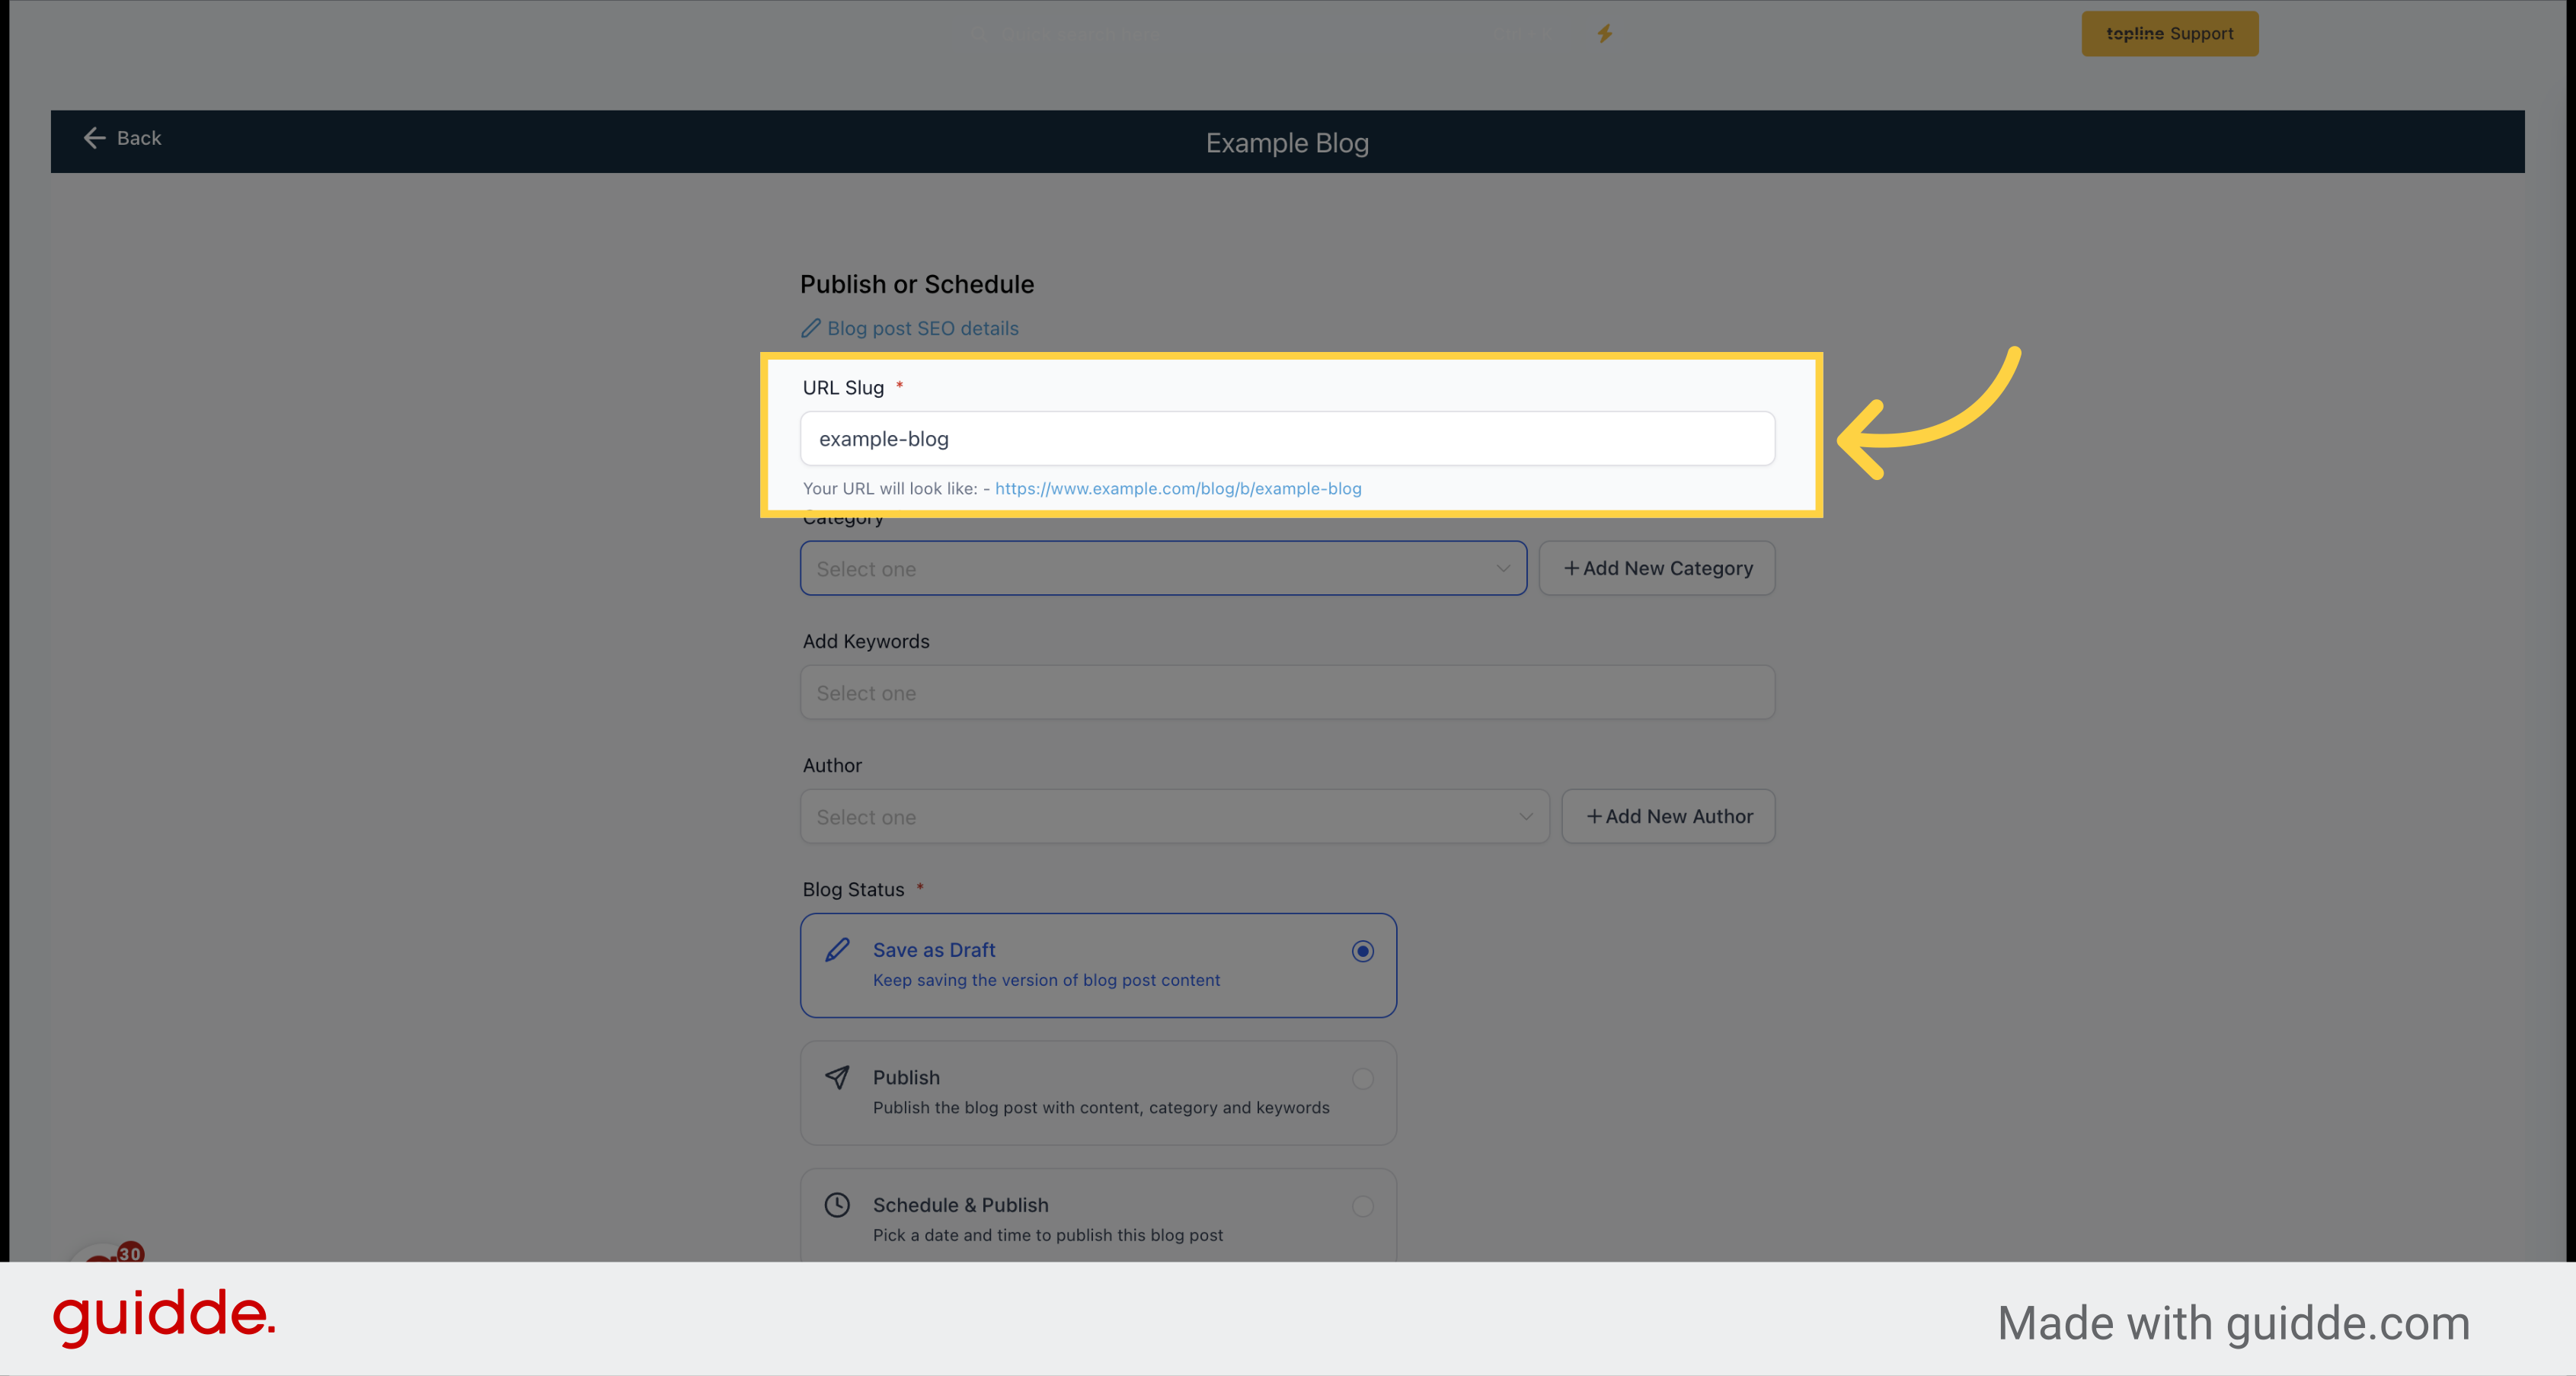
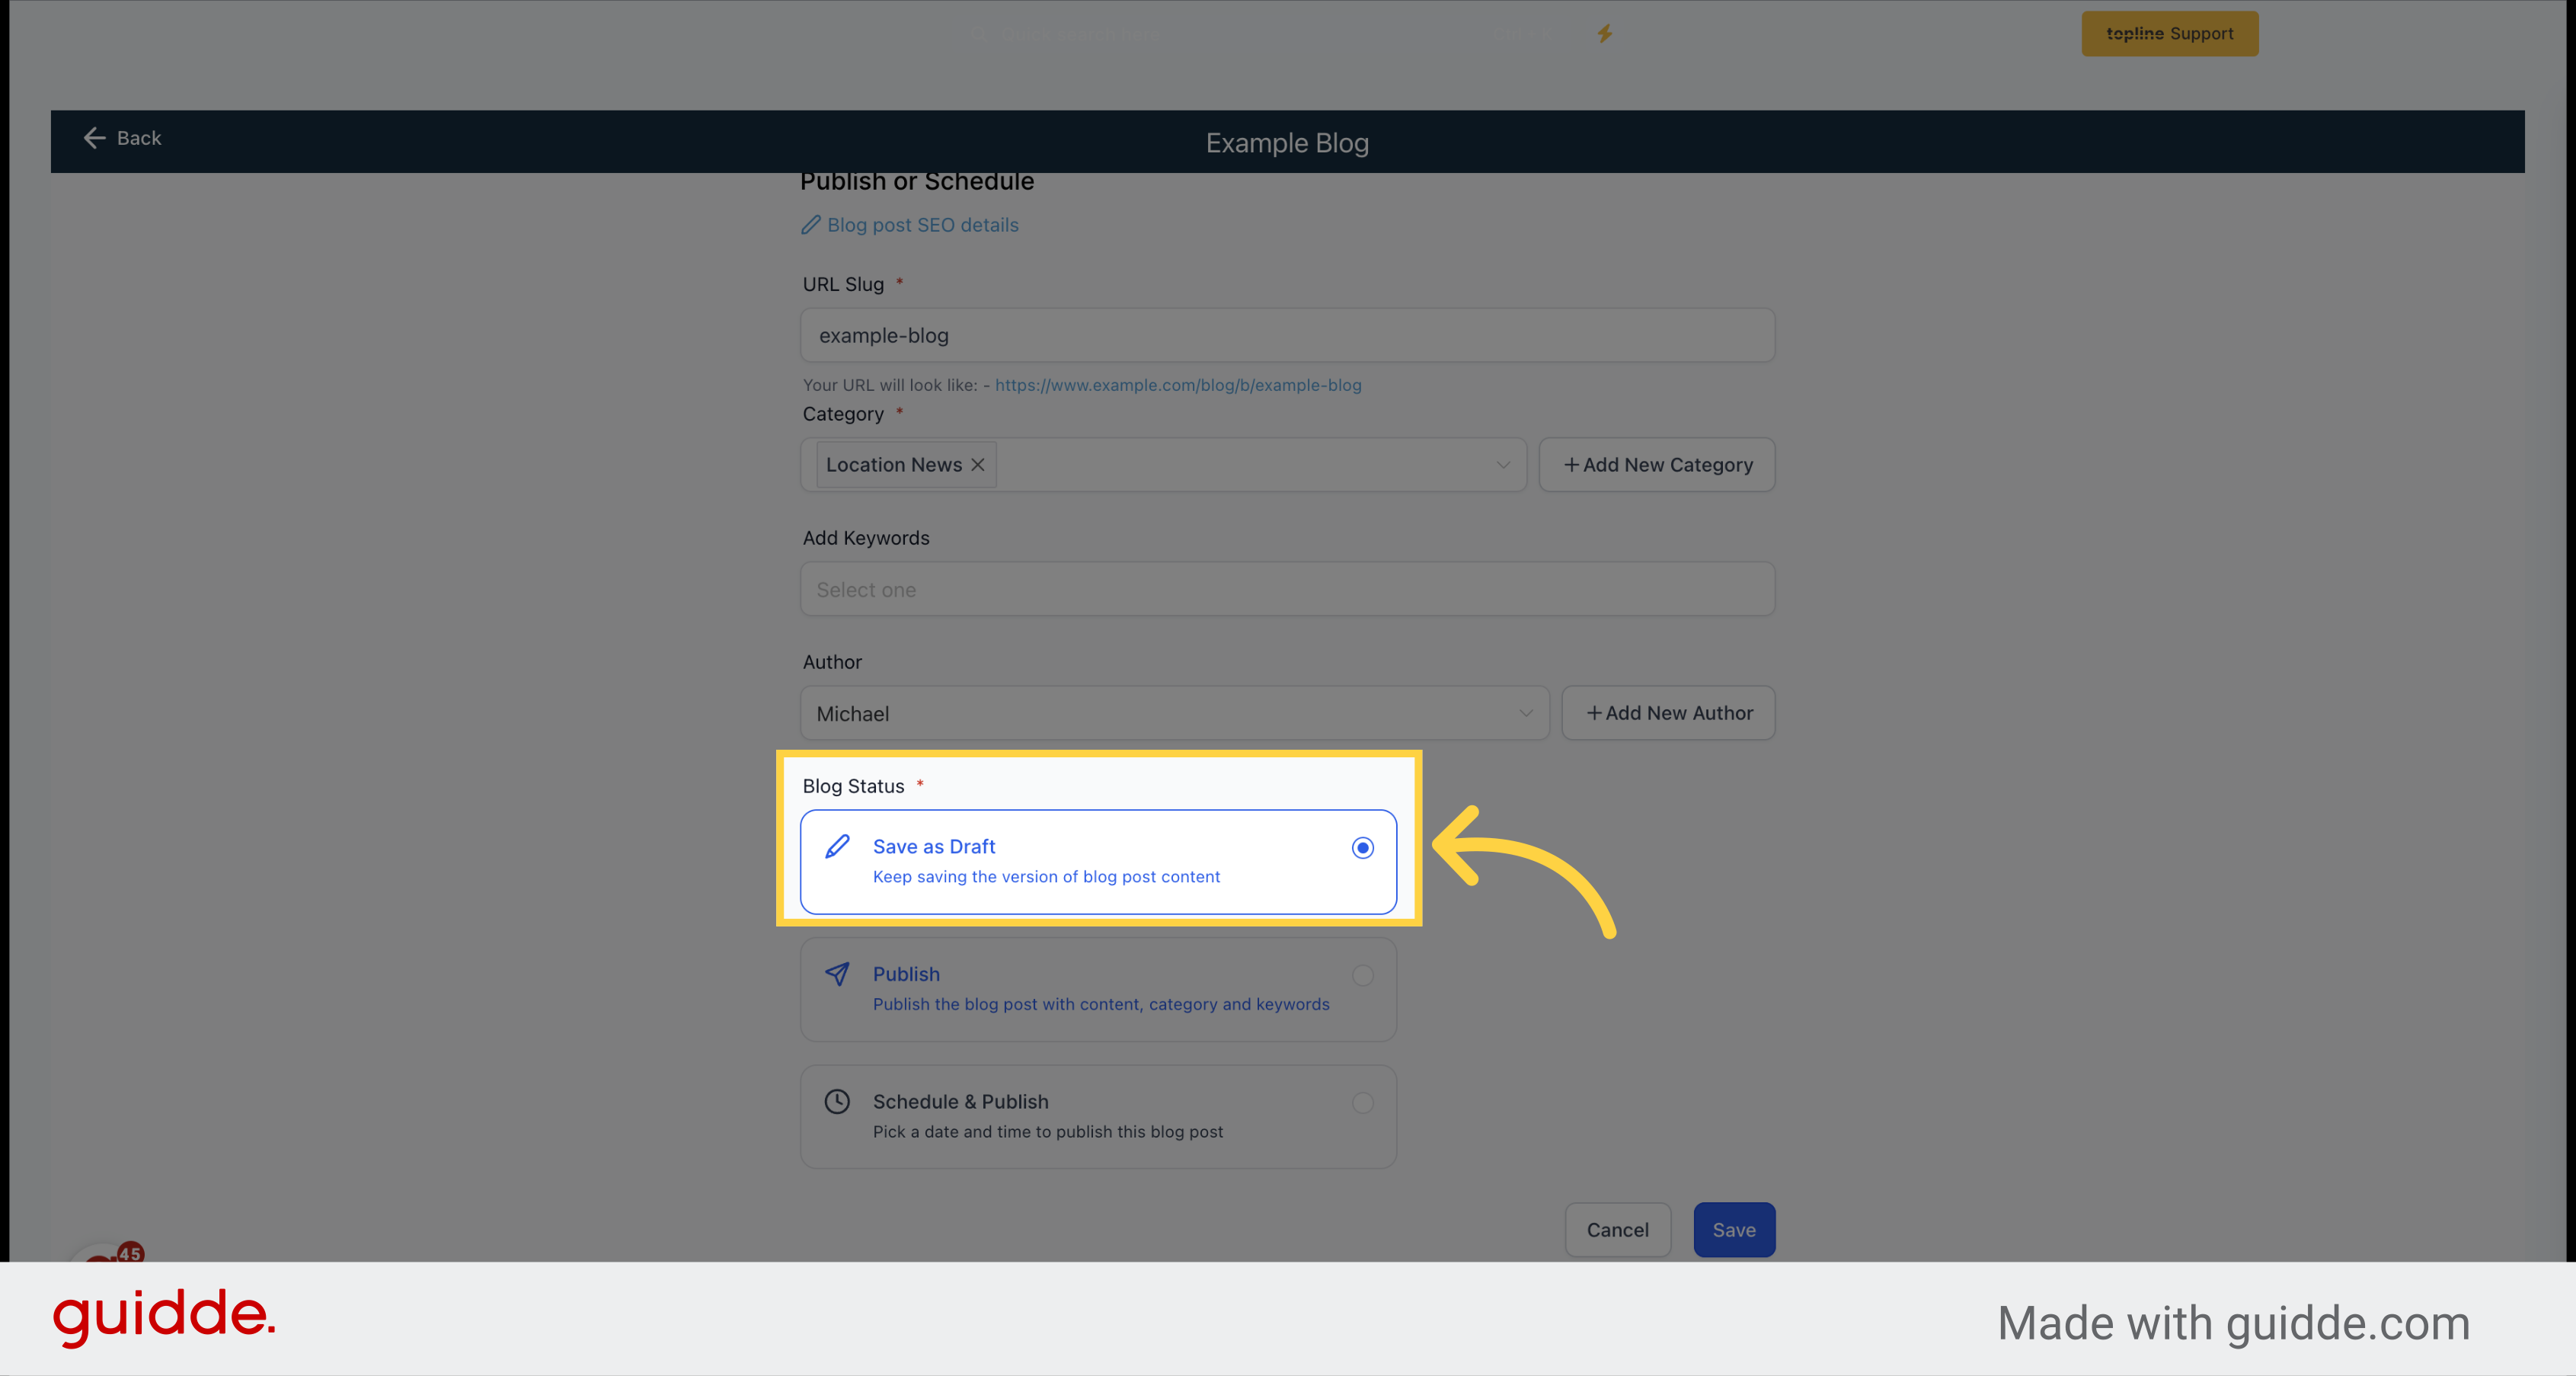
After inserting your content, it will be necessary to configure the specific details for your blog. This includes:
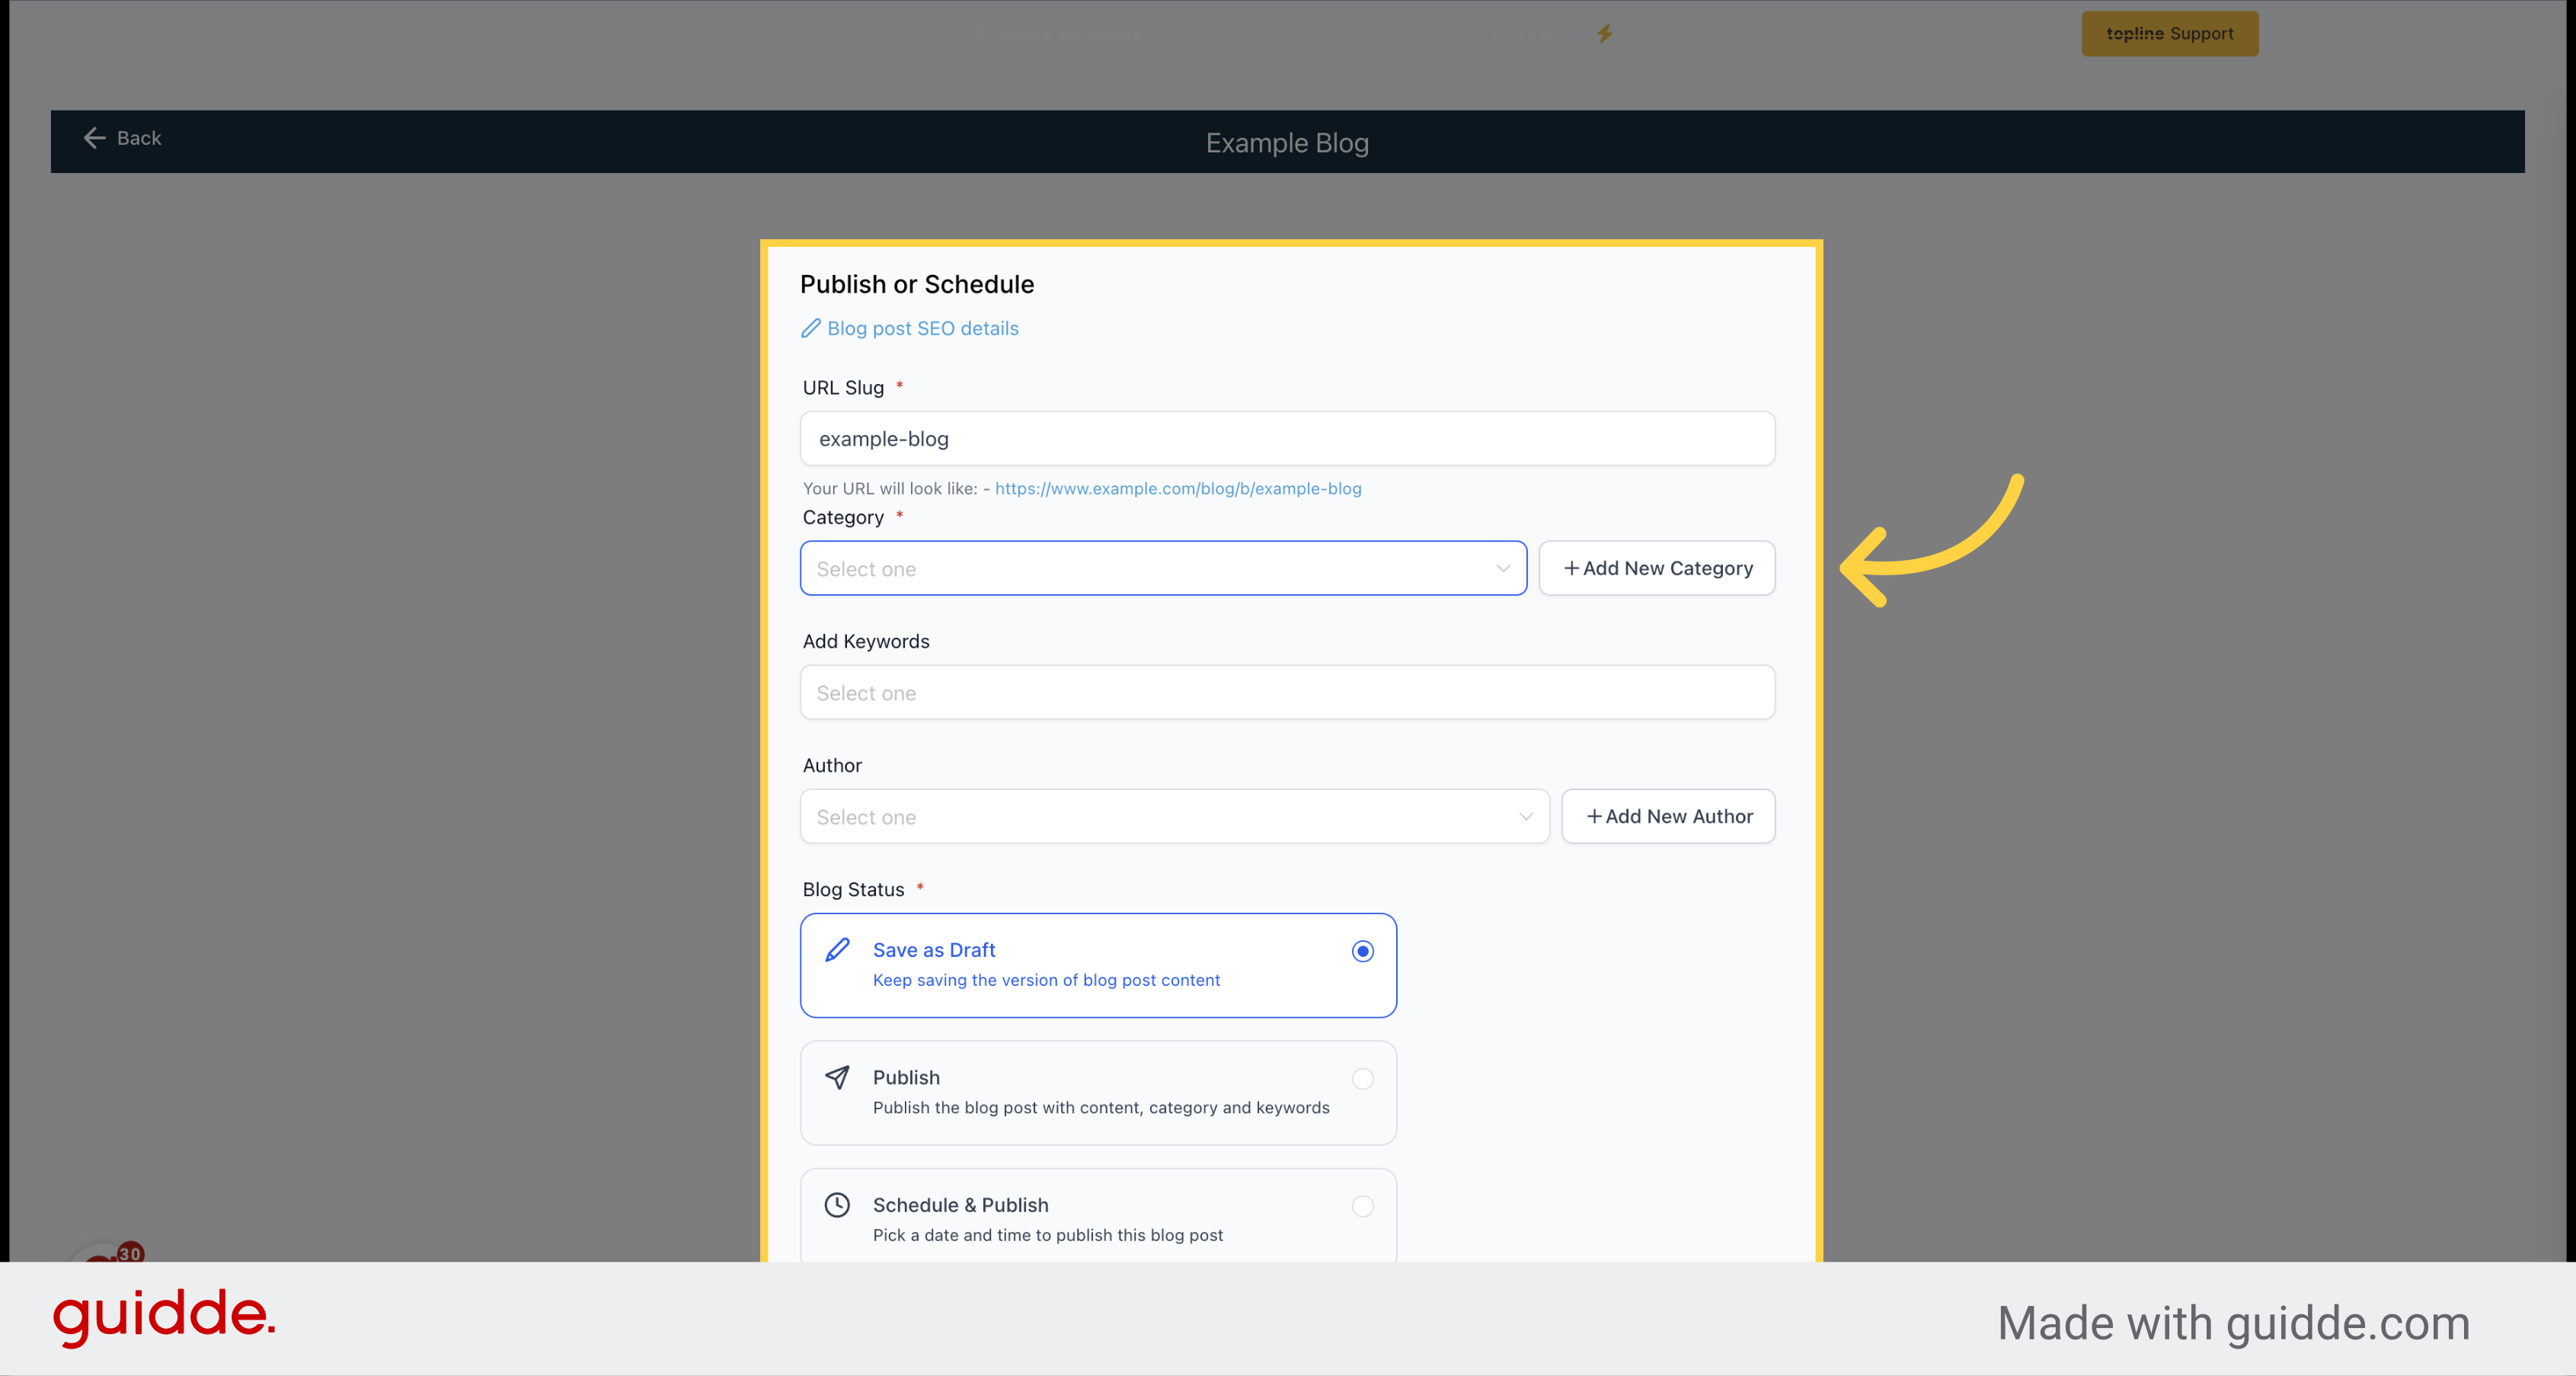
The URL path for your blog post.
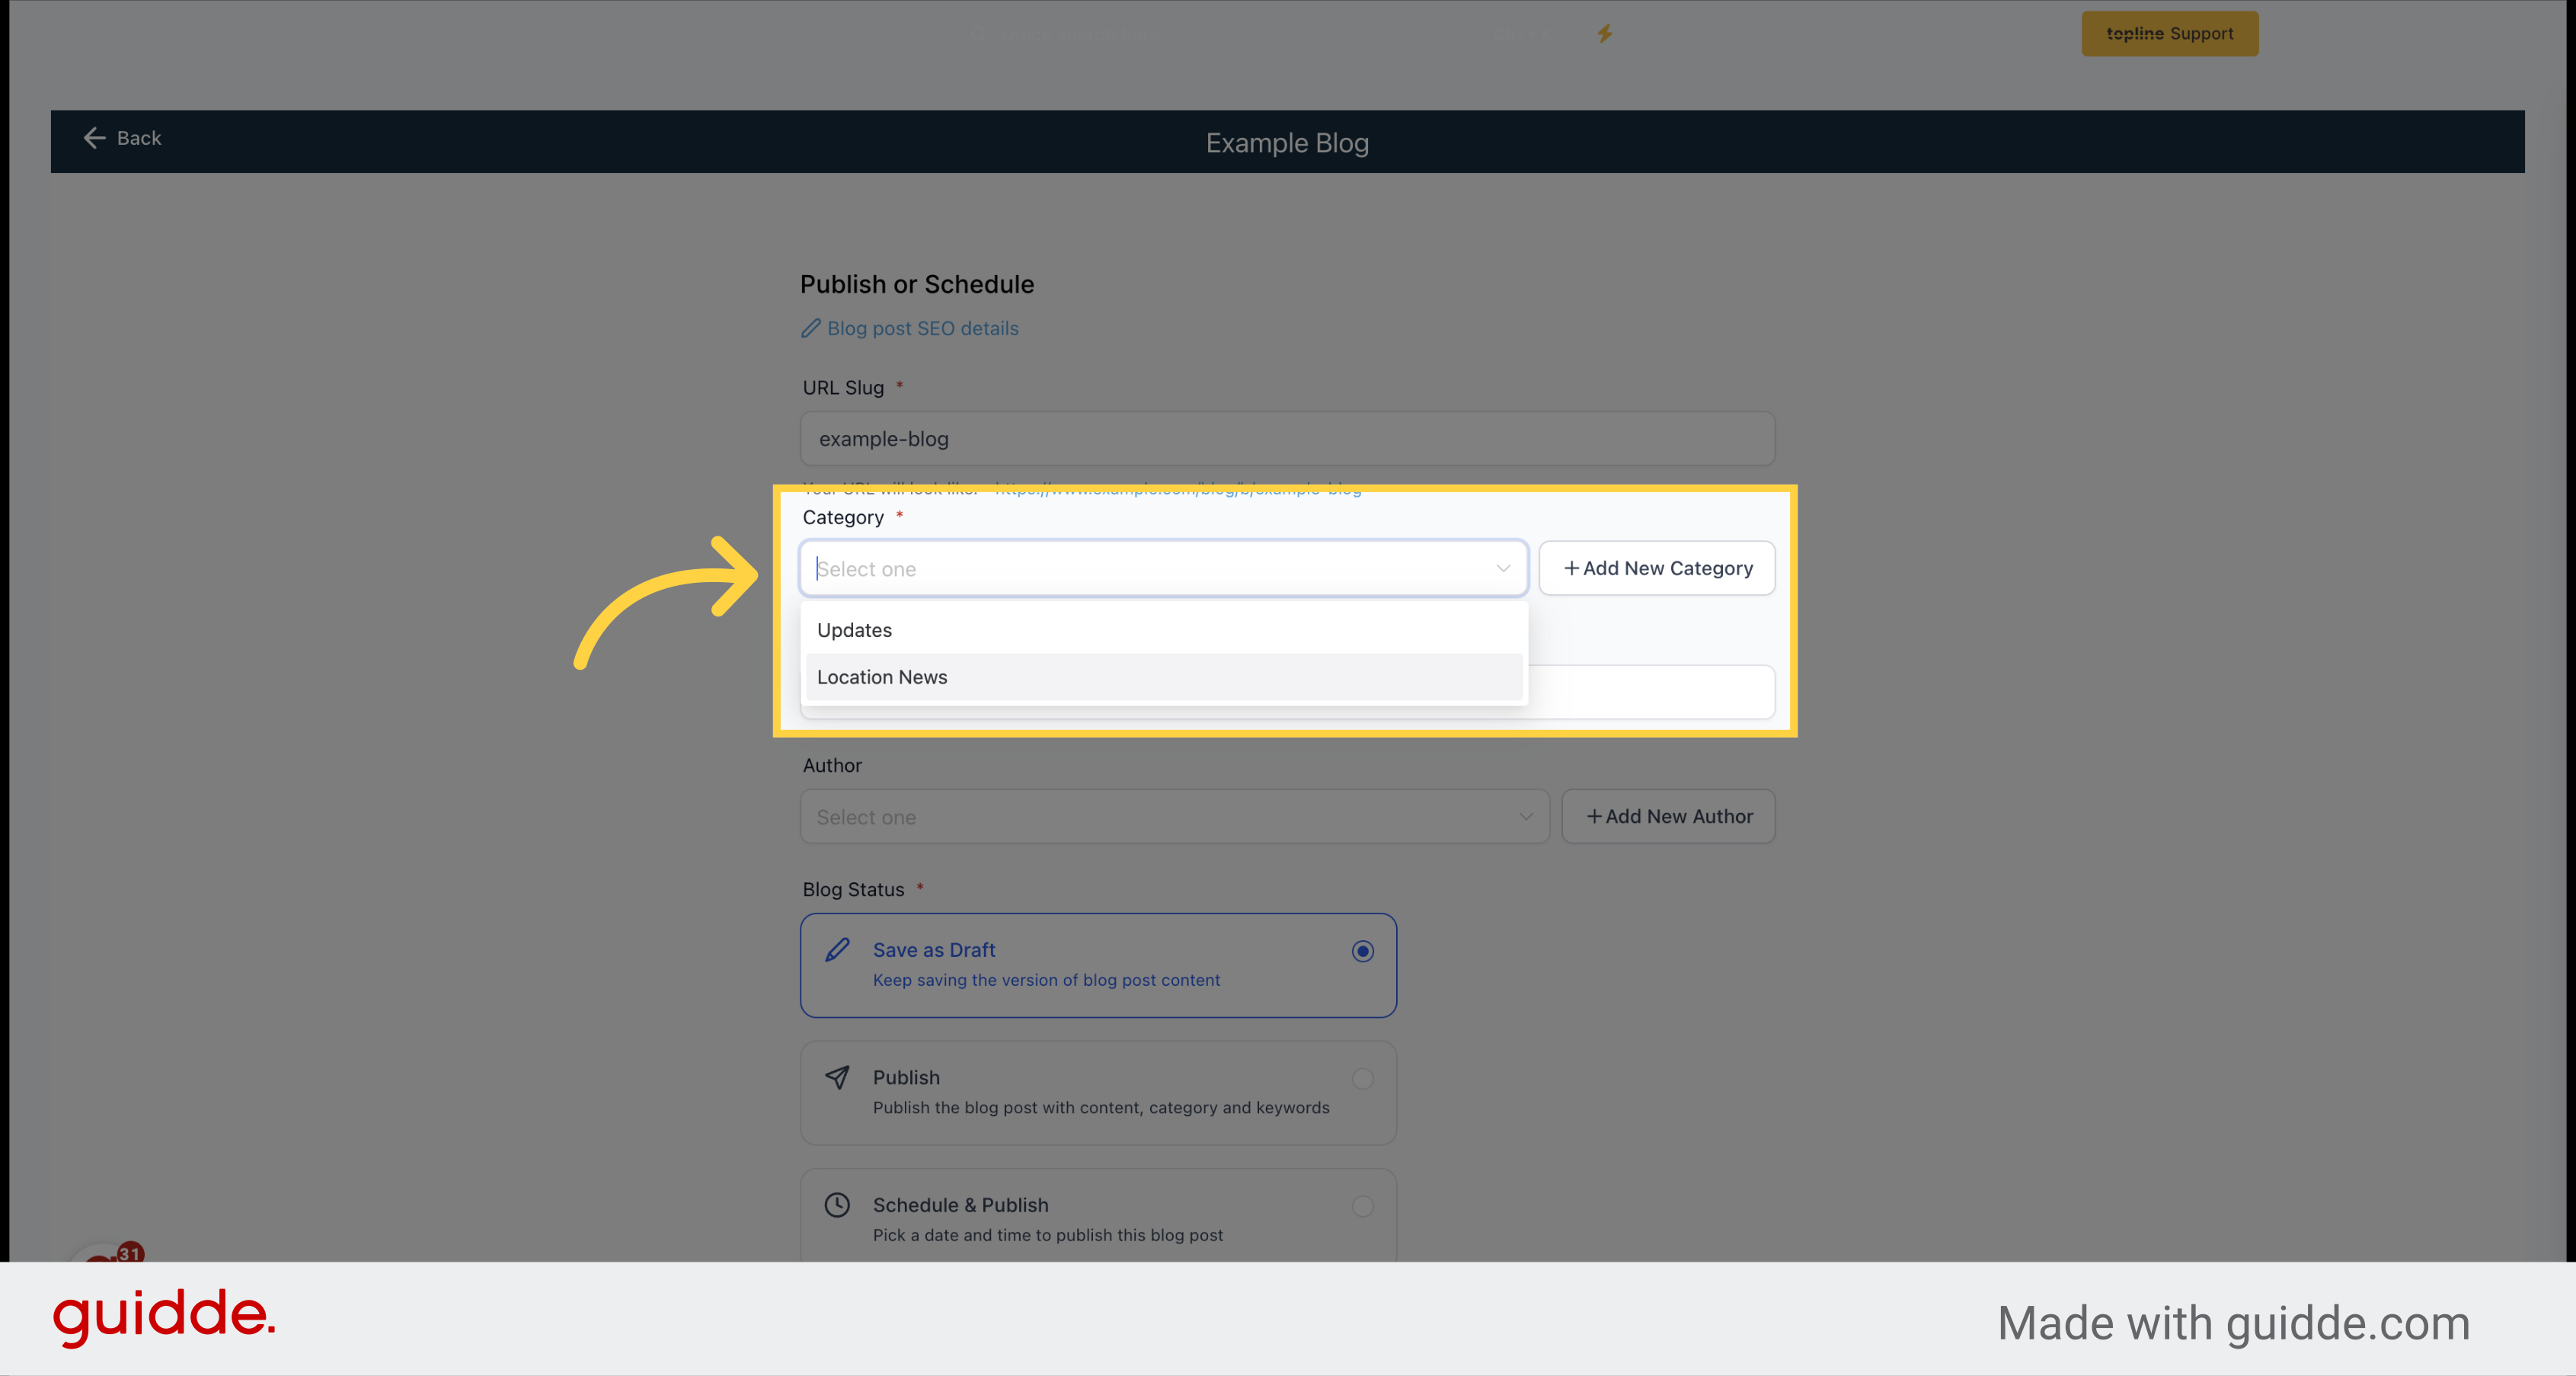
Choose the category, as defined in the blog settings.
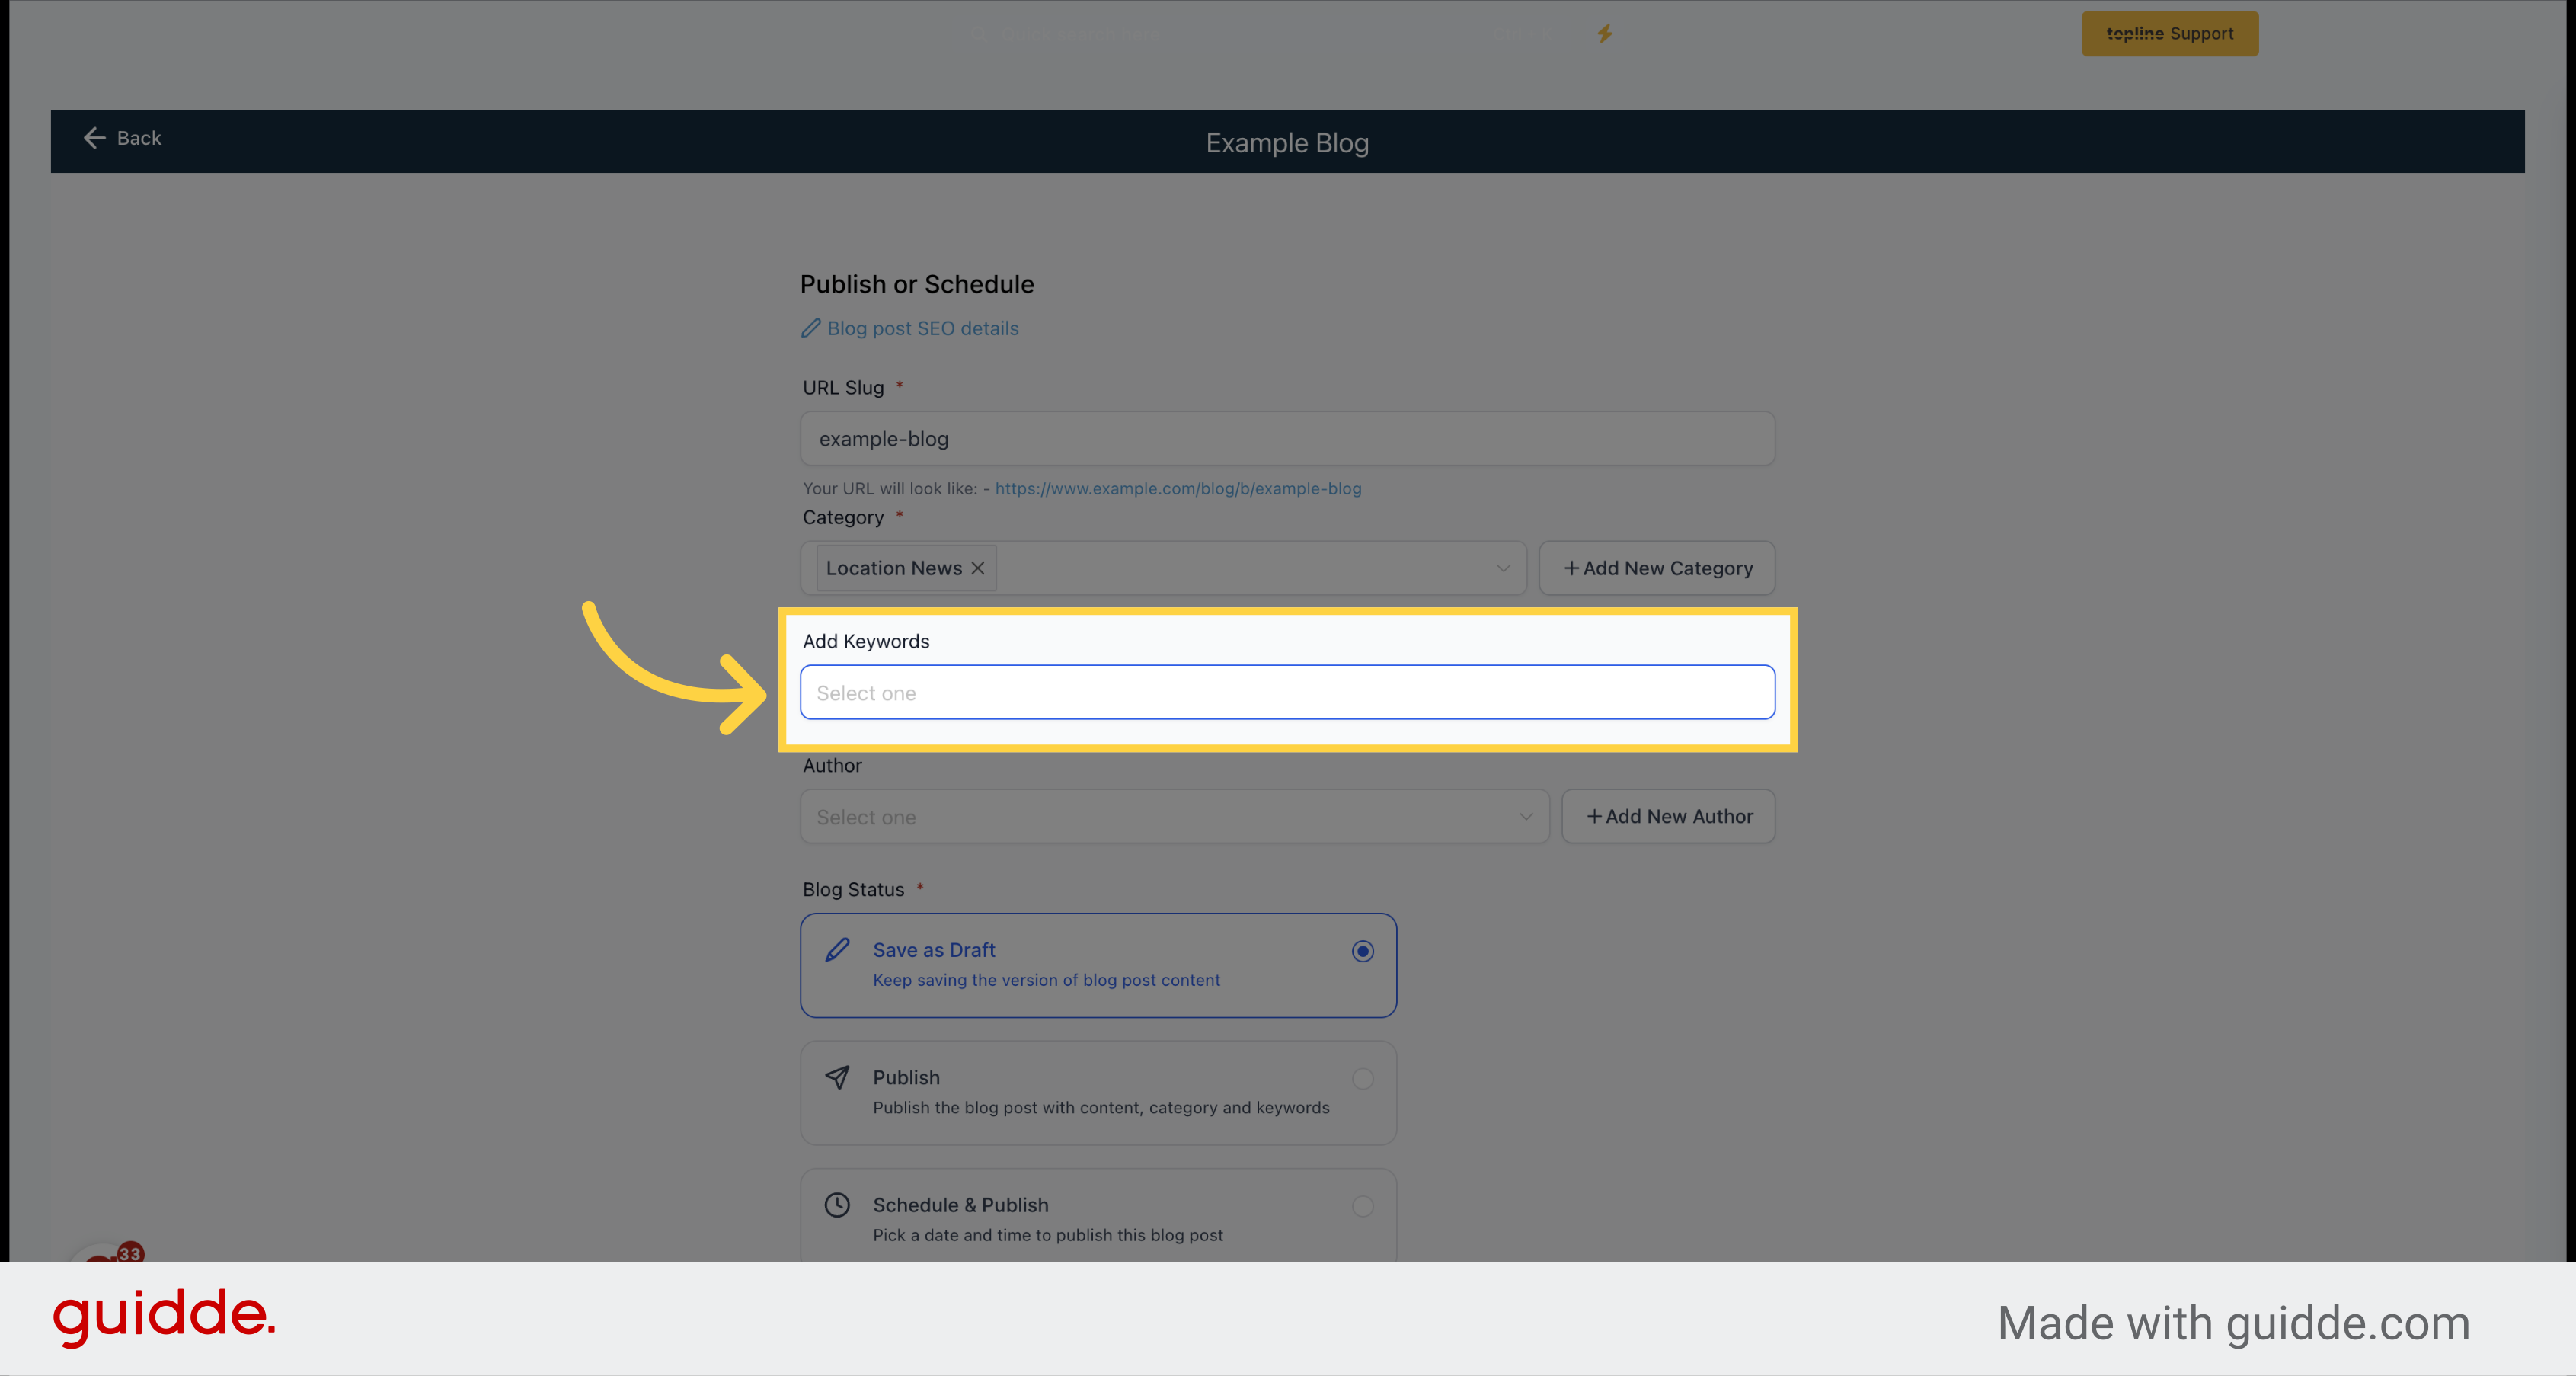
Add keywords according to the content on your blog.
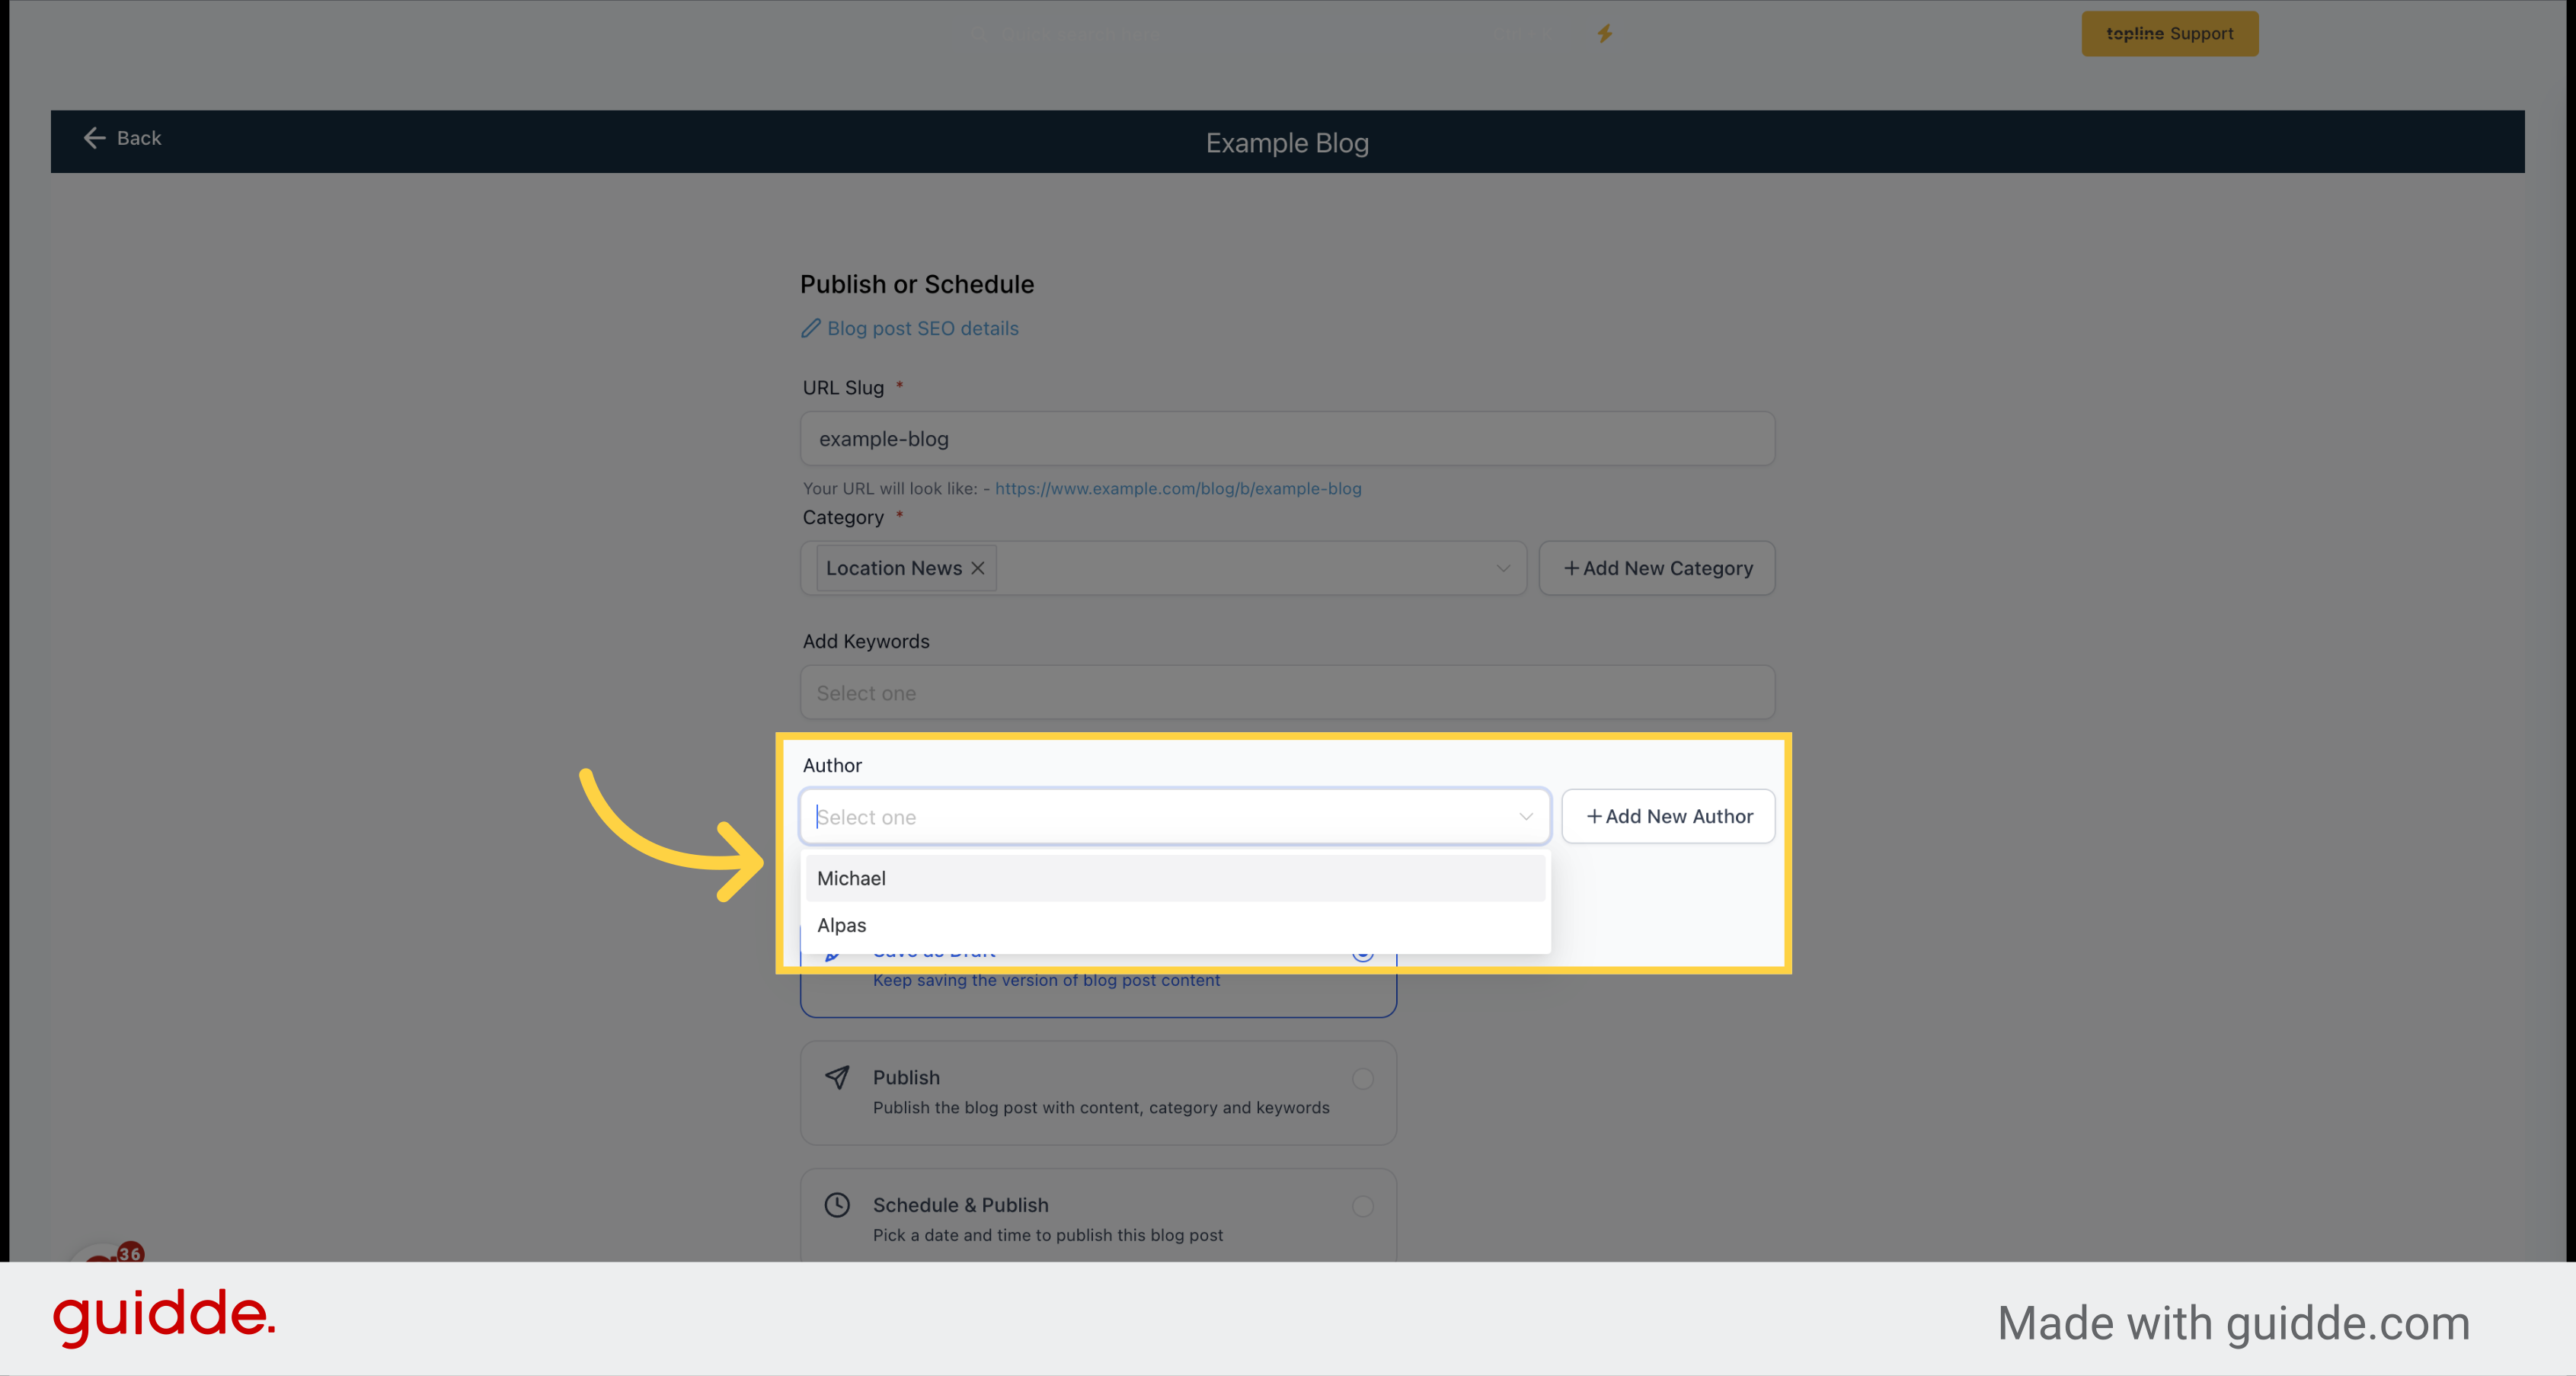
Select the author, as defined in the blog settings.
Select this option if you want to save the post content.
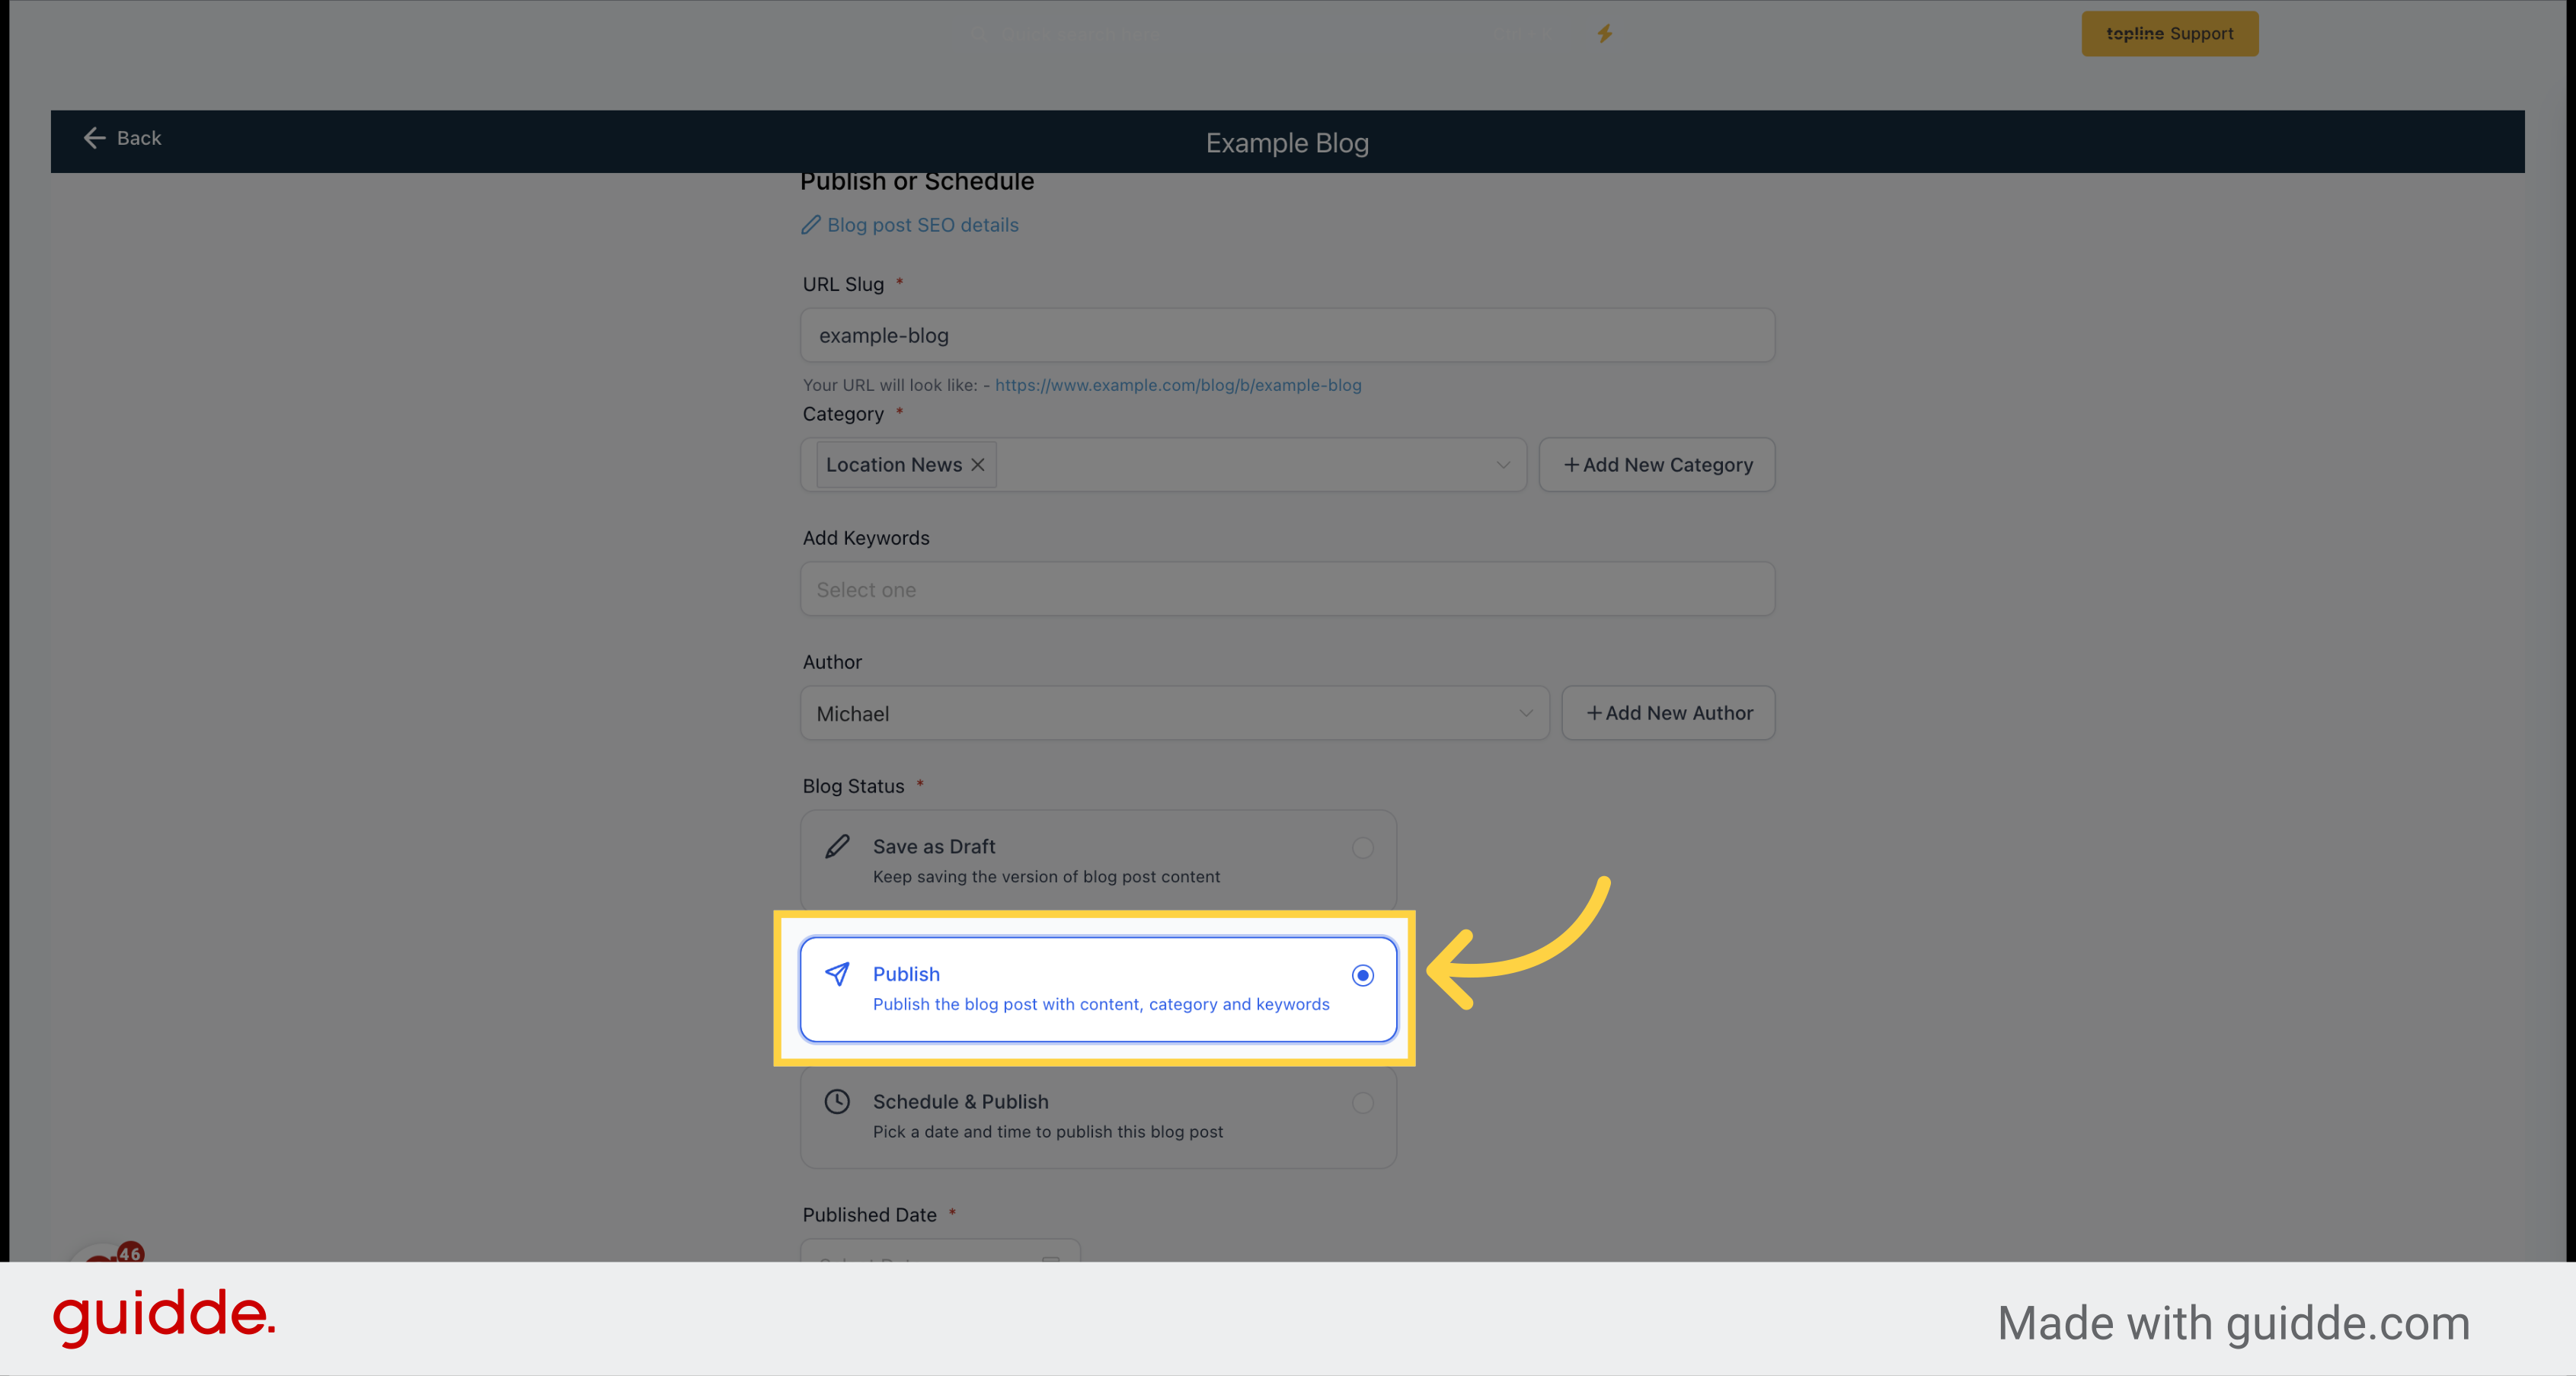
Select this option to publish the blog post with content, category, and keywords.
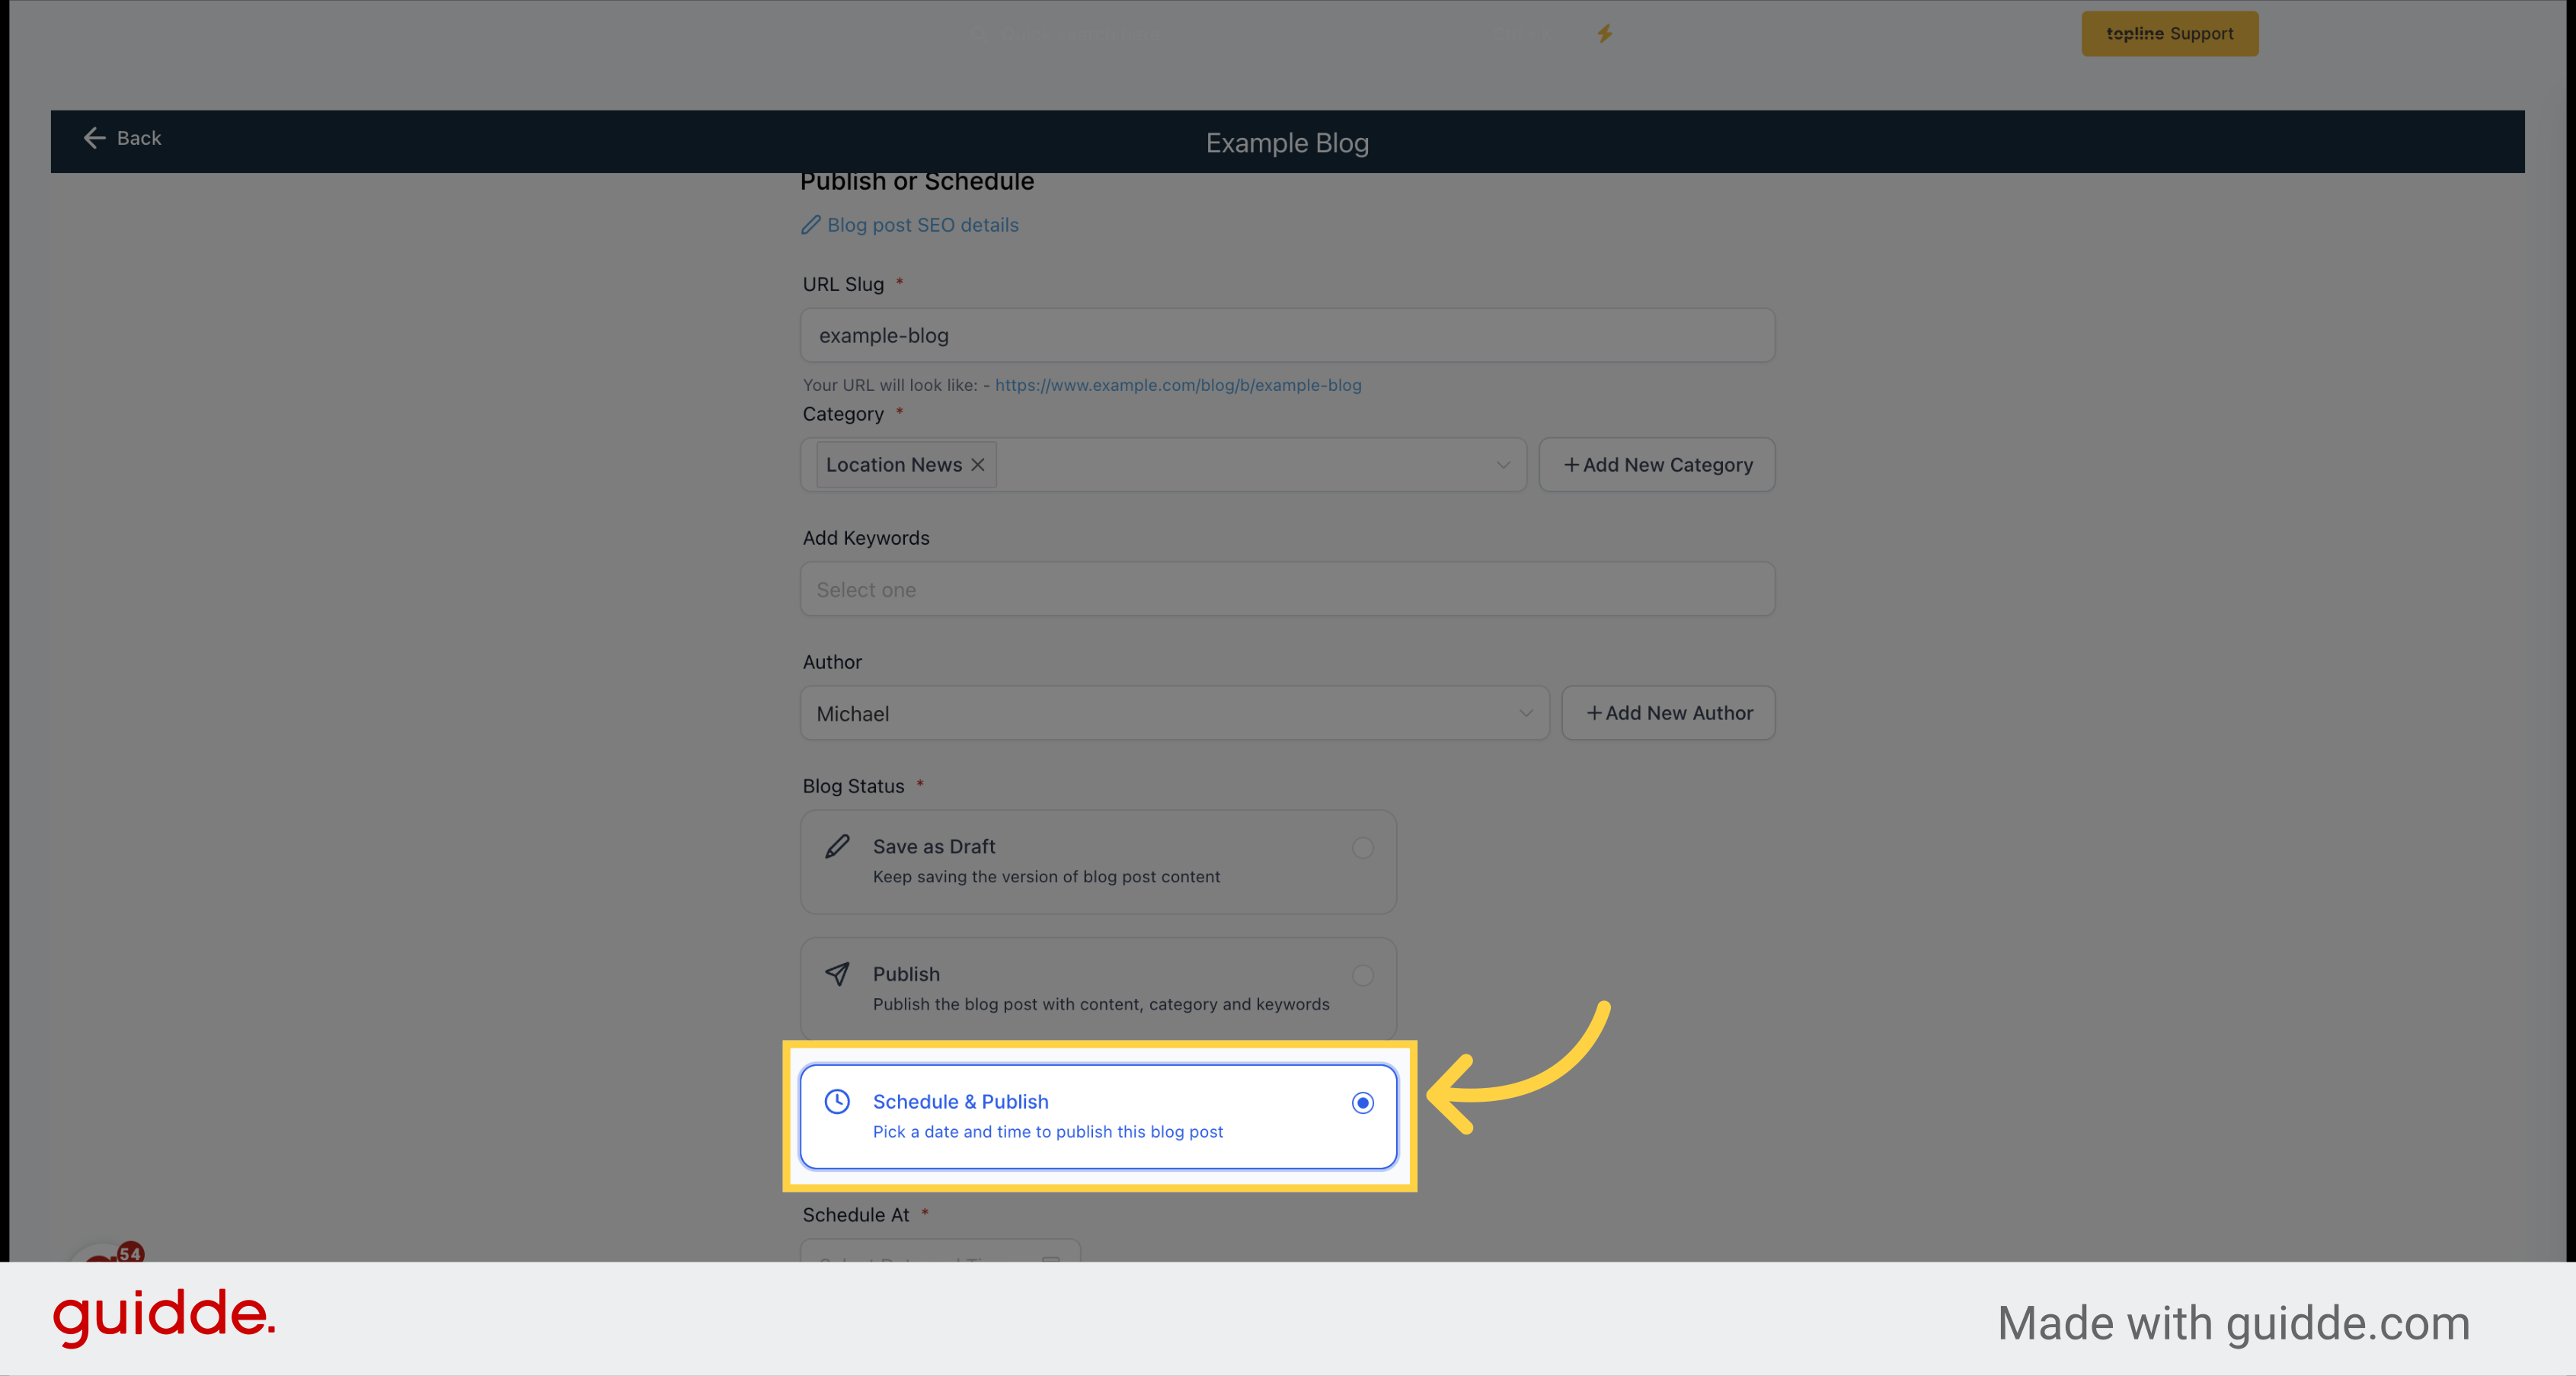
Pick a date and time to publish the blog post.
Choose the date you want to schedule the content to be published.
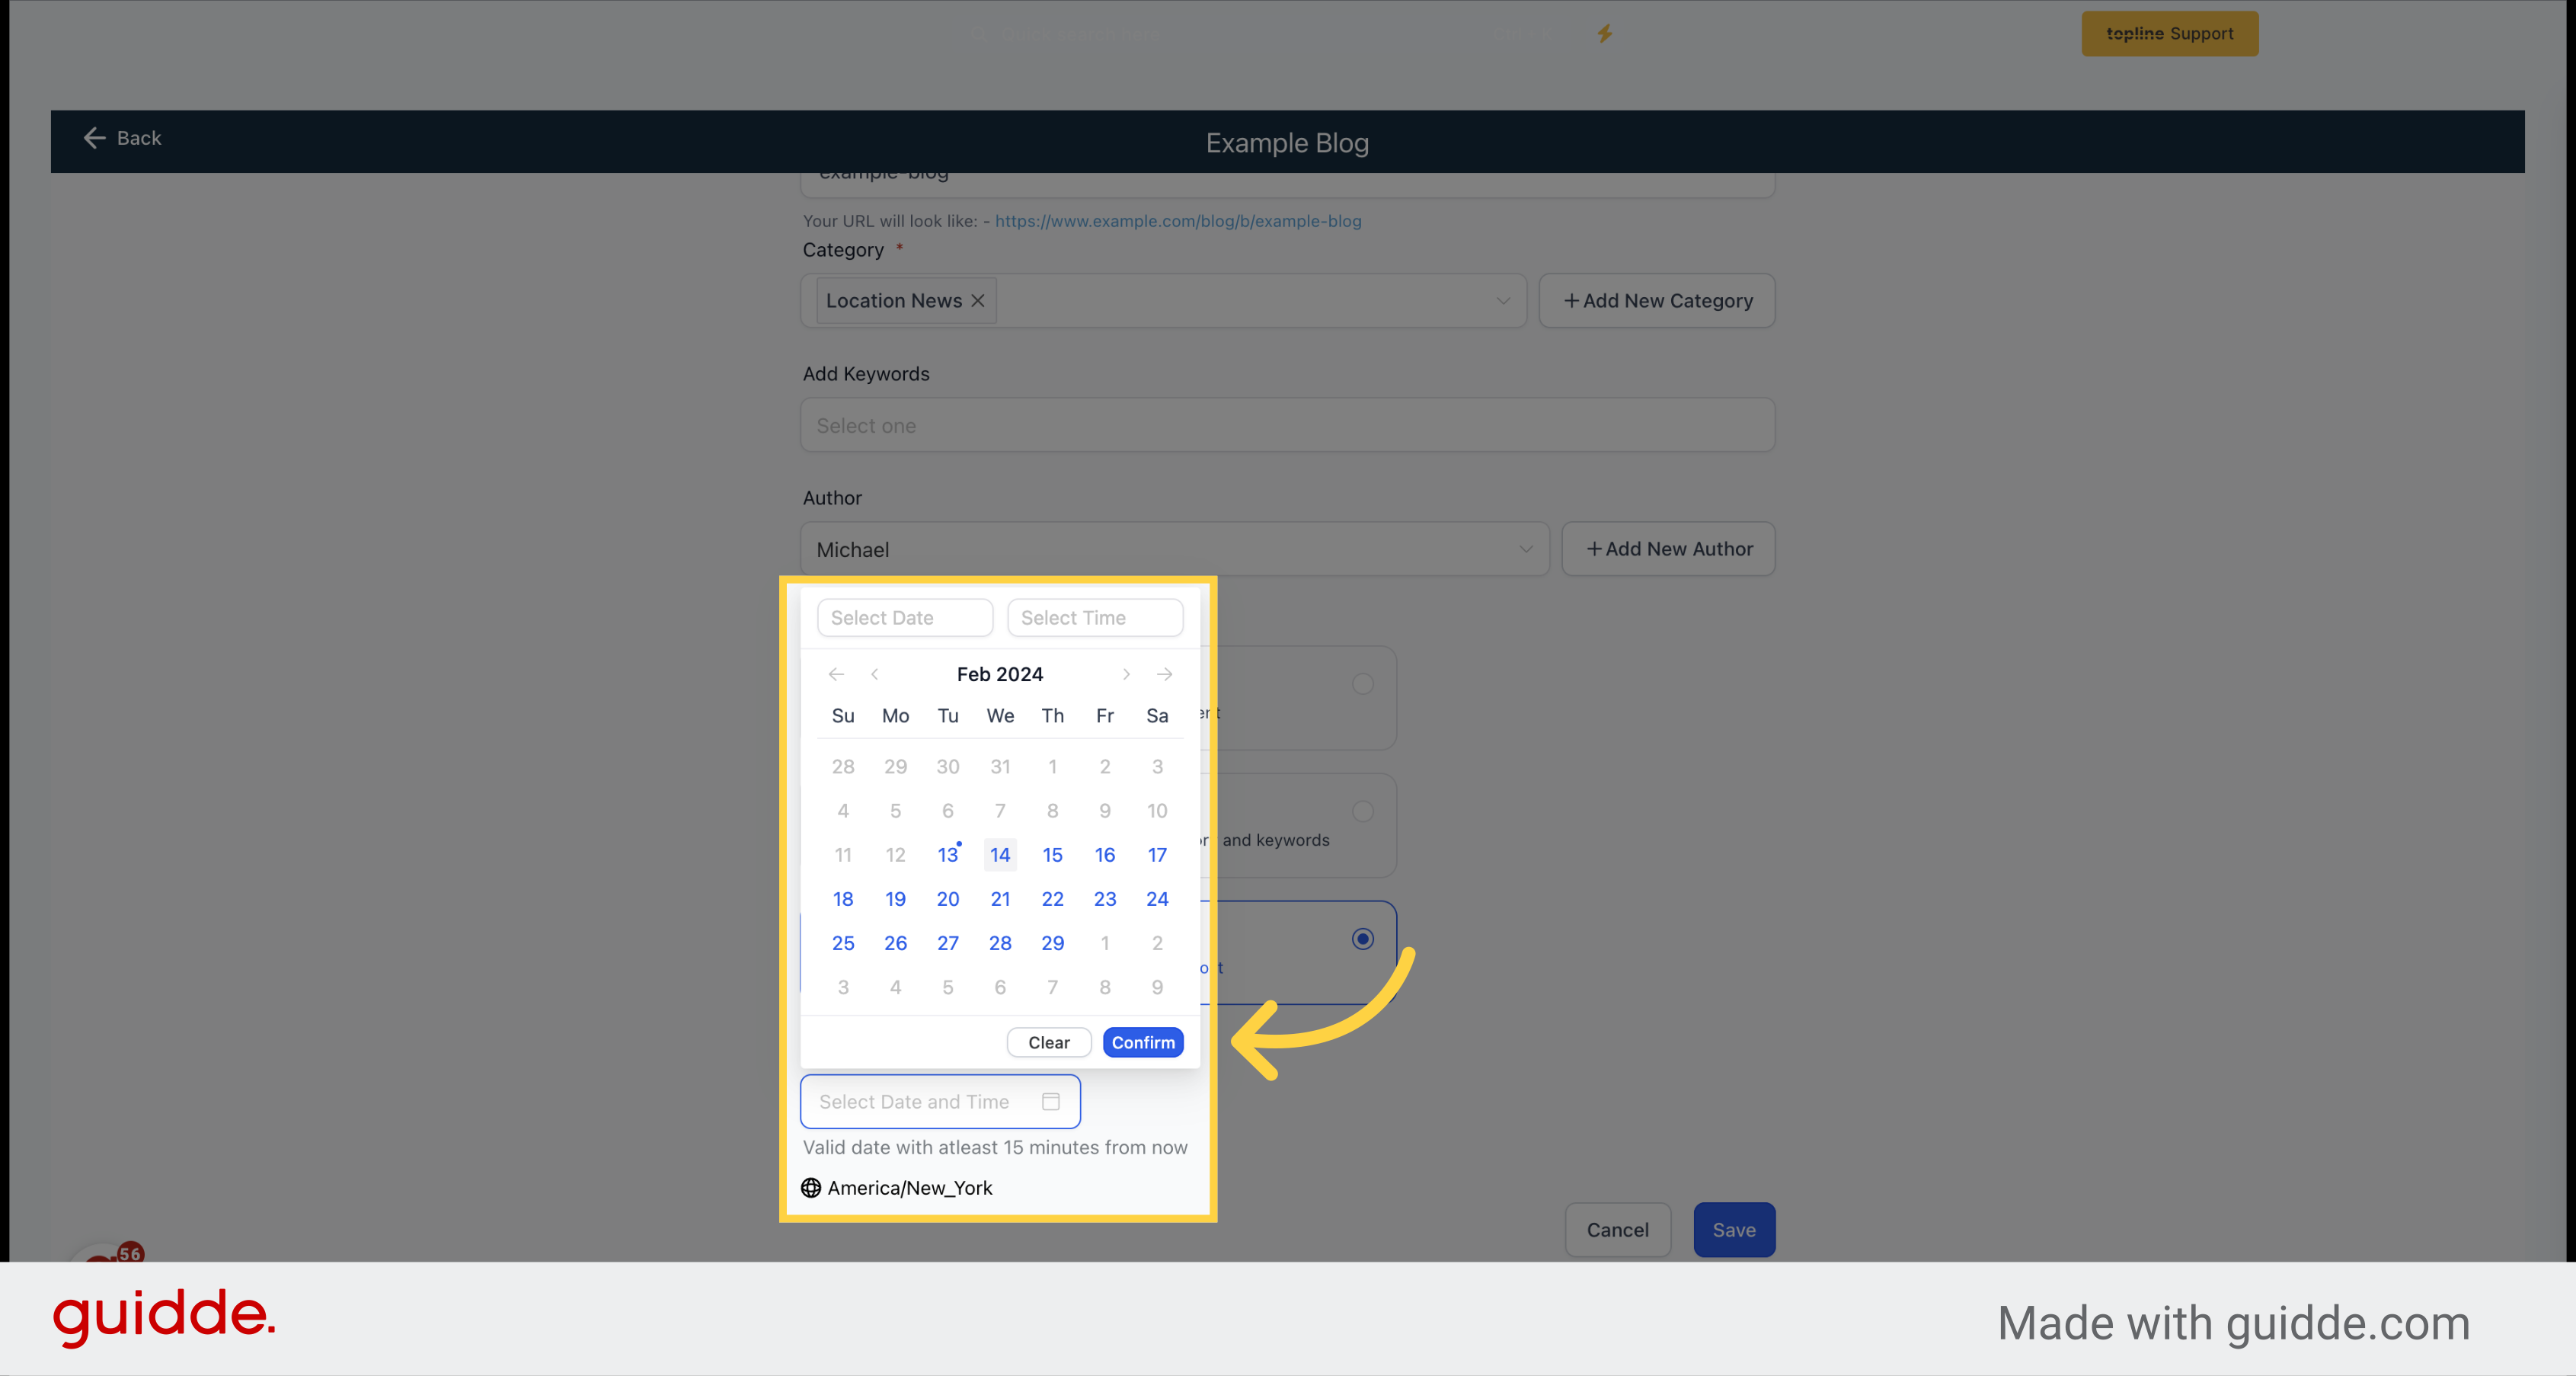
Choose the option to confirm the date.

To schedule, publish, or save as draft, click on Save.