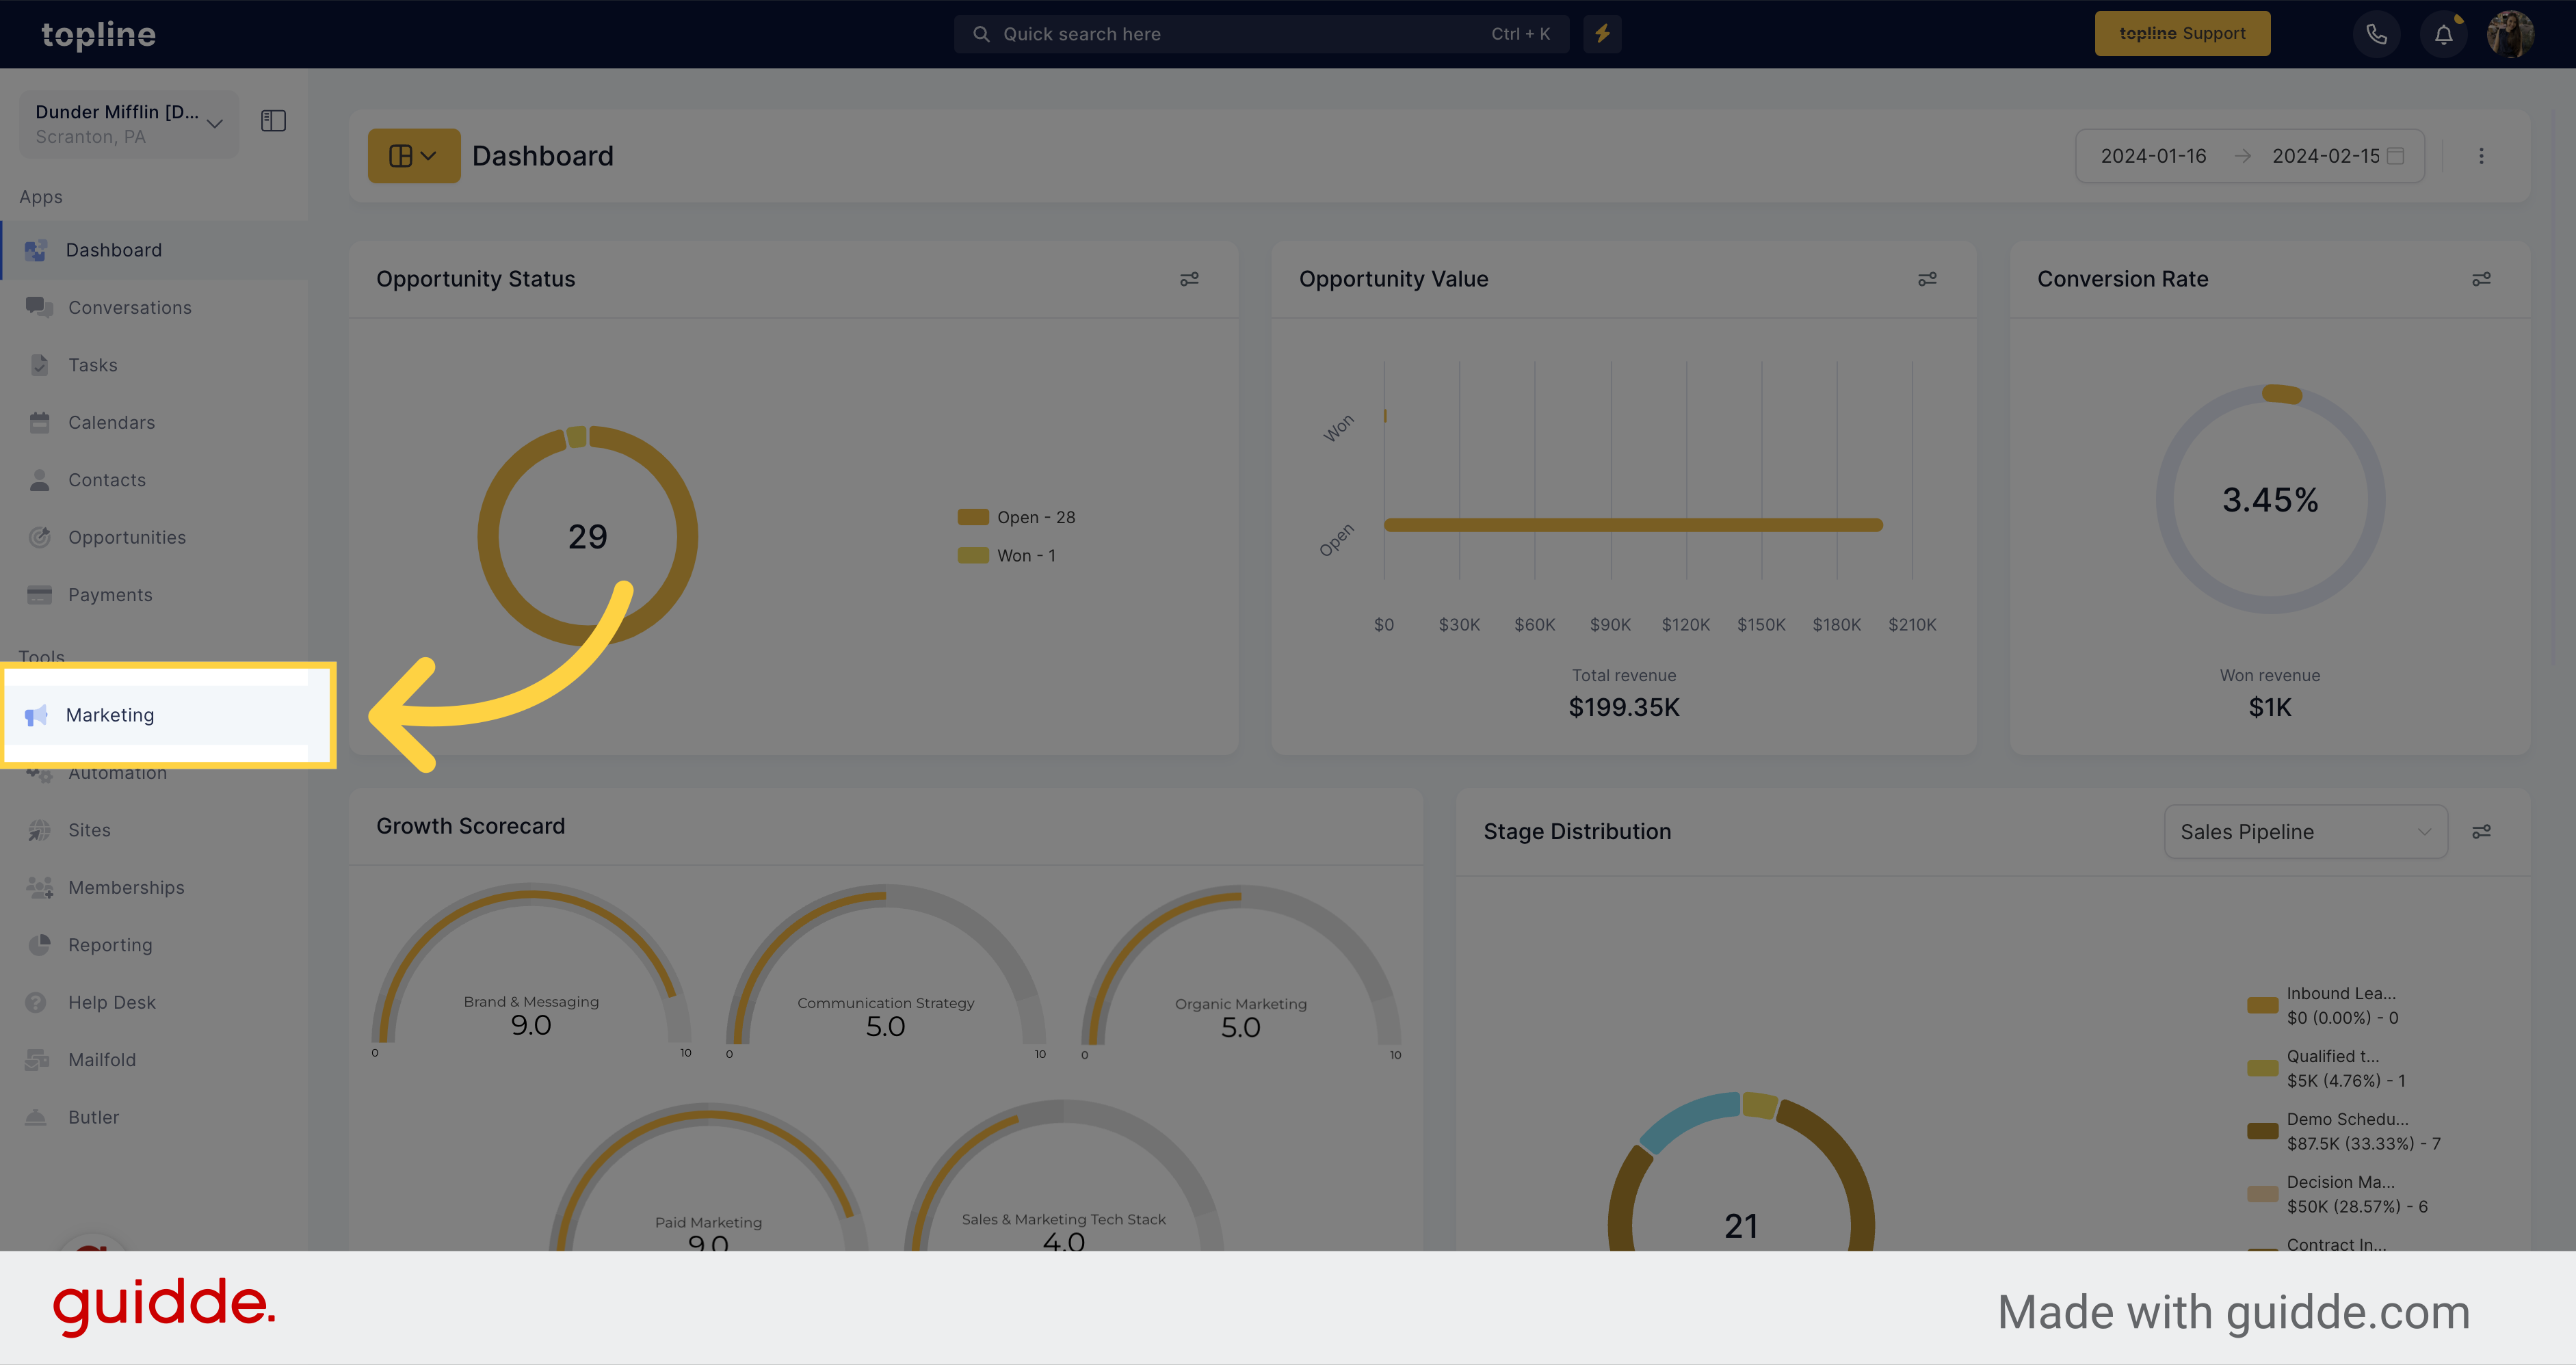
Click on the "Marketing" option.
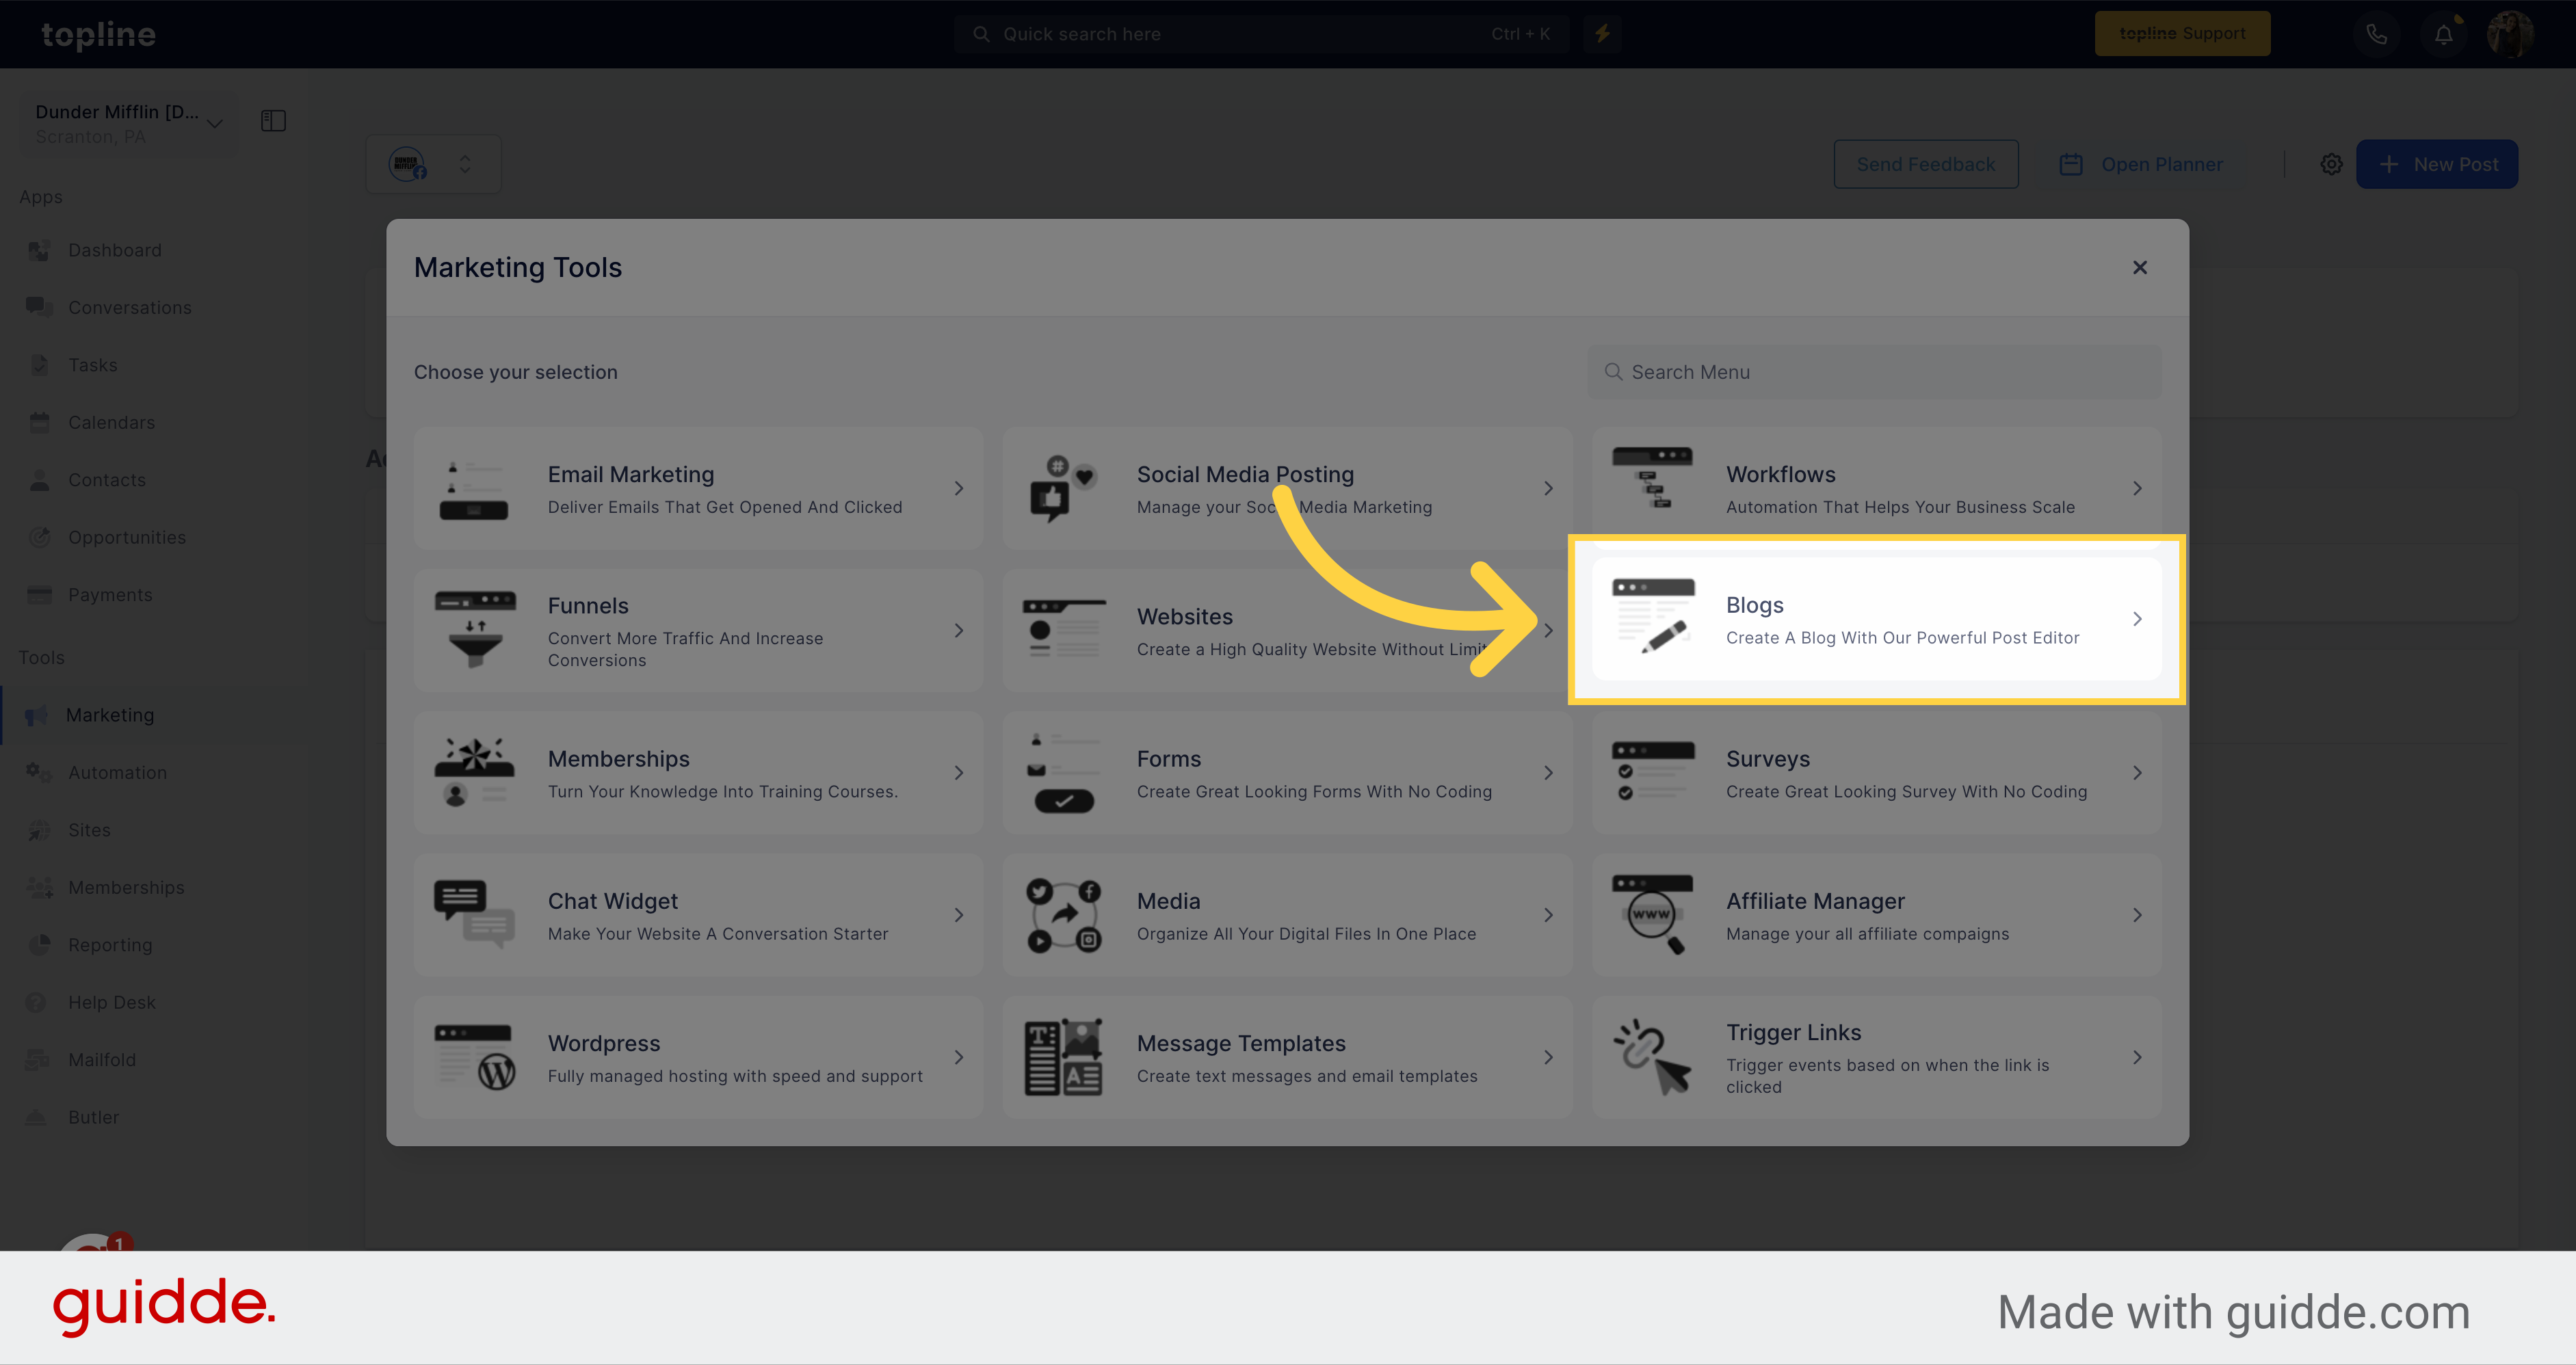
On the Marketing Tools menu, click on "Blogs".
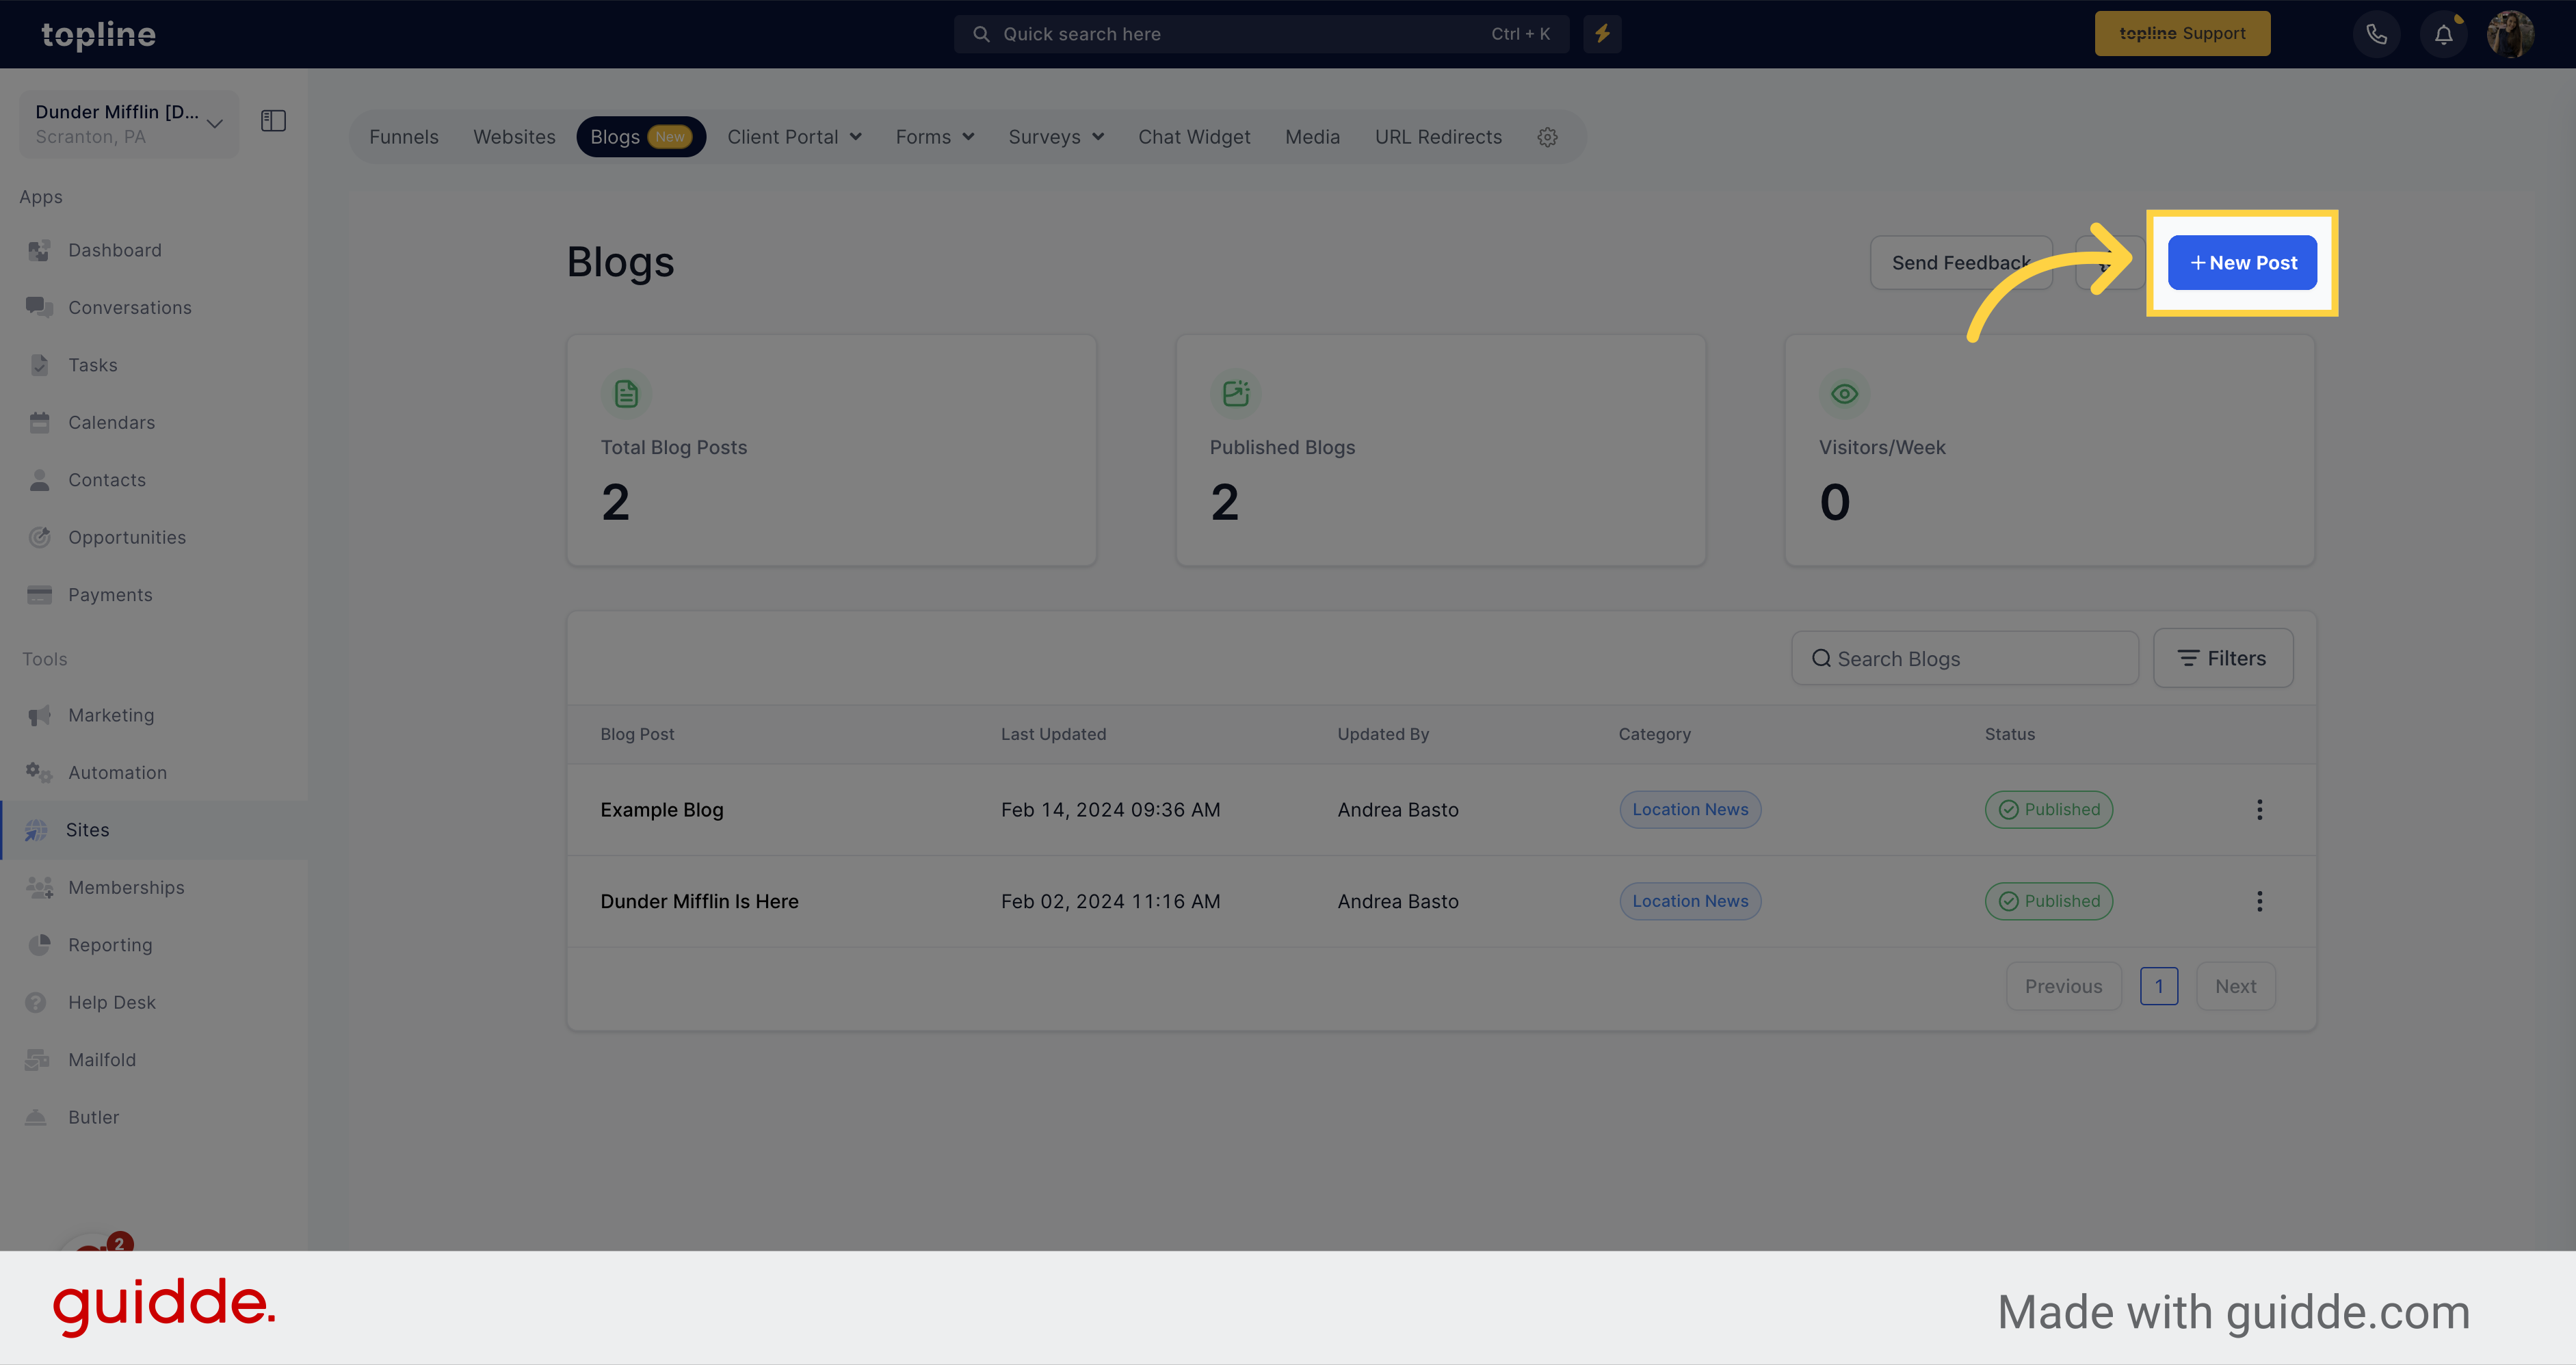
Select the "New Post" option on the Blogs view.
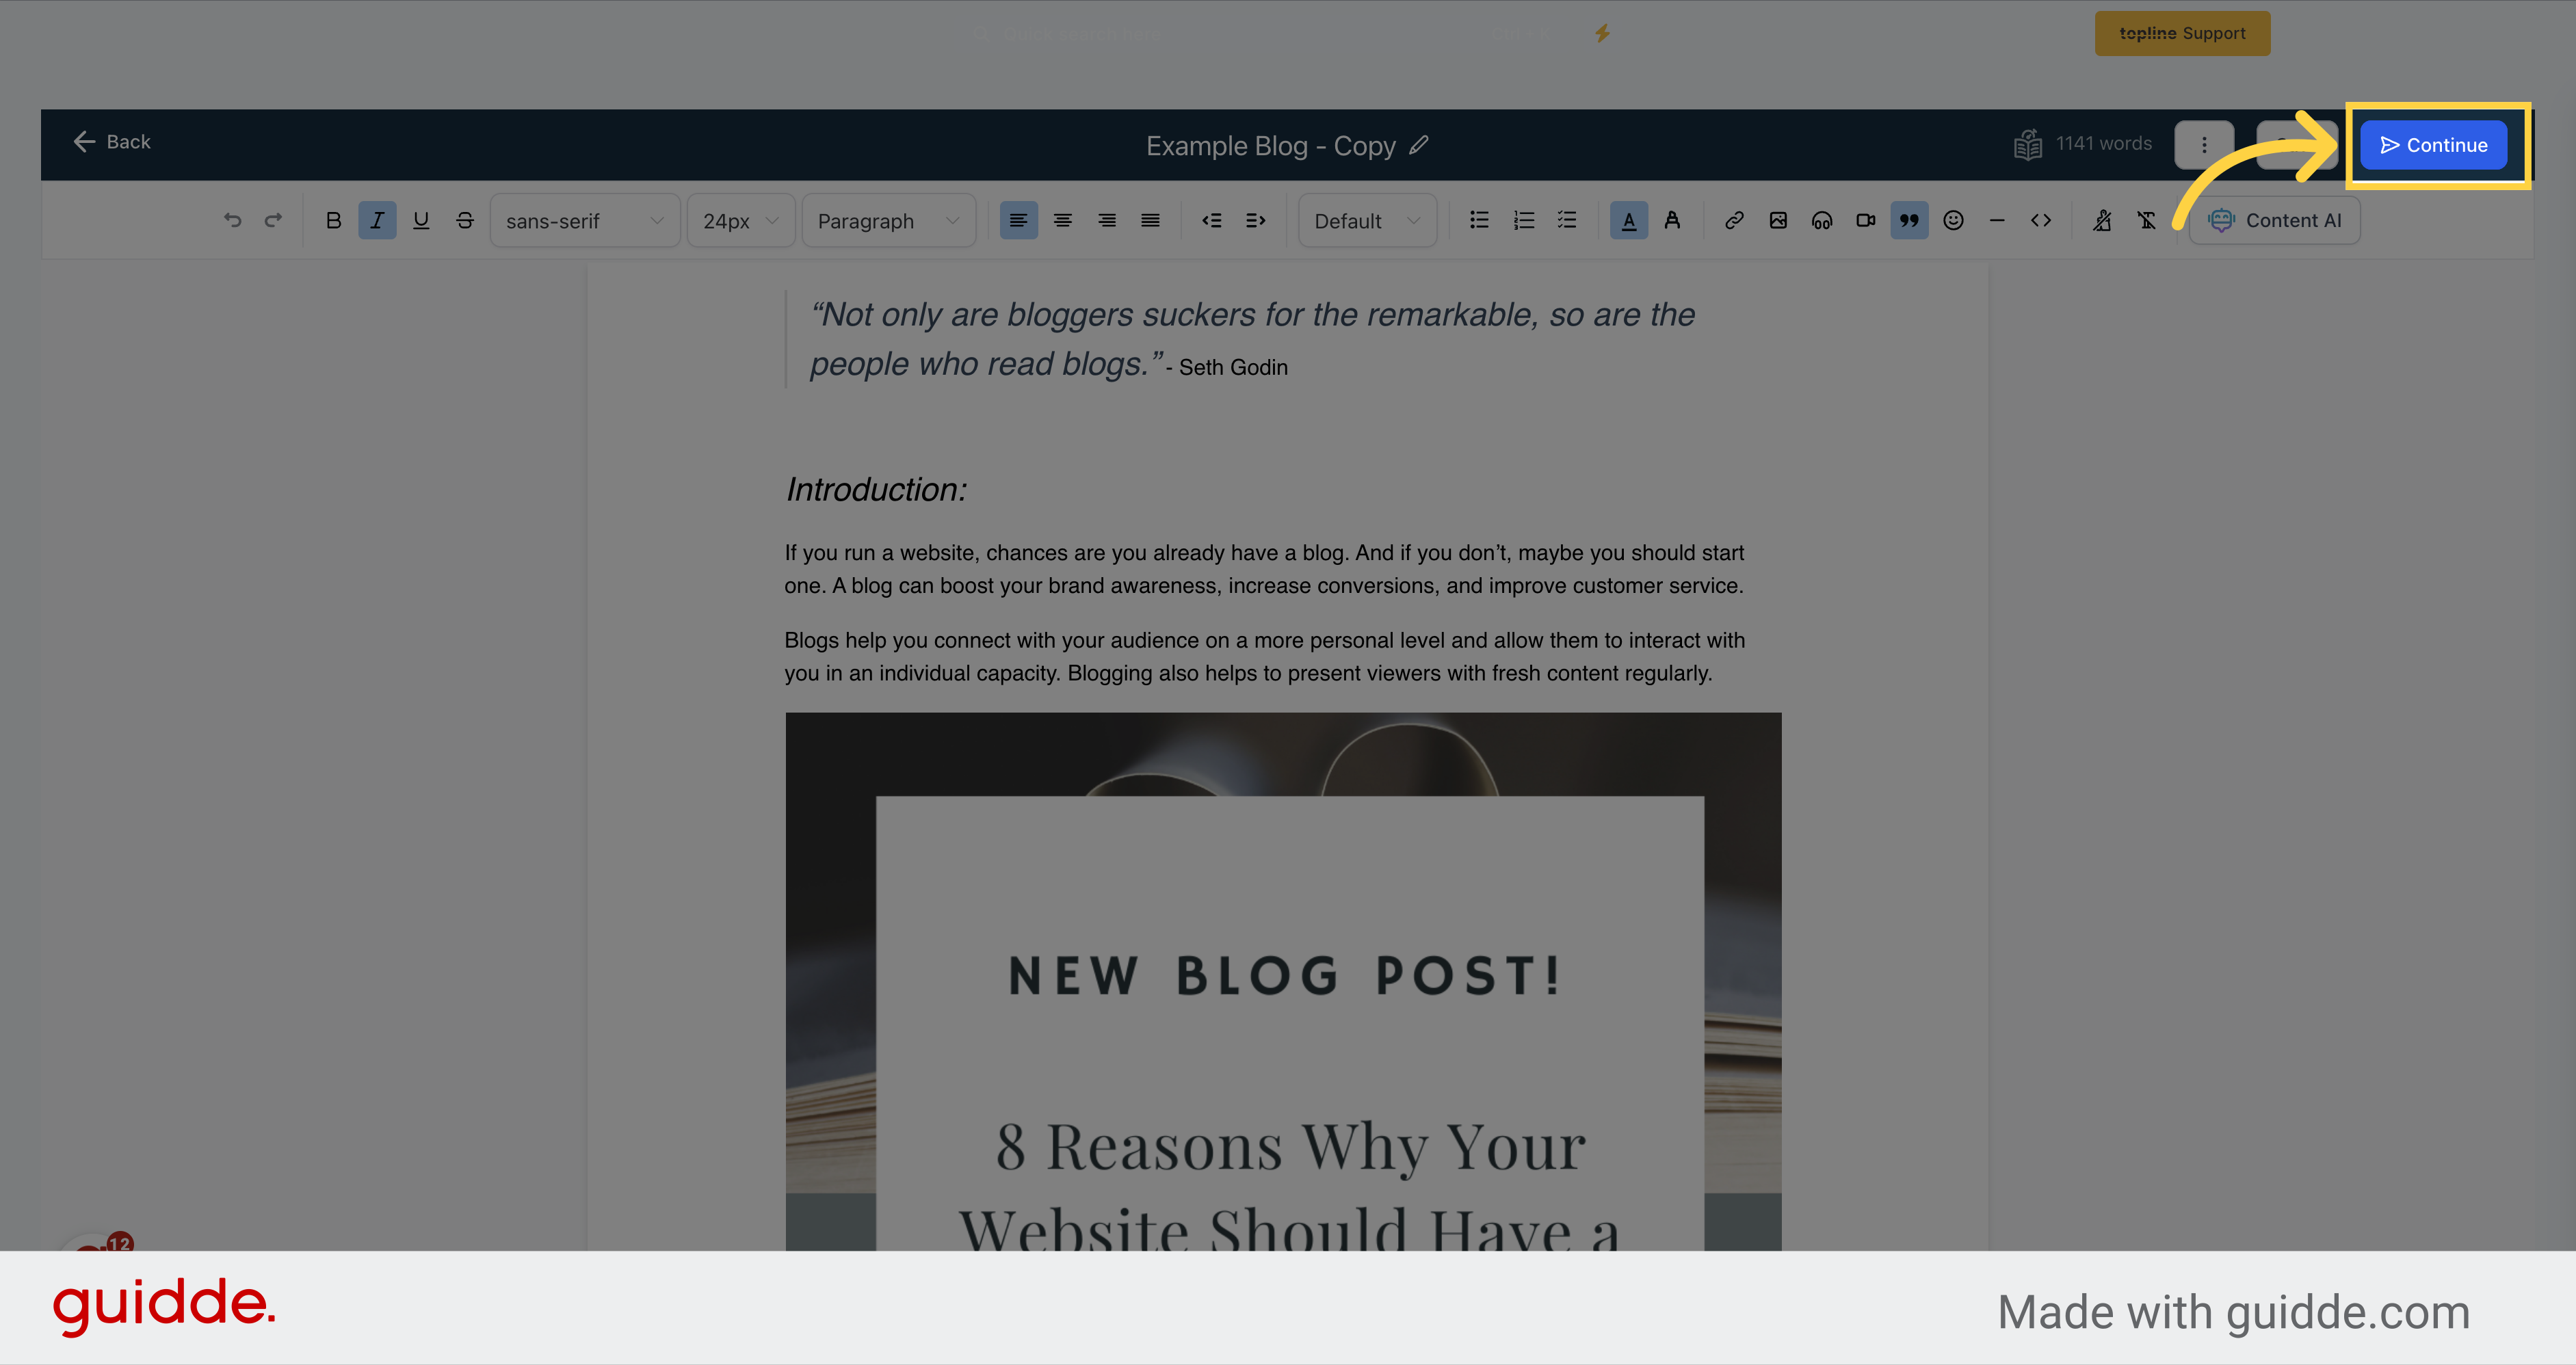
Select the "Continue" option on the upper right corner.
If you wish to edit the blog post title, description, or image, simply click on the "Edit" icon. Once you're done with the edits, click on the "Update Blog Post" button.
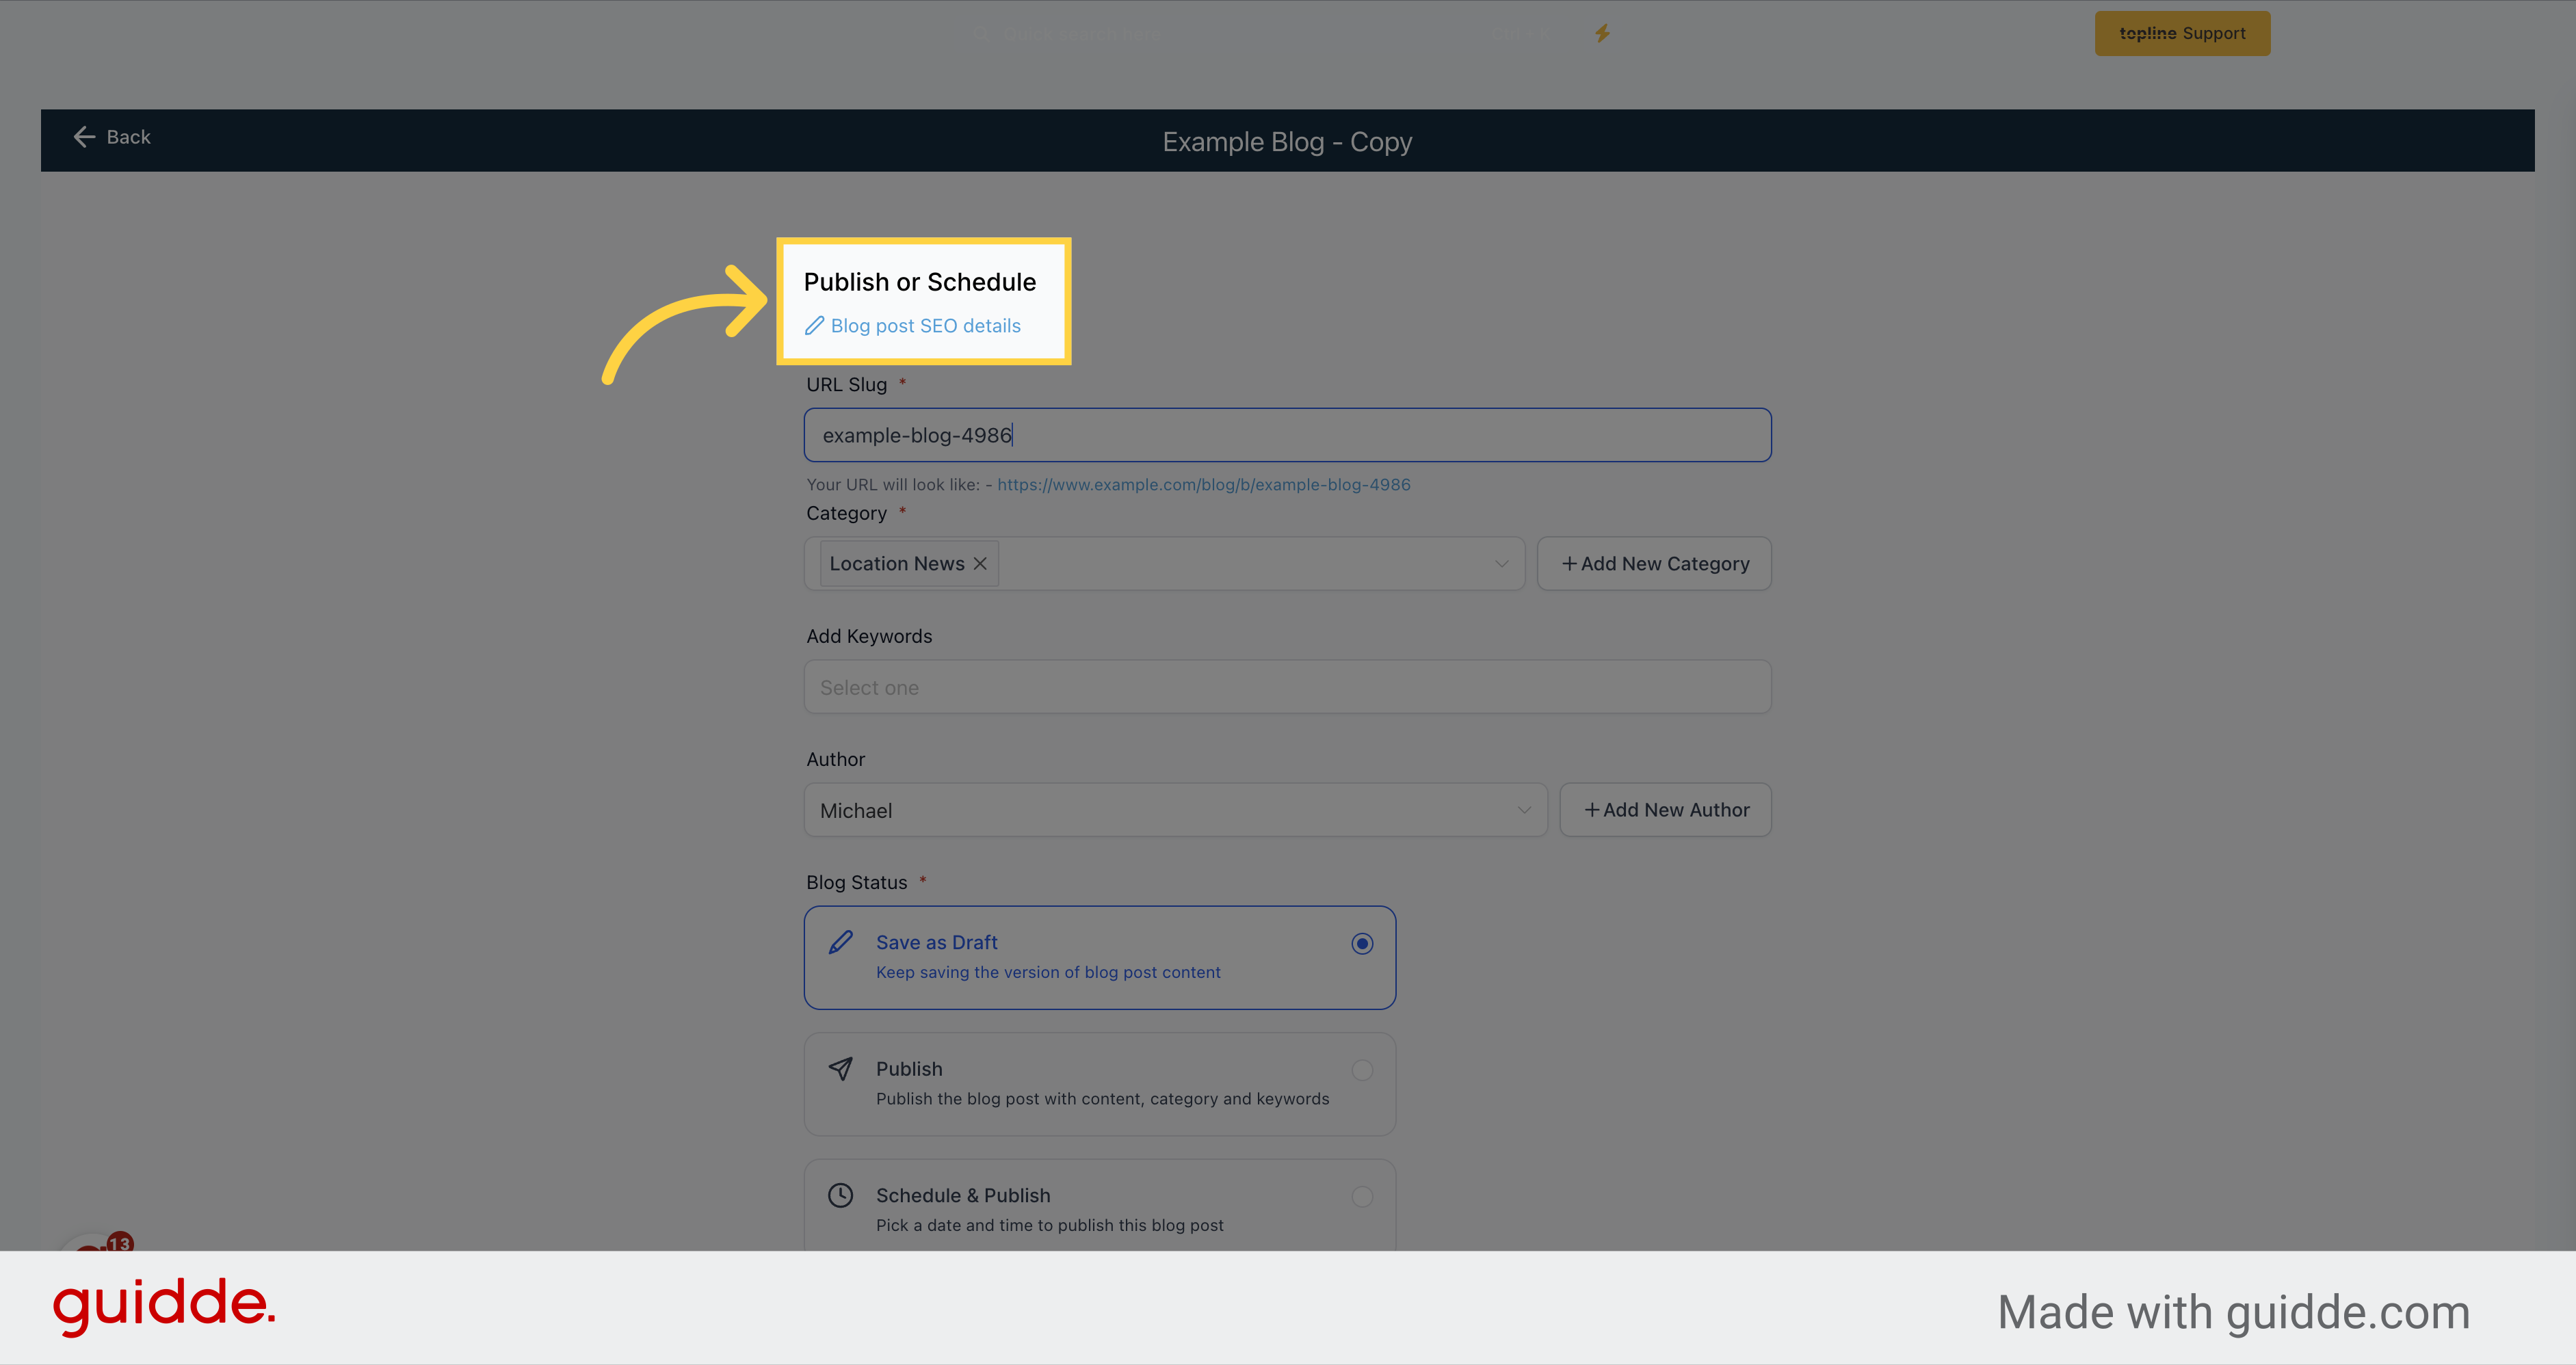
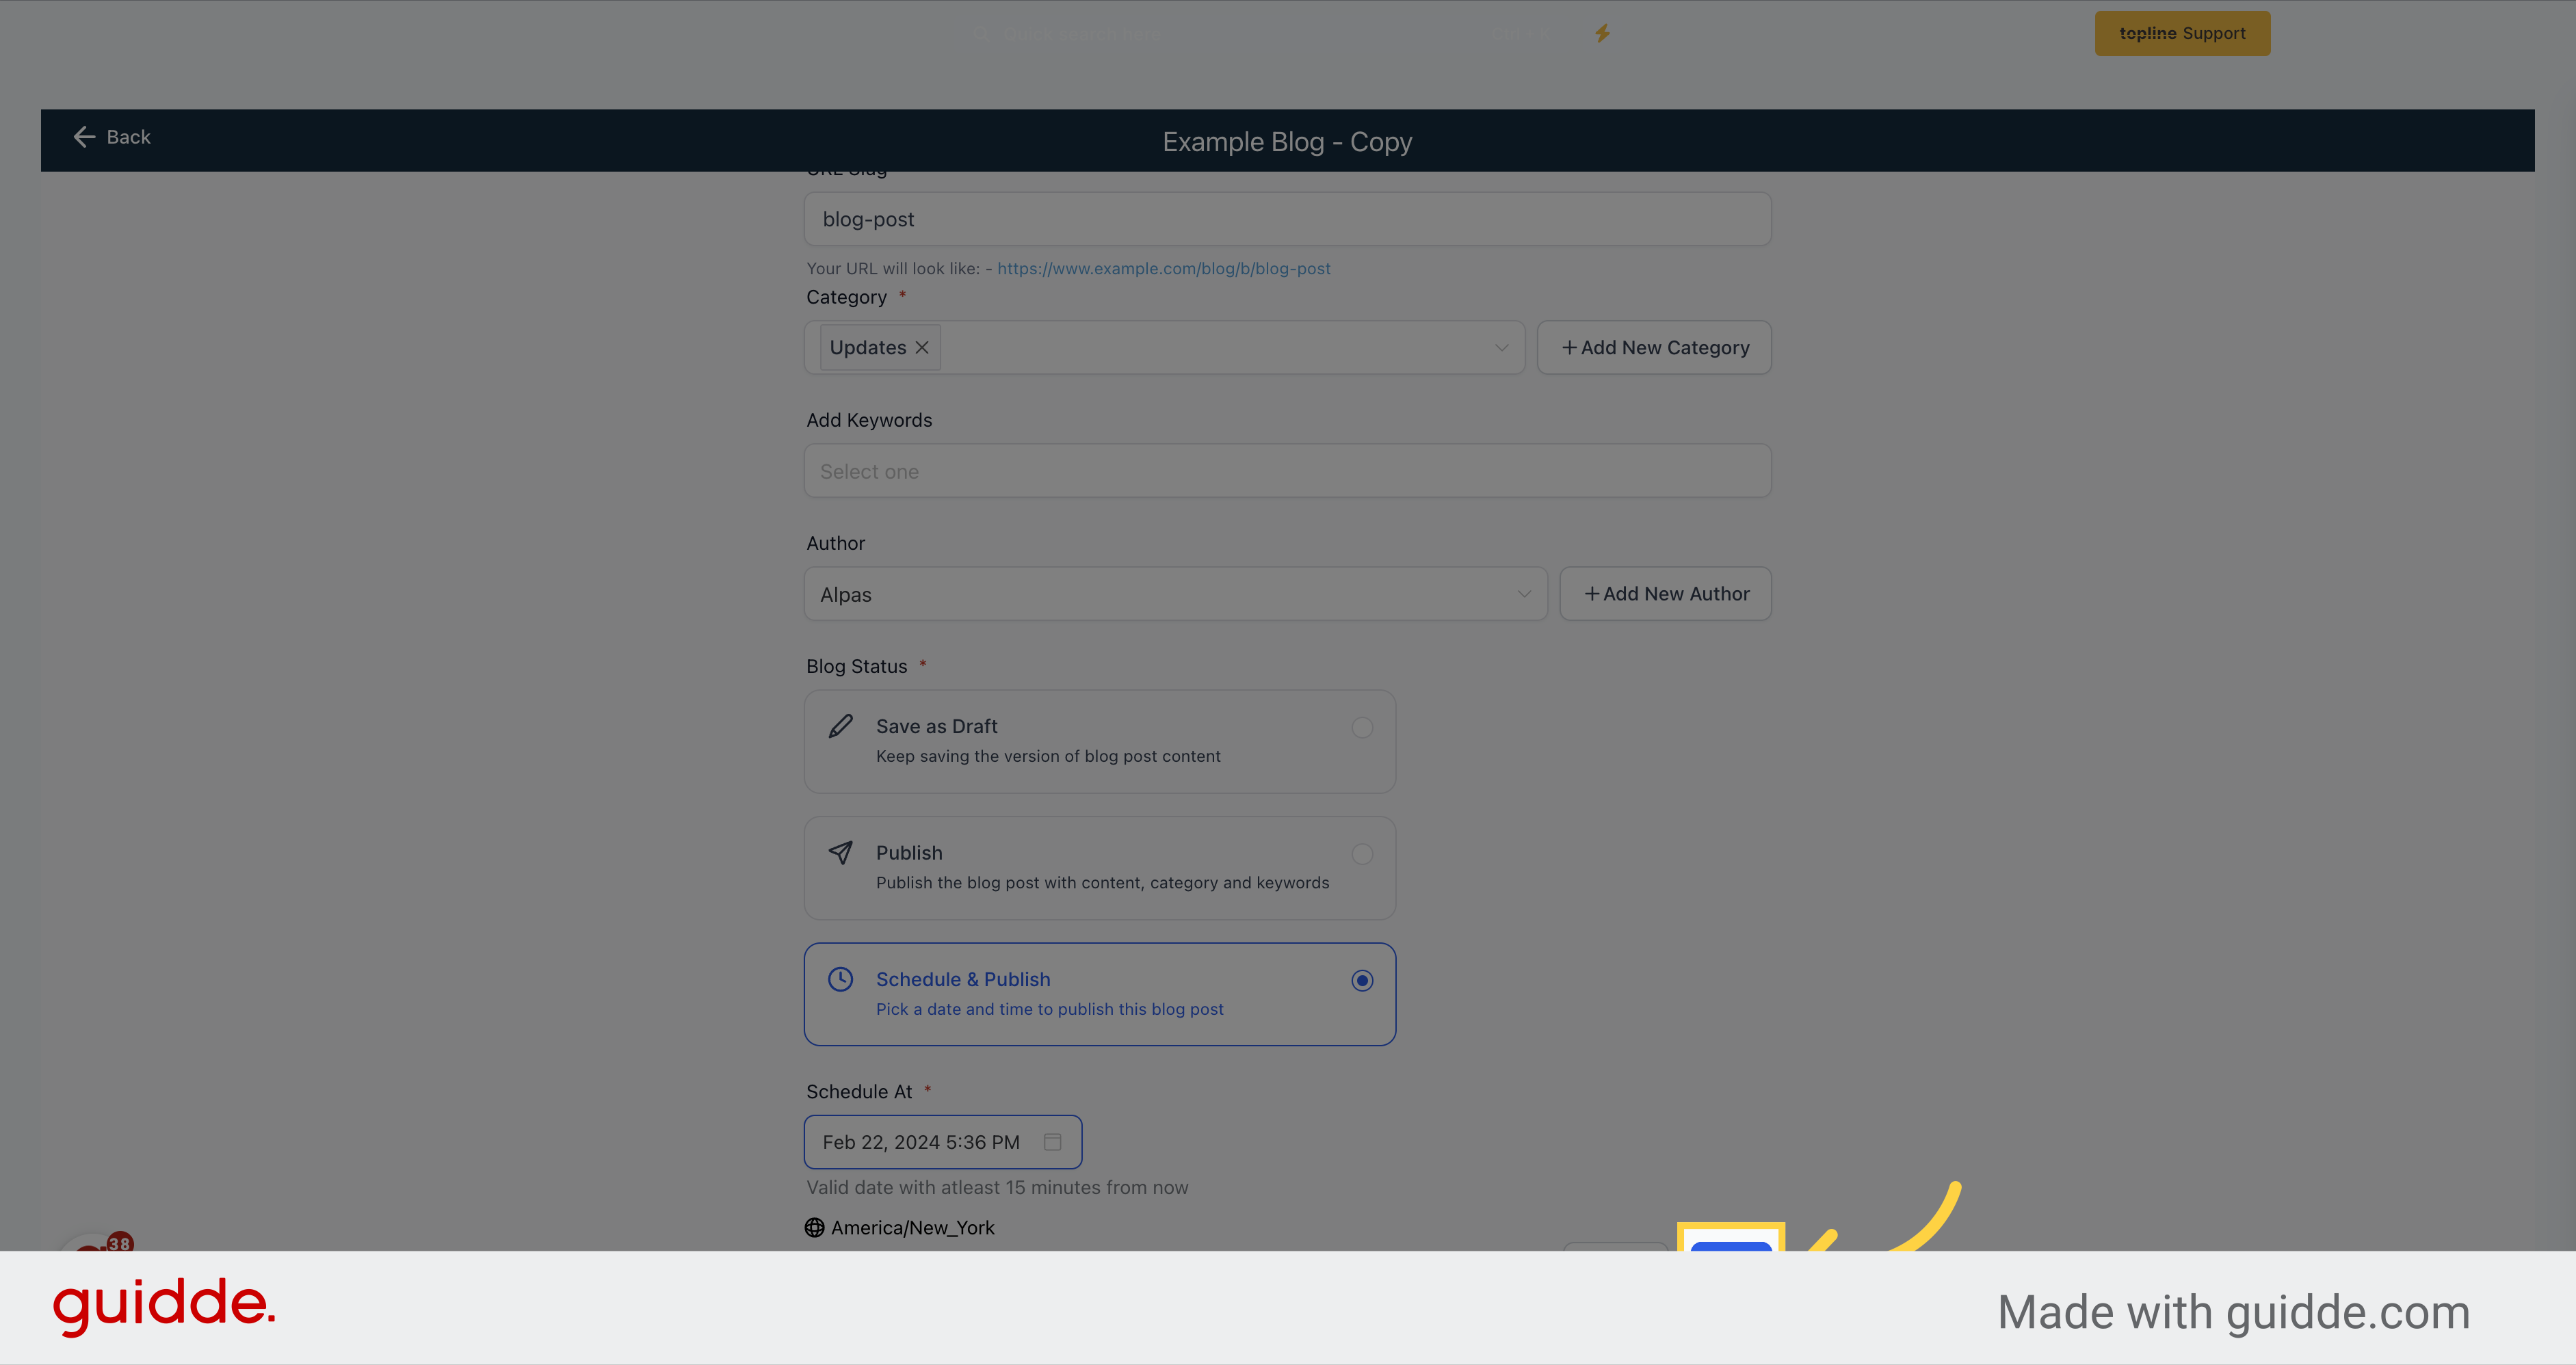
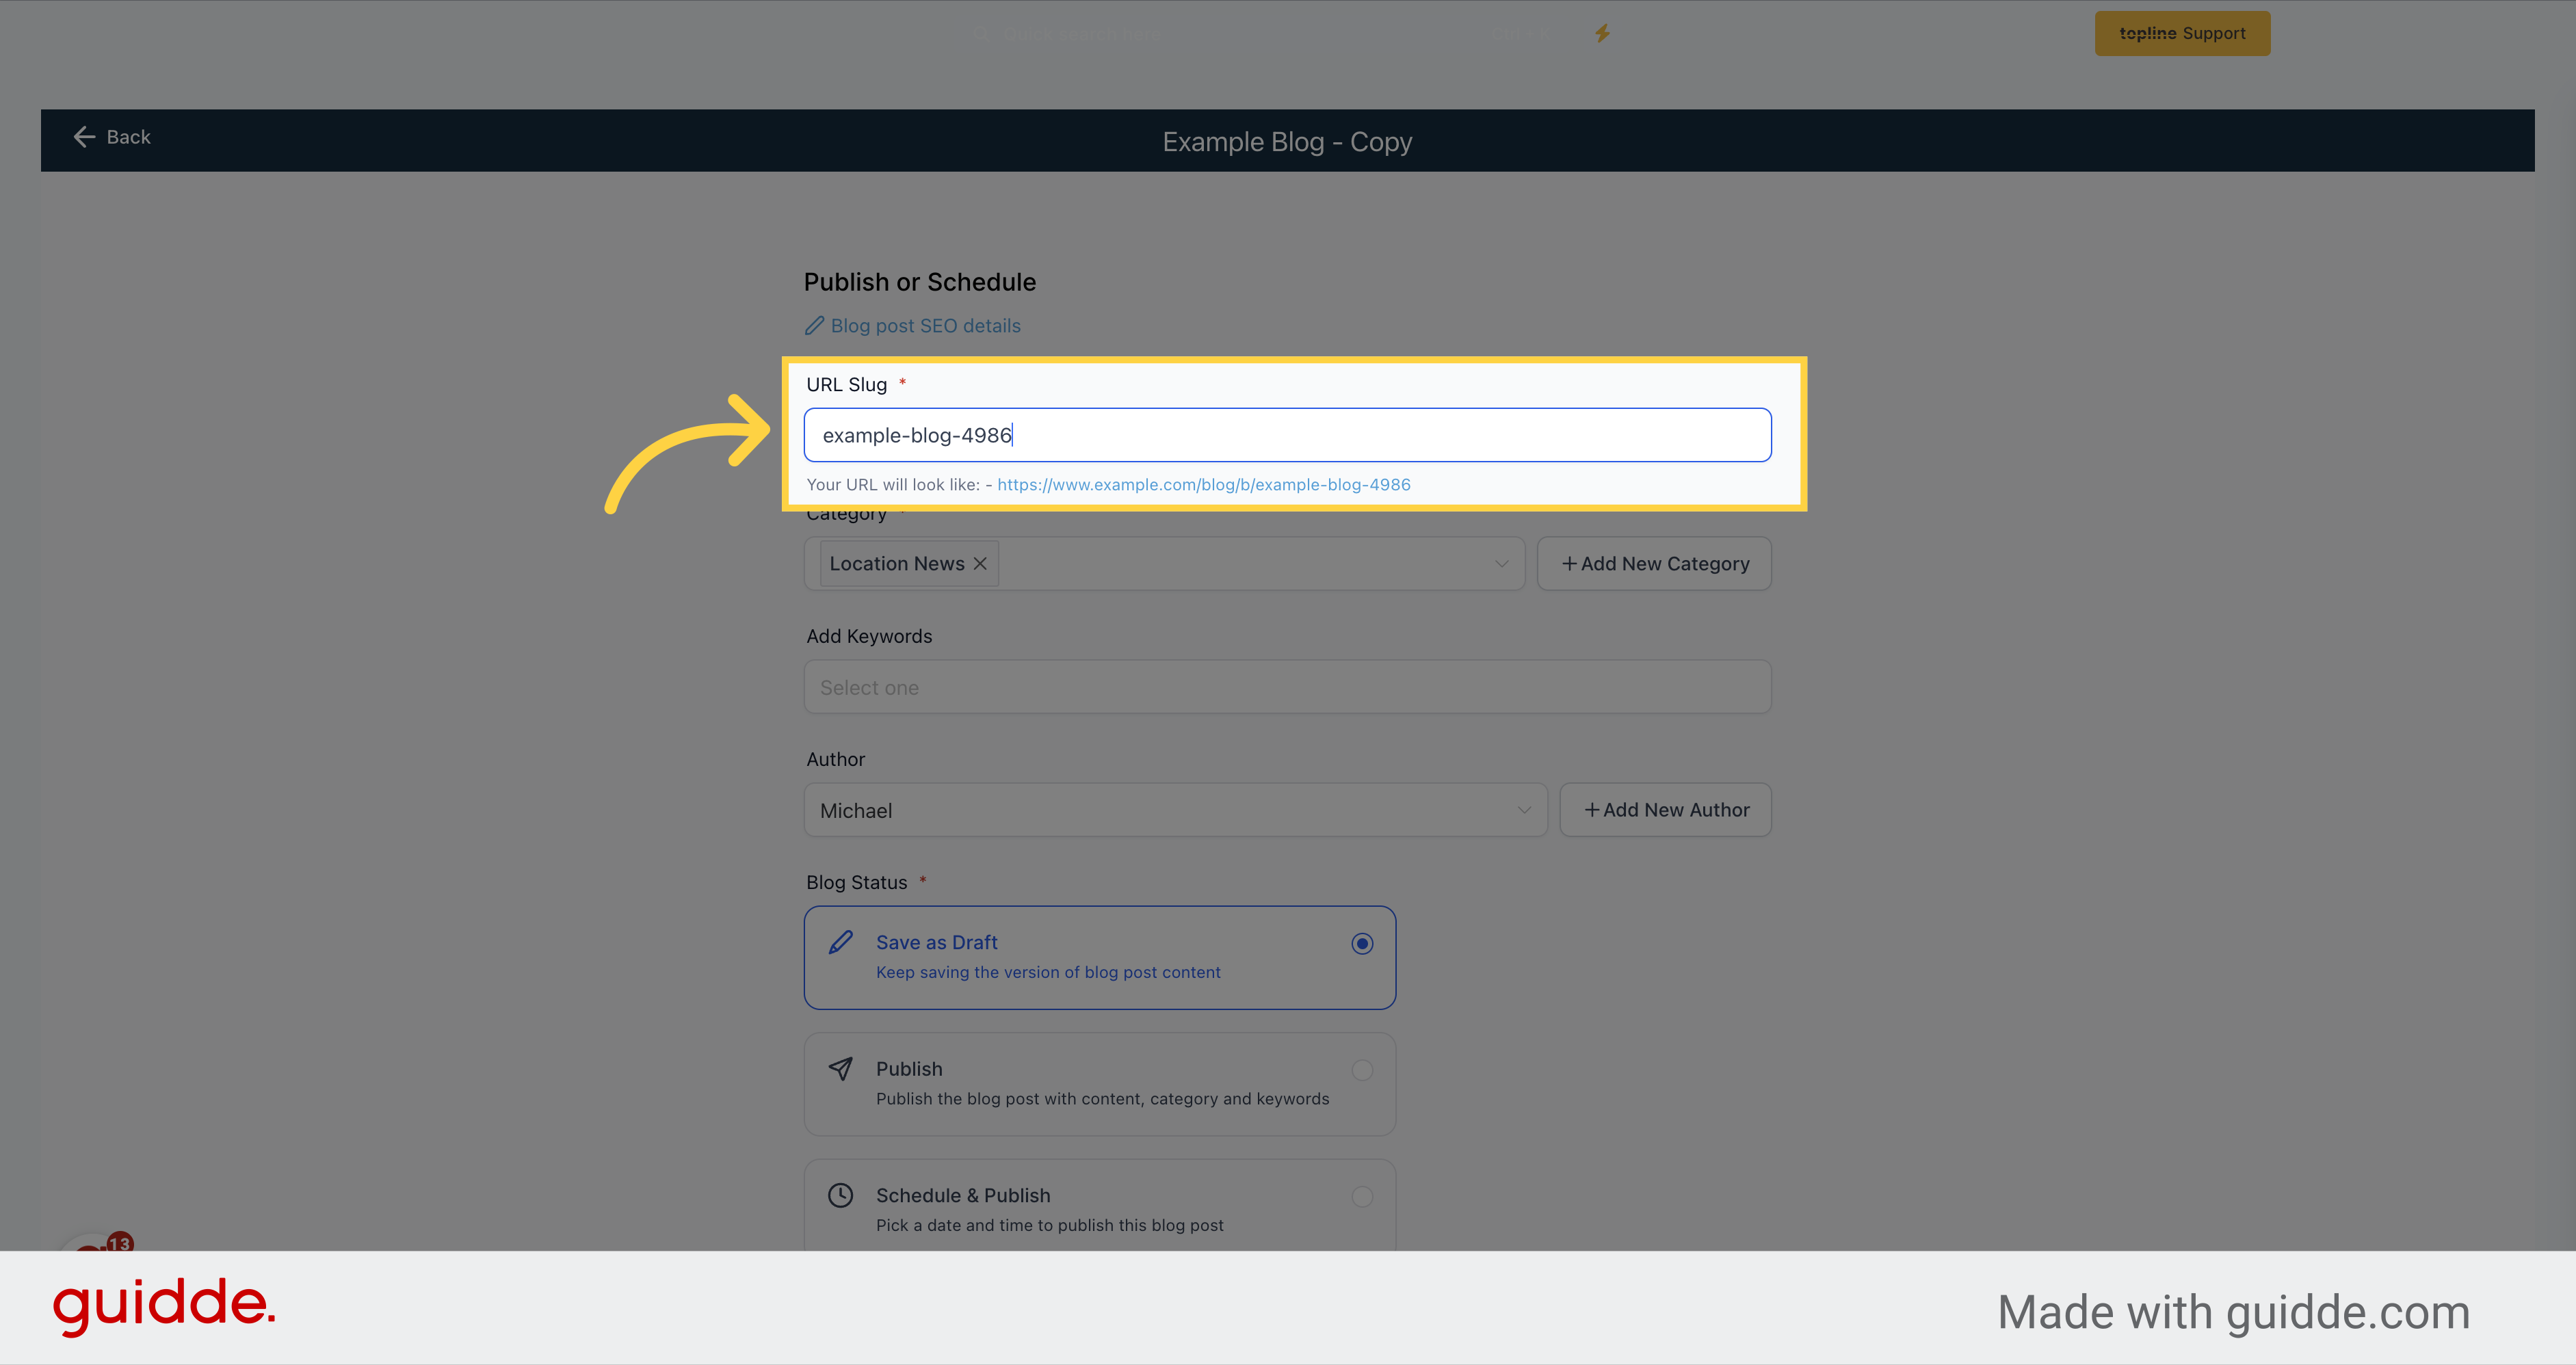
This is the path for your blog post. Your URL will be structured like this: https://www.example.com/b/Blog Test
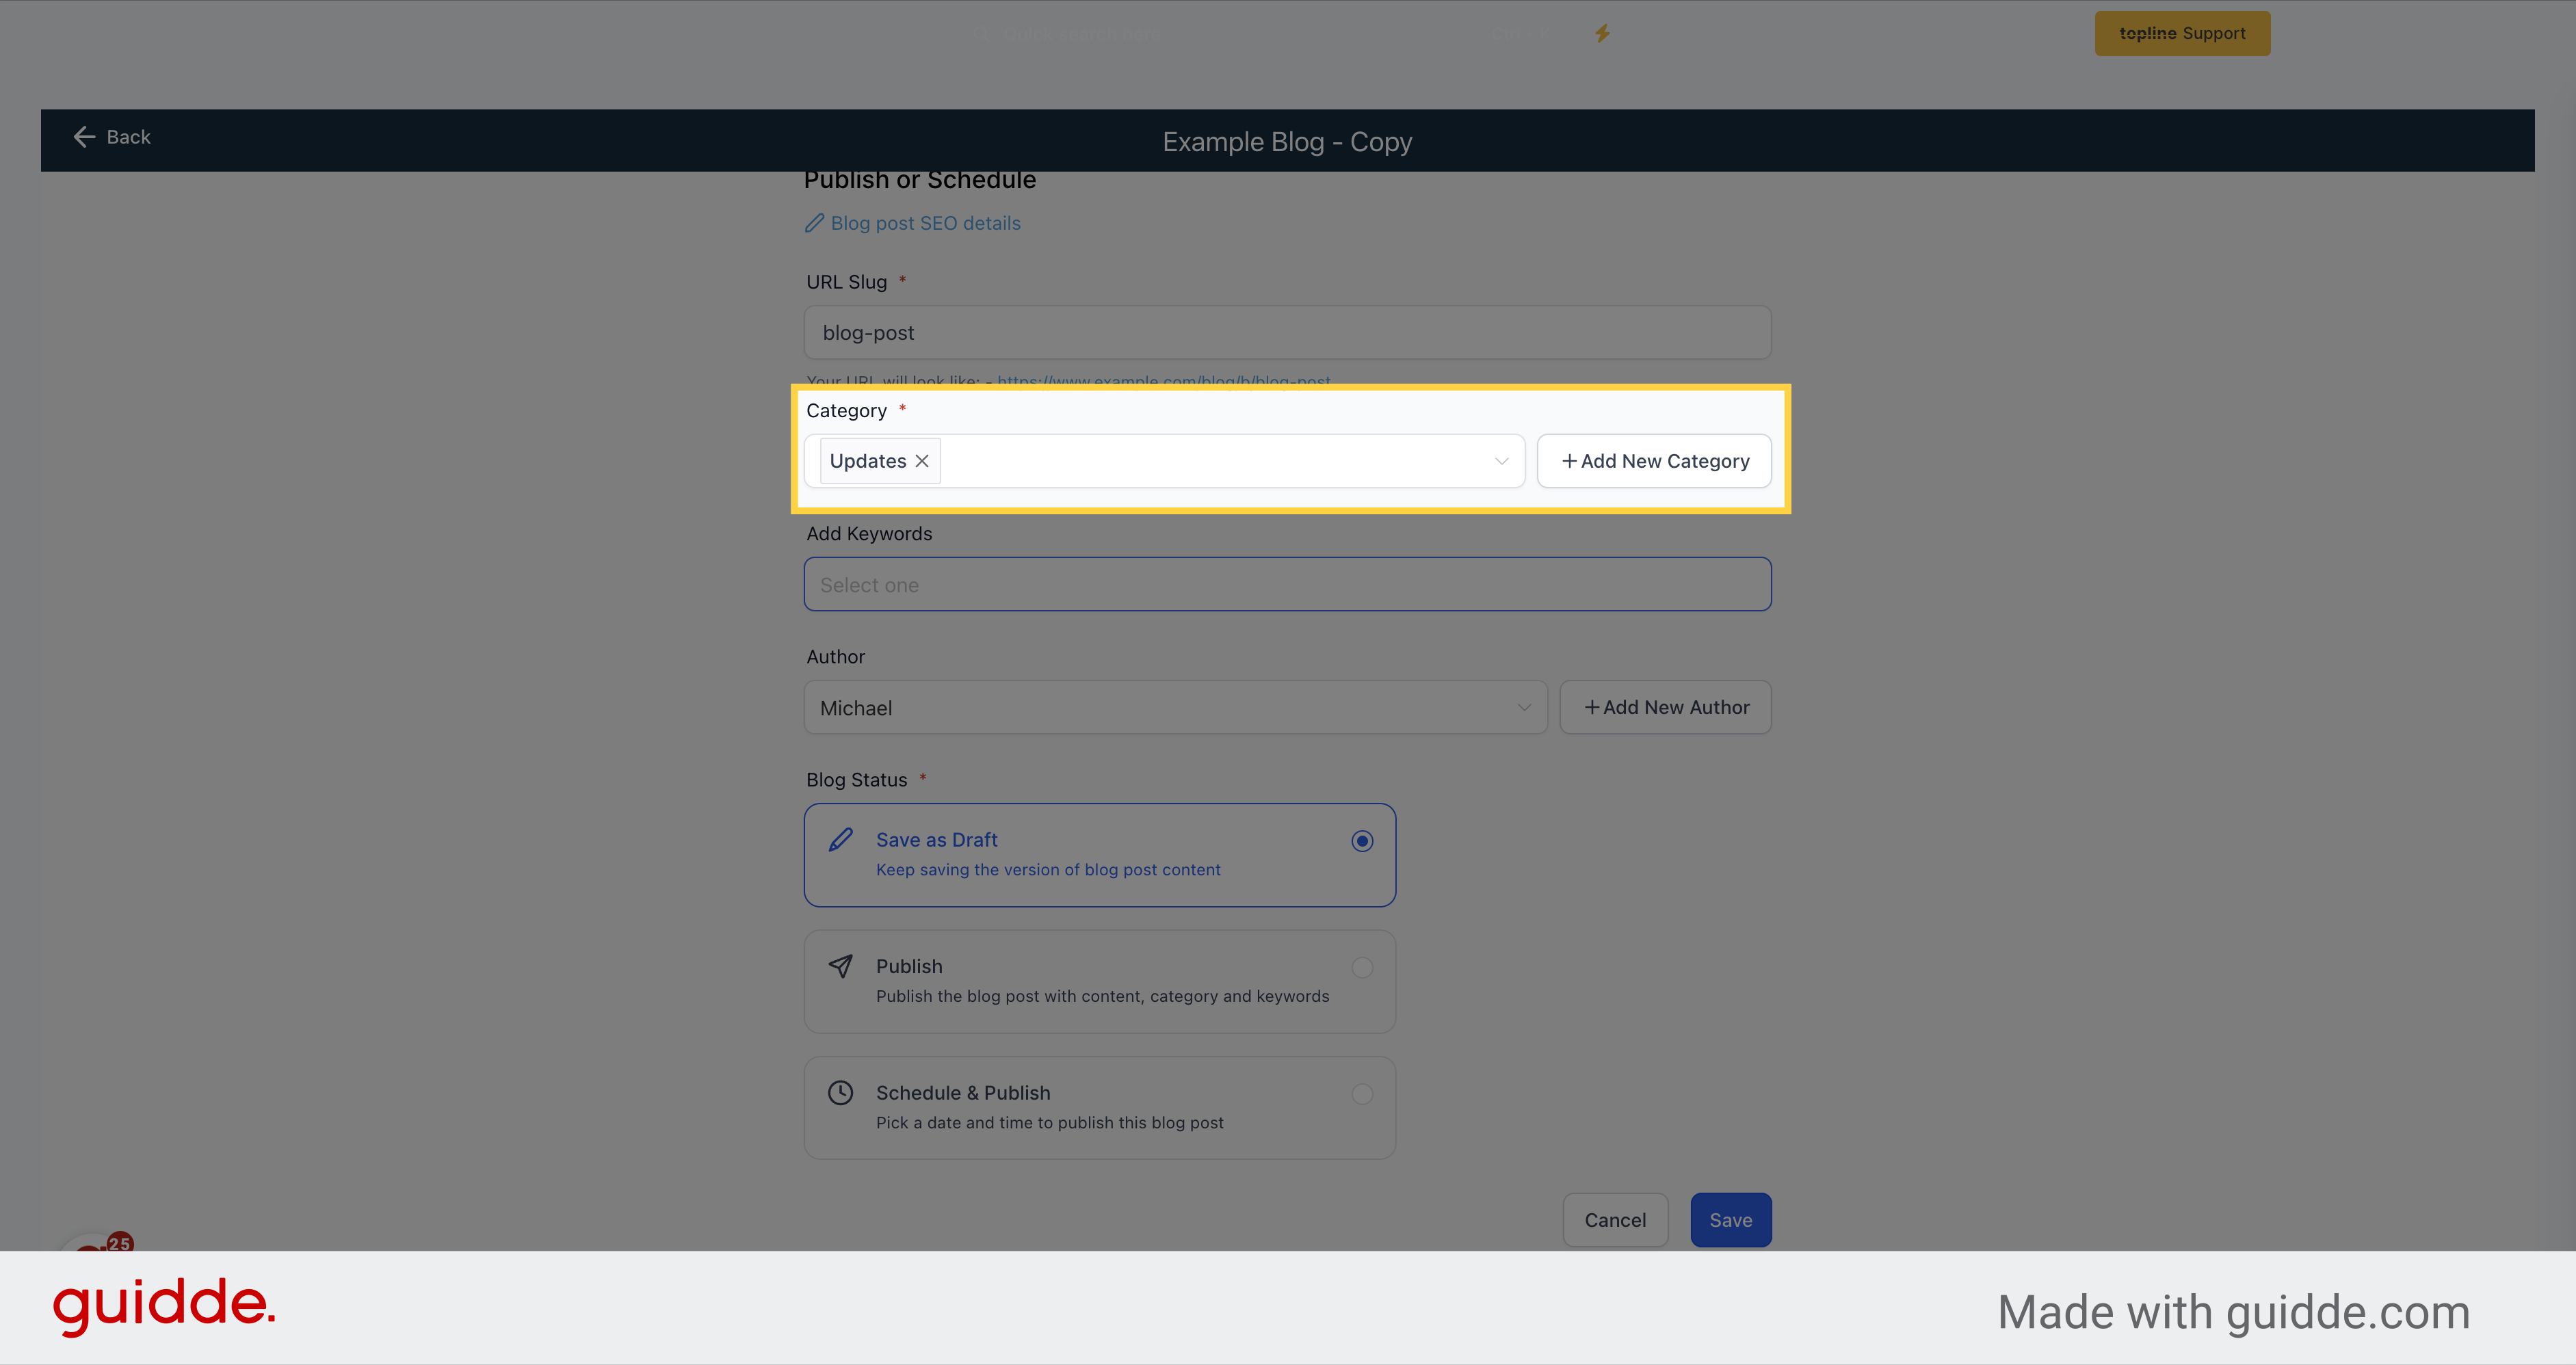
You can set the category by going to the blog settings and clicking on "Add New Category" beside the category field.
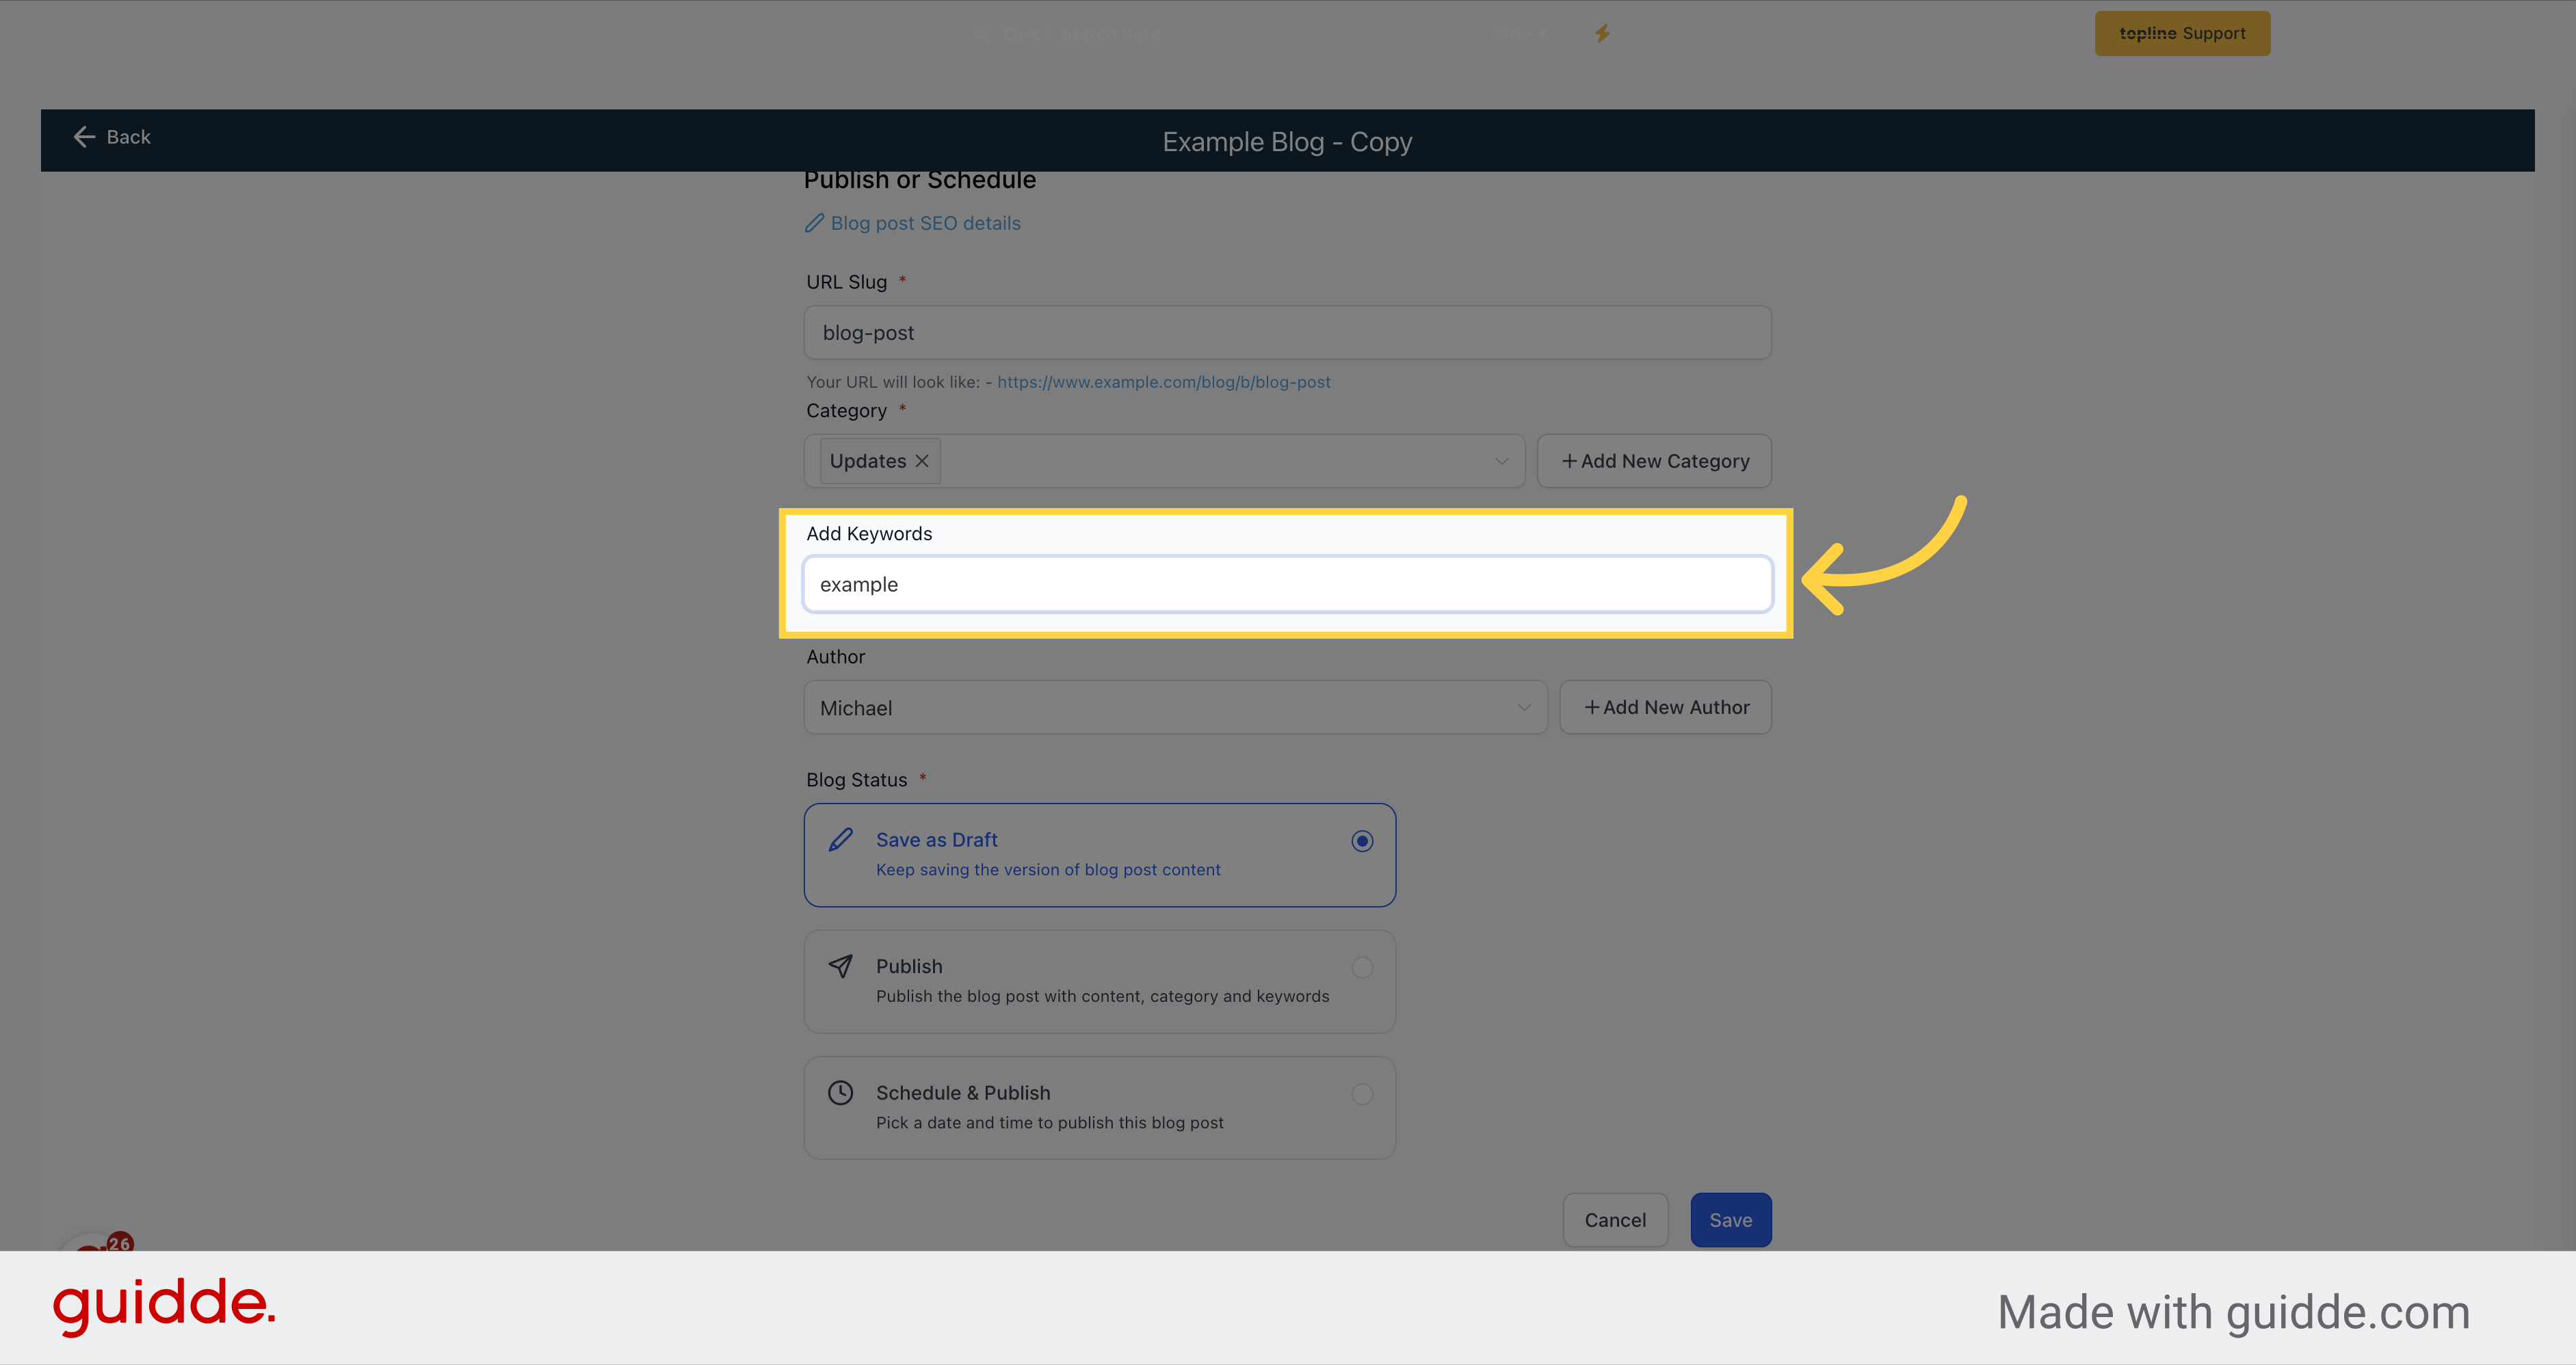
Add relevant keywords to boost the visibility of your blog post.
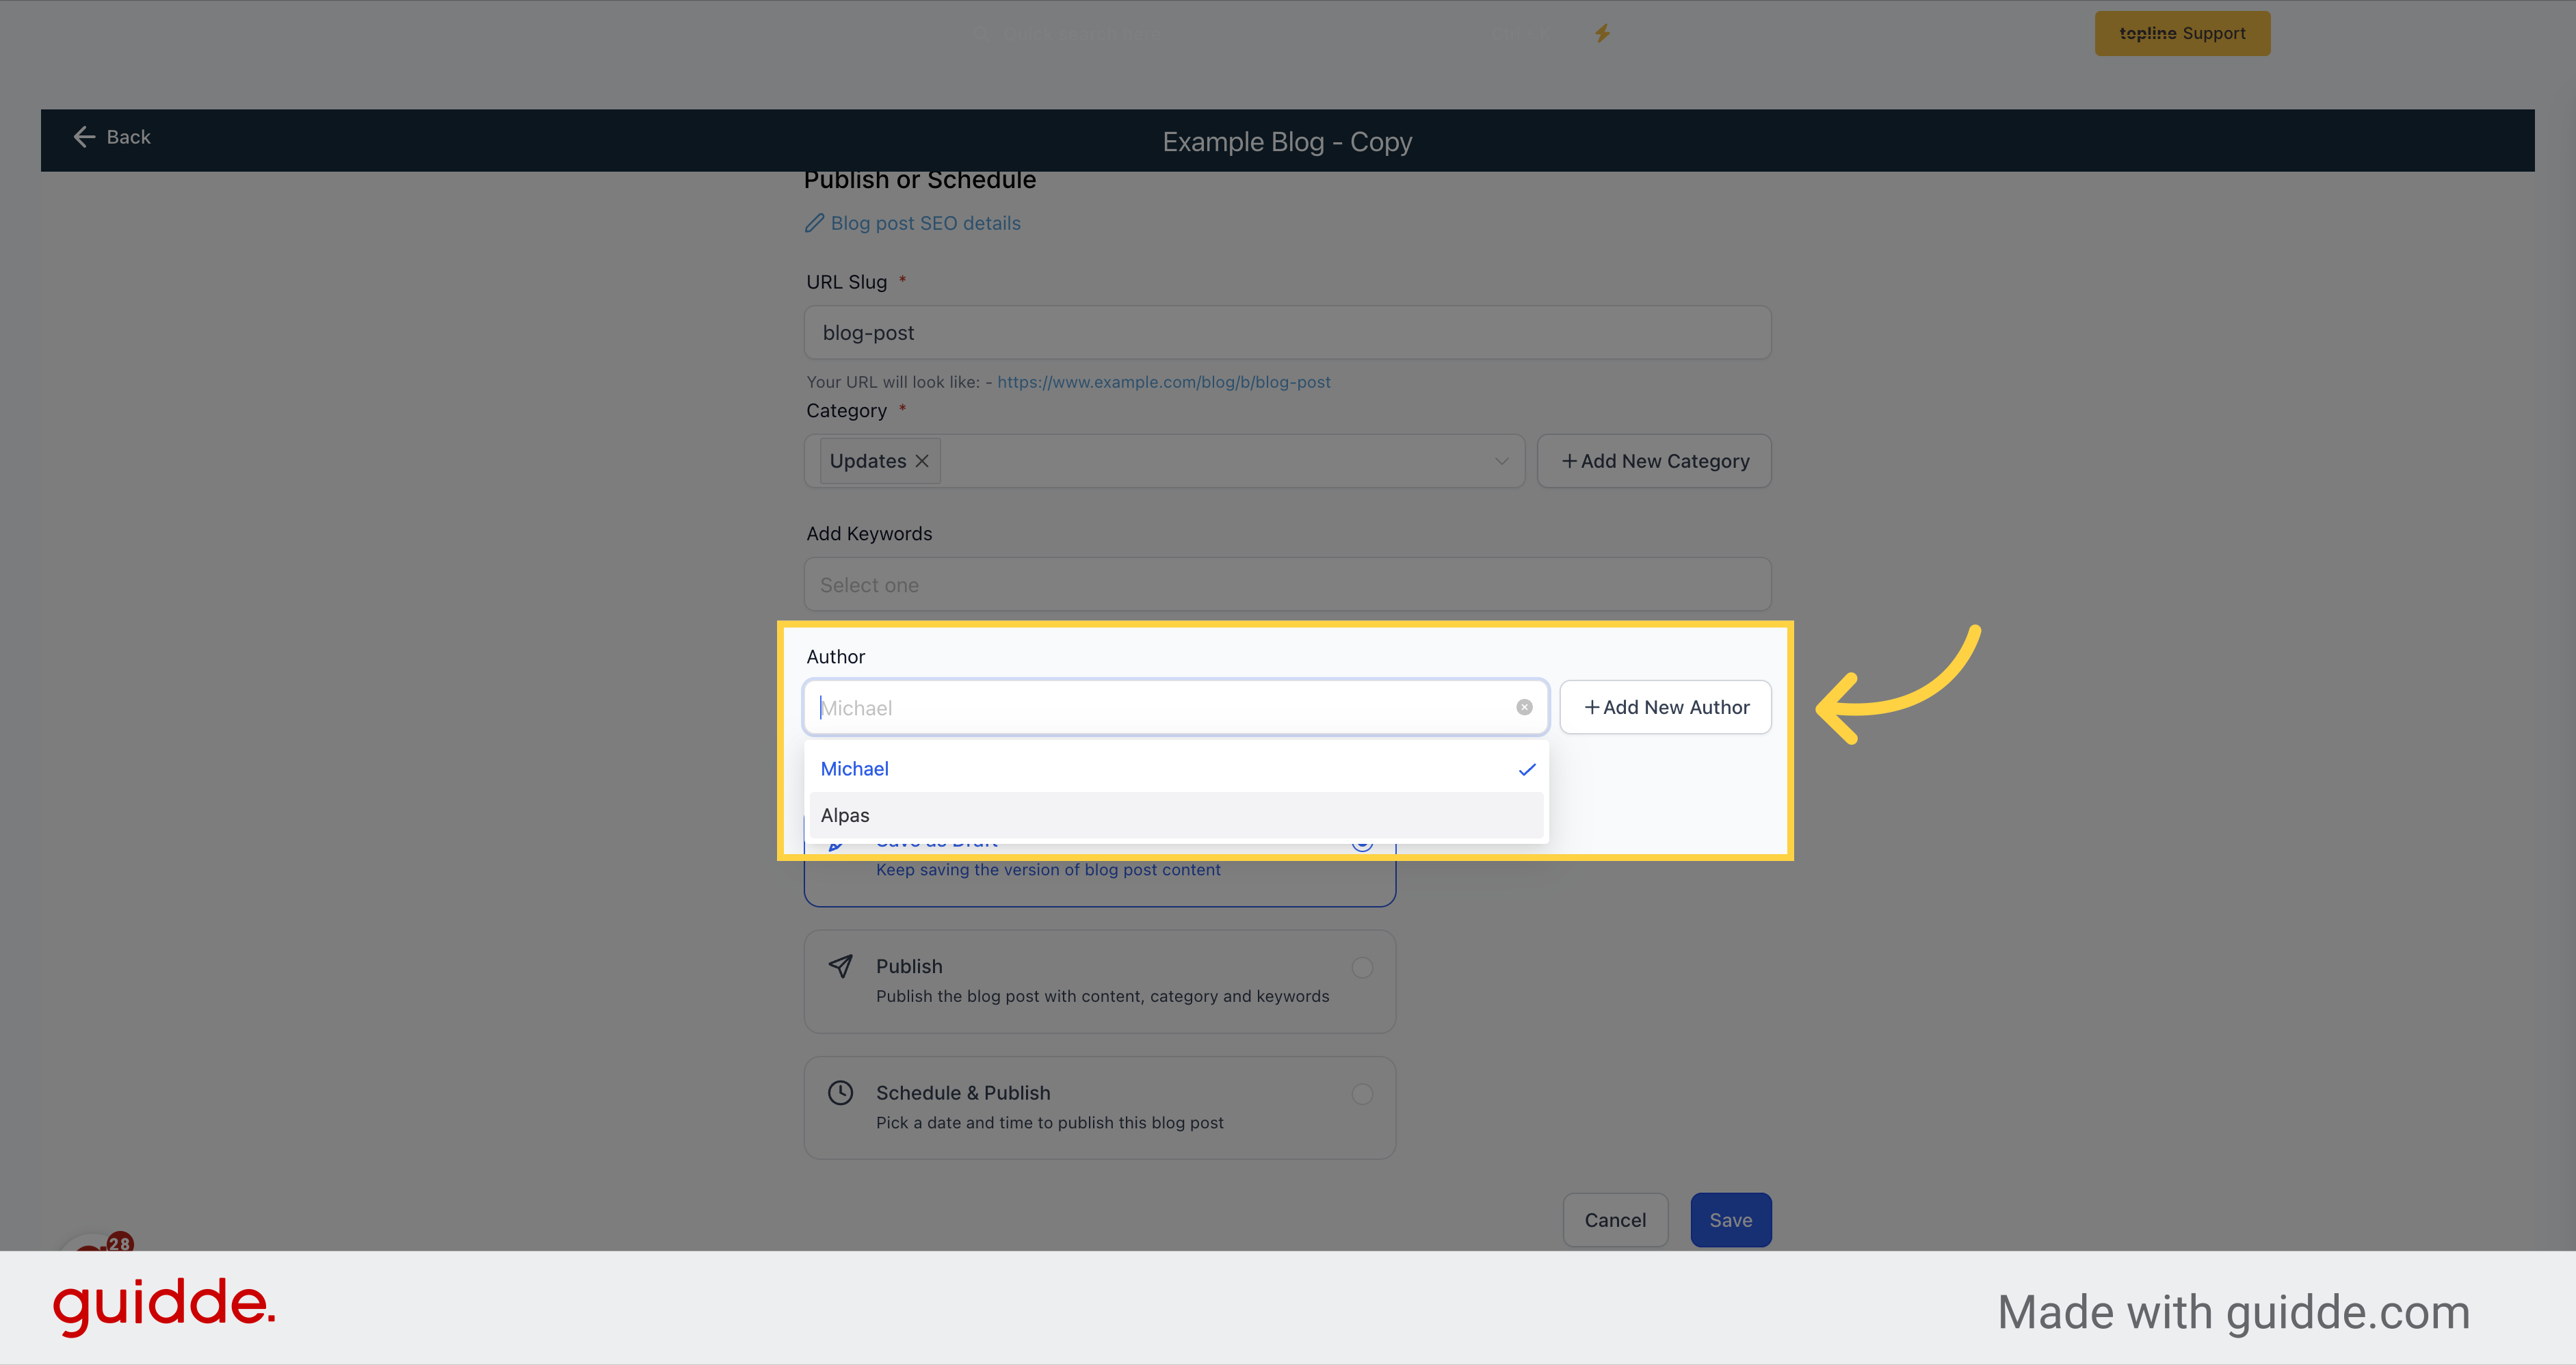
Adding the author of the blog post is also optional. To do so, click on "Add New Author" and provide the URL of the author's posts from their social media accounts.
If you're not done reviewing your post, save it as a draft to access it later.
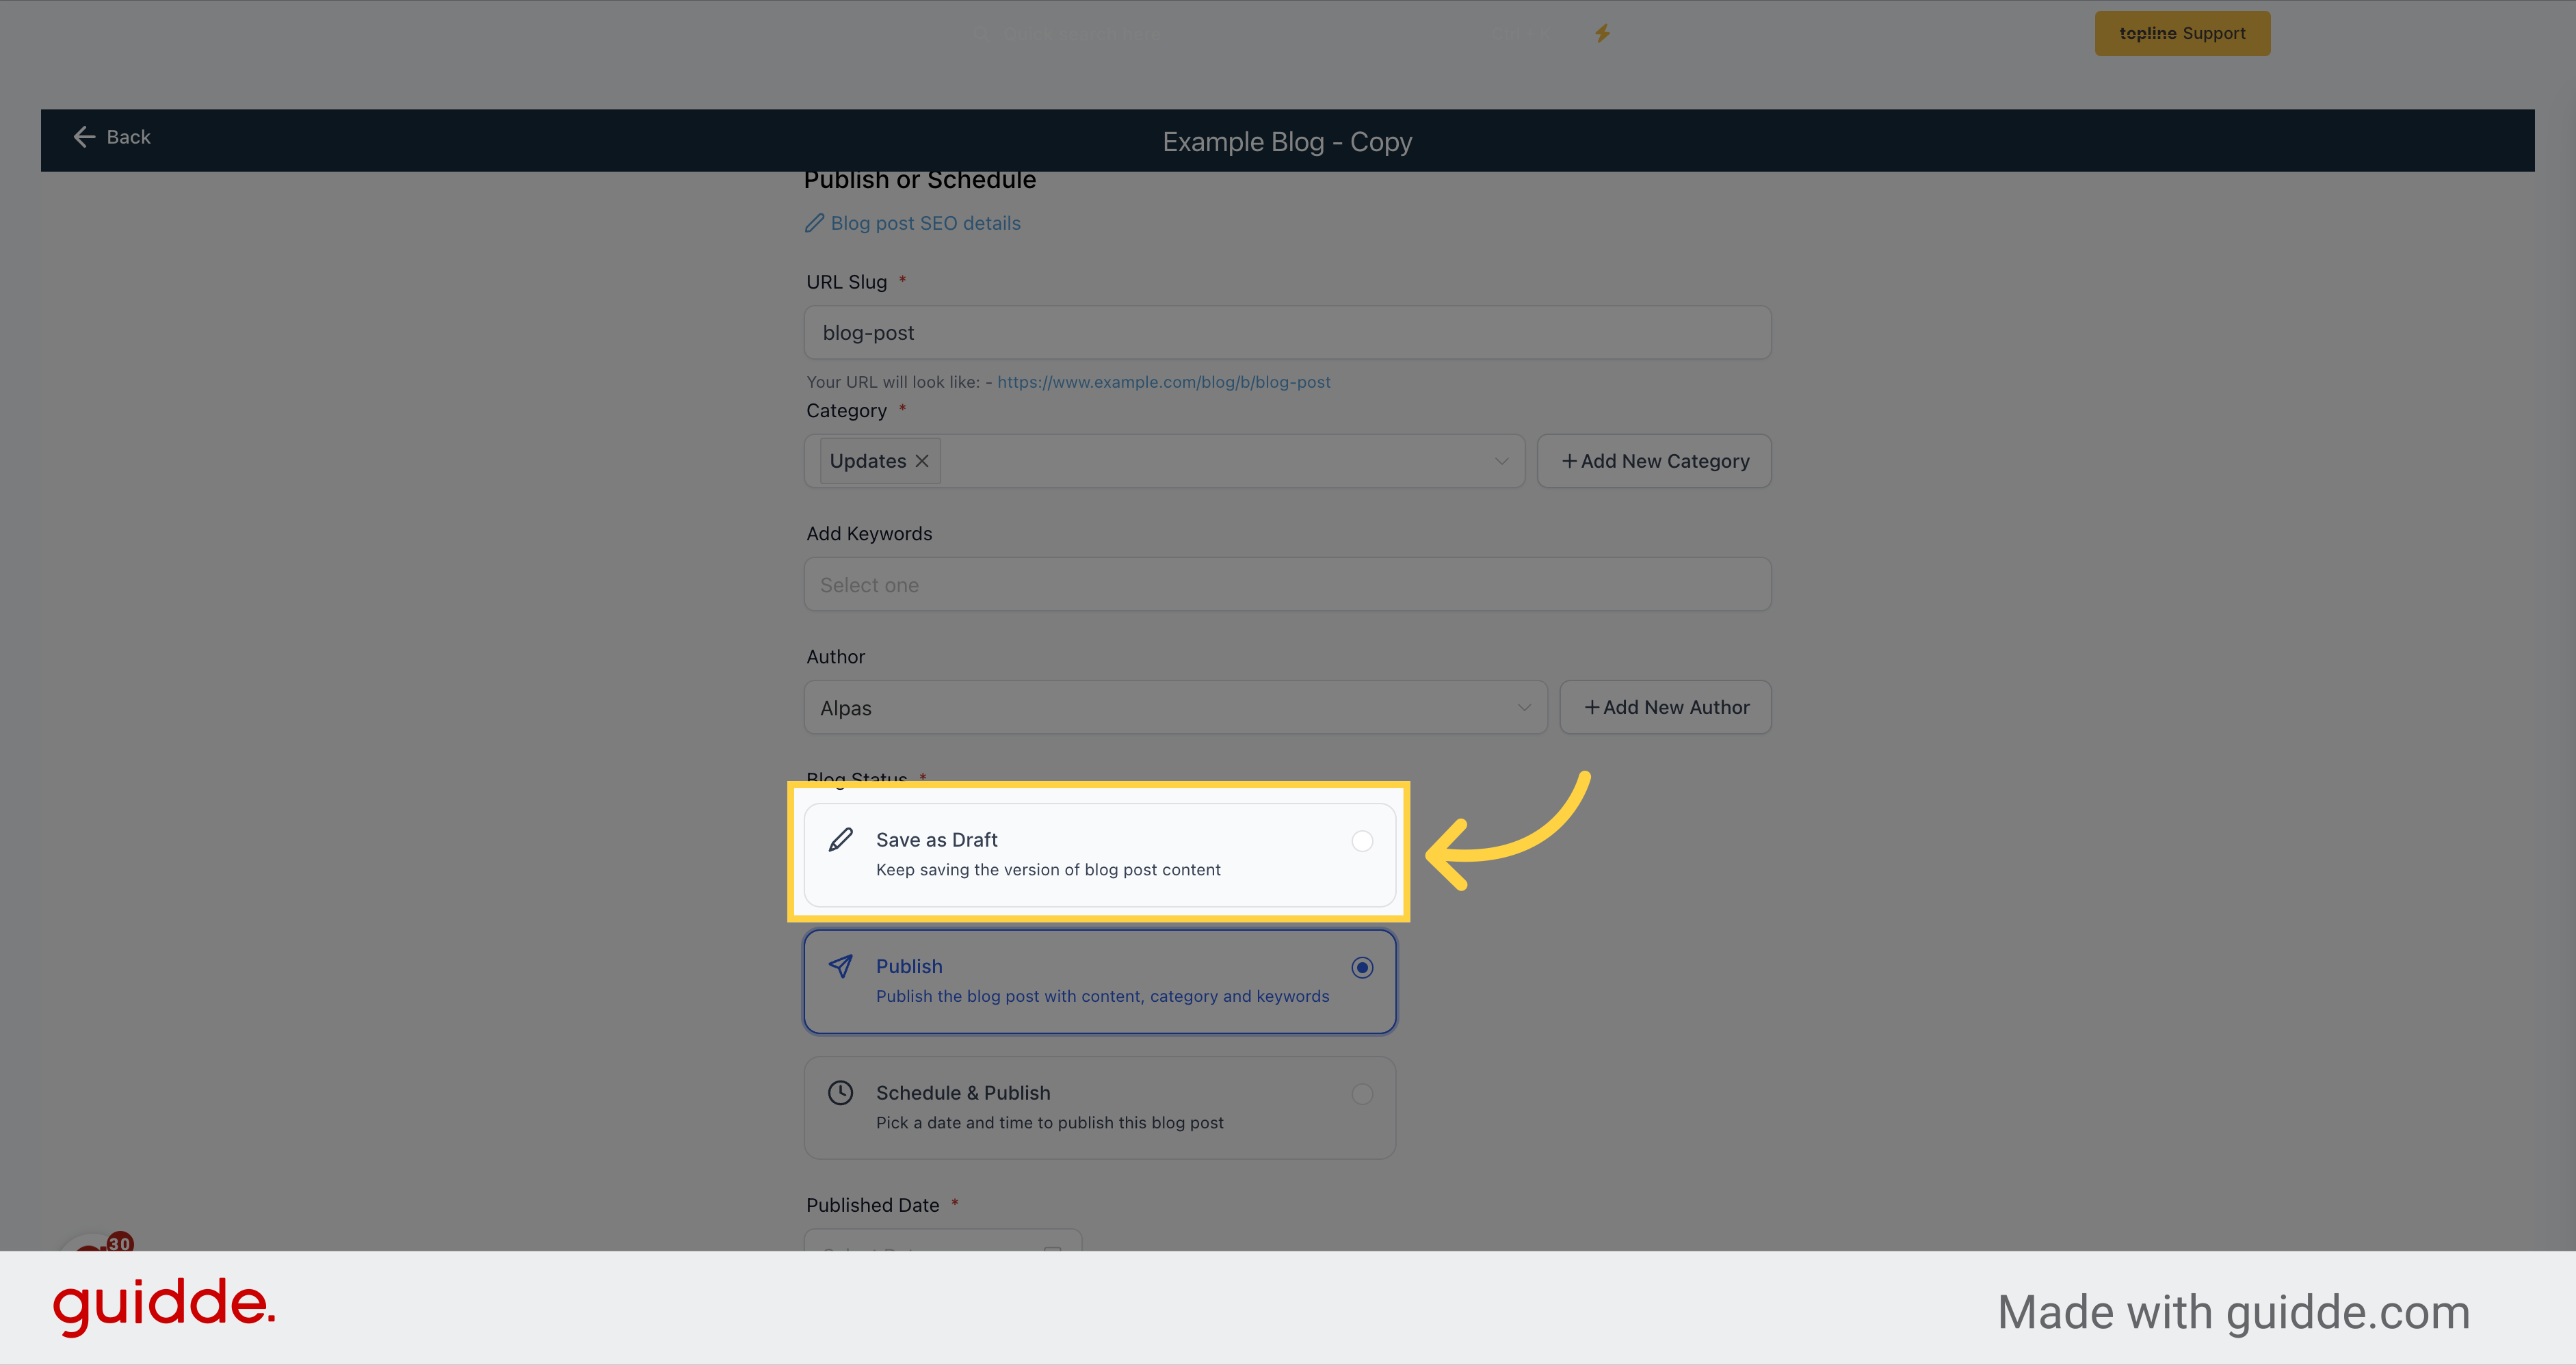
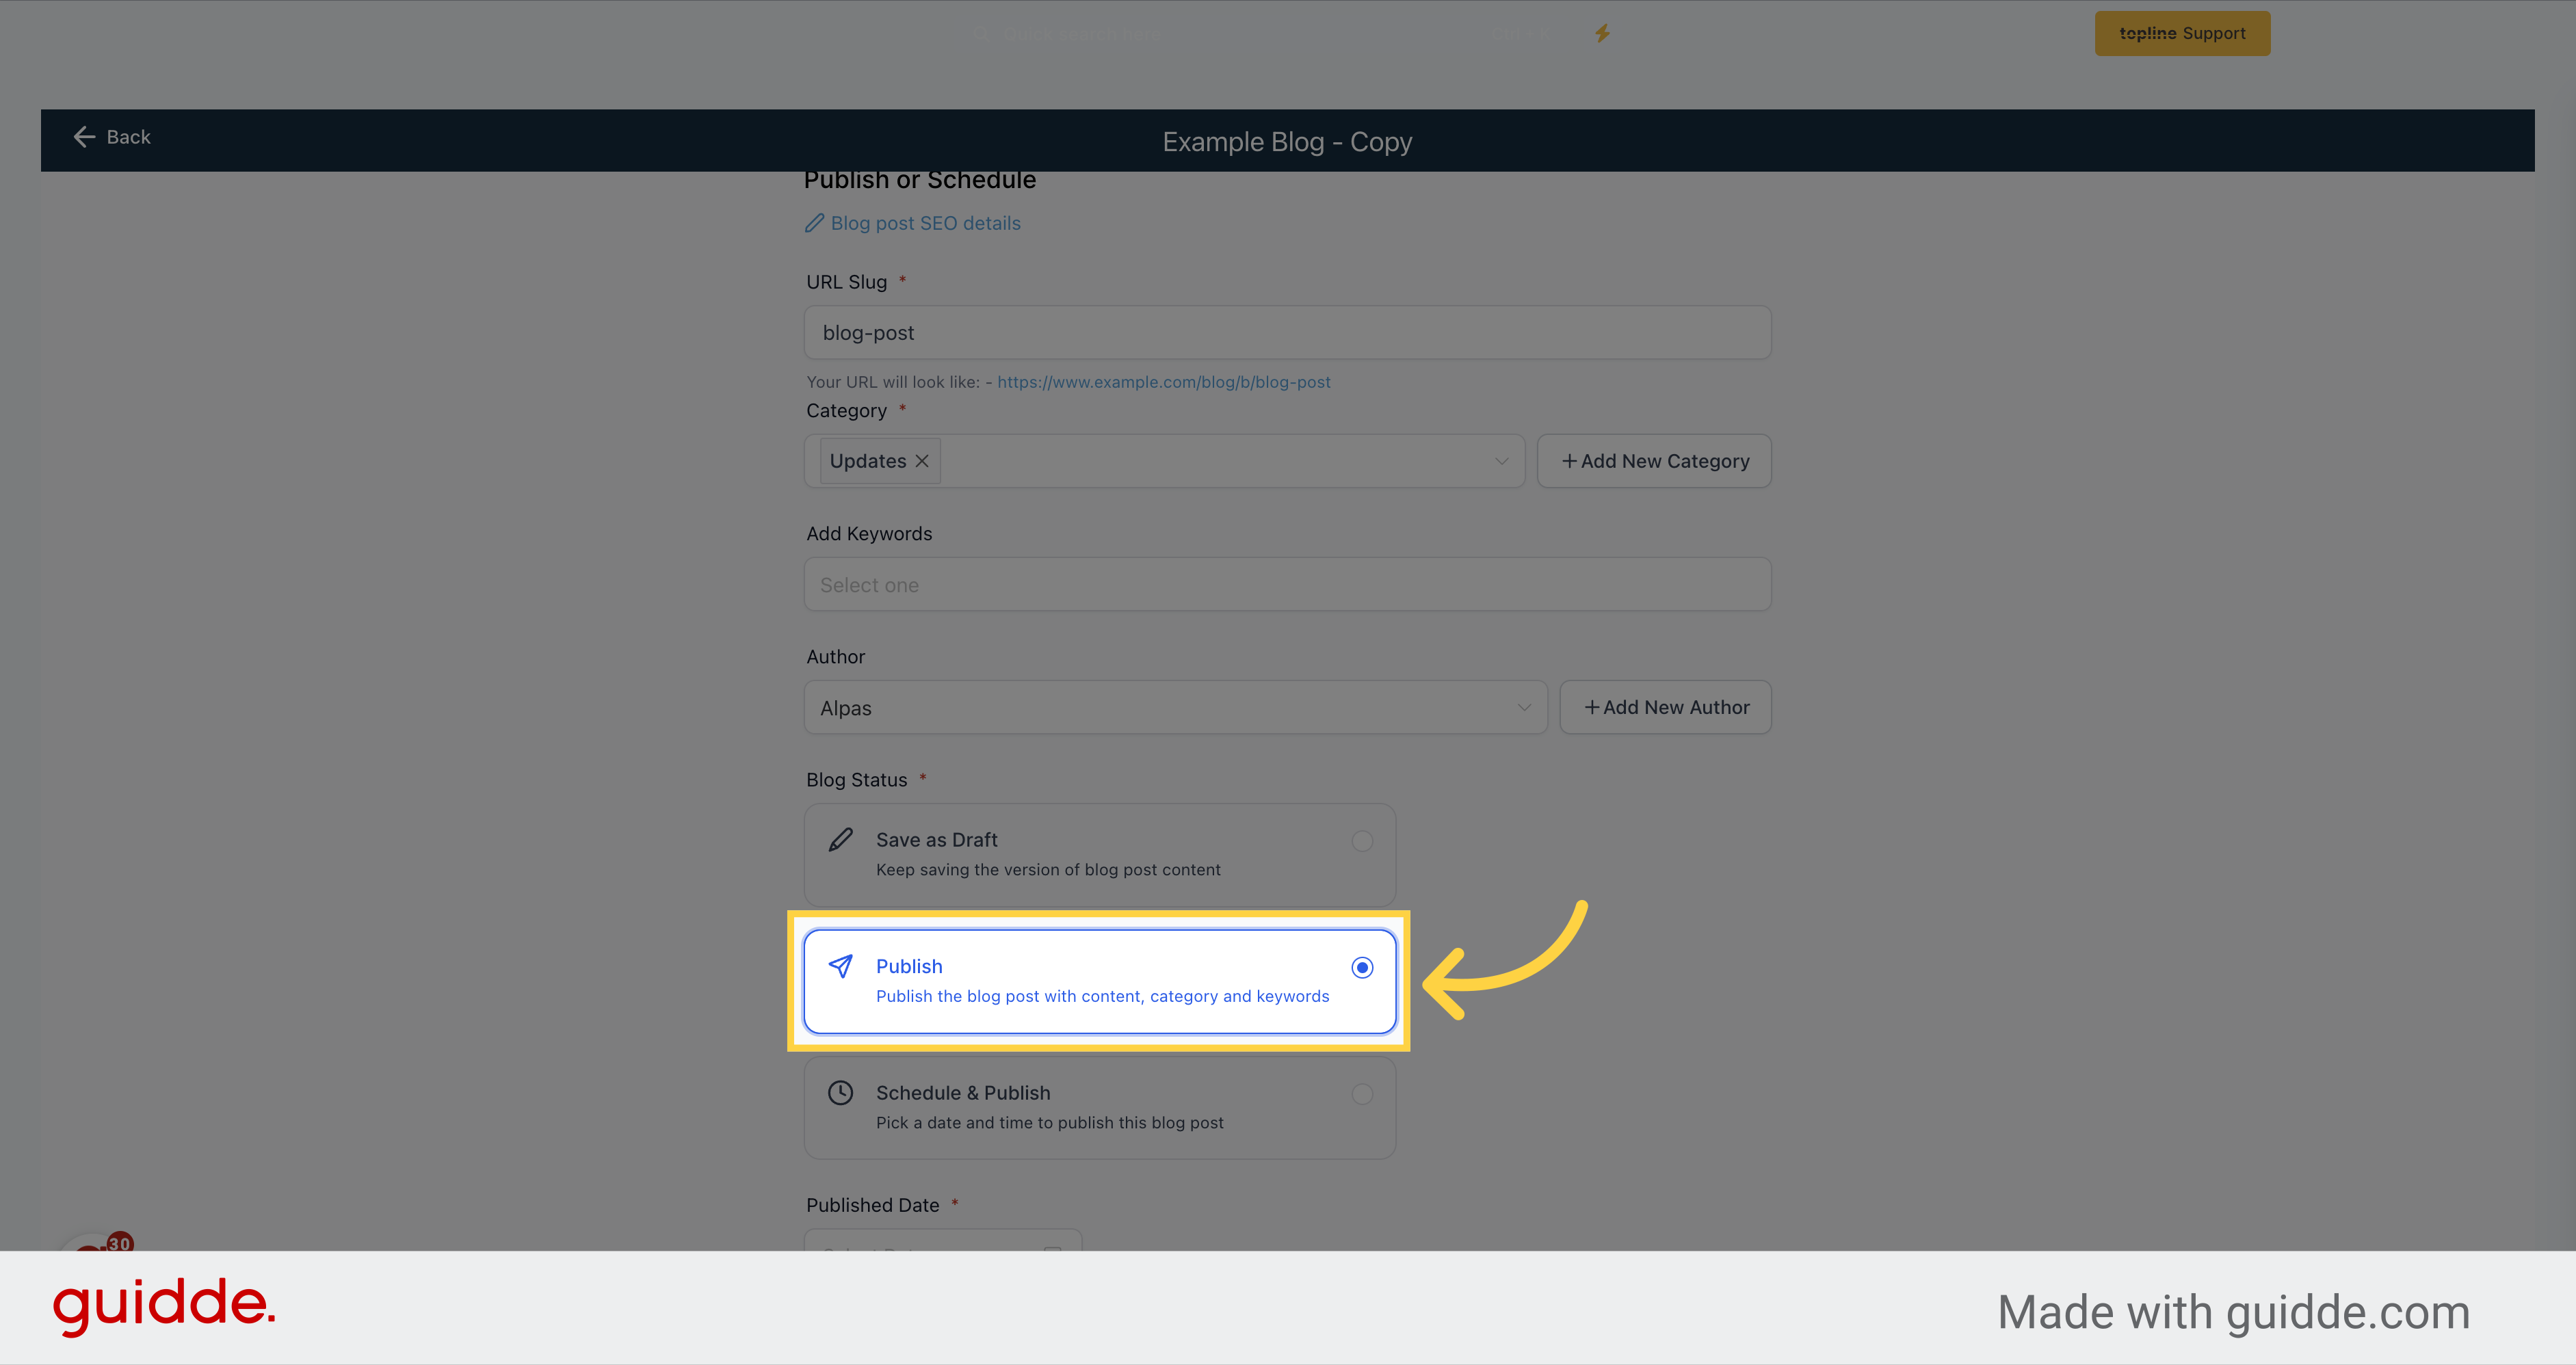
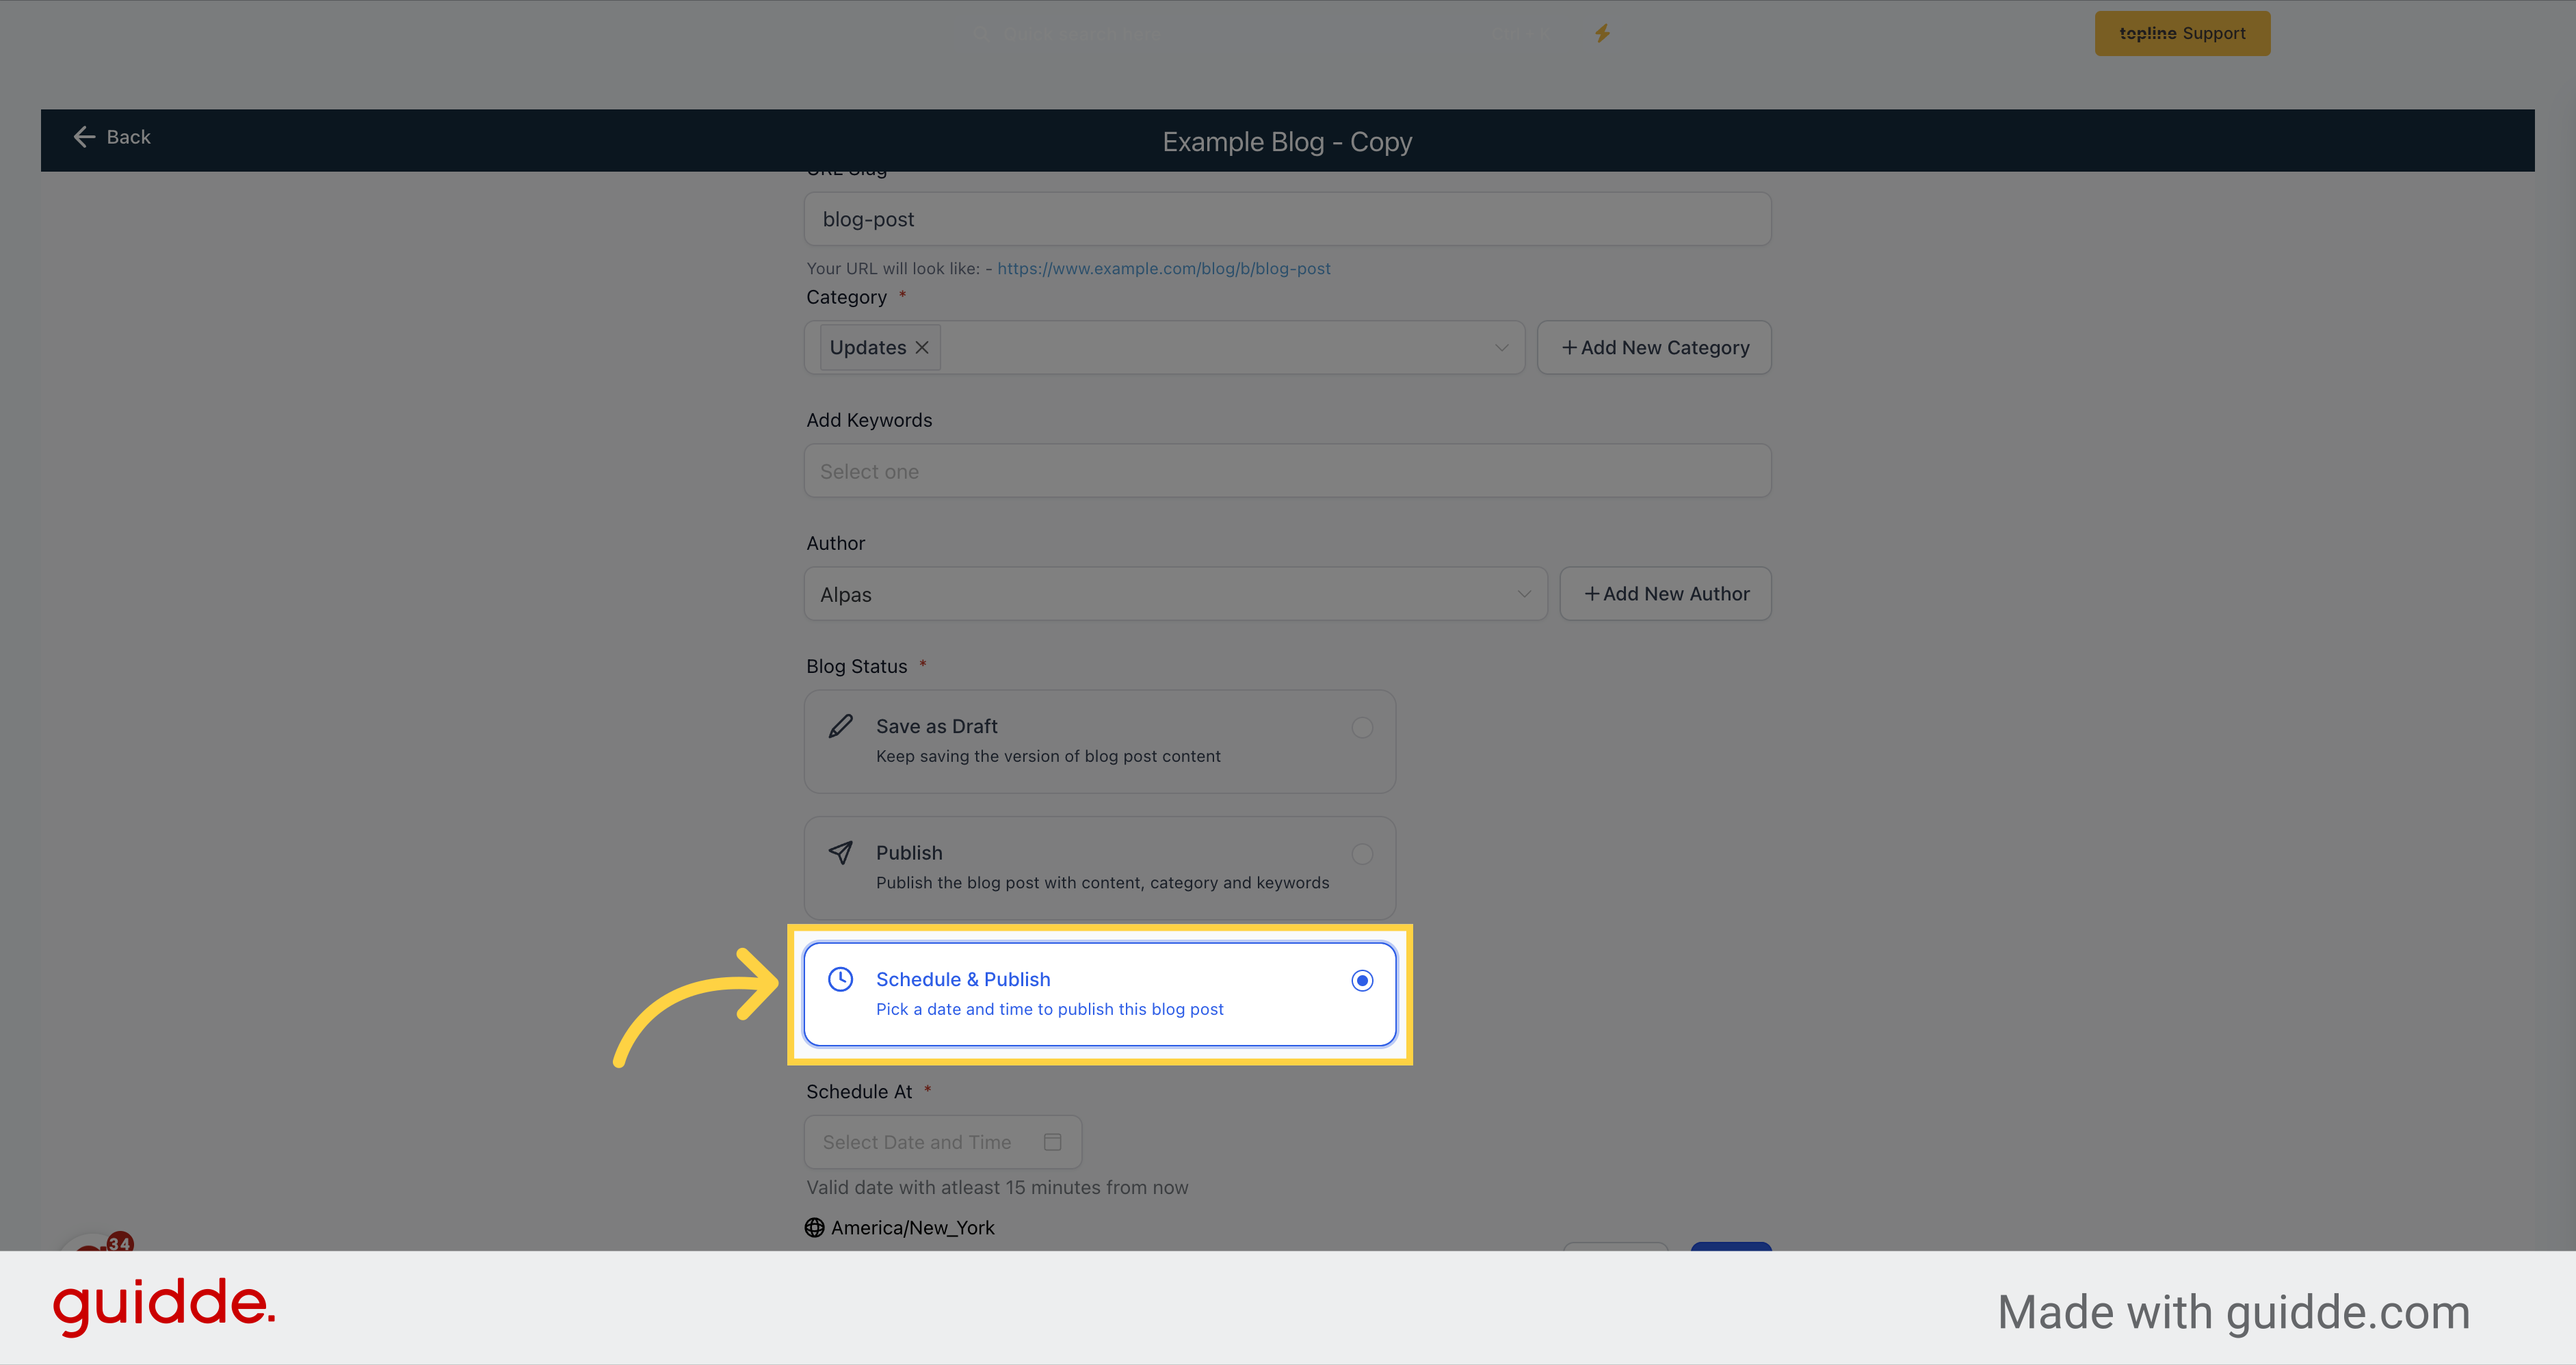
Once you have reviewed the blog details, you can choose to publish the post immediately by clicking this option.
Select the date you want your post to be publish, or appear as published.
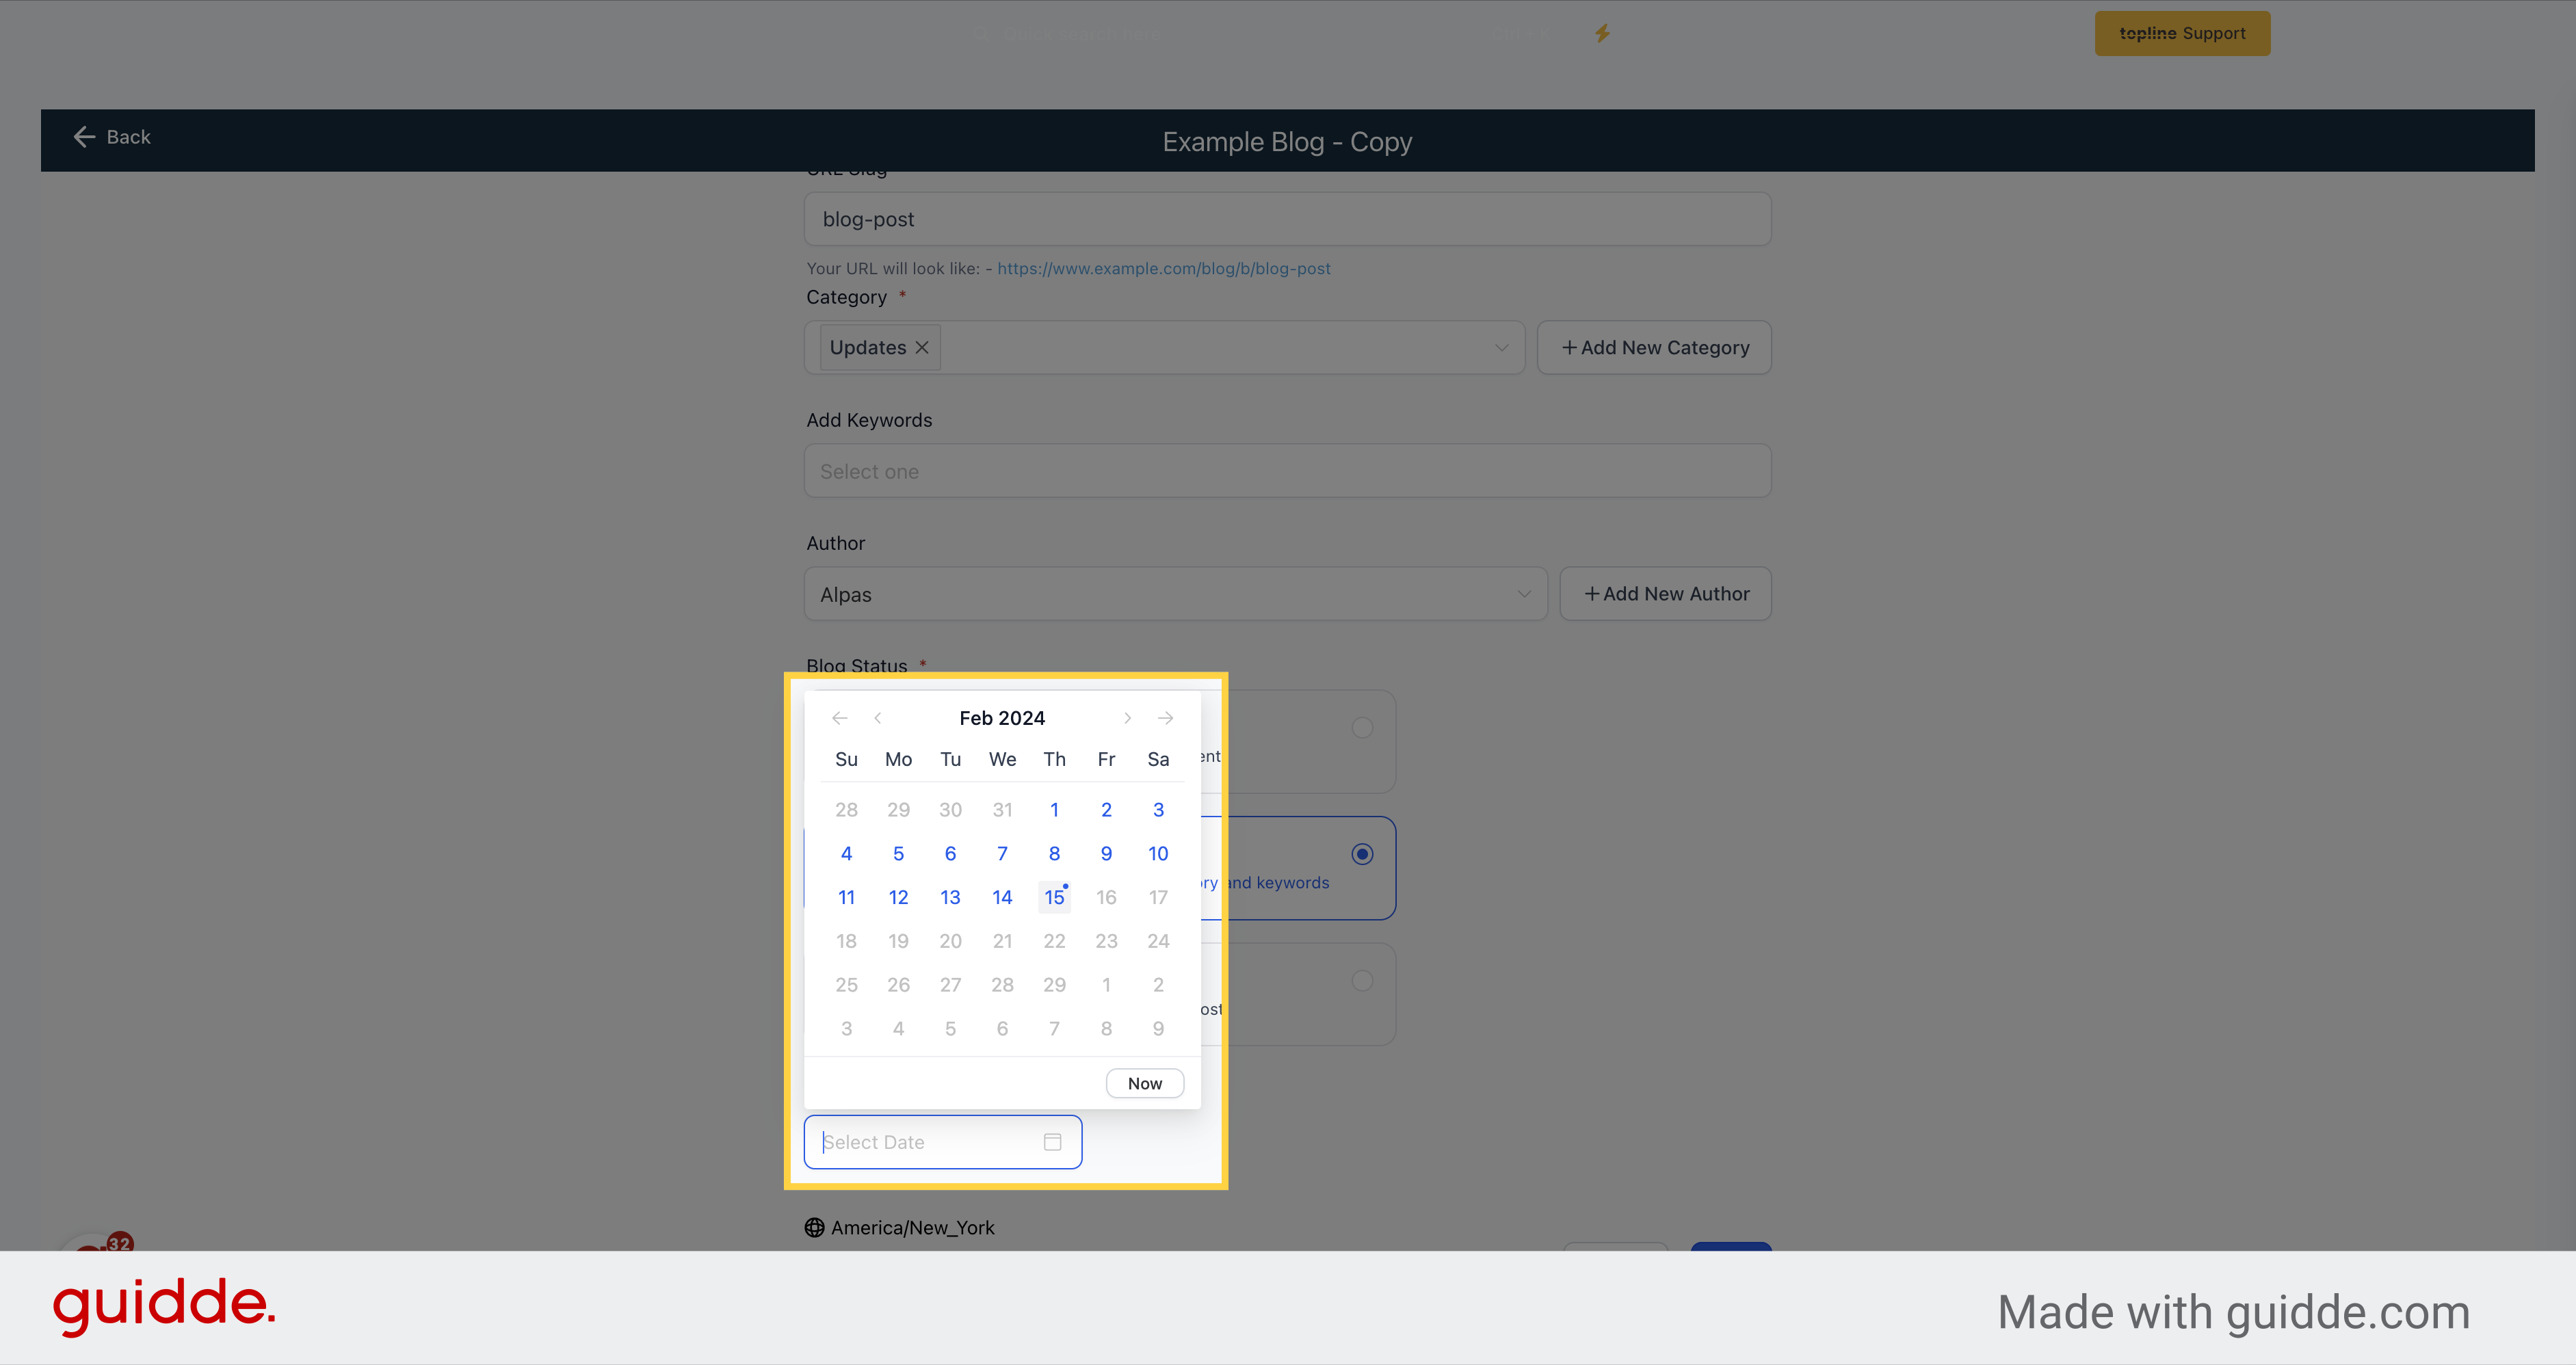
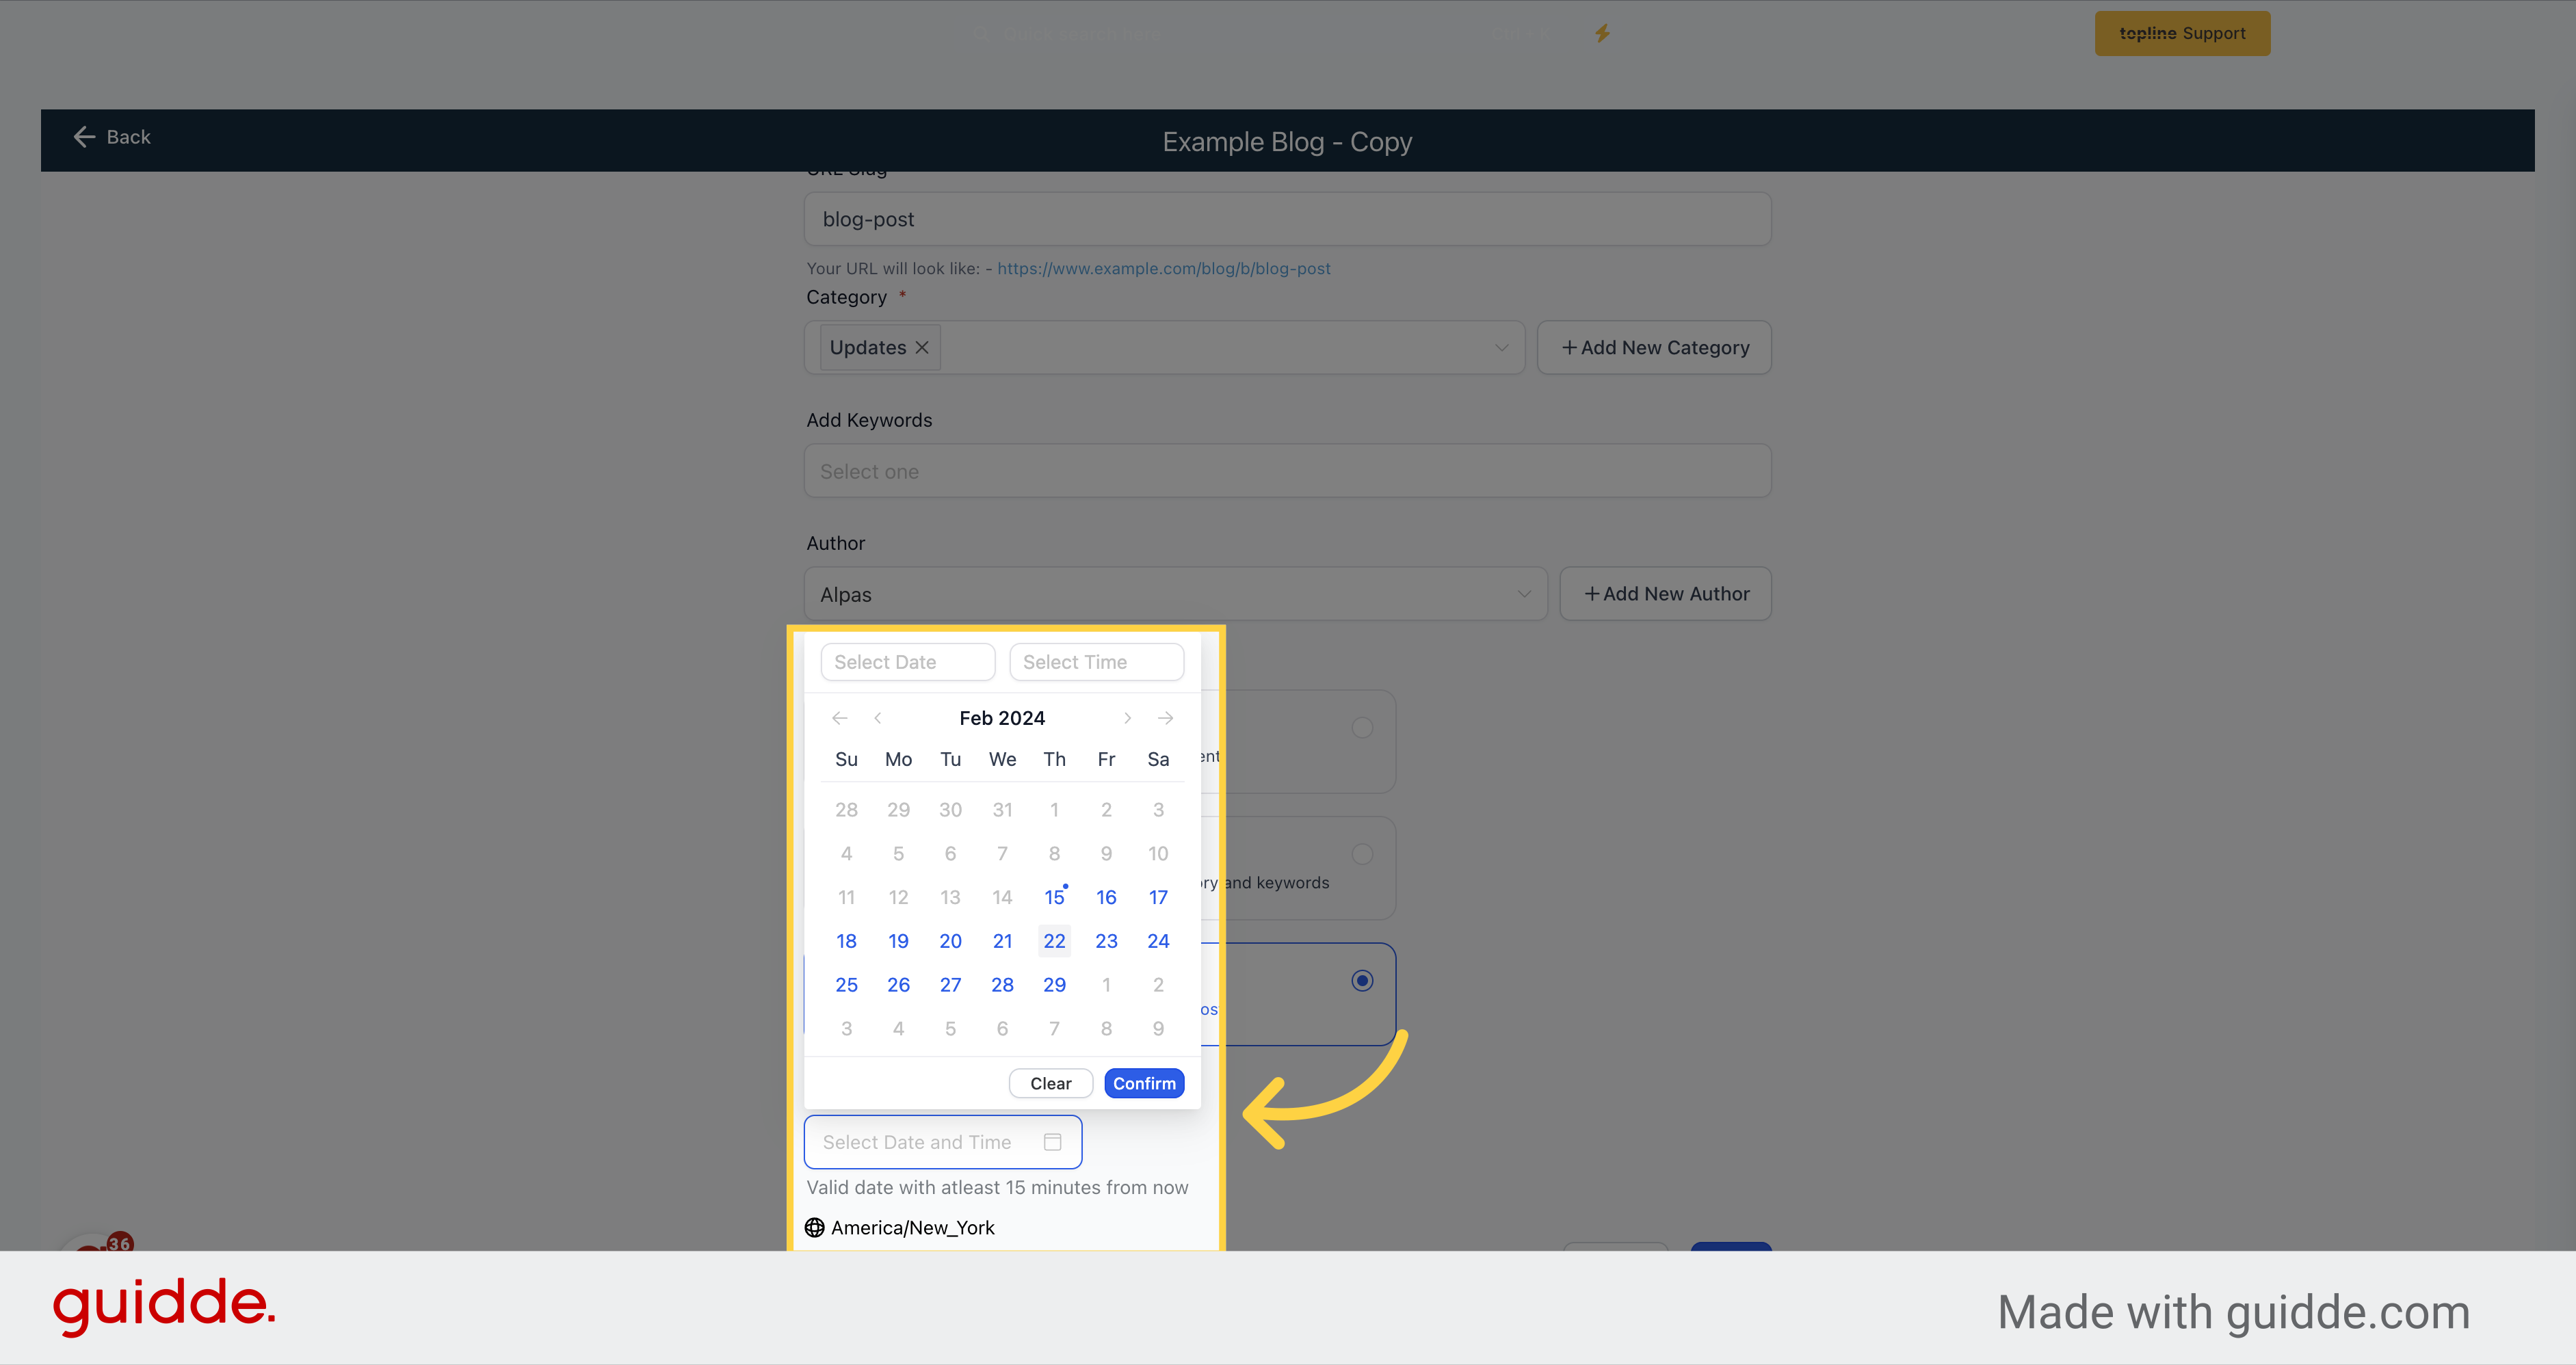
You can also schedule a specific date and time to publish the post. The minimum time duration for scheduling is 15 minutes from the set date and time. The time zone you are in will also be displayed here.
Select the date and time you want to schedule the post to be published.
Remember to review and double-check all the details before publishing your blog post.