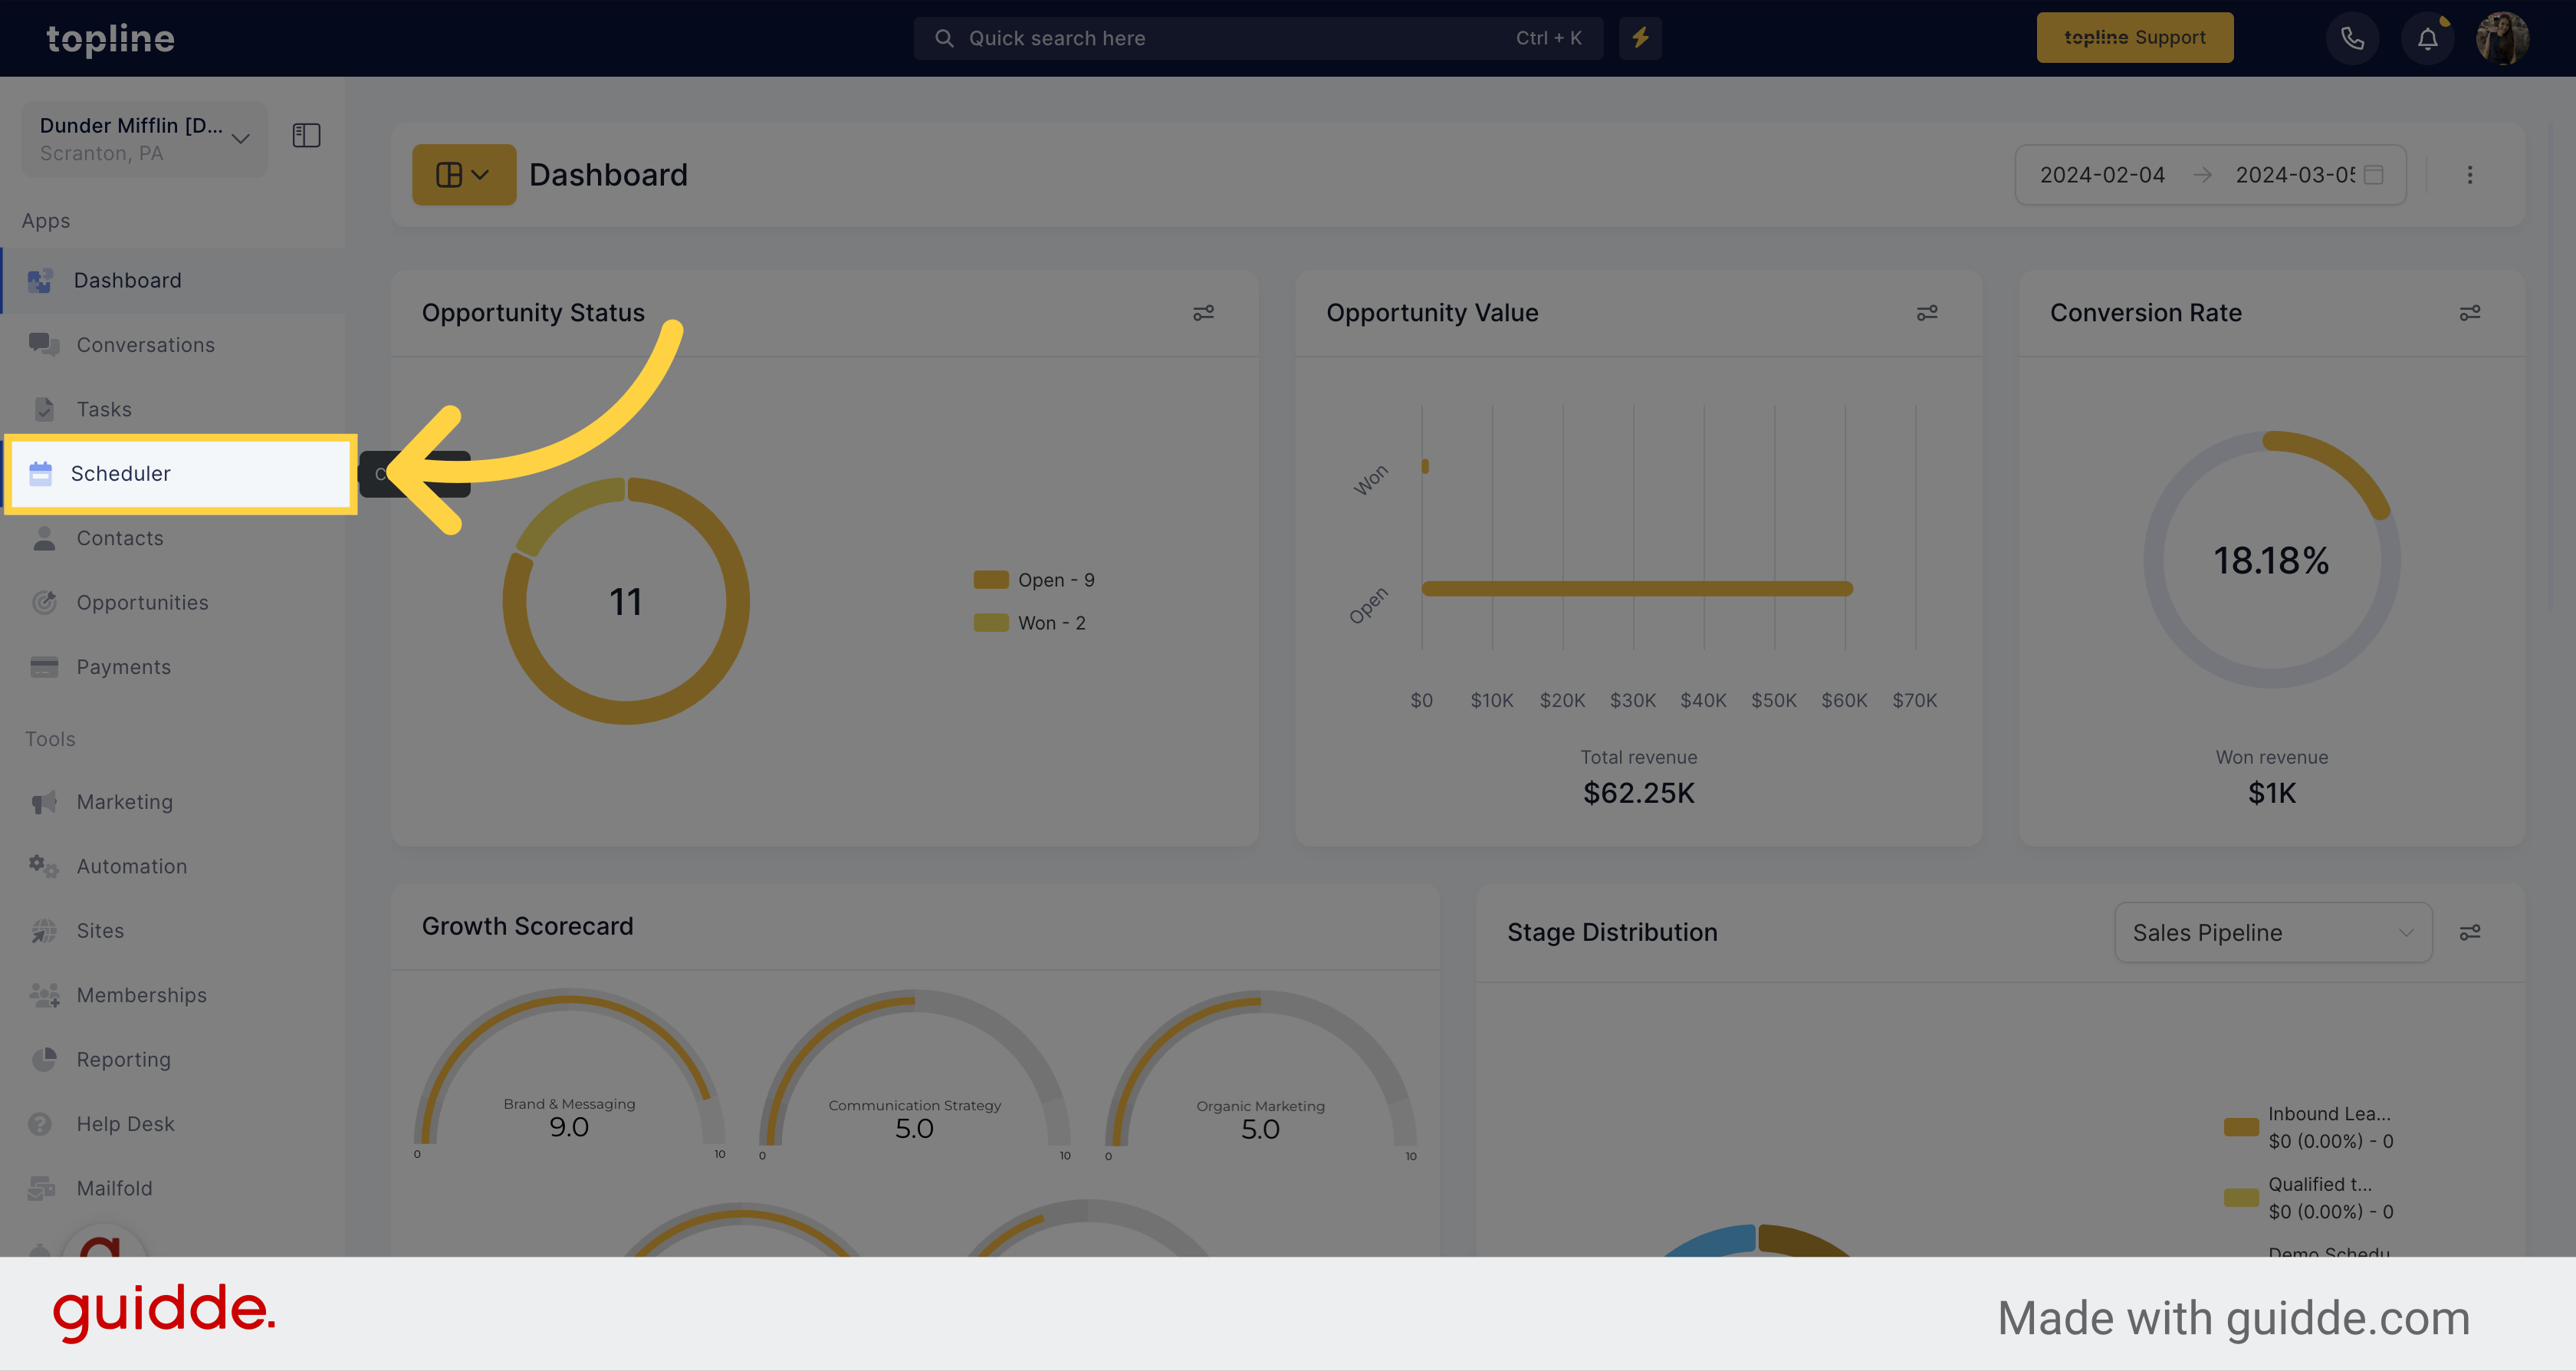
Access the Scheduler section.
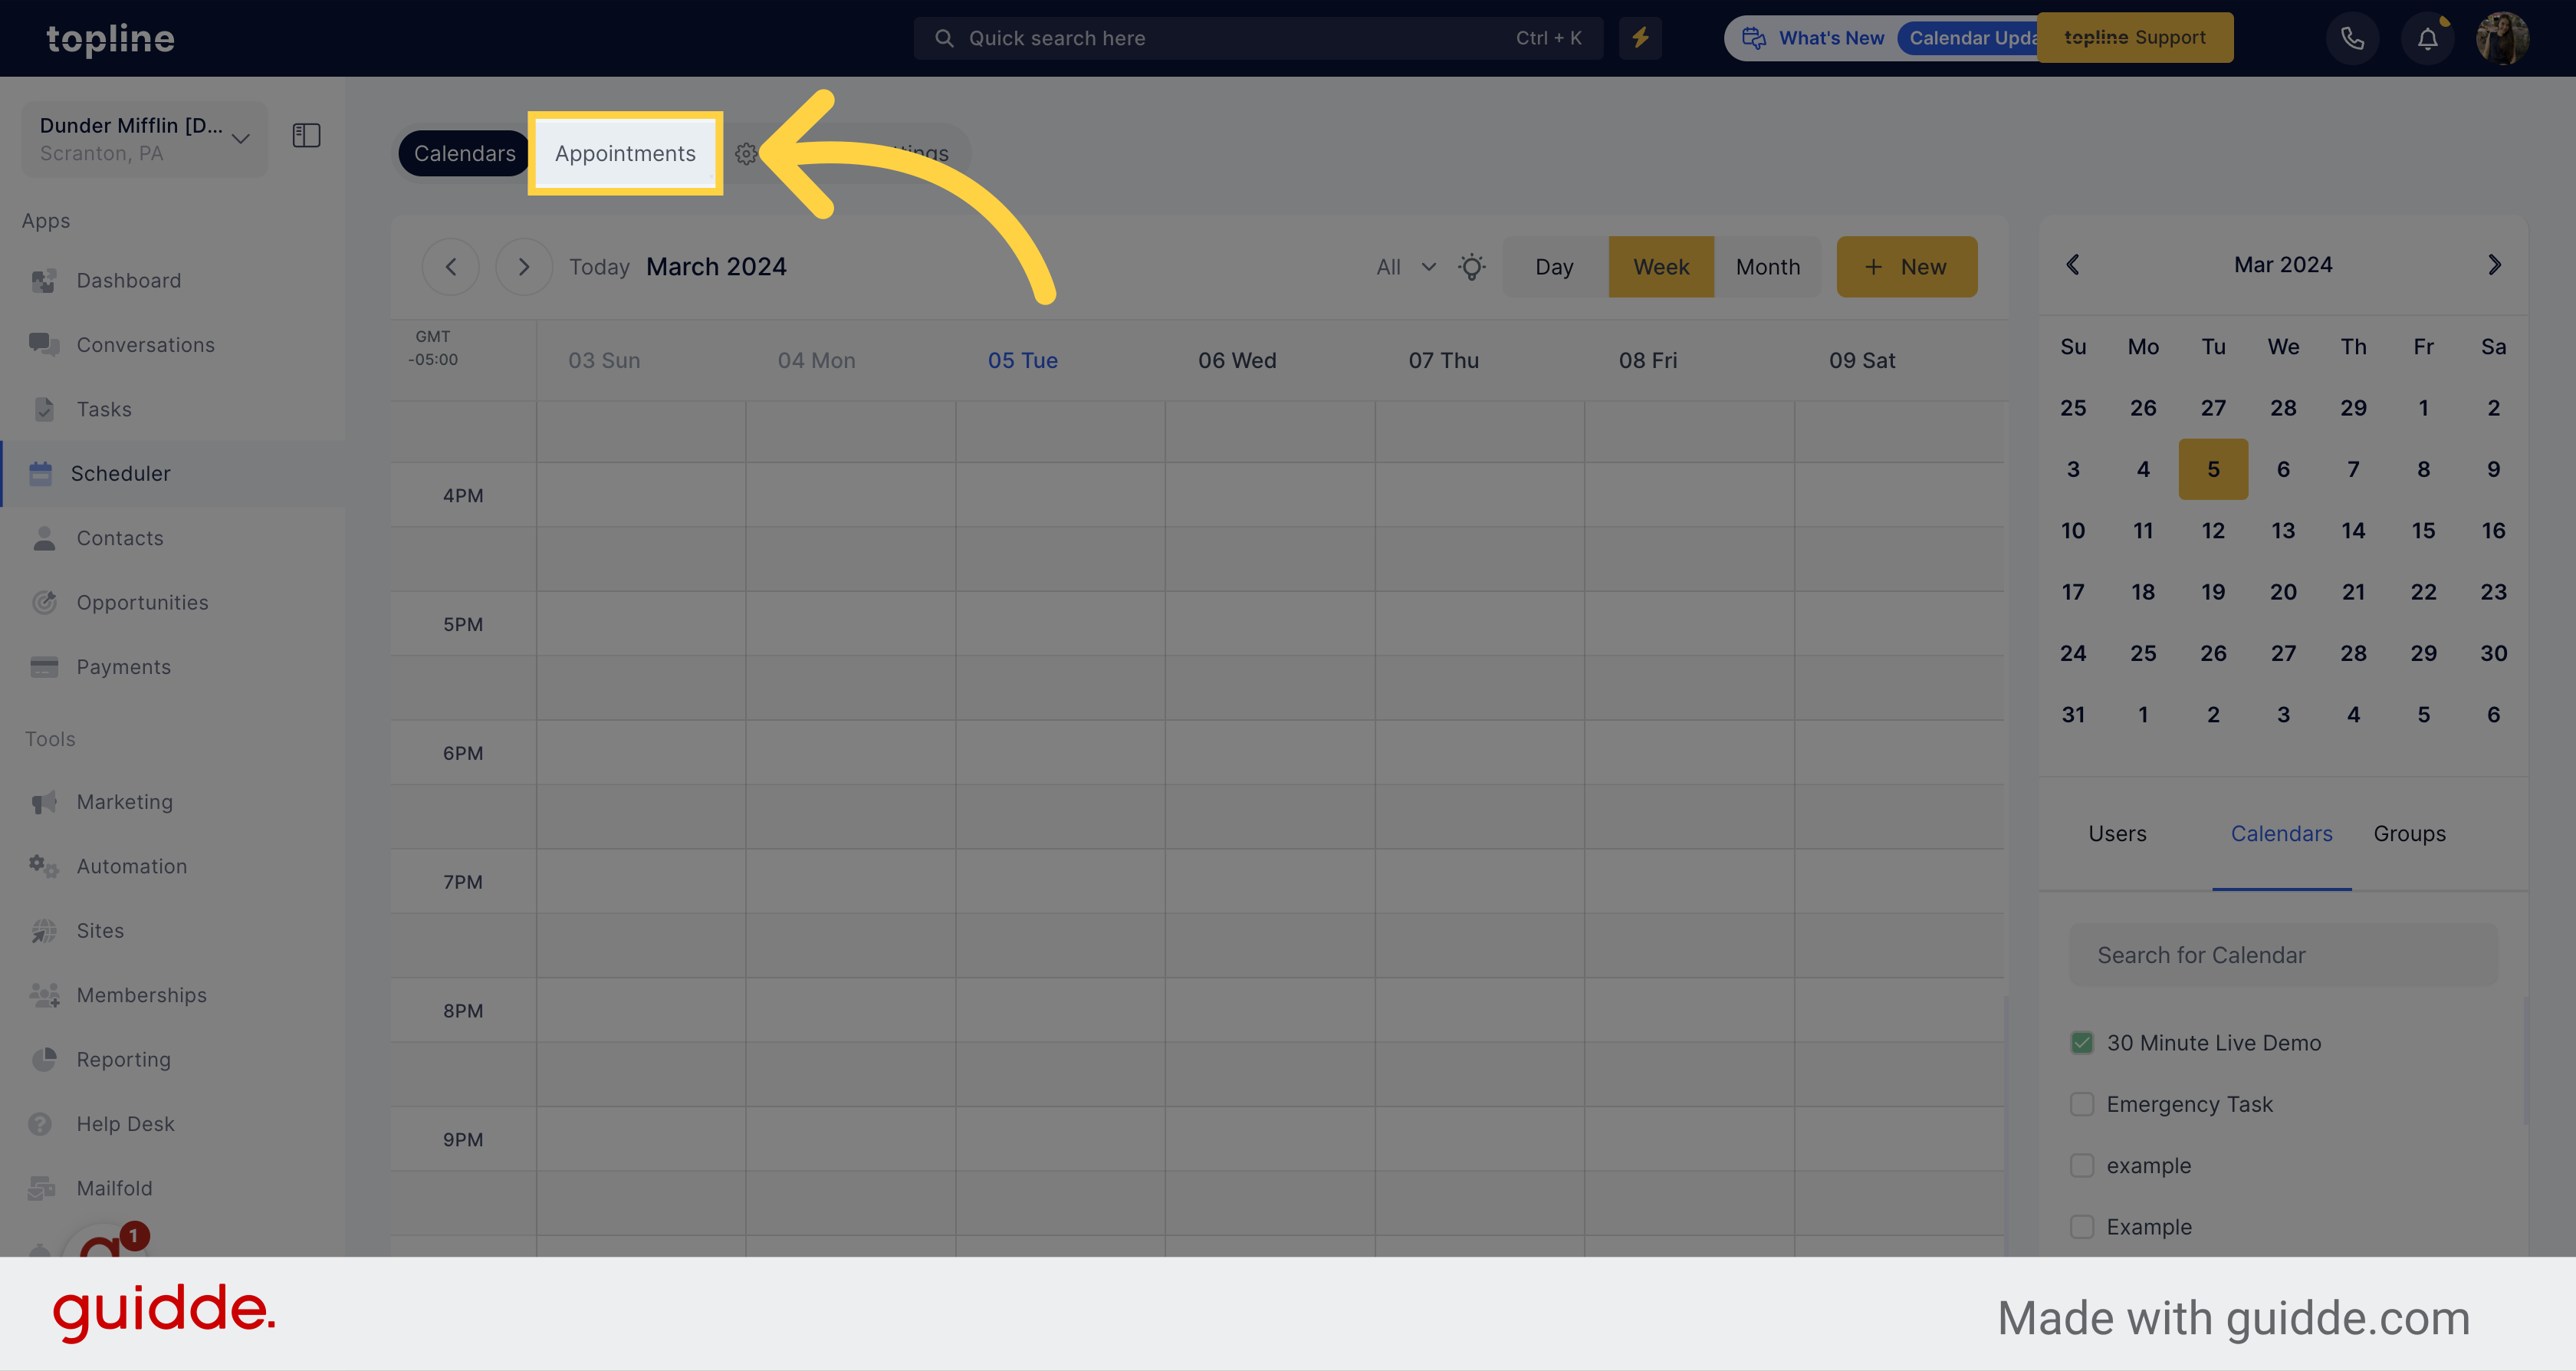
Navigate to the Appointments tab.
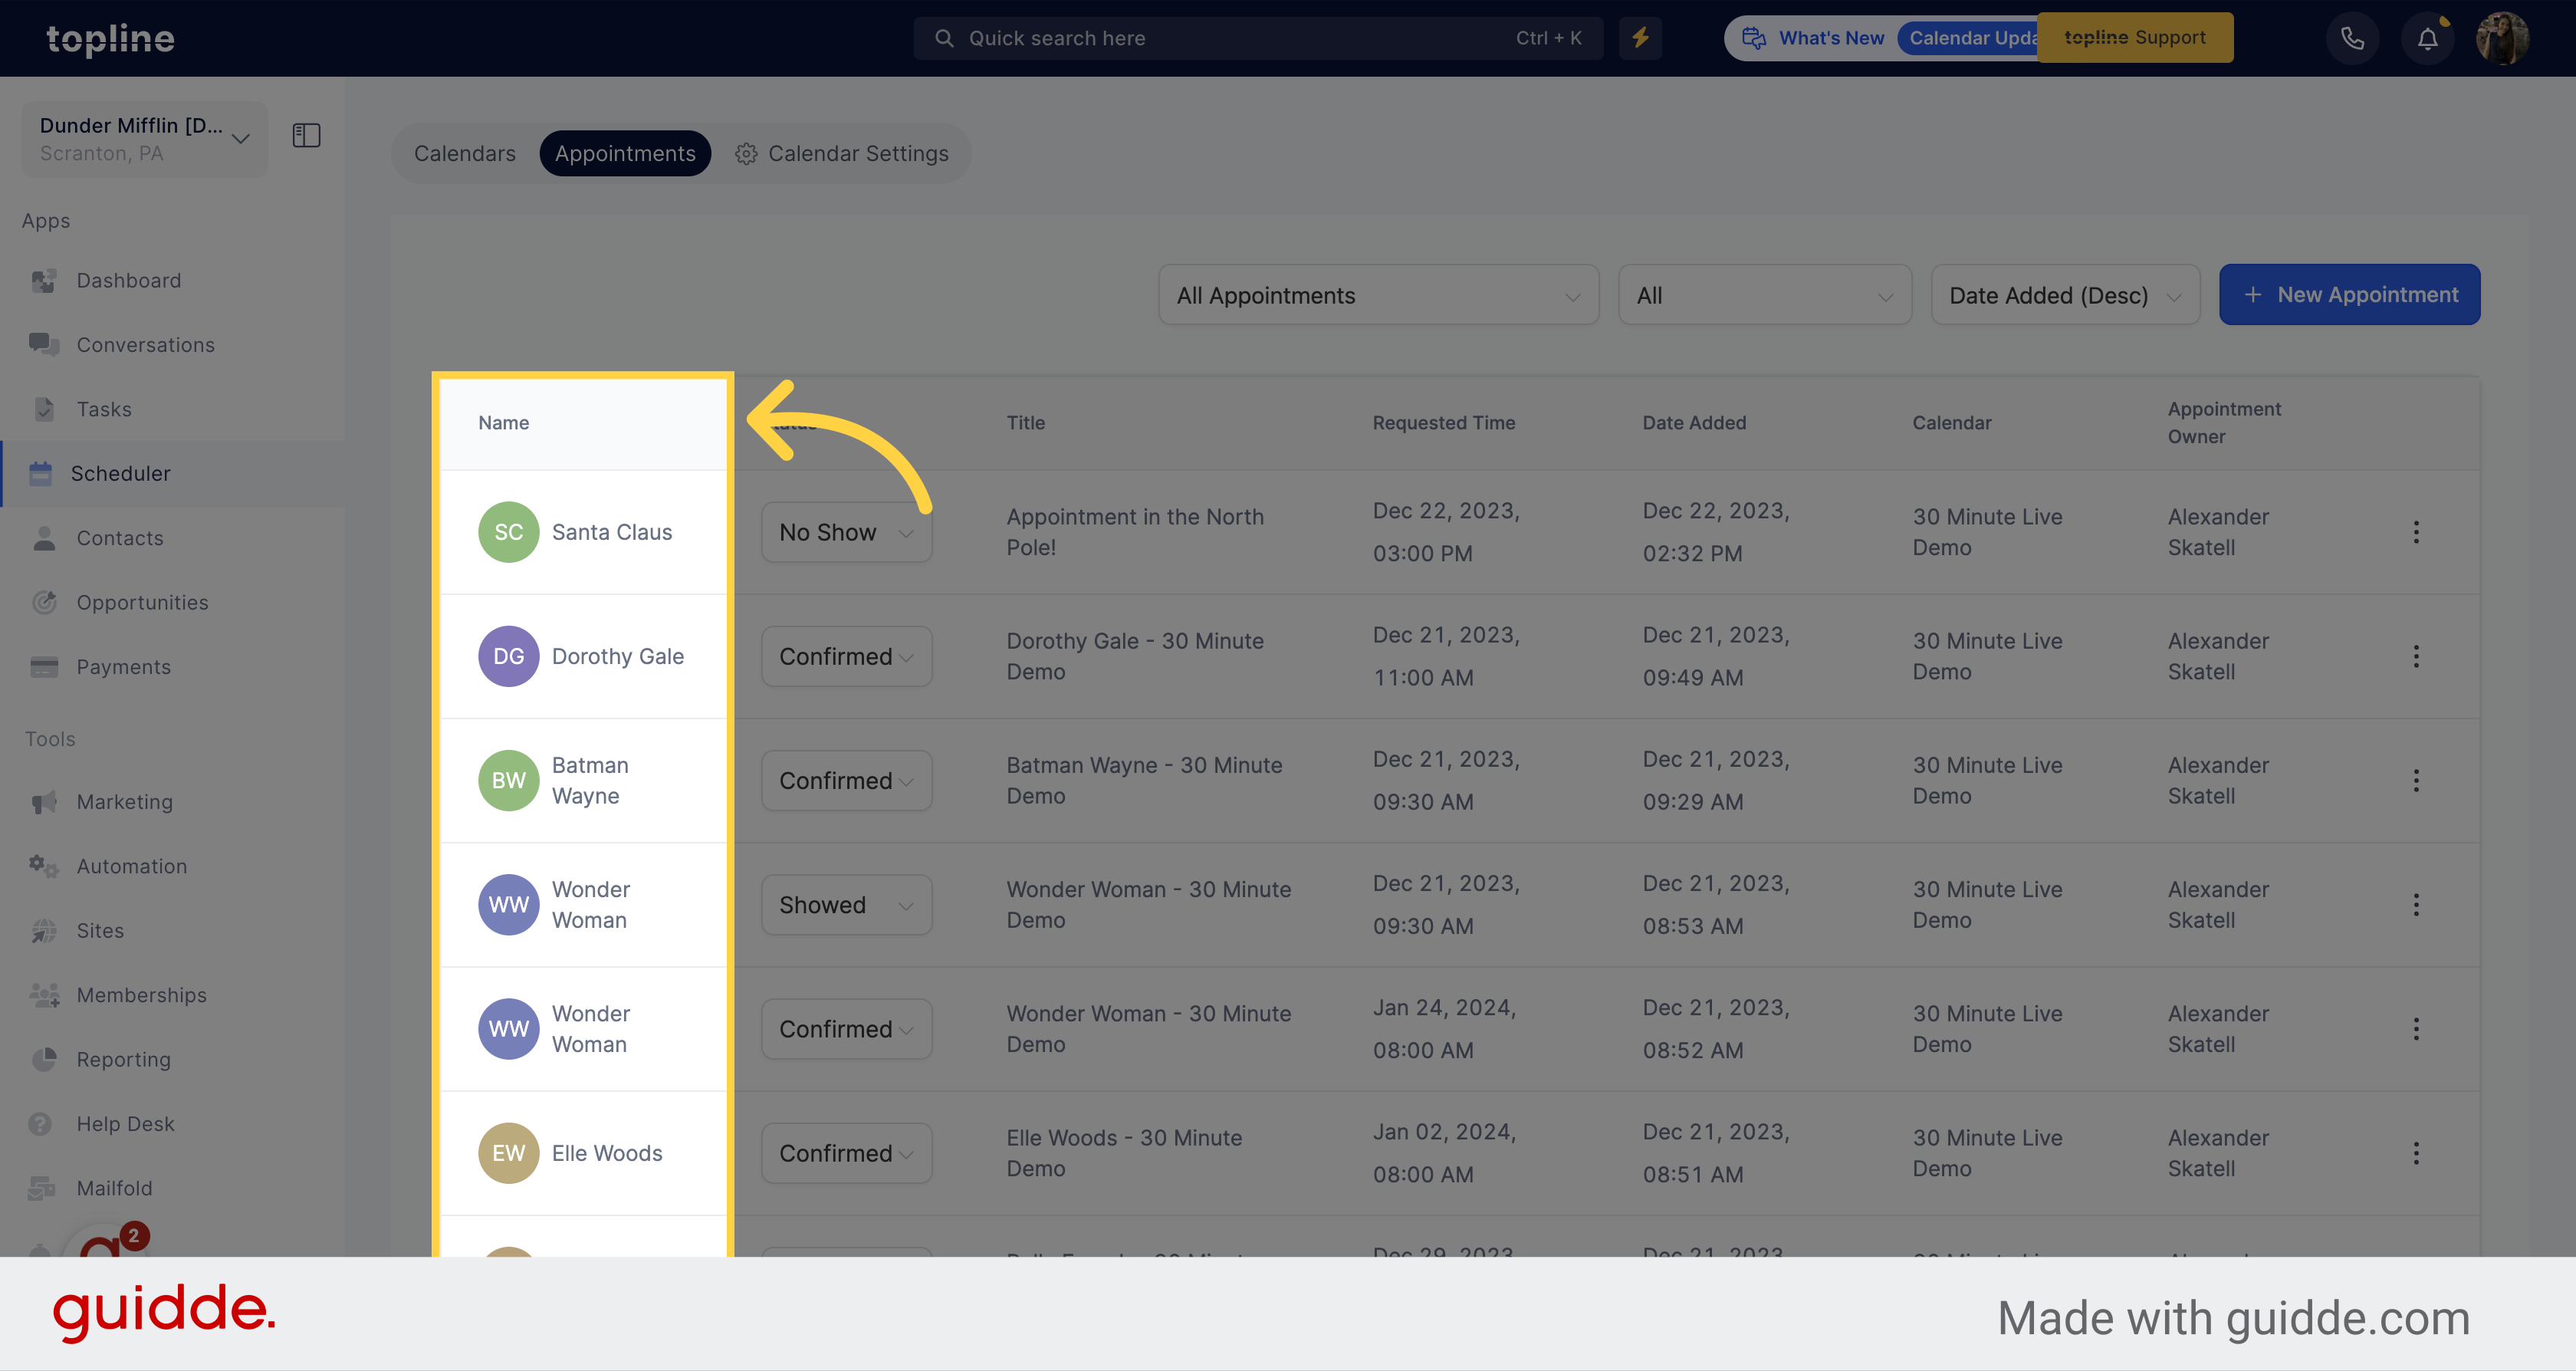
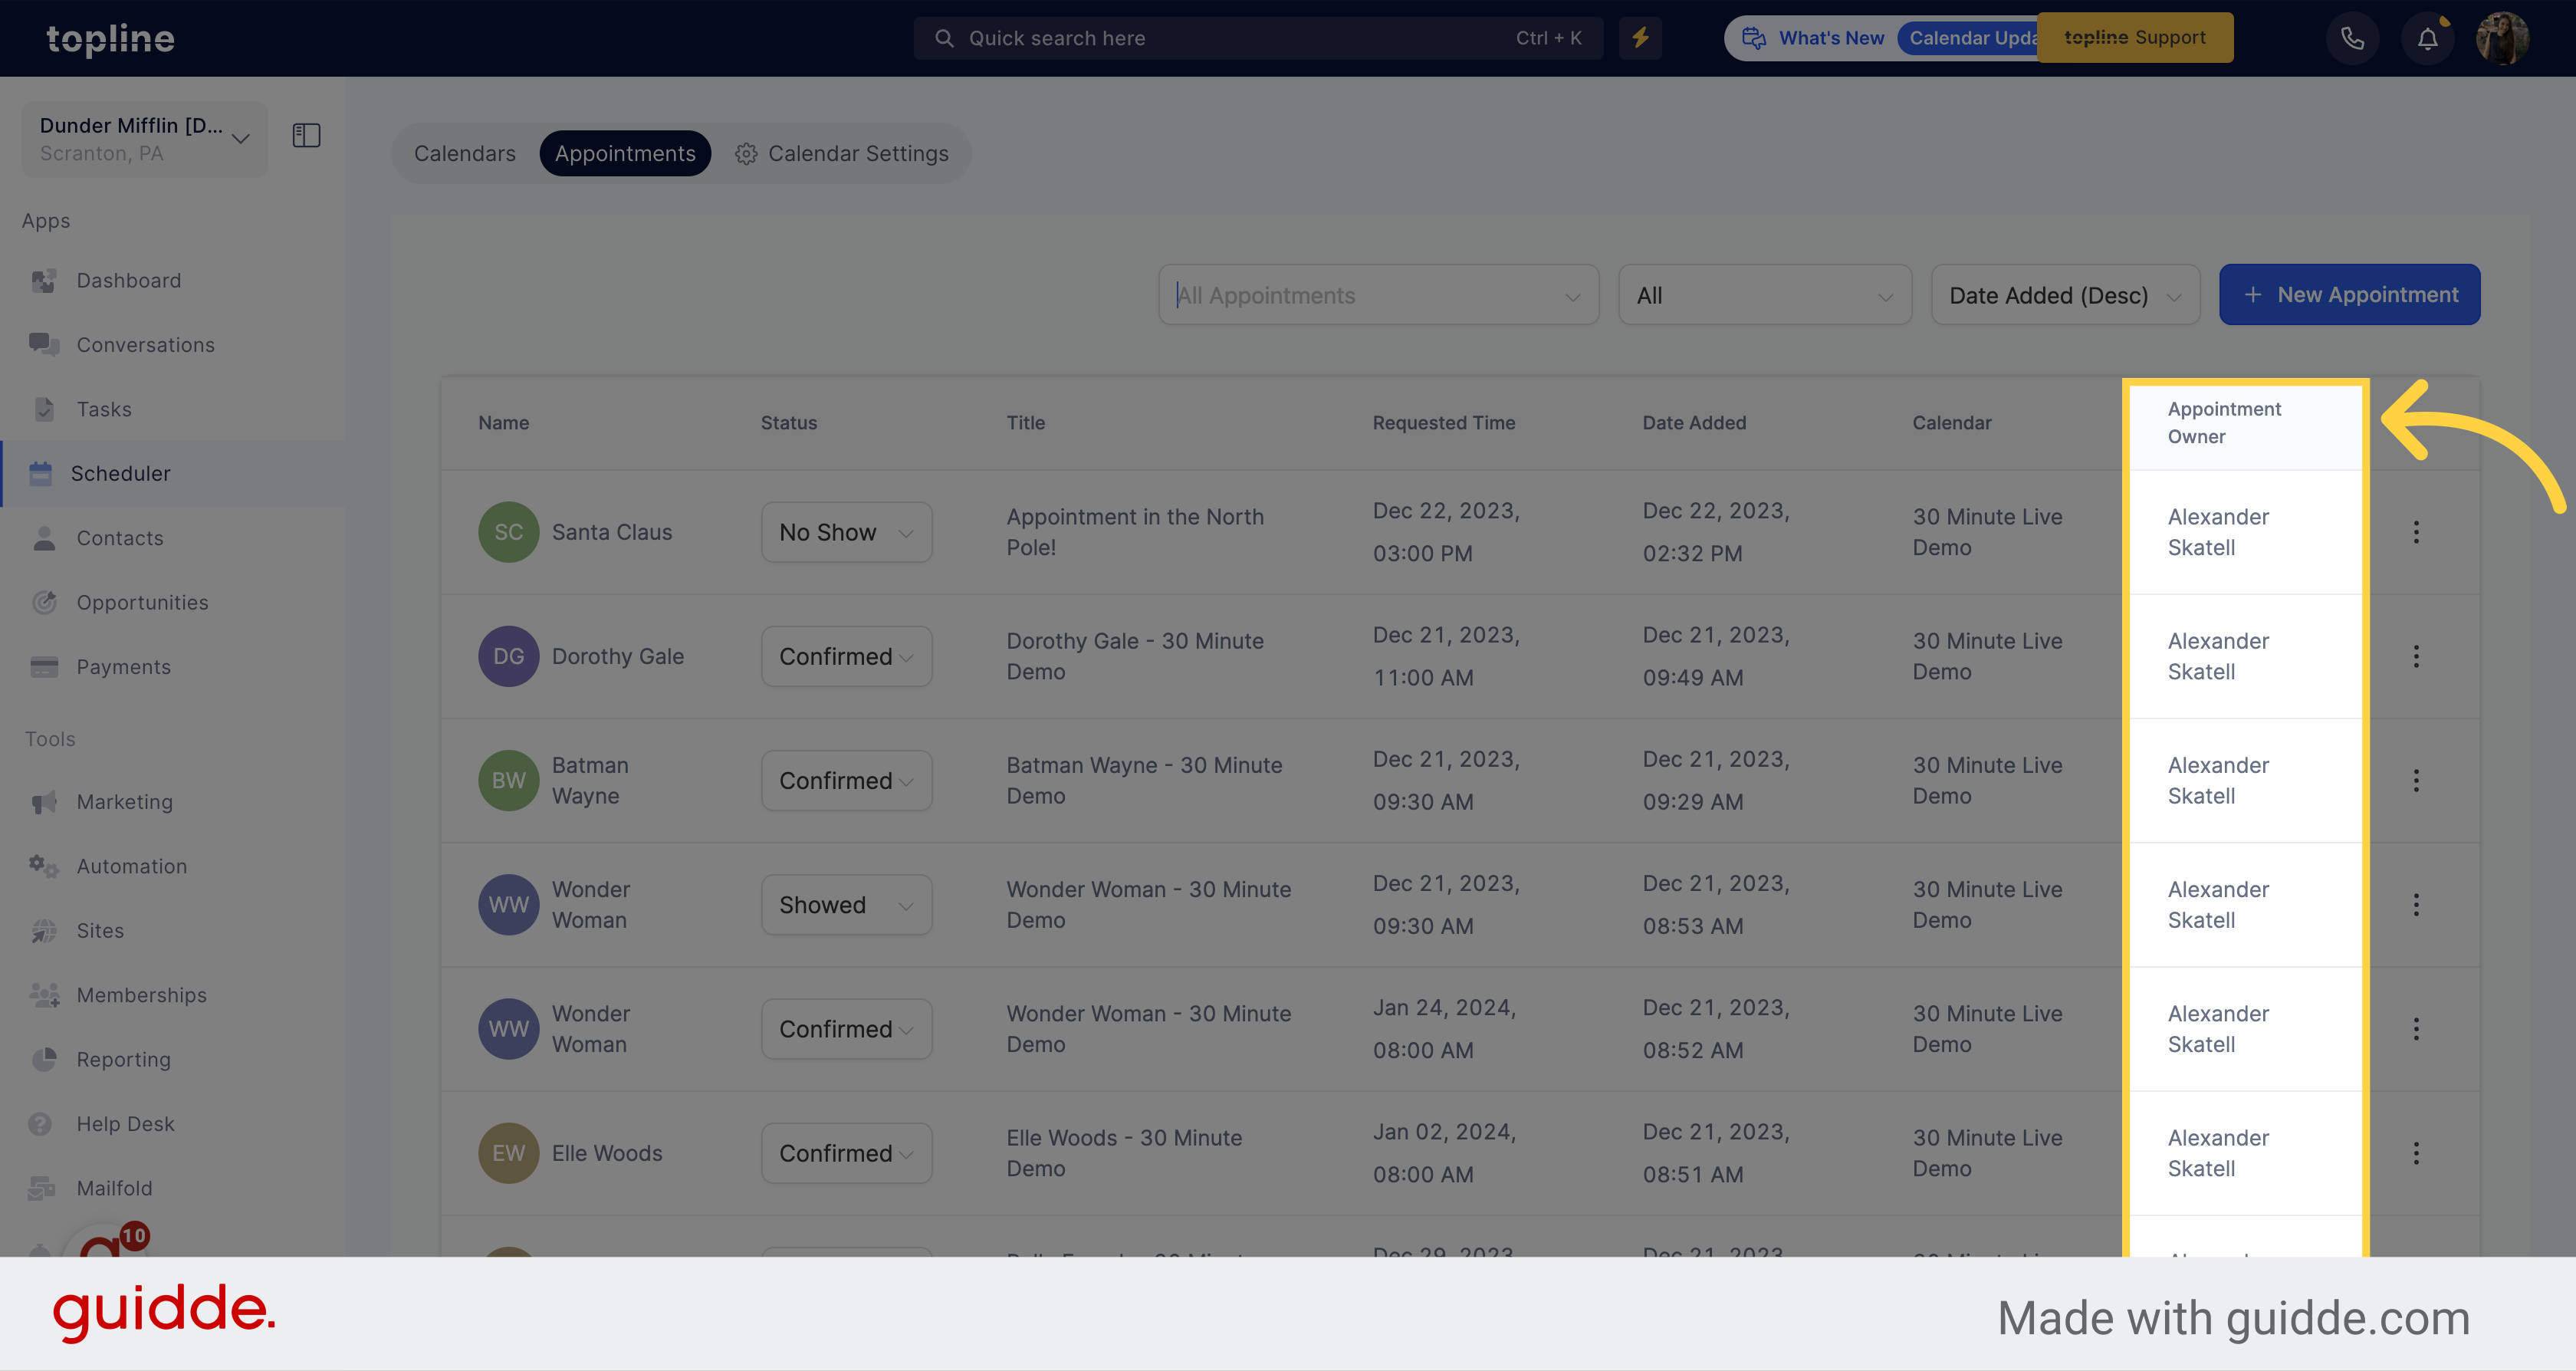
This column displays the individual who scheduled the appointment with you or your team.
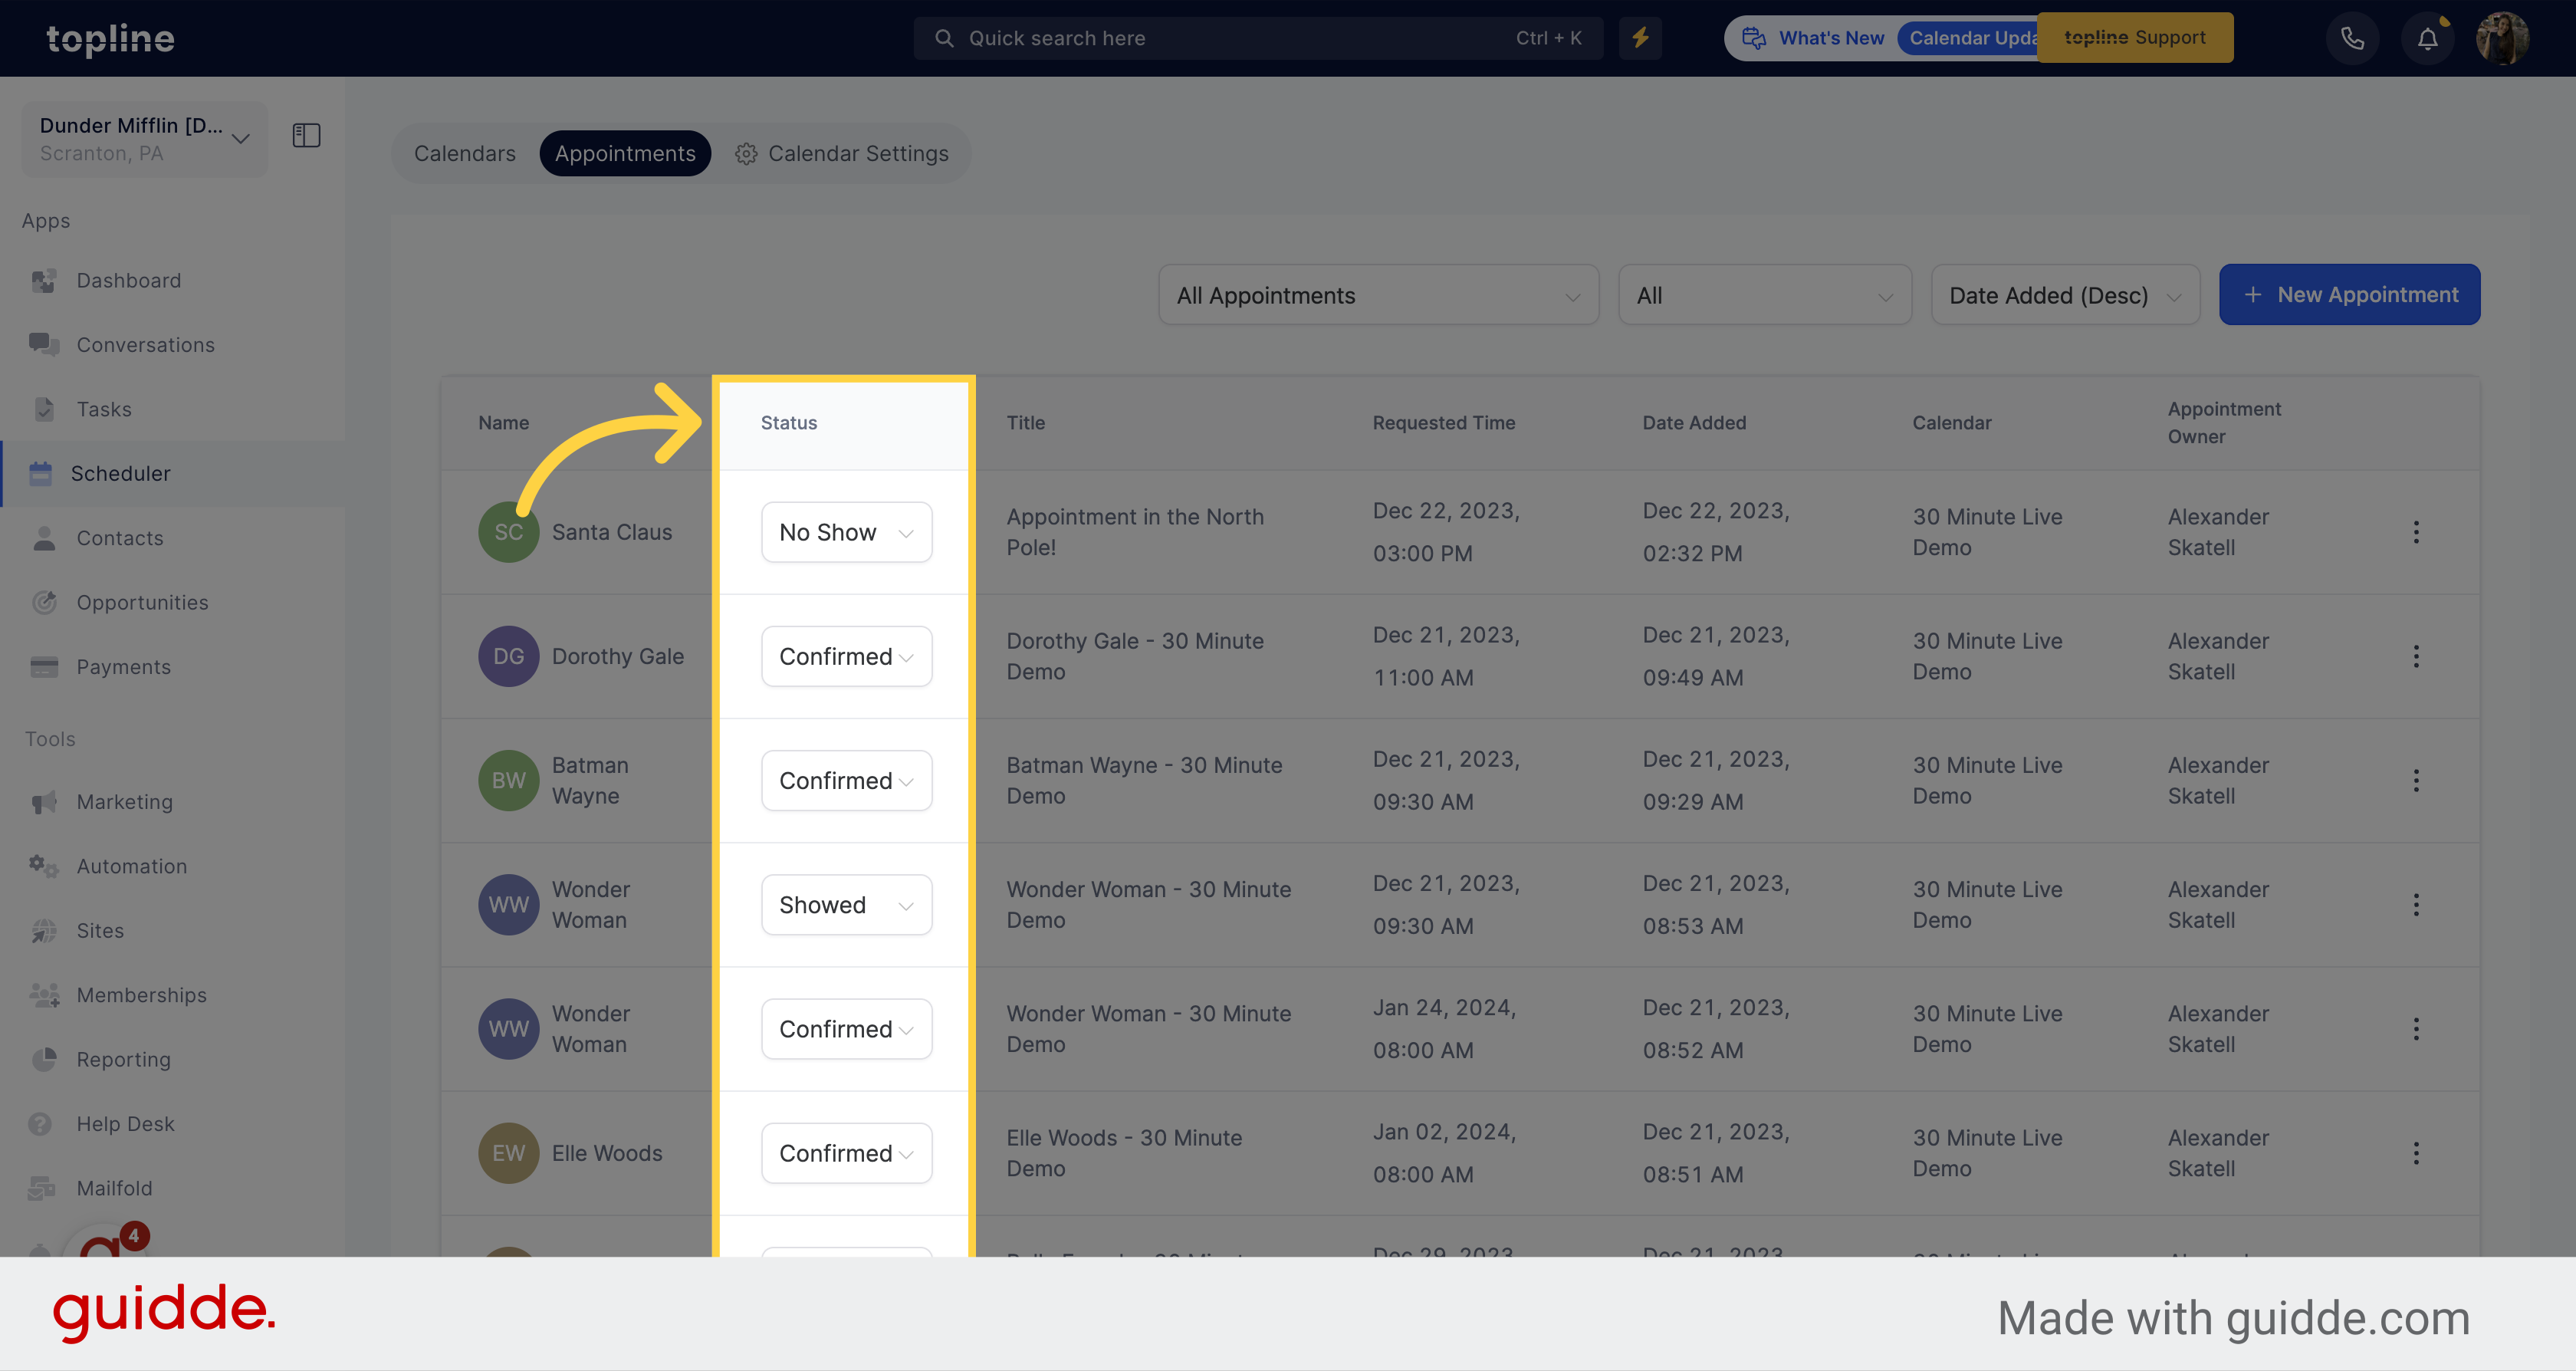
This column enables you to adjust the status of your appointments or cancel them. Below are the available actions for your appointments: Confirmed Reschedule Invalid Cancelled Showed No-Show Delete.
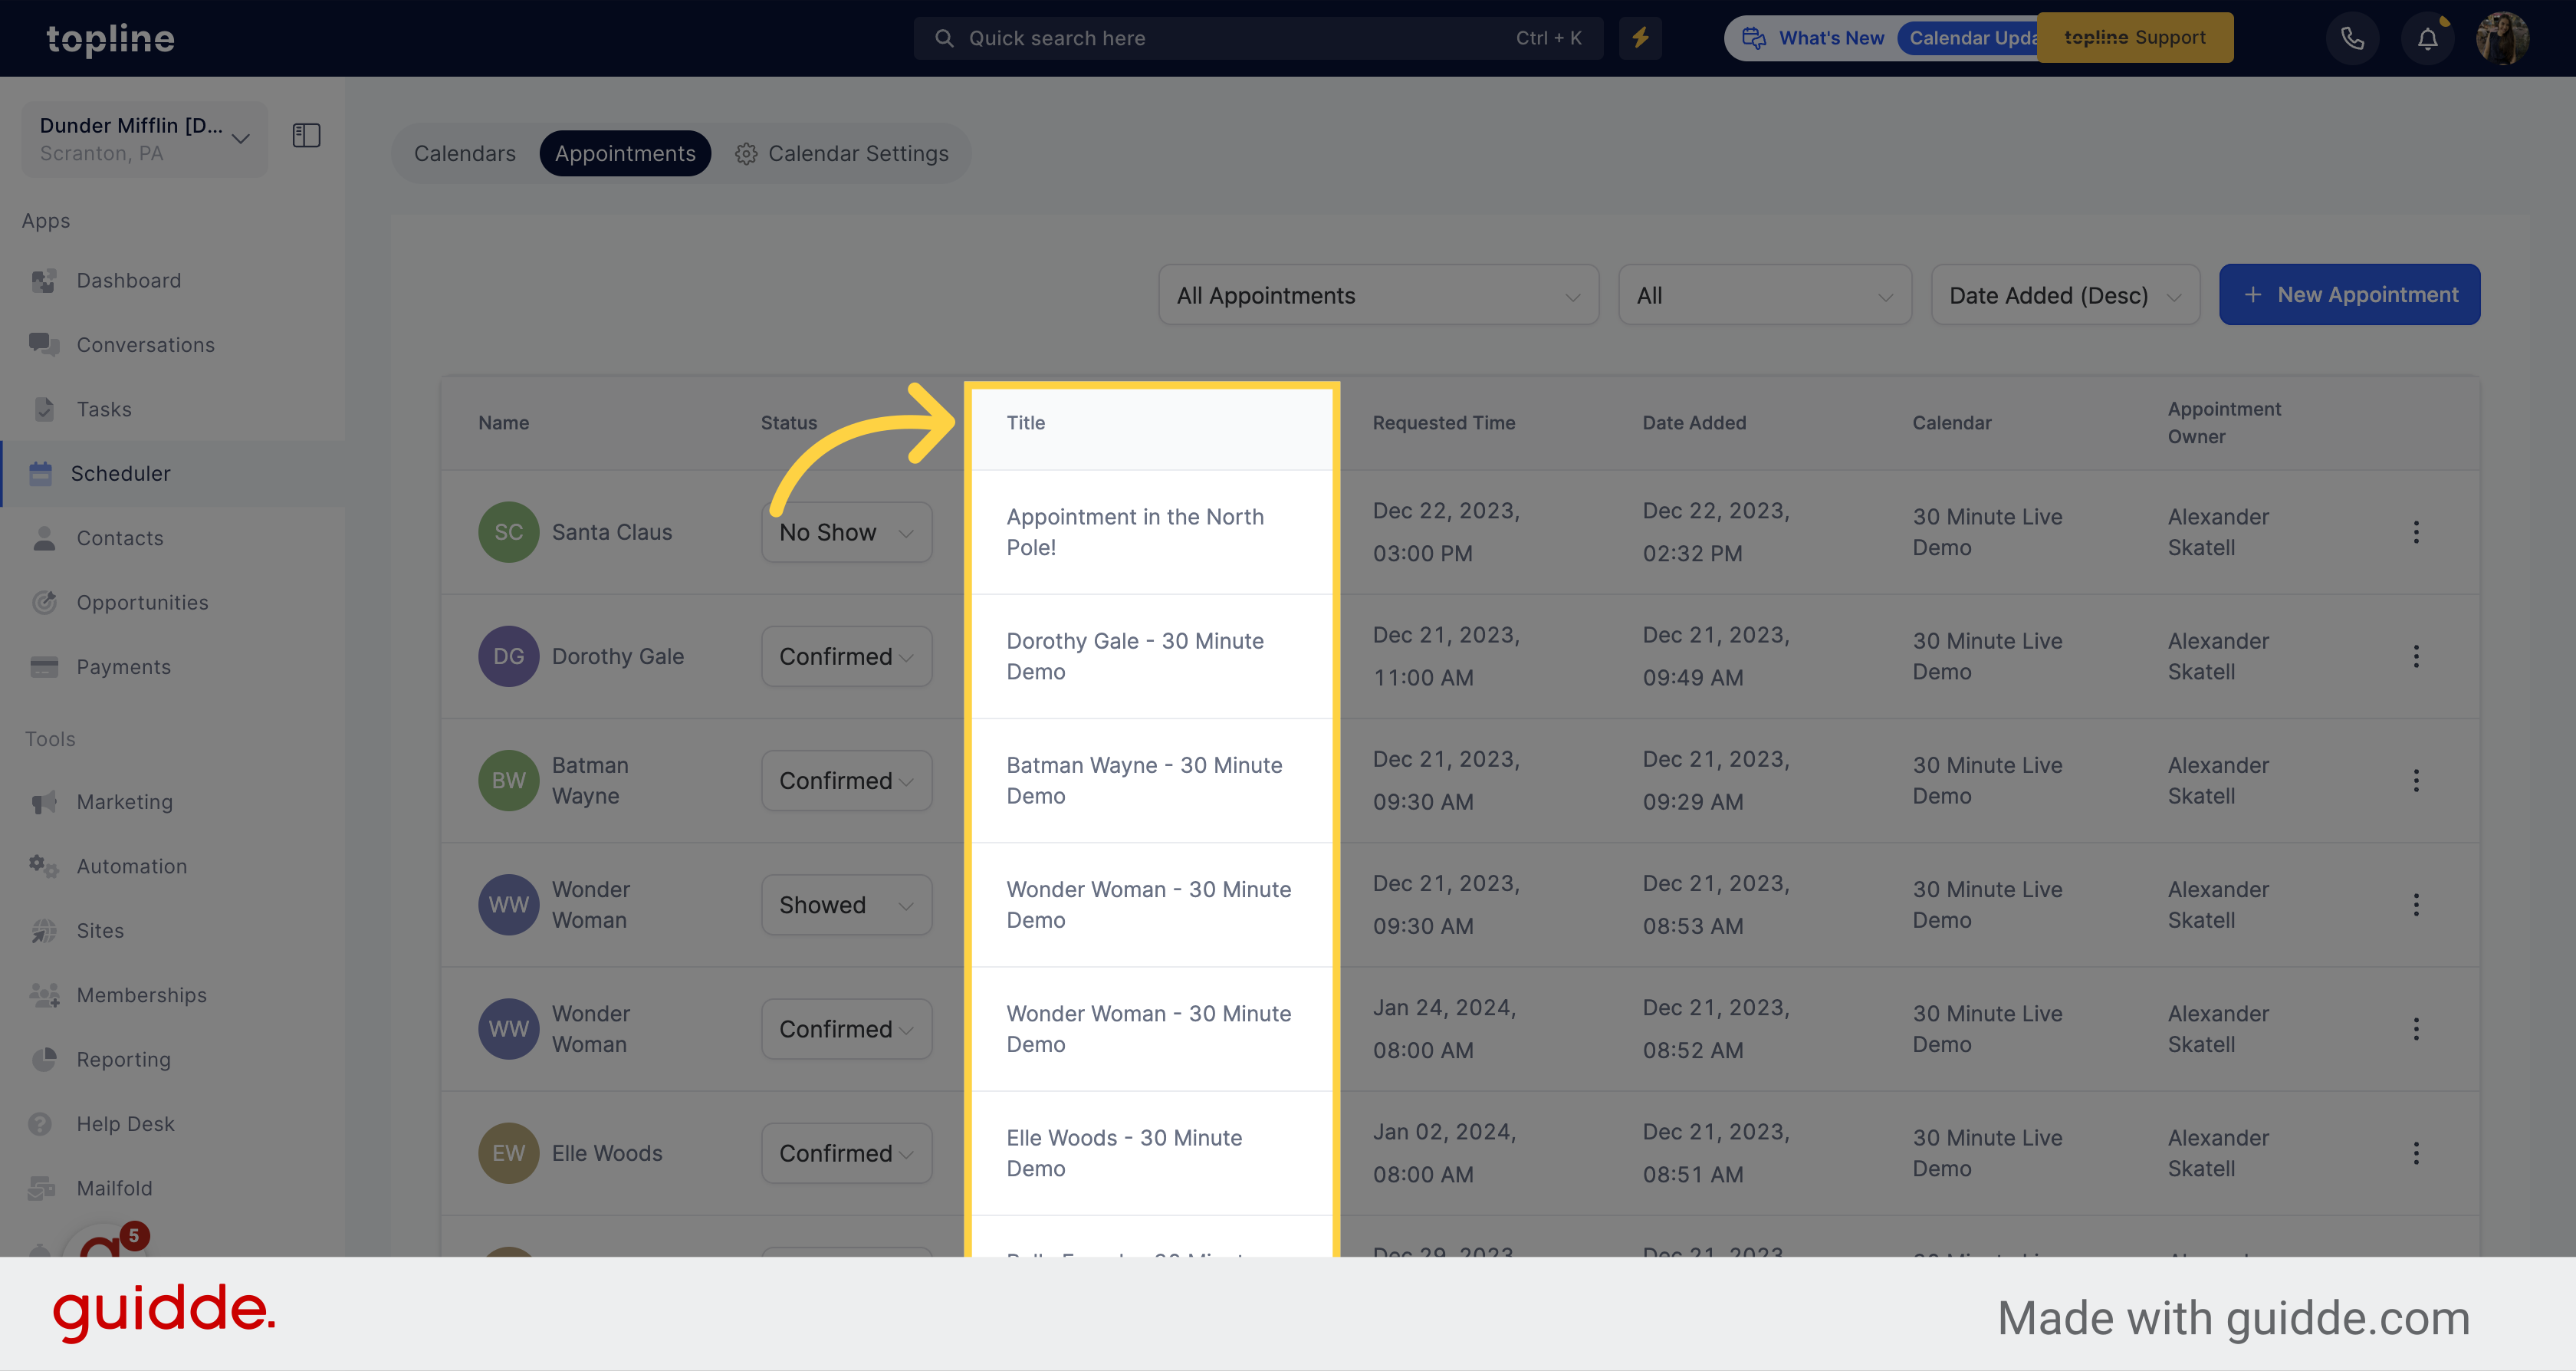
This column shows the 'Title' of the appointment.
The requested date and time for the appointment can be found in this column.
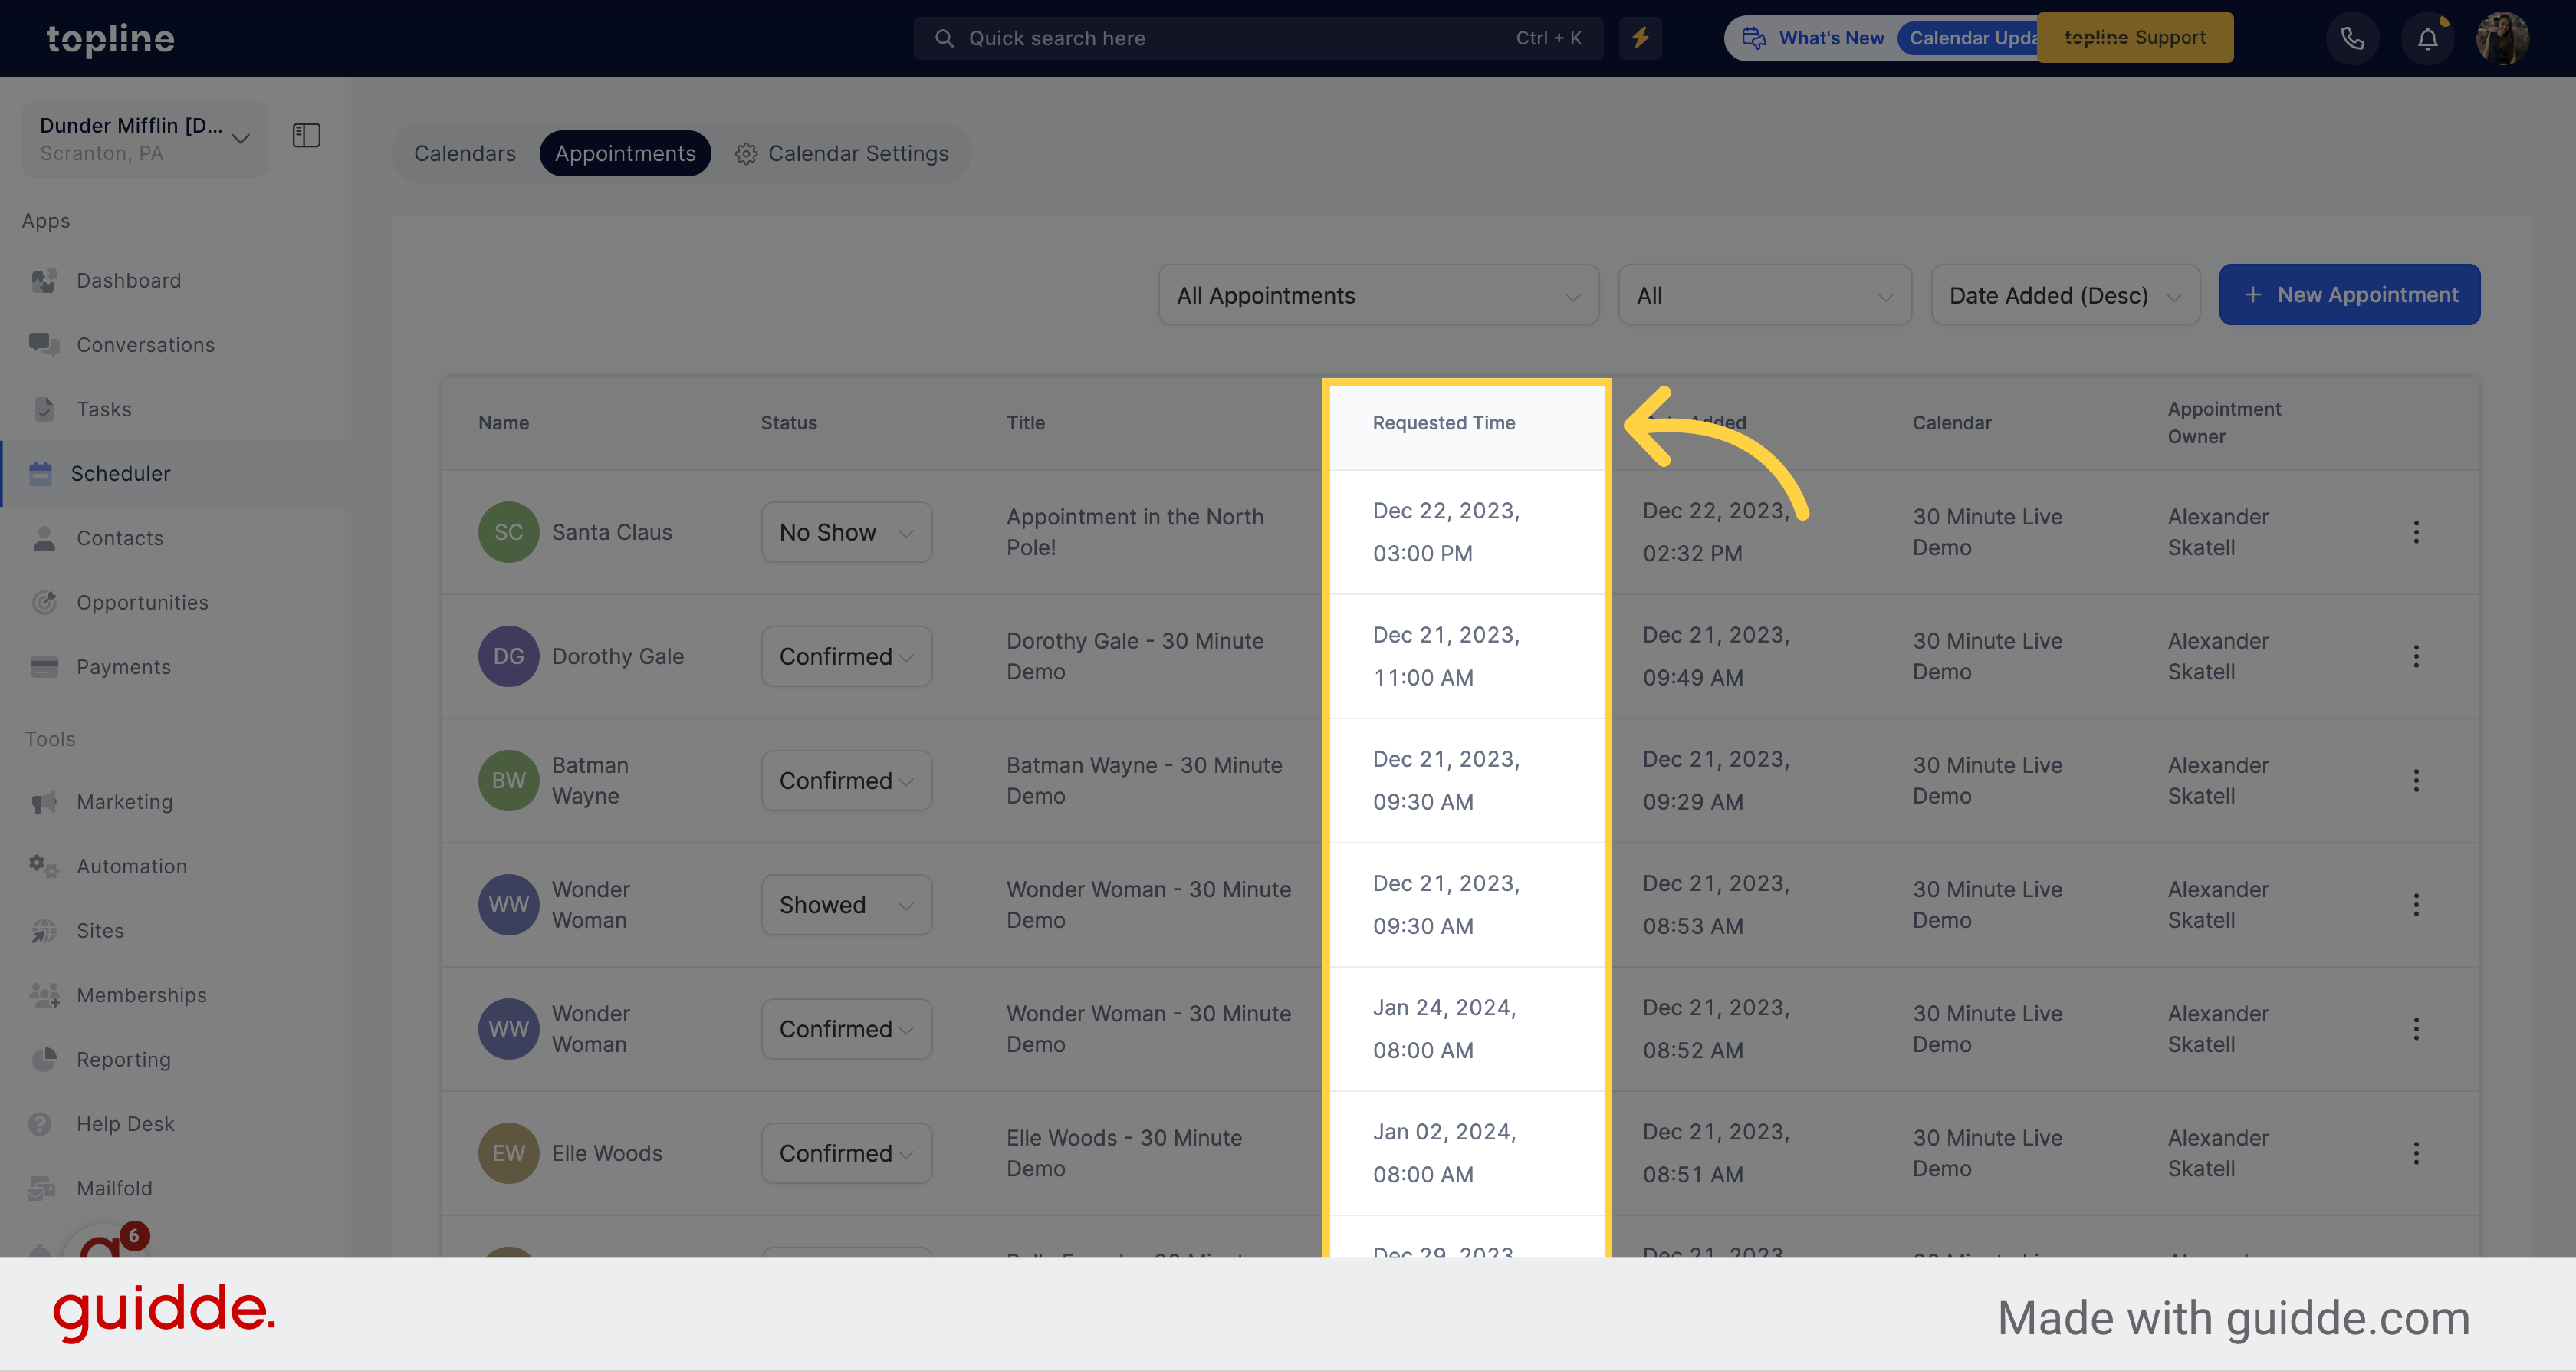
The creation date on your calendar for the appointment is visible in this column.

You can view the calendar that was utilized to schedule the appointment in this column.
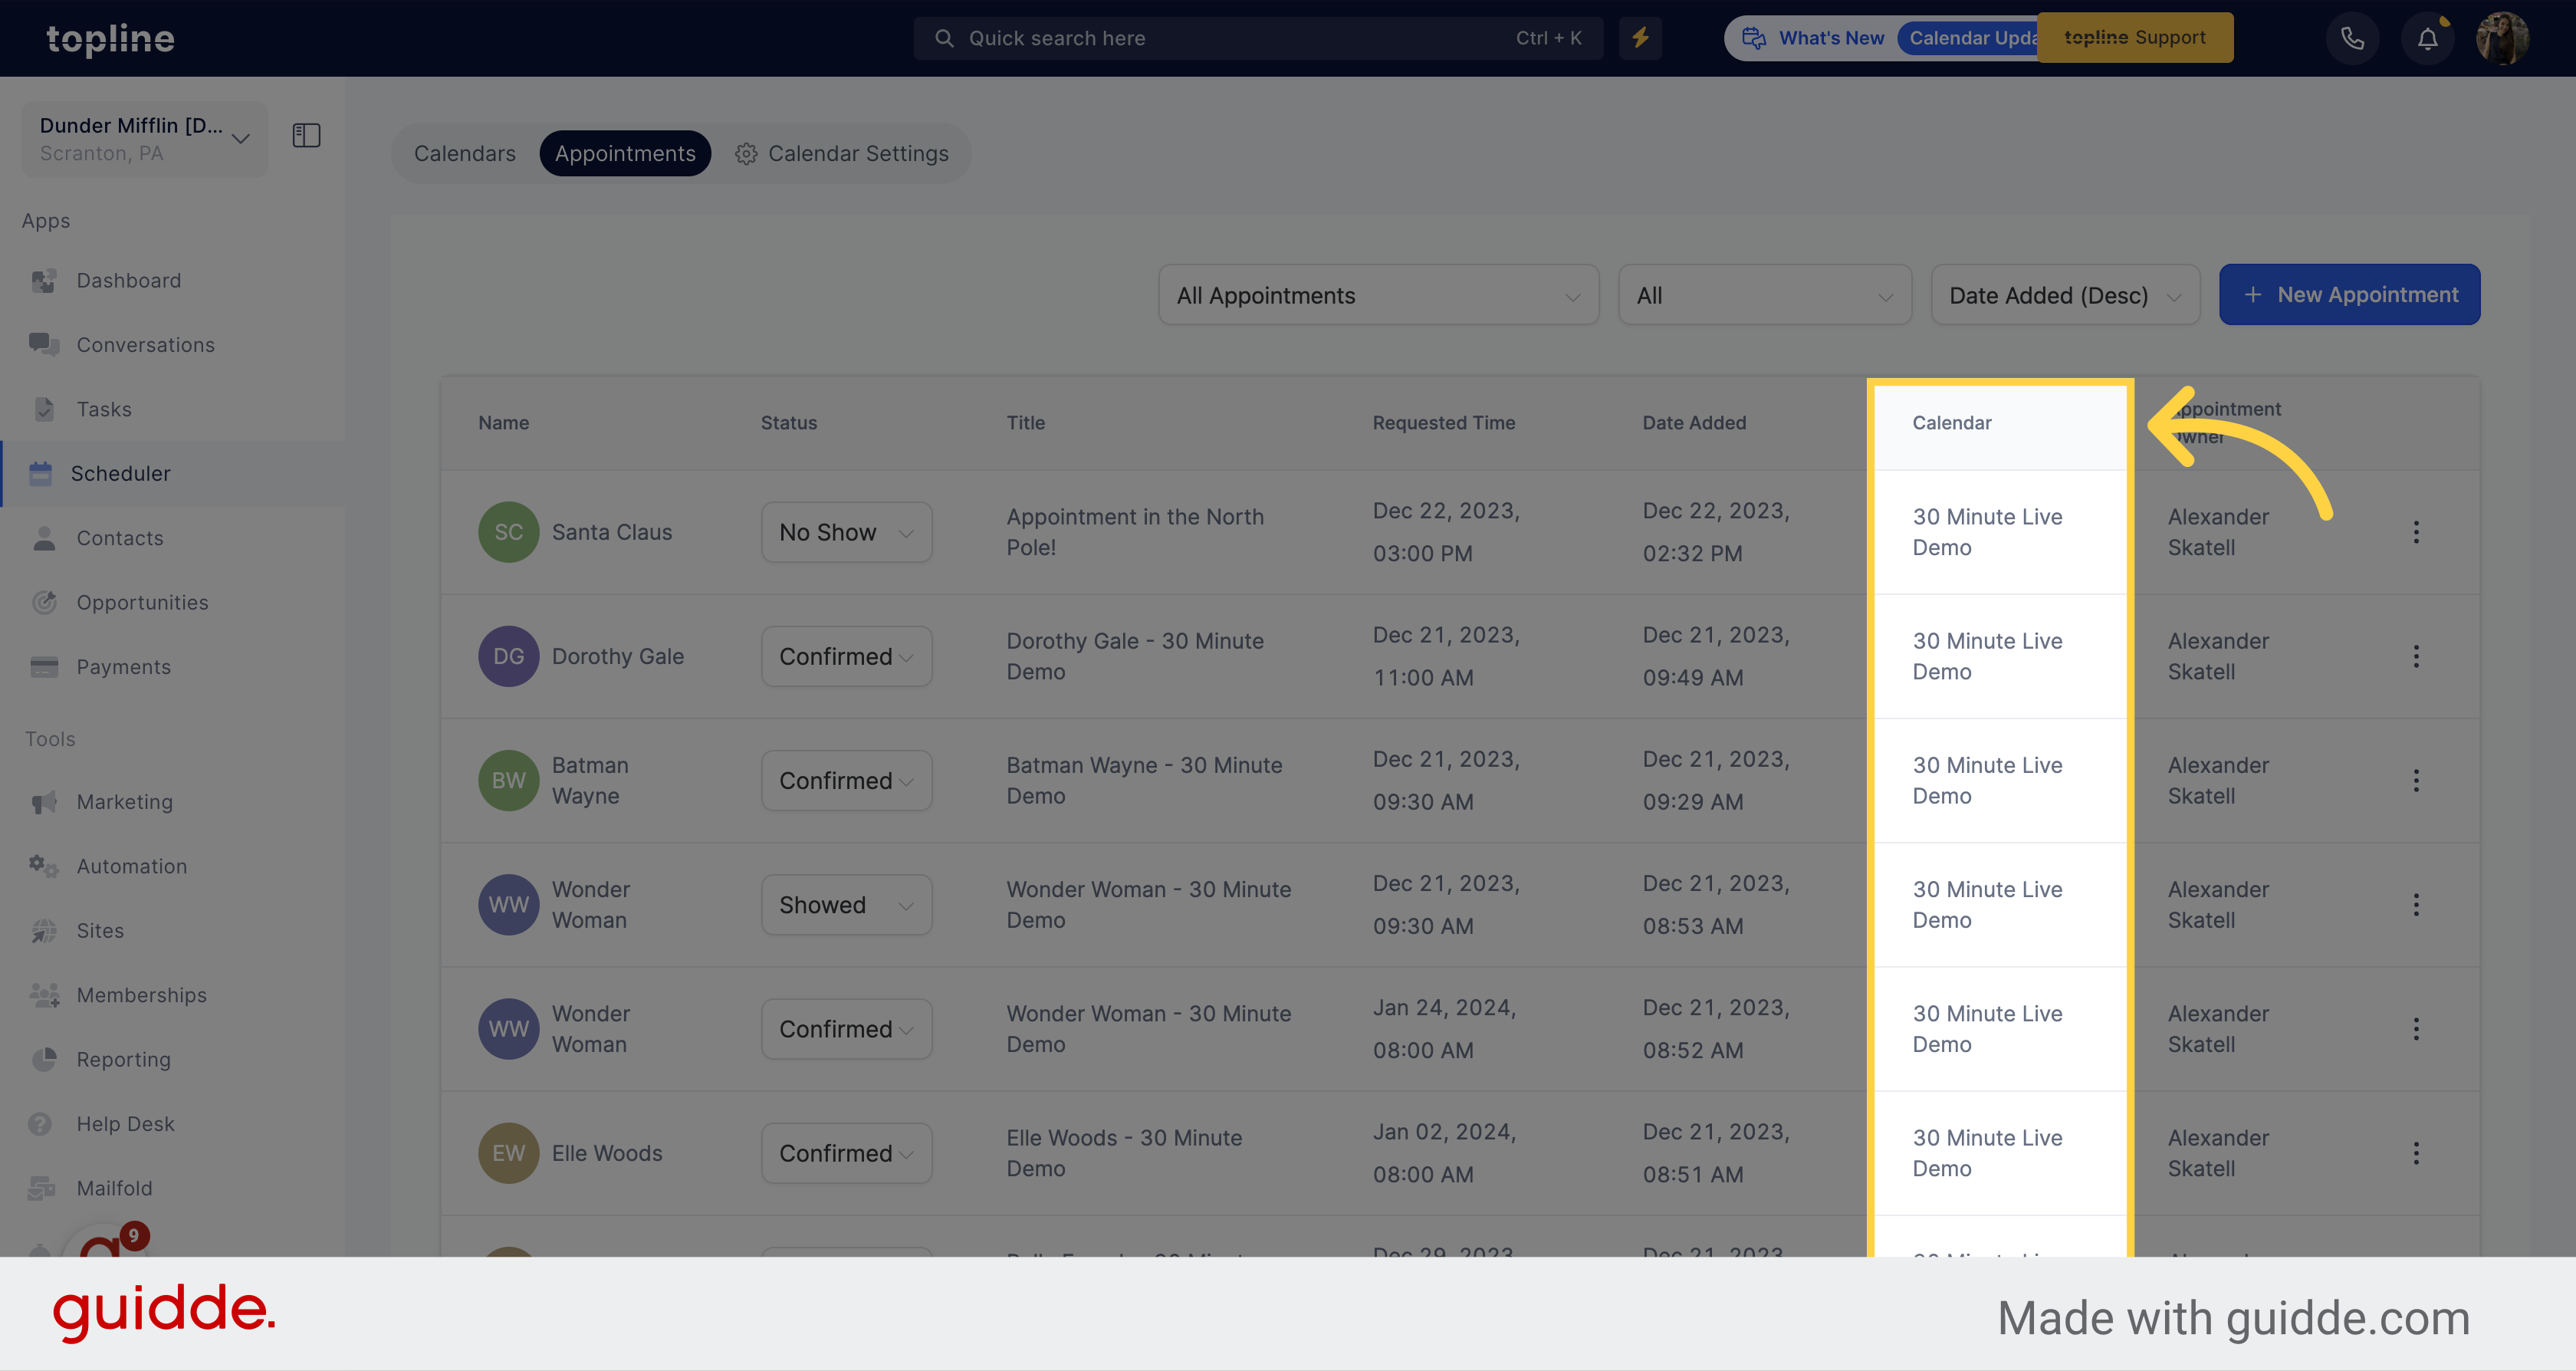
This displays the assigned user for the appointment.
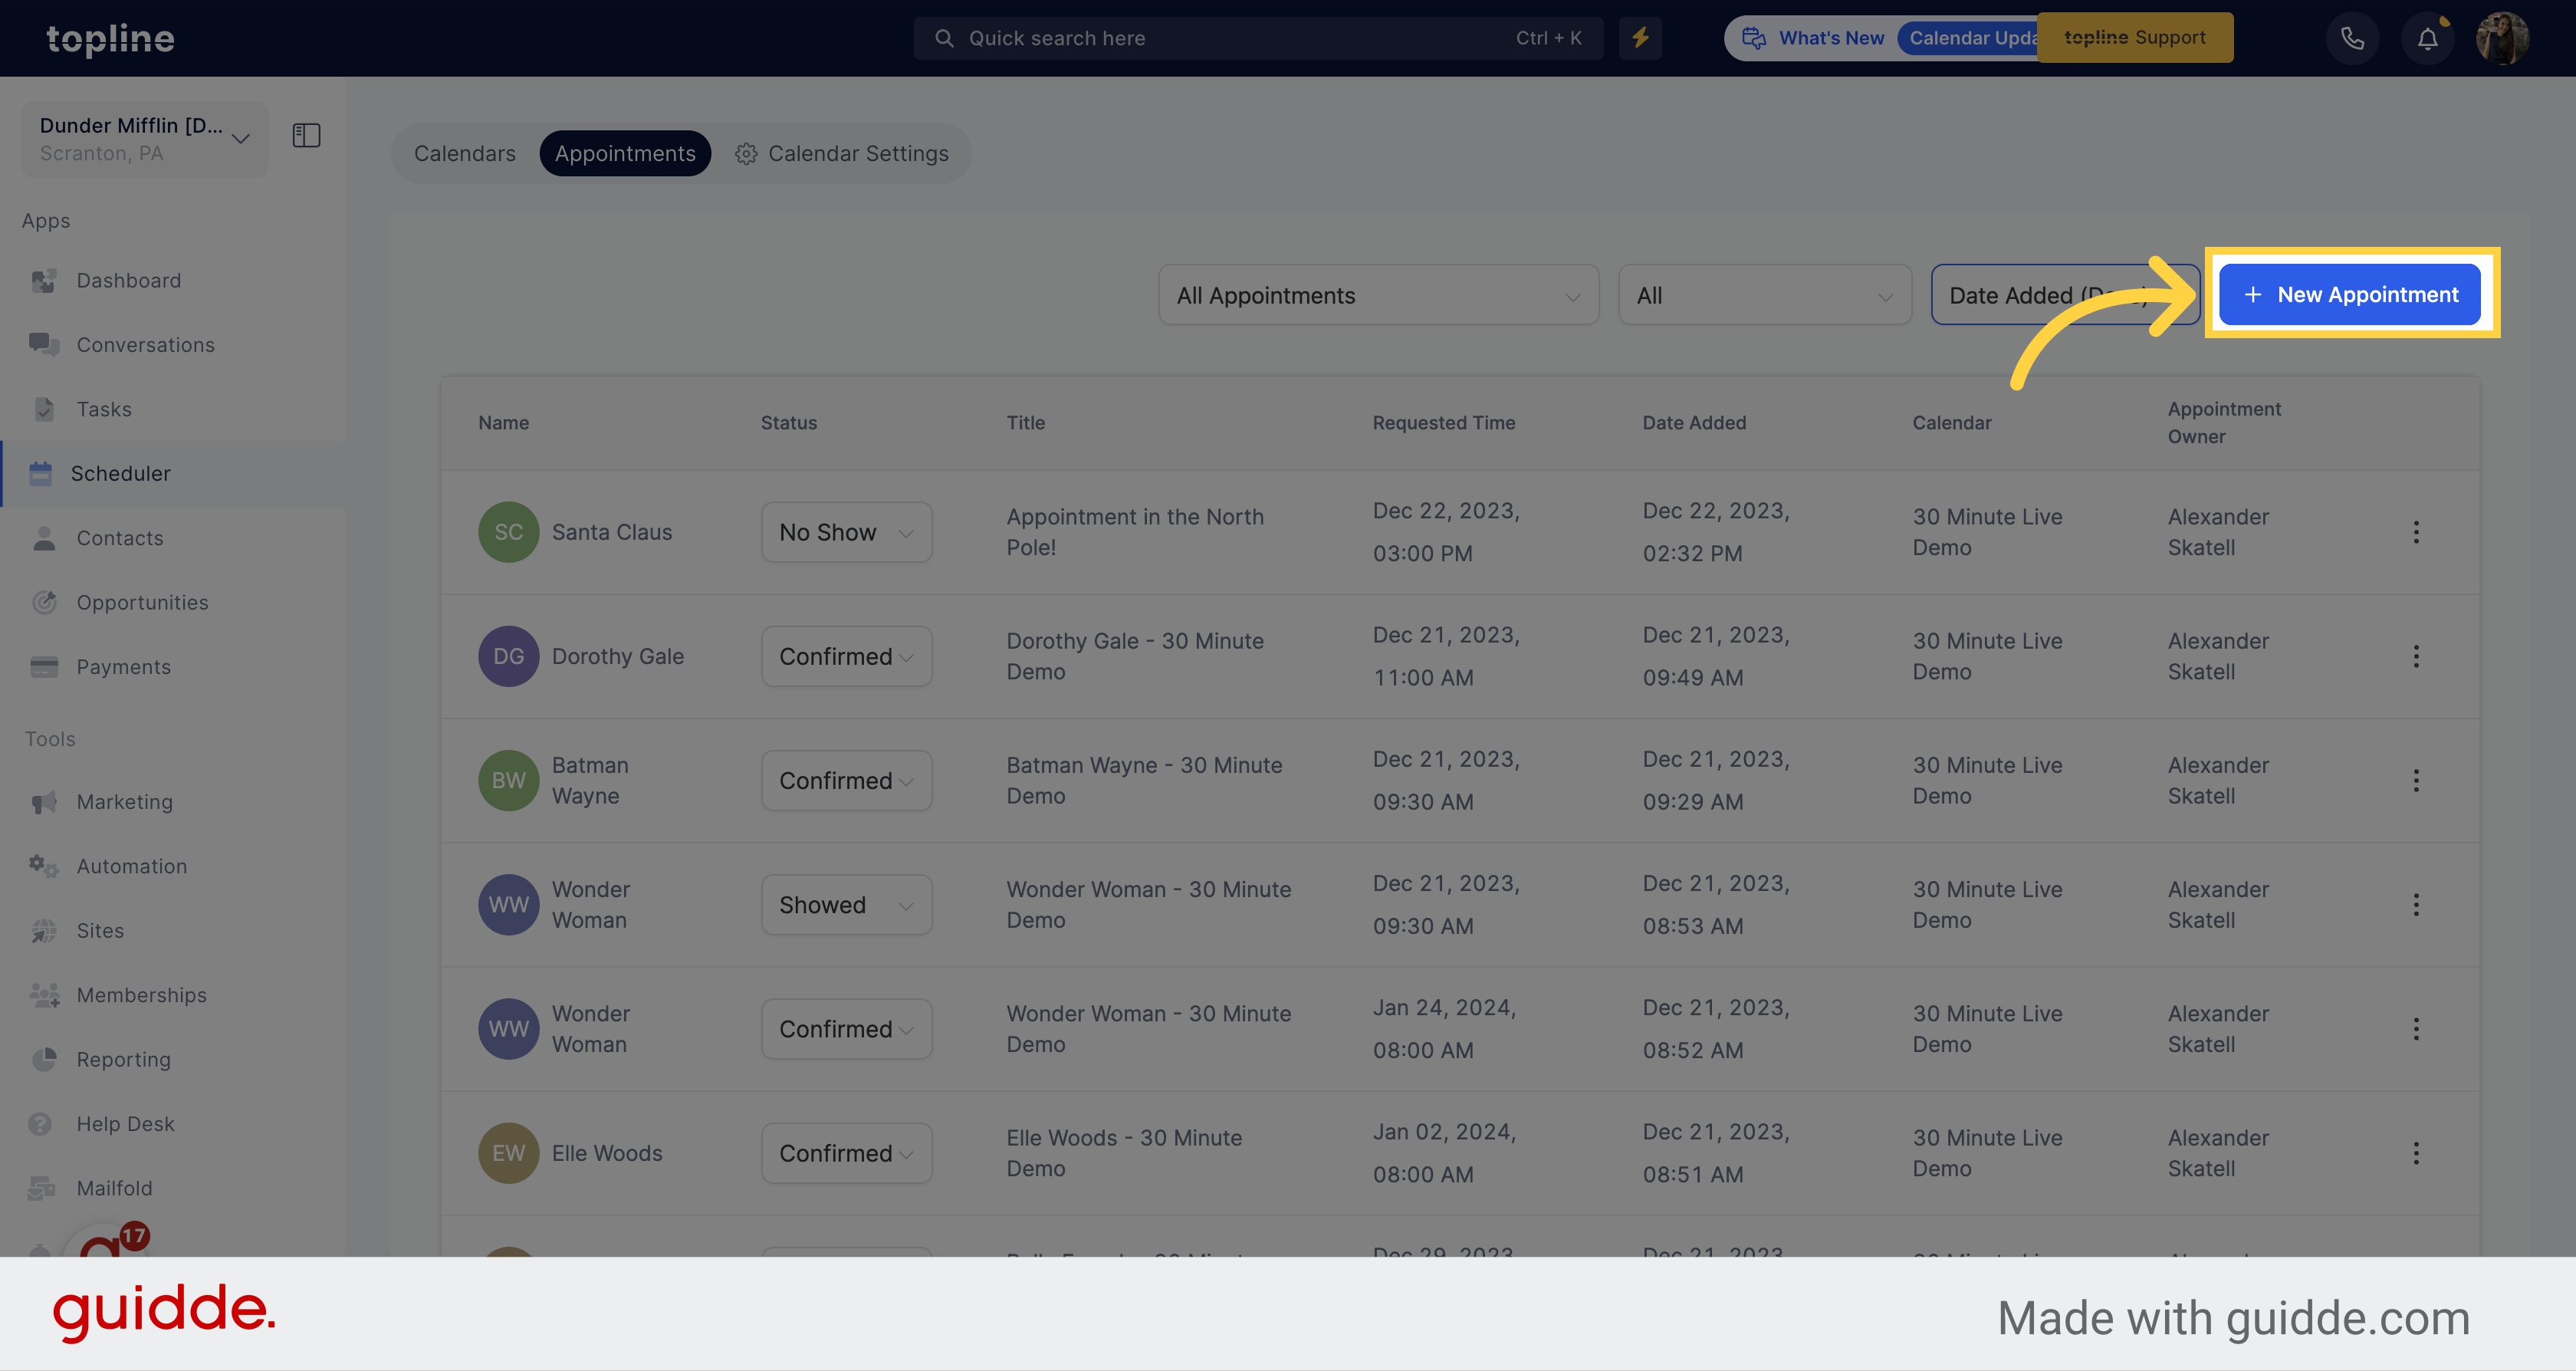
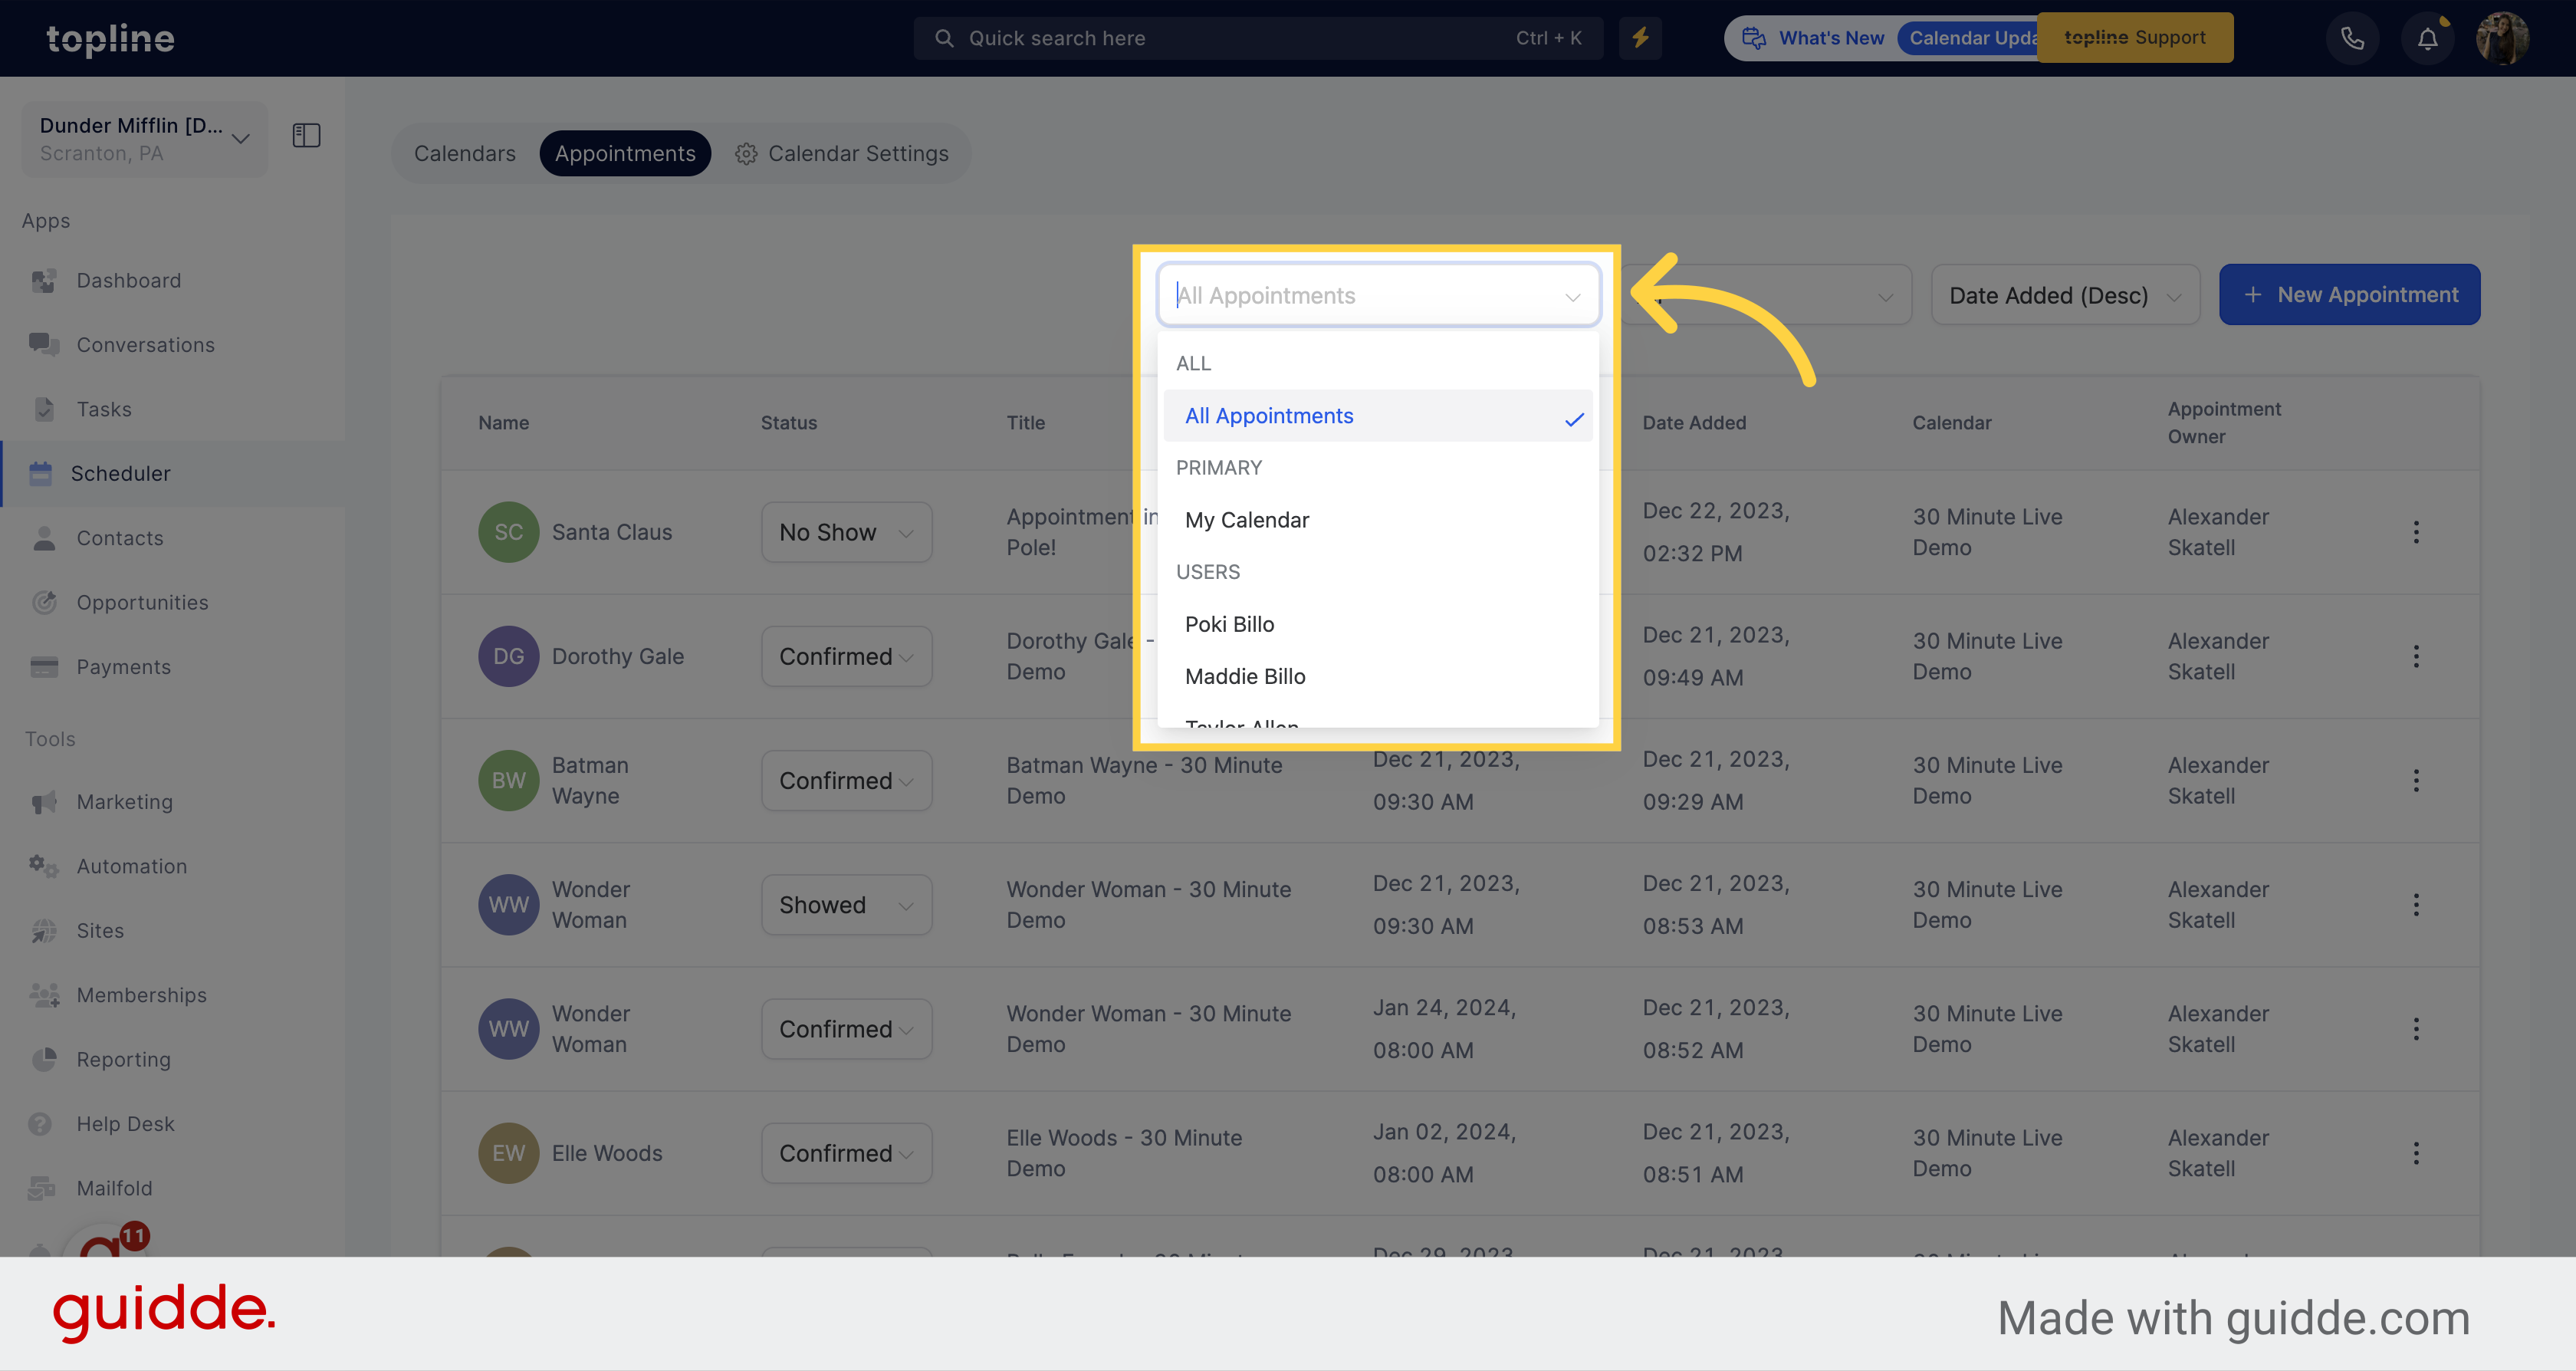
You can view all appointments from all calendars or filter the appointments based on calendars, teams, or users in this section.
You can sort appointments by their status, such as confirmed, cancelled, new, or more, by using this column.

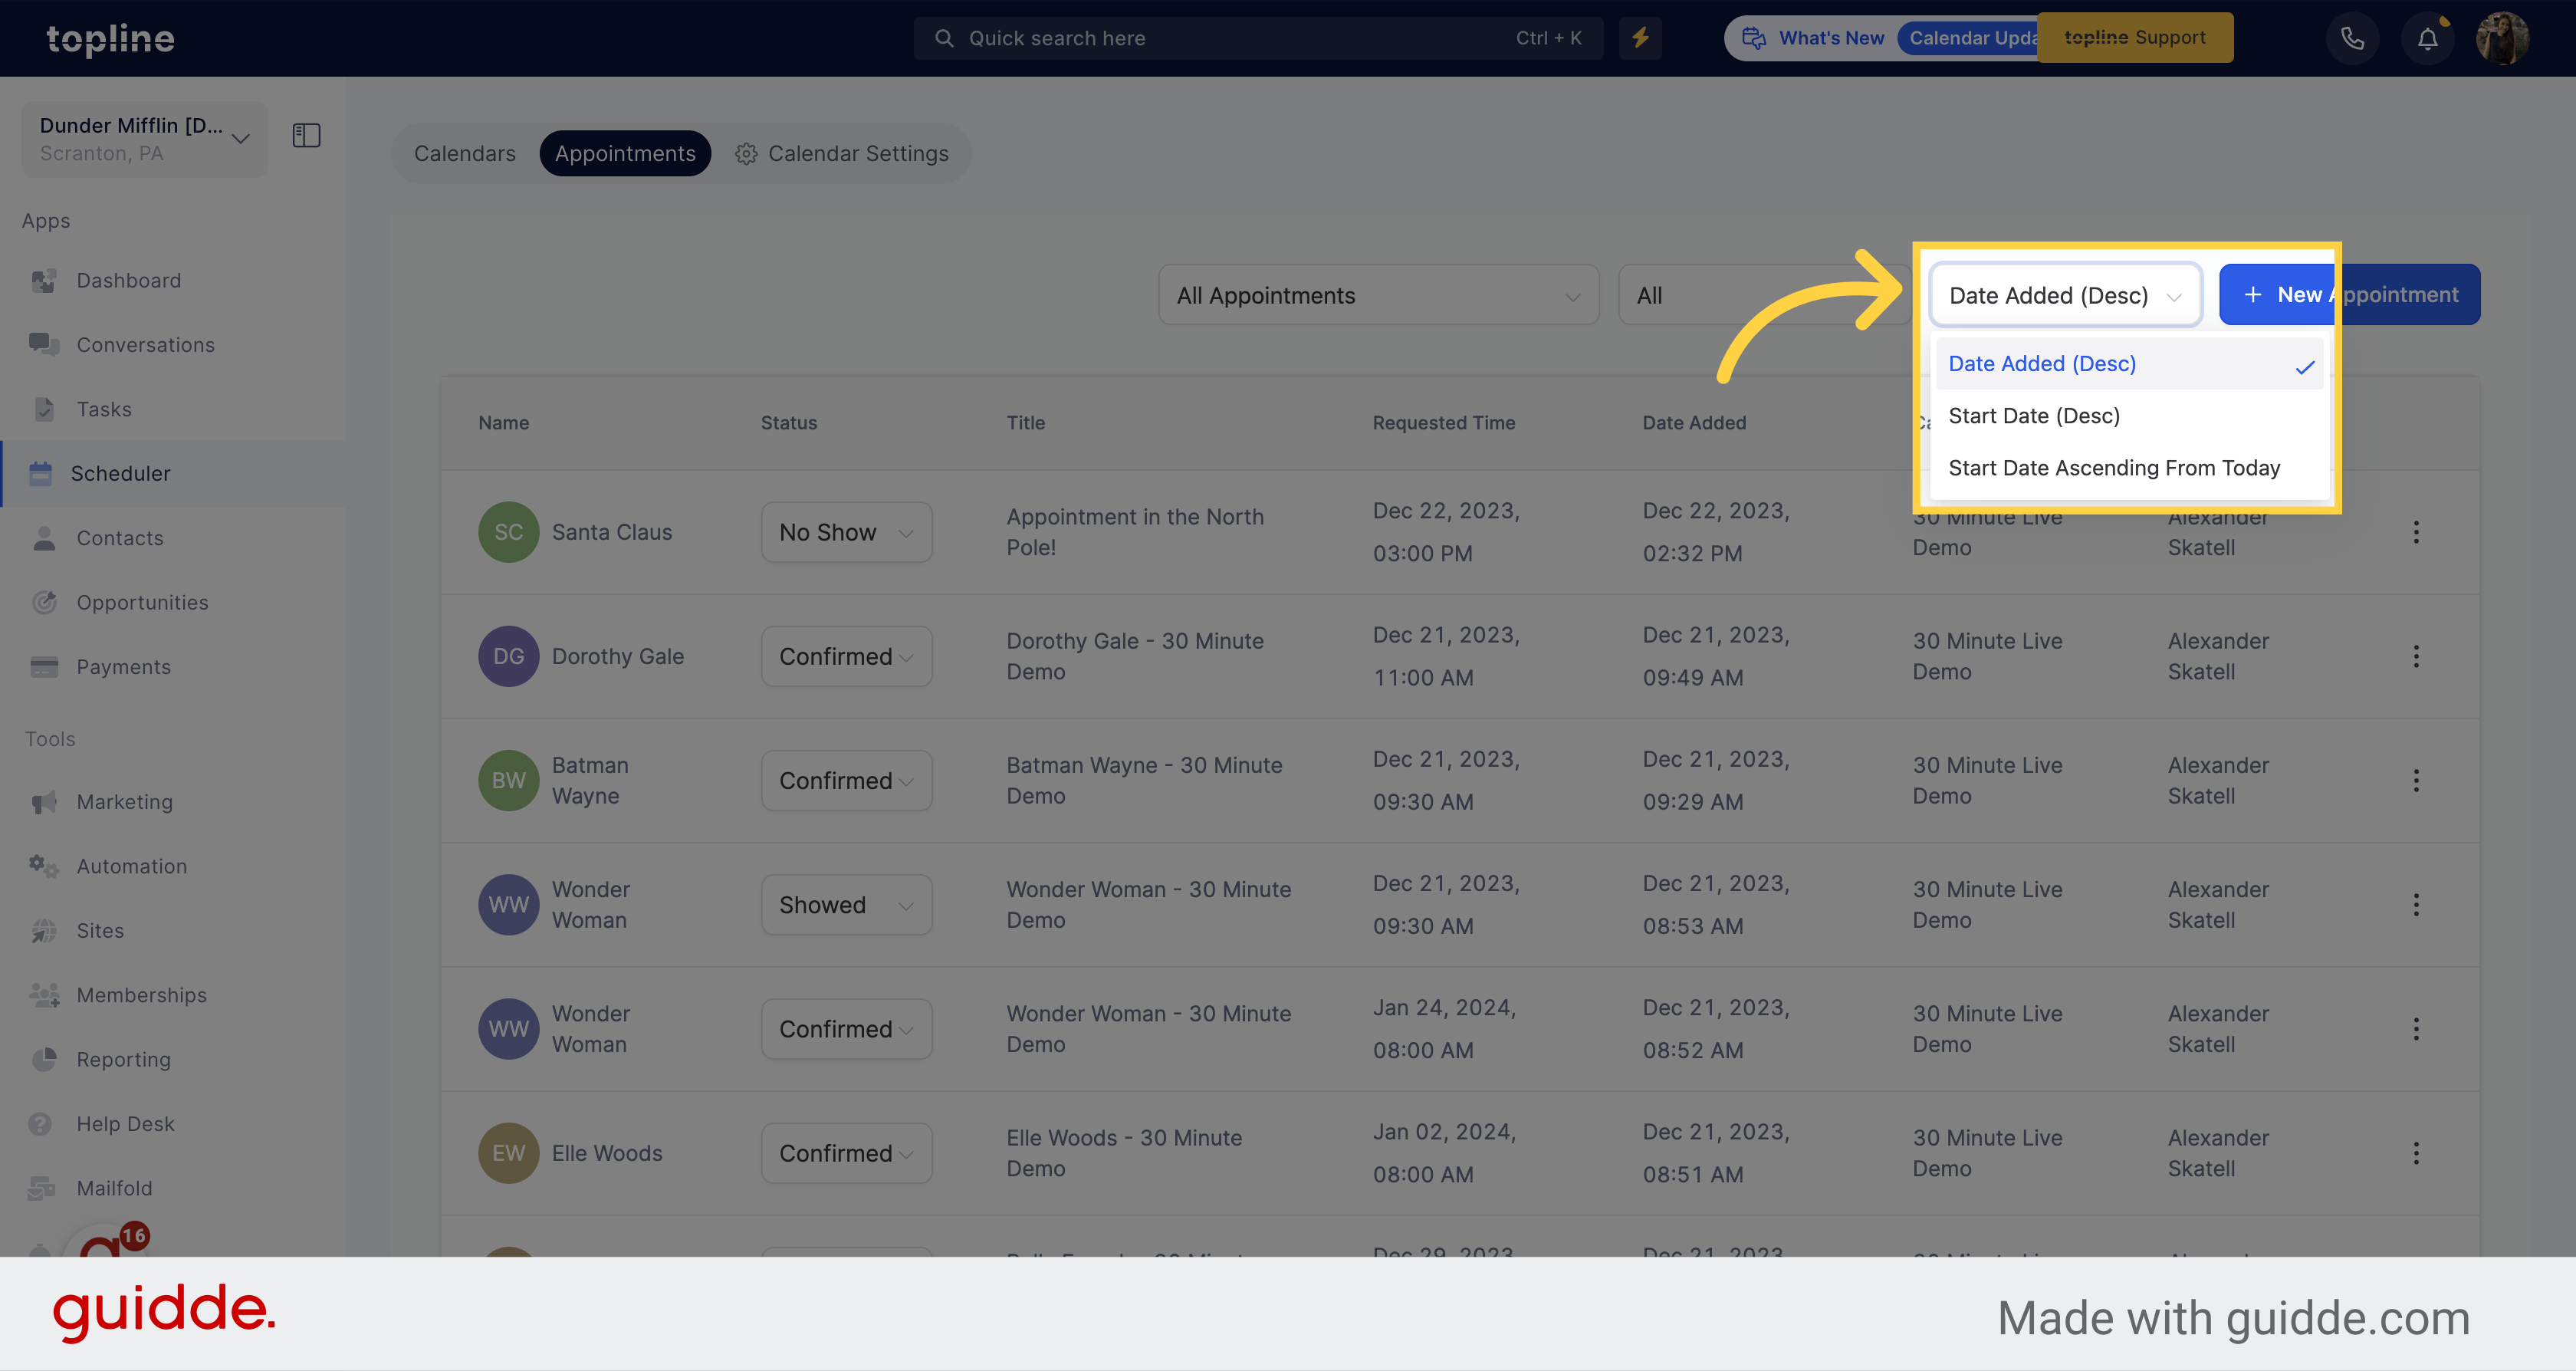
You can filter appointments by their date added, start date, and more.
Click on the blue button to create a new appointment.