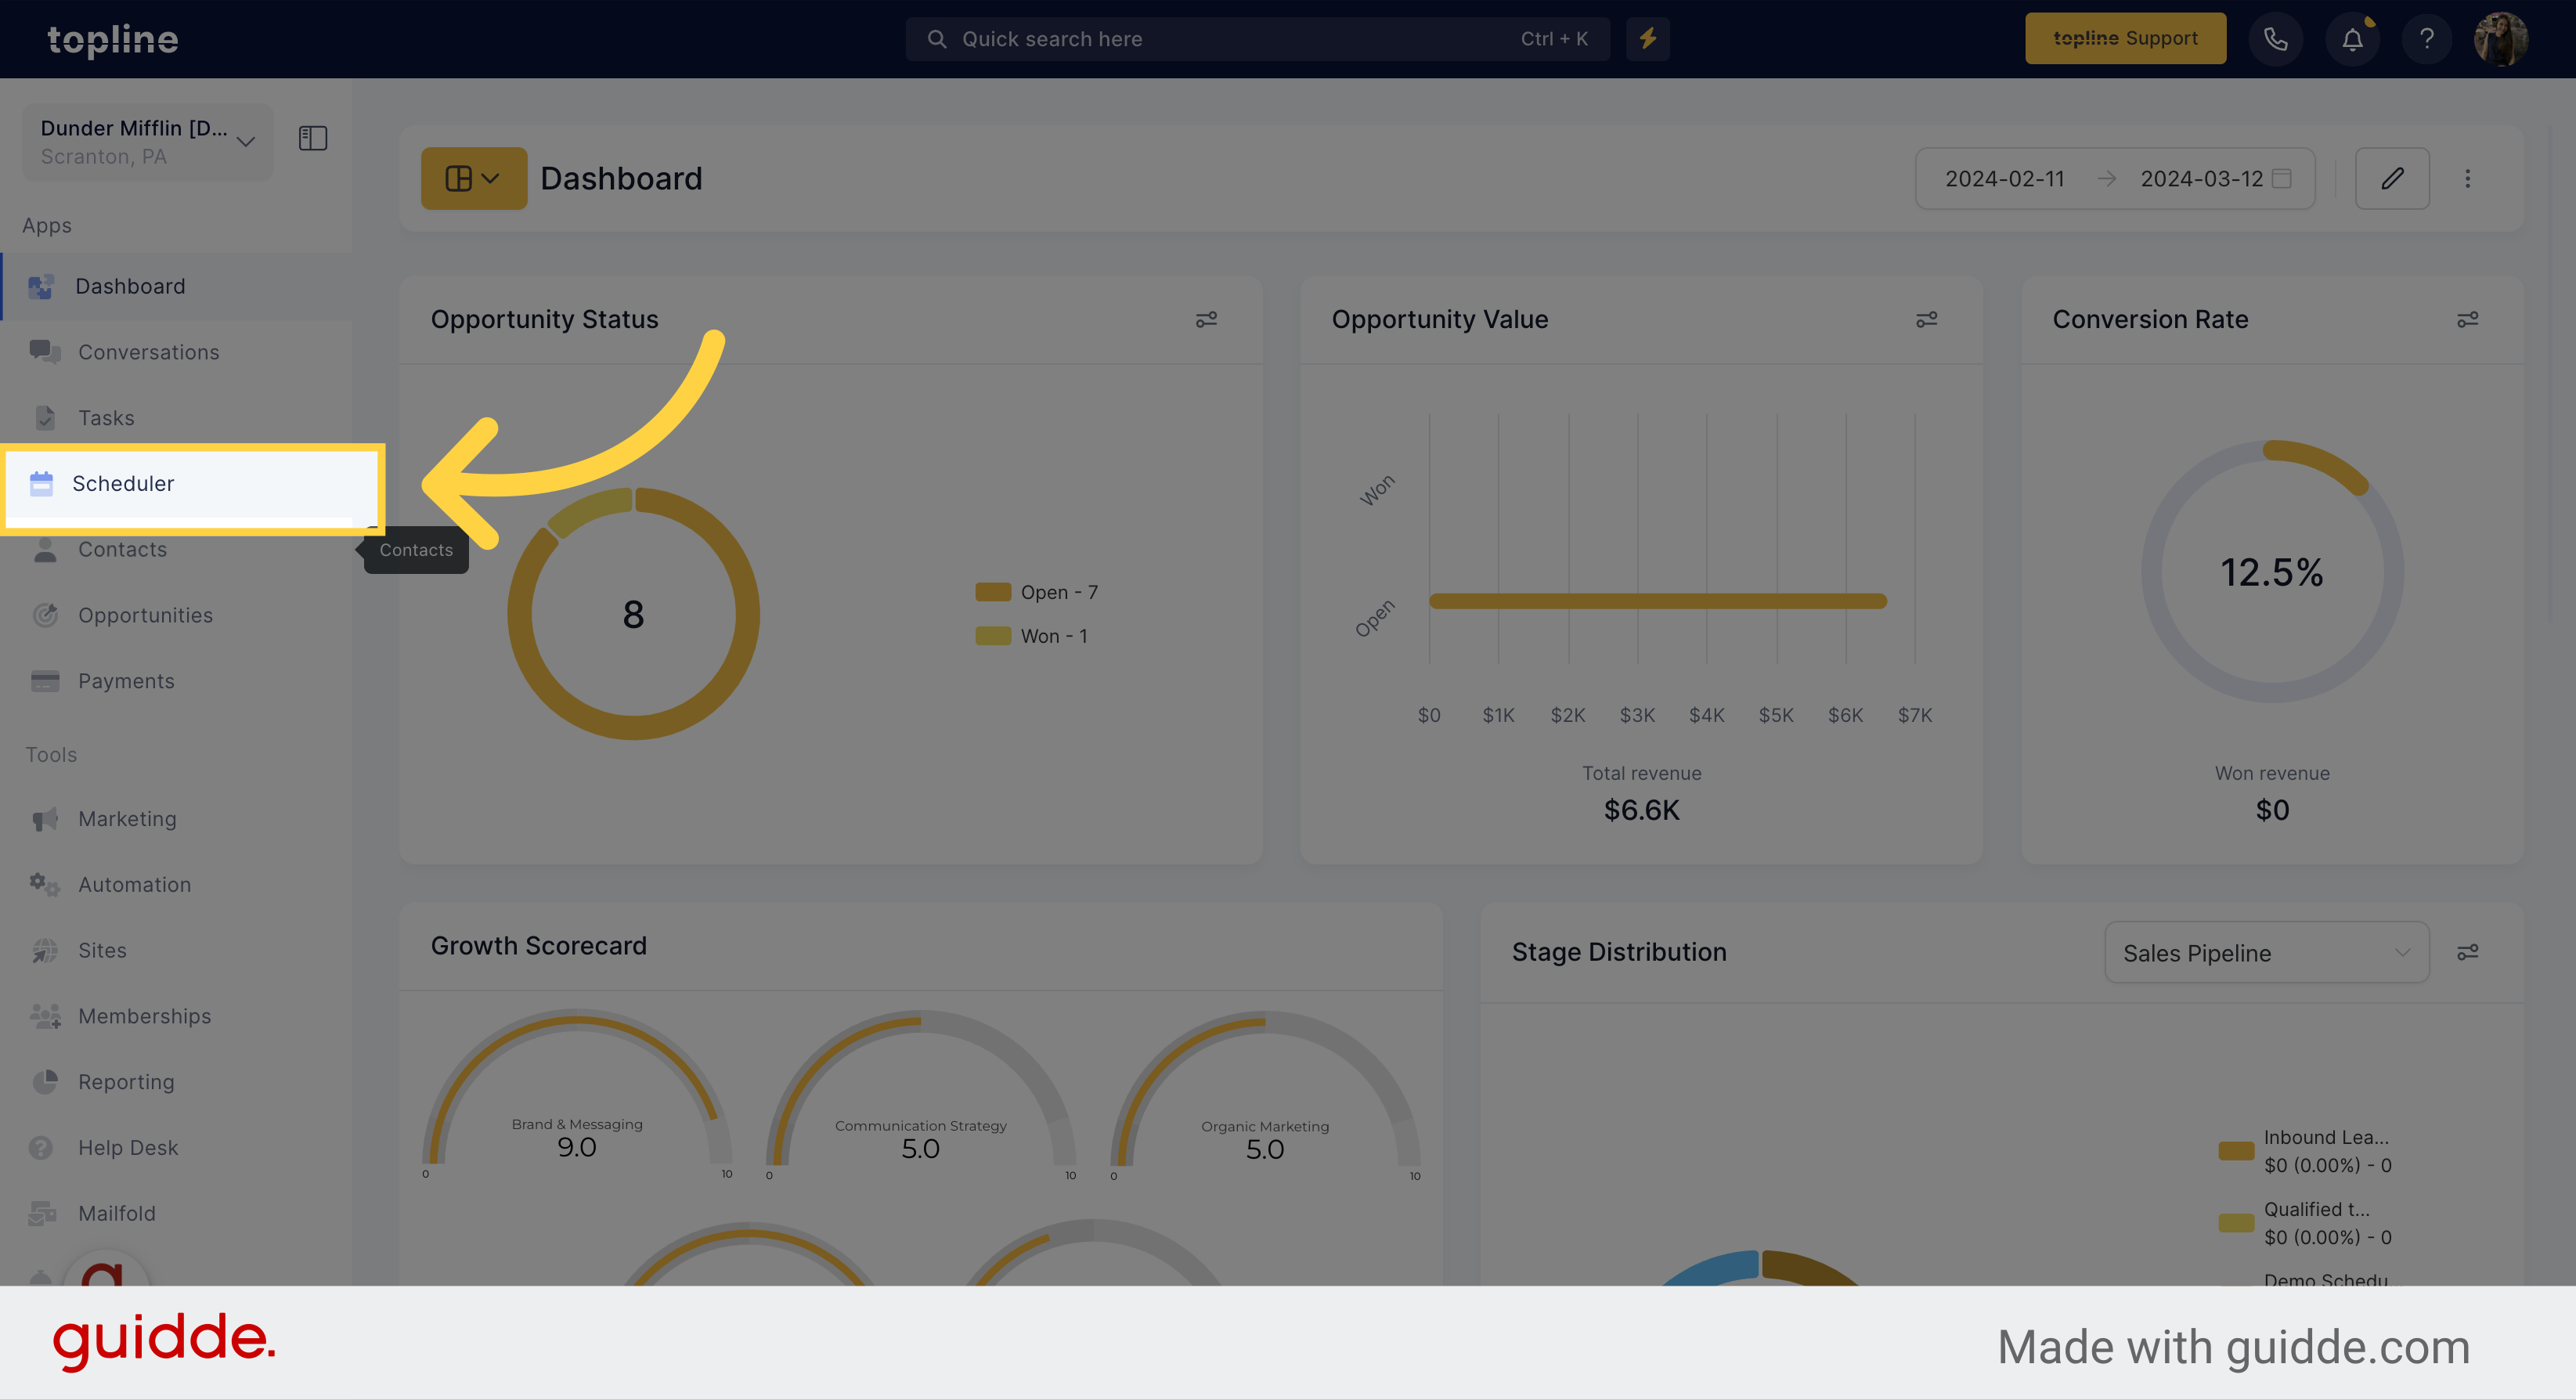
Access the Scheduler section.
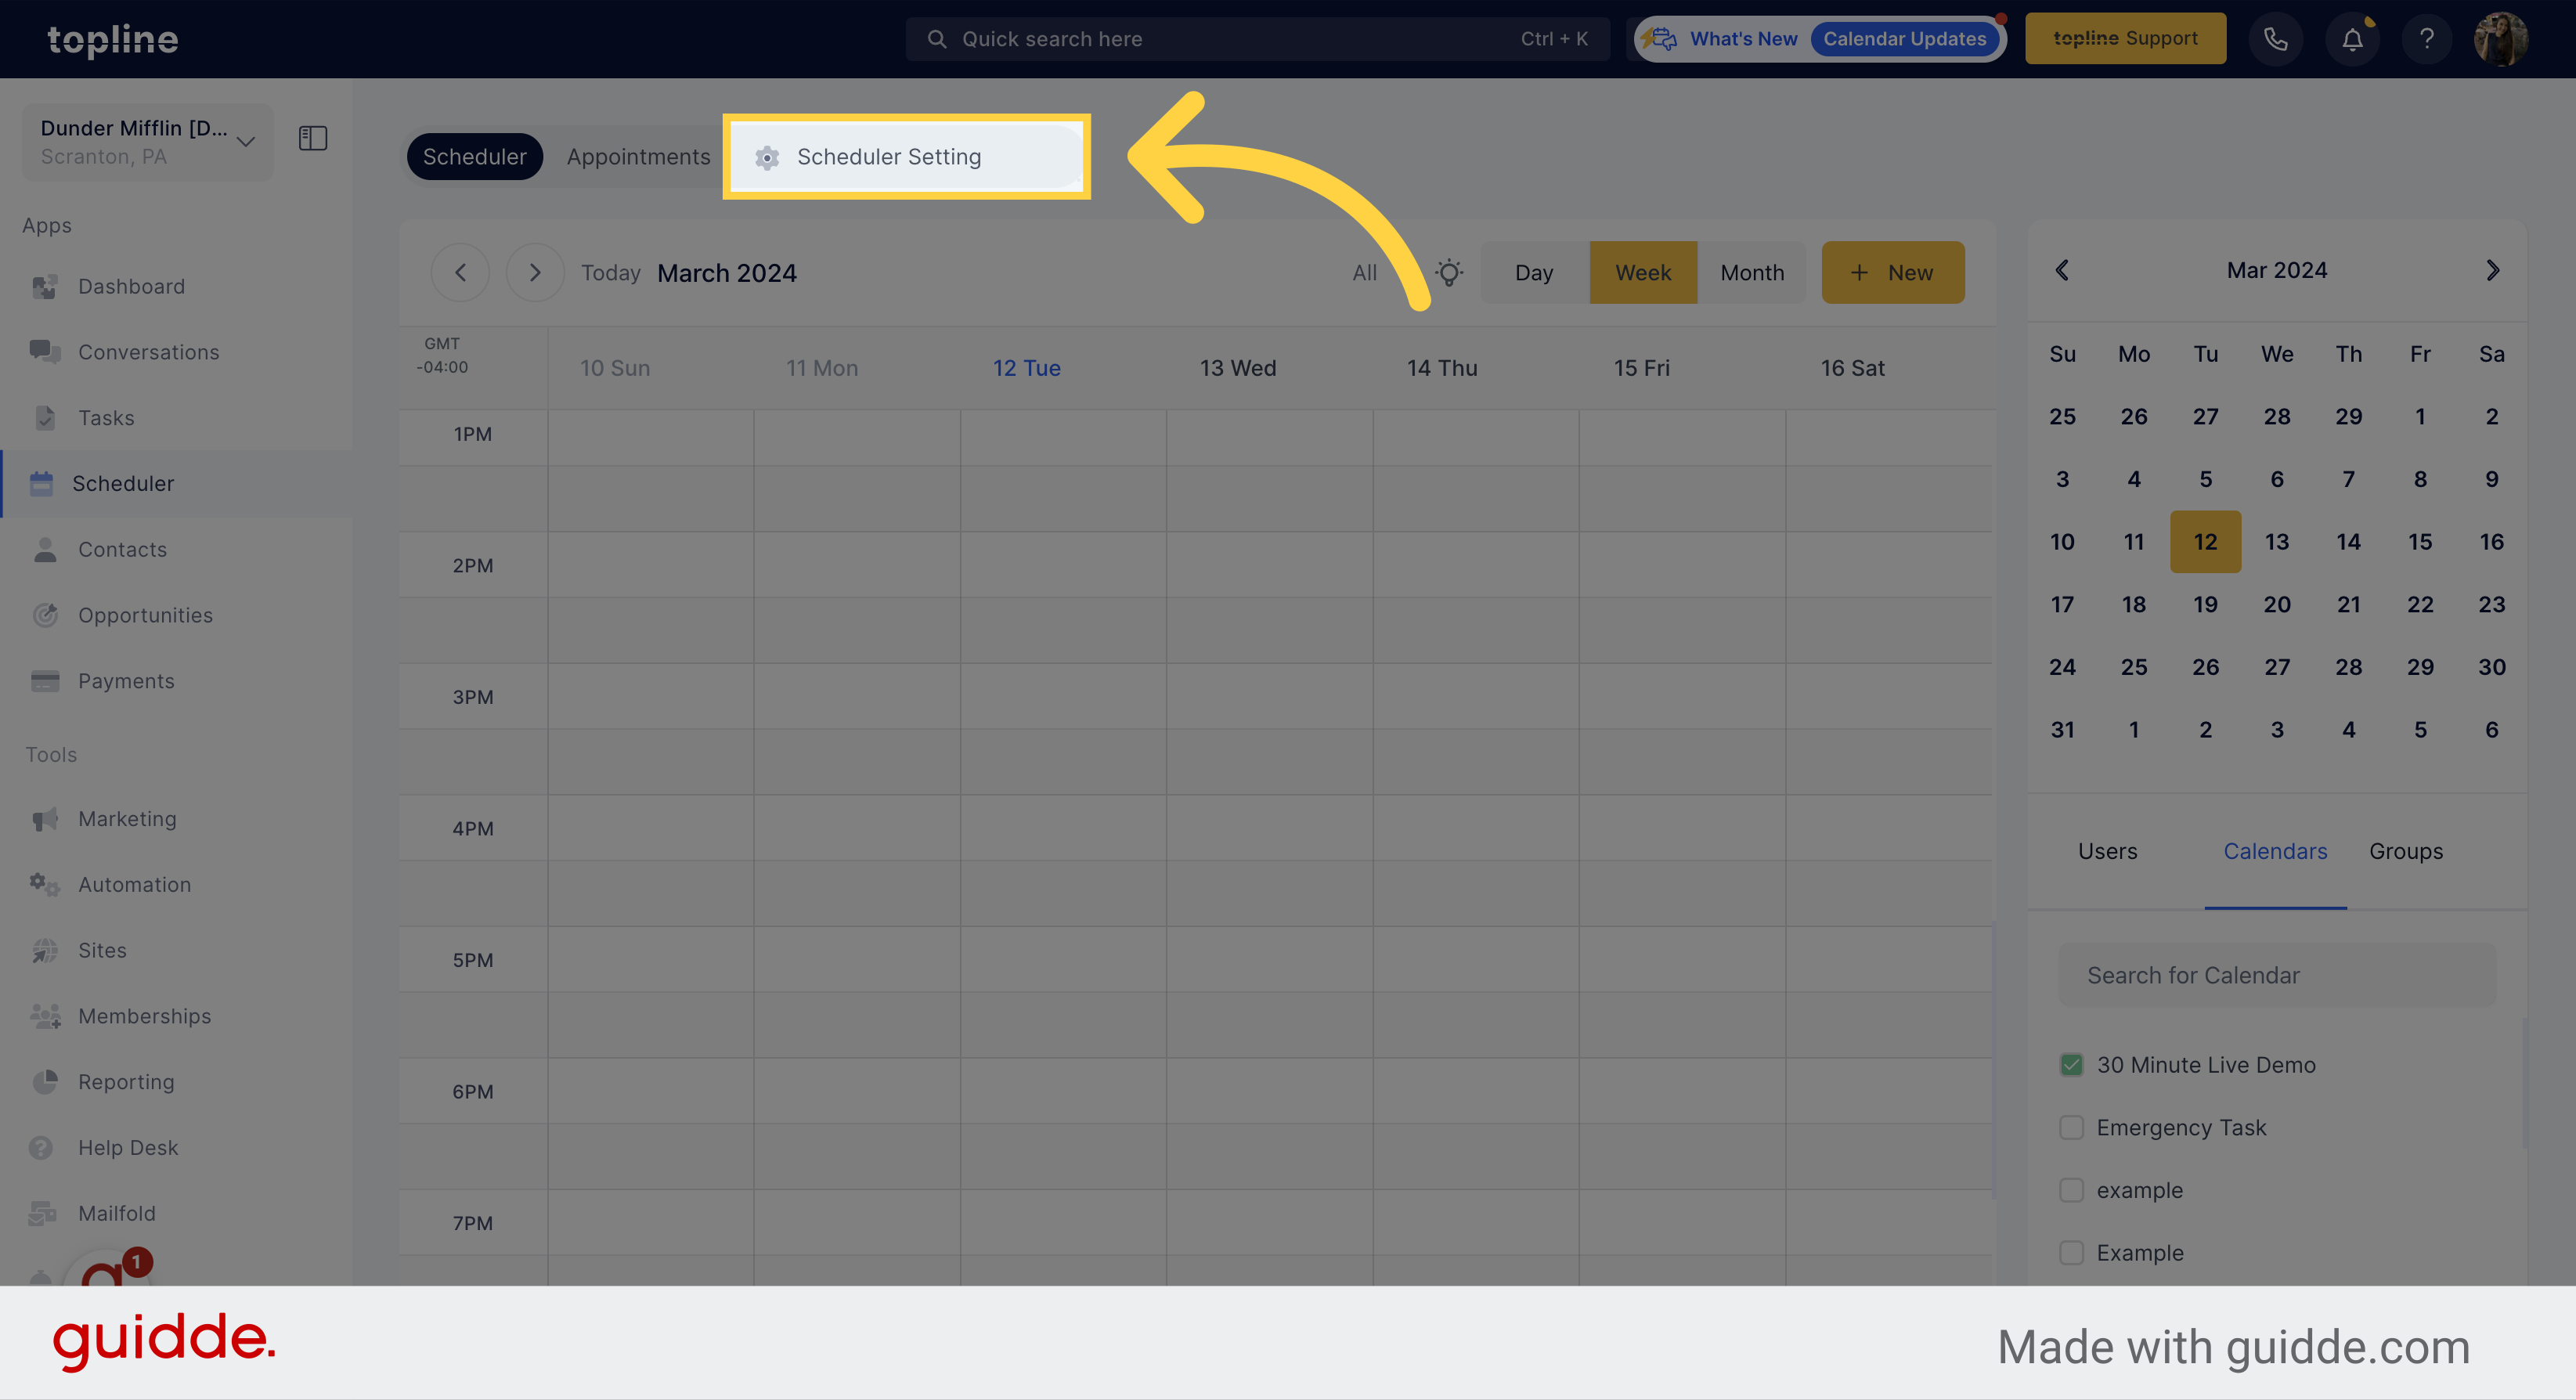
Navigate to Scheduler Settings.
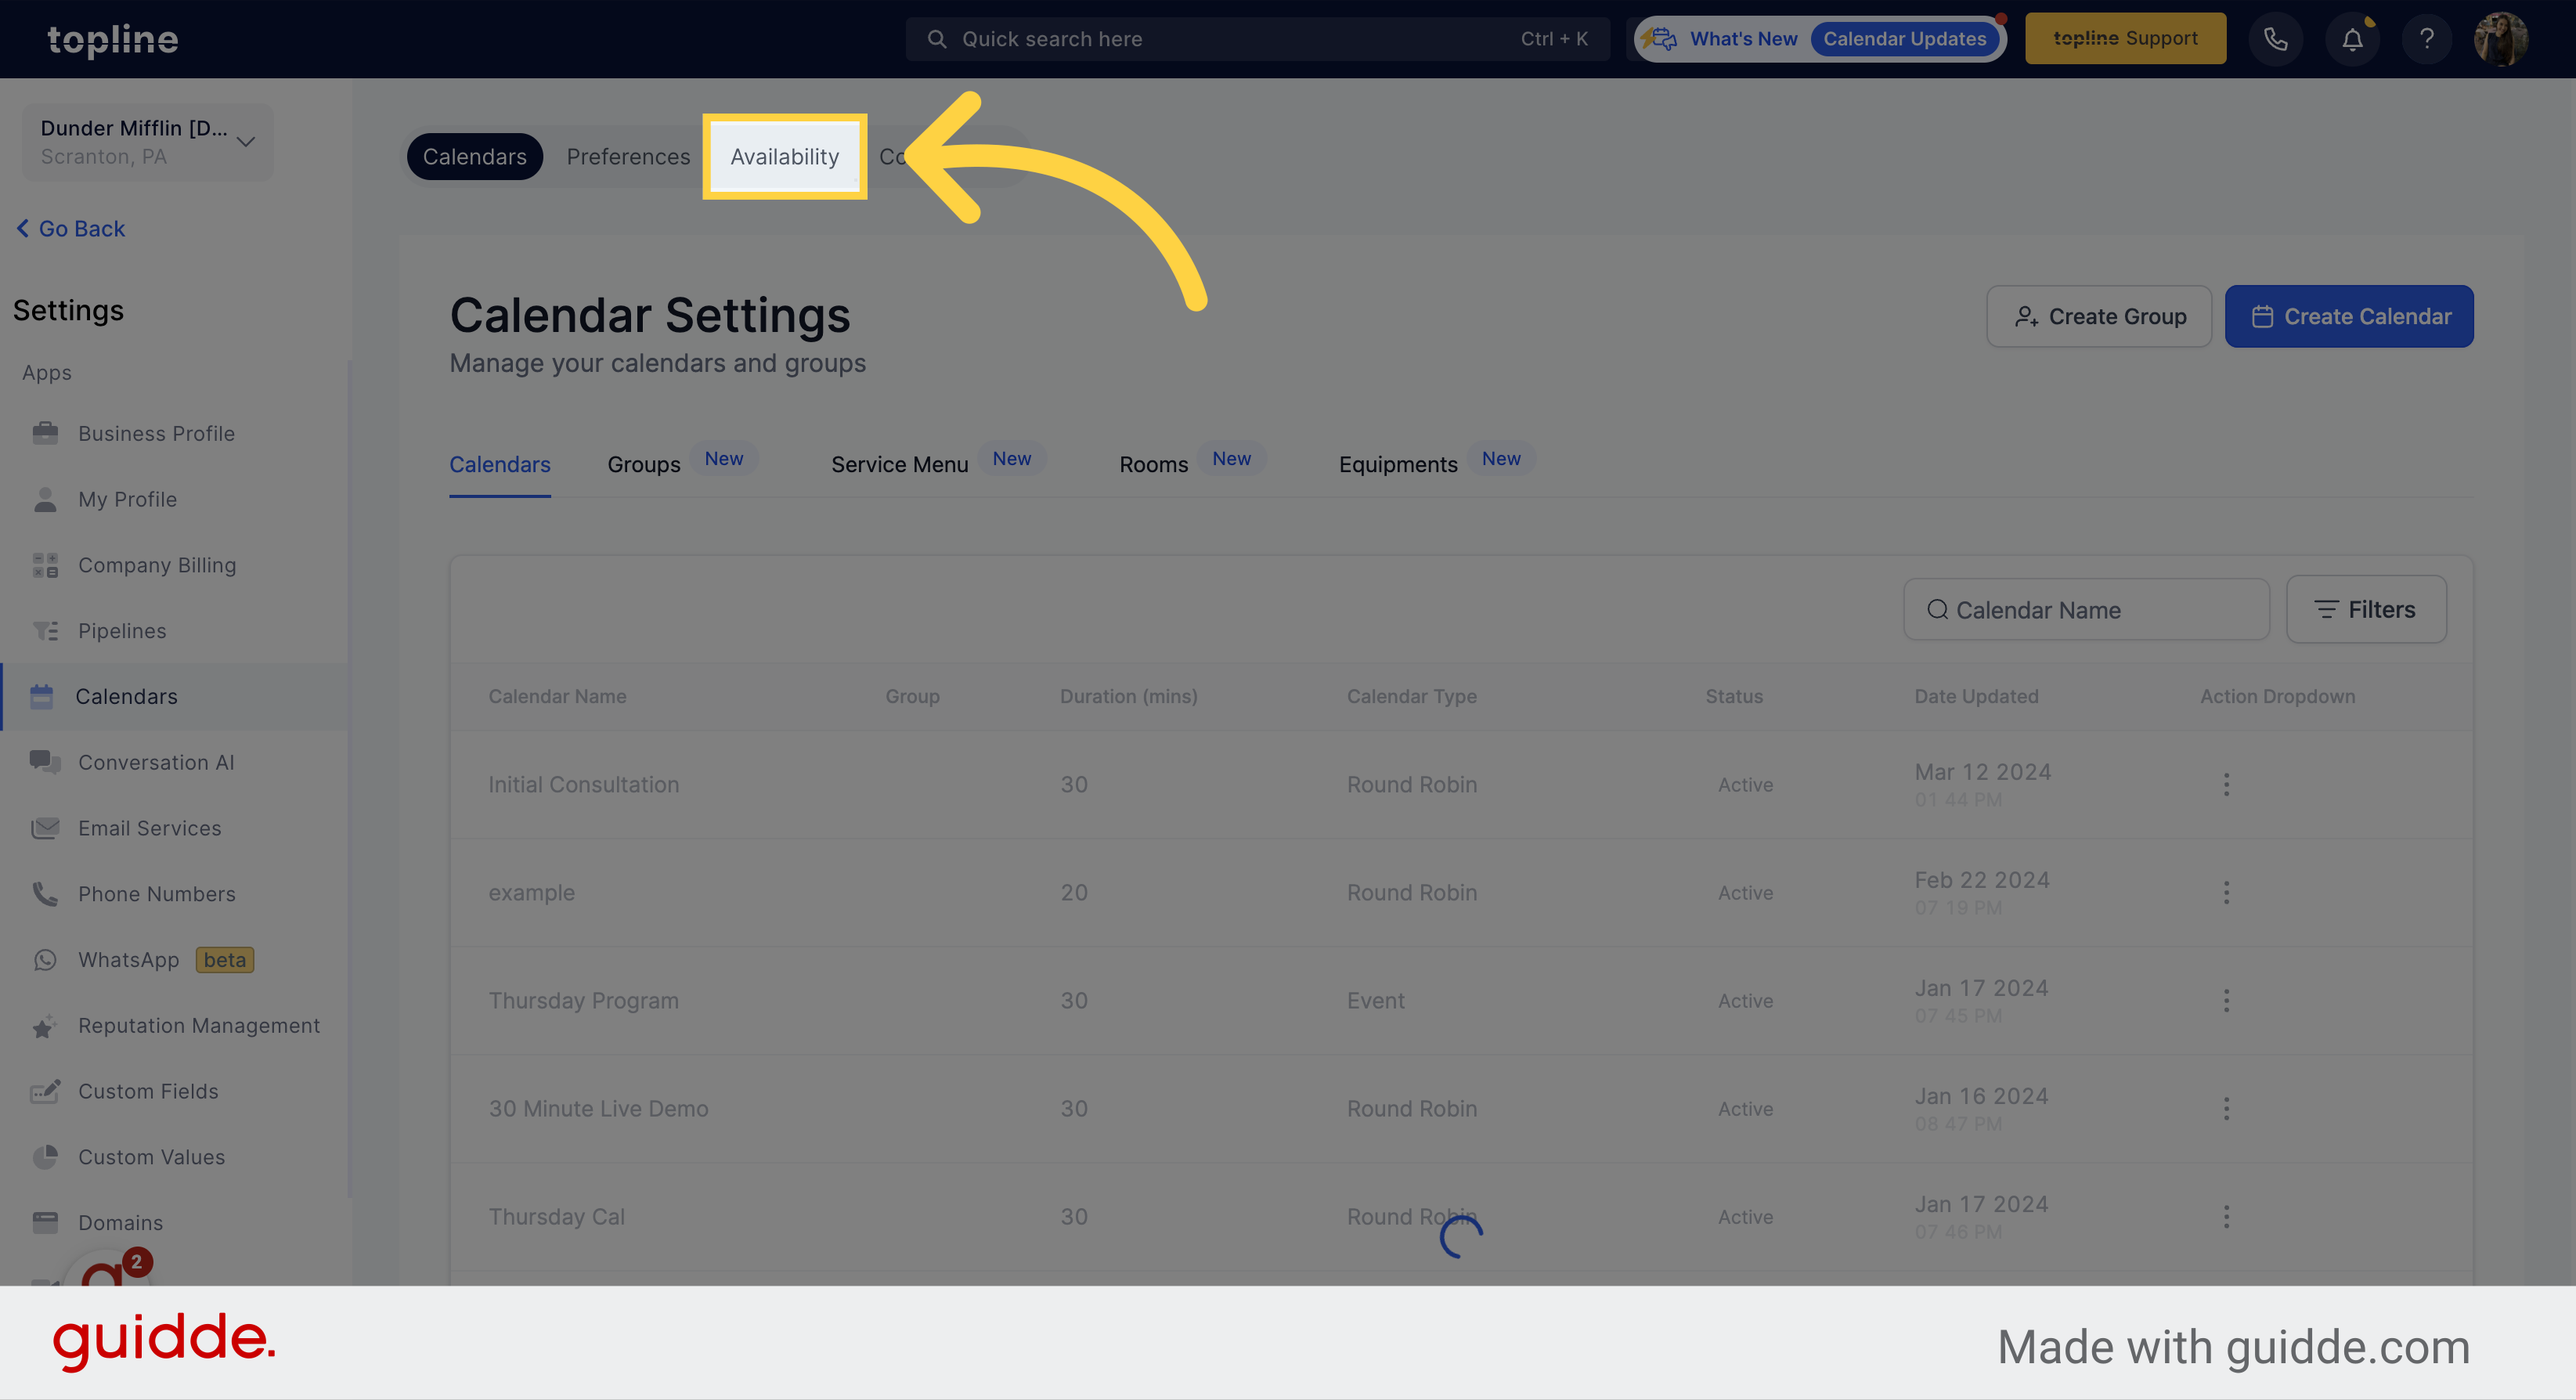
Select the Availability option on the upper menu.
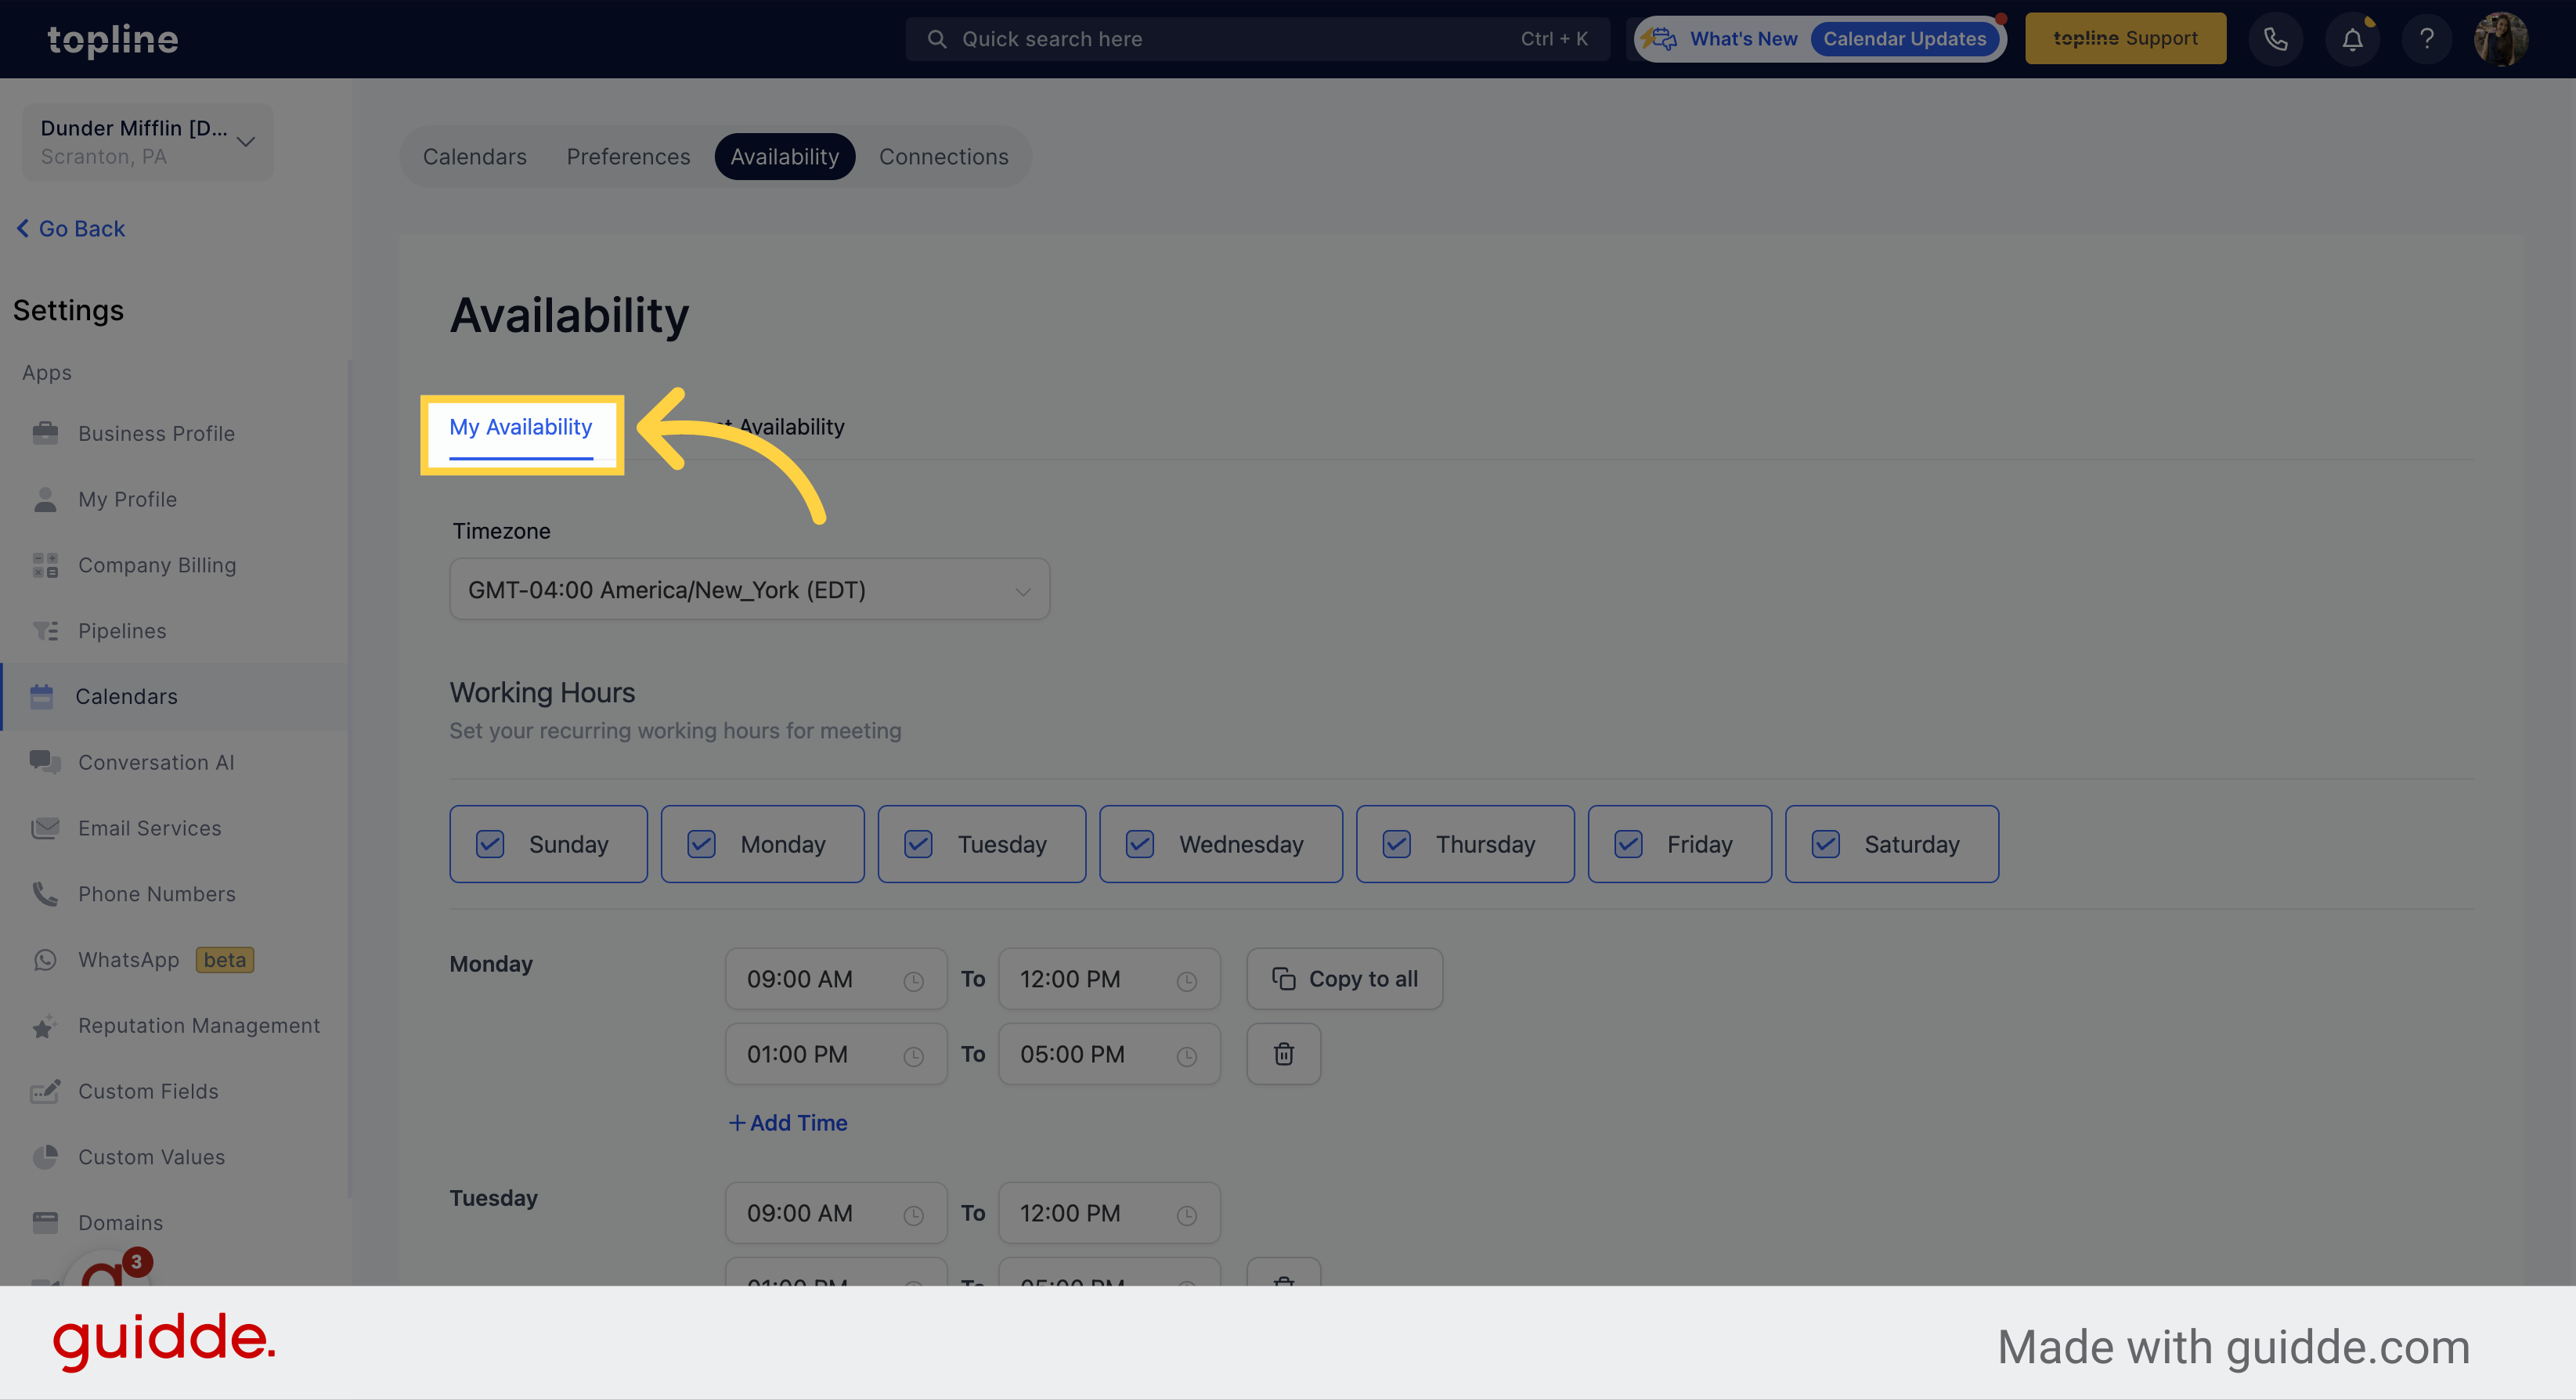
Access your personal availability settings.
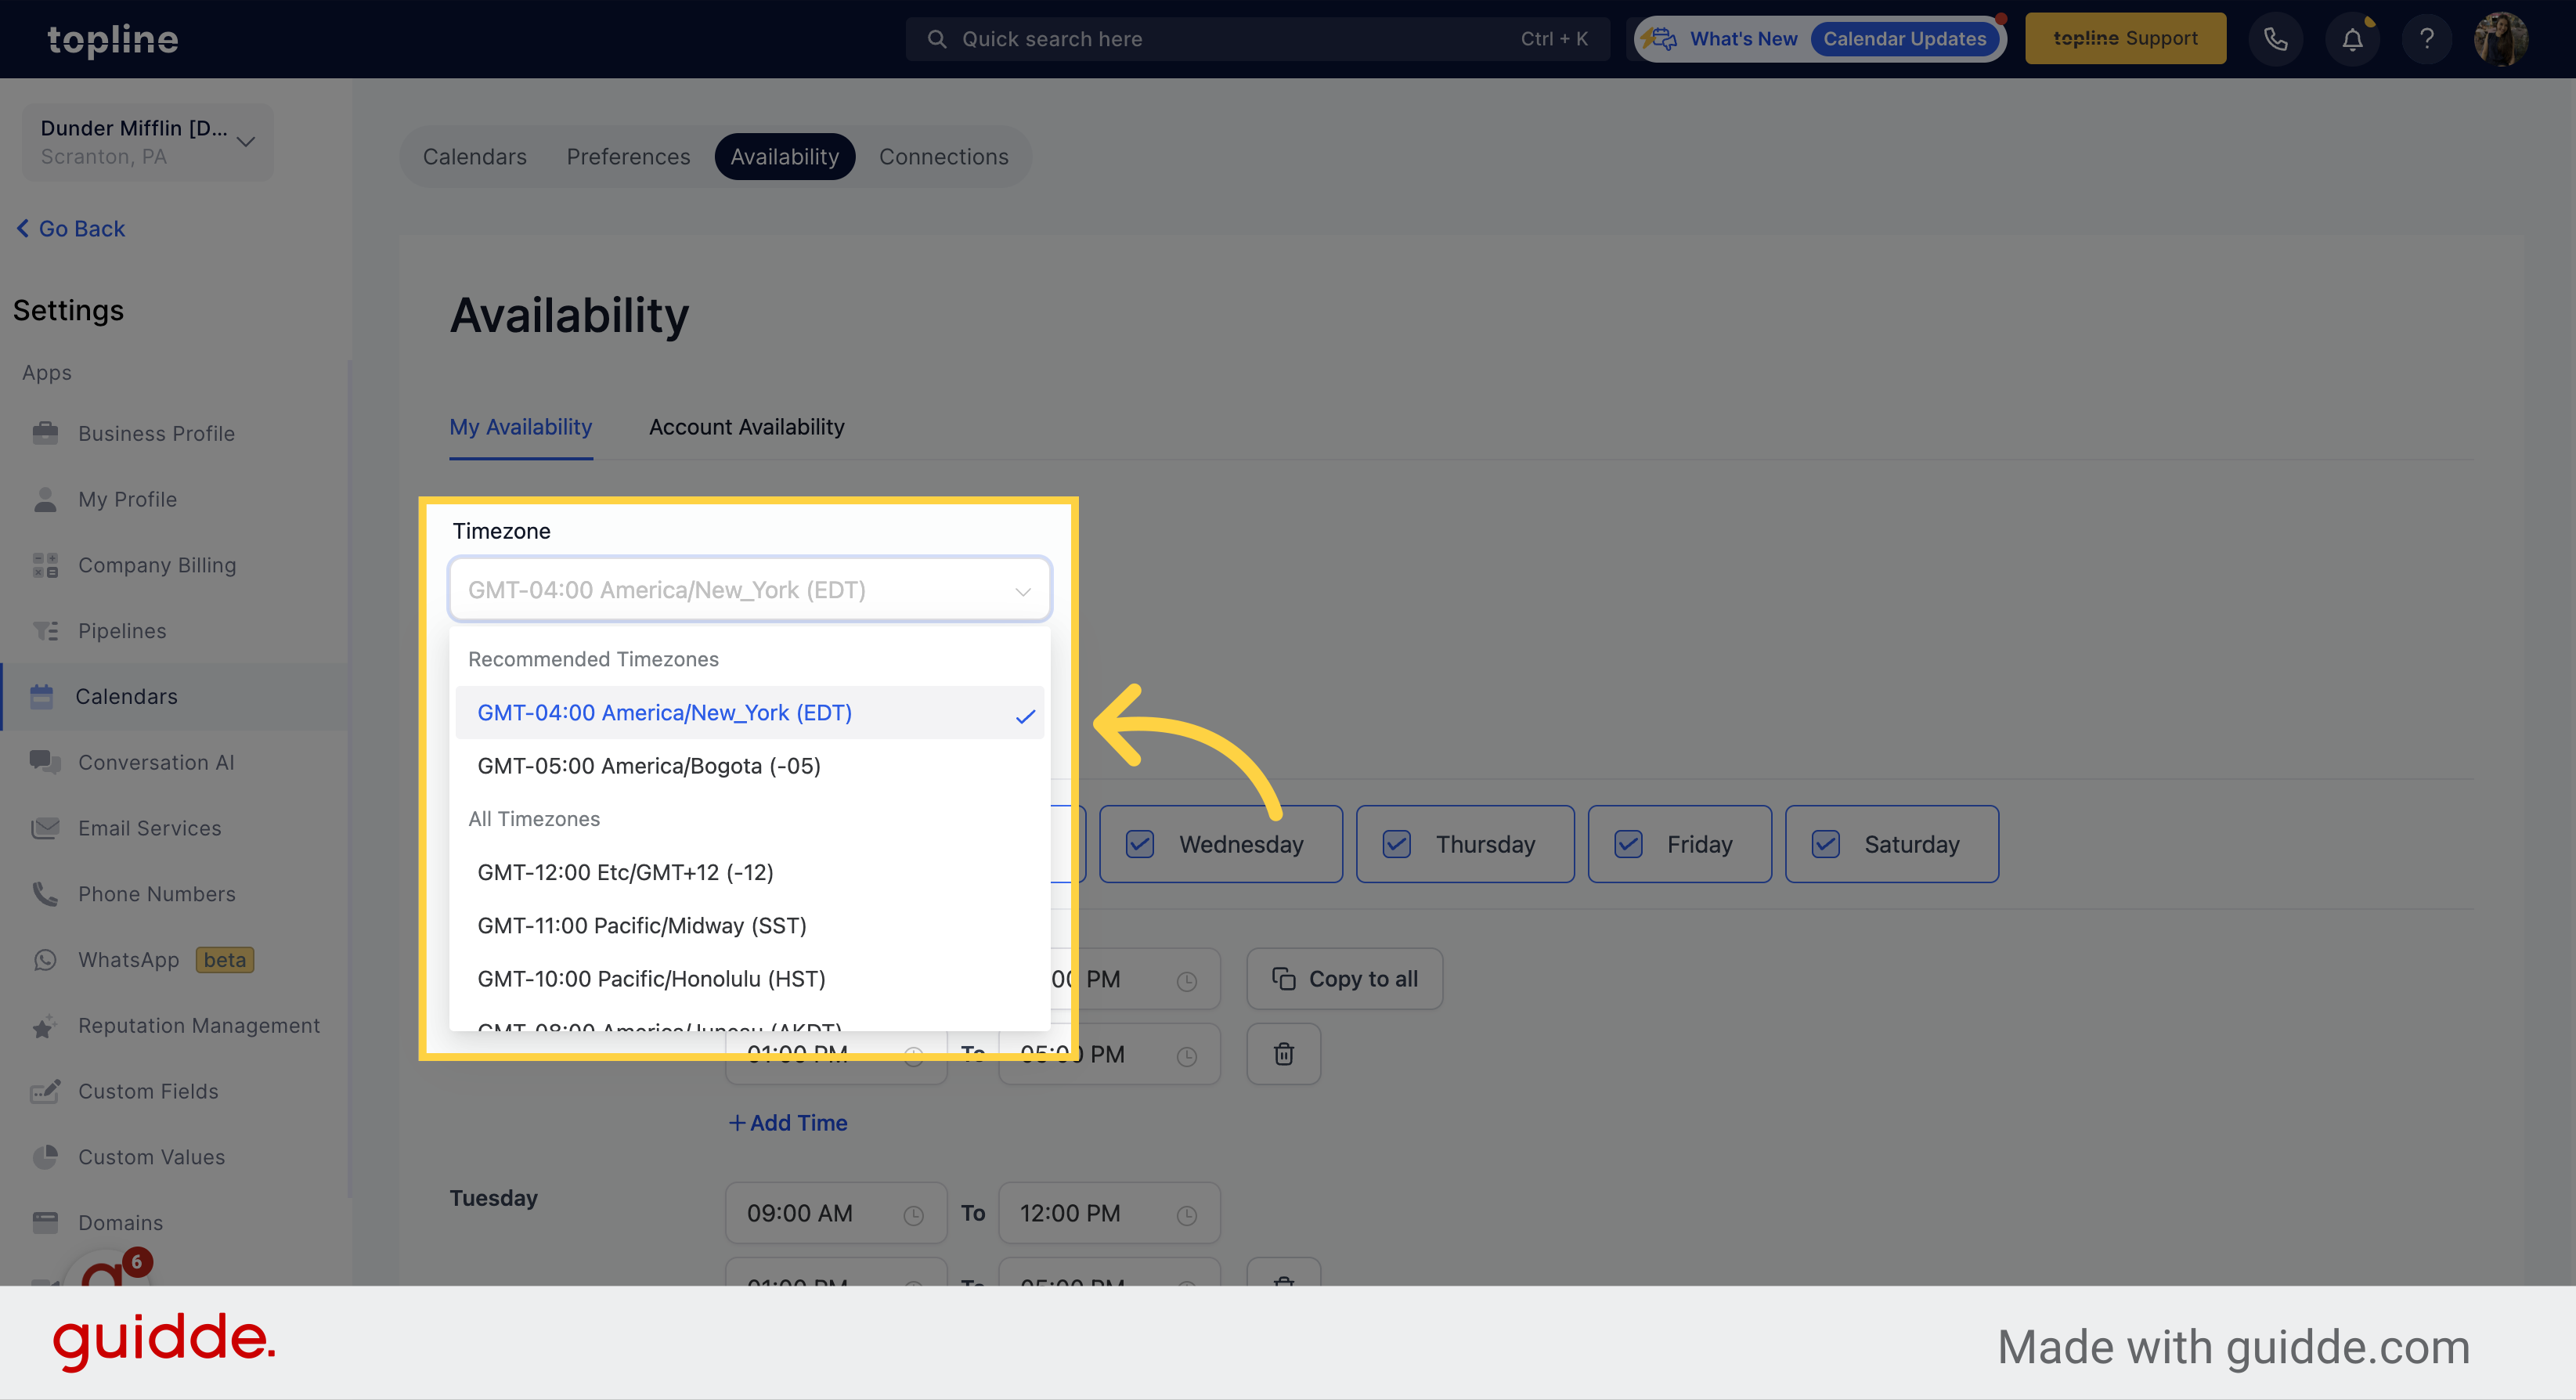
You have the freedom to select your preferred time zone for scheduling on your calendar. It's important to note that this only applies to your personal use and your client doesn't have to be in the same time zone as you.
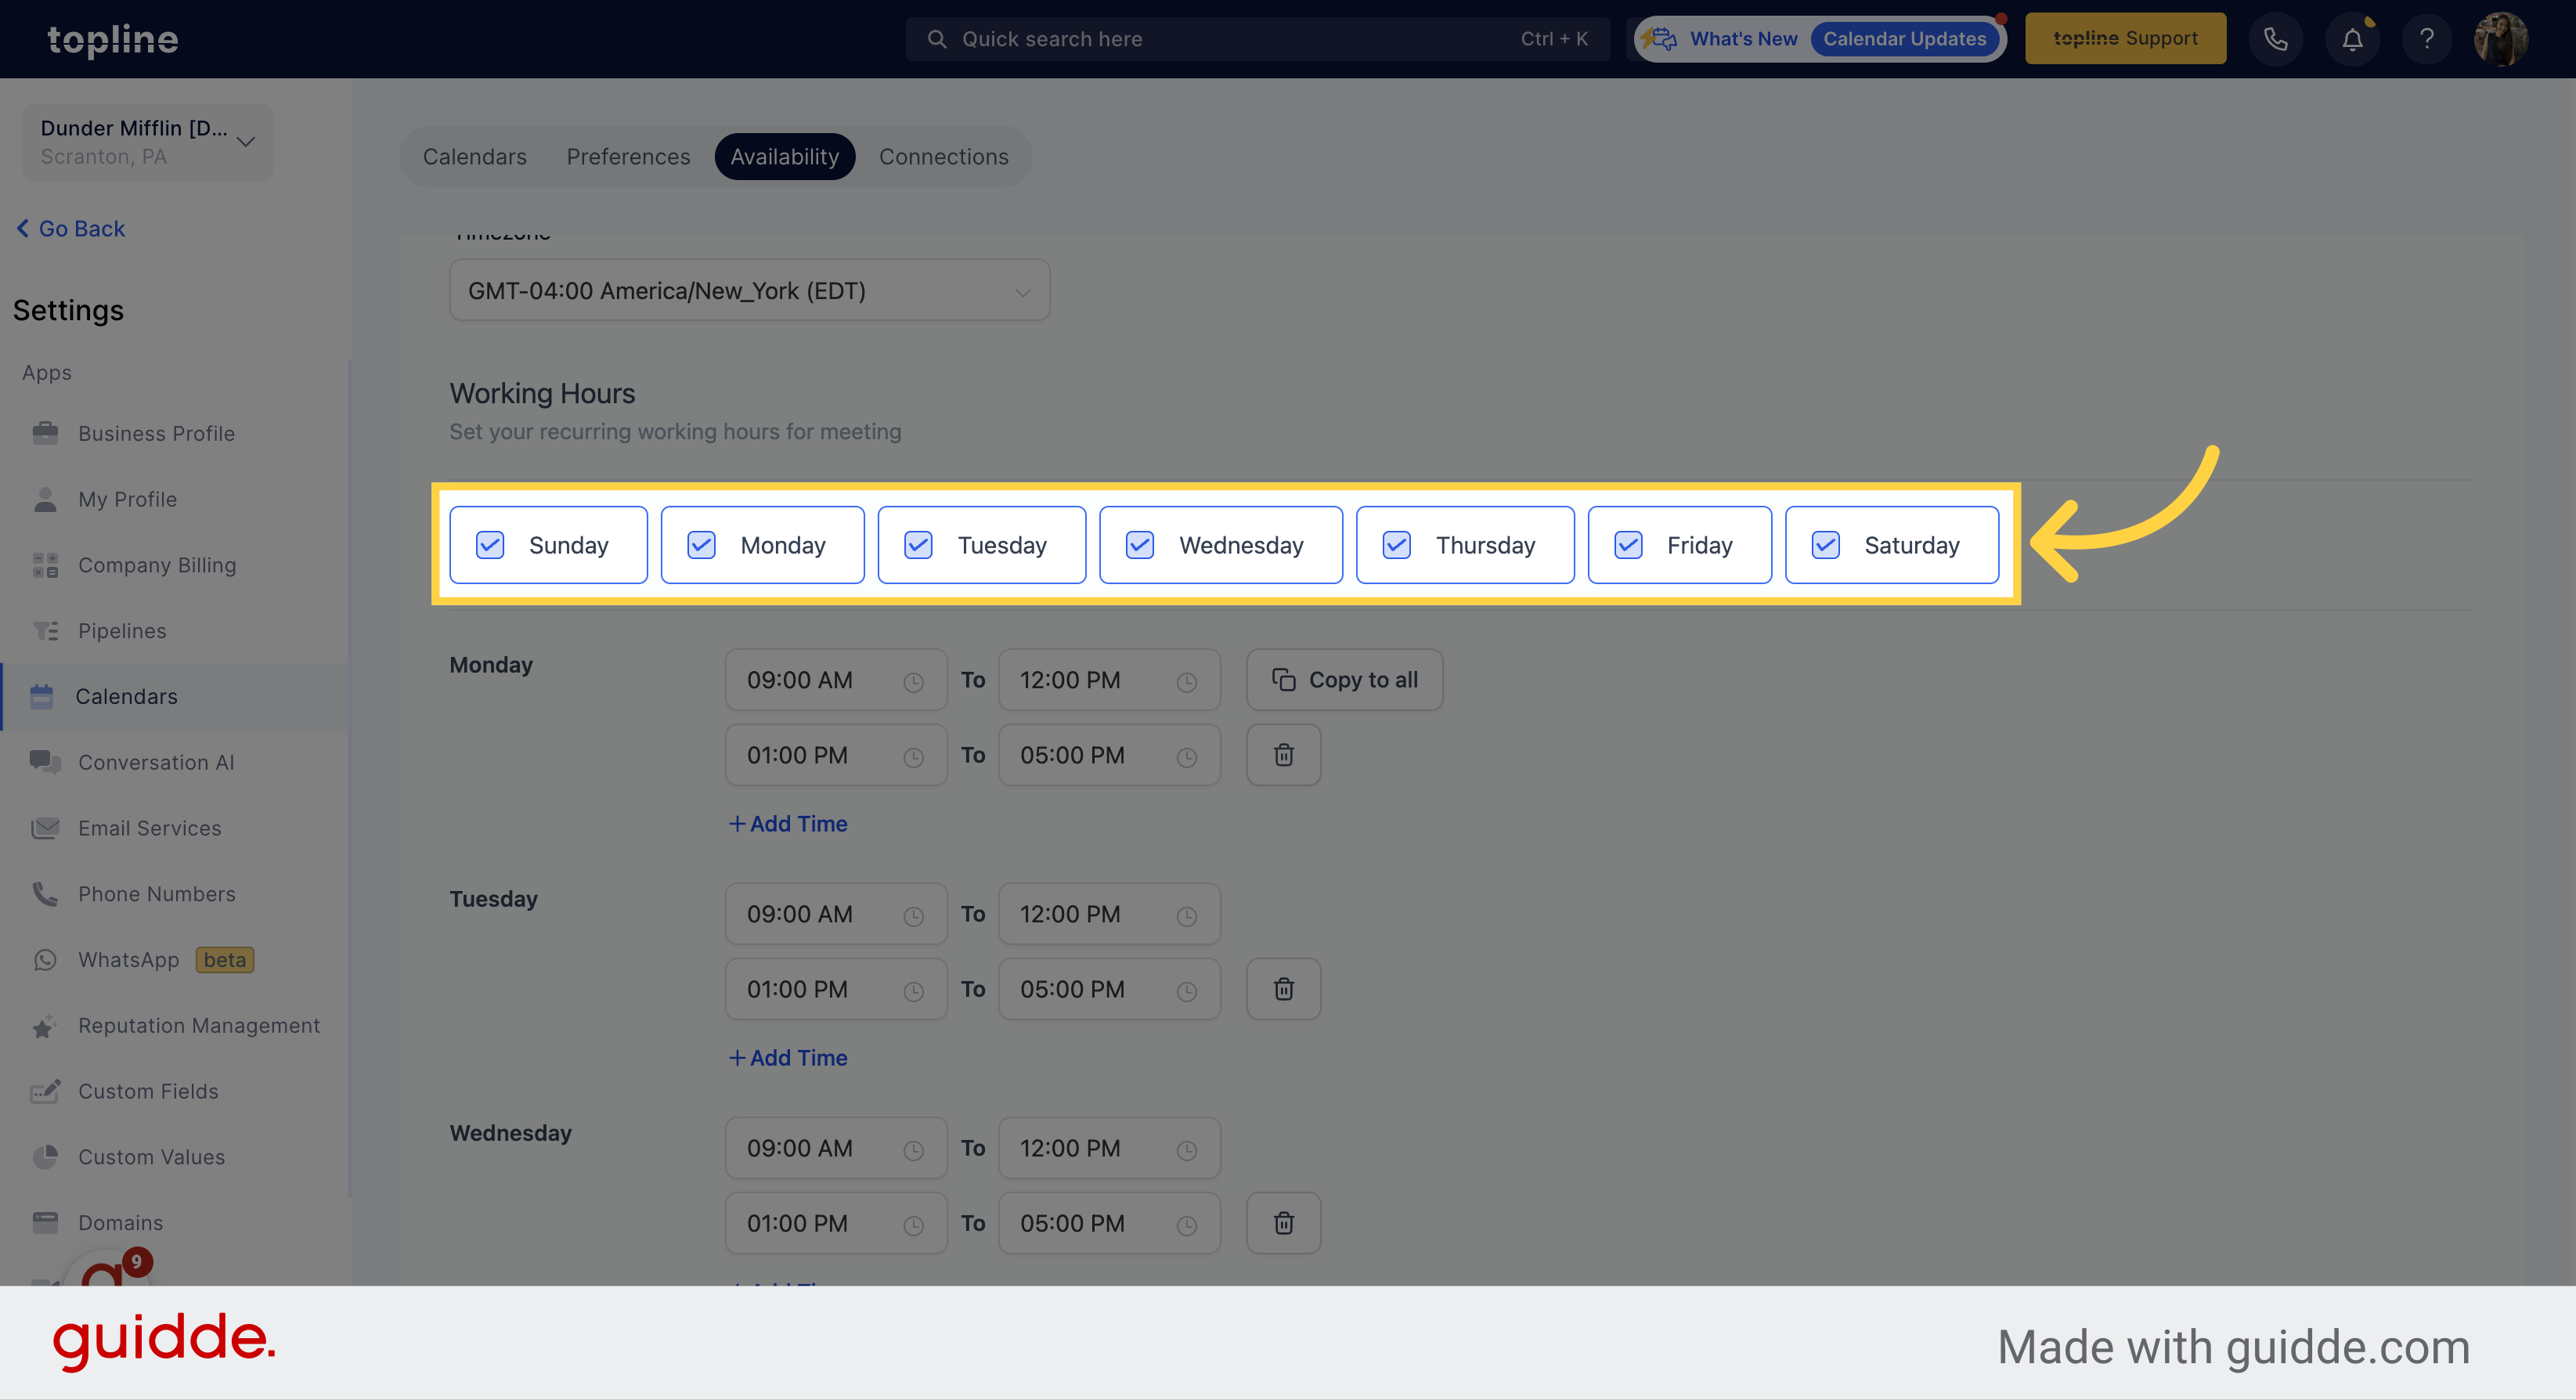
Configure your work days using checkboxes.
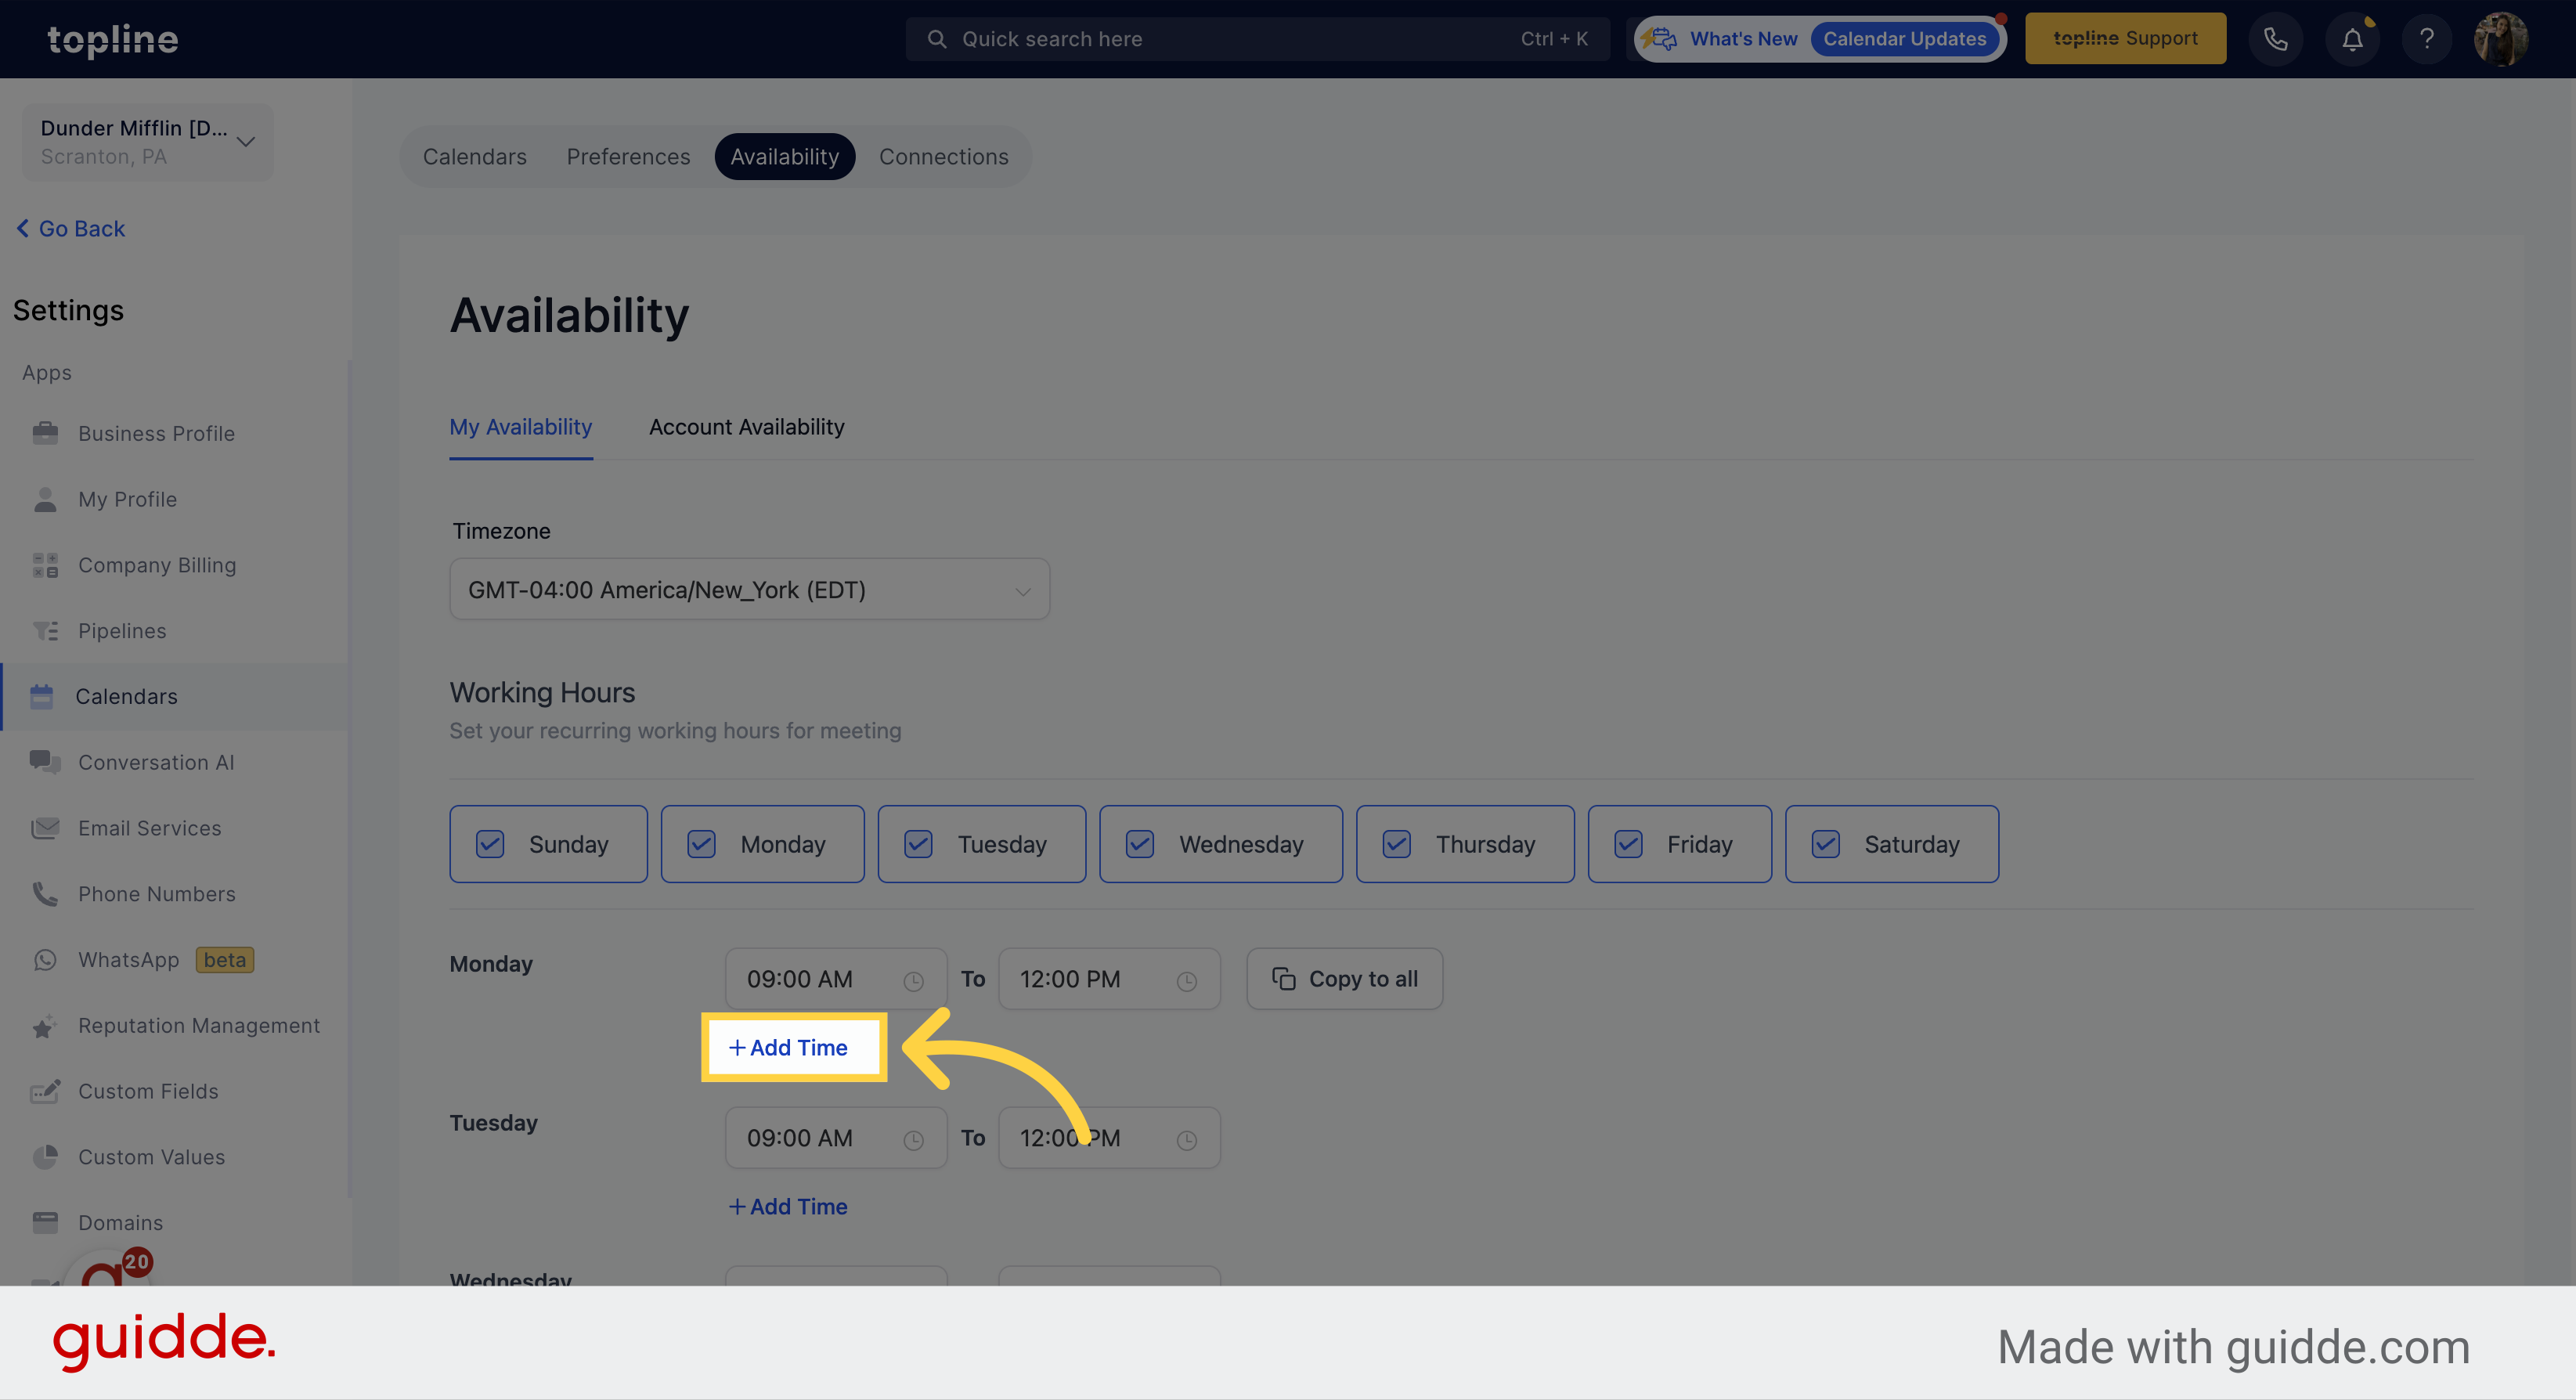
This feature enables you to establish your available working hours for appointments. Should you want to schedule a specific time slot for an appointment, this option allows you to do so.
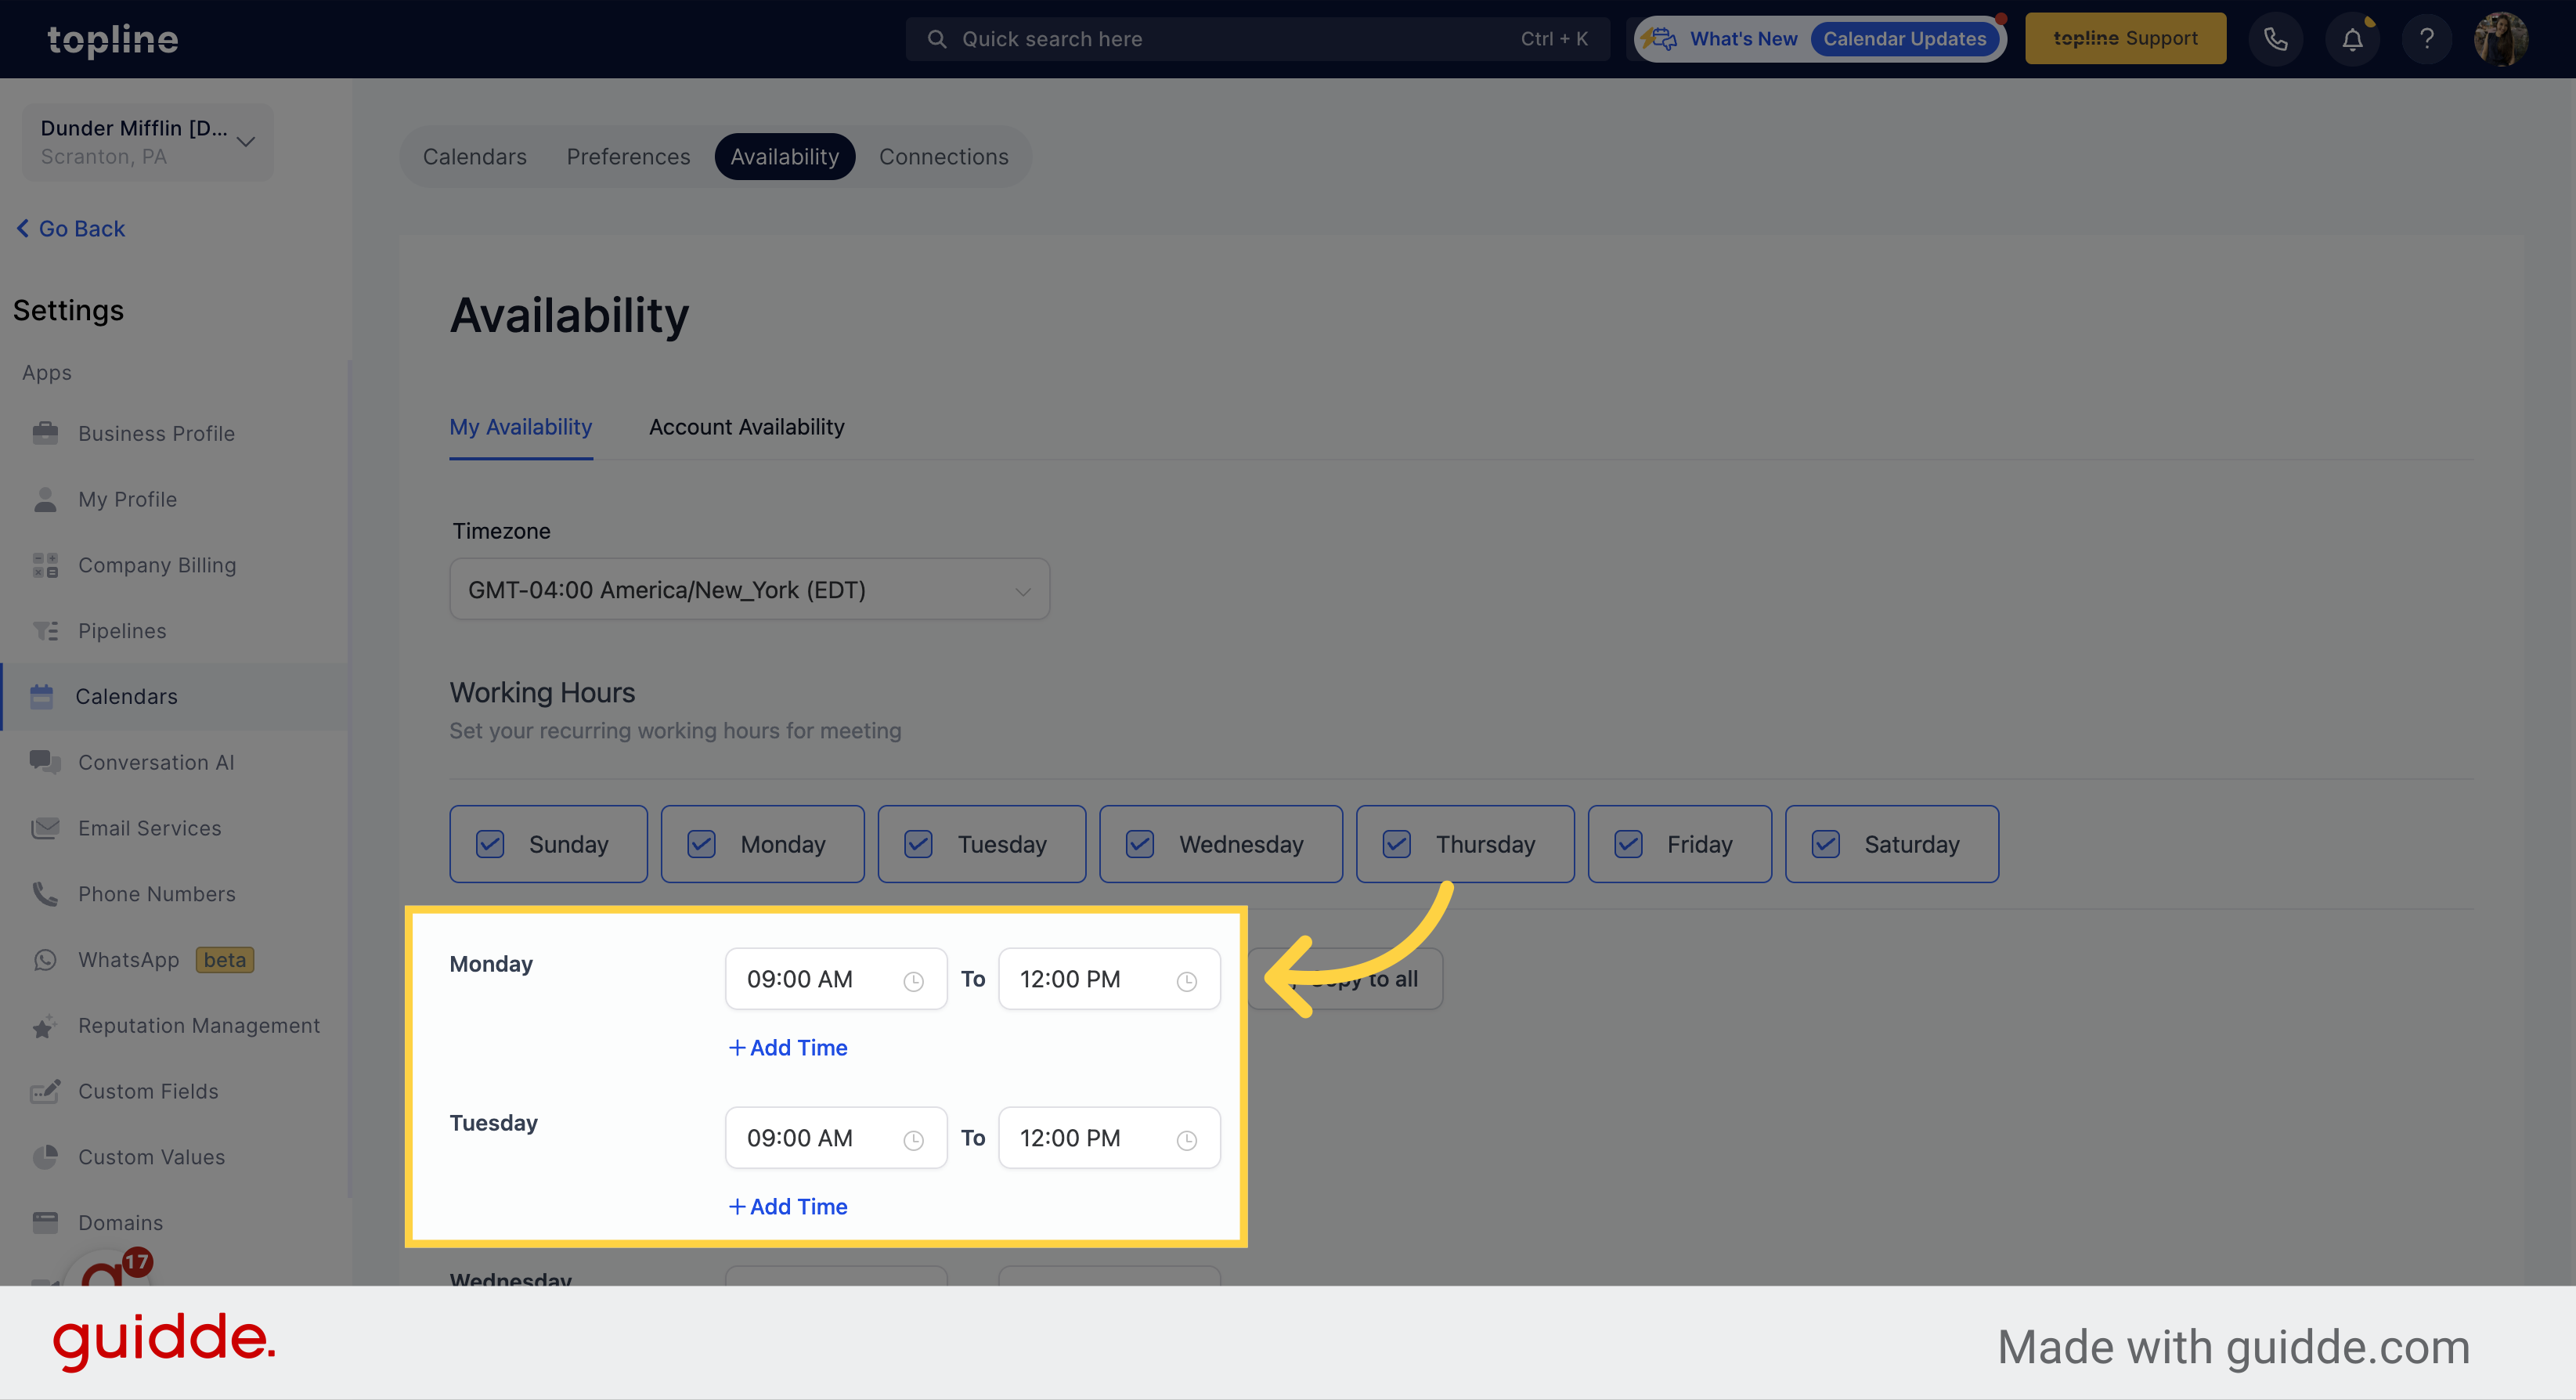
This option allows you to divide your work hours into two parts. For instance, you can schedule appointments from 11am to 1pm for the first half and set the time from 4pm to 5pm for the second half.
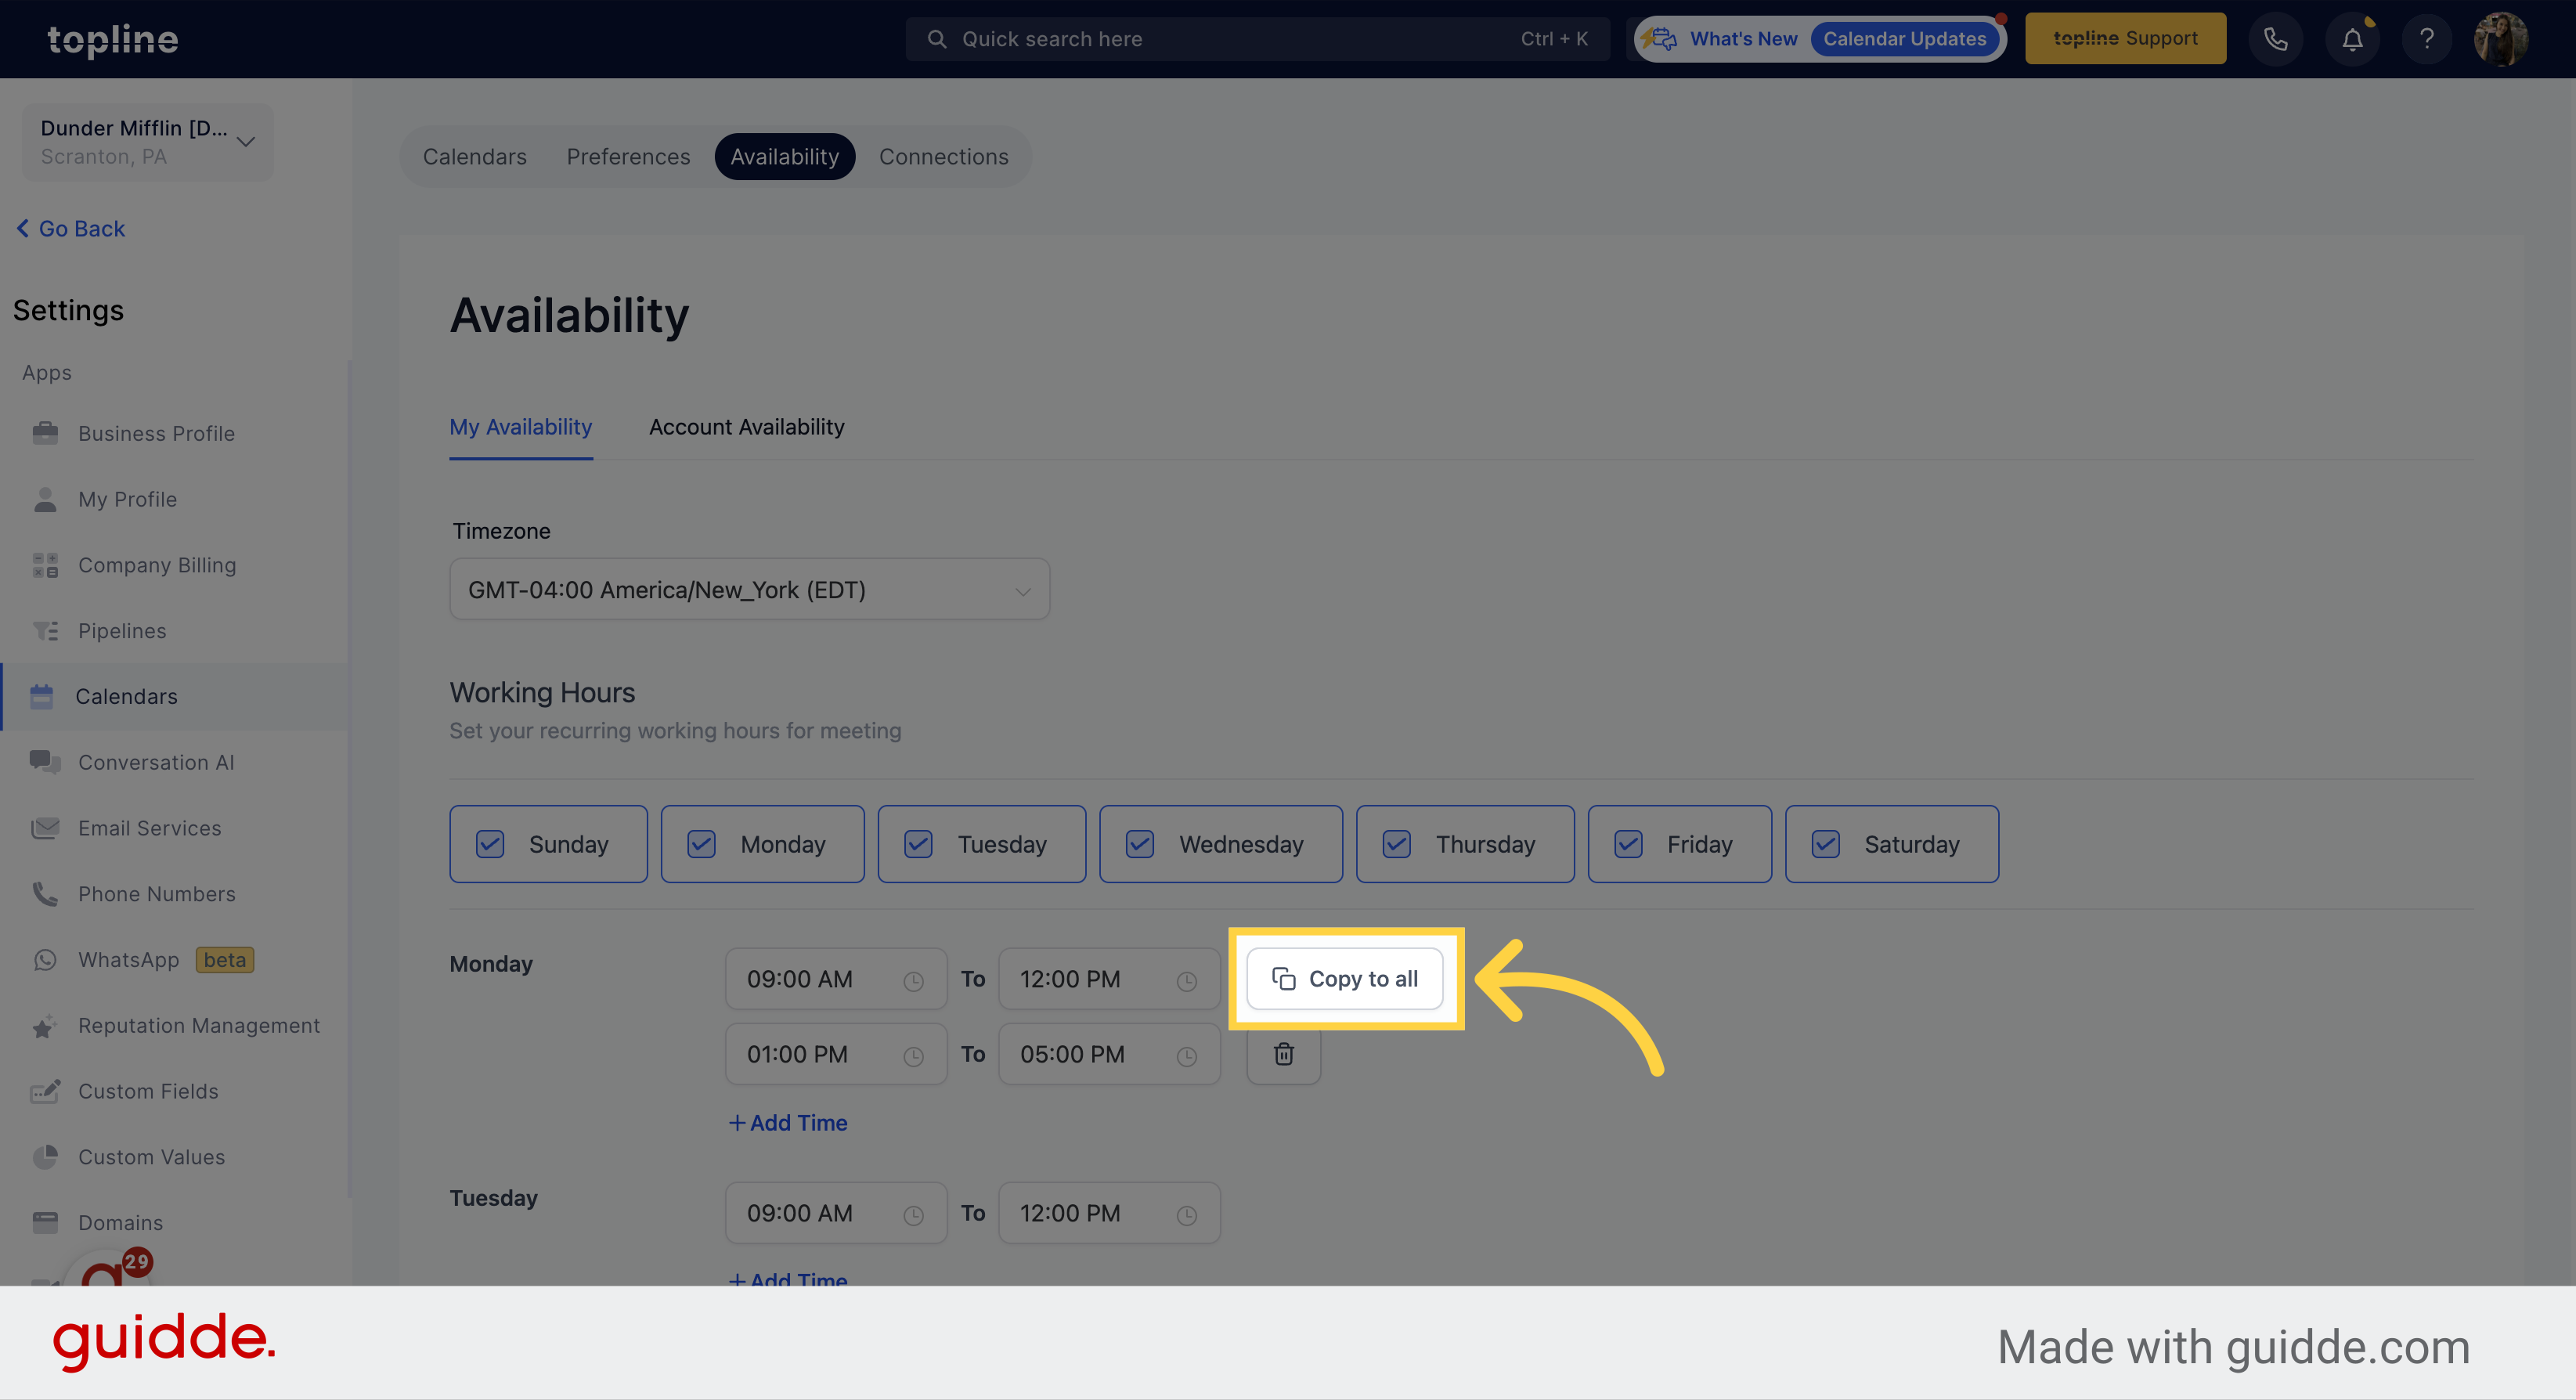
By using the "Copy to all" option, you can easily apply the working hours set for the first day of the week to the remaining days of the week.
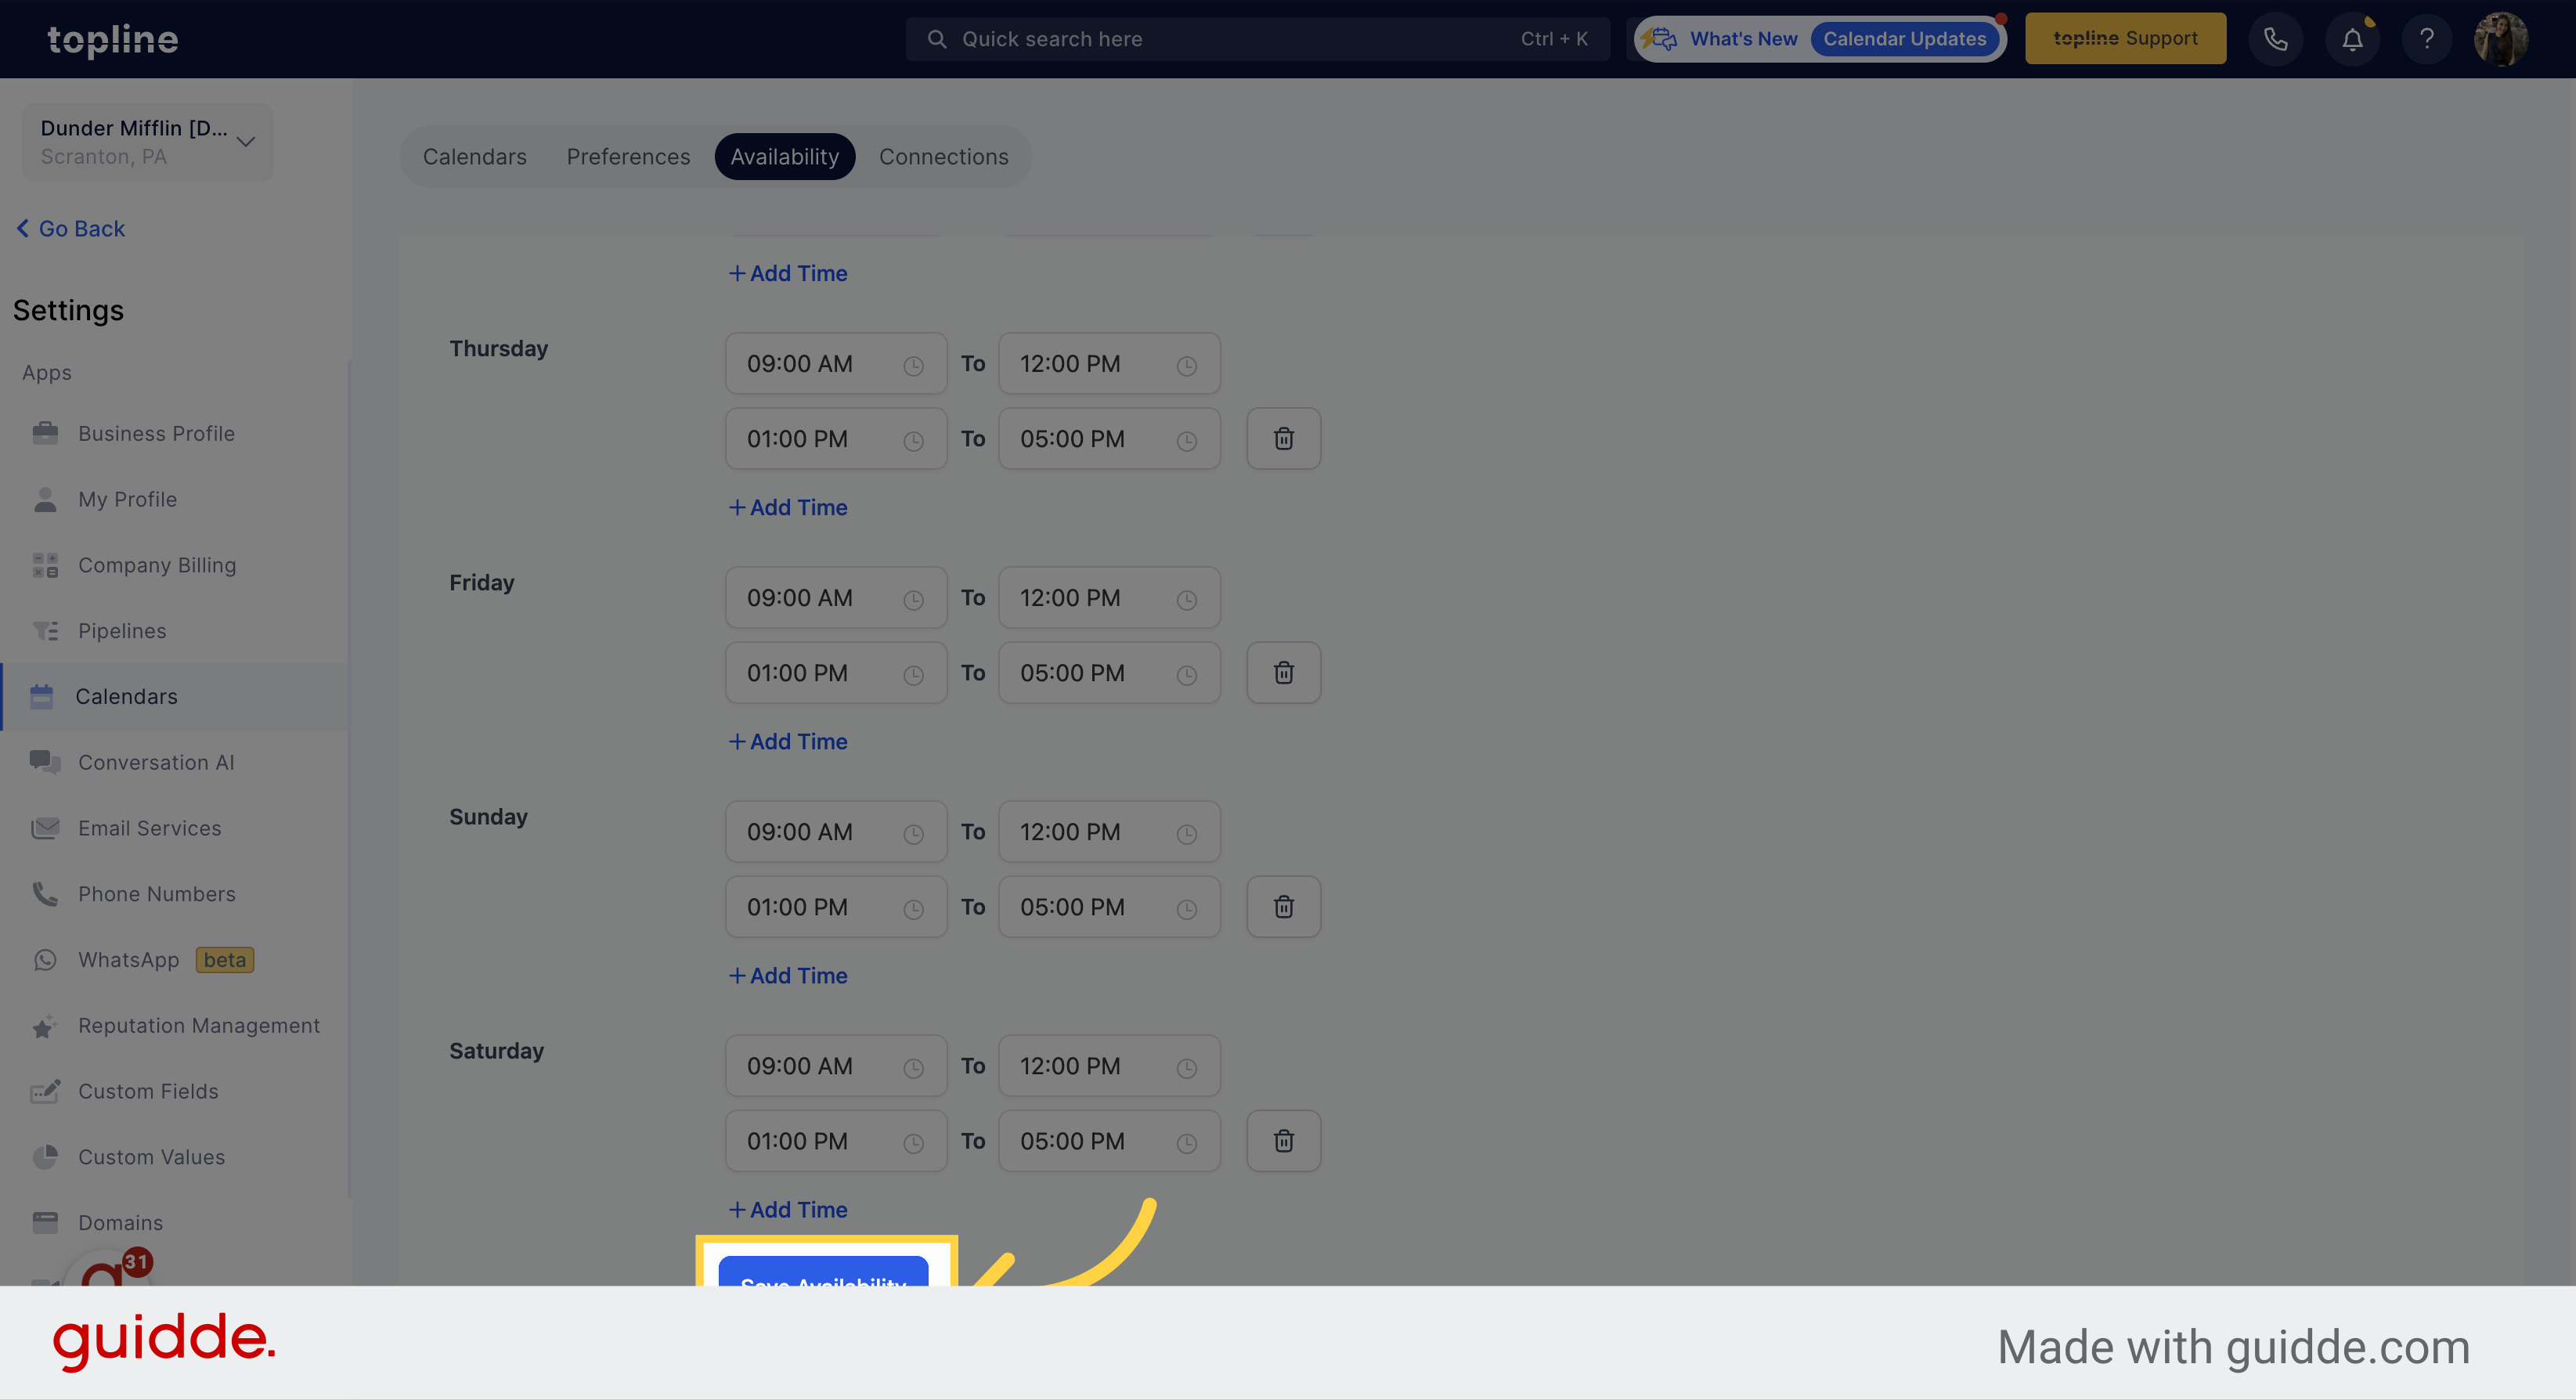
Save the changes to your availability.