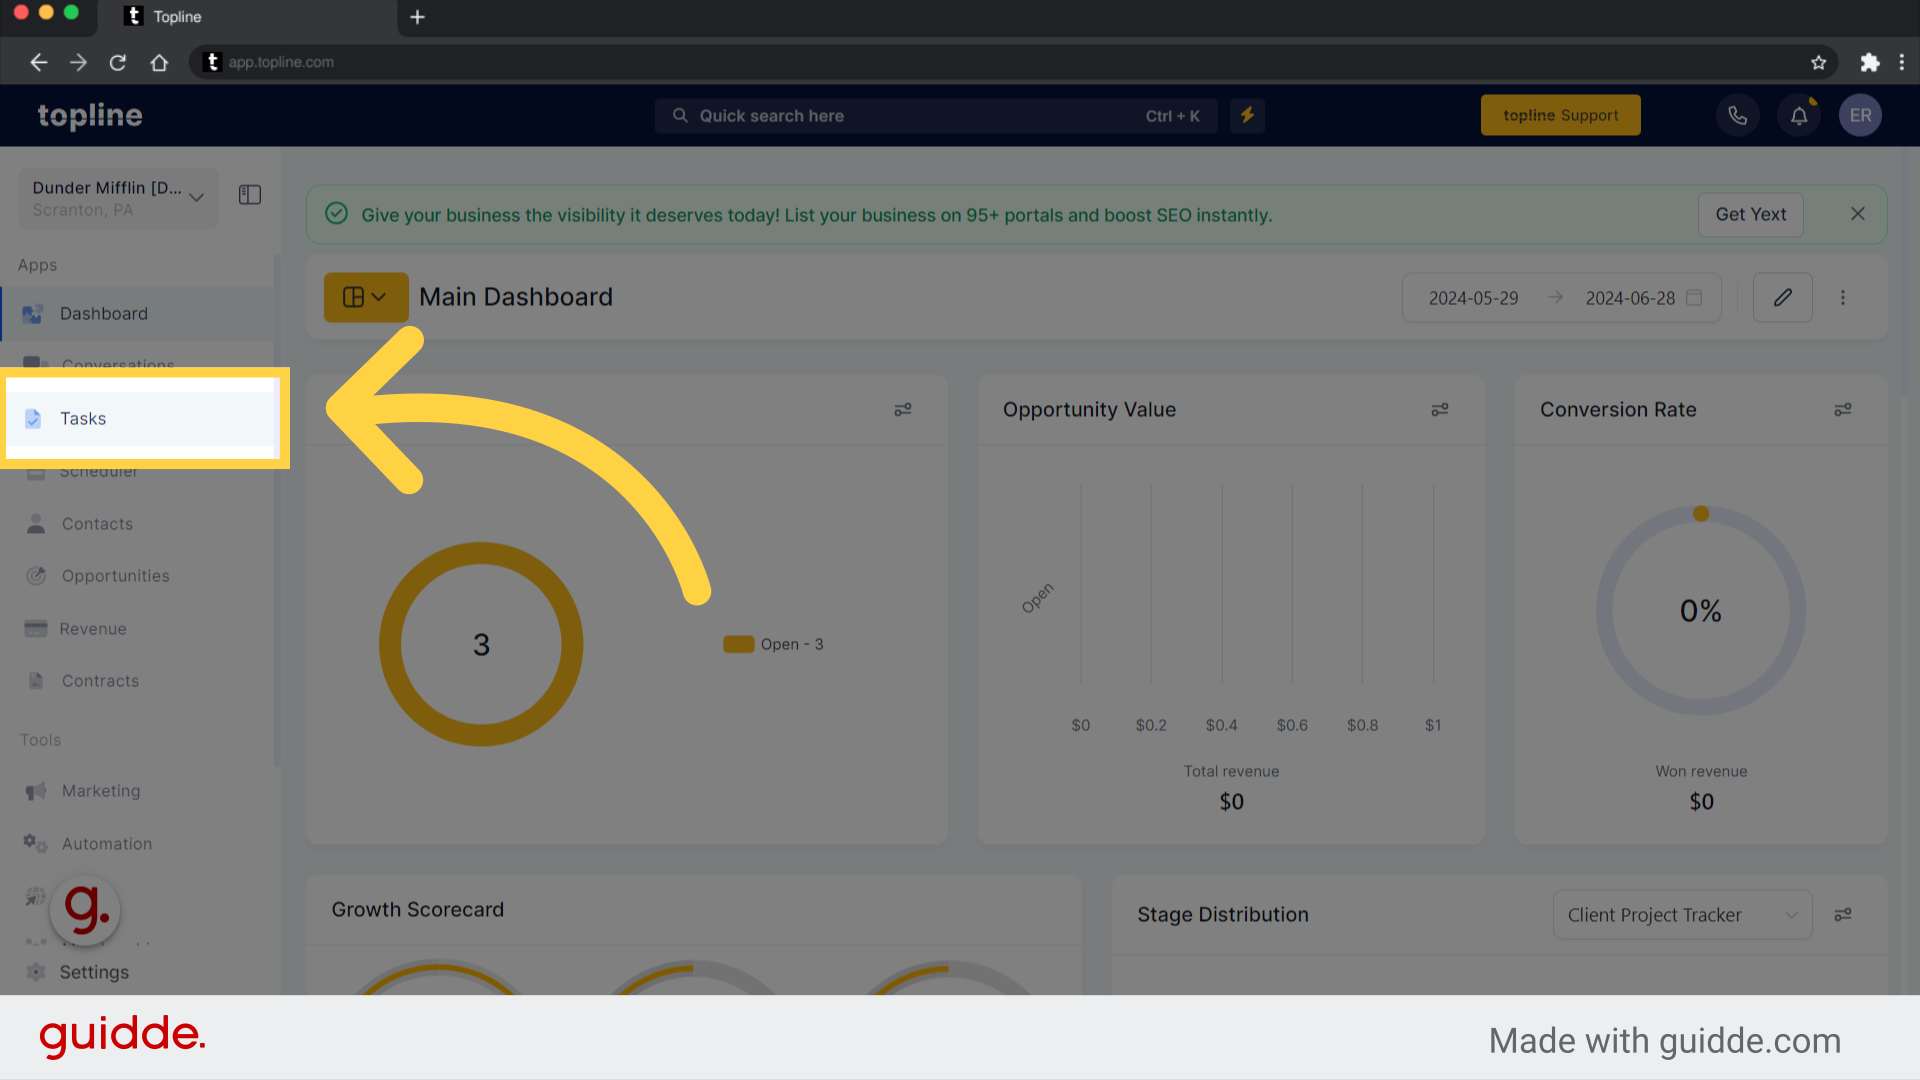
Access to the Task option on the lower left side menu. By using these tasks, you can easily manage work and responsibilities within your team
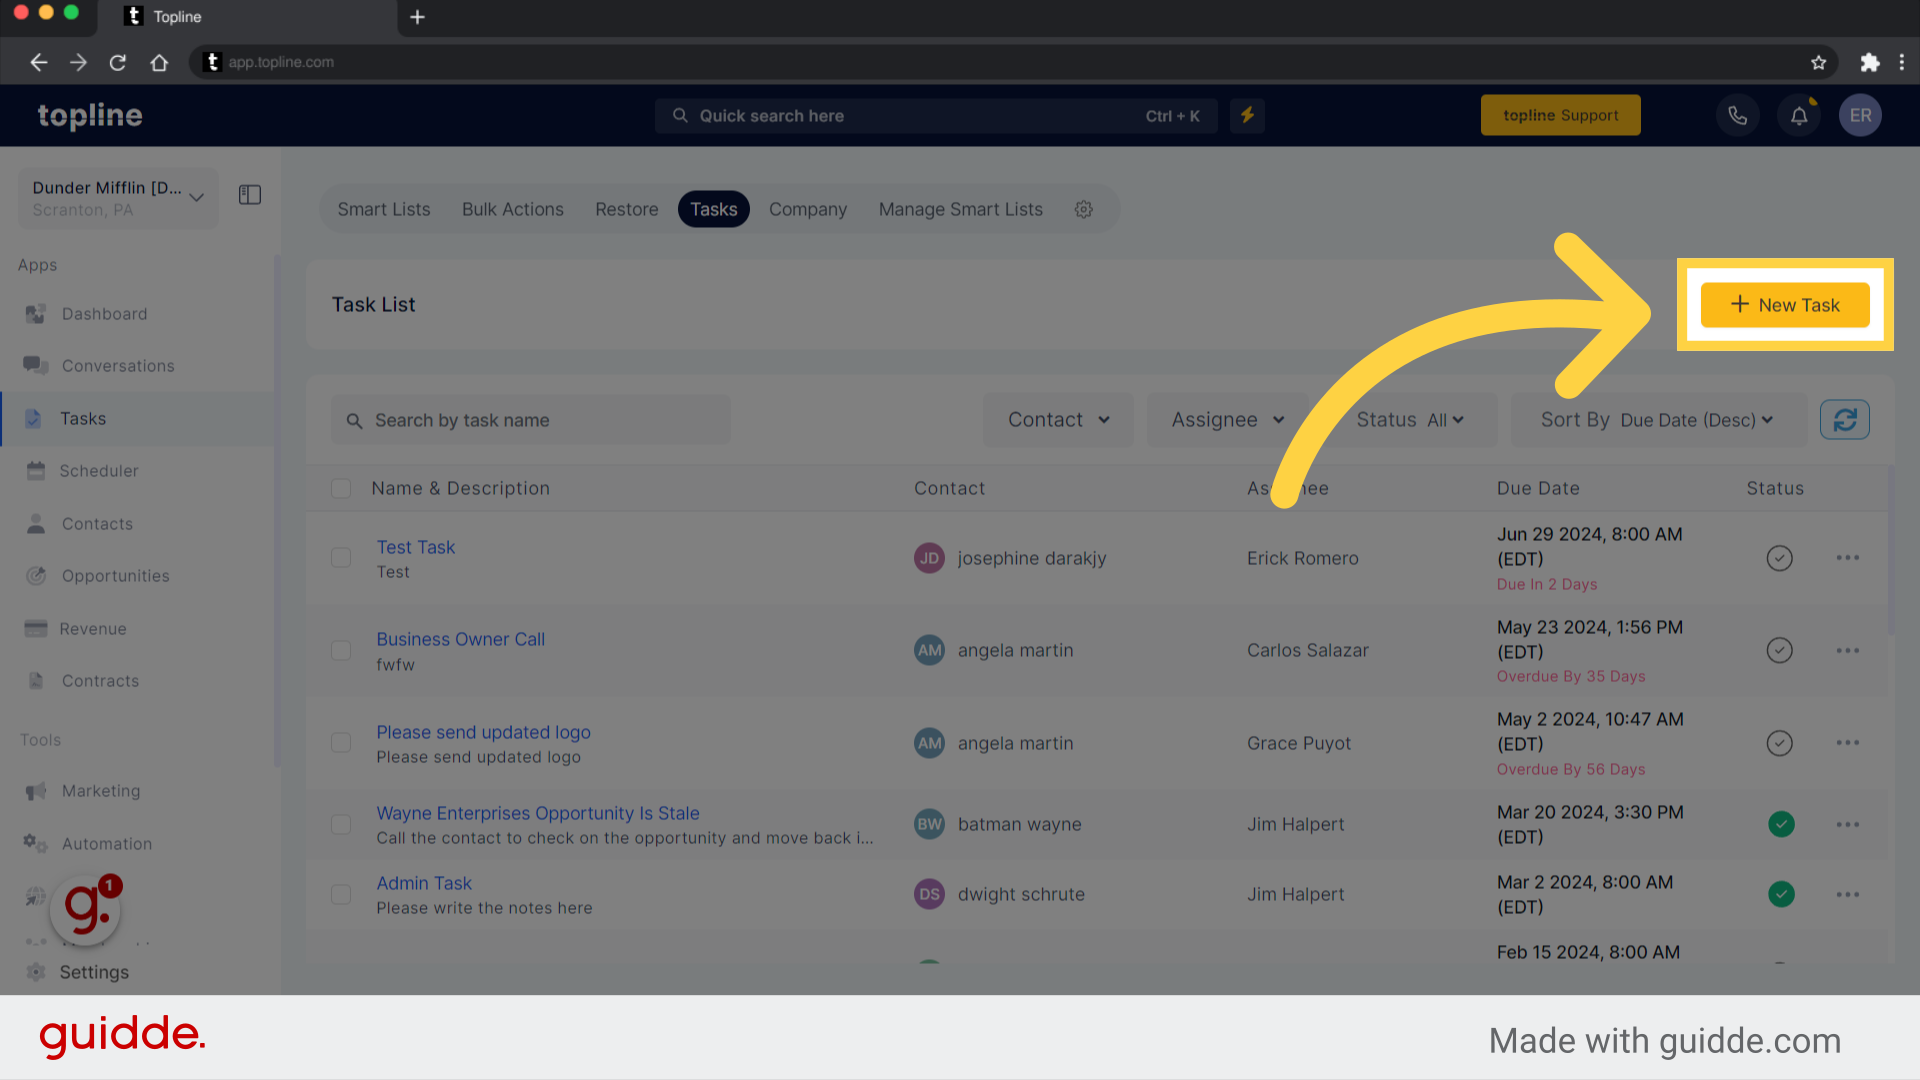
Click the yellow tab in the upper left corner to start creating a new task.
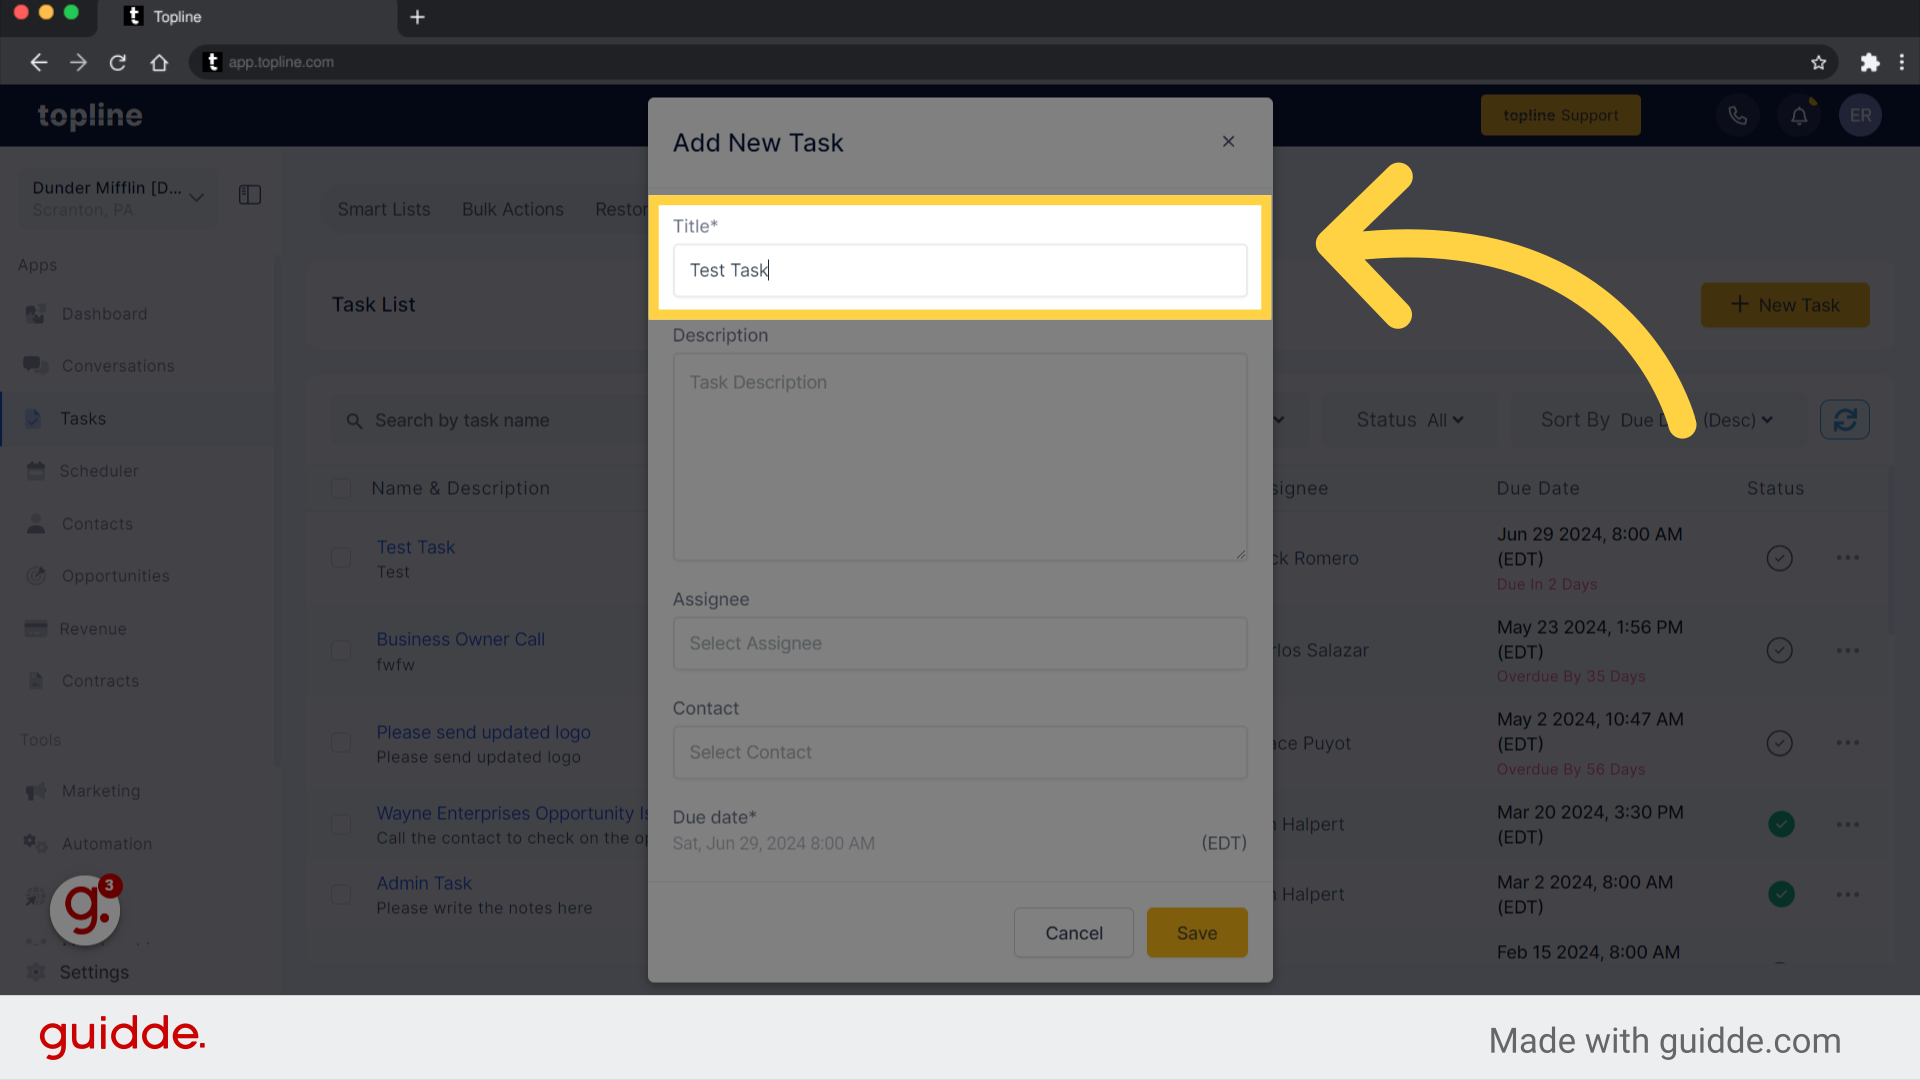
Fill out this form with your task name.
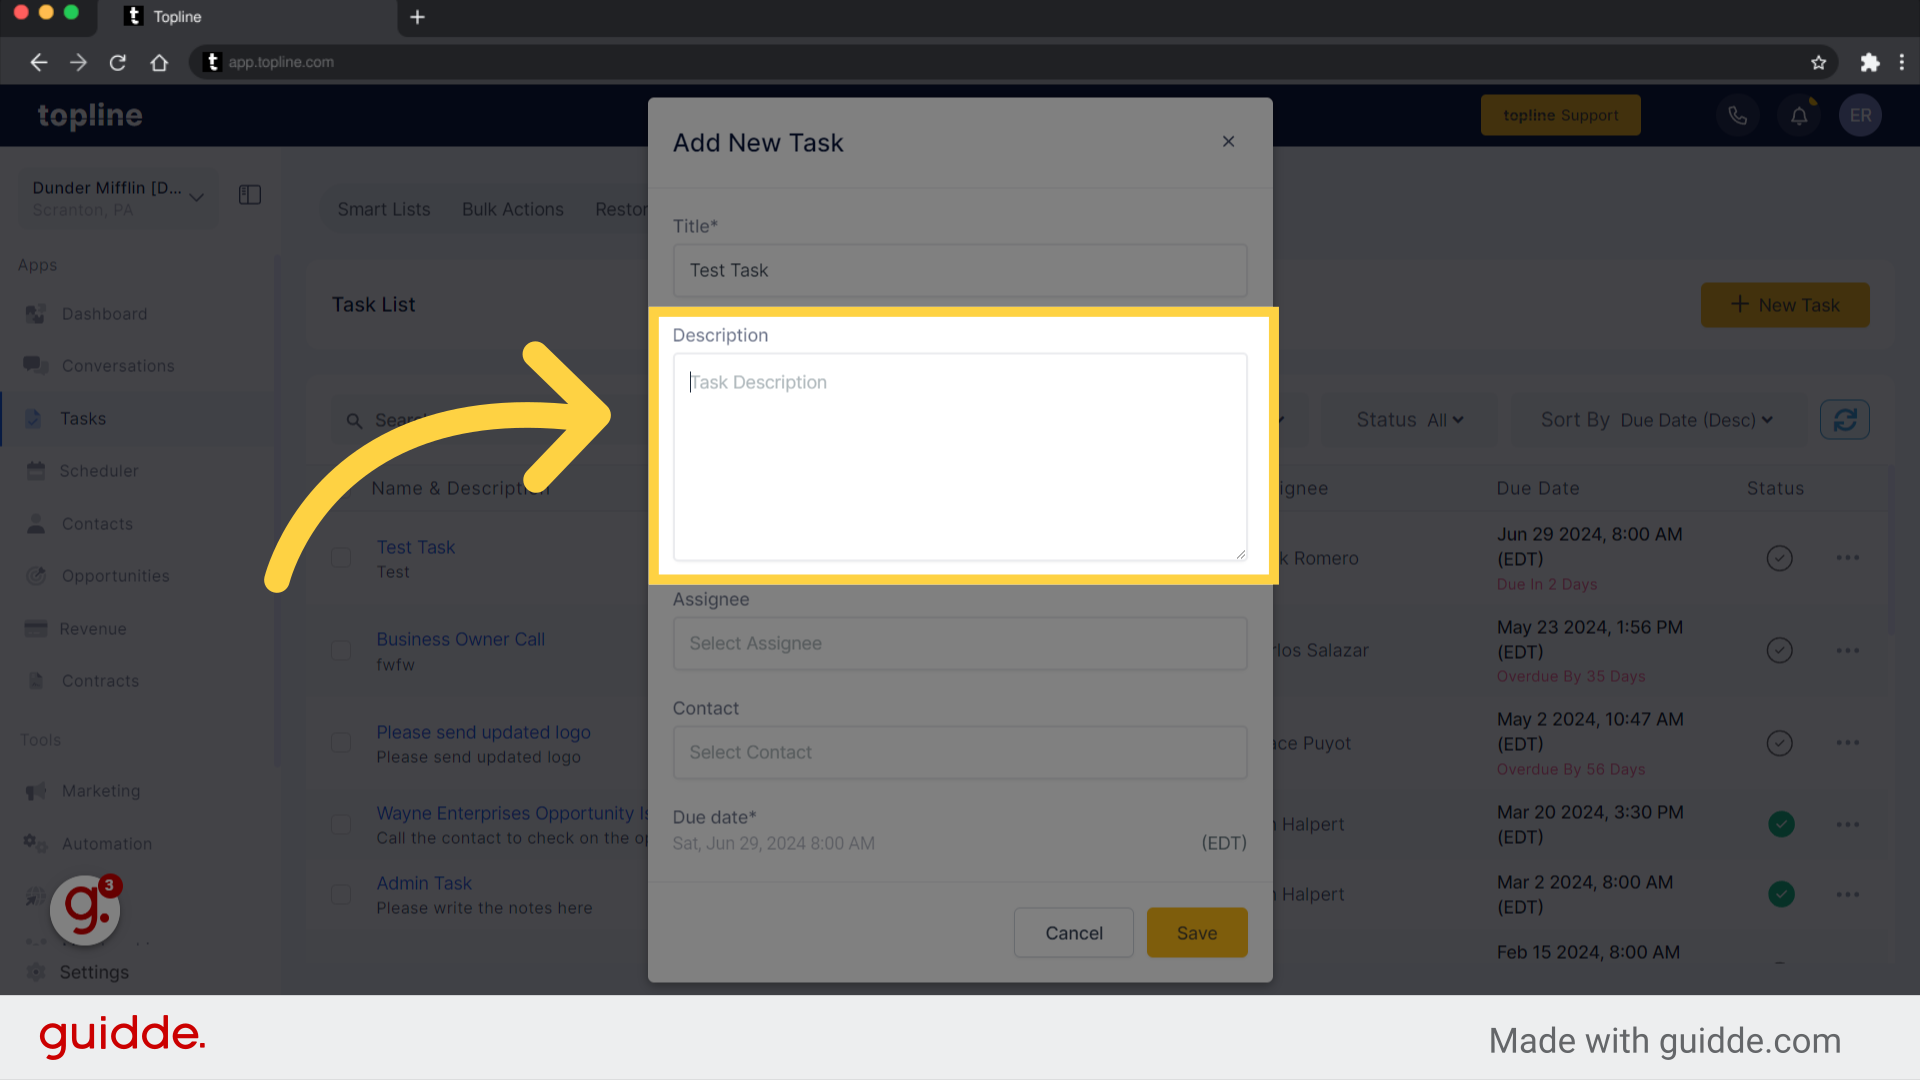
Describe the task that you are going to perform in the description.
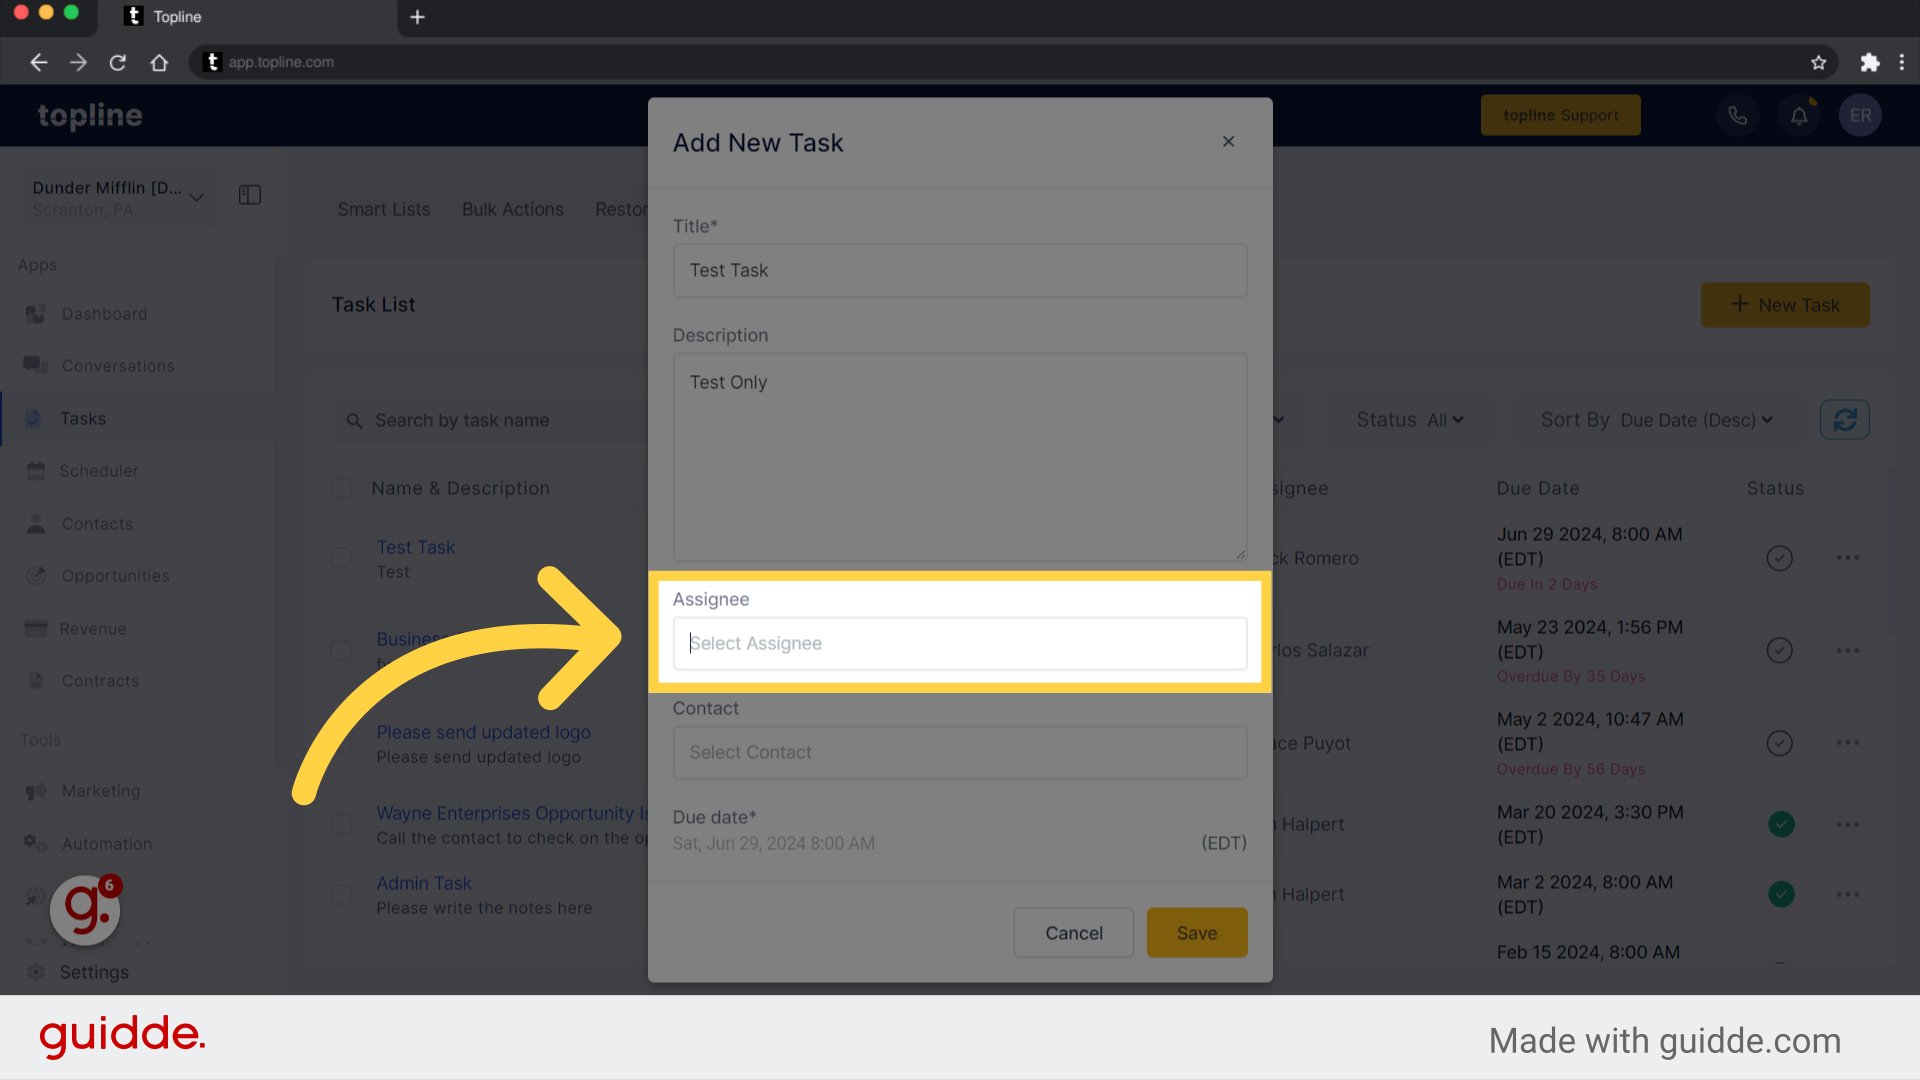
Choose the Assignee for the task.
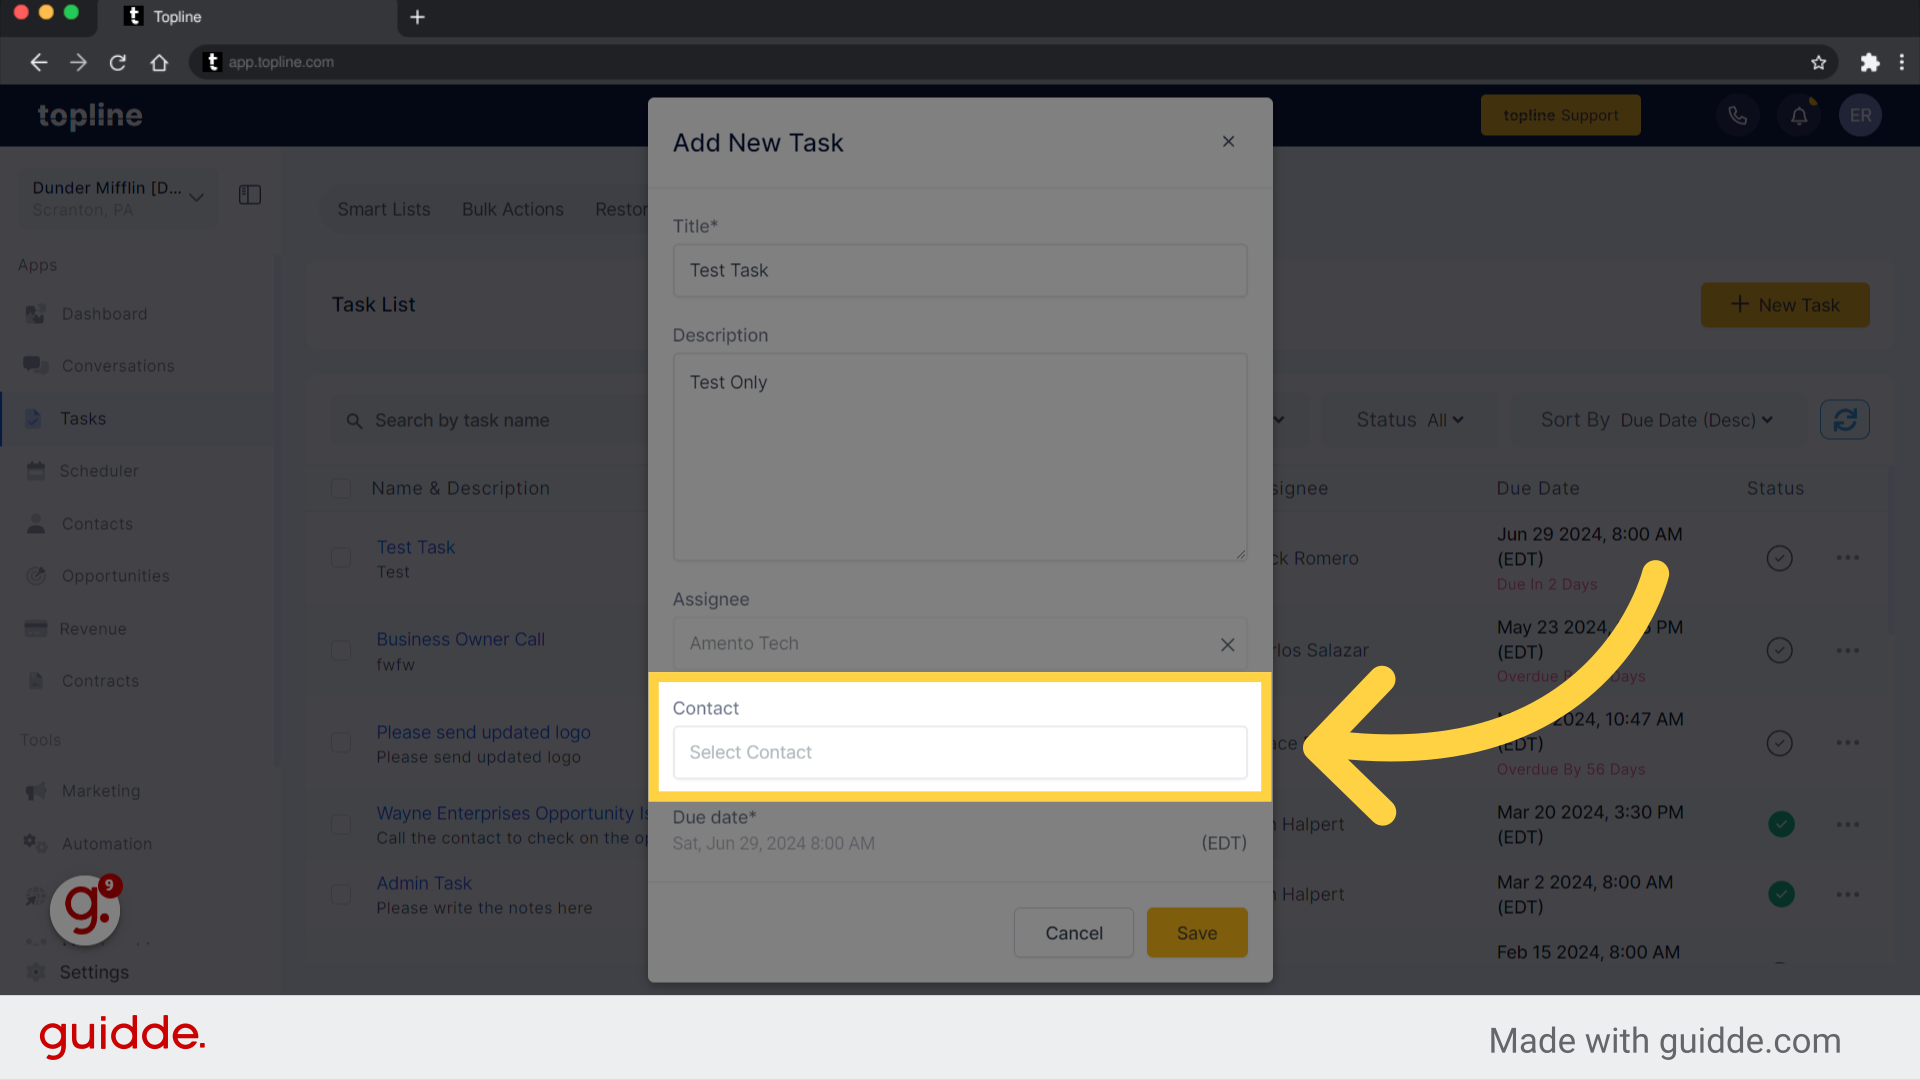
Choose a contact for the task or you have the option to skip and create a contactless tasks.
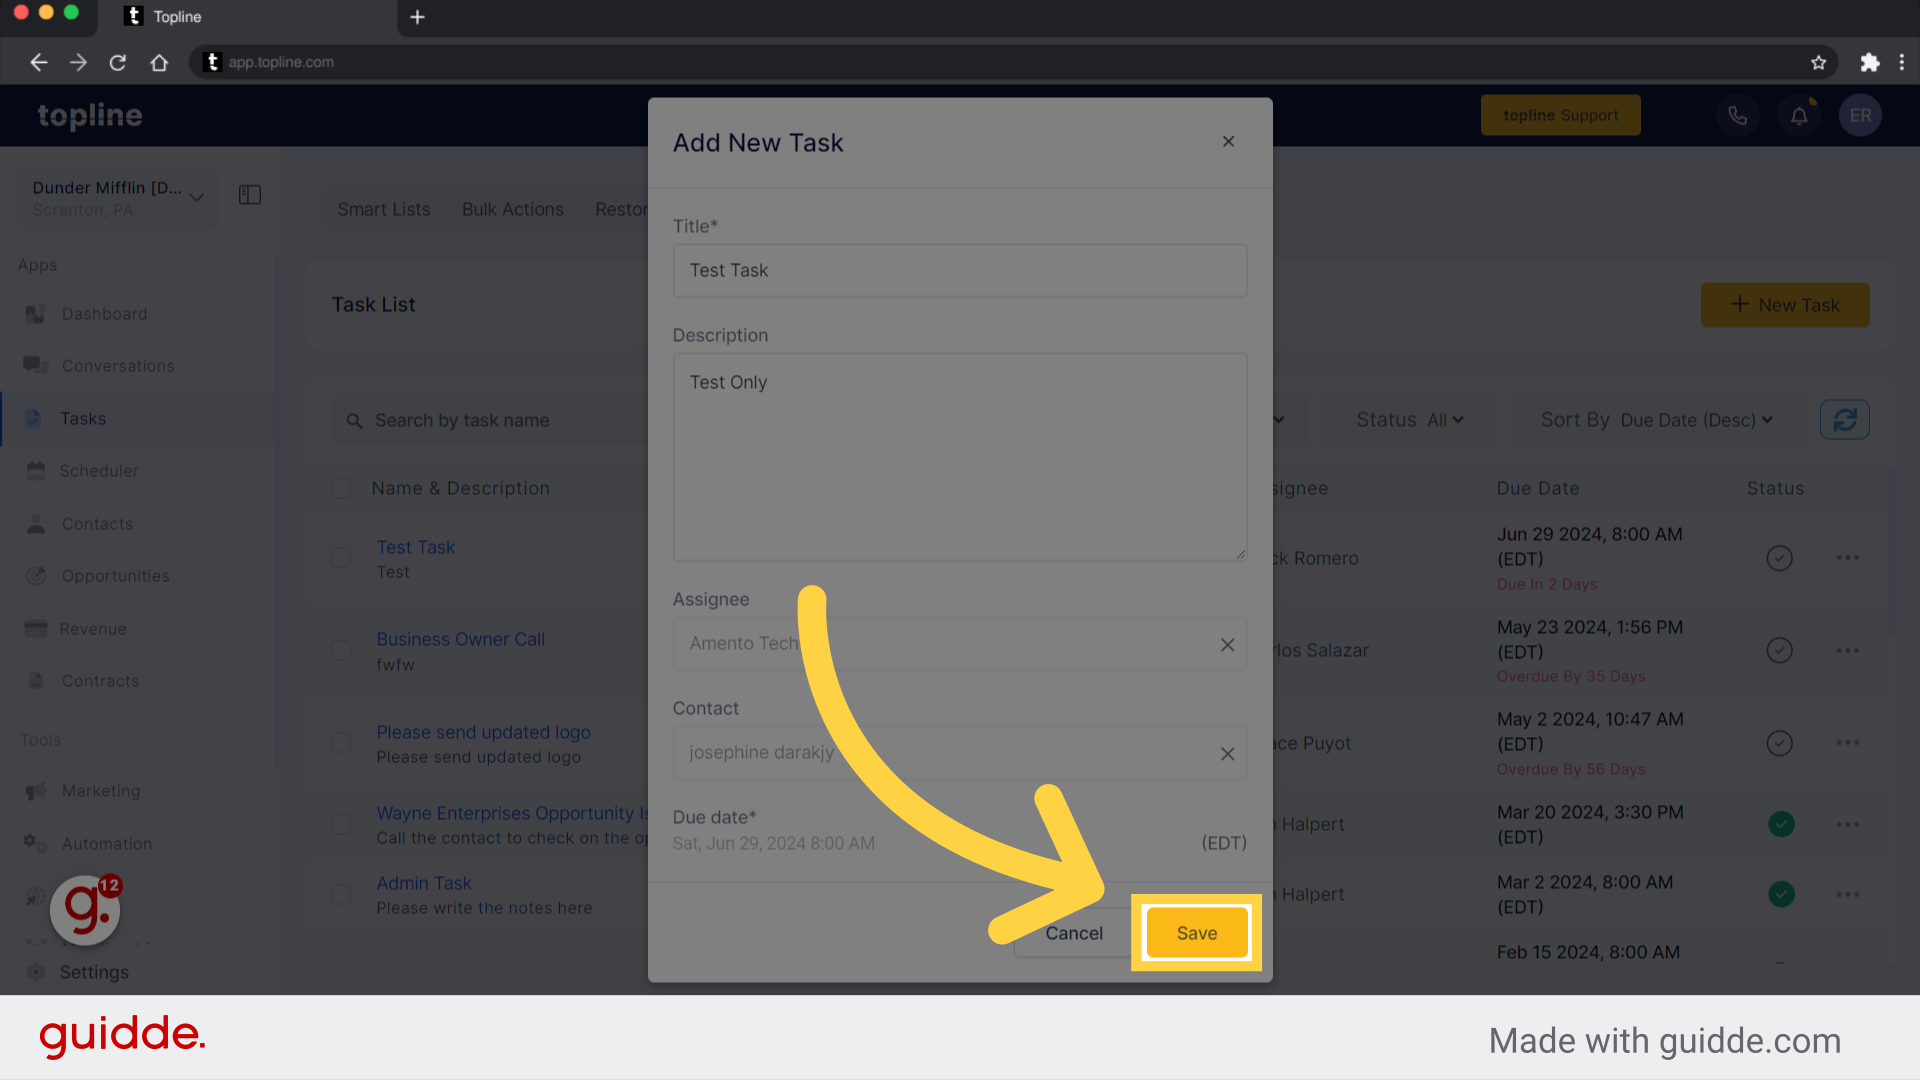
Save the changes made by clicking the save button.
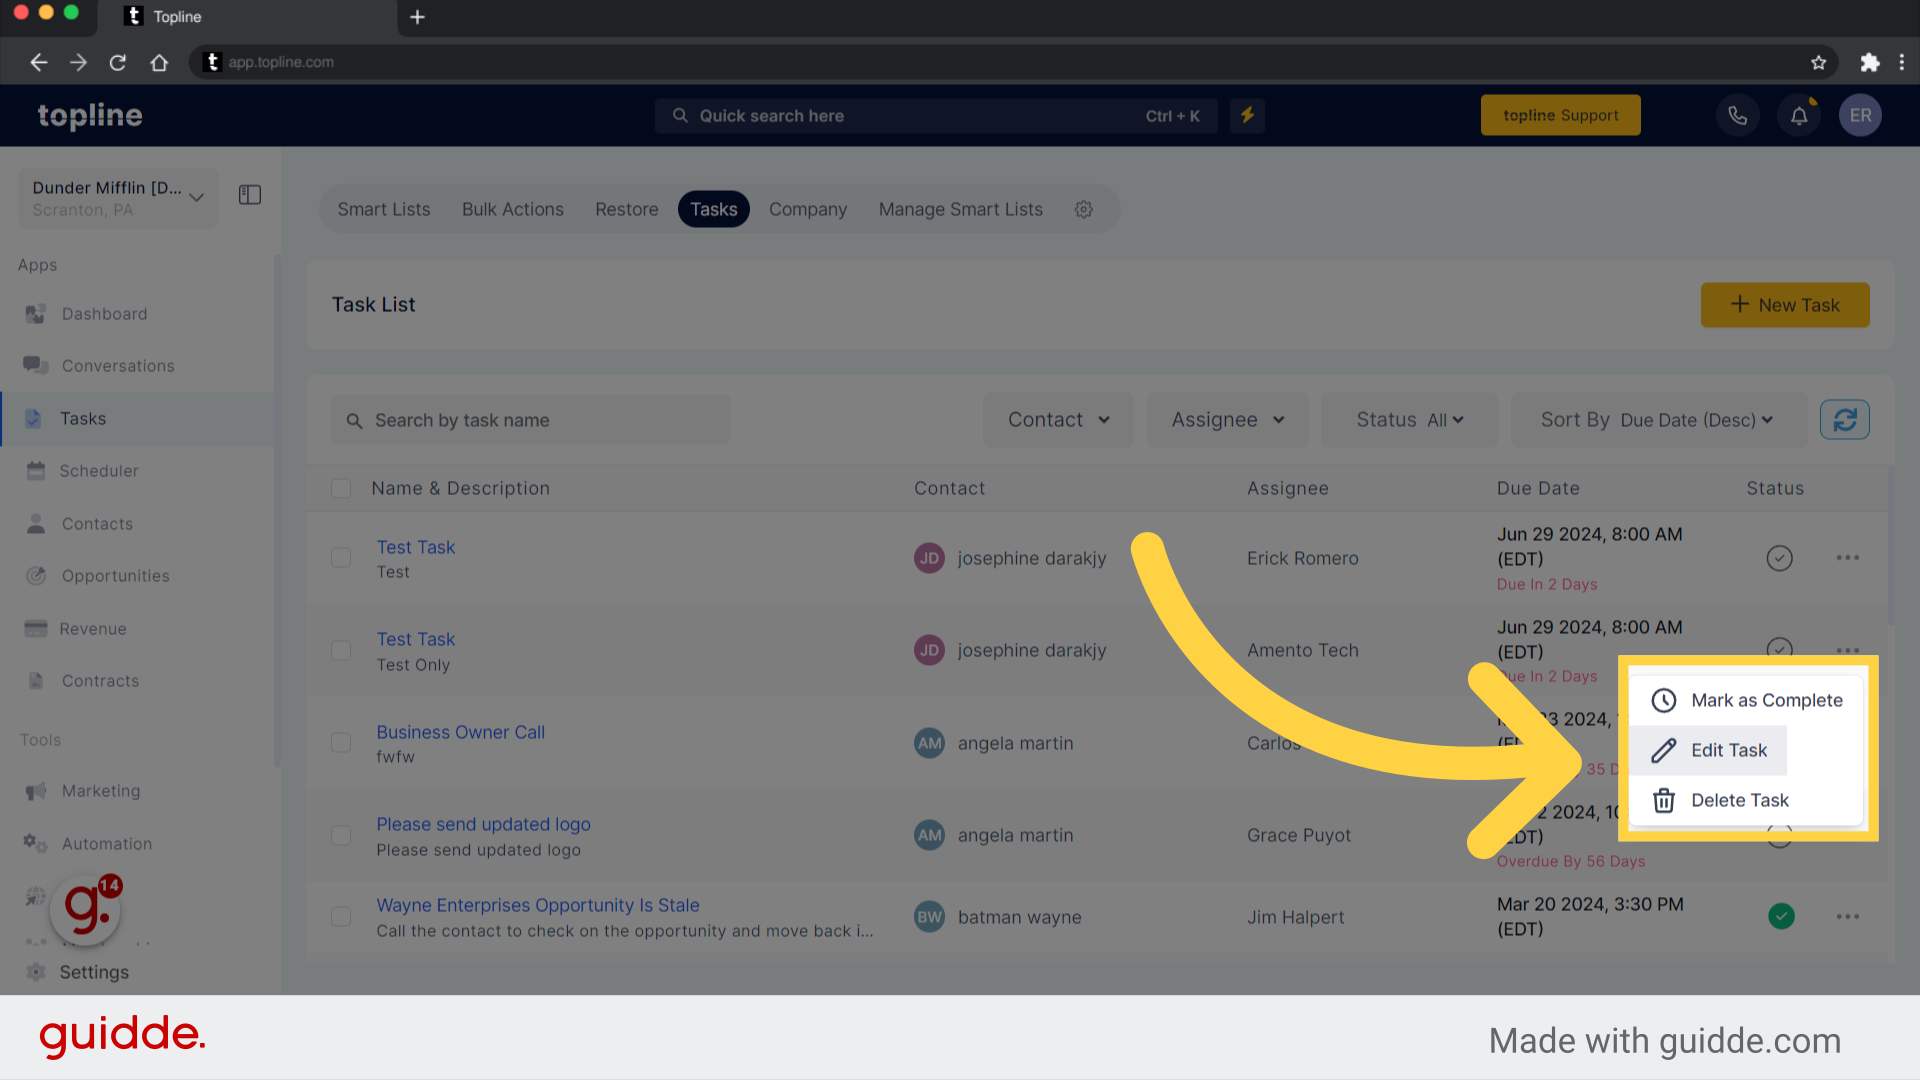
A menu option can be expanded by clicking the 3 dot icon in the left corner.
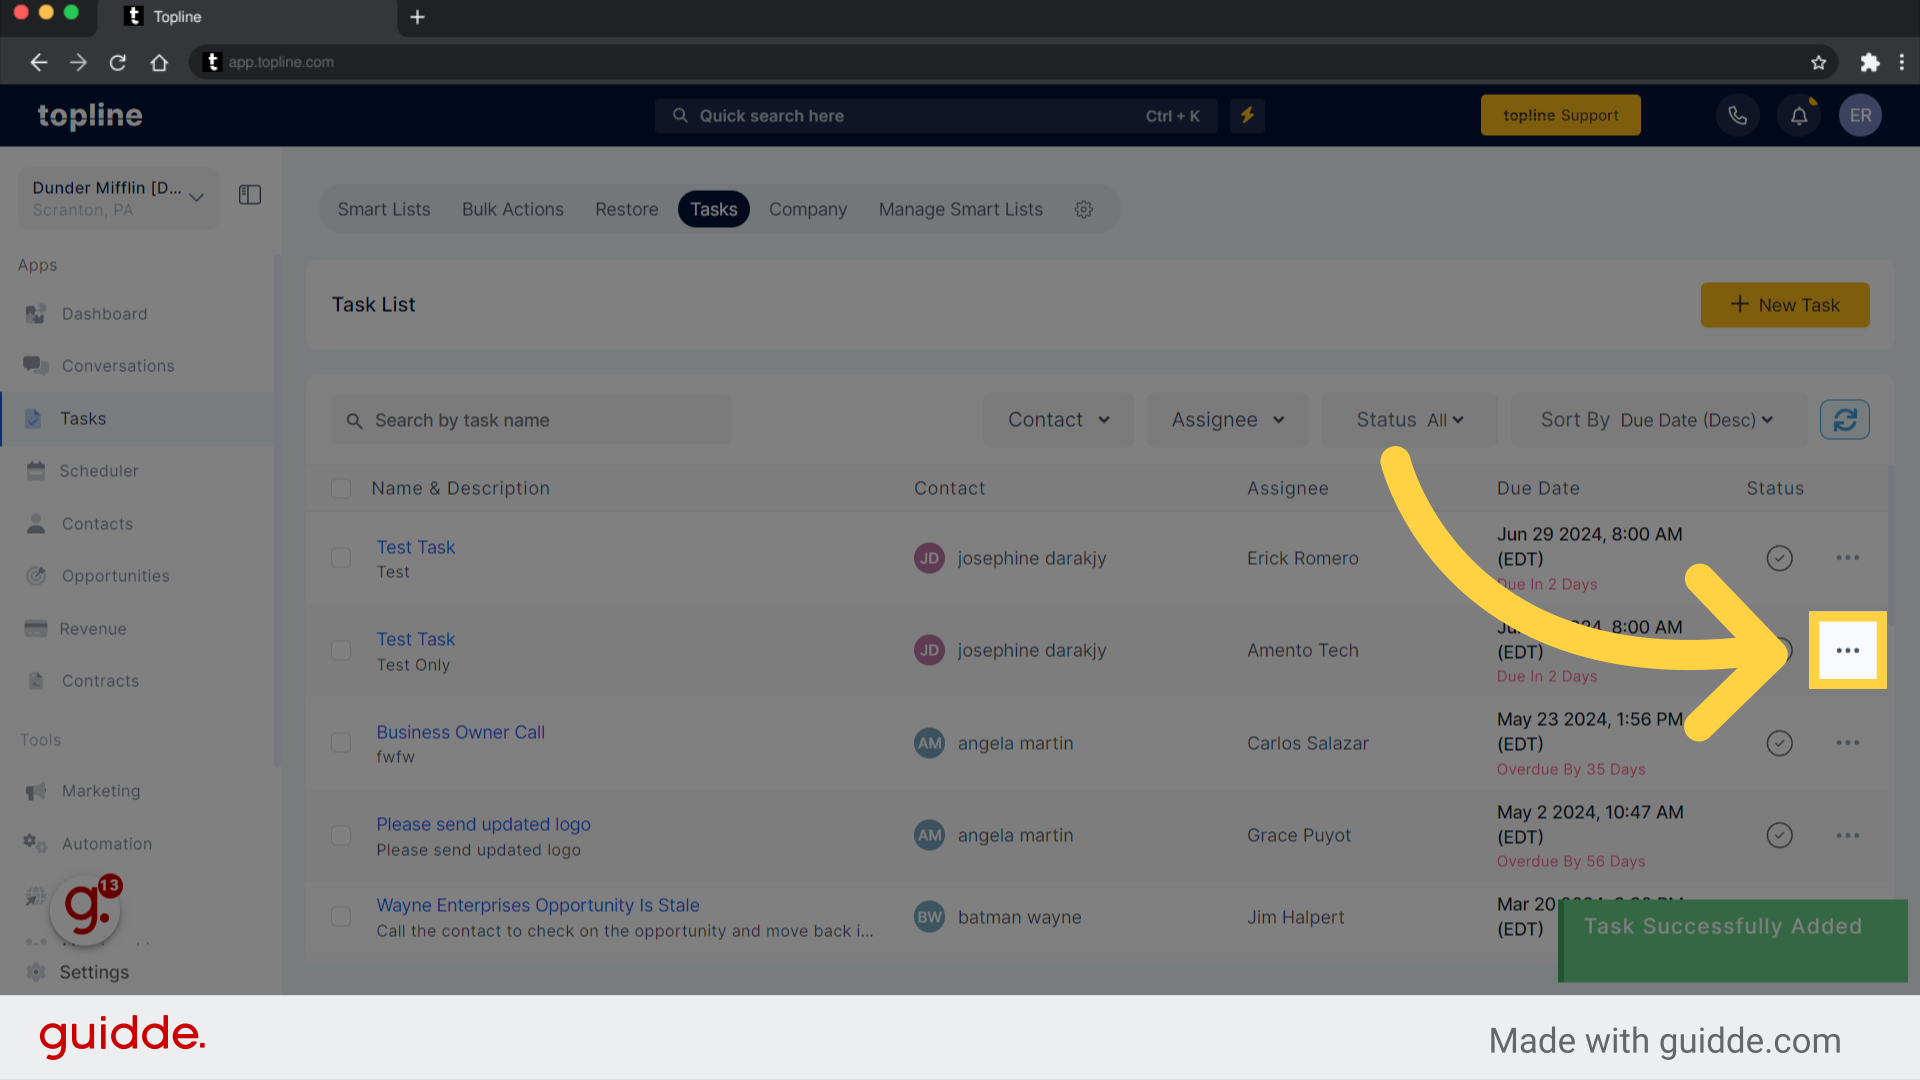
This list allows you to edit, delete, or mark the tasks as complete.
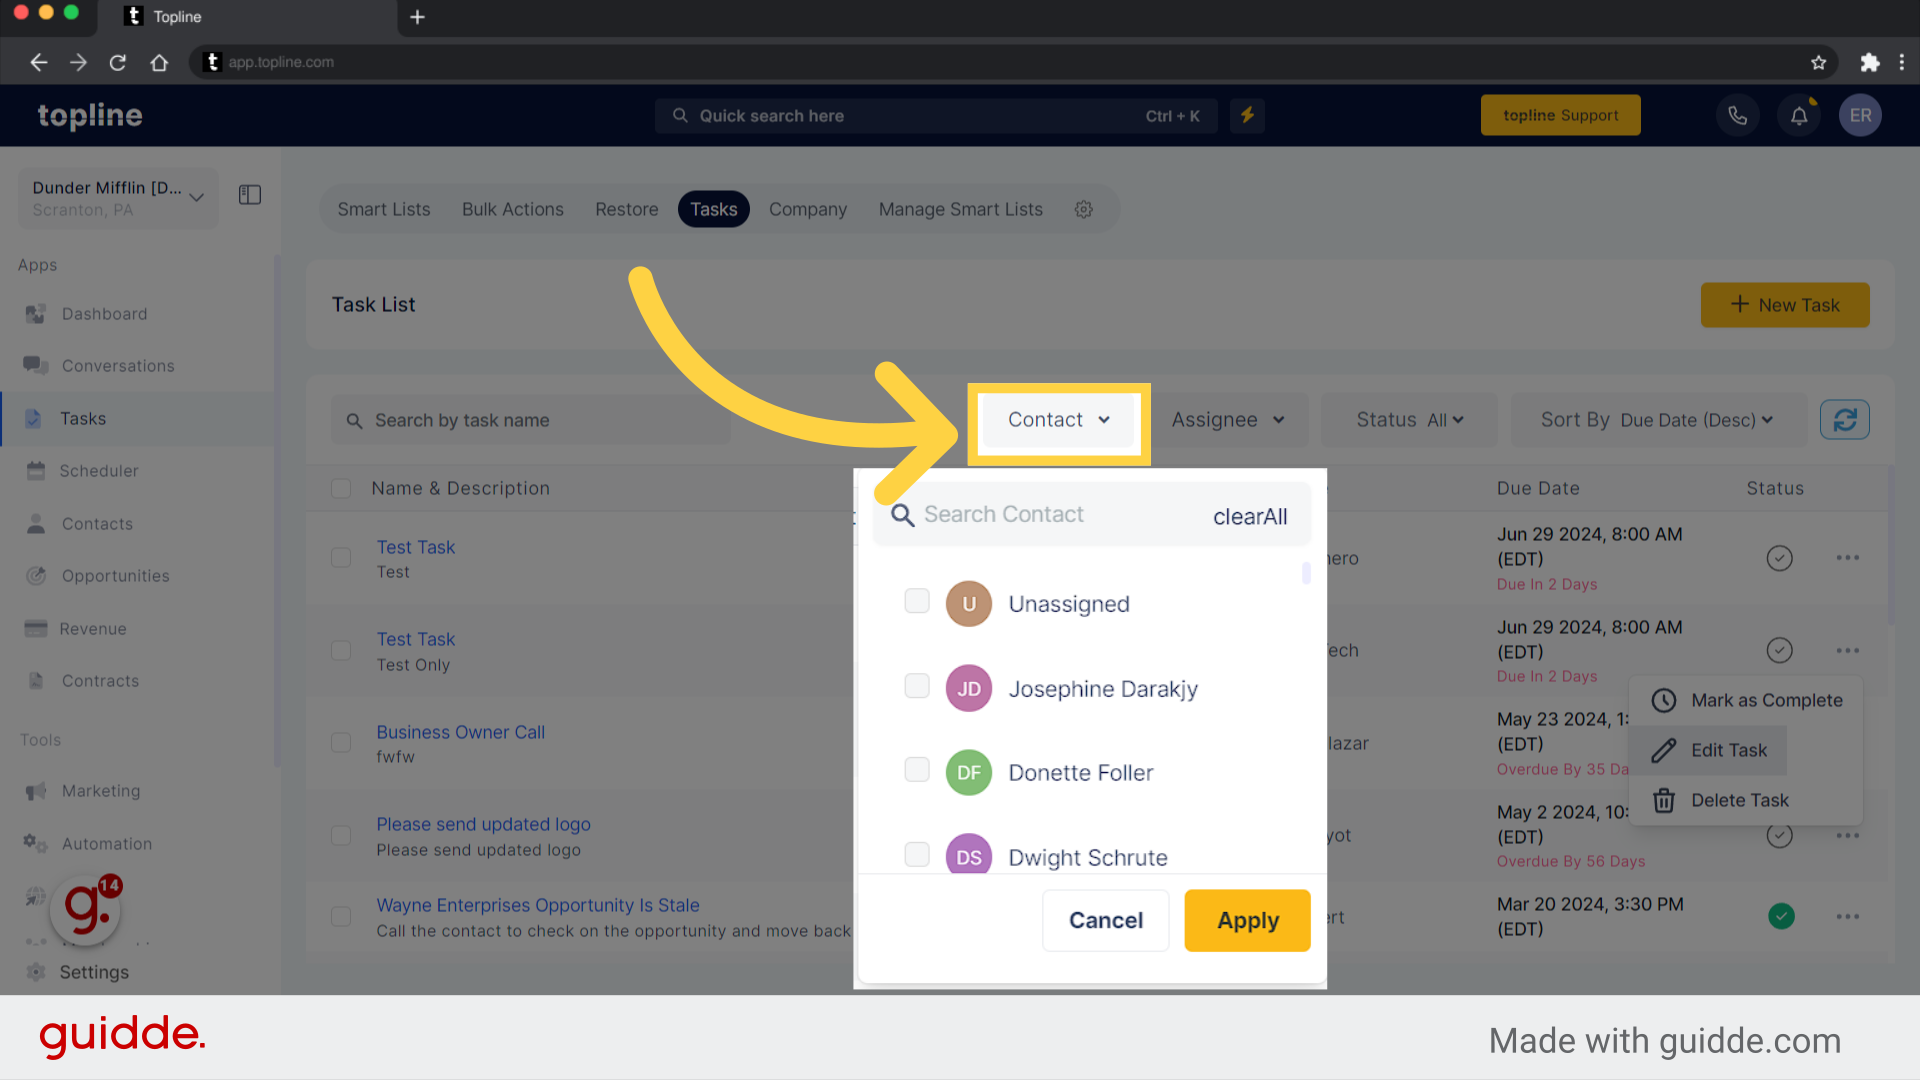
By applying the filter, you can see all assigned and unassigned contacts in a list.
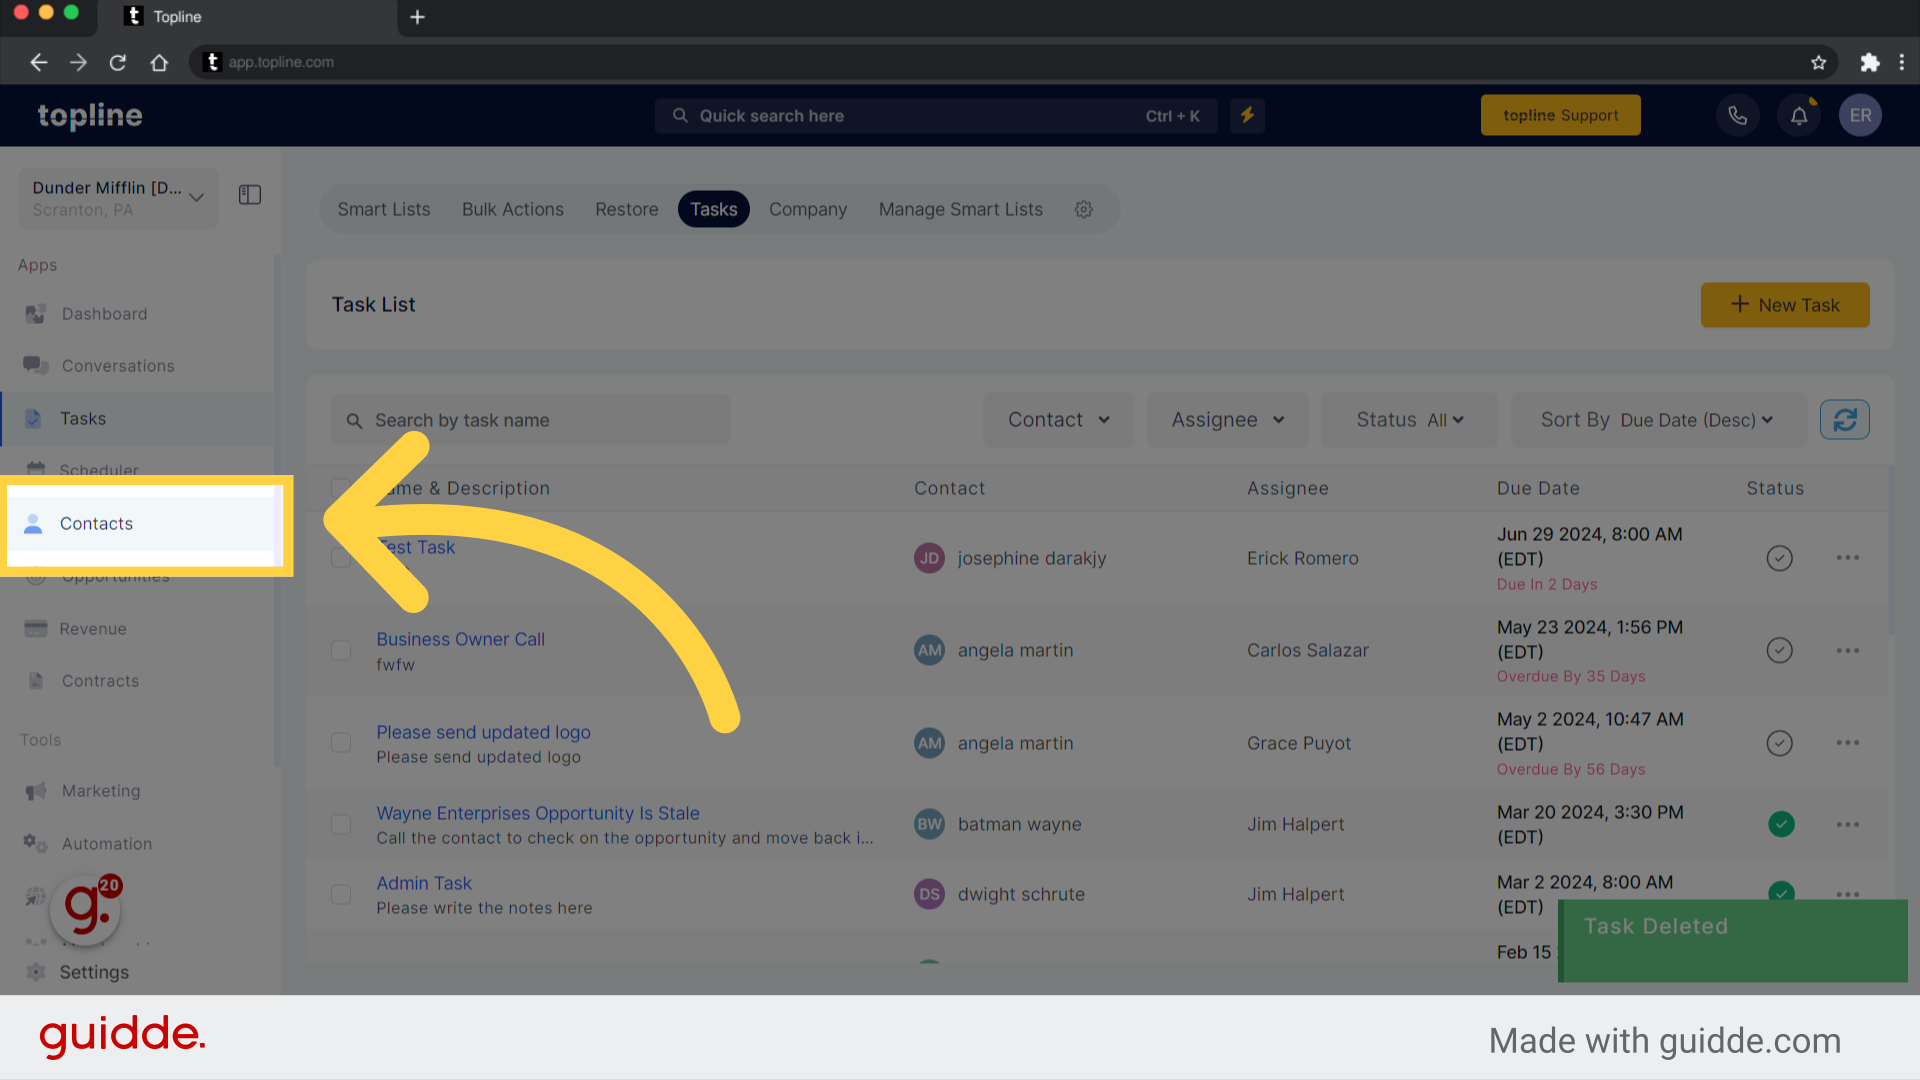
Alternatively, you can view assigned tasks through your contacts.
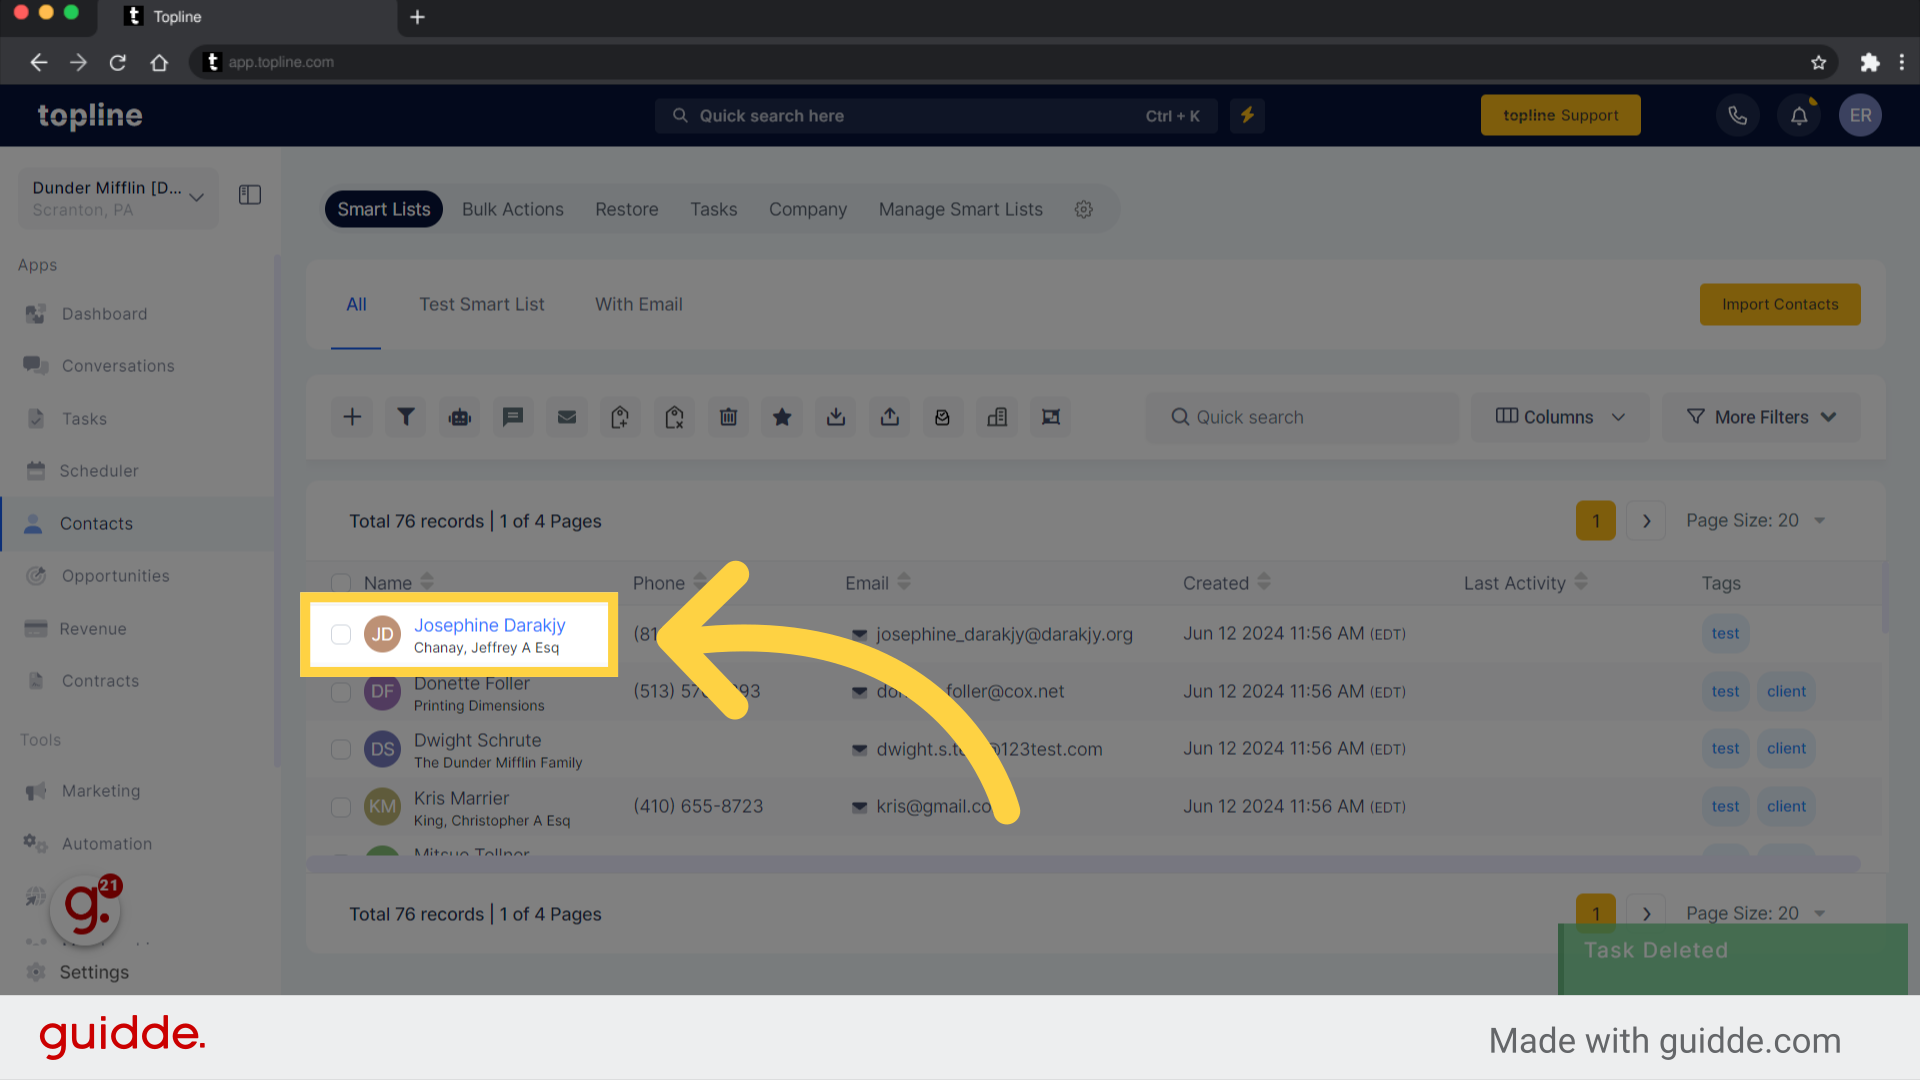
You can select a contact by clicking their name.
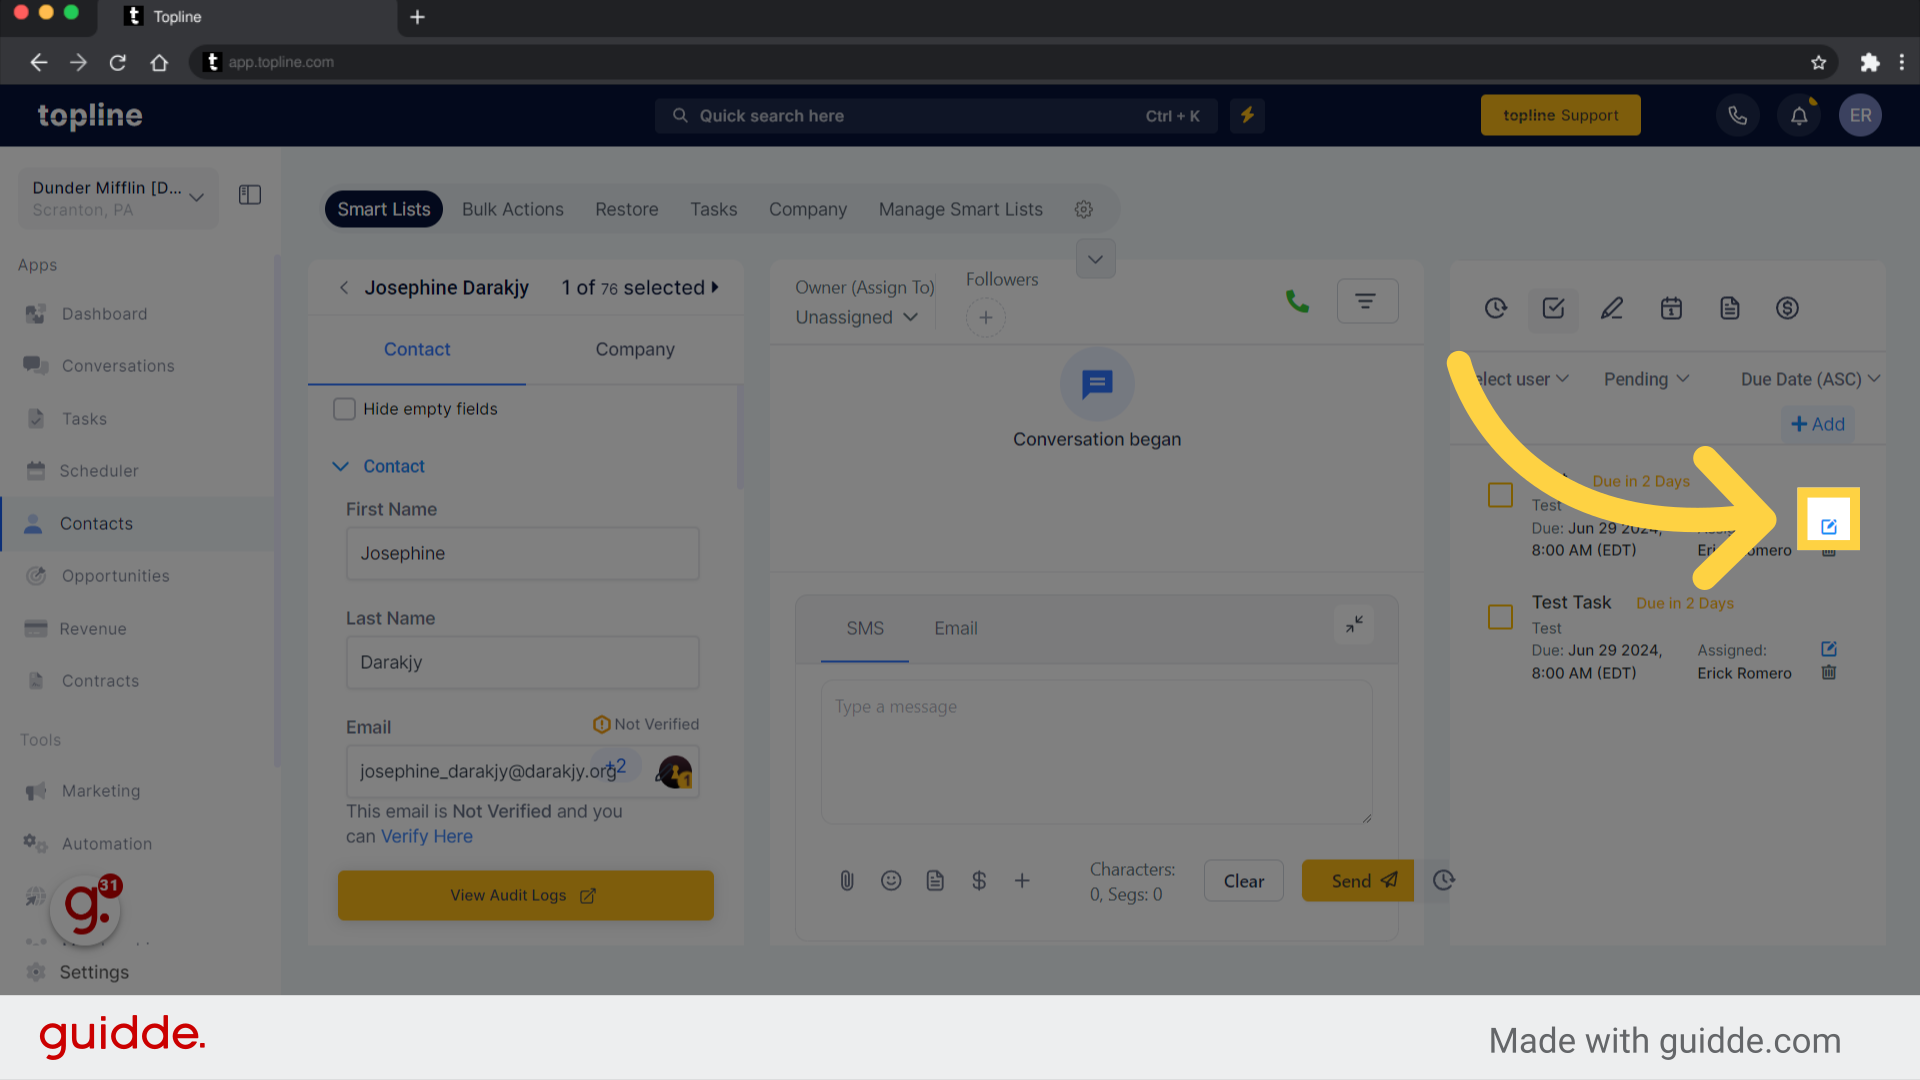
Click on the check box icon in the upper left corner of the screen to see whether a contact has assigned tasks.

Select this option to add tasks directly to a contact.
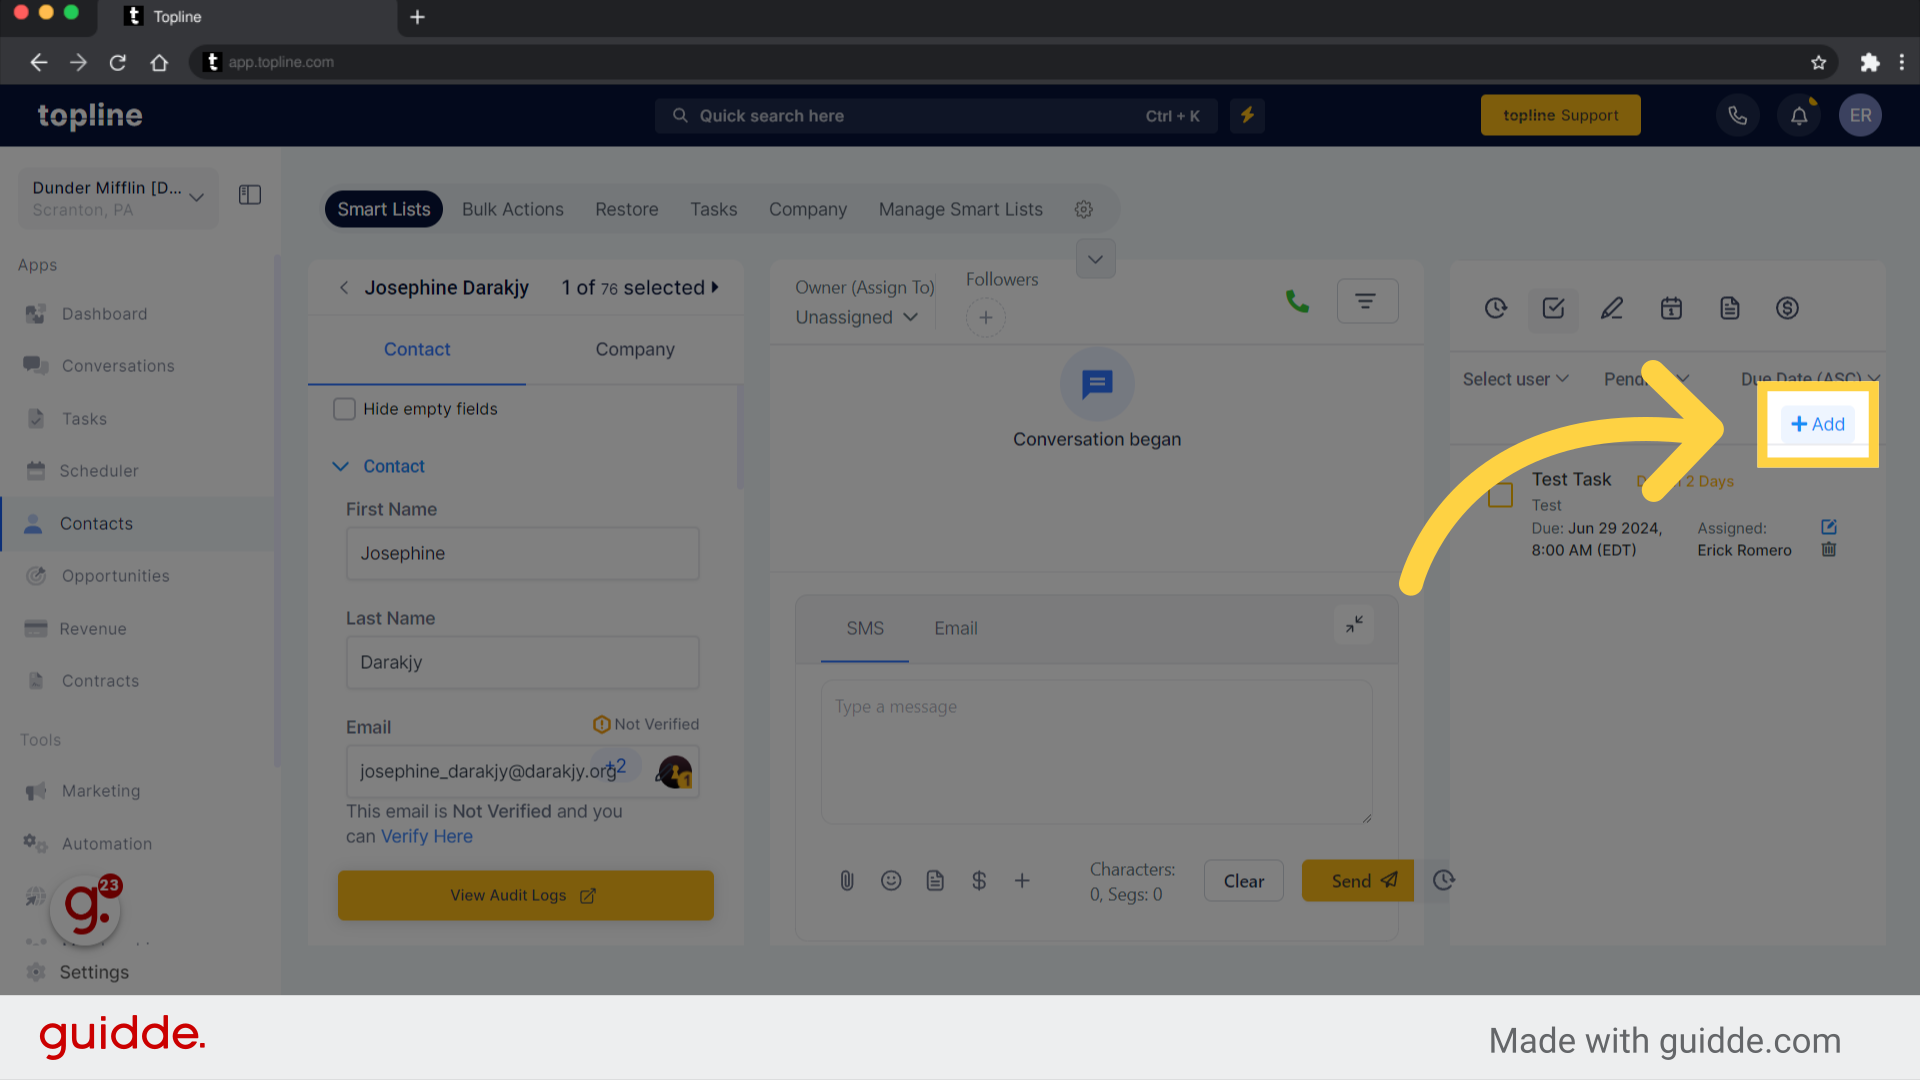
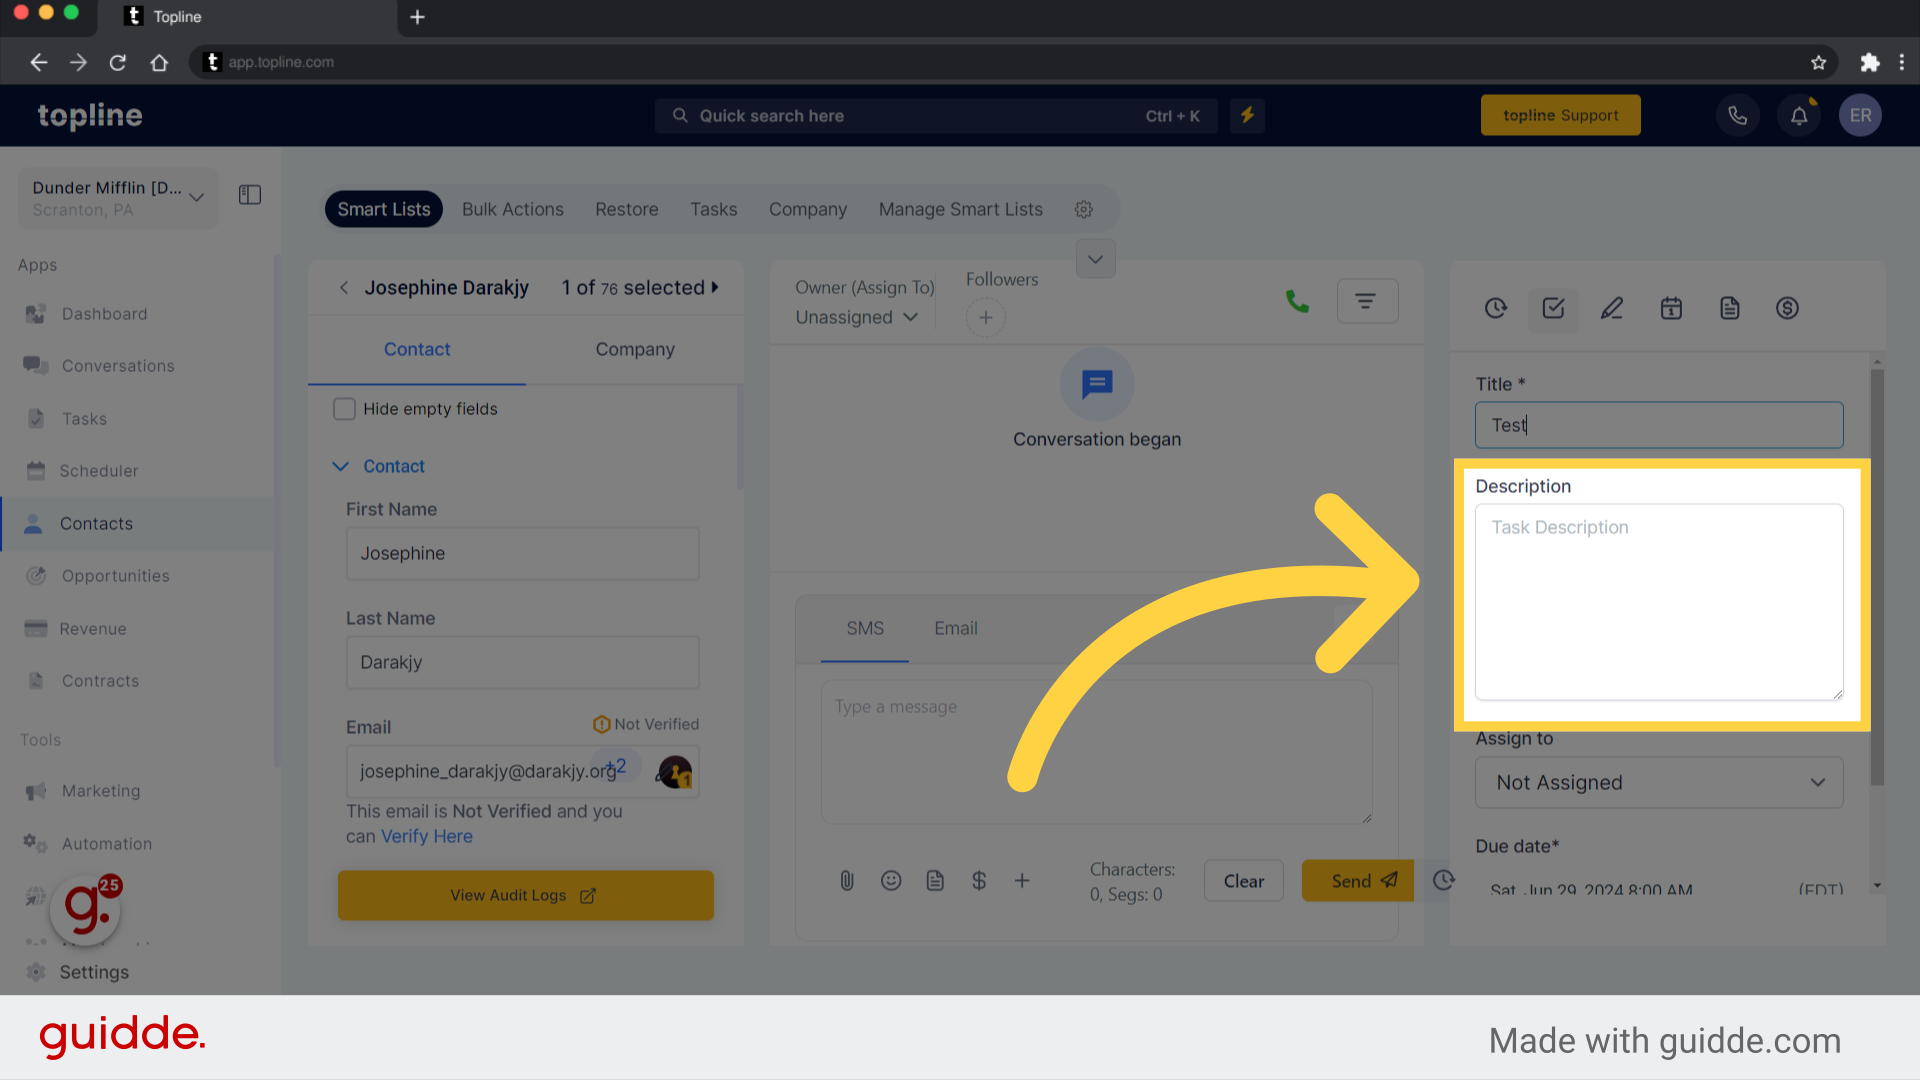
Add your task name in the title field.

You can use the description box to write instructions or describe your task in detail.
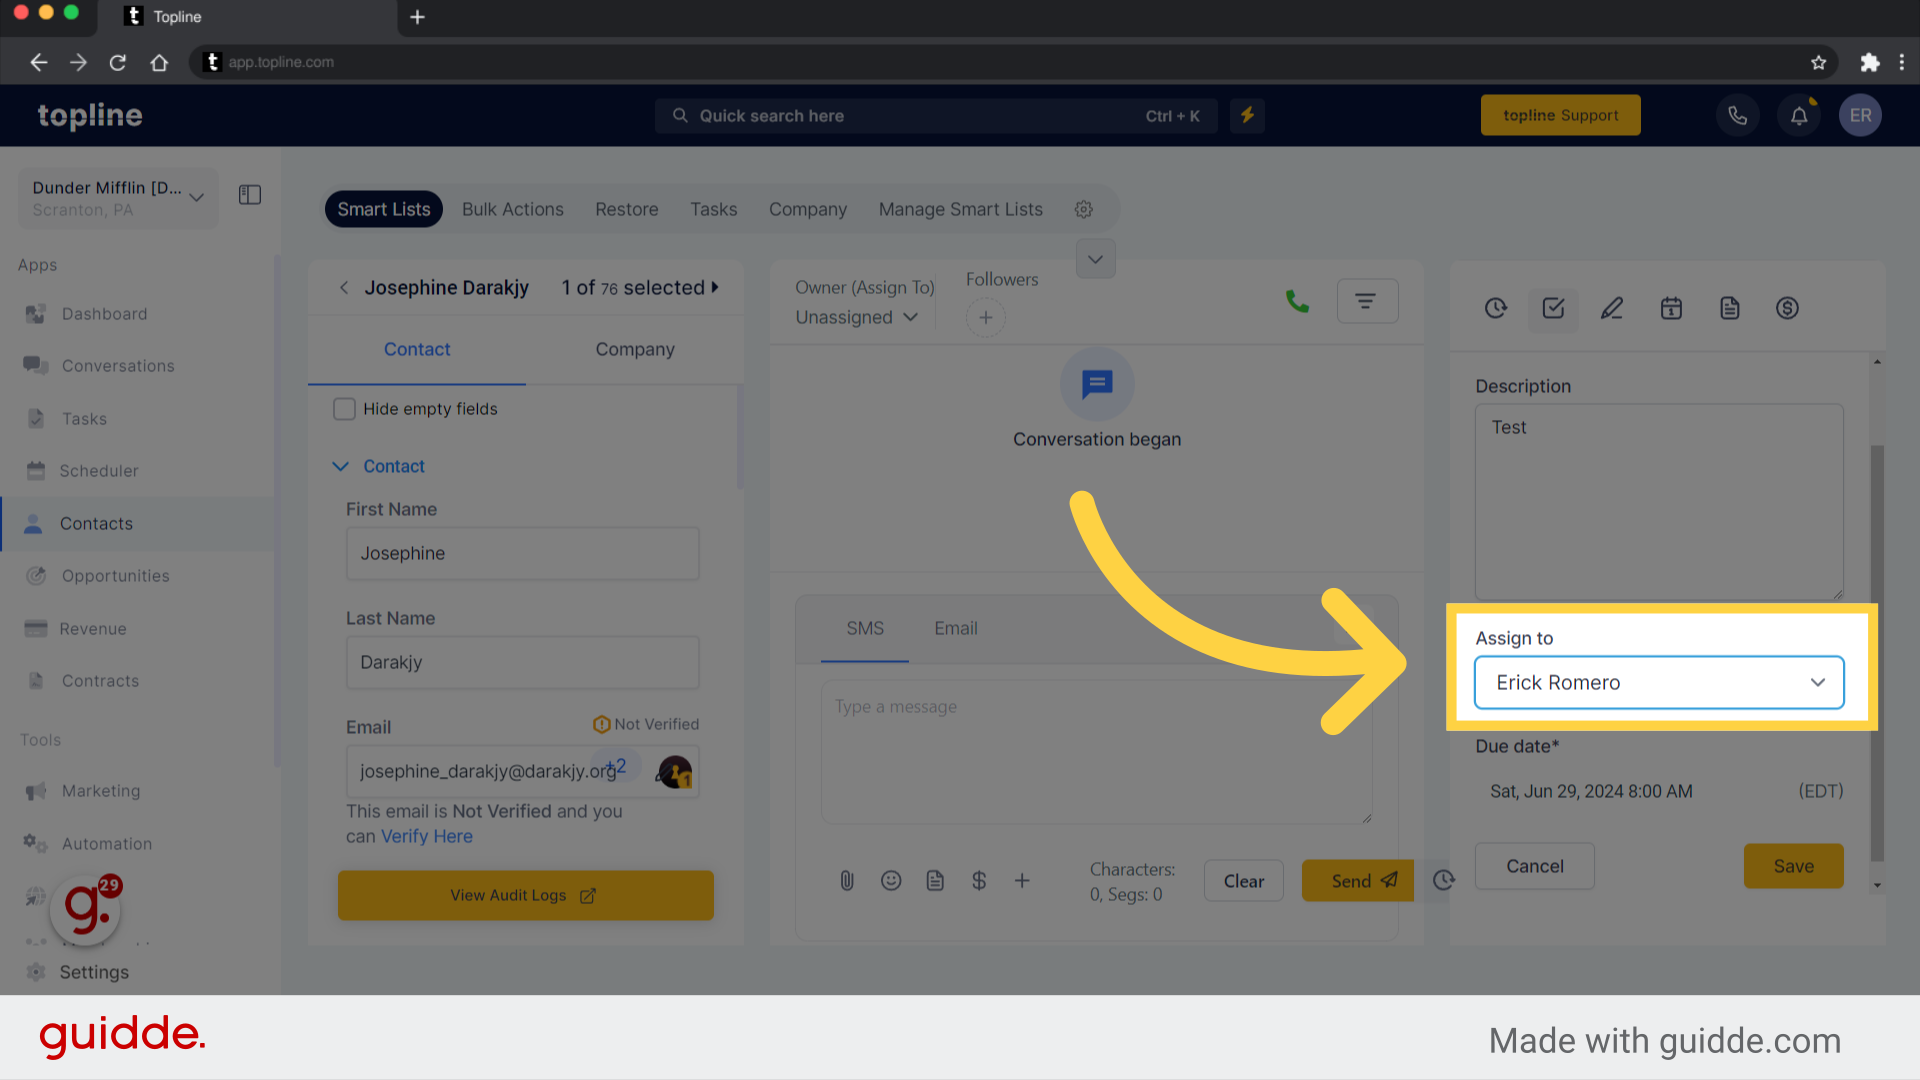
Use this option to assign the task to the appropriate Assignee.
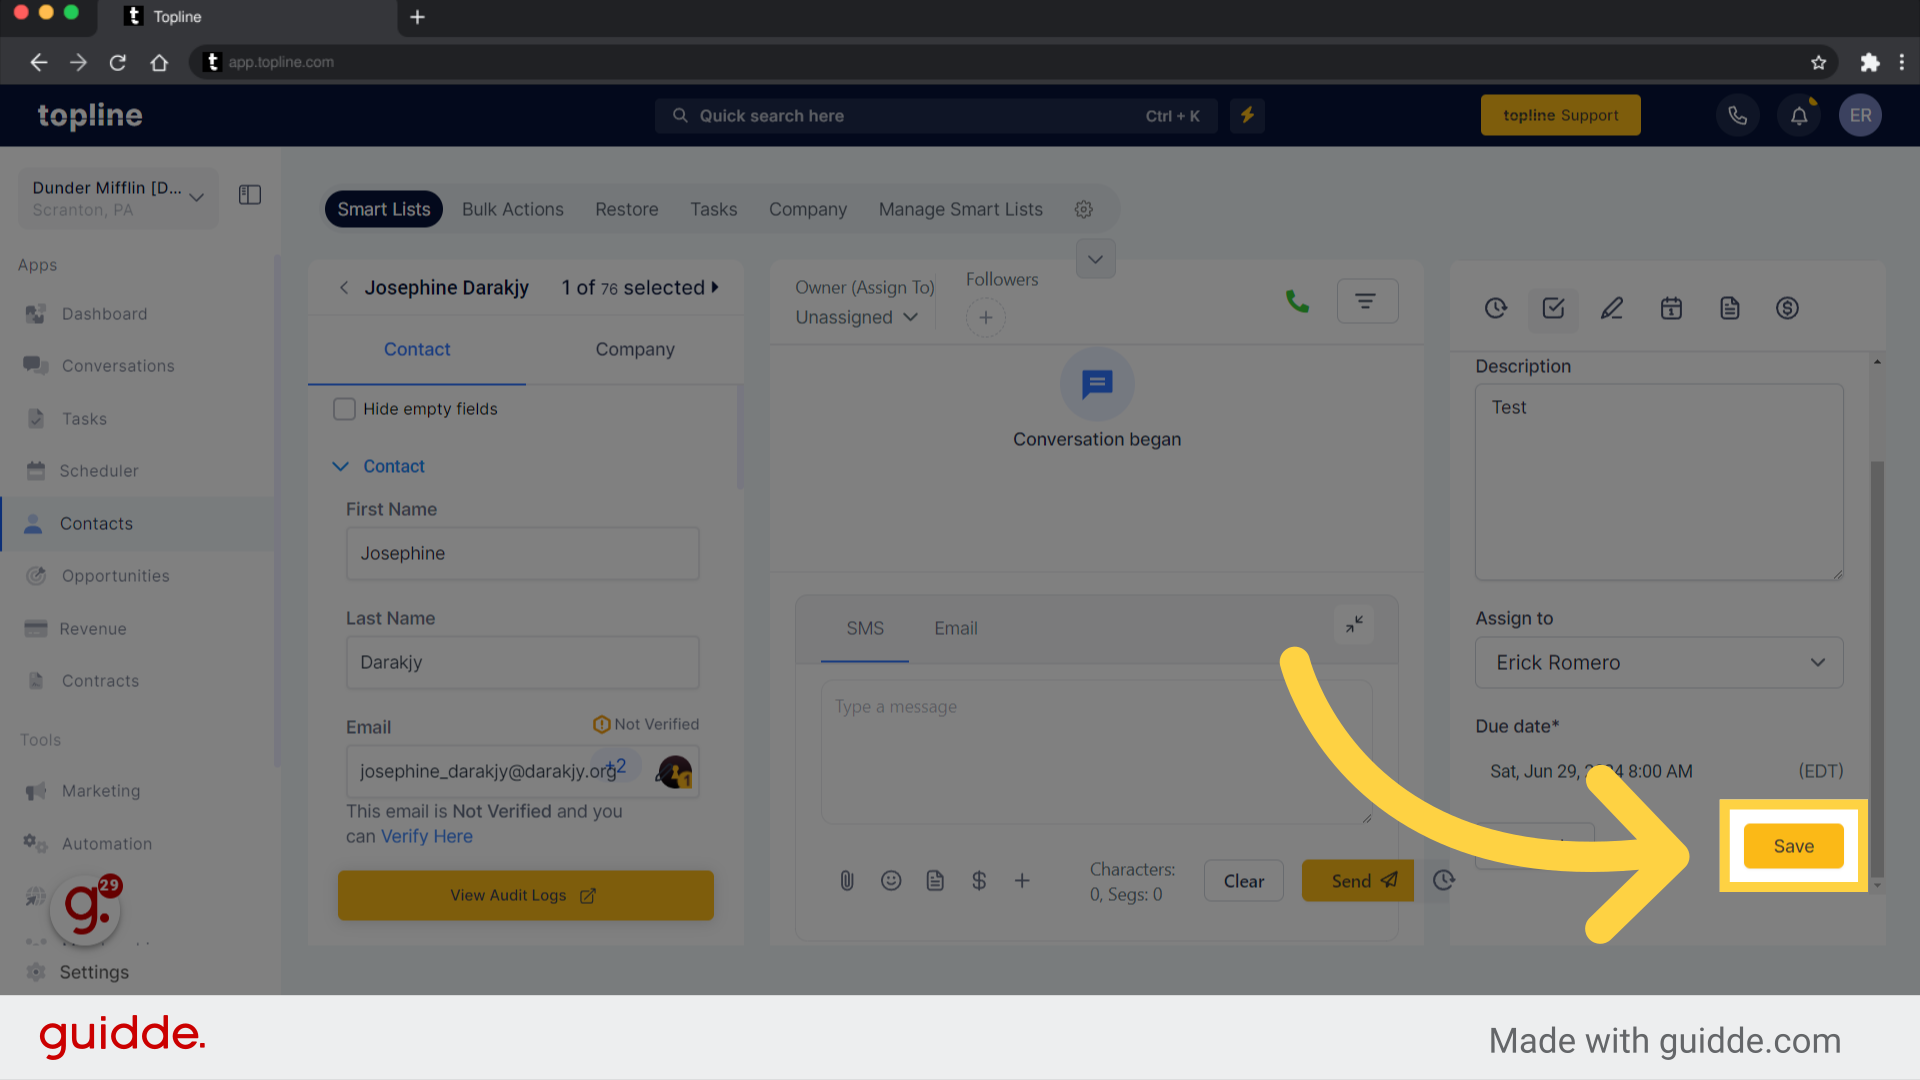
Click on the save button to save your task.
By clicking this icon, you will be able to edit the assigned task in a contact.
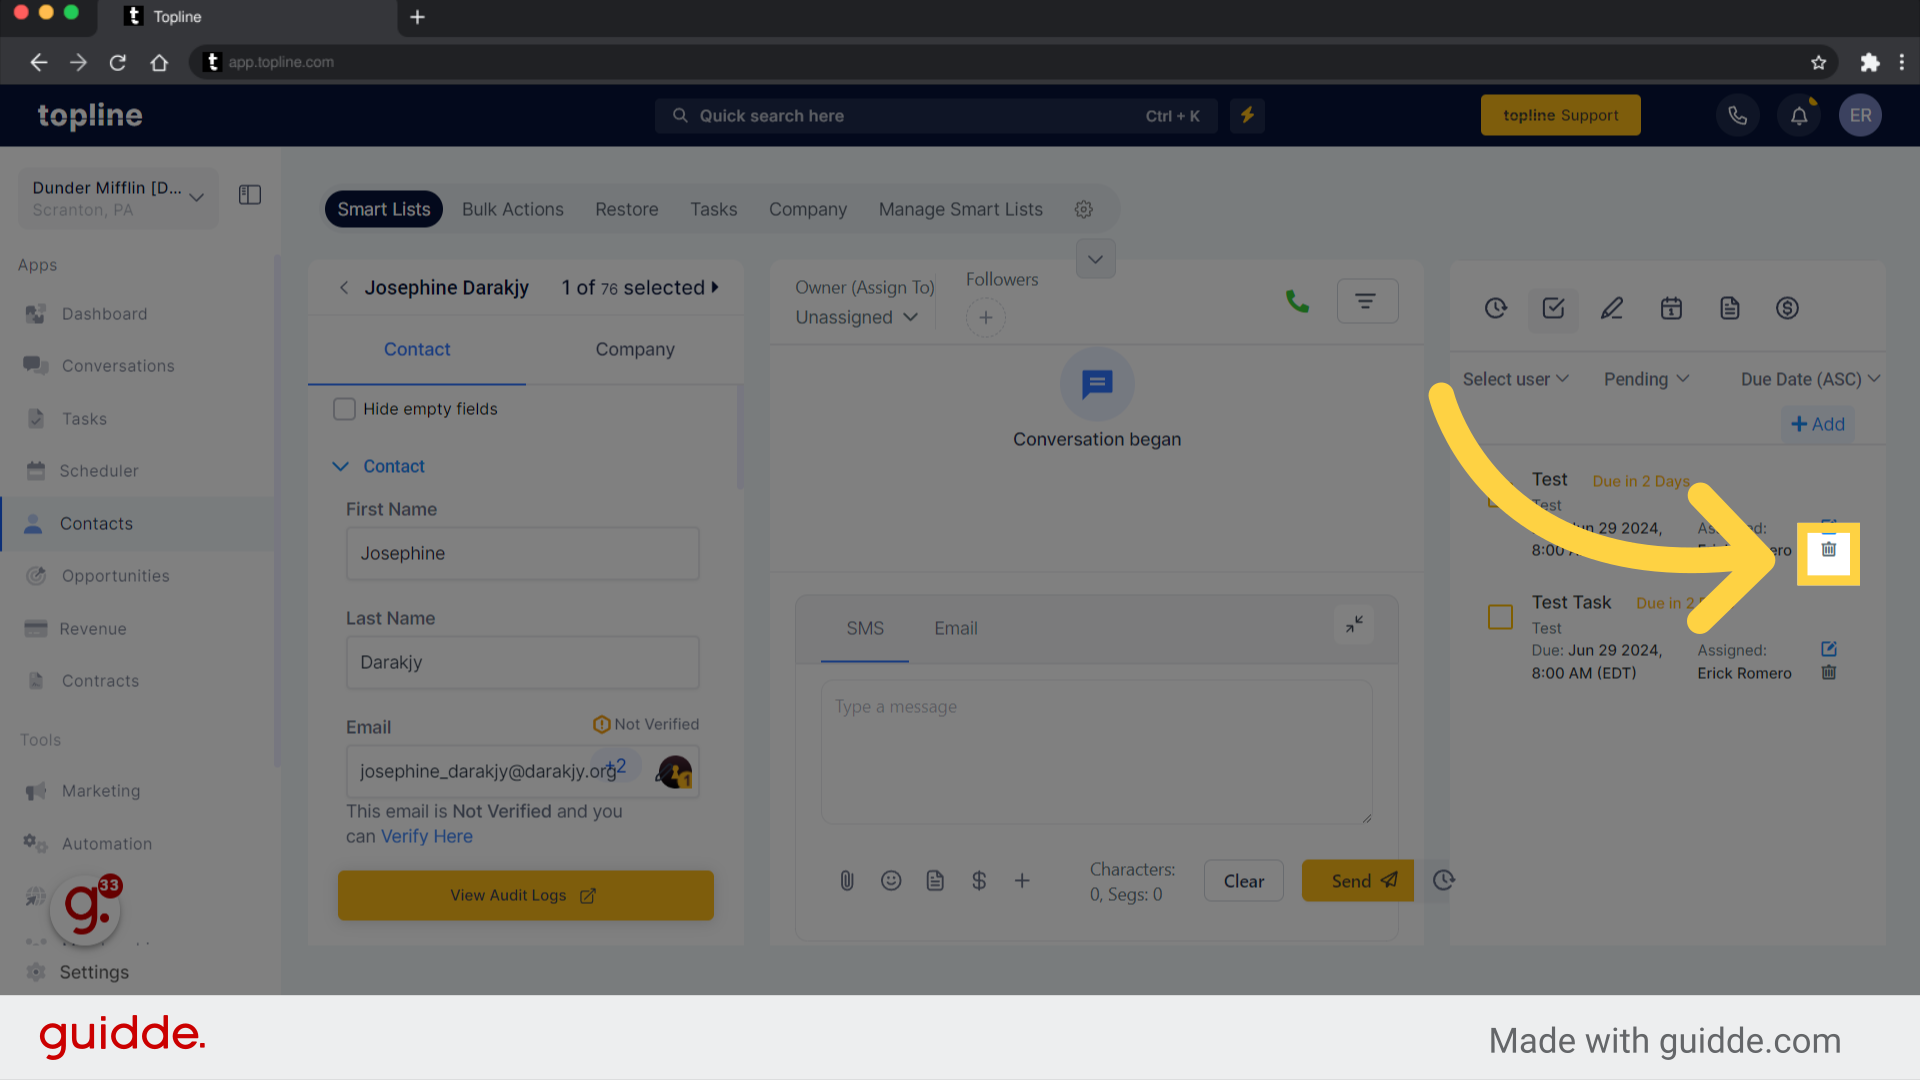
This option can be selected if you wish to unassign and delete the task.
It will allow you to more easily monitor their progress and ensure that they are completing the tasks efficiently.

Create tasks on the task list page without a contact specifically for your team members. These tasks can be used to manage work and responsibilities within your team easily.
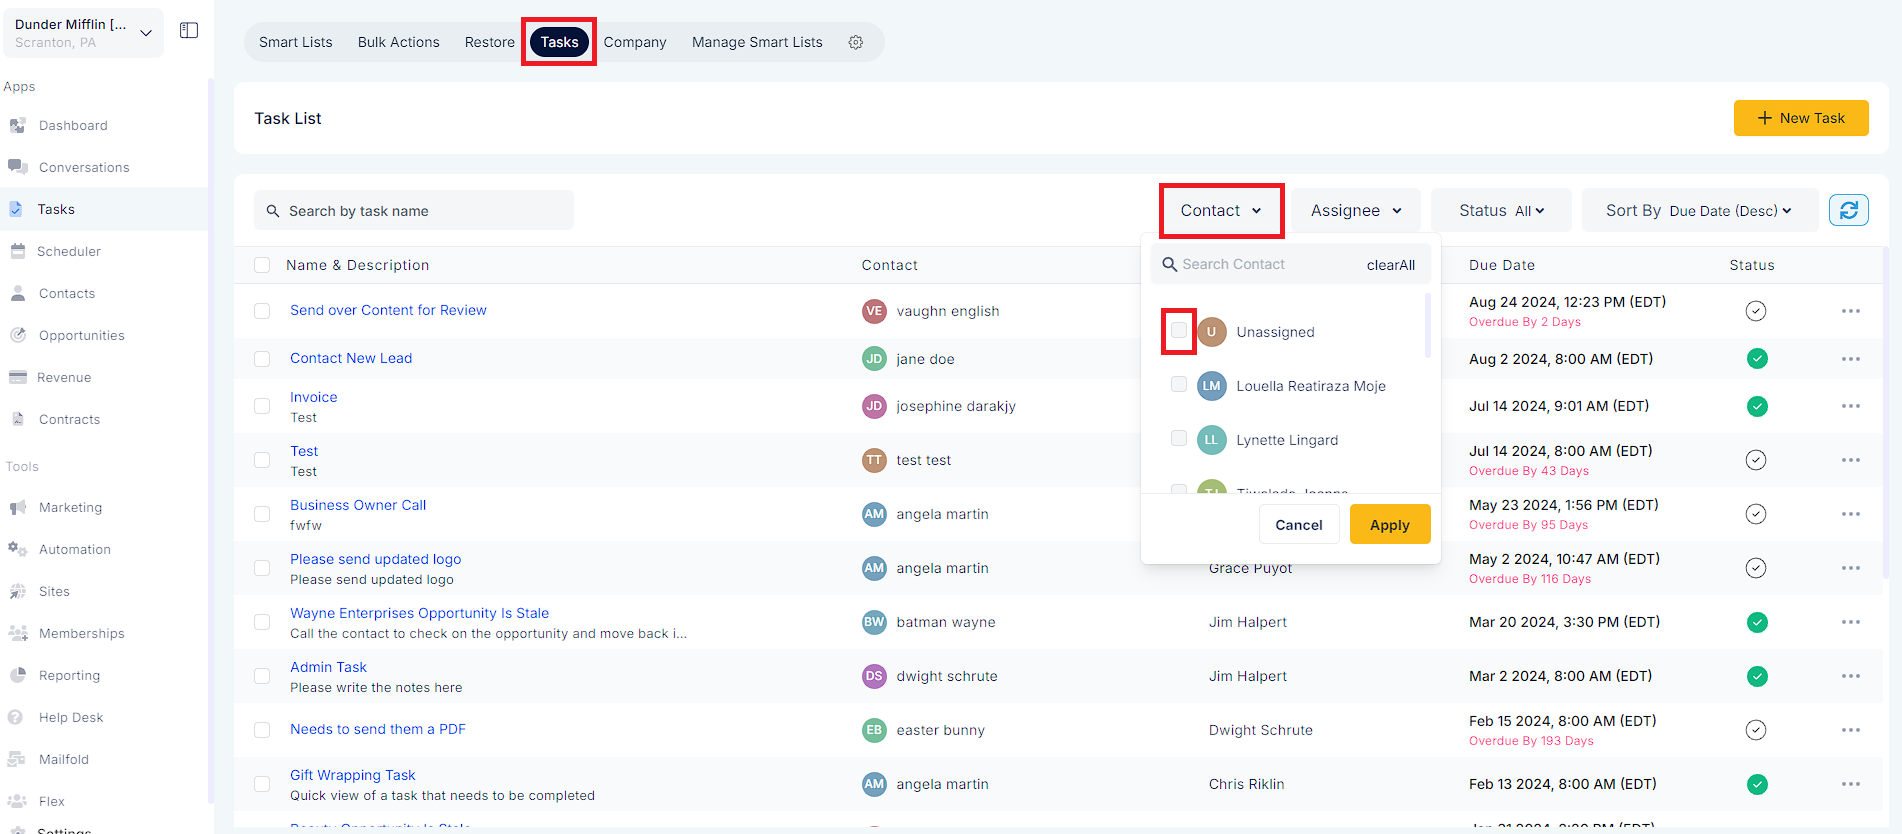
Utilize the "Unassigned" option in the "Contact" filter field to filter out contactless/internal tasks for your team.
Along with creating contactless tasks, the contact can be added, removed, or reassigned anytime post a task is created giving you absolute control over managing the tasks in your account.

