Go to app.topline.com
1. Click "Scheduler"
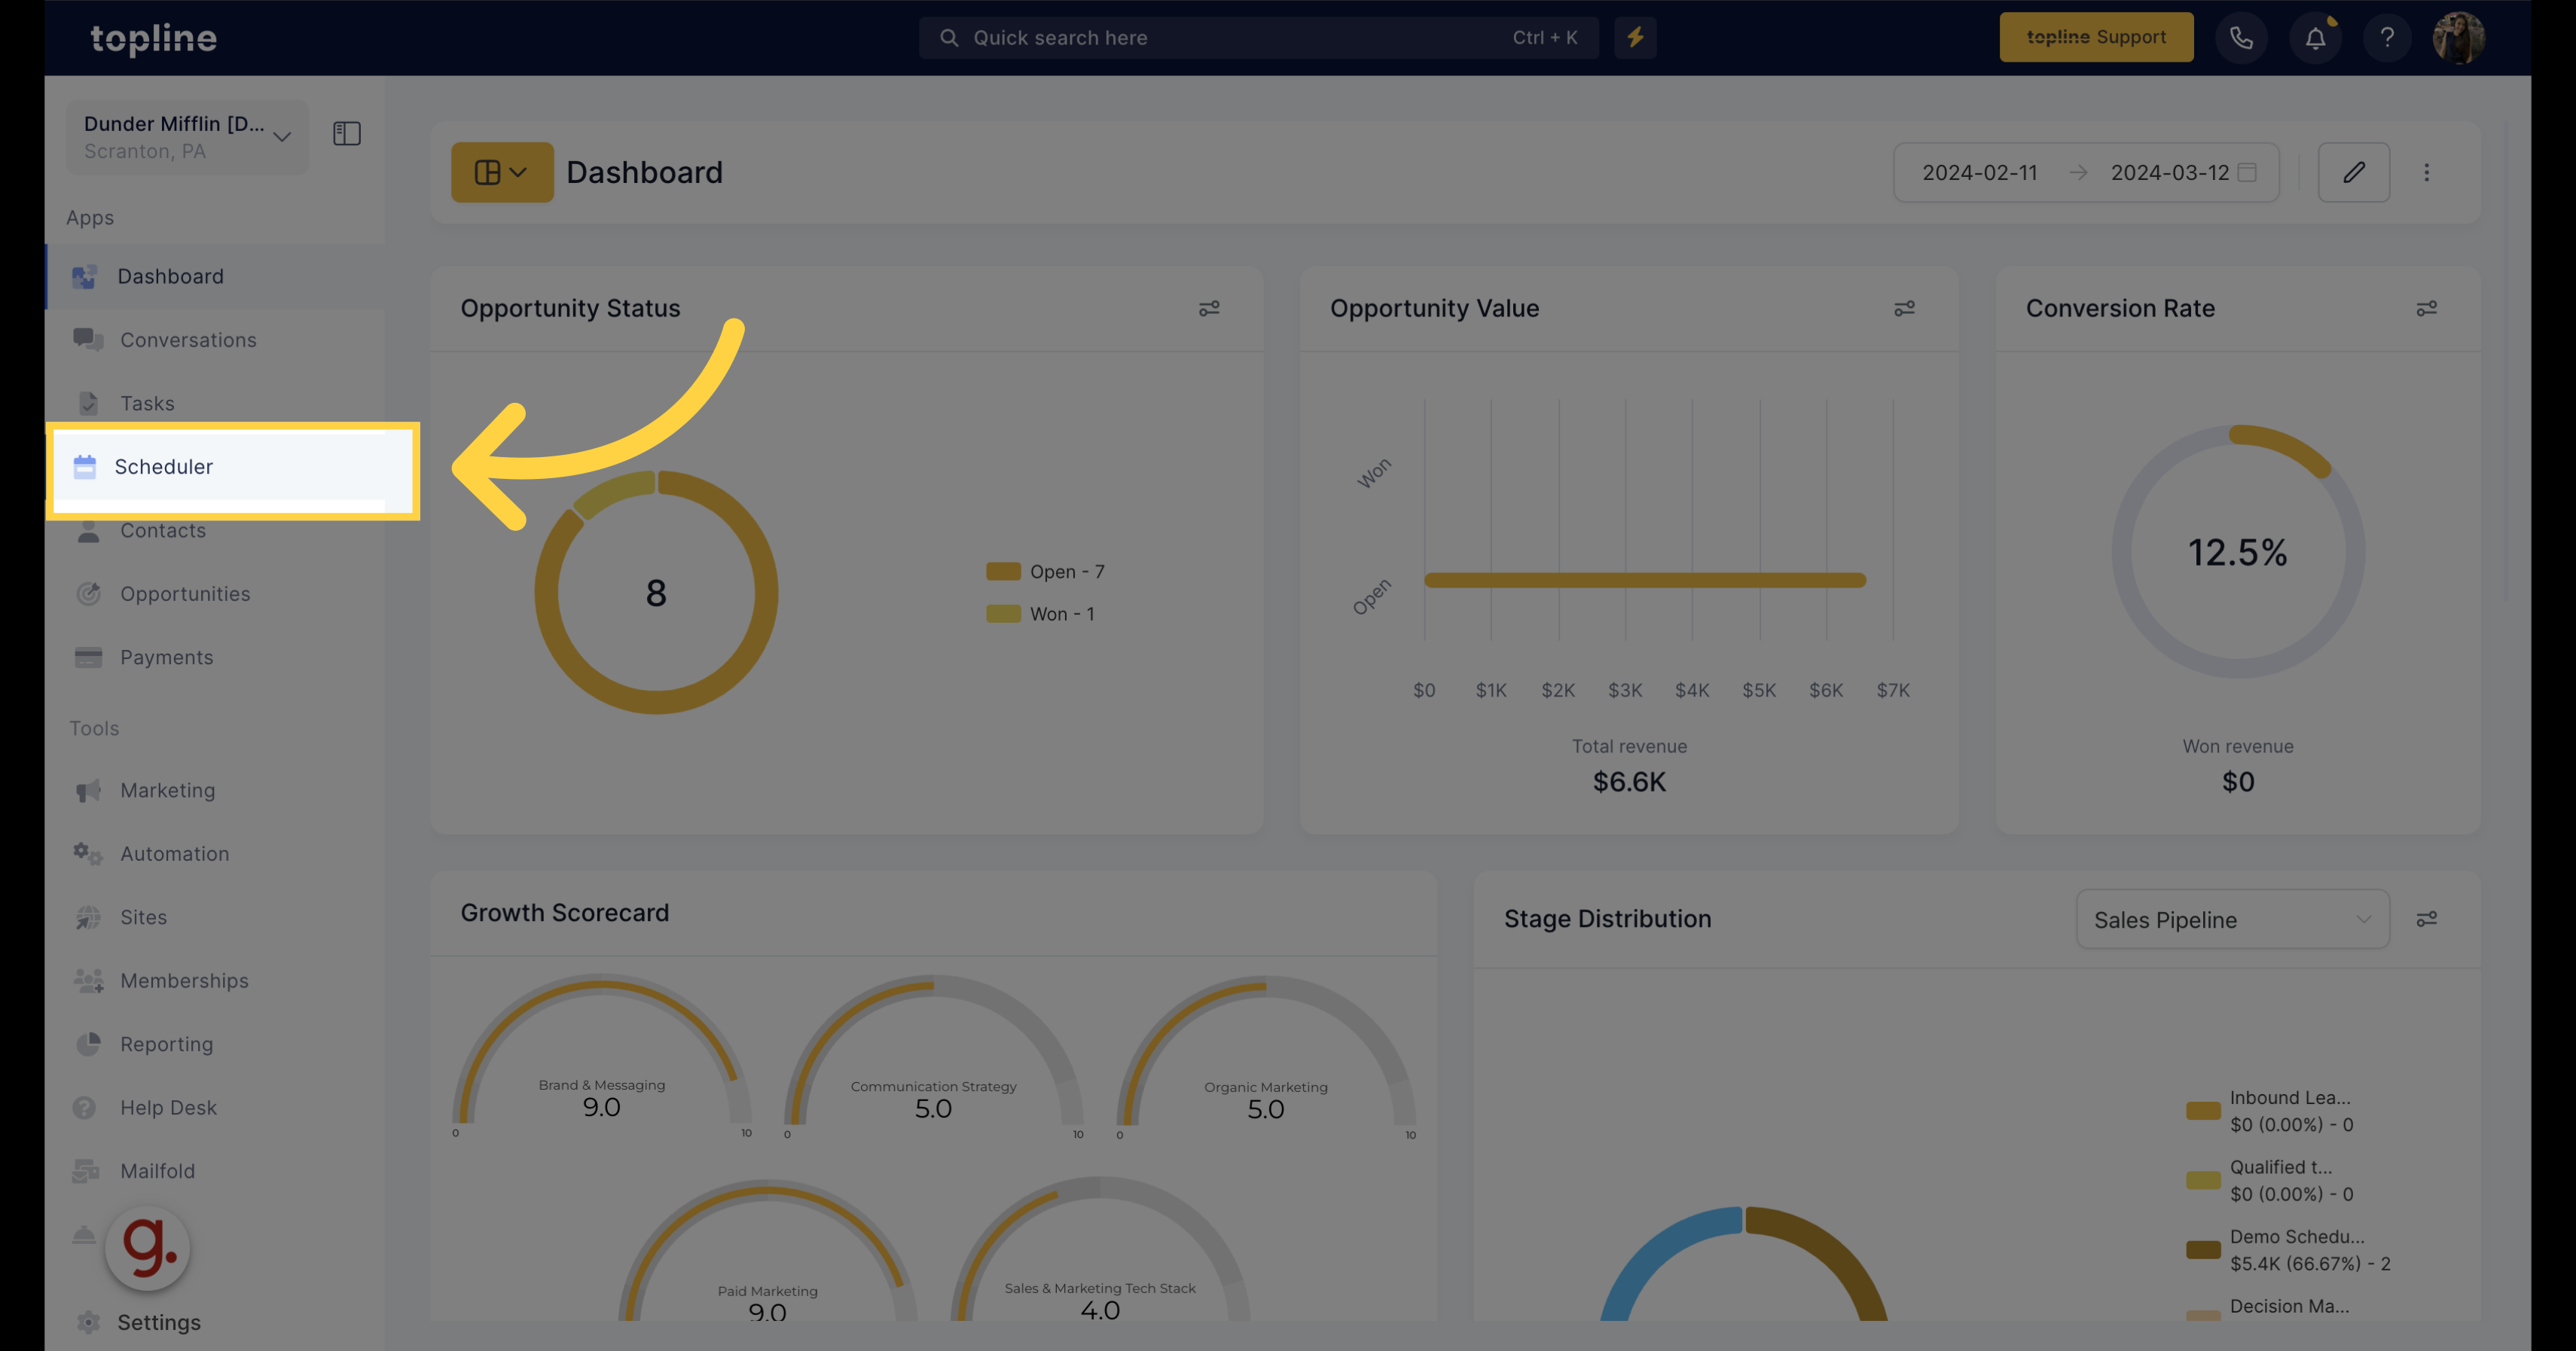
Access to the Scheduler section on the left side menu.
![Click 'Scheduler'](https://static.guidde.com/v0/qg%2FhfeNjF82igfsW9uOKlnpHlgnT7D2%2Fkk9h6BEbR9QuXKbw9qYuee%2F6uHpM8ZV7ZVGyxy6ru59jX_doc.png?alt=media&token=0b1314df-eeb6-4a22-94db-a5d0c1d49af8)
2. Click "Scheduler Settings"
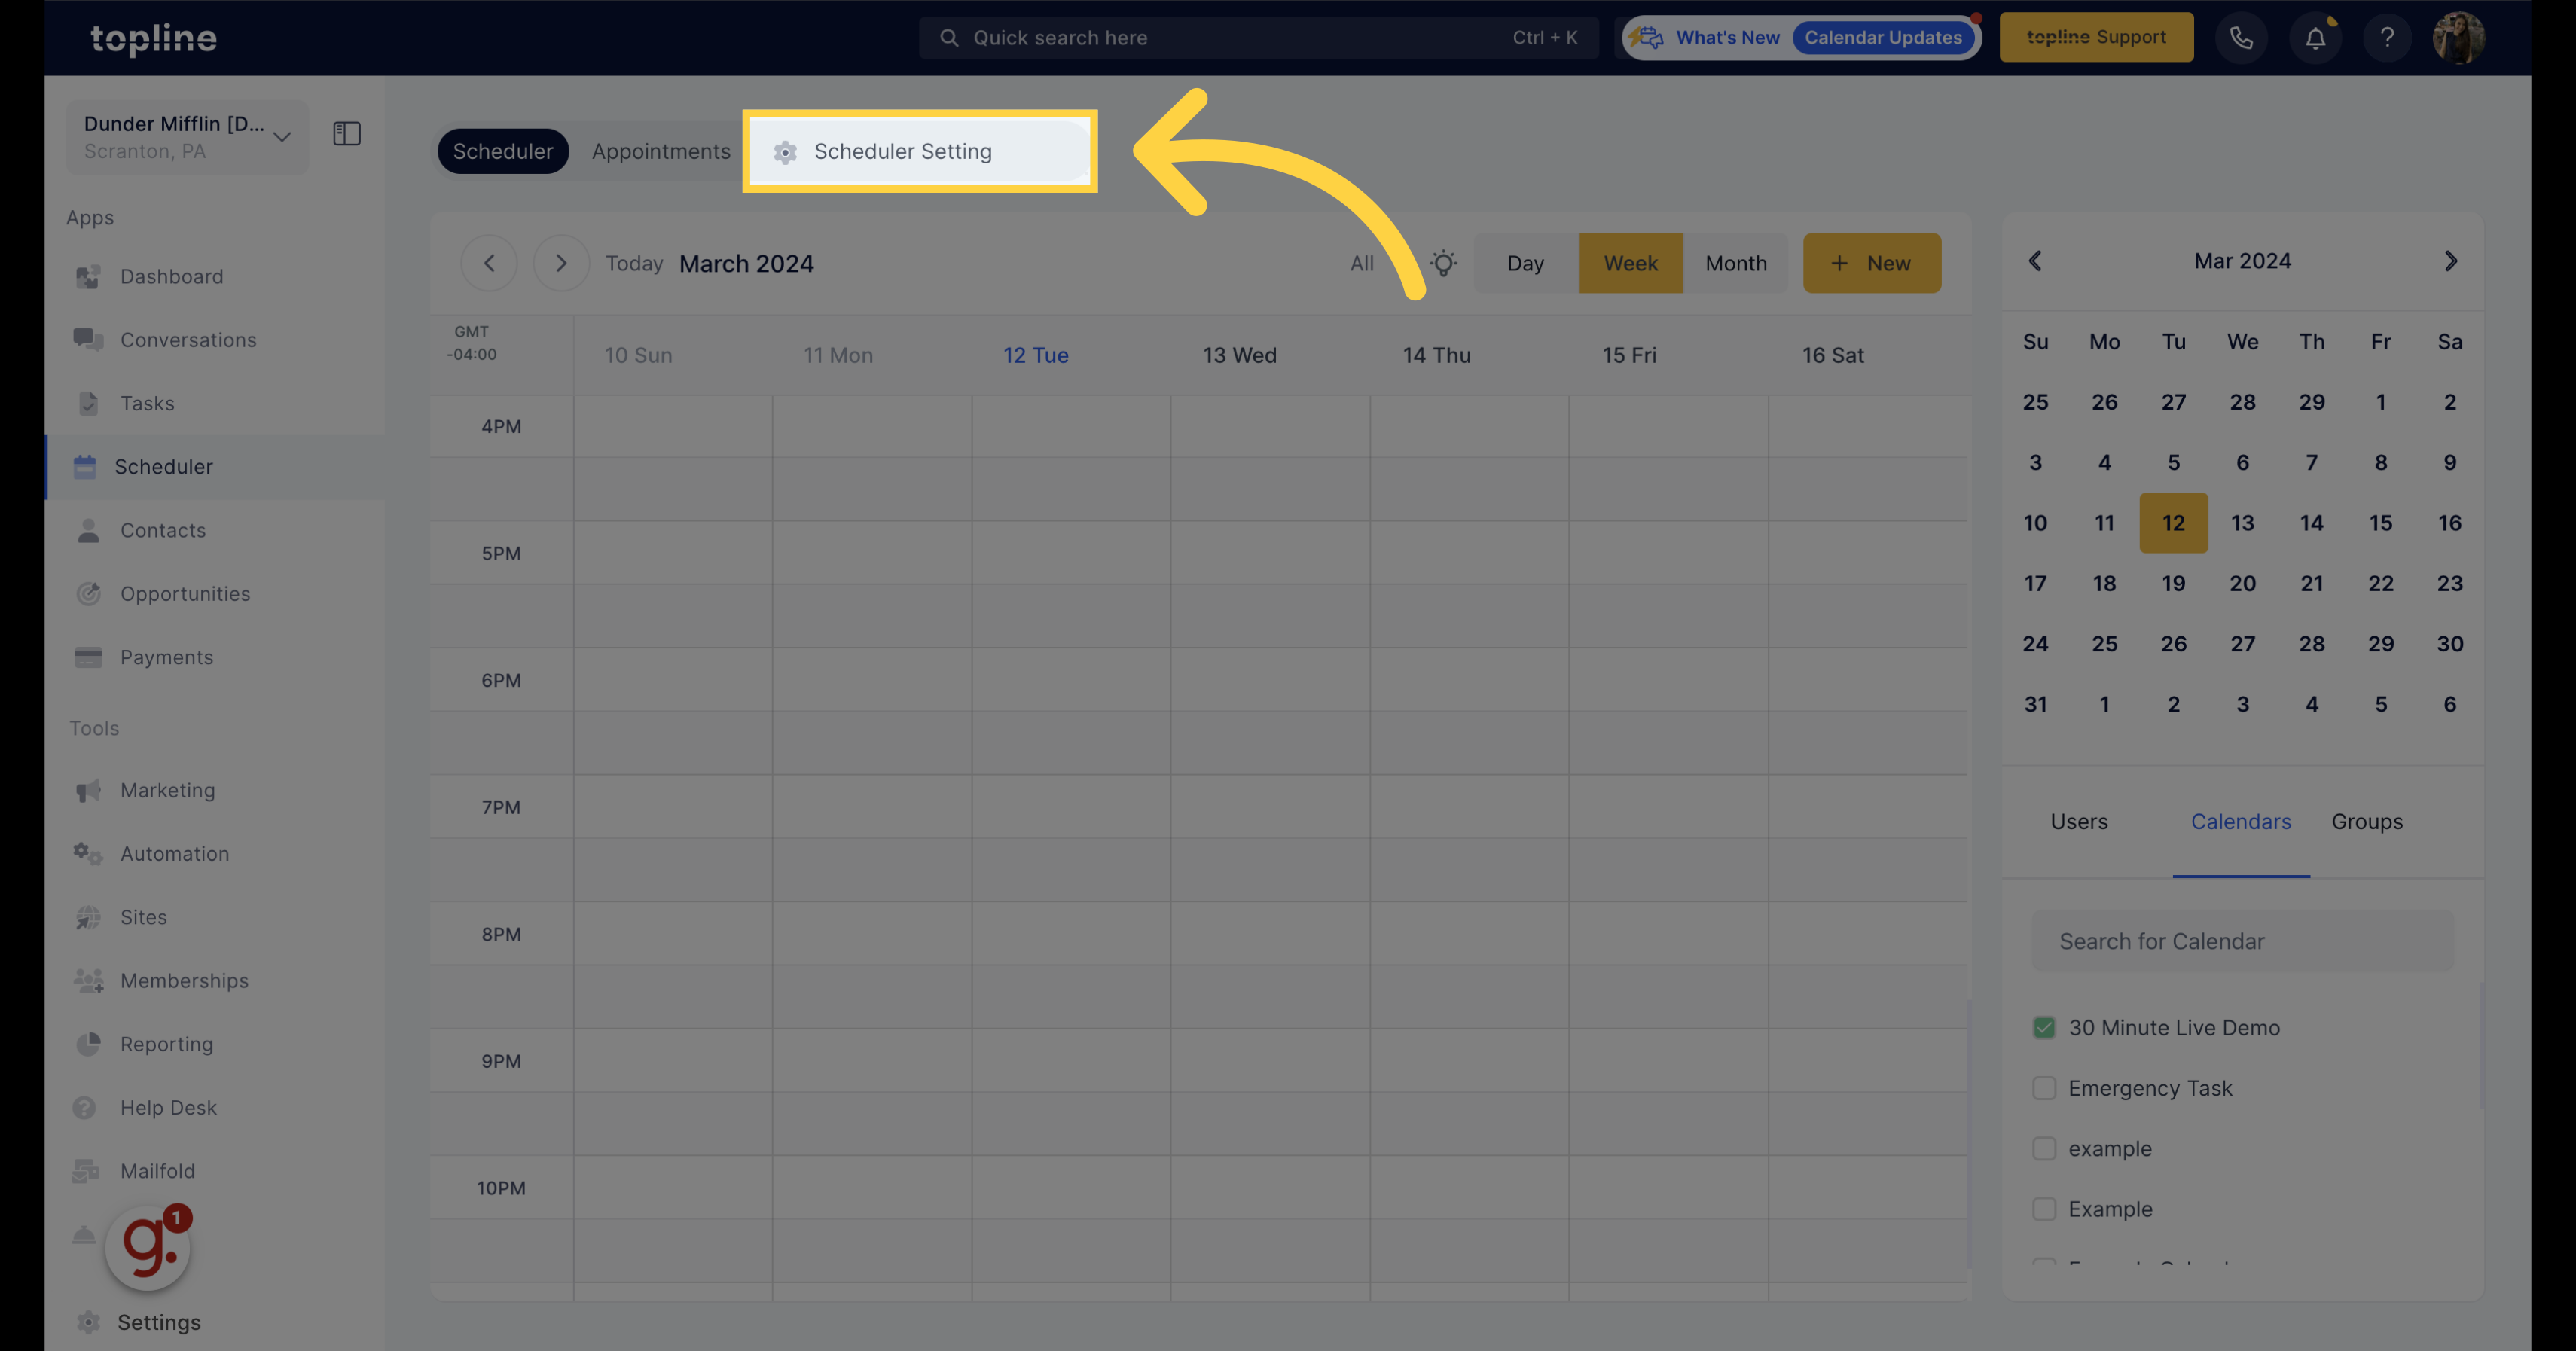
Navigate to the scheduler settings.
![Click 'Scheduler Settings'](https://static.guidde.com/v0/qg%2FhfeNjF82igfsW9uOKlnpHlgnT7D2%2Fkk9h6BEbR9QuXKbw9qYuee%2Fv2Rc5SEuDZj6ivGZvGFFg6_doc.png?alt=media&token=9828f821-2dc1-4730-86a0-8f92e05ab166)
3. Click "Connections"
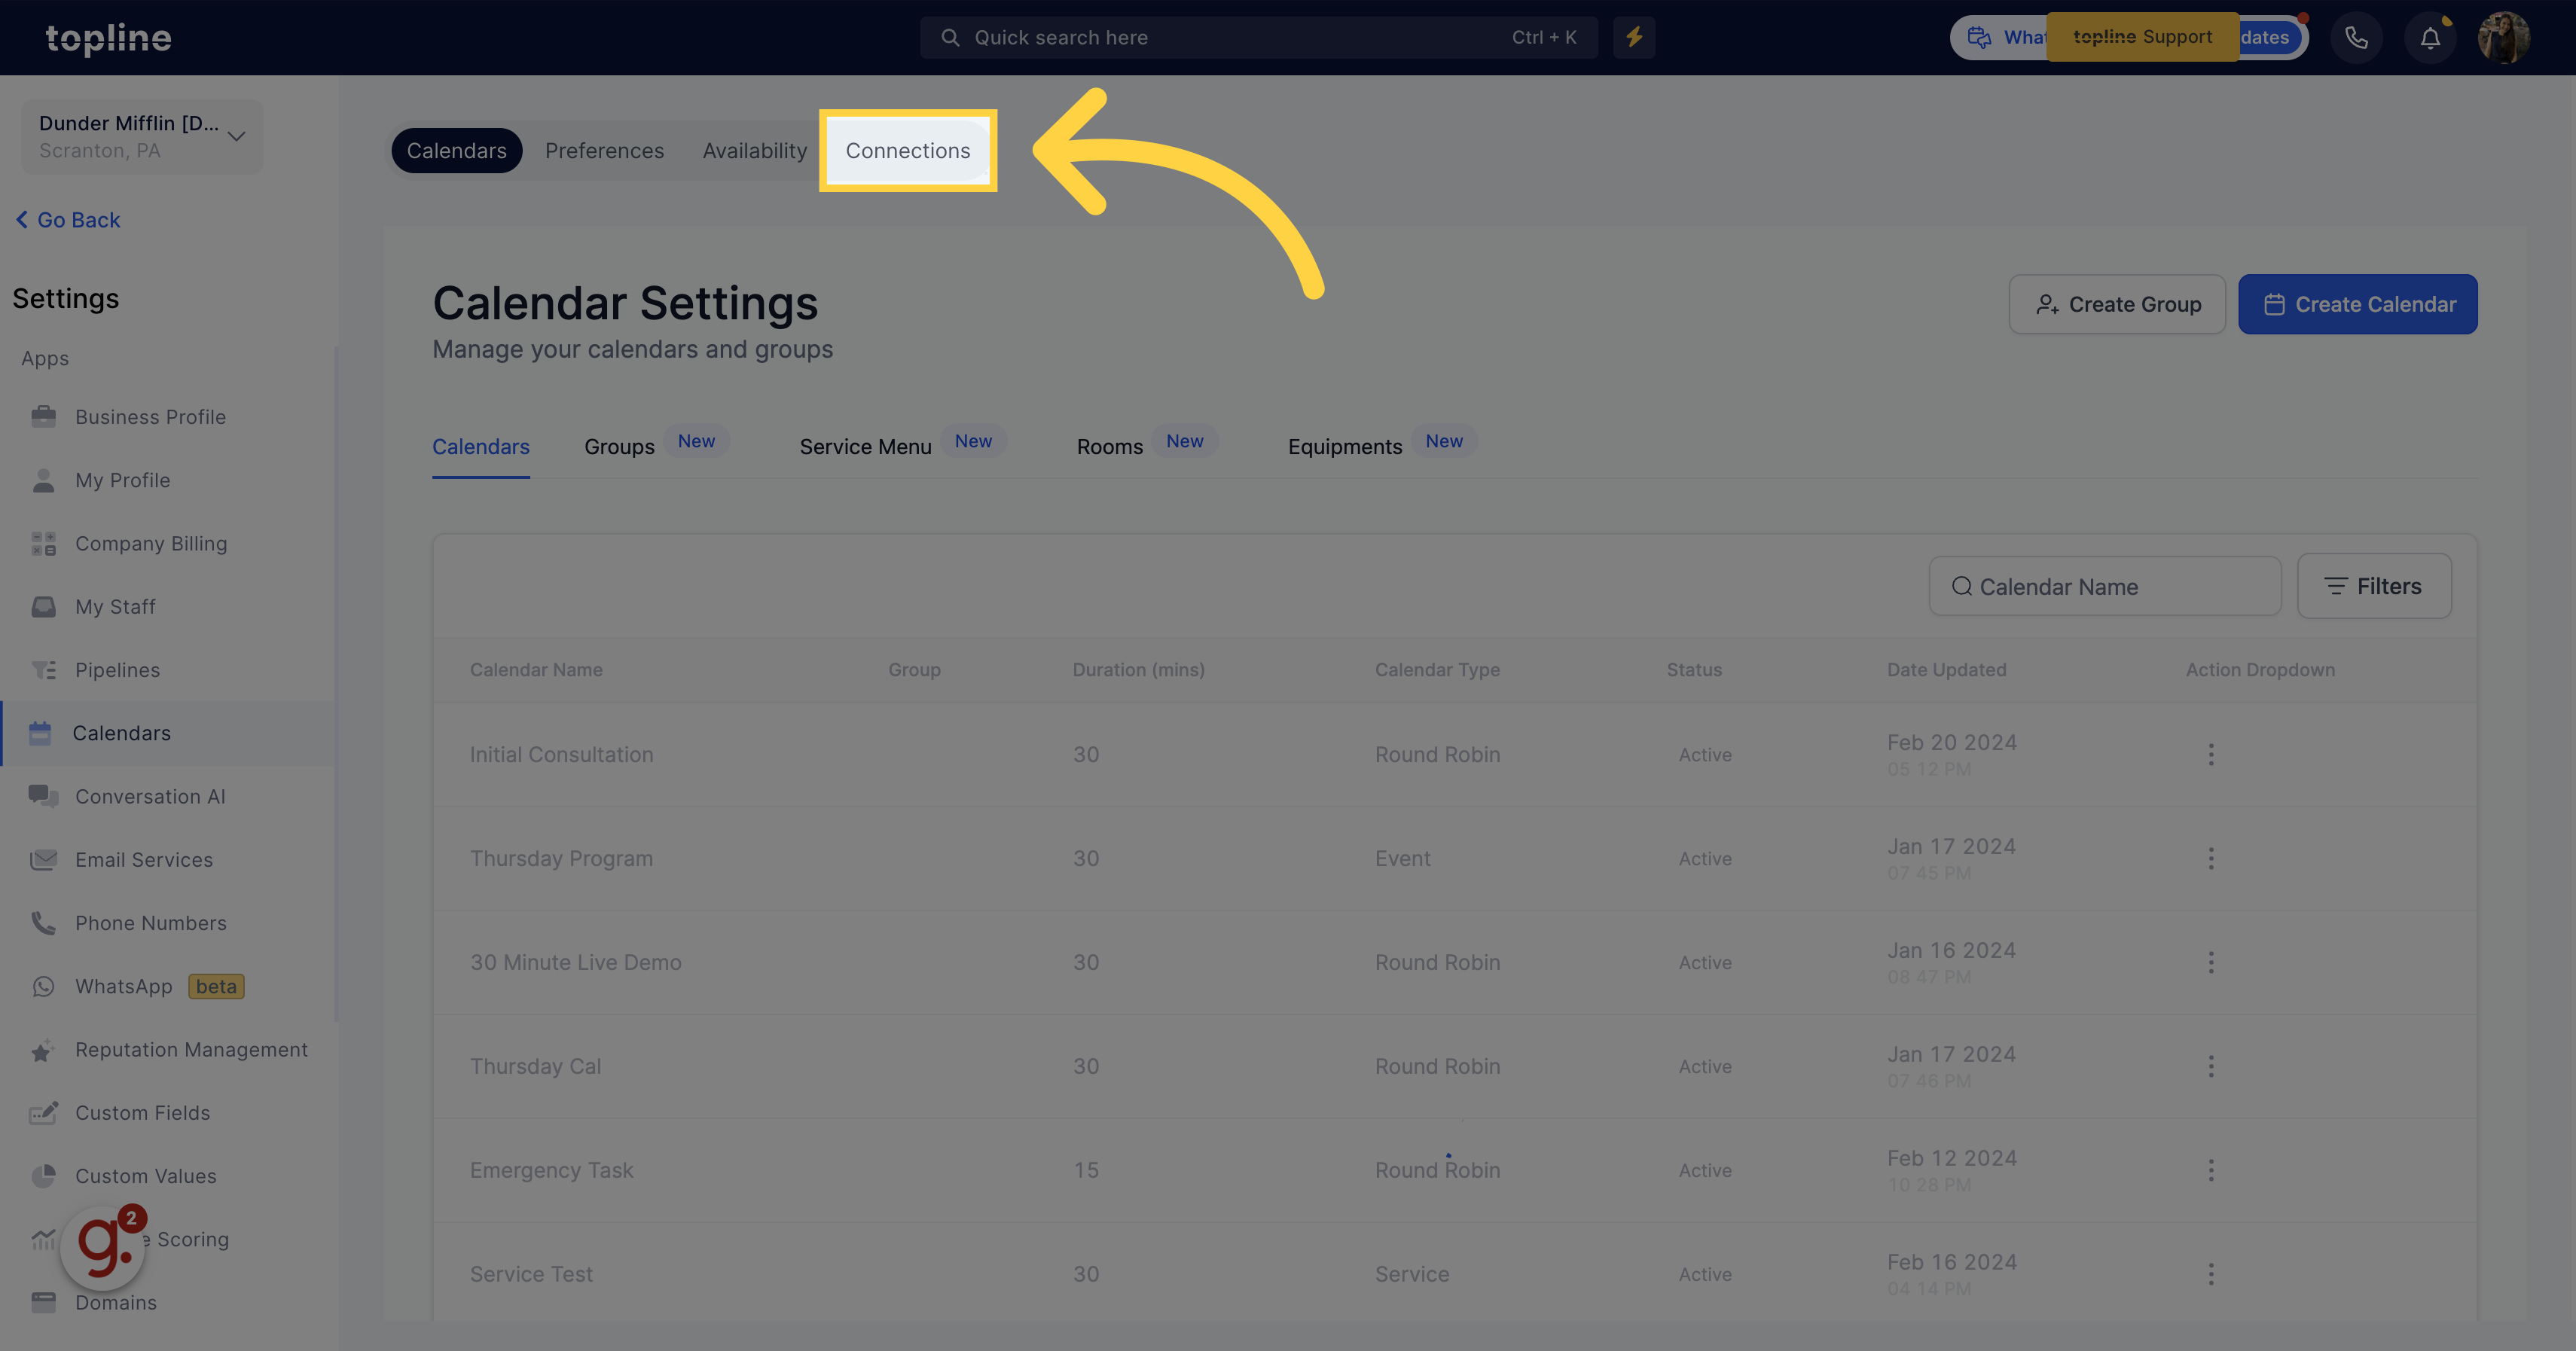
Go to the Connections tab on the upper menu.
![Click 'Connections'](https://static.guidde.com/v0/qg%2FhfeNjF82igfsW9uOKlnpHlgnT7D2%2Fkk9h6BEbR9QuXKbw9qYuee%2FagDraURTeT4kxsRKWLtCUU_doc.png?alt=media&token=74a5b086-3038-4dfd-ad49-be1834153c03)
4. Click "My Connections"
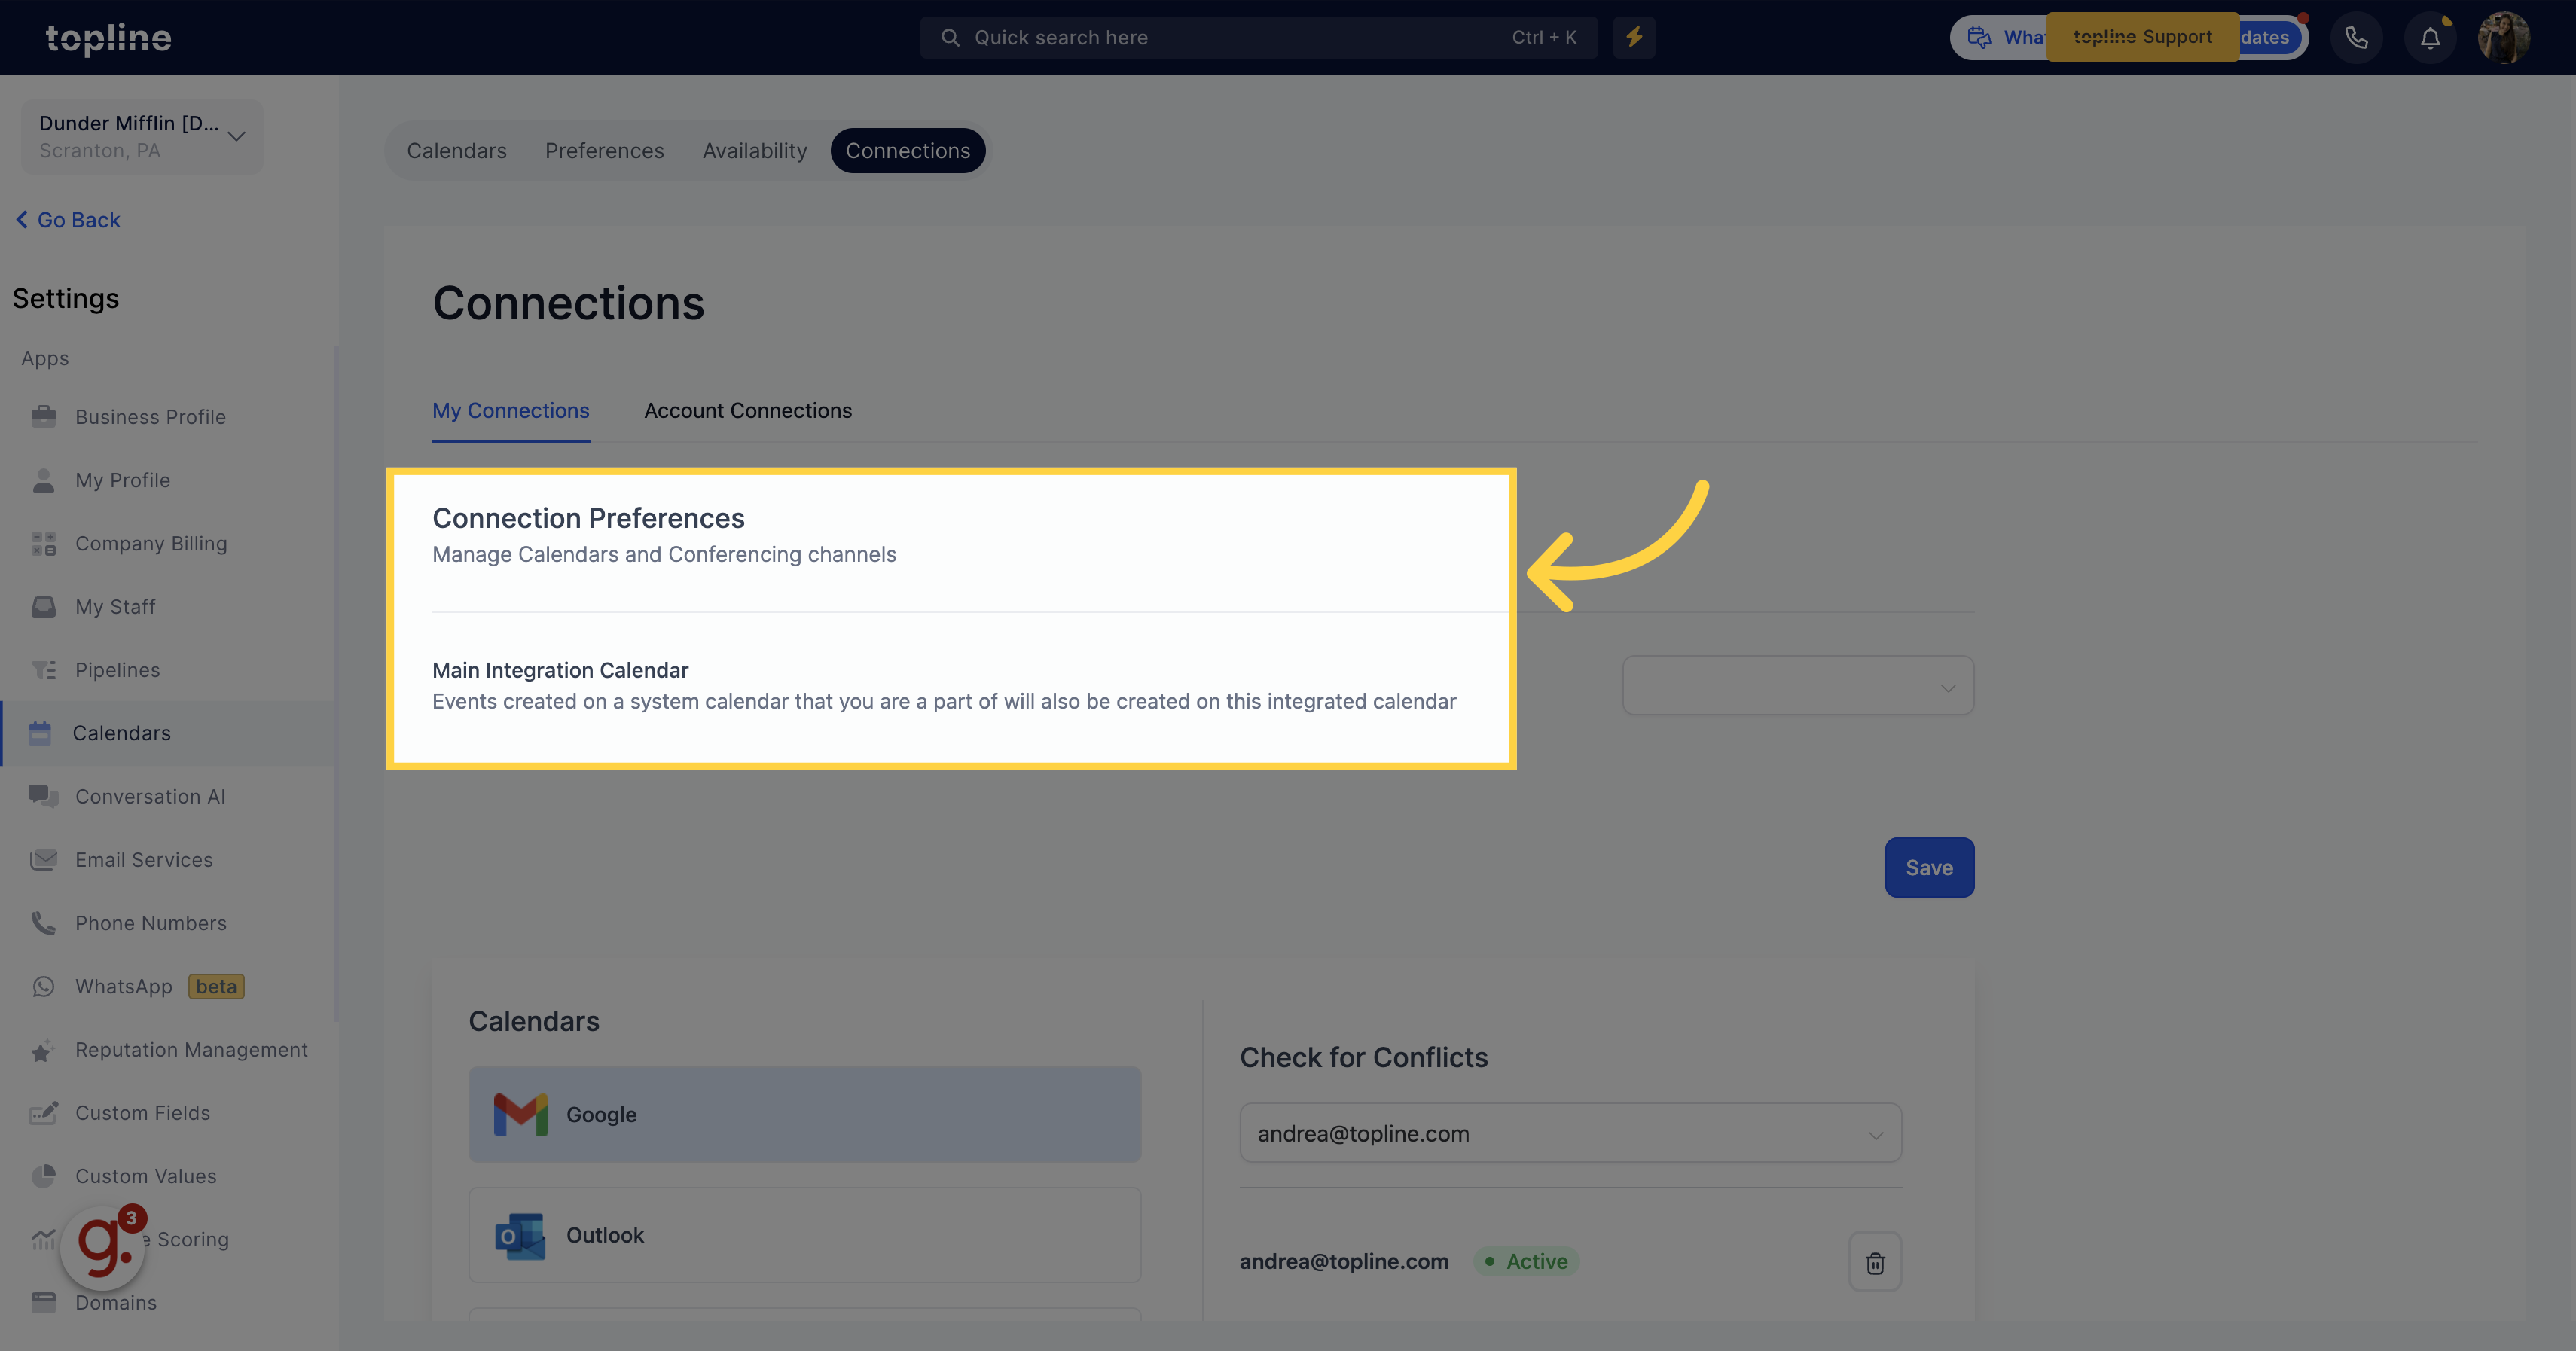
Click on My Connections to set up your connection preferences.
![Click 'My Connections'](https://static.guidde.com/v0/qg%2FhfeNjF82igfsW9uOKlnpHlgnT7D2%2Fkk9h6BEbR9QuXKbw9qYuee%2FjLPTLwBGHwviCuLtq5Kes2_doc.png?alt=media&token=53417451-0115-4ec2-9d82-43335d8a4baf)
5. Click on "Main Integration Calendar"
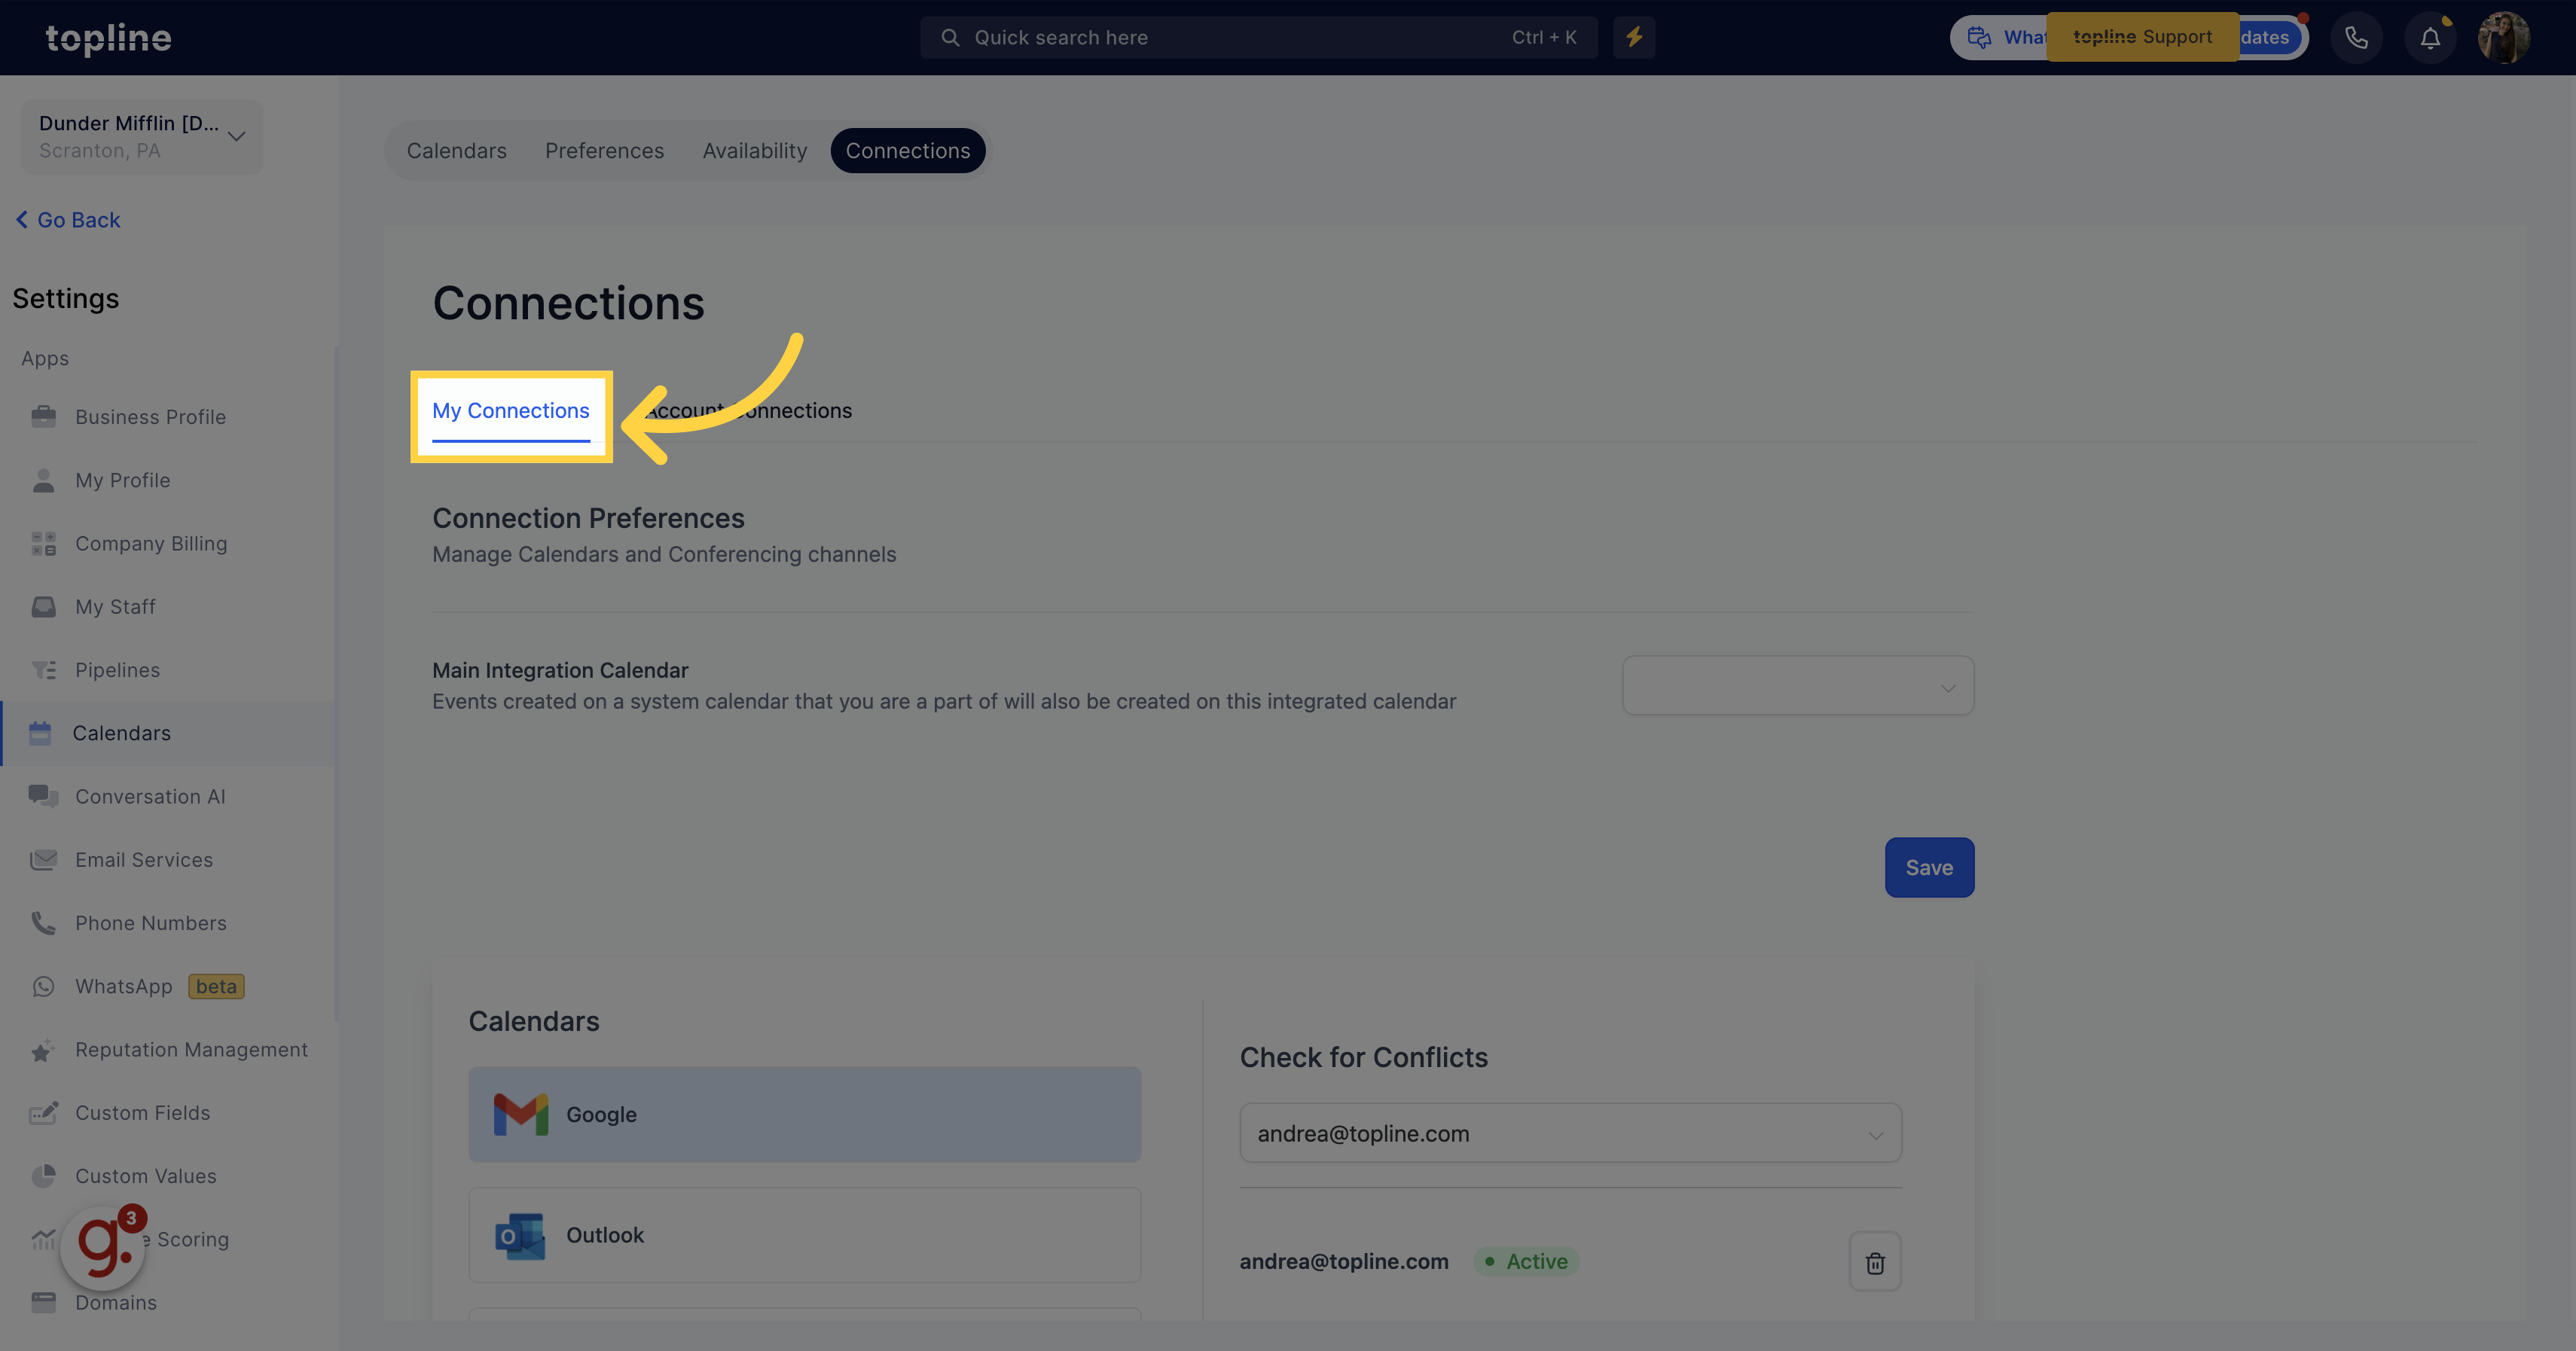
By selecting the dropdown menu provided, you can opt for the primary integration calendar. To do so, you must first establish a connection between your calendar and CRM system so that it reflects on the dropdown menu.
![Click on 'Main Integration Calendar'](https://static.guidde.com/v0/qg%2FhfeNjF82igfsW9uOKlnpHlgnT7D2%2Fkk9h6BEbR9QuXKbw9qYuee%2Fem1iQfhsZwjoDBCbLWXYVf_doc.png?alt=media&token=2bcbf9f3-7249-421f-a9f8-d512c511df75)
6. Calendars
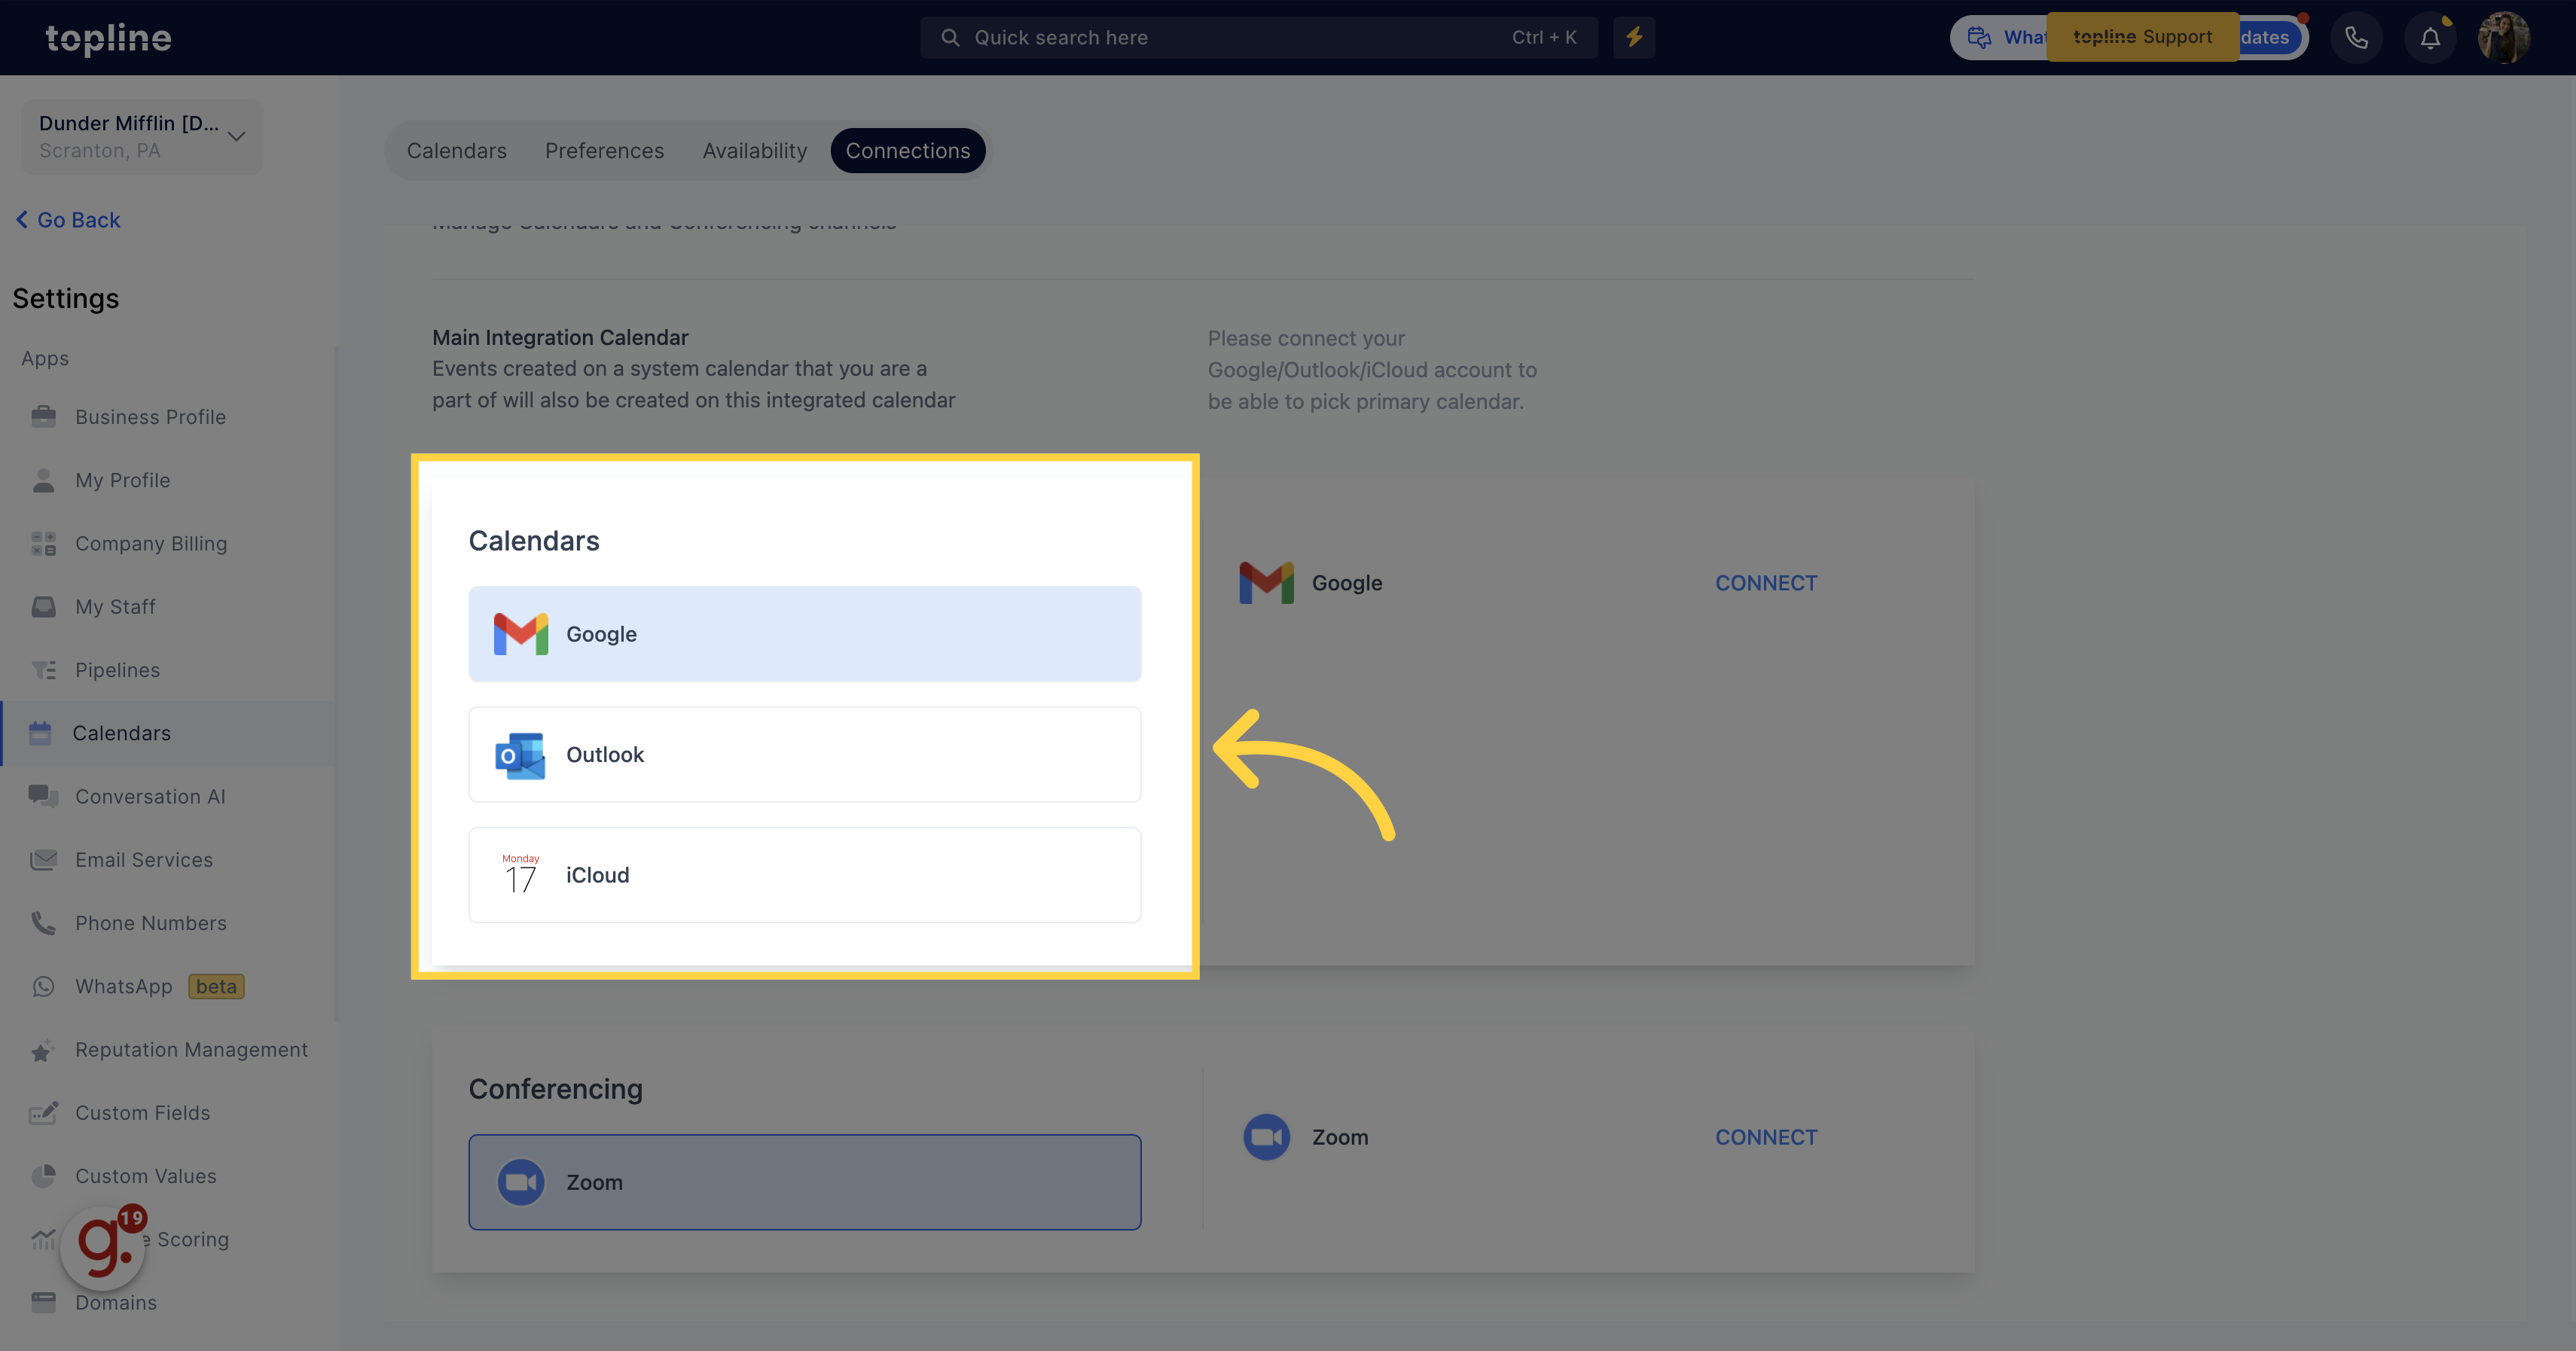
On this page, you can access and review the calendars you've linked to your CRM, including those from Google and Microsoft.
![Calendars](https://static.guidde.com/v0/qg%2FhfeNjF82igfsW9uOKlnpHlgnT7D2%2Fkk9h6BEbR9QuXKbw9qYuee%2FrRypJwENvBVi8K9wfmrtjt_doc.png?alt=media&token=71ecce20-302e-4418-8e4f-373306d11c8d)
7. Click on "Connect"
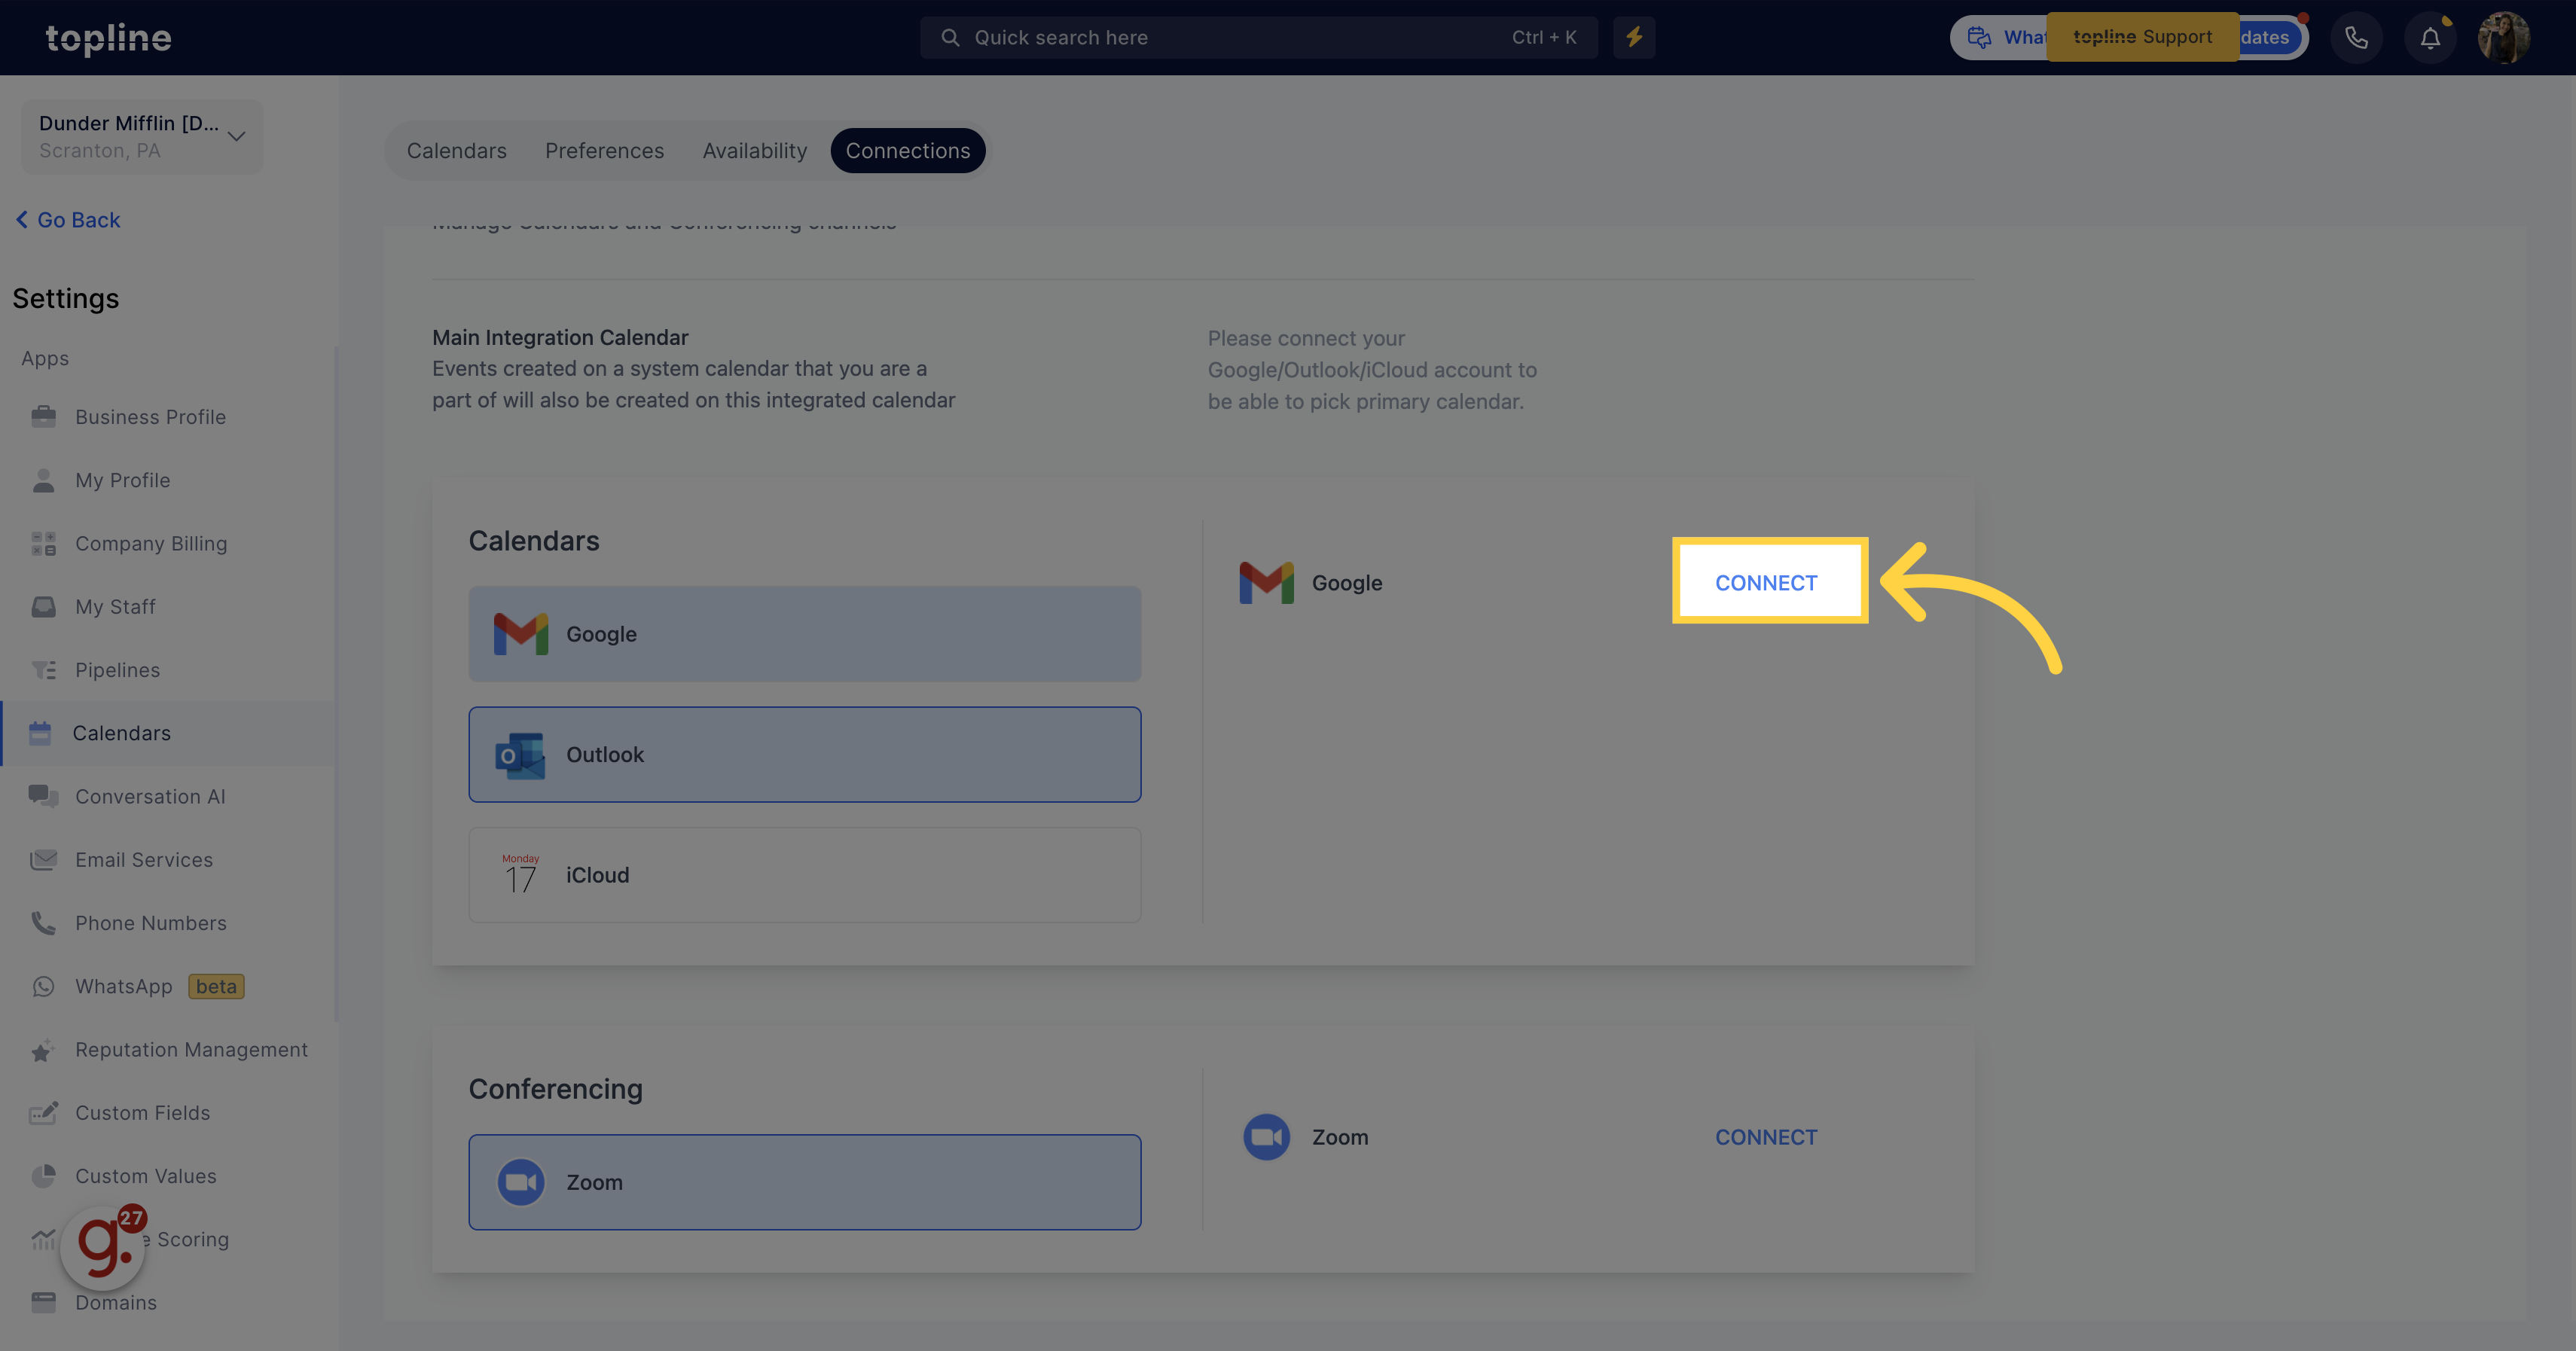
By accessing the Connect tab, you can establish a connection between your Google account and the CRM, whether it's your initial connection or an additional one. Upon selecting the "Connect" tab, you'll be directed to an integration settings page to finalize the setup.
![Click on 'Connect'](https://static.guidde.com/v0/qg%2FhfeNjF82igfsW9uOKlnpHlgnT7D2%2Fkk9h6BEbR9QuXKbw9qYuee%2Fc39qVeYTFjoRPeLR5bjrRN_doc.png?alt=media&token=b4f288a6-1ba2-4df5-871e-943a86685173)
8. Conferencing
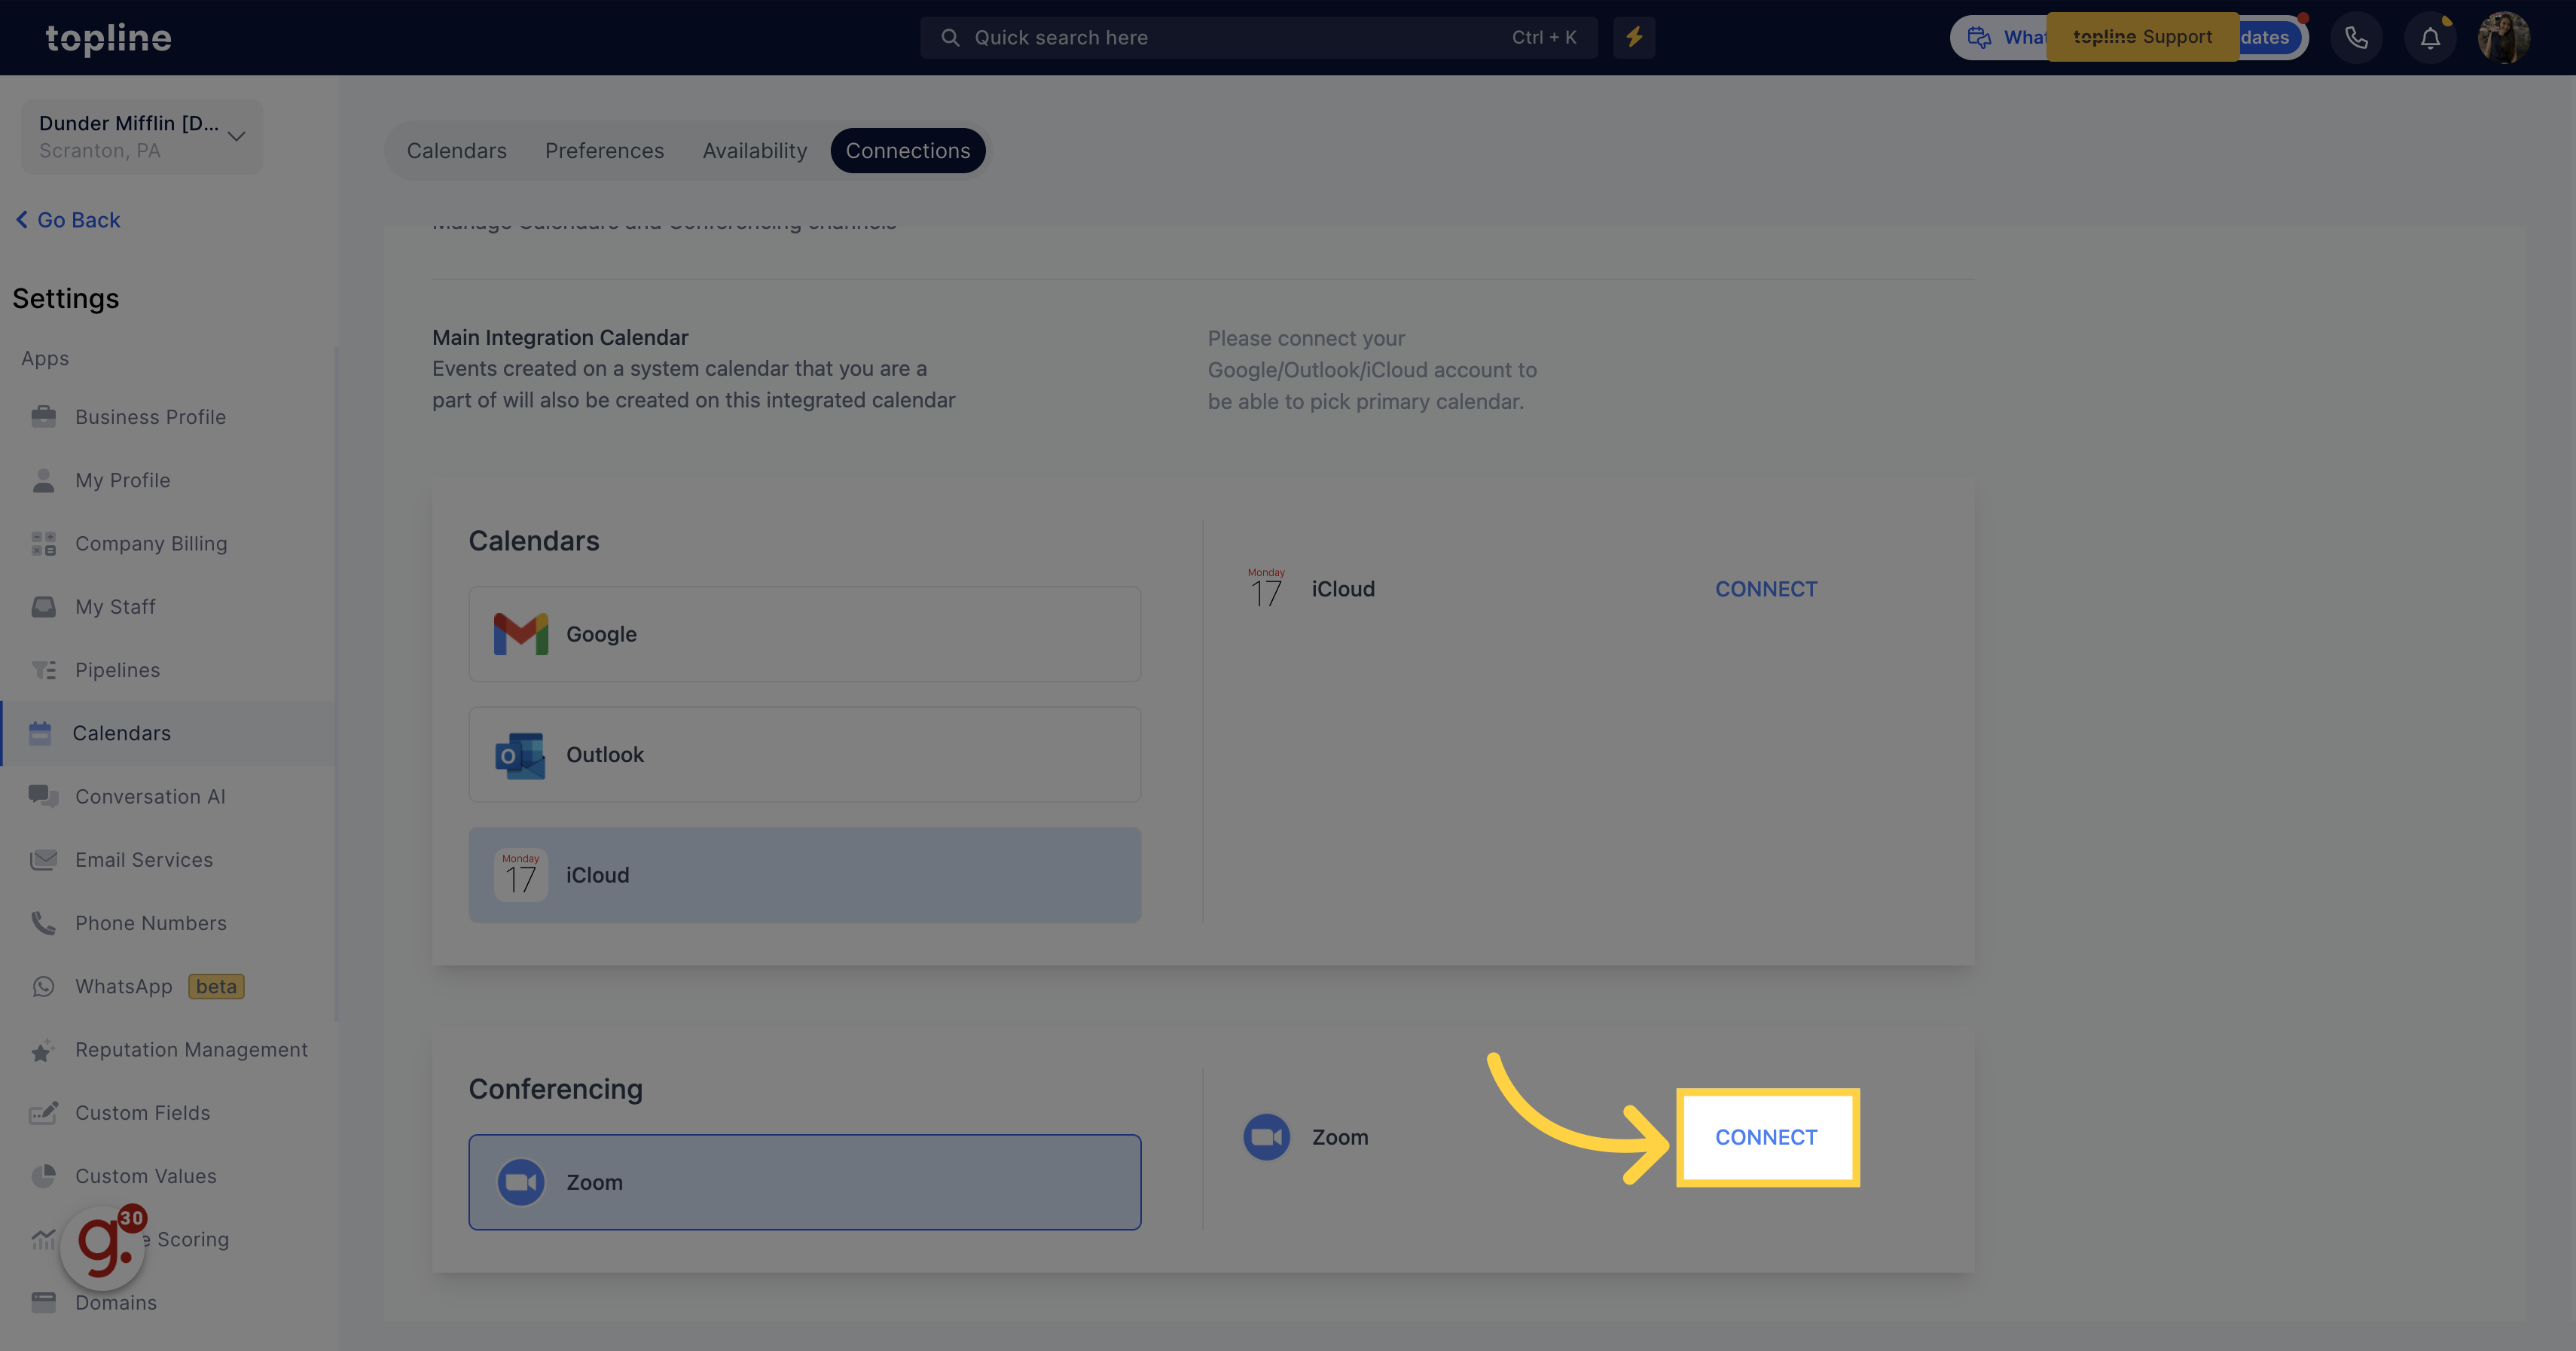
You can manage and view the settings for conferencing in your calendar here.
![Conferencing](https://static.guidde.com/v0/qg%2FhfeNjF82igfsW9uOKlnpHlgnT7D2%2Fkk9h6BEbR9QuXKbw9qYuee%2FwnEjnm6KFpB39tzuLNvW6X_doc.png?alt=media&token=643b1b8b-1358-4678-8b5e-e259135690e9)
9. Click "Connect"
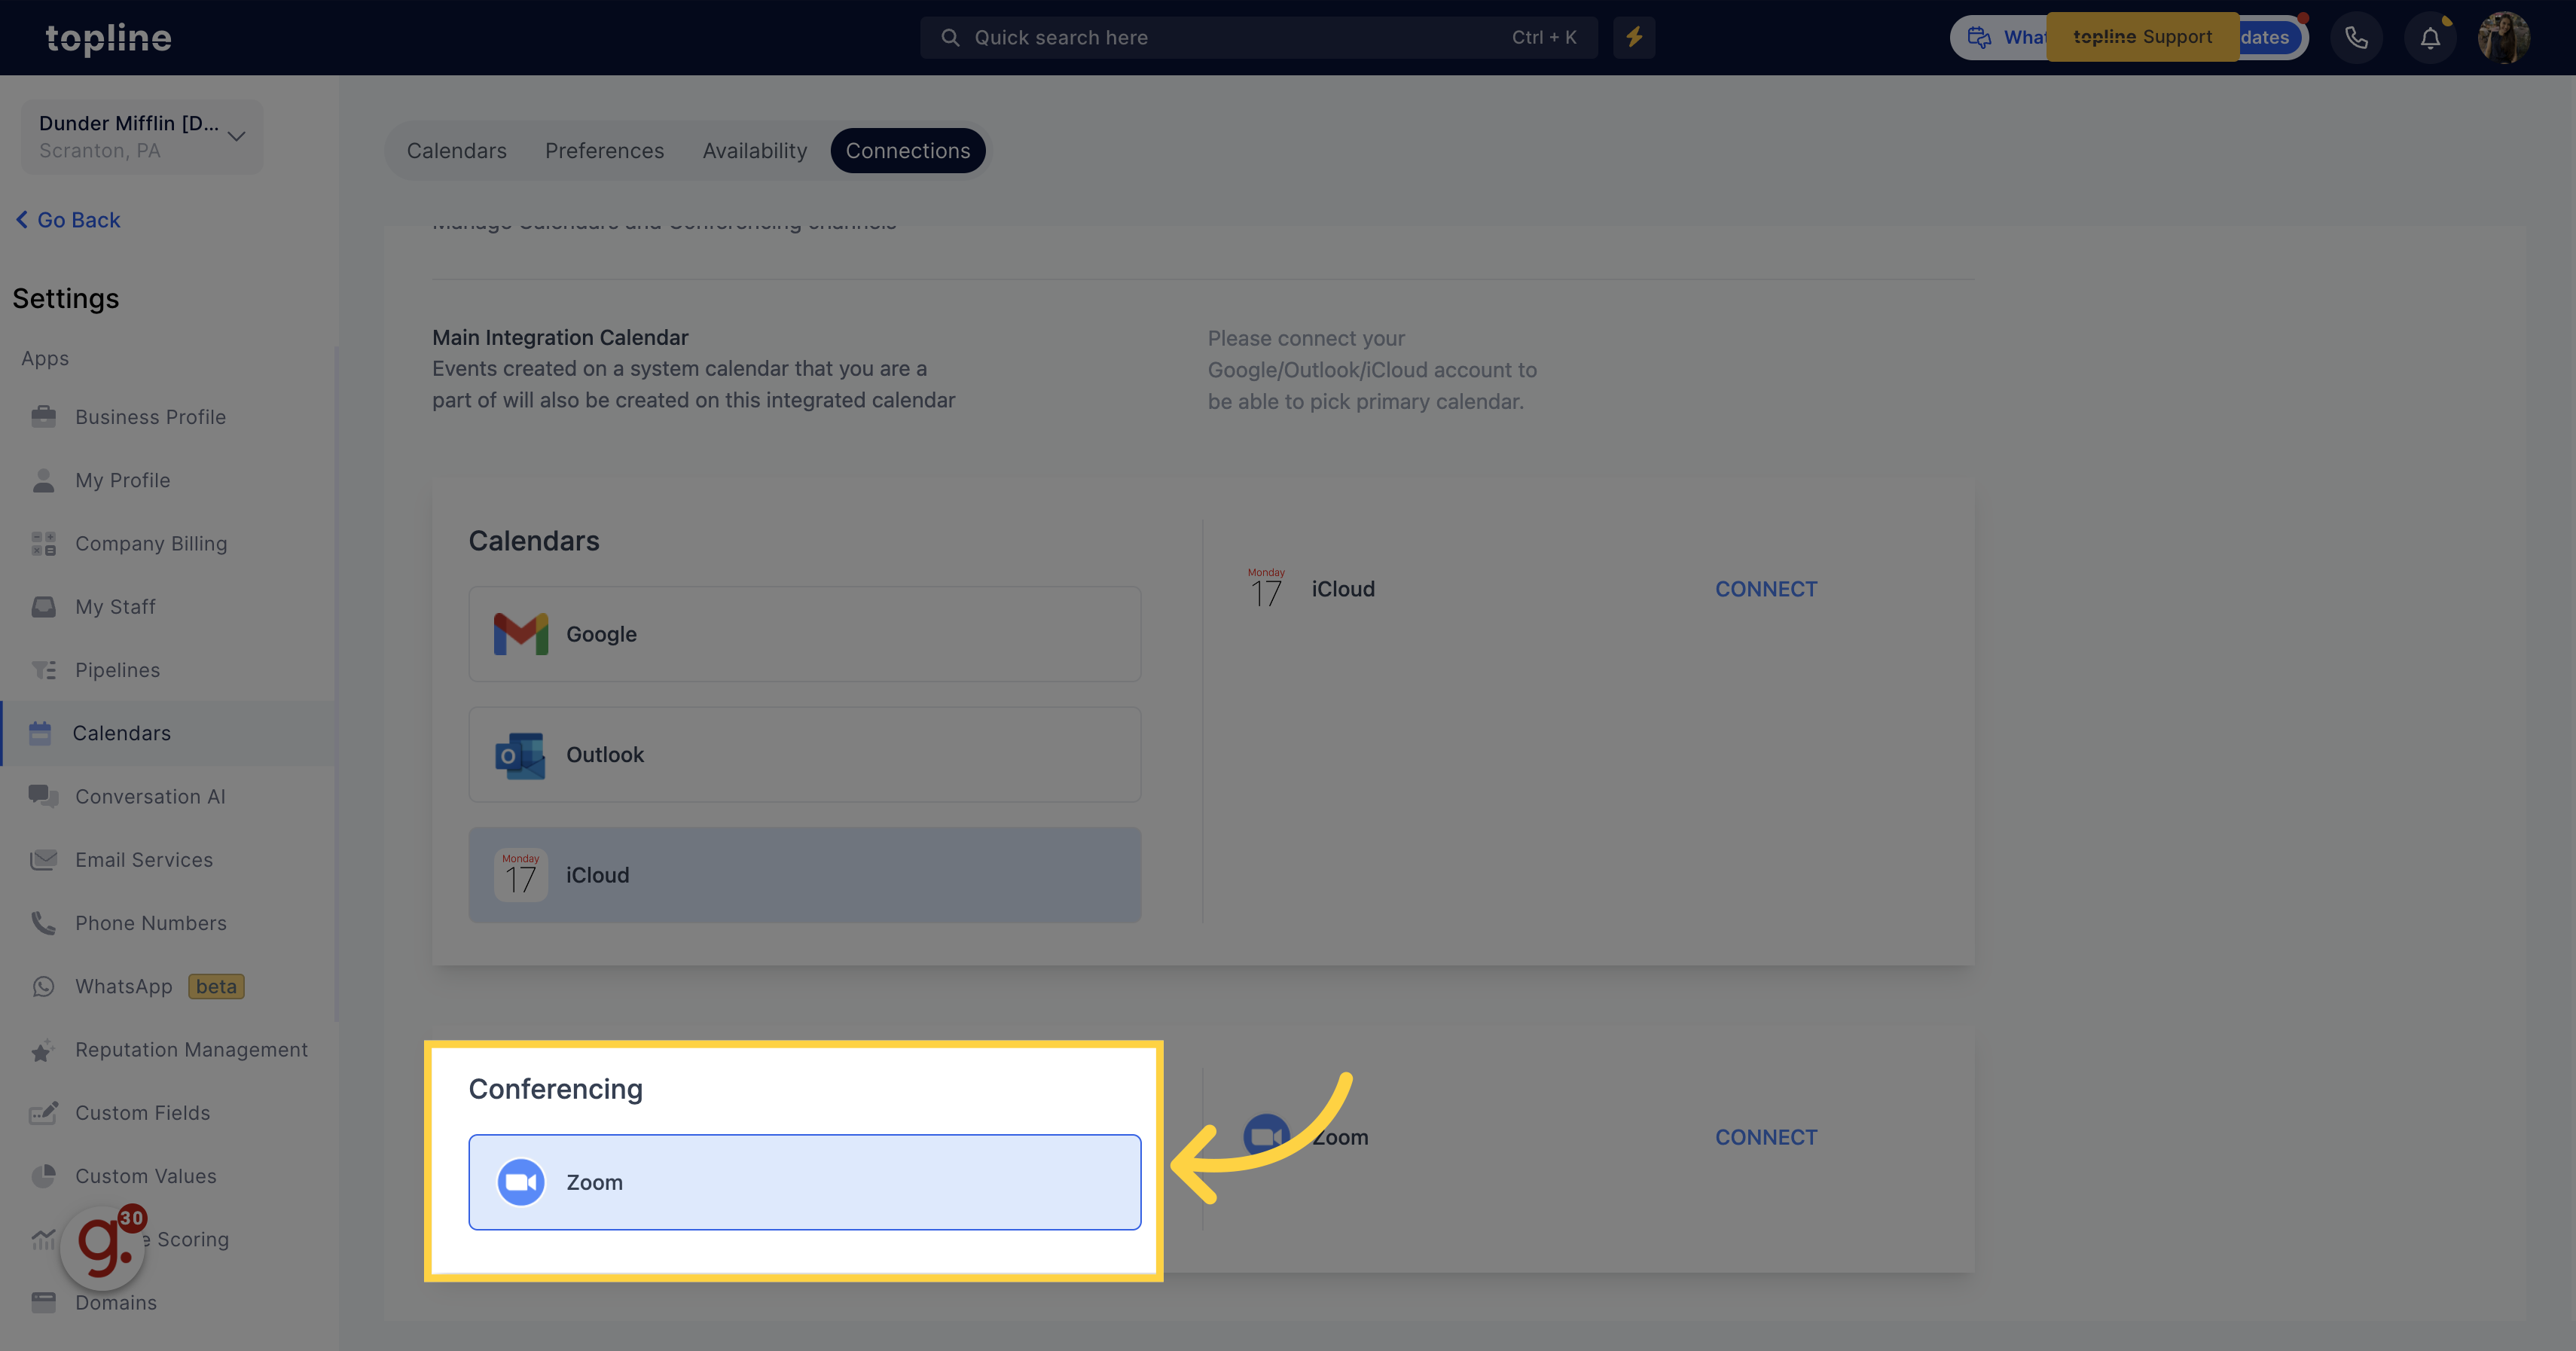
By utilizing the "Connect" tab, you have the ability to link the conferencing platform to your CRM. Upon clicking the tab, a zoom website will appear, which will enable you to sign in to your zoom account.
![Click 'Connect'](https://static.guidde.com/v0/qg%2FhfeNjF82igfsW9uOKlnpHlgnT7D2%2Fkk9h6BEbR9QuXKbw9qYuee%2Fqfd9e9wzevF8AyRPDUchZD_doc.png?alt=media&token=6b23737a-69d9-4dfd-86b1-ad31c5ee2823)
10. Account Connections
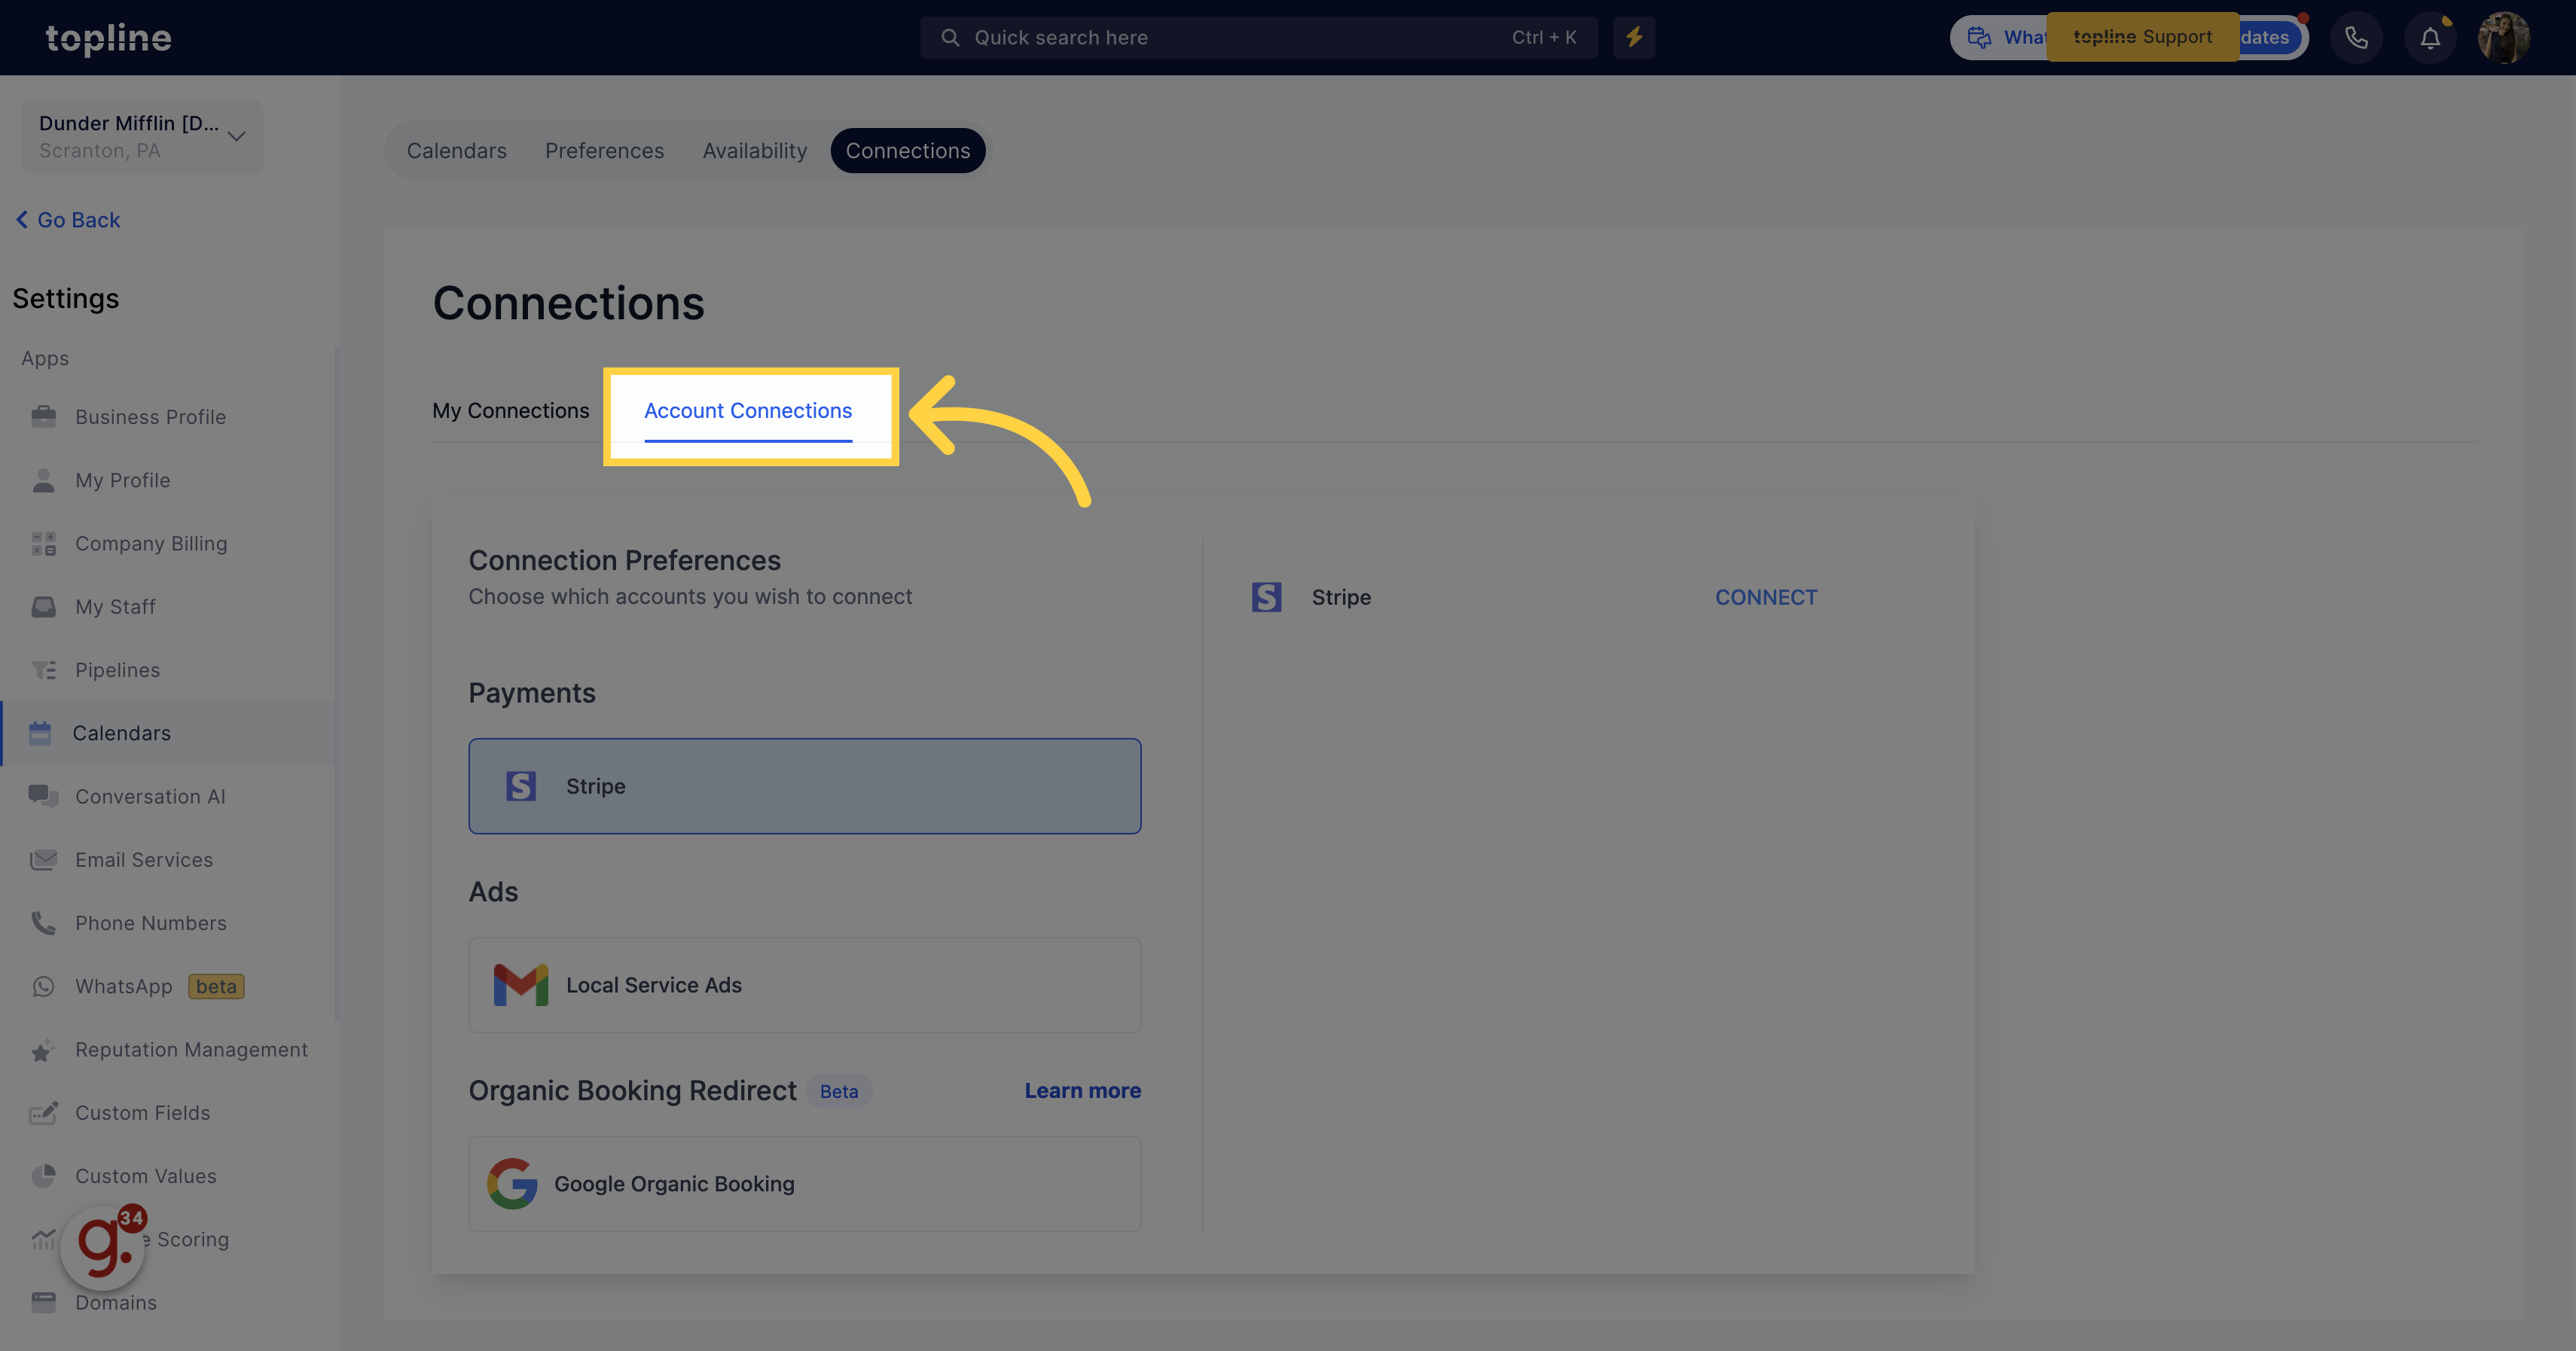
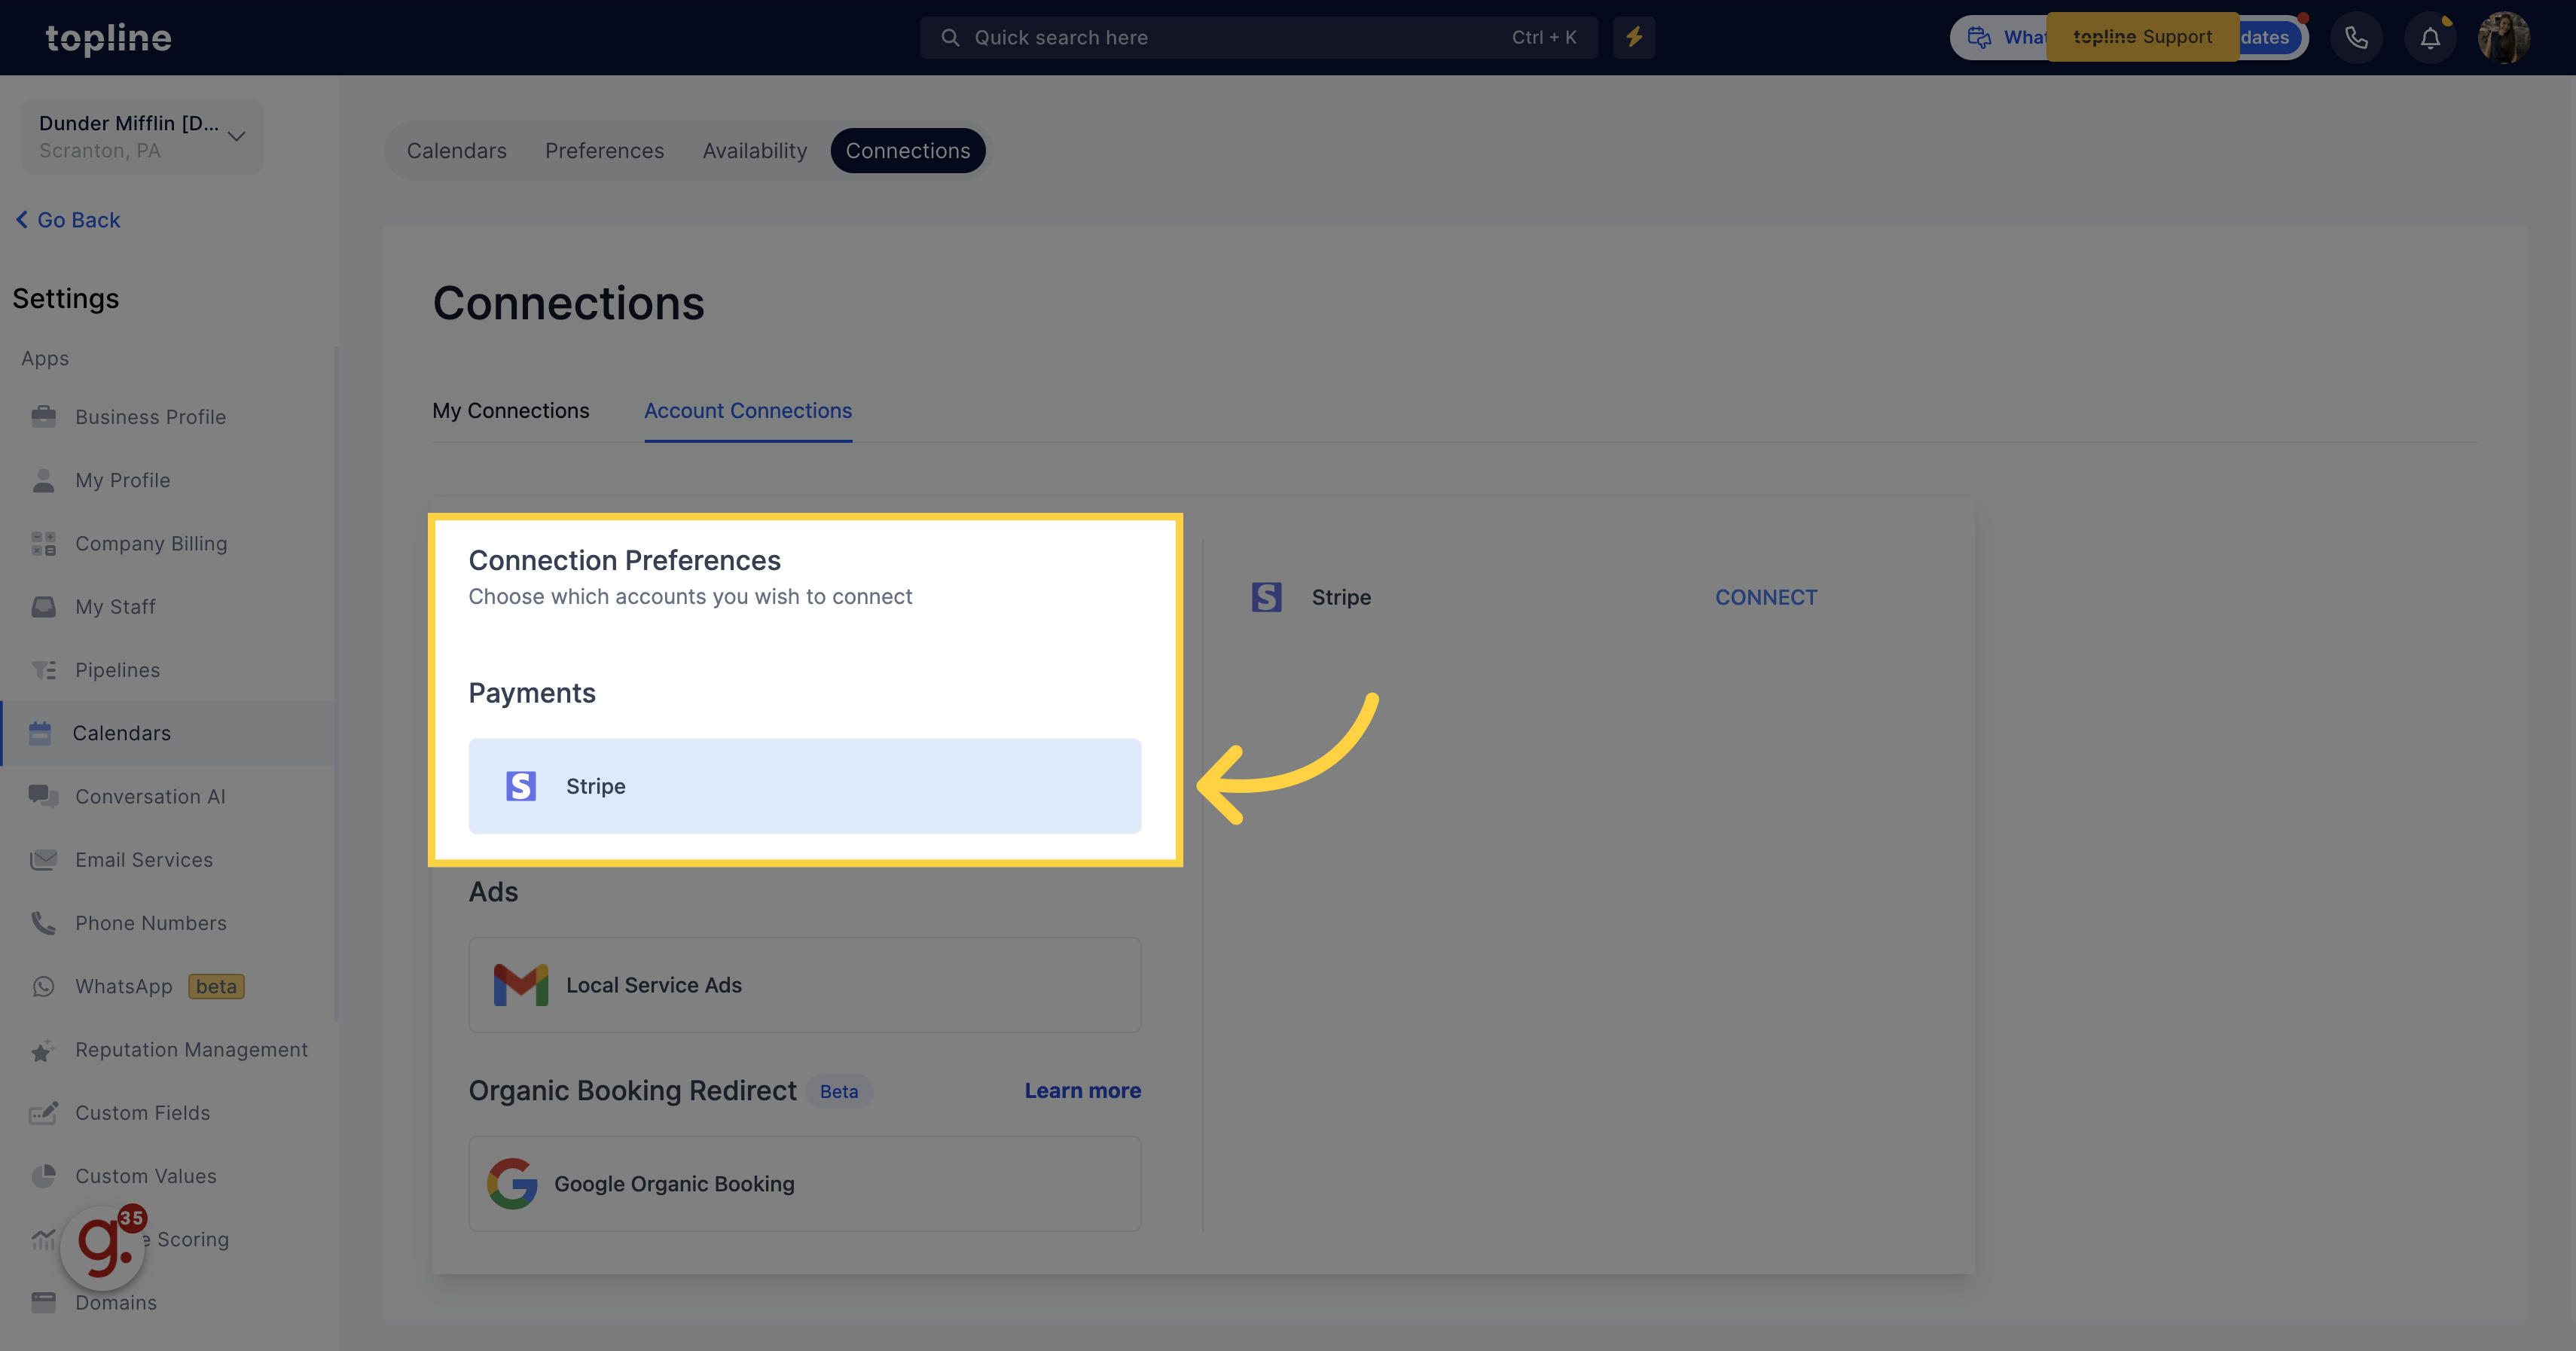
At this location, you have the ability to observe and control your account links, including Stripe and Google Ad account links.
![Account Connections](https://static.guidde.com/v0/qg%2FhfeNjF82igfsW9uOKlnpHlgnT7D2%2Fkk9h6BEbR9QuXKbw9qYuee%2Fx7Kaa81uiDA5c4sFR3WLTz_doc.png?alt=media&token=ae6c833e-1a1a-4685-8068-5c211533d6a4)
11. Payment Options
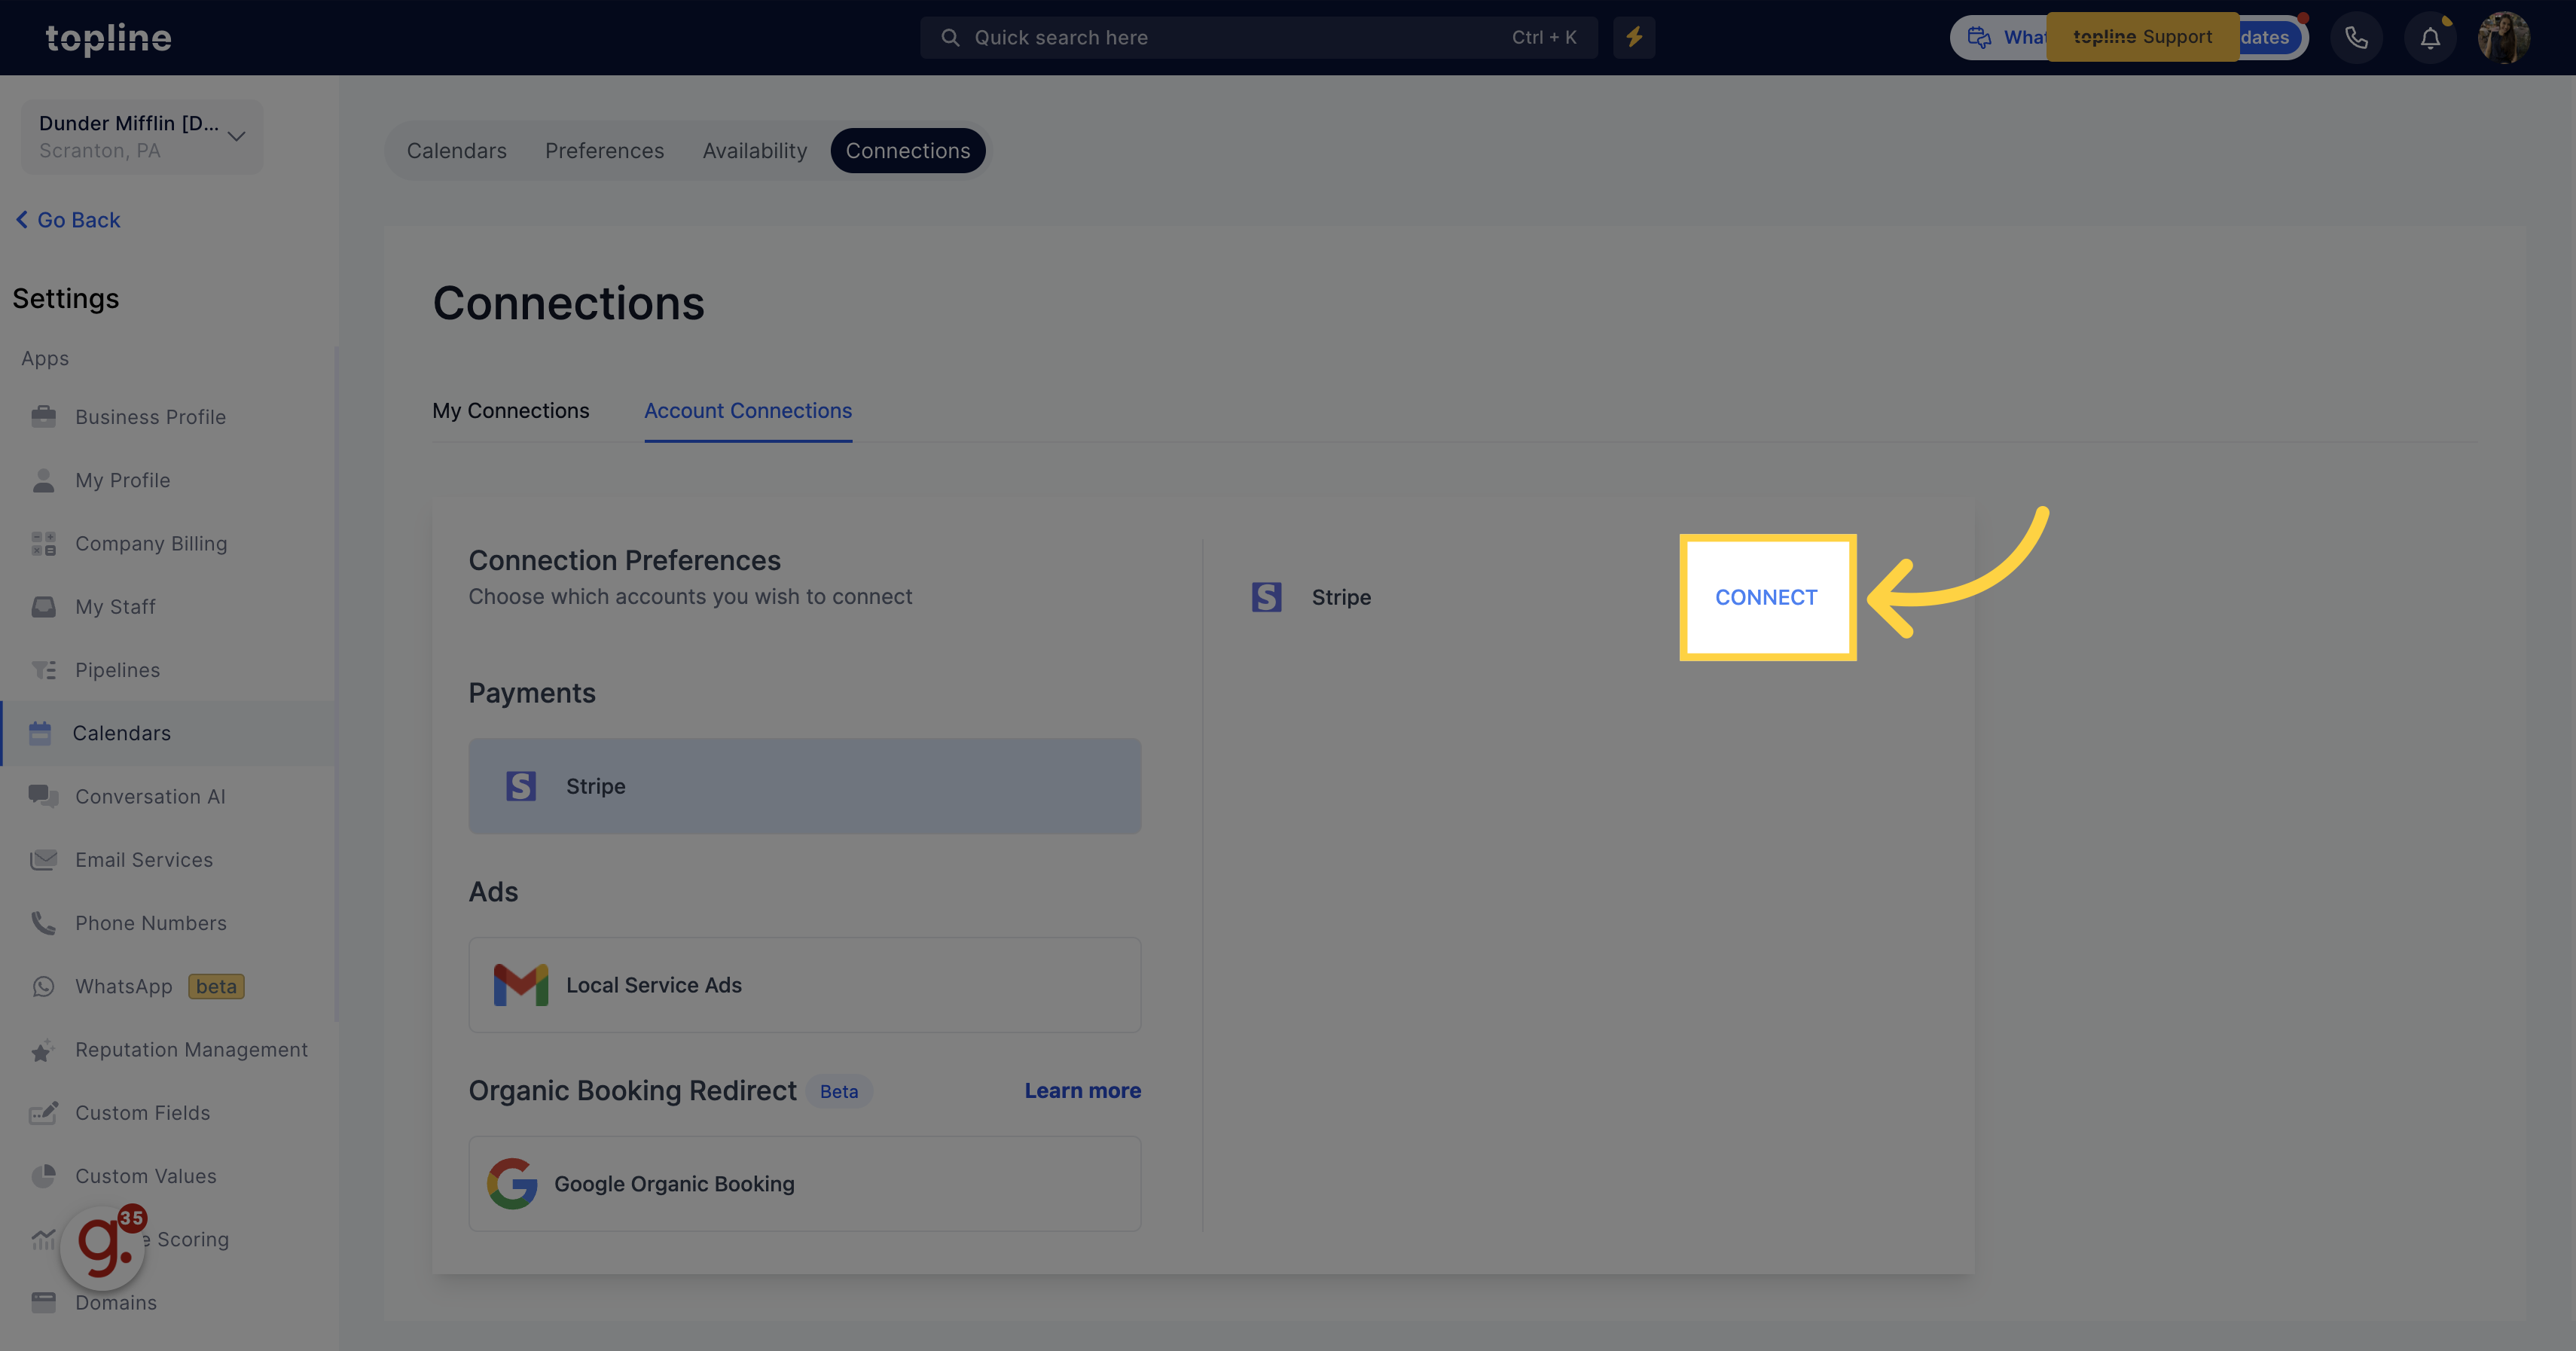
To link your CRM with your Stripe account, click on the Stripe payment option.
![Payment Options](https://static.guidde.com/v0/qg%2FhfeNjF82igfsW9uOKlnpHlgnT7D2%2Fkk9h6BEbR9QuXKbw9qYuee%2FpUYWY3dGCvPDh7sgb3qvgm_doc.png?alt=media&token=a62c5b9e-2cc5-405c-975f-259019cb54bf)
12. Click "Connect"
Clicking on the stripe option will direct you to the connect tab, thereafter you will be redirected to the integration settings page of the CRM to finalize the next steps.
![Click 'Connect'](https://static.guidde.com/v0/qg%2FhfeNjF82igfsW9uOKlnpHlgnT7D2%2Fkk9h6BEbR9QuXKbw9qYuee%2F76Mc4GnqtS3ySgvrkwqHdK_doc.png?alt=media&token=3e399be6-7ae9-479f-9ecc-0662011692a3)
13. Click "Local Service Ads"
To establish a connection with your Google Ad account, it is essential to finalize the integration process. Access the integration menu by clicking on the connect tab and complete the required steps.
![Click 'Local Service Ads'](https://static.guidde.com/v0/qg%2FhfeNjF82igfsW9uOKlnpHlgnT7D2%2Fkk9h6BEbR9QuXKbw9qYuee%2FuDAAxSdyPz6LDLhiTh4dYm_doc.png?alt=media&token=84b4bd9a-5dd8-4e7b-b7e7-6607ec3a5d07)
14. Click "Connect"
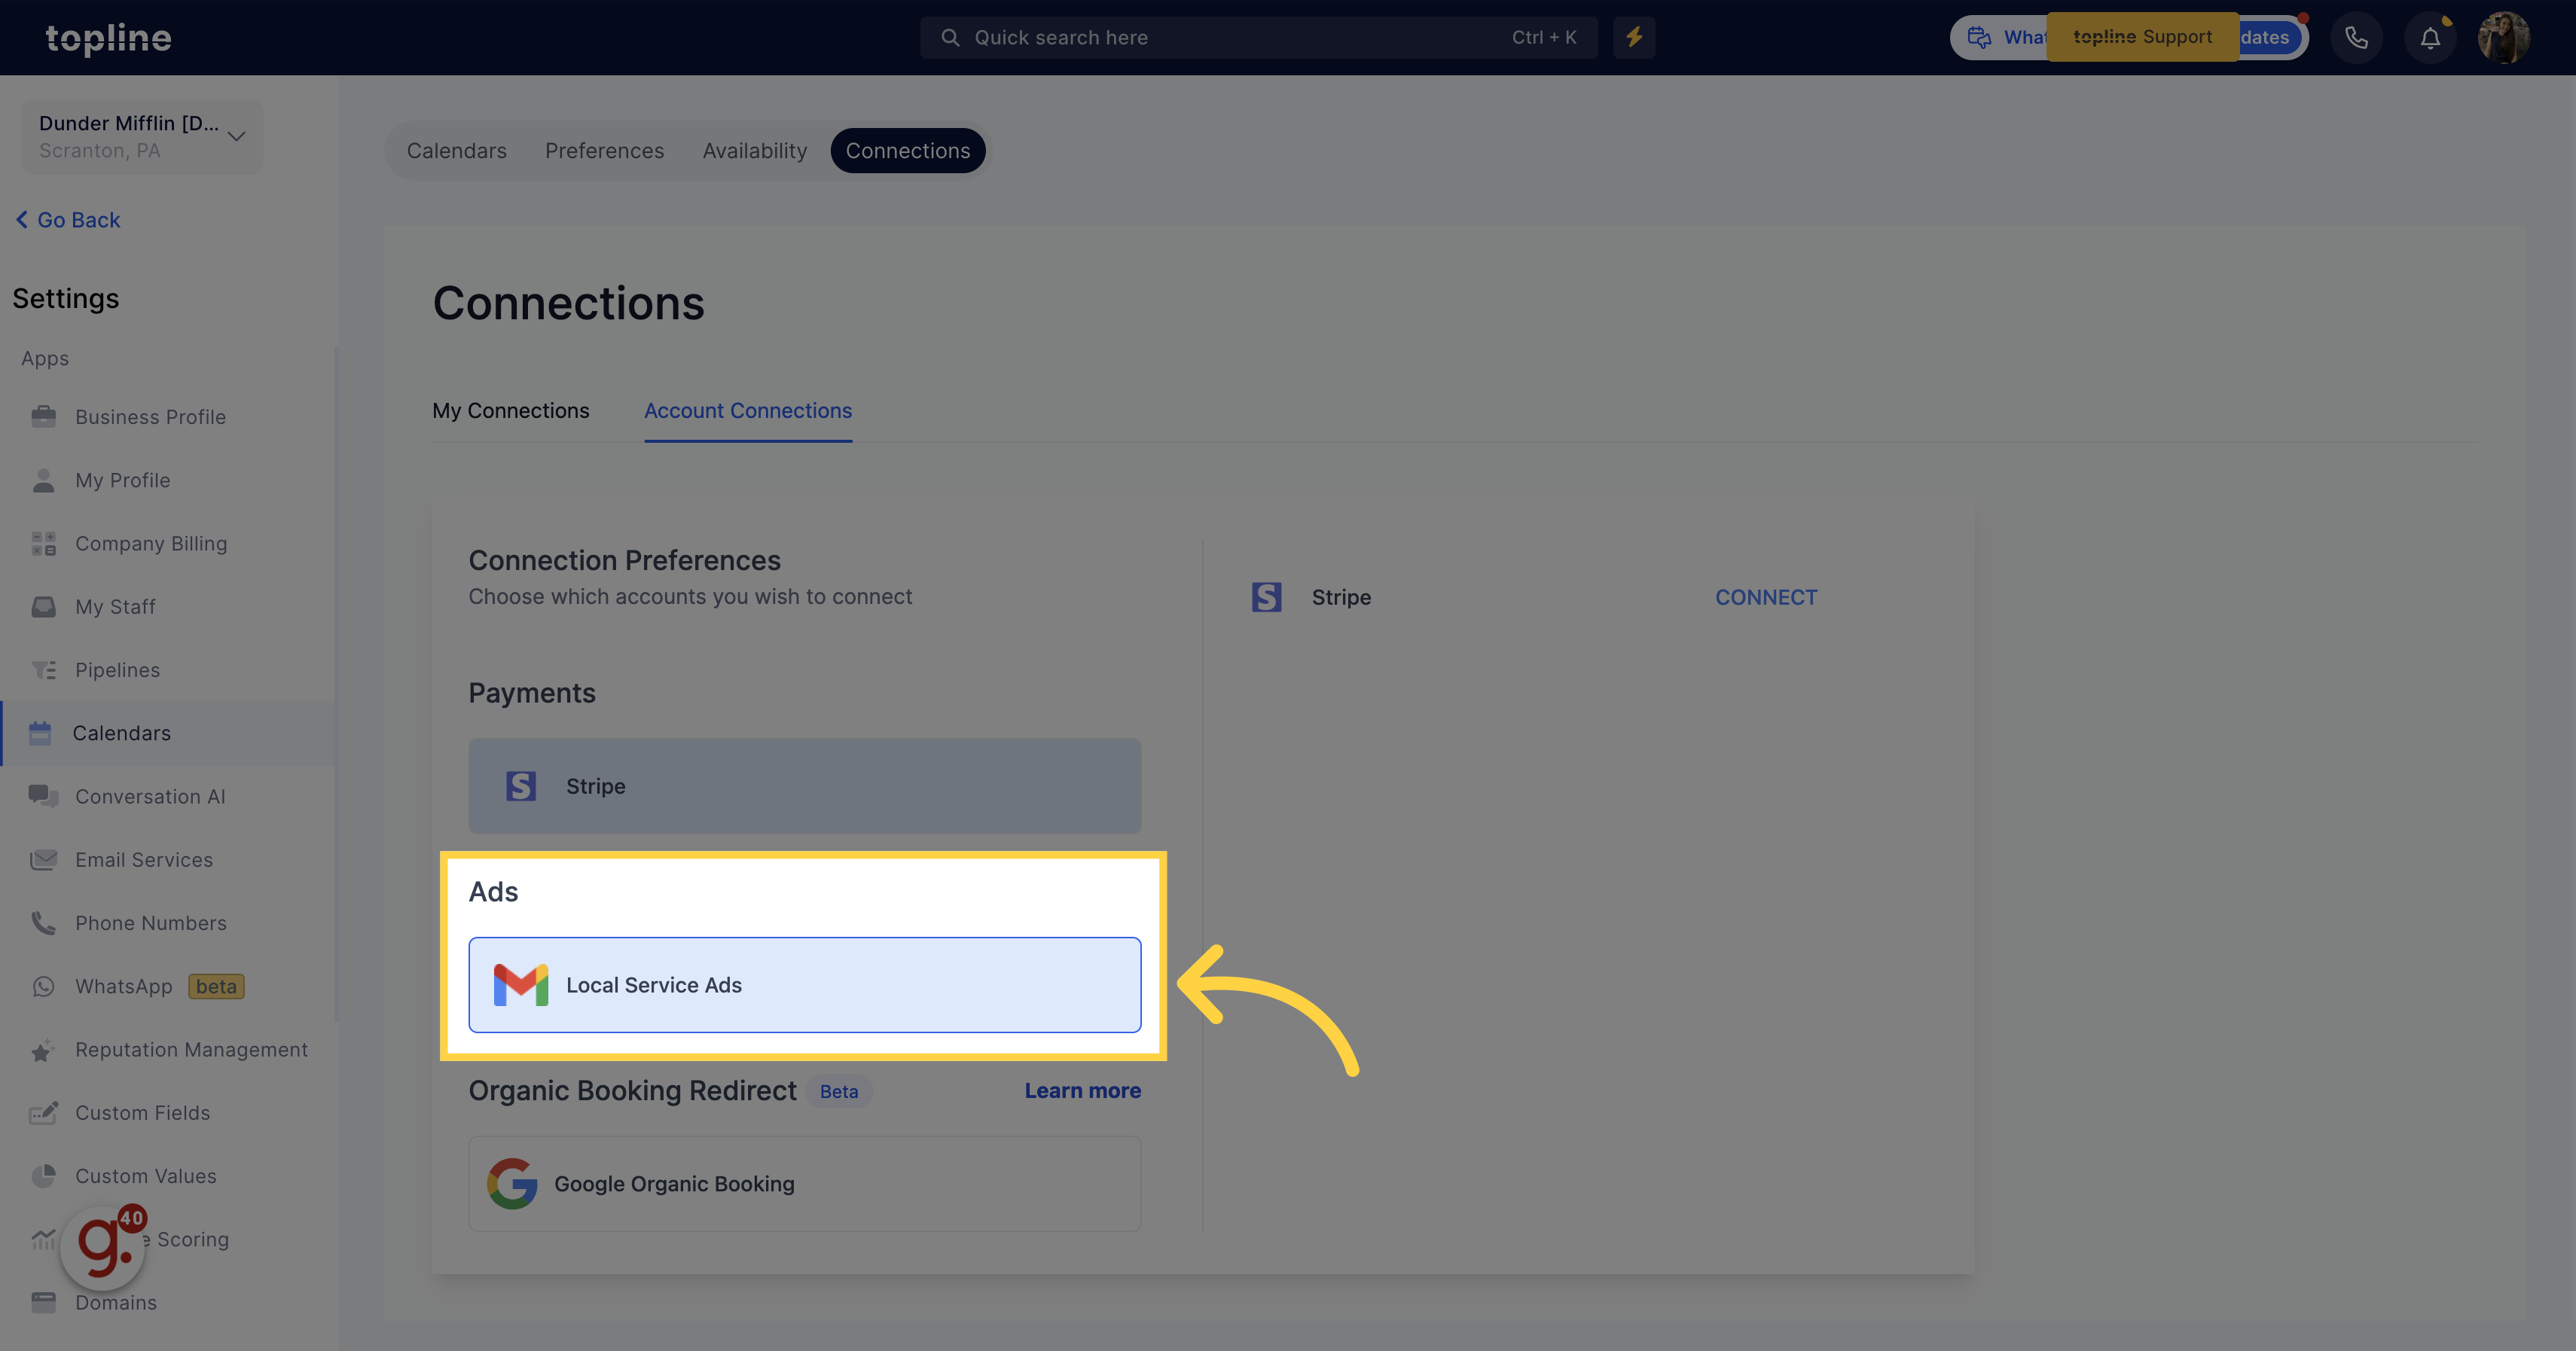
Clicking on connect and then you will be redirected to the integration settings page of the CRM to finalize the next steps.
![Click 'Connect'](https://static.guidde.com/v0/qg%2FhfeNjF82igfsW9uOKlnpHlgnT7D2%2Fkk9h6BEbR9QuXKbw9qYuee%2Fbe3mEWgk479iqcqQBUELFu_doc.png?alt=media&token=93e6a1d7-3a90-48be-903a-d4f67d526bf3)