
Navigate to the My Profile section in the account settings ("Settings" -> "My Profile").
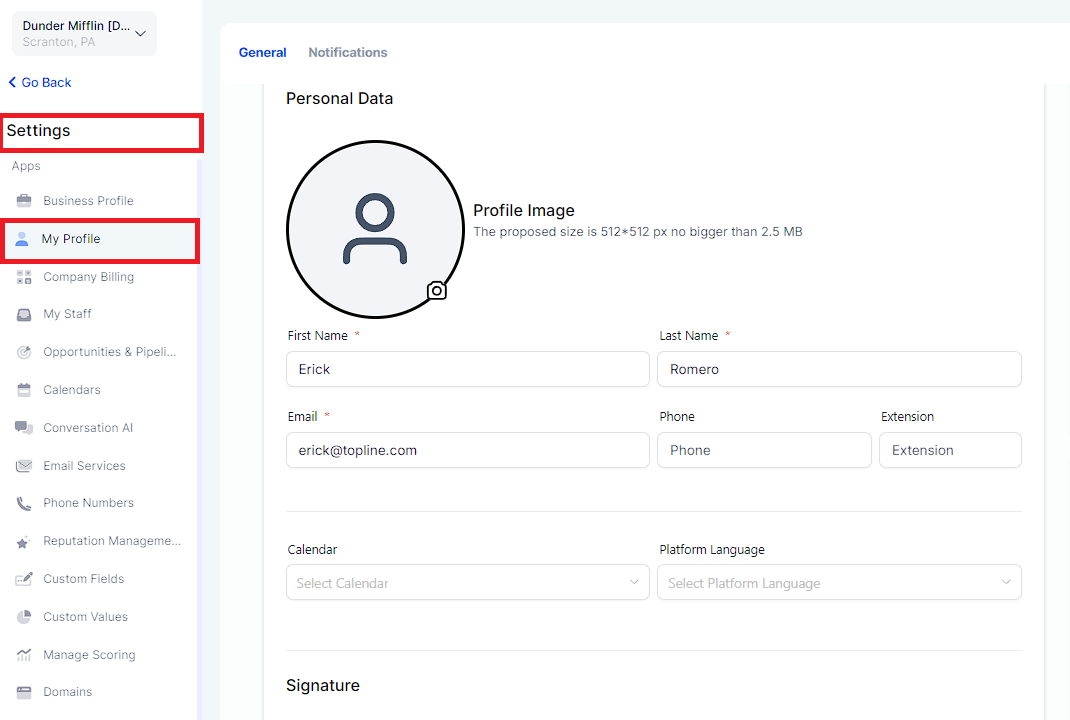
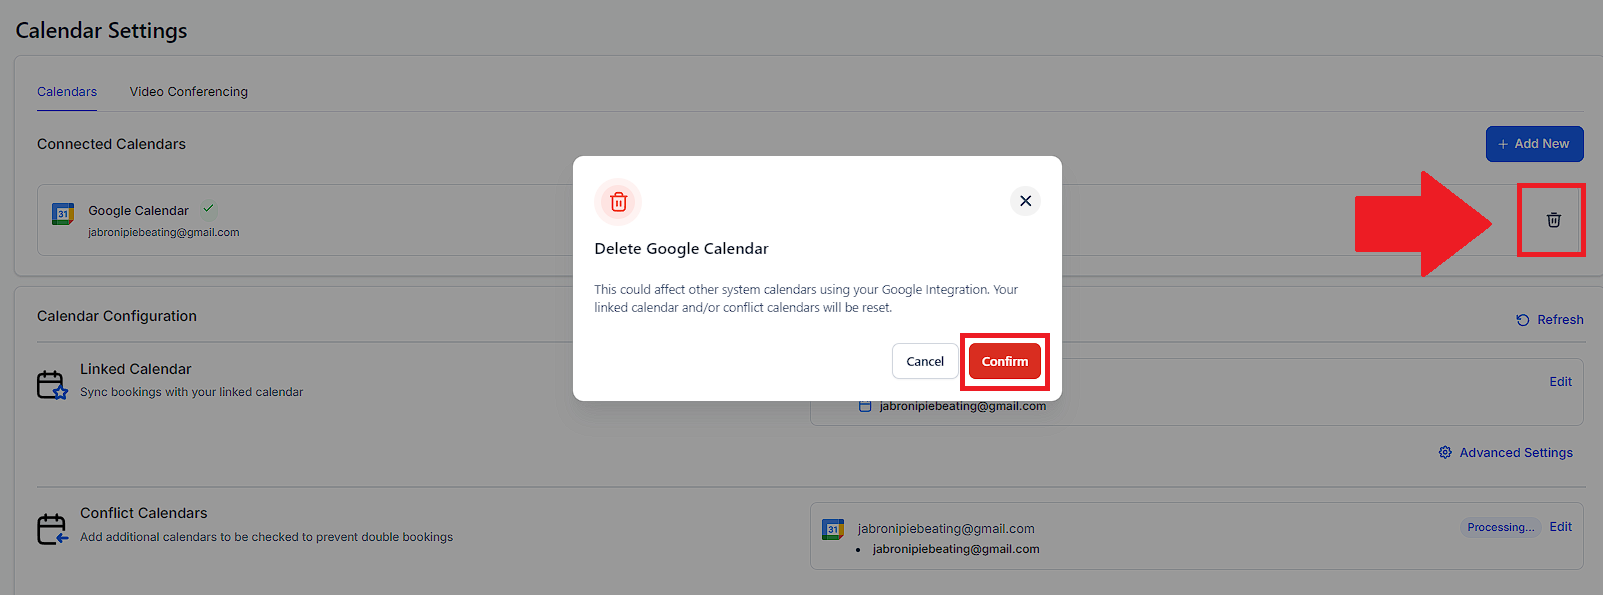
Scroll down until you see the Calendar Settings. Since the user is attempting to re-integrate their account due to syncing issues, there should already be an account shown in the calendar settings.
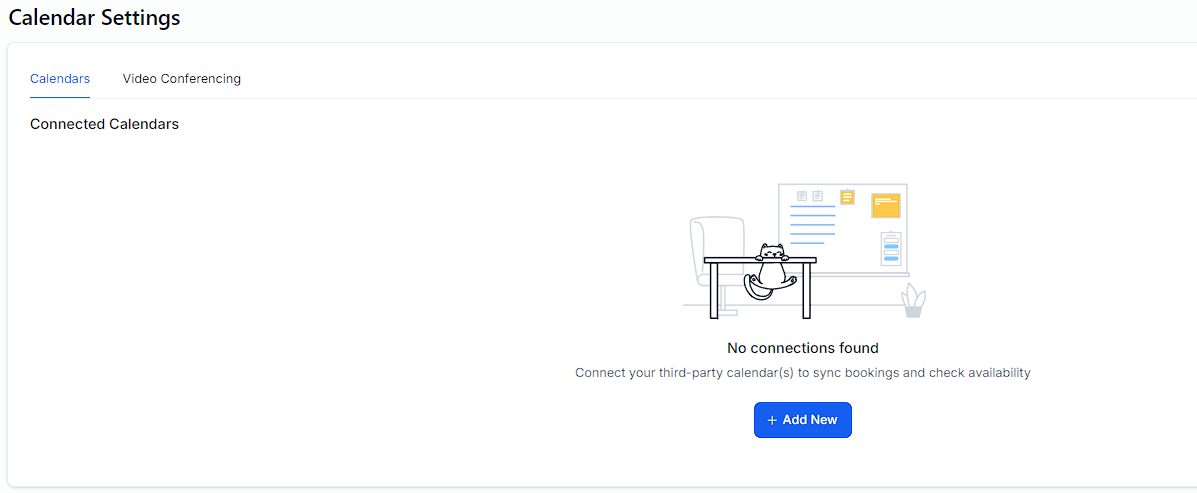
Once you've deleted the Google calendar associated with your profile, begin the process of re-integrating your Google account by clicking the "+ Add New" button in the Calendar Settings area.
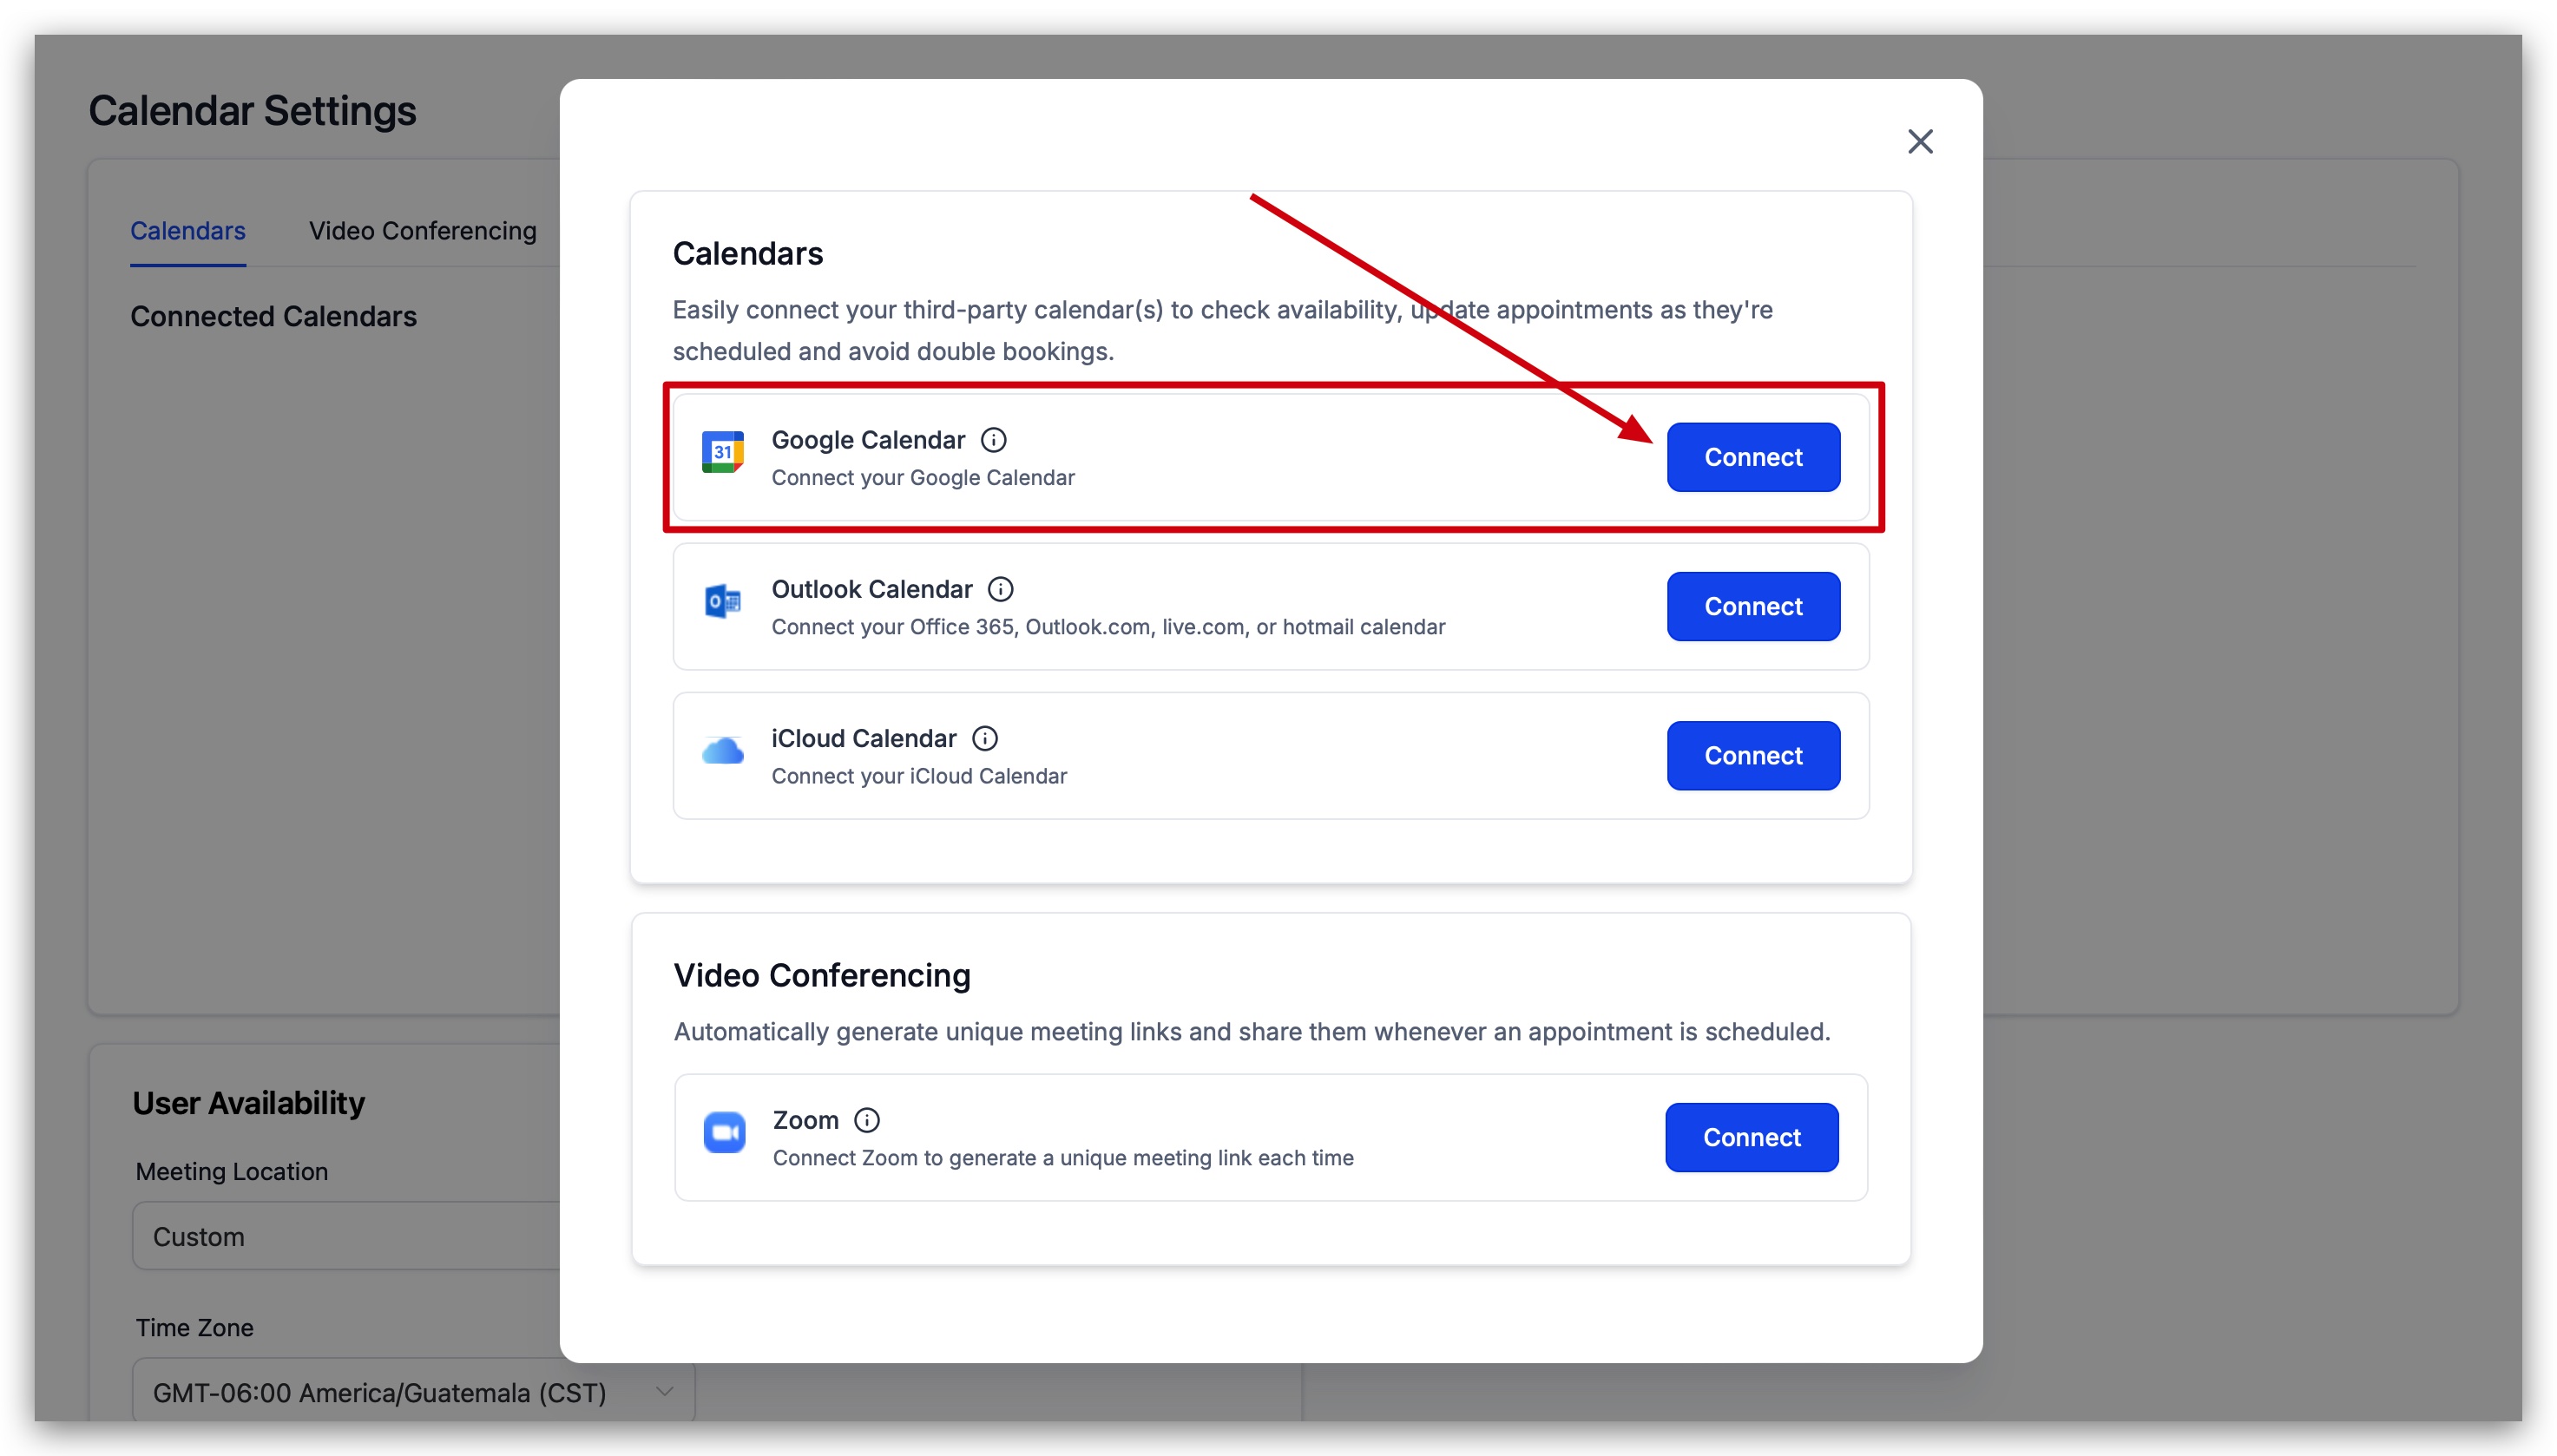
Upon clicking, you'll see the following popup. You will have the option to connect multiple different calendars from different providers such as Google, Outlook (Microsoft), and iCloud (Apple).
Click the "Connect" button next to the Google Calendar option since we are specifically trying to re-connect it.
Clicking the "Connect" button for Google calendar will navigate you to the "Integrations" section in your account settings. Here you will need to re-connect your Google account (email).
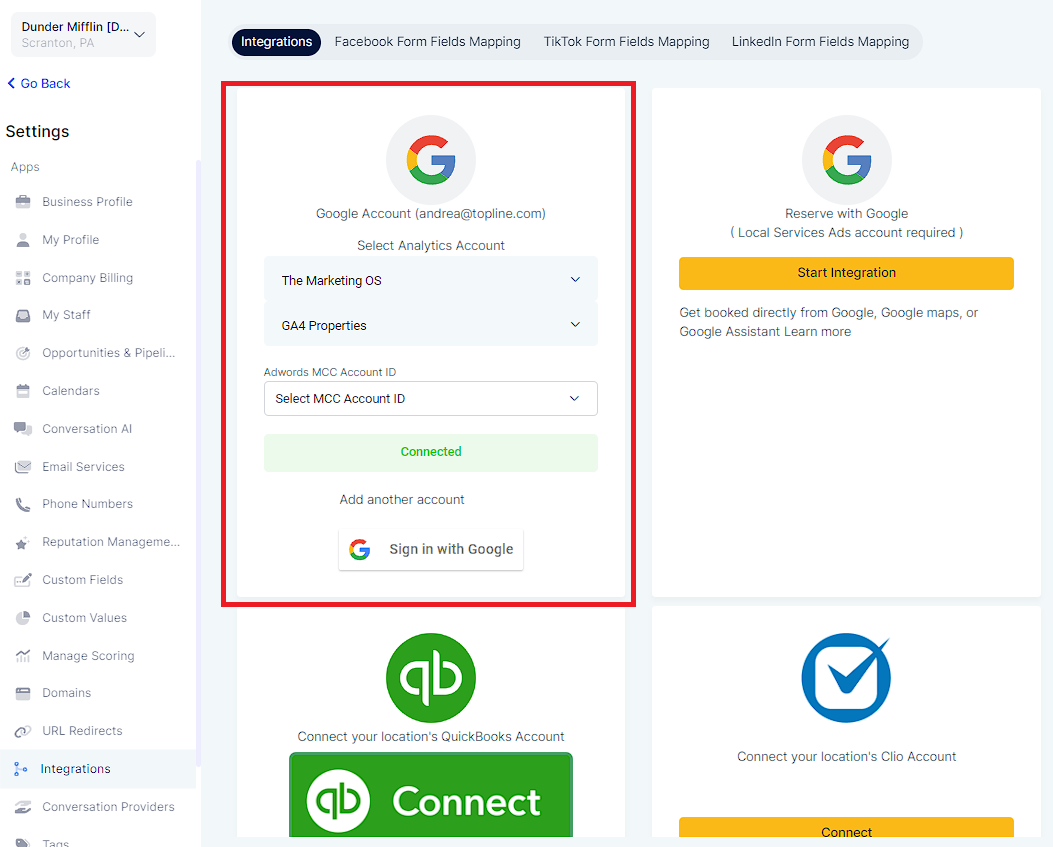
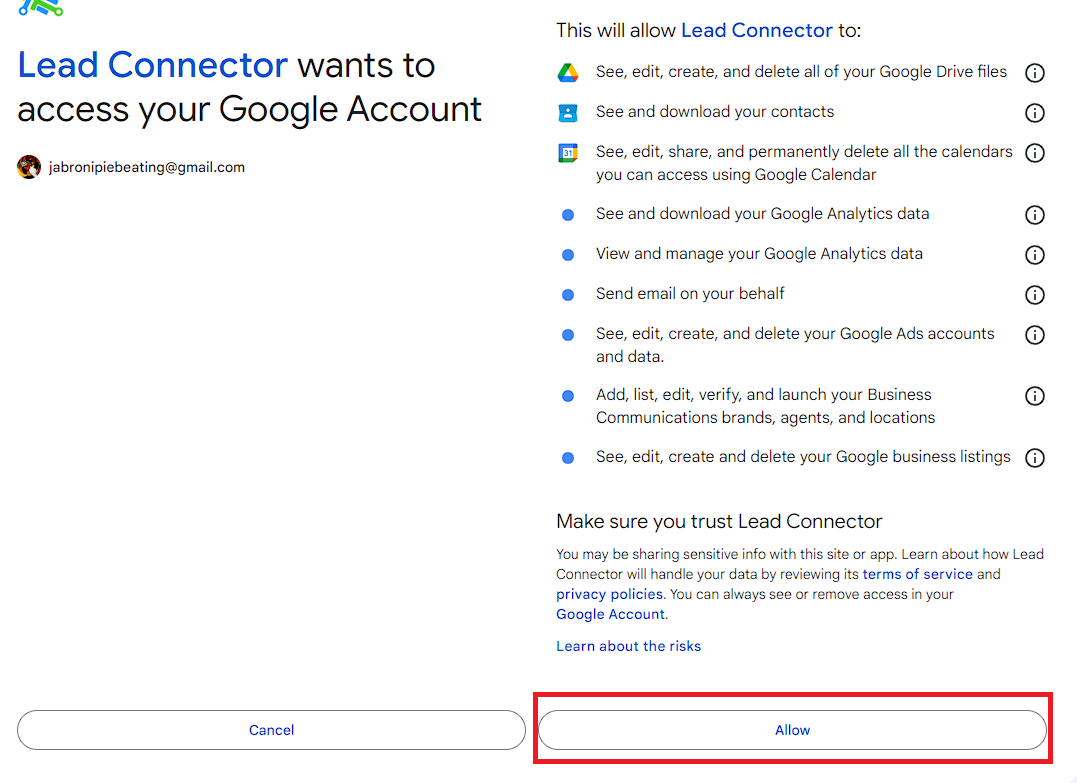
You will be asked to give Lead Connector permissions to do various things associated with your Google account. Simply click the "Allow" button to continue.
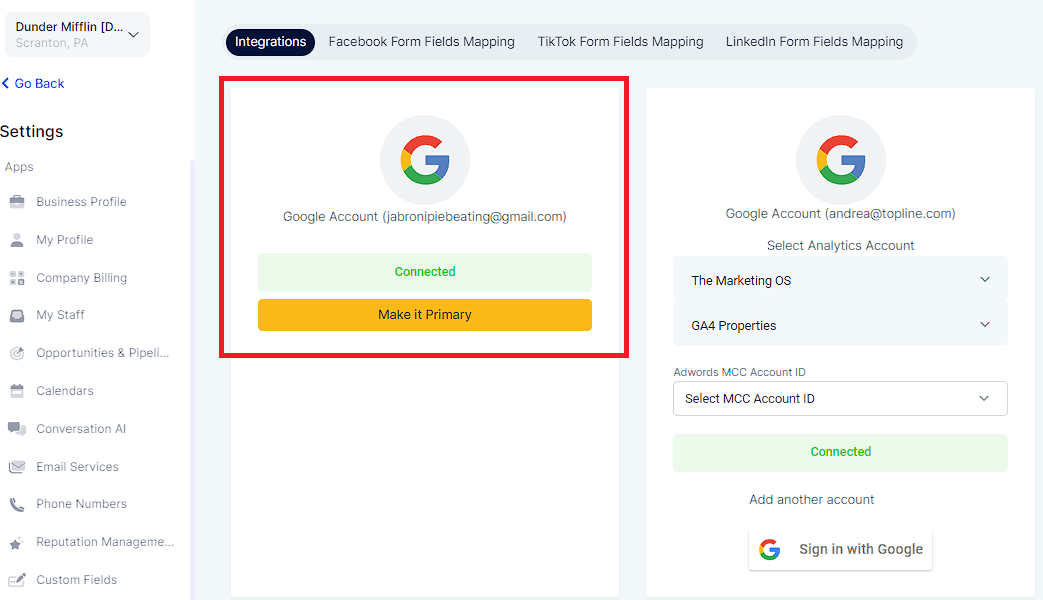
Once you've connected your Google account, you will see your Google account in the "Integrations" section of your account settings, and there will be a large green button that reads "Connected".
Now that you've confirmed your Google account is connected, you can continue to the next step in the process.
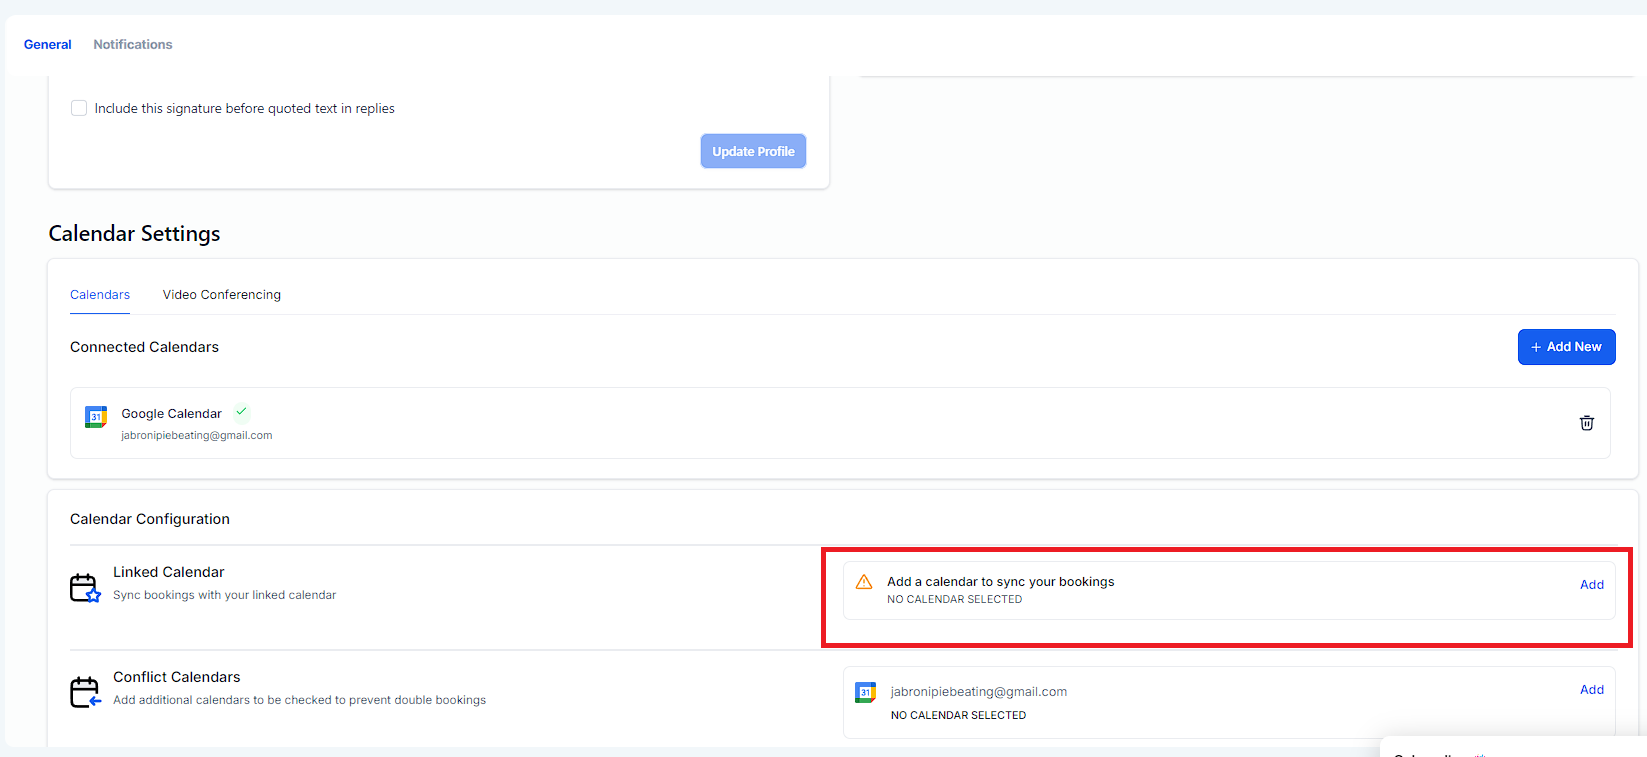
After connecting your Google account, navigate back to the "My Profile" section in your account settings. Scroll down to the "Calendar Settings" and you should now see your Google account in the "Connected Calendars" area with a green checkmark next to it just like in the picture below.
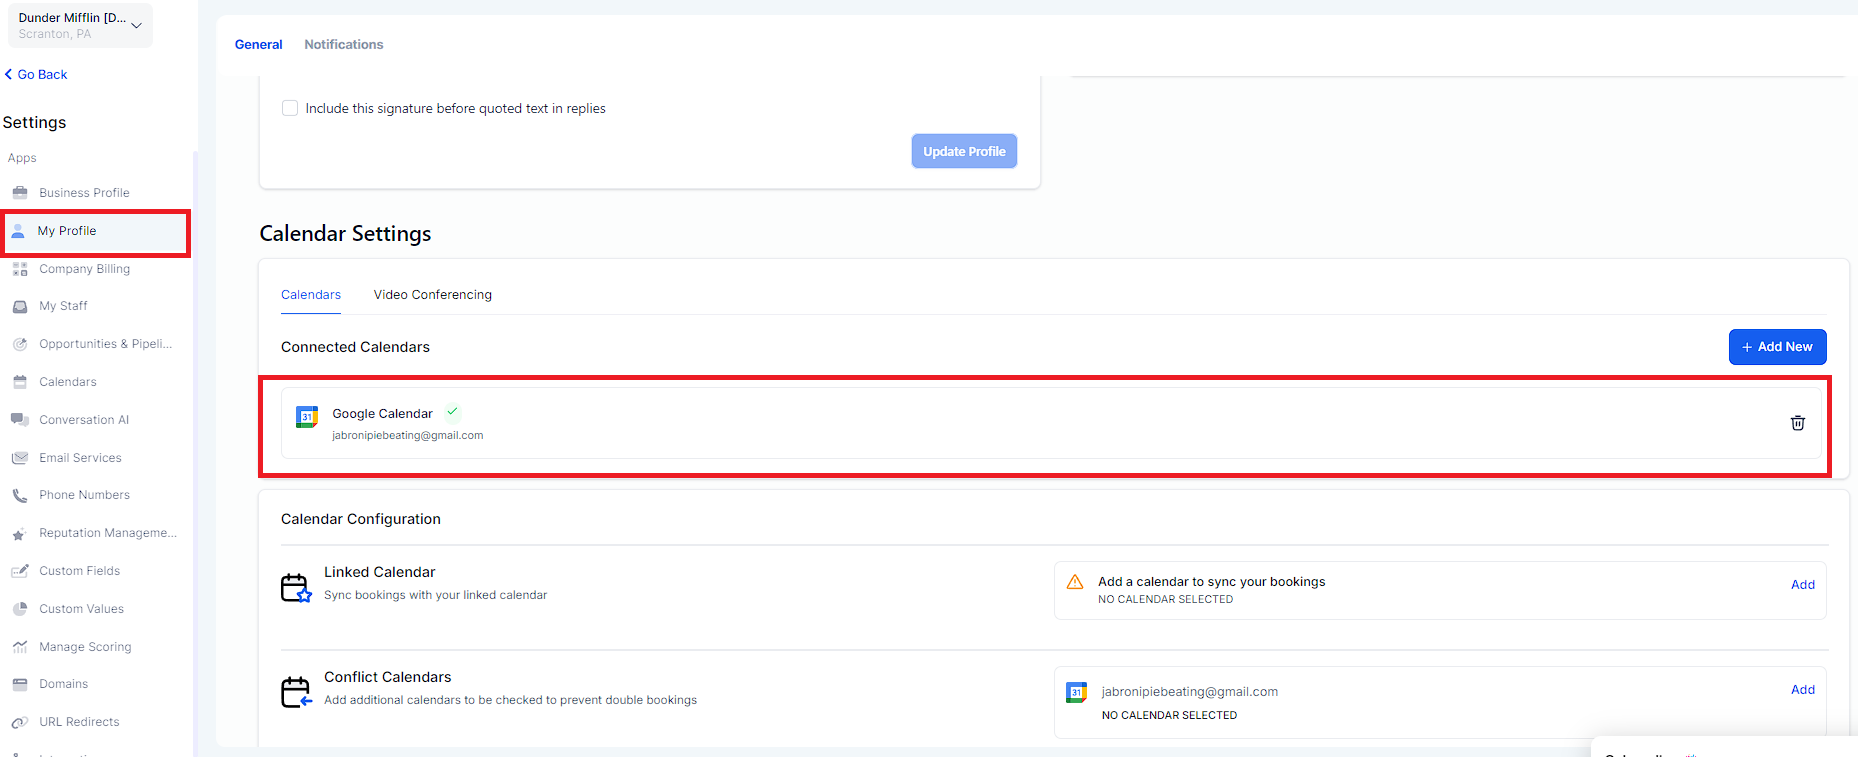
To make sure that your scheduled calendar bookings appear on your Google calendar, you will need to add a "Linked Calendar". Simply click the "Add" button the right of the "Linked Calendar" setting as shown below.
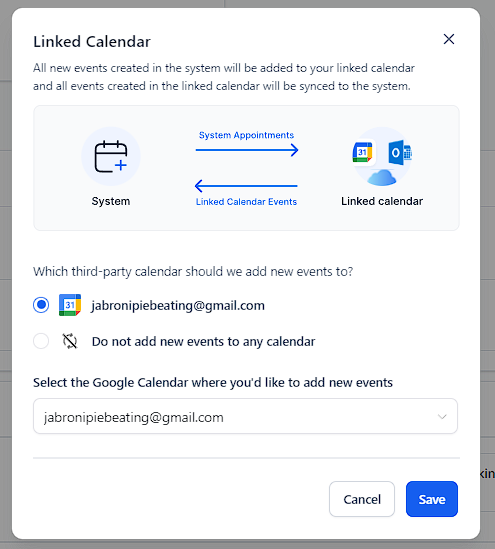
A popup will appear on your screen telling you that you are about to link your calendar with all new events created from the system. If you have connected a Google account to your account, these events will be linked to the calendar of that account. In the default setting, "Do not add new events to my calendar" is selected.
You want to change this so that booked appointments show up in your calendar, so make sure to select the calendar you want to link from the list shown below.
After you've selected the calendar(s) you want to link to new system events, click the "Save" button to continue.
Once you save, you will see the system start processing your request. This may take some time depending on your internet connection and the speed of your computer, but usually is very quick (Less than 1 minute).
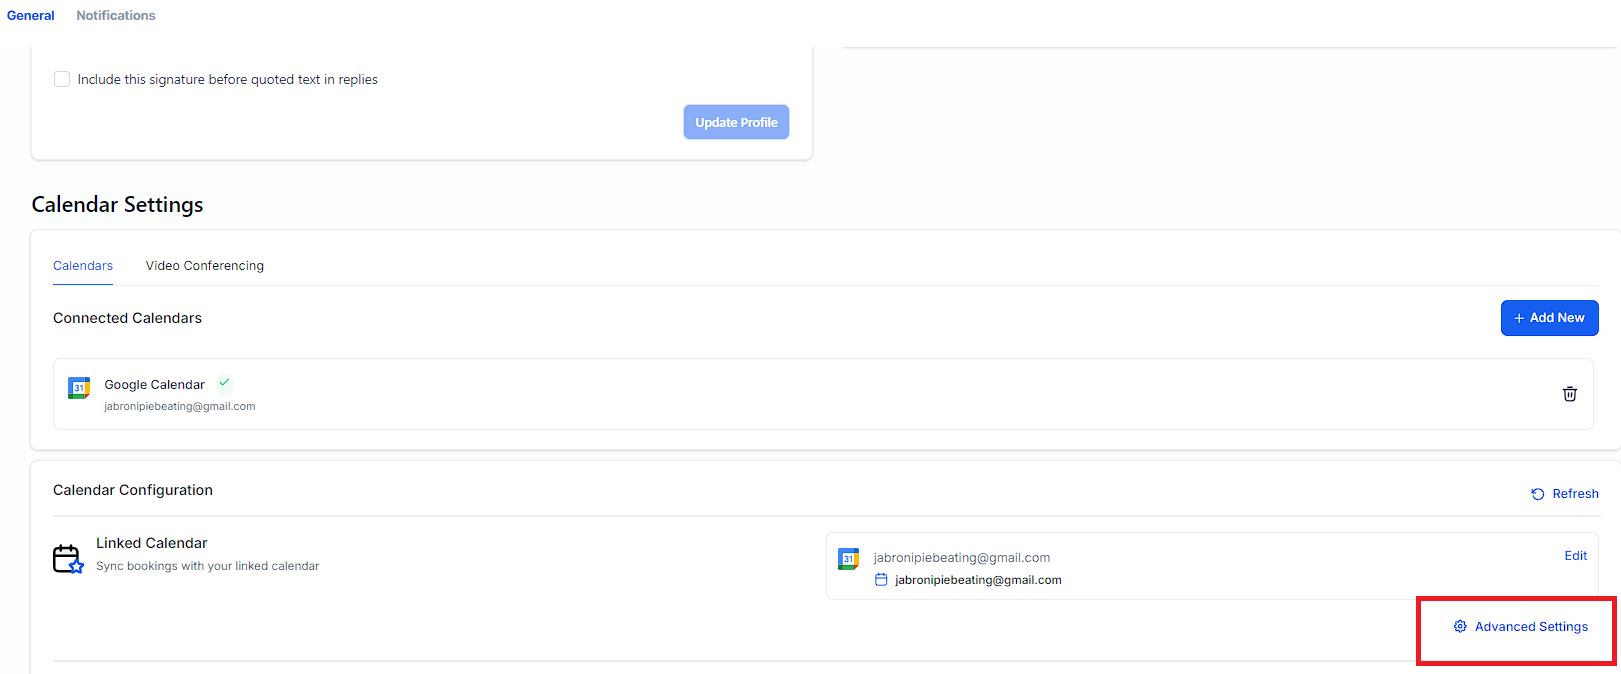
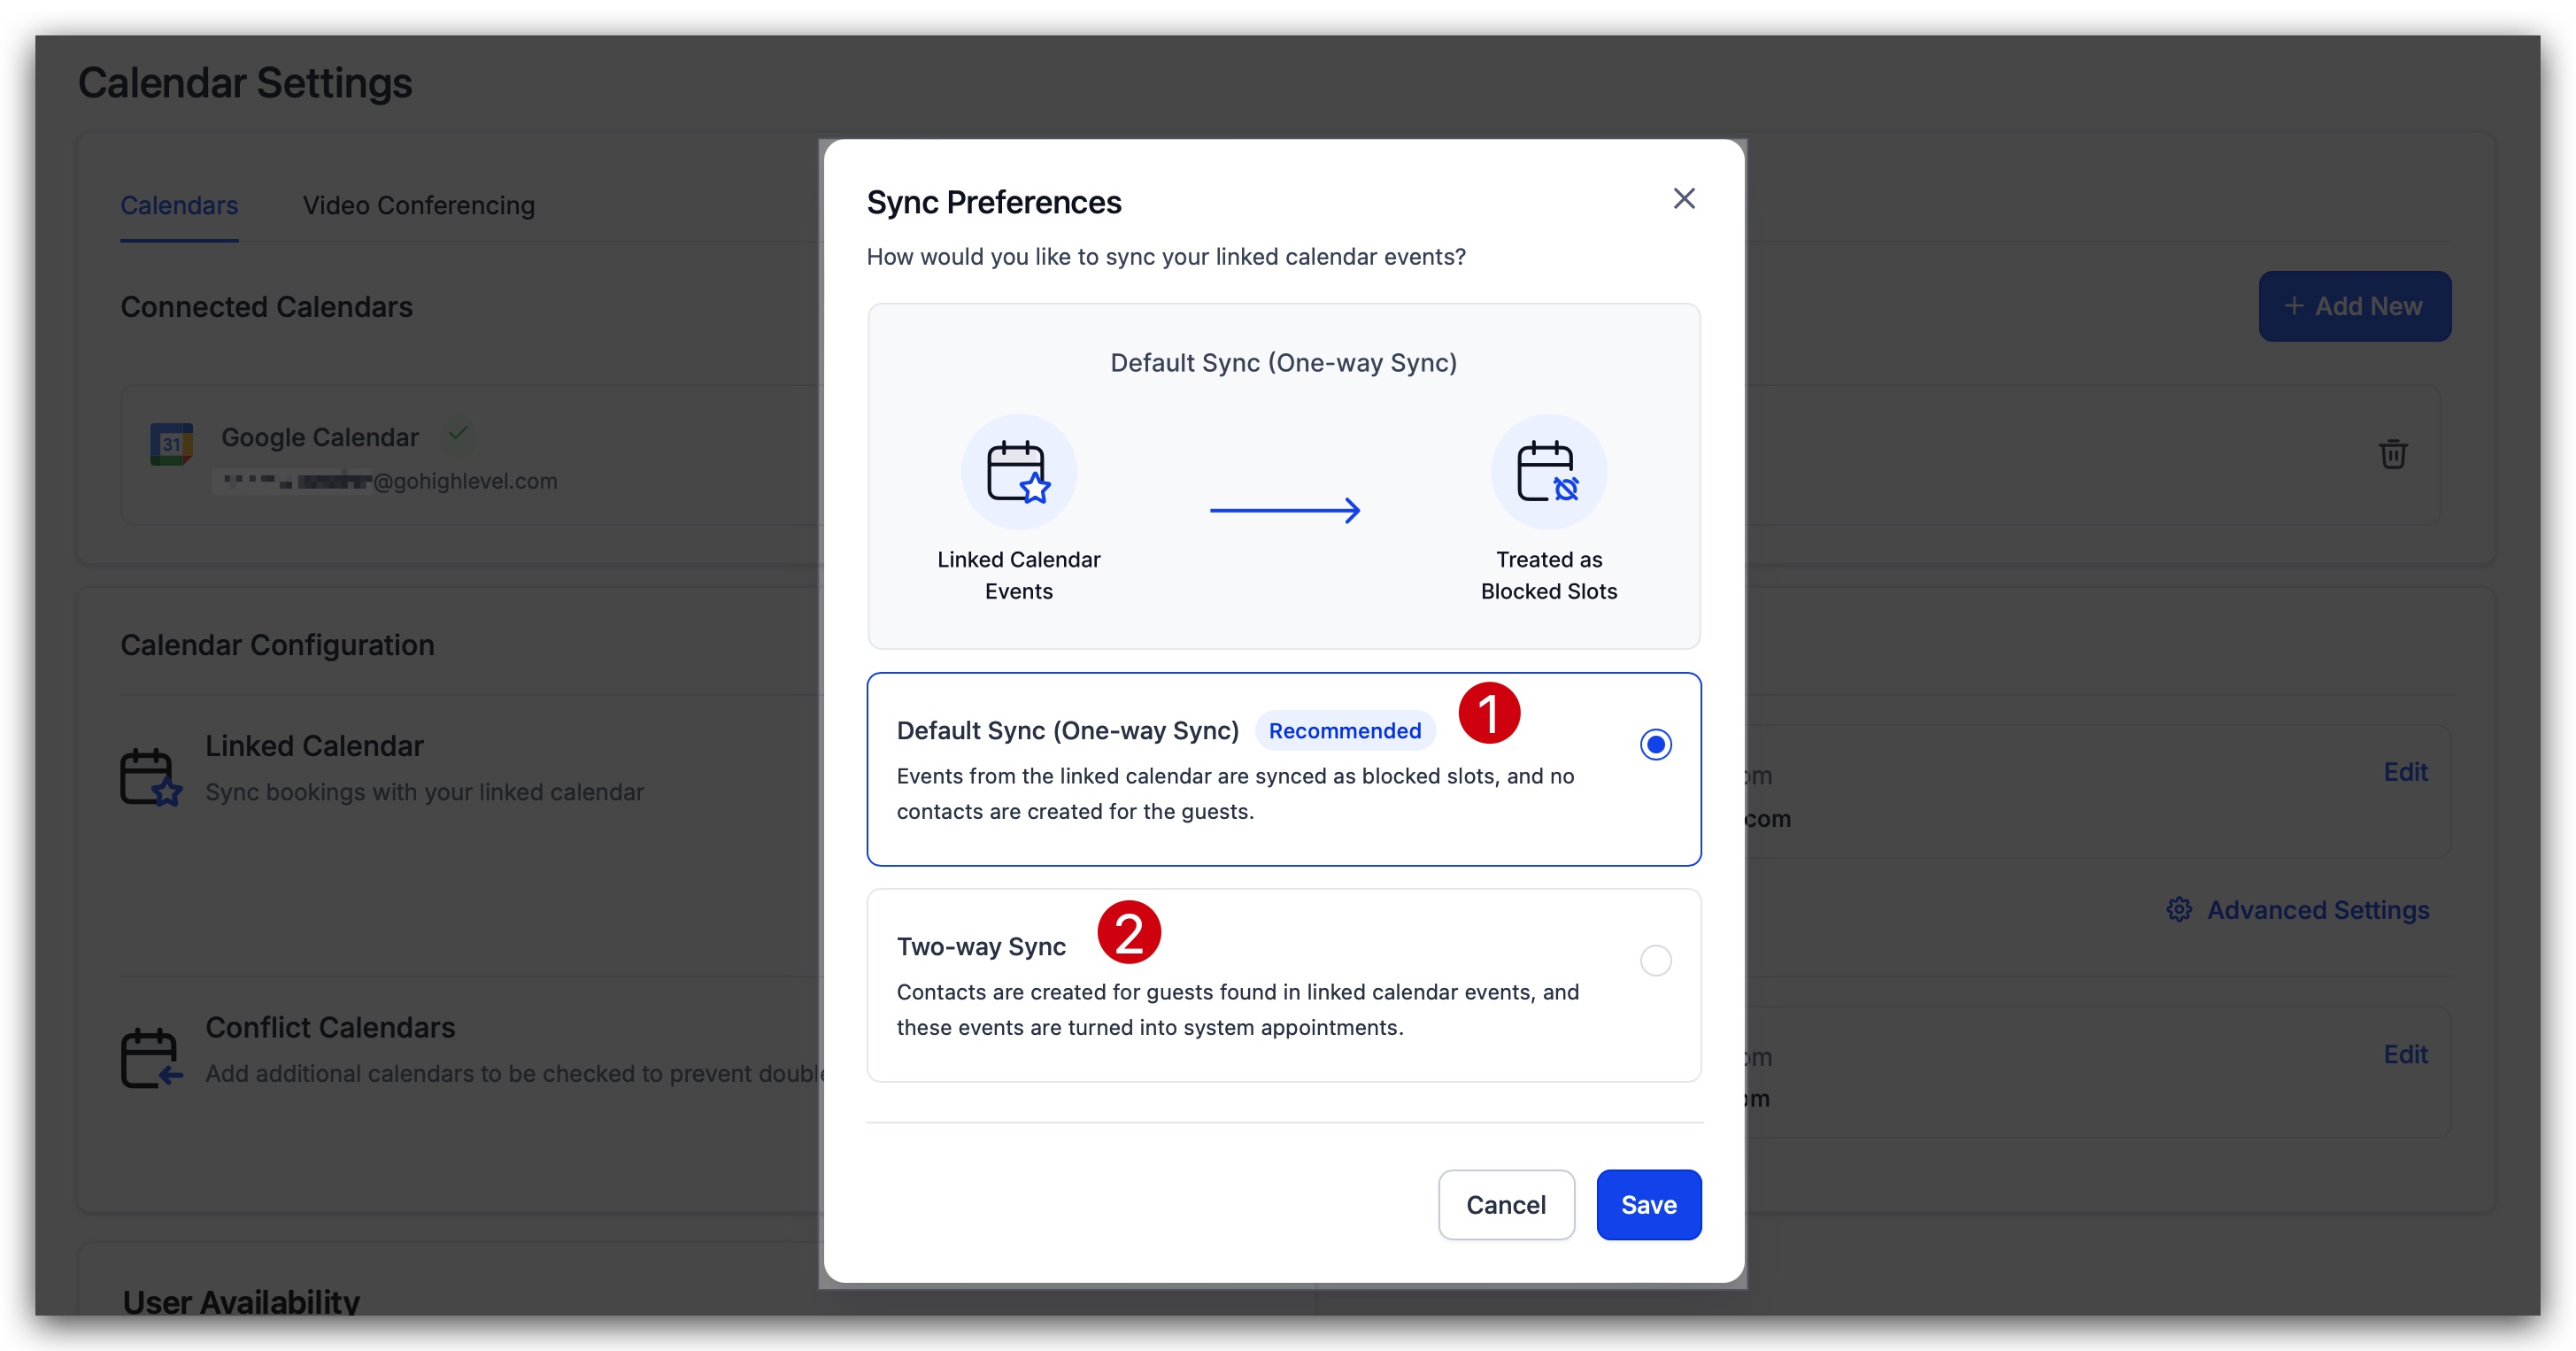
If you wish to change the way your calendar syncs events, you have the option to choose either "One-way Sync" or "Two-way Sync". This is found in the "Advanced Settings" area. Click the button shown below to configure advanced calendar settings.
Events from the linked calendar are synced as blocked slots, and no contacts are created for the guests.
Contacts are created for guests found in linked calendar events, and these events are turned into system appointments.
If you want your calendar to look at other calendars or calendar events to see if there are any conflicts when attempting to book appointments, you want to configure the "Conflict Calendars" setting.
Click the "Edit" button to adjust this setting.
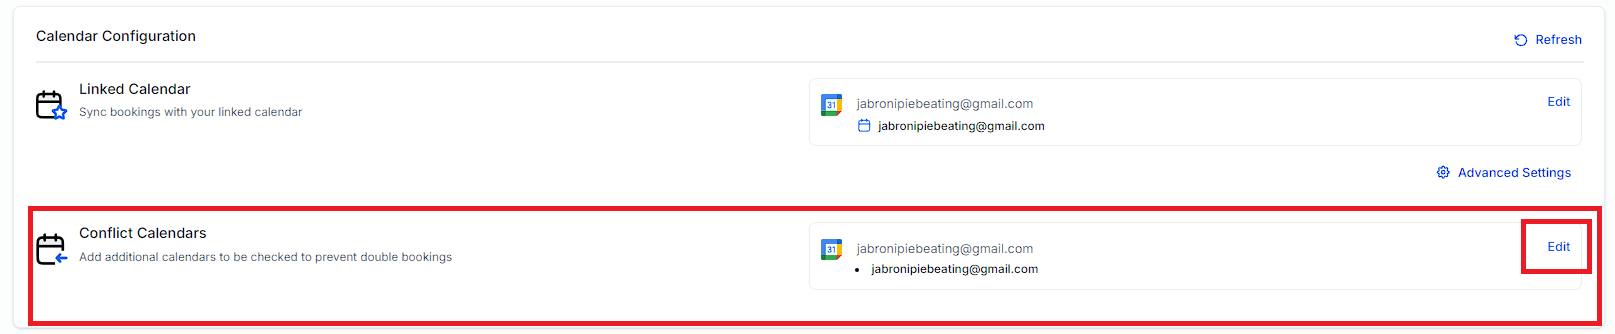
Once you click the "Edit" button, you will see a popup that shows all the different events that will be checked for conflicts. These events are referenced when the system is determining your availability when prospects and customers are attempting to book appointments.

After you finish Step 7, make sure you test your Google calendar to make sure the syncing process works the way it should. To test and confirm, you can follow the steps outlined below:
Go to Calendar Settings and edit a calendar:
This should be a calendar that you can safely use to test with. If you do not have any calendars that you can use for testing, create a test calendar.
Add your user to the calendar:
This should be the user that just re-connected their Google account) to this calendar.
Save calendar settings and open your calendar:
Make sure you save your settings before exiting the calendar settings. Next open the test calendar in your web browser of choice.
Book an appointment:
Go through the booking process with the test calendar.
Check your Google calendar:
Check your Google calendar AND your calendar inside your account (in the Appointments tab) to make sure your test appointment was successfully scheduled.
