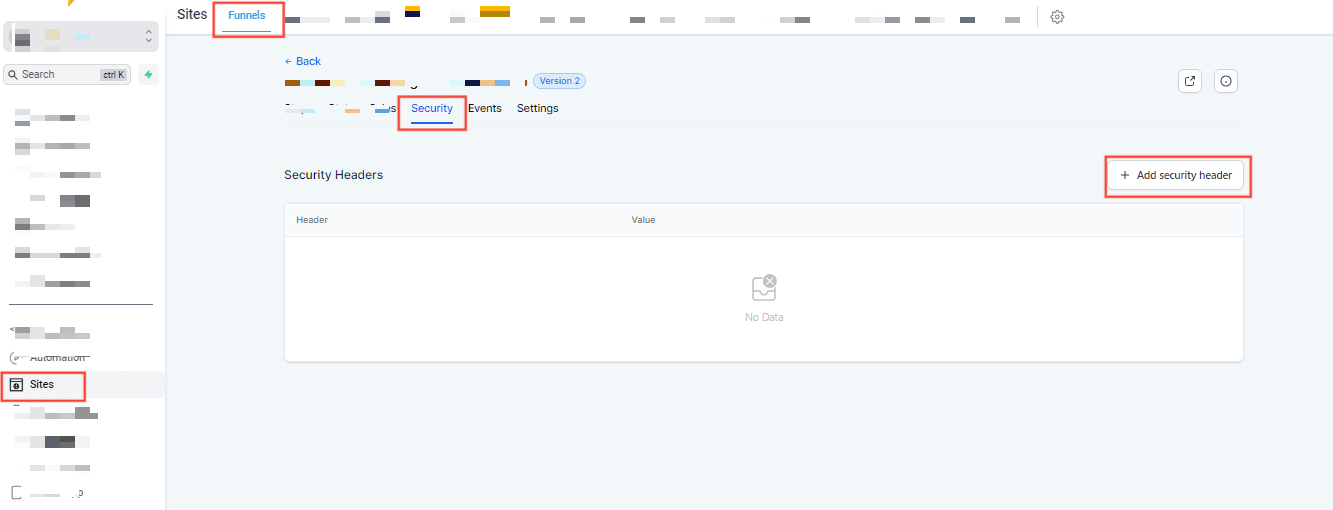
Security Tab in Funnels/Websites: Users can now add custom response headers to their funnels and websites directly through the new Security tab.
Enhanced Website Security: Headers are crucial for protecting websites, and previously, users couldn't configure these headers like they could on other platforms.
User-Controlled Configuration: With this update, users have the flexibility to configure security headers themselves, without any limitations.
1. Open Any Funnel/Website
Navigate to the funnel or website in your account.
2. Navigate to the Security Tab
Click on the "Security" tab at the top of the page.

3. Add Security Header
Click on the "Add Security Header" button.
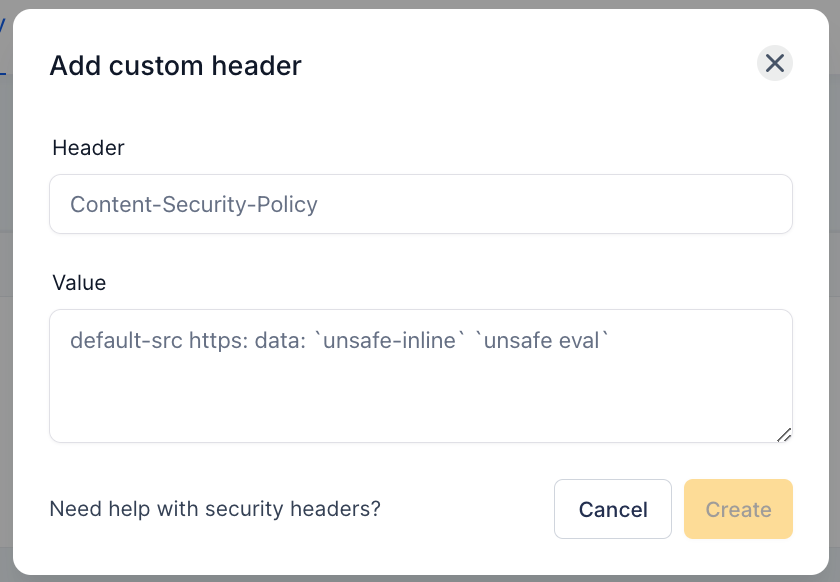
4. Enter Header and Value
In the modal that appears, enter the header name and its corresponding value.
5. Save the Changes
Click on the "Save" button to apply the security header to your website or funnel.
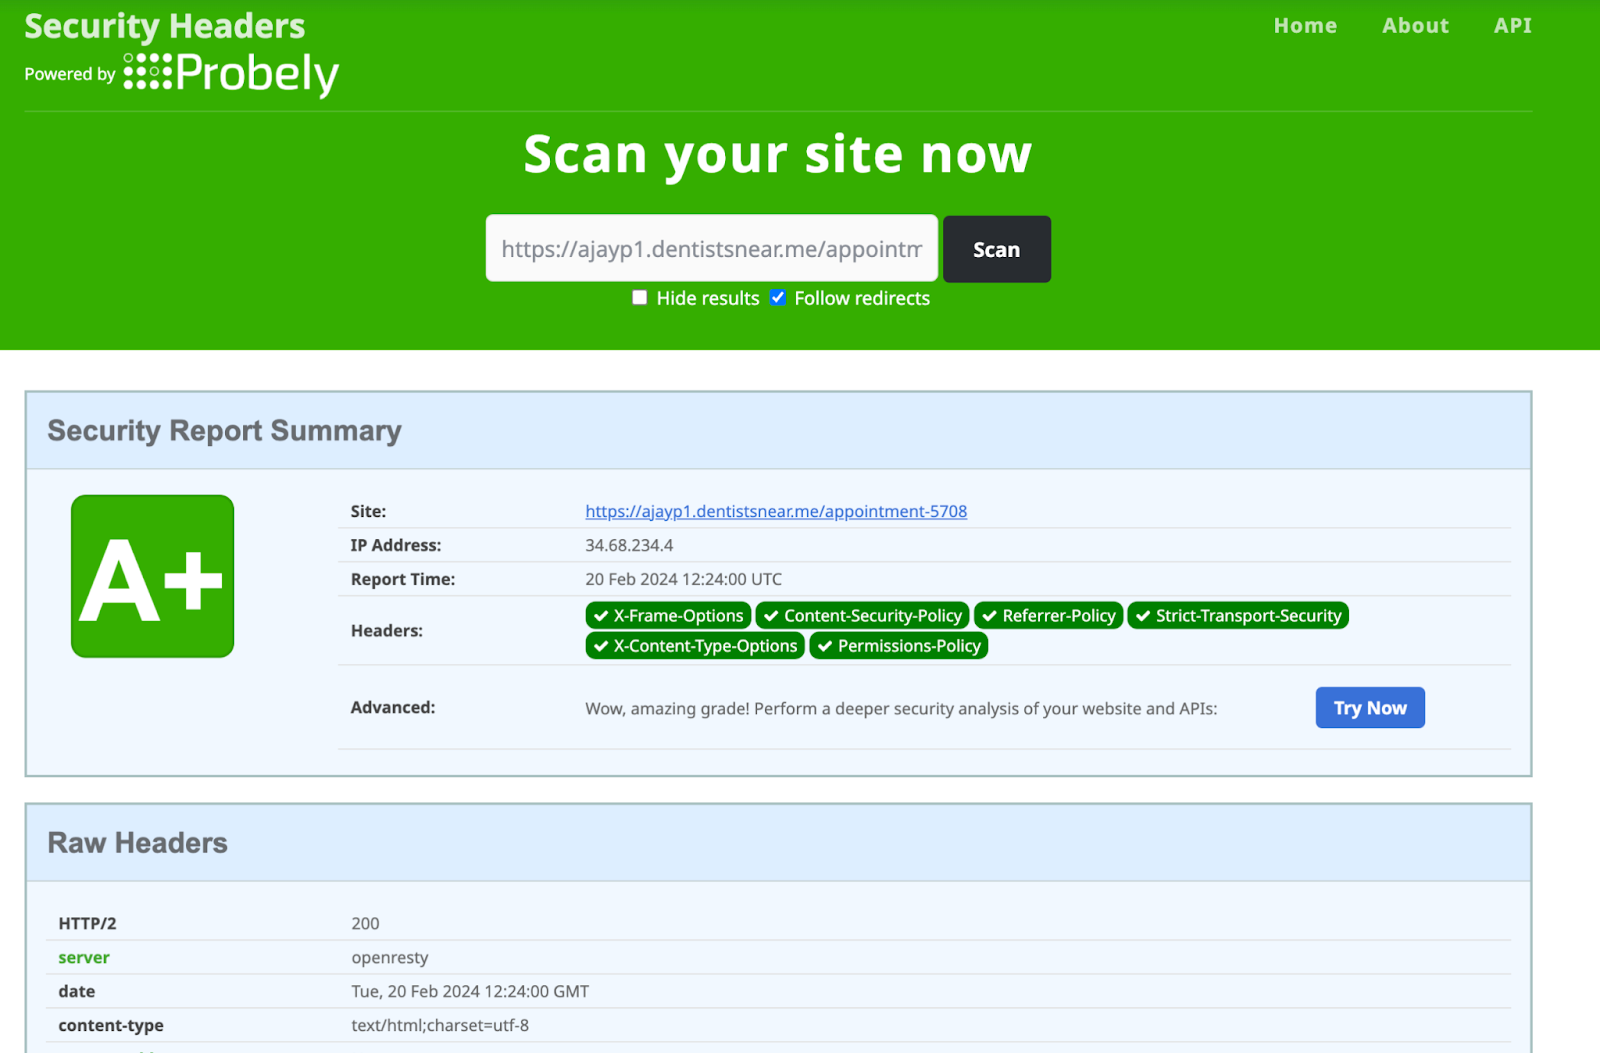
The implementation of enhanced security headers within the CRM fortifies data protection measures, ensuring peace of mind for users and bolstering trust in their online interactions.
