Go to Calendar Settings.
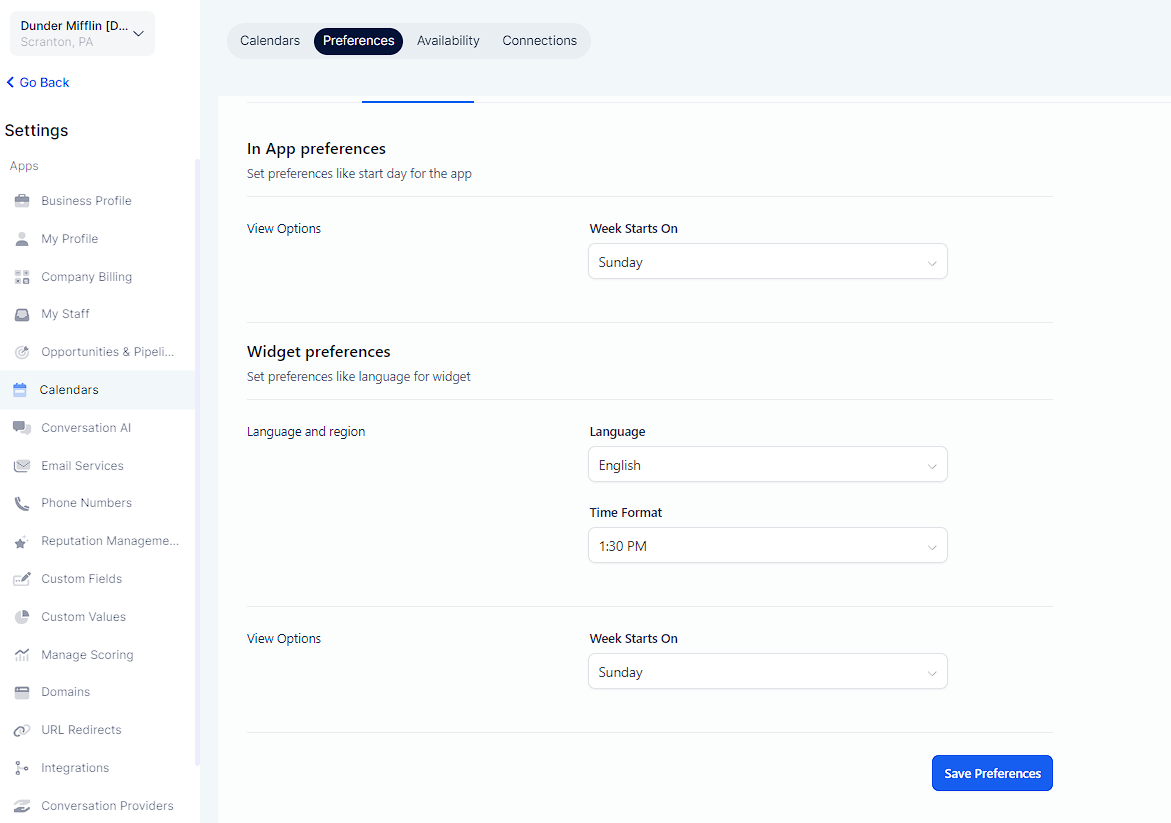
Click on "Preferences."
Under "In-App Preferences," toggle the "Service Menu" option to turn it on.
You will now see "Service Calendar" under "Create New Calendar"
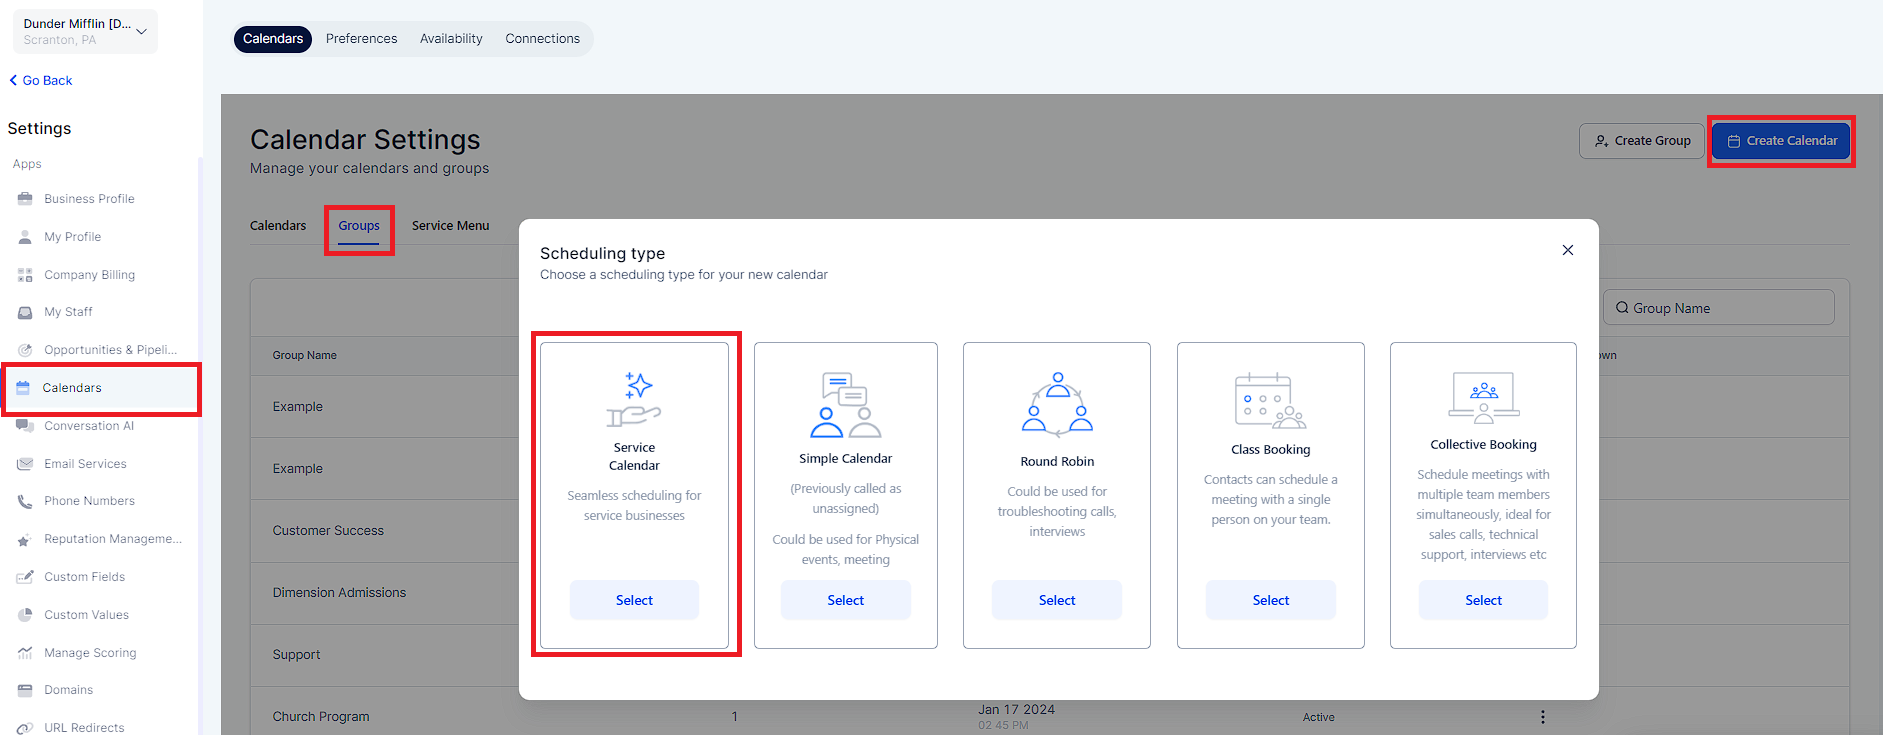
Start by logging in to your account > Go to "Calendars" > "Calendar Settings" > "Groups"
Within the Calendars Tab, click "Create Calendar," then choose the "Service Calendar" option.
Input the Essentials: Provide the necessary information for your service calendar such as:
Calendar Name: Give your calendar a descriptive name.
Calendar Description: Add a brief description to help users understand the purpose of the calendar.
Staff Assignment and URL: Select the staff members who will be assigned to the service you're creating the calendar for. Additionally, define a calendar slug or URL that will determine the link to your calendar.
Duration: Specify the duration of your service
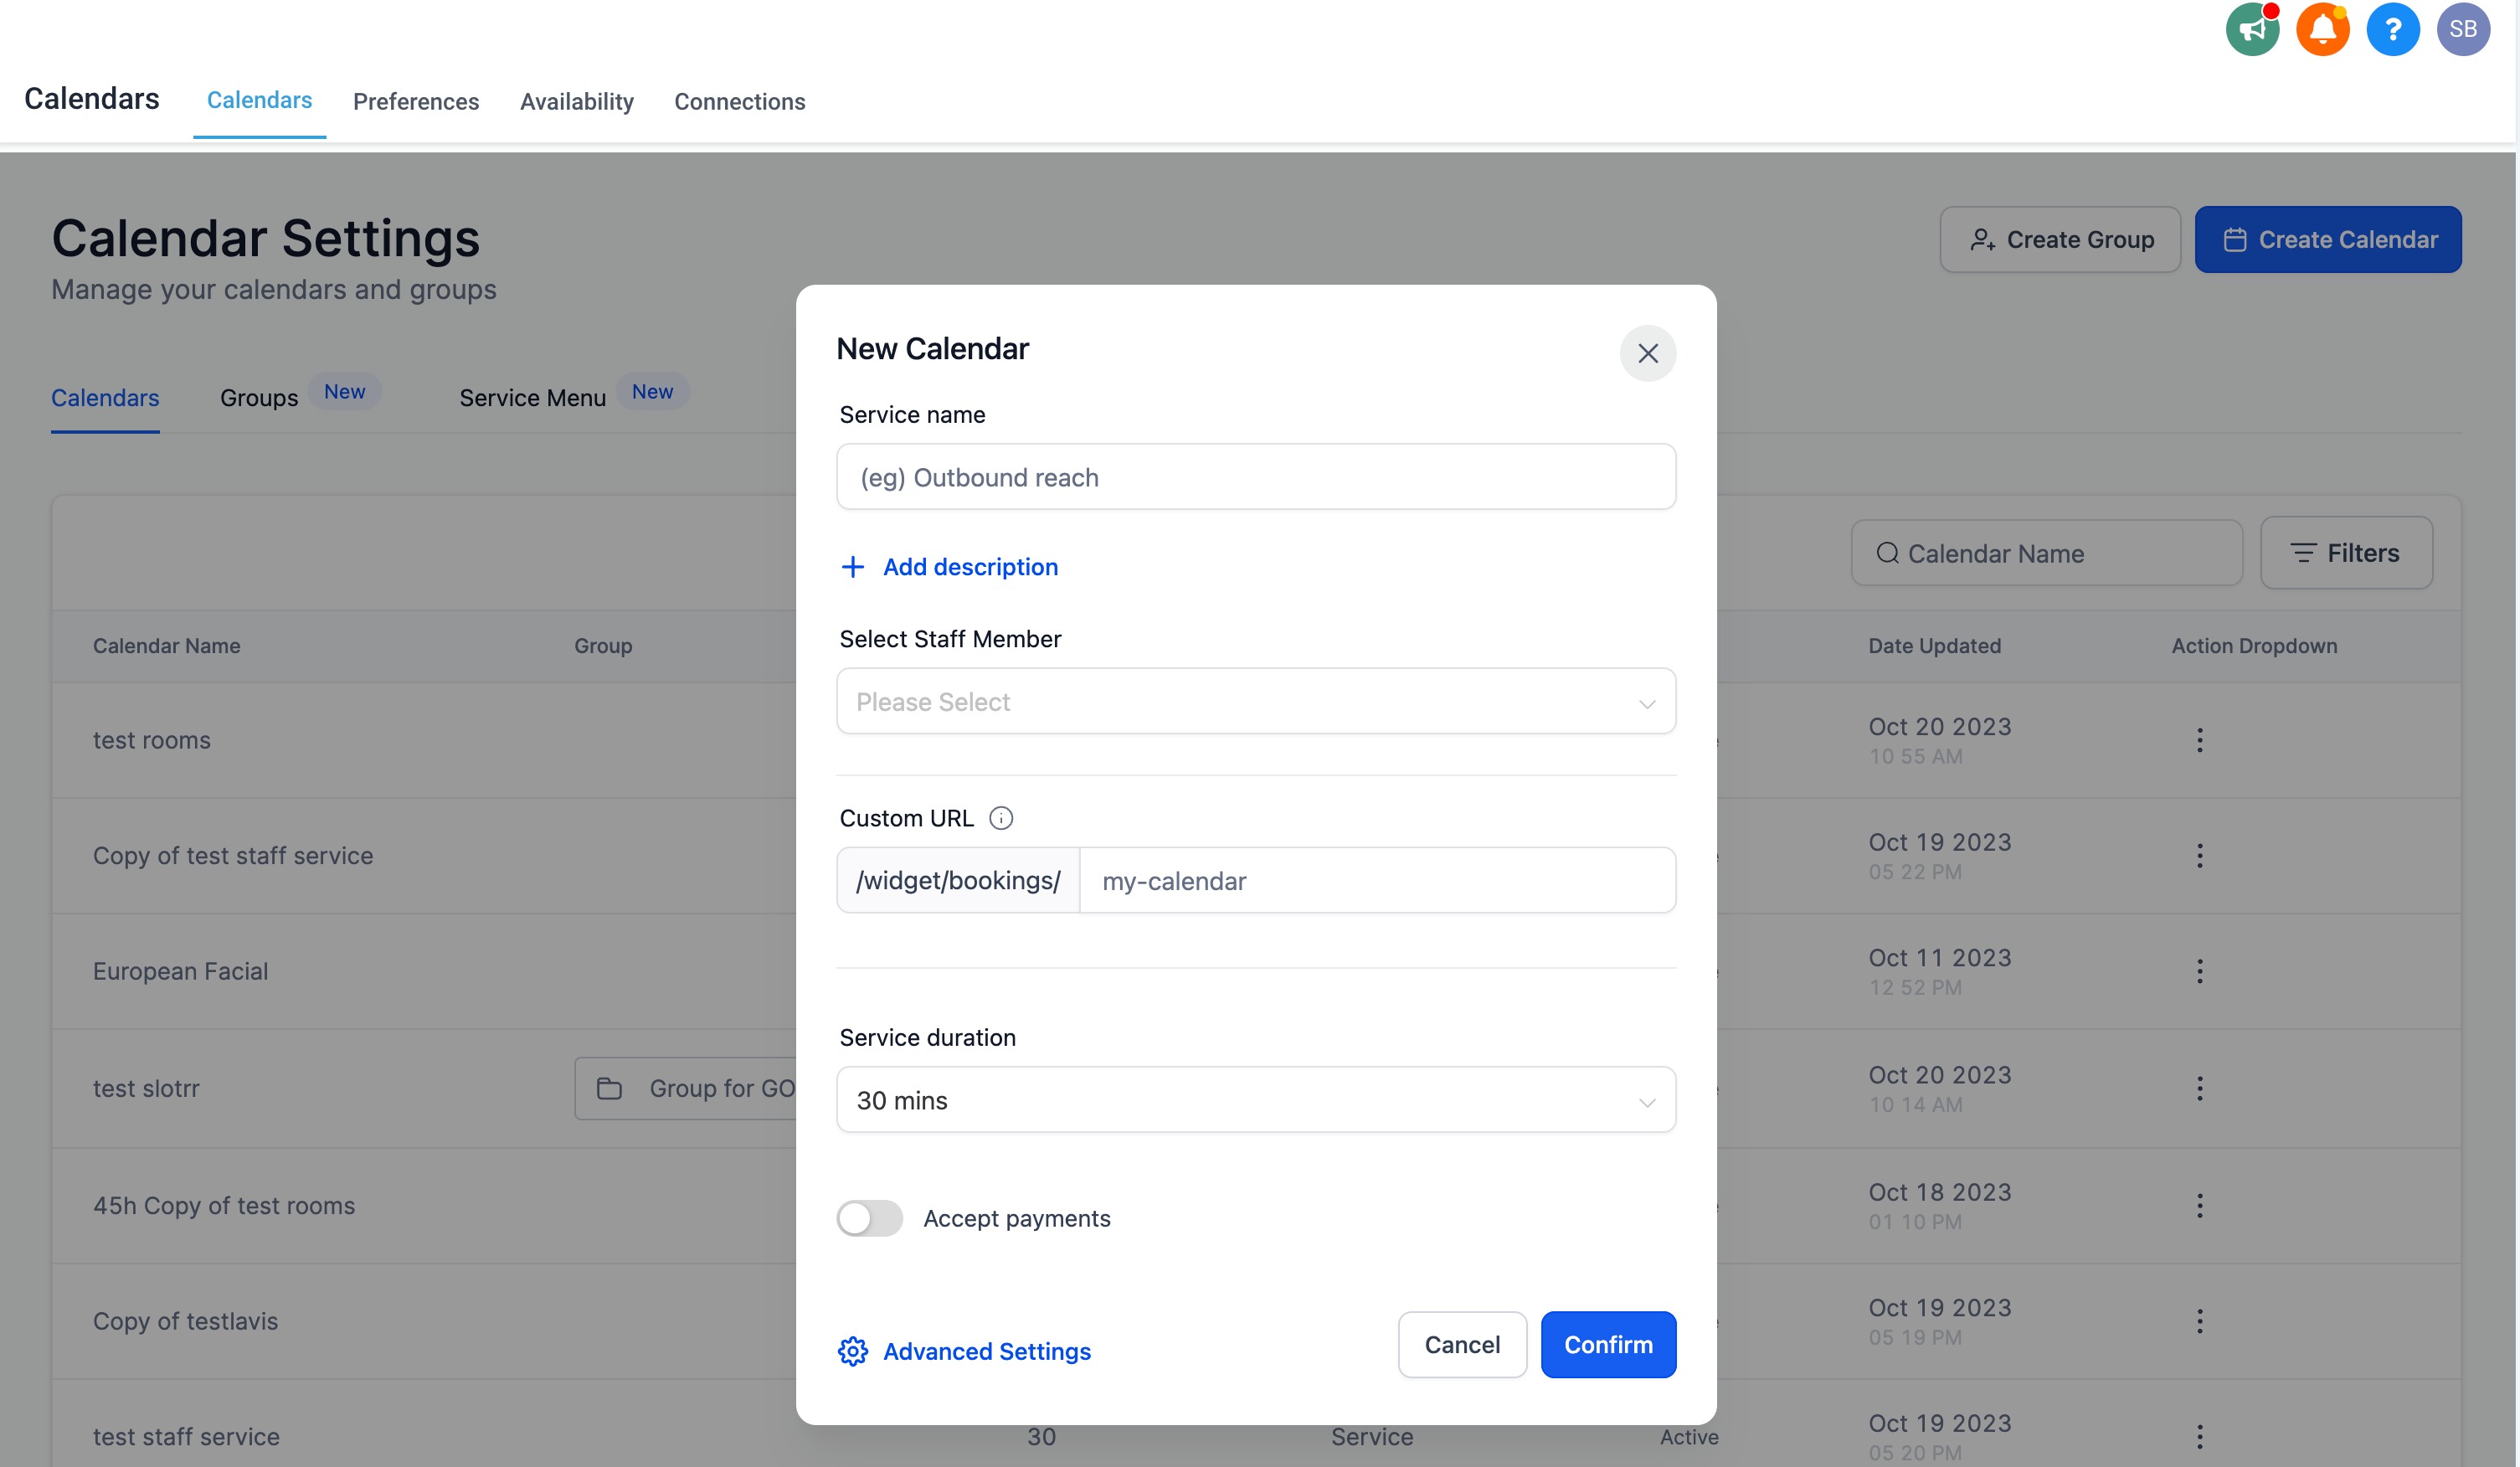
You can customize your service calendar further with Advanced Options. Simply click on Advanced Settings Button
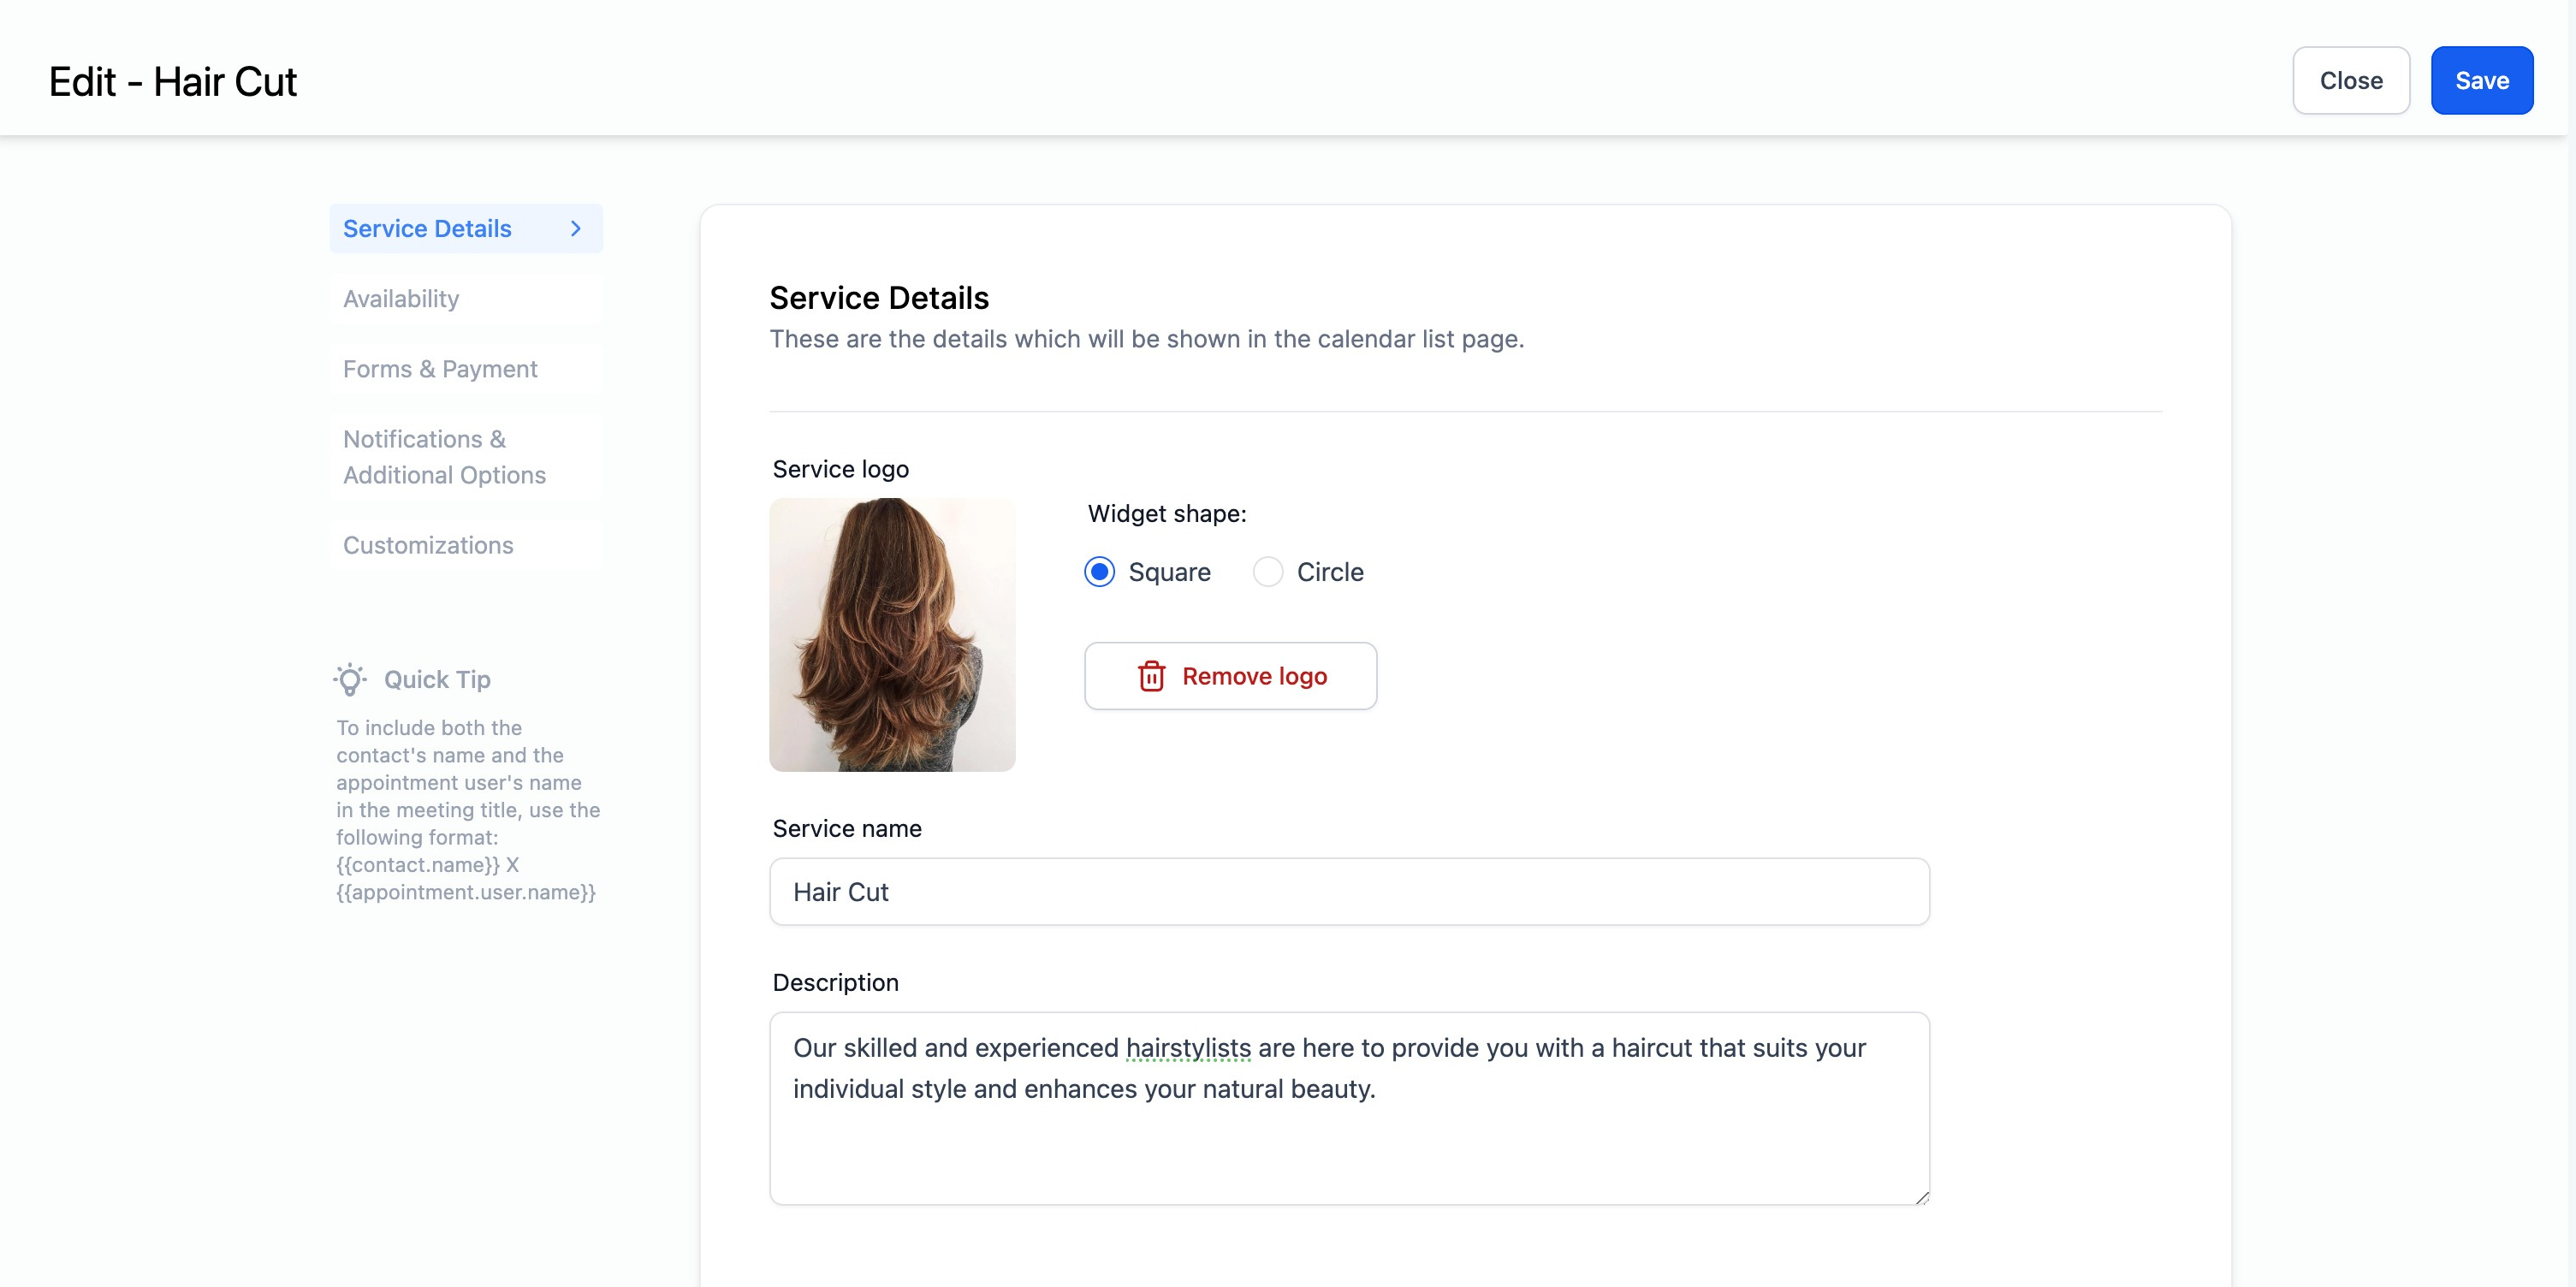
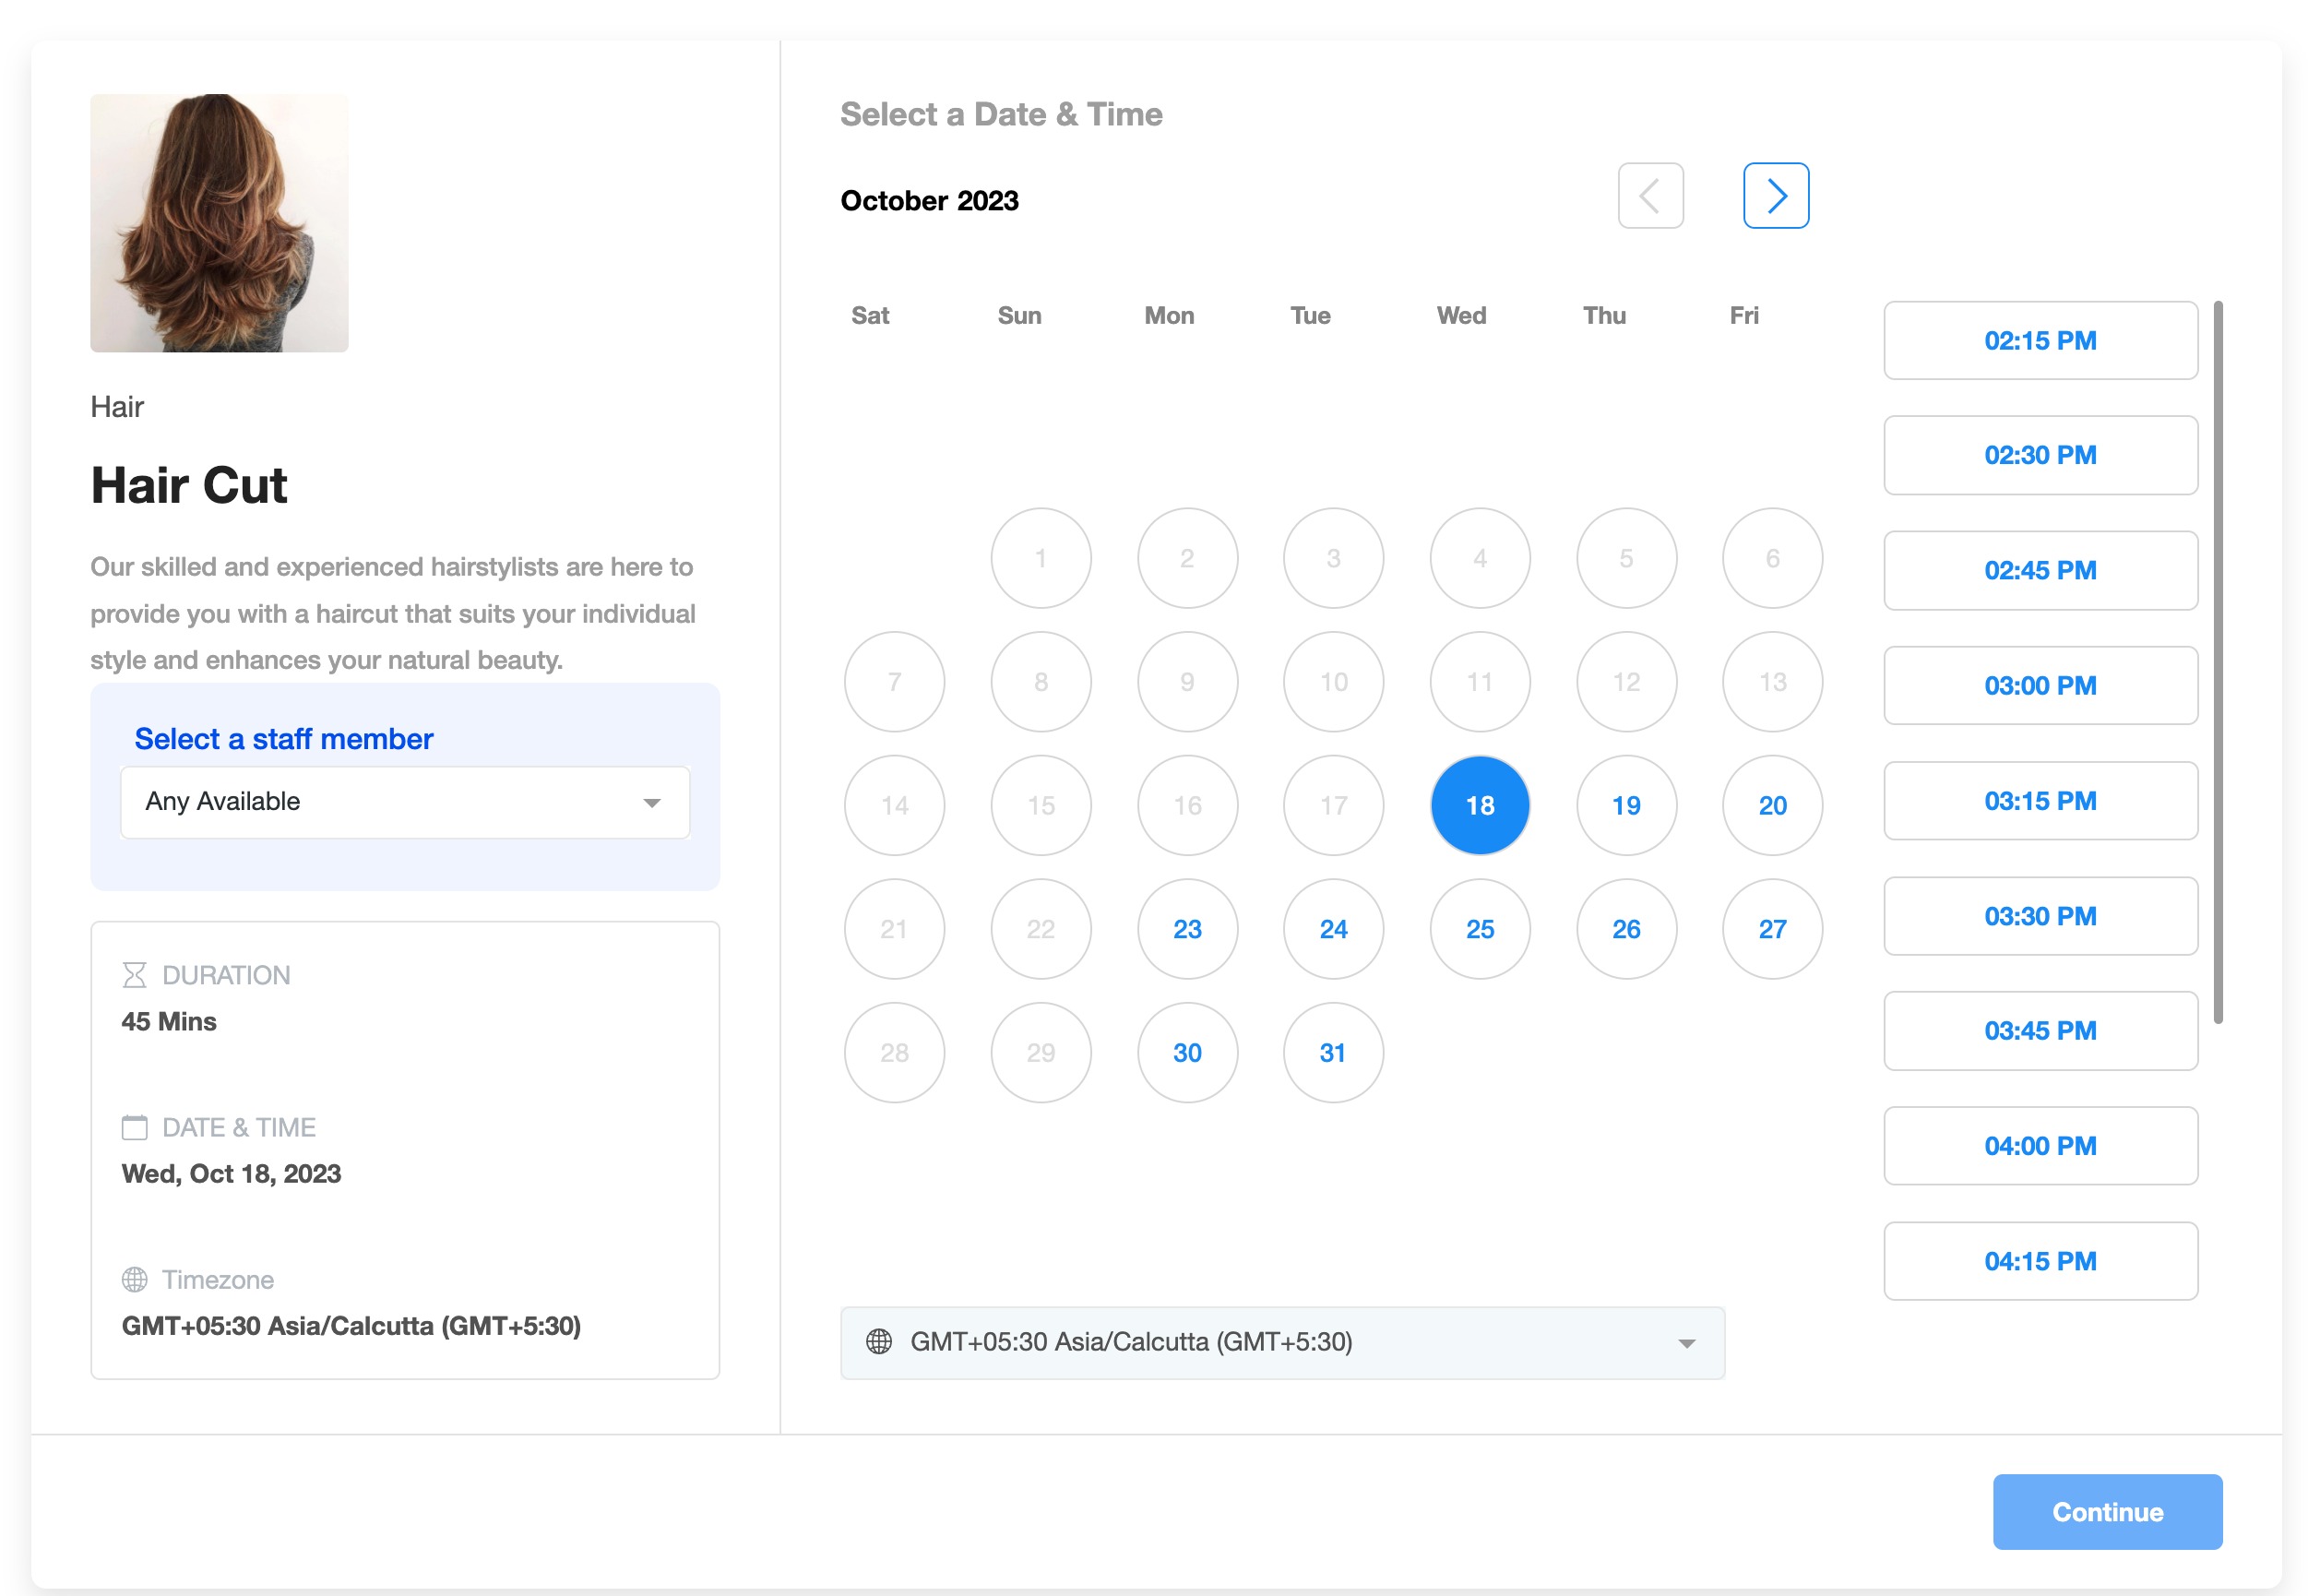
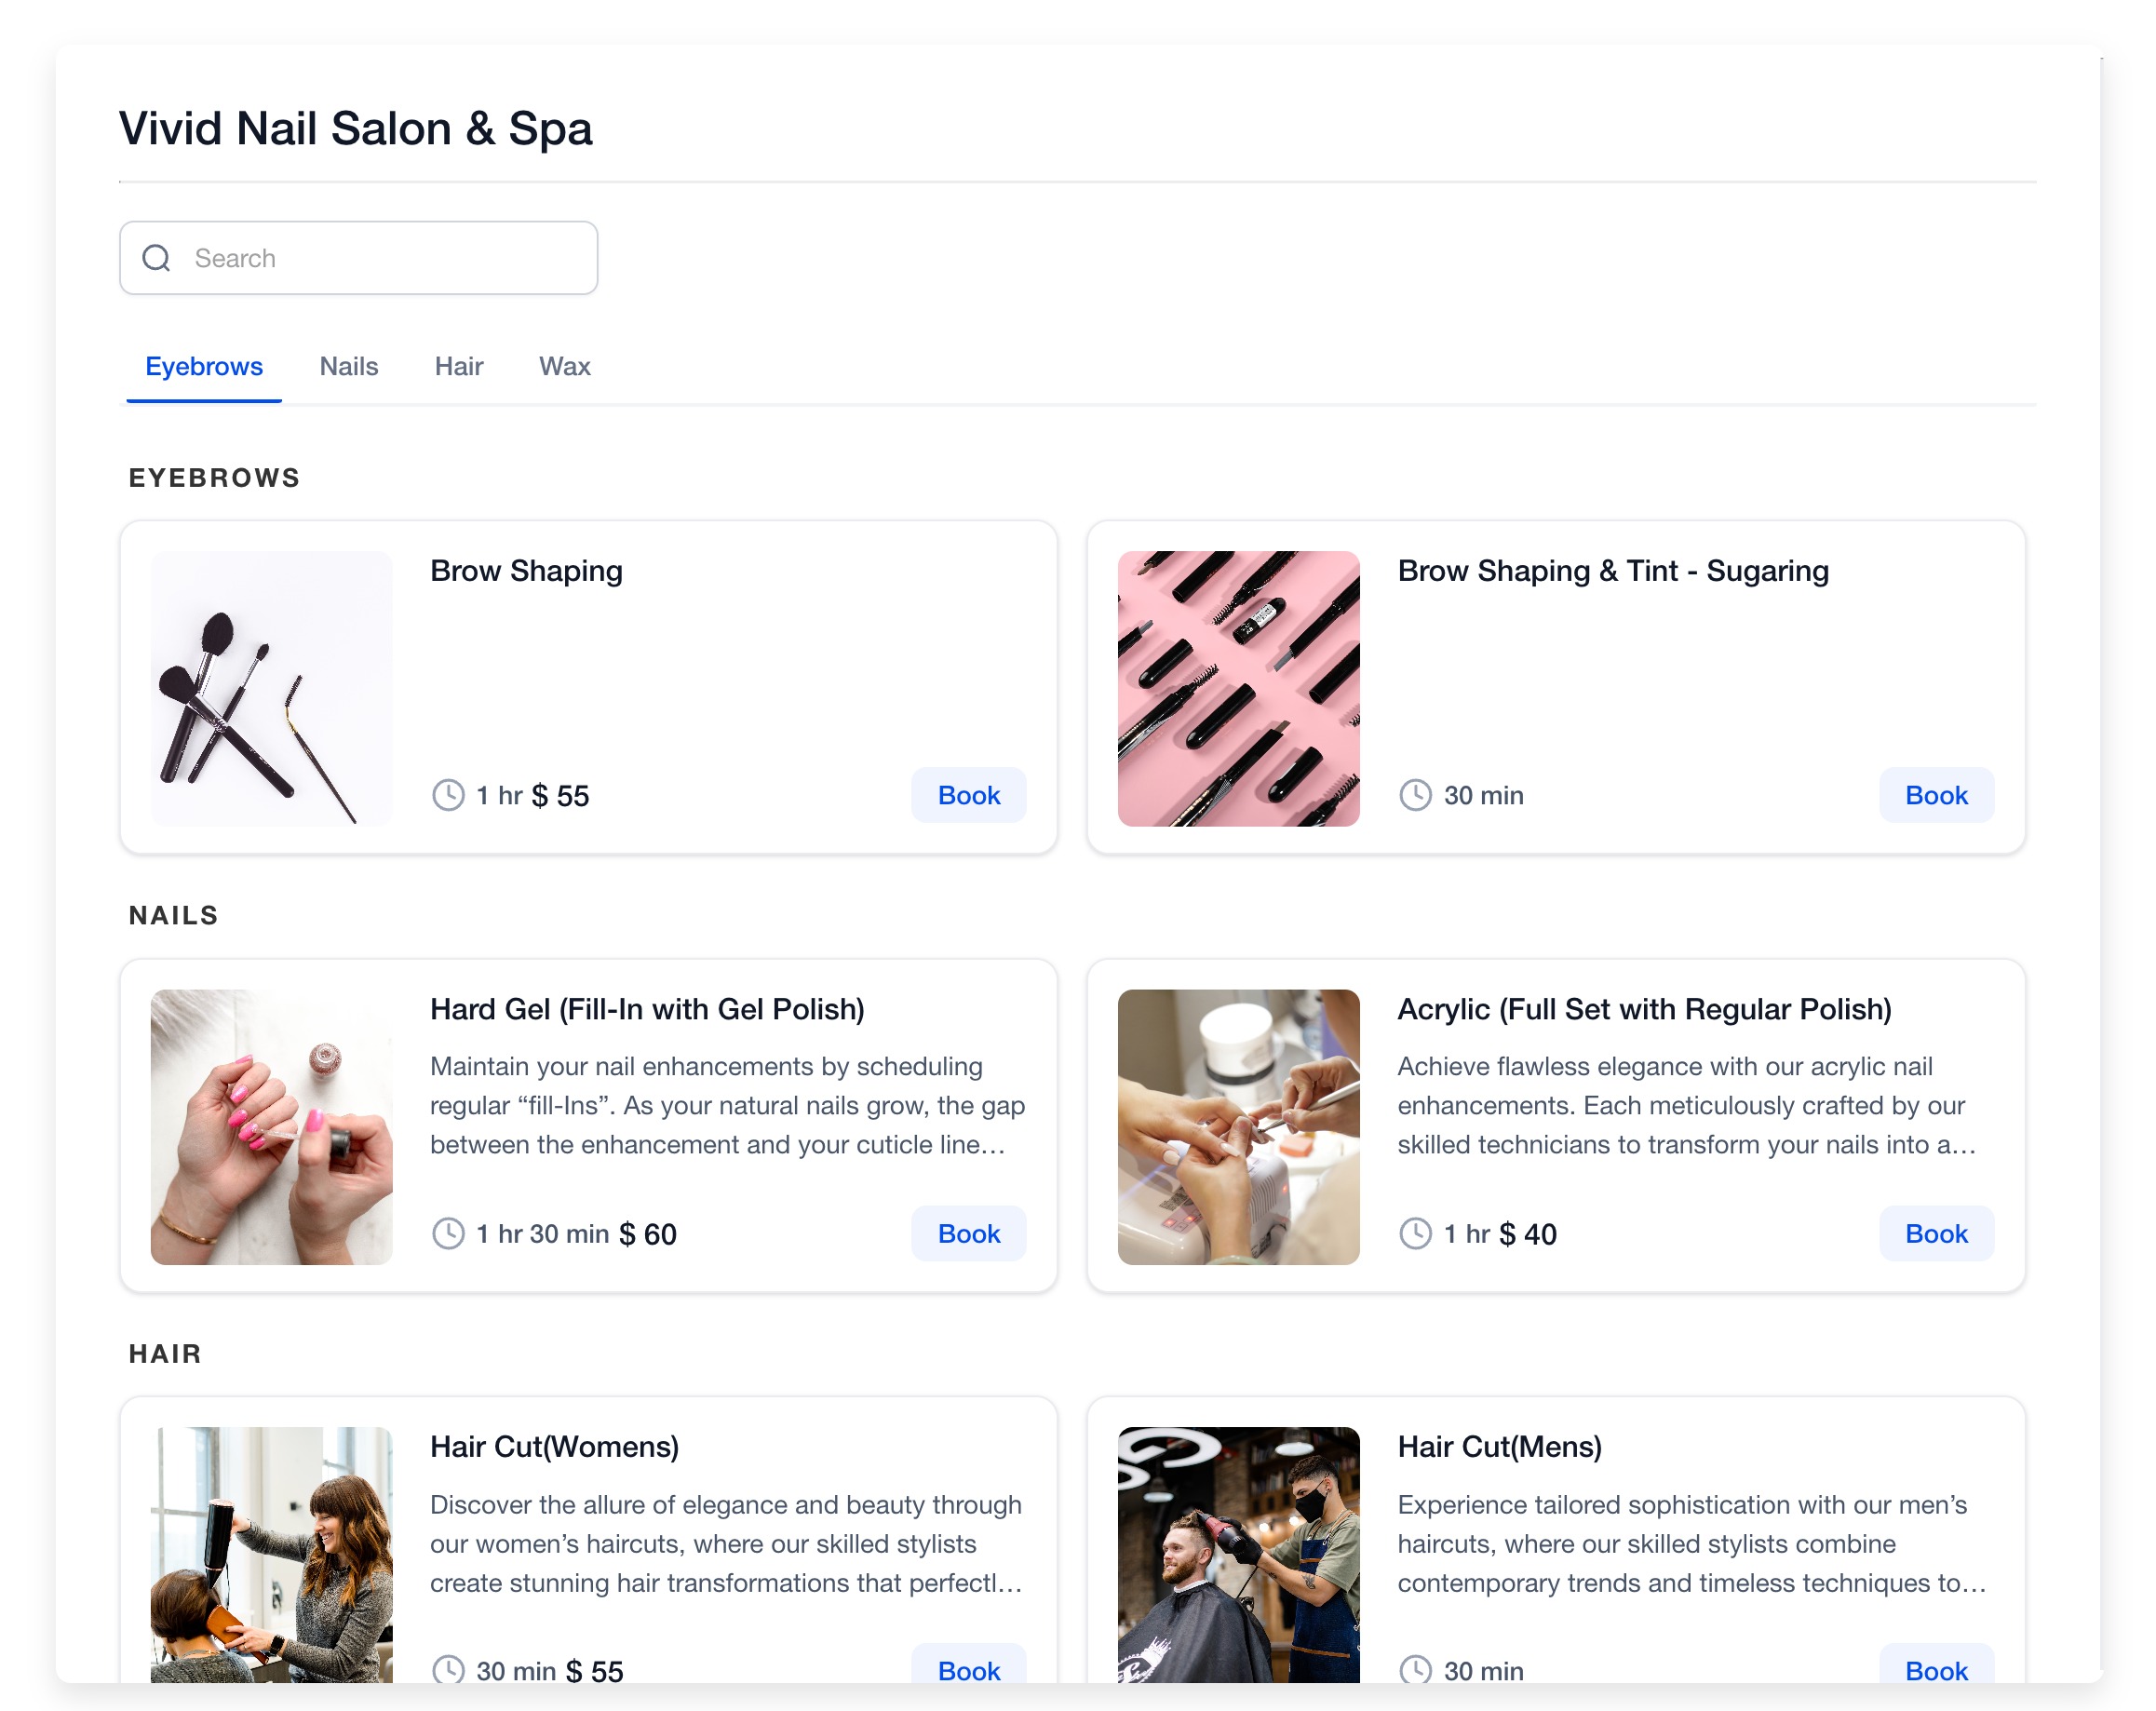
Upload your Service Logo - This is the image that will appear on the Appointment Booking Widget for your Service Calendar

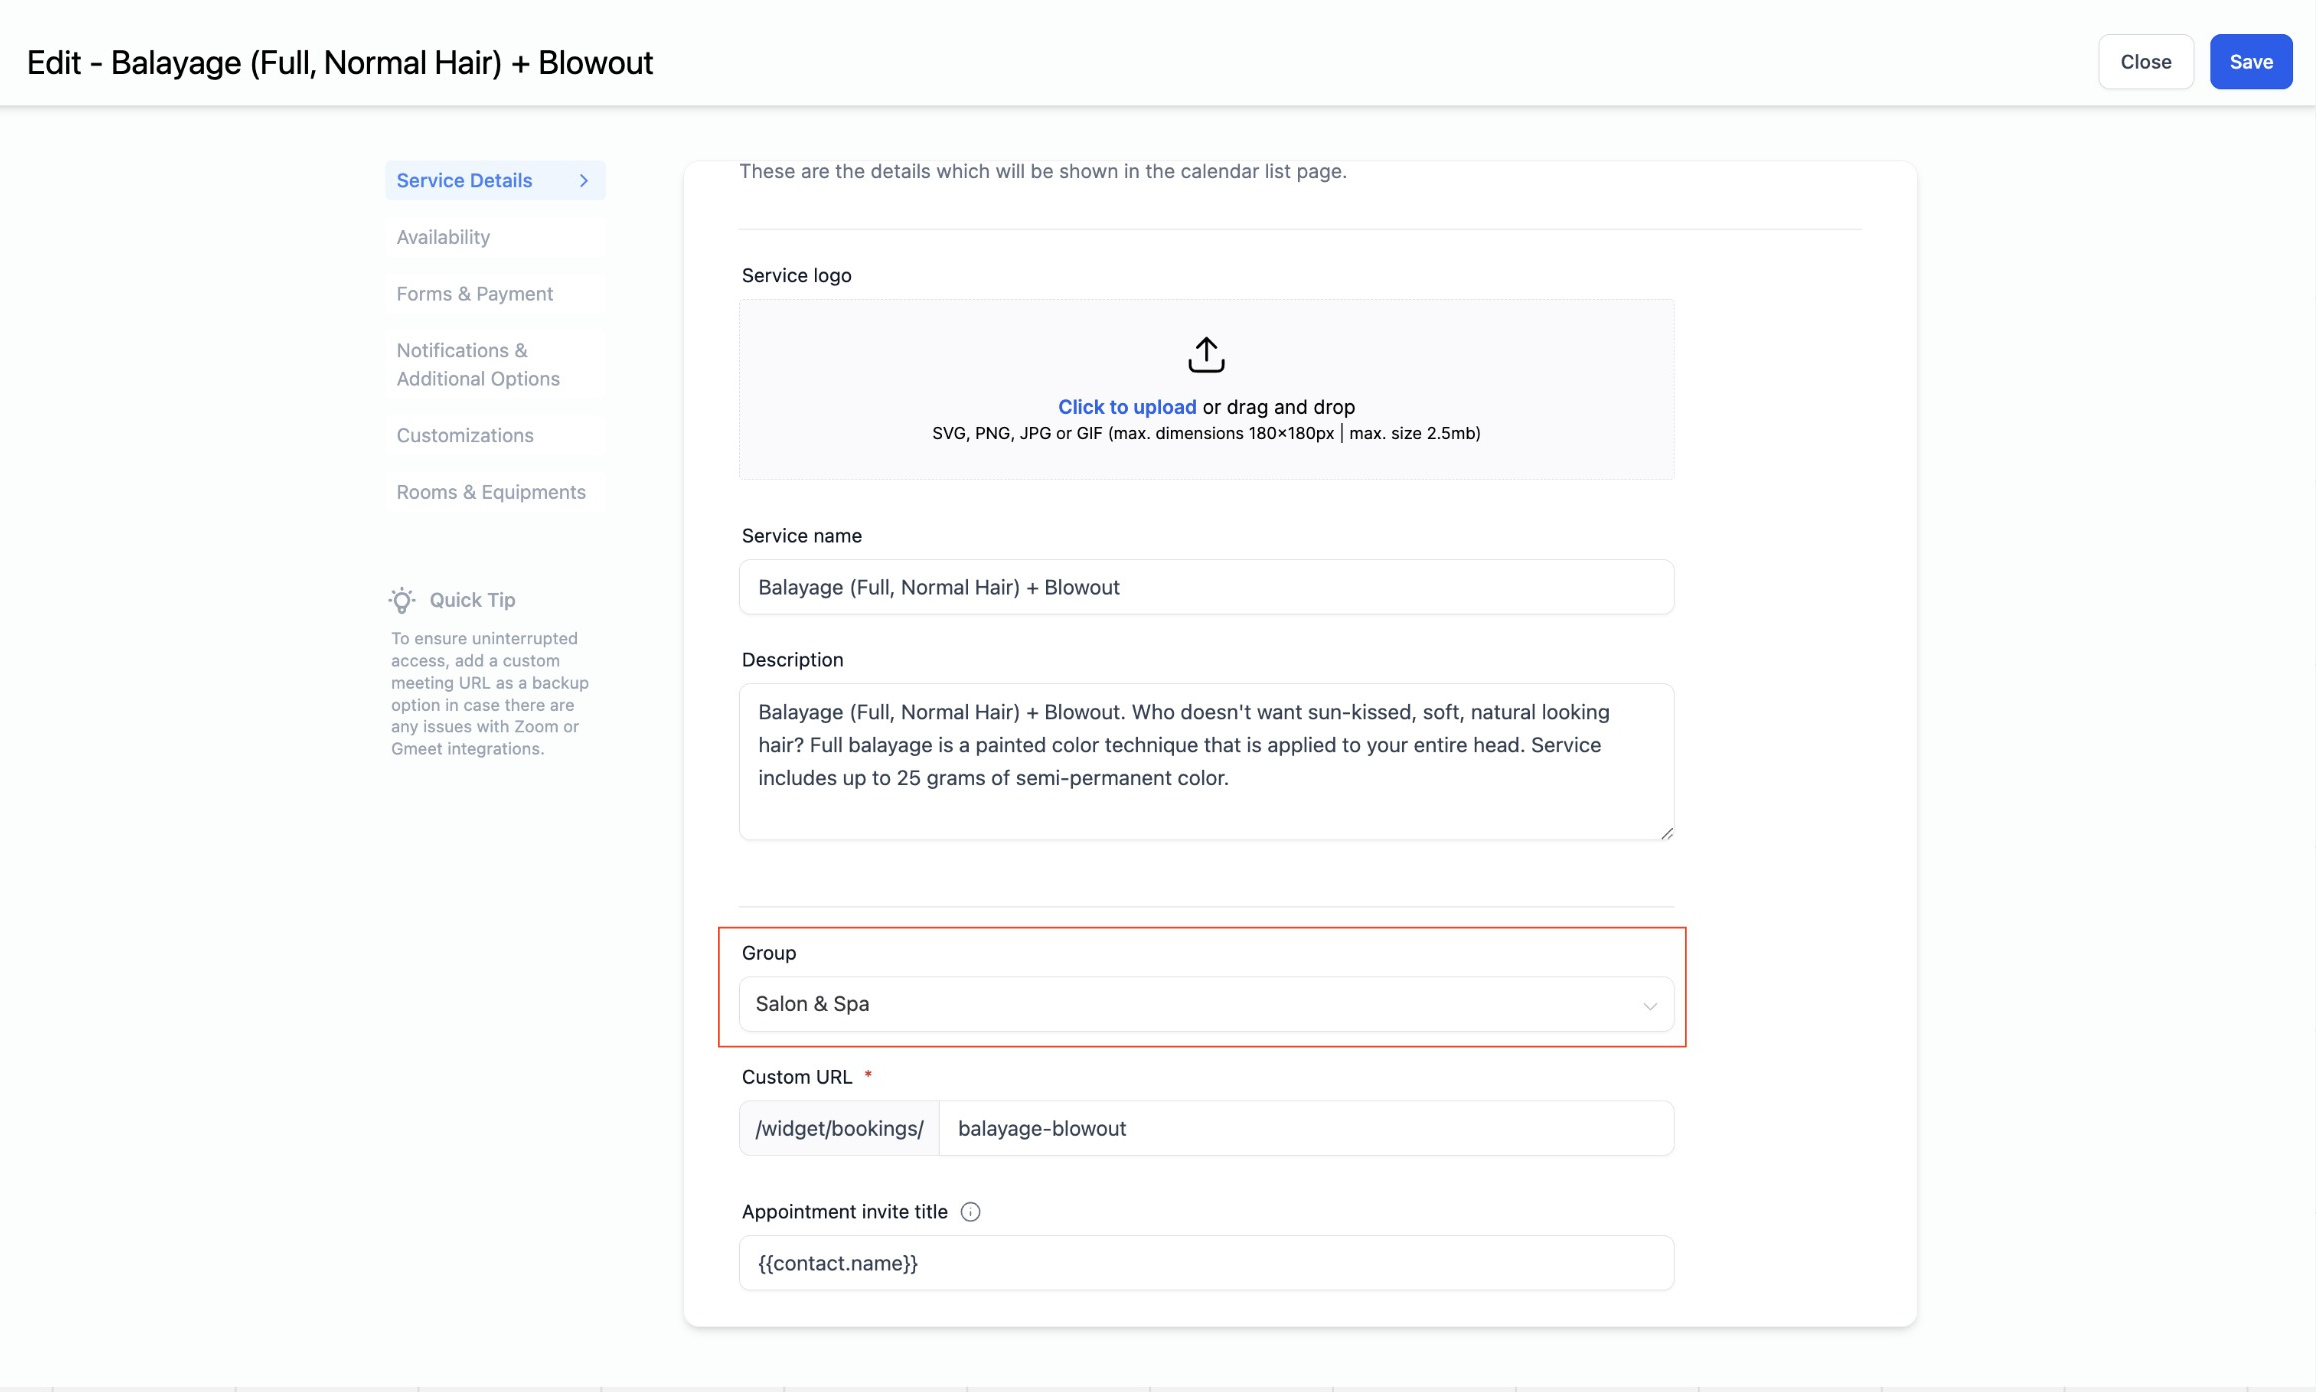
Link to Service Menu: If you intend to add this Service Calendar to your Service Menu (where all your services are showcased on one page), ensure you select a group for the calendar. Think of a group as a way to categorize similar services together. For example, you could create a group named "HAIR" and assign service calendars like "Hair Cut," "Hair Spa," and "Hair Coloring" to it.
You can also customize your Appointment Invite Title. This is the title for the Calendar event that shows in Google Calendar, Outlook, Apple Calendar, etc
Event Color - Choose the event color that you would like to assign to this calendar. Remember, colors get synced to events in Google Calendars.
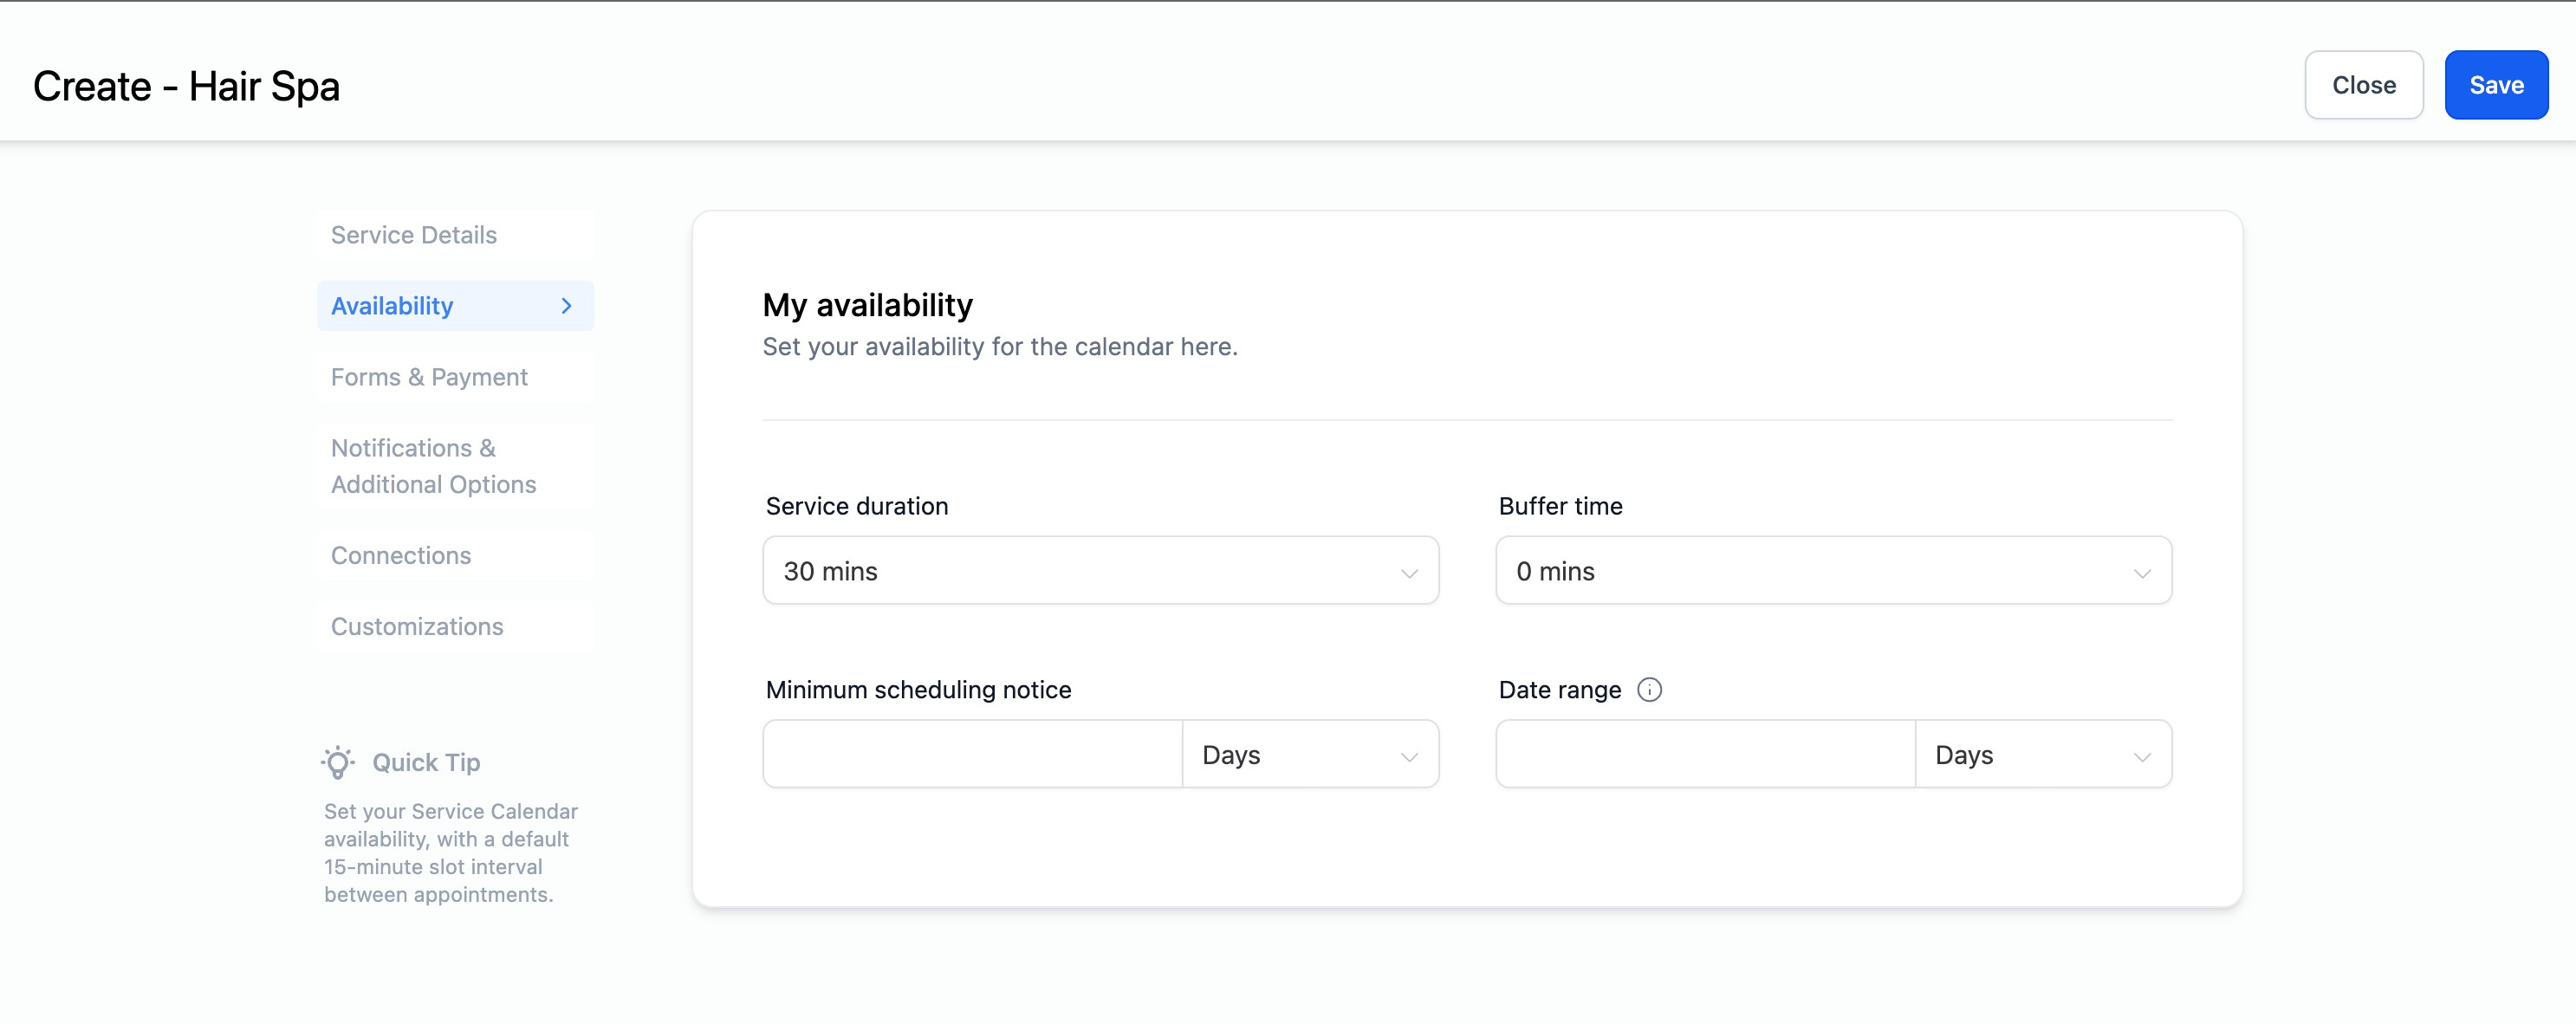
Appointment Duration: Set the length of each appointment.
Post Buffer time: Add extra time after appointments for preparation or transition.
Minimum Scheduling Notice: Set the required advance notice for appointment bookings, specifying how many hours or days before an appointment should the booking be closed.
Date Range: Define how many days into the future appointments can be booked.
Forms - You have the flexibility to choose how you gather client information. You can either opt for the default form, which collects standard details like Name, Email, and Phone number, or create a custom form tailored to your specific needs. To use a custom form, create it in Sites > Forms > Builder, and then select it from the dropdown menu on the calendar. You can also:
- Toggle the consent checkbox on/off.
- Customize the consent message.
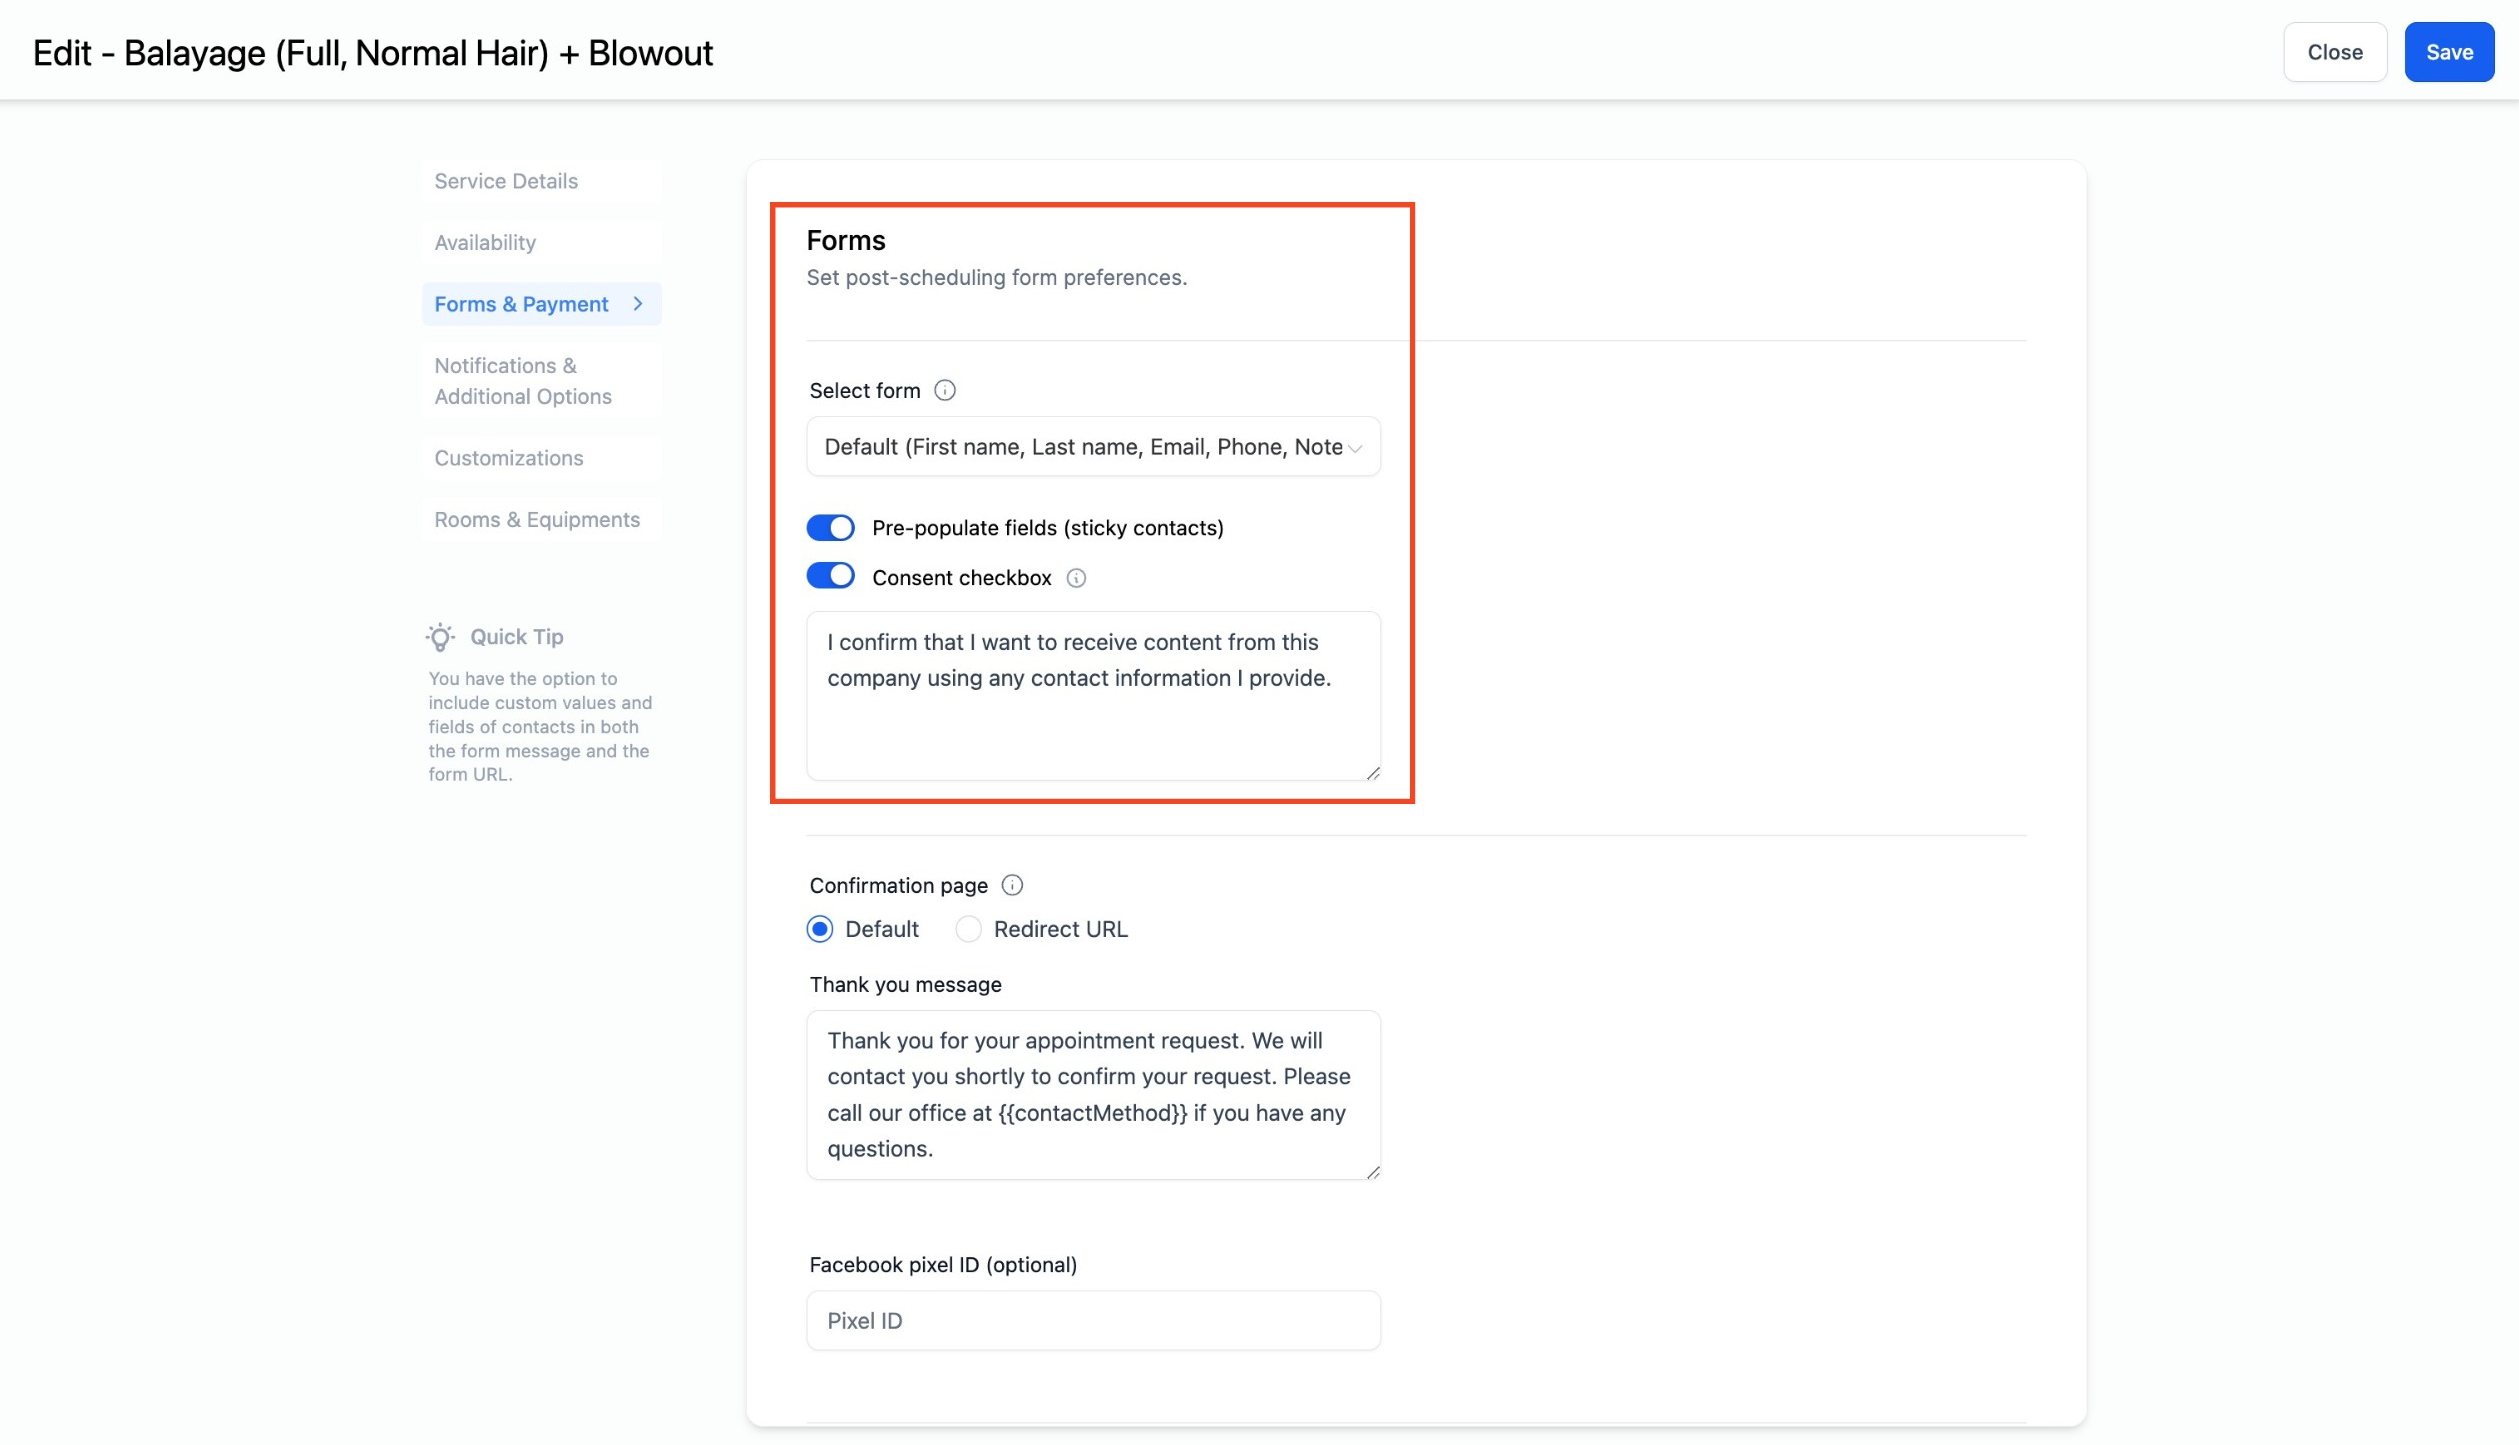
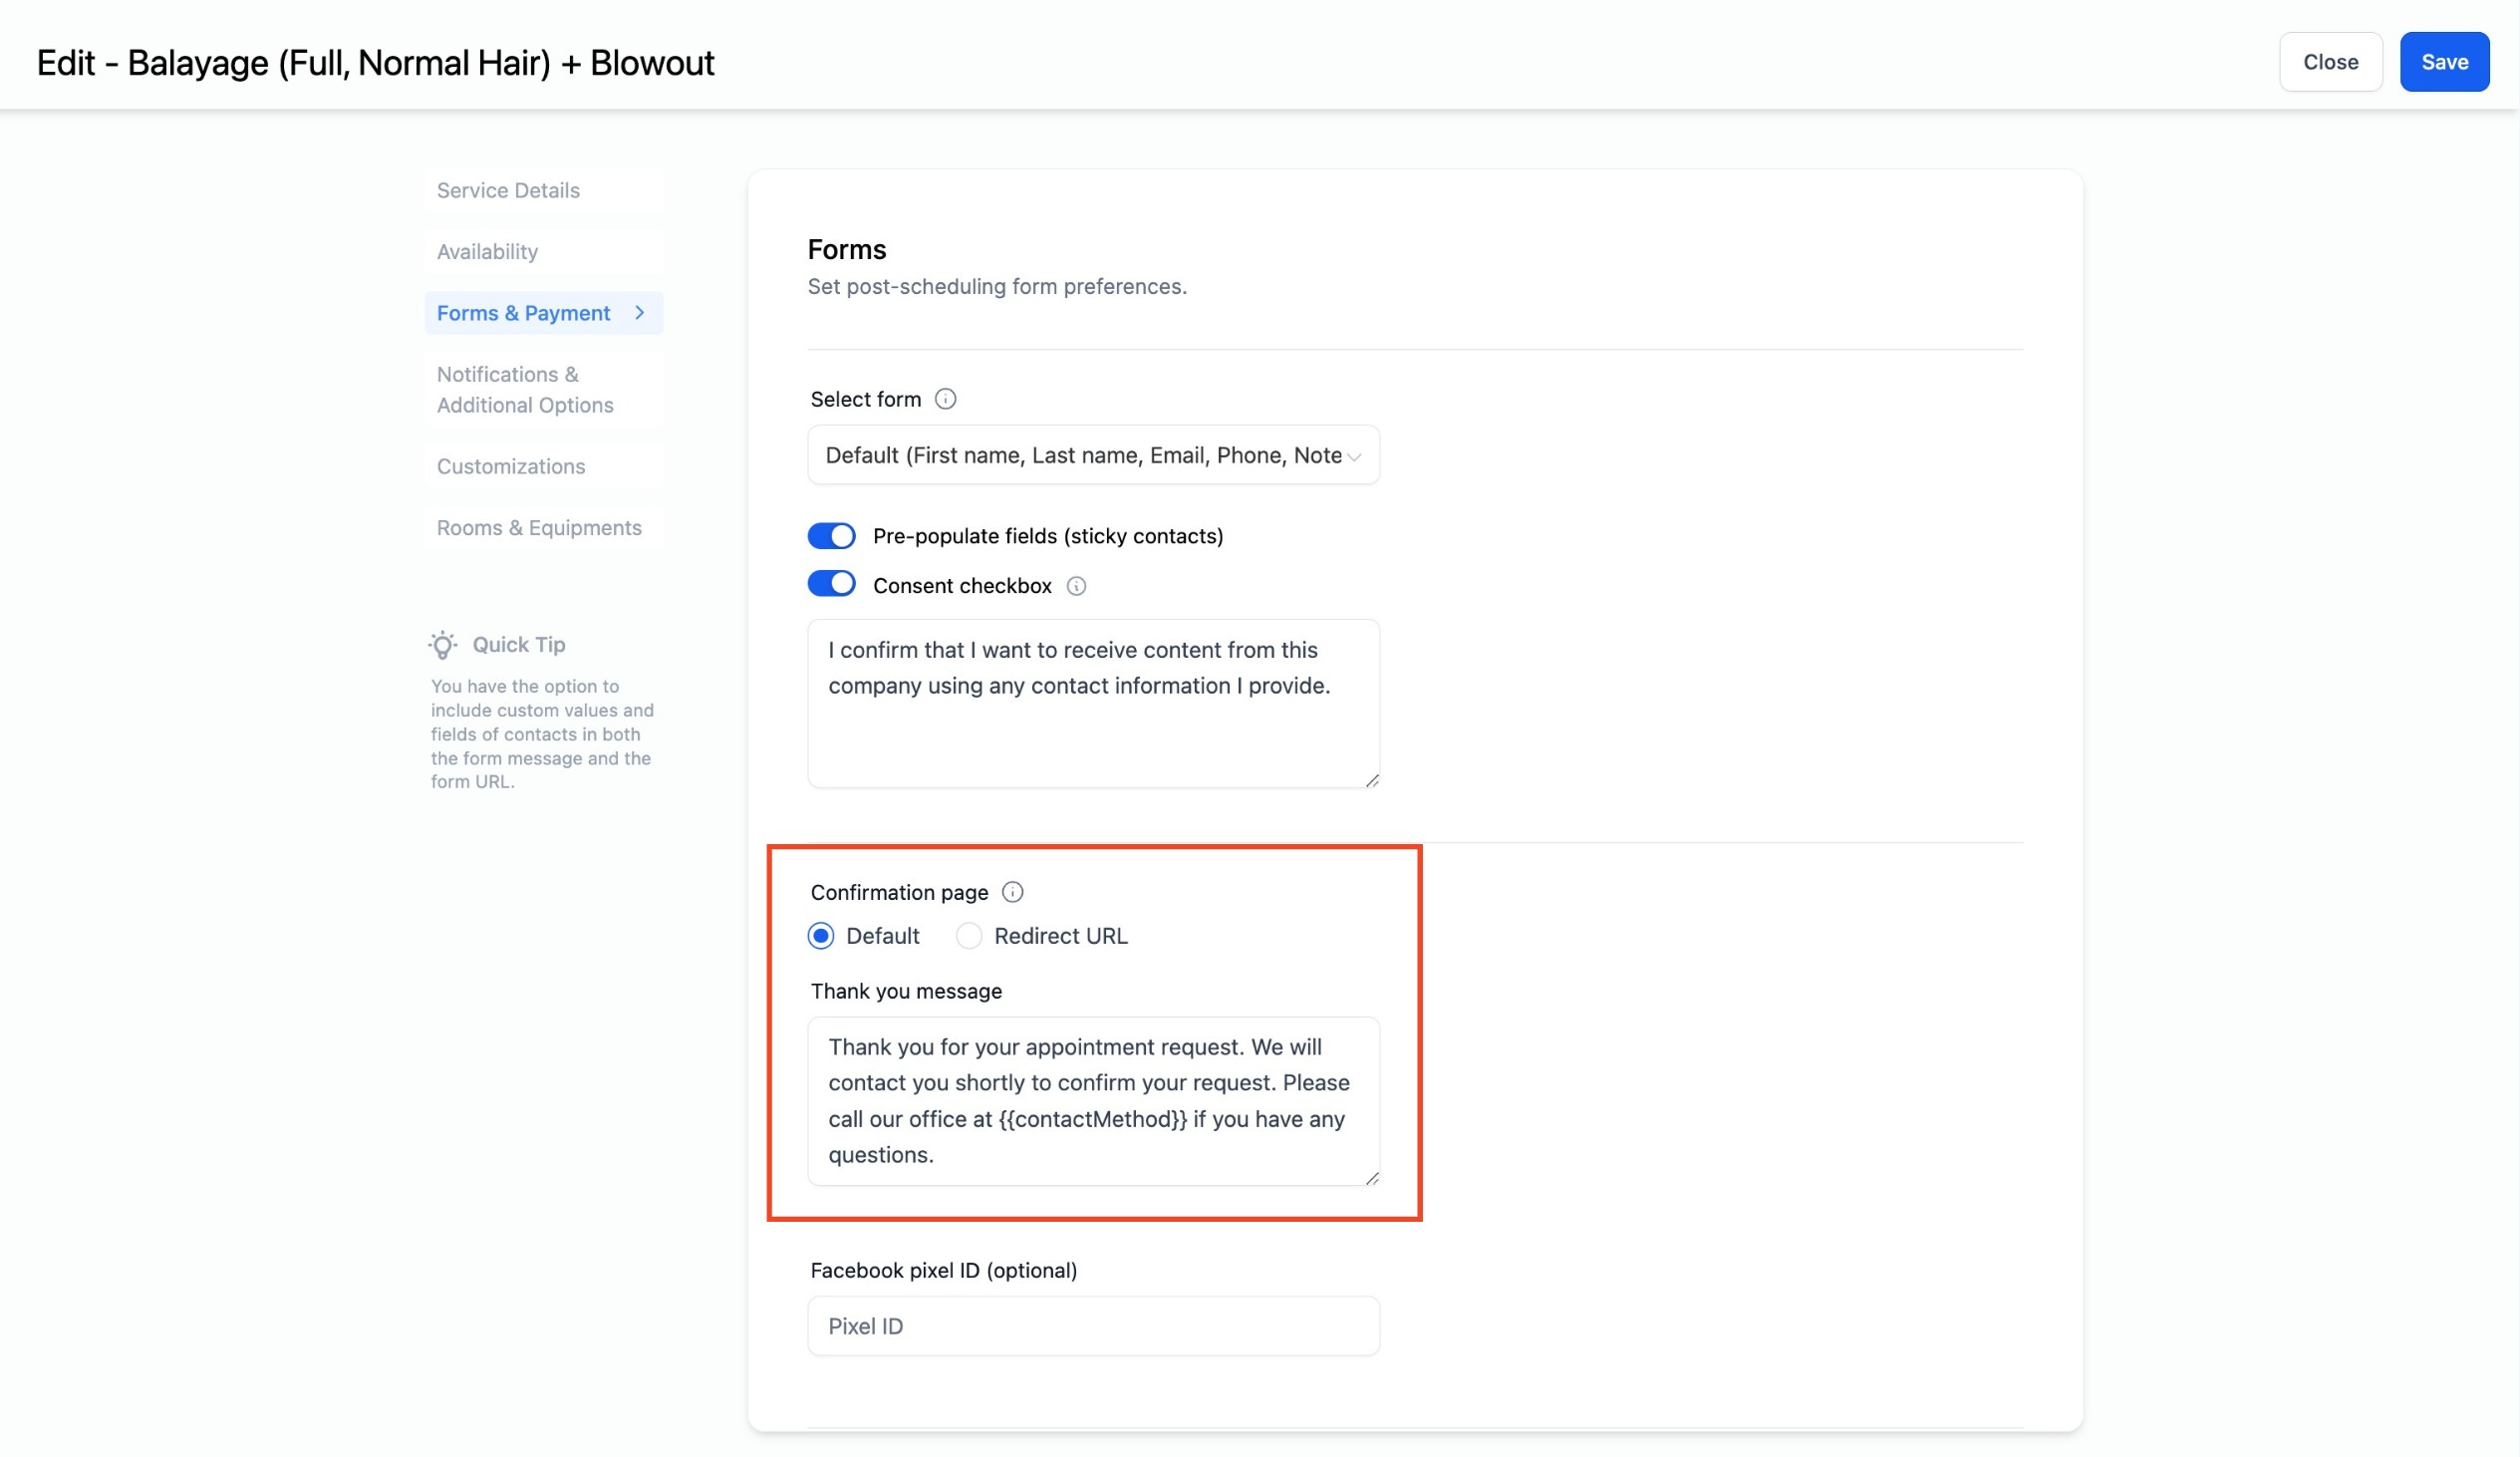
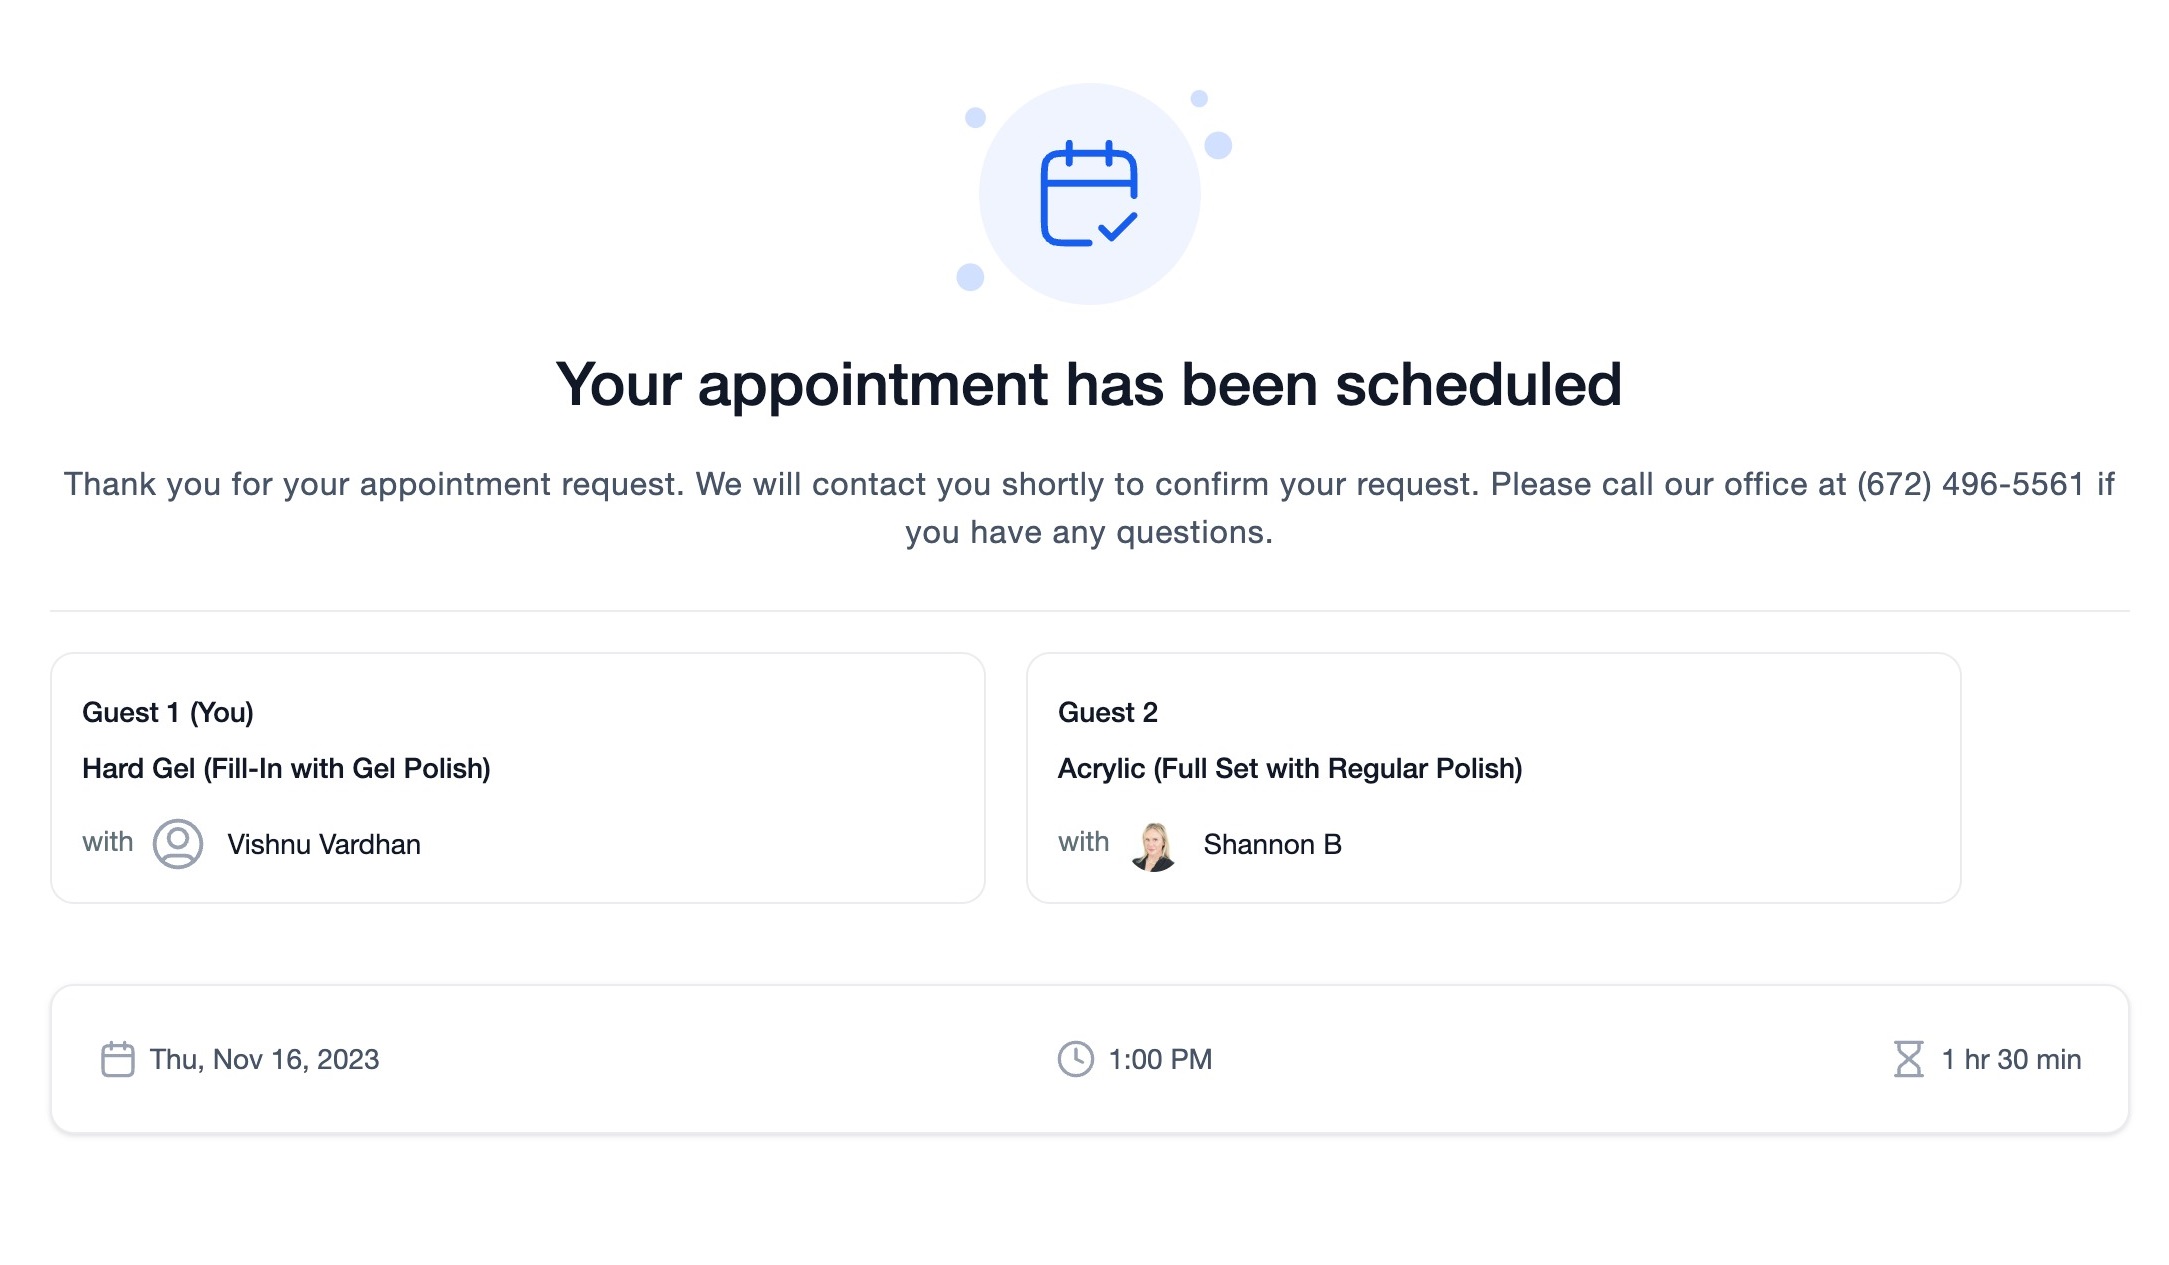
Confirmation Page - After an appointment is booked, you can decide how you'd like to present the confirmation to the user. You can choose between displaying a thank you message on the same page or redirecting the user to a specific URL of your choice.
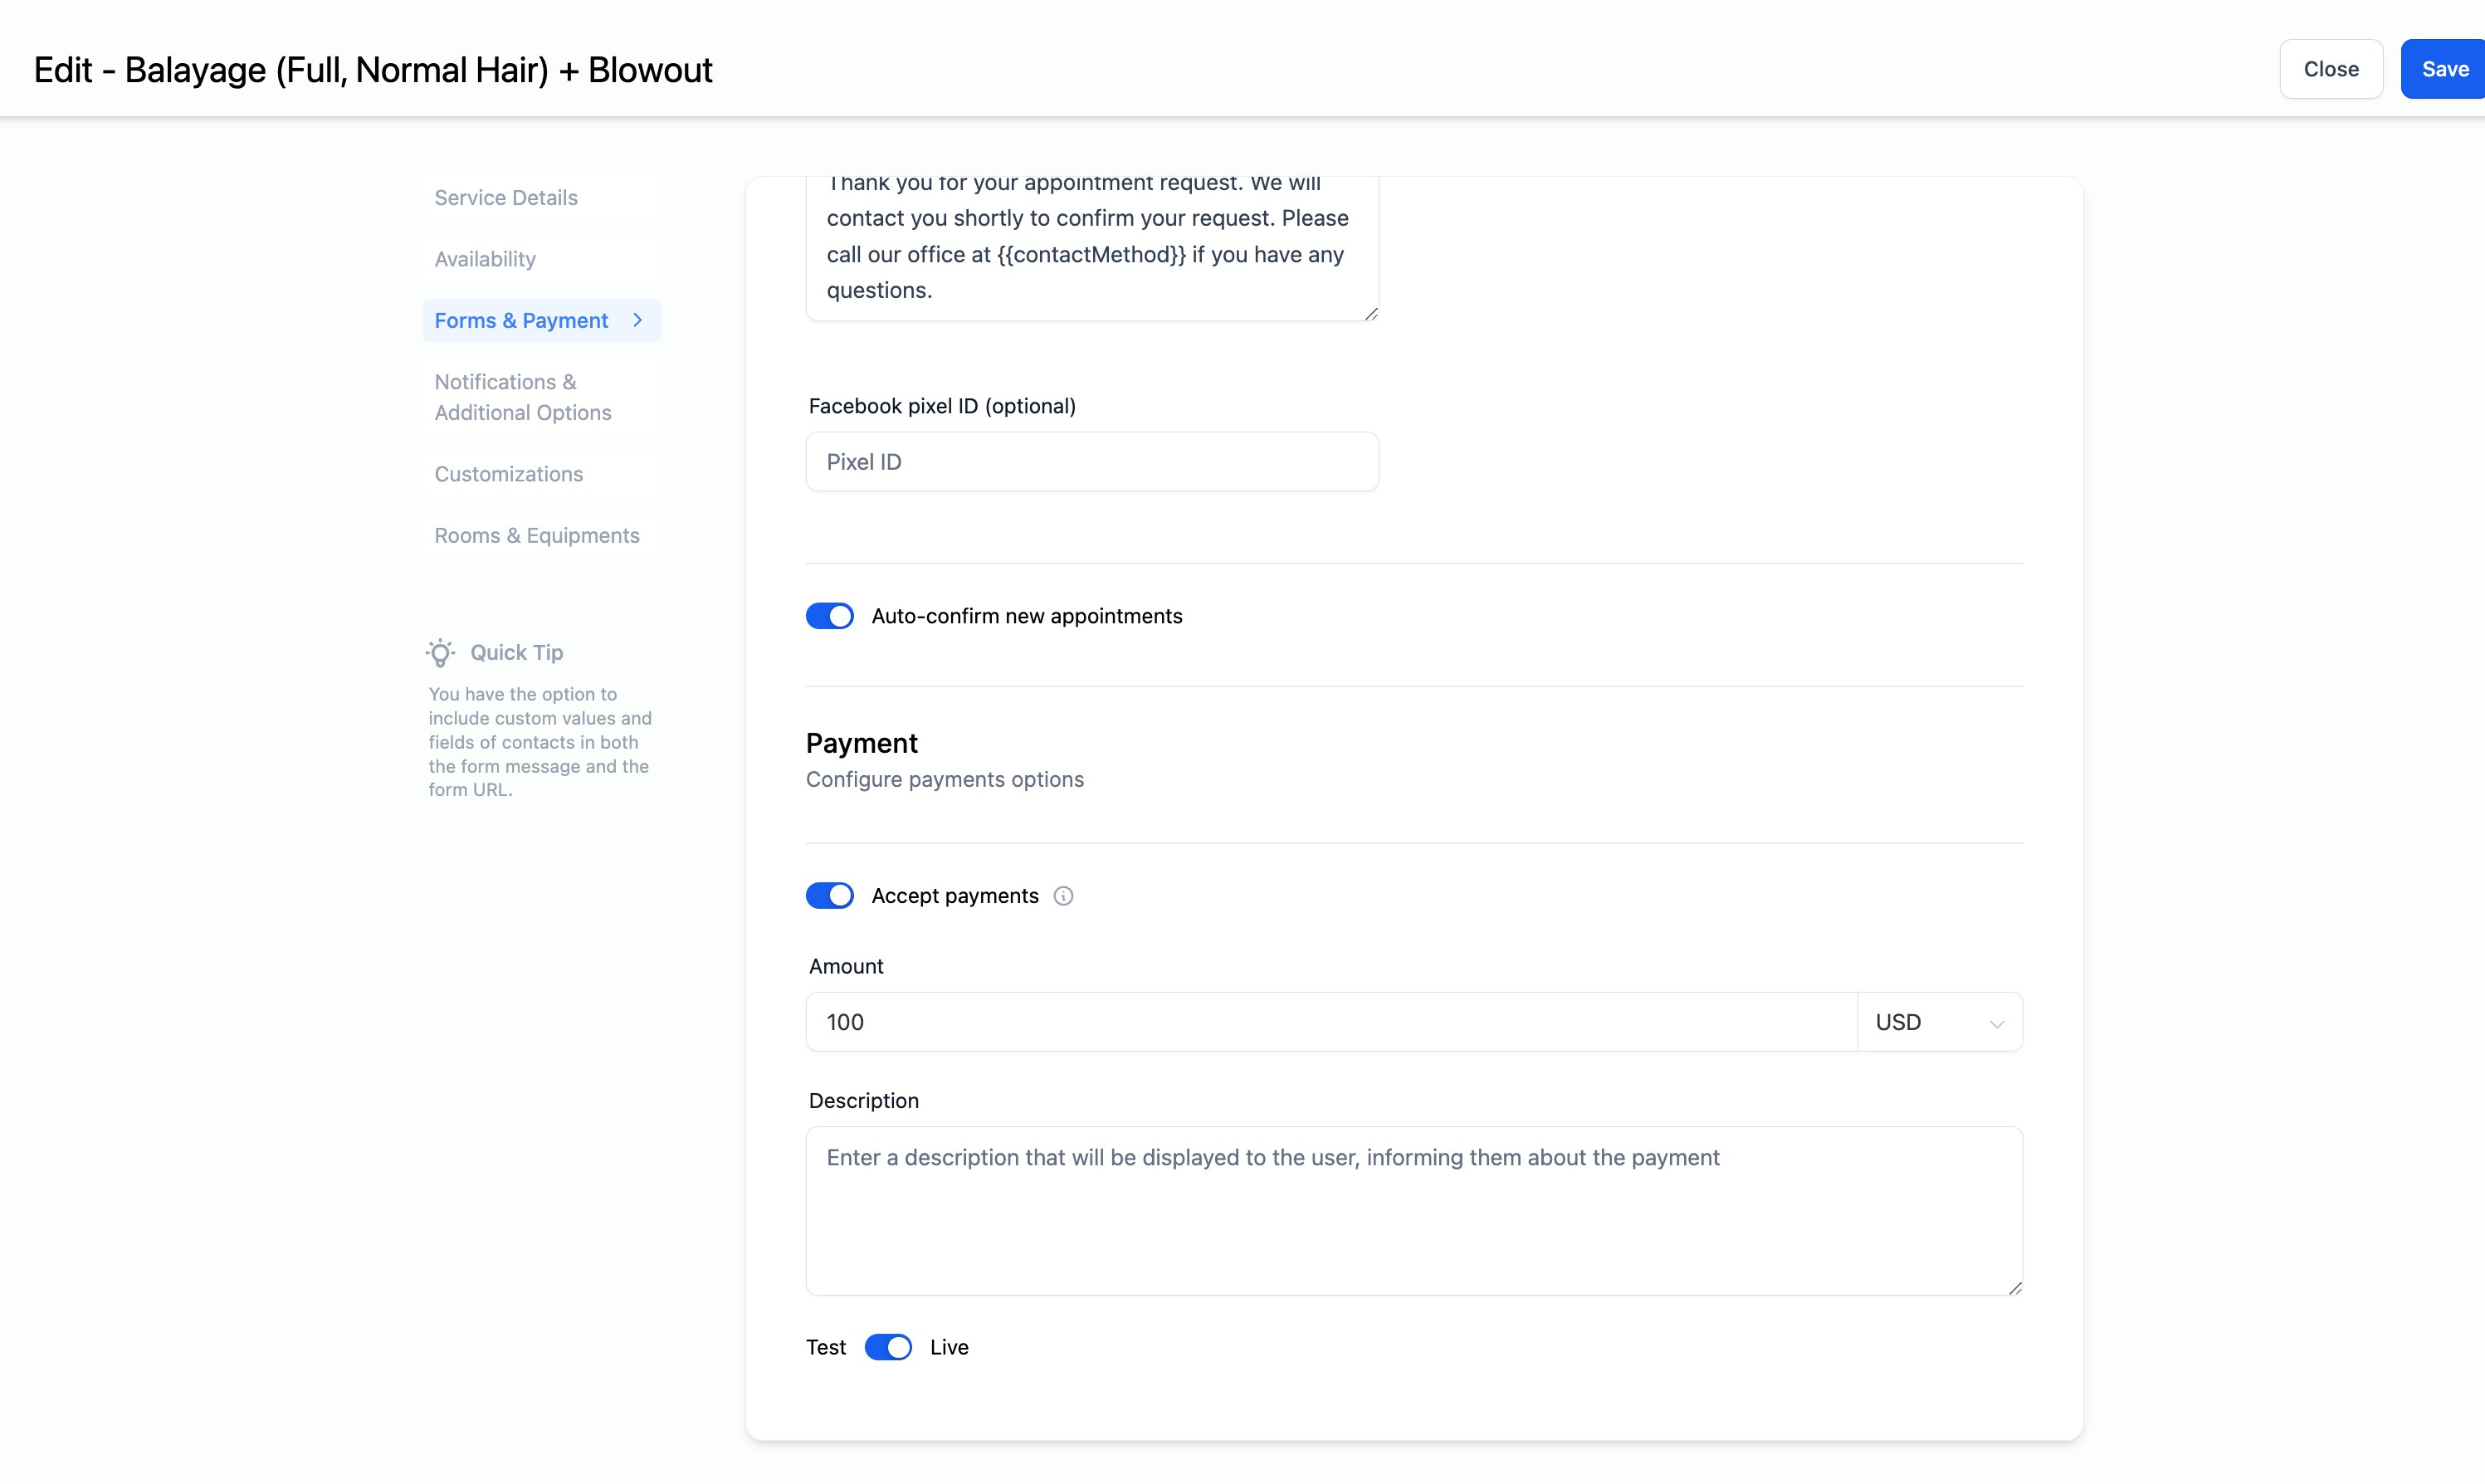
Payments - If you want to accept payments for bookings, ensure that your payment gateway is integrated. Once set up, you can specify the payment amount and start collecting payments. It's important to note that payments are only applicable to the main attendee and not for guests.
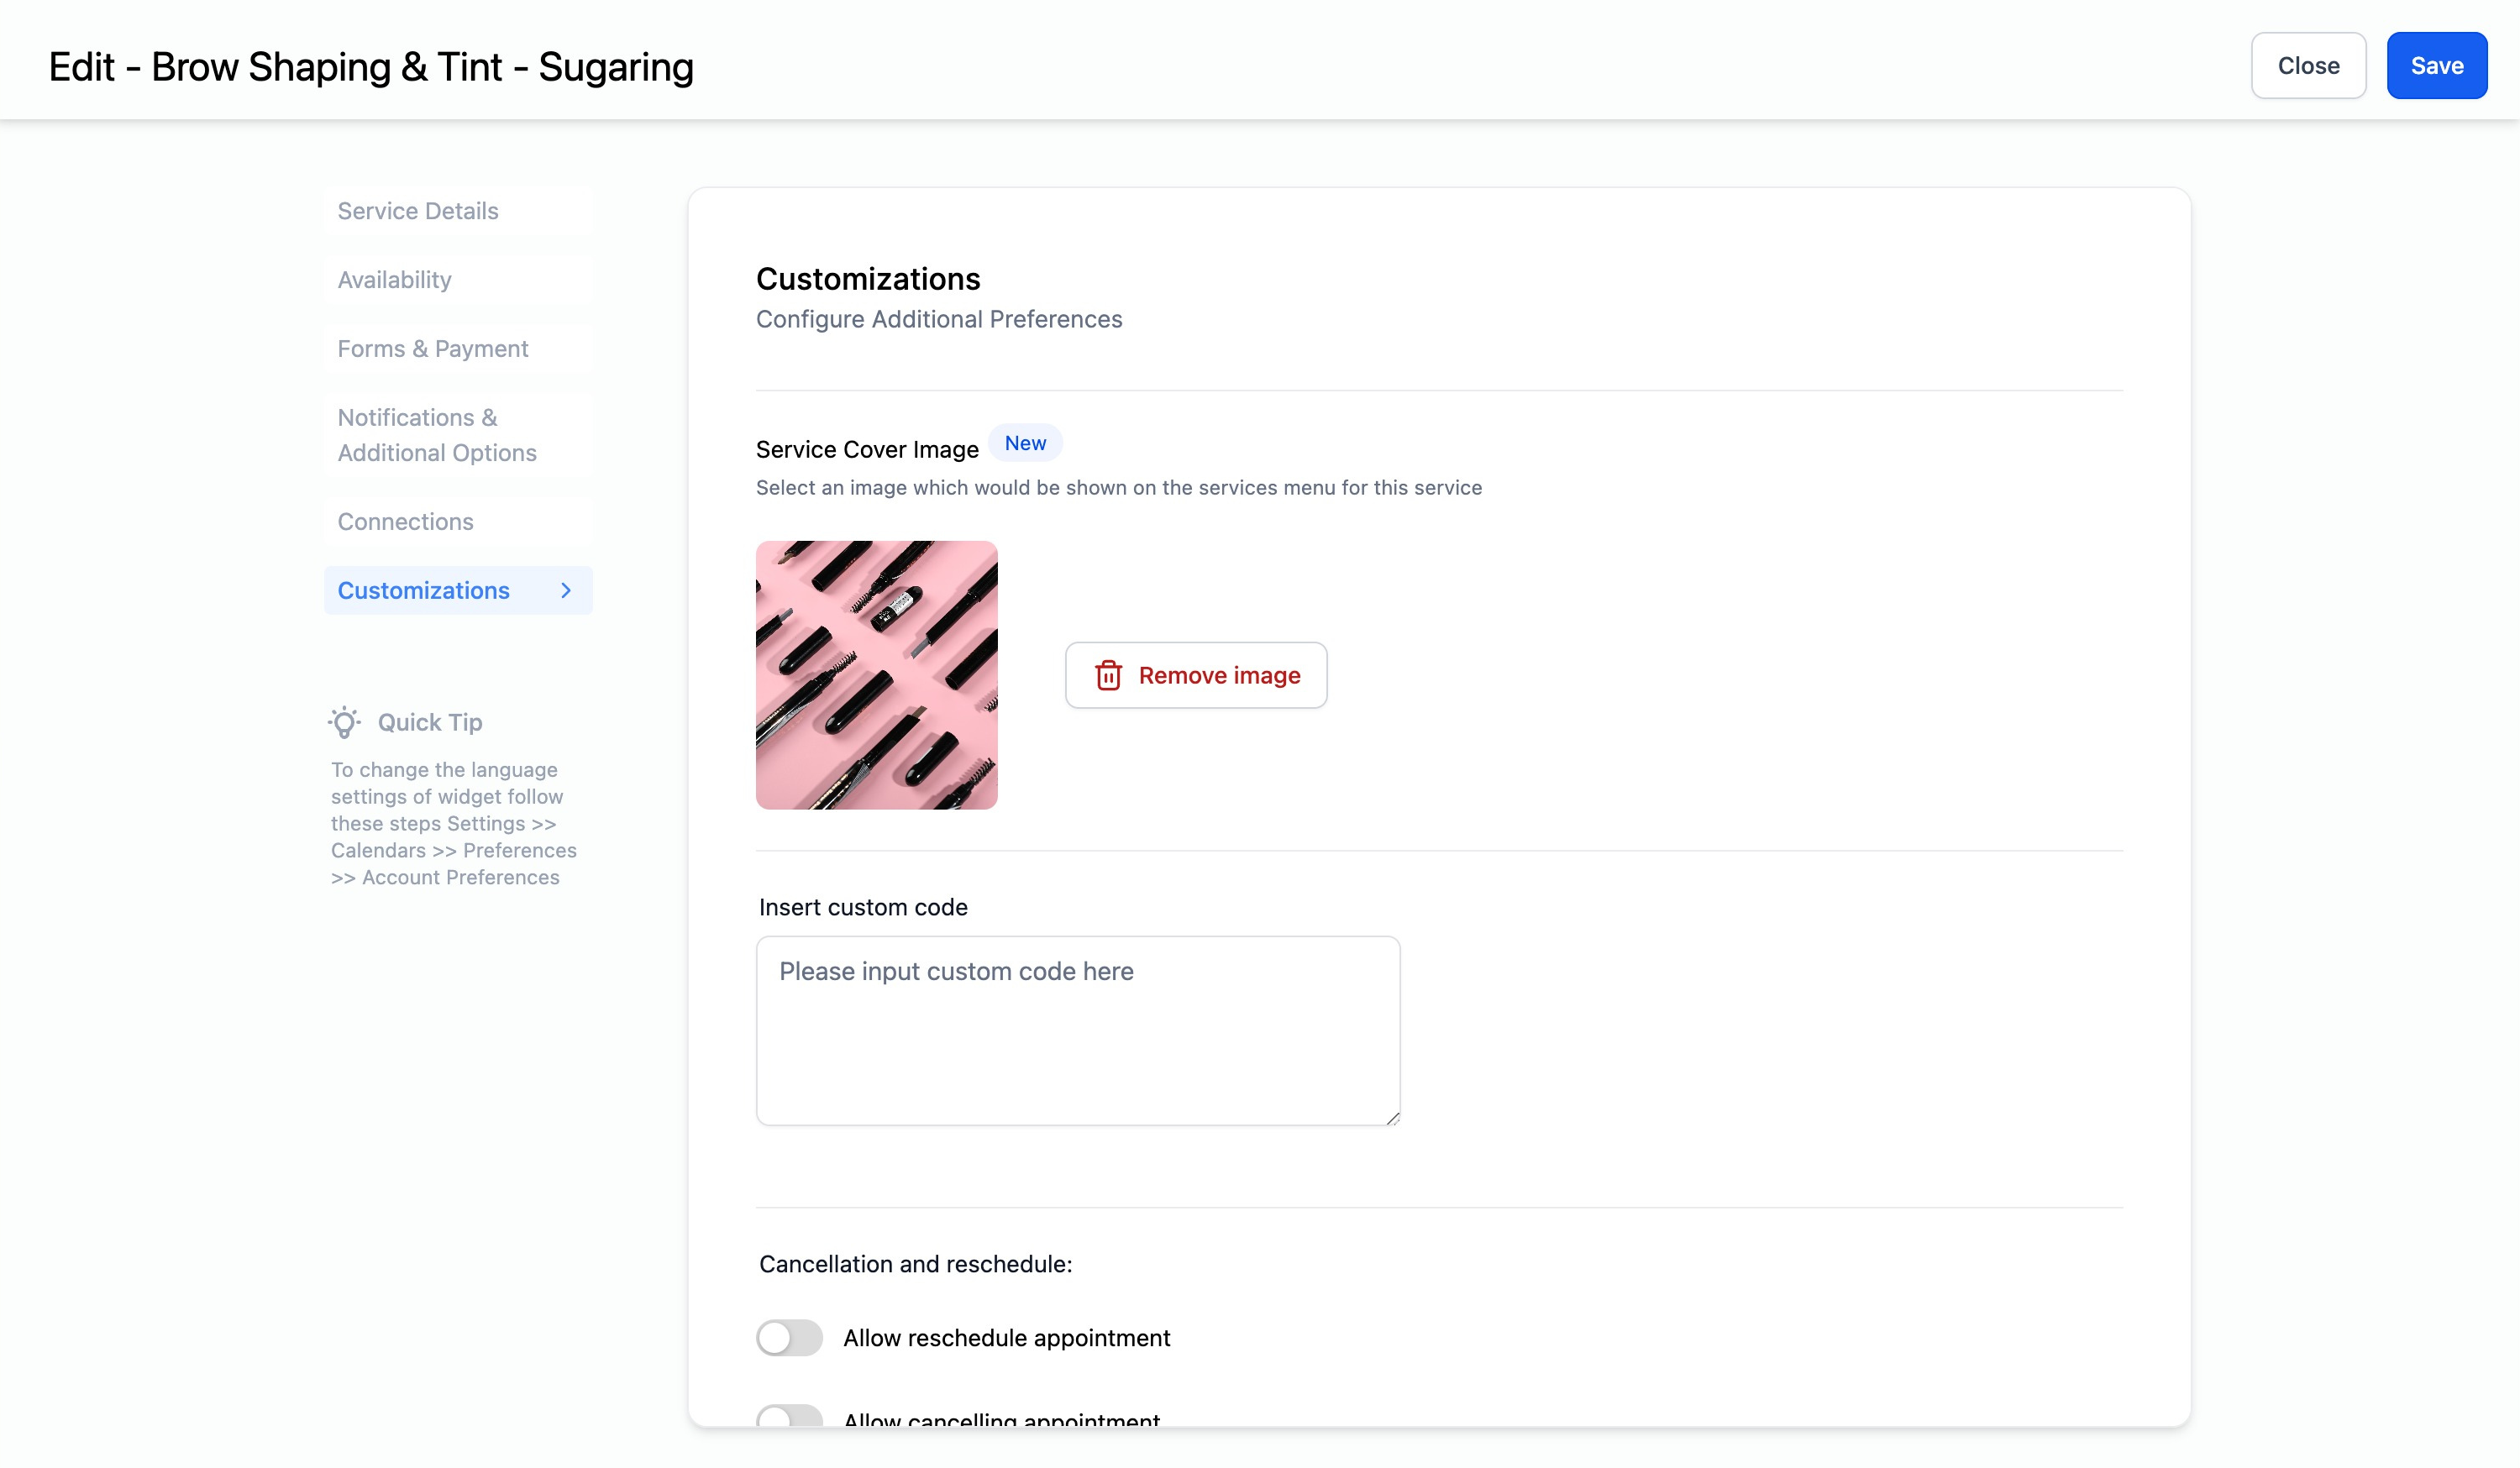
Customizations - Service Cover Image: In this section, upload a service cover image that will be displayed in the service menu. This image will be visible in the Neo Group Widget.
Customizations - Additional Notes: Anything entered here will be included in the Google invitation. Please ensure that "Allow Google Calendar to Send Invitations" is enabled from 'Notifications' settings for this feature to work.
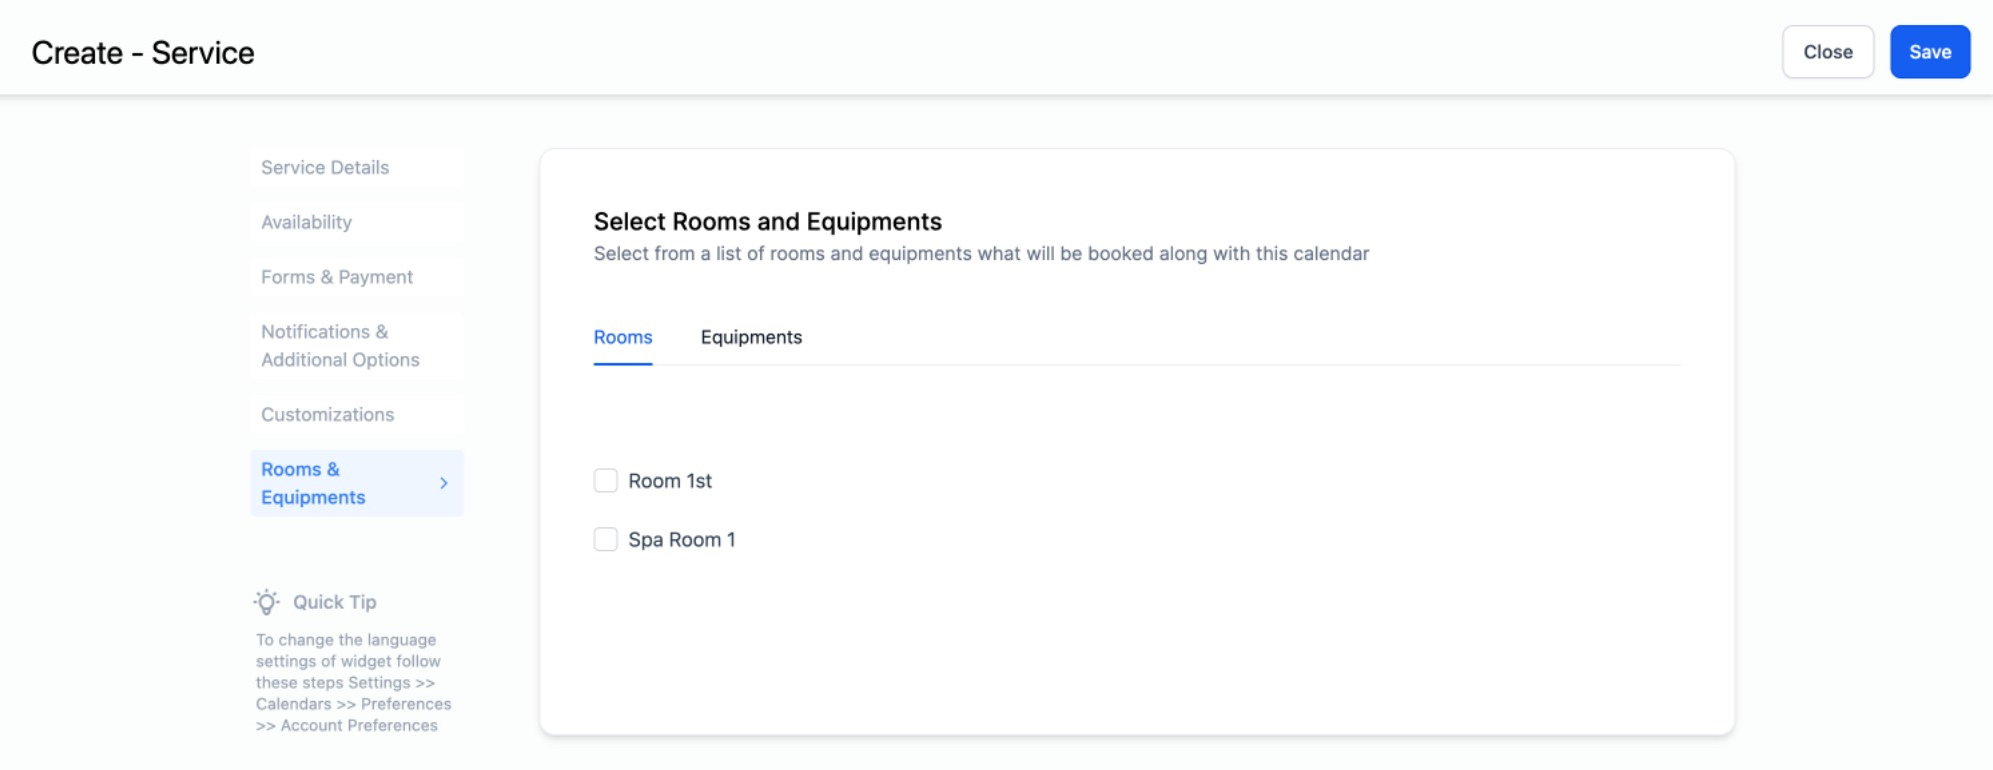
You can select from a list of rooms and equipment's that have been created. This will associate the selected rooms / equipment's with the service calendar and will be booked along with this calendar.
Finally, click on save and Voila, your Service Calendar is ready to be booked!
1. This calendar enables contacts to make bookings for multiple services for themselves or combine services for multiple participants (themselves and their guests).
2. The calendar operates with a default 15-minute slot interval, which ensures efficient scheduling. While this interval is fixed, you have the flexibility to add buffer times between appointments, giving your staff the time they need to prepare for the next client.
3. Crucially, the availability of the service calendar is directly linked to the schedules of the staff members assigned to it. Hence, there is no option to configure the Calendar Availability. The calendar will consider the availability of only it's assigned staff members. If a staff member is unavailable at a given time, the calendar will reflect this unavailability.
4. If you wish to display different services on a single scheduling link (The Service Menu), it is important to first create the desired groups, then create your service calendars and assign them to the respective groups, and finally create your Service Menu.
