It’s often known as a tab icon, URL icon, or bookmark icon. It is an image file containing one or more icons associated with a particular site or page. (Below is an example of Google's favicon).

In the video example above, we simply did a Google search for a sample Favicon image. You may wish to create your own, or may have one hosted online somewhere. (The image needs to be a .PNG or .ICO image)
To choose a Favicon:
Find the image you want to use (download the image if you haven’t already).
If you haven't had one custom made, there are several favicon generators and resources online you can take advantage of.
To create a Favicon:
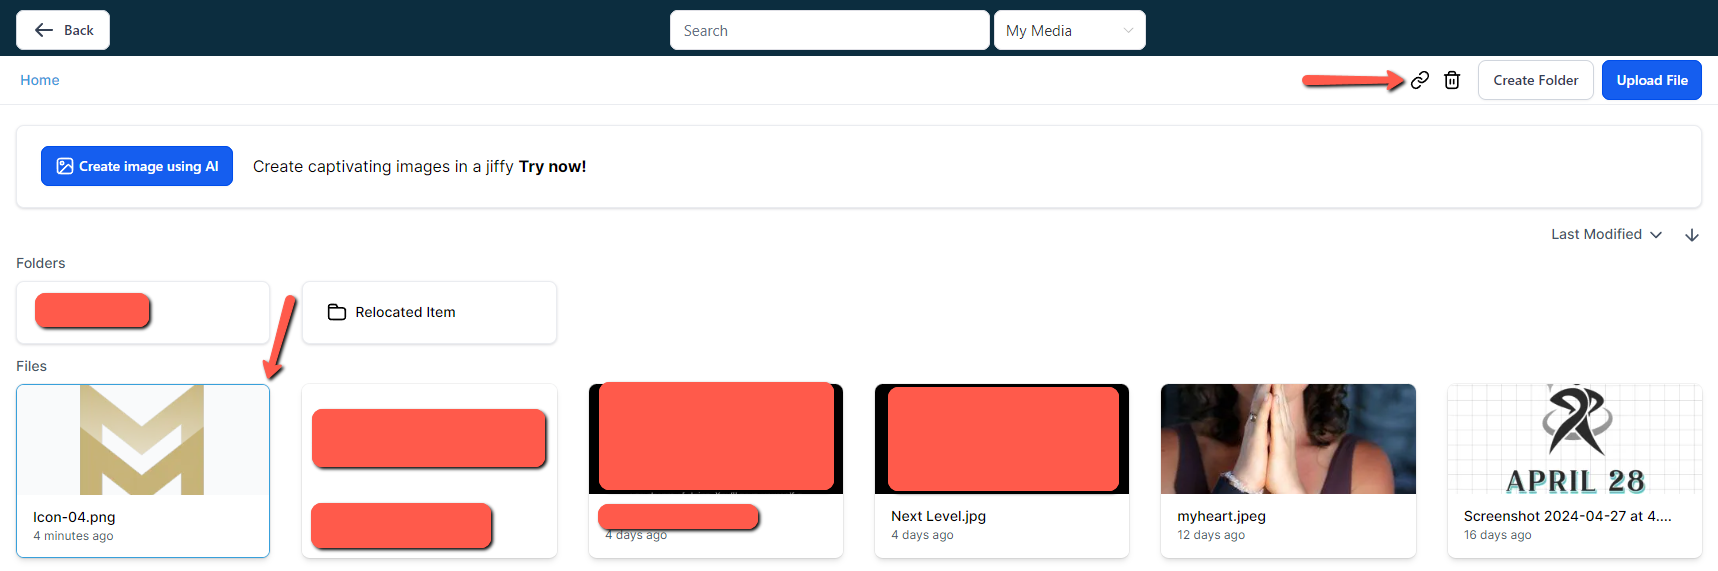
Navigate to Settings > Media and click into the Media Library
Upload the image into your Media Library
Select the image in order Copy the link once the upload has completed.

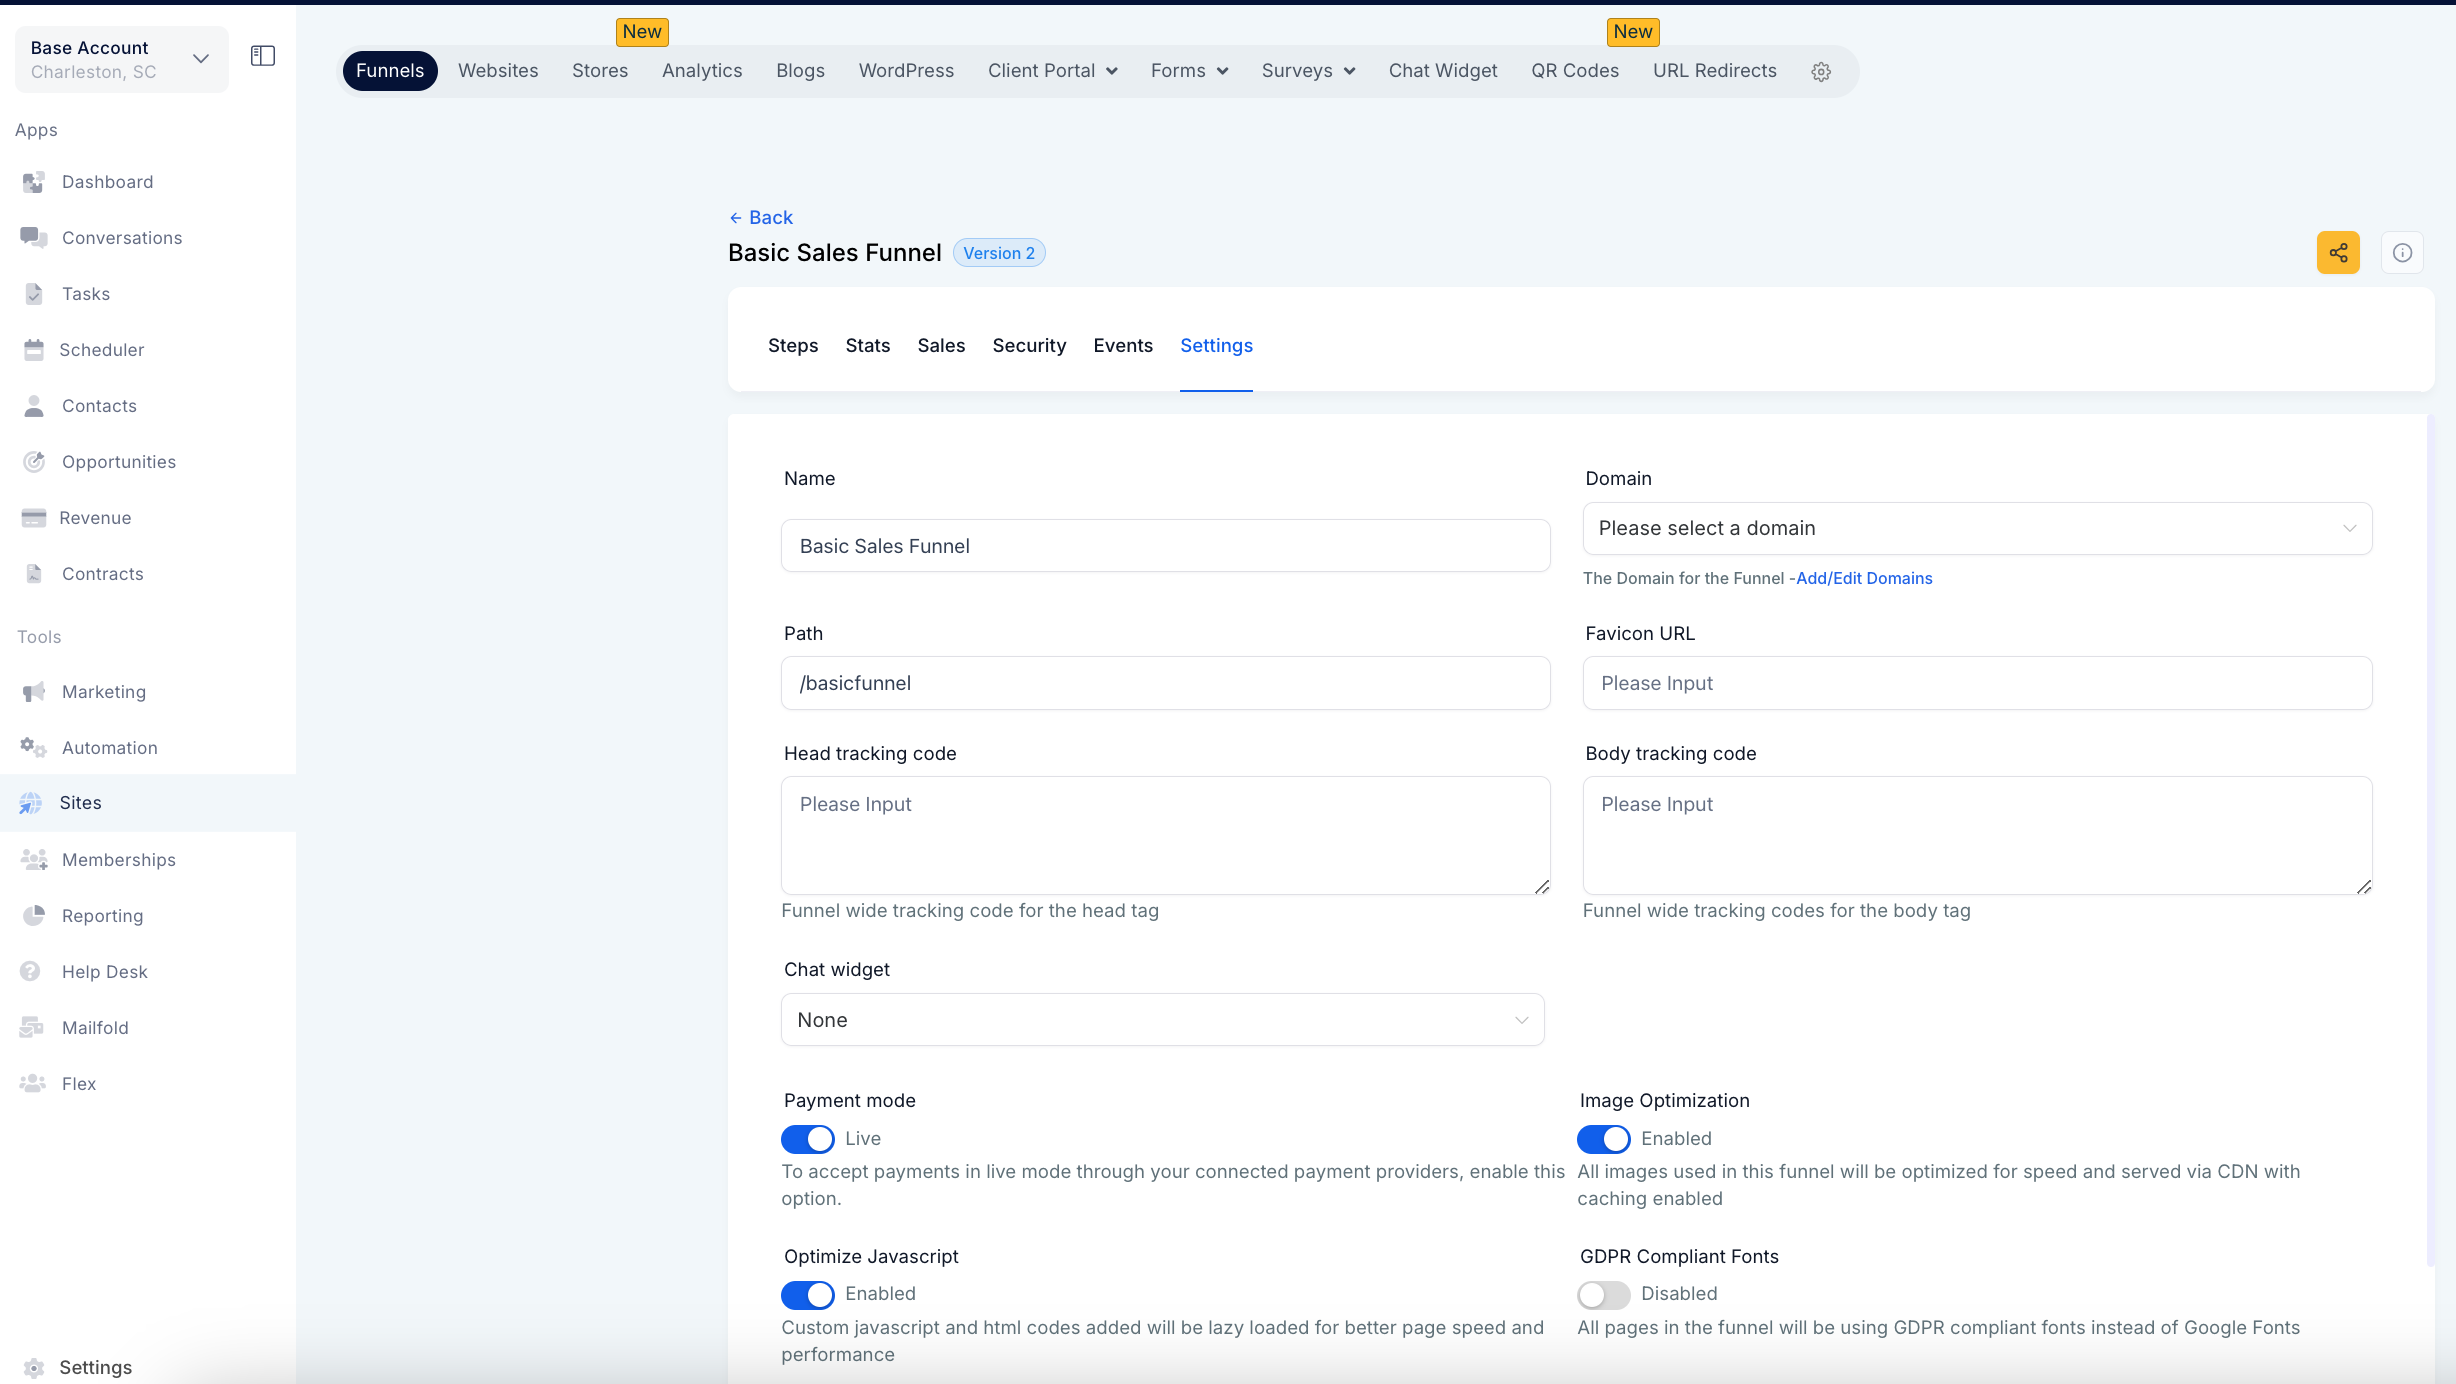
Navigate to Funnels, and choose the funnel you wish to update.
Click the pencil icon to edit that funnel.
Within the funnel page, click into the Settings tab.
Paste the Favicon URL
NOTE: if the URL has extra text after the .PNG or .ICO you can remove that additional text.
Click Save to confirm the changes.