When creating funnels, using images is a crucial part of making a funnel stand out. In this article, we will cover how to utilize images and set them up correctly.
Go to your funnel or website where you want to add the image too
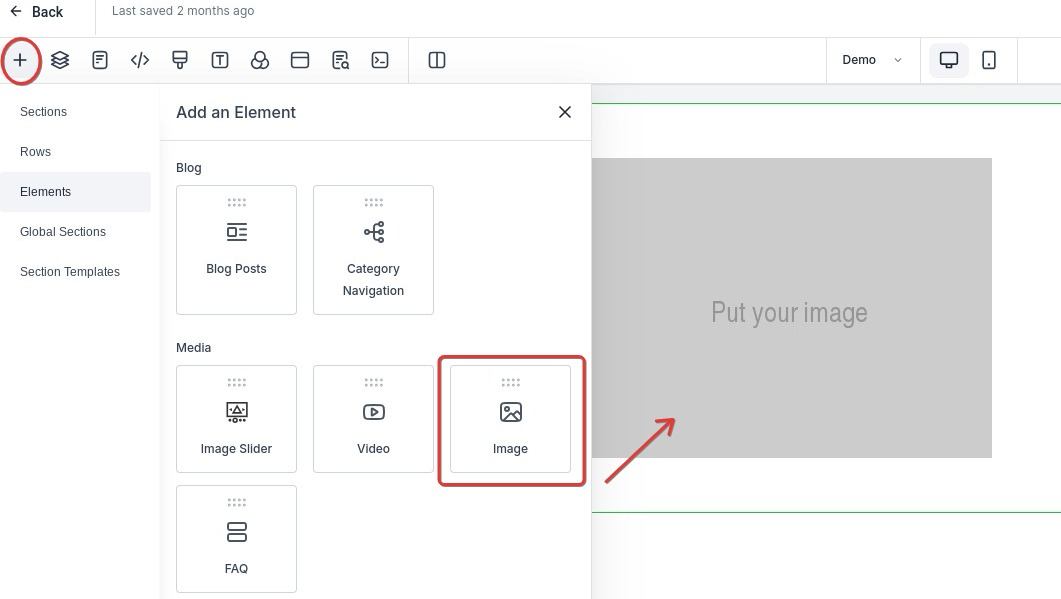
Inside the page editor click on the + sign on the left to see the elements
Search for the image element, click on it, and, drag and drop it
Within the funnel builder, once you’ve added an image, you’ll see “Image Settings” on the right side of the screen. There are 3 tabs - General, Themes, and Advanced. Toggle between the three sections of settings to customize the image as you wish.
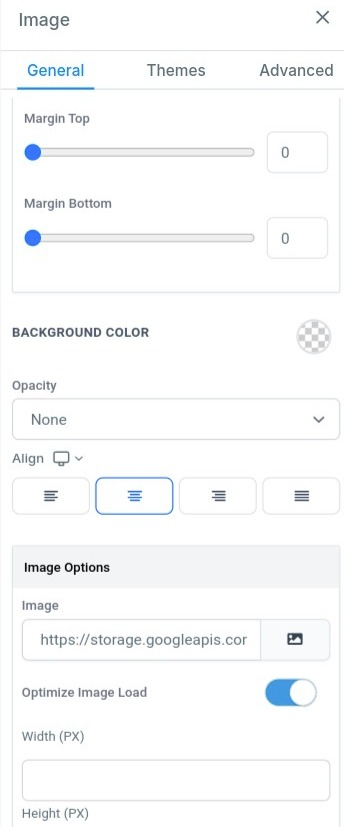
General Settings; You can name the element, edit spacing options, add background color, opacity, and alignment, select the image, edit height, width and select an action if you need one.
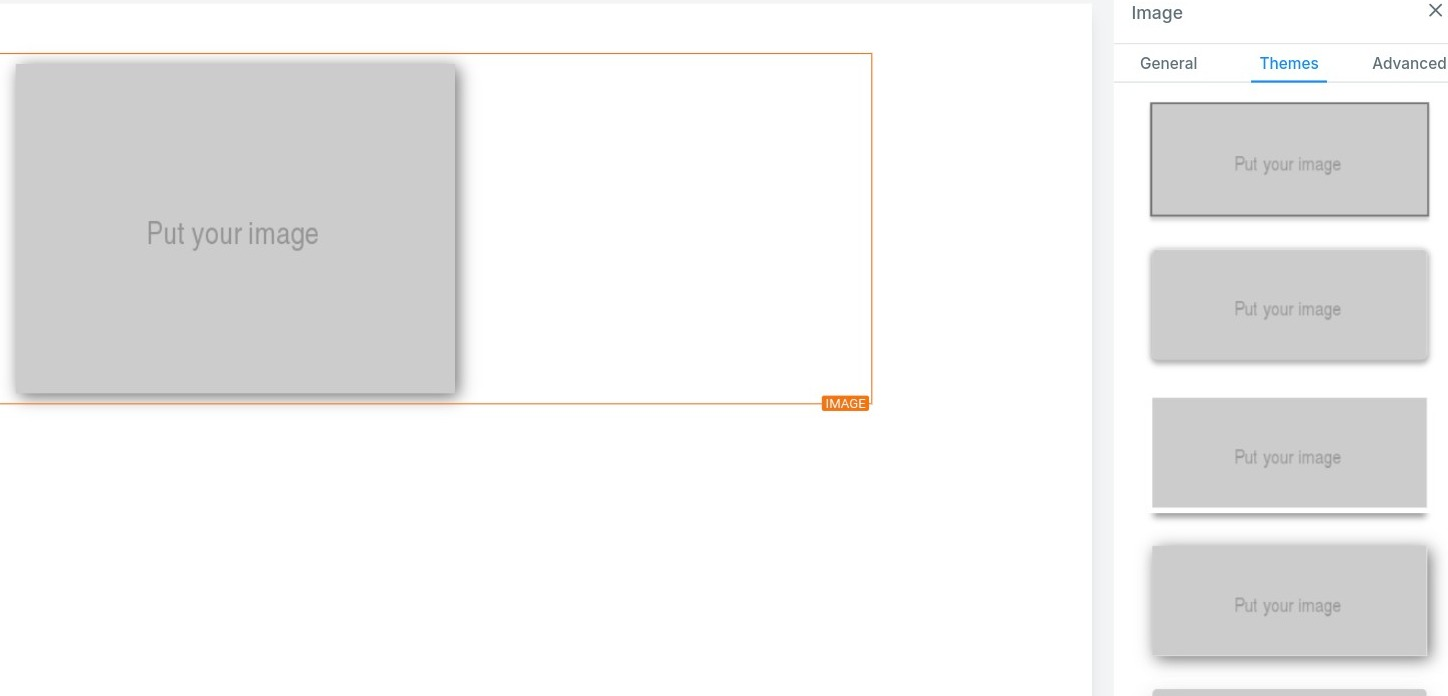
Themes: Adding themes to images applies preset design features such as borders, drop shadows, and rounded corners. This is a quick way to customize the image element if you do not need to tweak any other settings of the theme.
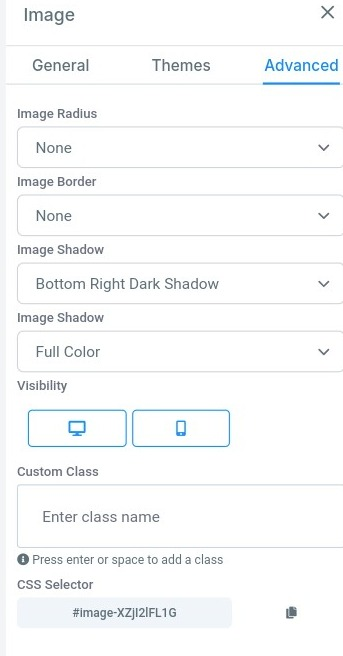
Advanced Settings: Here you can edit radius, border, shadow, visibility, custom class