To create a pixel, navigate to your "Facebook Business Manager" (also known as Meta Business Suite) > Click on the "Events Manager" on the left.
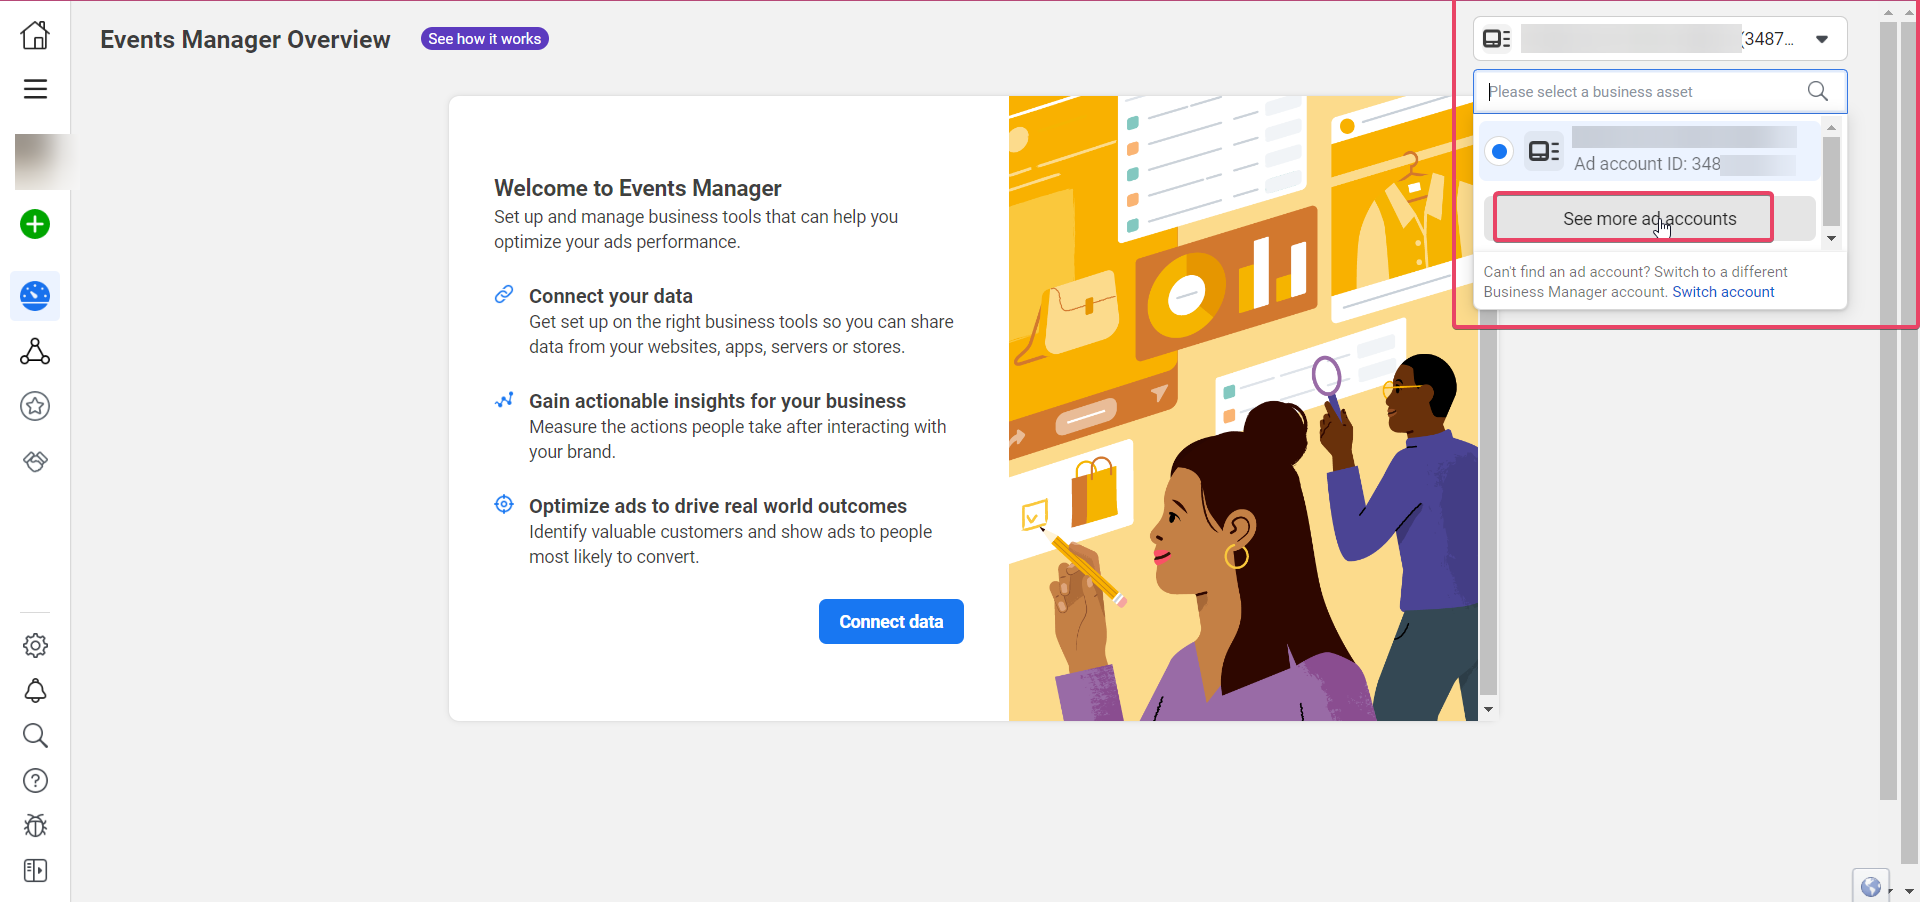
Ensure you are connected to the correct Ad Account with all the required access to the FB Page.
Click "Connect Data Sources" on the left sidebar.

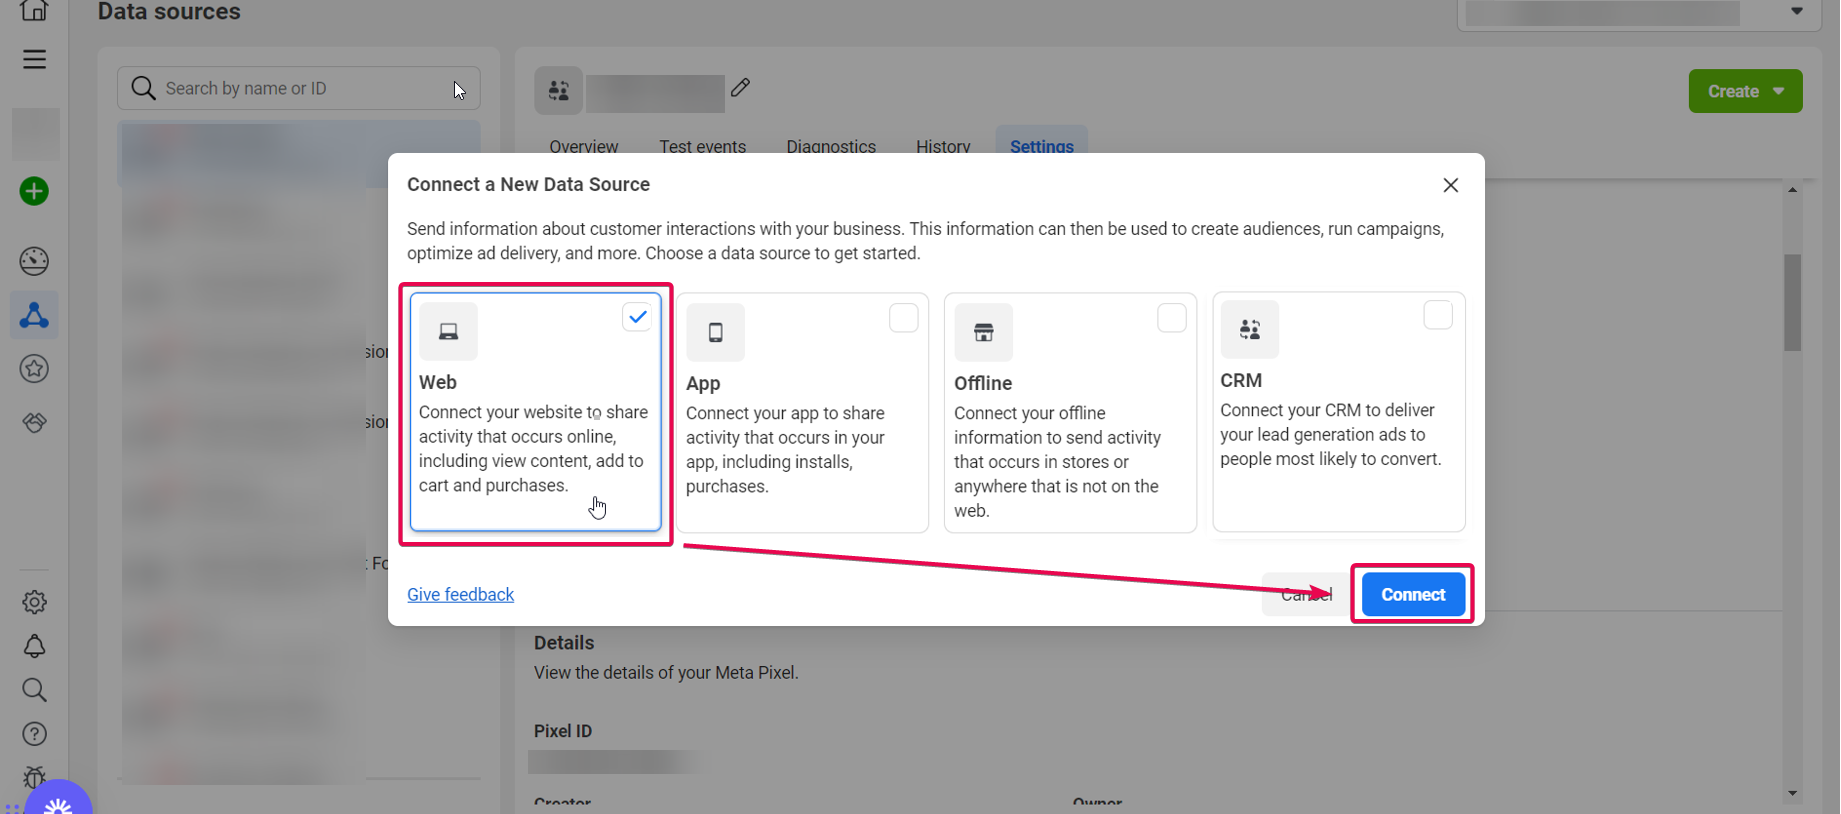
Select "Web" from the options that appear, and then click "Connect".
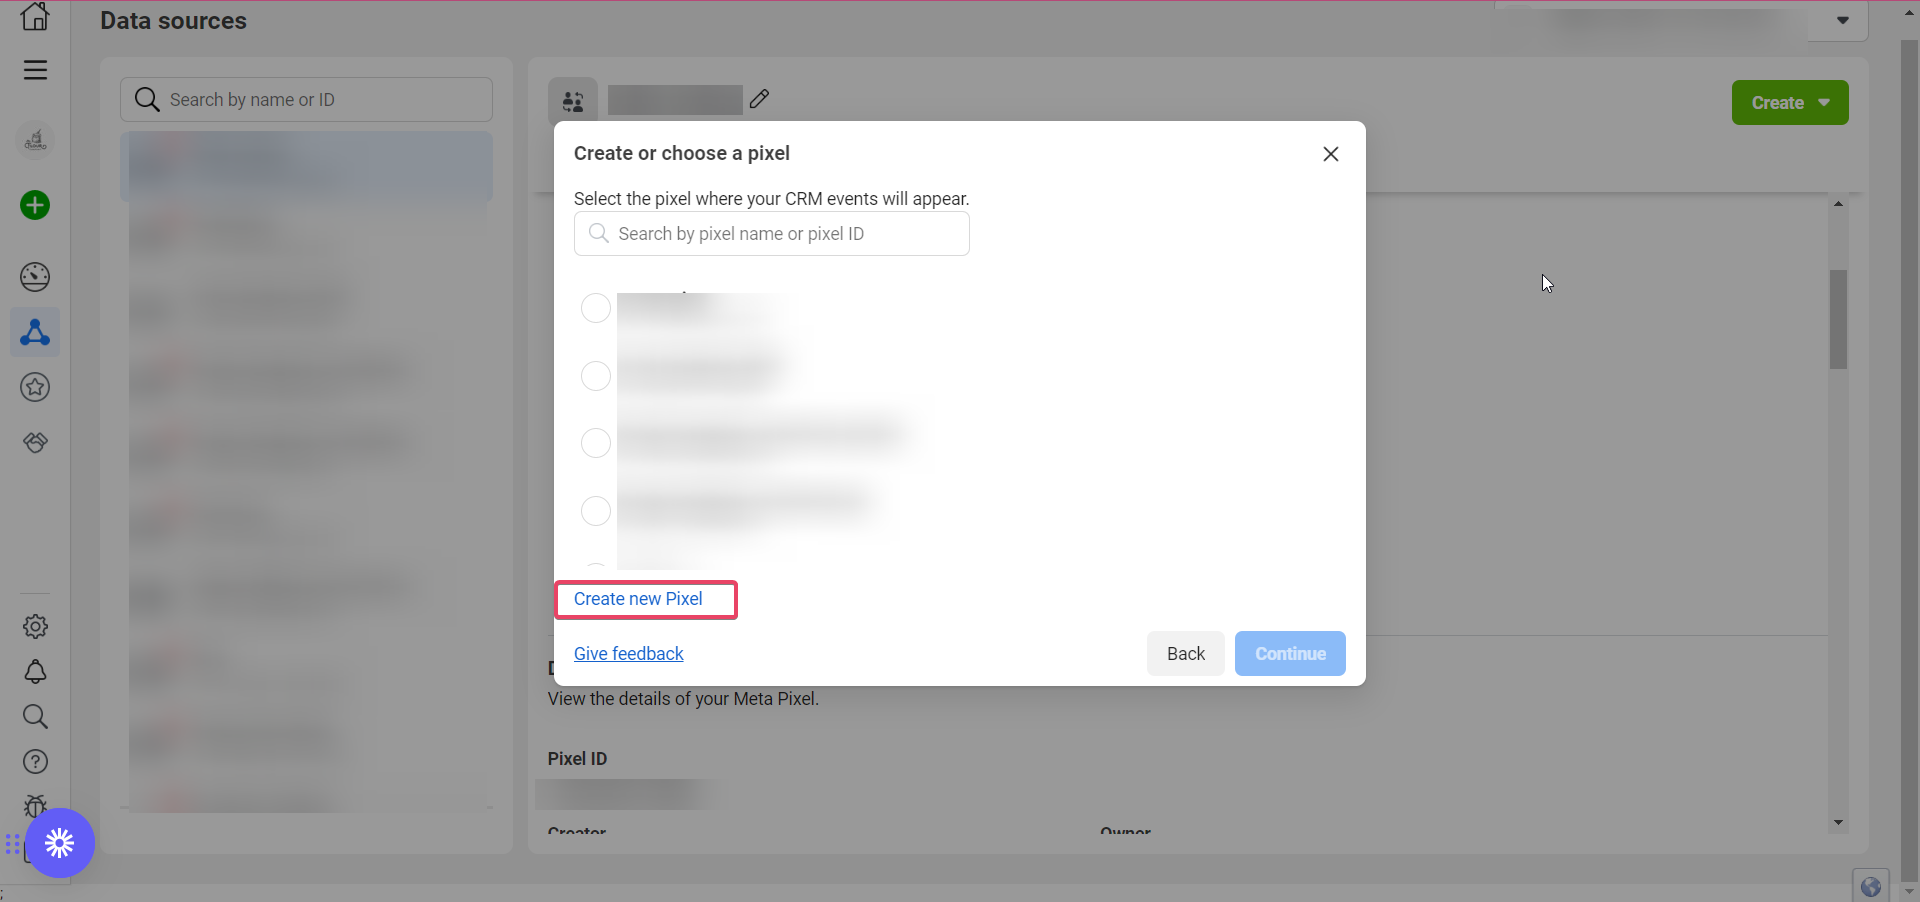
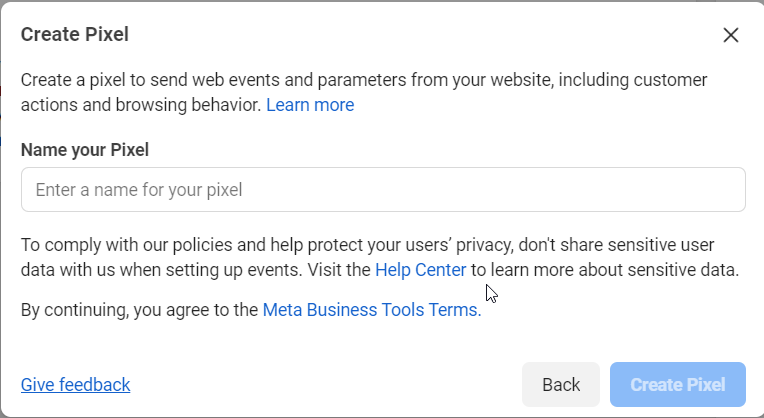
5. If you already have pixels, you will be asked to select one or create another. You can create a new pixel or choose an existing pixel from the list to collect data. Add pixel details and click "Continue".
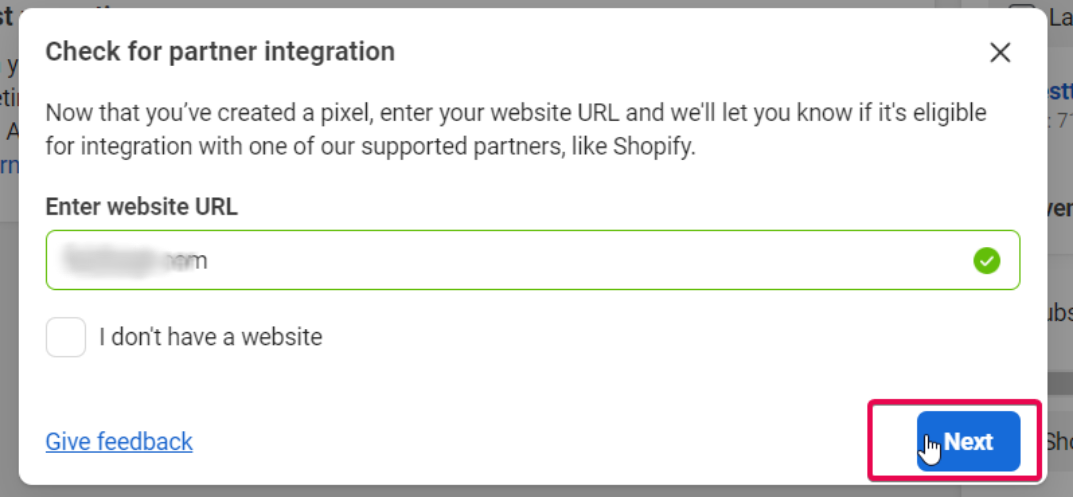
6. The next step will be to provide the URL of the CRM's website/funnel where the pixel code will be added.

Click "Check" once you have added the domain of the funnel/website where the pixel code will be added.
A green checkmark will appear in the domain field if your domain is eligible. Click the "Next" button instead of the "Check" button once you see the green checkmark.
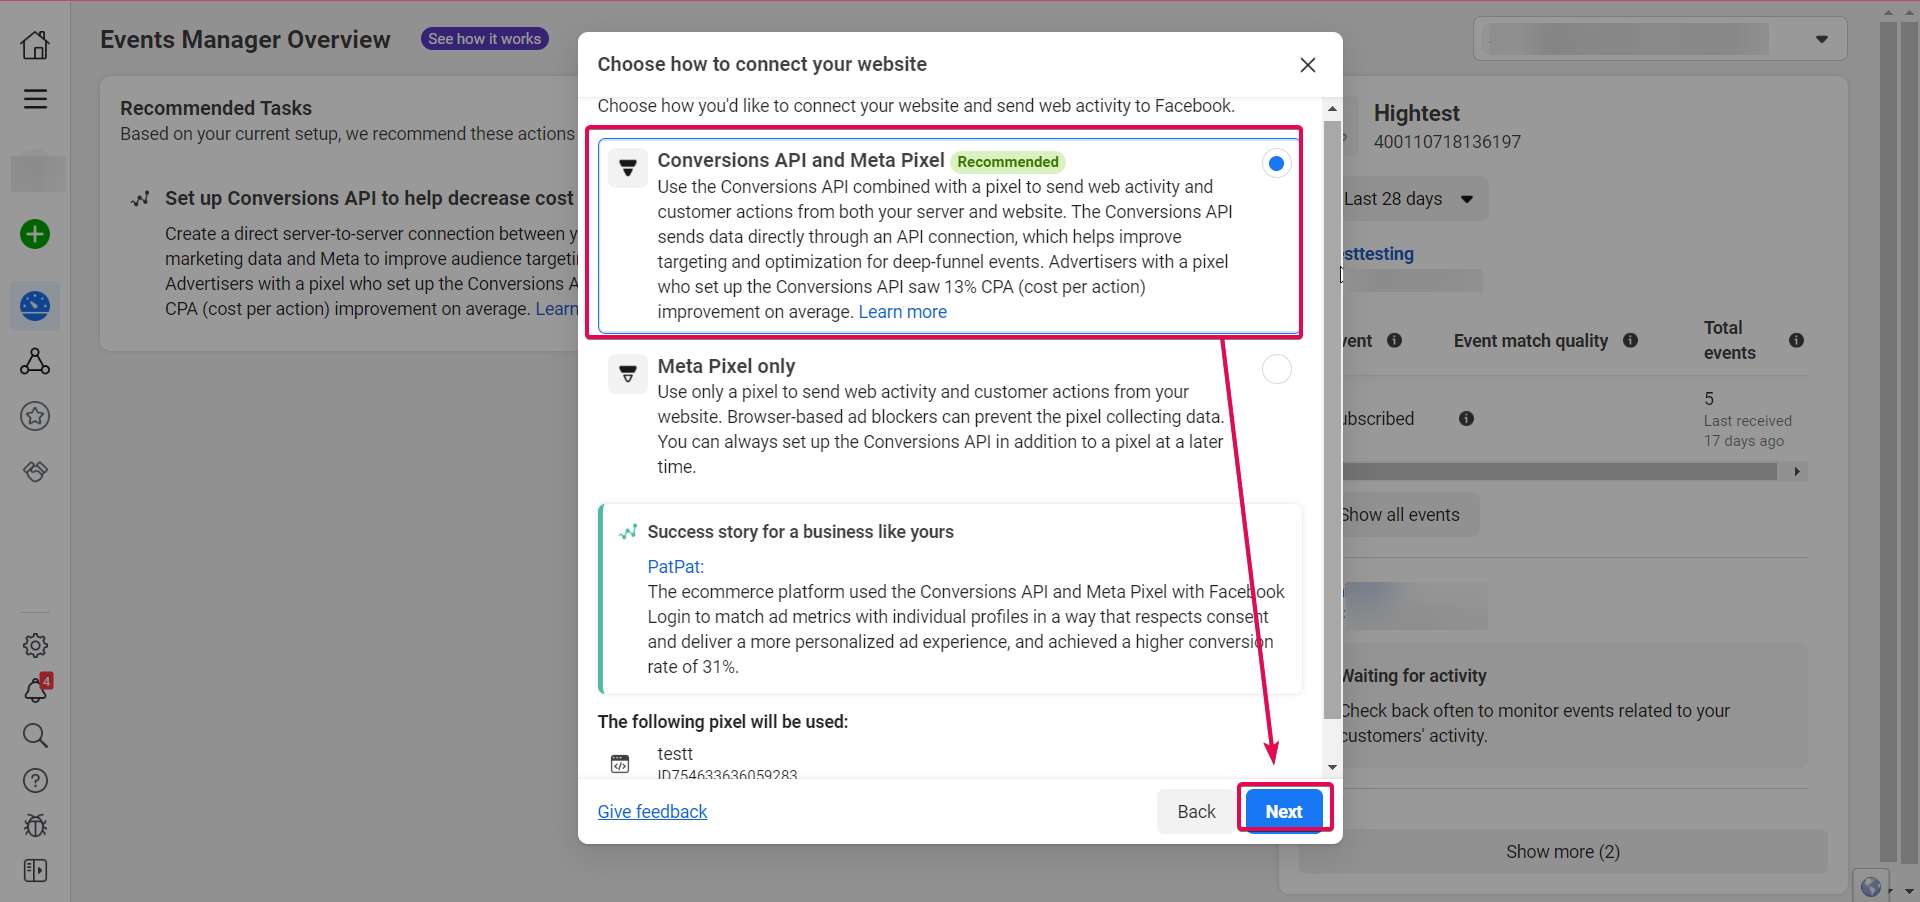
7. A popup will appear asking you how to connect to your website.
"Choose" the first option, "Conversion API and Meta Pixel".
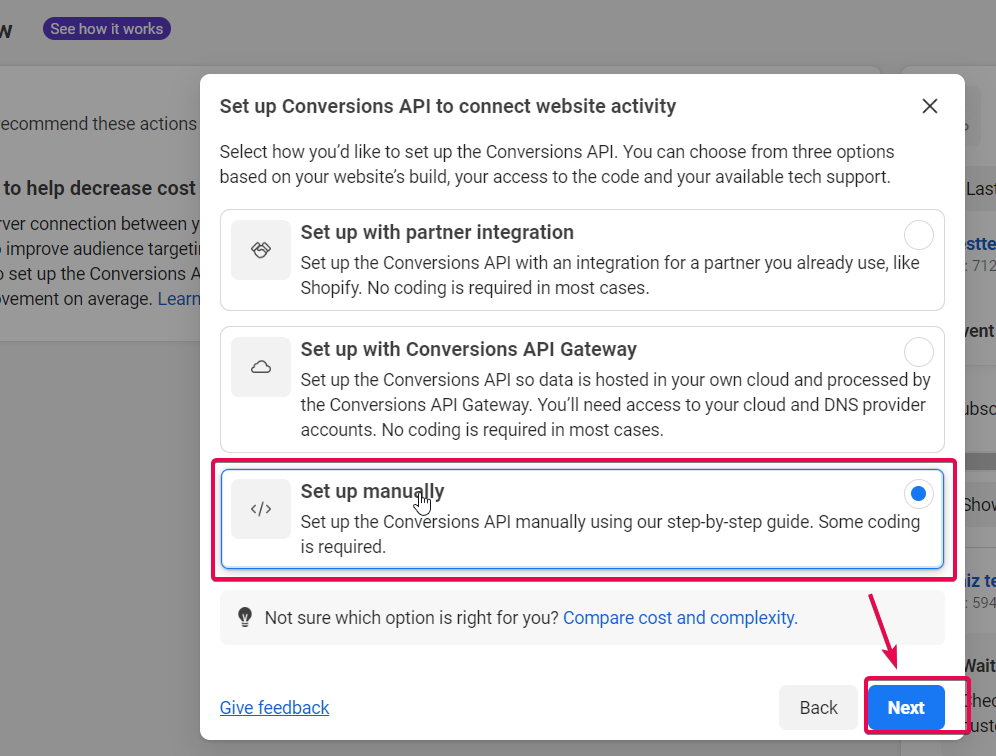
8. Next, it will ask how you want to connect website activity with the Conversions API. Choose "Set Up Manually".
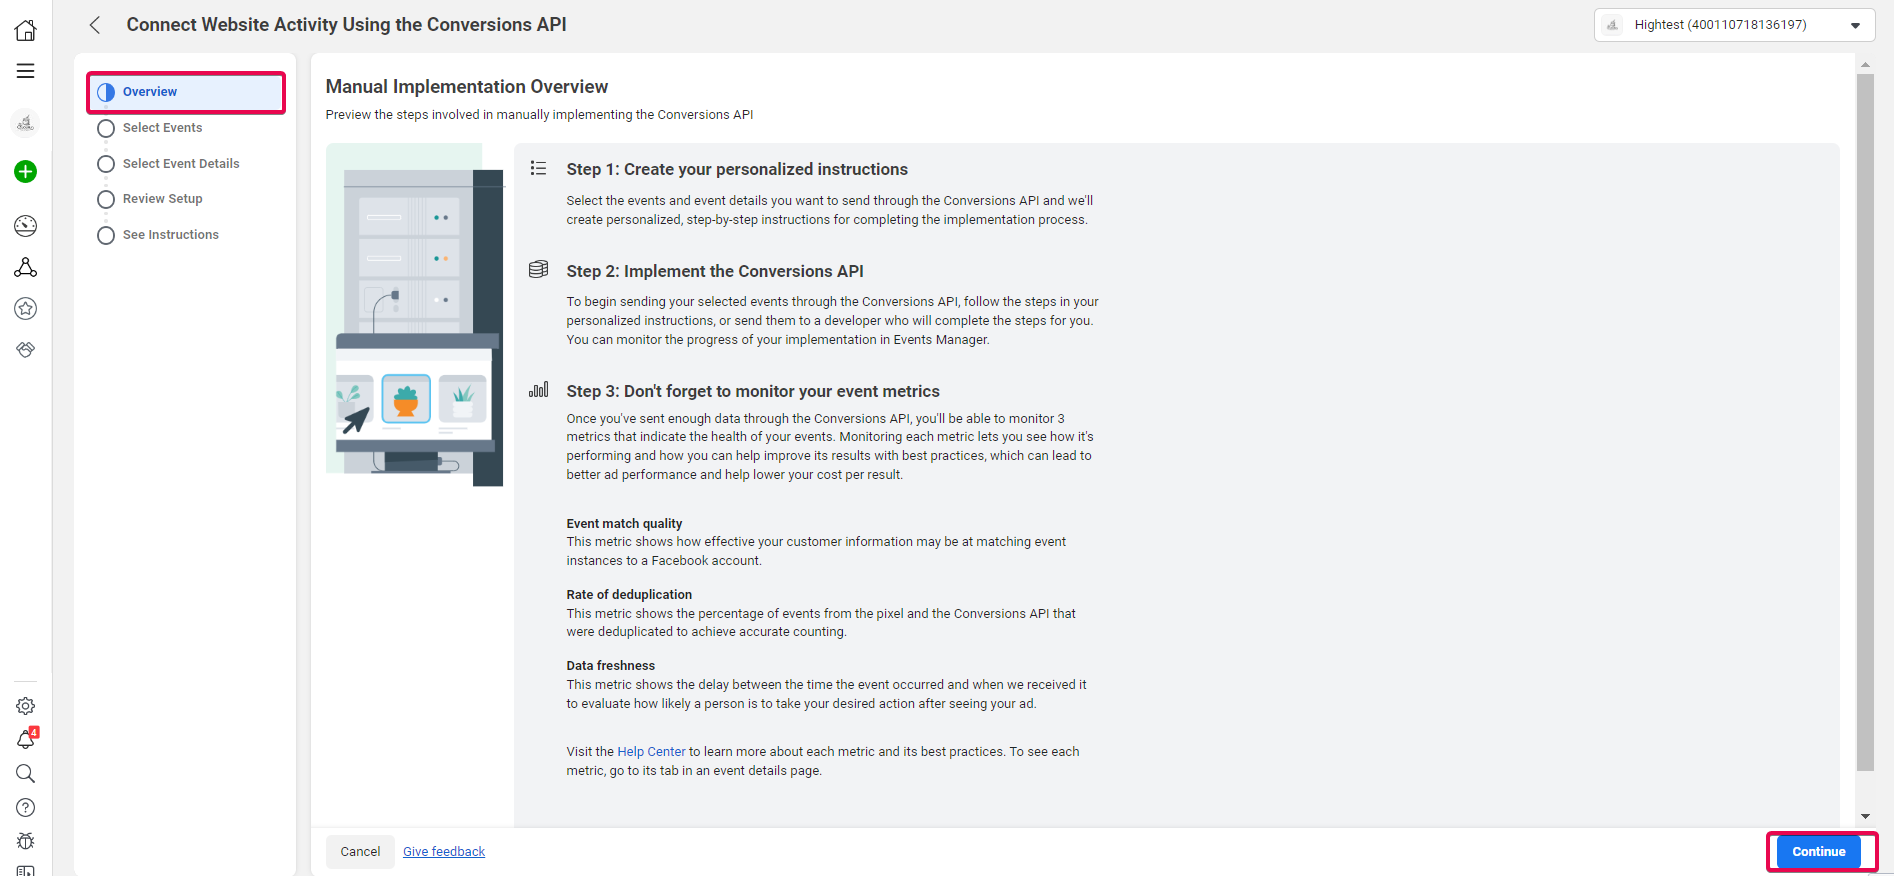
9. You will be taken to the Overview tab for Manual Implementation. Please read the instructions and click on the "Continue" button.
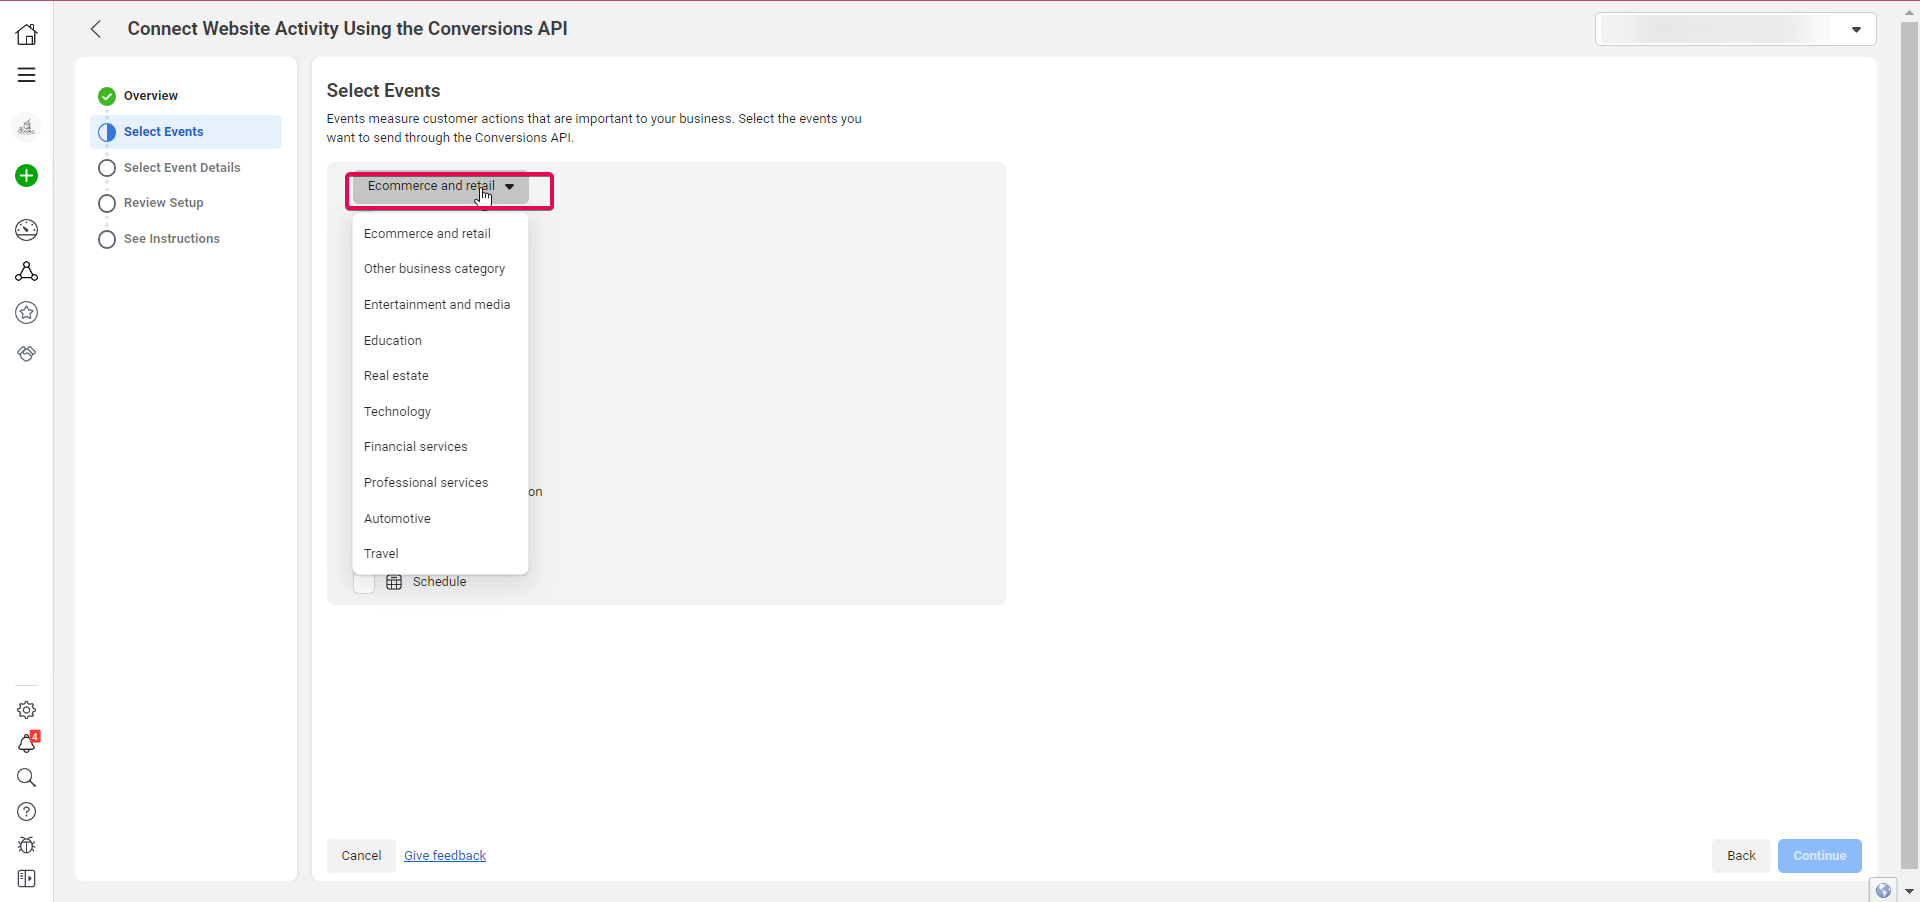
10. Next, click "Select Events". The dropdown menu will allow you to select the industry for which you are setting up this Pixel. Choose the one that is most relevant to your client.
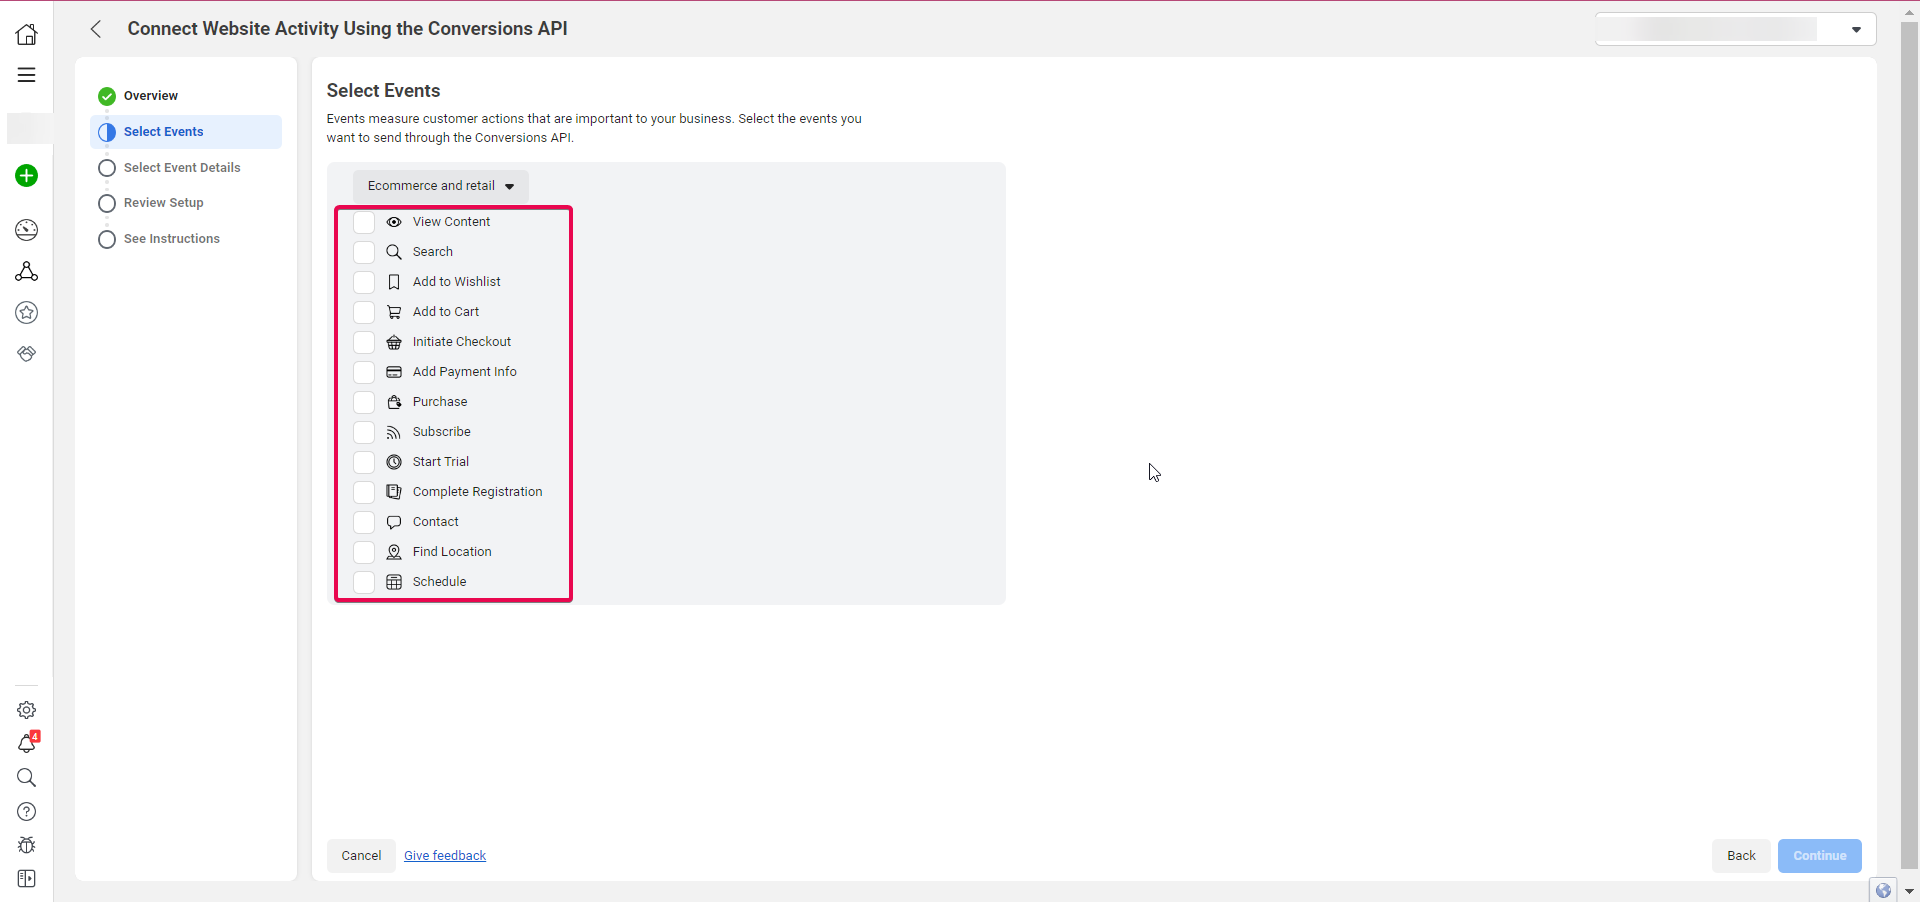
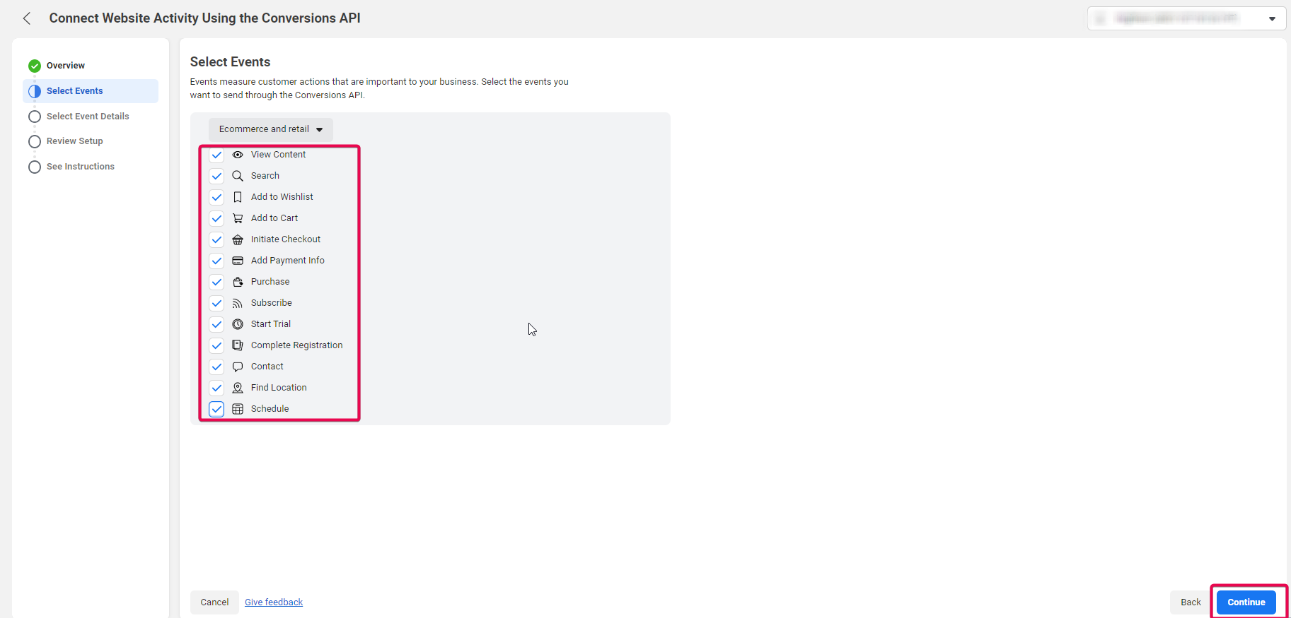
Then it would be best to choose the events you want to send to Facebook. Select all the events you wish to send to Facebook, and click on "Continue".
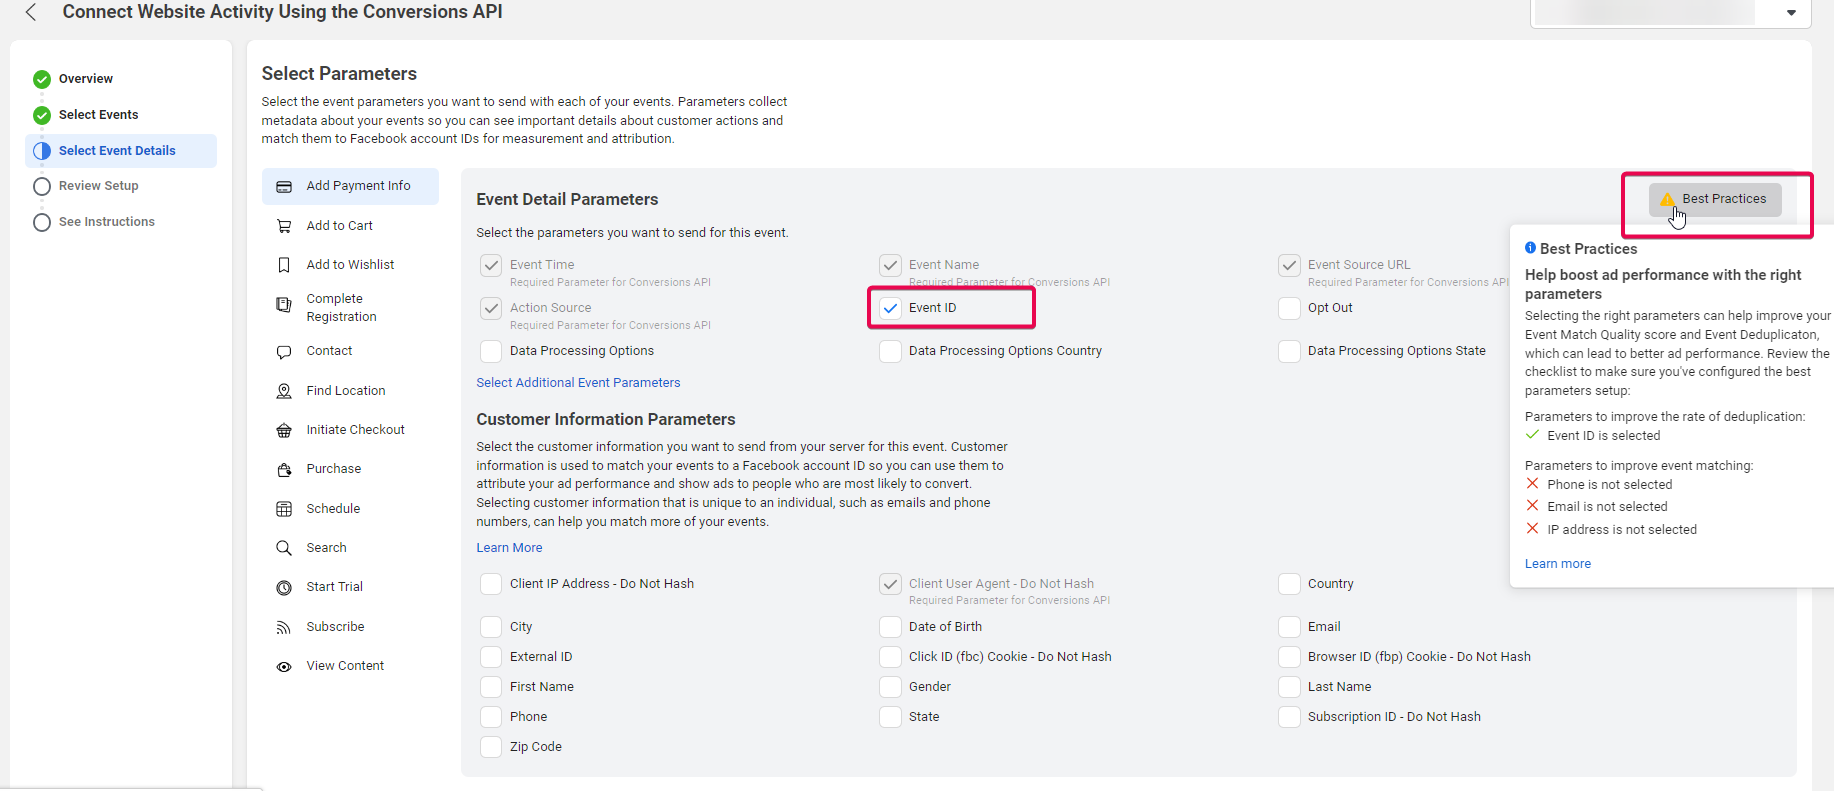
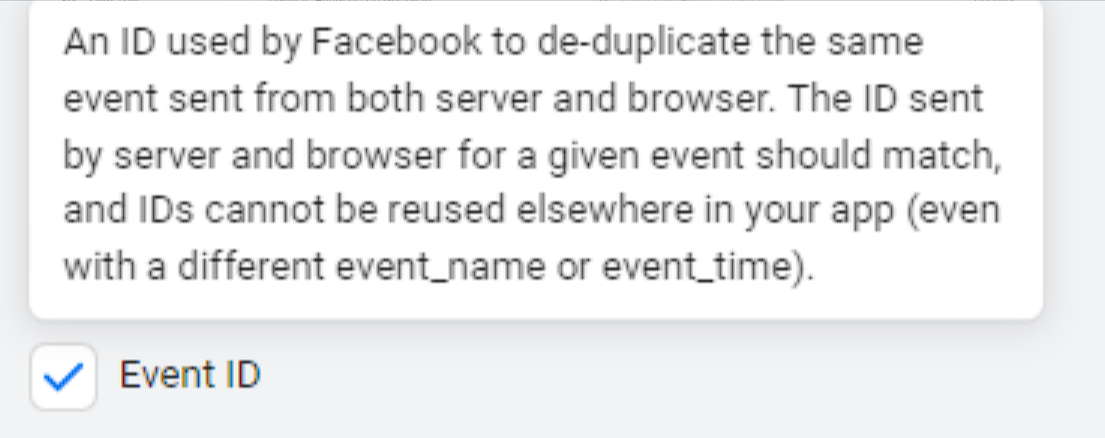
11. You will be taken to the "Select Parameters" tab, where a few Event Detail Parameters will already be checked. Checkmark "Event ID", as the Best Practices tooltip recommends it to the right.
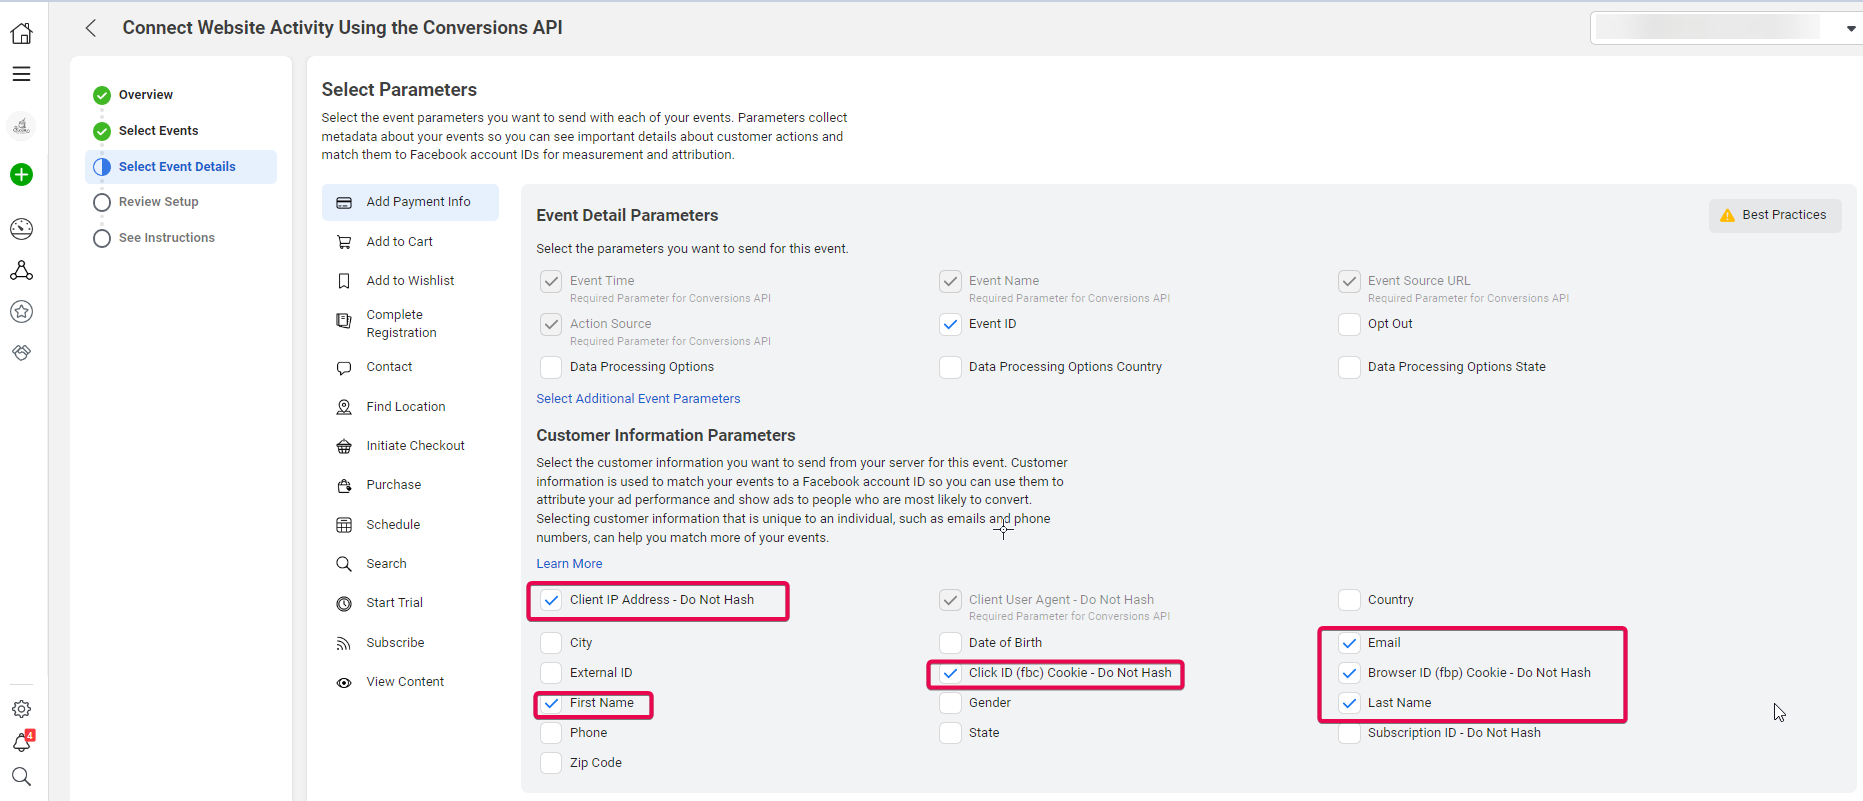
12. Then, under "Customer Information Parameters", you will see that "Client User Agent" will already be marked for you. You must check the Client's IP Address, First Name, Client ID, Email, Business ID, and Last Name.
Please Note:

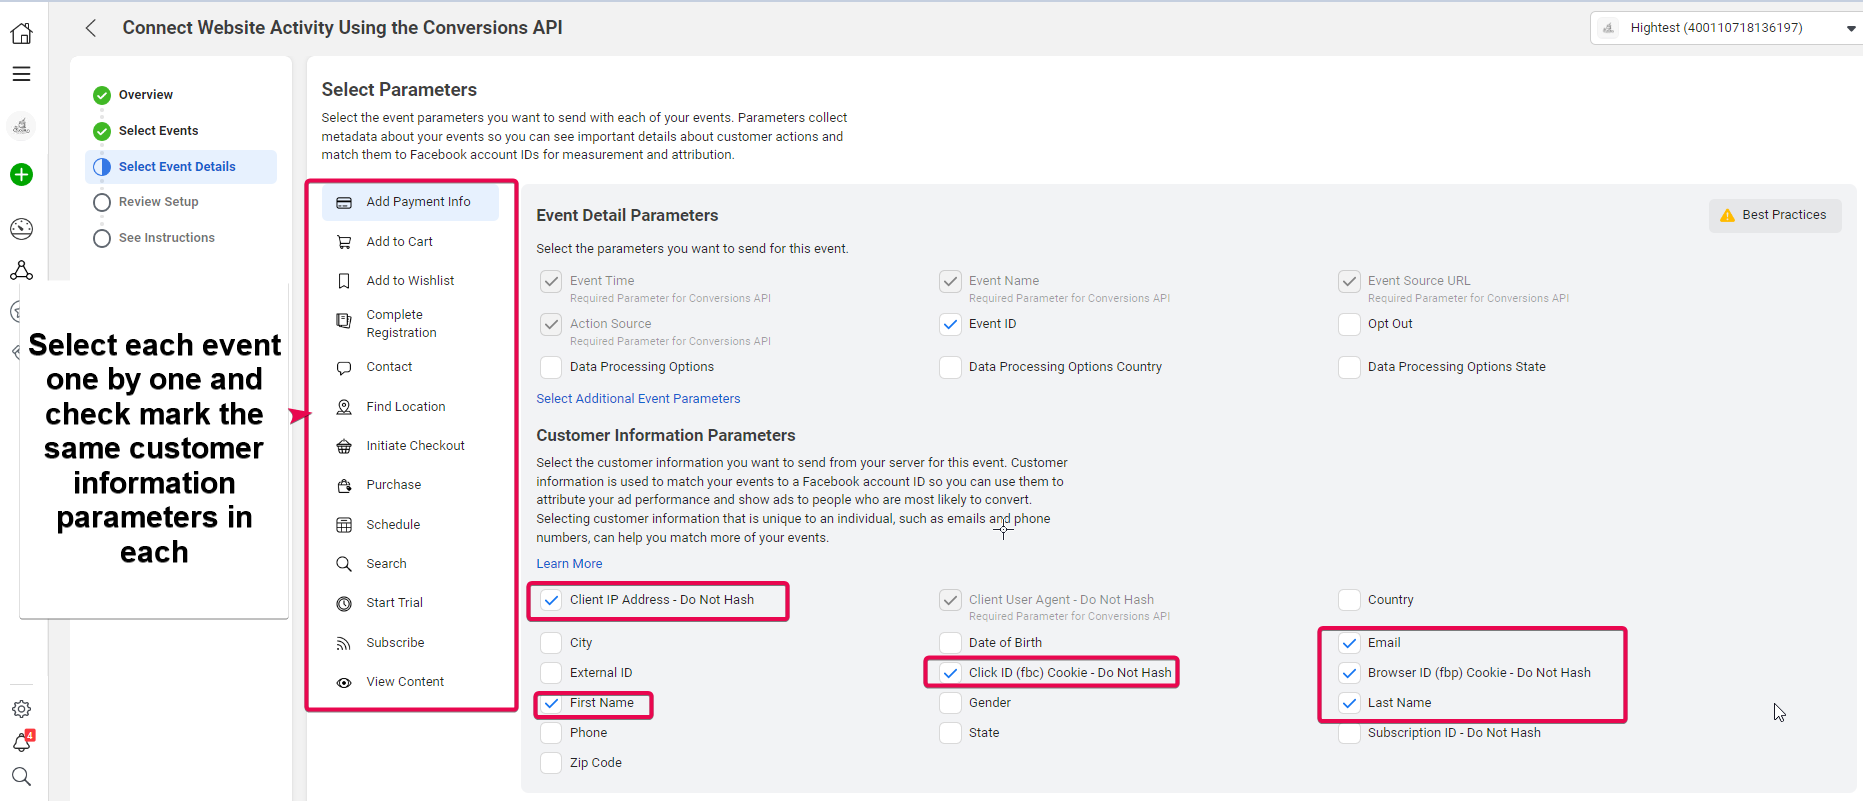
13. You will then be asked to Review the Setup and verify all the parameters for each event one last time. Once everything is set up as you need it, click "Continue".
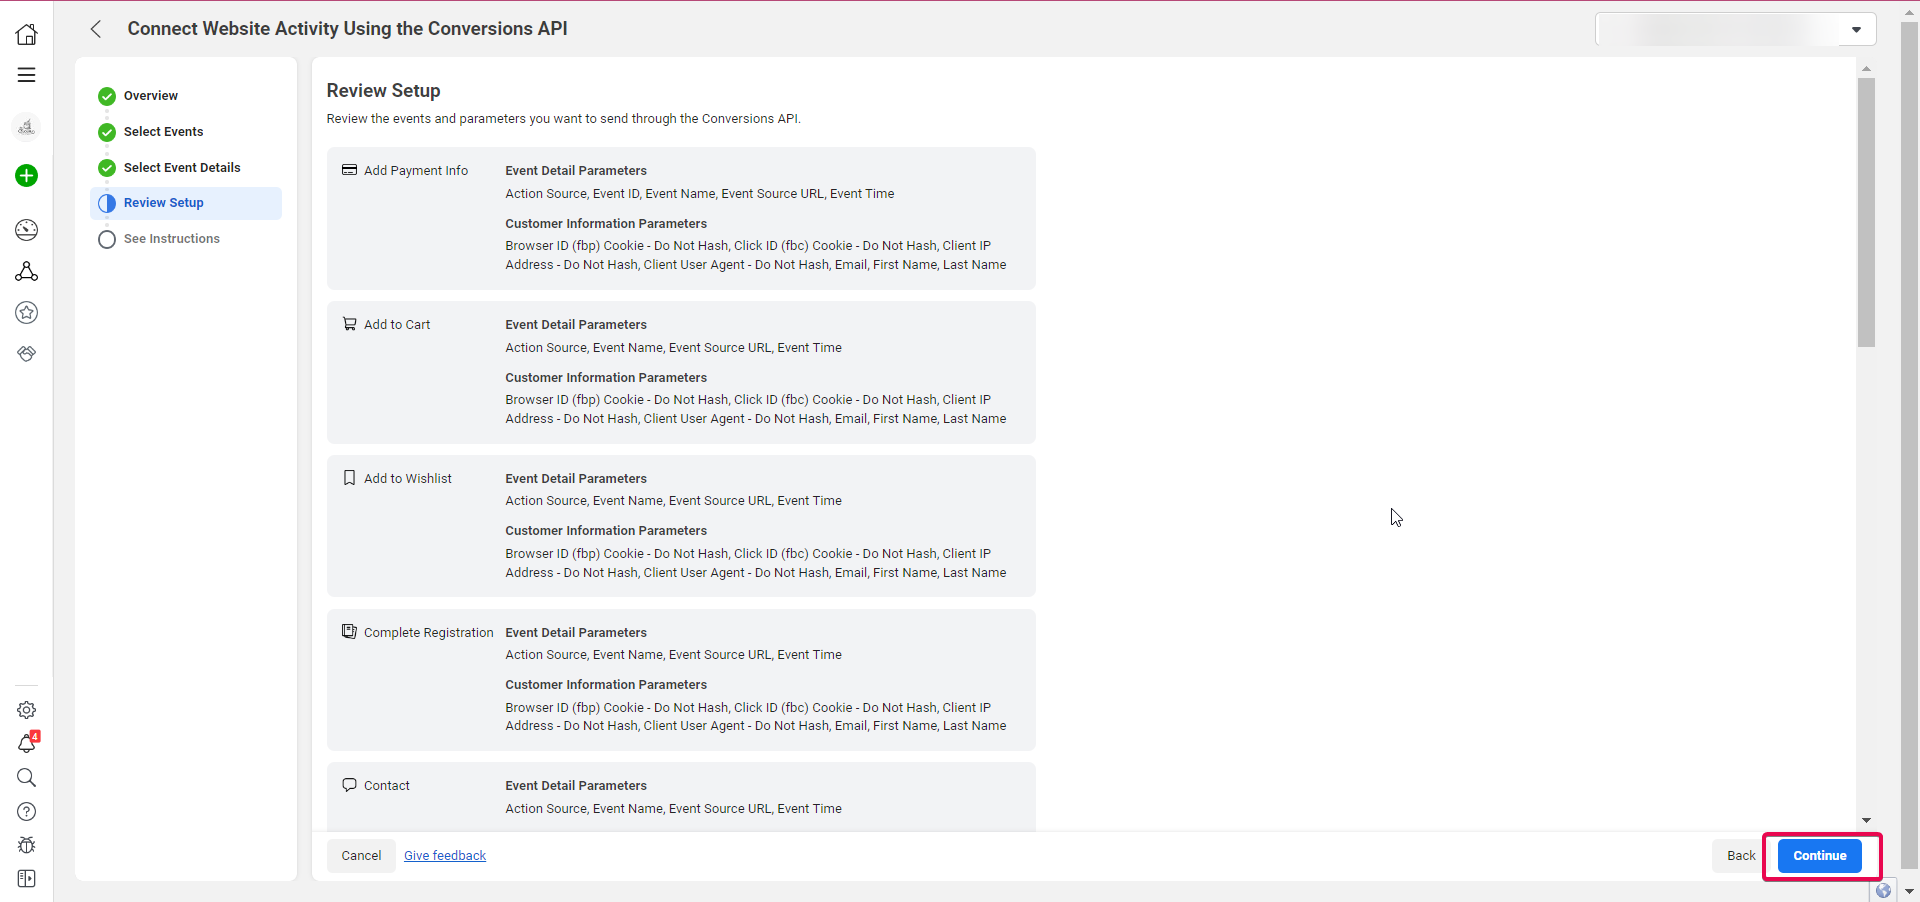
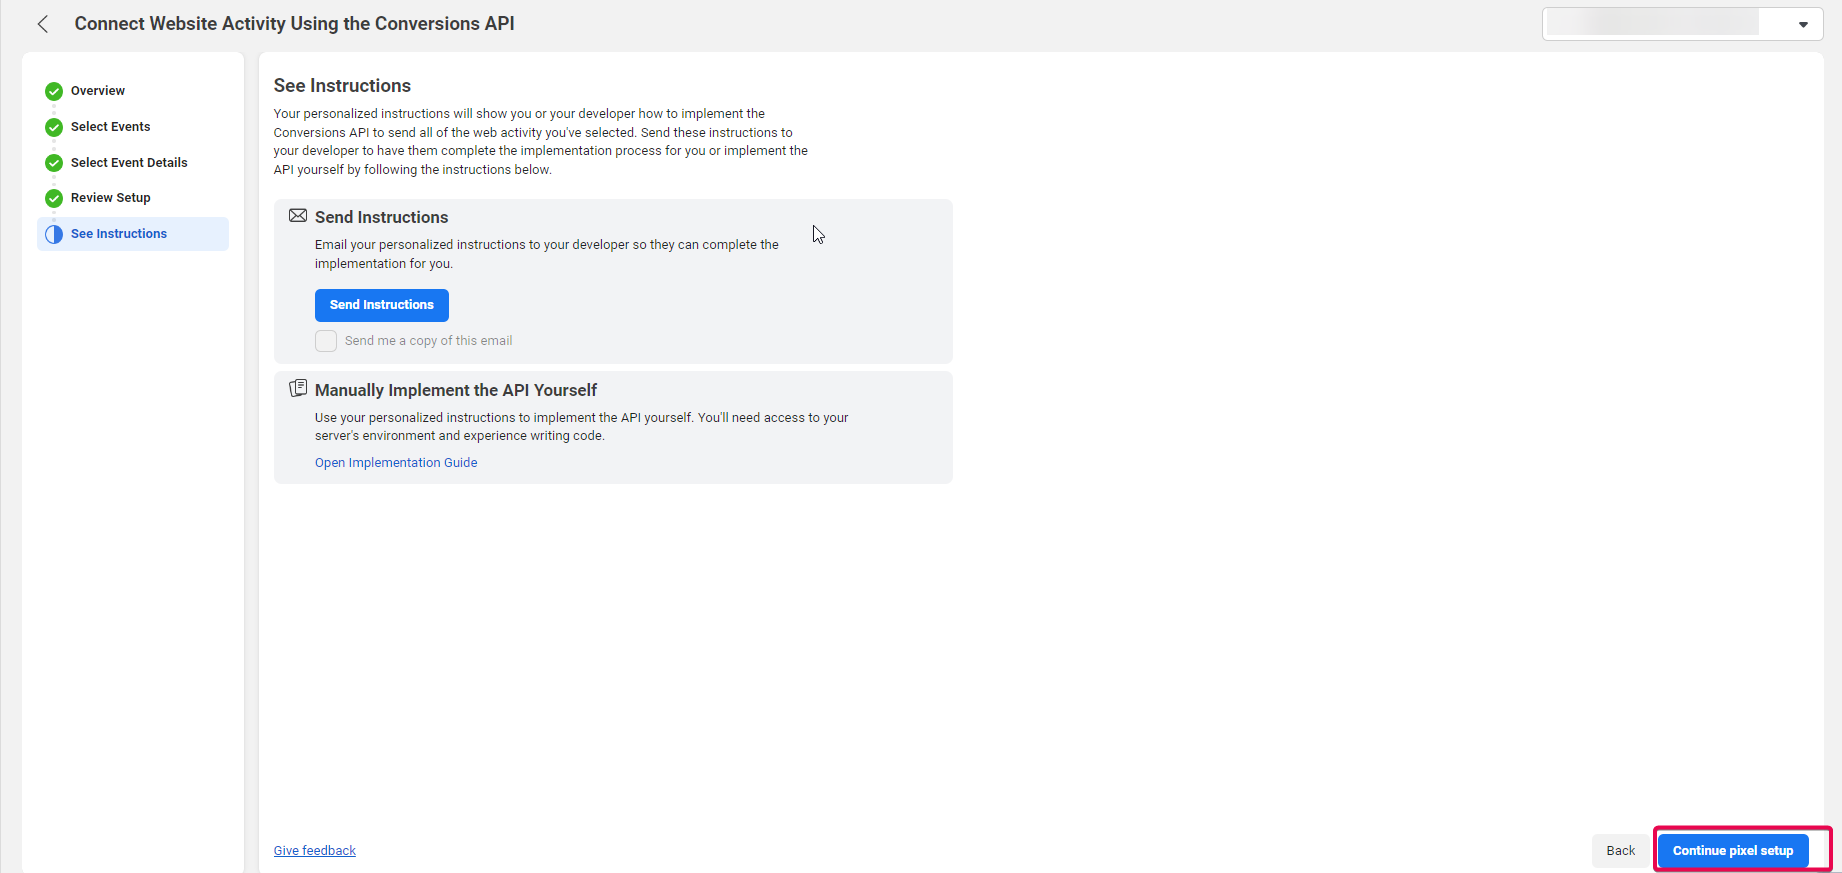
14. In the next step, click on "Continue Pixel Setup".
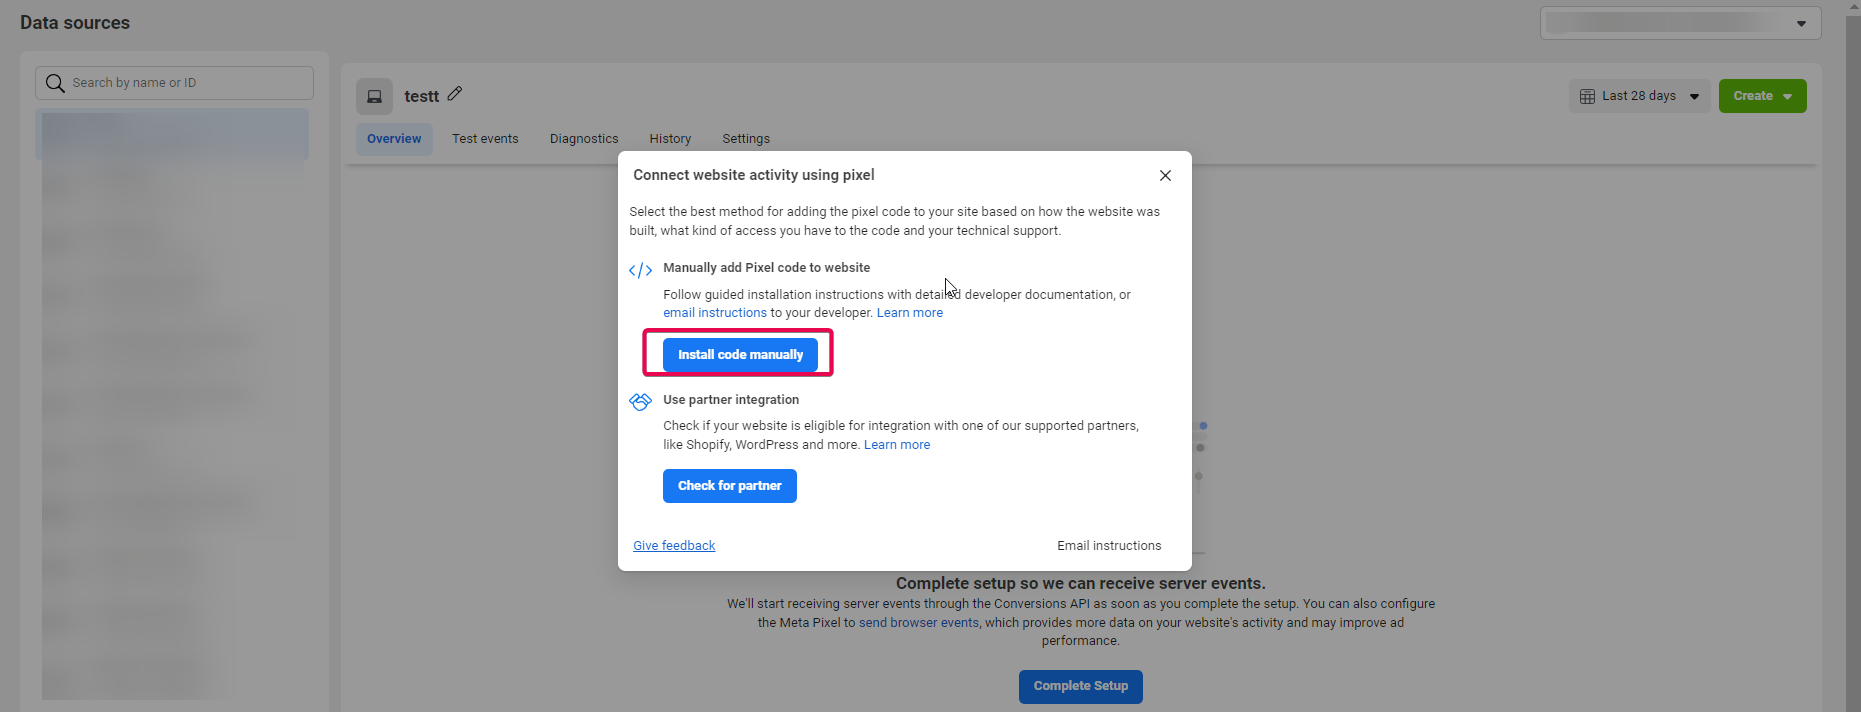
15. You will be shown a popup to Connect website activity using Pixel; choose "Install Code Manually".
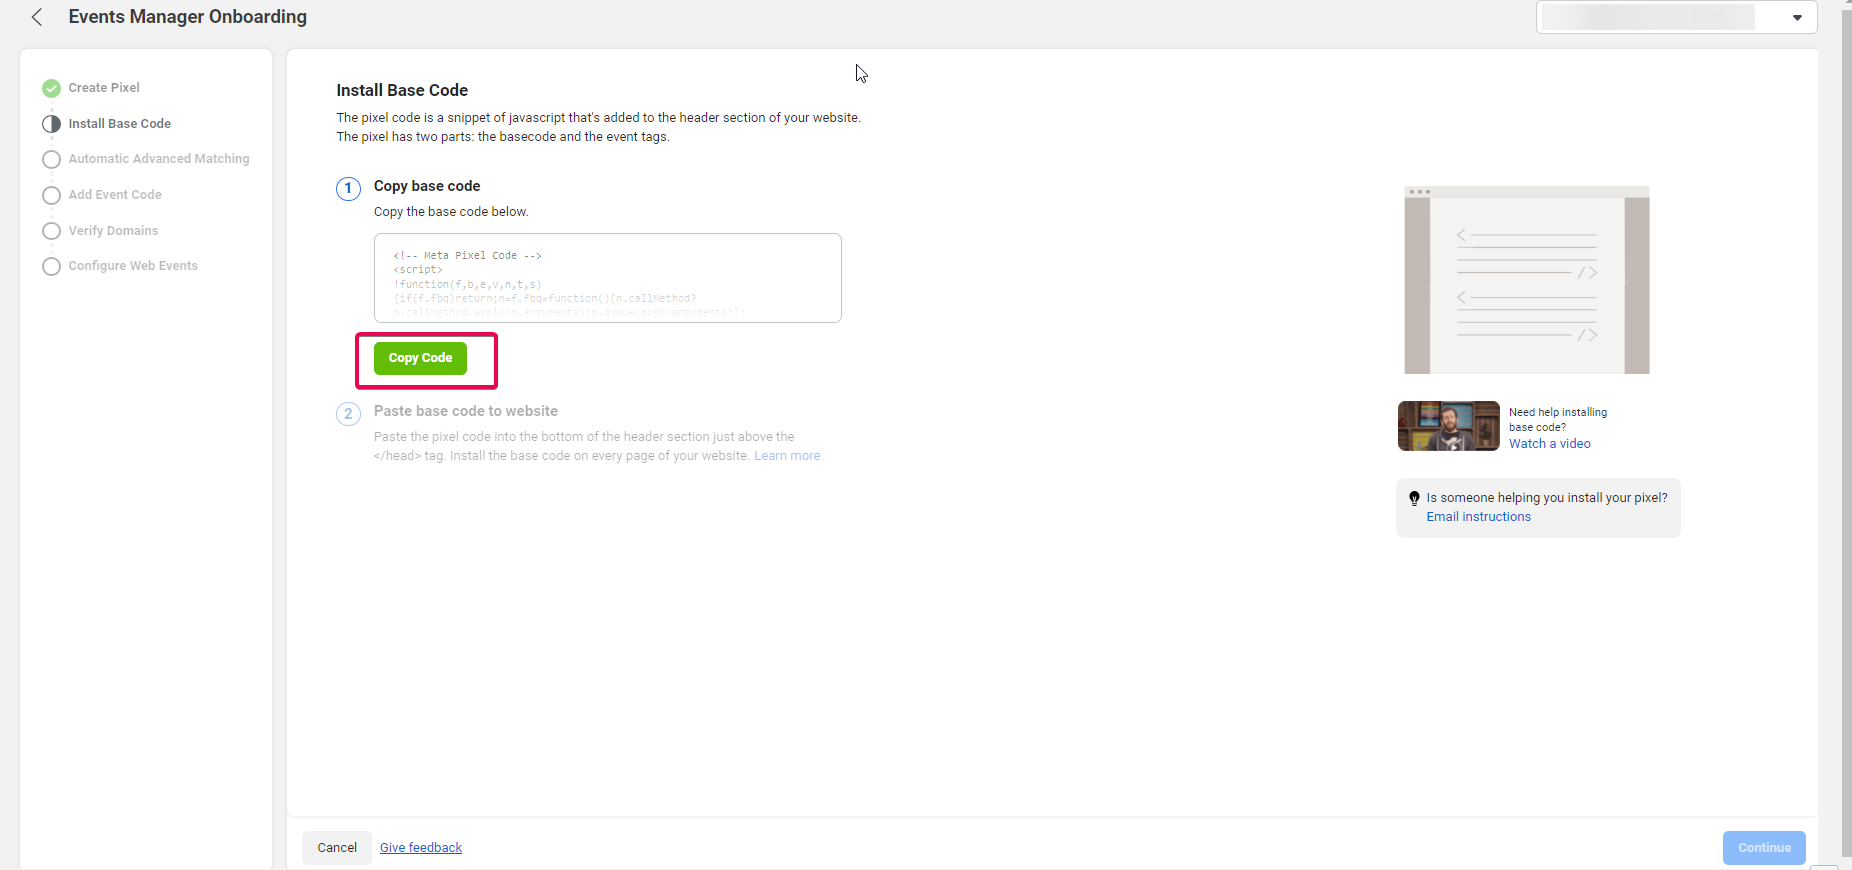
16. Click on "Copy Code" to copy the pixel code.
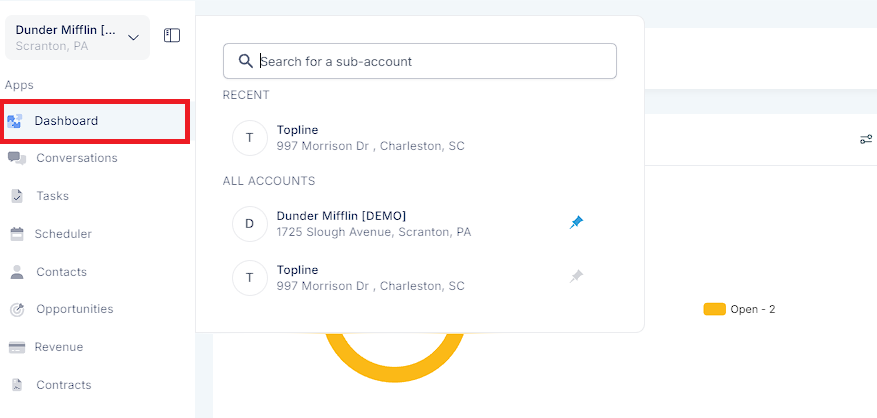
17. Open this browser tab and navigate to your CRM account. Click on the "Account" you want to set up the Pixel for.
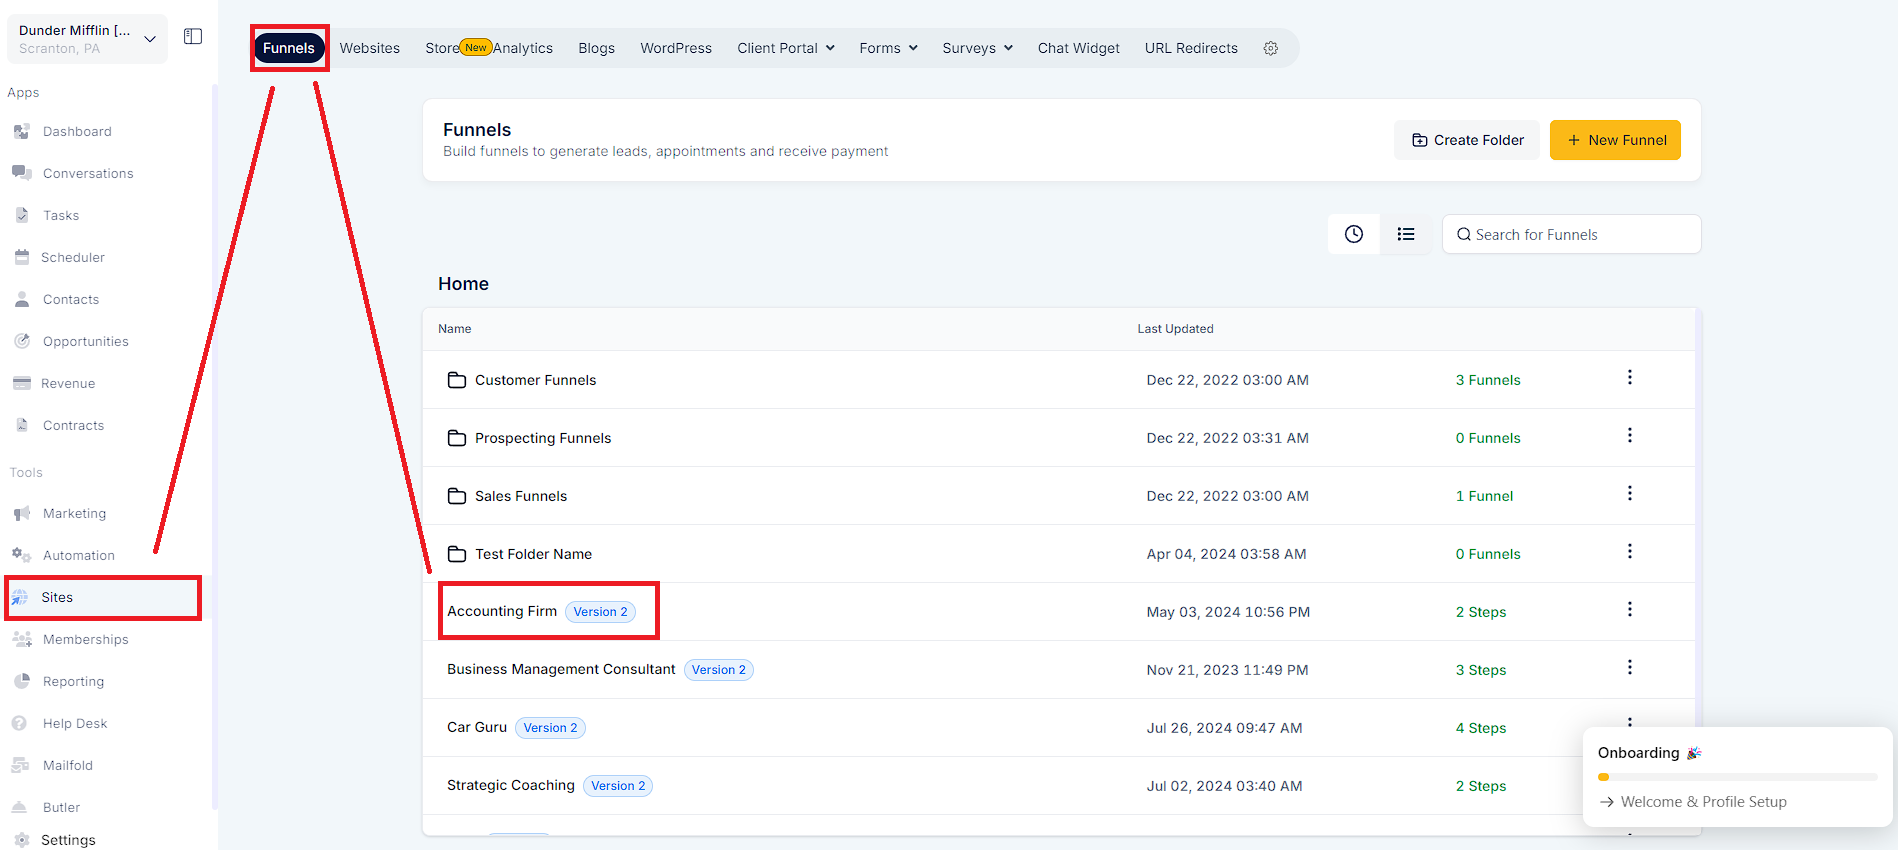
18. Head on to "Sites" in the left sidebar and then to "Funnels or Websites" (depending on where you built the site, which is associated with the domain you used in your Pixel Setup)
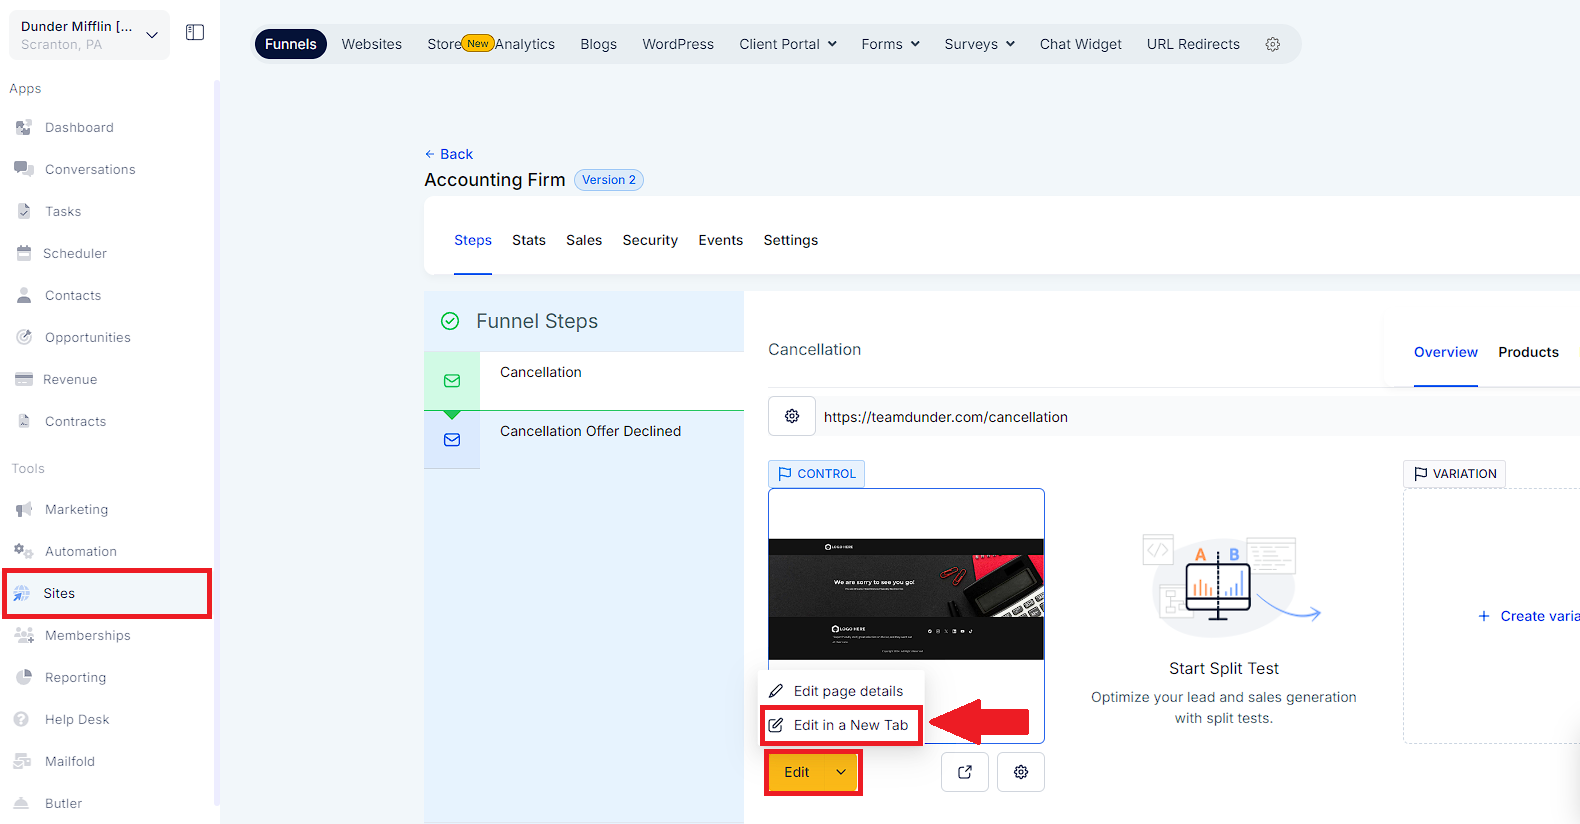
19. Click on "Edit Page" under your desired page and then preferably "Edit in a new tab" to go to a different account to access the Funnel Builder.
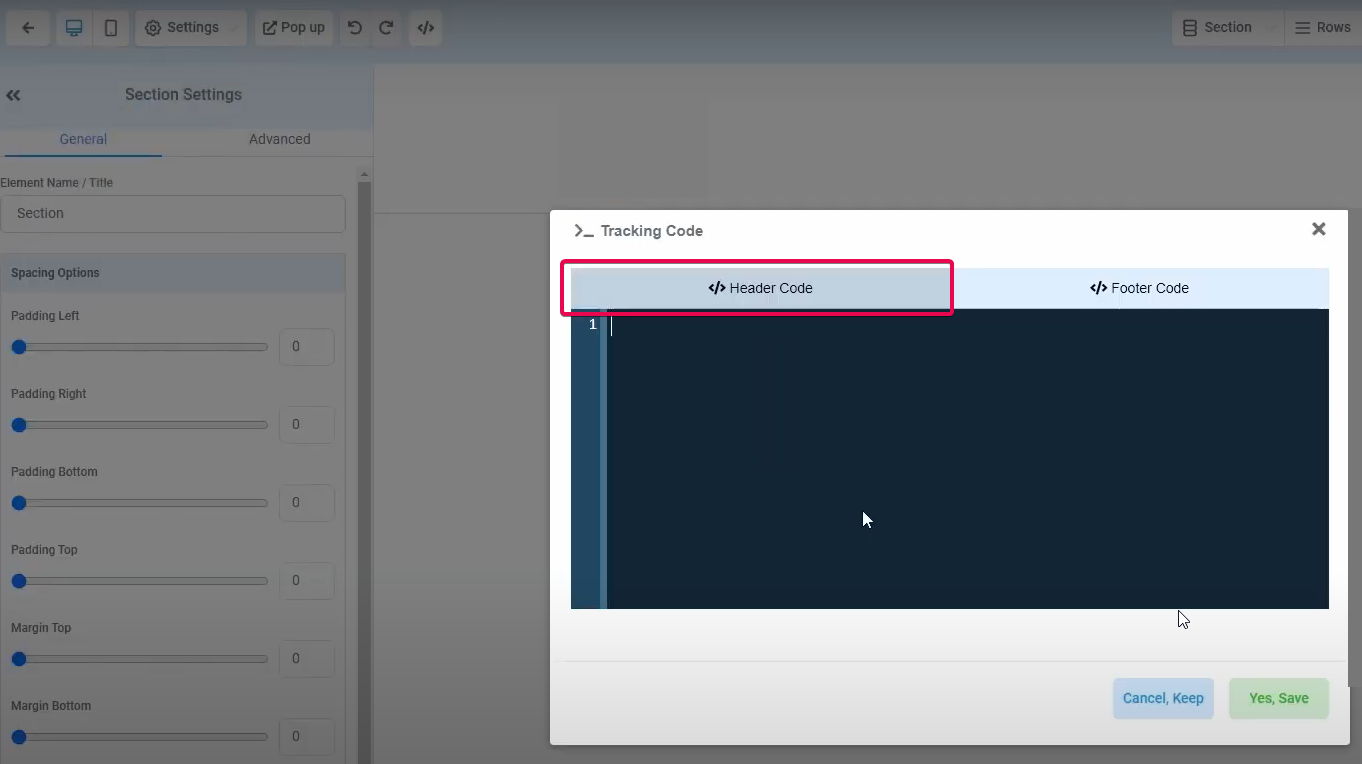
20. Once inside the builder, head to "Settings" > "Tracking Code".
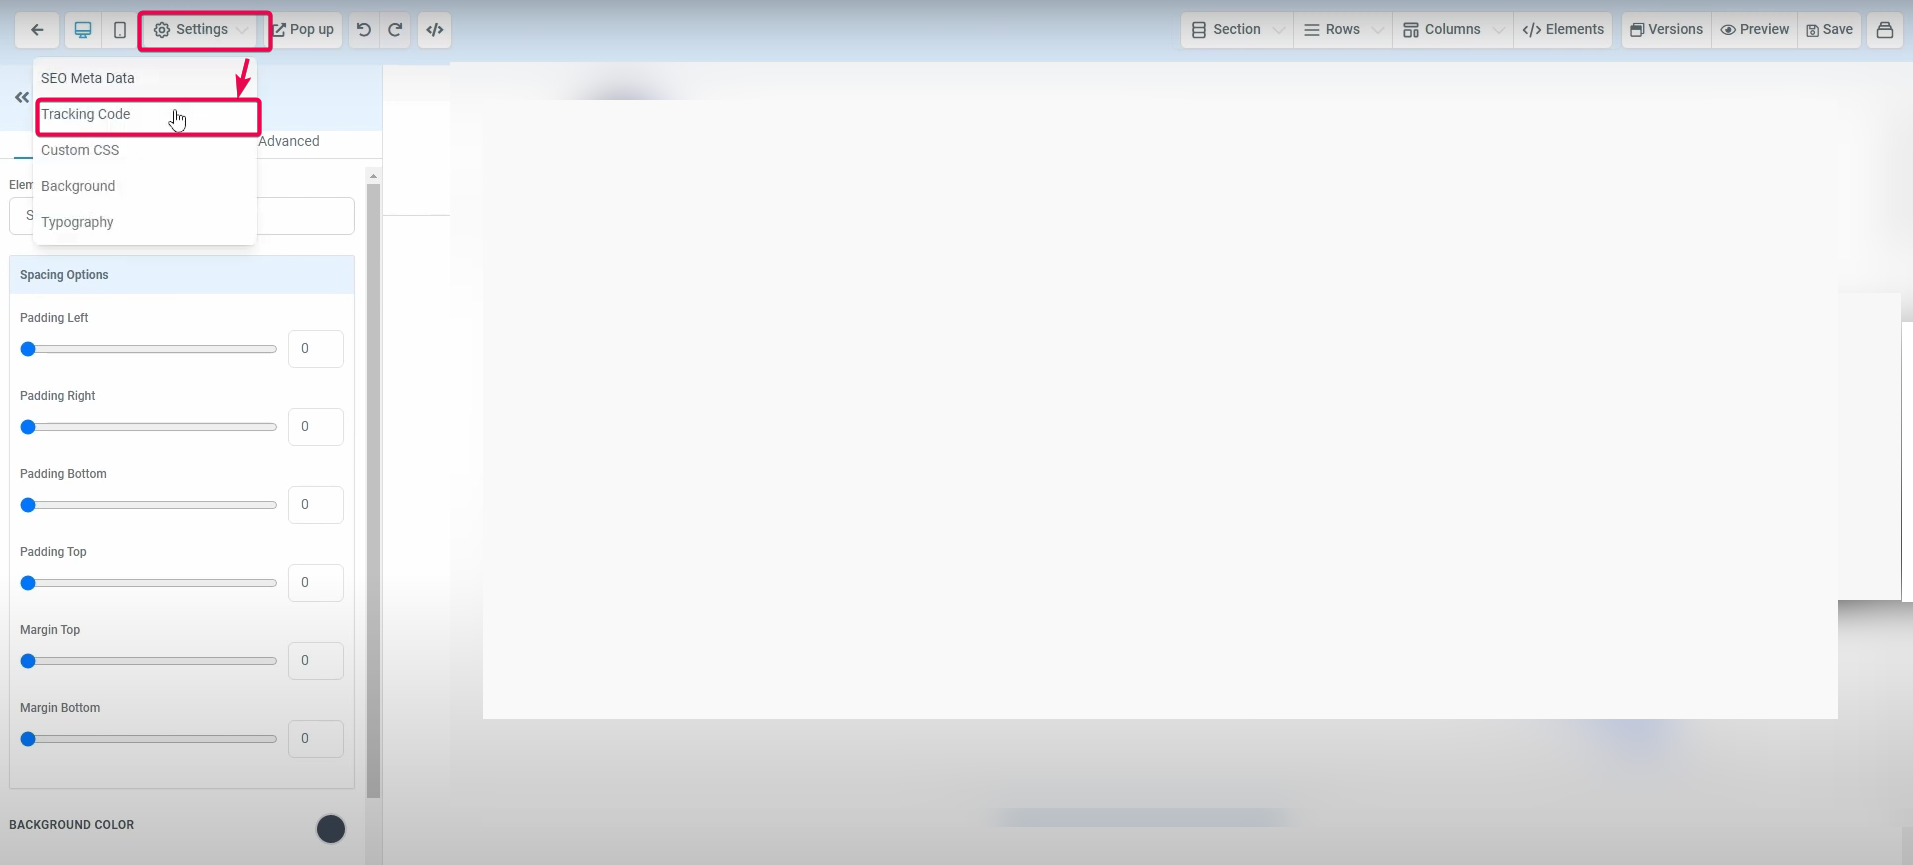
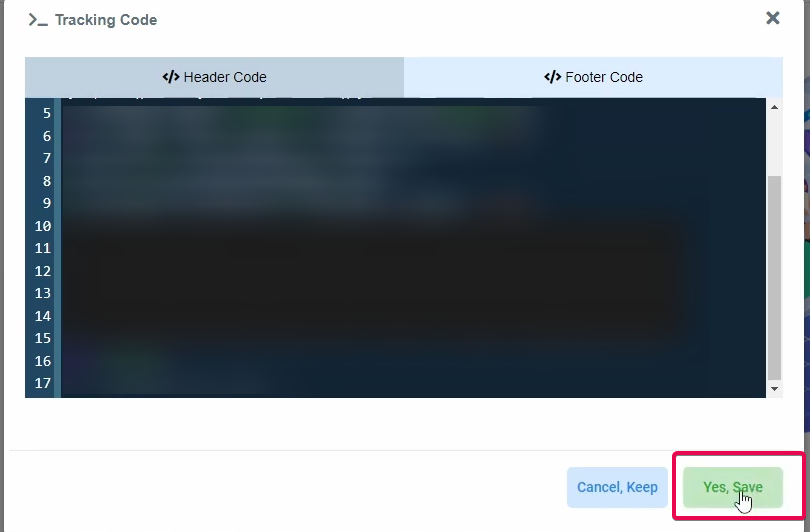
21. Paste the code from step 16 in the Header Code, then click "Yes, Save."
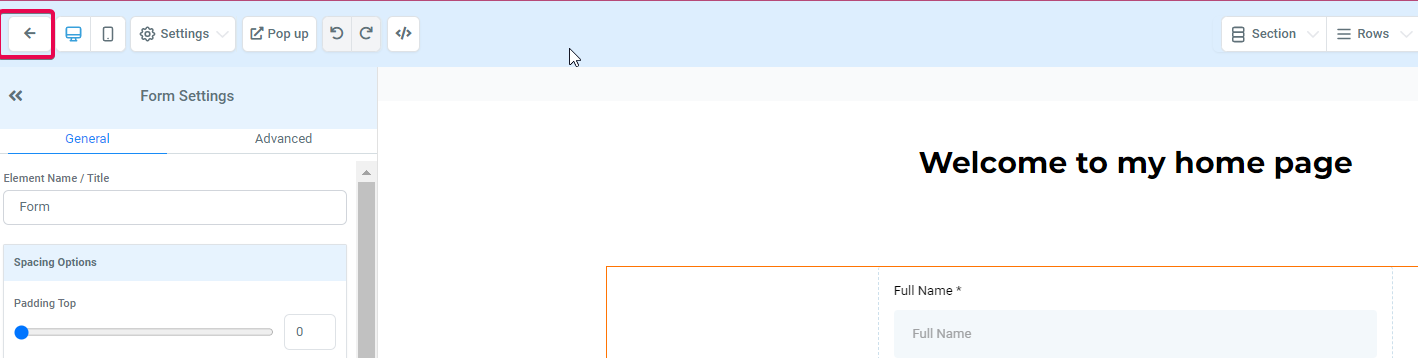
22. Do remember to save the funnel once you are done.

23. Exit the Funnel Builder.
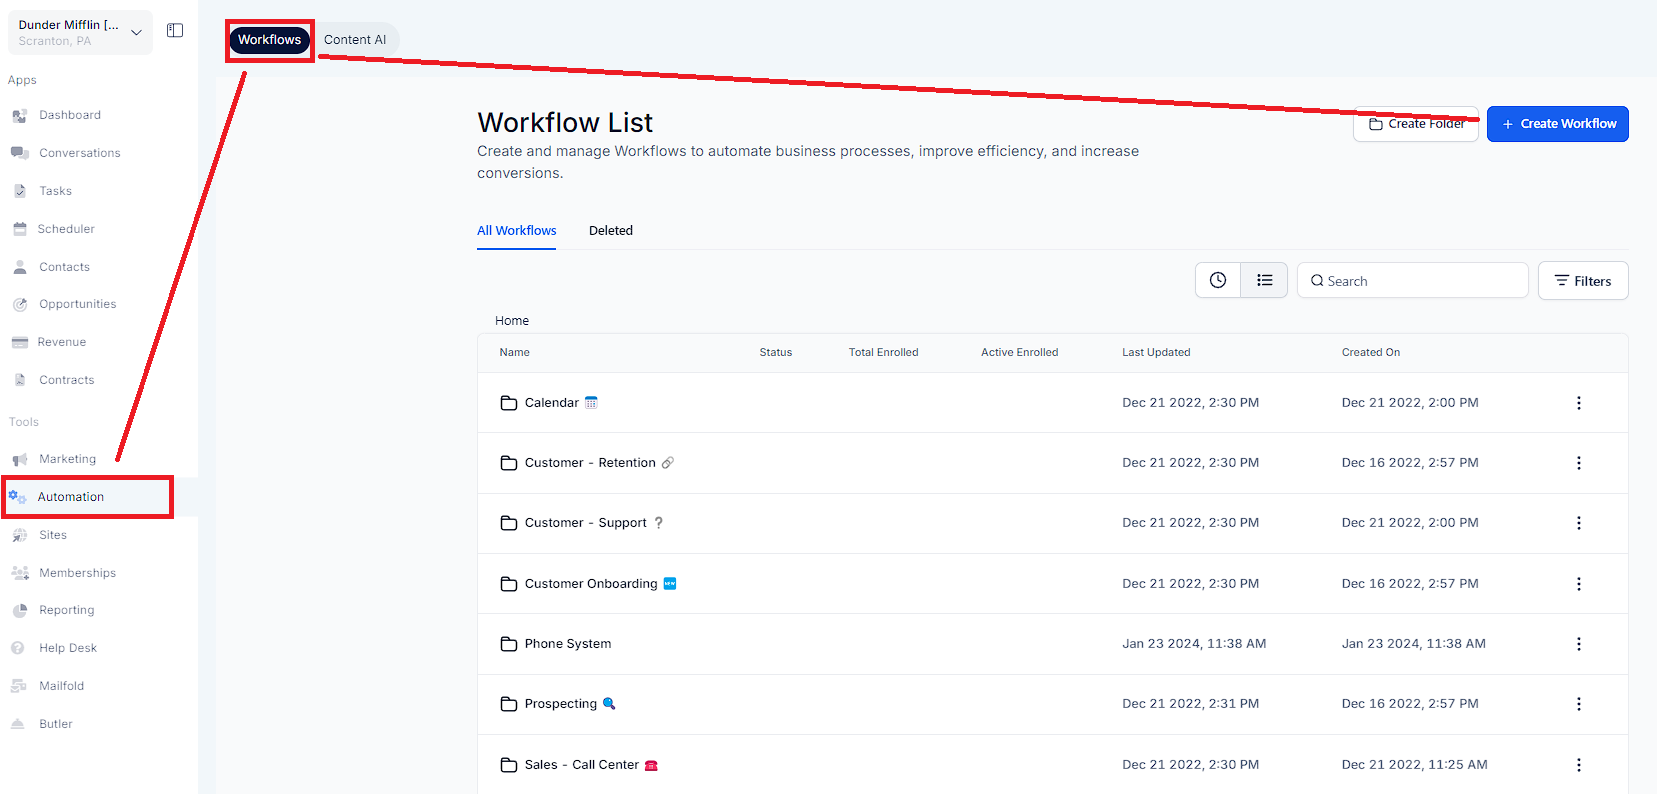
24. Navigate to "Automation" > "Workflows" > "Create Workflow"
25. Click on "Start from Scratch" and then "Create New".

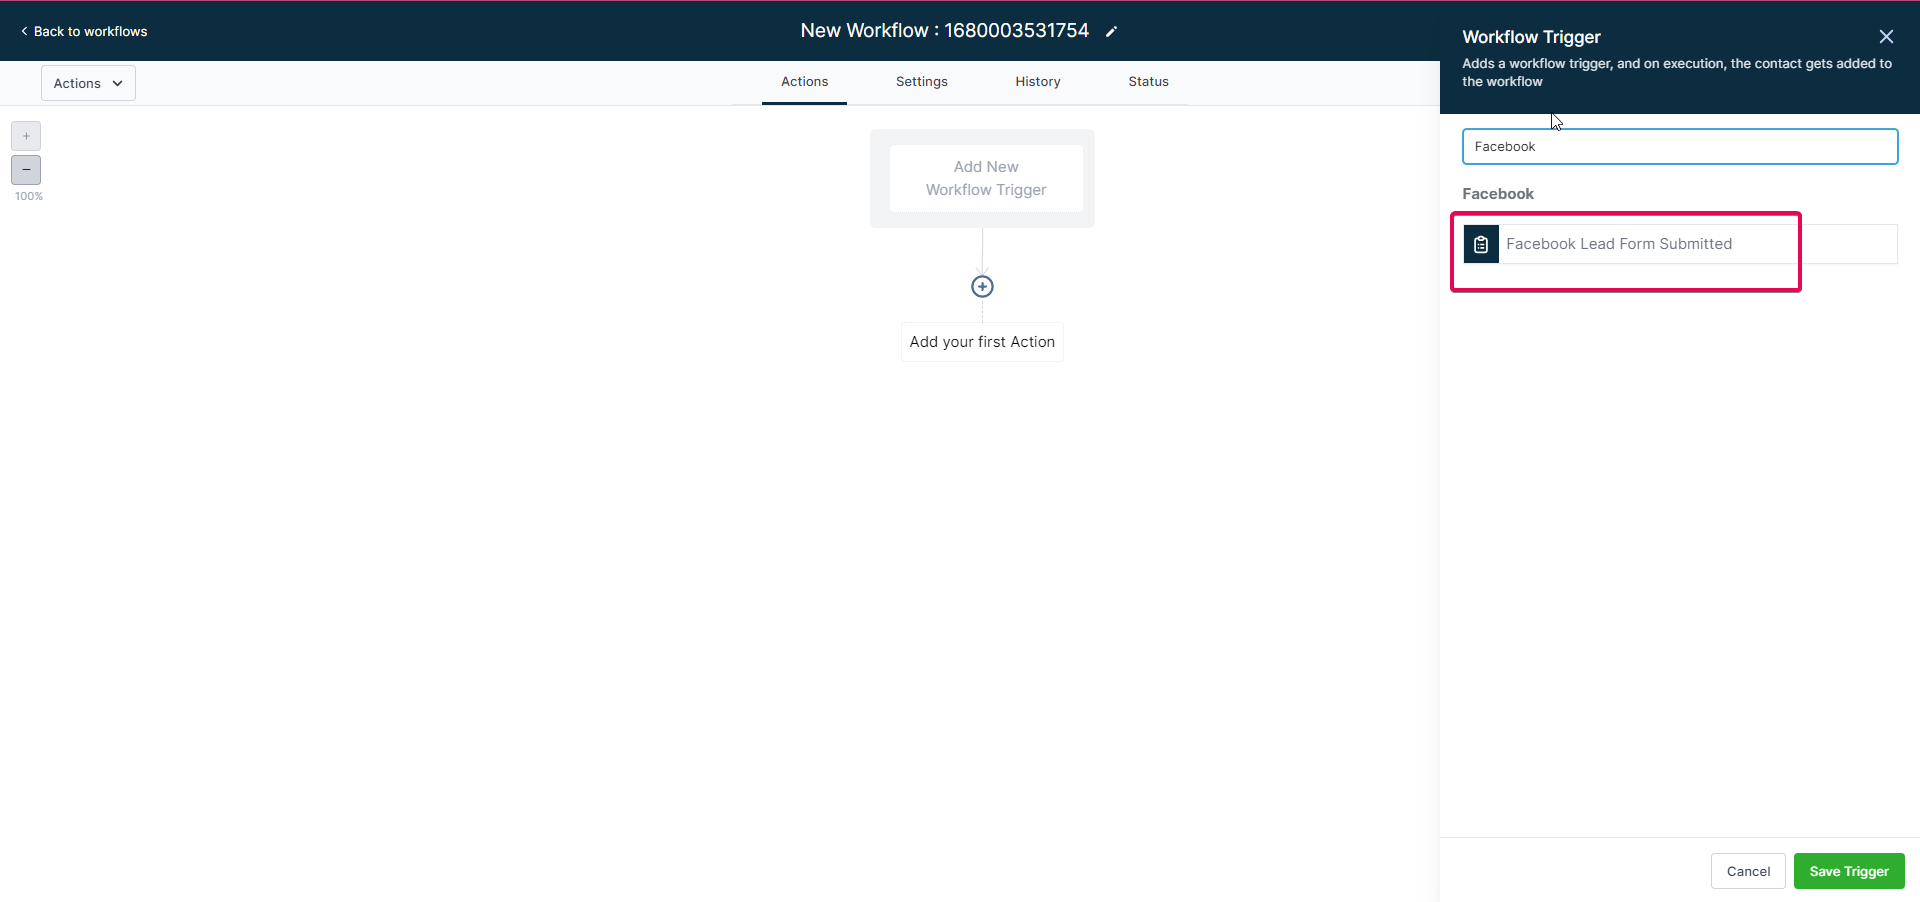
26. Click on "Add New Workflow Trigger".

Please Note:
Once you have chosen the Workflow Trigger.
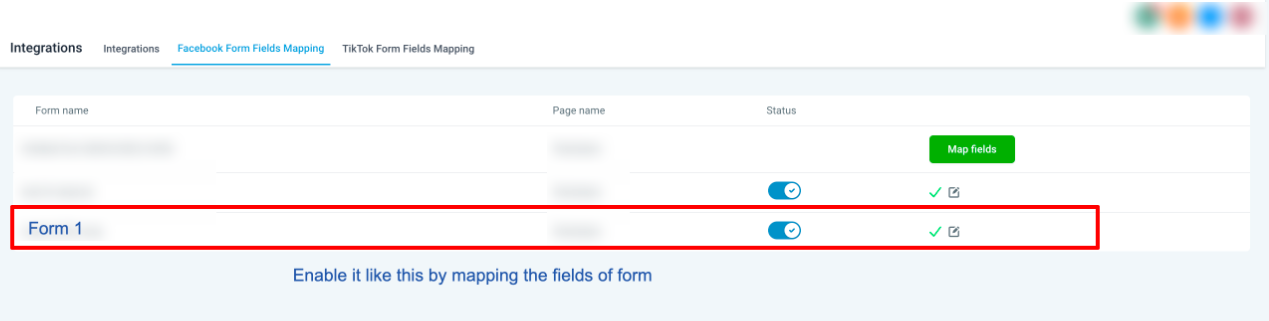
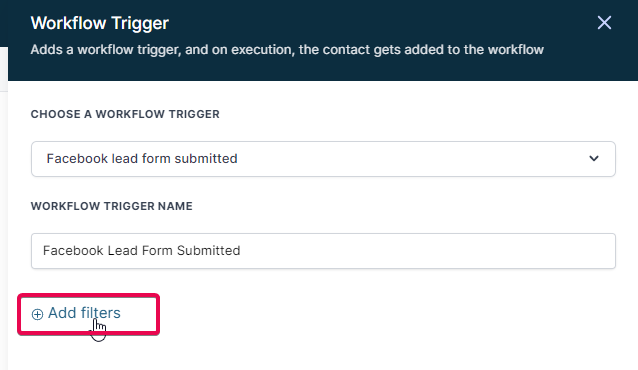
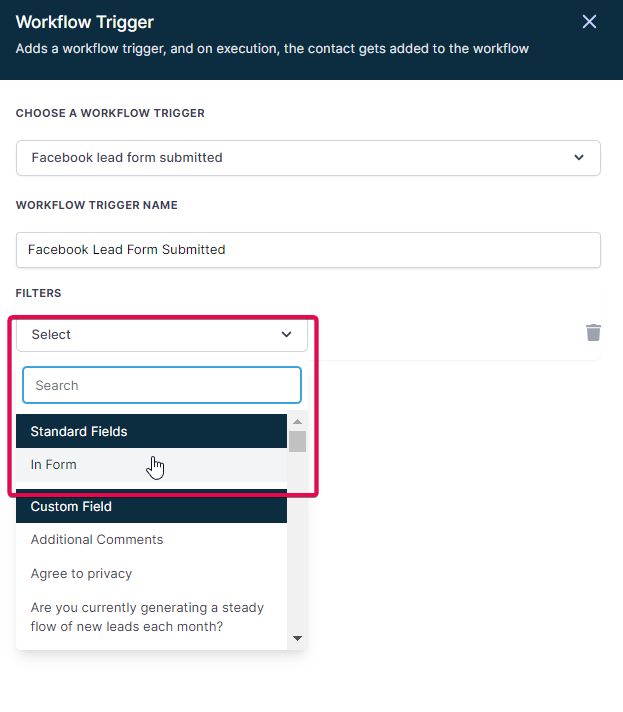
If you want it to get fired off by Facebook Form submissions for a specific form, "Add Filters" > "In Form" > "Choose the Facebook Lead Form". You will not need to add any filters to this trigger unless you want it to get fired off by only specific submissions.
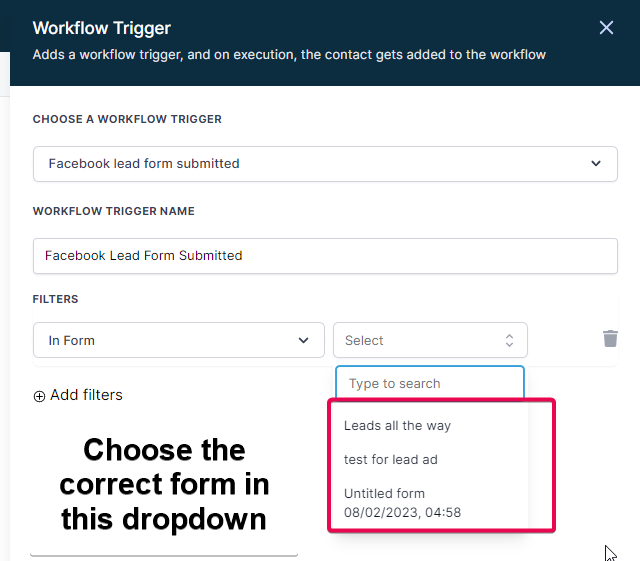
Do not forget to save it down below by clicking on "Save Trigger".

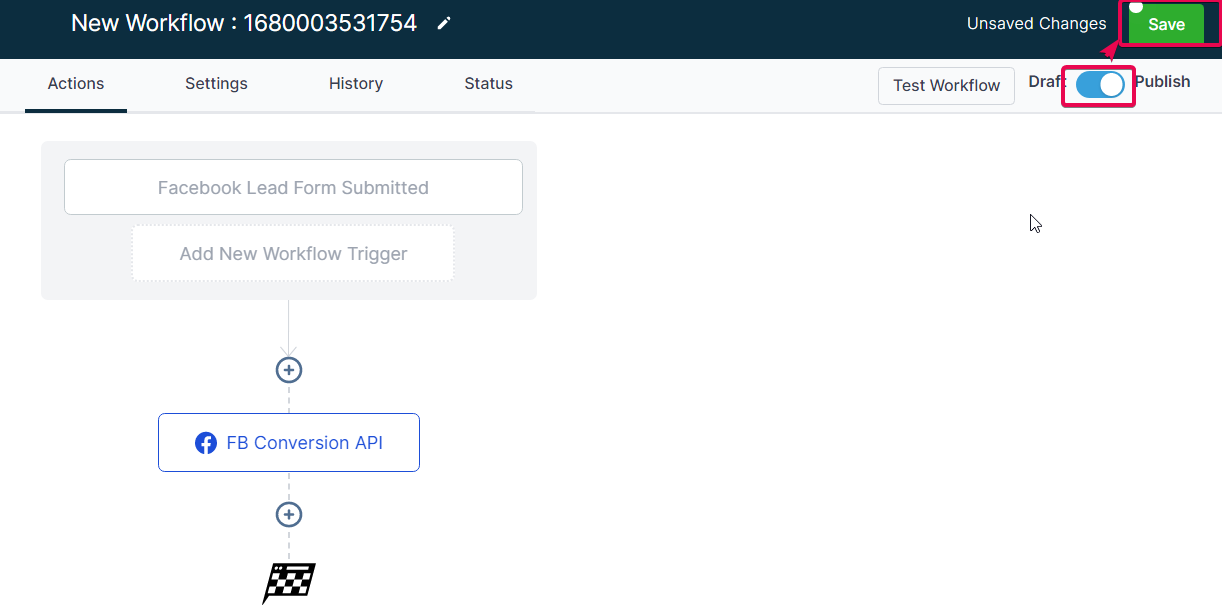
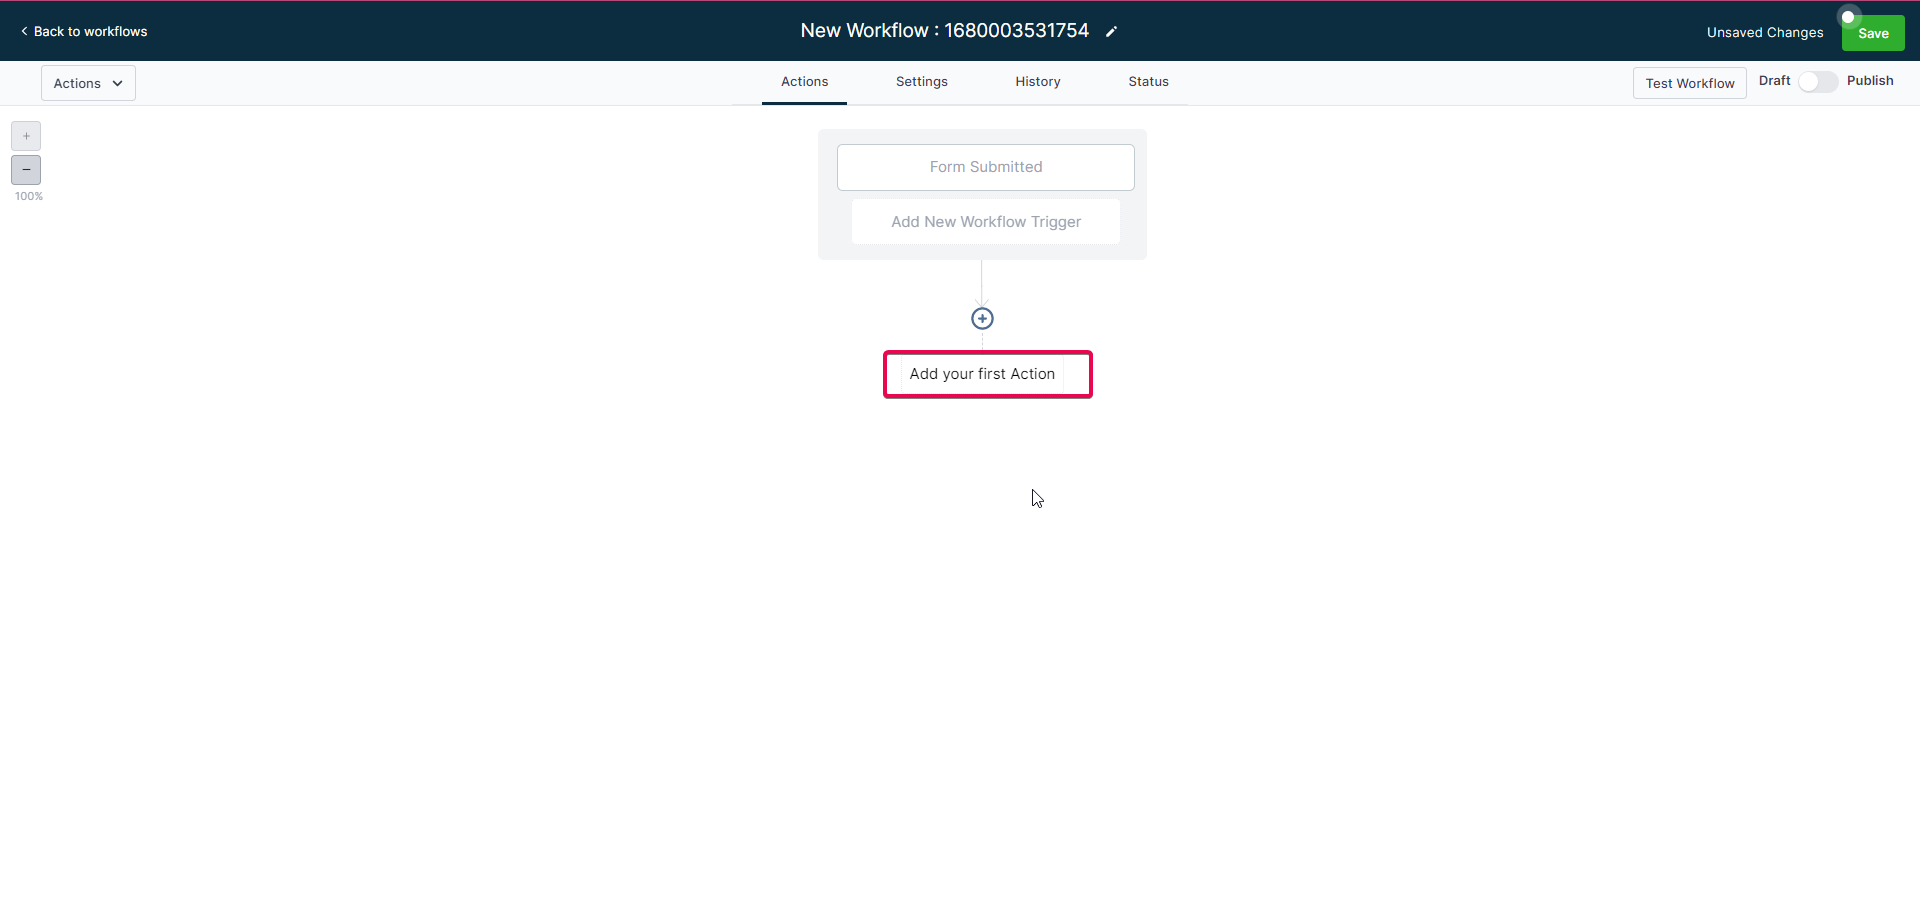
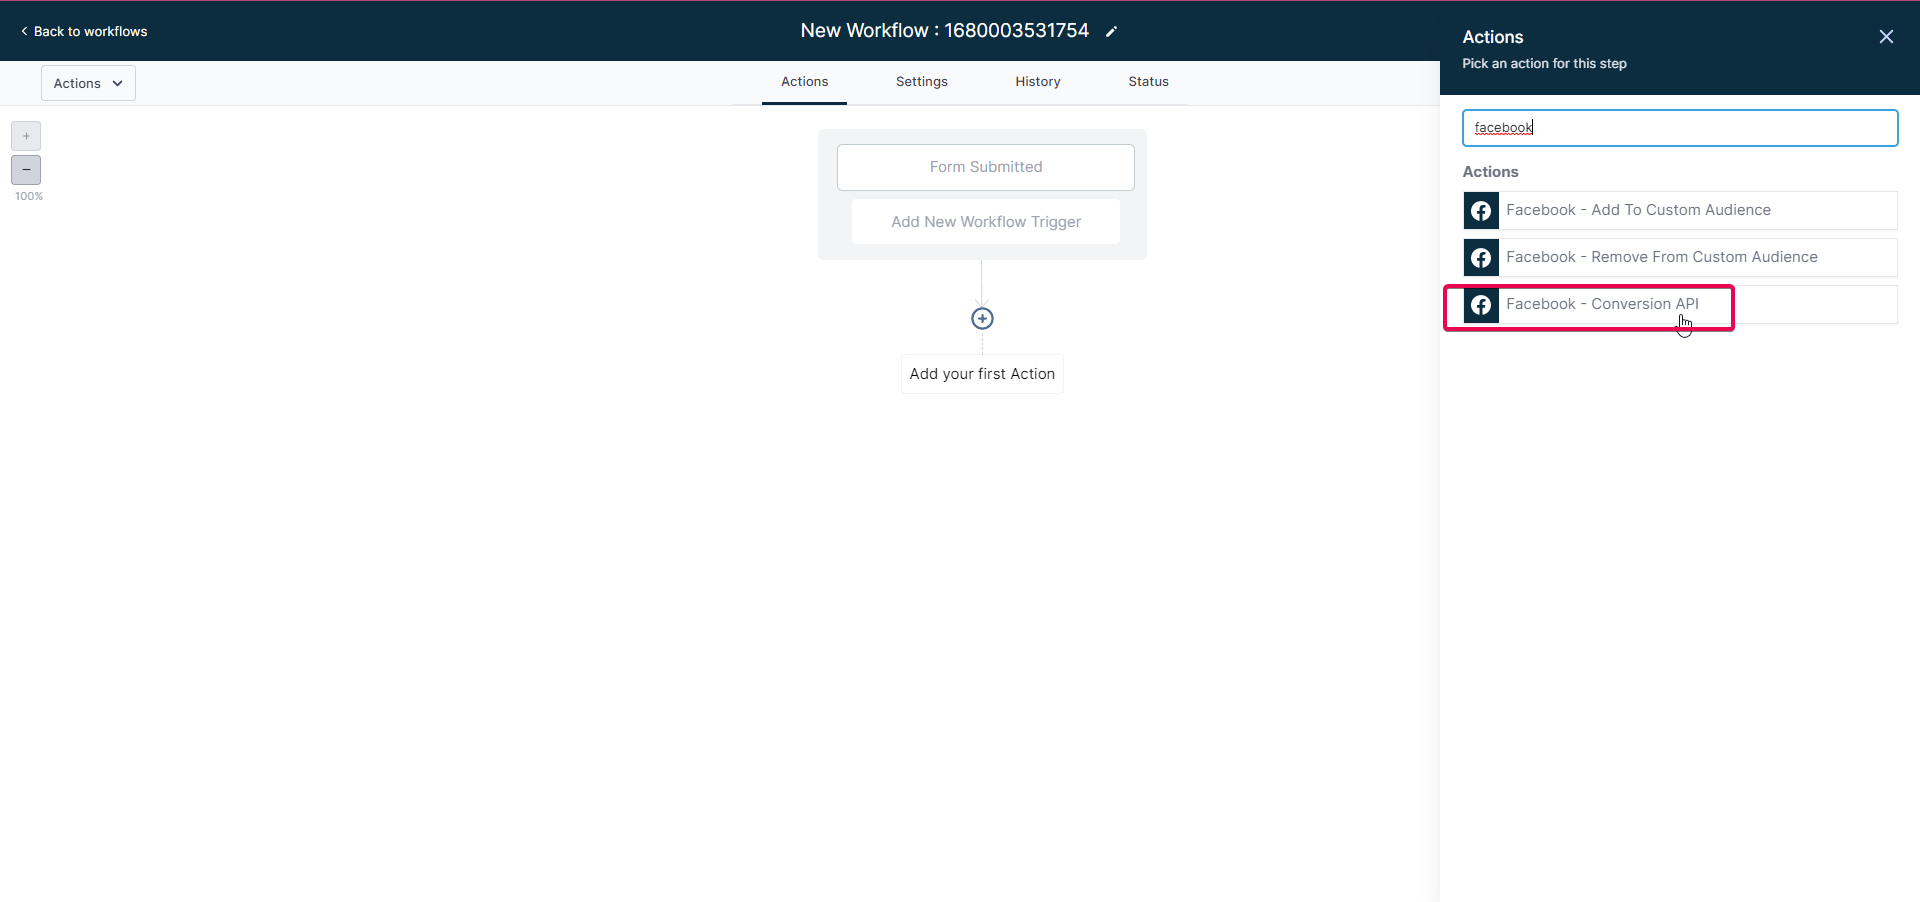
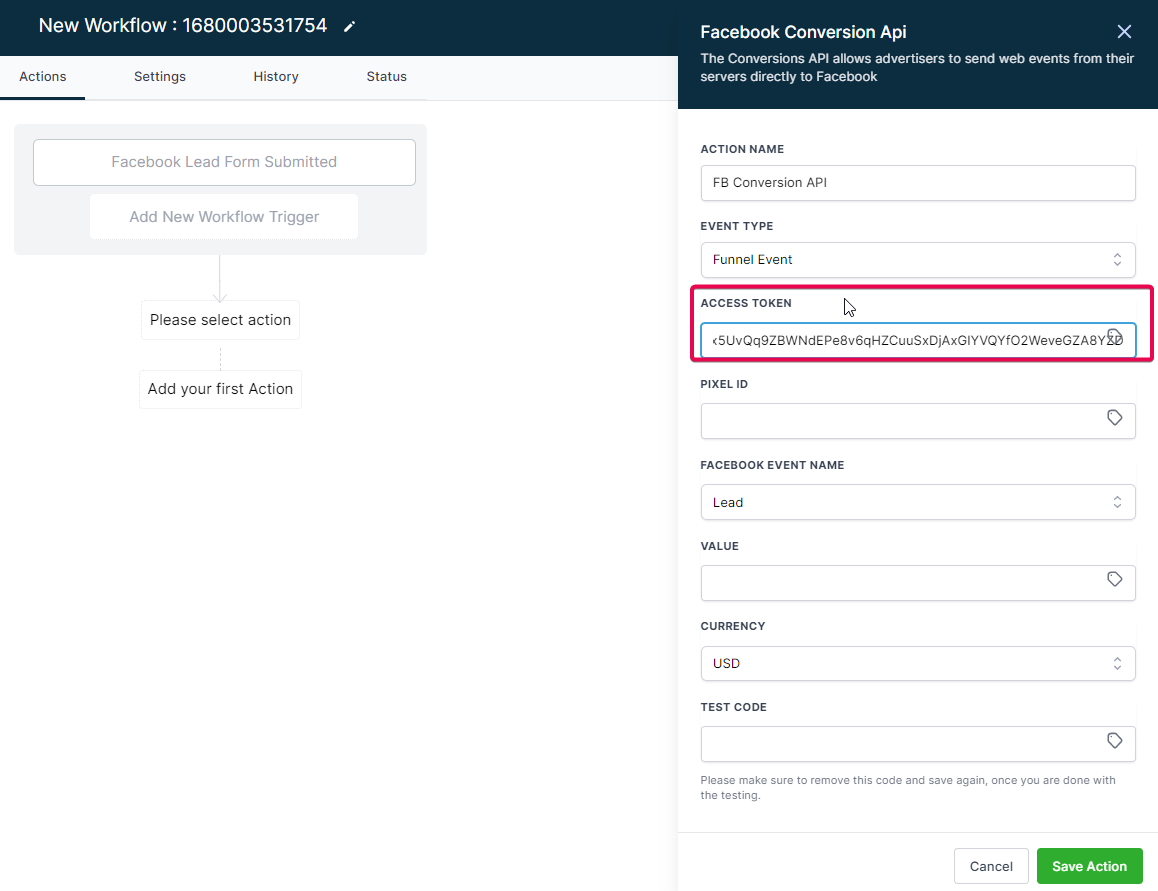
27. Then click on "Add your first Action". Search for and select the "Facebook Conversion API" Action:
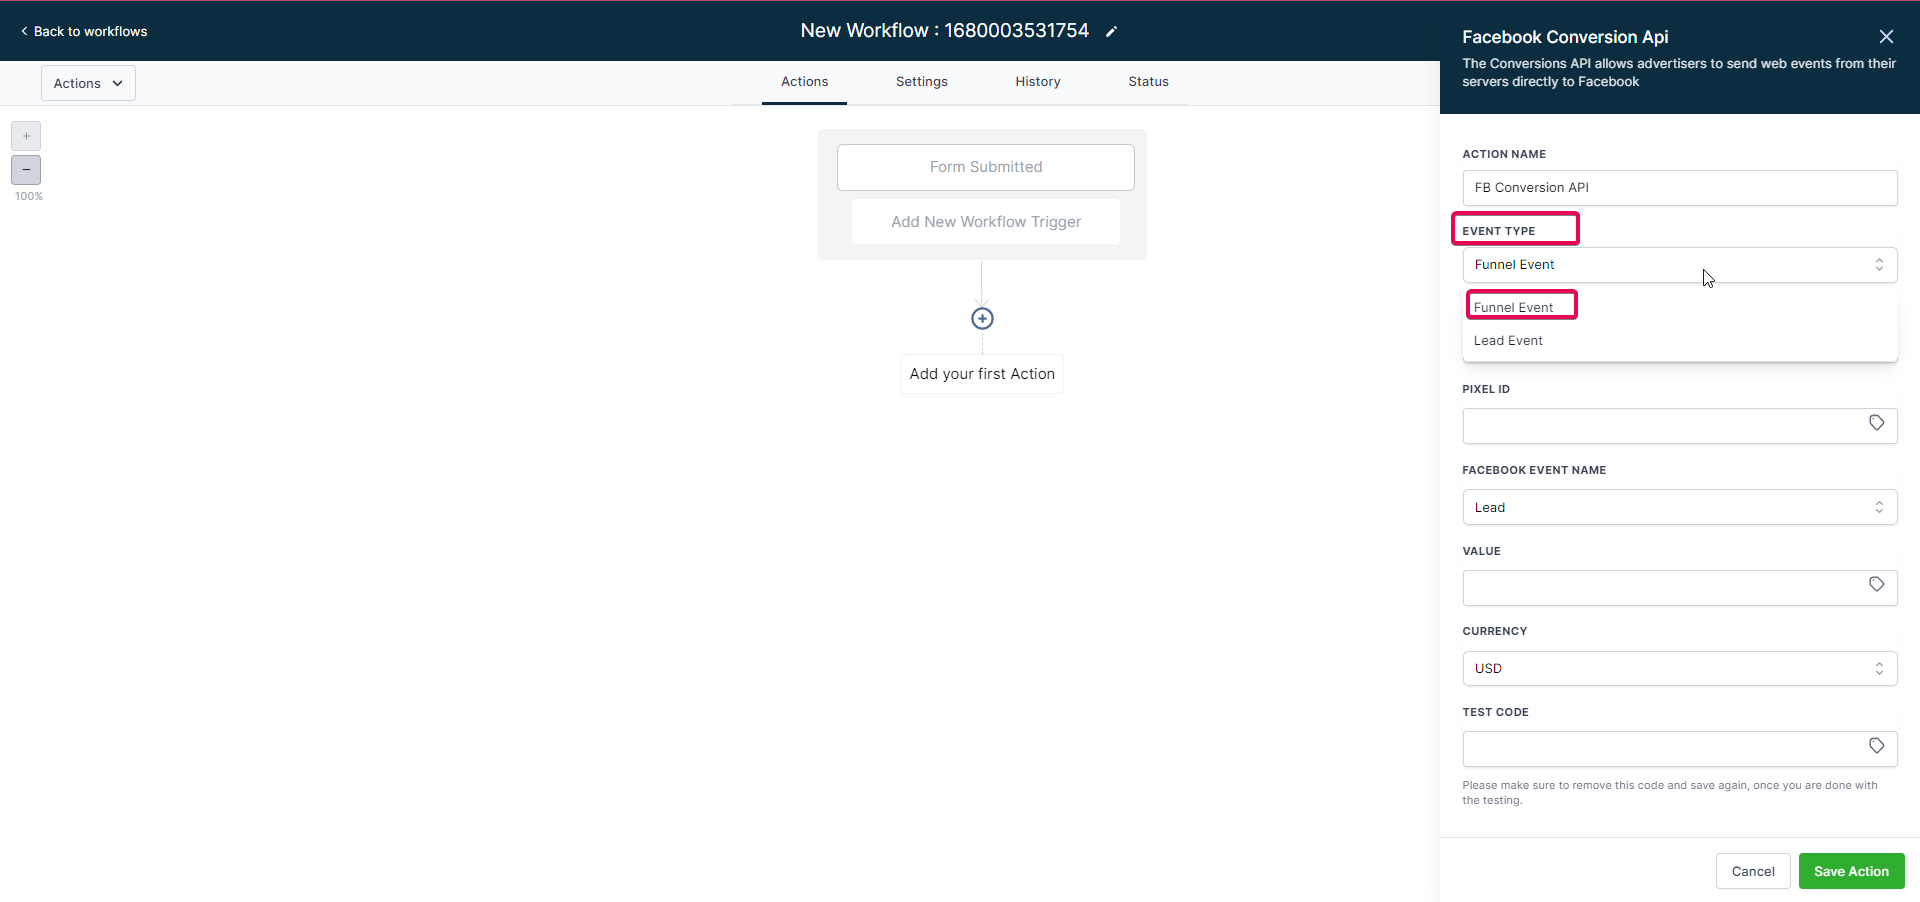
28. Configure the Facebook Conversion API action. You can name this Action in "Action Name" if you'd like. In the "Event Type" dropdown, choose "Funnel Event".
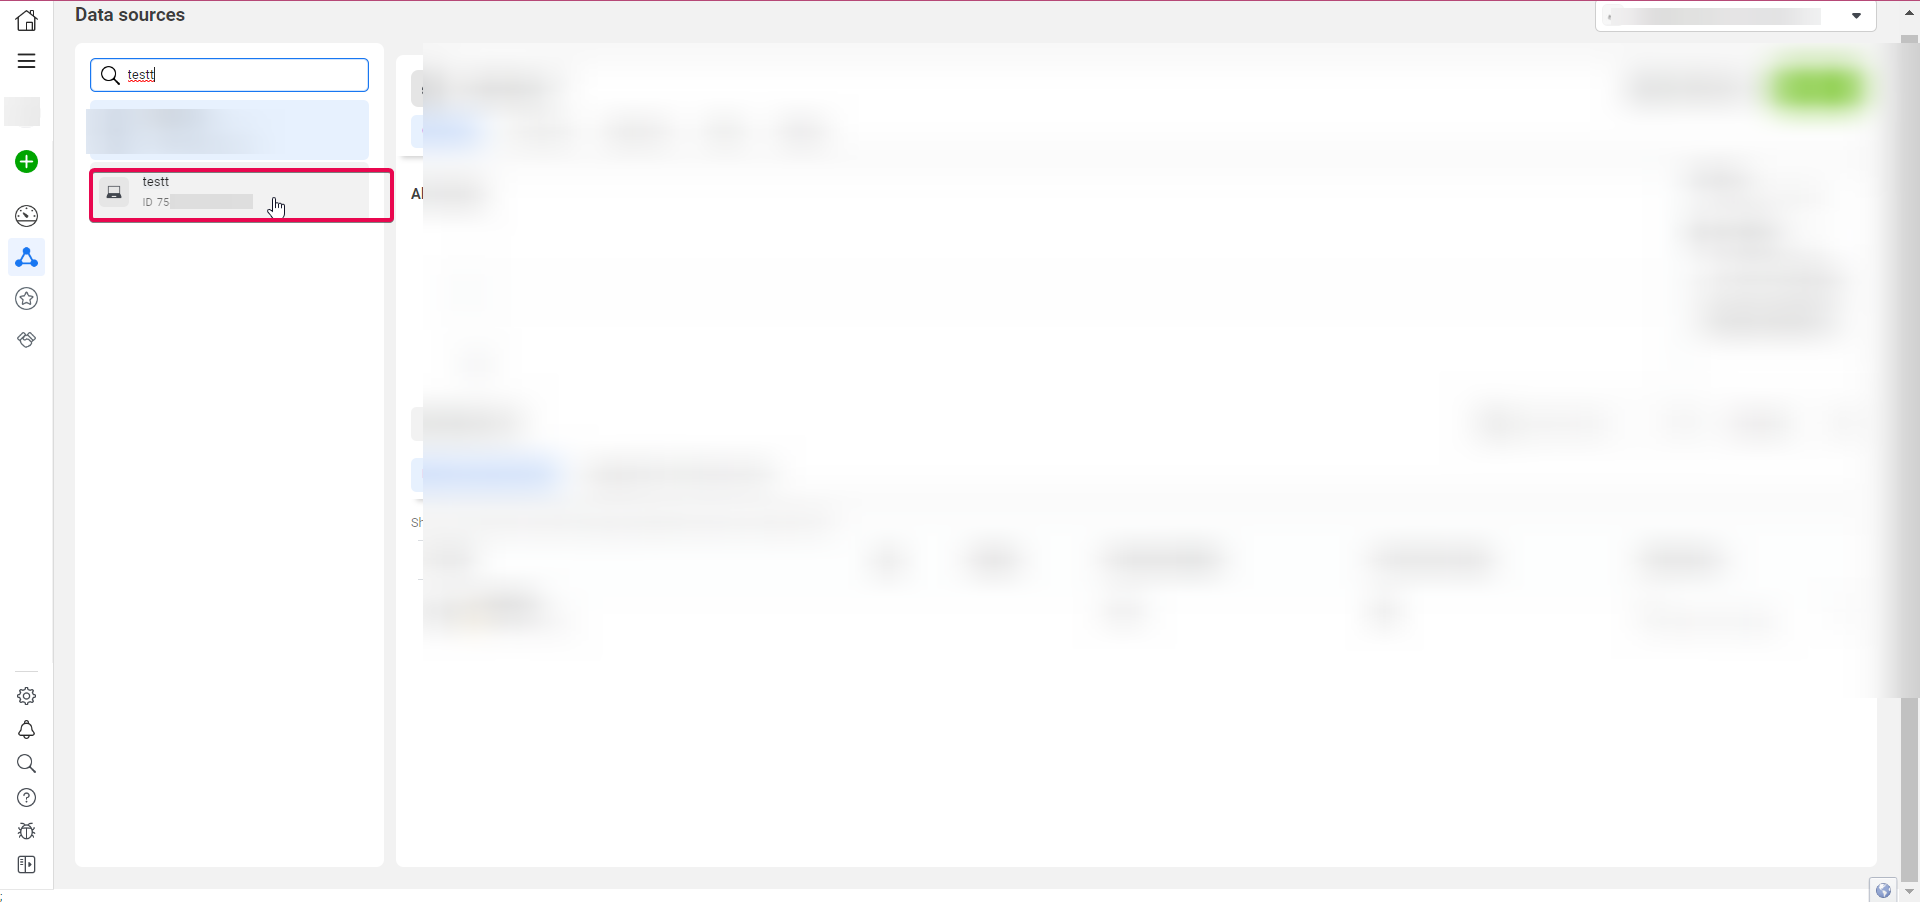
29. Head over to the "Events Manager" tab where you were creating a Pixel. Search for the name of the Pixel you were working on.
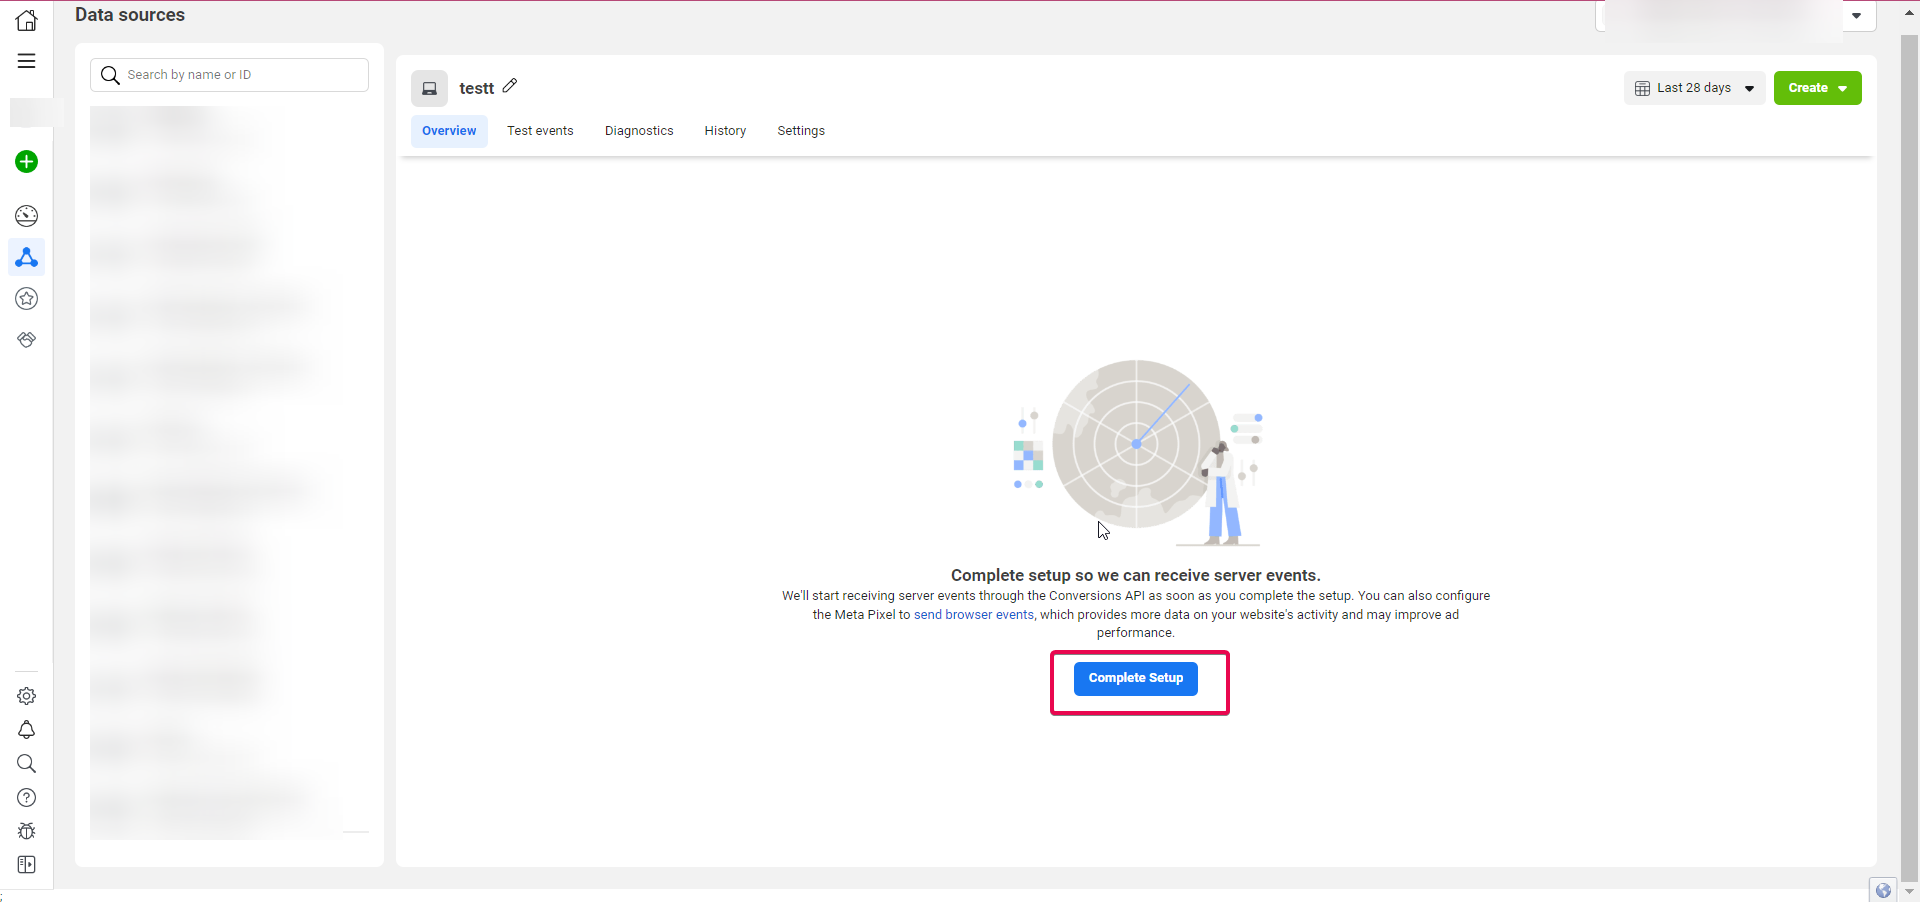
30. Click on "Complete Setup".
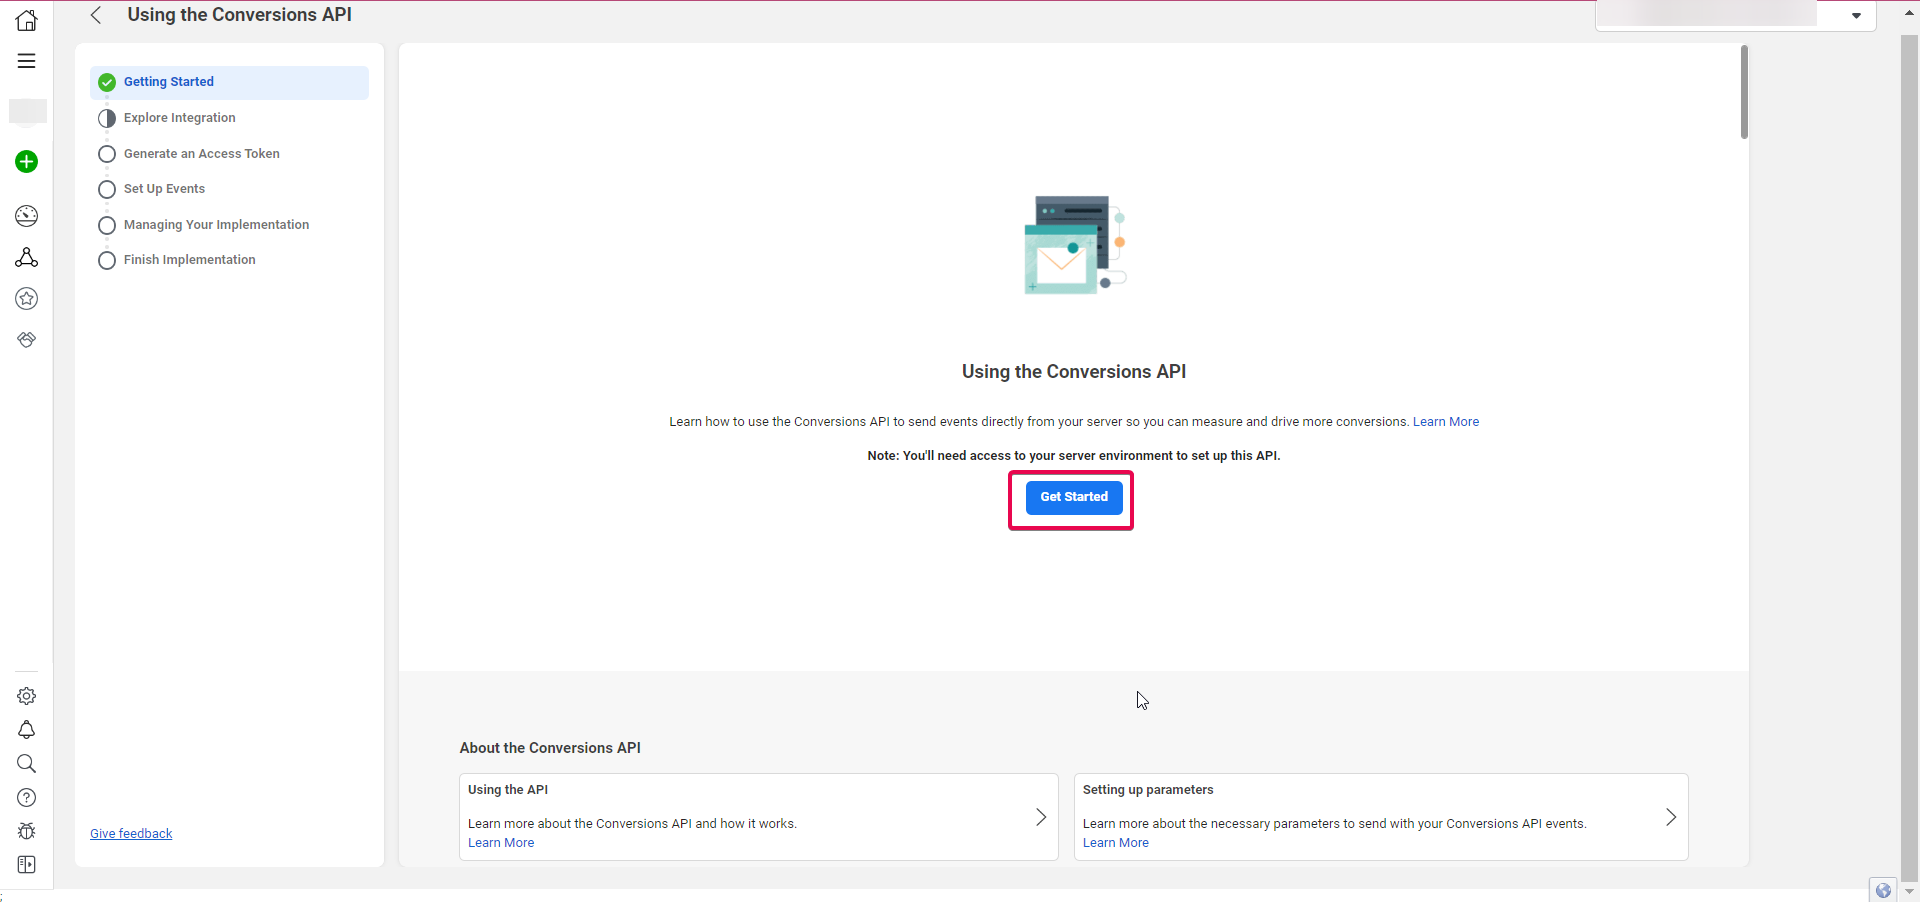
31. In the "Using Conversion API" tab, click on "Get Started".
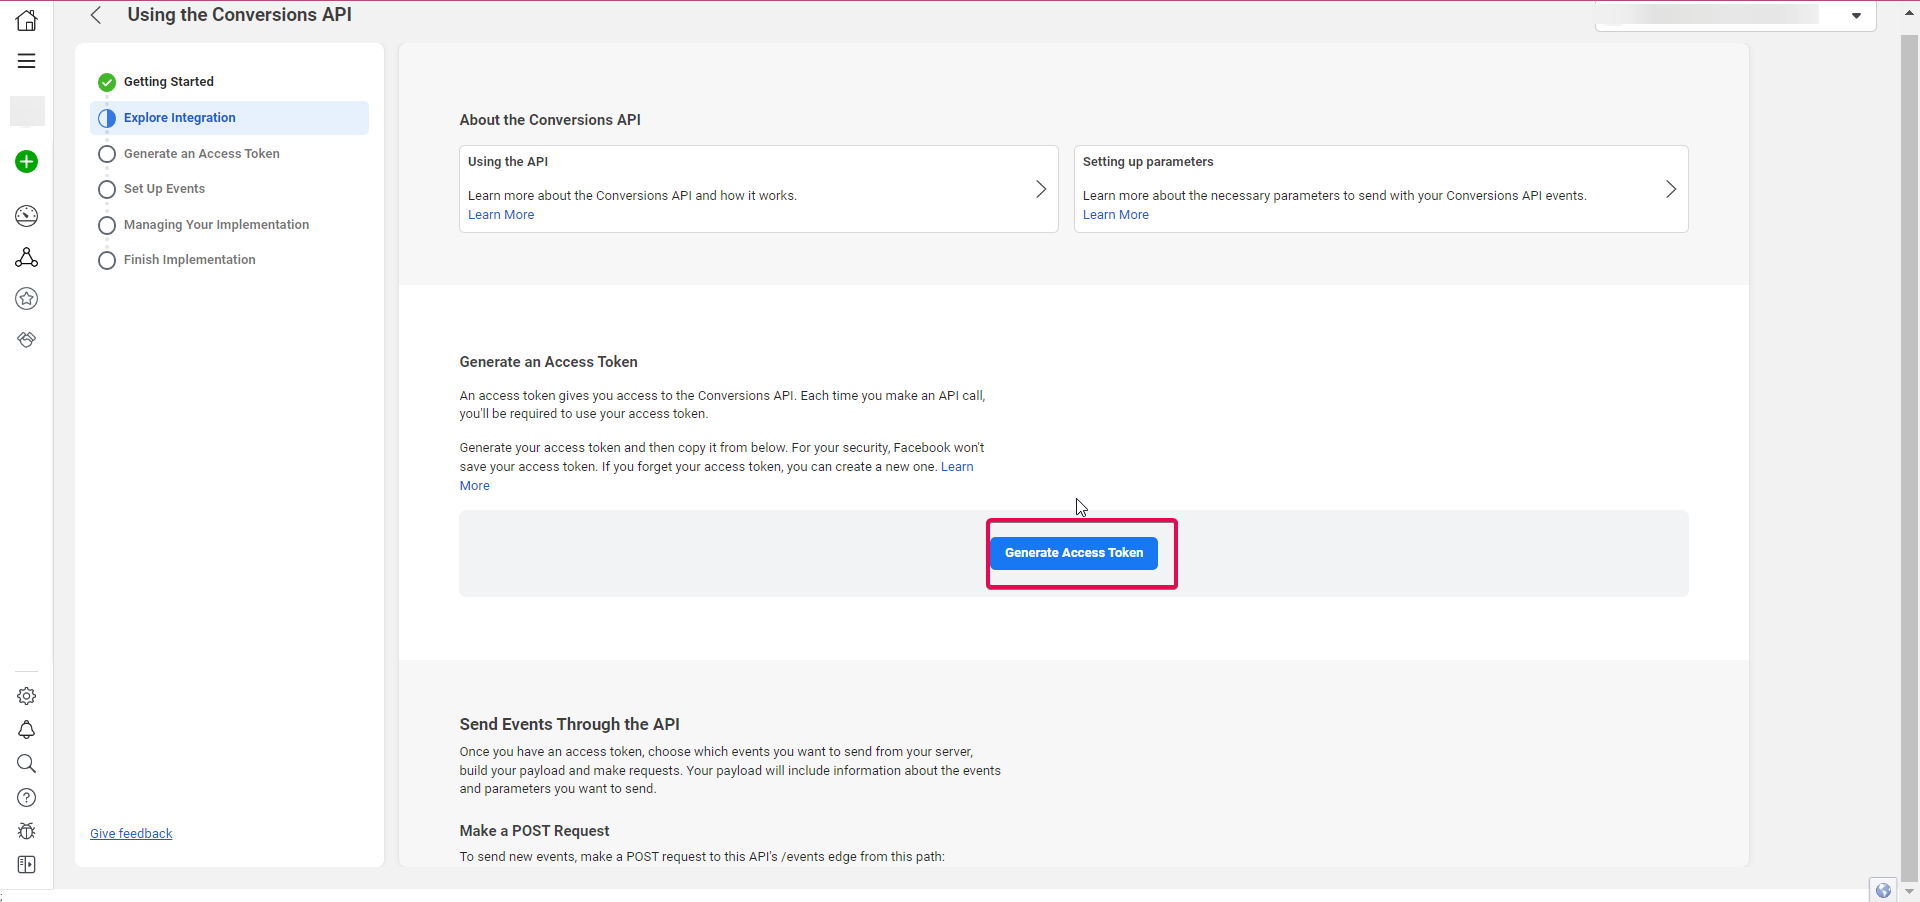
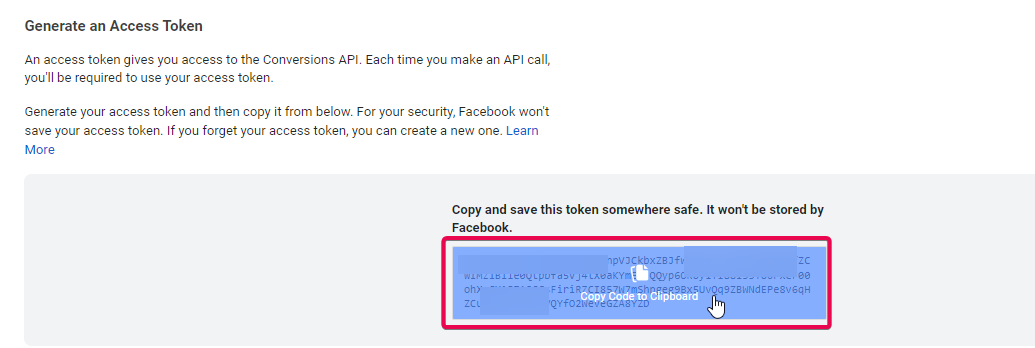
32. Click on "Generate Access Token" and copy the Access Token generated.
33. Paste the Access token in the "Access Token" field in the Facebook Conversion API Action.
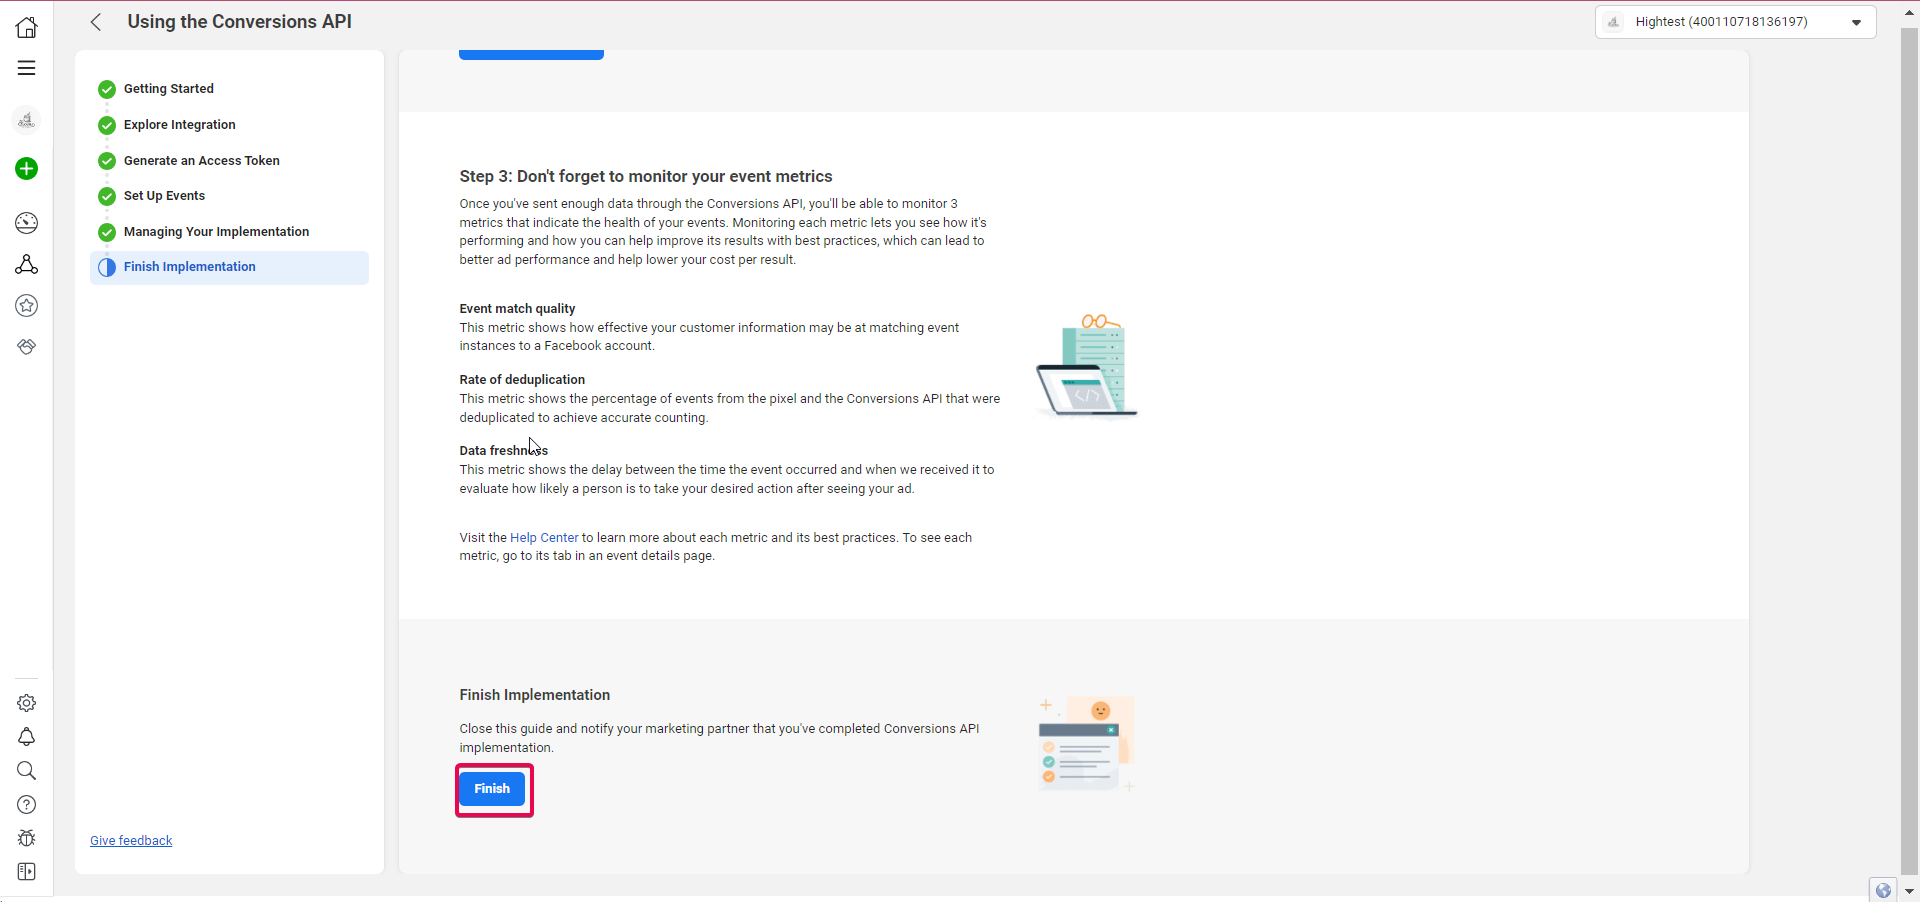
34. Navigate back to your Events Manager, Scroll down to the bottom, and click on, "Finish" under "Finish Implementation".
35. Head to "Settings" and then Copy the "Pixel ID". Then Navigate back to your Workflow.
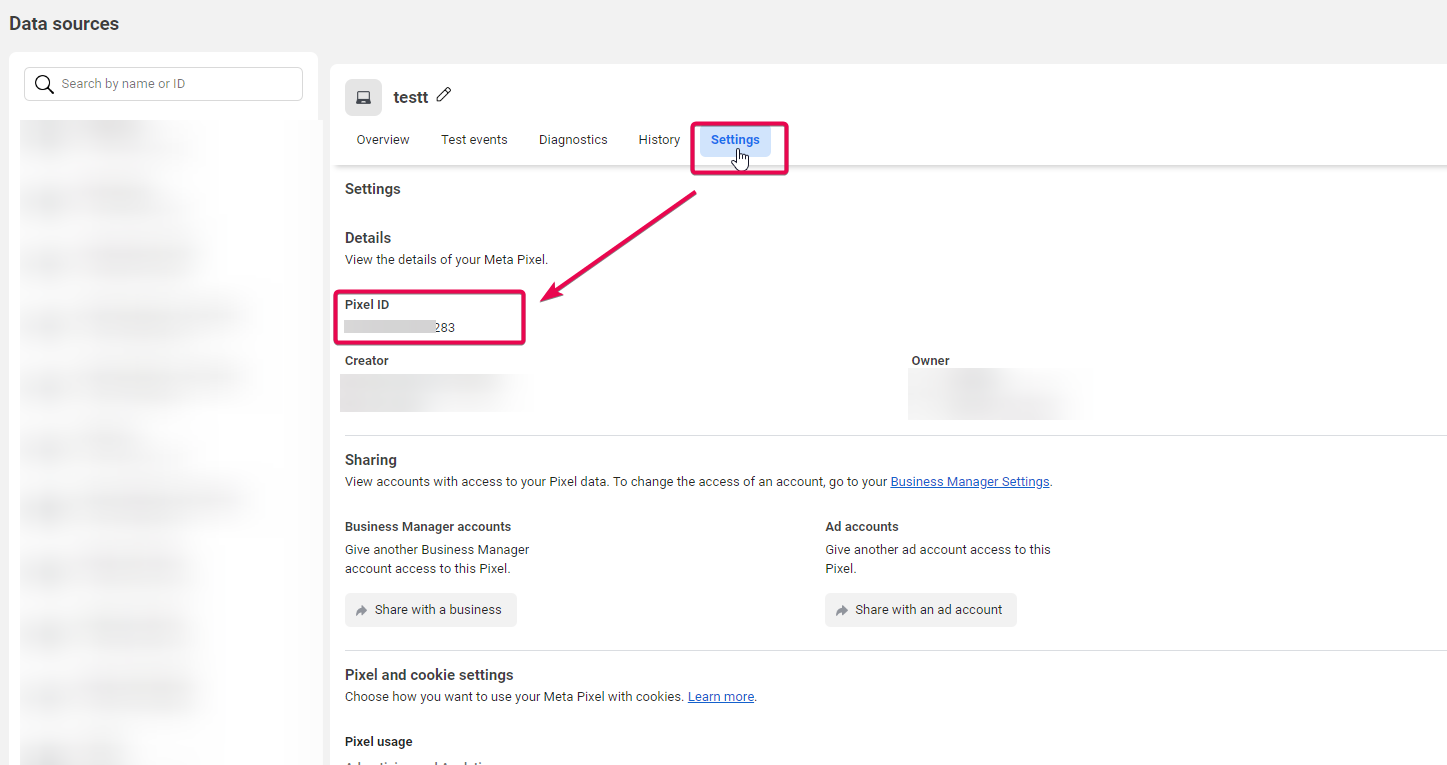
36. Paste the Pixel ID in the "Pixel ID" field in the Facebook Conversion API Action.

Please Note:
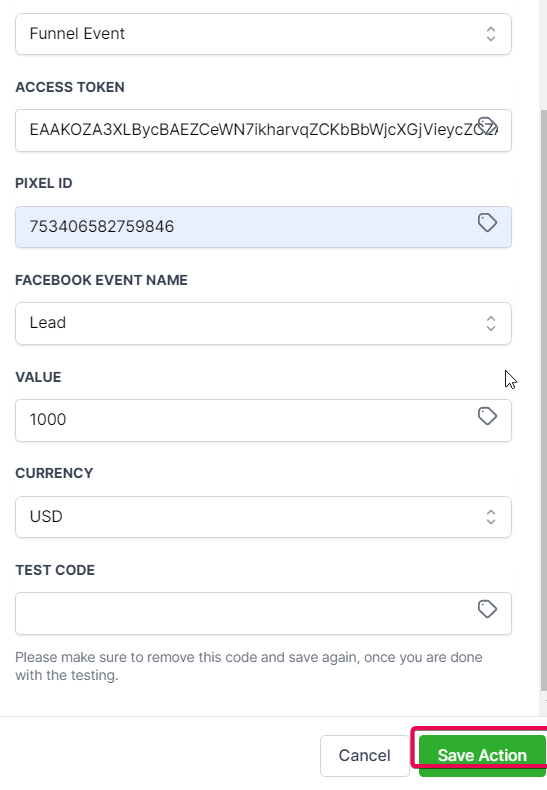
Once complete, "Save the Action" and then "Save" and "Publish" the Workflow.