The Email Builder, located within CompanyName, is a versatile platform divided into two core sections: Email Campaigns and Templates. Here’s an introduction to these sections:
Create personalized messages tailored for specific audiences.
Fine-tune delivery options to optimize engagement.
Customize branding, layout, and design with ease.
Choose from existing templates, modify campaigns, or create from scratch using intuitive tools.
Click +New to get started.
Choose the option of the template you wish to create. You can create a template using the Template Library, reuse a Campaign to send or schedule, or you can use a Blank Template. If using the Blank Template, you can choose between “Design Editor” and “Code Editor”.
(GIF 1)

NOTE: Design Editor has a drag and drop elements, while Code Editor refers to HTML
Template Selection: Choose from Template Library, Campaign reuse, or Blank Template (with Design Editor or Code Editor options).
Visual Editing: Drag and drop elements, resize images effortlessly, and enhance colors for a visually appealing template.
Keep in mind while working with the email builder you can resize images by dragging and dropping to adjust their size. All of the elements have padding and alignment options. Picking colors have been enhanced for a better color selection experience and the builder is fully internationalized for users worldwide.
On the left side, you can see three icons: The Add Element, the Manage Element, and the Appearance icons.
Add Elements: The Add Element icon will allow you to add the needed elements to your template. Select from a range of elements including Text, Image, Button, Logo, and more.
Manage Elements: The Manage Elements icon provides an overview of all the elements within your email. Scrolling through the list of sections lets you see what elements it contains.
Appearances: In the Appearance icon, you can tweak the aesthetics of your template, you can customize your button, add dividers, add custom CSS, and set the mobile formatting.
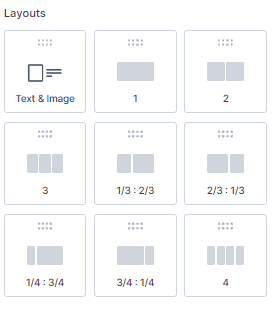
Layout Customization: Drag and drop layouts, ensuring a seamless arrangement of elements.

You will see on the left side a section for elements and layouts. You can start adding elements to the template, or if you need to have a different layout, start there. Just drag and drop the layout you need.
Select, drag, and drop the elements you will be using in the proper section.

Text
Image
Button
Logo
Divider
Social
Footer
Code
Video
Shopping Cart
RSS Header
RSS Items
FAQ
Image Slider
Preview URL
Products
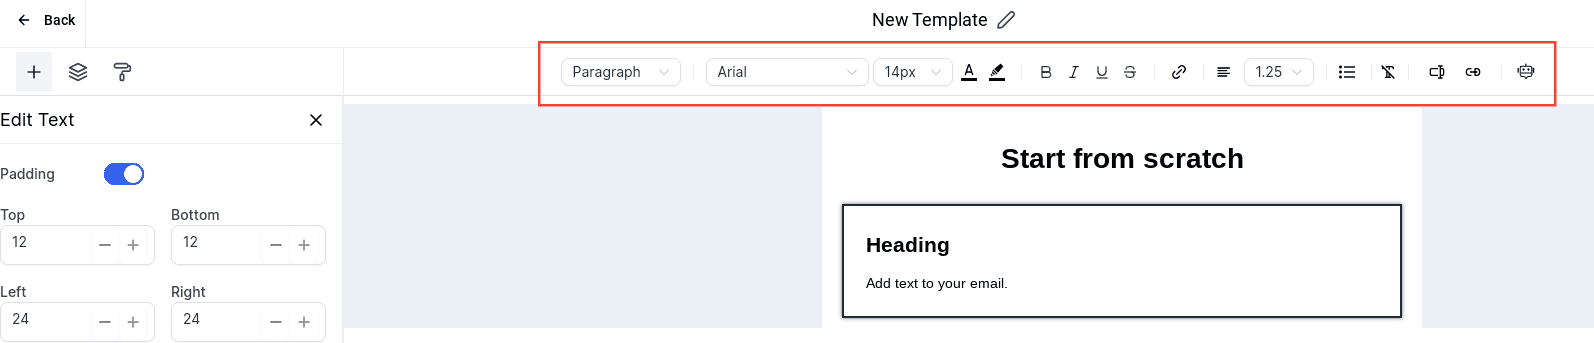
When you select an element for editing, an inline editor will appear on the top. This editor gives you extensive text formatting options. It is a powerful tool embedded within our Templates and Campaigns platform that allows you to create and customize emails with unprecedented efficiency and ease. It presents a user-friendly interface that eliminates the complexity of email design and formatting.
Heading type
Font
Font size
Color
Text styles
Add hyperlink
Modify alignment
Control height
Bullet points
Clear formats
Add custom values or trigger links
Content feature to generate text automatically. This feature uses content titles and keywords to give you the proper text.
Uniformity: Maintain structural consistency with default padding settings.
Customization: Adjust top, bottom, left, and right padding for precise content spacing.
Note: To maintain uniformity in the structure of your emails, we have implemented a default padding update. You can manage the spacing around your content. Please be aware that the default settings for padding are as follows:
Top Padding: 12
Bottom Padding: 12
Left Padding: 24
Right Padding: 24
This feature gives you better control over your email's layout and appearance.
Versioning: Save templates for future use, test designs, and view version history.
File Attachments: Attach files with specific extensions and manage size limits.
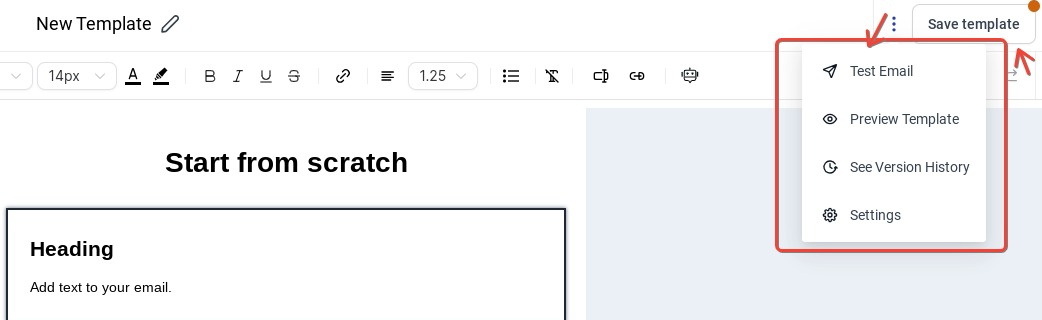
Once your template is ready, save it for future use.
You can also test your template.
See a preview of the template
See version history
Restore to another version
You can rename this template at your convenience
Go to Marketing - Emails - Email Campaigns
Click on Create Campaign
Hover over the template, you will see two icons: the checkmark icon (to select) and the preview icon.
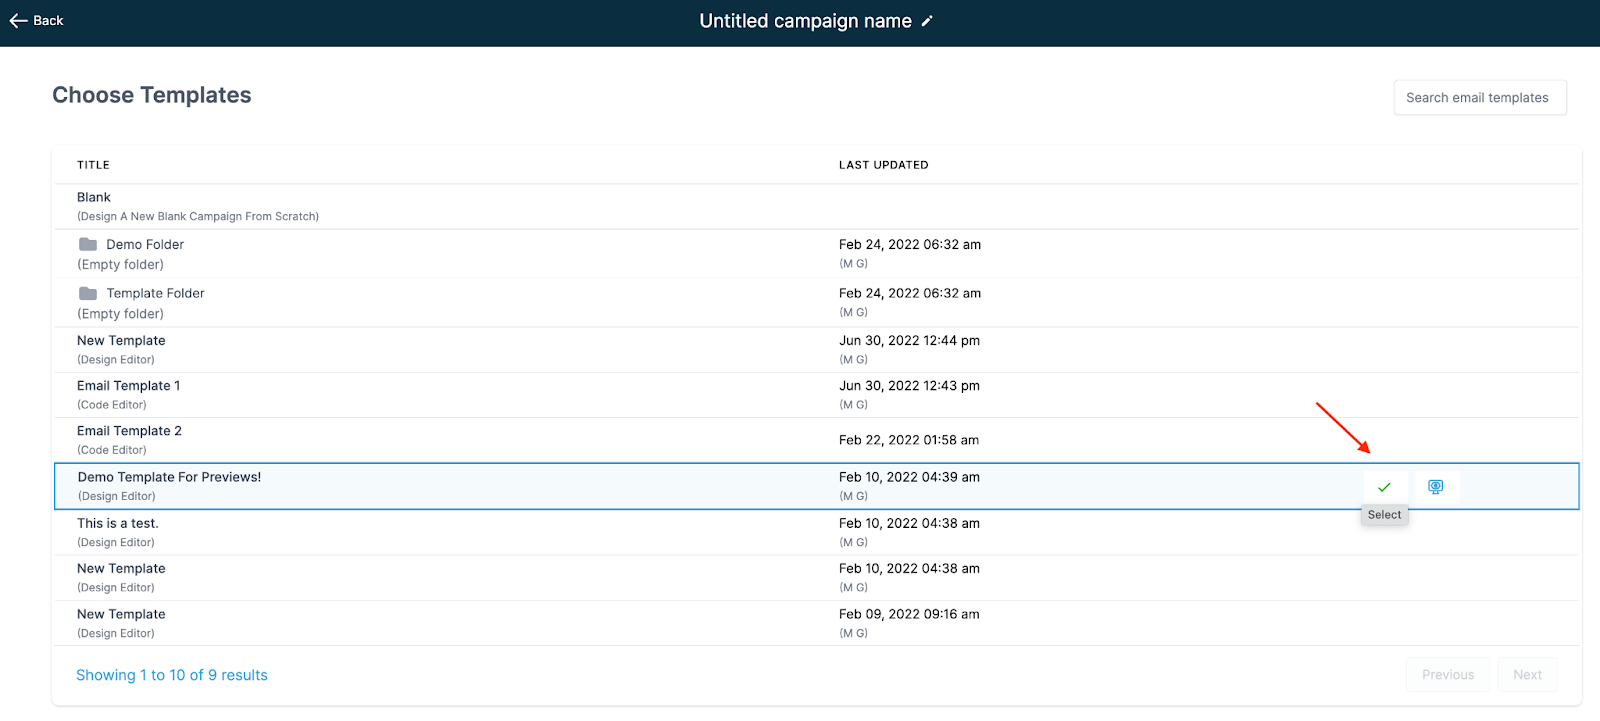
When you click on the checkmark icon, you will be redirected to the email builder again, where you can make the last edits or additional edits as needed.
Save the changes made
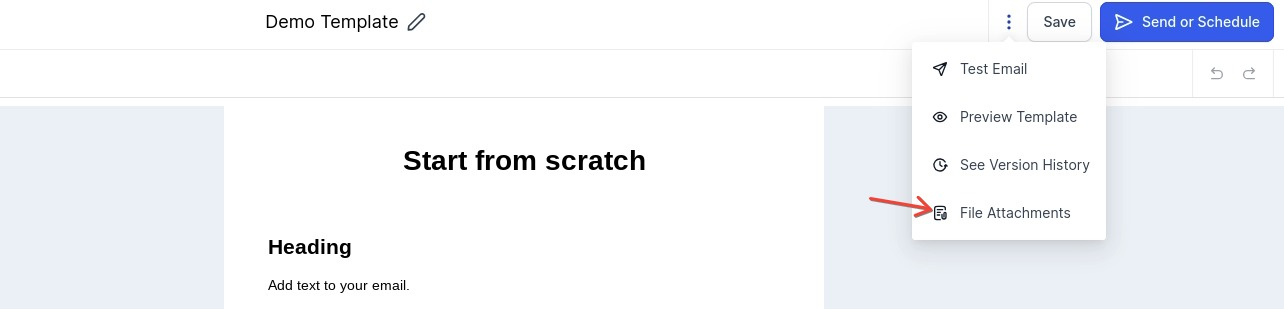
If you click on the 3 dots icon, you will see the options: Test Email, Preview Template, Save Version History and File Attachments.
Regarding the File Attachments feature, it has a 10MB file limit size. You can use the following extensions: xlsx, xls, ods, docx, docm, doc, csv, pdf, txt, gif, jpg, jpeg, png, tif, tiff, rtf, bmp, cgm, css, shtml, html, htm, zip, xml, ppt, pptx, tar, ez, ics, mobi, msg, pub, eps, odt, mp3, m4a, m4v, wma, ogg, flac, wav, aif, aifc, aiff, mp4, mov, avi, mkv, mpeg, mpg, and wmv.
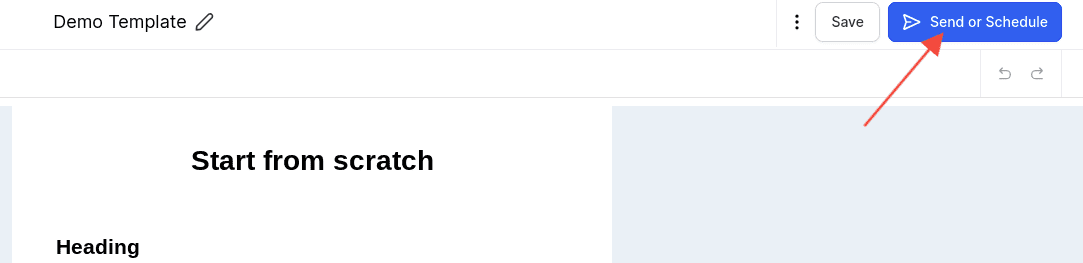
Once everything is ready you can click on Send and Schedule. This will open up the Sending Options where you can choose how and when you want to schedule the Email Campaign to be sent, and determine who will receive it. You can completely customize this section, from scheduling batches of emails to go out at a certain time, to choosing a smart list of contacts to send to, and more.
Send