Part 1: Create the email
Head to Marketing > Emails > Campaigns - Create Campaign
Select the Email Template which you would like to create a Marketing Email Campaign
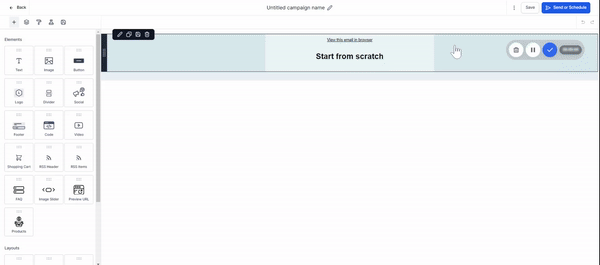
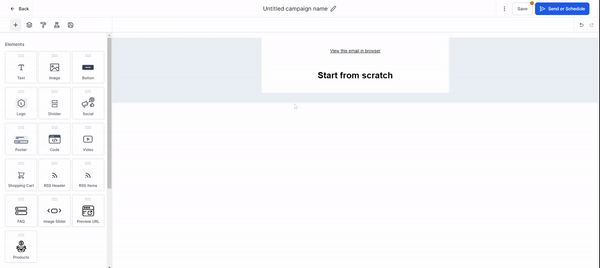
Design your email and content by adding all the necessary elements
You can save your email campaign and edit it if needed later until you are ready to send it
Part 2: Customize your email
Drag and drop your desired elements into the builder area.
For all the text-related elements, you can now use the inline editor
The inline editor can contribute to faster and higher-quality email creation with increased ease. The following key features are included:
Styling options with Heading 1, Heading 2, Heading 3, Heading 4, Heading 5, and Paragraphs.
Support for approximately 18 fonts, with future plans to include custom fonts for Google.
A wide range of font sizes, ranging from 8px to 96px.
Text color and text highlight options, allowing users to select colors using hex codes.
Formatting options such as bold, italic, underline, and strikethrough.
Convenient hyperlinking for word redirection and text alignment.
Proper line spacing for paragraphs (1.5) and headings (1.25).
Bullet list capabilities, offering both ordered and unordered lists.
Text formatting that allows seamless copy and paste from external sources while removing any applied styling.
Custom values support to cater to specific needs.
Content AI leverages the power of artificial intelligence to assist in generating content faster.
Updated default padding settings: Top (12), Bottom (12), Left (24), and Right (24).
Part 3: Send Email
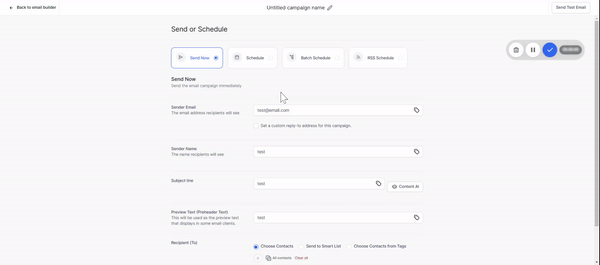
Click on “Send or Schedule”
Fill out the information in the To and From section
Add your subject line in the Subject section
Select the option to Send Now or Schedule (Depending on when you want to send the email, now or later)
If you choose the schedule option, you will need to add the date and time (please note that the email will be sent in your account's timezone)
Note: You can reschedule your campaign one hour before the execution date/time. To do this, click on the reschedule button and set the date/time of the campaign. It is suggested that you apply drip/batch schedule mode when sending large quantities of emails to avoid high bounced rates and thus avoid suspensions
You can also send the campaign via email as a test. This will help you to see how your email will be seen by your leads.
Click on the 3 dots on the left side of the Save button and click on Test Email. Add the details and click on “Send Test Email”.

Note: You can restore older versions by clicking on the 3 dots next to the Save button. It will show you the dropdown option to see the version history and restore the older version.