Navigate to Forms. You’ll see 3 tabs: Builder, Analyze, and Submissions
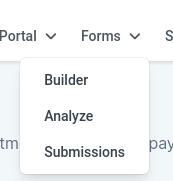
“Builder” features a list of all your existing forms. You can also create a new form from this page.
“Analyze” gives you an overview of the number of submissions, as well as a graph. You can sort by form, choose a specific period, and more.
“Submissions” allows you to sort through the submissions for all forms or select a specific form. You can also search for a specific submission by name, email, phone number, or contact ID.
Navigate to the Builder and click on Builder, then New Form, and then Start from Scratch.

Note: You can also click on edit on an already existing form to edit more, or select a template, by clicking on New Form - Choose from Template.

You can edit the name of the form by clicking on the pencil to edit

Click on the + sign on the left to see all the elements available.
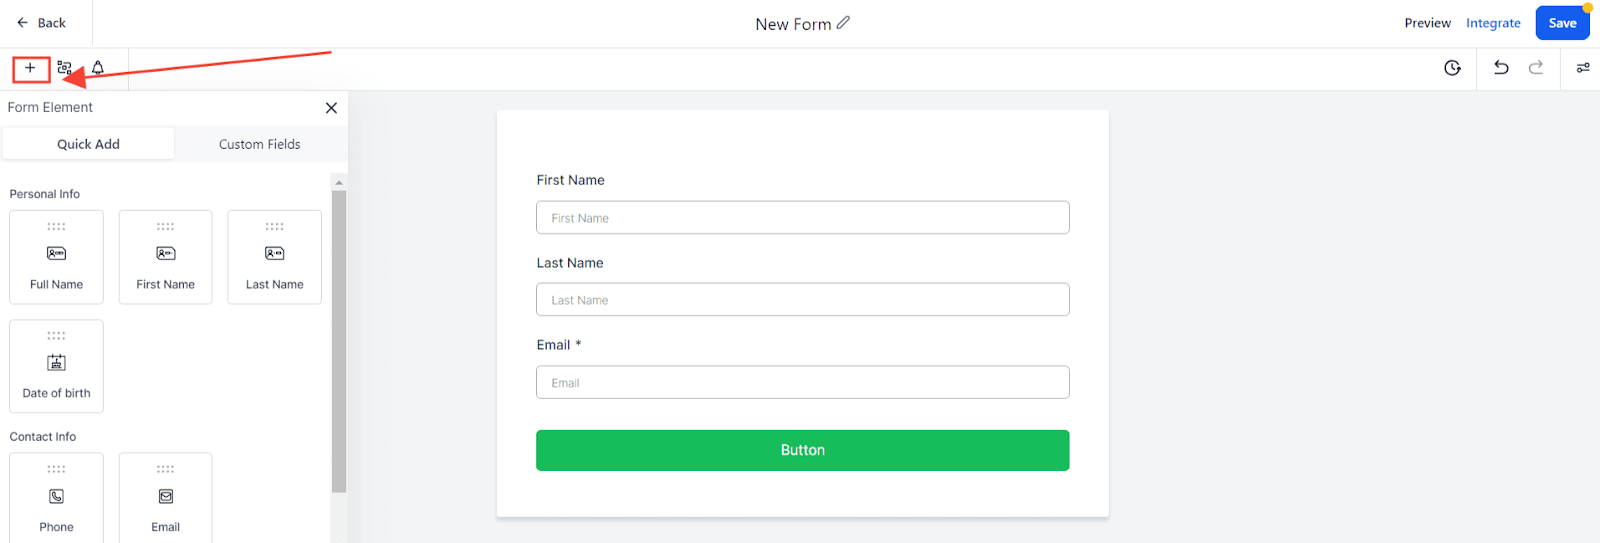
Once you see the one you need, click on it, drag it, and drop it into the position where you want it to be.
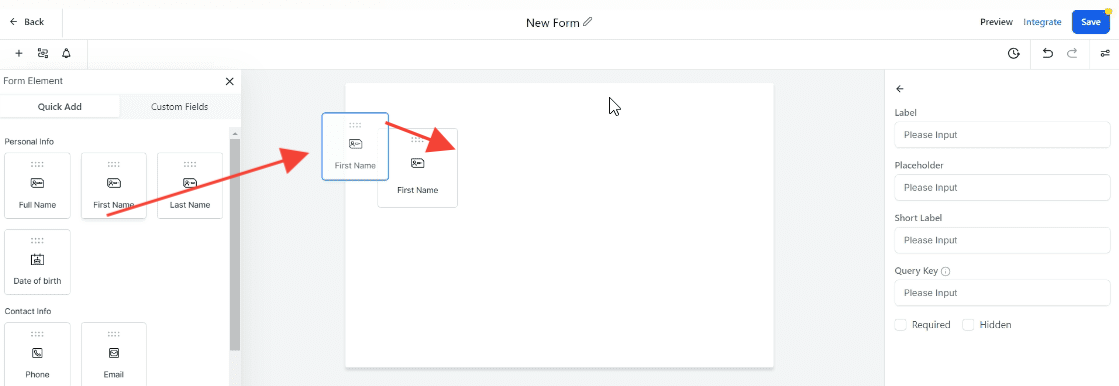
Note: You can also add a short label to each element you add. This allows you to assign a brief and focused title or heading to each element in your form. It serves as a quick overview of the content or input expected from respondents.

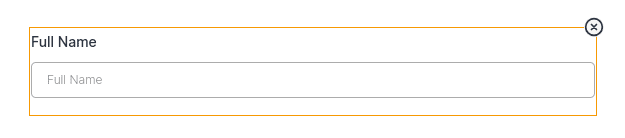
If you don’t need this element anymore, click on the element, and on the X to delete it.
You also have the option to add your custom fields. Next to the Elements (Quick Add tab), you will see the Custom Fields.
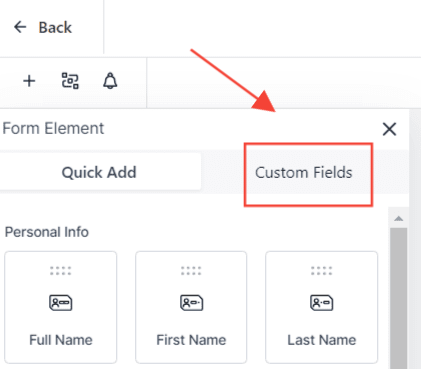
This is the list of elements you can add from the Quick Add section:
Full Name
First Name
Last Name
Date of Birth
Phone
Button
Address
City
State
Country
Postal Code
Website
Organization
Text
HTML
Image
Note: The Image element now can resize the image in the builder itself. You can also align the image, and add text to images for SEO purposes.

Captcha
Source
Terms & Conditions
On the left side, you will see the logic icon, next to the “+” to add elements
Click on it to start the conditional logic
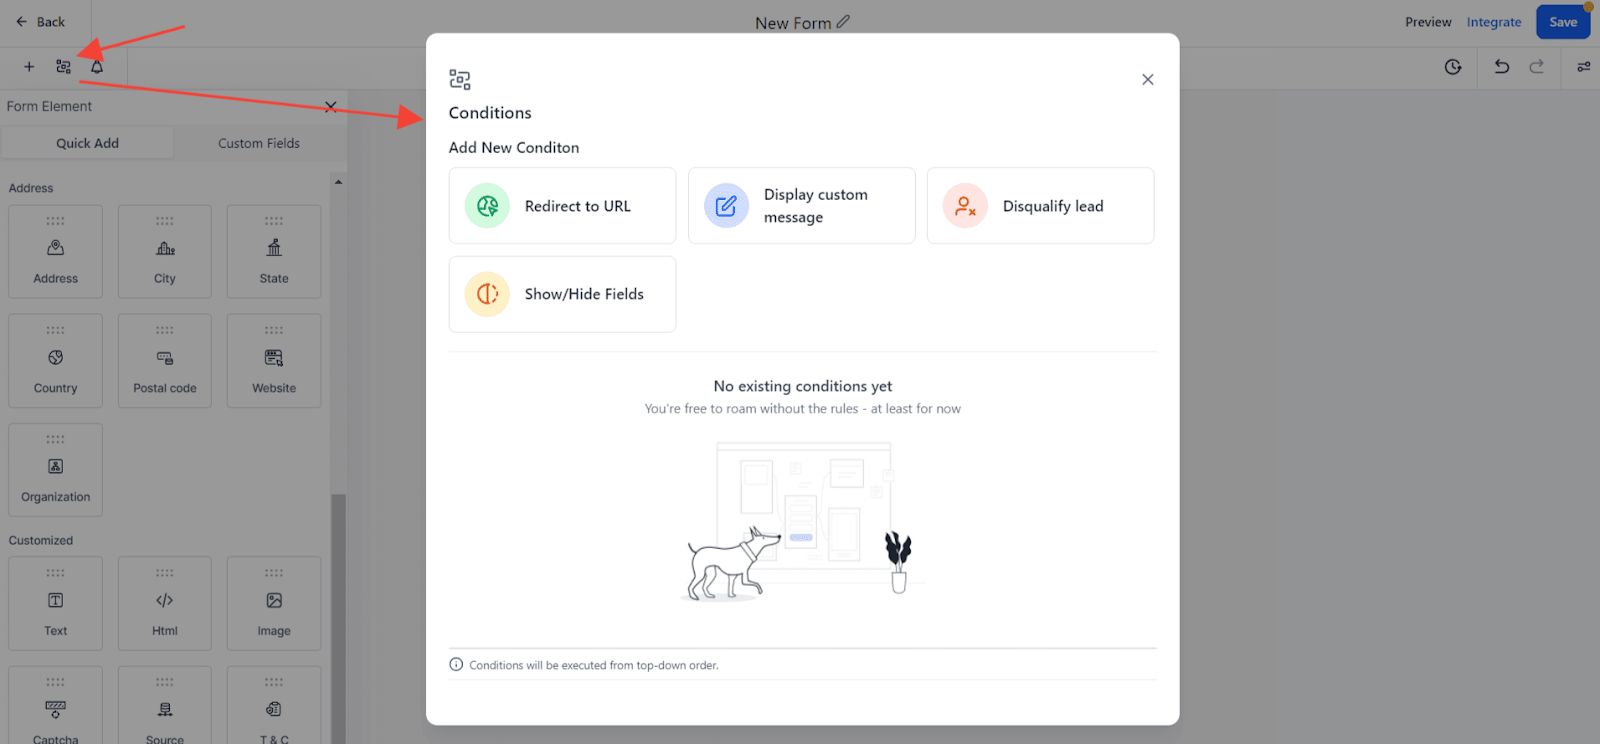
Redirect to URL:
If a specific input is entered into a field or a particular option is selected, users are redirected to a designated URL.
Display Custom Message:
Conditional messages are displayed based on user input or selected options. This feature allows tailored communication with users based on their actions within the form.
Disqualify Lead:
Leads can be disqualified if certain conditions are met, such as entering specific information. After disqualification, users can be presented with a custom message or redirected to a specified URL.
Note: Disqualified leads are not counted as submissions.
Show/Hide Fields:
Fields can be dynamically shown or hidden based on user input or selected options. This feature enables a more streamlined and personalized form experience for users.
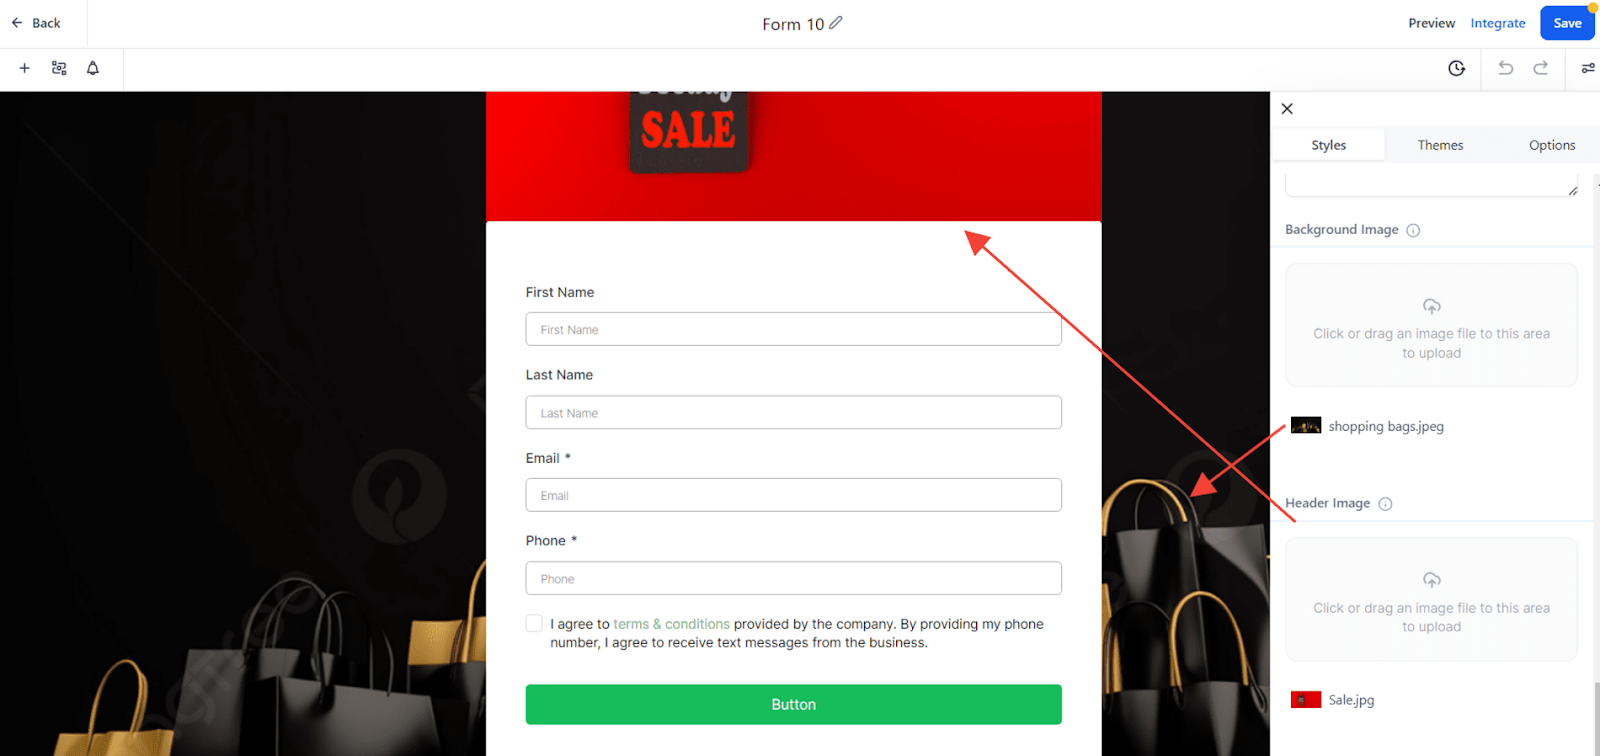
Go to the right side and click on ‘Styles & Options.’

Under styles, you can edit:
The layout
The form style (background, padding, borders, shadow, etc)
The custom field style
The label
Placeholder
Add Custom CSS
The background image, which is intended to cover the entire page, provides a visually appealing backdrop for the form.
The header image, which is designed to cover the entire width of the form and remains positioned at the top of the form. This allows you to display captivating images at the top of the form, creating an impactful and visually engaging experience.
Toggle the agency branding
Under “Themes” you will be able to choose from a wide array of professionally crafted themes that suit various styles and purposes.
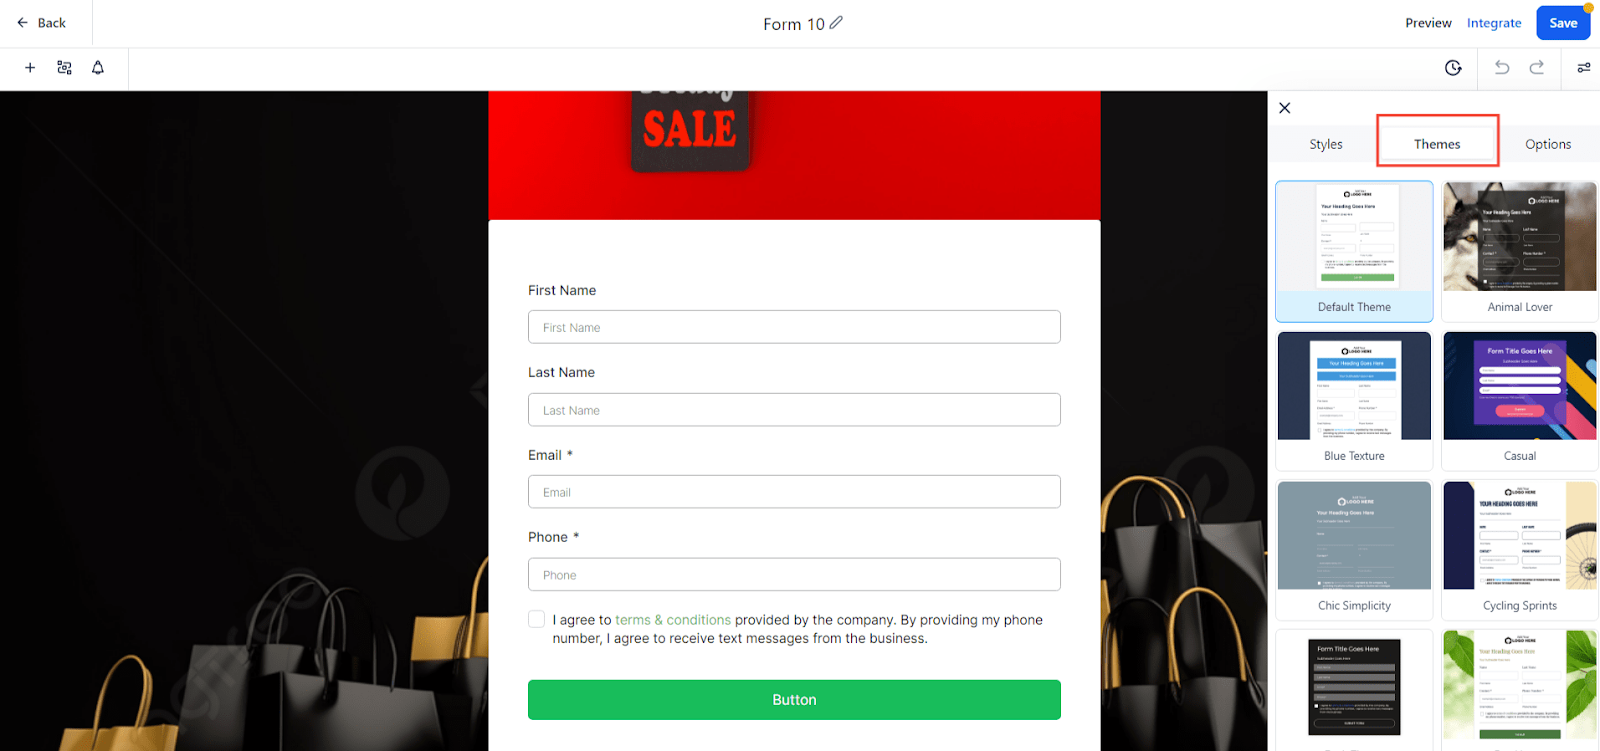
Note: All the themes come already with a background, field style, font, size, button design, etc. Below is an example of what the Casual theme looks like.
Under “Options” you can choose the form name, determine what happens upon submission (redirect to specific URL, show a thank you message or show an order confirmation if a product was sold via this form), add a Facebook Pixel ID, and enable timezone. You can also toggle on or off the Sticky Contact feature. For more information on selling products via forms, please refer to our Adding and Using Products in Forms article.
Note: Activating the timezone option will capture the time zone information of the individual submitting the form
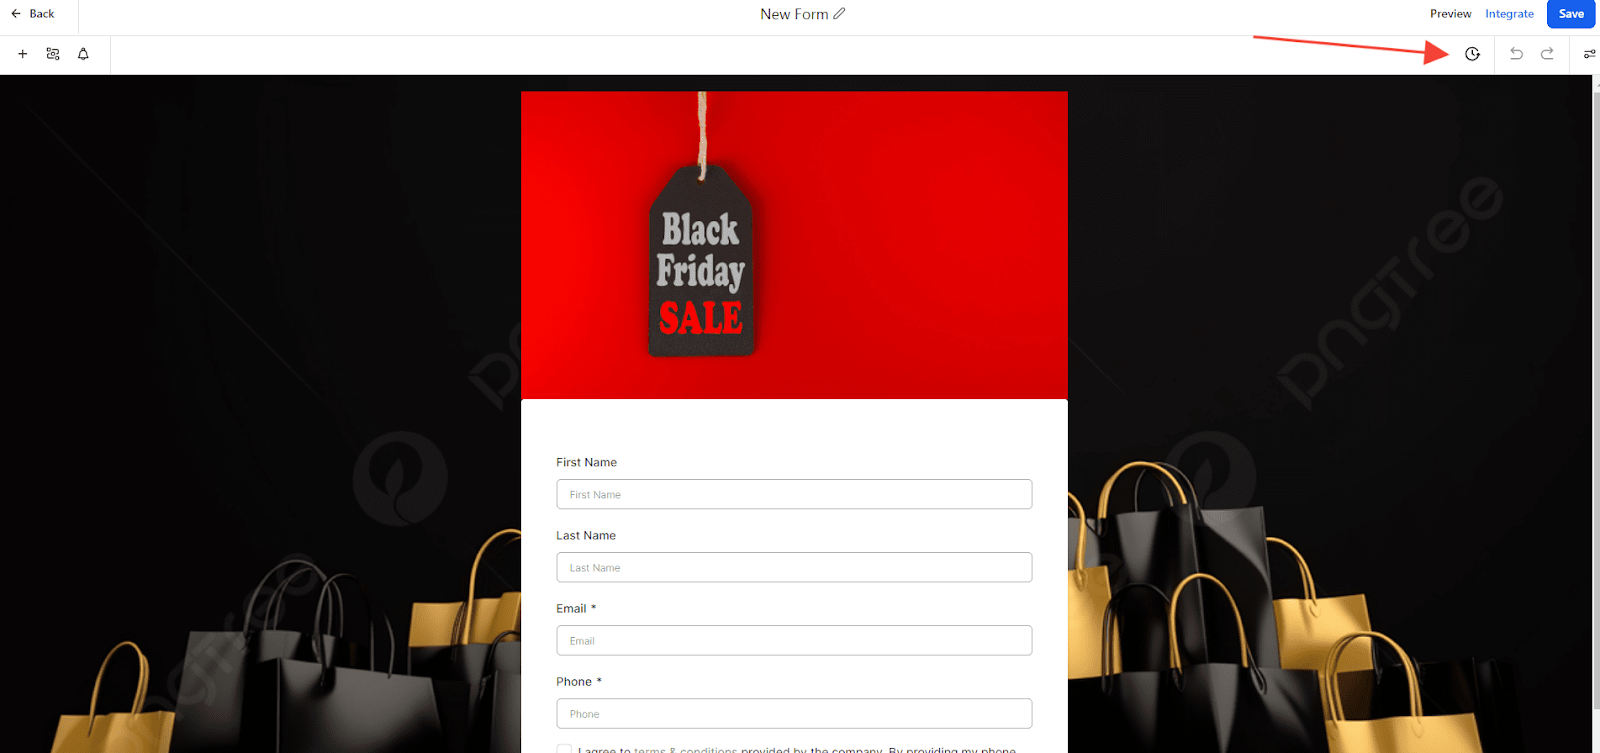
In the version history, you can access previous versions of a form. For instance, if you've made changes and saved them, but now want to retrieve an earlier version, you can do so from the version history. This feature displays the date and time of each iteration, allowing you to track and restore earlier versions as needed.
Generate links and embed codes. Connect forms to calendars and integrate them into your funnels and websites. Leads and contacts can fill out forms with ease, while you manage submissions in the system.
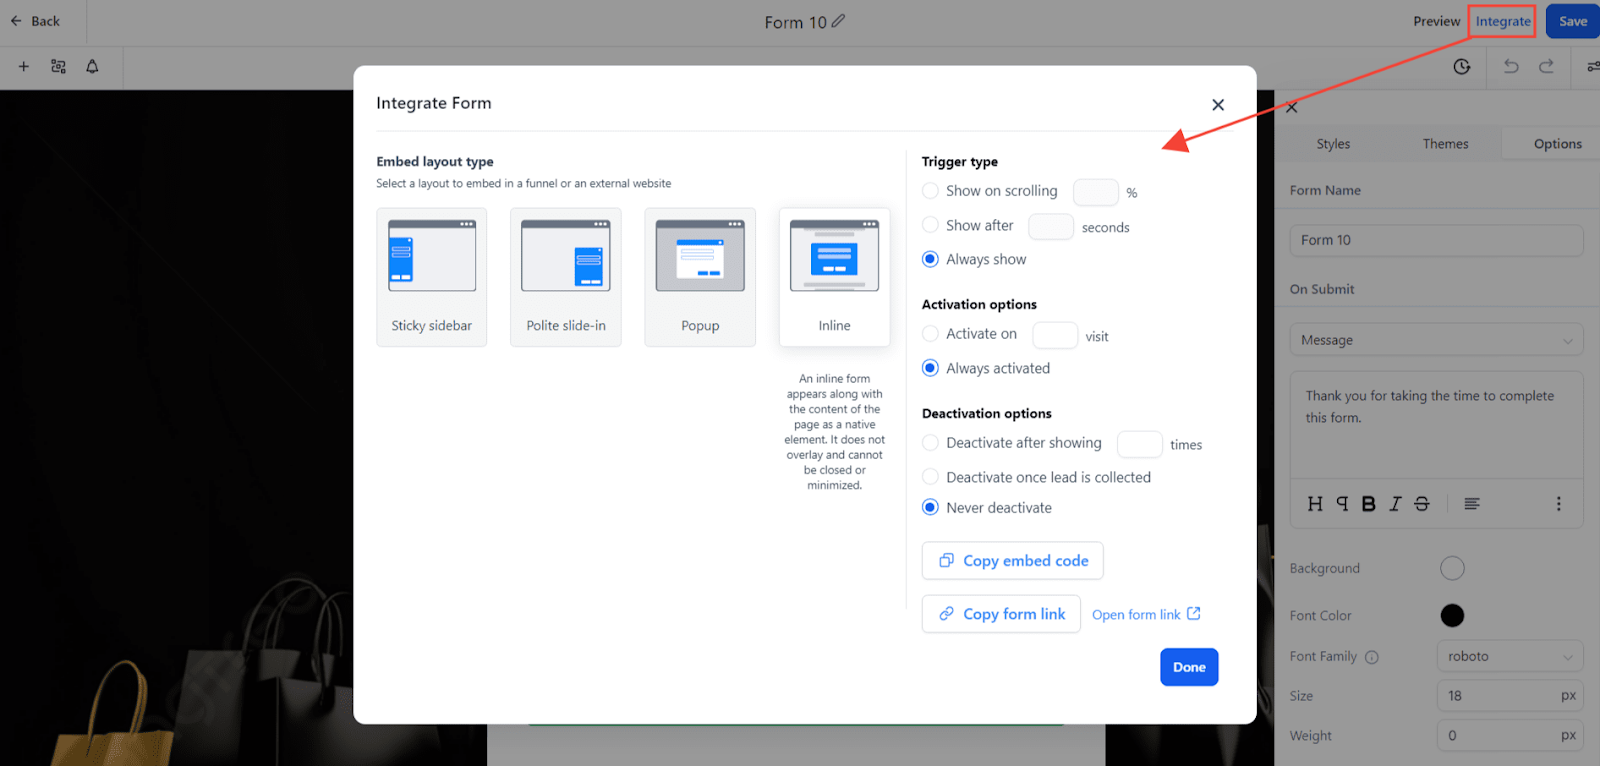
Once you create a form and save any changes, you can click “Integrate Form” to access a link or embed code.
We have multiple options of integration.
Forms can also be connected to a calendar (check out Calendar Settings to learn more about this.)
Forms can also be used in Funnels or Websites using the Form Element
Once a form is integrated into the system in one of these ways, leads/contacts will be able to fill it out accordingly, and you can view the submissions in your system.
Although we recommend that you save your form from time to time while you are editing, don’t forget to save it one last time when all the edits are done.
