Go to the Settings of your account, then to Custom Fields
Click on “+ Add Field” and select File Upload
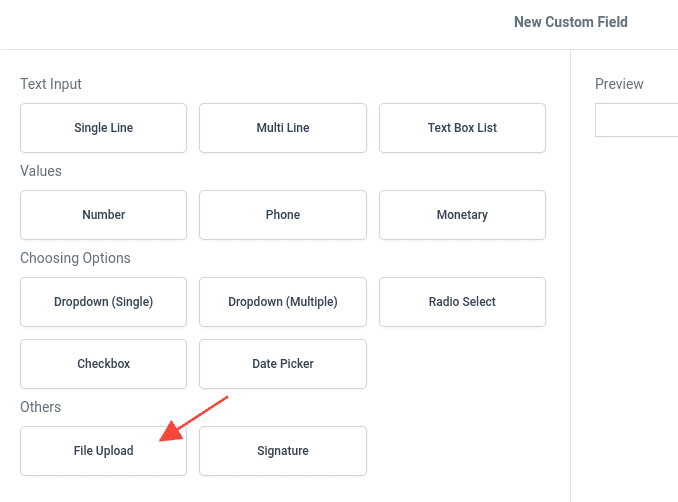
Fill in all the data needed and save

Go to the Form Builder
On the left side, you will see the Quick Add tab, which contains the most commonly used, such as name, email, and phone. You will also see the Custom Fields, which are those you’ve created specifically for your business needs.
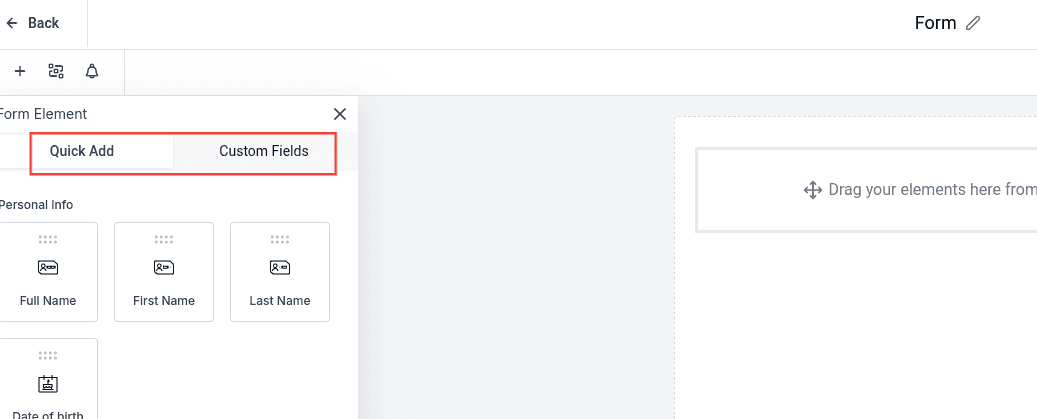
Click Custom Fields
Utilize the search functionality to locate the “File Upload” custom field. In the sidebar, search for “File Upload” from the option.
Drag and drop the File Upload field onto your form canvas.
To edit, click into the feature field in your form, and the editor will appear in the right hand side bar.
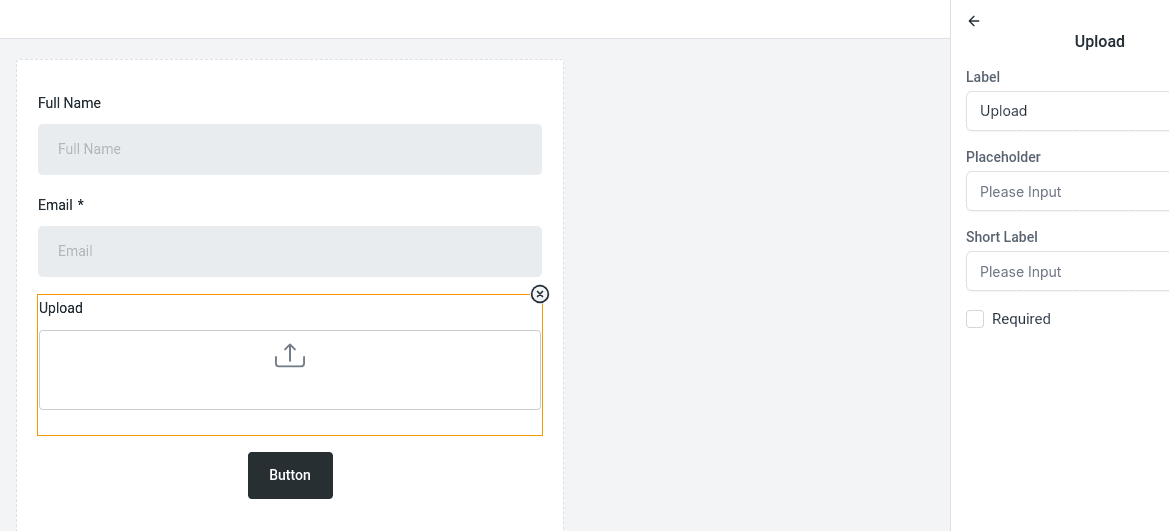
Click on the File Upload field to access editing options.
Modify the Title and set a Placeholder text if desired
Toggle the Required option on or off based on your form’s needs
Click Save Form.
Click Integrate Form.
Copy the link and paste it into the browser, or wherever you wish to use it.
You can also create a file folder and organize multiple files in one organized space.
Navigate to settings and custom fields.
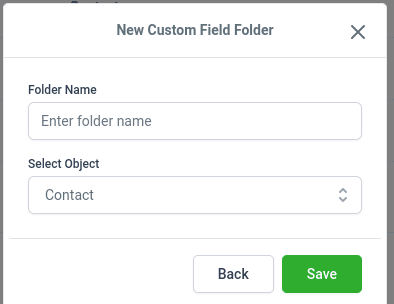
In the top right corner choose “Add folder”
From here name your folder “Files” and add the File Upload field to the folder
Save your settings.