
Step 1: Adding the Signature Custom Field
Go to Settings and click on Custom Fields
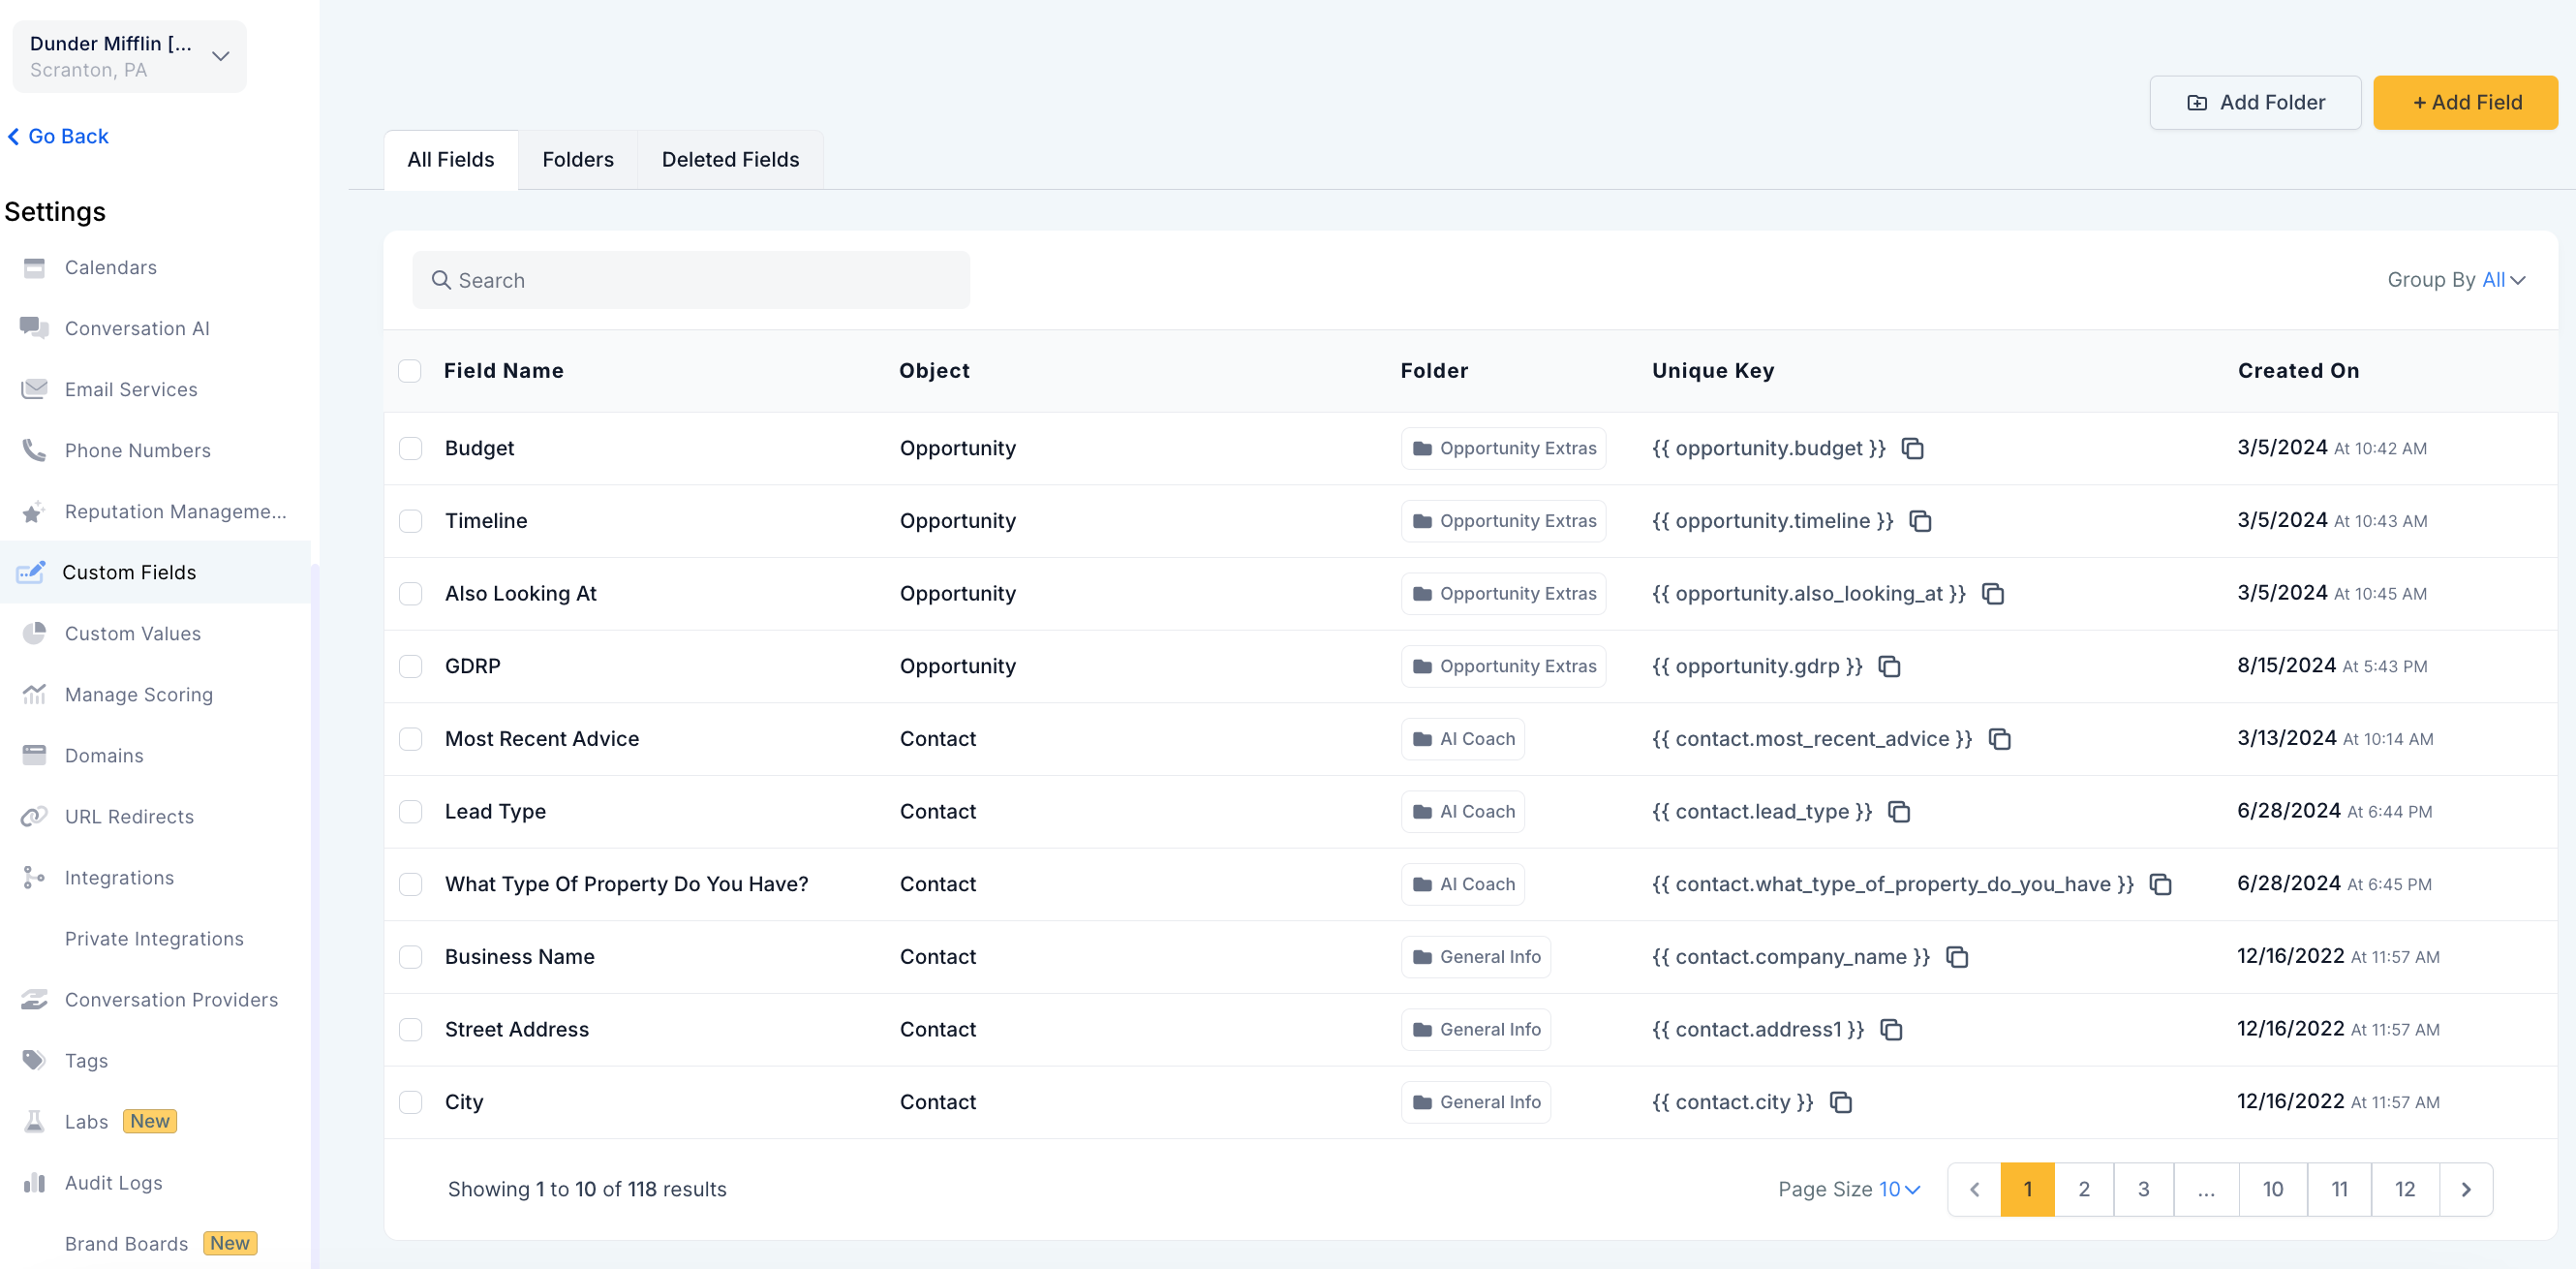
Click on Add Field, select the Signature option, and click on Next
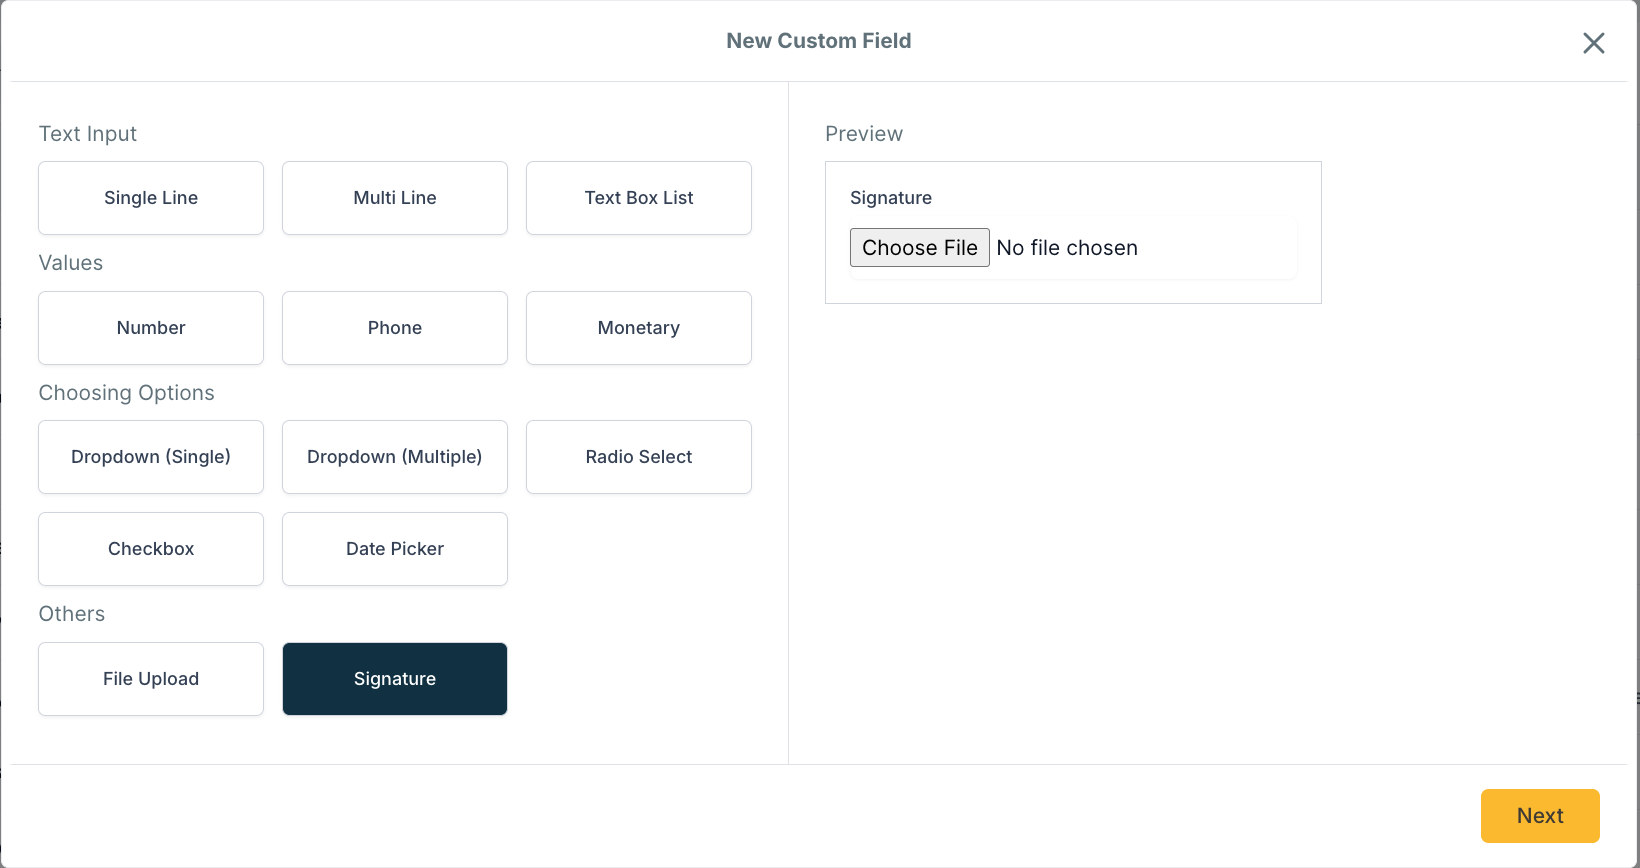
Fill in all the data needed, and save

Step 2: Adding the Signature Custom Field to the form and survey
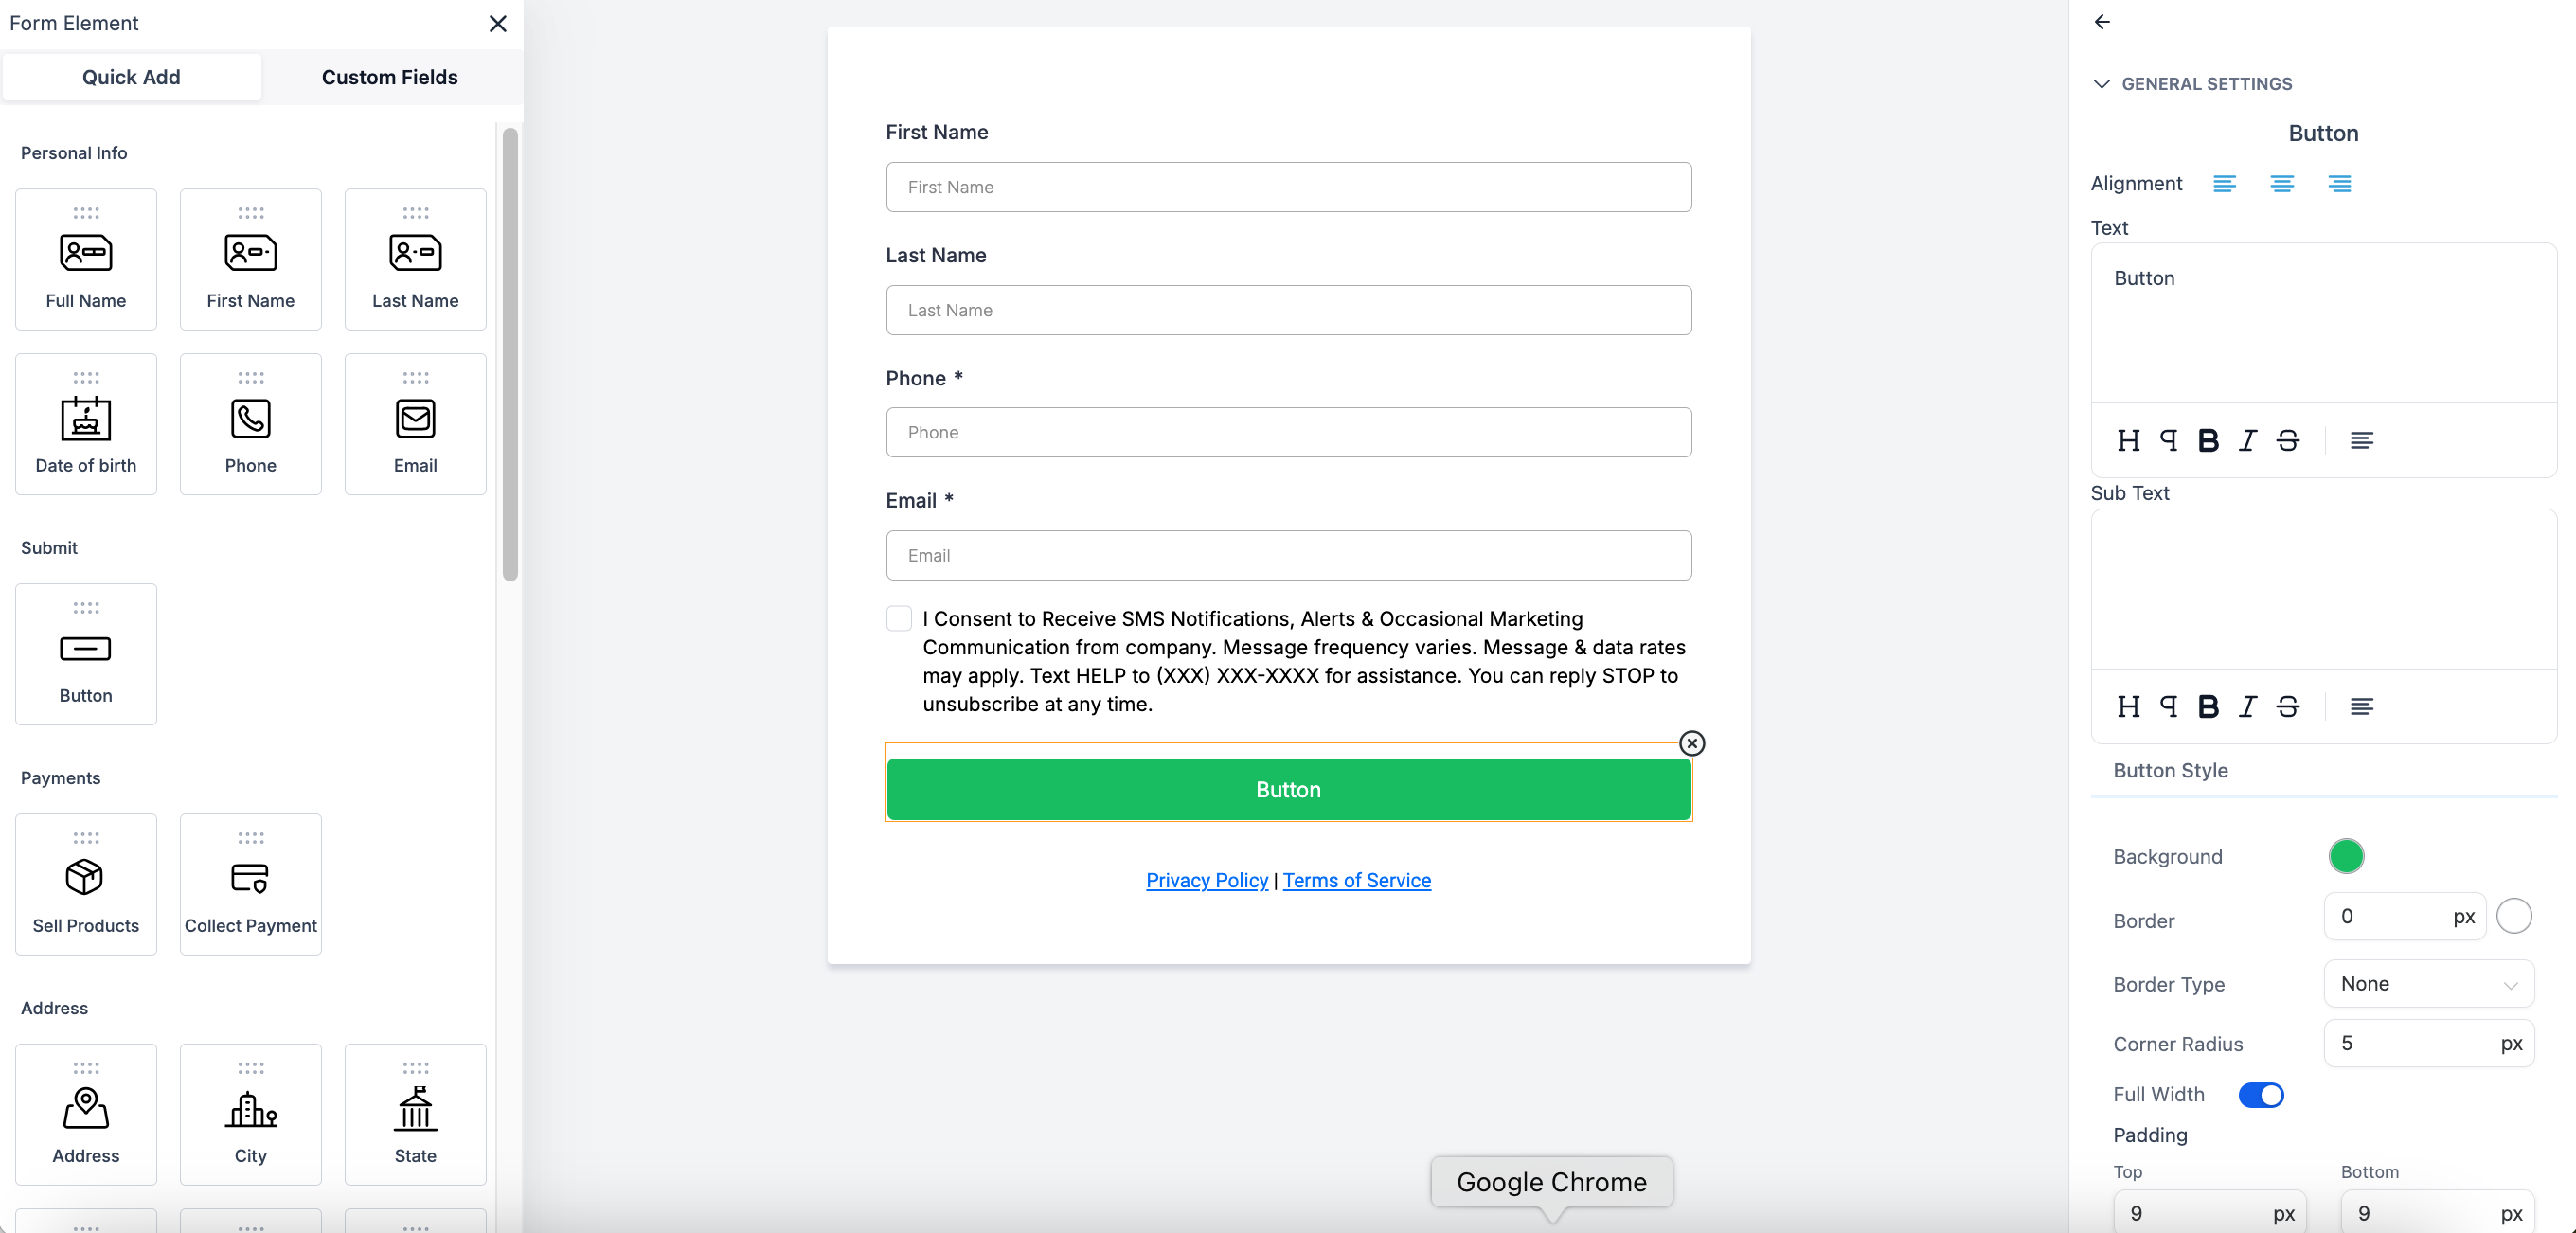
Navigate to the Form Builder.

You’ll see Custom Fields in the menu on the left.
Click Add Custom Field.
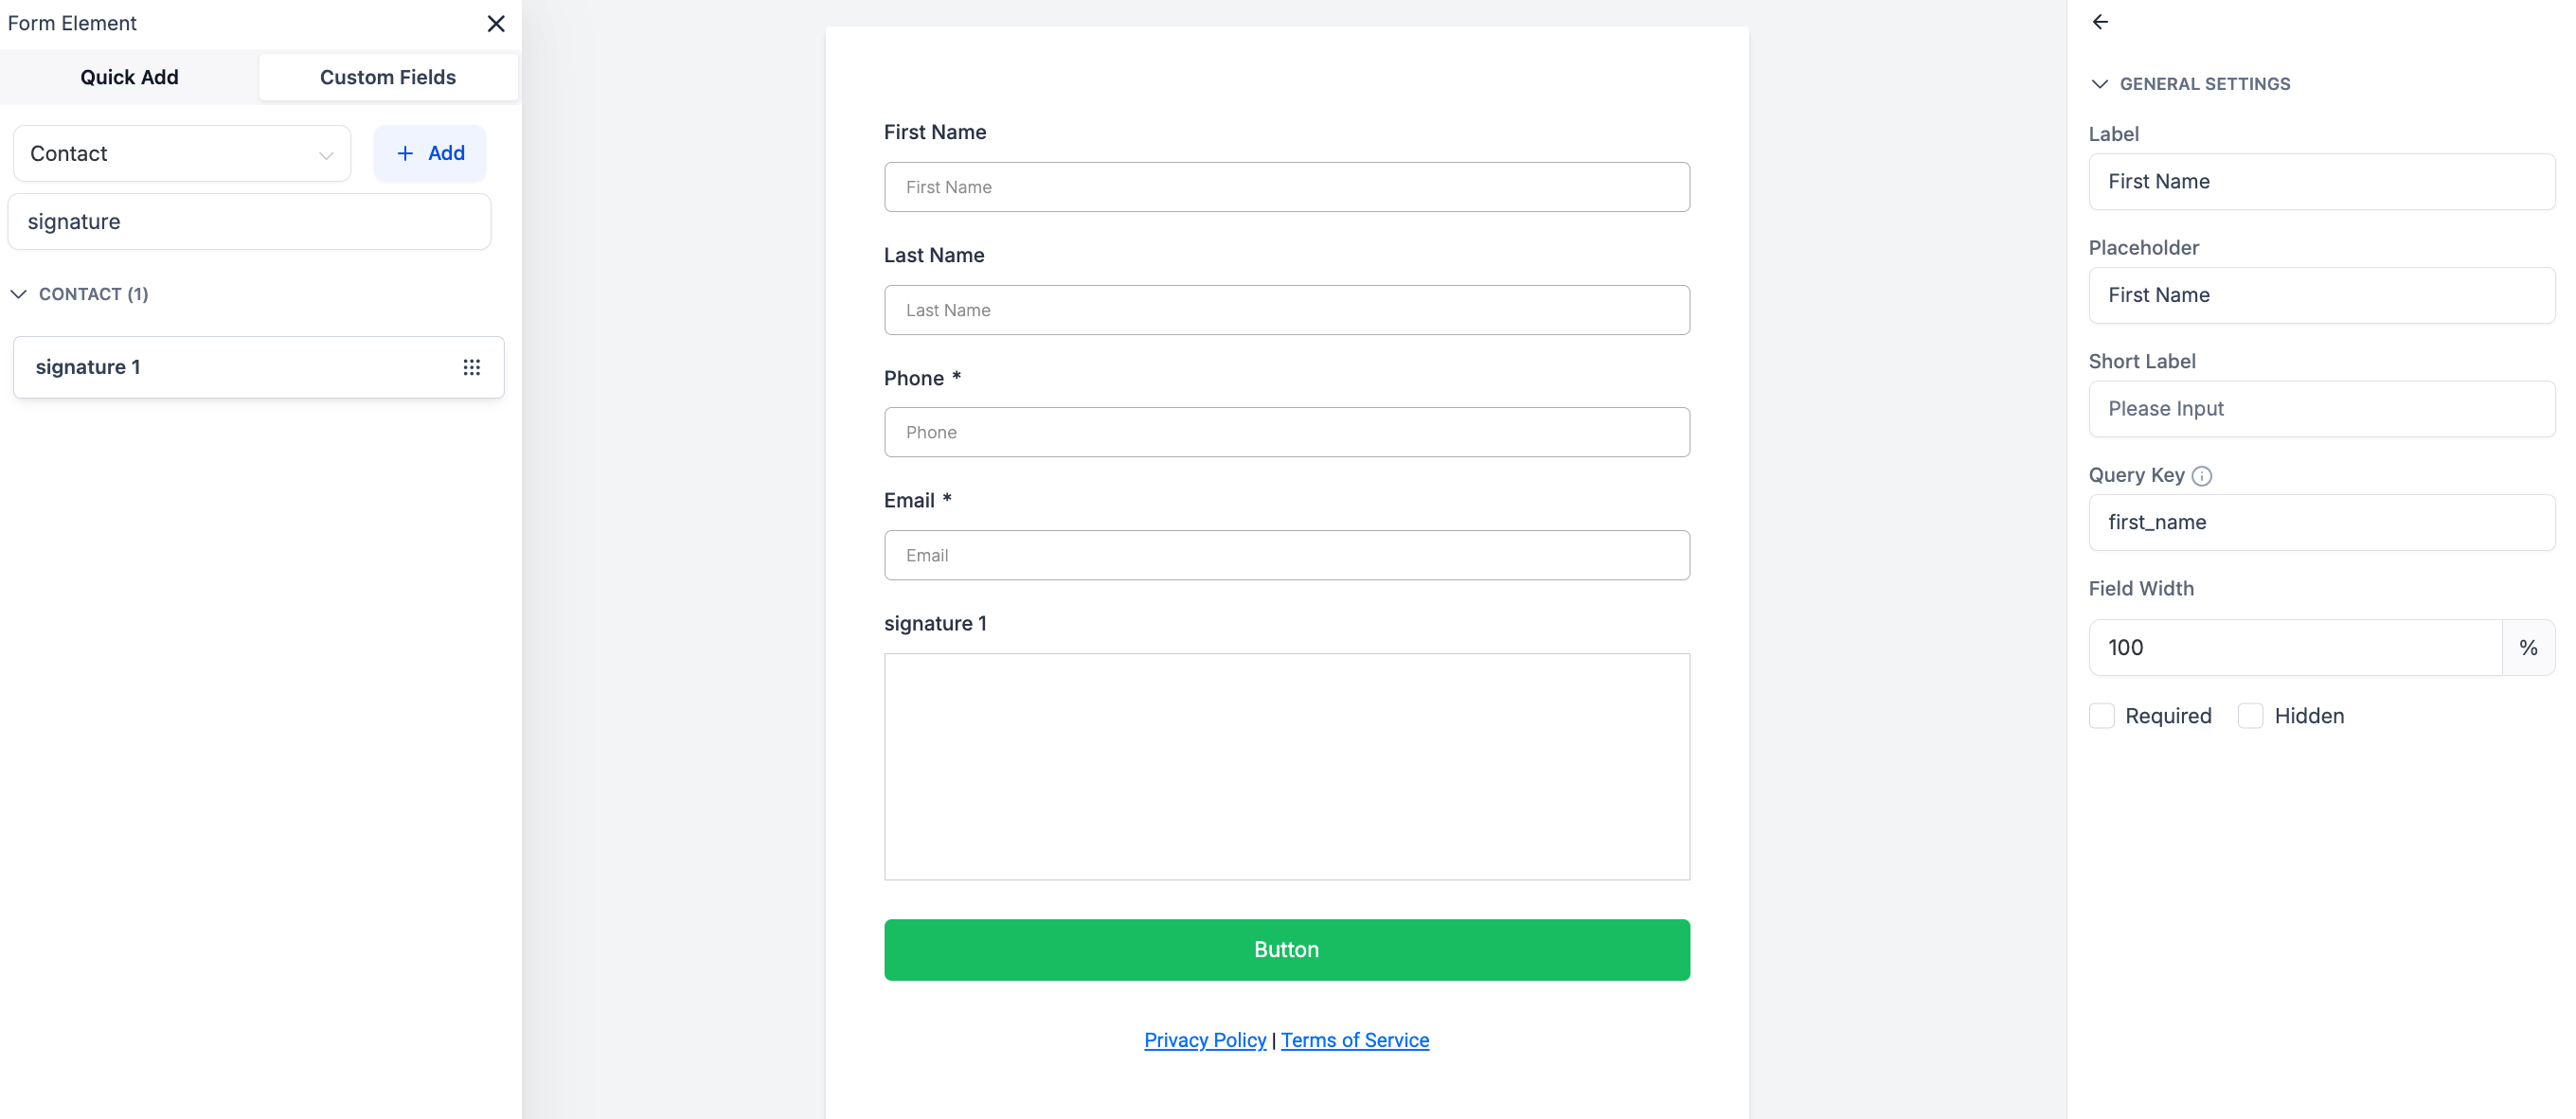
In the sidebar, search for “Signature” and choose Signature from the options. You can name the field, like “Sign here” if you wish.

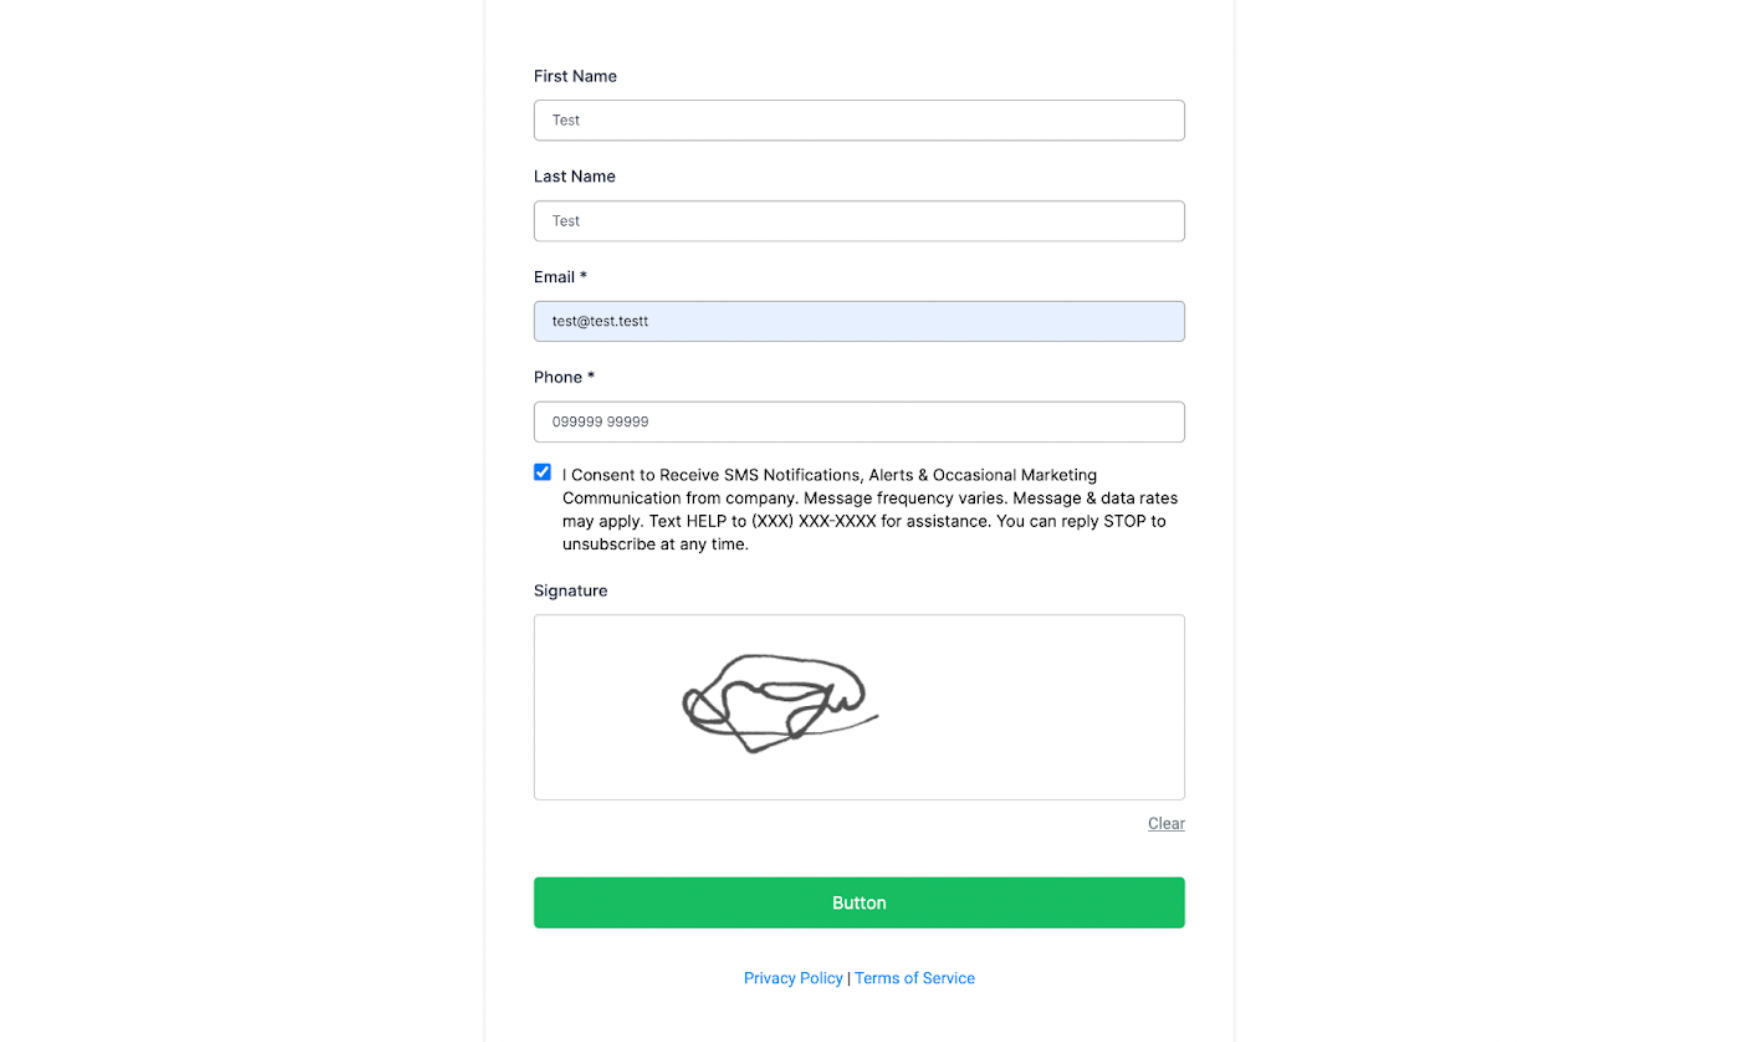
Click and drag the Signature field into the form.
Click Save Form.
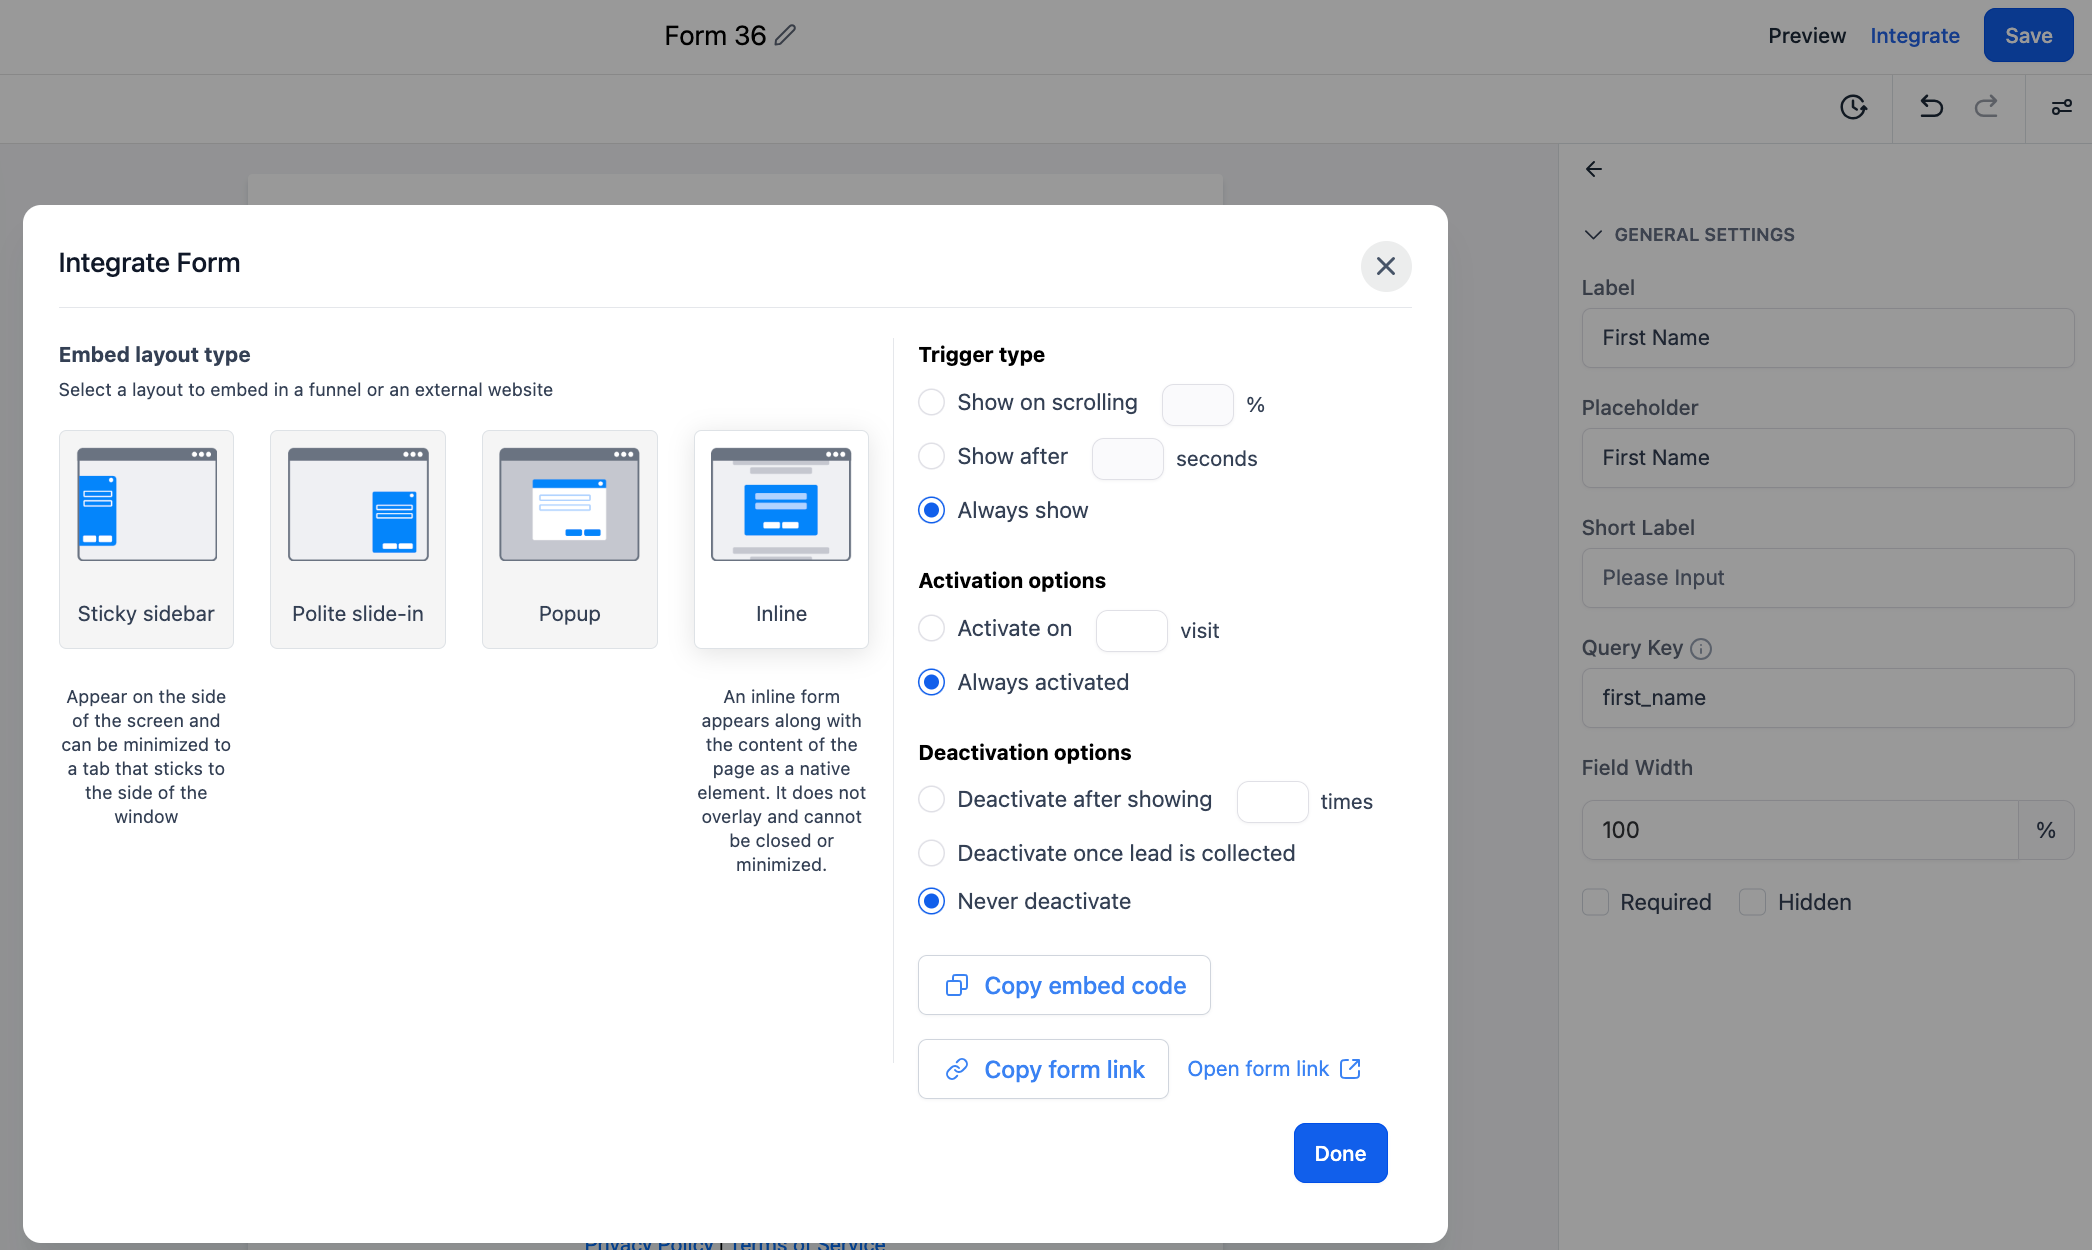
Click Integrate Form.
Copy the link and paste it into the browser, or wherever you wish to use it.
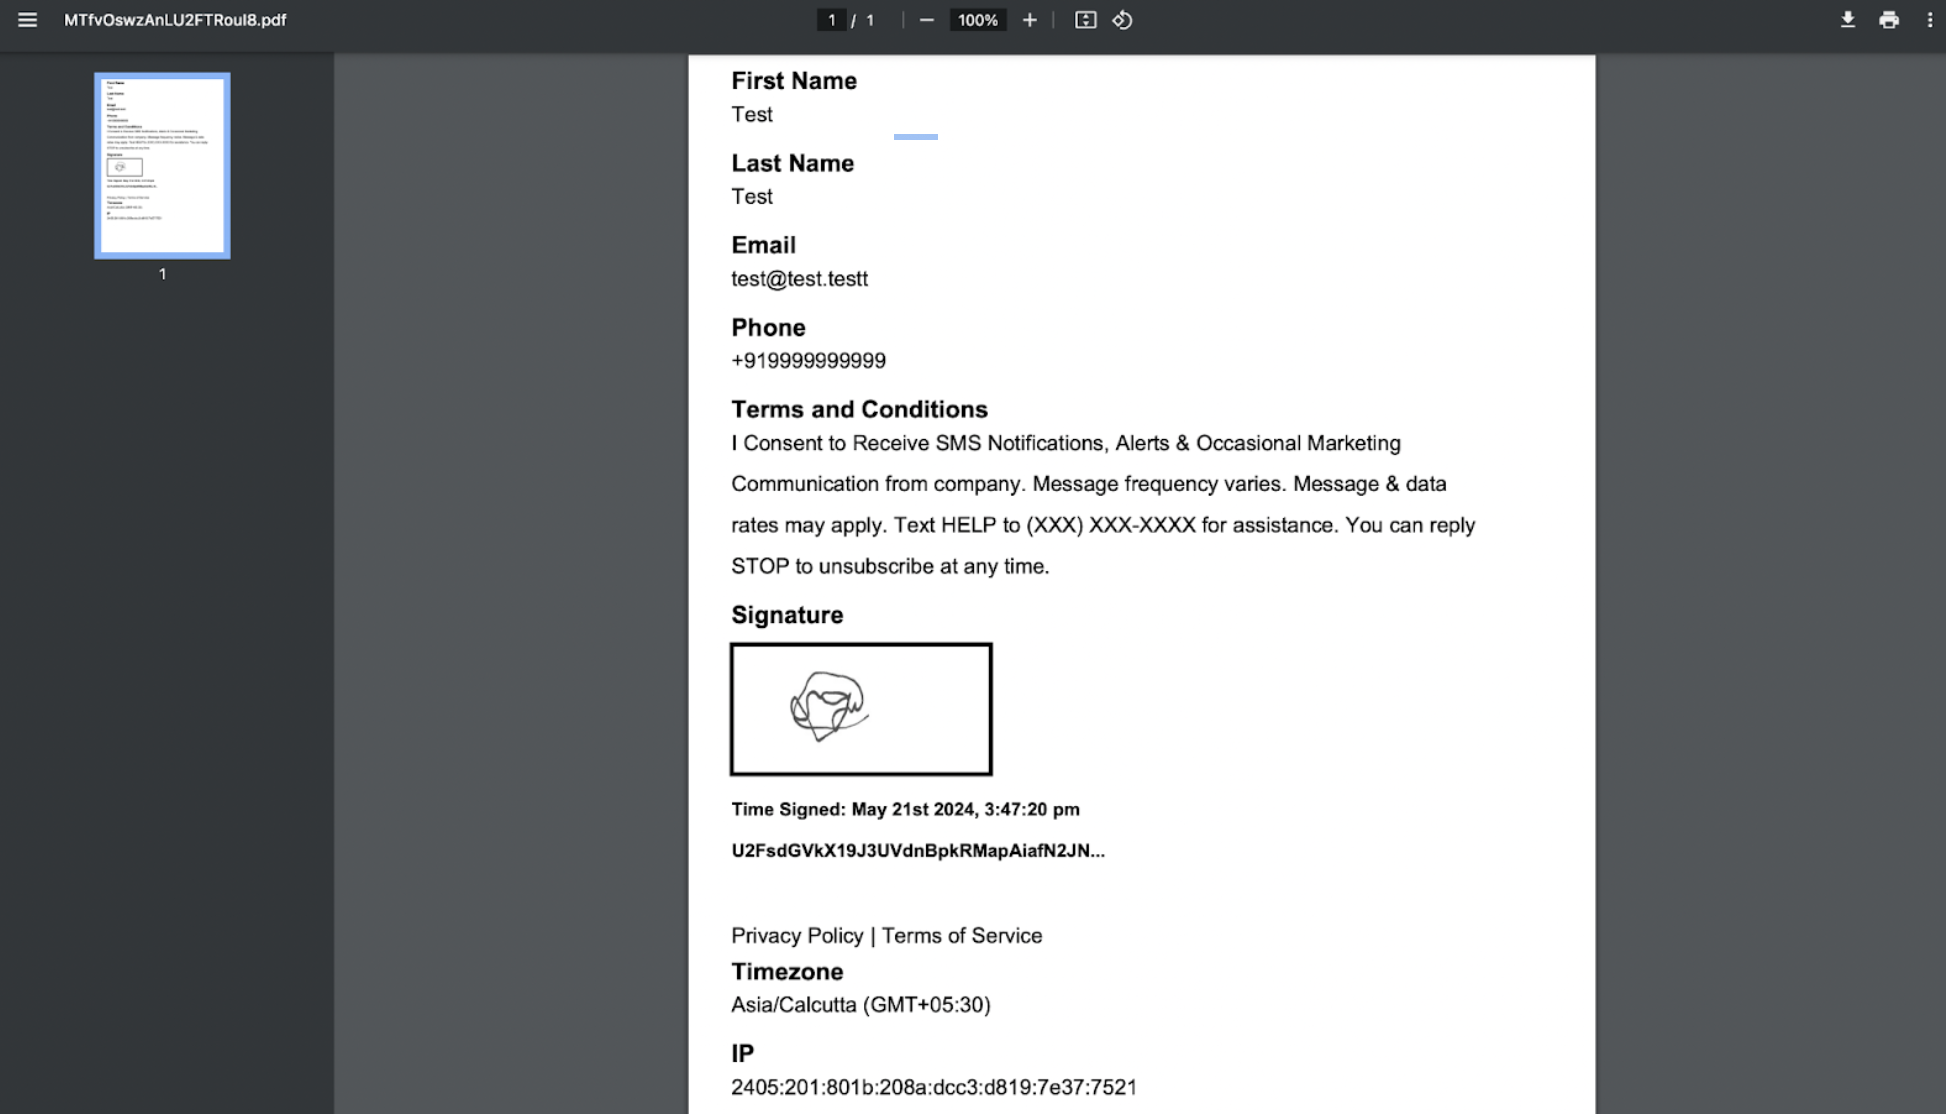
Enhancing Signature Authenticity and Validation:
When a form or survey with a signature field is submitted, an encrypted hash is generated.
This hash appears below the signature field in the submission records.

When downloading the submission as a PDF, both the time signed and the encoded hash are included for verification purposes.
Step 3: Accessing Signatures
The signatures are integrated into contact records and stored
Navigate to your Contacts/Smart Lists.
Click into a Contact Record.
Under the group you selected the signature to be, you’ll see their signature, captured from a form or survey.
If you anticipate multiple signatures, you can create a signature custom folder to keep track of the information you are collecting. These Folders will also show up in the contact Card to keep your data collection organized.