Payment Type: Now you have the option to either sell the product or collect the custom amount from the forms.
Ability to select products, include descriptions and images, and choose layouts.
Users will also be able to select different variants which are available for the specific product
The quantity of products will be respected as per inventory management.
Inclusion of tax calculation when someone purchases the product.
Before you begin, ensure you have a product created in the products section under the payments tab. If not, navigate to Payments > Products > Create a Product.
Create or Edit a Form:
Create a new form or edit an existing one.
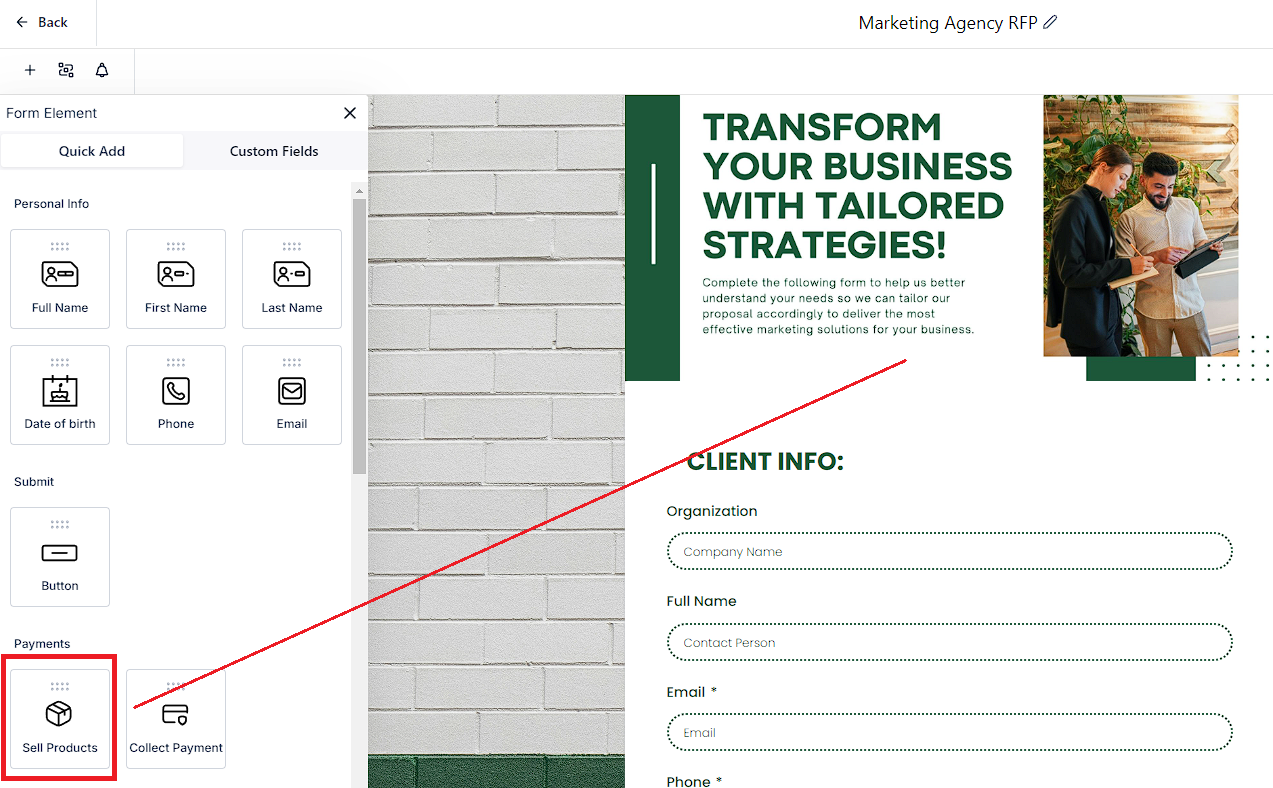
Click on the elements icon at the top right.
Drag and drop the Sell Product element onto your form canvas.
Toggle between live and test modes as needed.
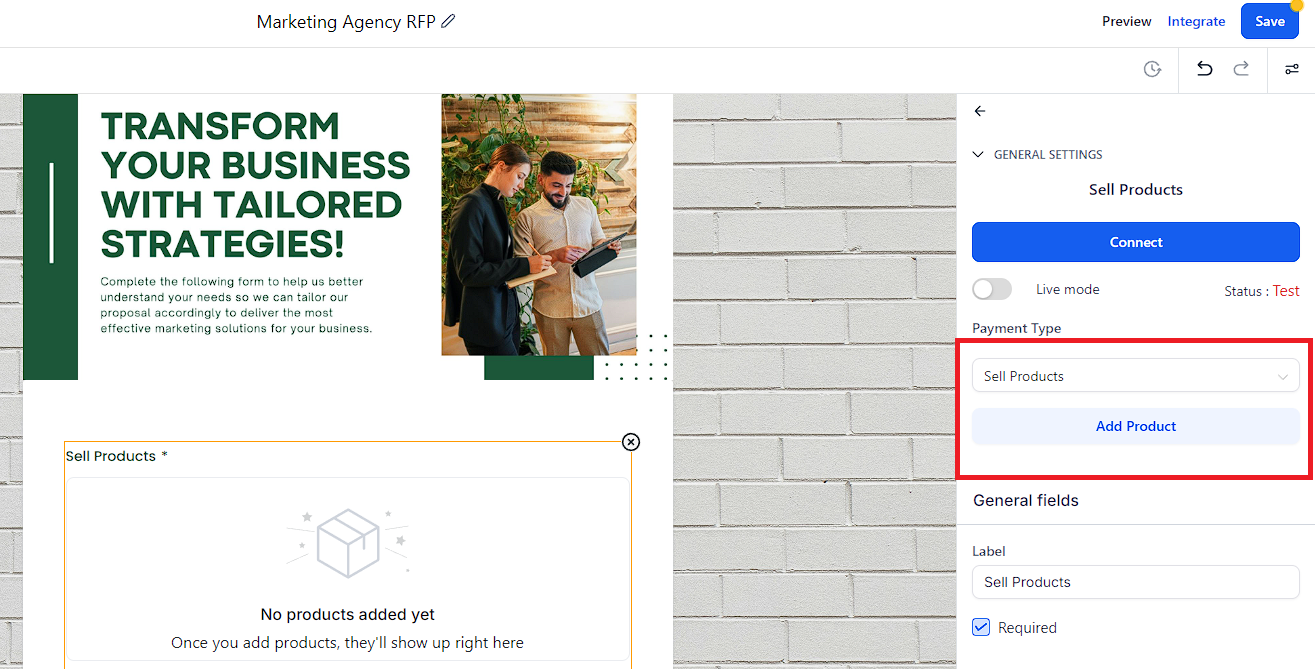
Click "Add Product" to select from available options.
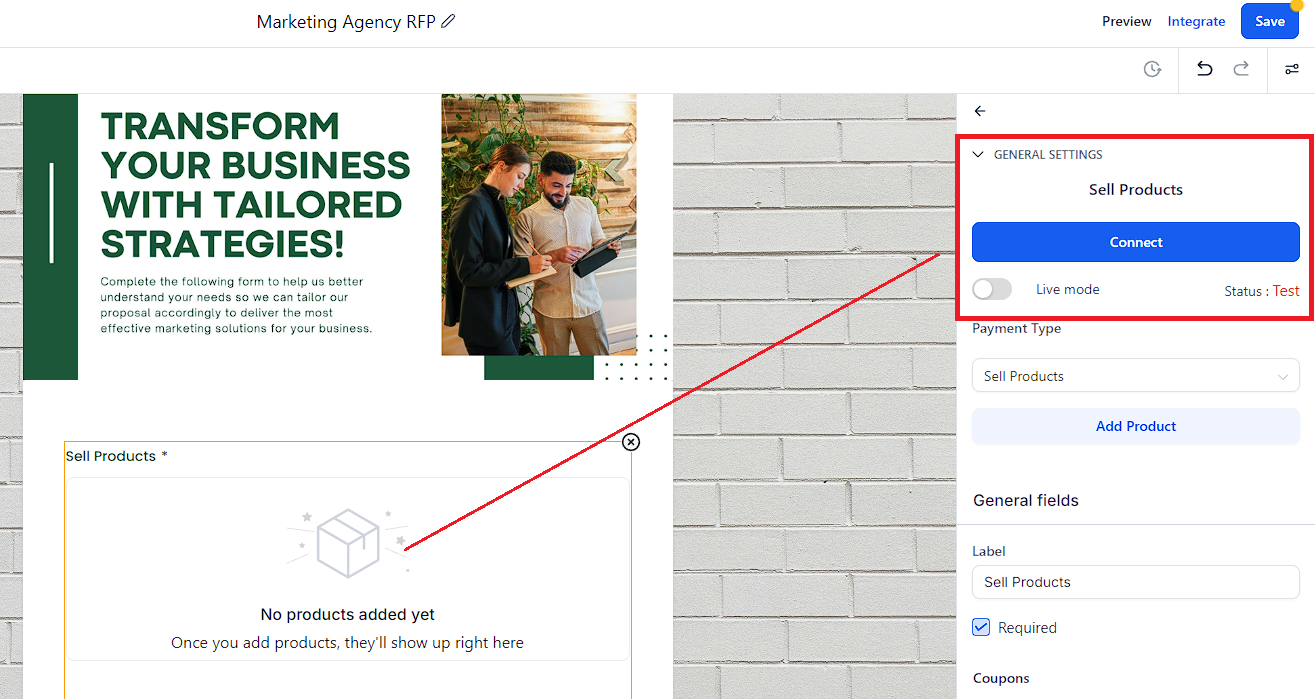
Click "Add Product" to select from the available options.
Customize product details, including descriptions, images, and layout options.
A coupon code must be created in the Payments tab under Coupons.
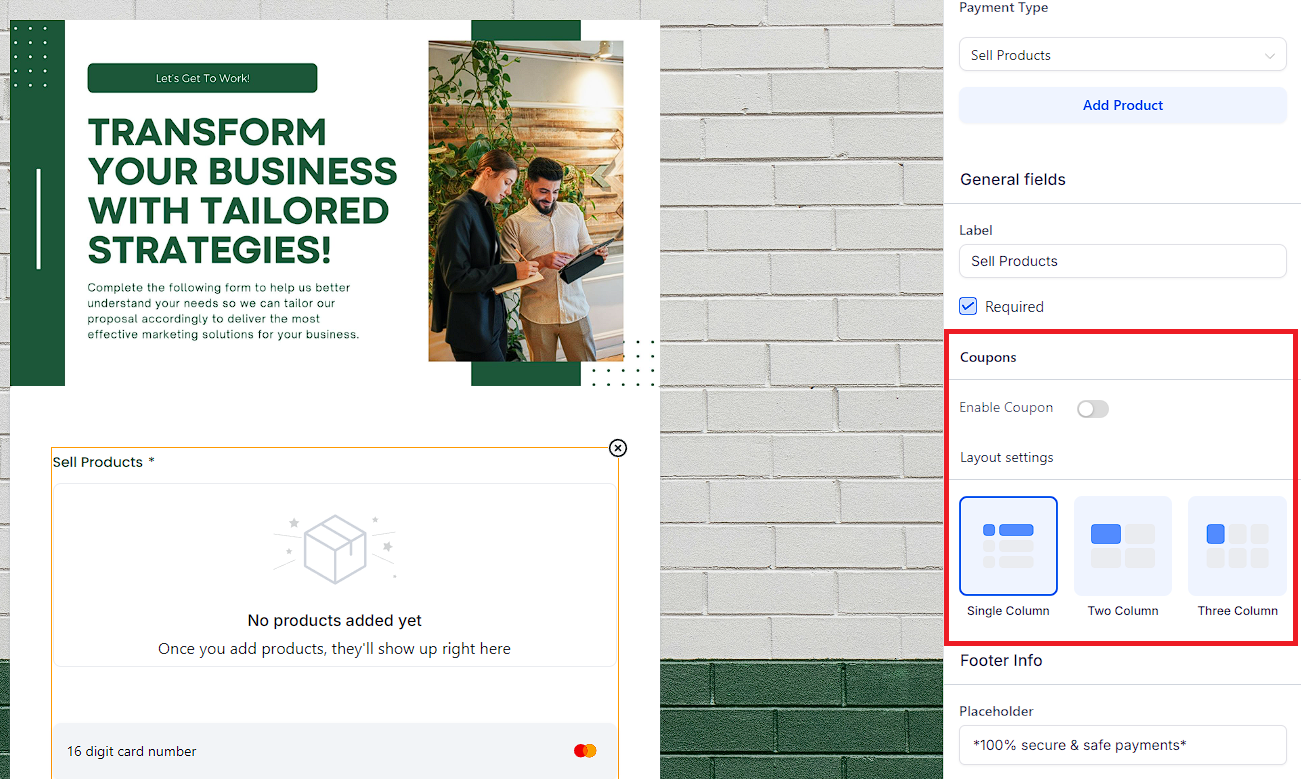
If the coupon code feature is enabled, customers can apply the coupon to the product, and the discount will be applied to the product added to the form.
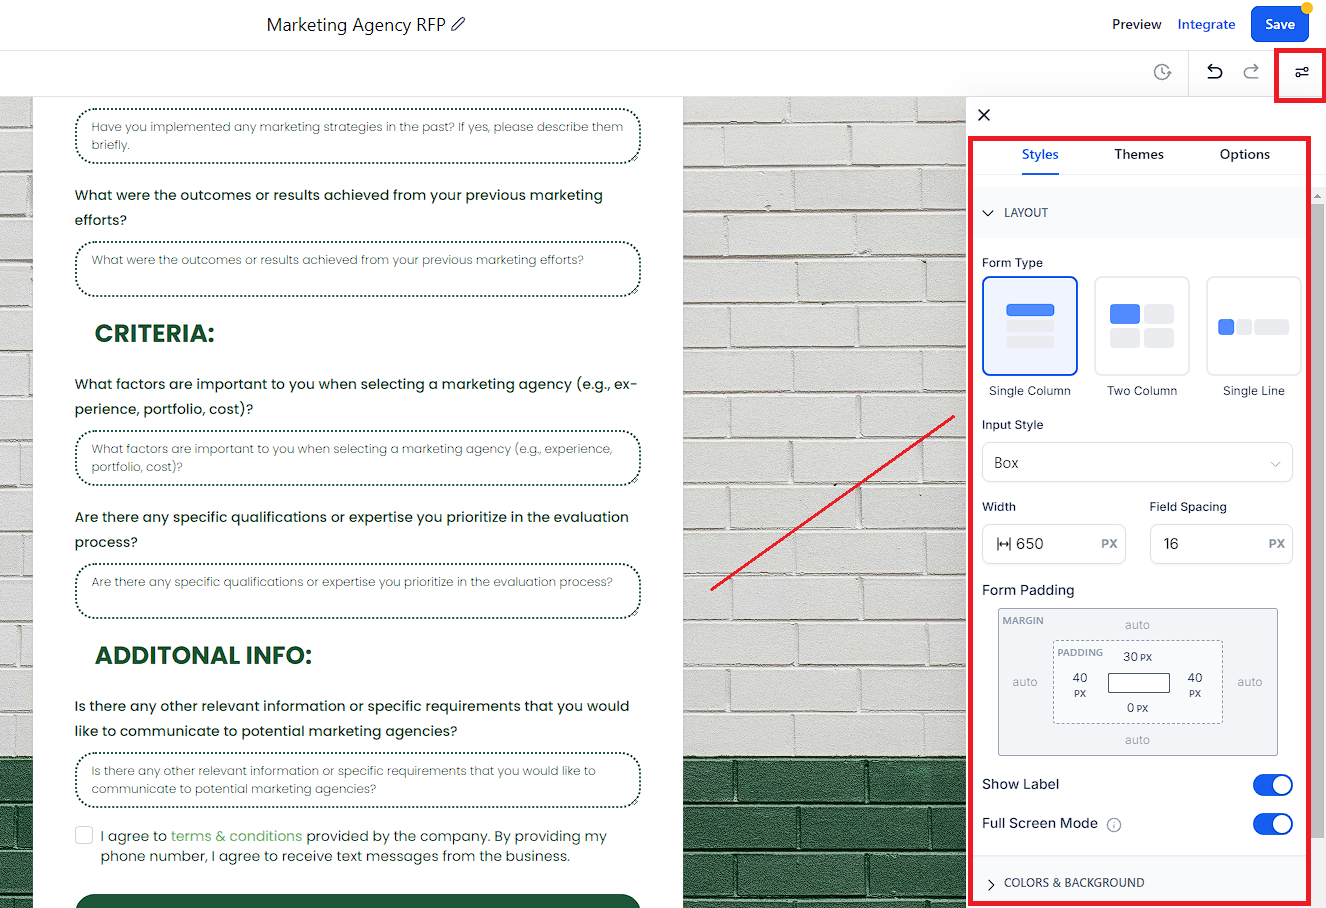
Choose themes and styling options to customize the look of your form.
Save your changes and preview the form to see the products in action.
Add up to 20 products to a form.
Choose from three different layout options.
Forms can be integrated into funnels and used as one-step order forms with unlimited customization.
Submission details will include payment amount, order ID, and payment status.
Click on the Order ID to view detailed order information.
Export submission details using the export options.
Email notifications will reflect the status and amount of the payment.
Workflow Triggers:
Use the payment received trigger with "Forms" as the source to automate workflows.
Recurring products are currently not supported.
NMI and Authorize.net require the First Name field when using the payment element in forms.
Refund amounts are not captured at this time.
The old API-based Stripe connect method is no longer supported.
The payment element will not display in calendars with custom form payment elements.
Multi-payment support with multi-native forms in a funnel is not yet available.
Undo/Redo functionality is not supported with the payment element.
By following these steps and leveraging the new features, you can create highly customized and functional forms that streamline the product selection and payment process for your users.
