
As part of our continuous effort to improve your experience, we're excited to announce the integration of two new payment gateways - NMI and Authorize.net - alongside our existing support for Stripe. In this guide, we will walk you through integrating these gateways, setting a default, and managing payments seamlessly.
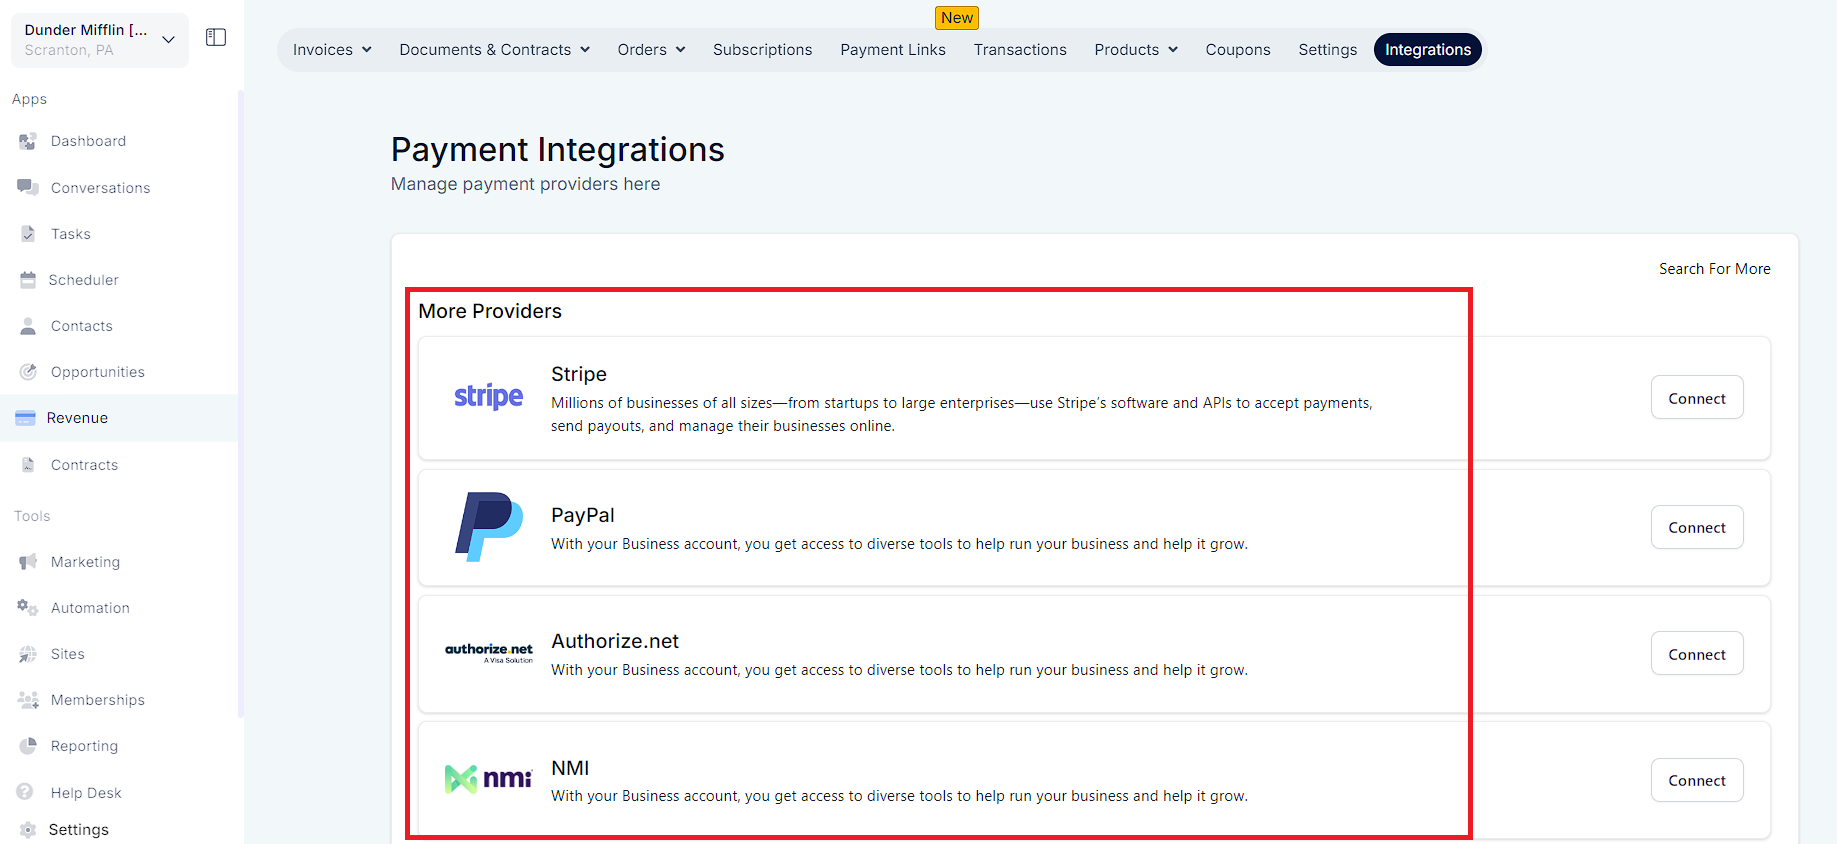
Step 1: Navigate to Integrations:
Head to the "Integration" tab within the Revenue Module.
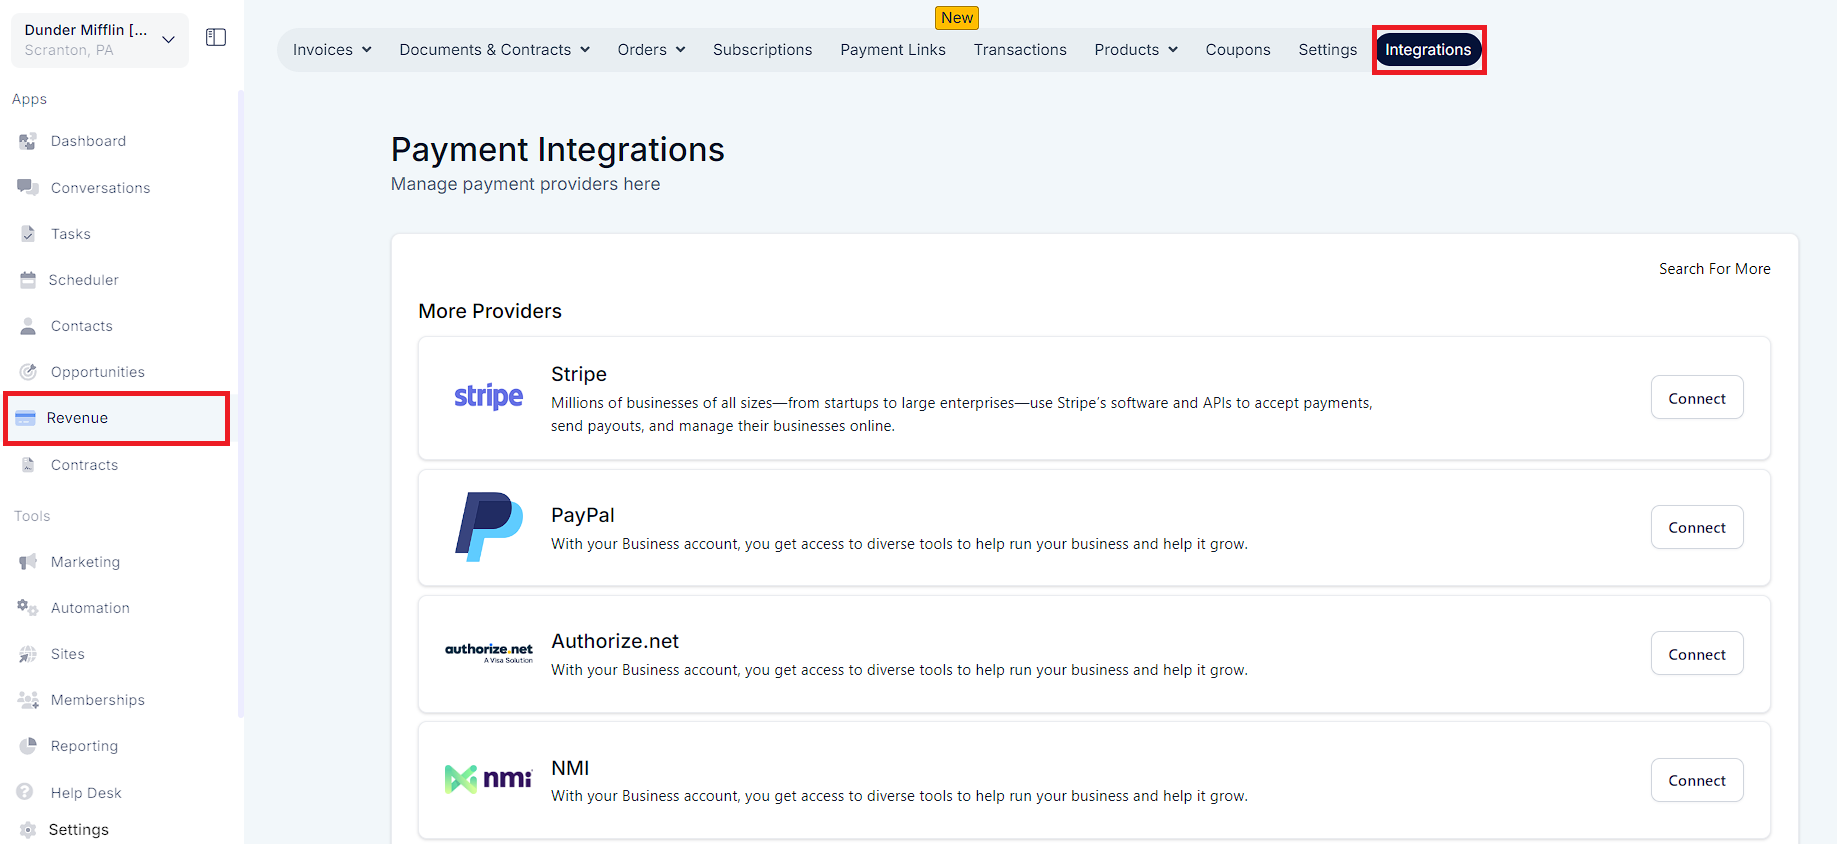
Step 2: Select Your Preferred Gateway
Choose and integrate your preferred payment gateway(s) from the available options – NMI, Authorize.net, or Stripe.
Step 3: Setting a Default Gateway
After integration, set your preferred gateway as default for streamlined operations.
Please Note:

Step 4: Setting Up Products and Funnels
After integration, proceed to create products in the Payments section.
Step 5: Utilizing Funnels/Websites for Affiliate Campaigns
After your campaign is live and your commissions start coming in , you can manage Payouts that are the applicable amount that the affiliate owner needs to distribute to their affiliates for every sale made.
Step 6: Managing Payouts
Approval and Export: After approval in the Pending tab, export affiliate names and owed amounts.
Payment Gateway Upload: Upload the export to your payment gateway (NMI/Authorize.net/Stripe).
Marking Payouts as 'Paid': Once payment is made, mark the affiliate payouts as 'Paid' in the system.