Navigate over to the Custom Fields on the top right.
Below you will see an Orange Box, click on it to add a custom field.
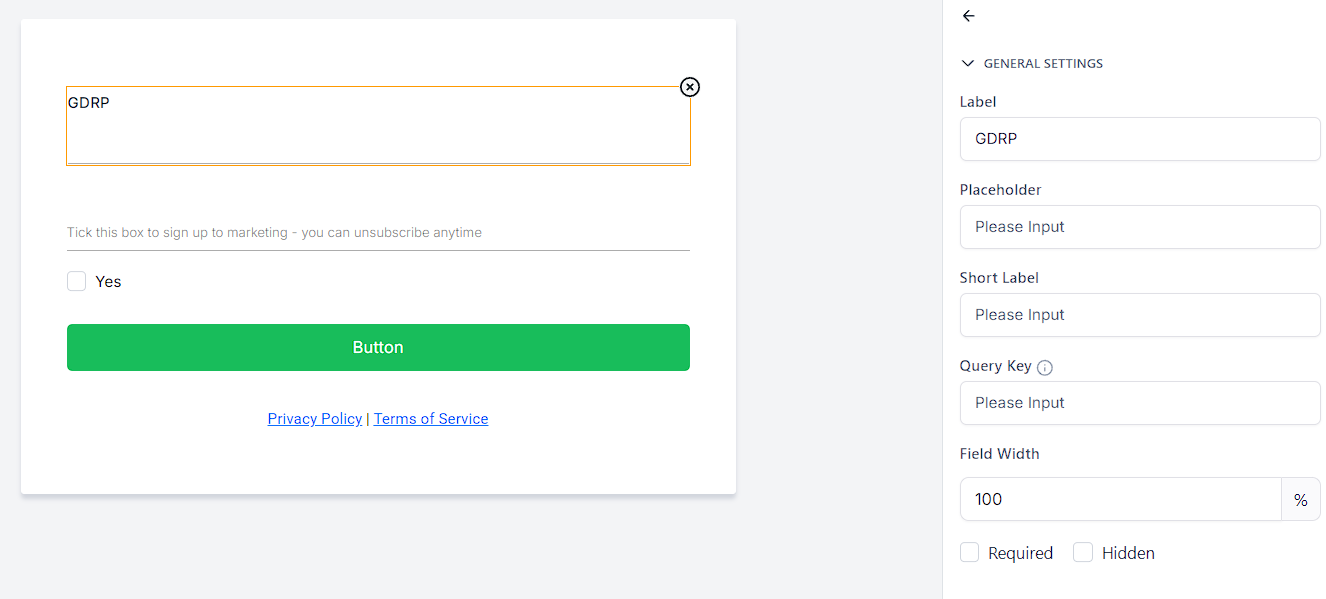
A menu will appear, Select “Checkbox”
Give the field a name, such as “GDPR Compliance Checkbox”
The placeholder field will be the content that will appear on the form.
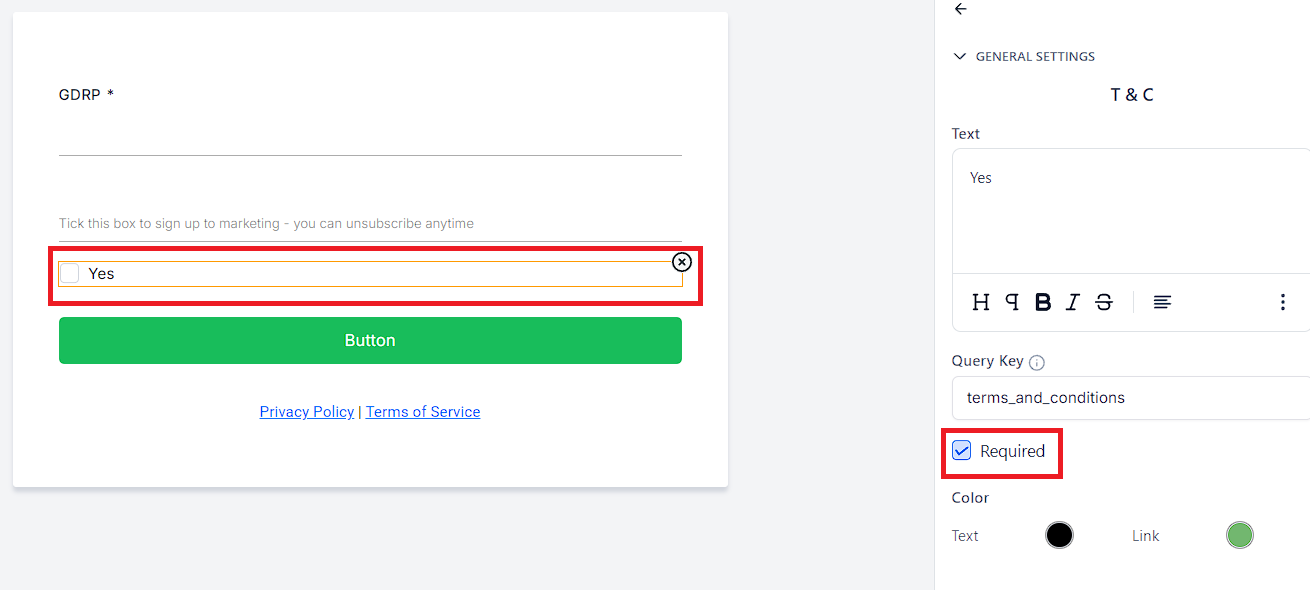
Hover your mouse over and click on the GDPR Checkbox field On The Form.
Once selected on the right-hand side a Required Box Will Appear.
By clicking on the box a checkmark will appear and this will state that the GDPR Checkbox field in the form is a required action in order for the form to be submitted.
Navigate to the workflow panel and select “Start From Scratch” and click create a new workflow on the top right.
Select the title at the top and name the workflow as desired.
Click on “Add New Workflow Trigger”
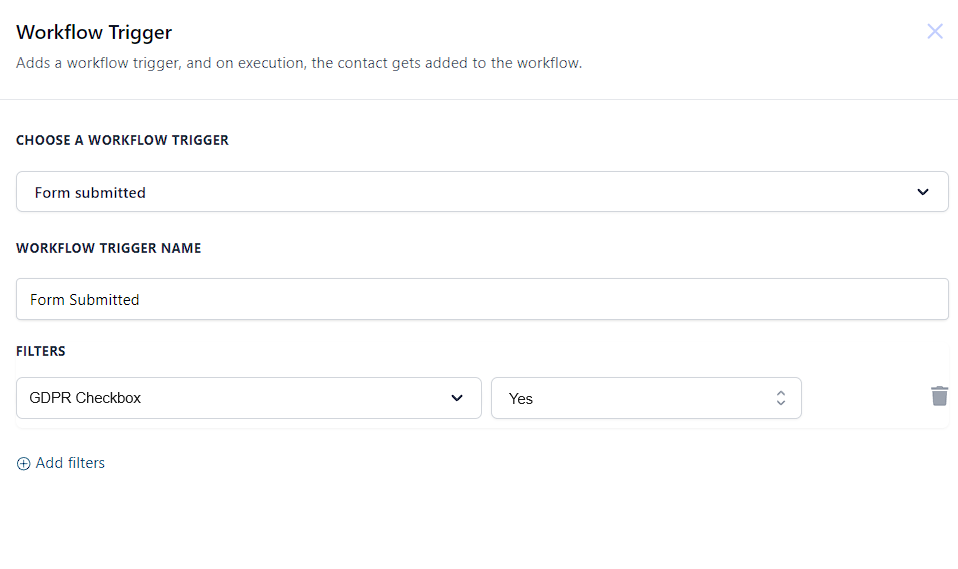
A menu will appear, the third column will say “Choose a Workflow Trigger” Select and scroll down till you see “Form Submitted”
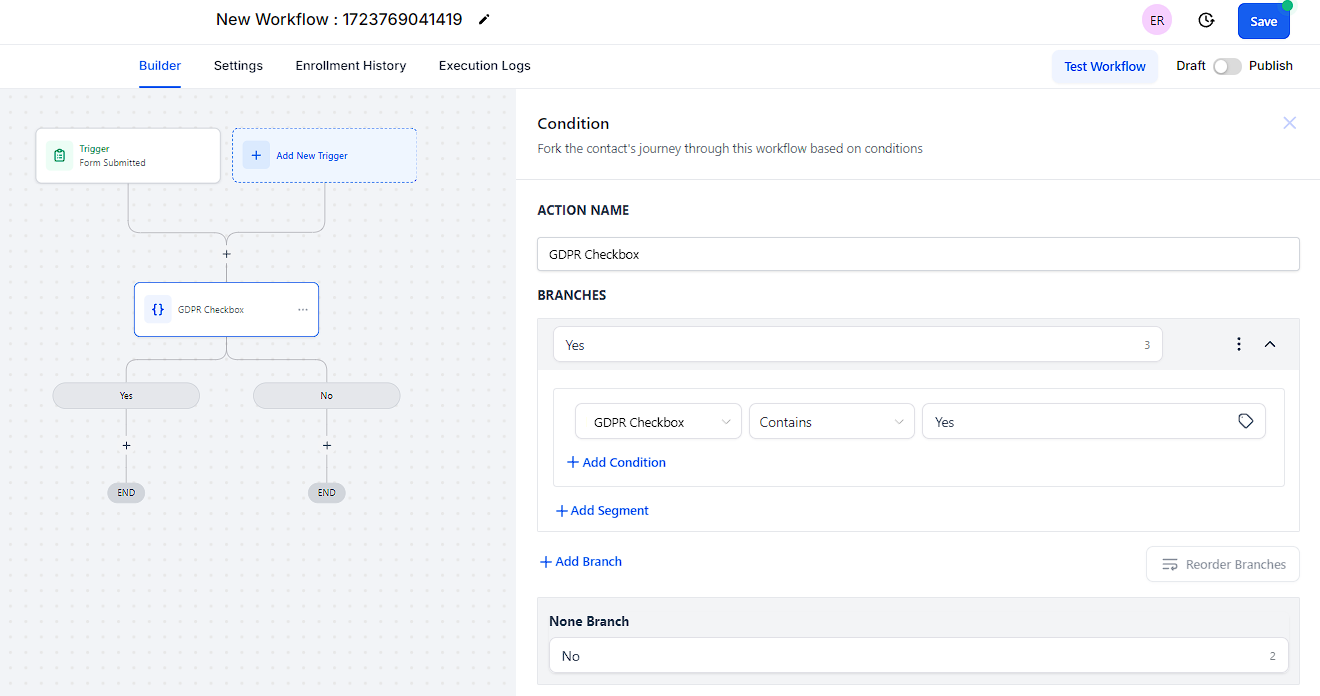
Select the custom field and apply the Yes condition
Click on the “+“ sign to open up the actions menu.
Scroll down to the Conditions and Workflow section and Select “If / Else”
Inside Segments on the left in “Select” click on Contact Details and scroll down to Custom fields where you will see your GDPR checkbox custom field.
Next over in “Select Operator“, click on includes and another field will open and select yes.
Hit “Save“ on the bottom right.
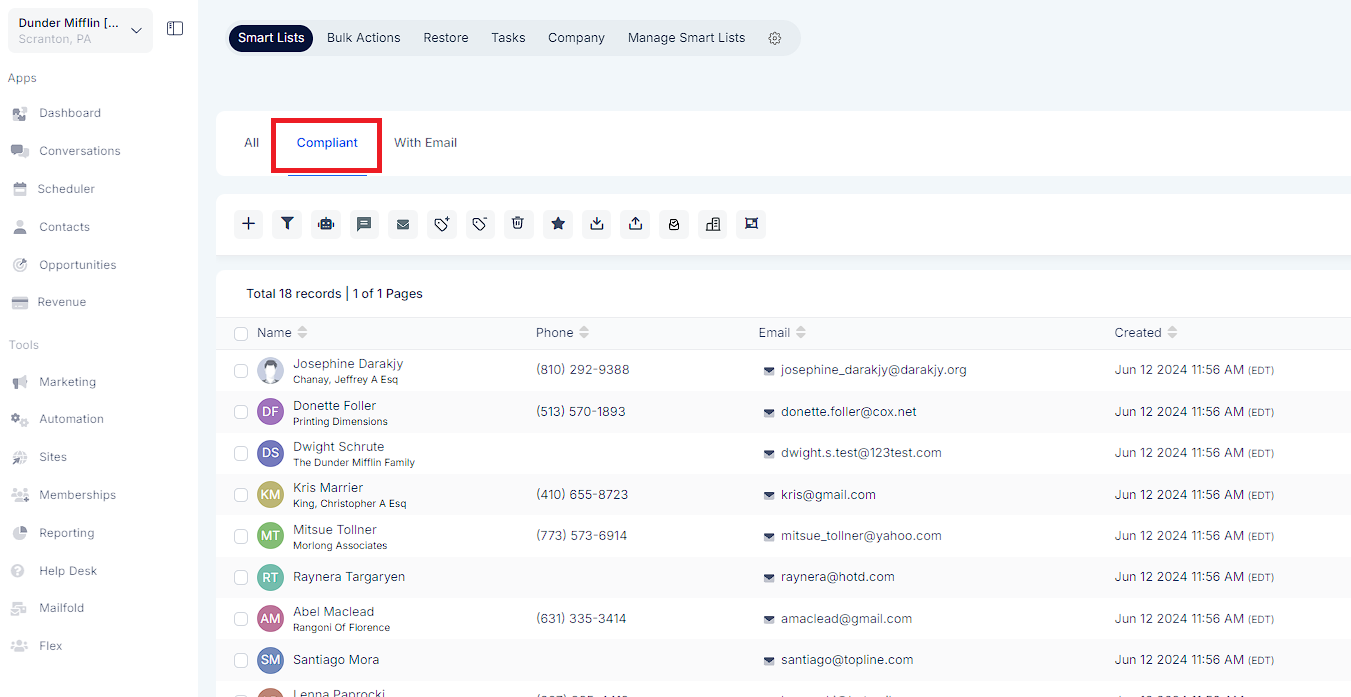
Hop over to Contacts / Smartlists
On the right-hand side, you will see Filters.
Once selected, a “Add Filter” type box will appear, type in tag and in the select tag menu click on compliant.
To Save this smart list hit the “+” button above on the right to save so you can quickly view all contacts who are compliant.
You can repeat the same process to create the smart list with contacts that Do Not Comply.