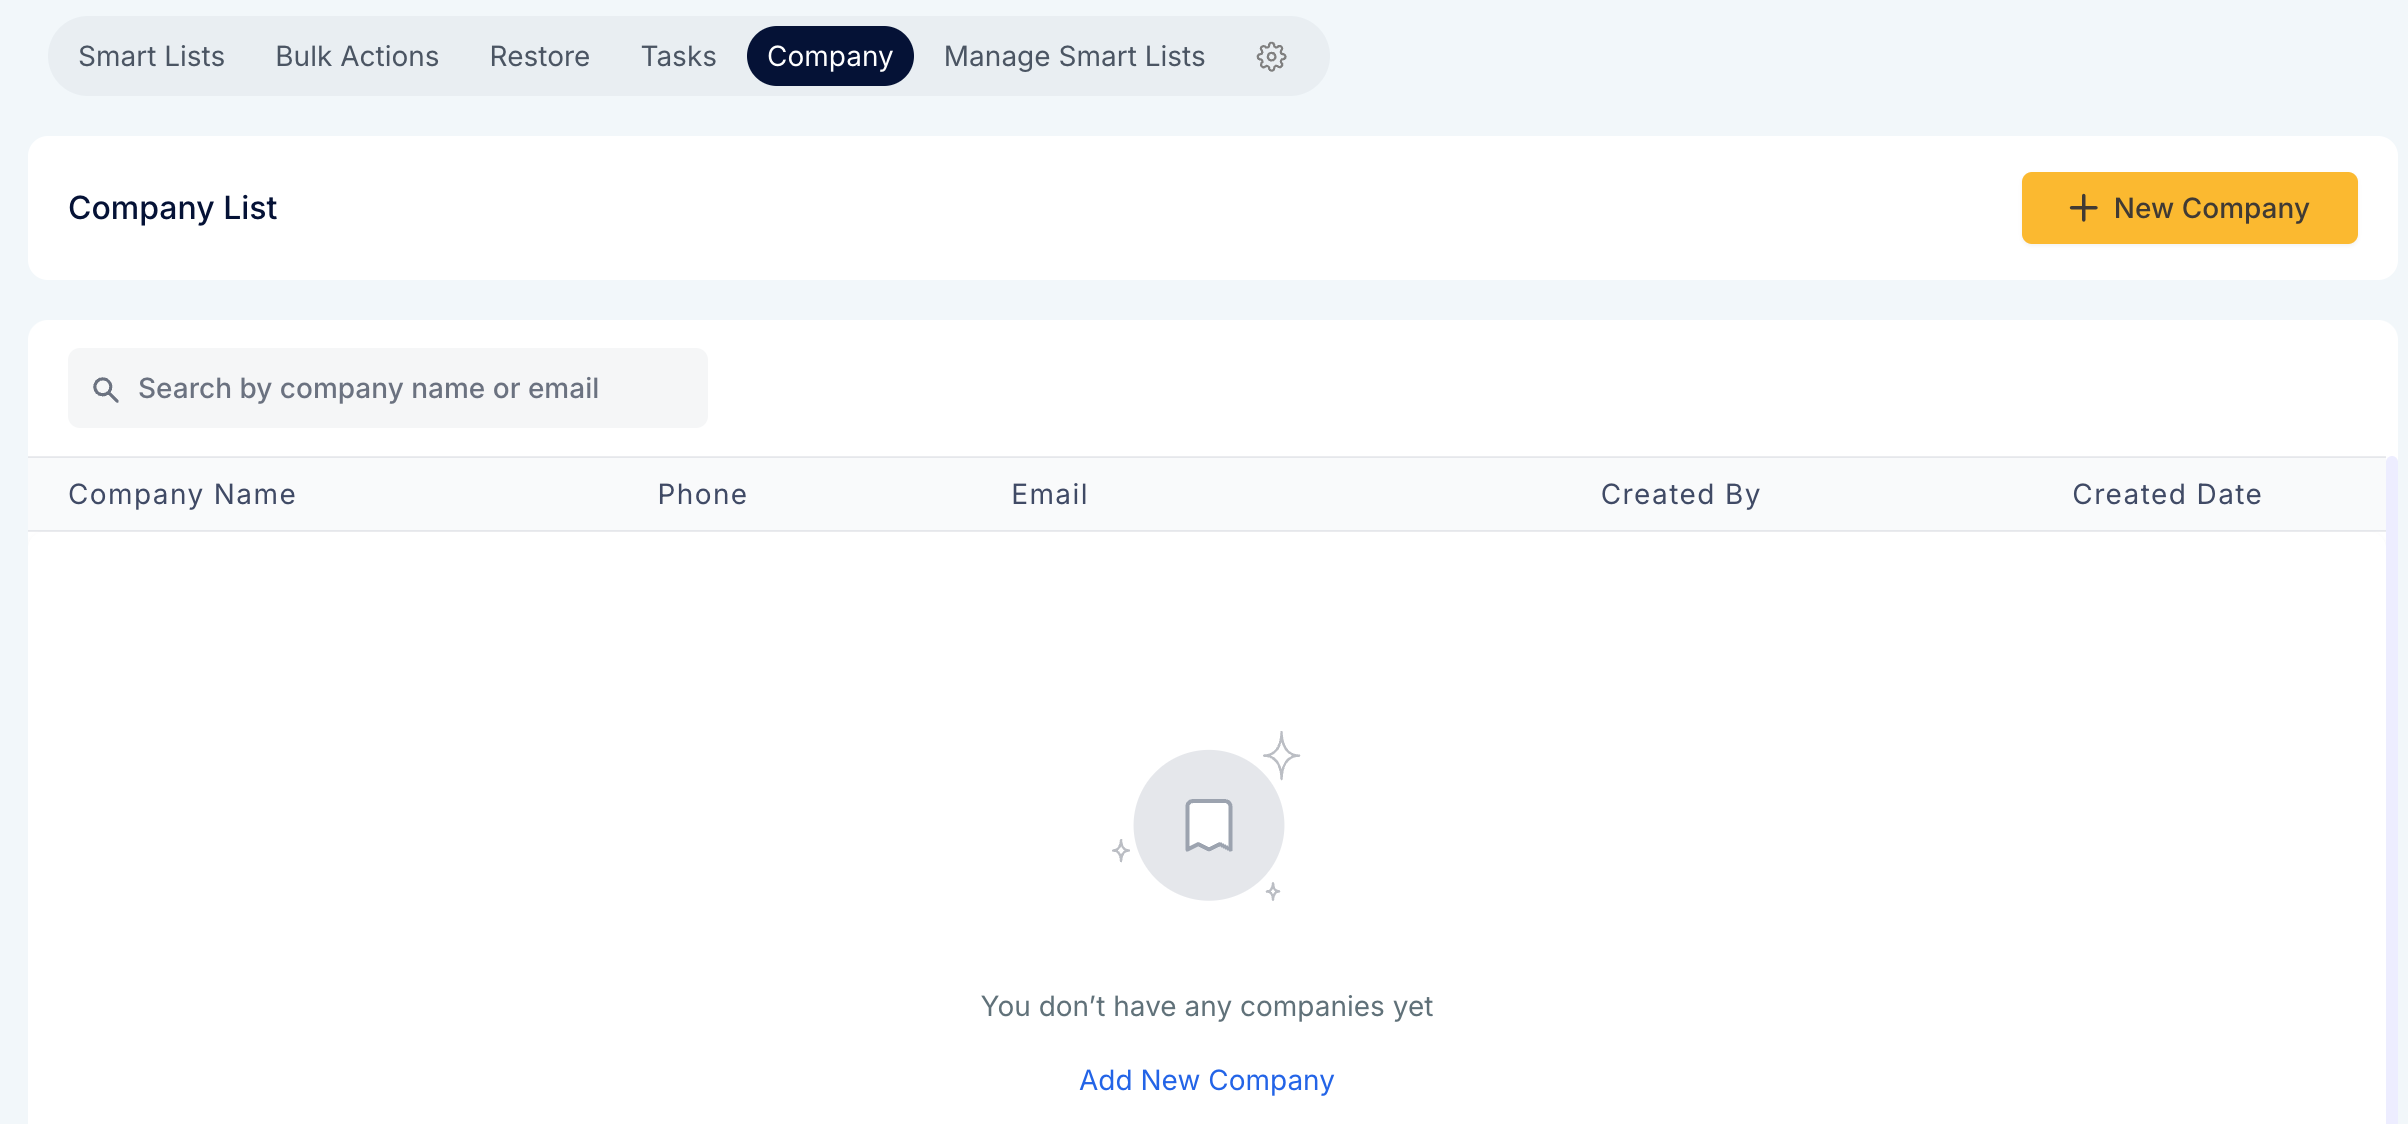
To Add a new company click “+ New Company”
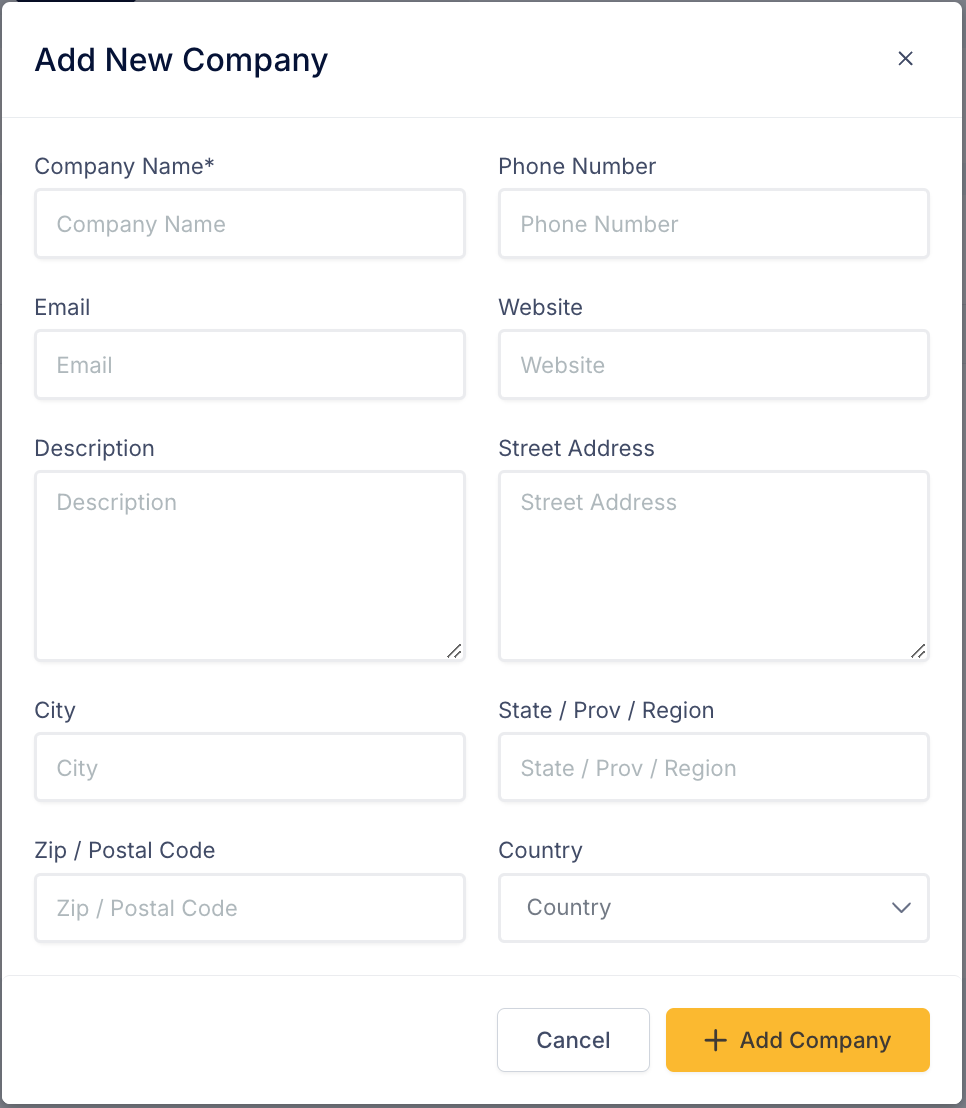
Fill out all of the relevant fields and click “Add New Company”
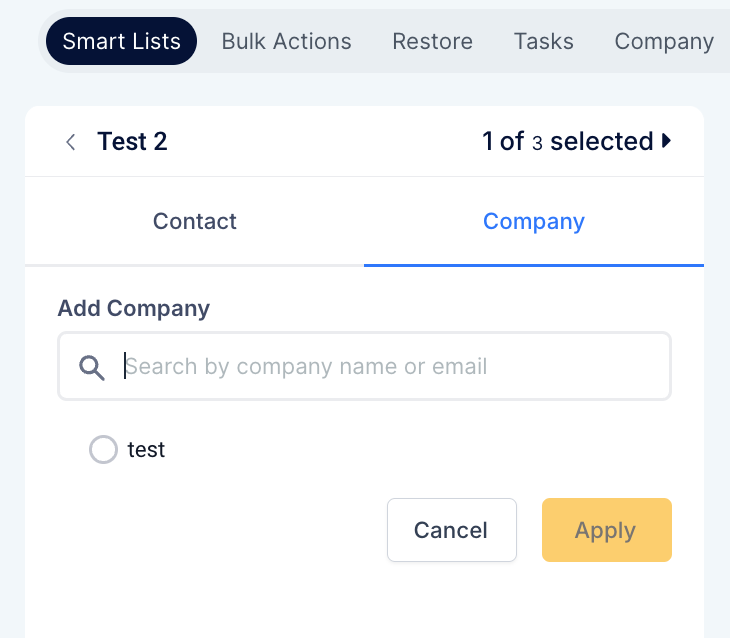
Navigate to their Contact Card
On the Company Tab Select the Corresponding Company
Click ‘Apply’
View all tasks of contacts associated with a company under the company details page.
Navigate to "Contacts" > "Company" > Select Company Name.

Click "+Add Task"
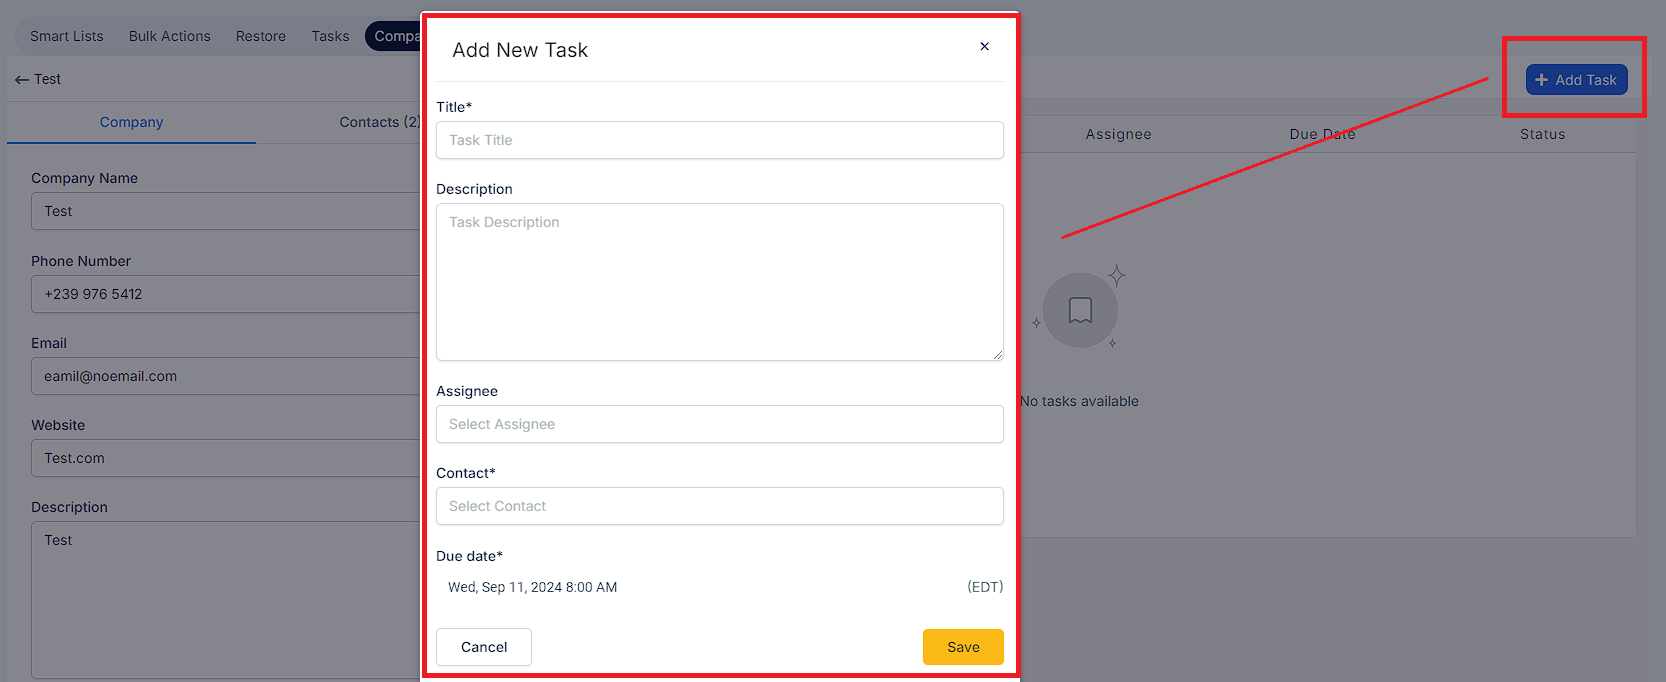
Here you are able to perform a few actions. You have the ability to sort tasks at column level for due date & status, to change the status of a task seamlessly and to Edit & delete tasks.
This is the very first step in helping users track activities at a company level, starting with tasks.
NOTE: You have the ability to map/associate multiple contacts with a company in one go from the company details page. Users can visit the company details page, go to the contacts tab & select add contacts option. Then they can select multiple contacts from the dropdown & map them with the company. On applying to all the contacts, they will get mapped with the company.
You can go to "Settings" > "Companies", and select the below setting.

If you’d like, you can retroactively do this as well from the pop-up after enabling.

