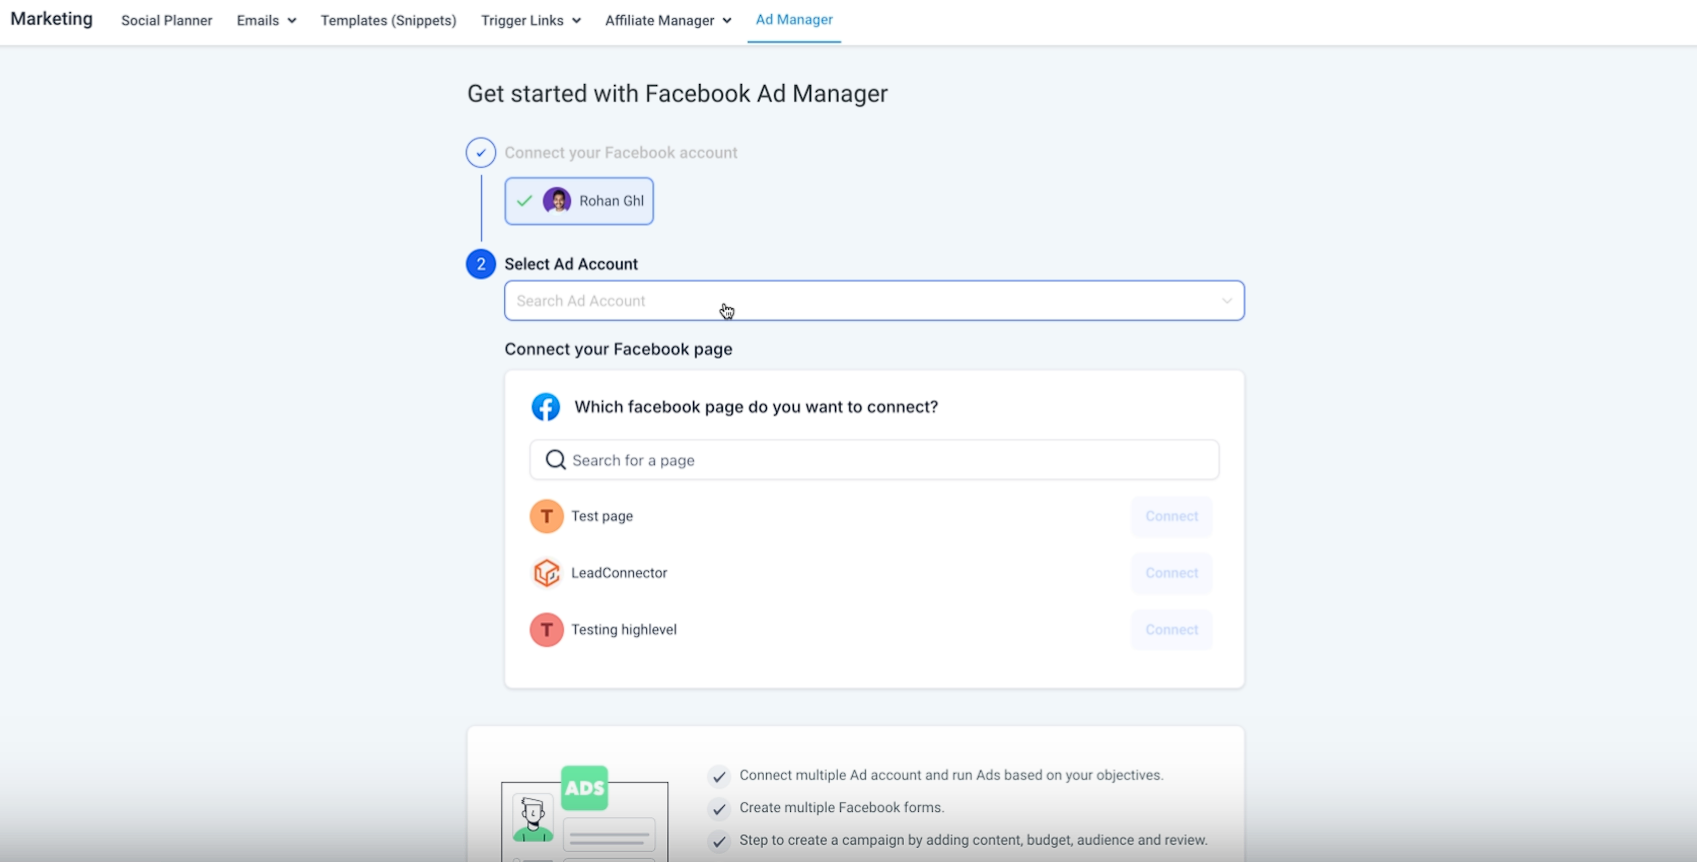
You can generate new leads with simple ad creation and seamless syncing of leads or increase traffic on your website with an Ad Manager that supports Facebook Ads. For Ad Manager, there are three steps to set up.

Default Ad Manager creates a child Business manager with a Facebook page to manage ad campaign buying, conversion pixel data, audience and other assets.
With the Connect-Your-Own Meta Business Manager model, users are asked to connect an existing Ad Account and the associated Business Manager will be connected to Ad Manager for the purpose of using and publishing ads through the Business Manager.
The Ad Manager allows to resell to accounts and generate 0-15% commissions.
It consists of three steps:
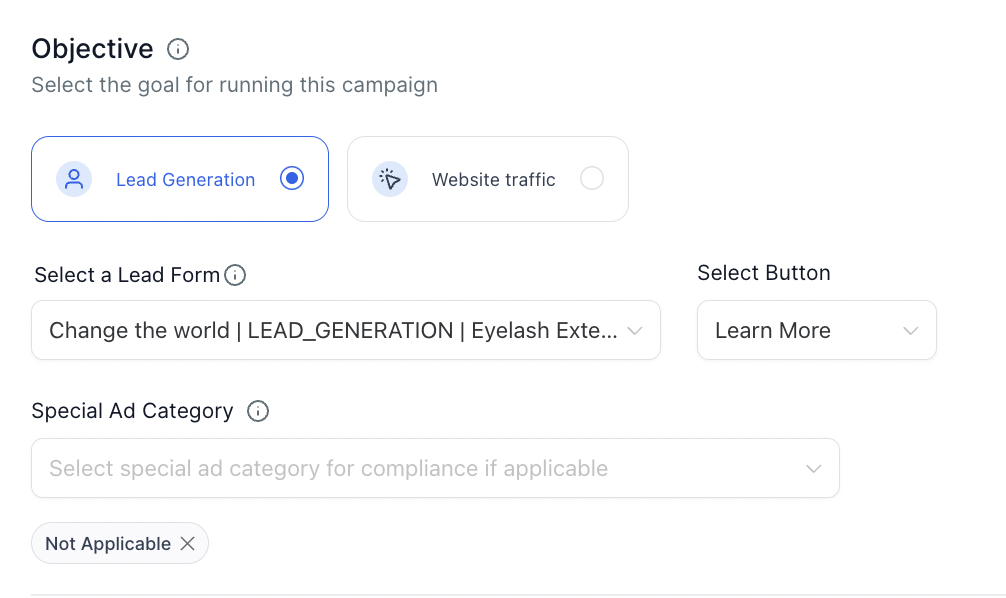
1. Determine the objective, the placement, and the content
Objective - The first step to building a Facebook Ads campaign is to choose a goal that's most relevant to your business/brand building. Depending on the goal you choose, Lead Generation or Website Traffic. The goal objective with Lead Generation is achieved using Facebook form integration. The user can create their own forms or utilize the other forms. The other objective of Website Traffic is to drive visitors to the landing page URL.
Note - if you are running an ad campaign for employment, housing, credit, politics, or online gaming and gambling.
Placement - The places to run your ads are called placements. Automatic placements enable us to get the most efficient results available across all default placements based on the budget allocated. They also help control costs. Using manual placements allows users to choose where they would like their ads to appear for brand safety and optimization purposes.

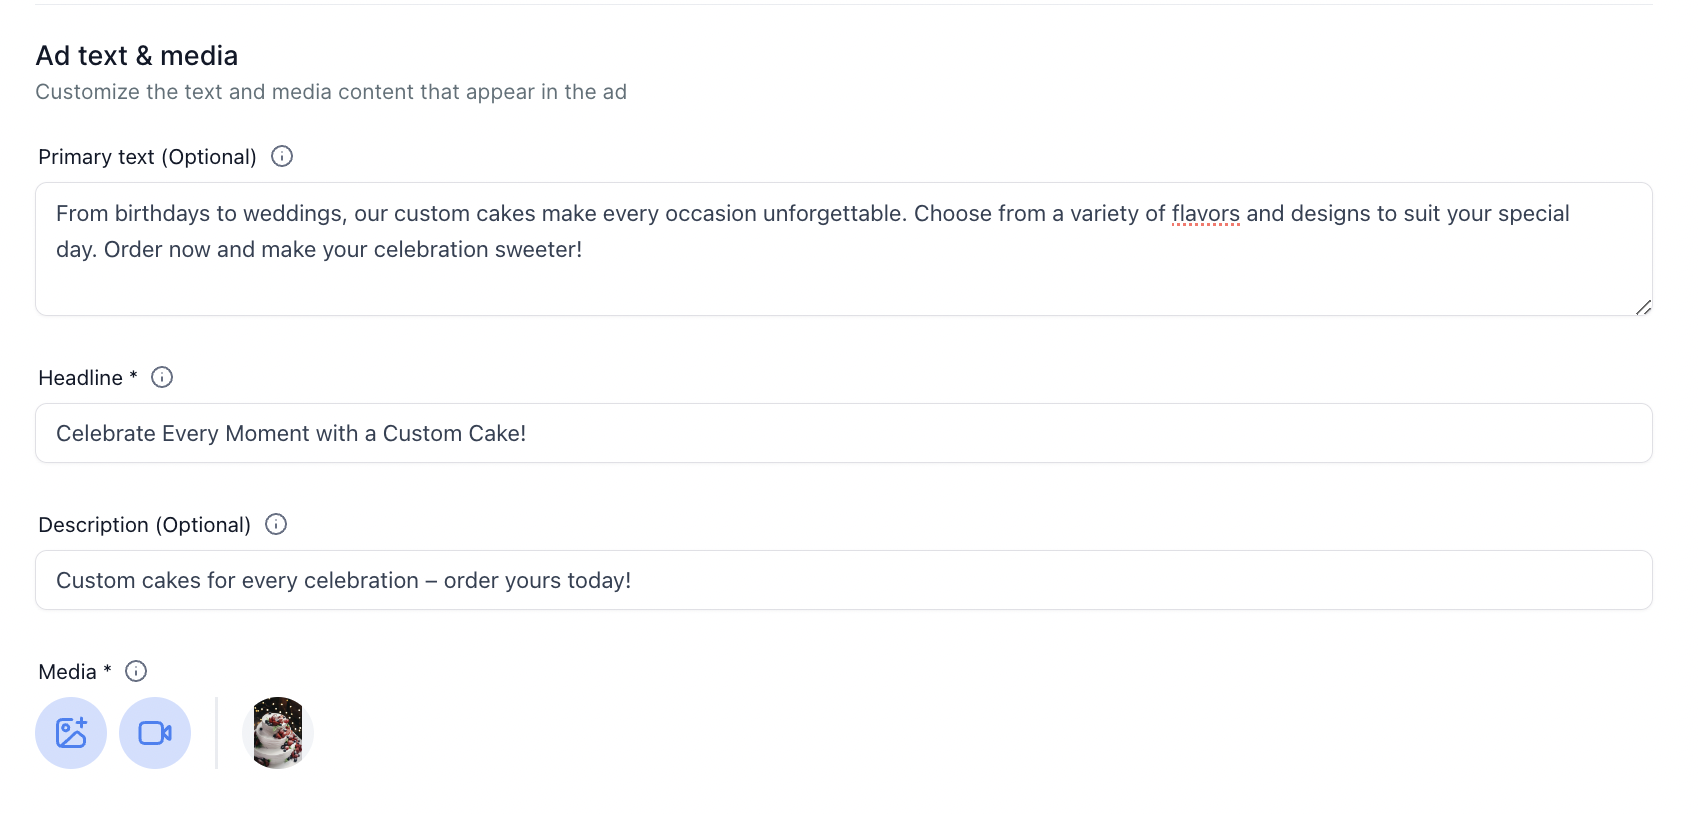
Content - It allows the user to add Primary text (recommended 125 characters), Headline (recommended 40 characters), Description (at least 25 characters) and rich media of Image(s)/Video(s) (Image size is 30MB and video size is 1GB).
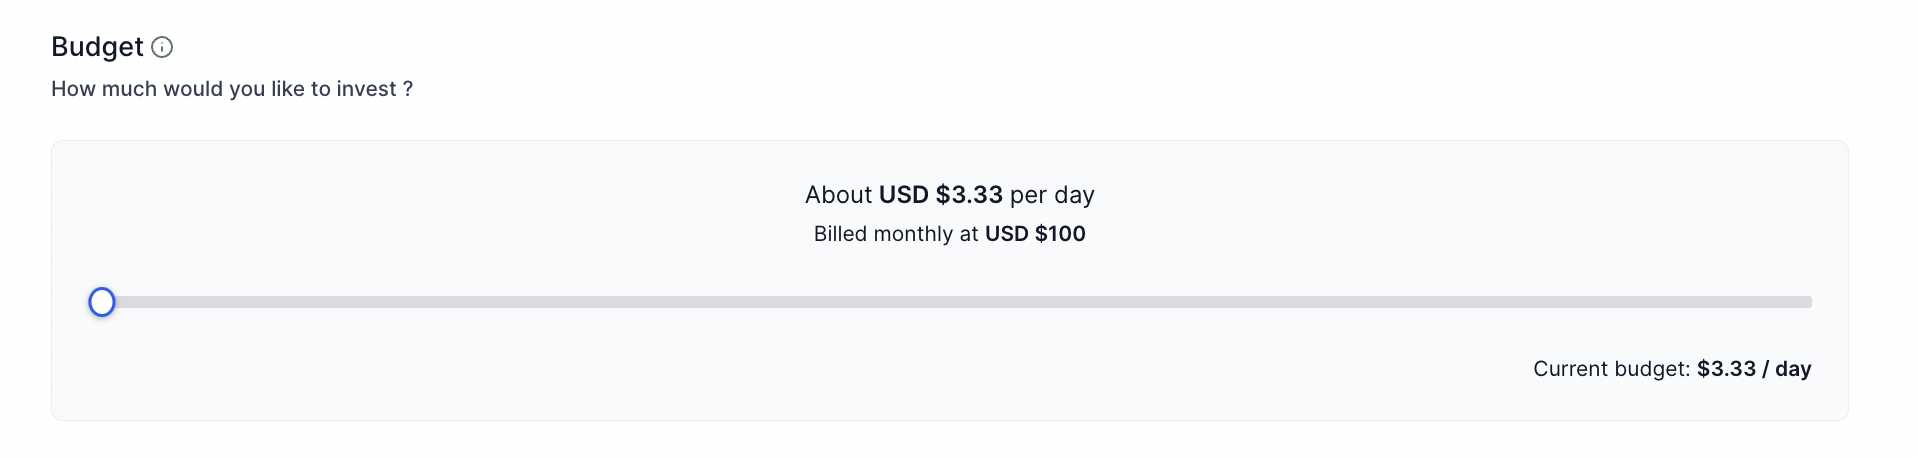
2. Budget, Geography and Optional Settings
Monthly Budget - The campaign manager can setup a monthly budget for the campaign. This will work as a subscription. The budget will show each day's division along with the average views. The monthly budget can be increased or decreased by renewing the subscription.
For the first month, there is a limit of 3500$ per account. Each month, it will gradually increase.
Geography - Campaign can be adjusted to run for specific location or can exclude a specific location in certain country/state.

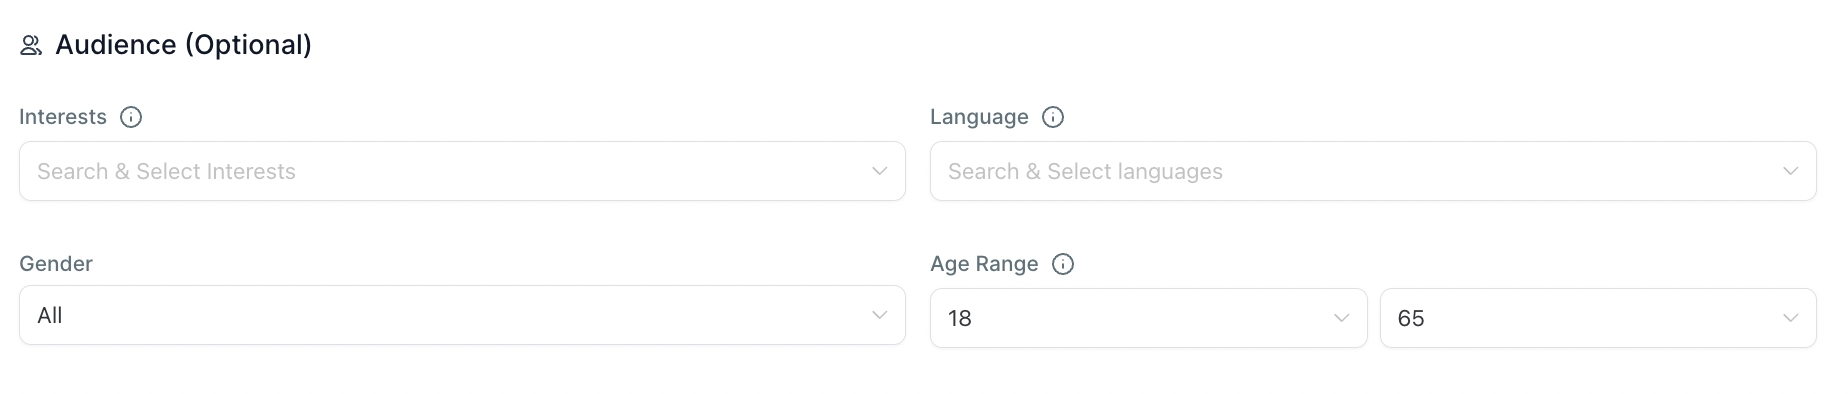
Adding more specific settings for Interest, Gender, Language, and Age group is available.
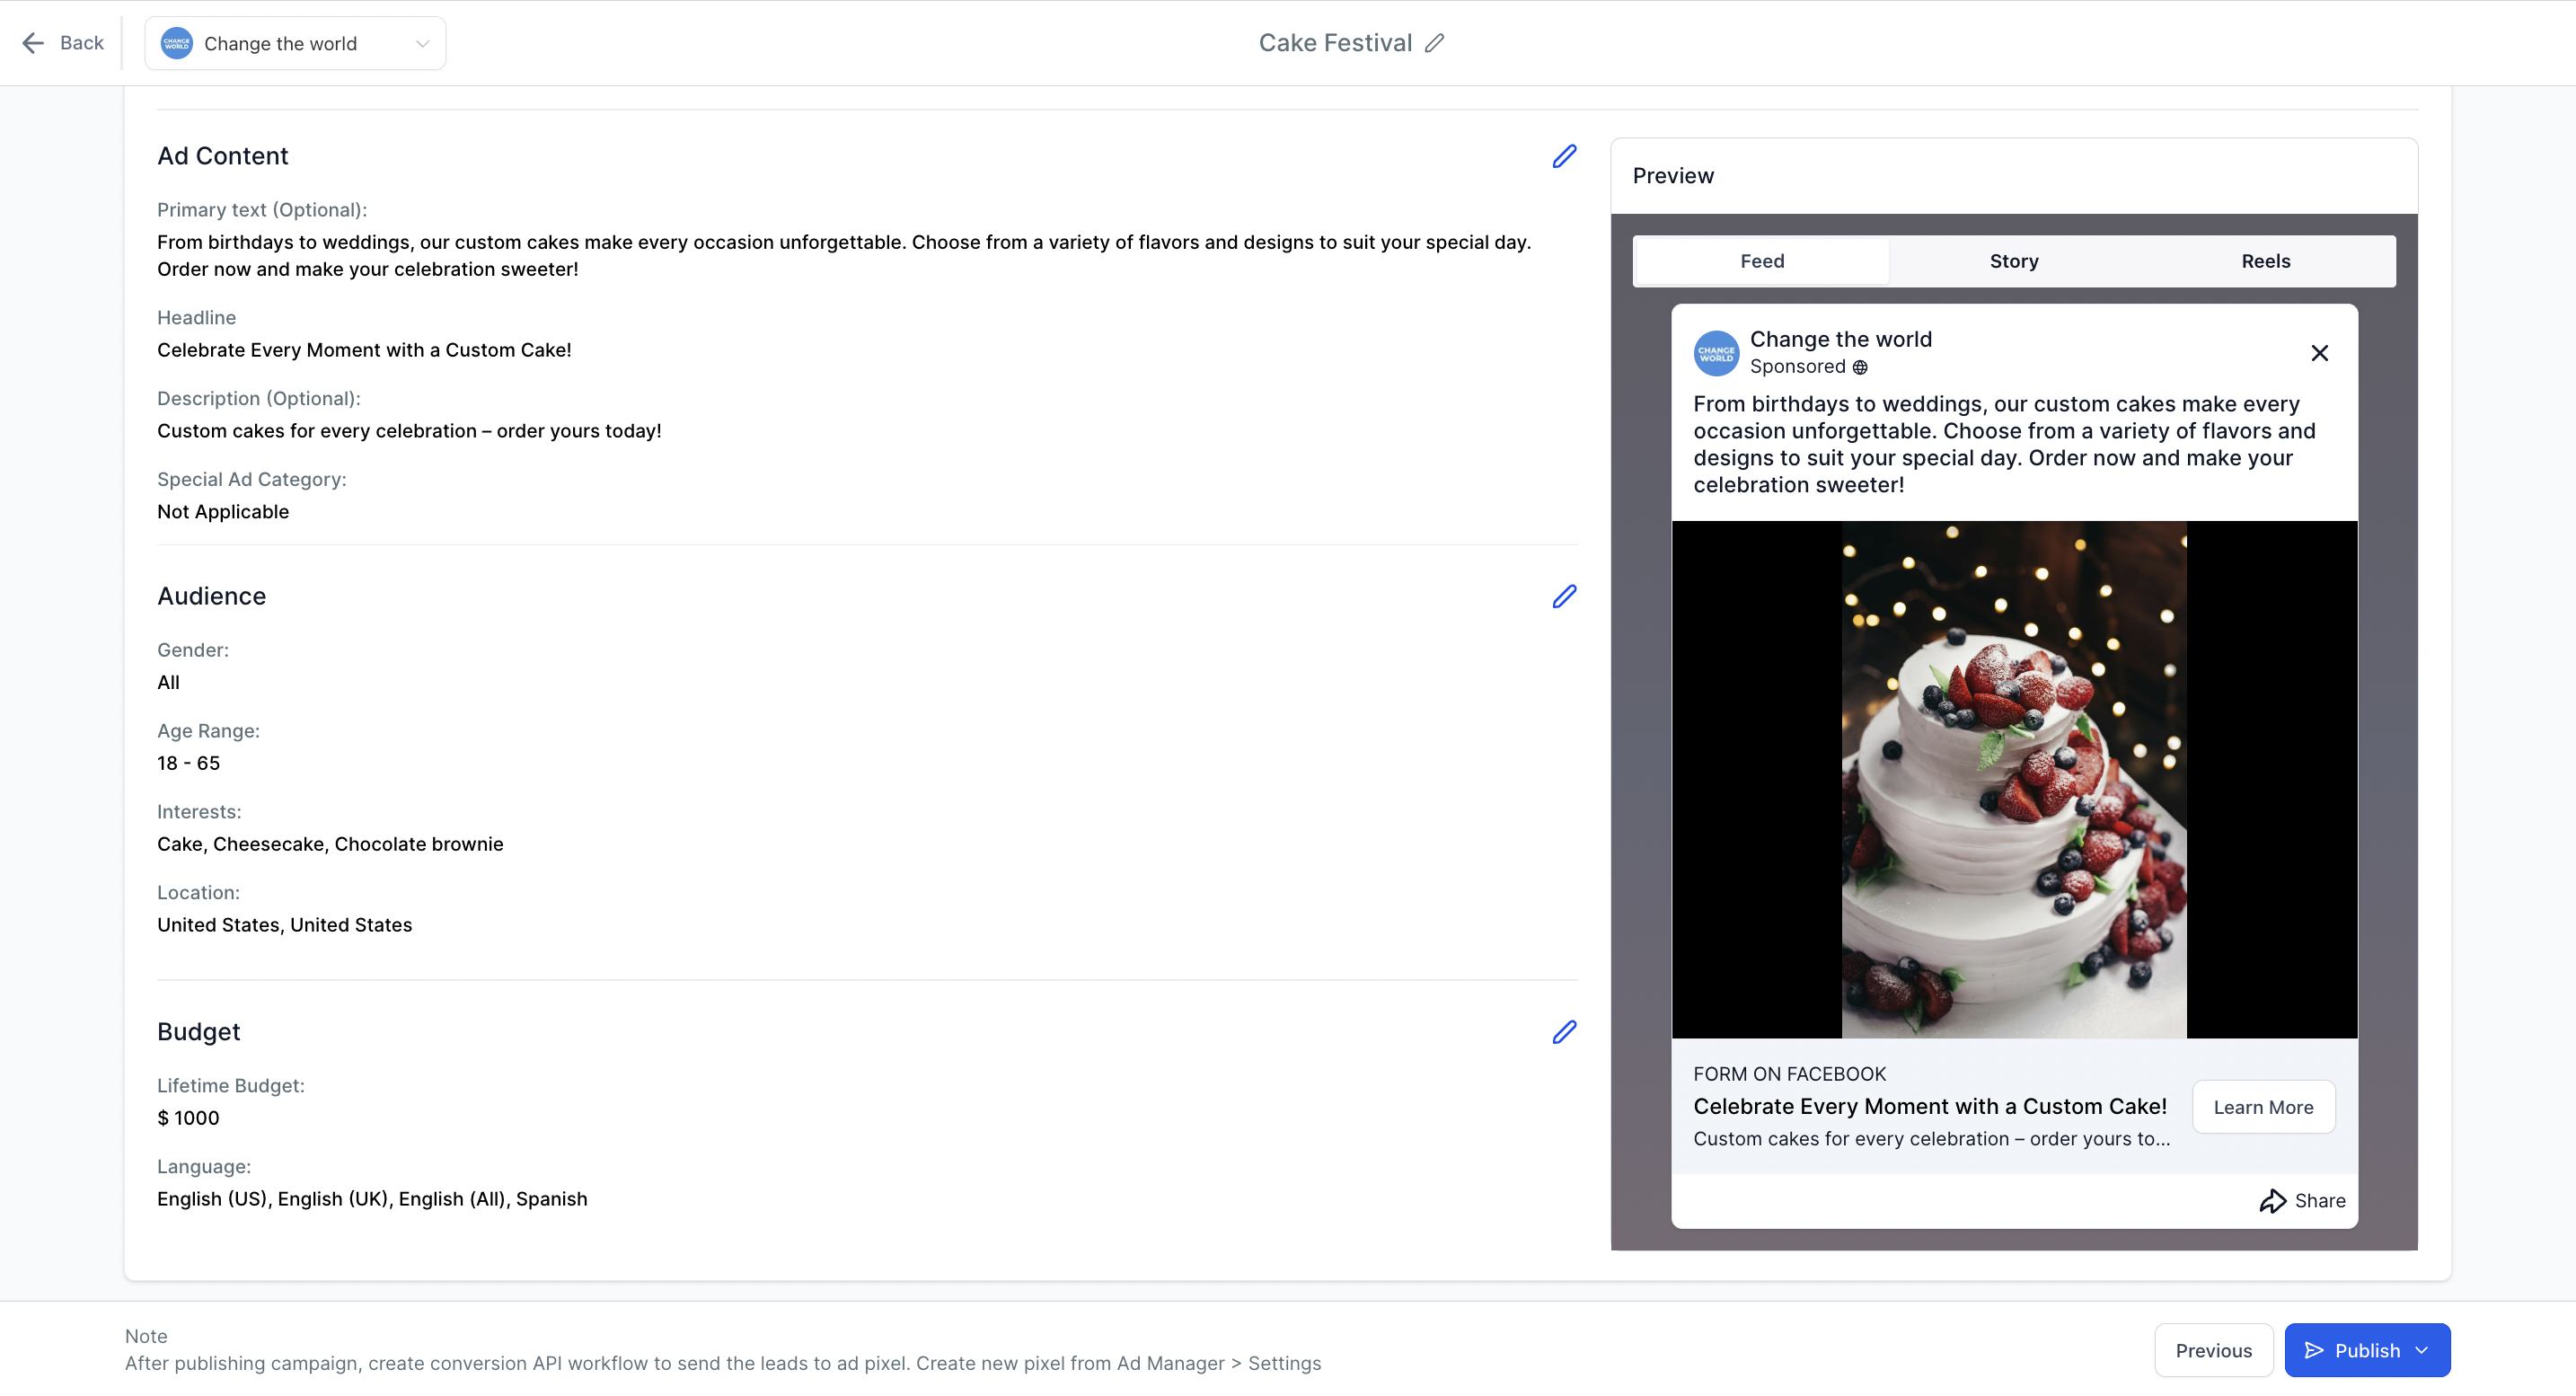
3. Review the Details of the Ad campaign
In the review stage, you can verify aesthetics, media, content, budget, and other details before launching the campaign.
Once the 3 steps have been completed, clicking the publish option will ask for the card details and subscription information.
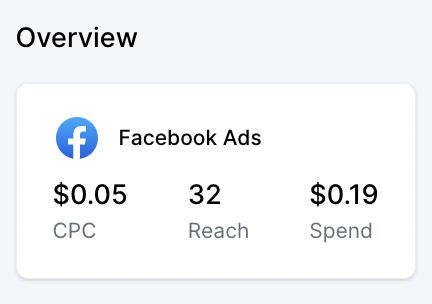
In a Facebook Ad Campaign, CPC (Cost per Click), Impressions, and Ad Spend are the basic metrics. Our future release will provide a customized dashboard for Ad Manager reporting.
Using Ad Manager, you can optimize your ads for better results and conversions. Ad Manager provides the option to create a new conversion pixel from "Ad Manager" > "Settings" > "Conversions". Once the conversion option with funnel or lead event is generated.
Next, the workflow automation needs to be set up to optimize ad campaign conversions. This will help you to send from the server side for form/survey submissions, chat widget submissions, number pool submissions, or any other activity you would like to record. For data to be sent successfully for Facebook conversion, the fbclid parameter must be included in the URL.
