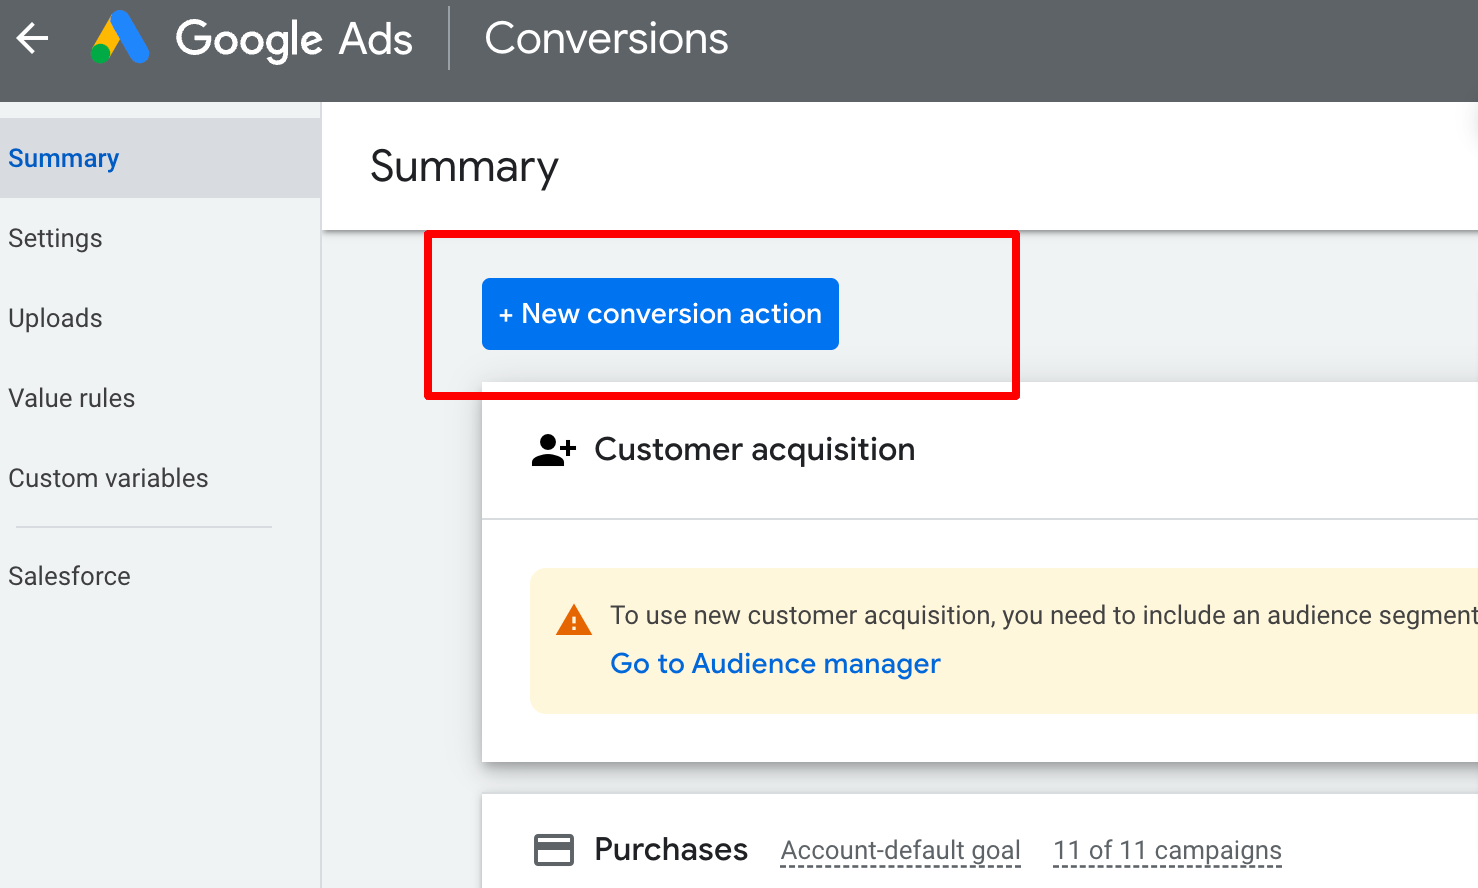
In Tools and Settings, click "Conversions". Select "+ New Conversion Action"
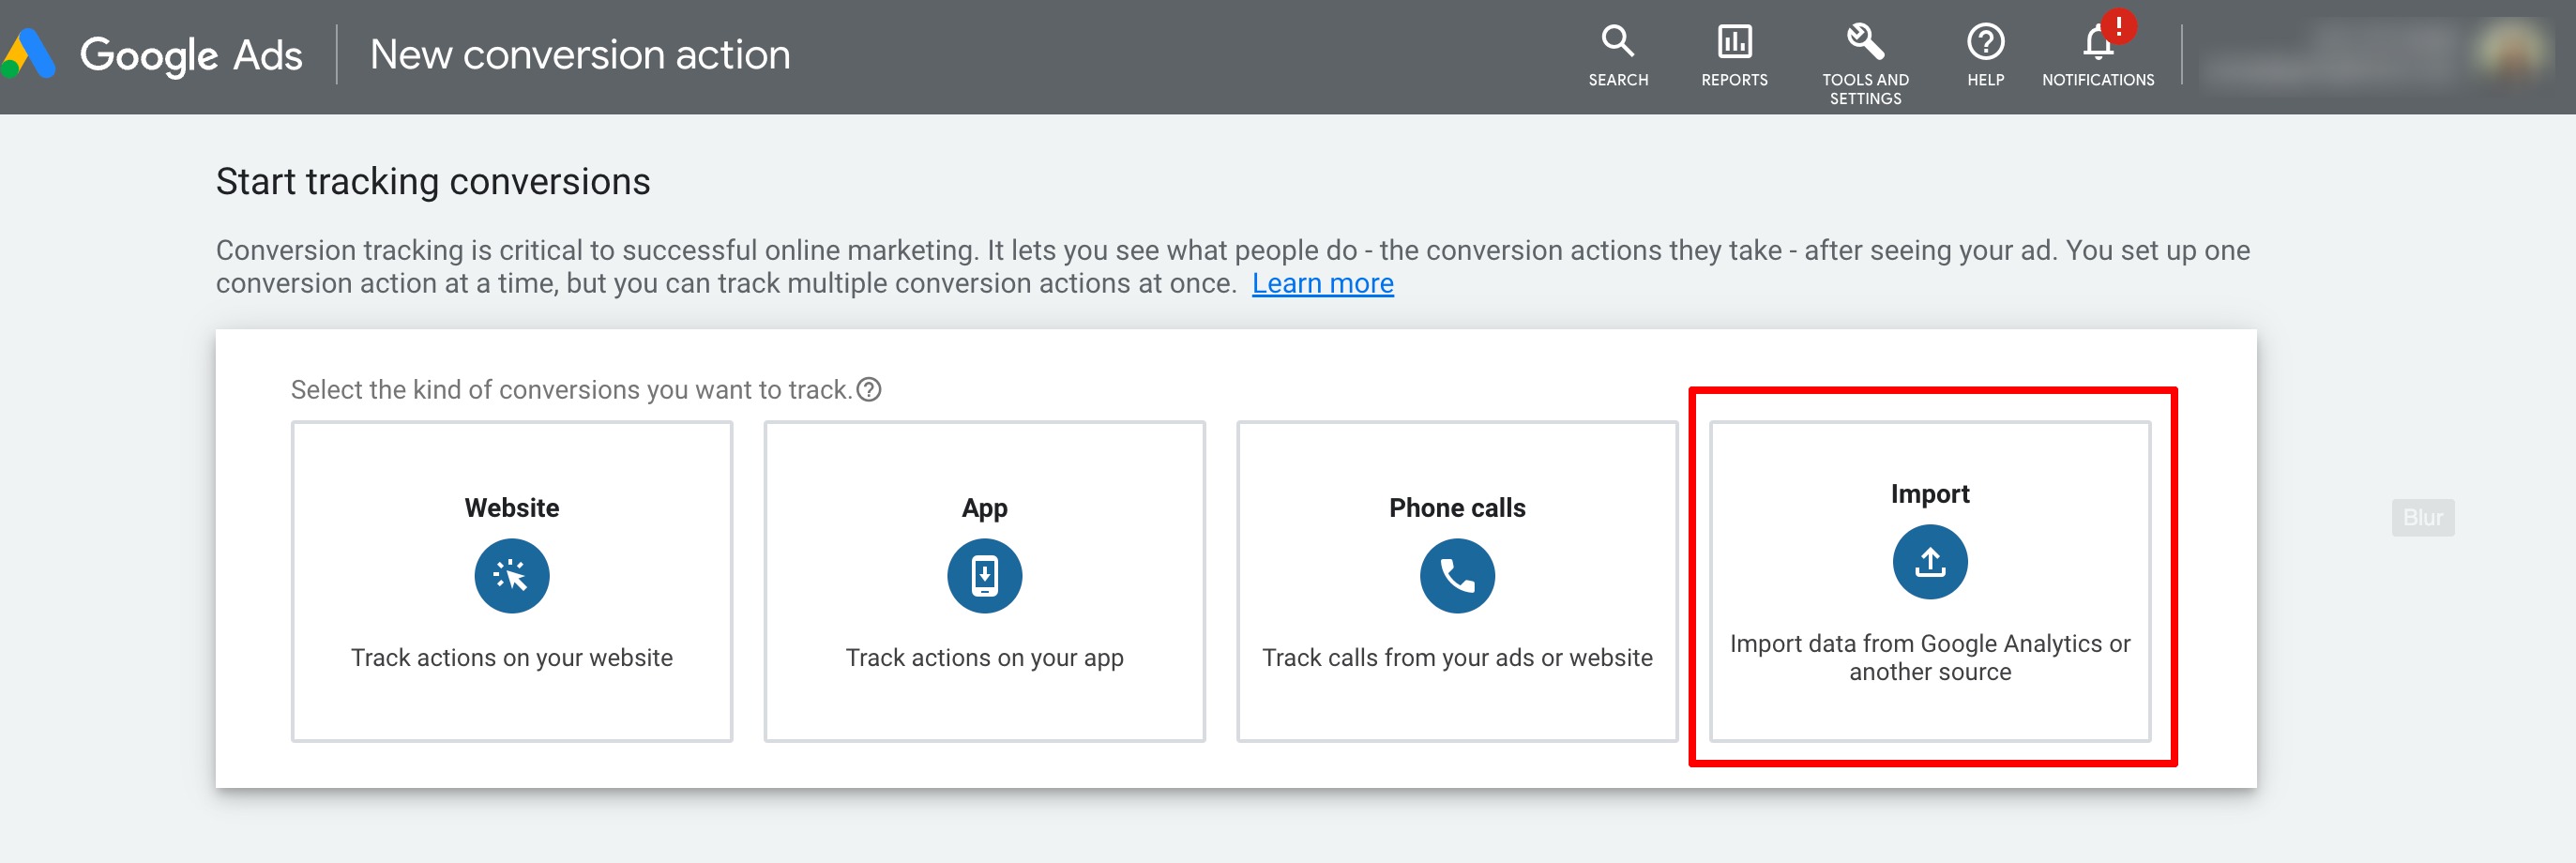
To start tracking conversions, we need to choose the import option.
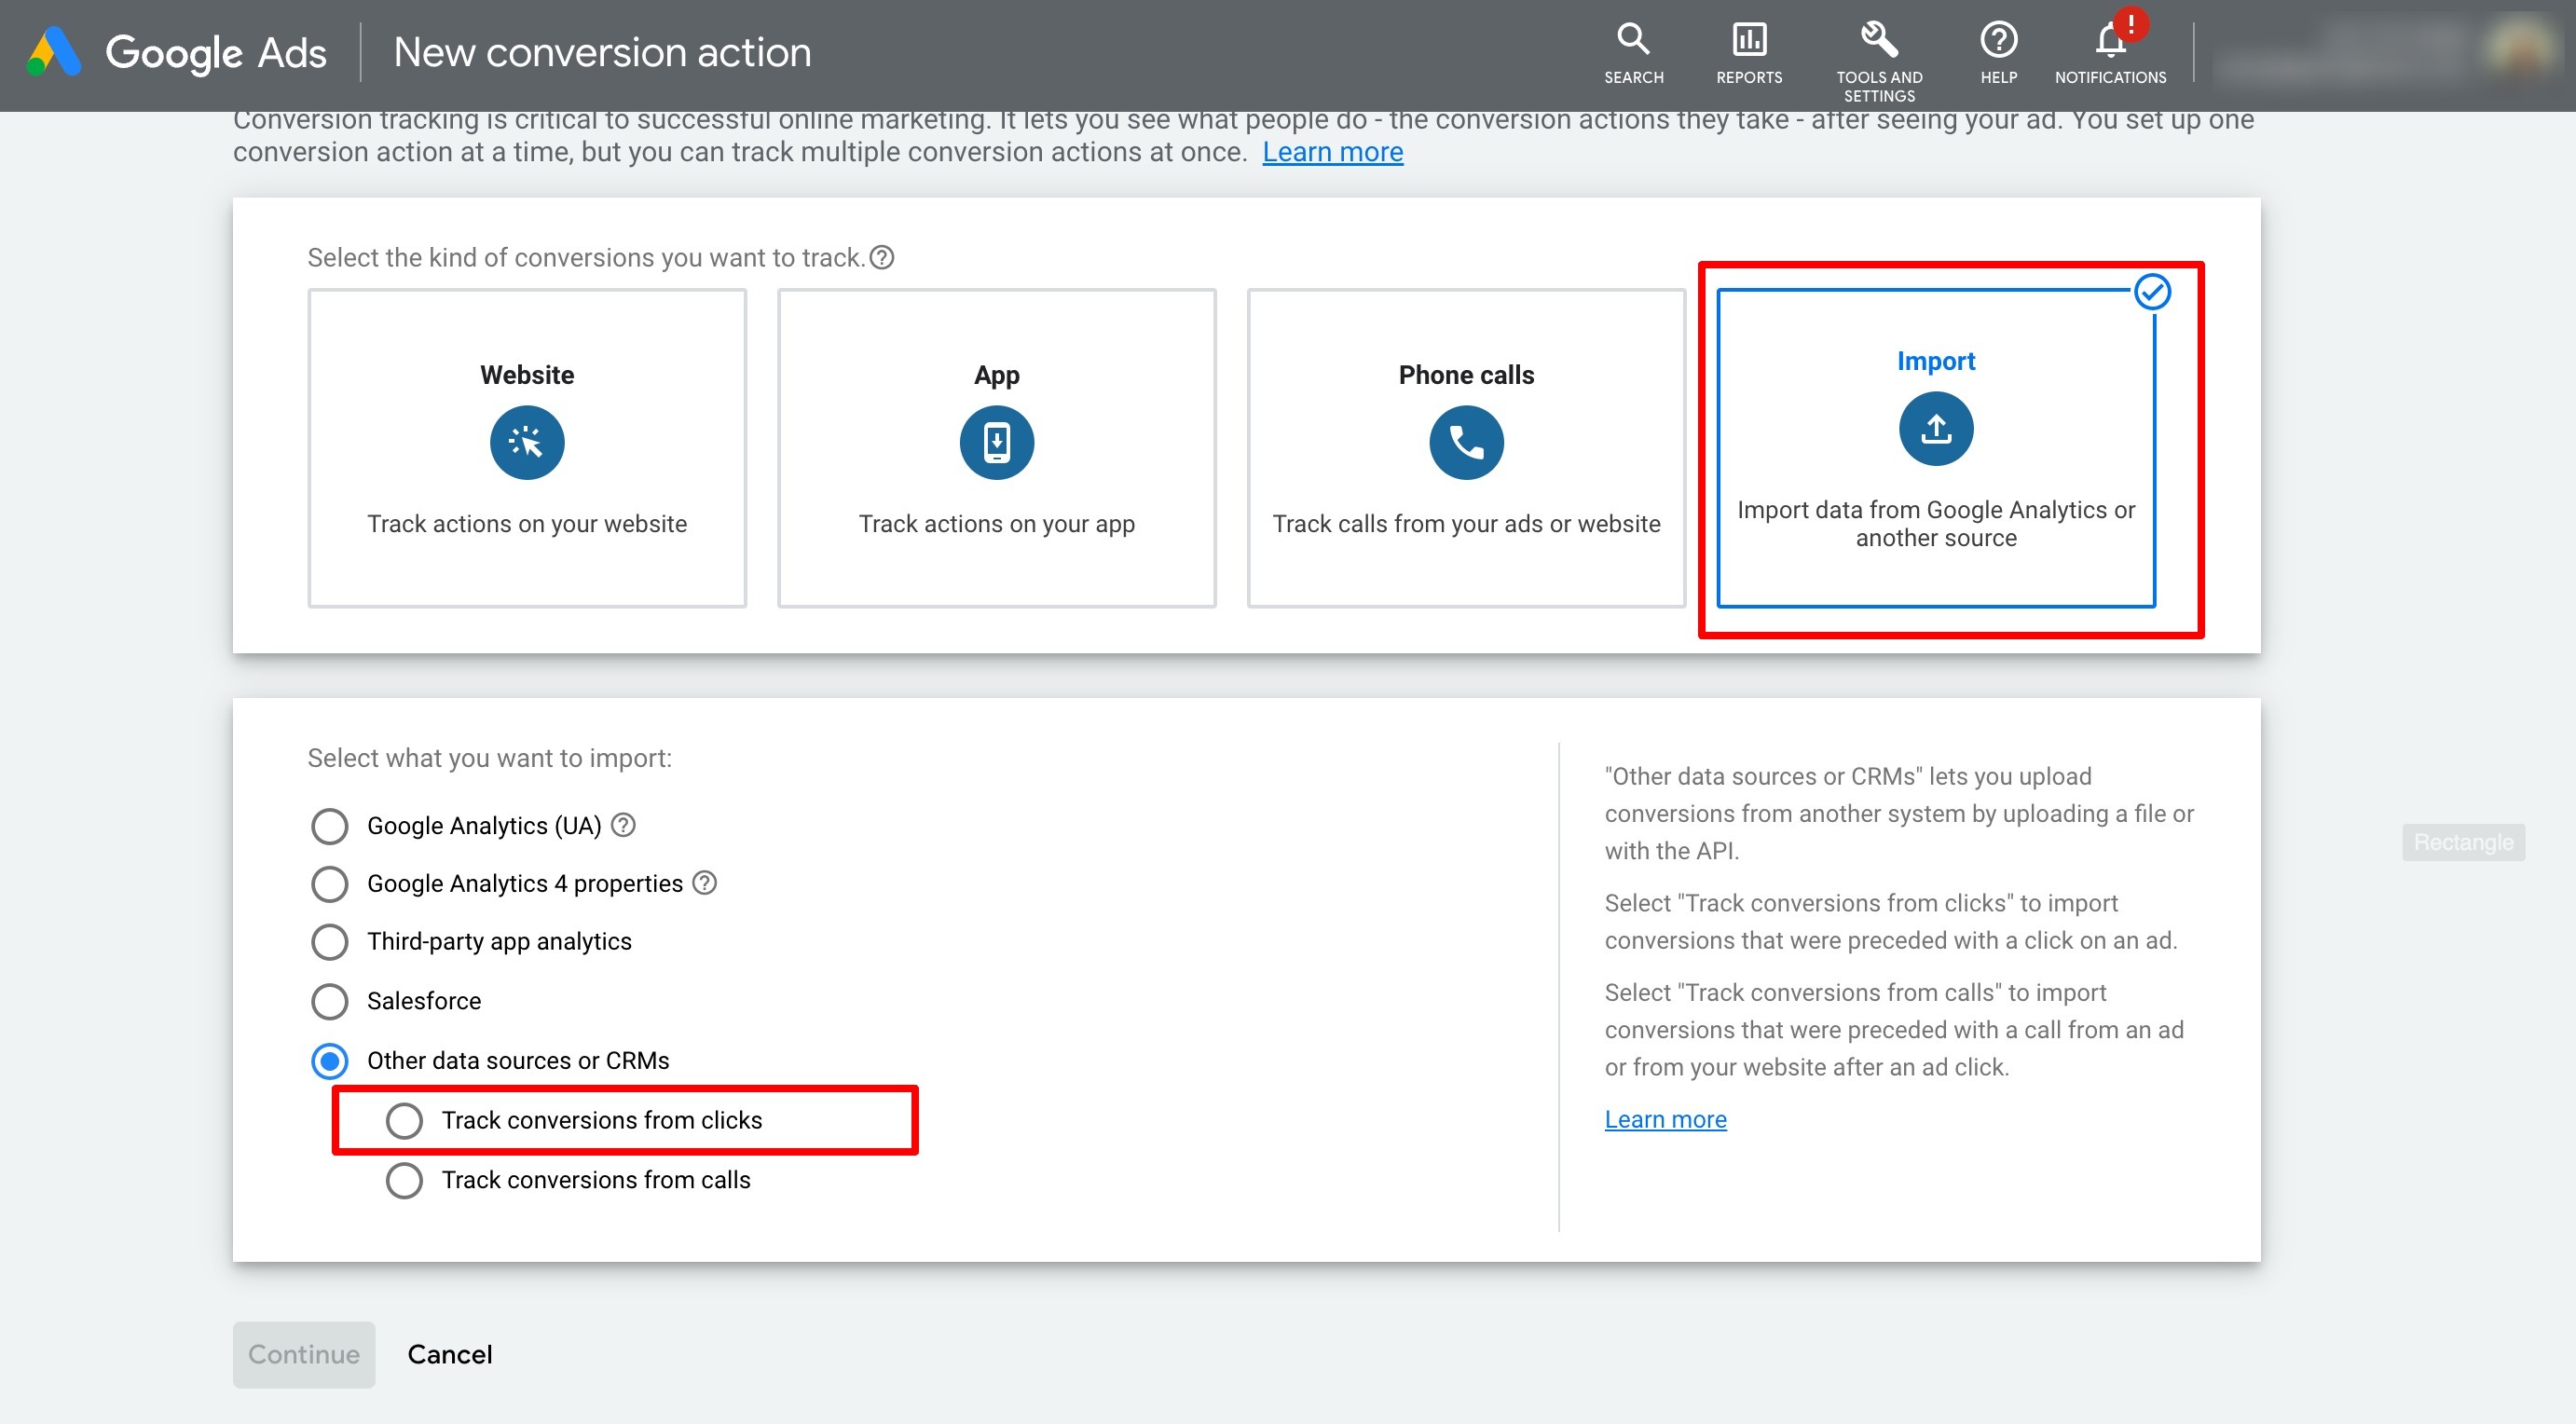
Depending on the version of your google ads account you can:
Either select "Other data sources or CRMs" and then Select "Track conversions from clicks"
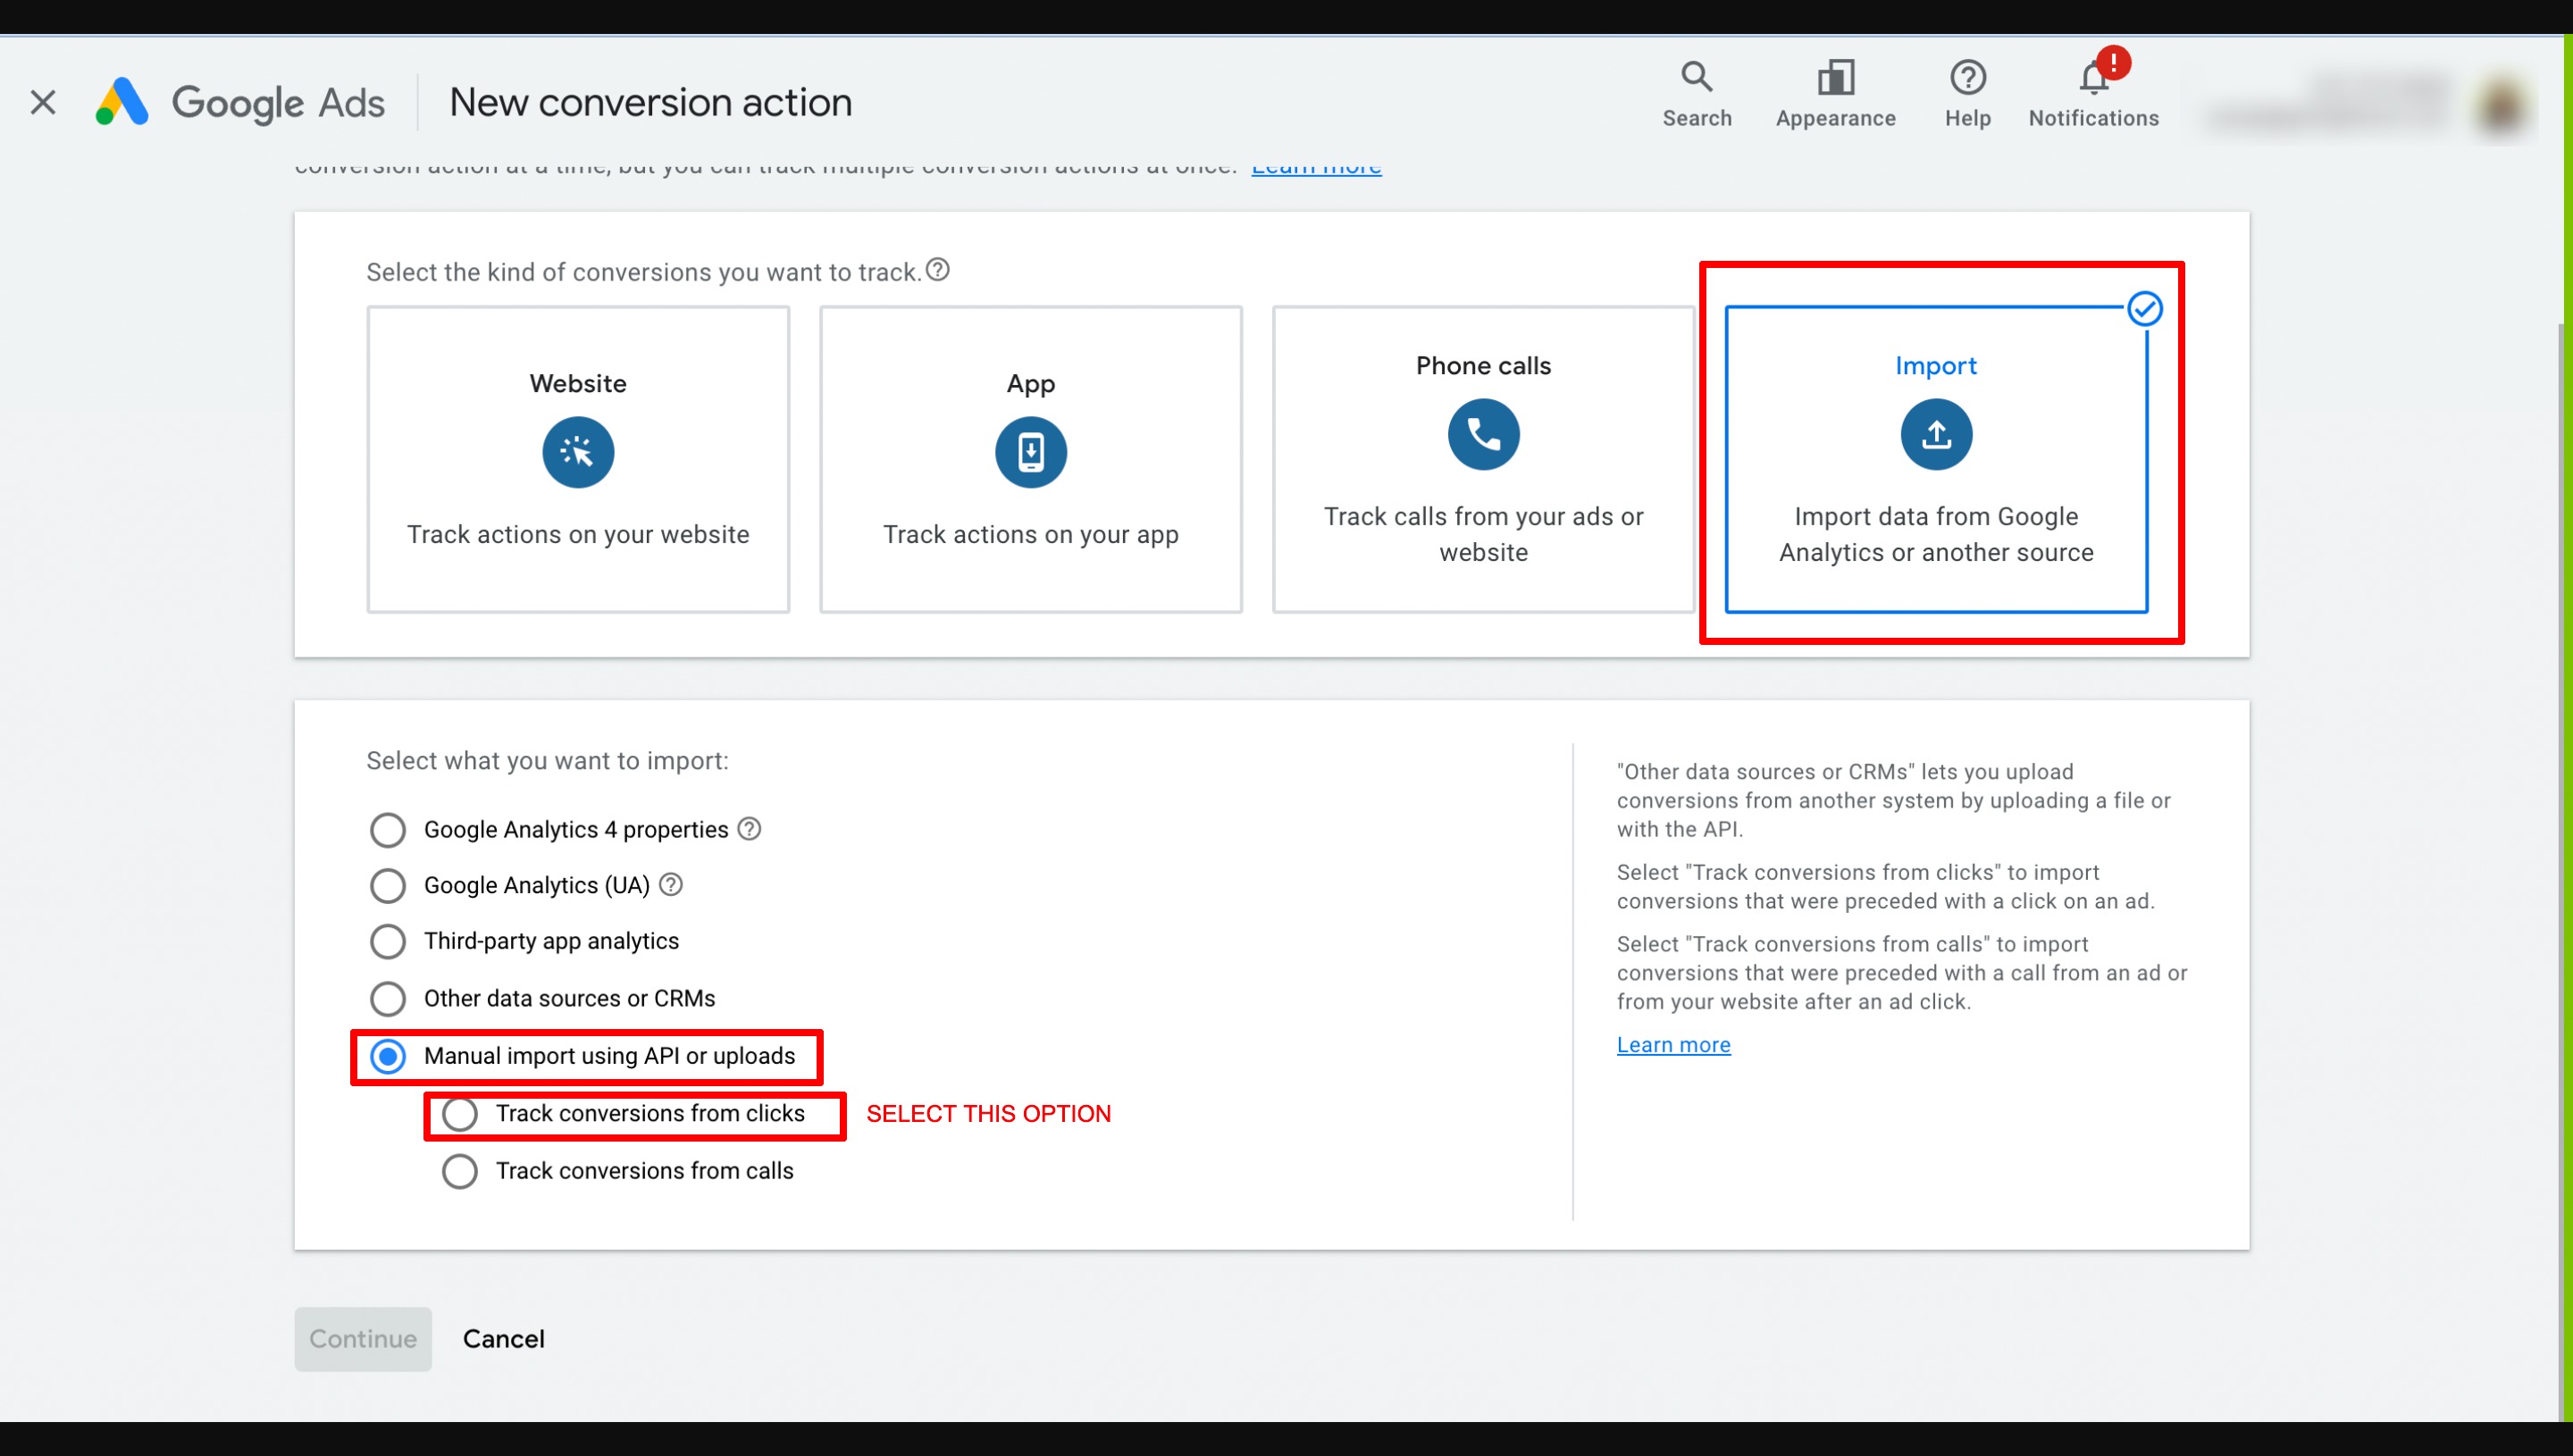
Or, Select "Manual import using API or uploads" and then Select "Track conversions from clicks"
In the recent update you may see the below options. Select "CRMs, files, or other data sources" and then select "Track conversions from clicks". Also under Data Source select "Skip this step and set up a data source later".
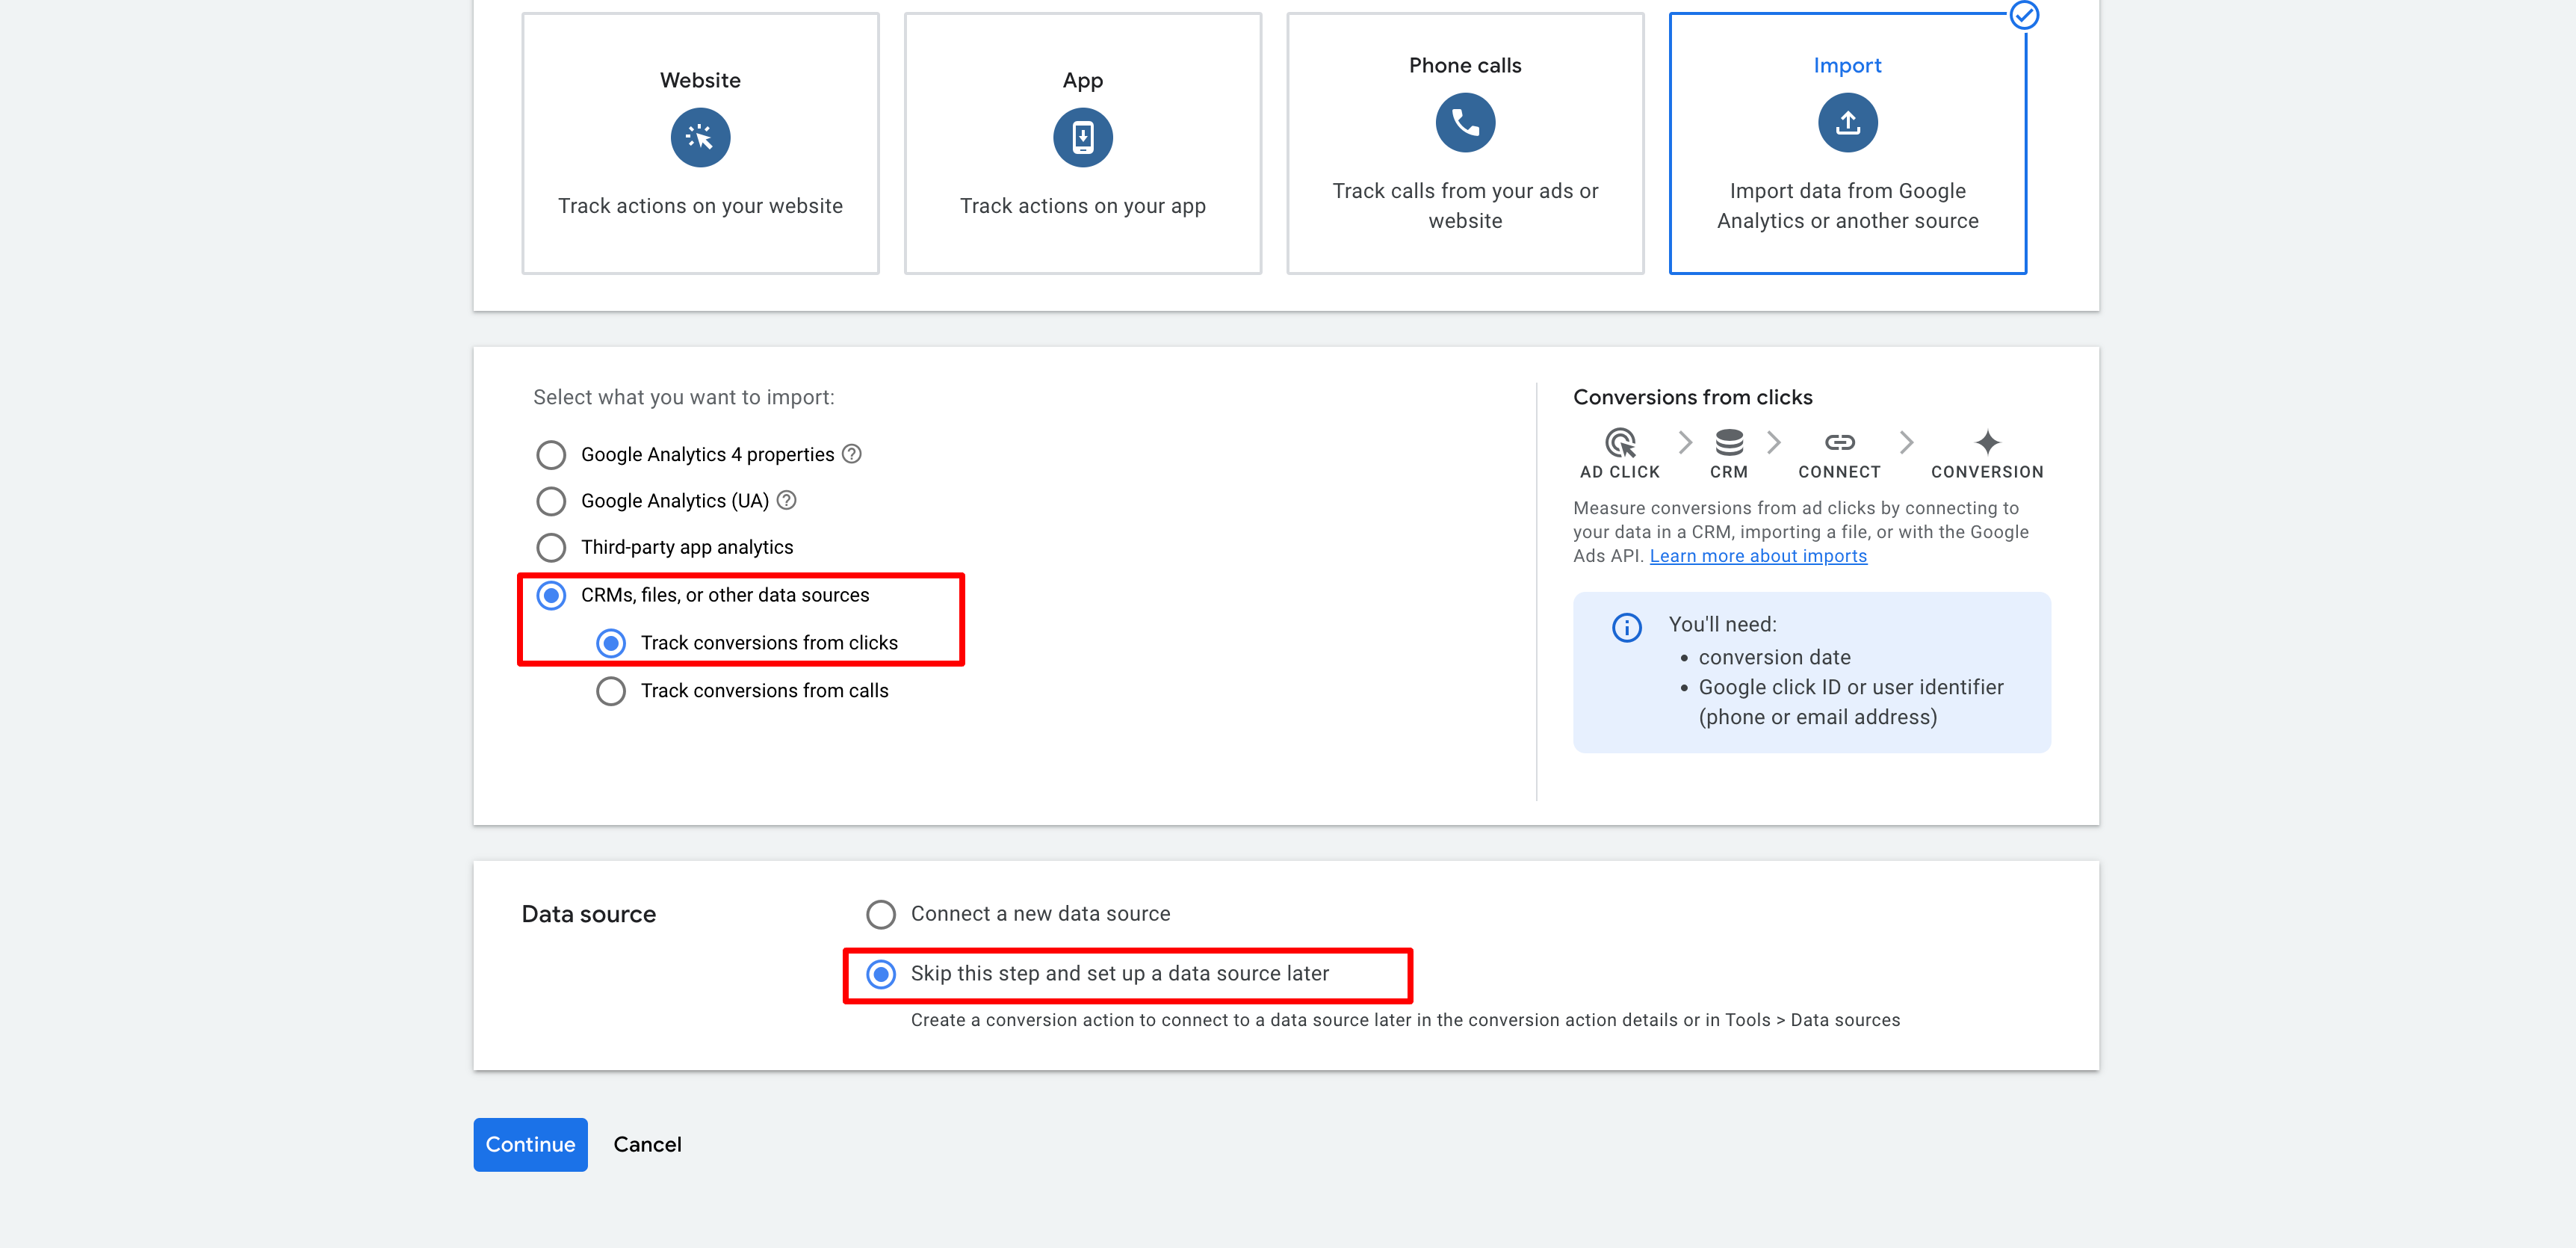
Select "Converted Lead" as the Primary option for the Goal and action optimization section below.
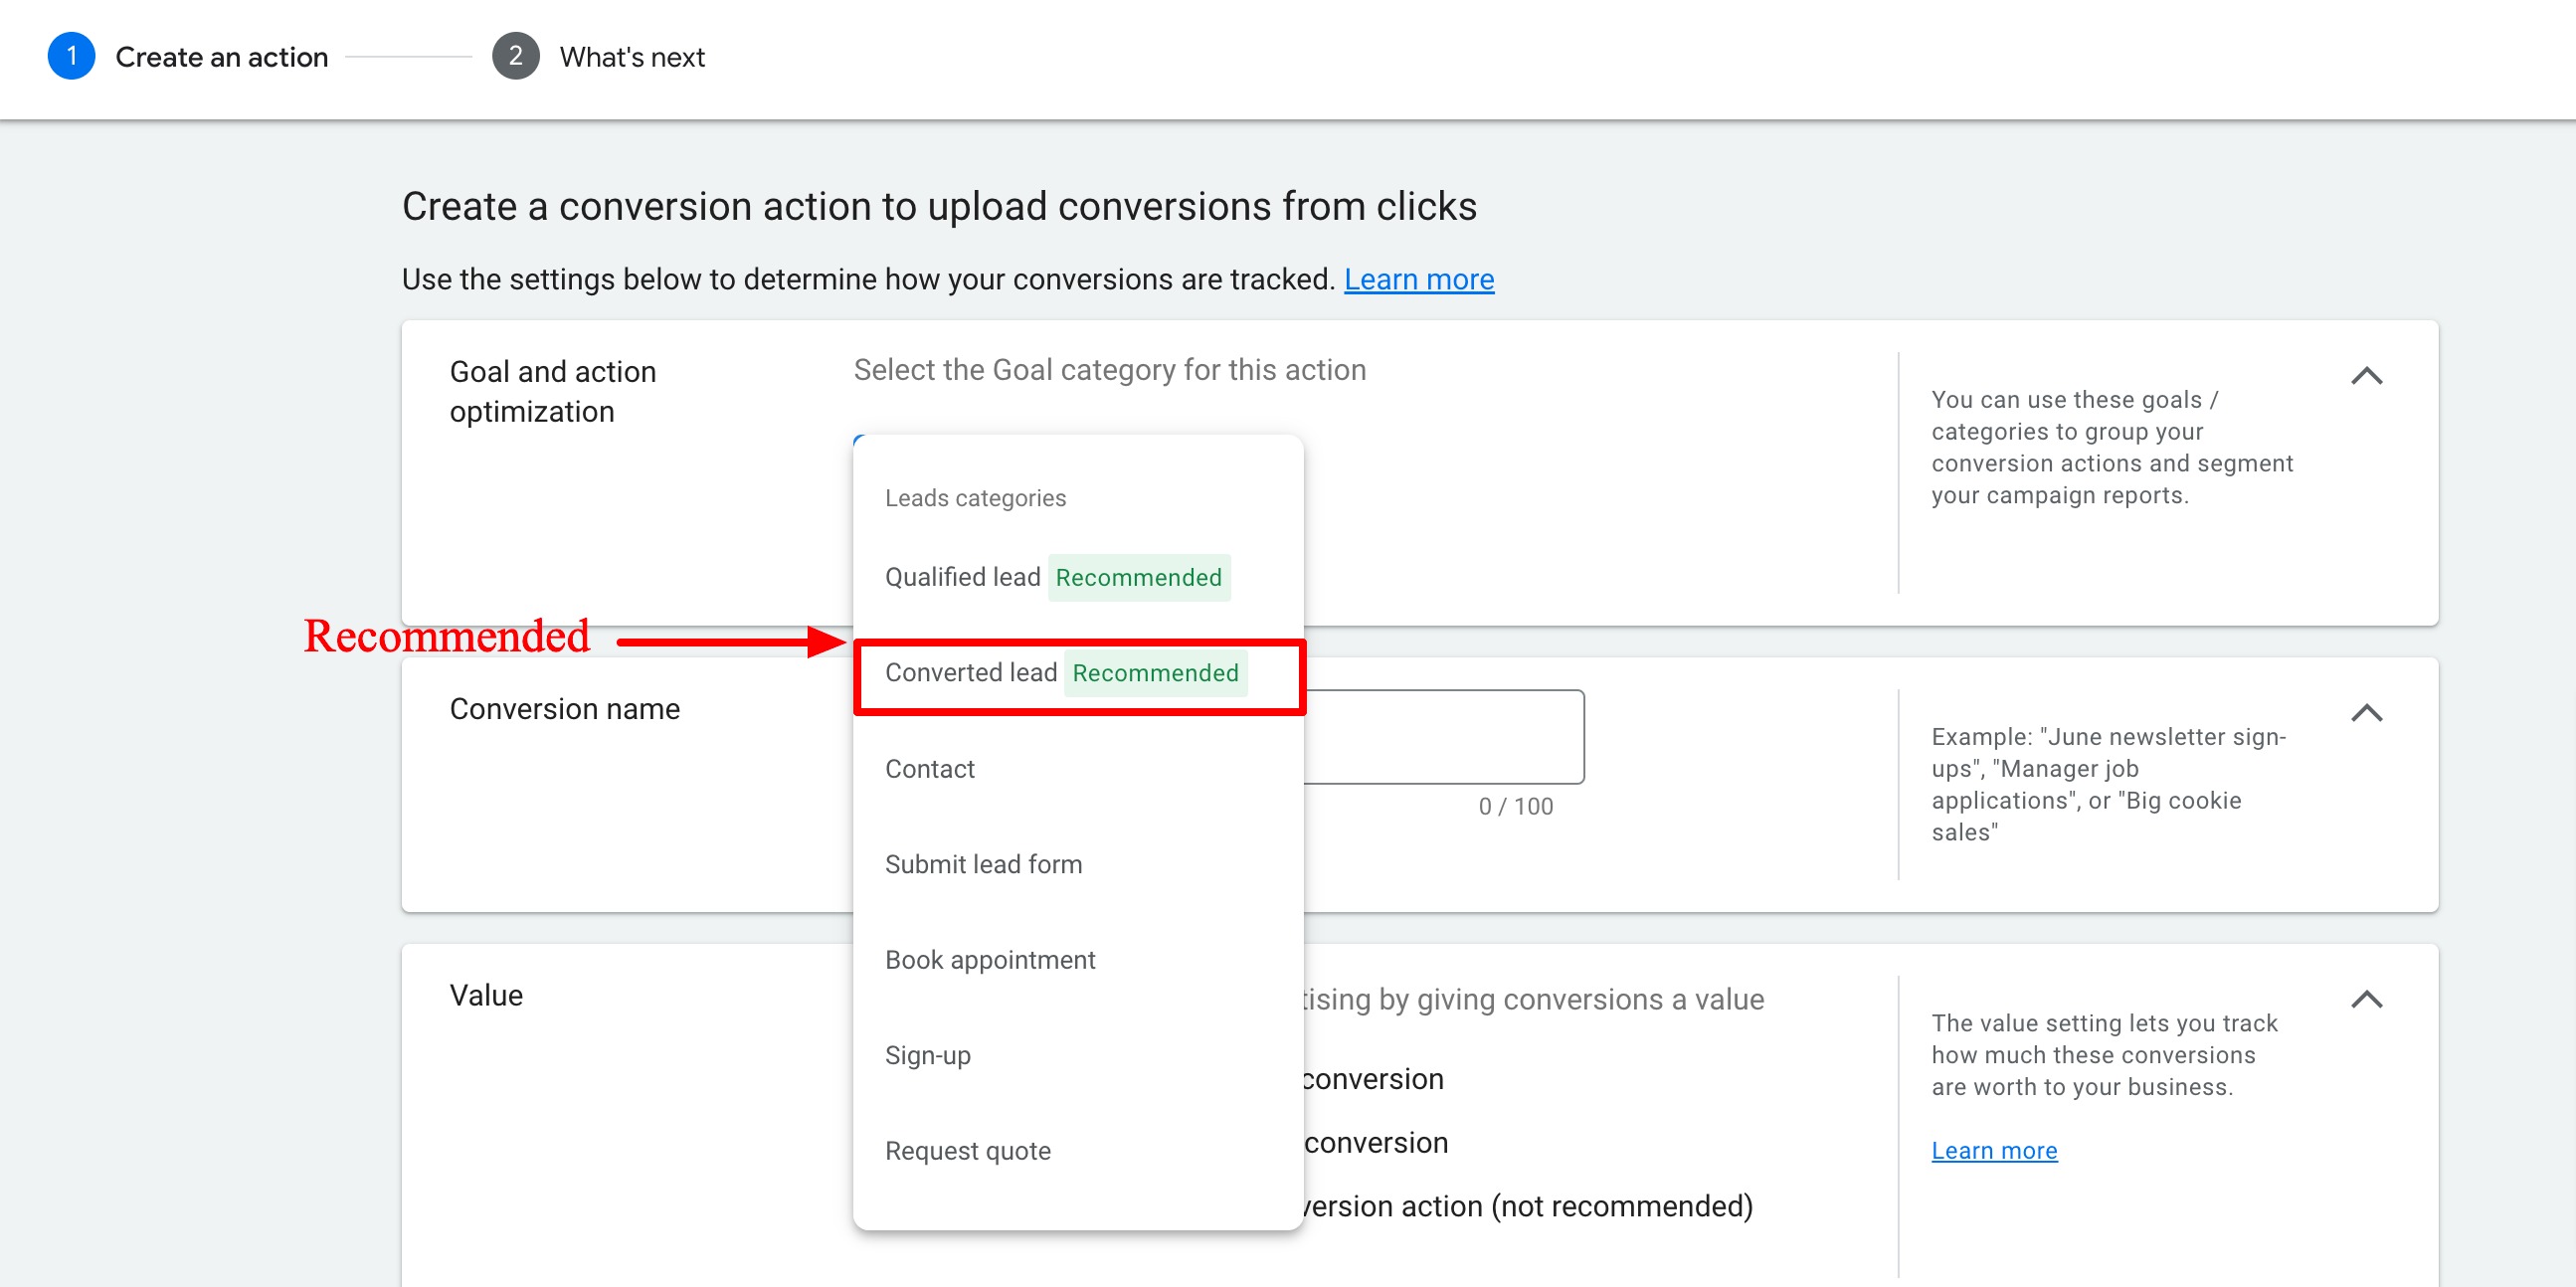
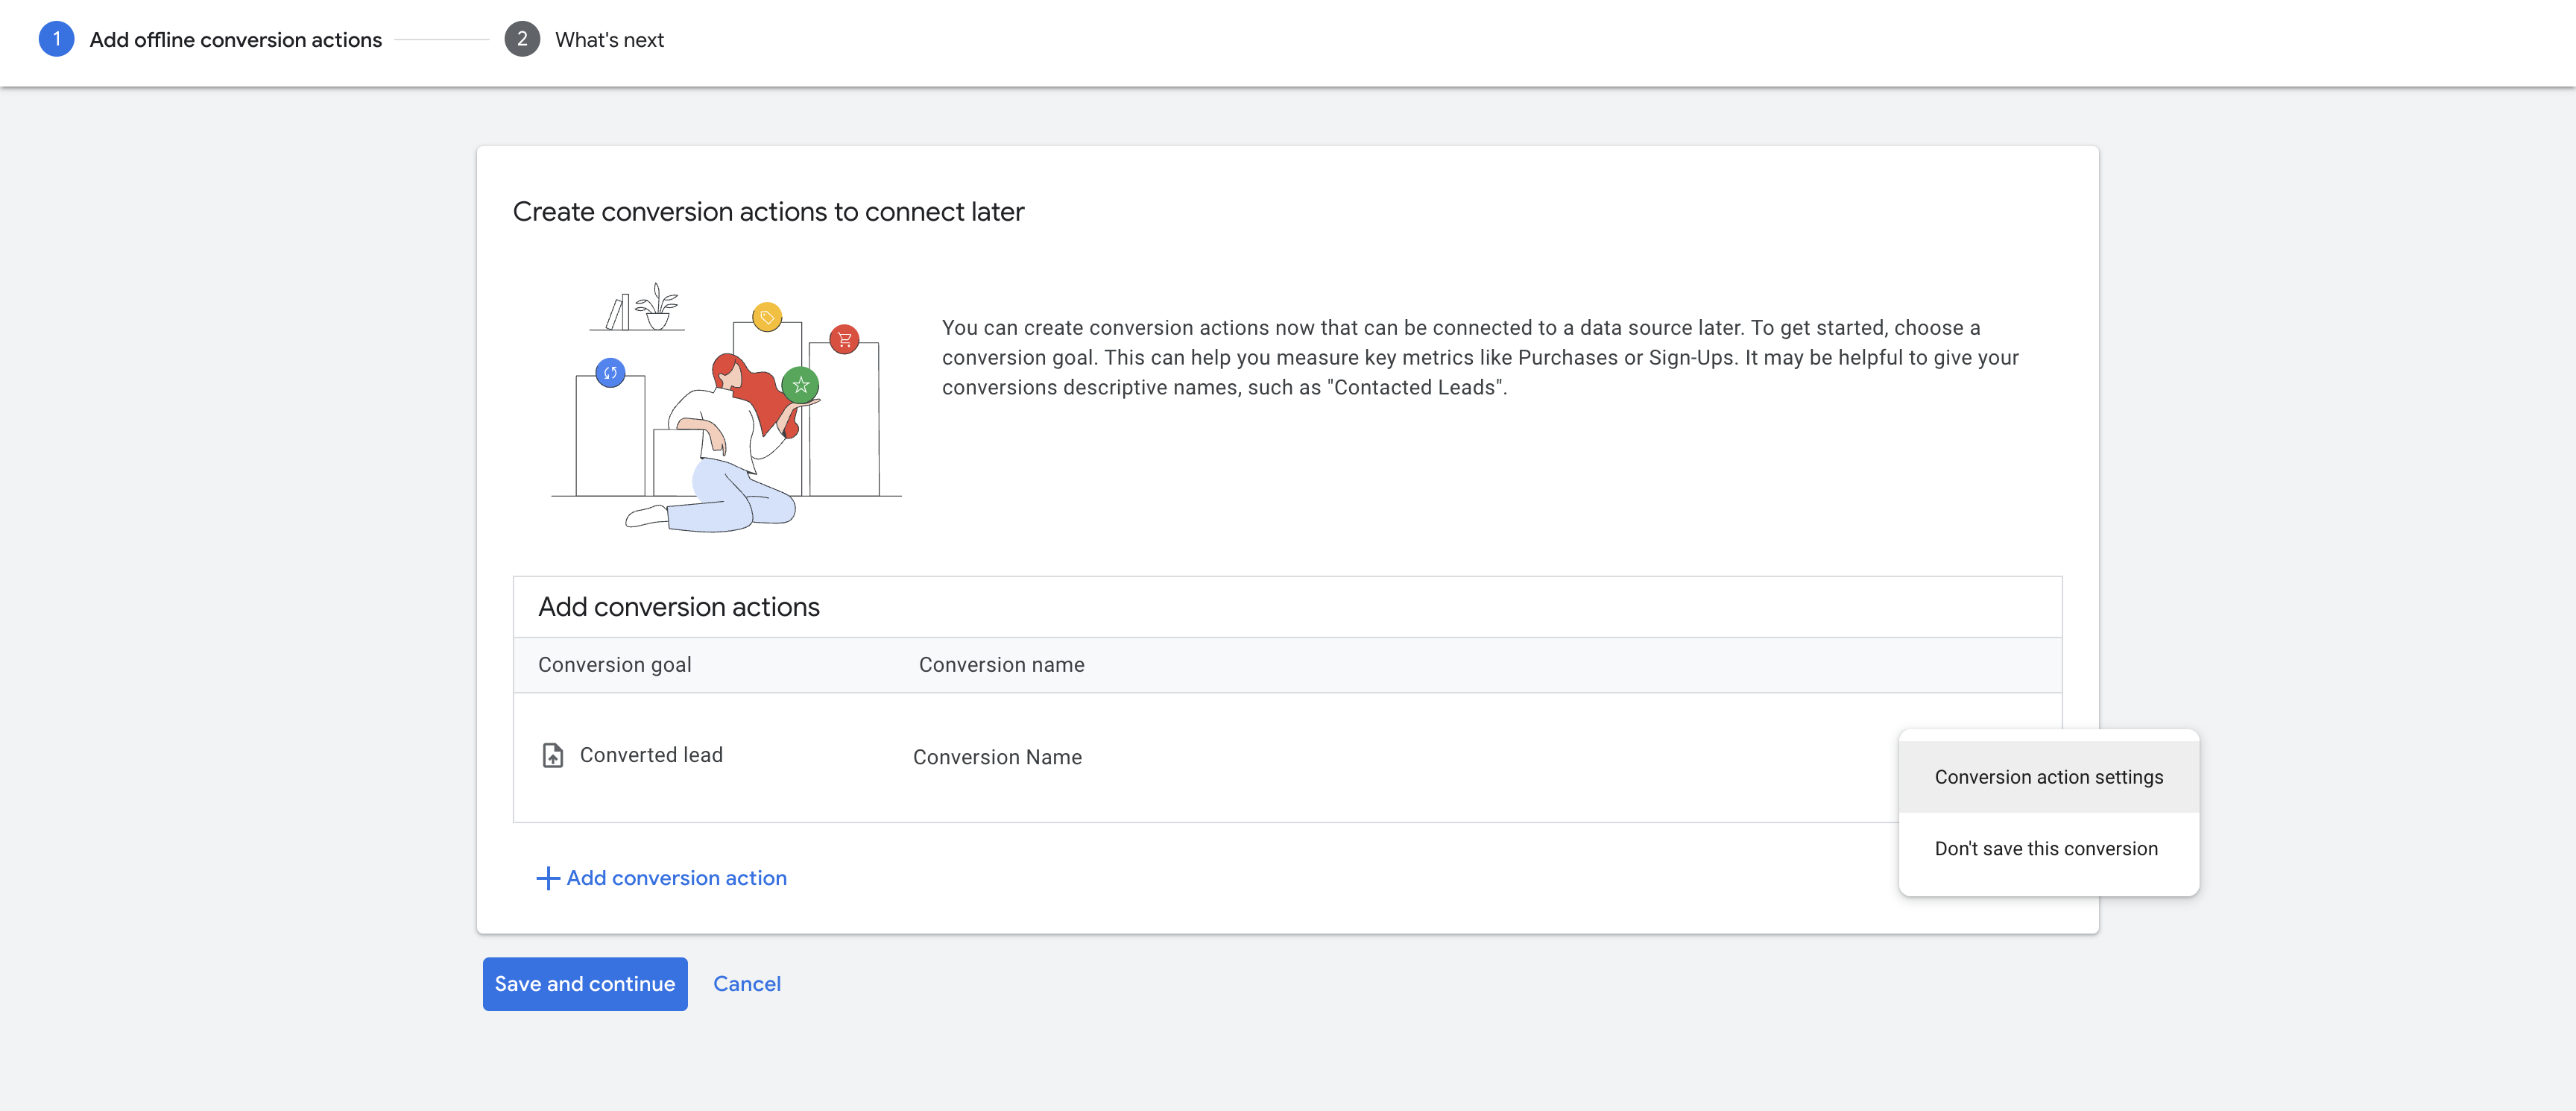
Few users will see Google's new UI and flow. Refer to the below image for the same. You can choose the conversion goal here as "Converted Lead"

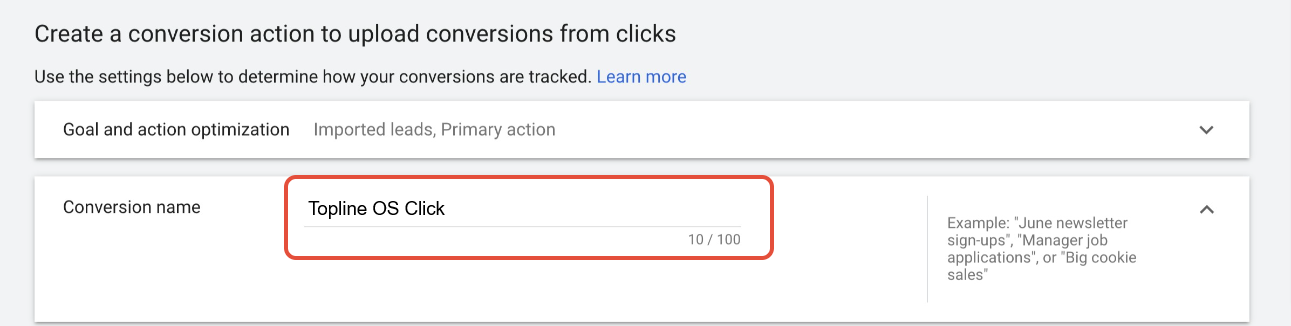
Please type in the name of your conversion. In this example, we are calling it "TOPLINE OS Click".
Please Note:

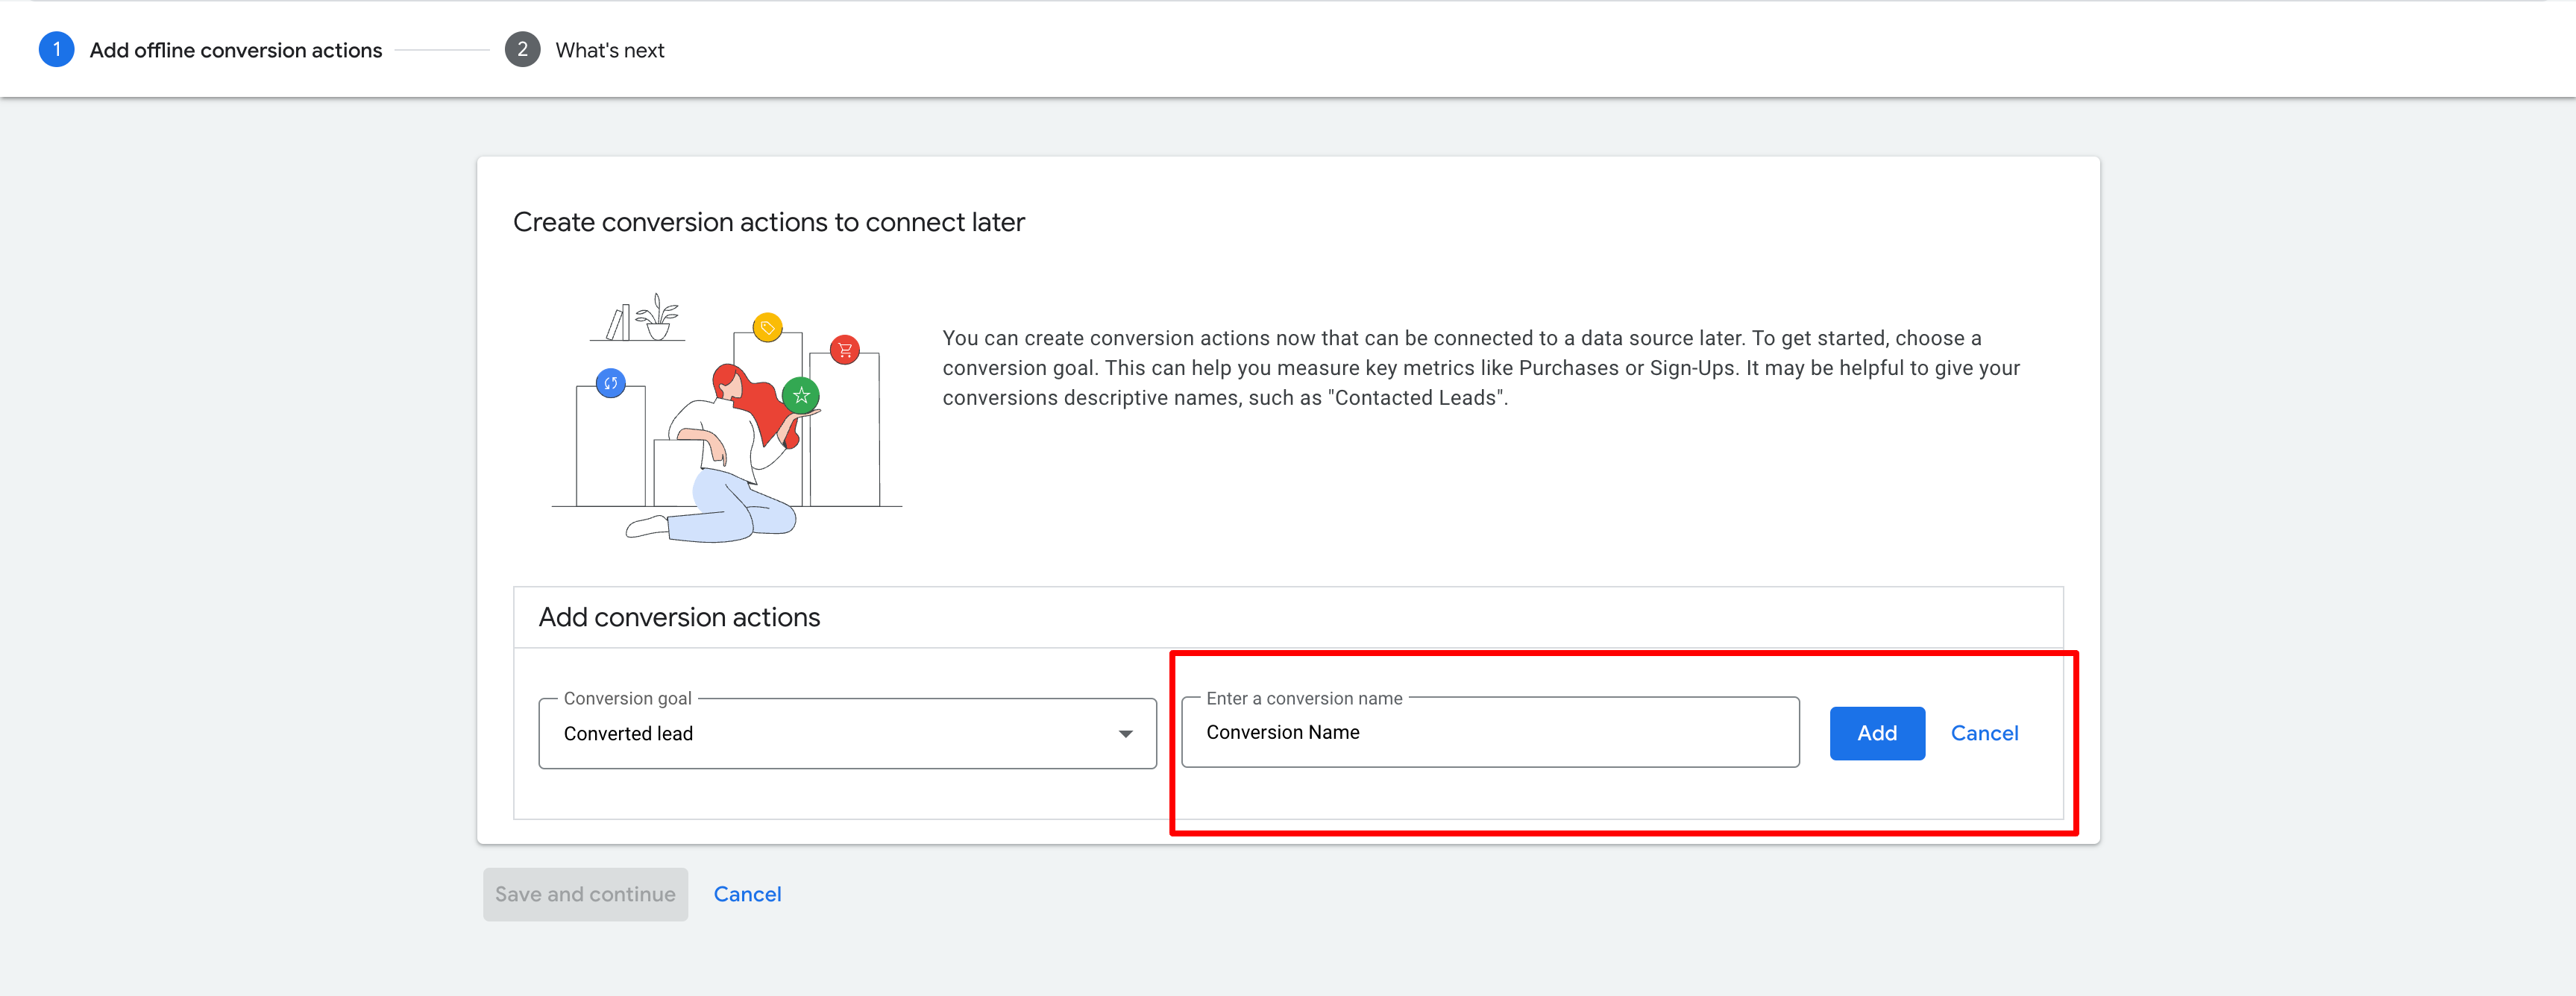
Few users will see Google's new UI and flow. Refer to the below image for the same. You can add the conversion name and click on Add.
For users with the new UI, the user needs to click on "Settings" for the conversion created and choose "Conversion Action Settings".
Select from: same, different, or don't use a value.

Select the count, we would recommend always choosing option "one".

1. Choose a 90-day conversion window for click-through conversions.
2. Set the Attribution model to "First click" or "Latest click". (recommended)
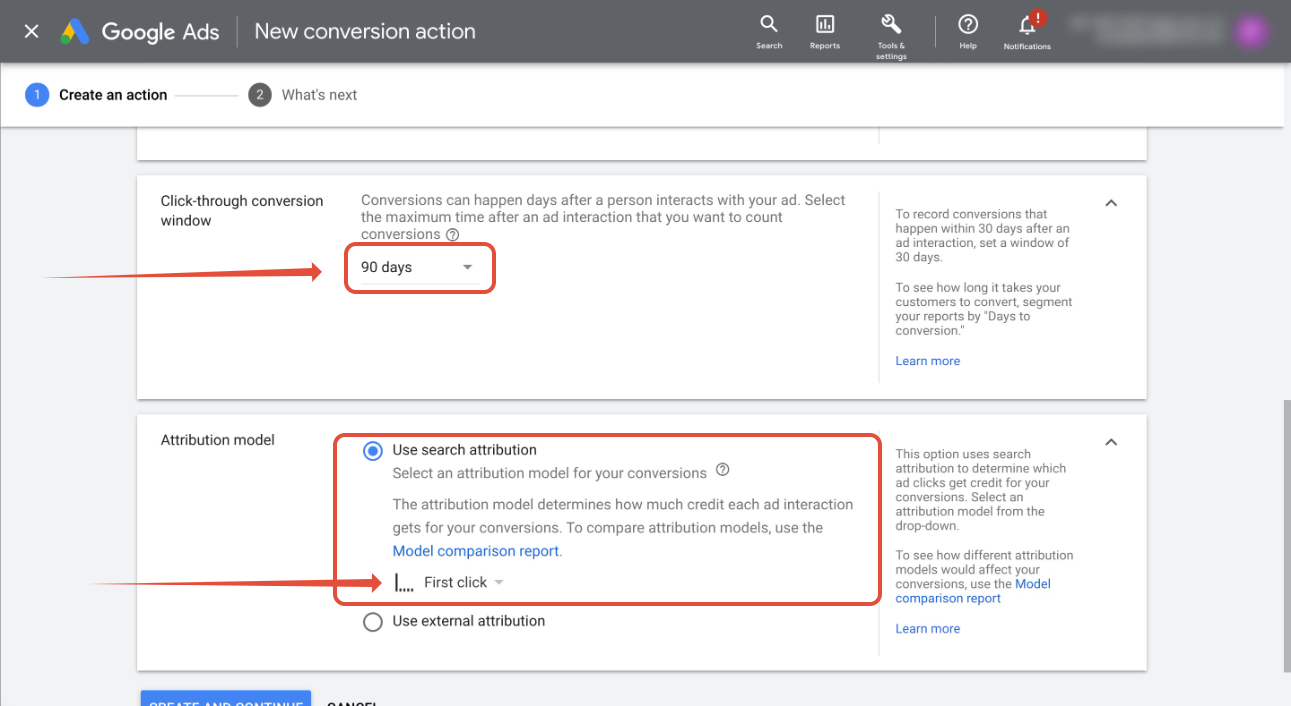
3. Click on "Create and Continue"
4. Refer below to the screens on the new UI update.
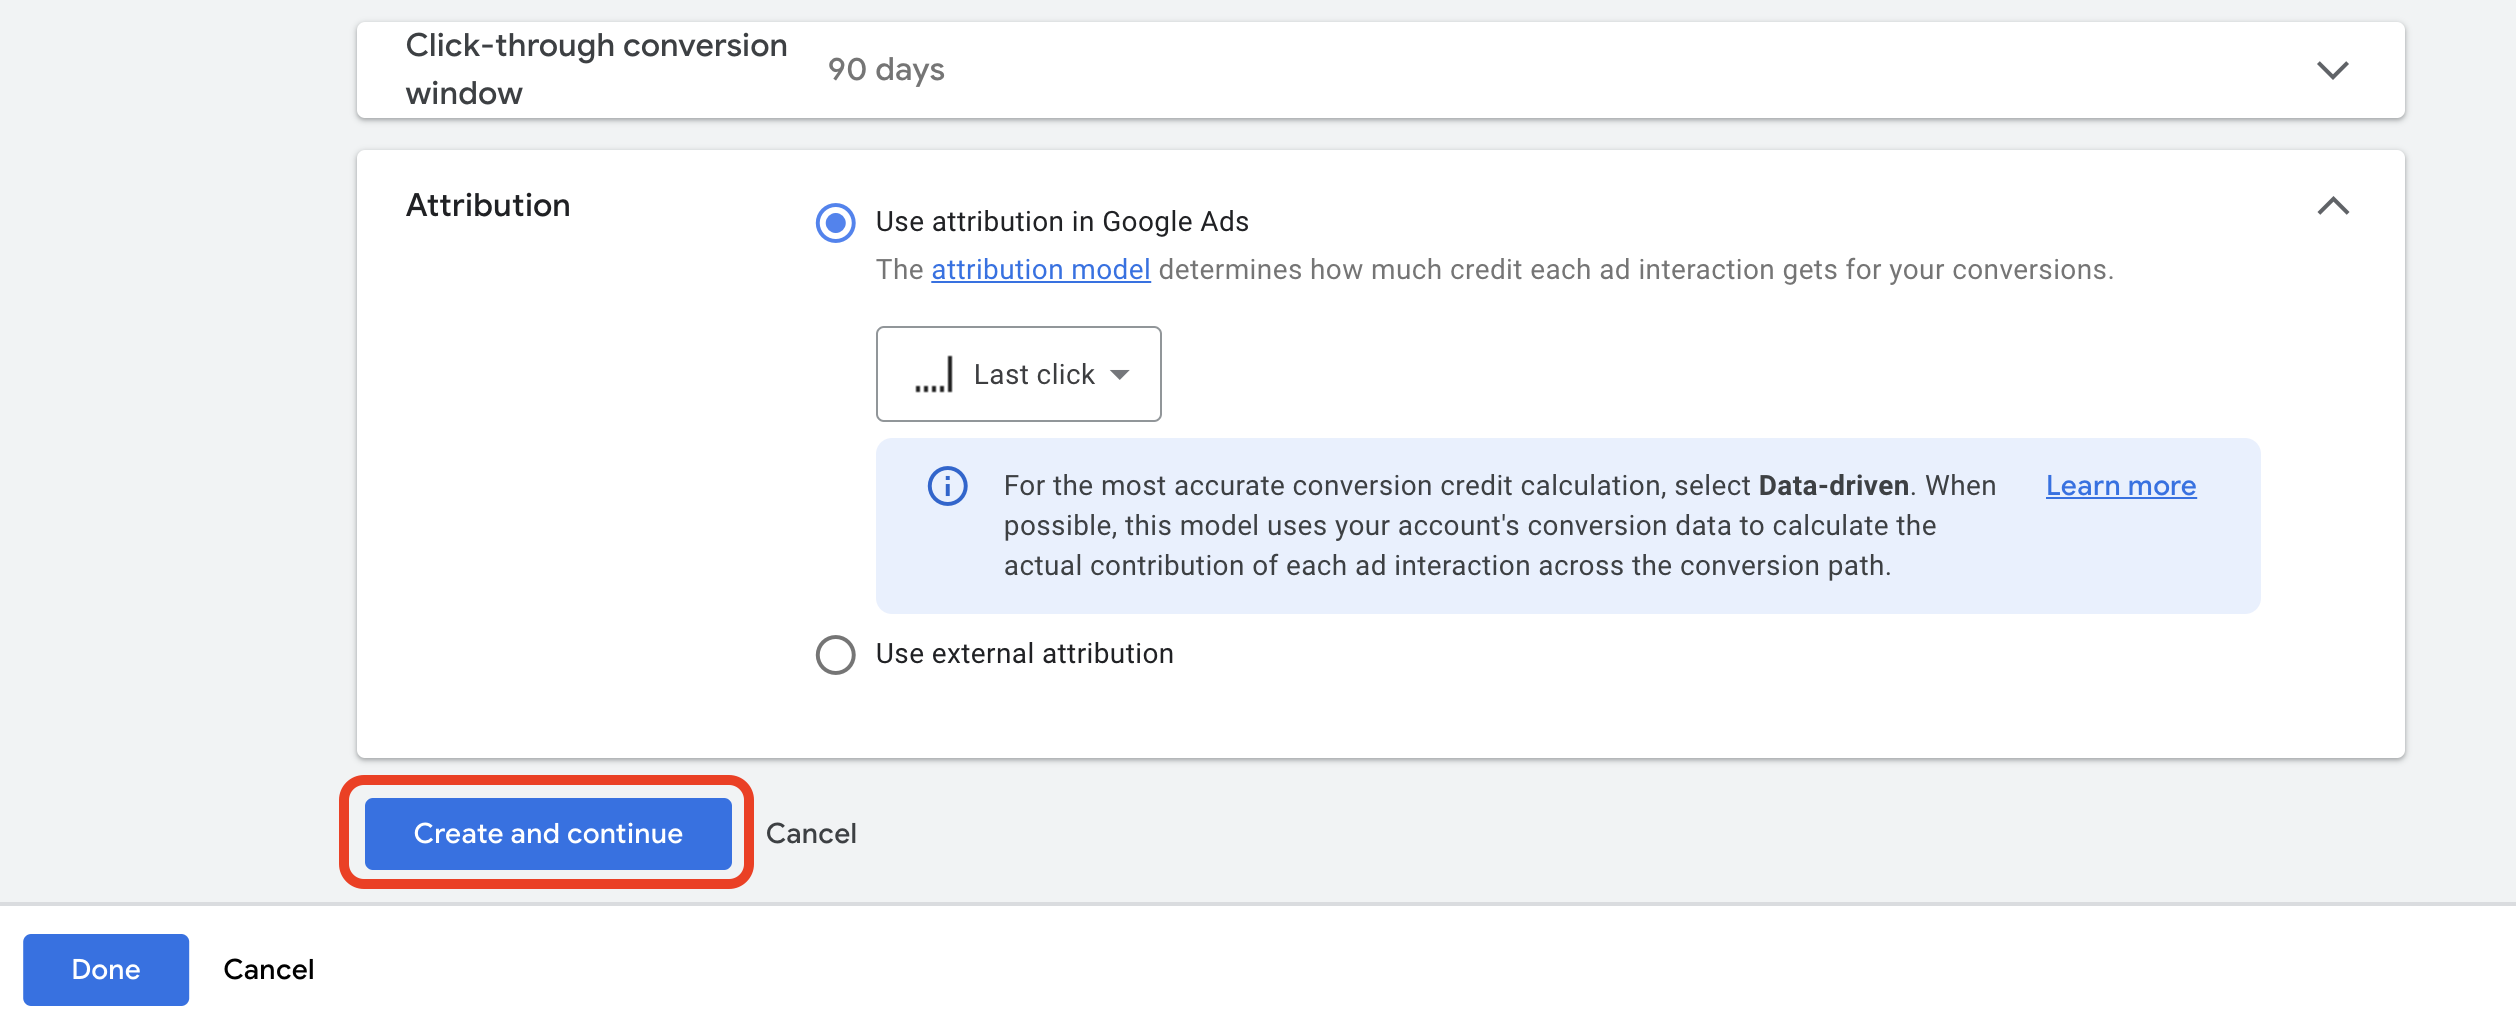
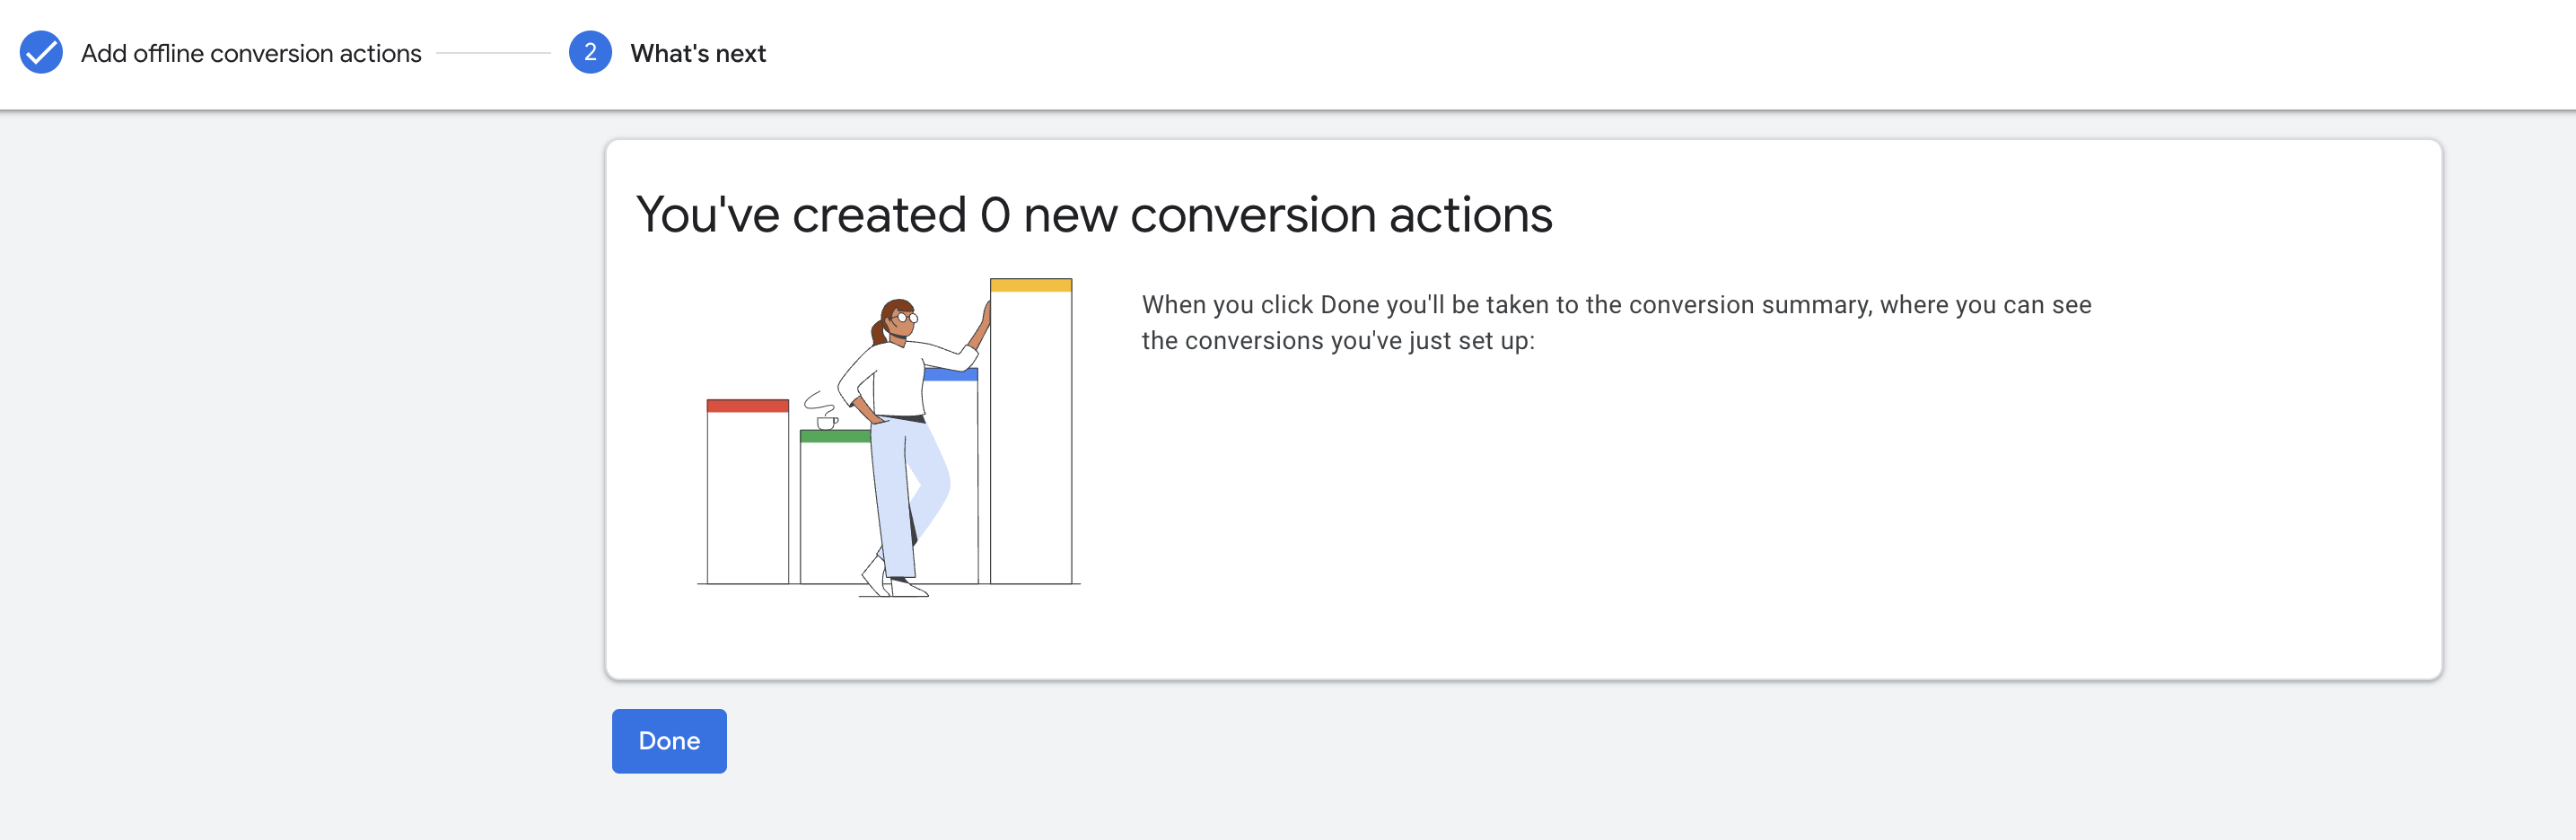
5. Click on Done.
You can create workflows for Form Submission, Order Purchases, Number Pool Calling, Survey Submission, and Chat Widget.
Create the Workflow
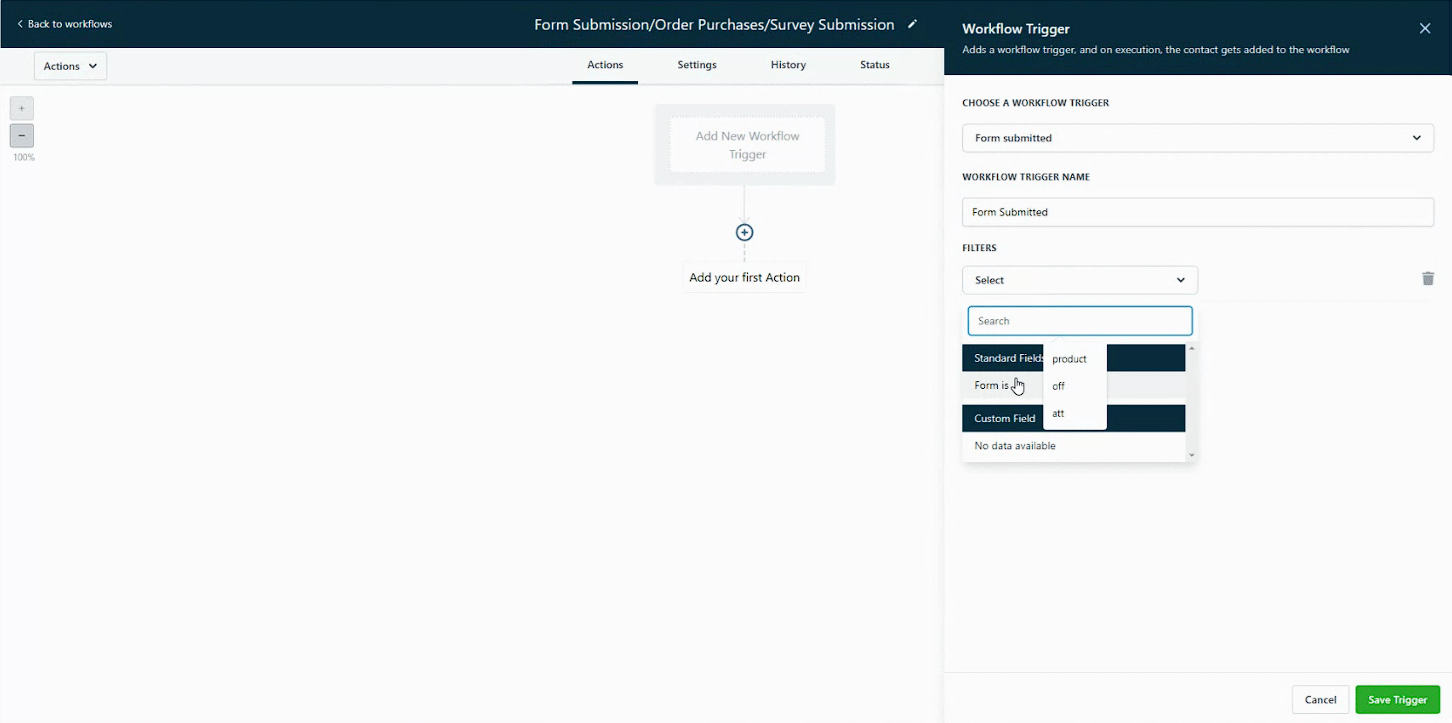
Select the trigger - Form Submission, Order Form Submission, or Survey Submission
After selecting the trigger, add the filters with which the Form/Order Form/ Survey will be used.
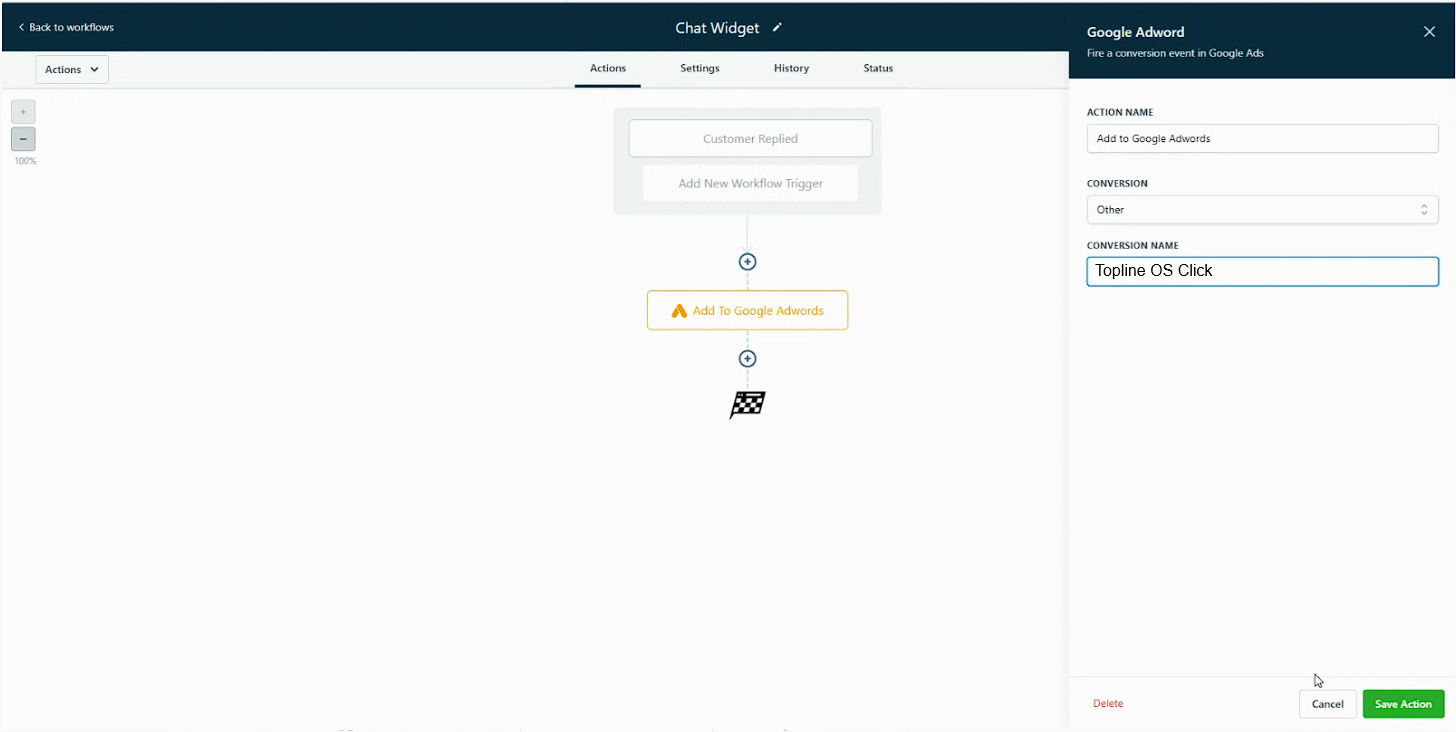
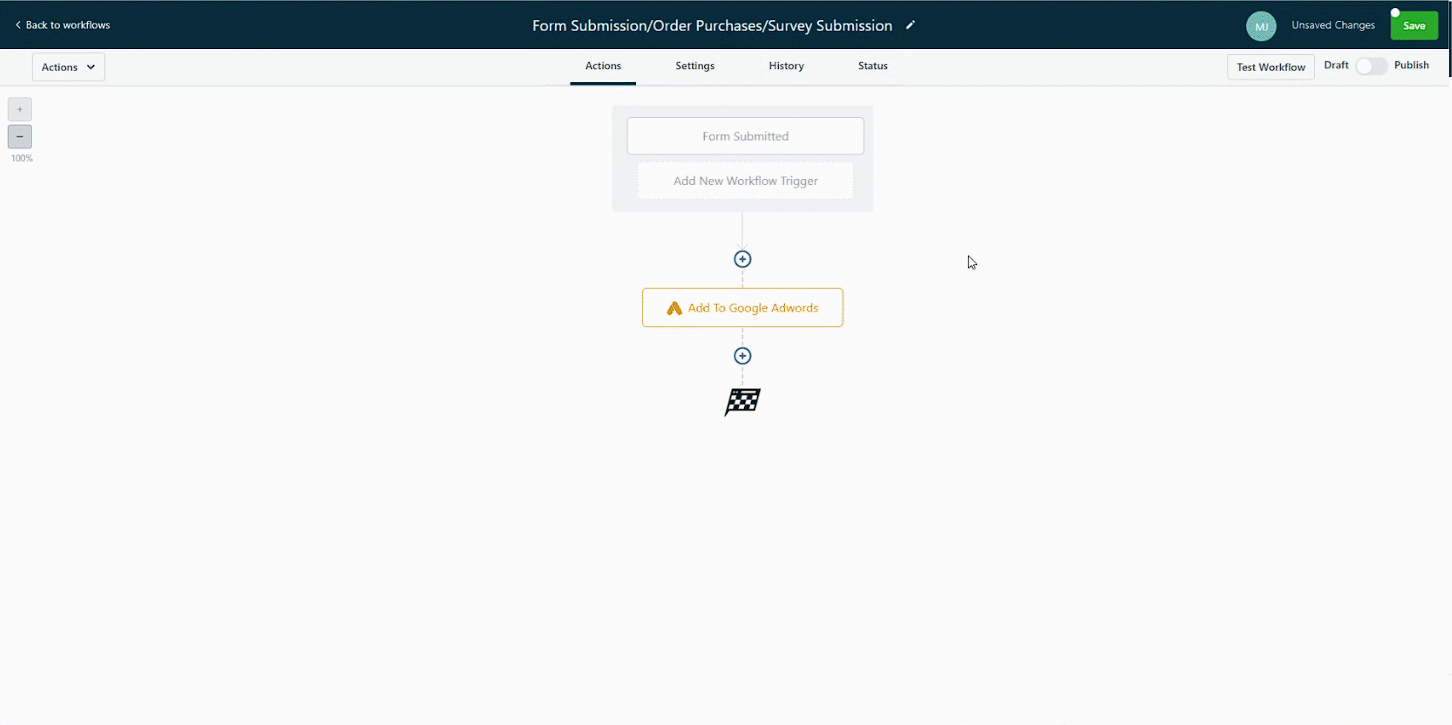
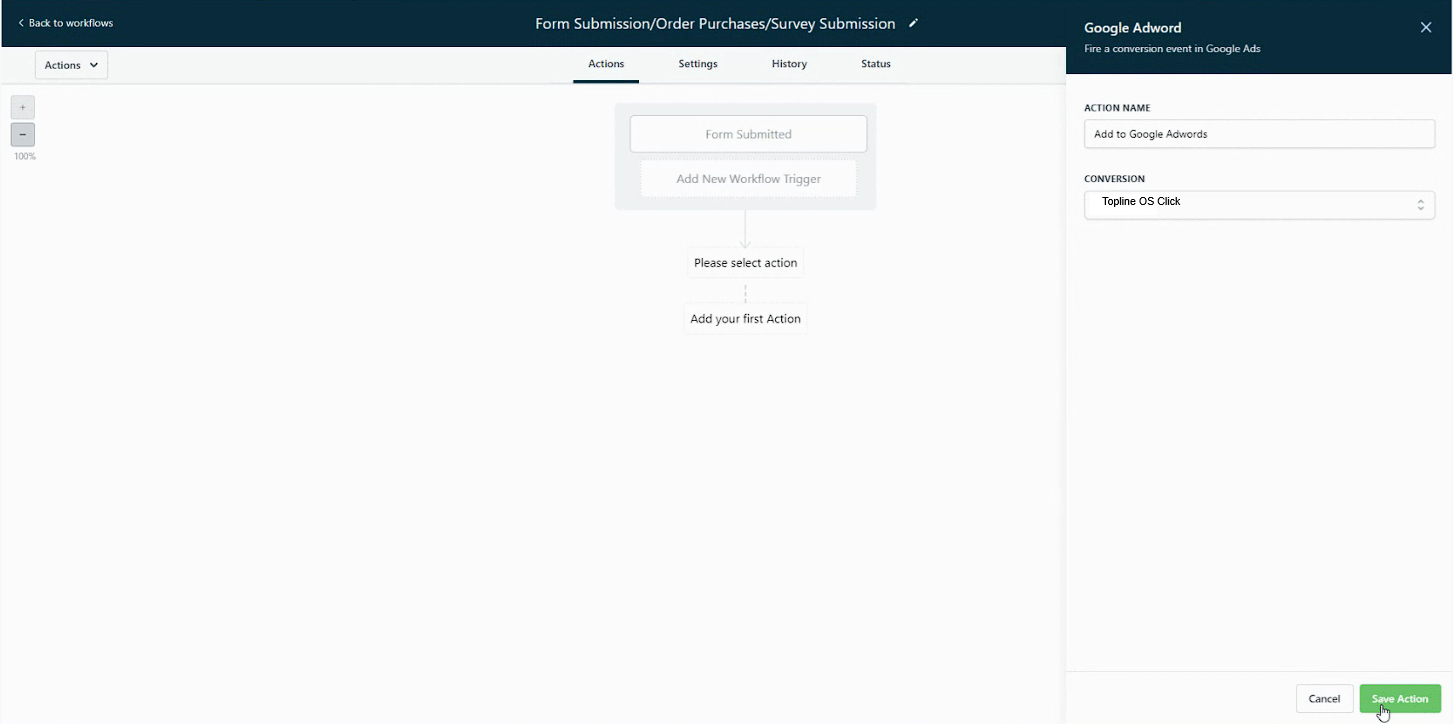
Click on the plus icon action and select the "Add to Google AdWords" event and select "Other". Please paste the "Conversion Name" created in Google AdWords.
Please click "Save" and "Publish" your workflow.
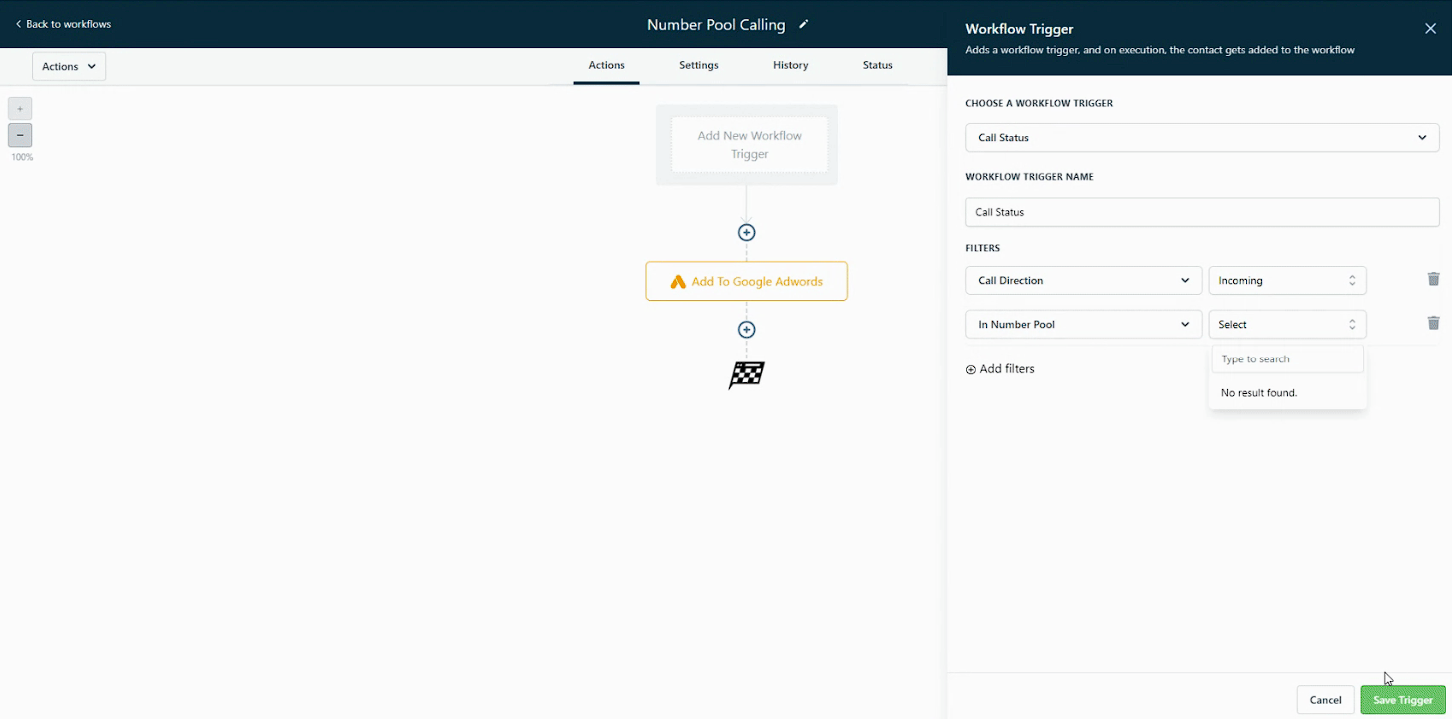
Create the Workflow
Select the trigger - Call Status
Once the trigger is selected, add the filters at Call Direction > Incoming and Pool Number > Select Pool Number.
[Please add the pool number script to the funnel/website in header settings]
Click on the plus icon action and select the "Add to Google AdWords" event and select "Other". Please paste the "Conversion Name" created in Google AdWords' exactly as it is spelled.
Please click "Save" and "Publish" your workflow.
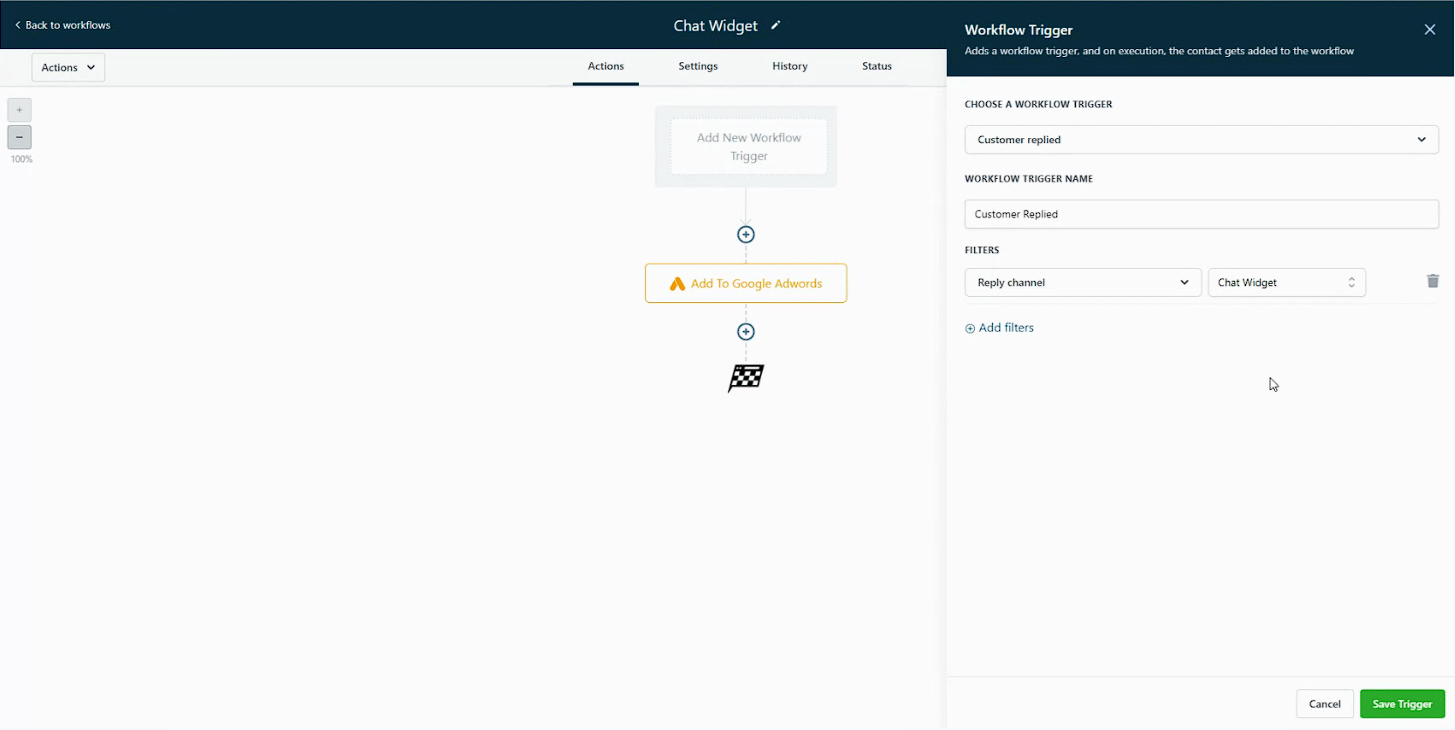
Create the Workflow
Select the trigger - Customer Replied Trigger
Click on the plus icon action and select the "Add to Google AdWords" event and select "Other". Please paste the "Conversion Name" that was created in Google AdWords exactly as it is spelled.
Please click "Save" and "Publish" your workflow.
A: Currently, there is no way to test this event. You can always check your workflow action and the history tab. It should show the execution of Google AdWords Actions.
A: It will take 24 minutes to get the list populated in trigger/workflow and Google AdWords Conversion. Within the 24-hour window, you can check the workflow history
A: It only works for Form Submission, Order Purchase, Number Pool Calling, Survey Submission, and Chat Widget.
