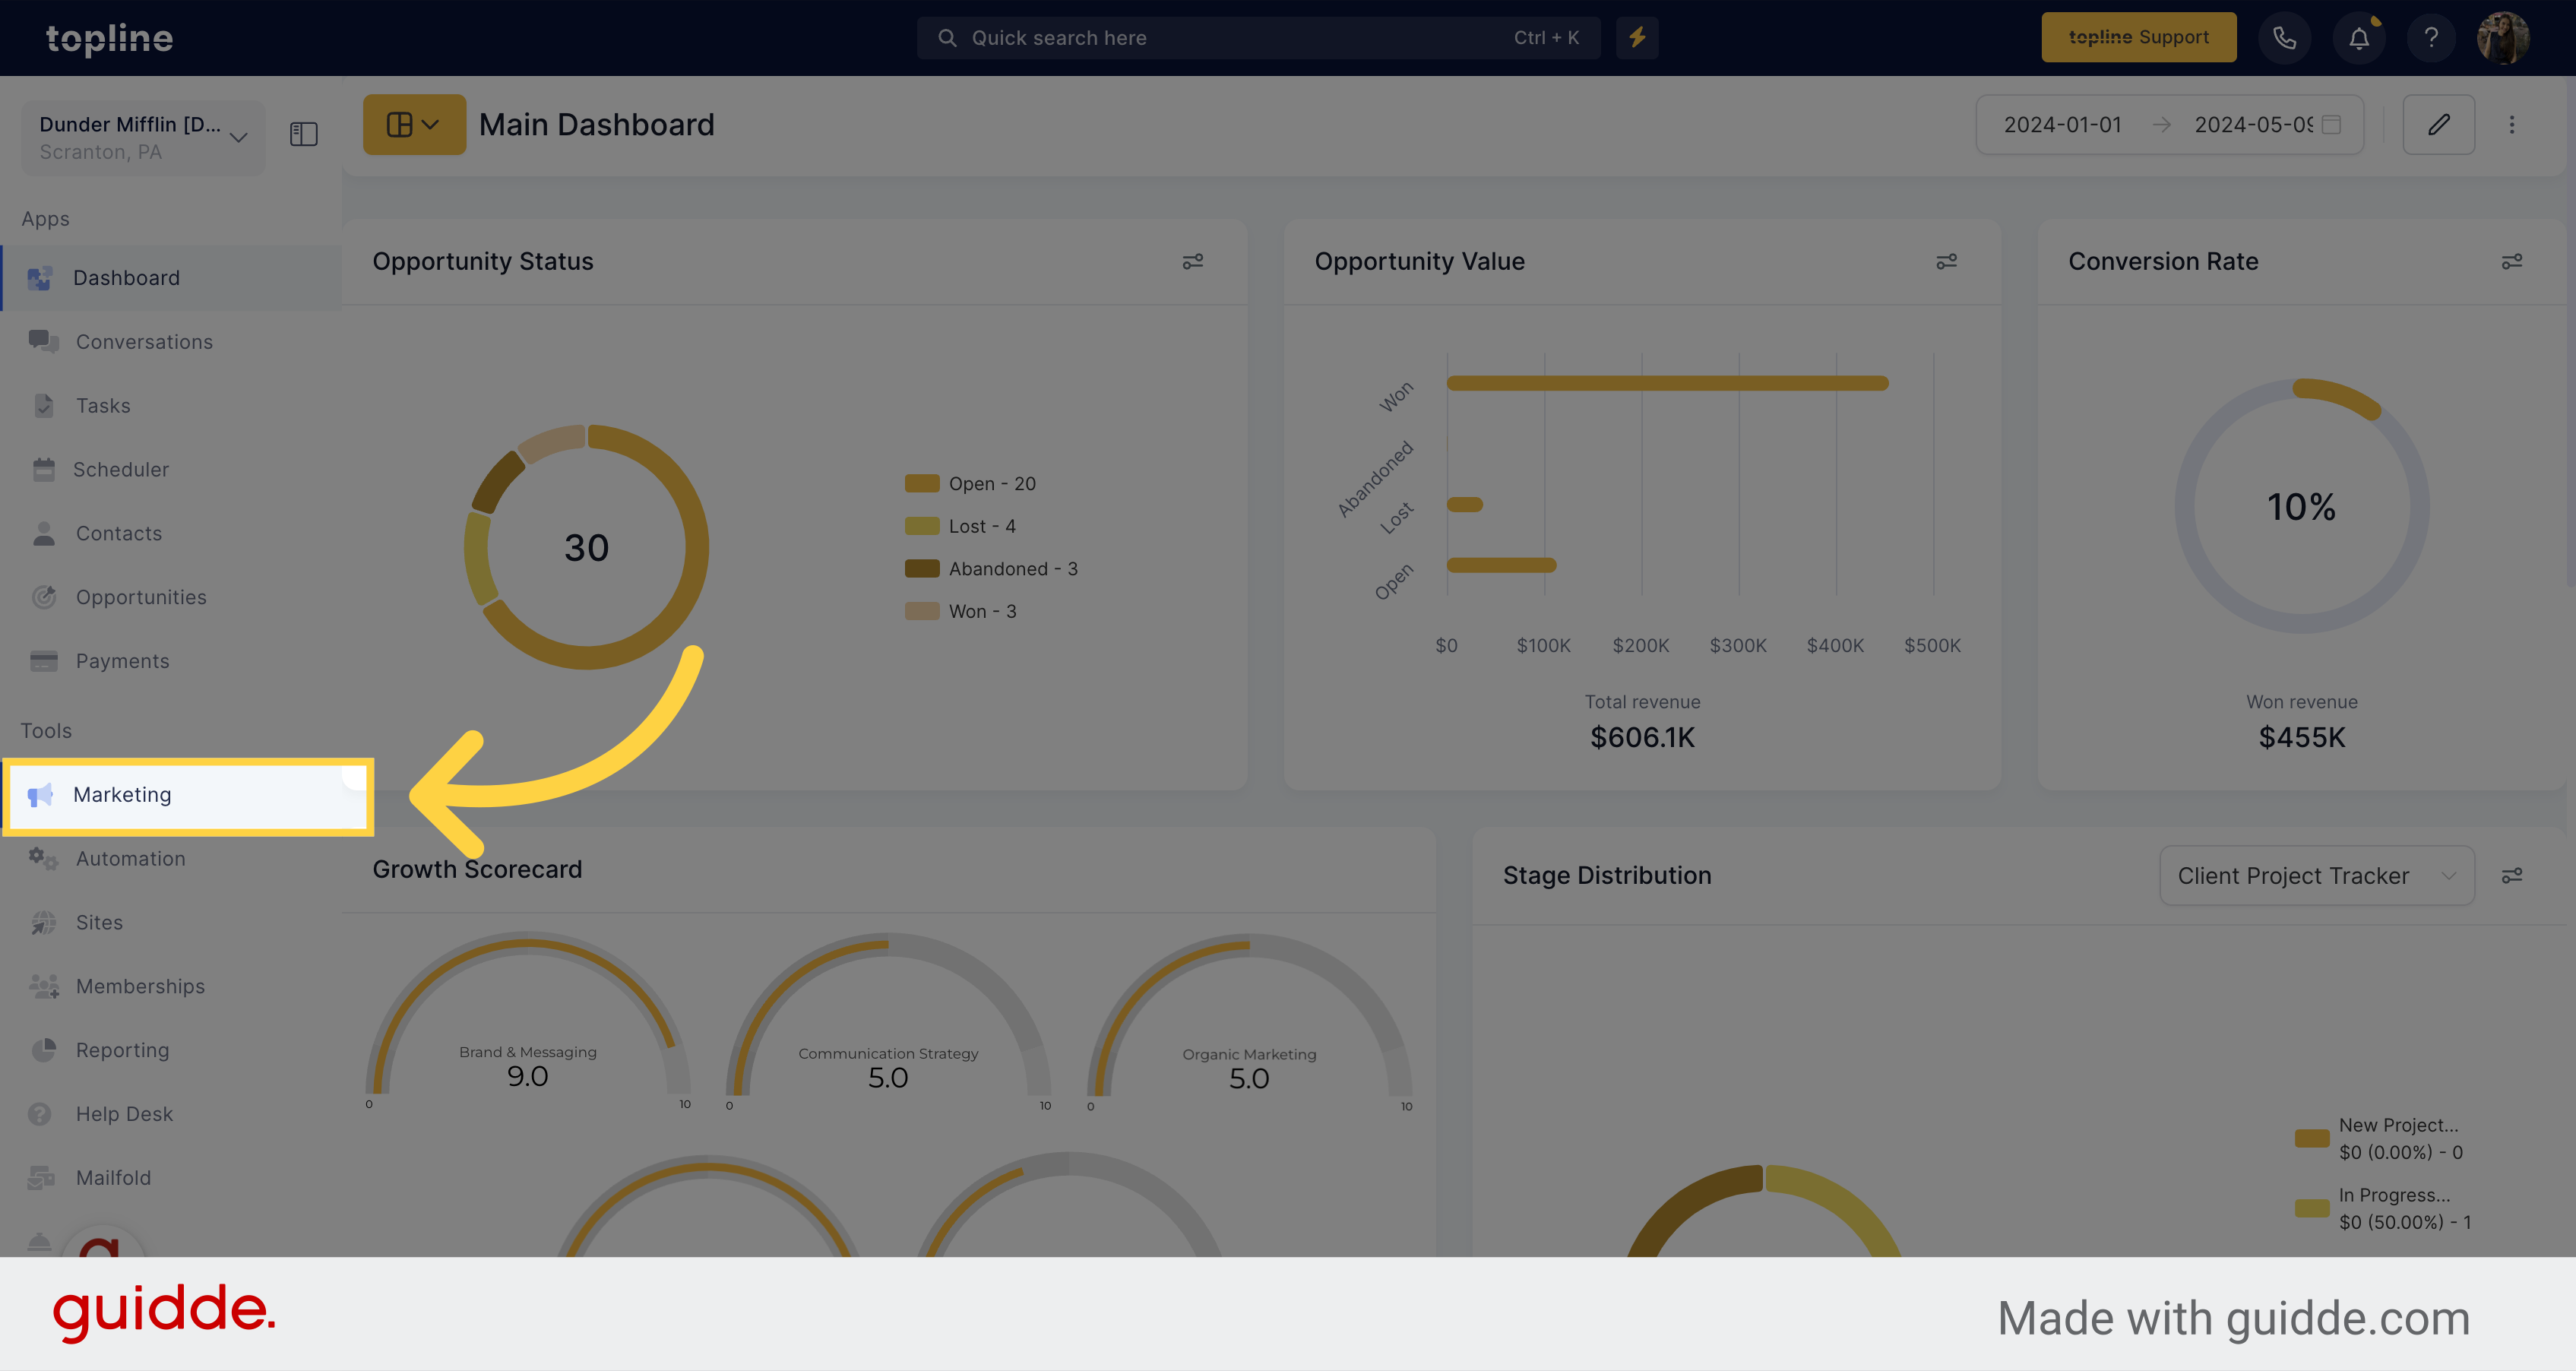
Navigate to the "Marketing" section on the left side menu.
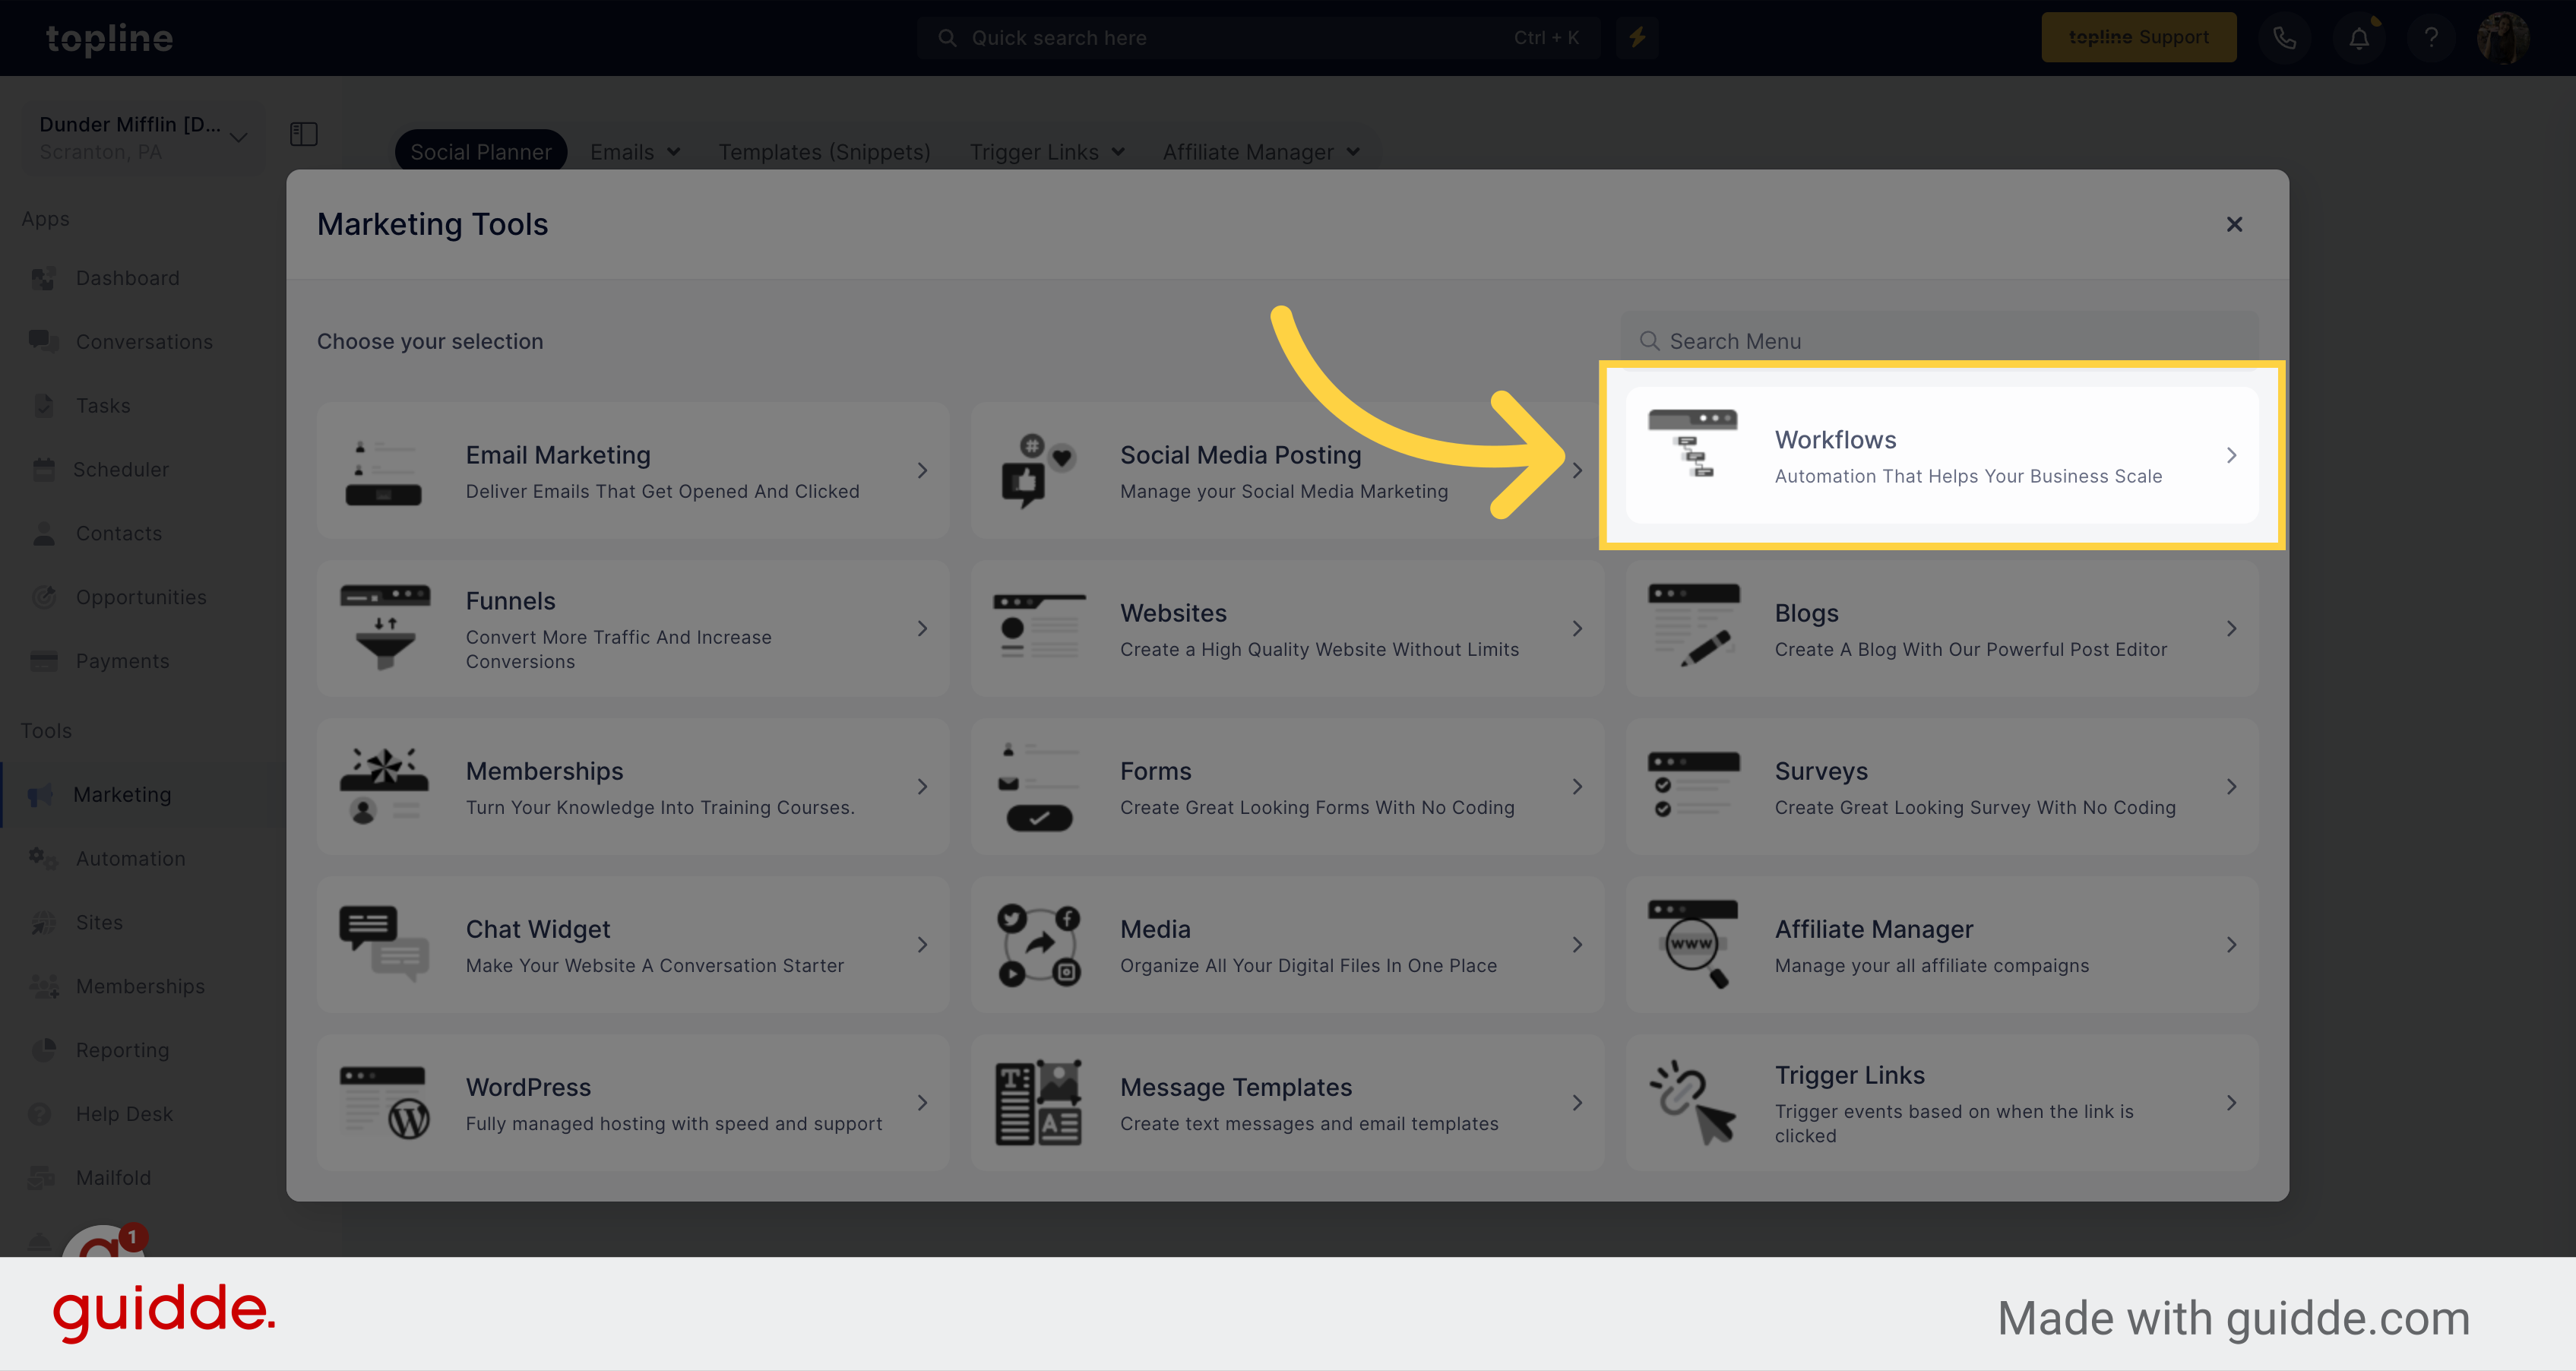
Access to the Worflows option on the Marketing Tools menu.
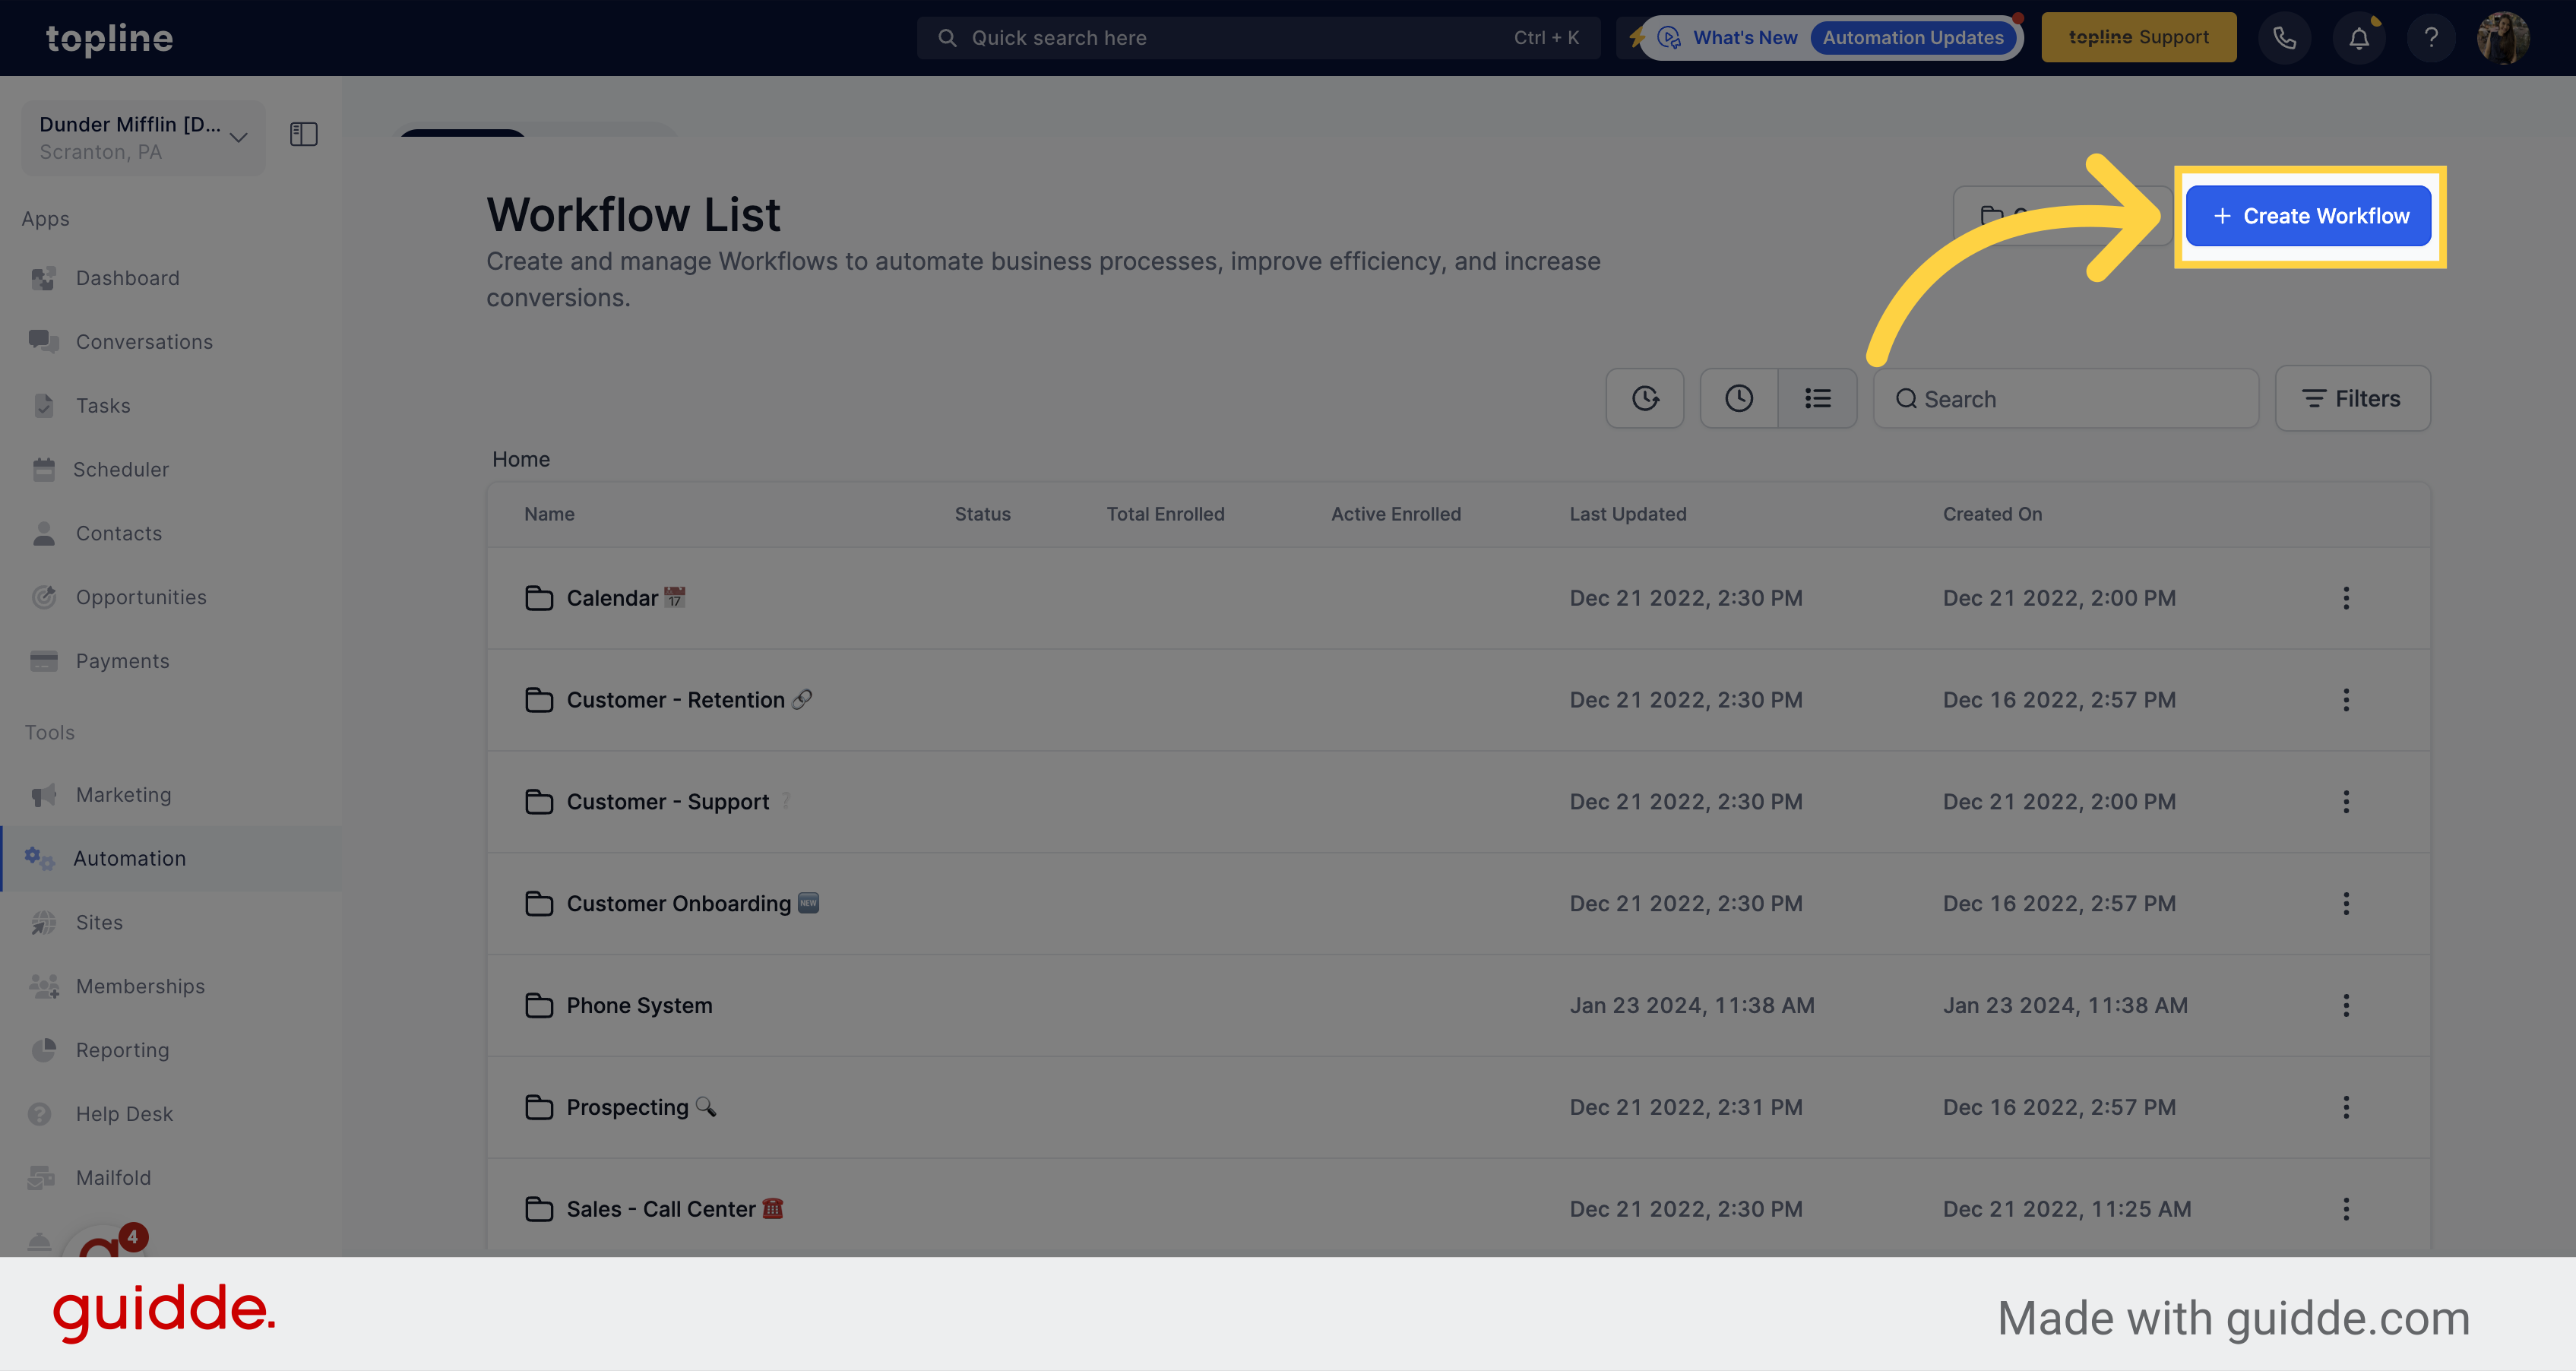
Select the Create Workflow option to start the process.
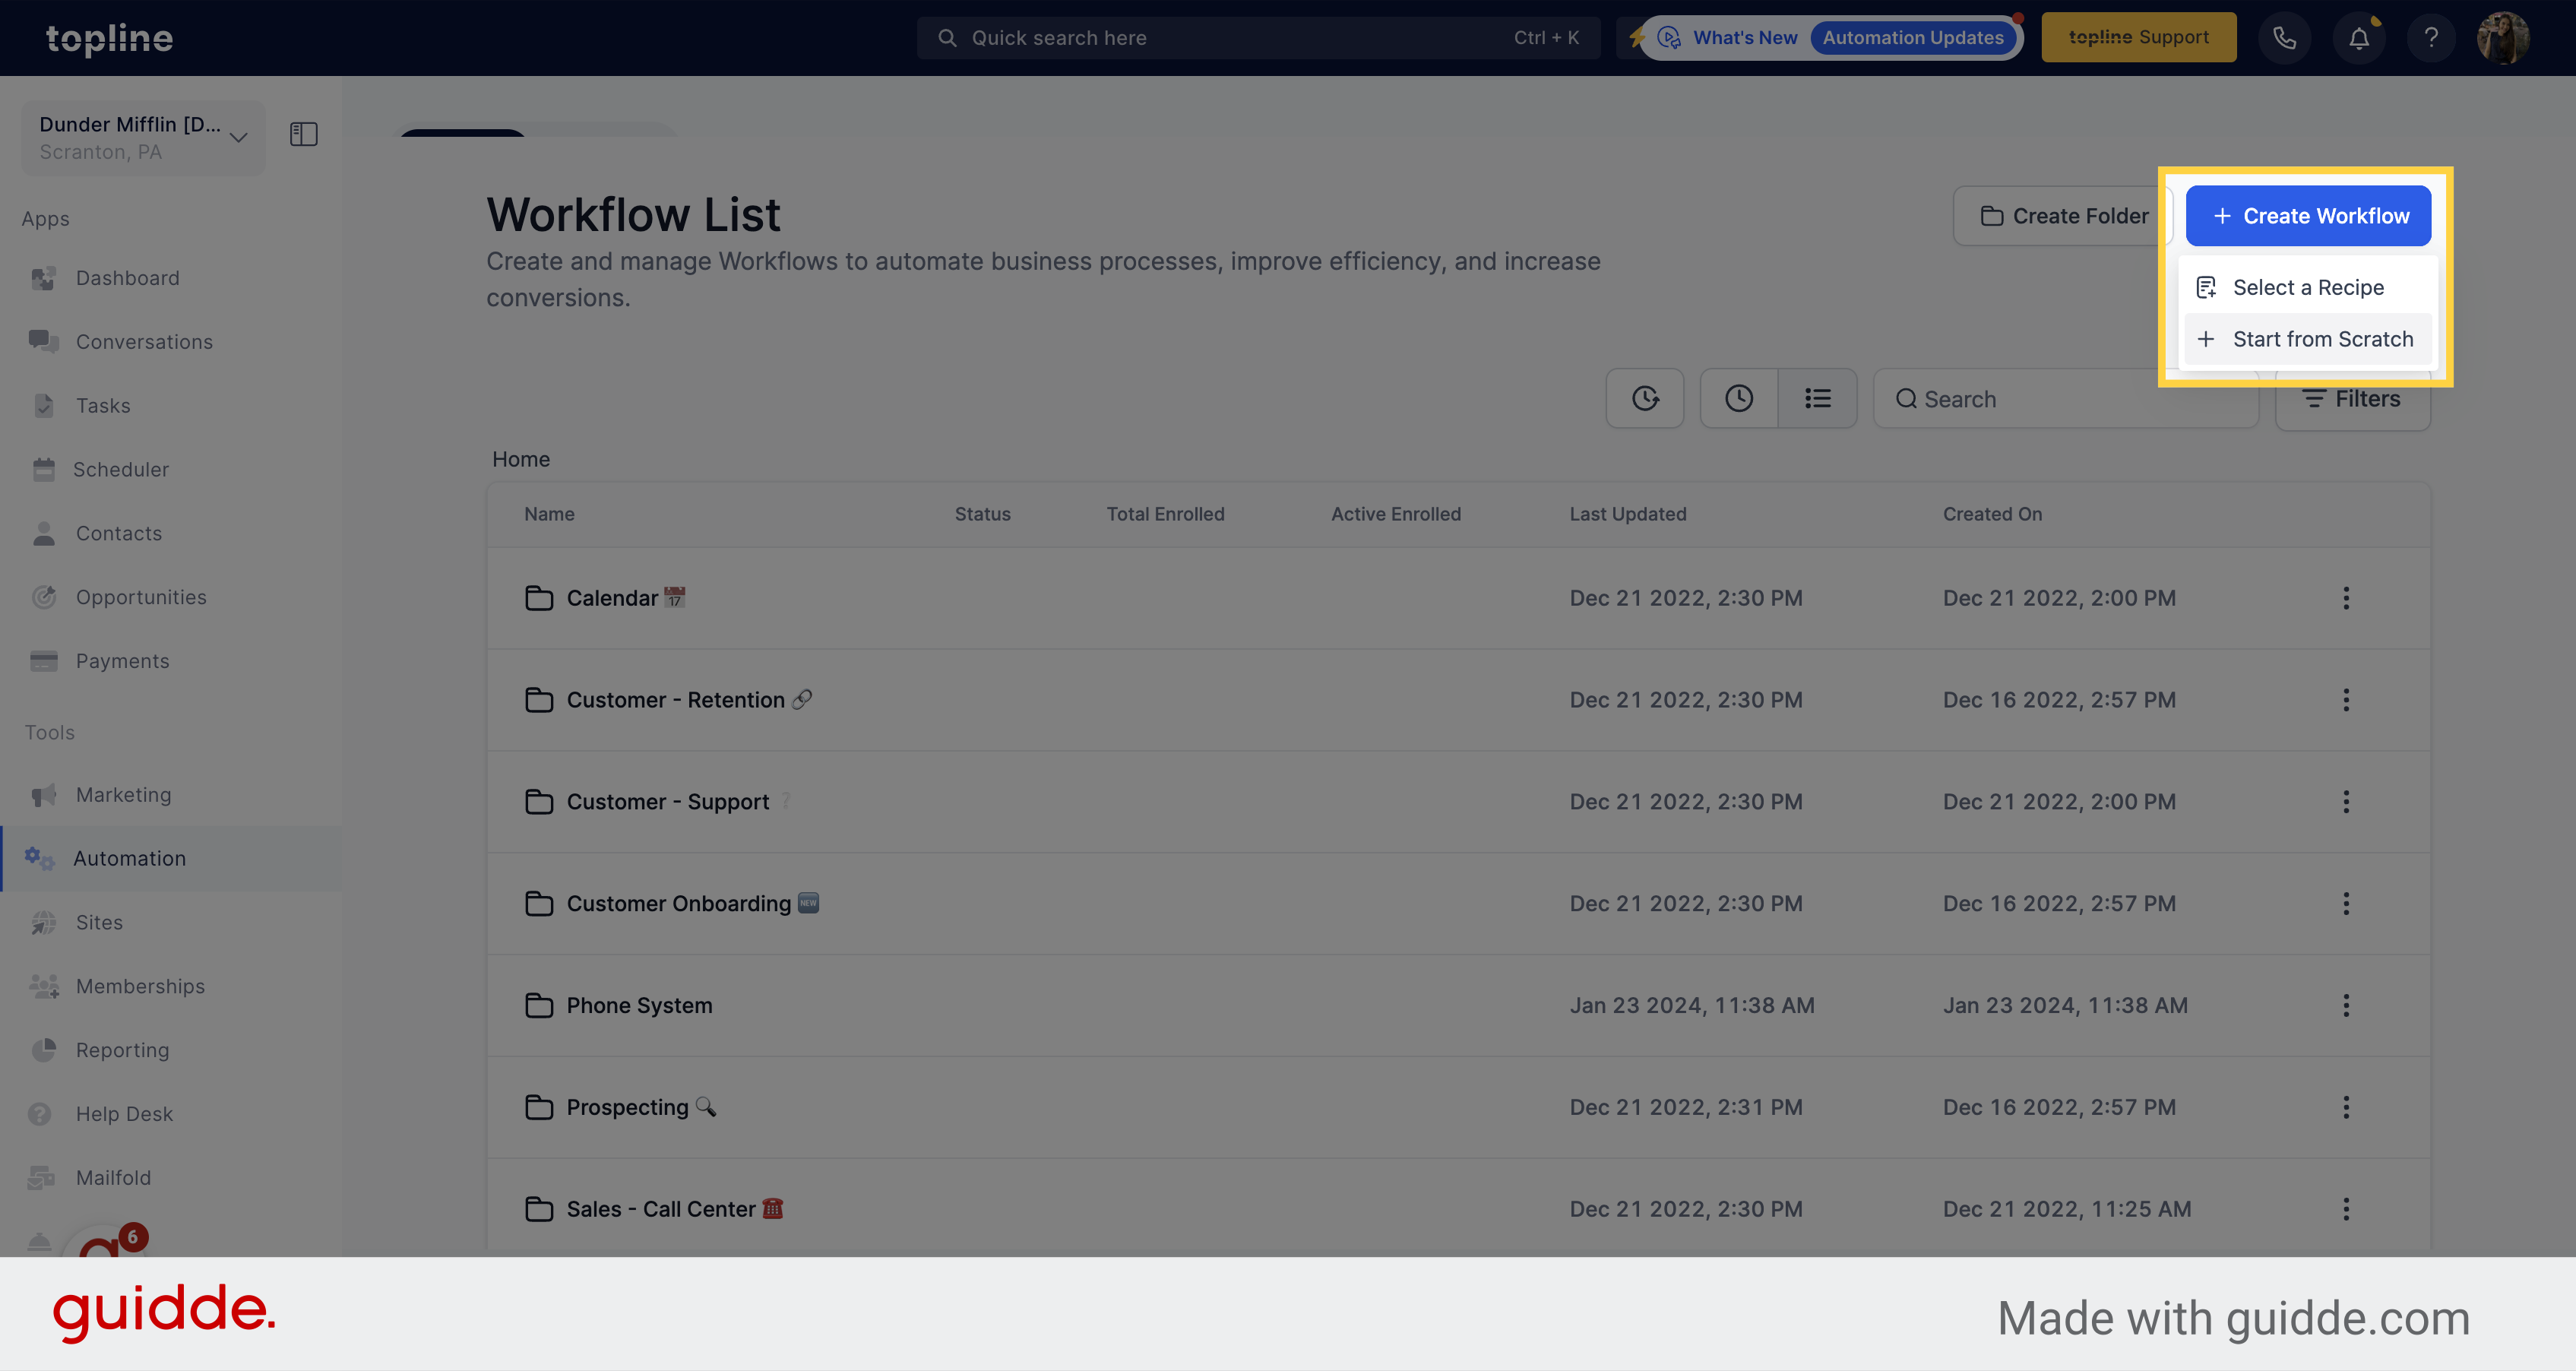
Select the Start from scratch option from the dropdown menu.
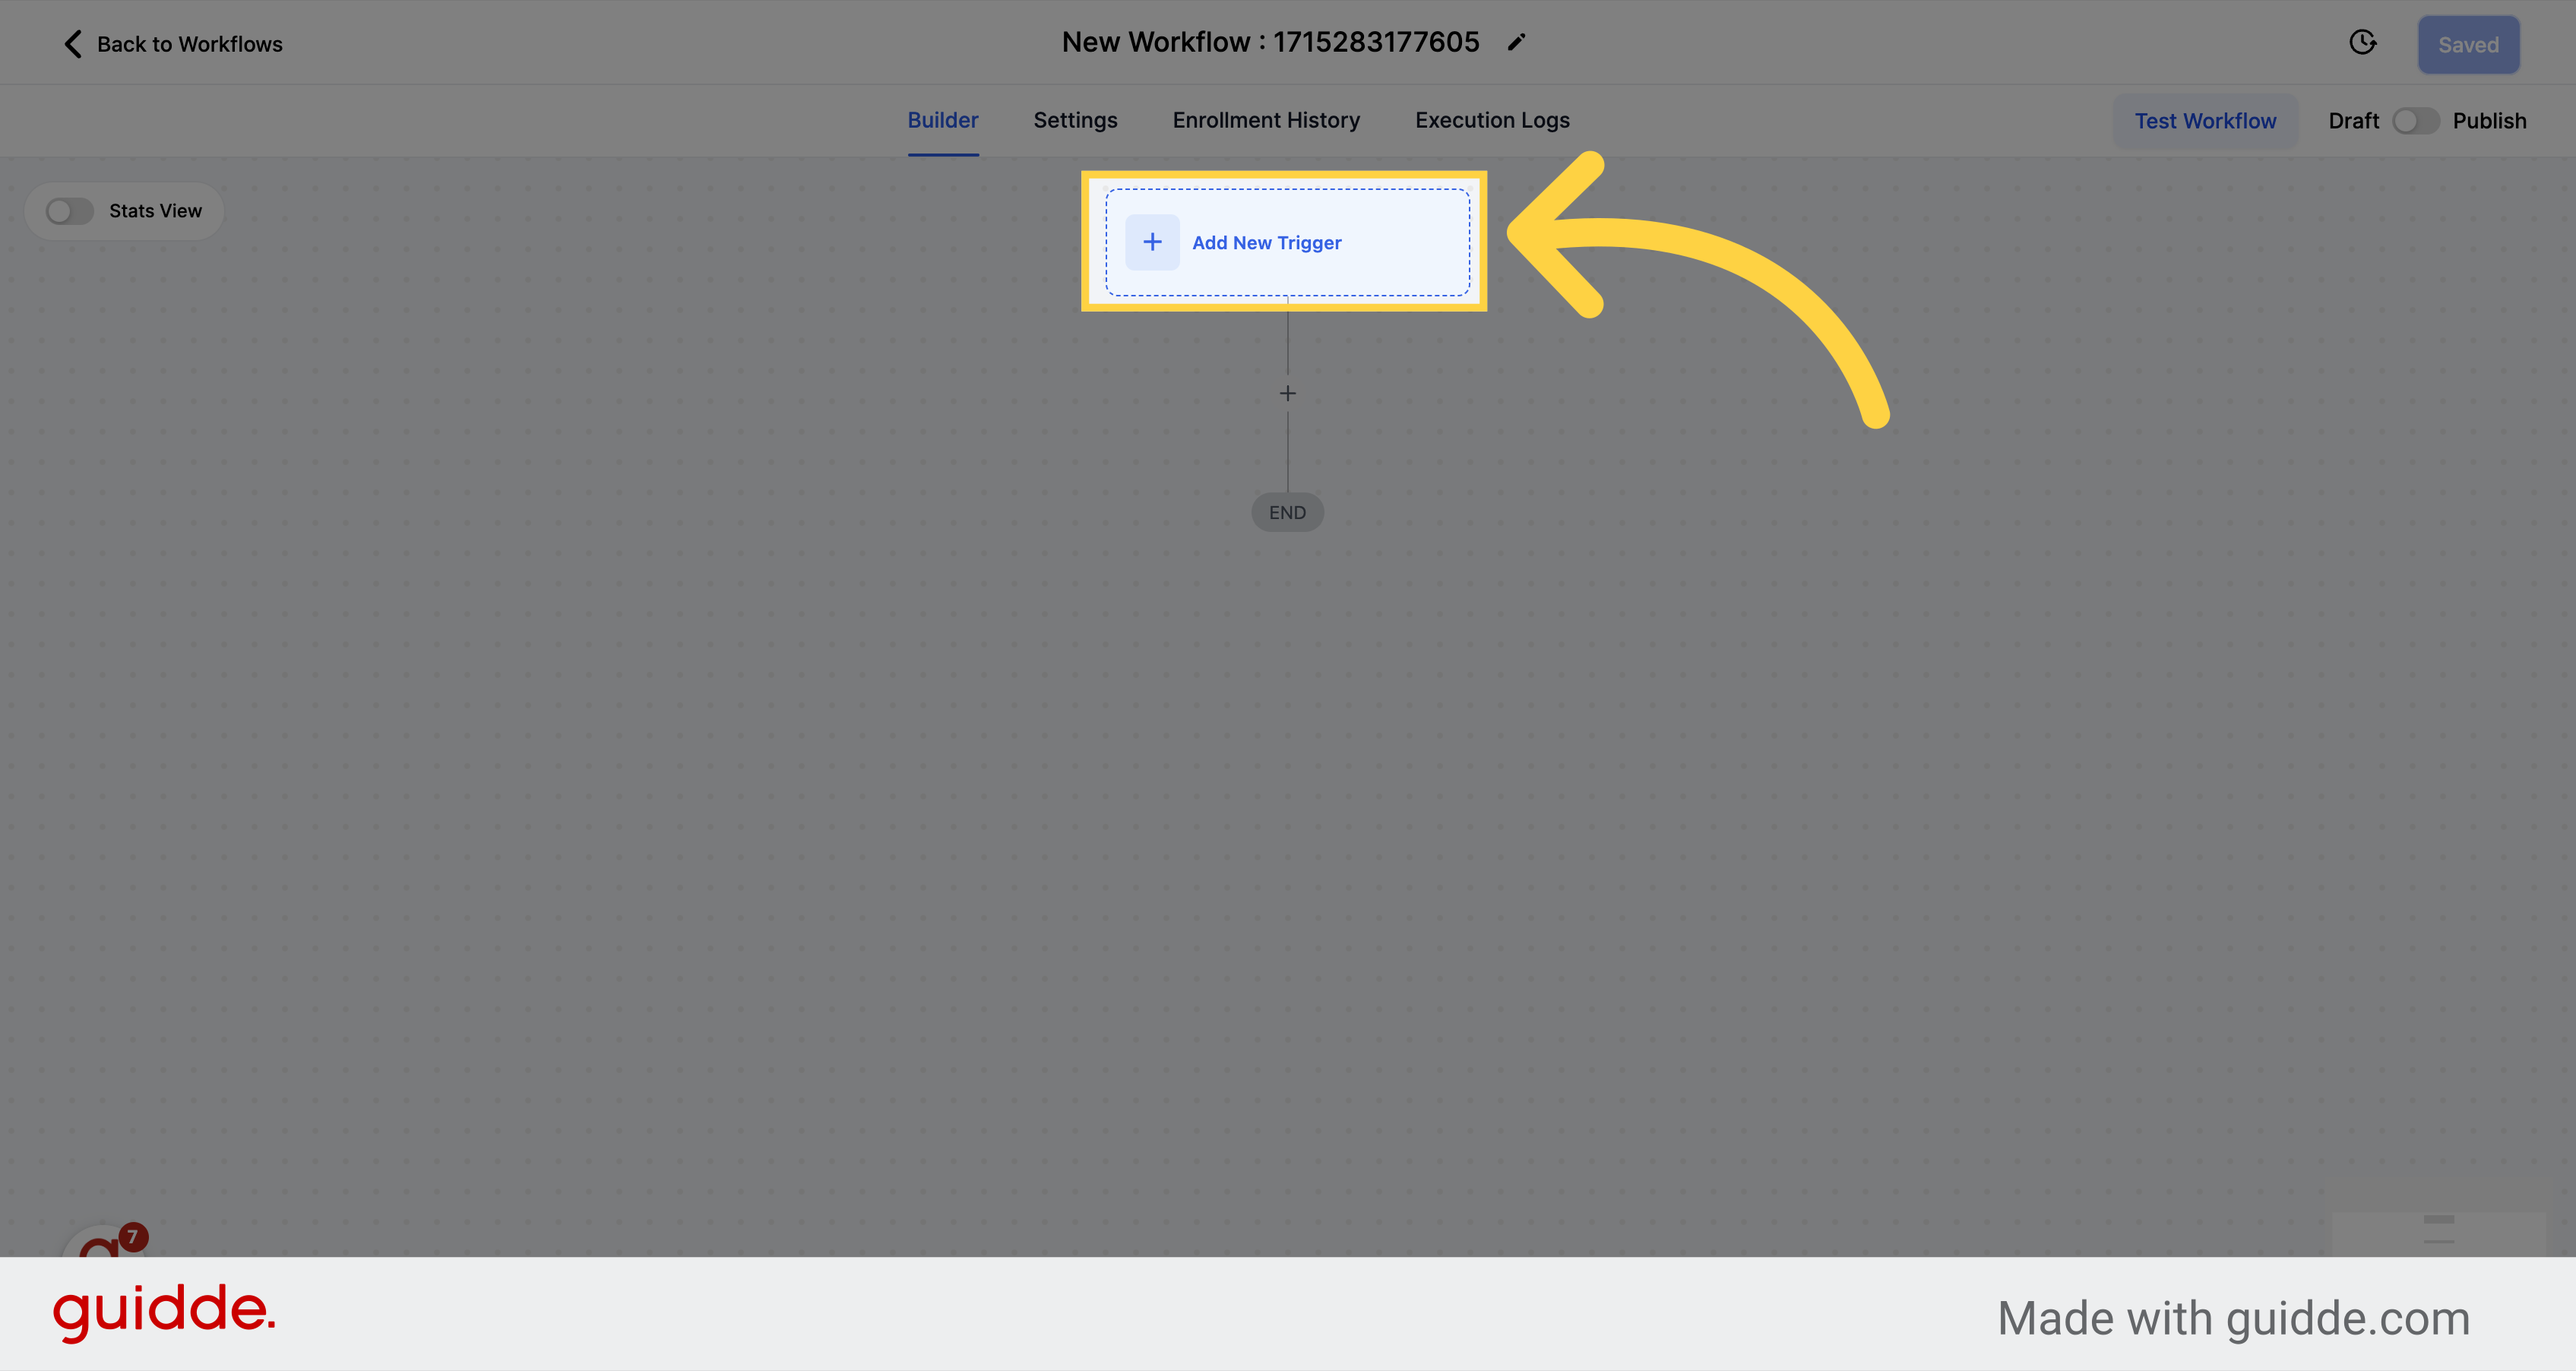
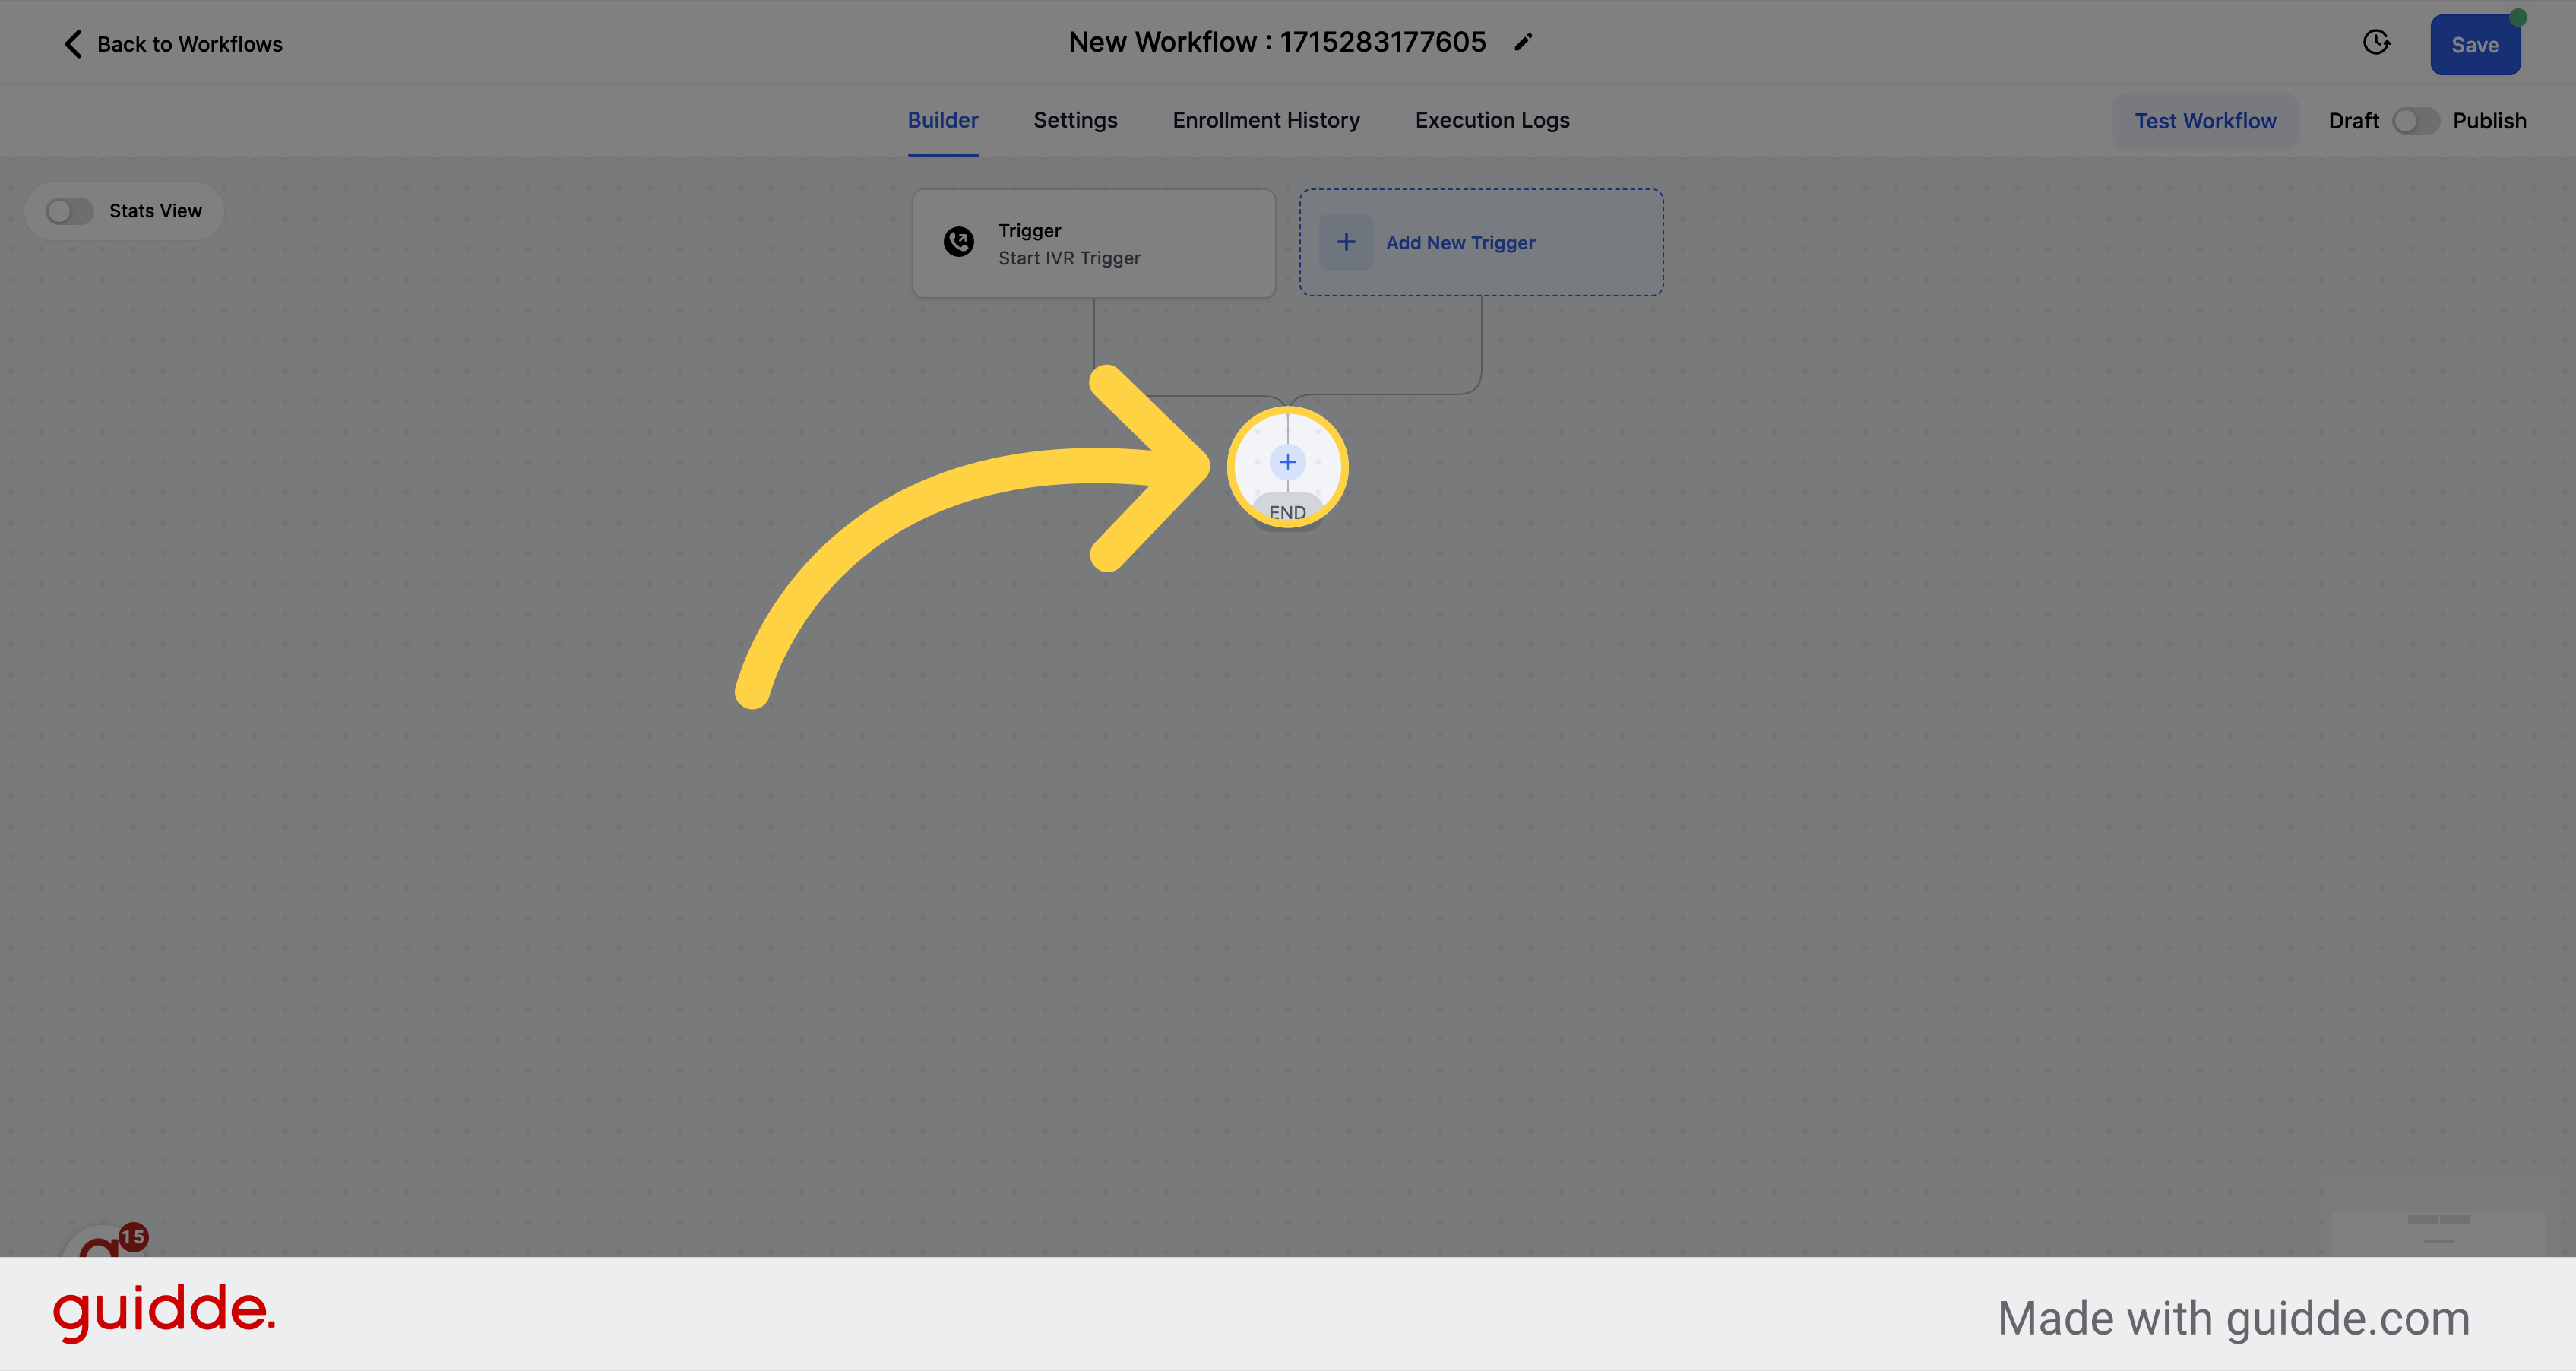
Select the Add New Trigger option to visualize the trigger.
Select this option from the trigger options.
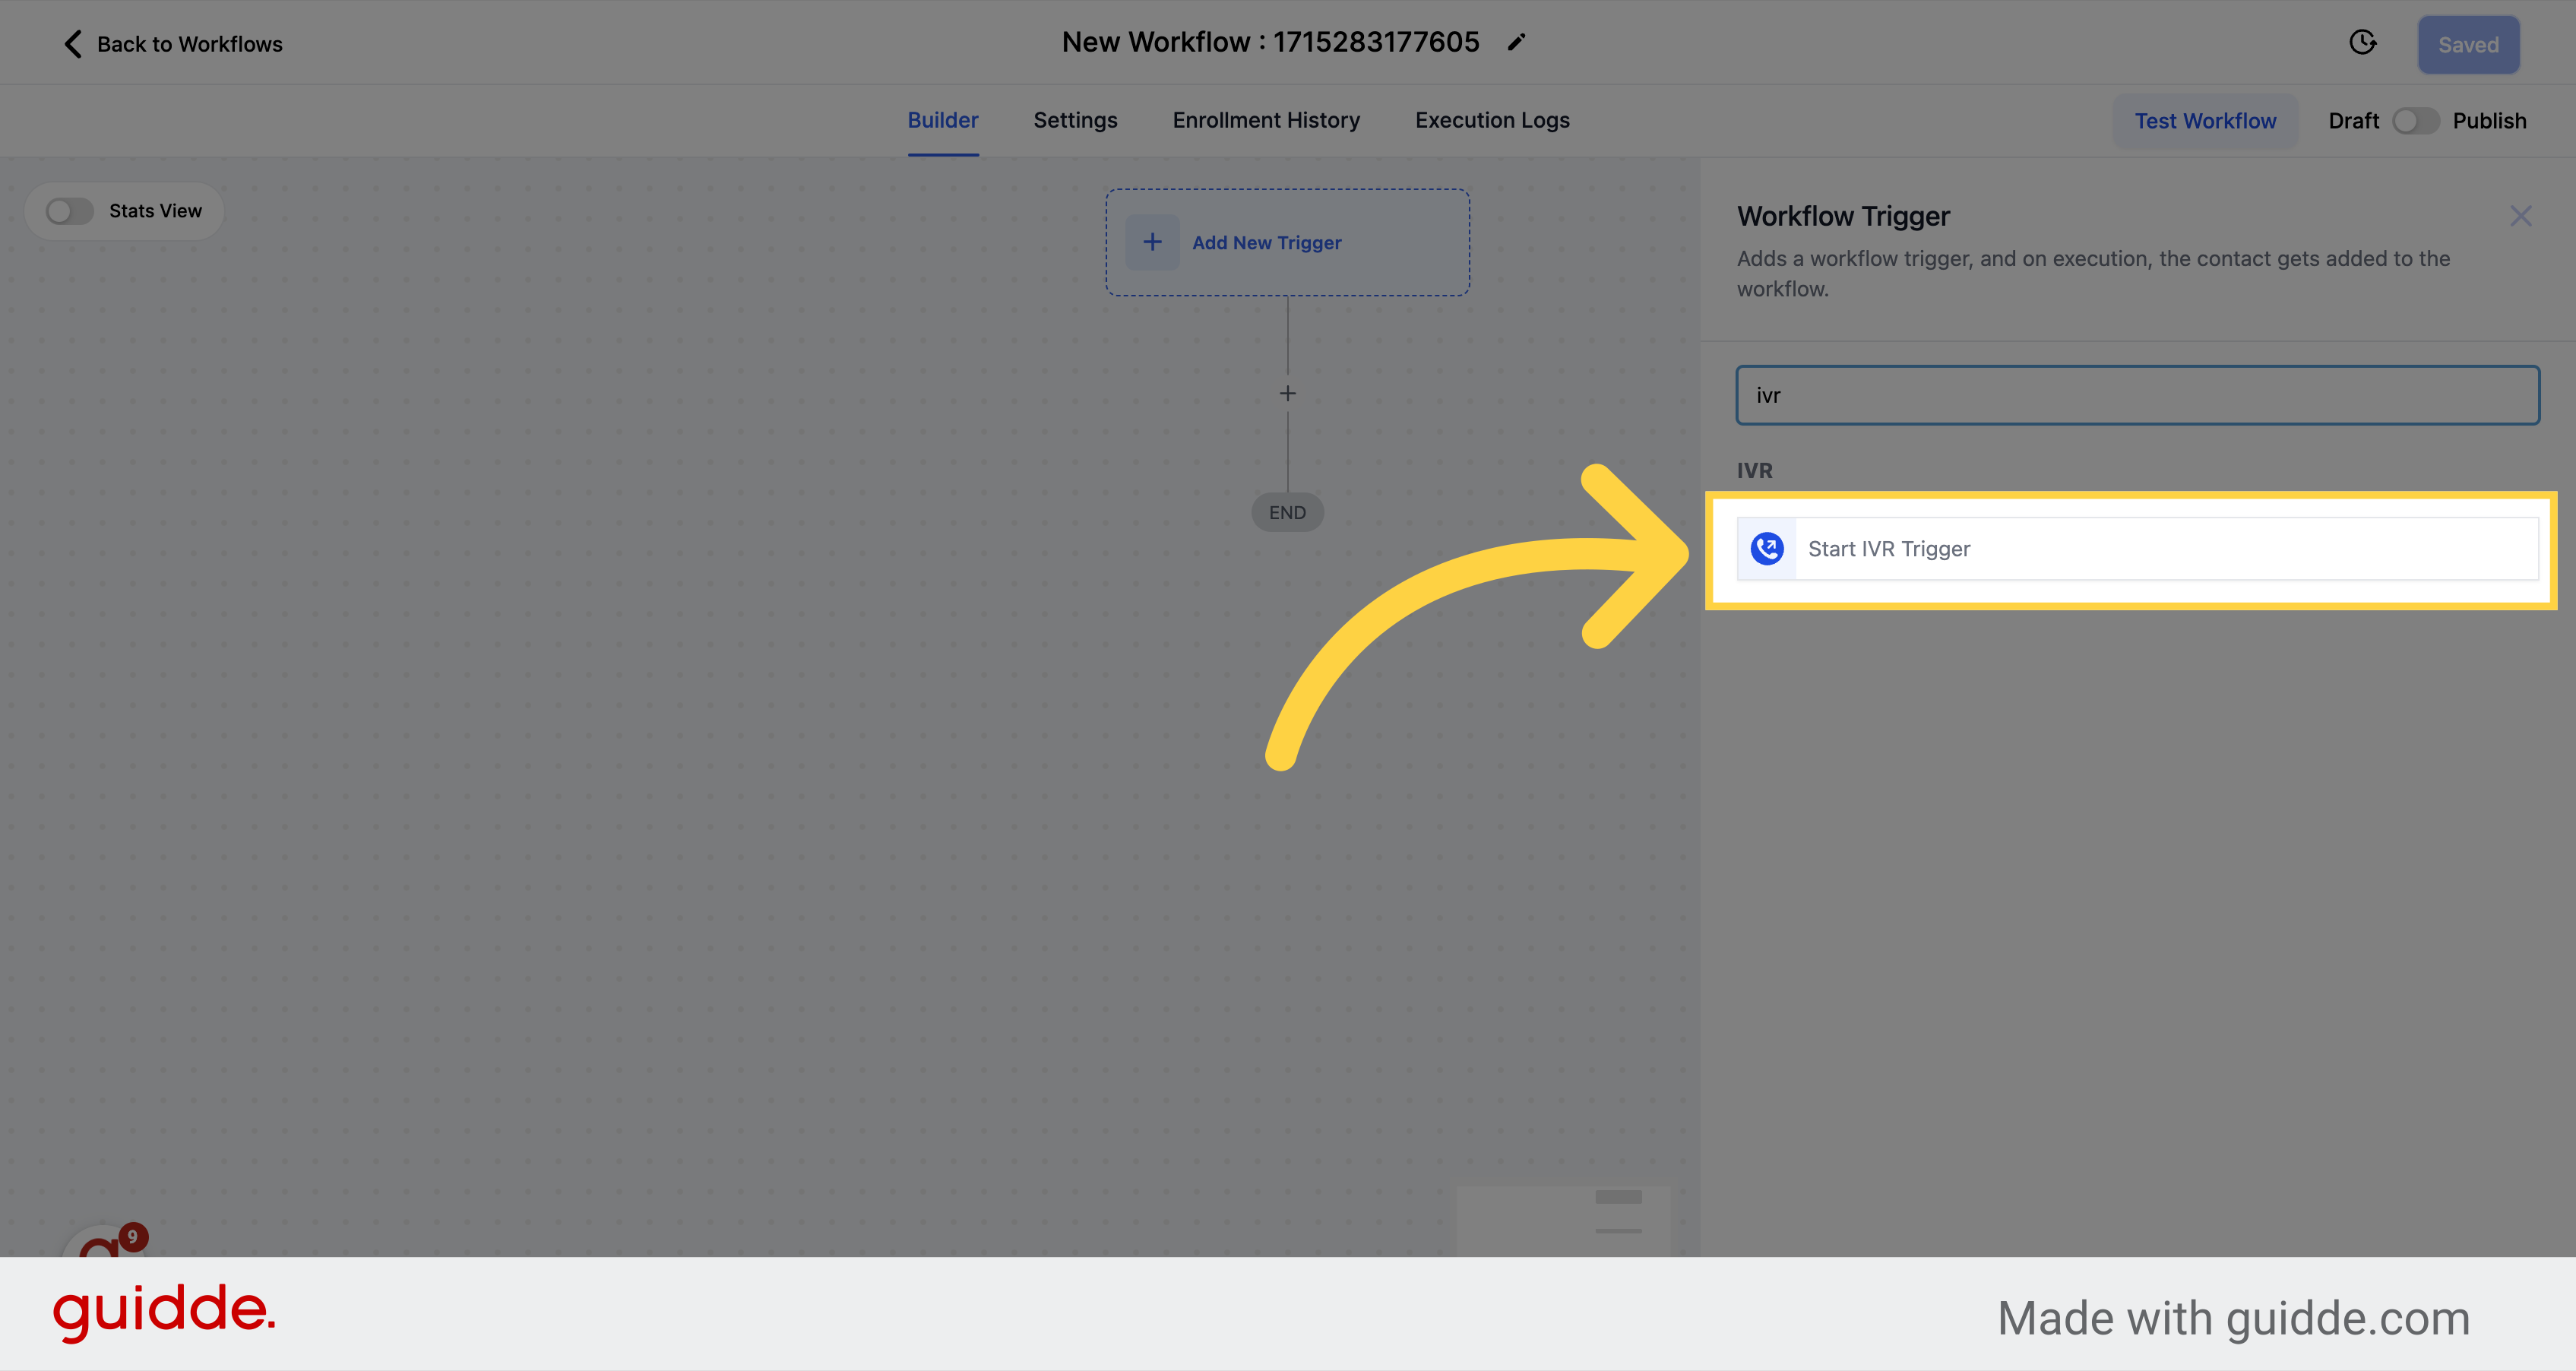
All the trigger option will appear in this view.
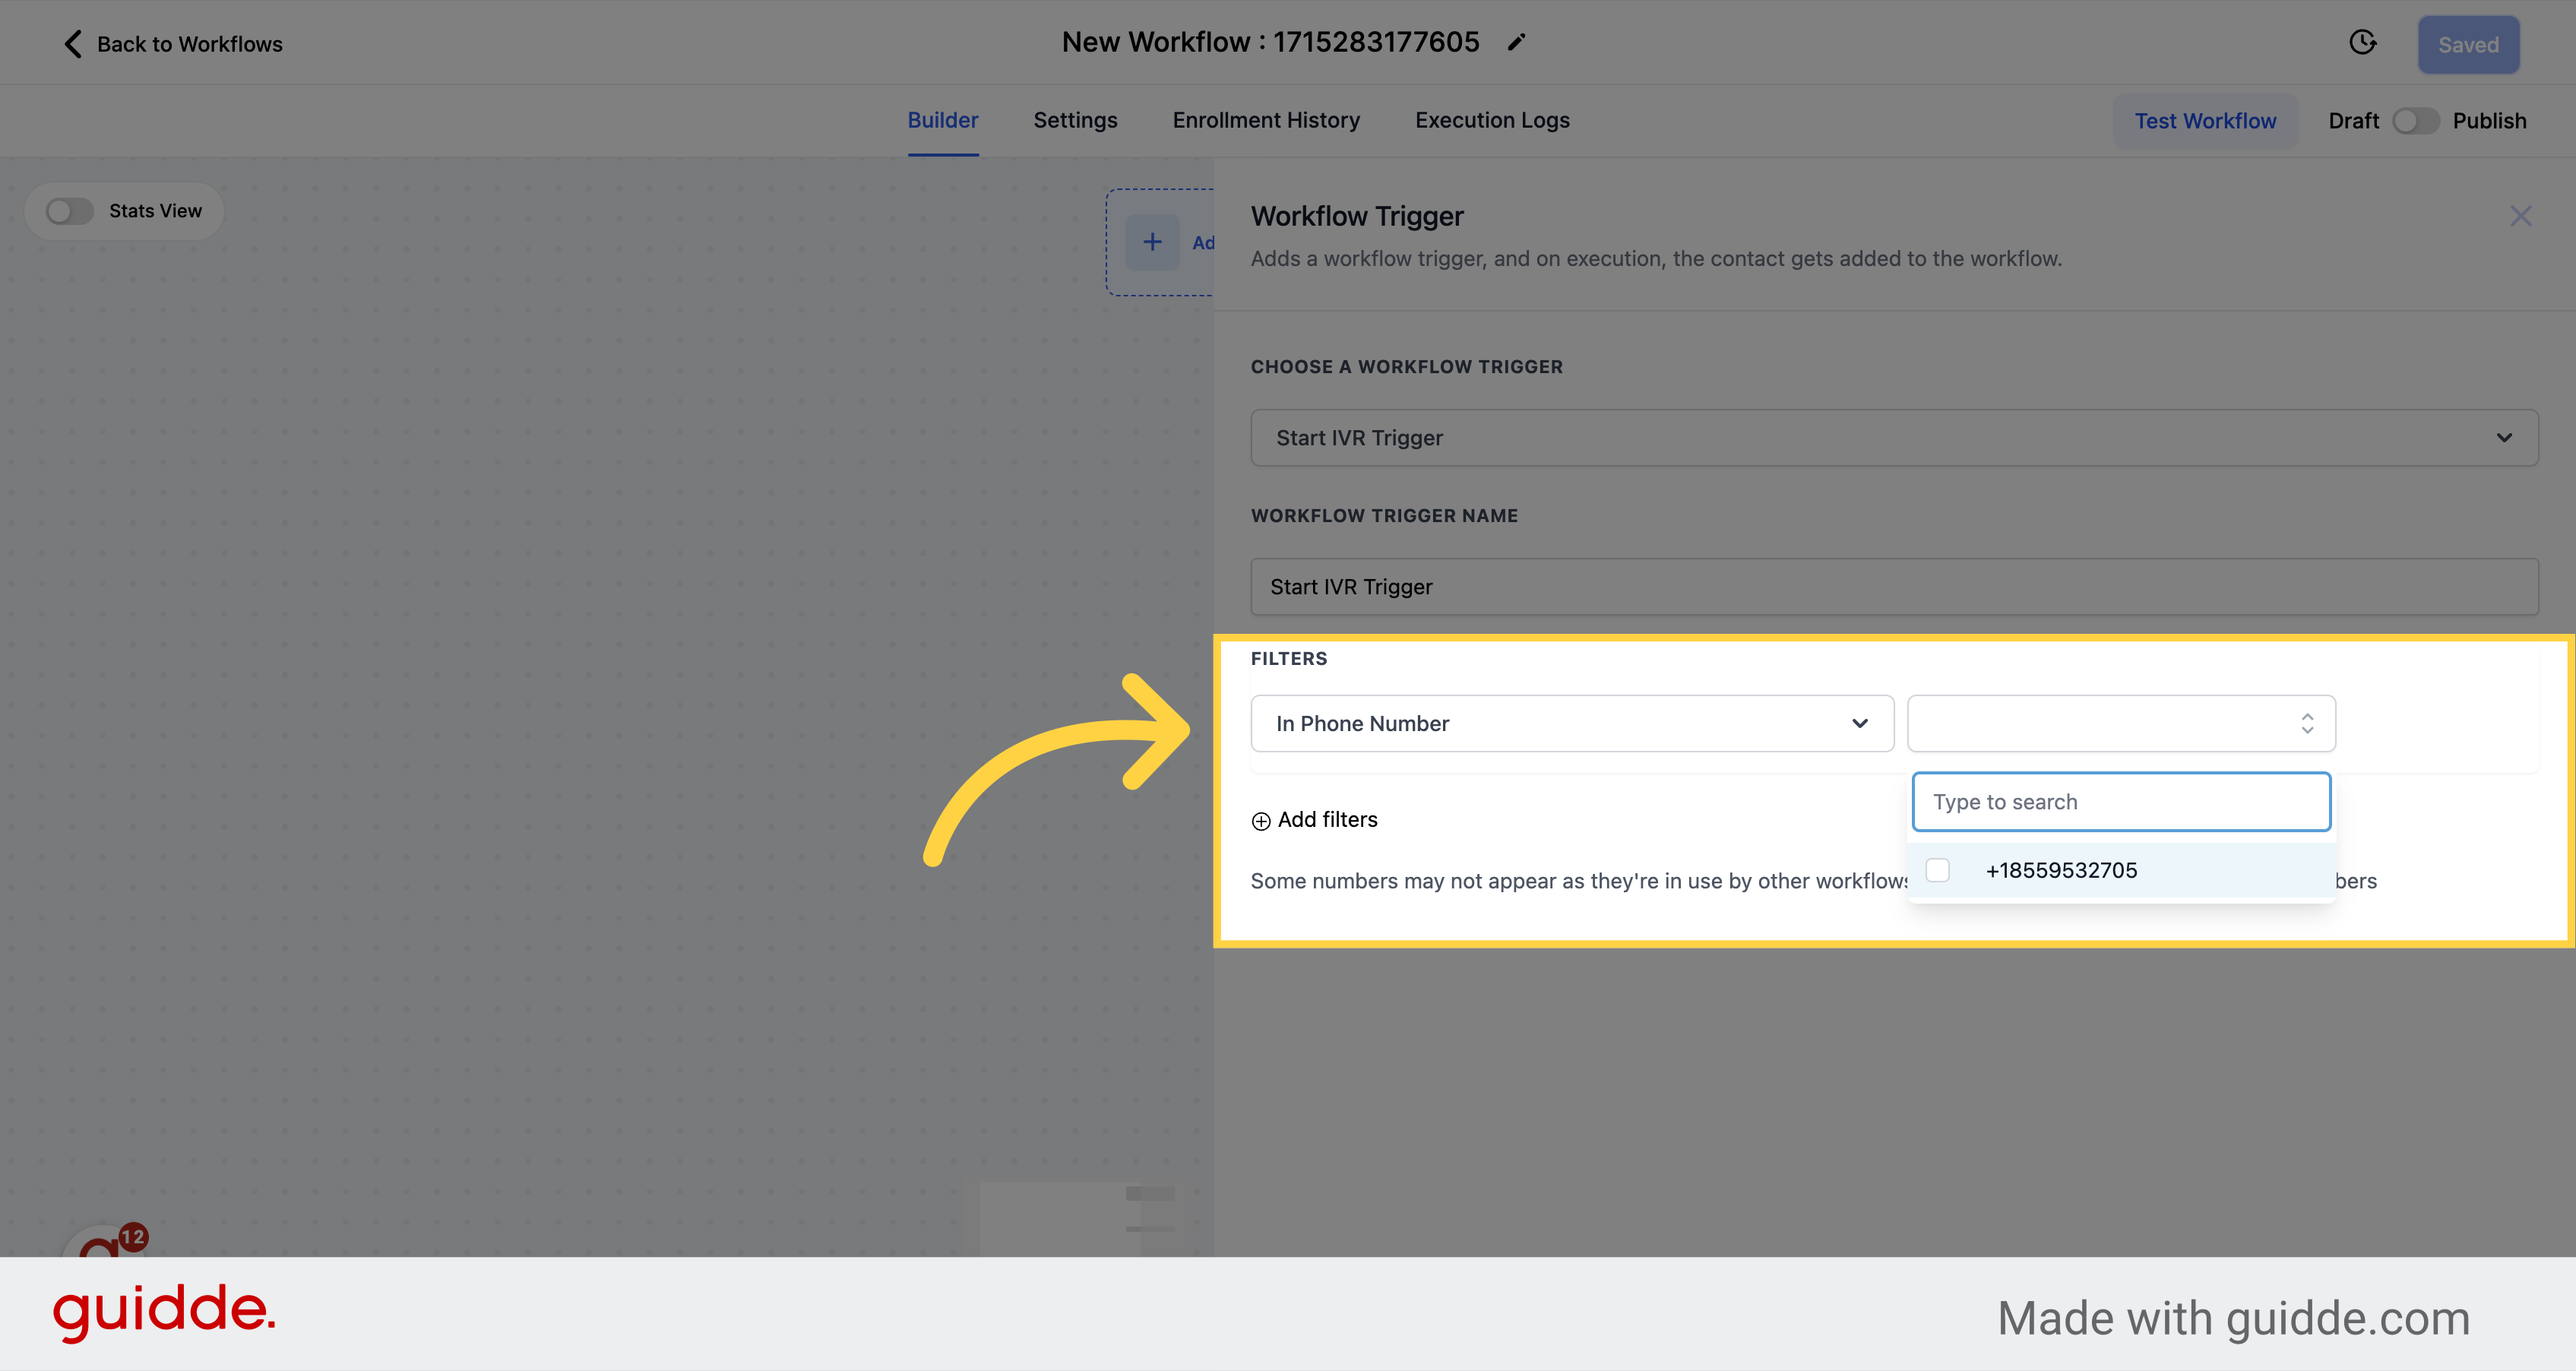
Select the designated phone number for your workflow.
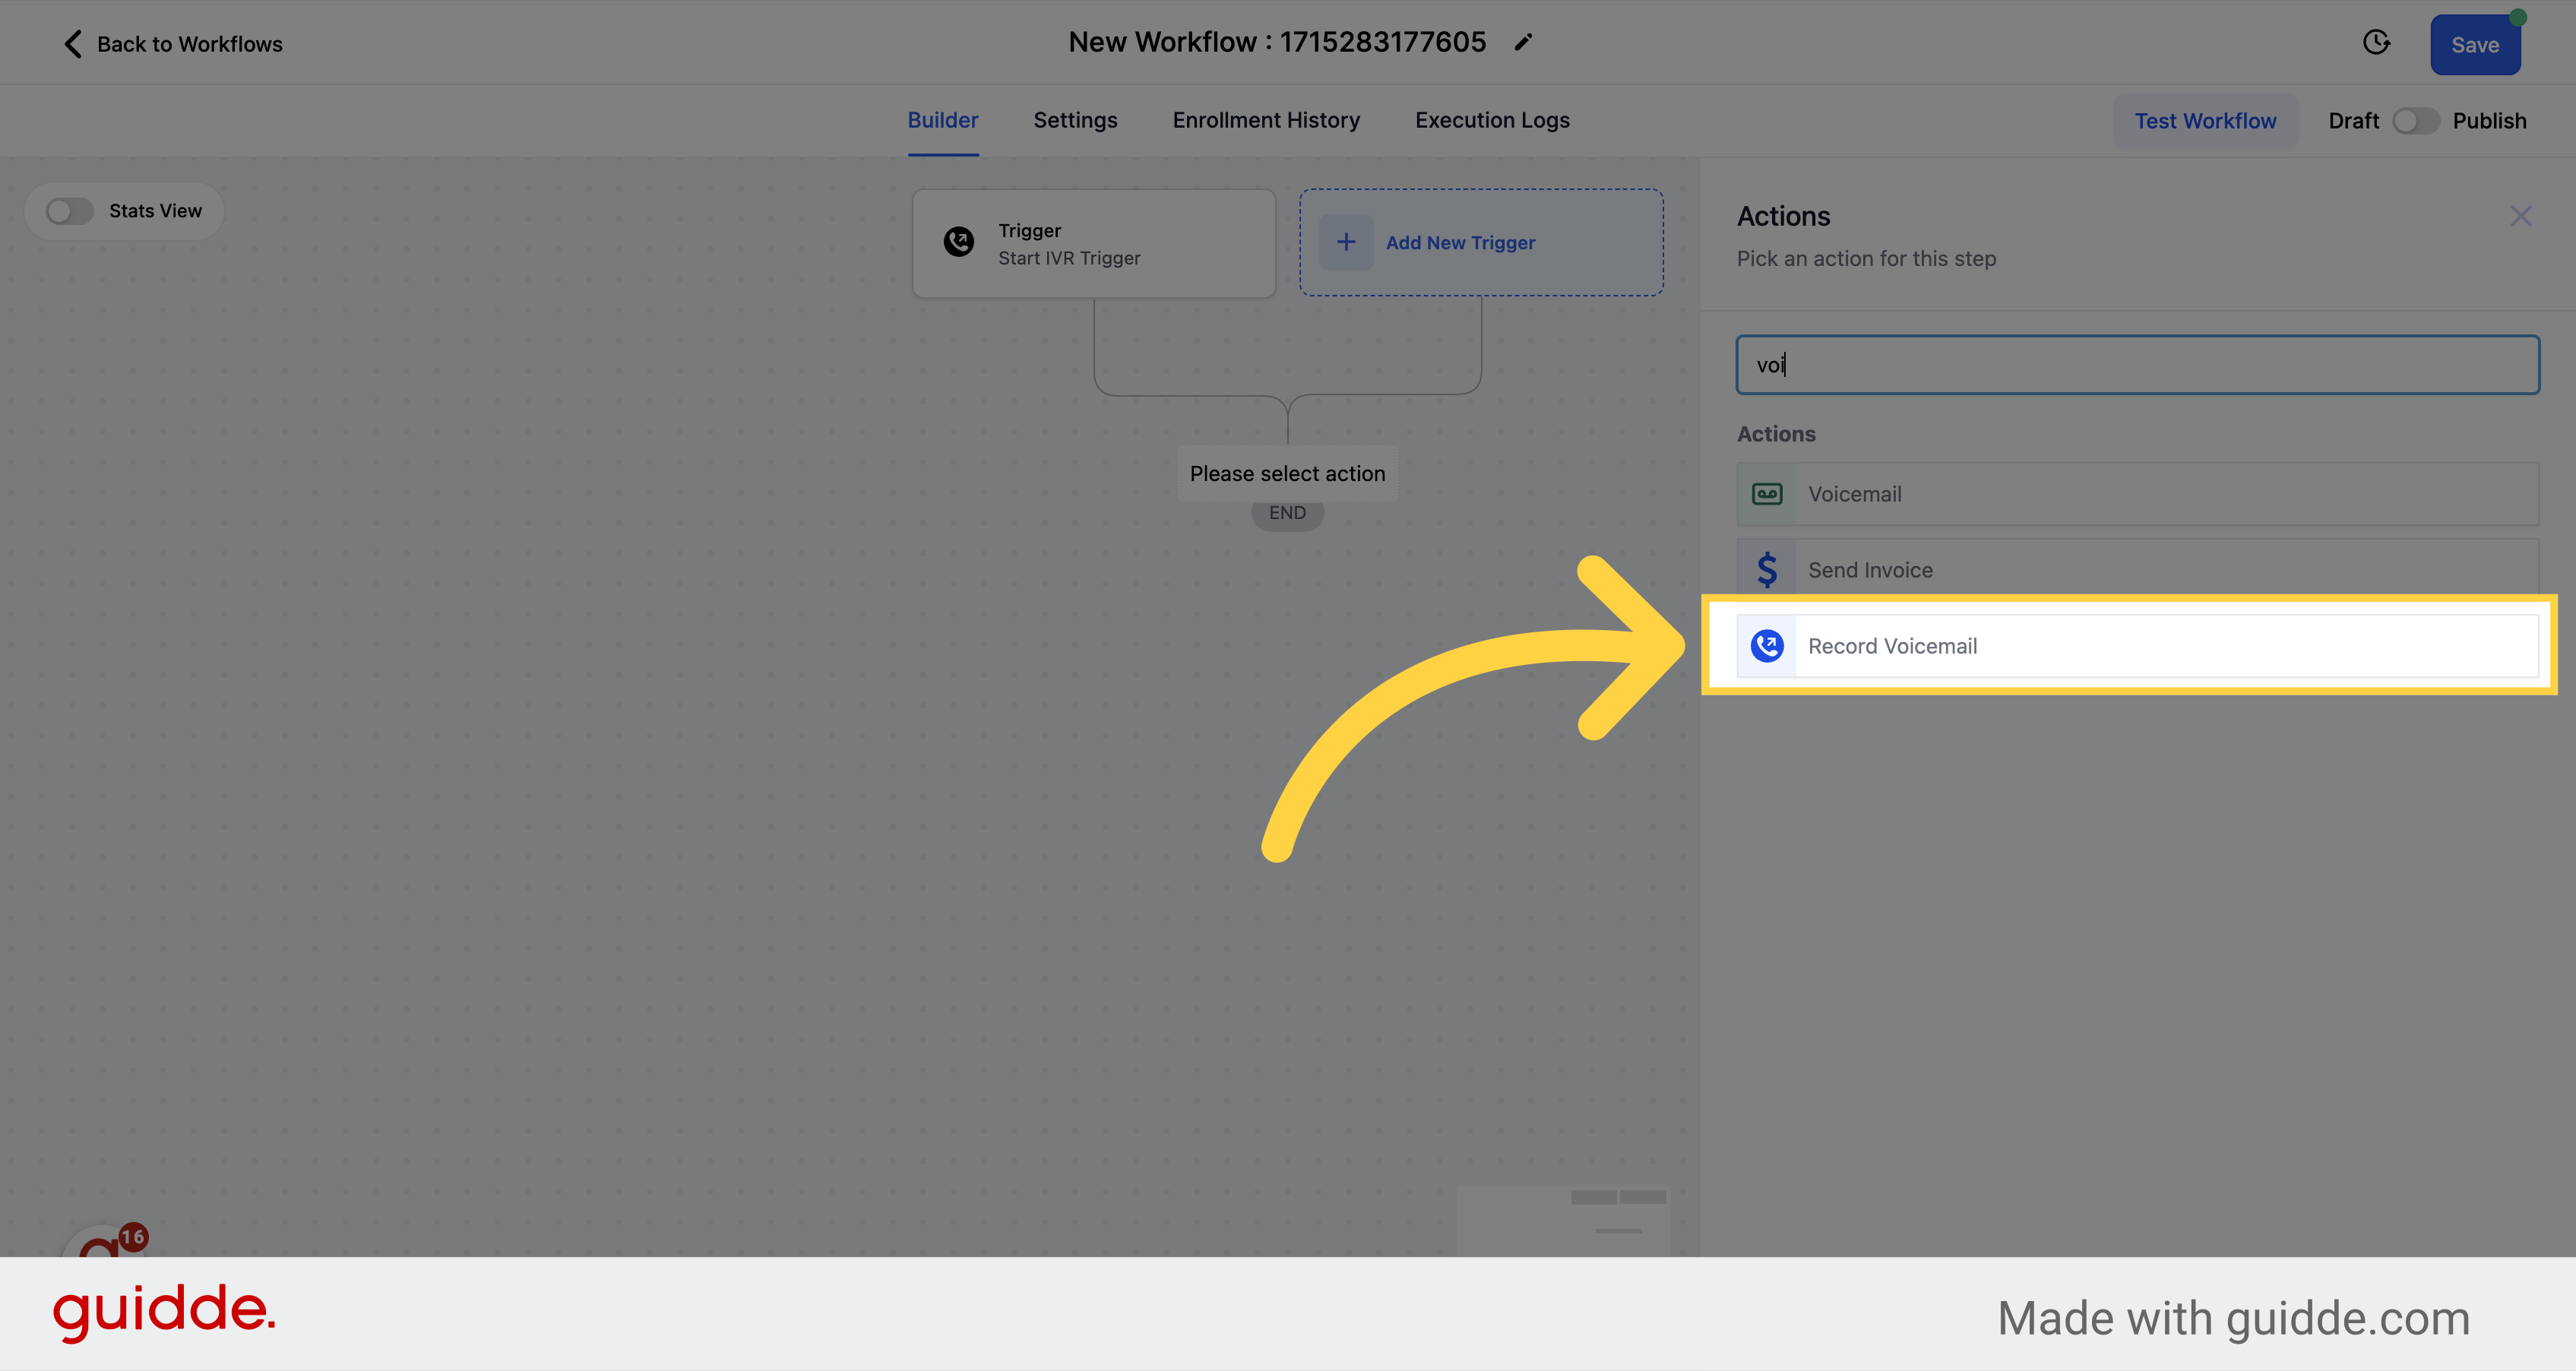
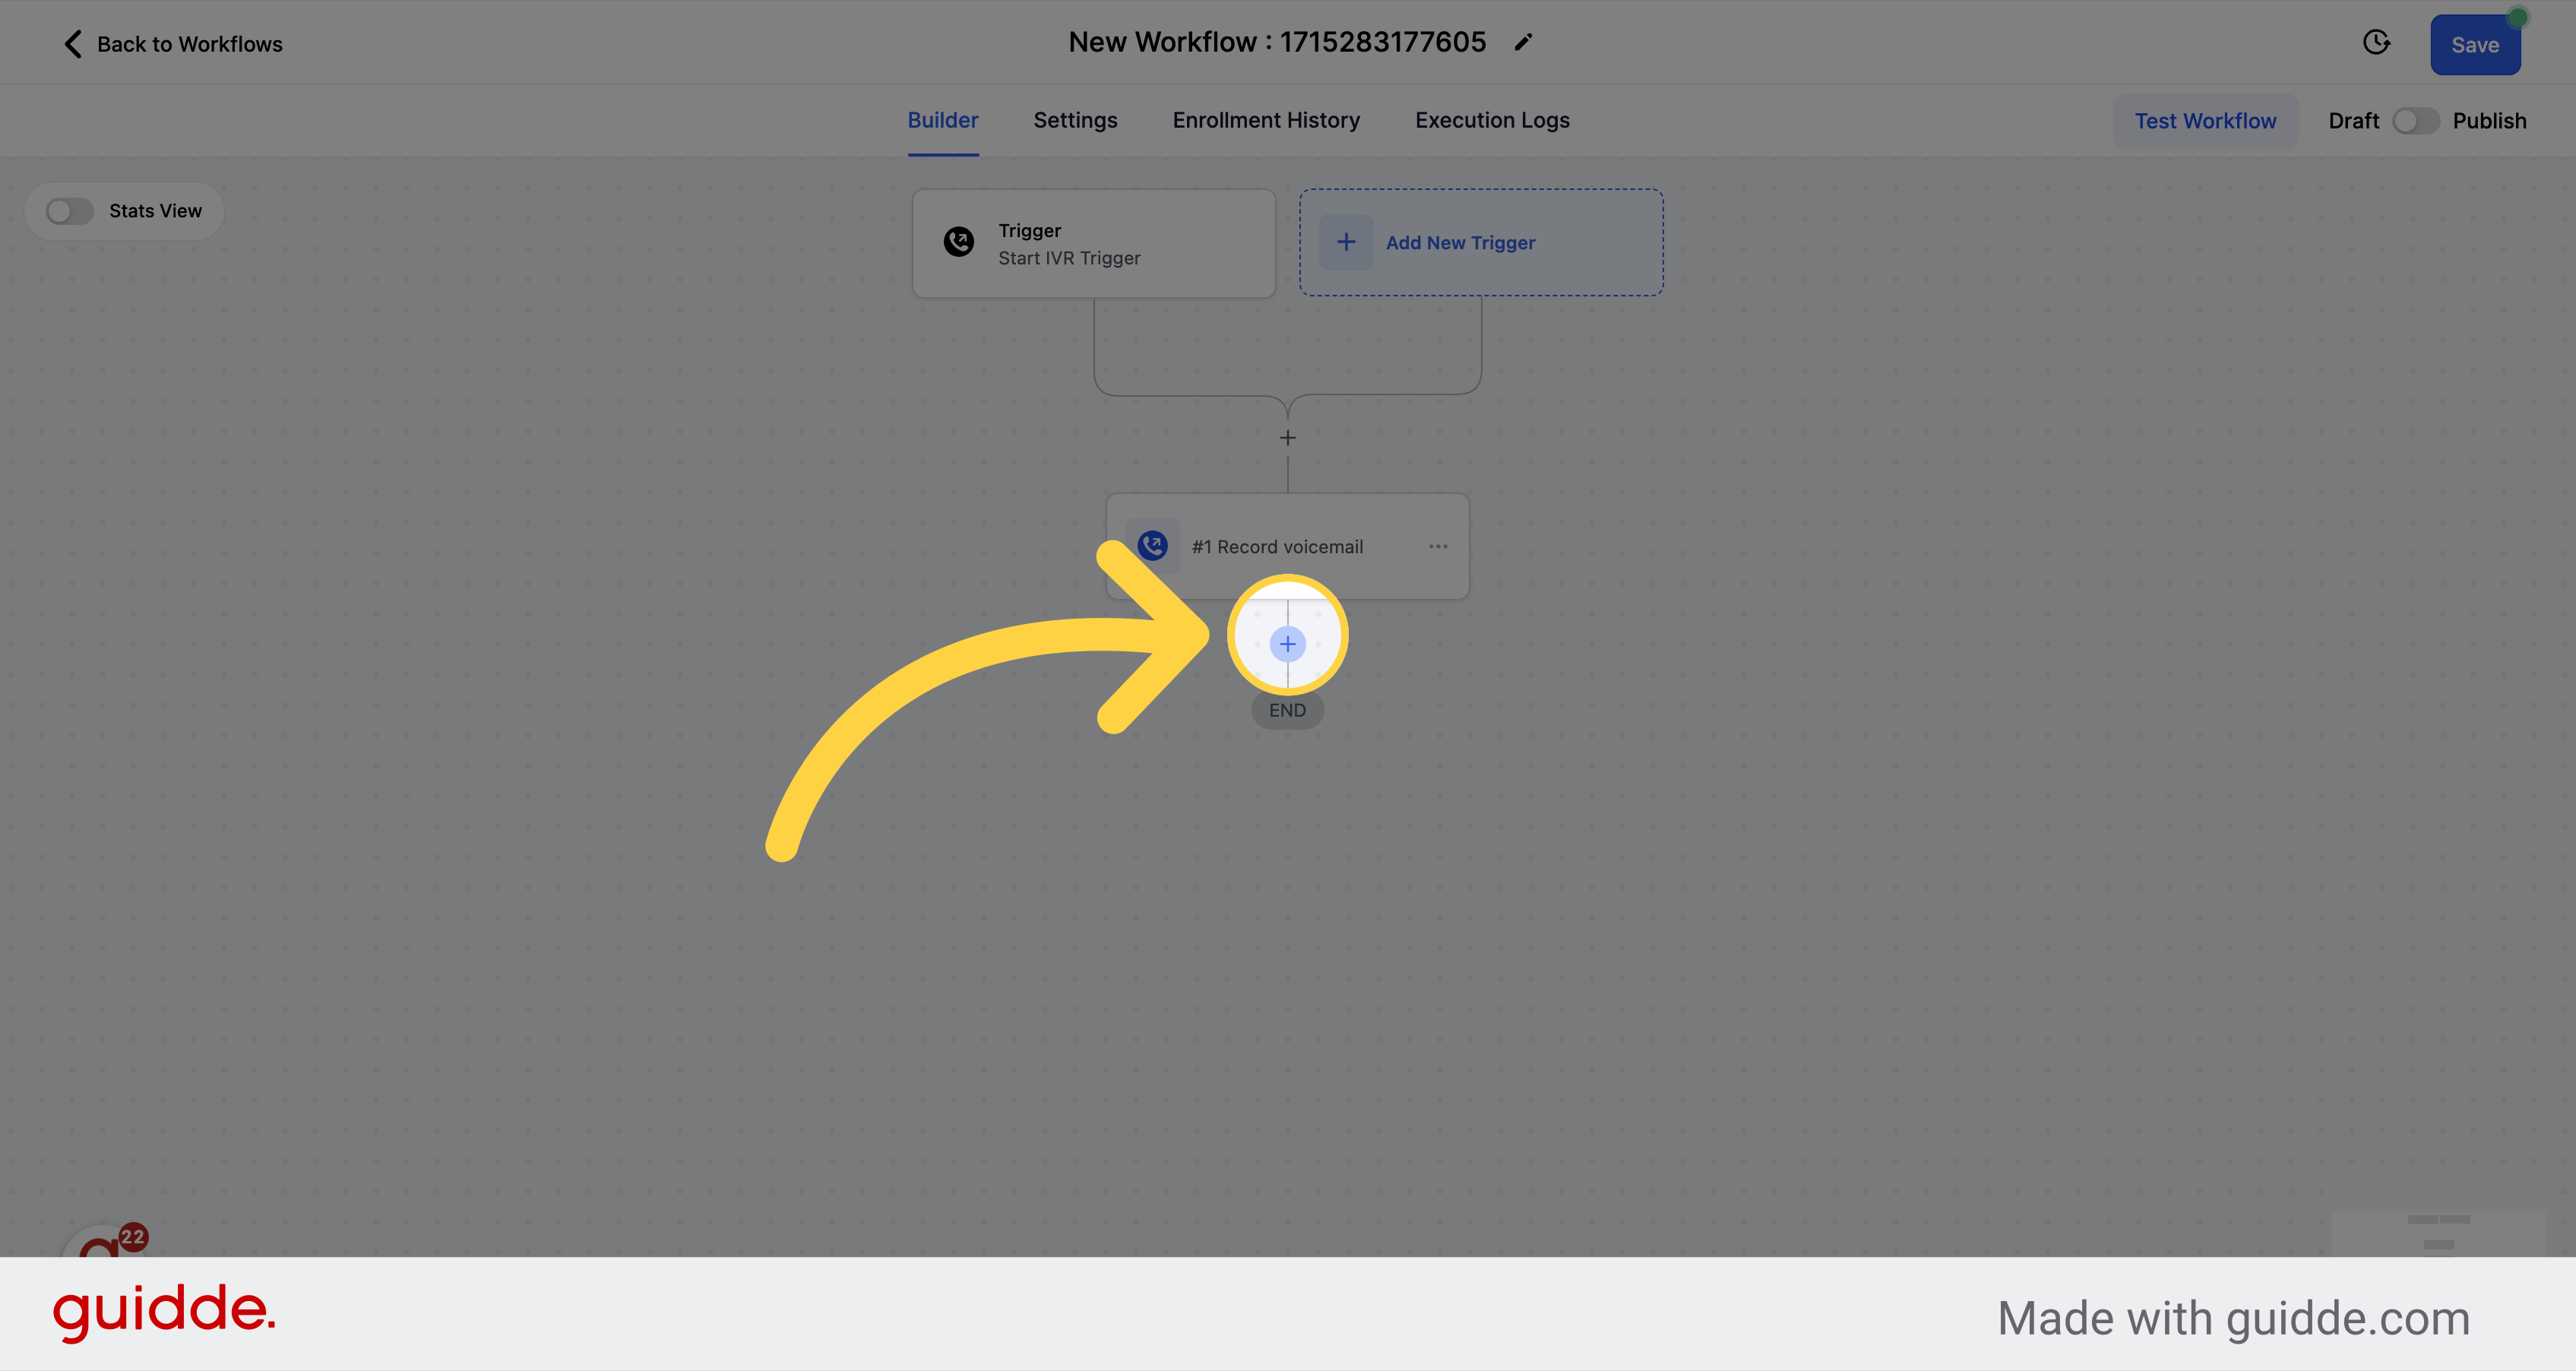
Click on the + button to add a new action to the workflow.
Look for the Record Voicemail option on the action menu and select it.
Enable callers to leave rich voicemails tailored to your brand.
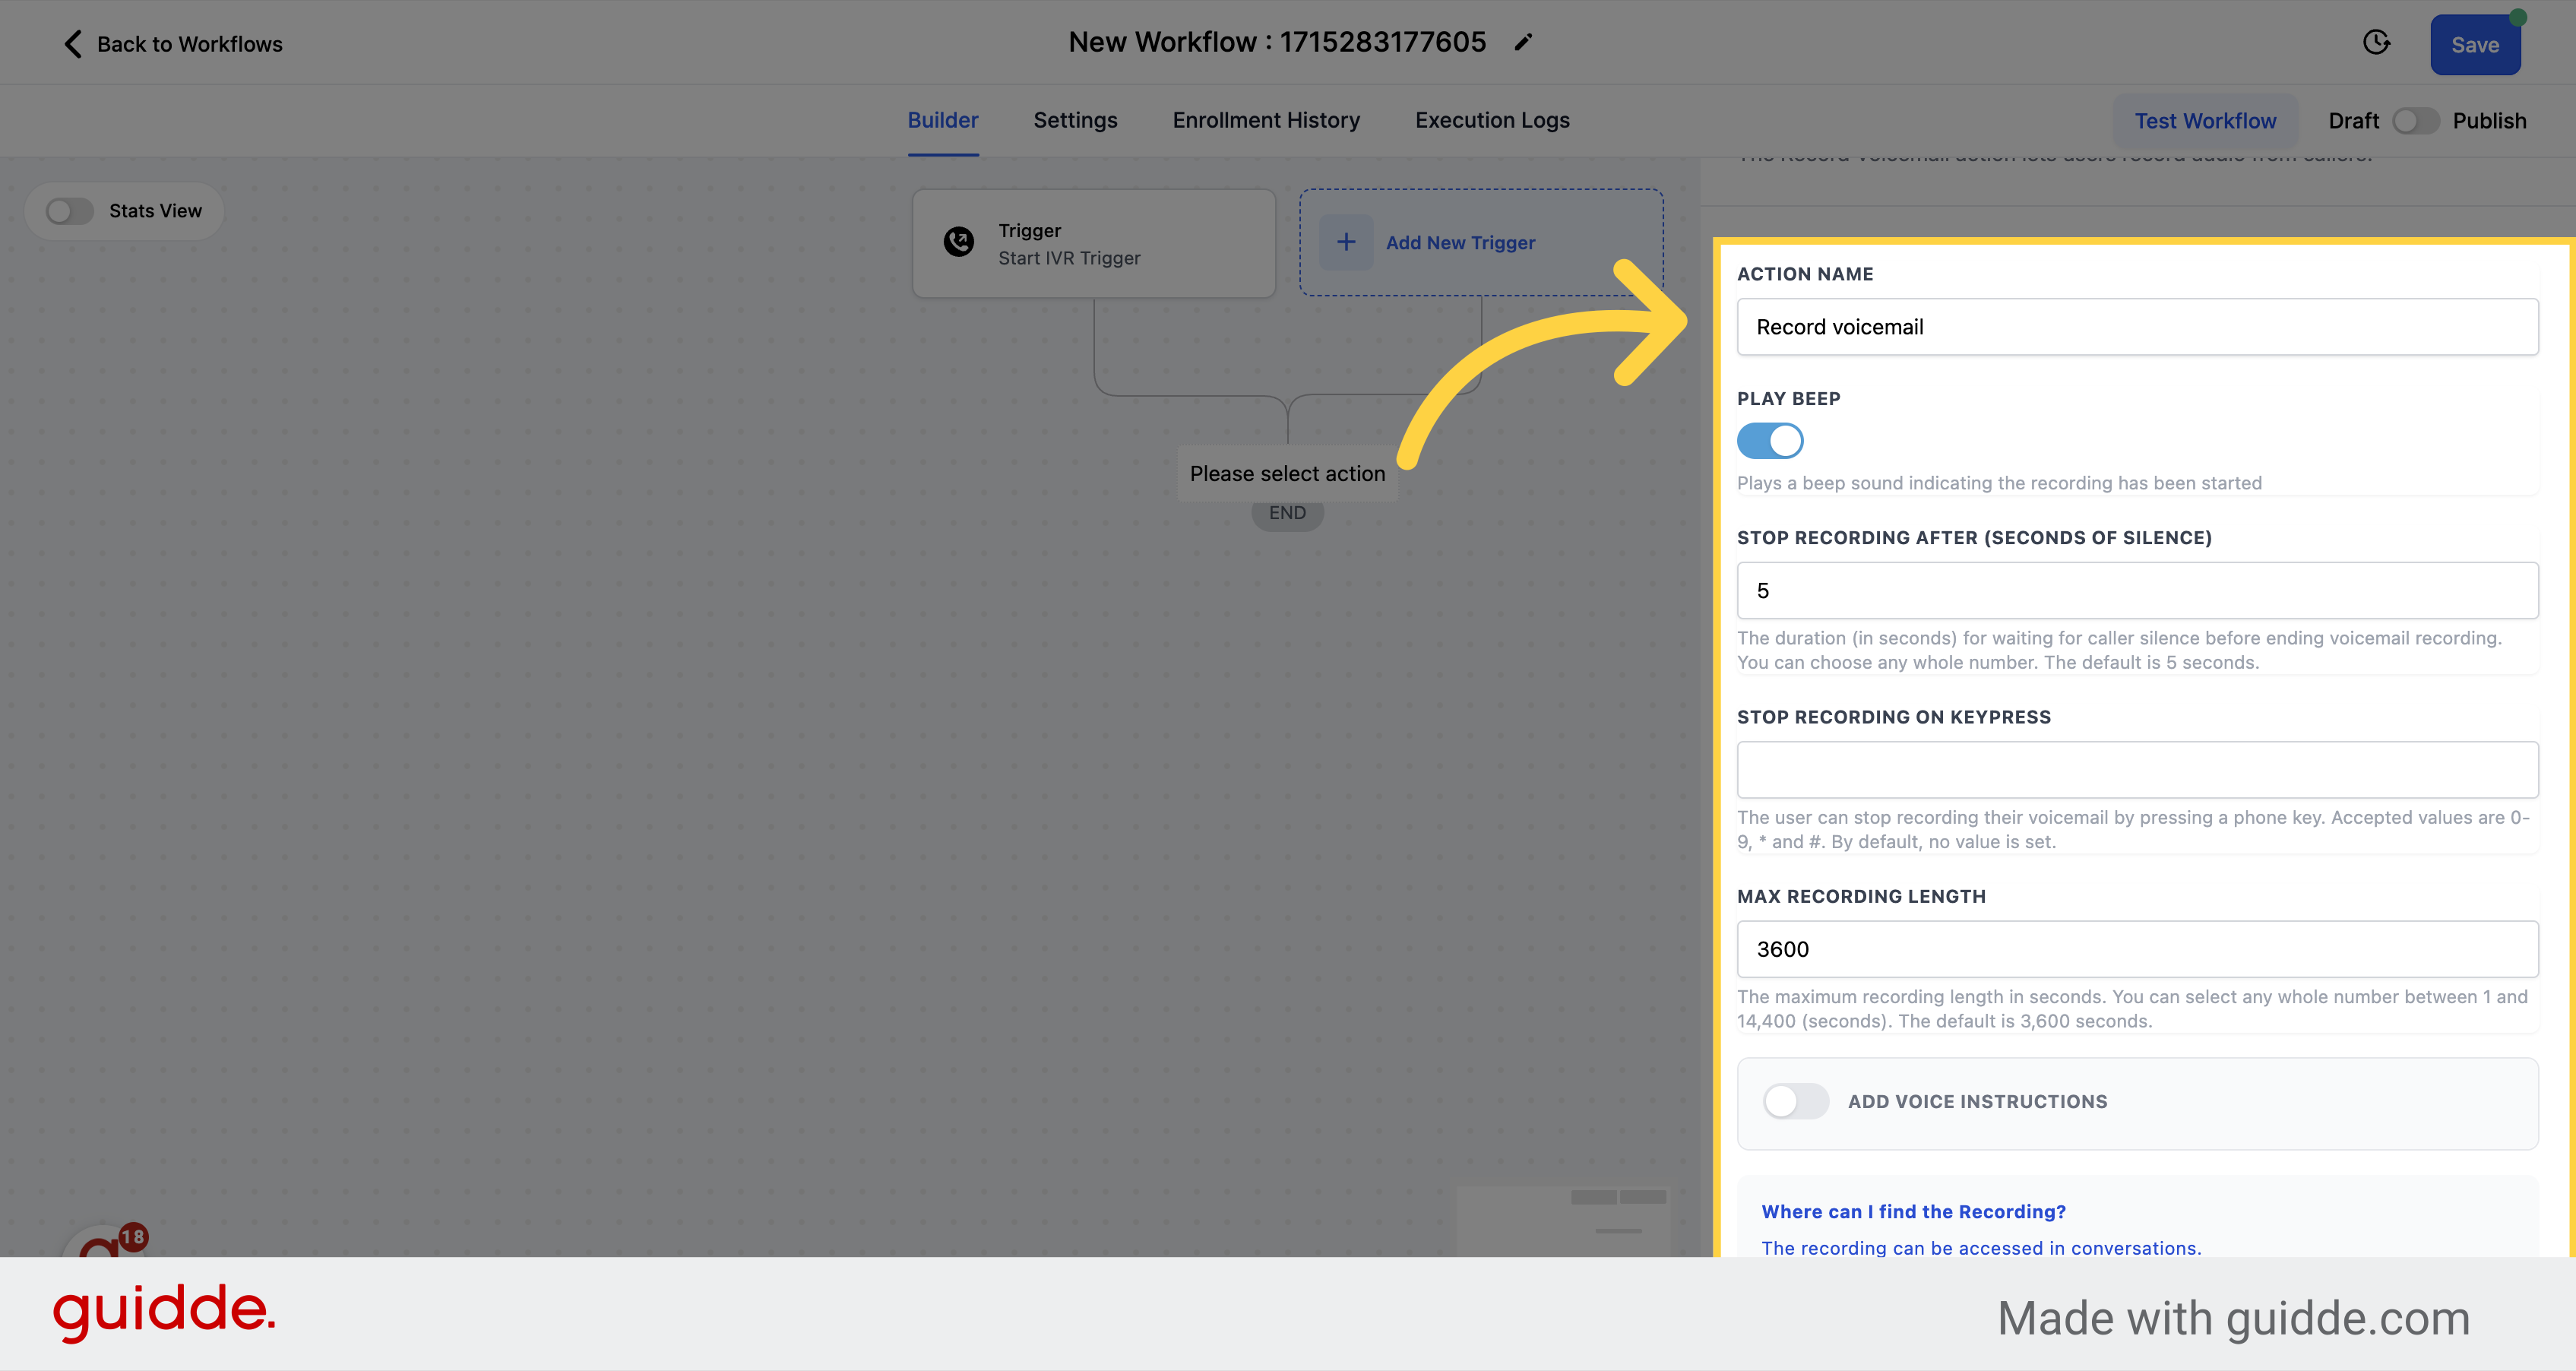
Craft the perfect pause for thoughtful messages.
Give callers control, allowing them to end recording seamlessly.
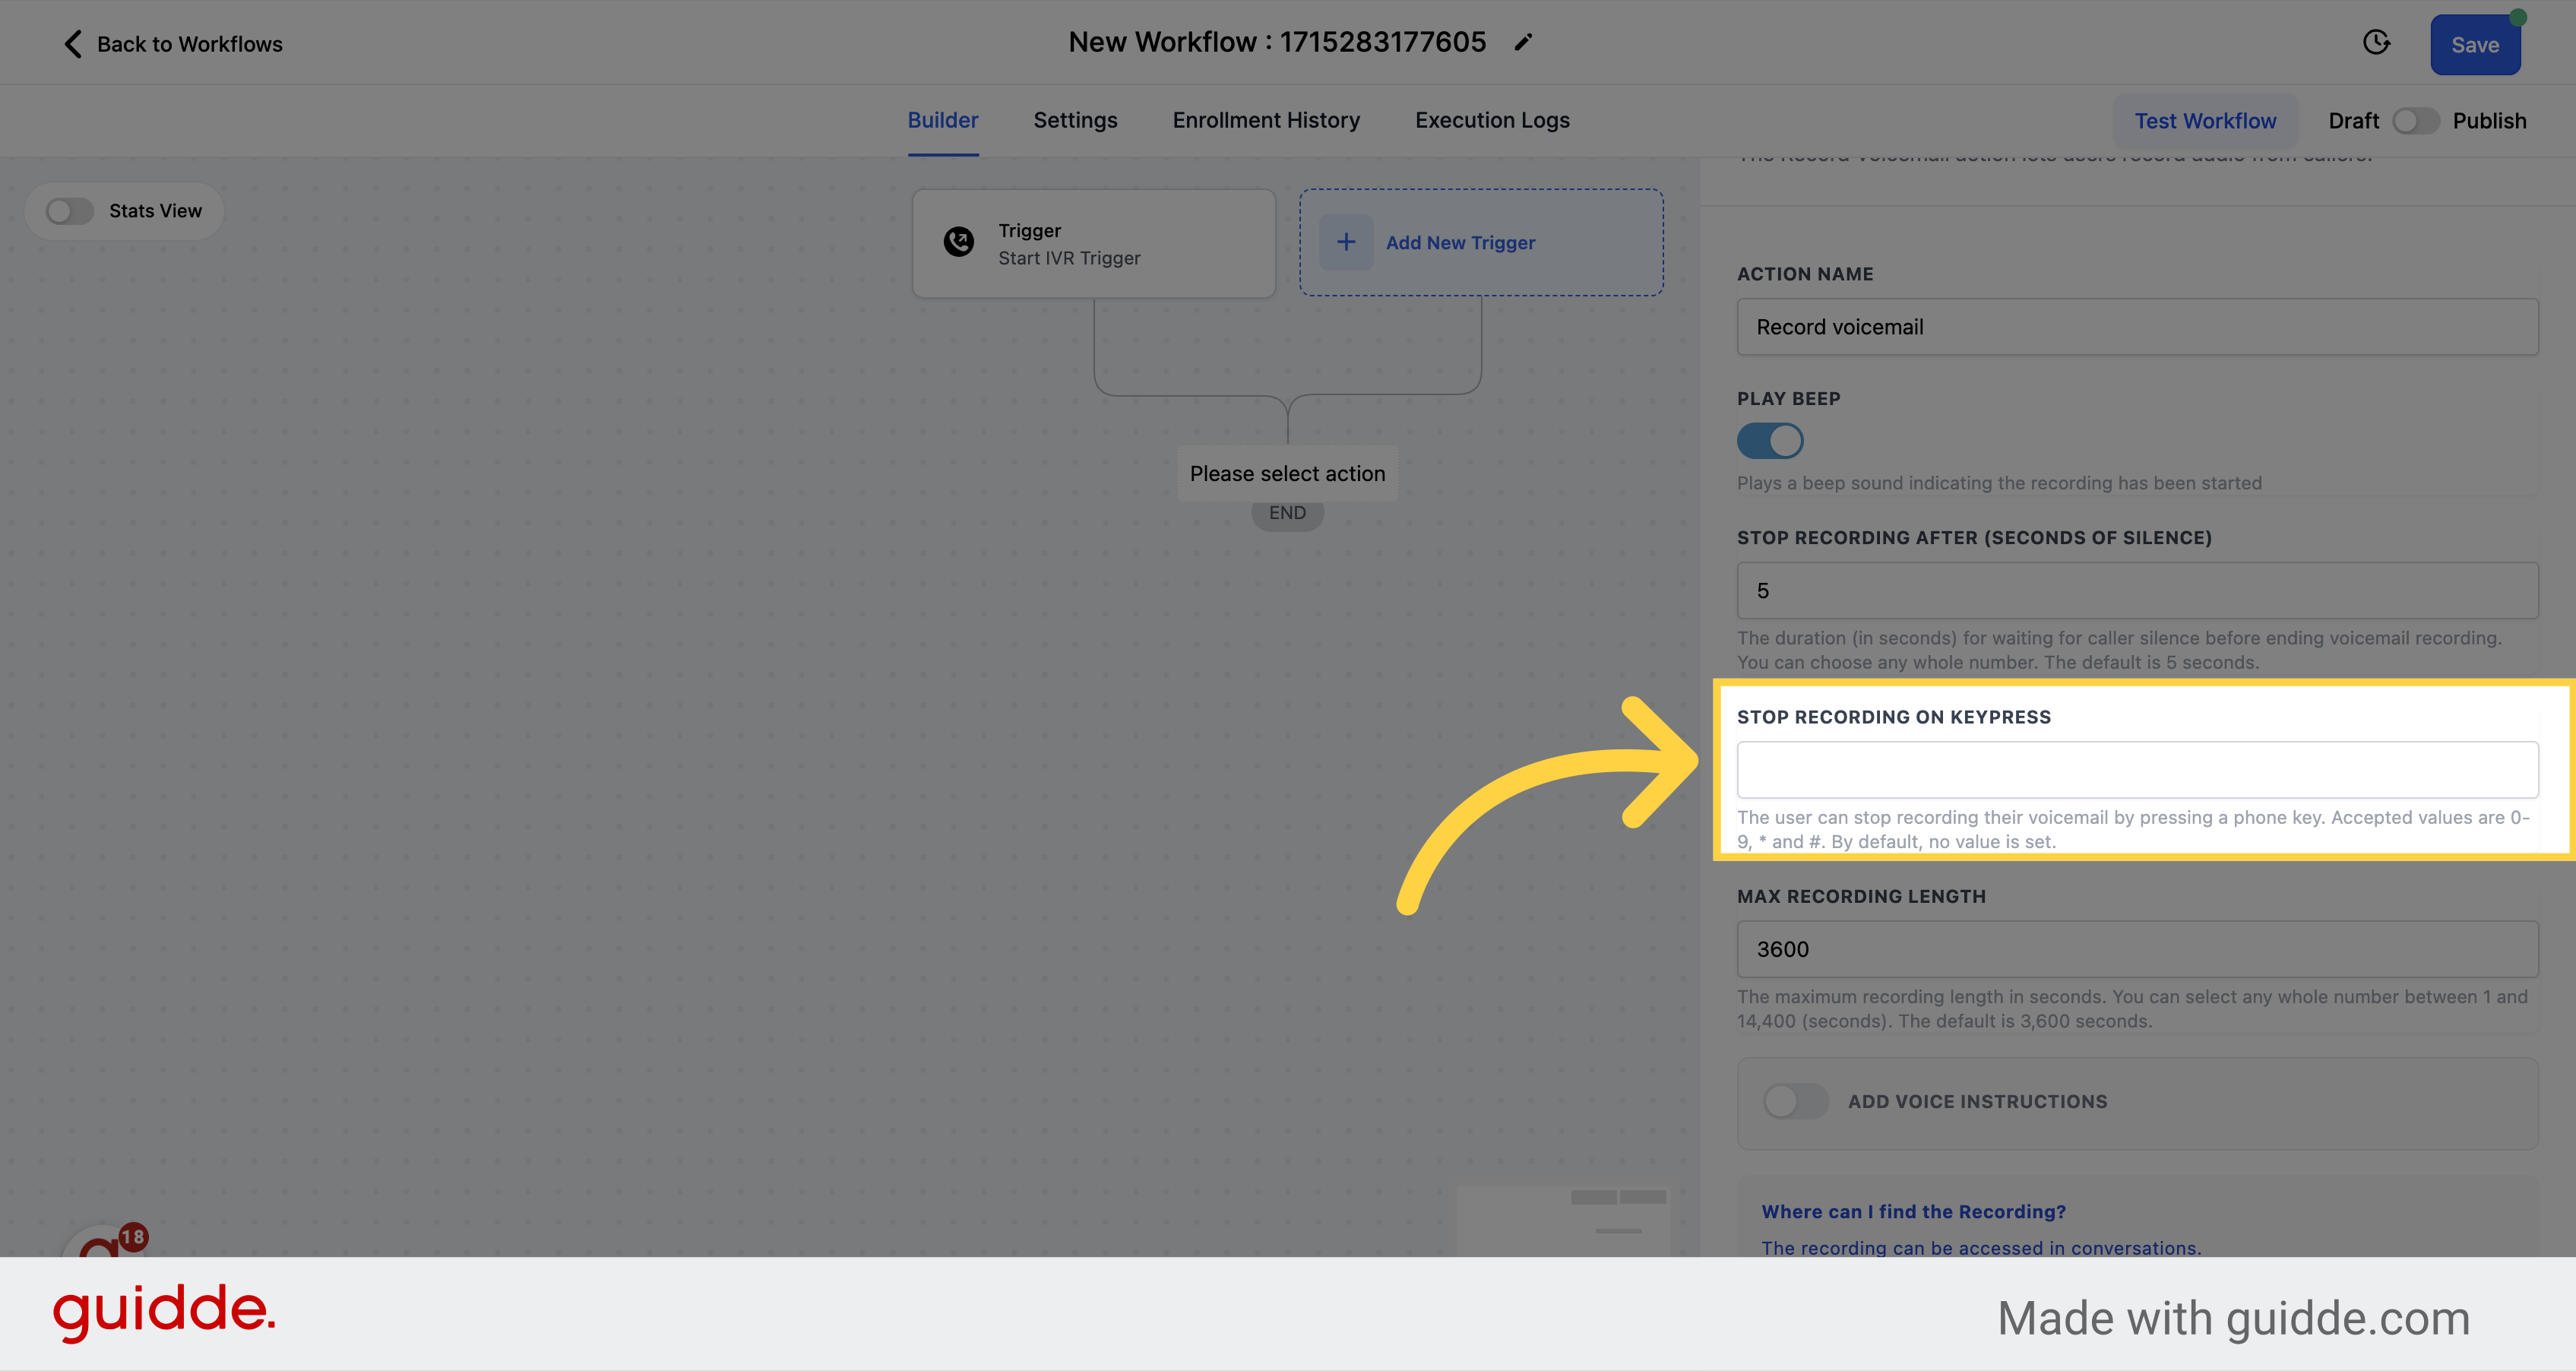
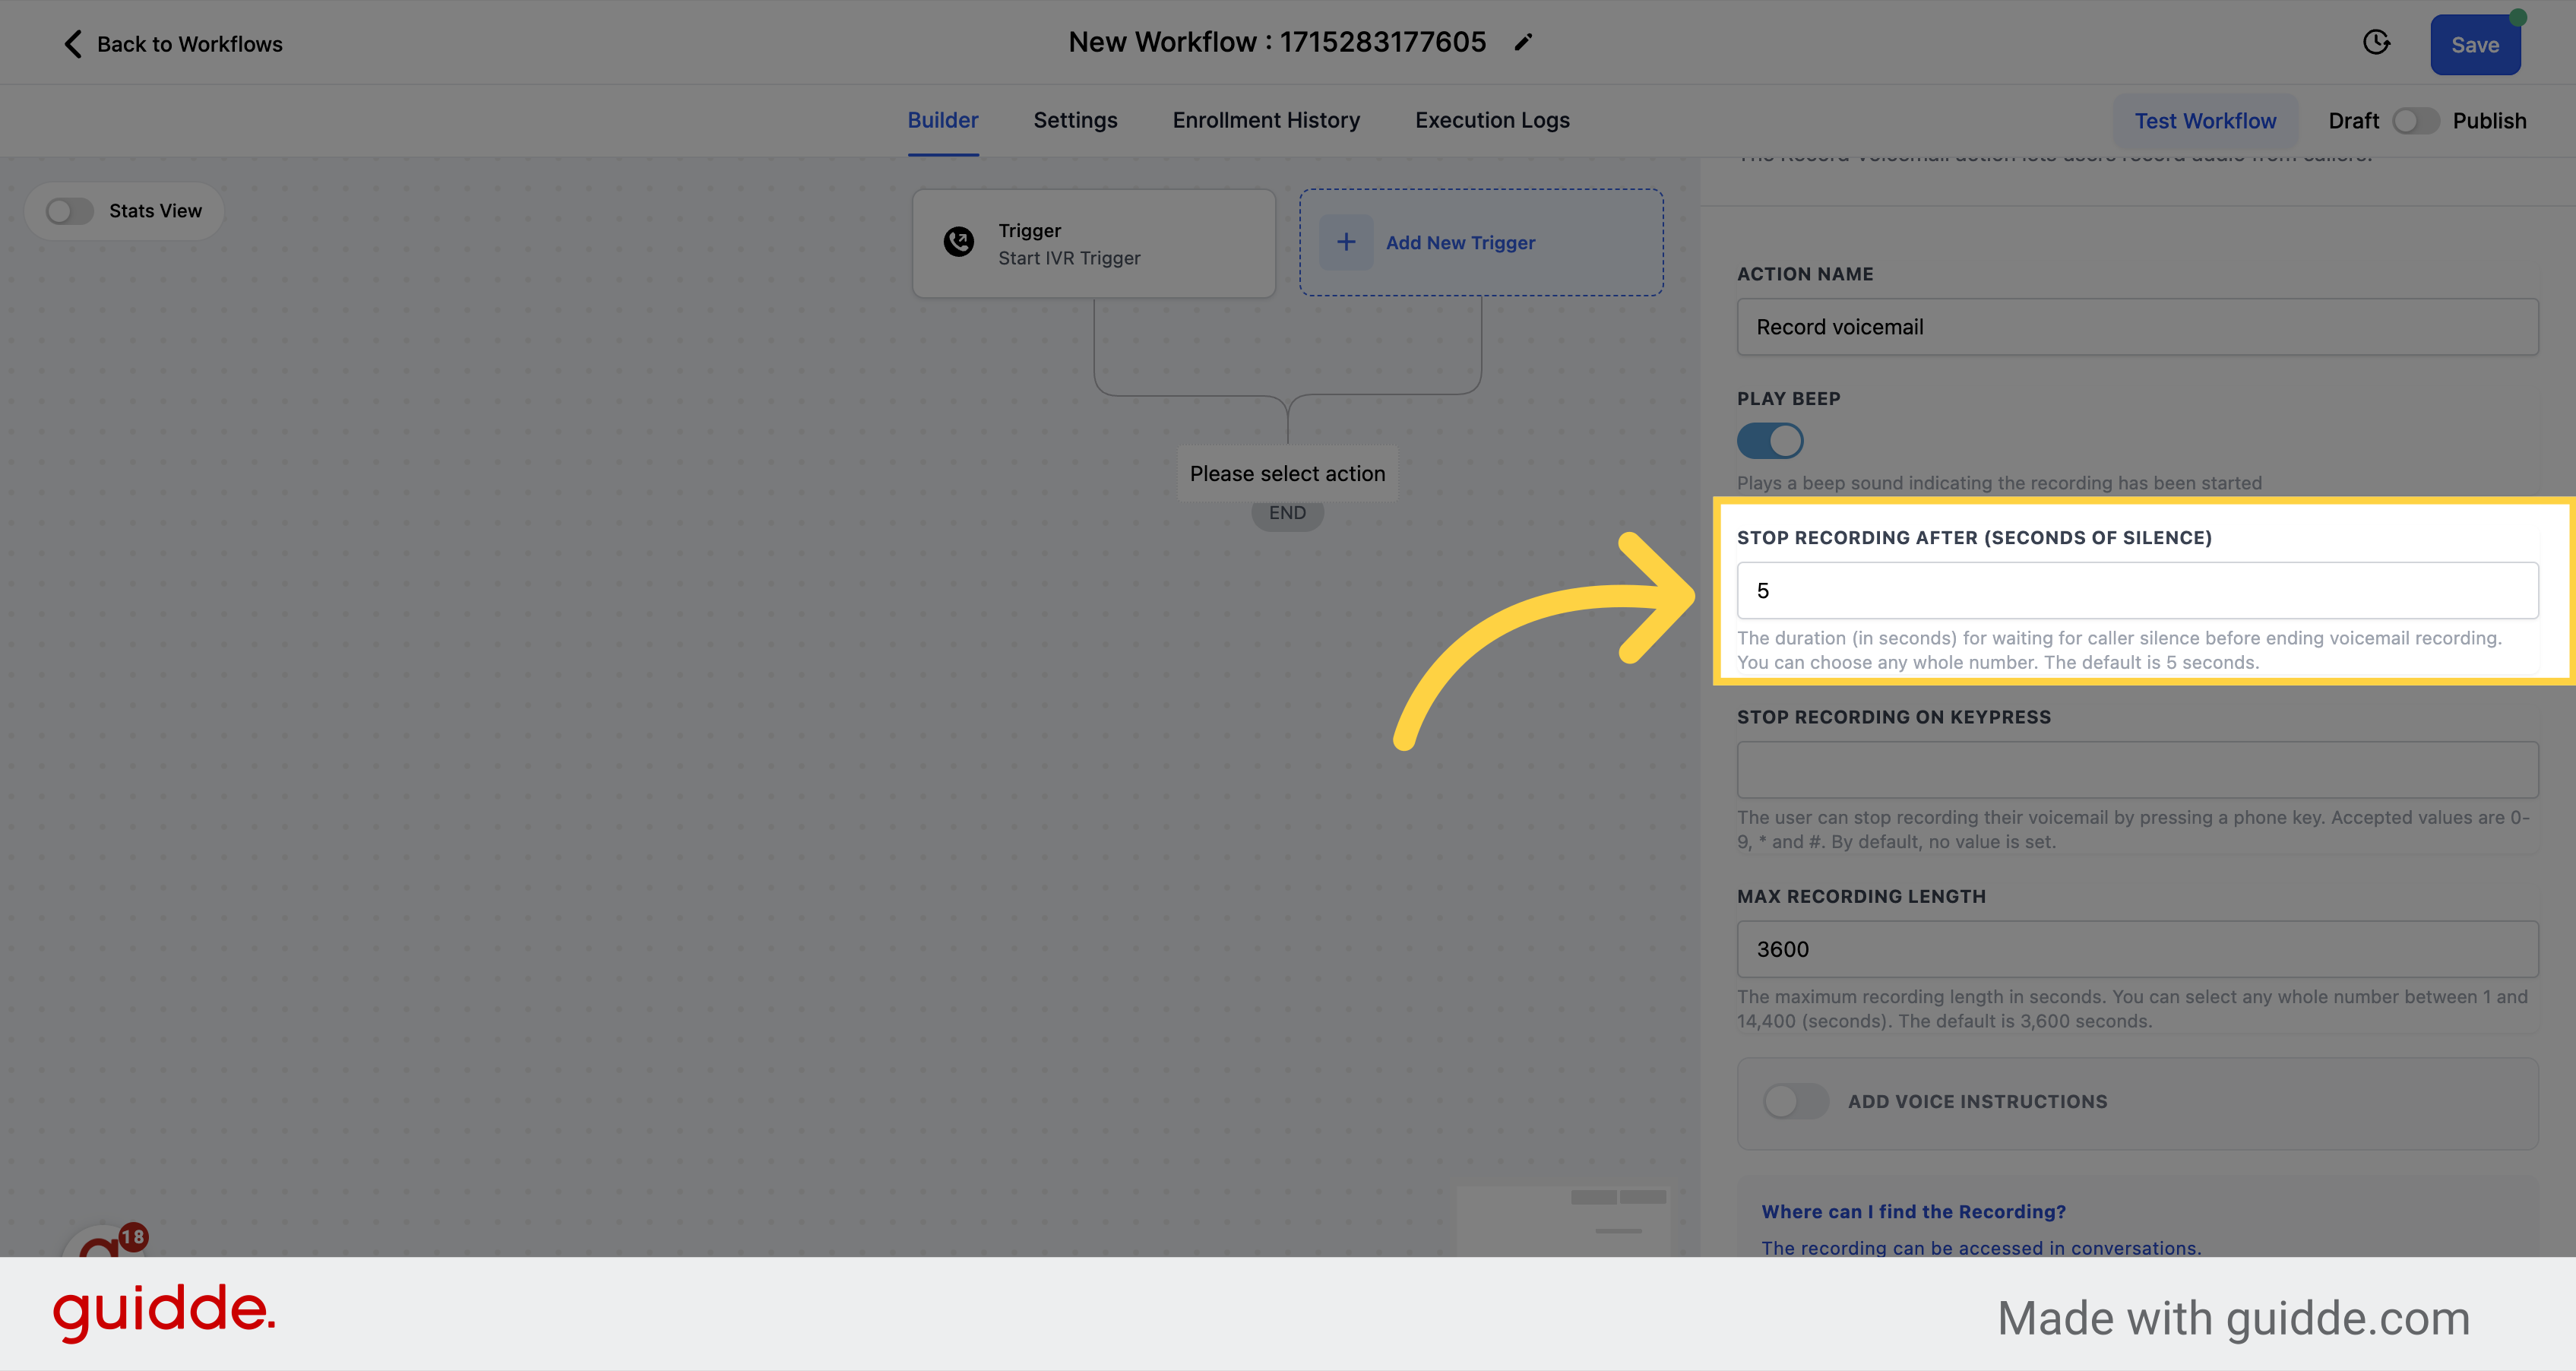
Define the voice message duration, ensuring clarity and impact.
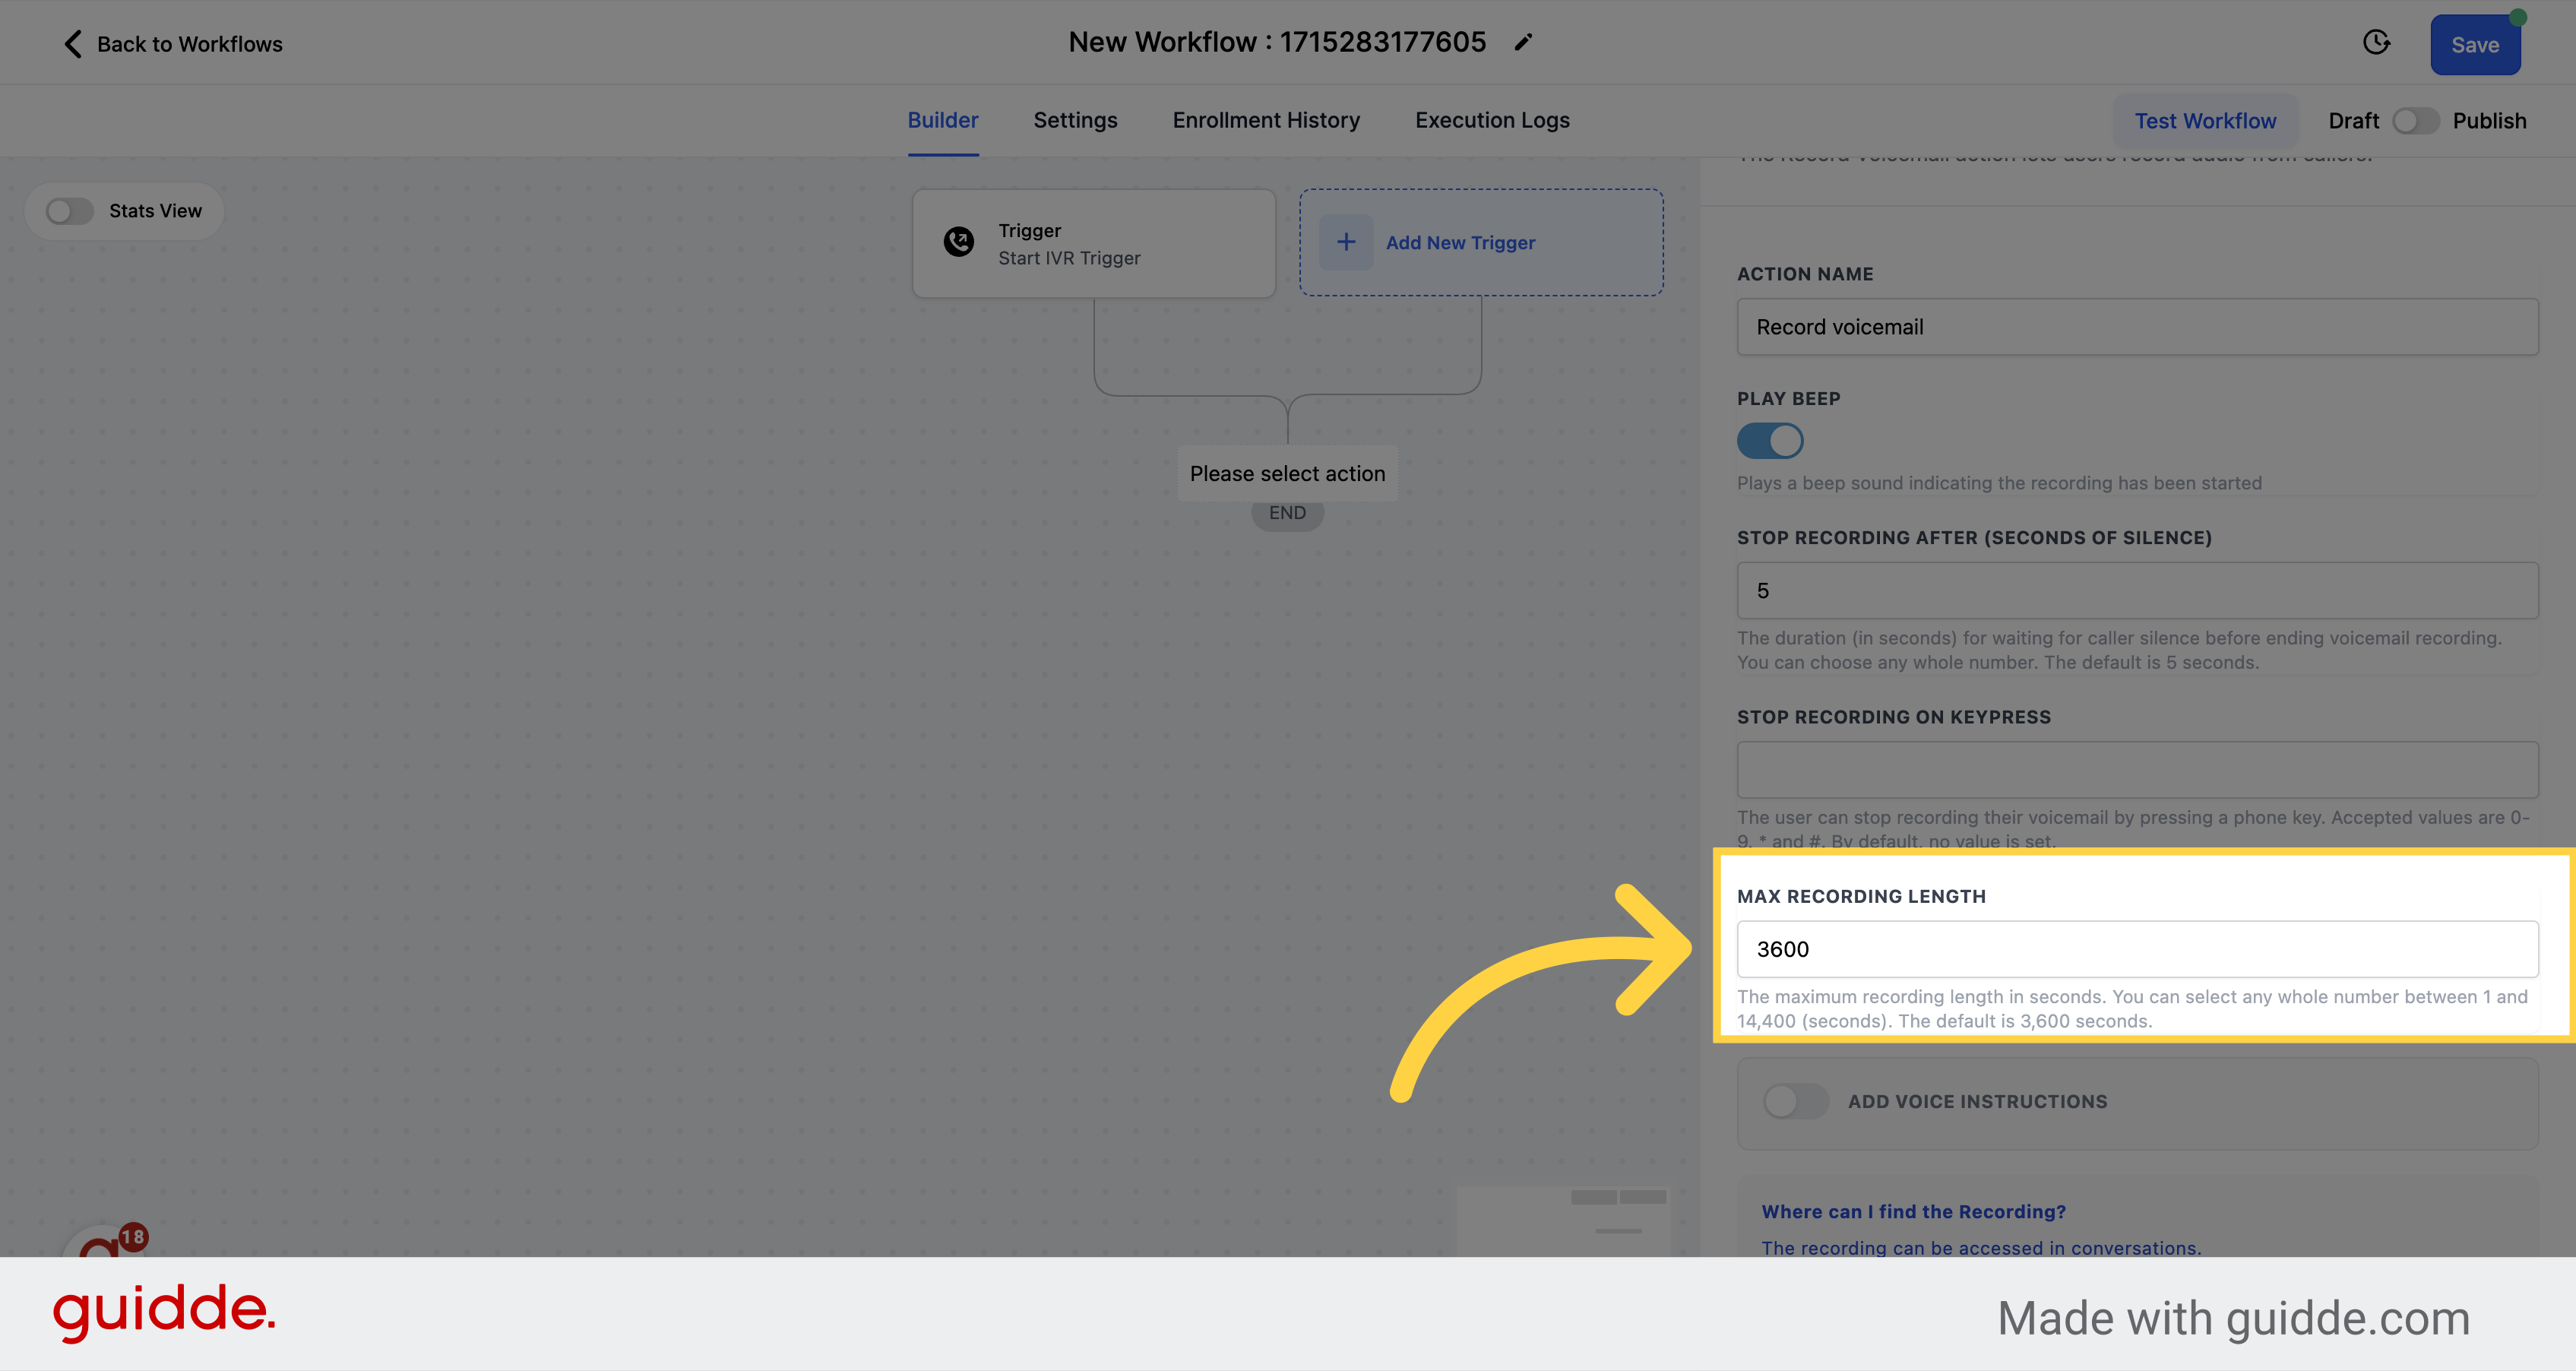
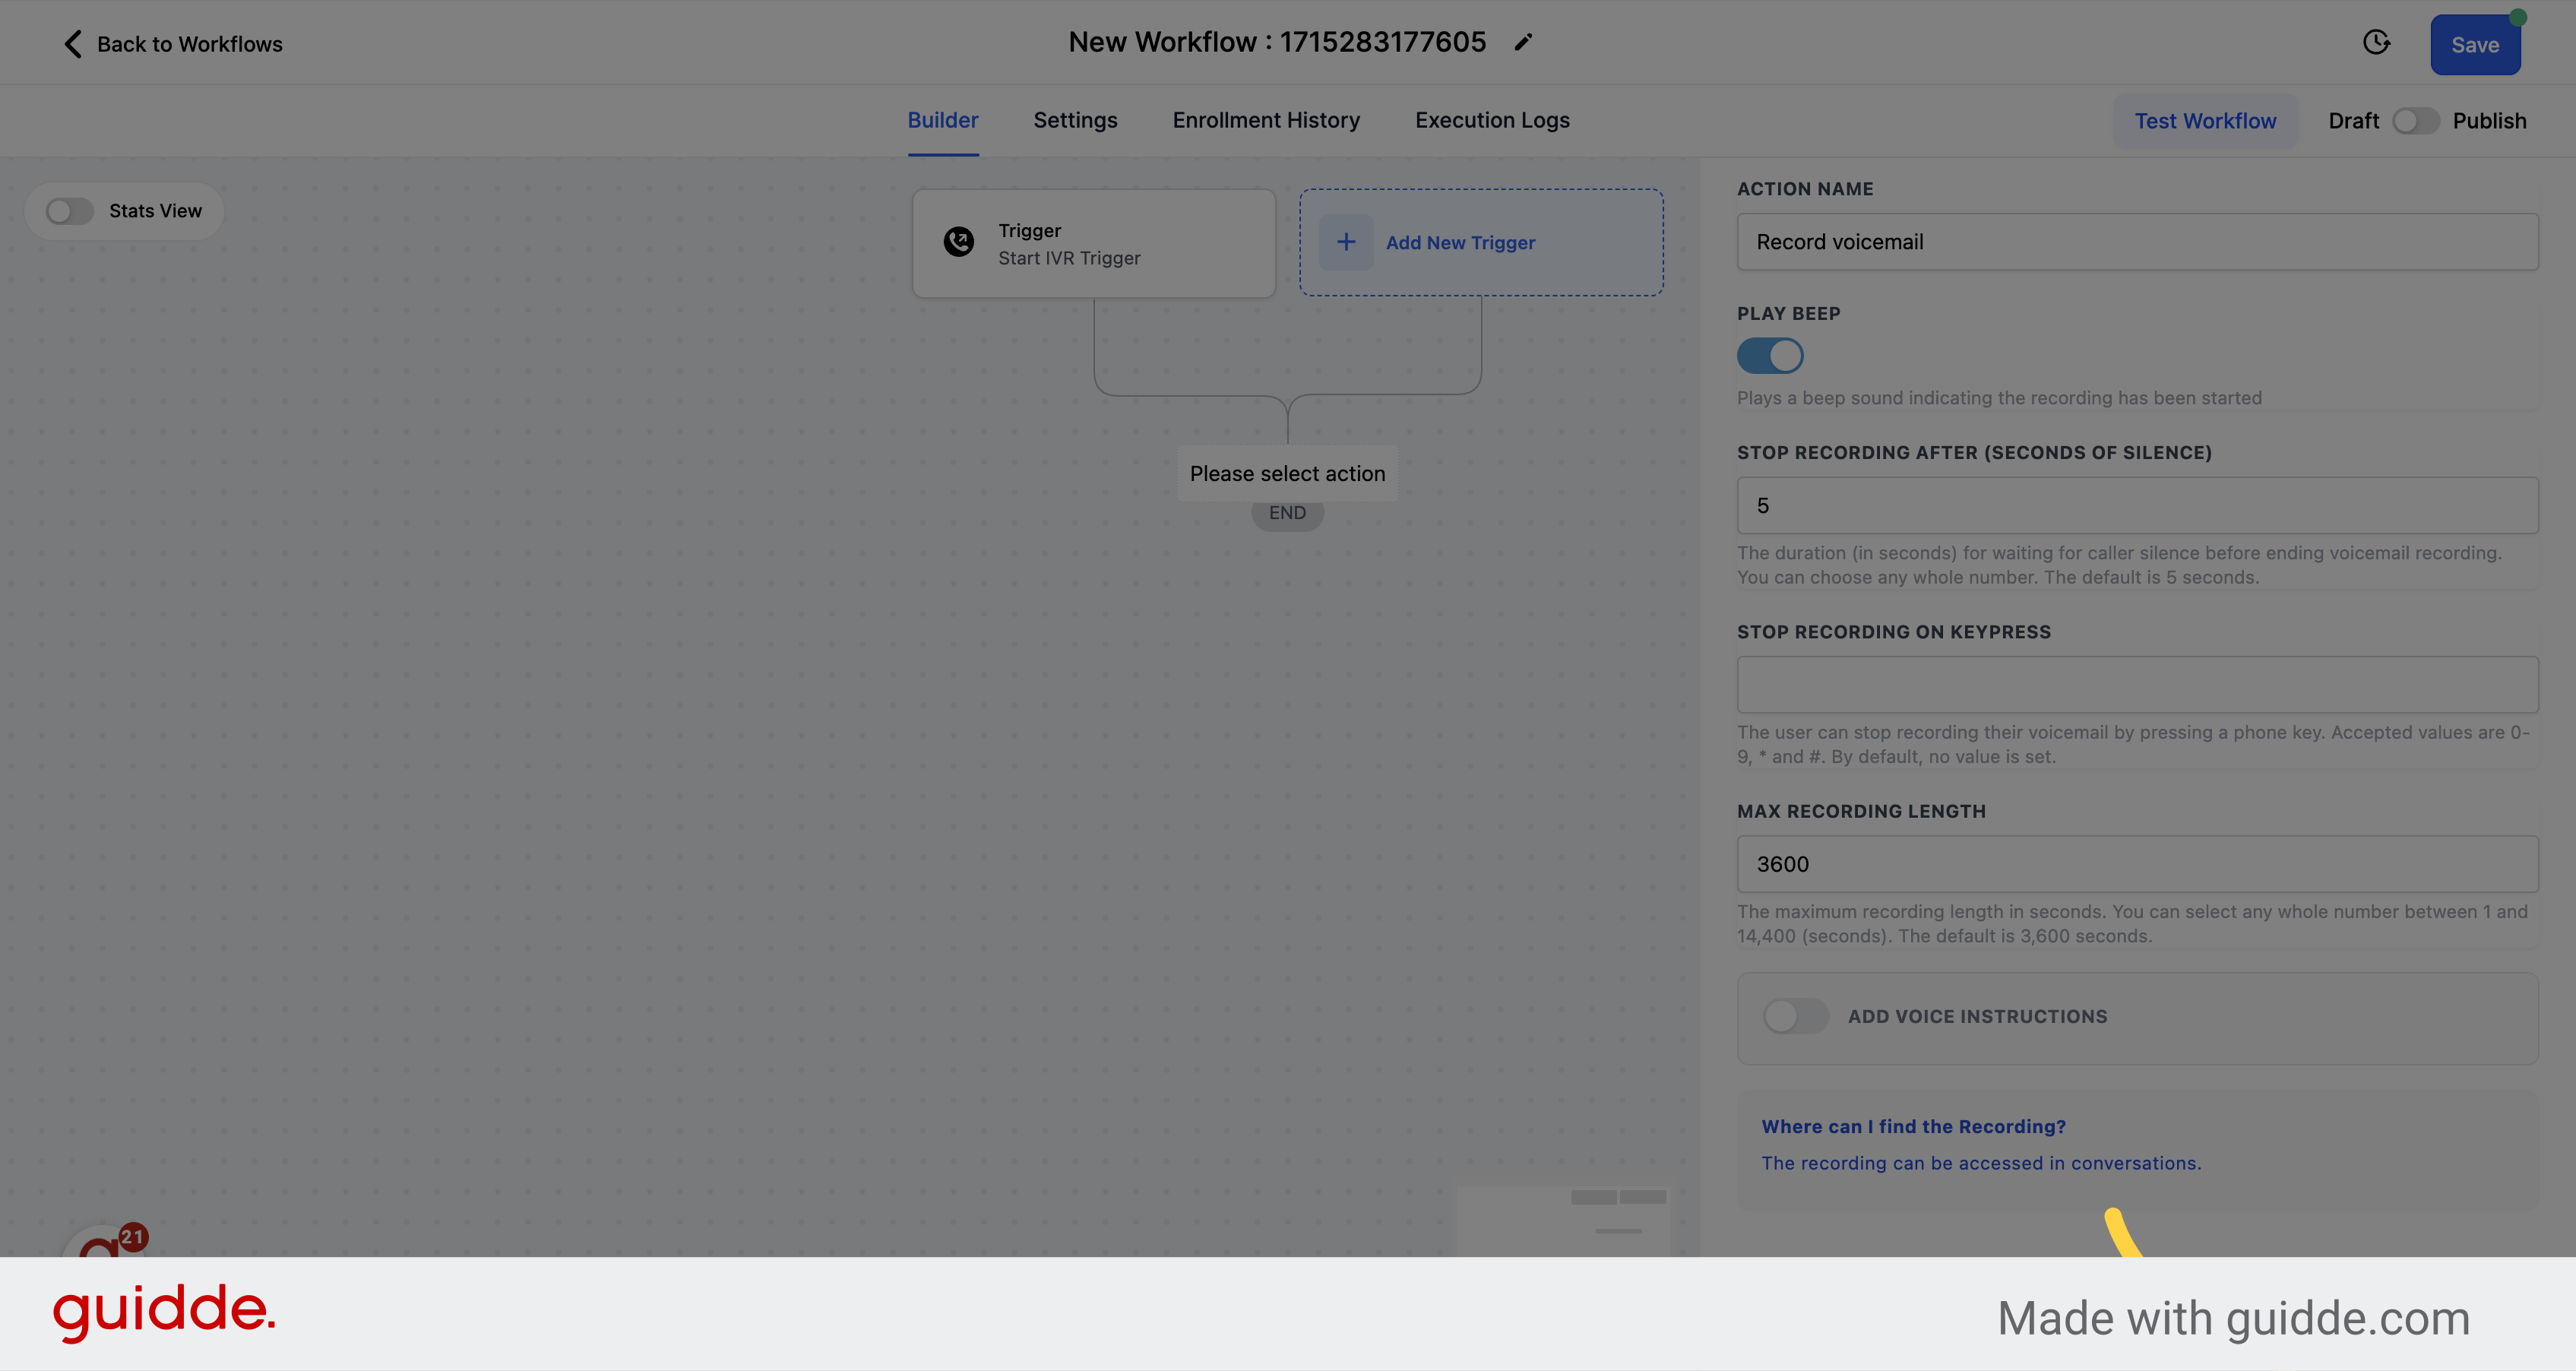
Save the action settings by clicking on Save Action.
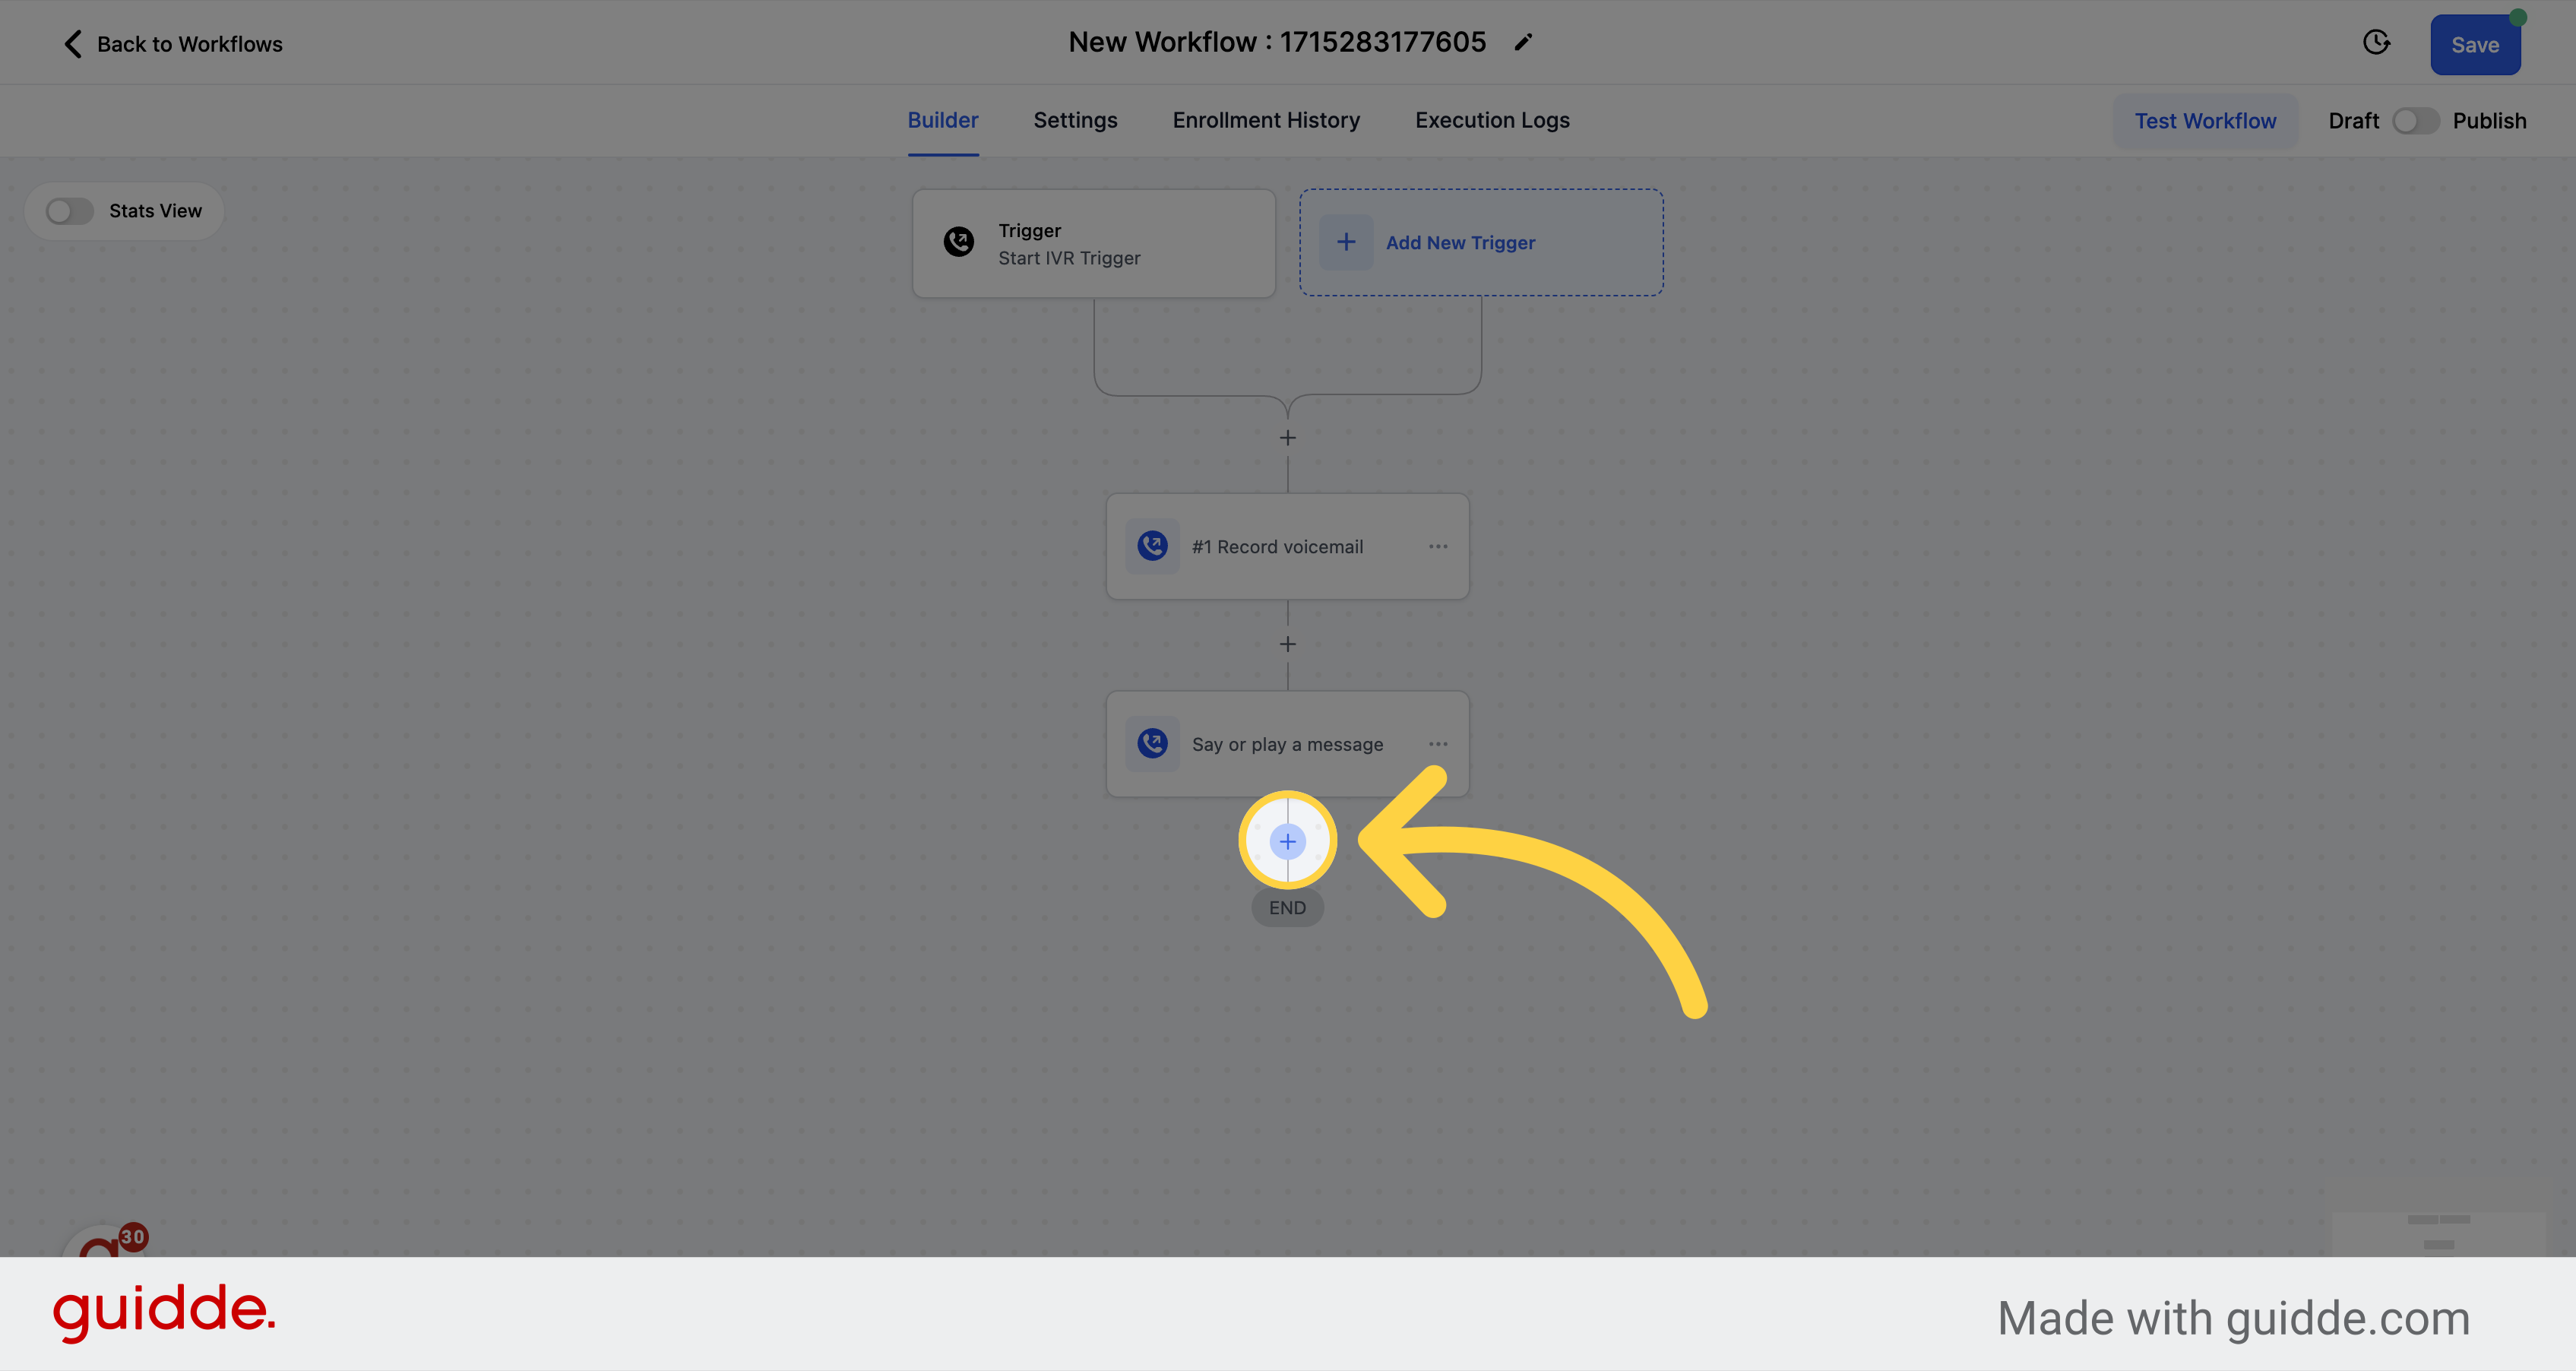
Click on the + icon to add a new action to the workflow.
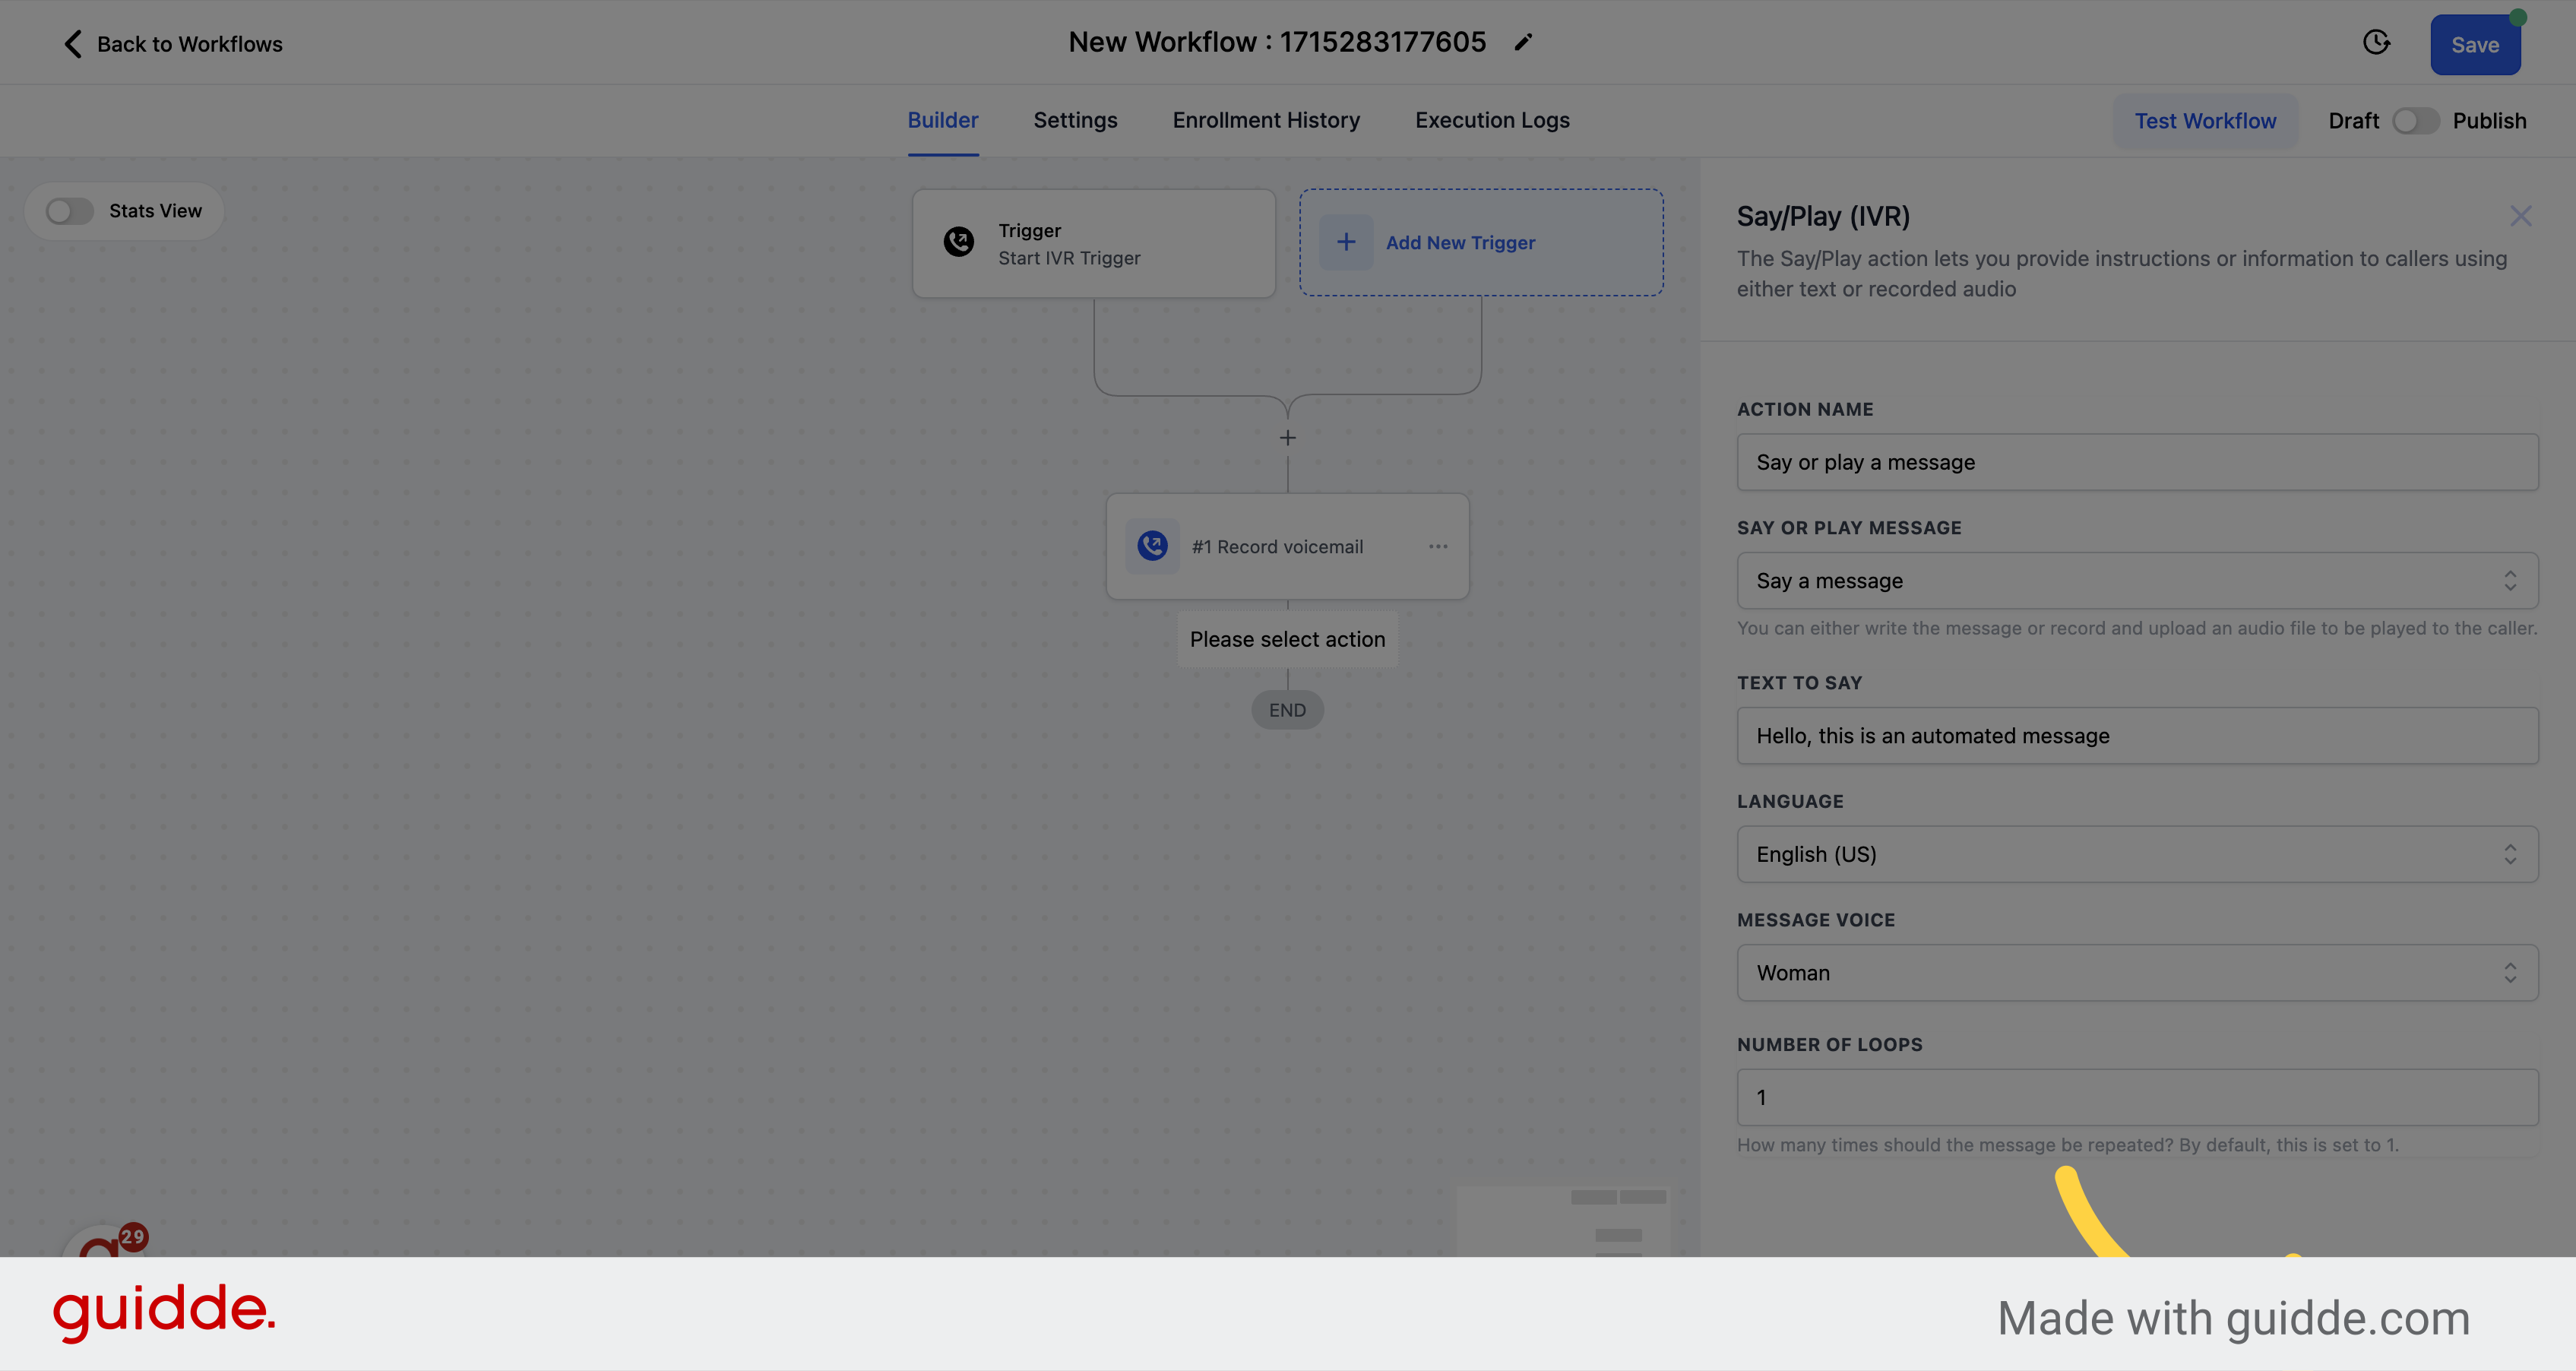
On the actions menu, click on the Say/Play Message option.
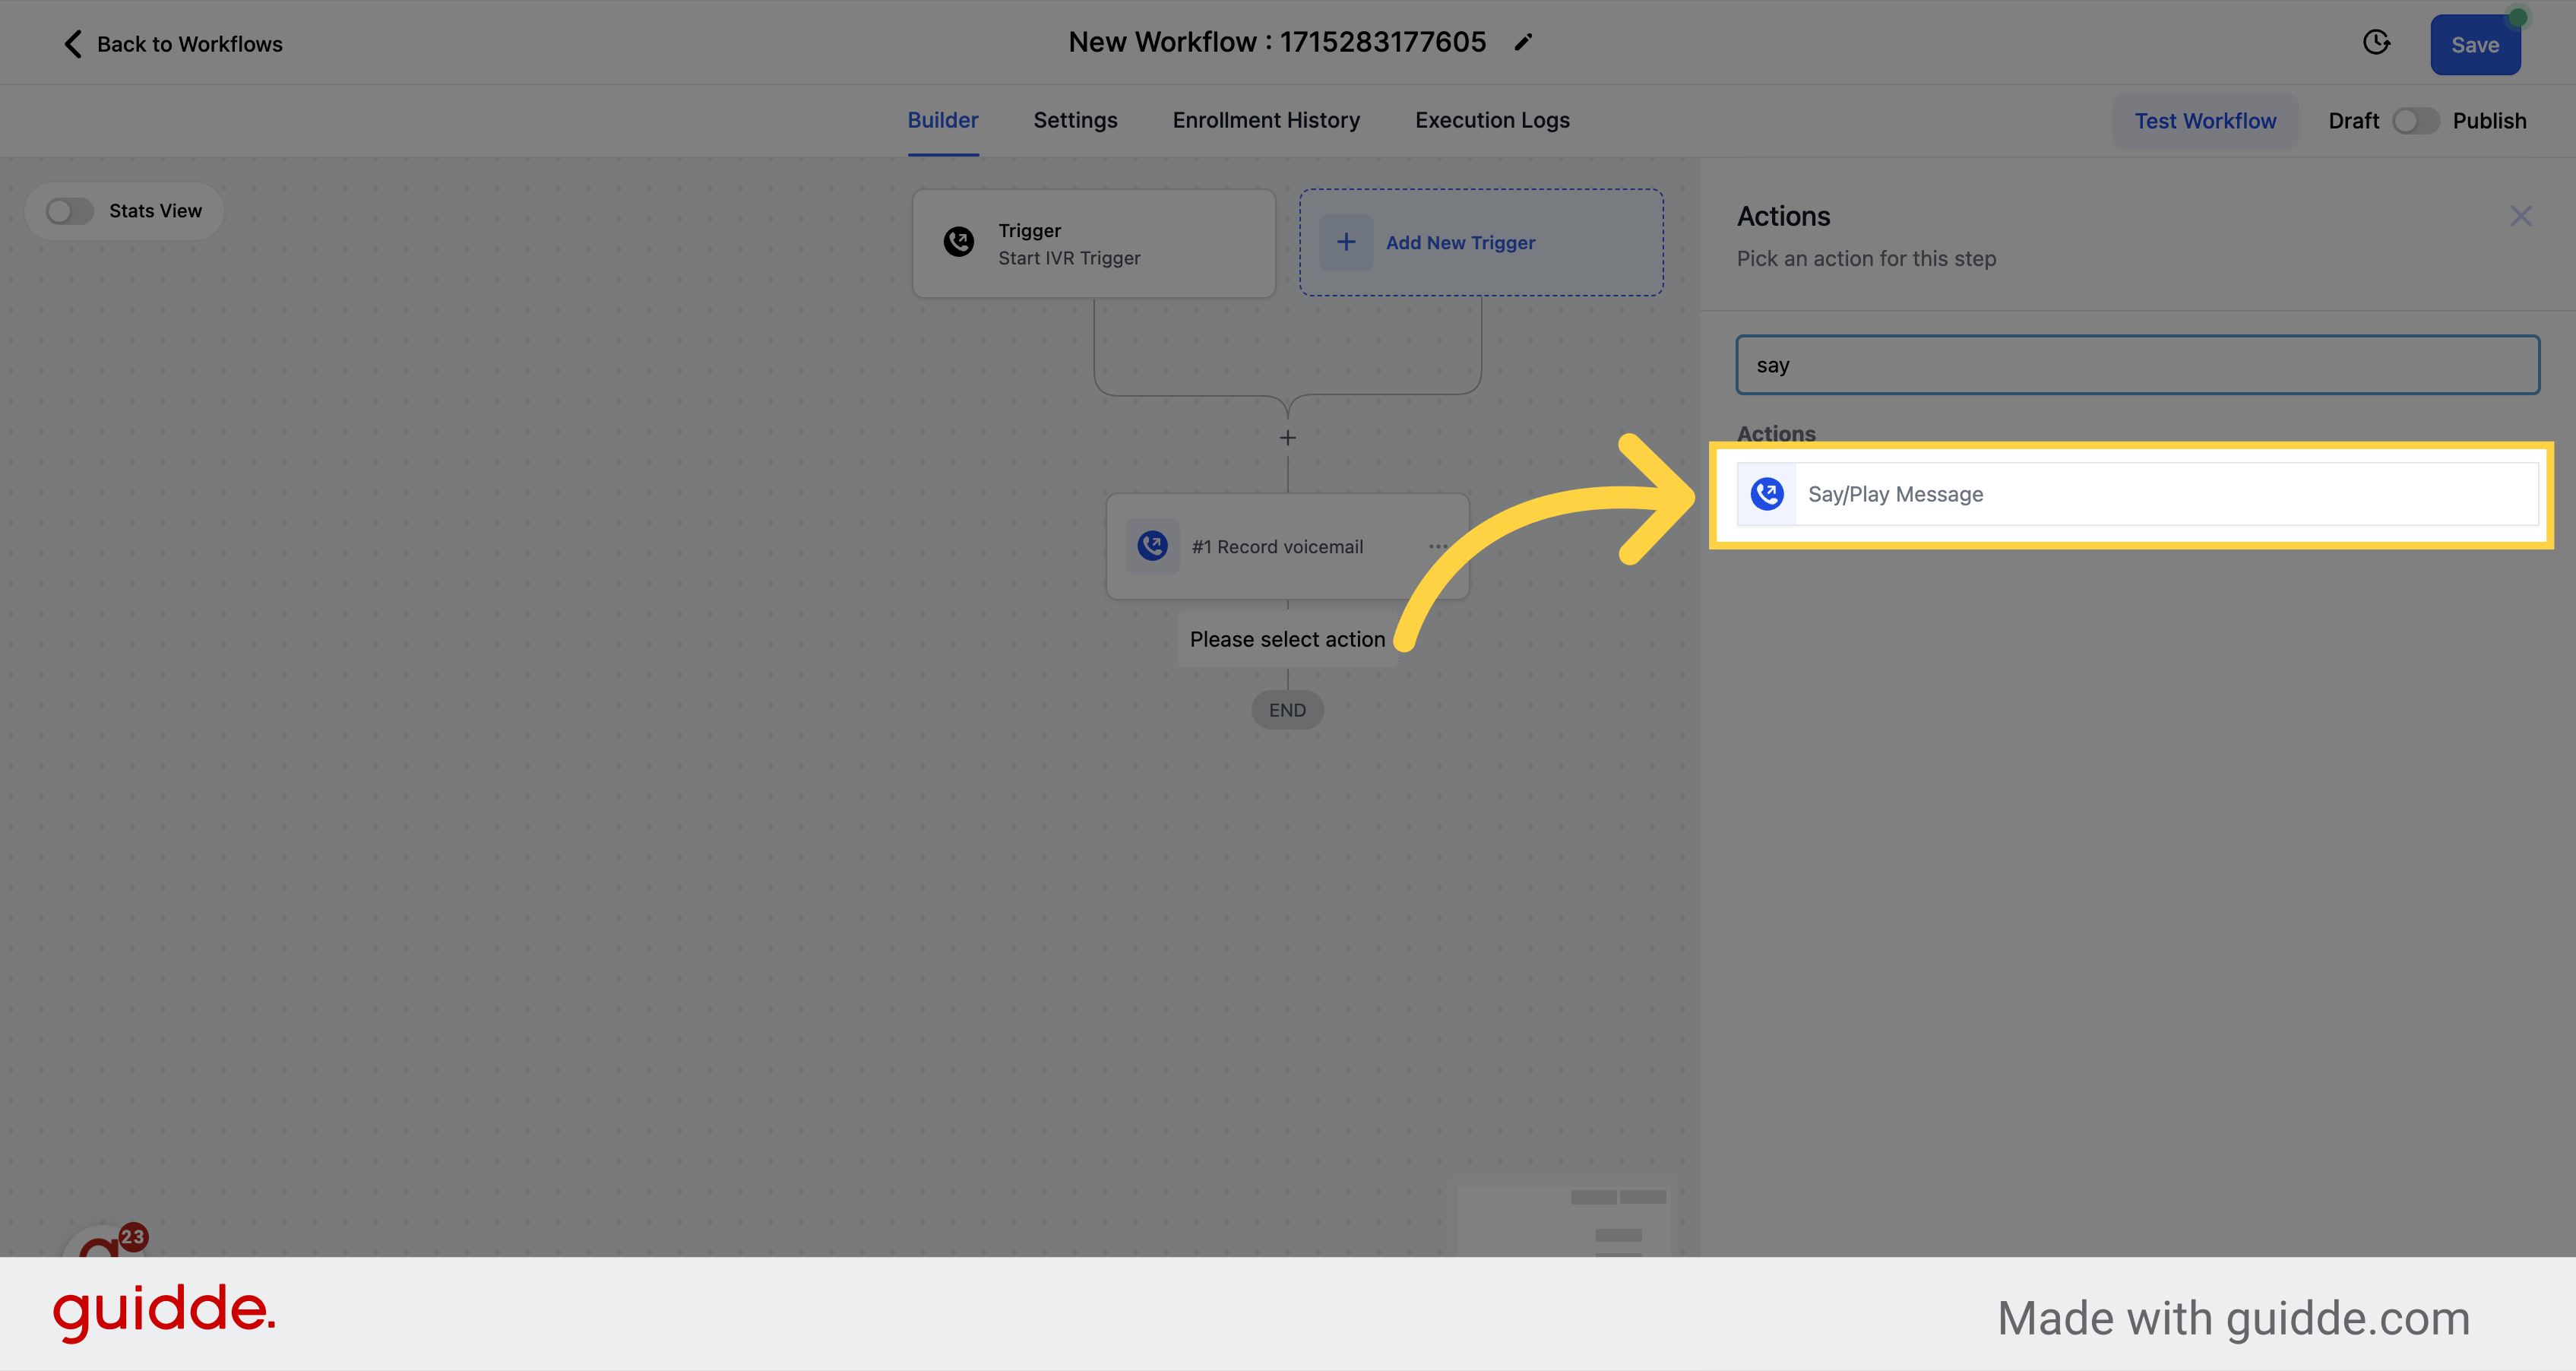
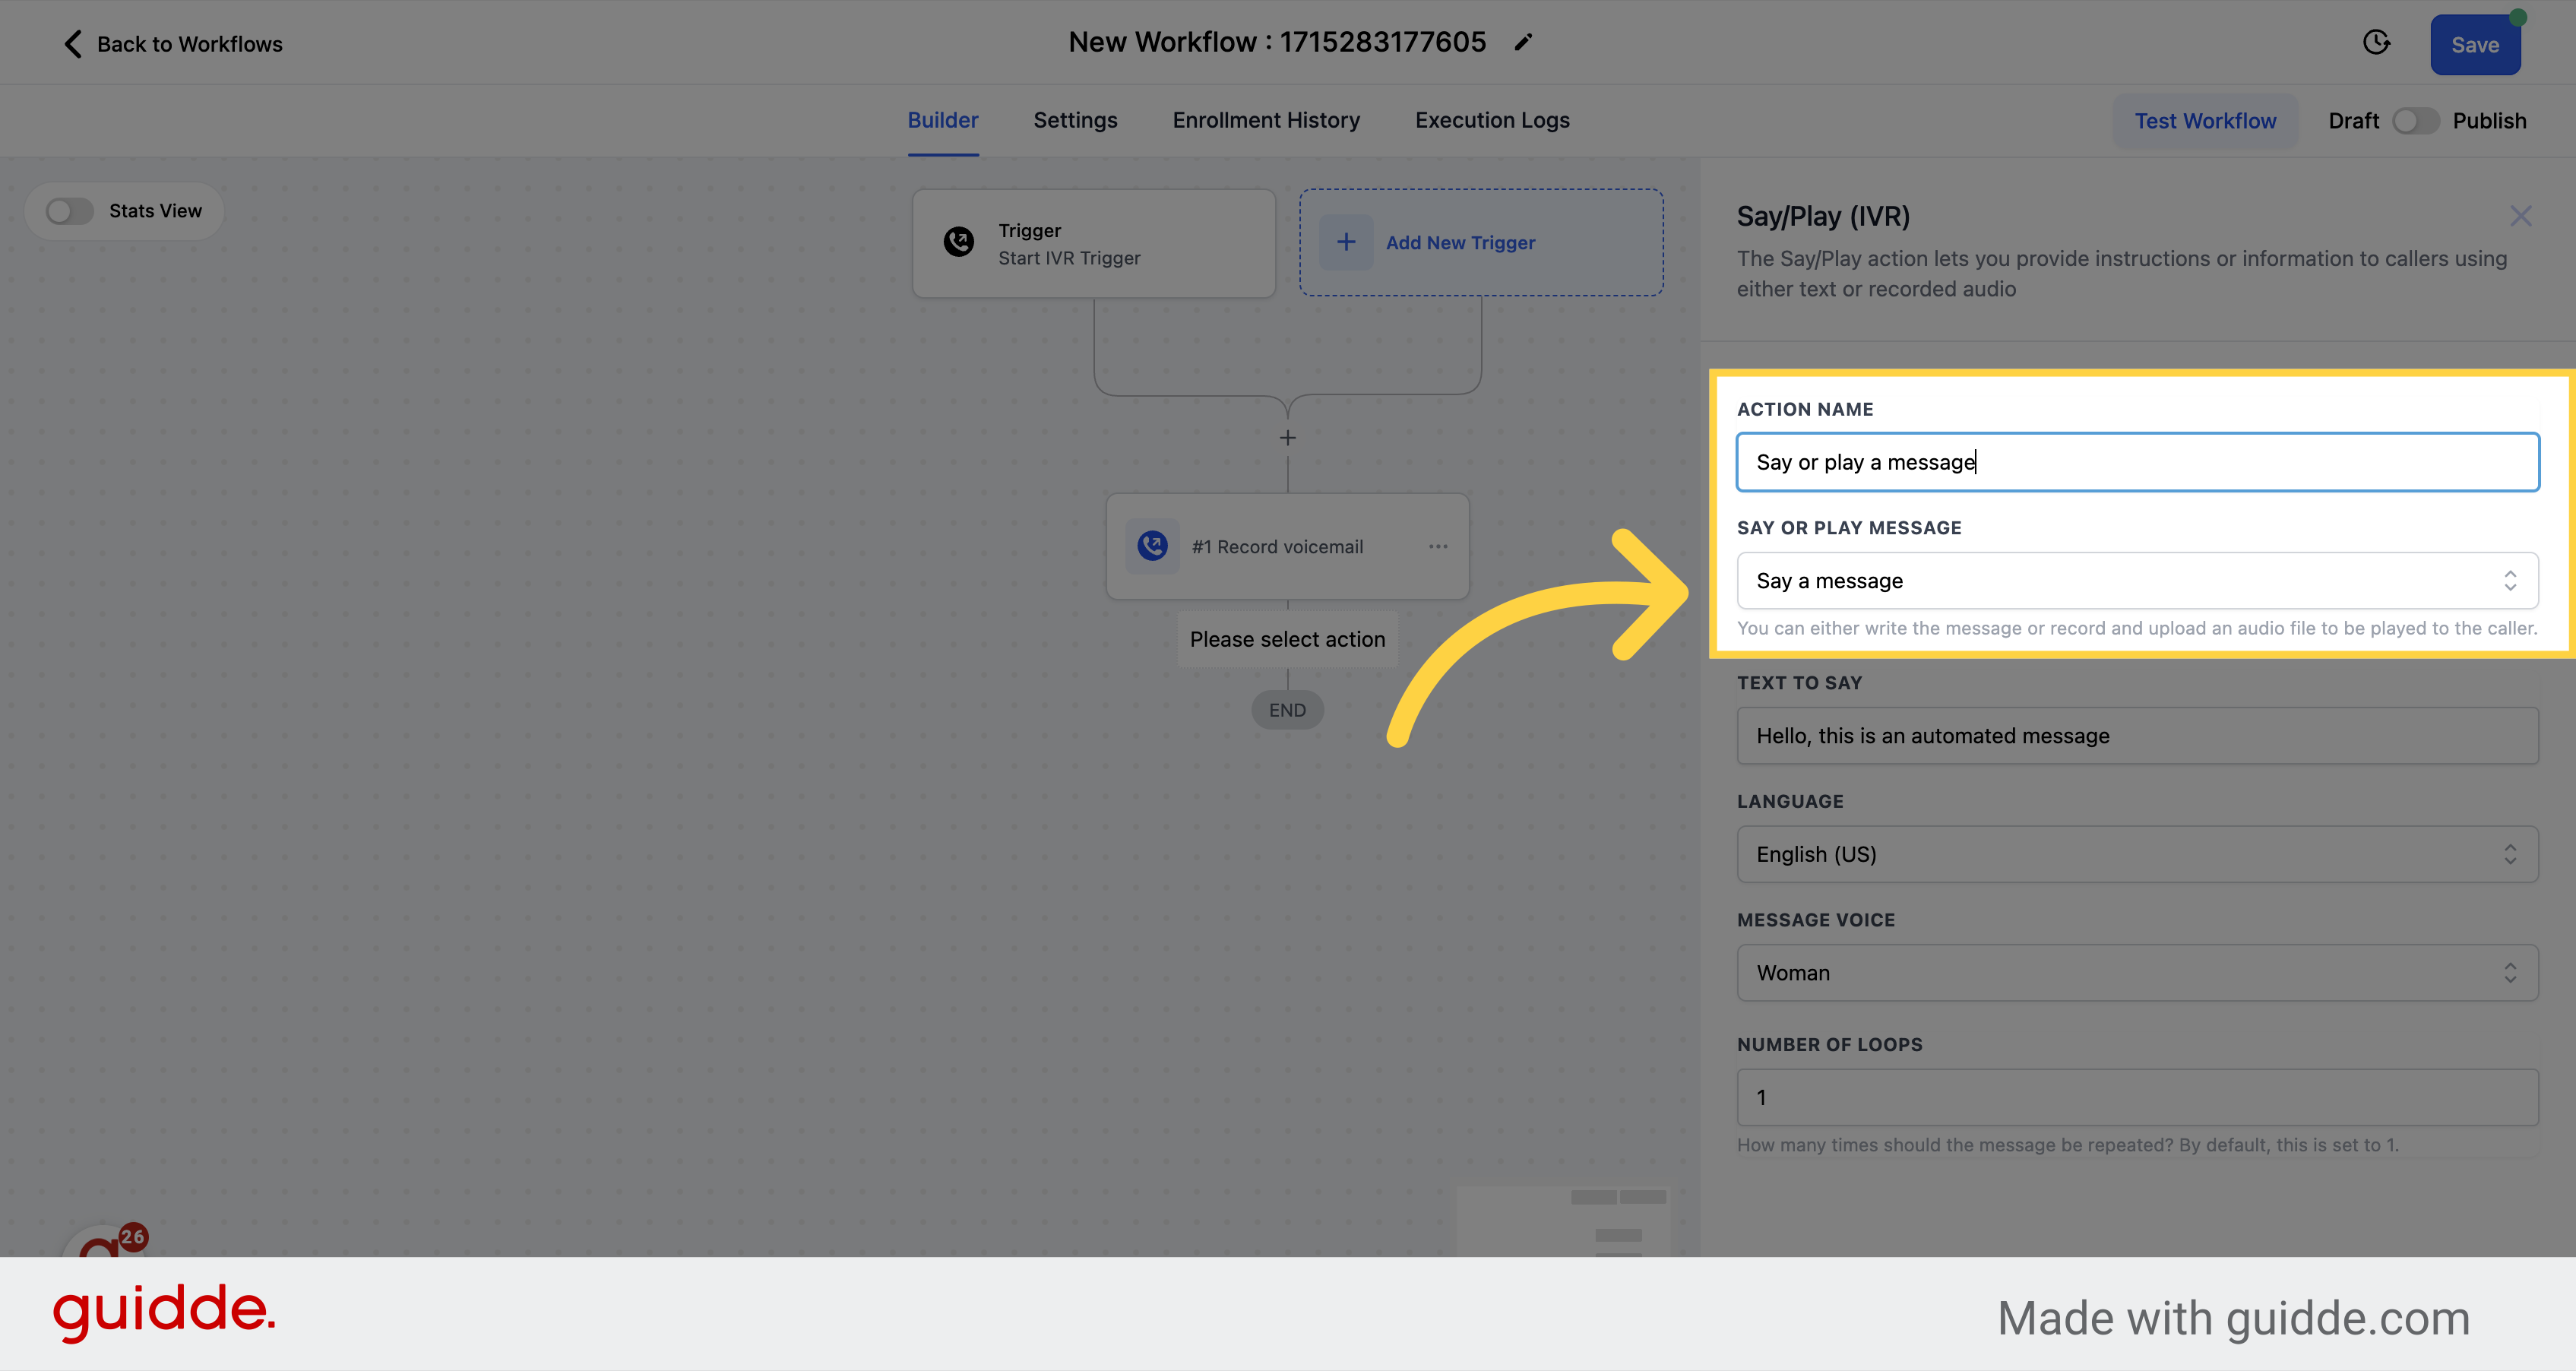
A window will appear with all the action settings.
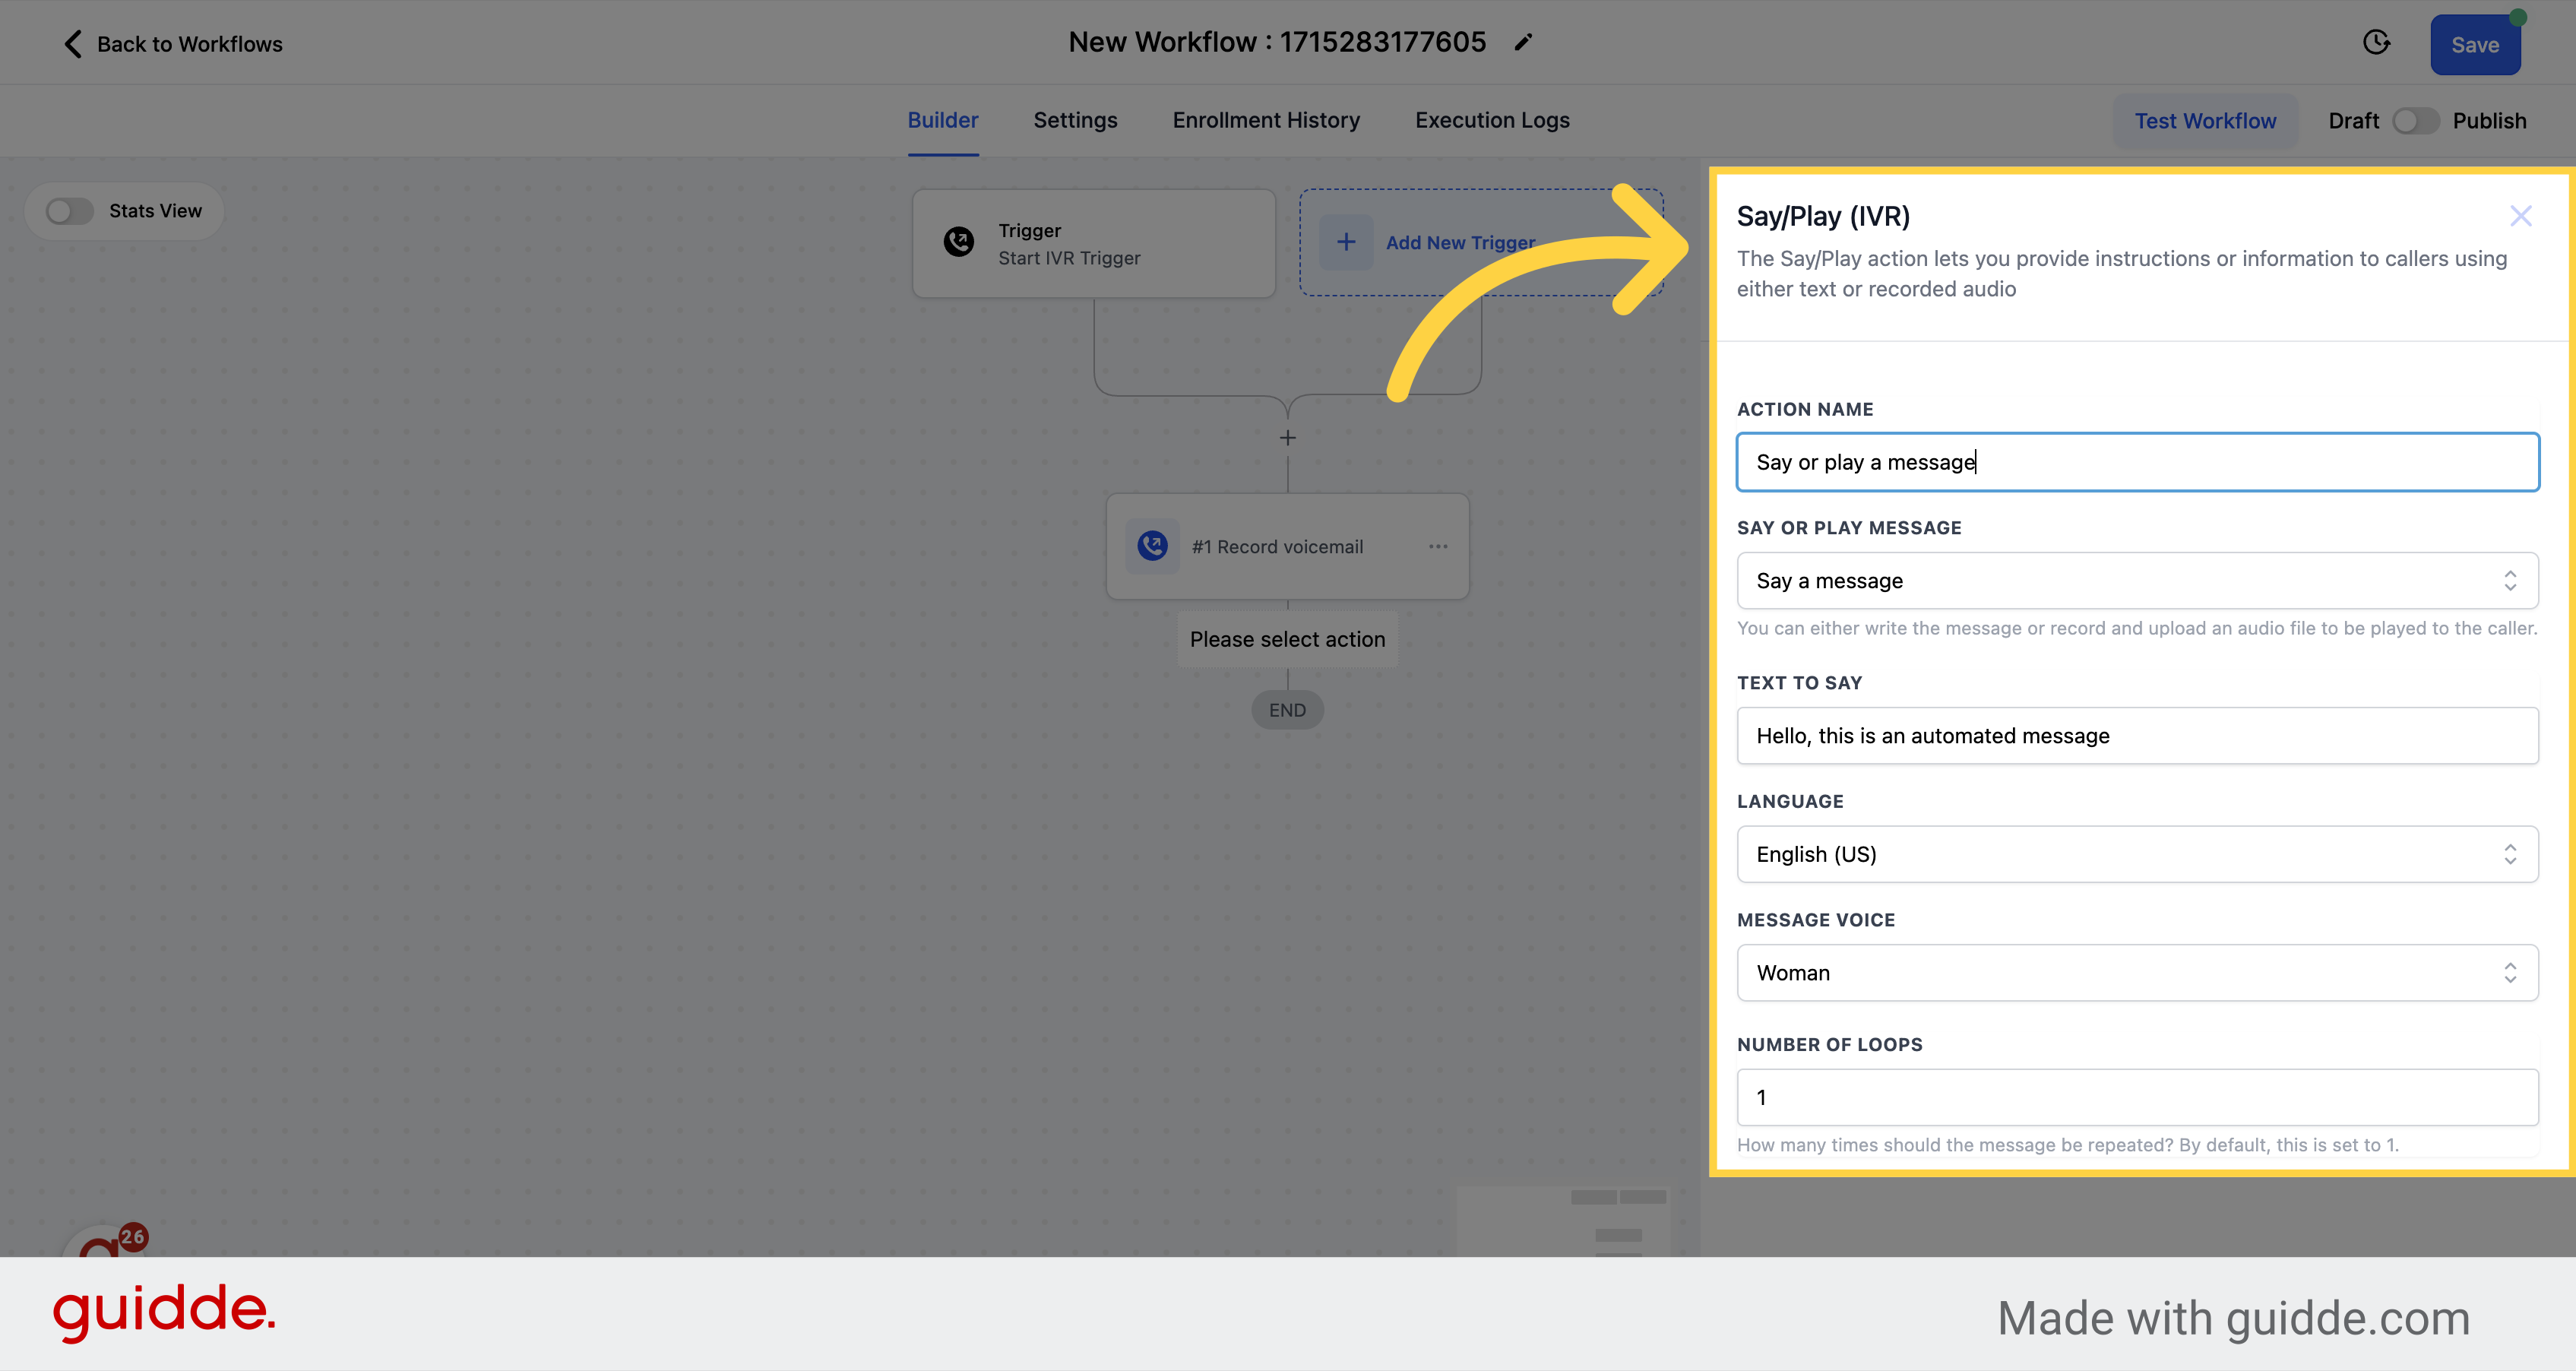
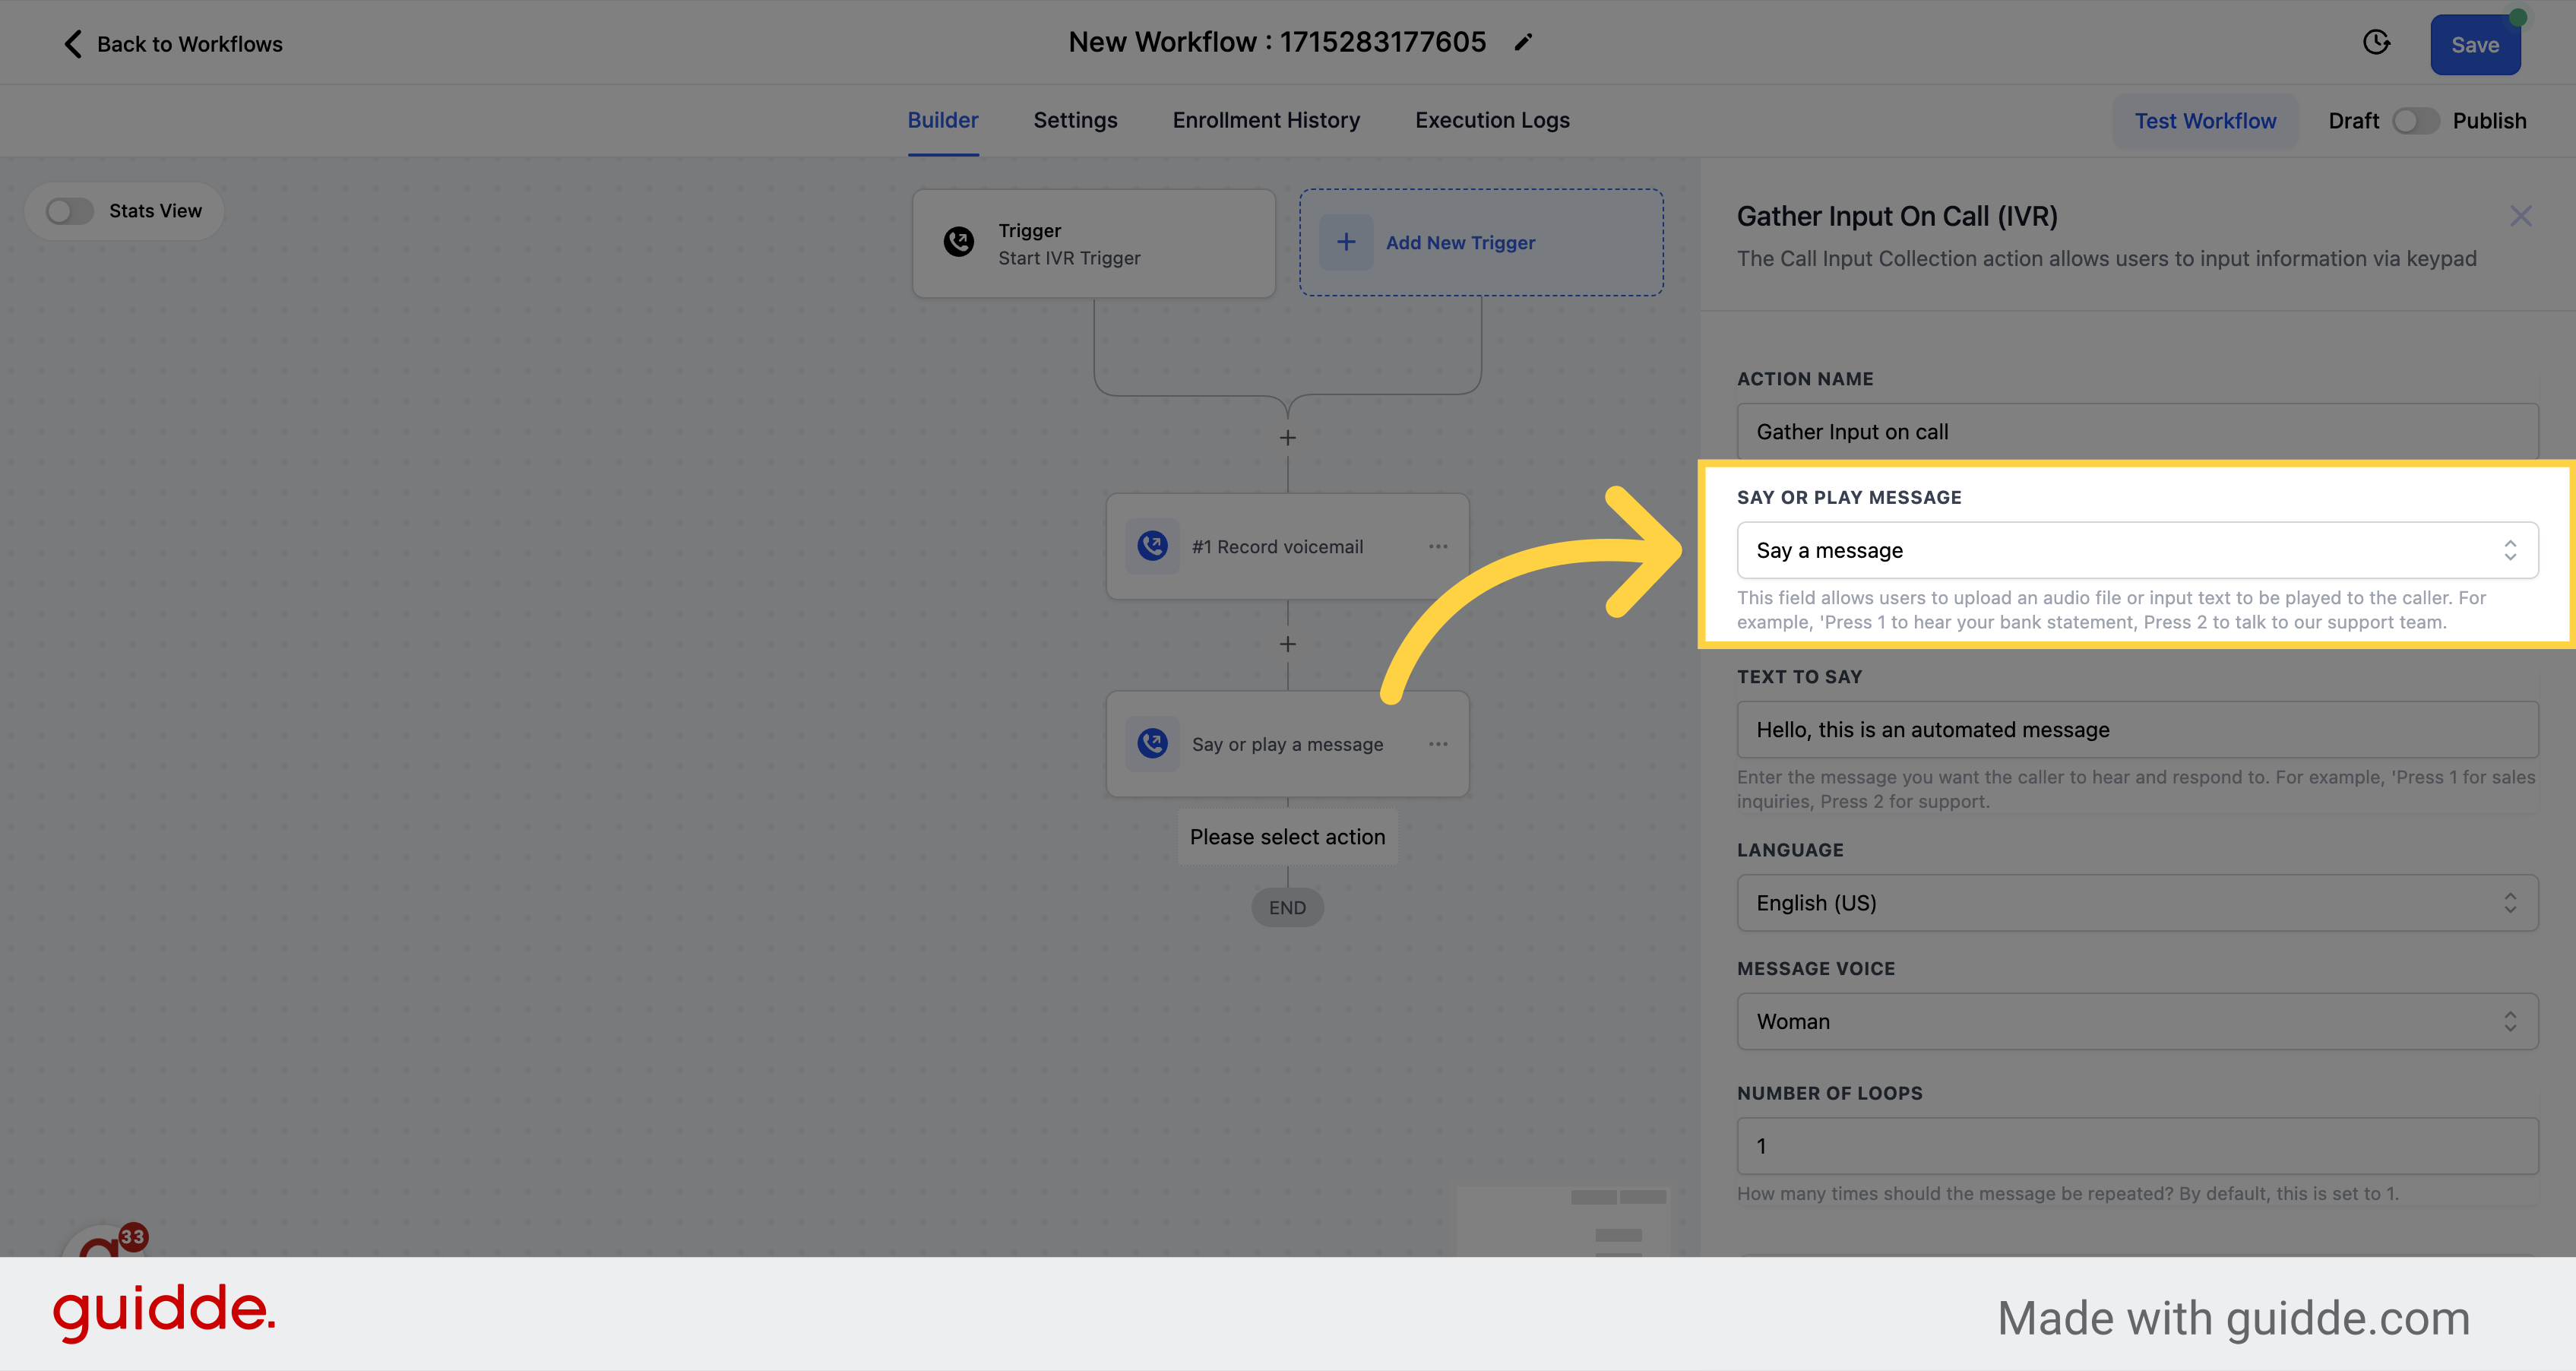
Effortlessly switch between custom text and uploaded audio files, tailoring every interaction.
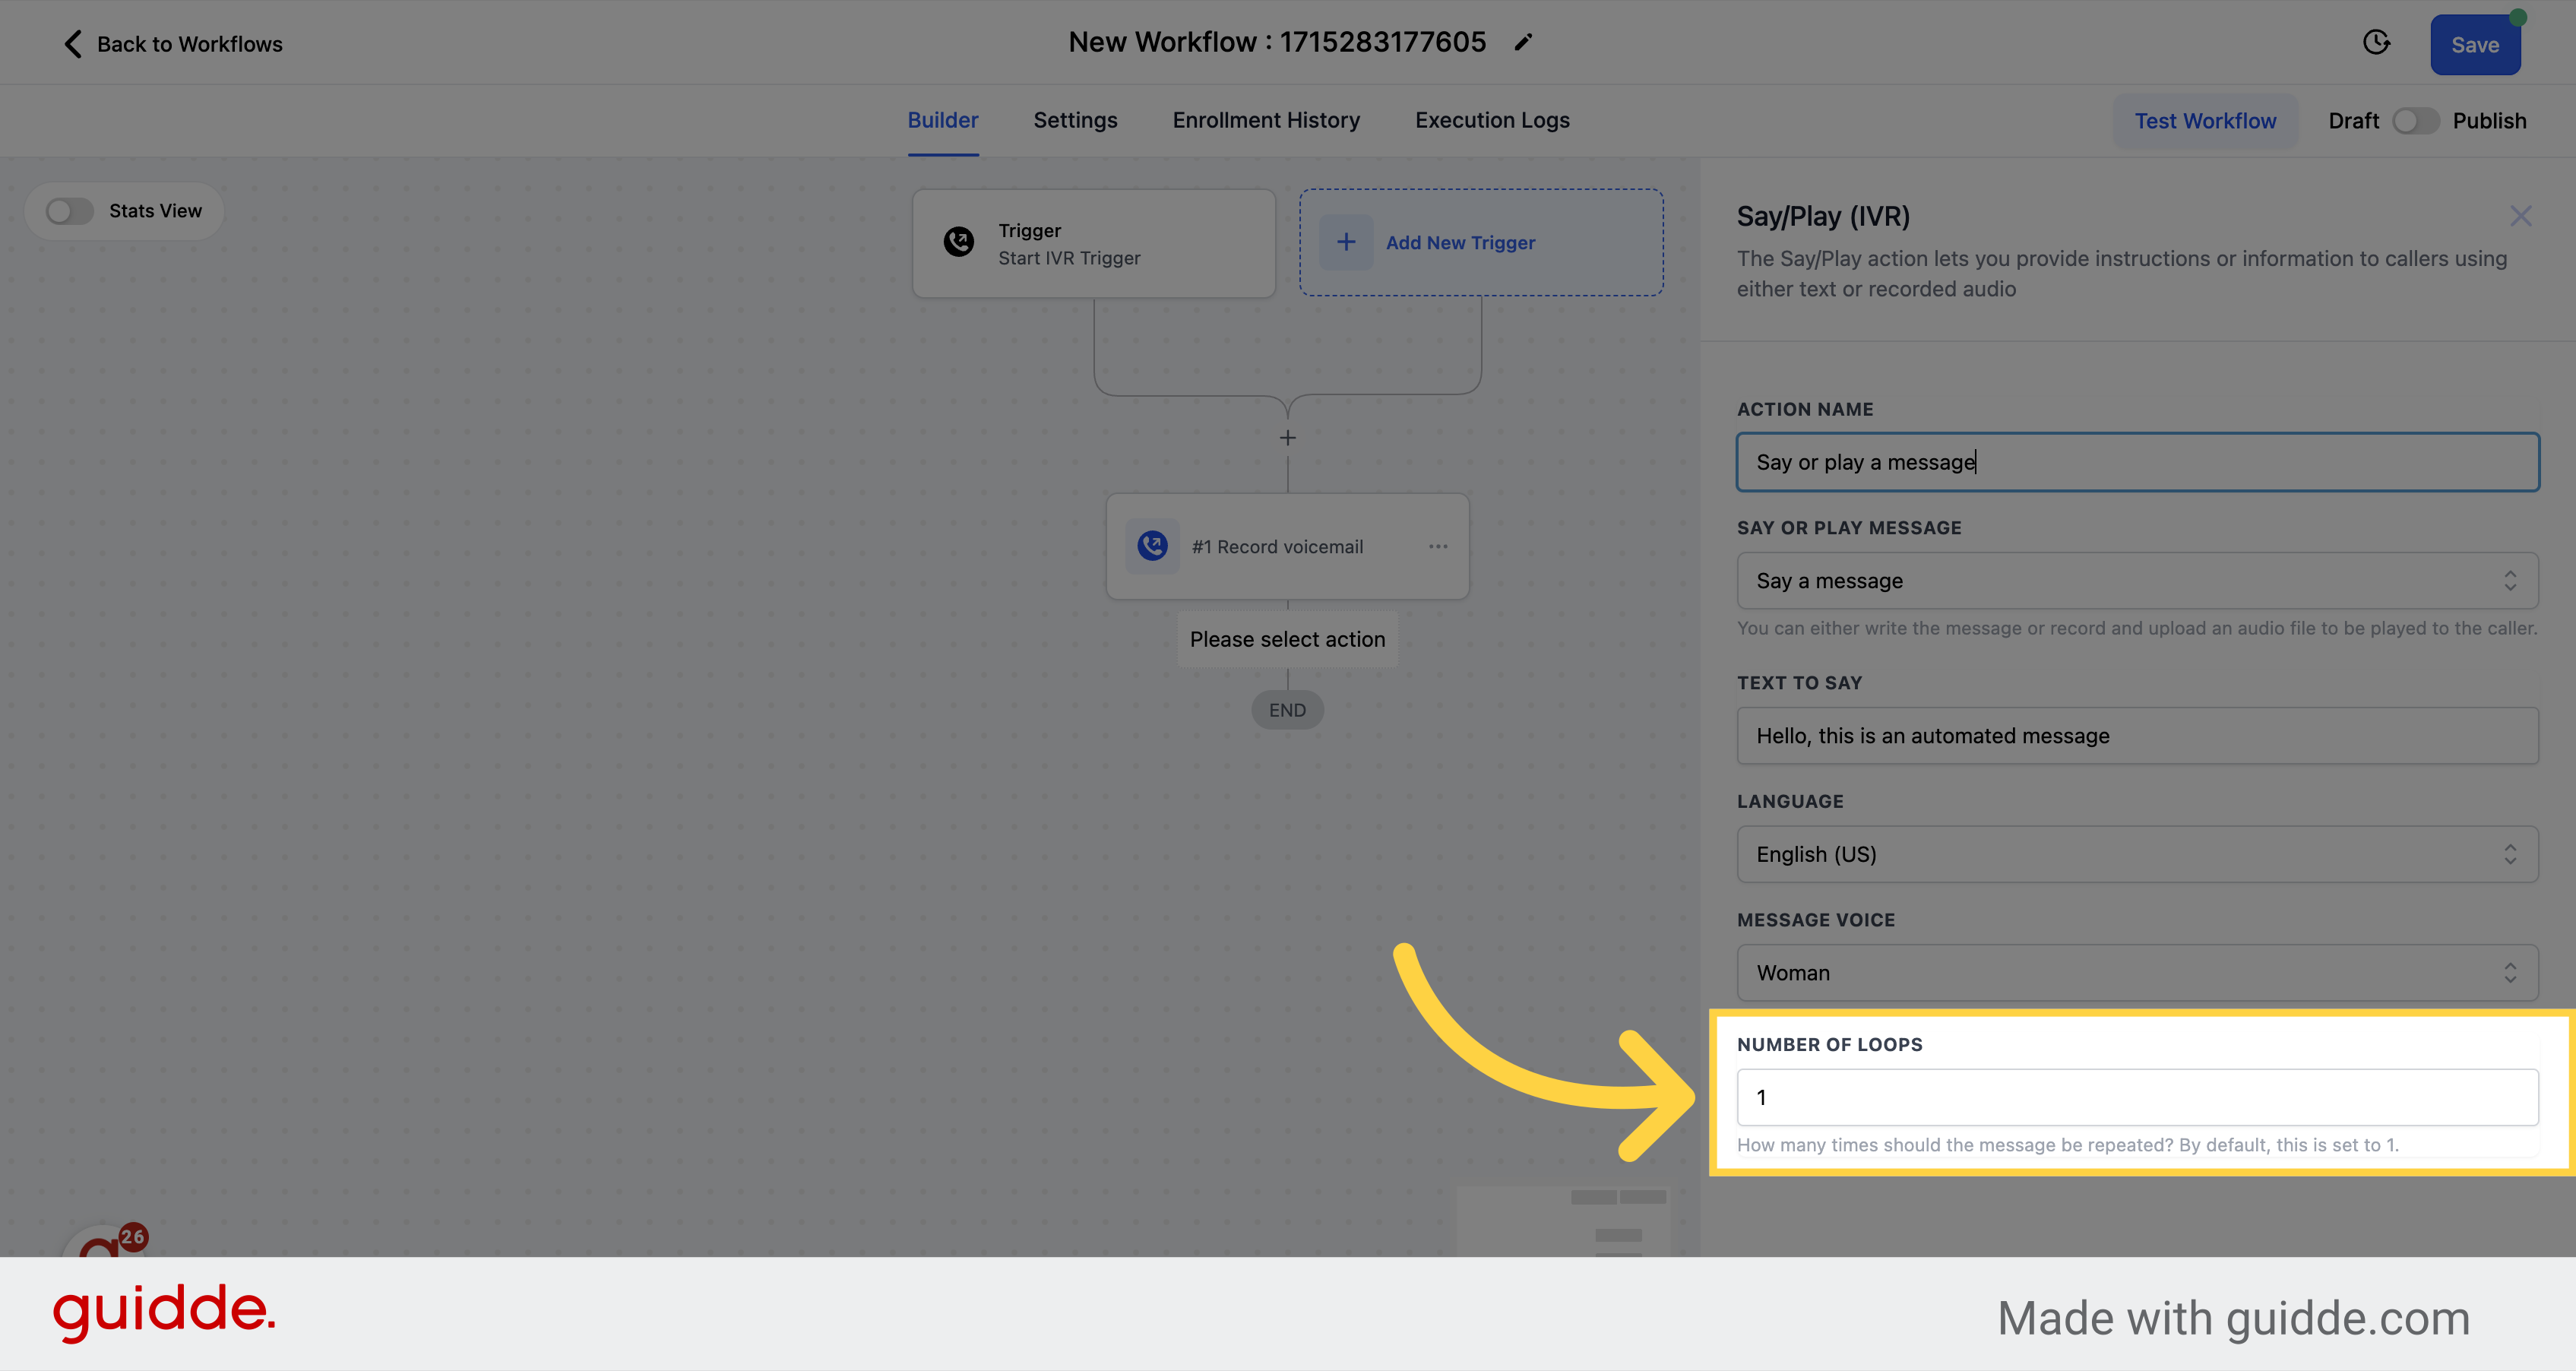
Fine-tune repetition for emphasis and comprehension.
To continue adding actions, click on Save Action.
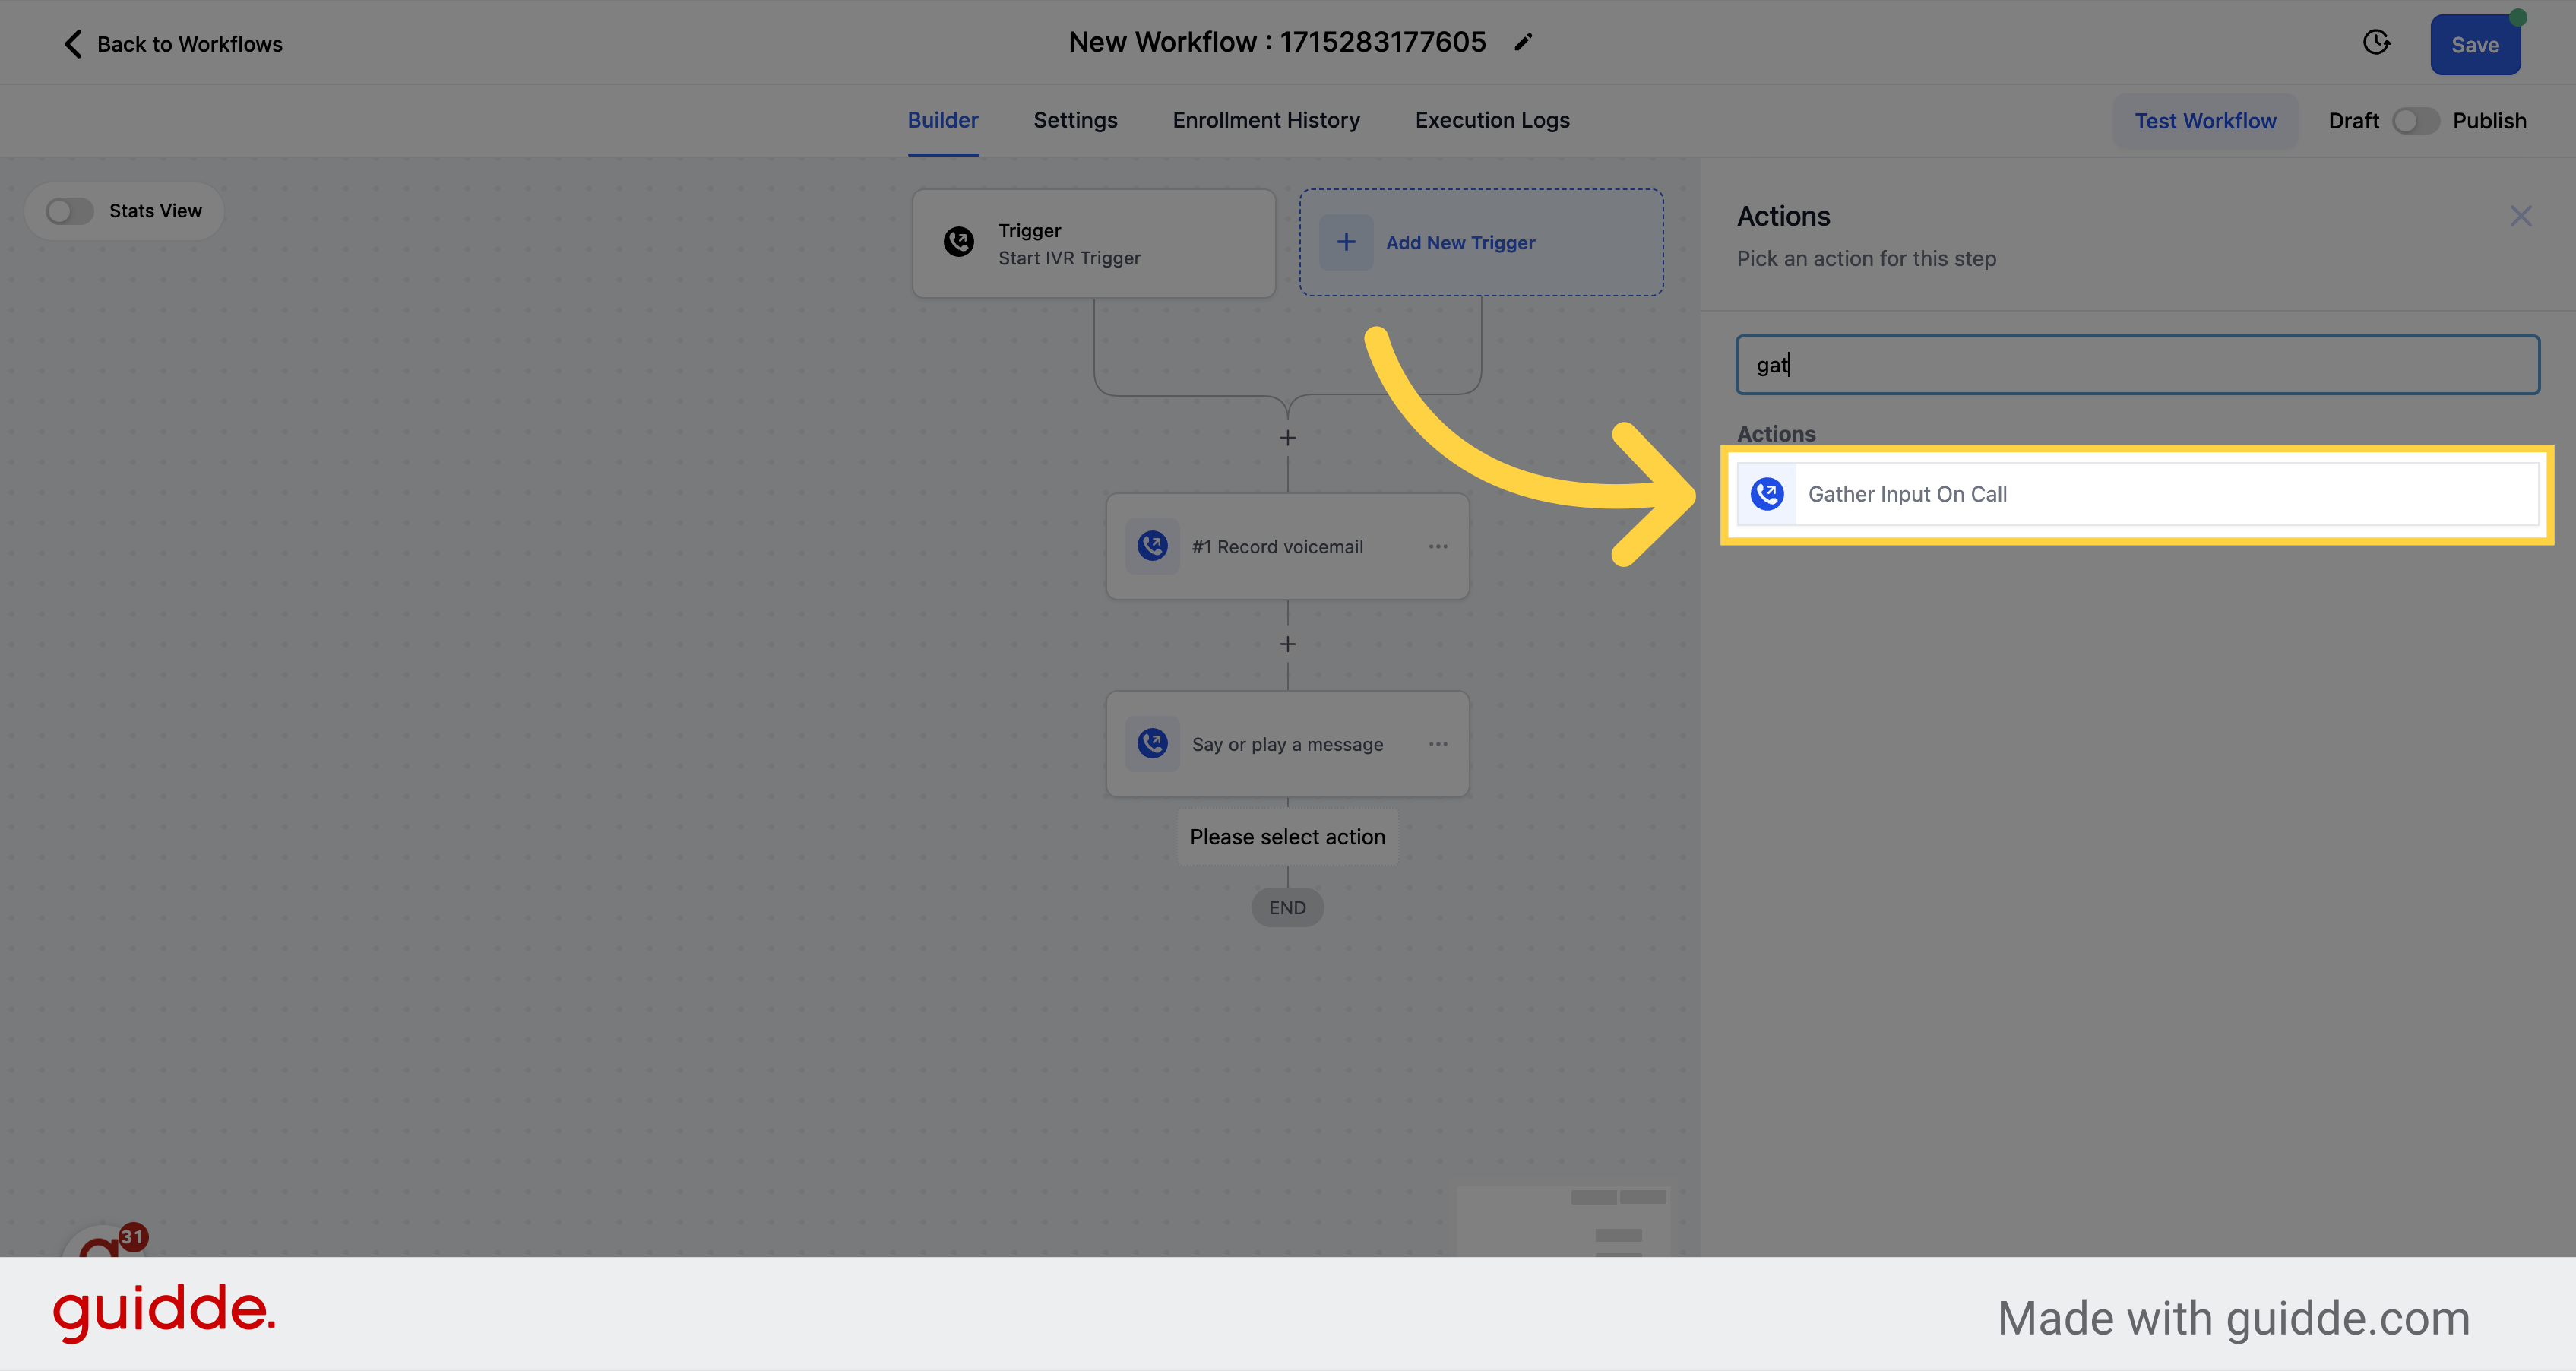
Select the + icon to add a new action to the workflow.
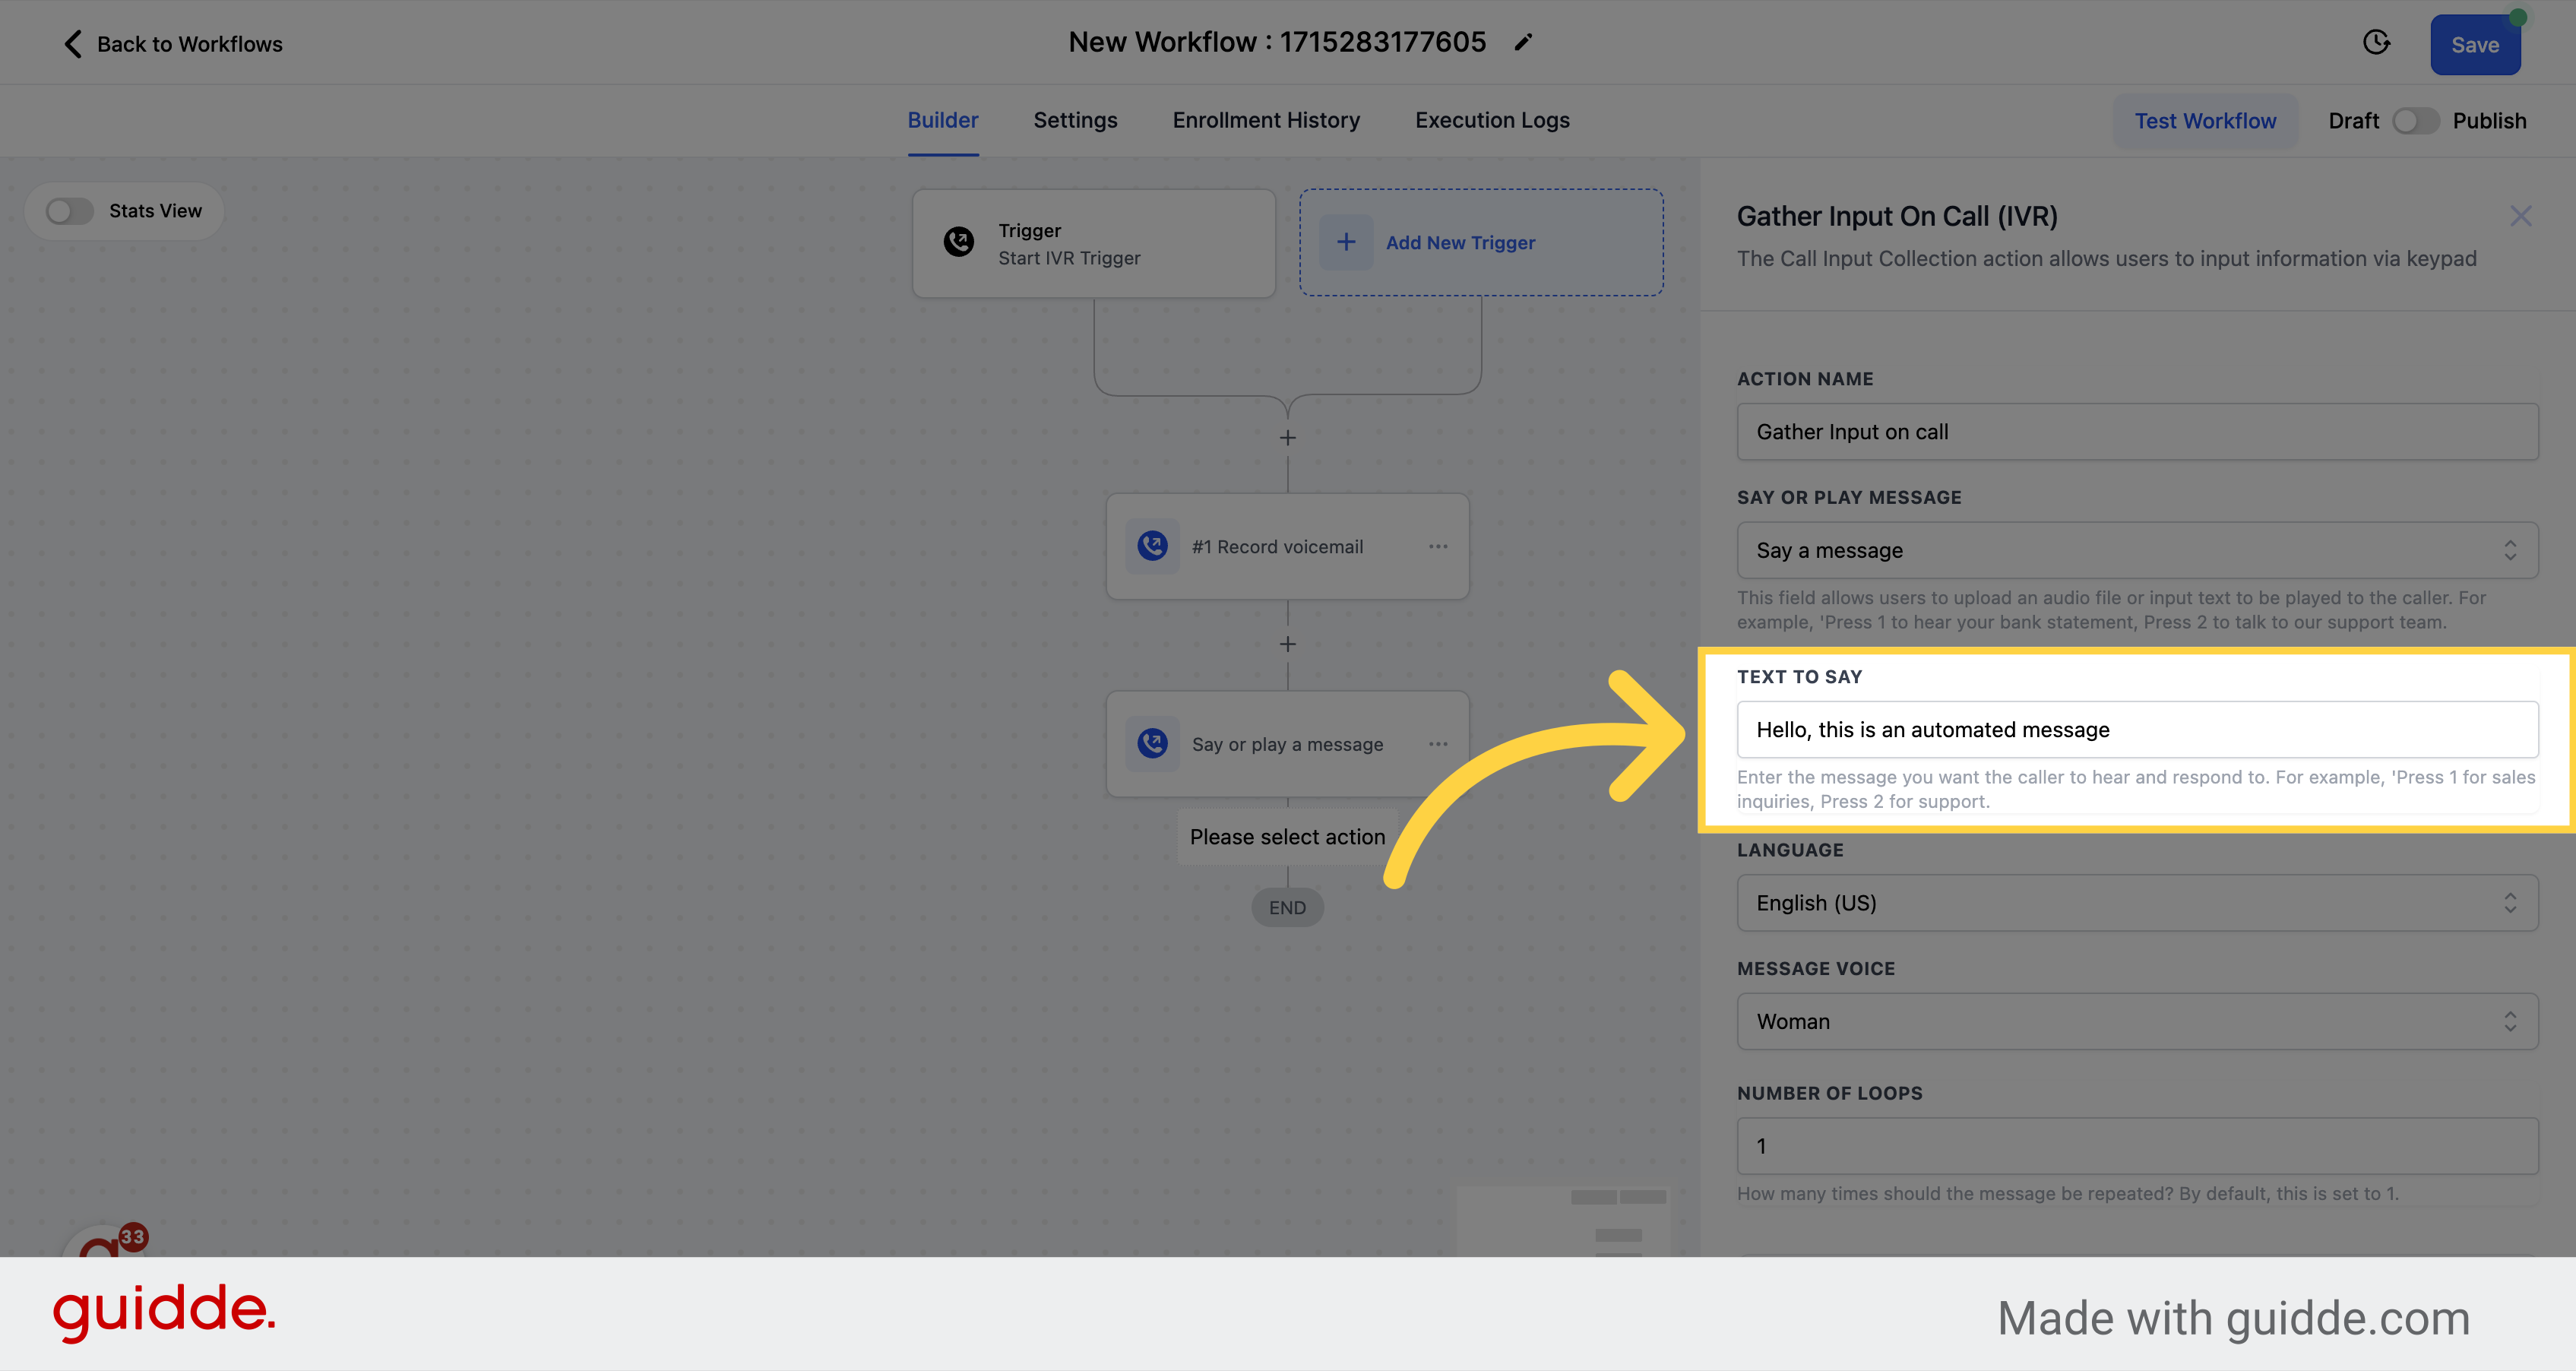
Look for the Gather Input on Call option from the action menu.
A window will appear will all the settings related to that action.
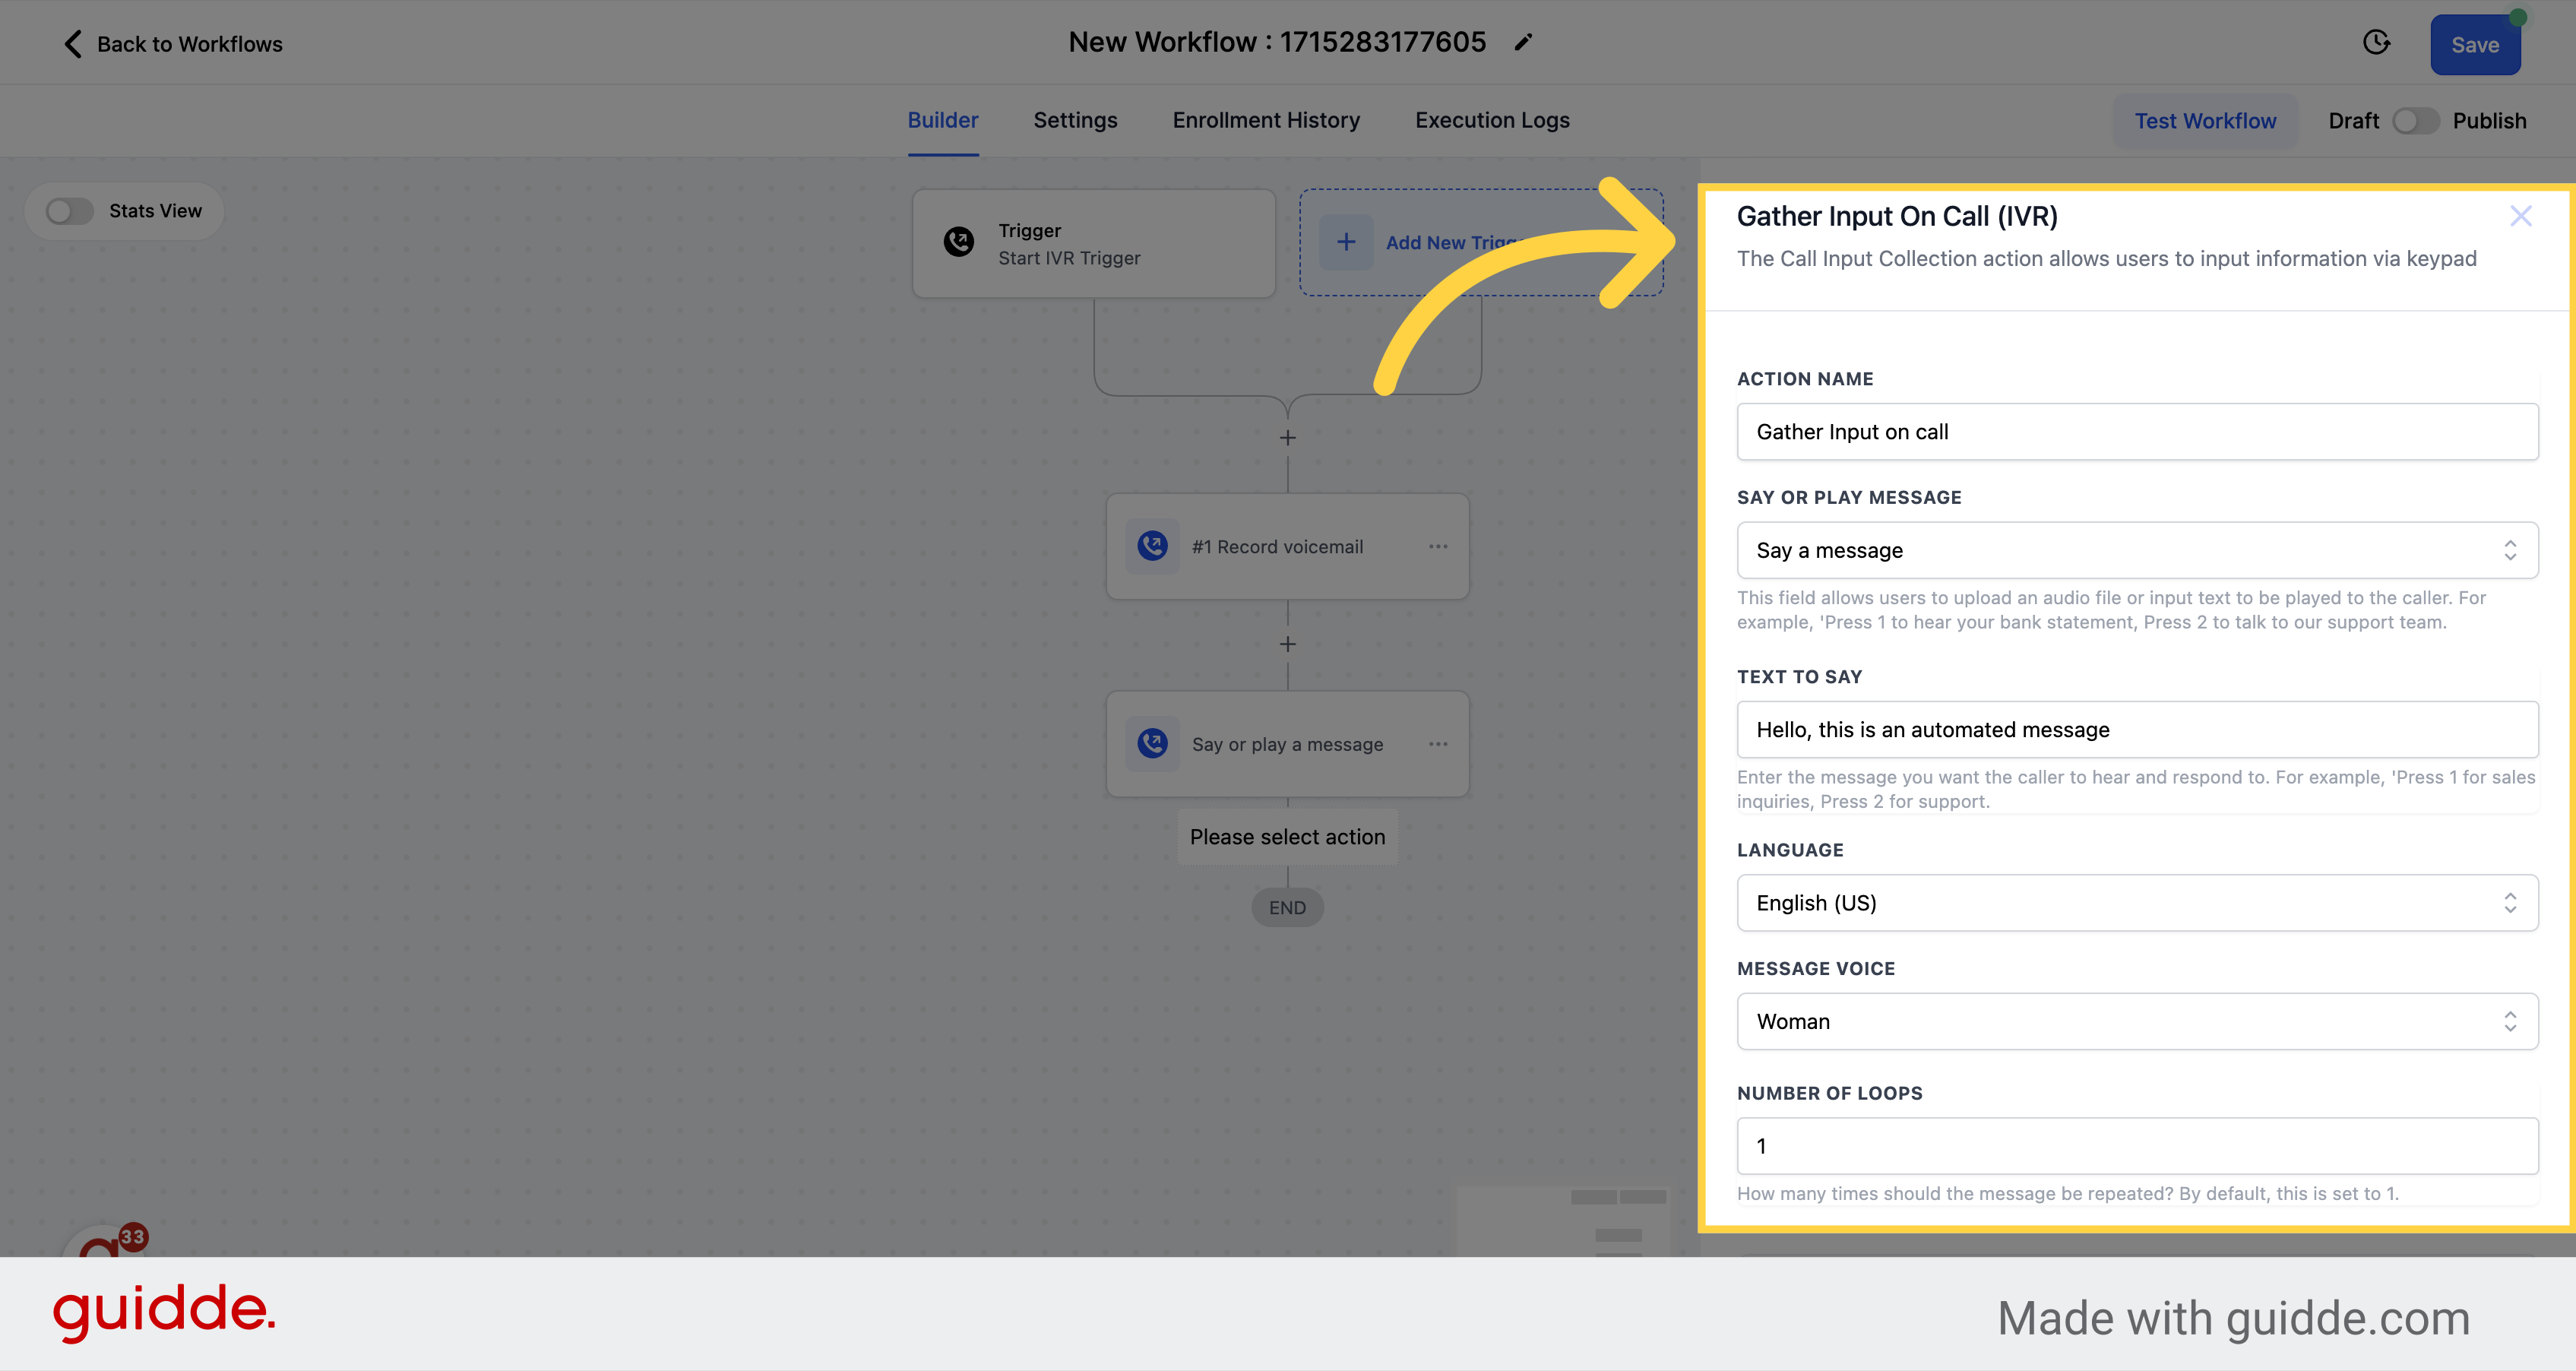
Guide callers through options with precision, fostering confident choices.
Personalize interactions, ensuring callers feel valued and understood.
Adjust repetitions, aligning with your audience's pace.

Click on the Match Conditions button to see conditional options.
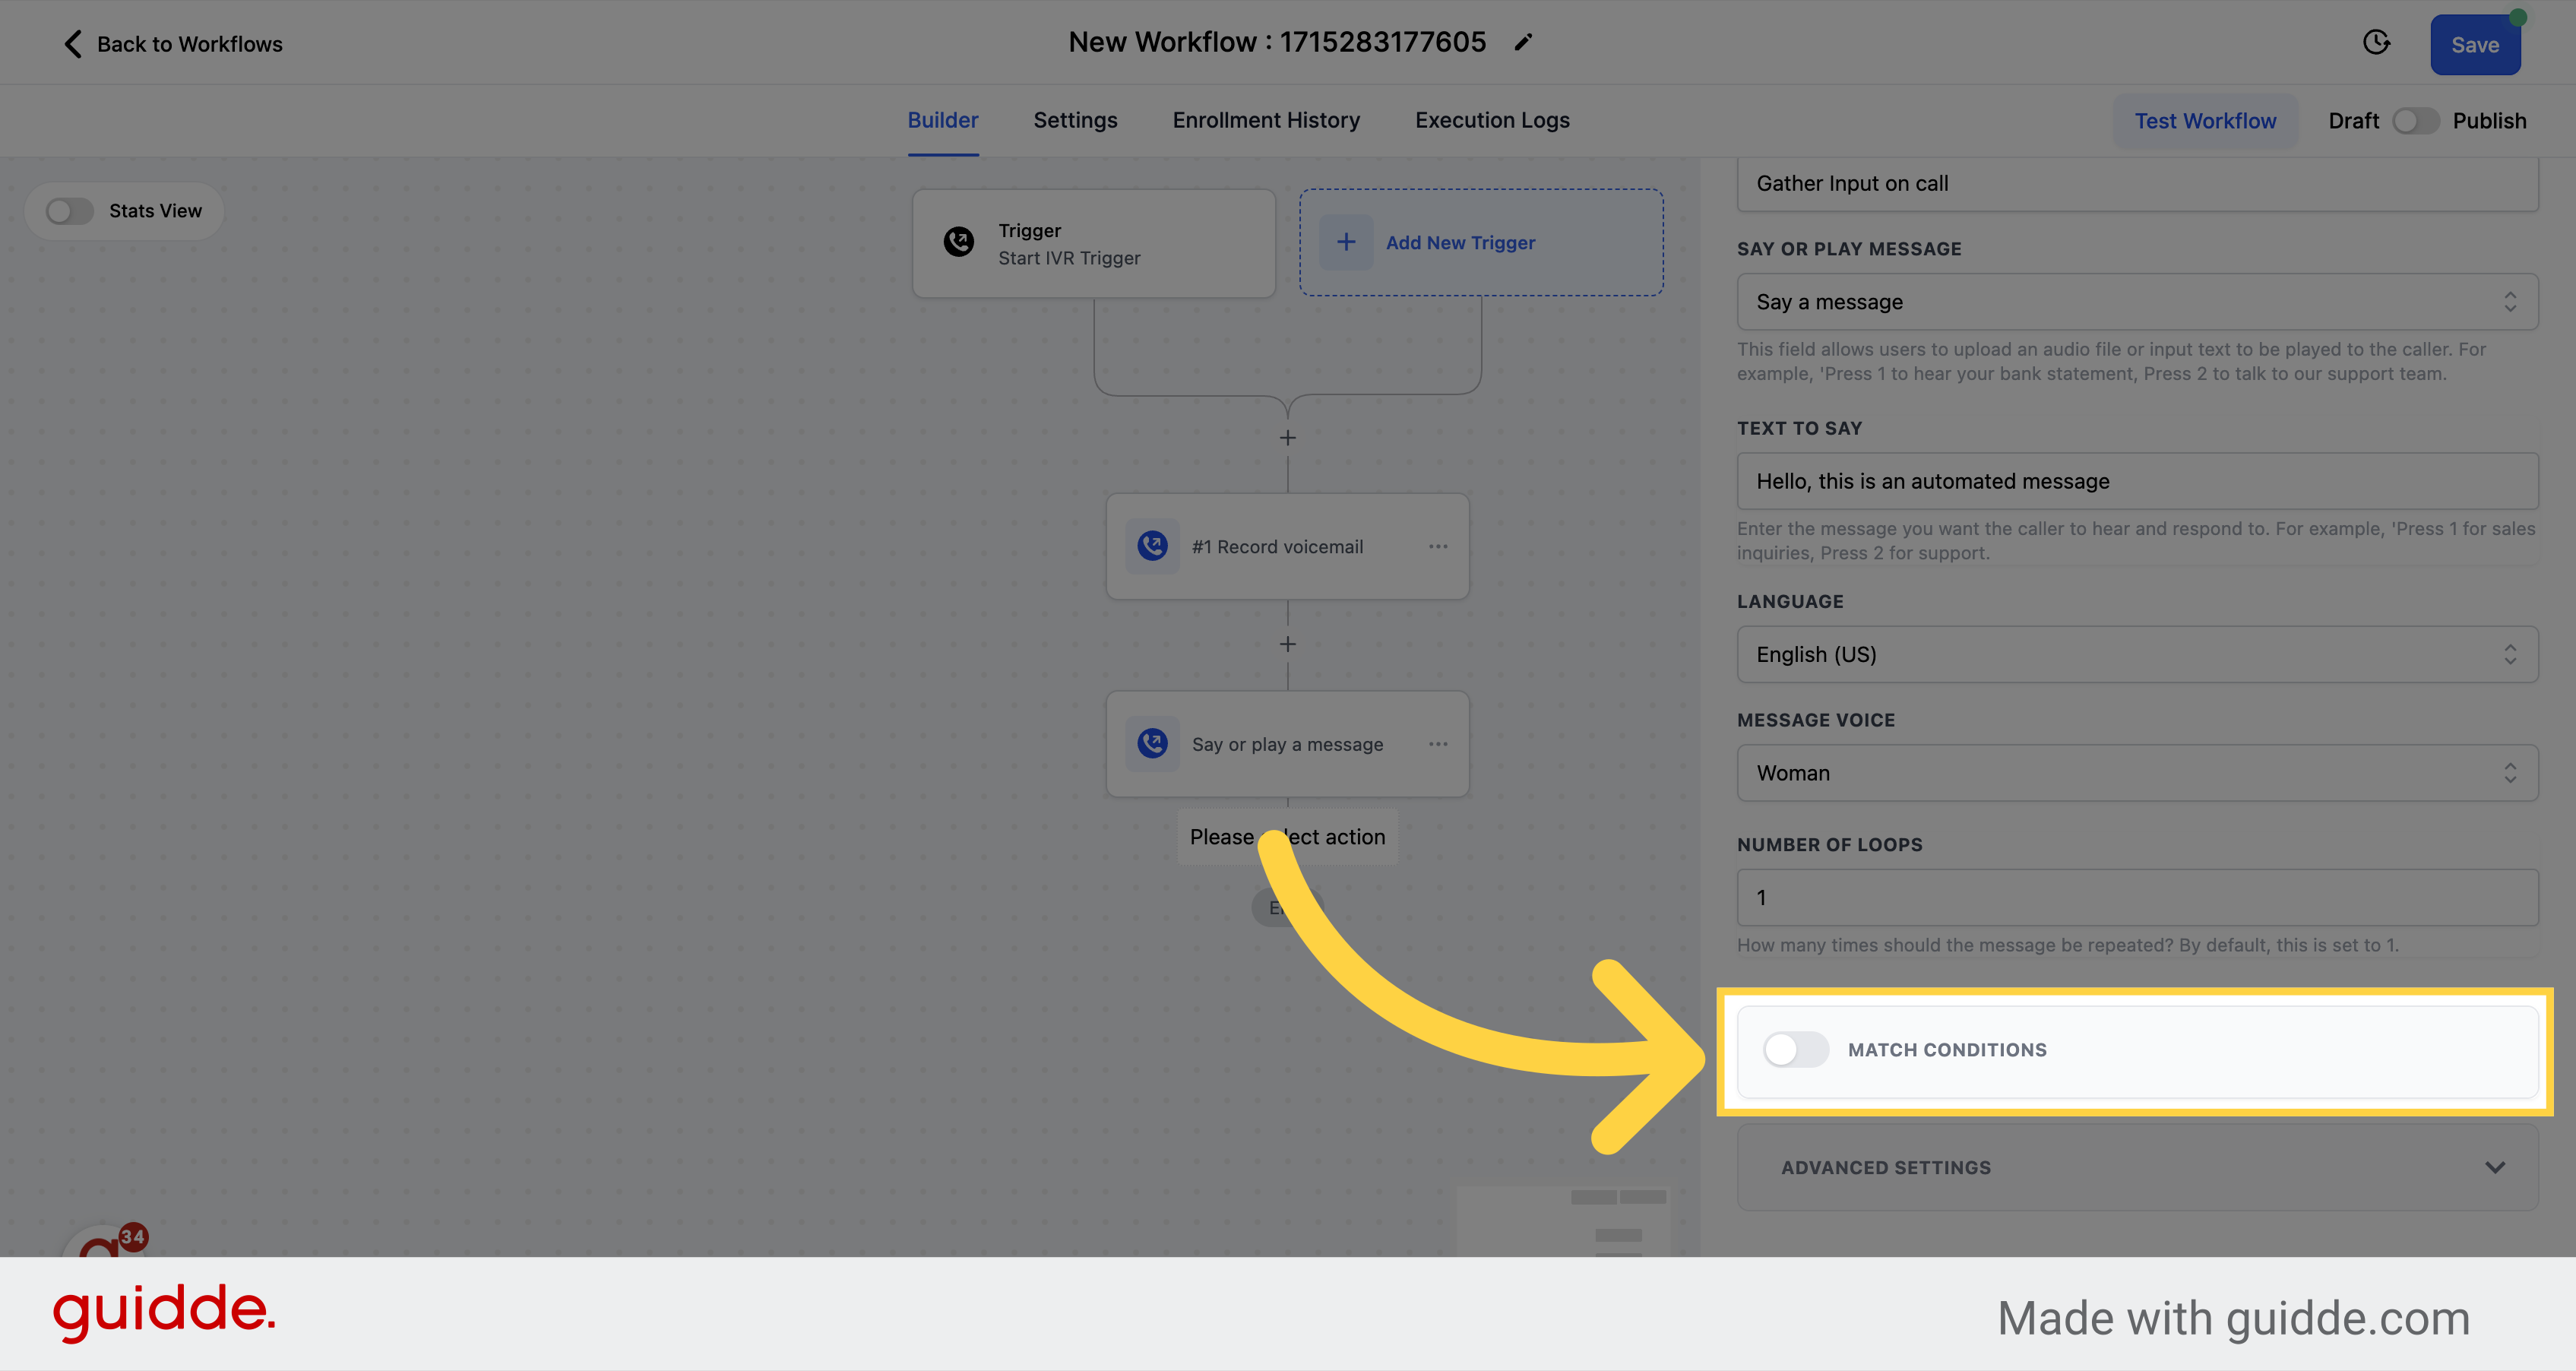
IVR Gather enables user input collection via Keypress, followed by specific actions or branching paths. By utilizing the 'IF Condition' feature and selecting IVR Gather, you can establish distinct logic for different key presses. For instance, 'Press 1 for service details' and 'Press 2 to book an appointment.' Each key press triggers specific branches, guiding callers seamlessly to the next step based on their input.
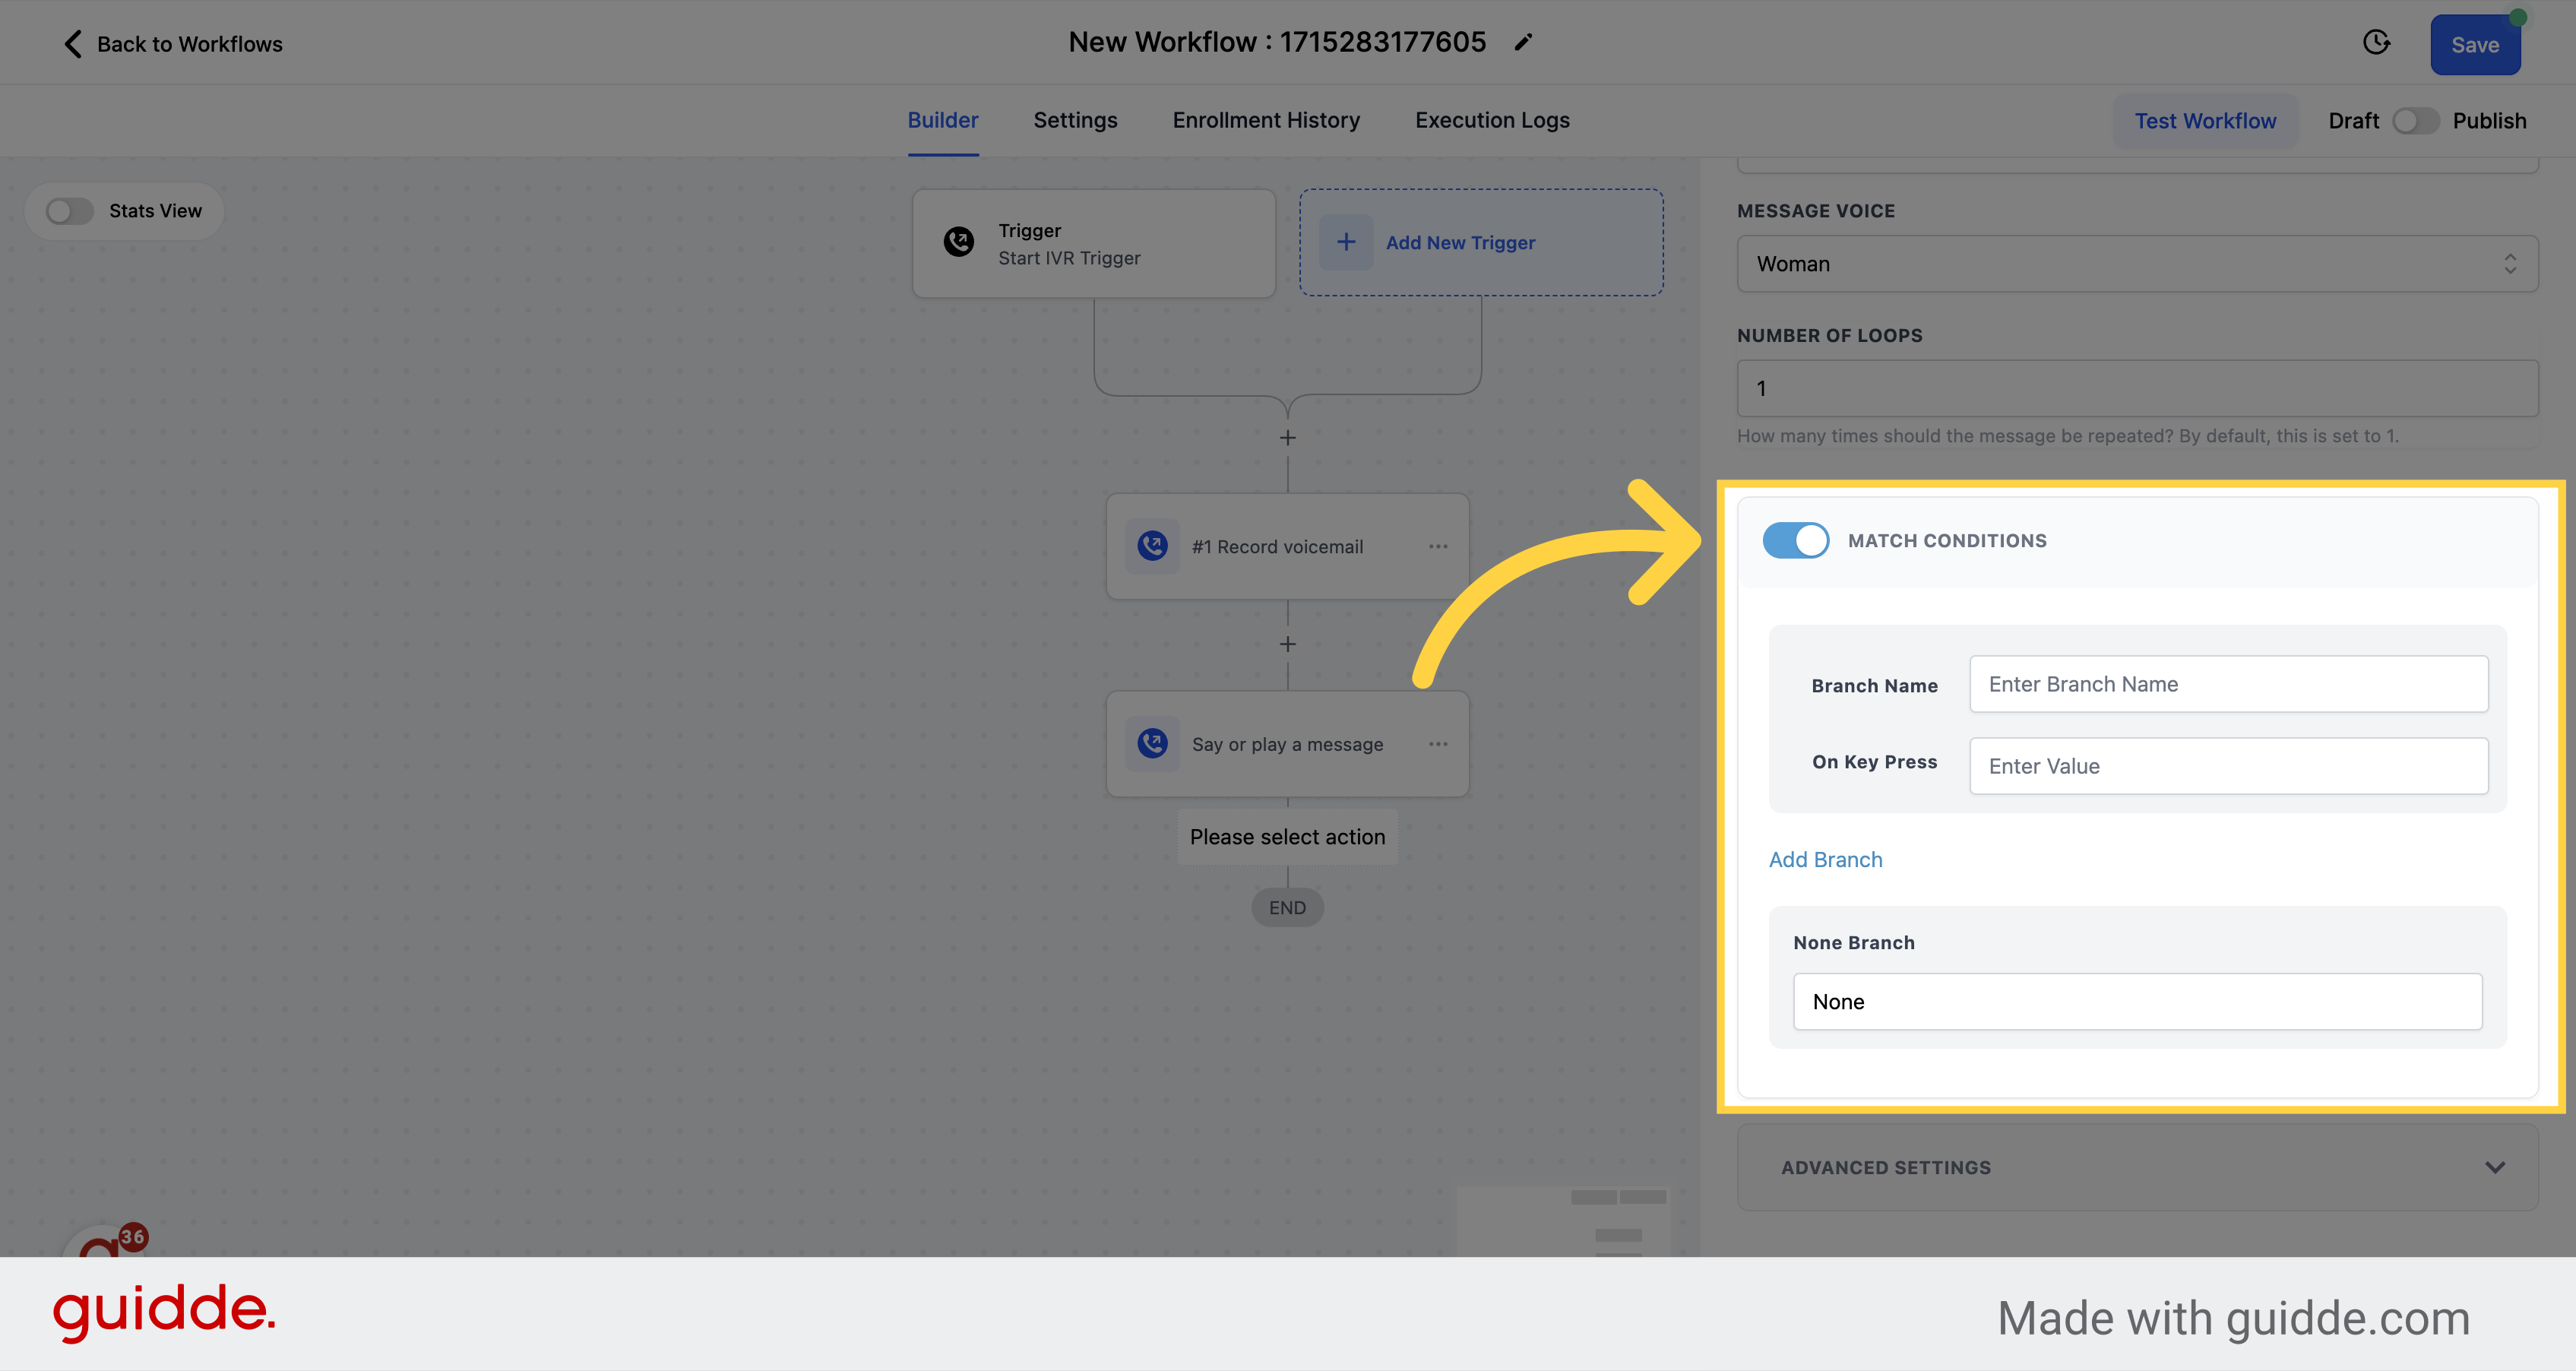
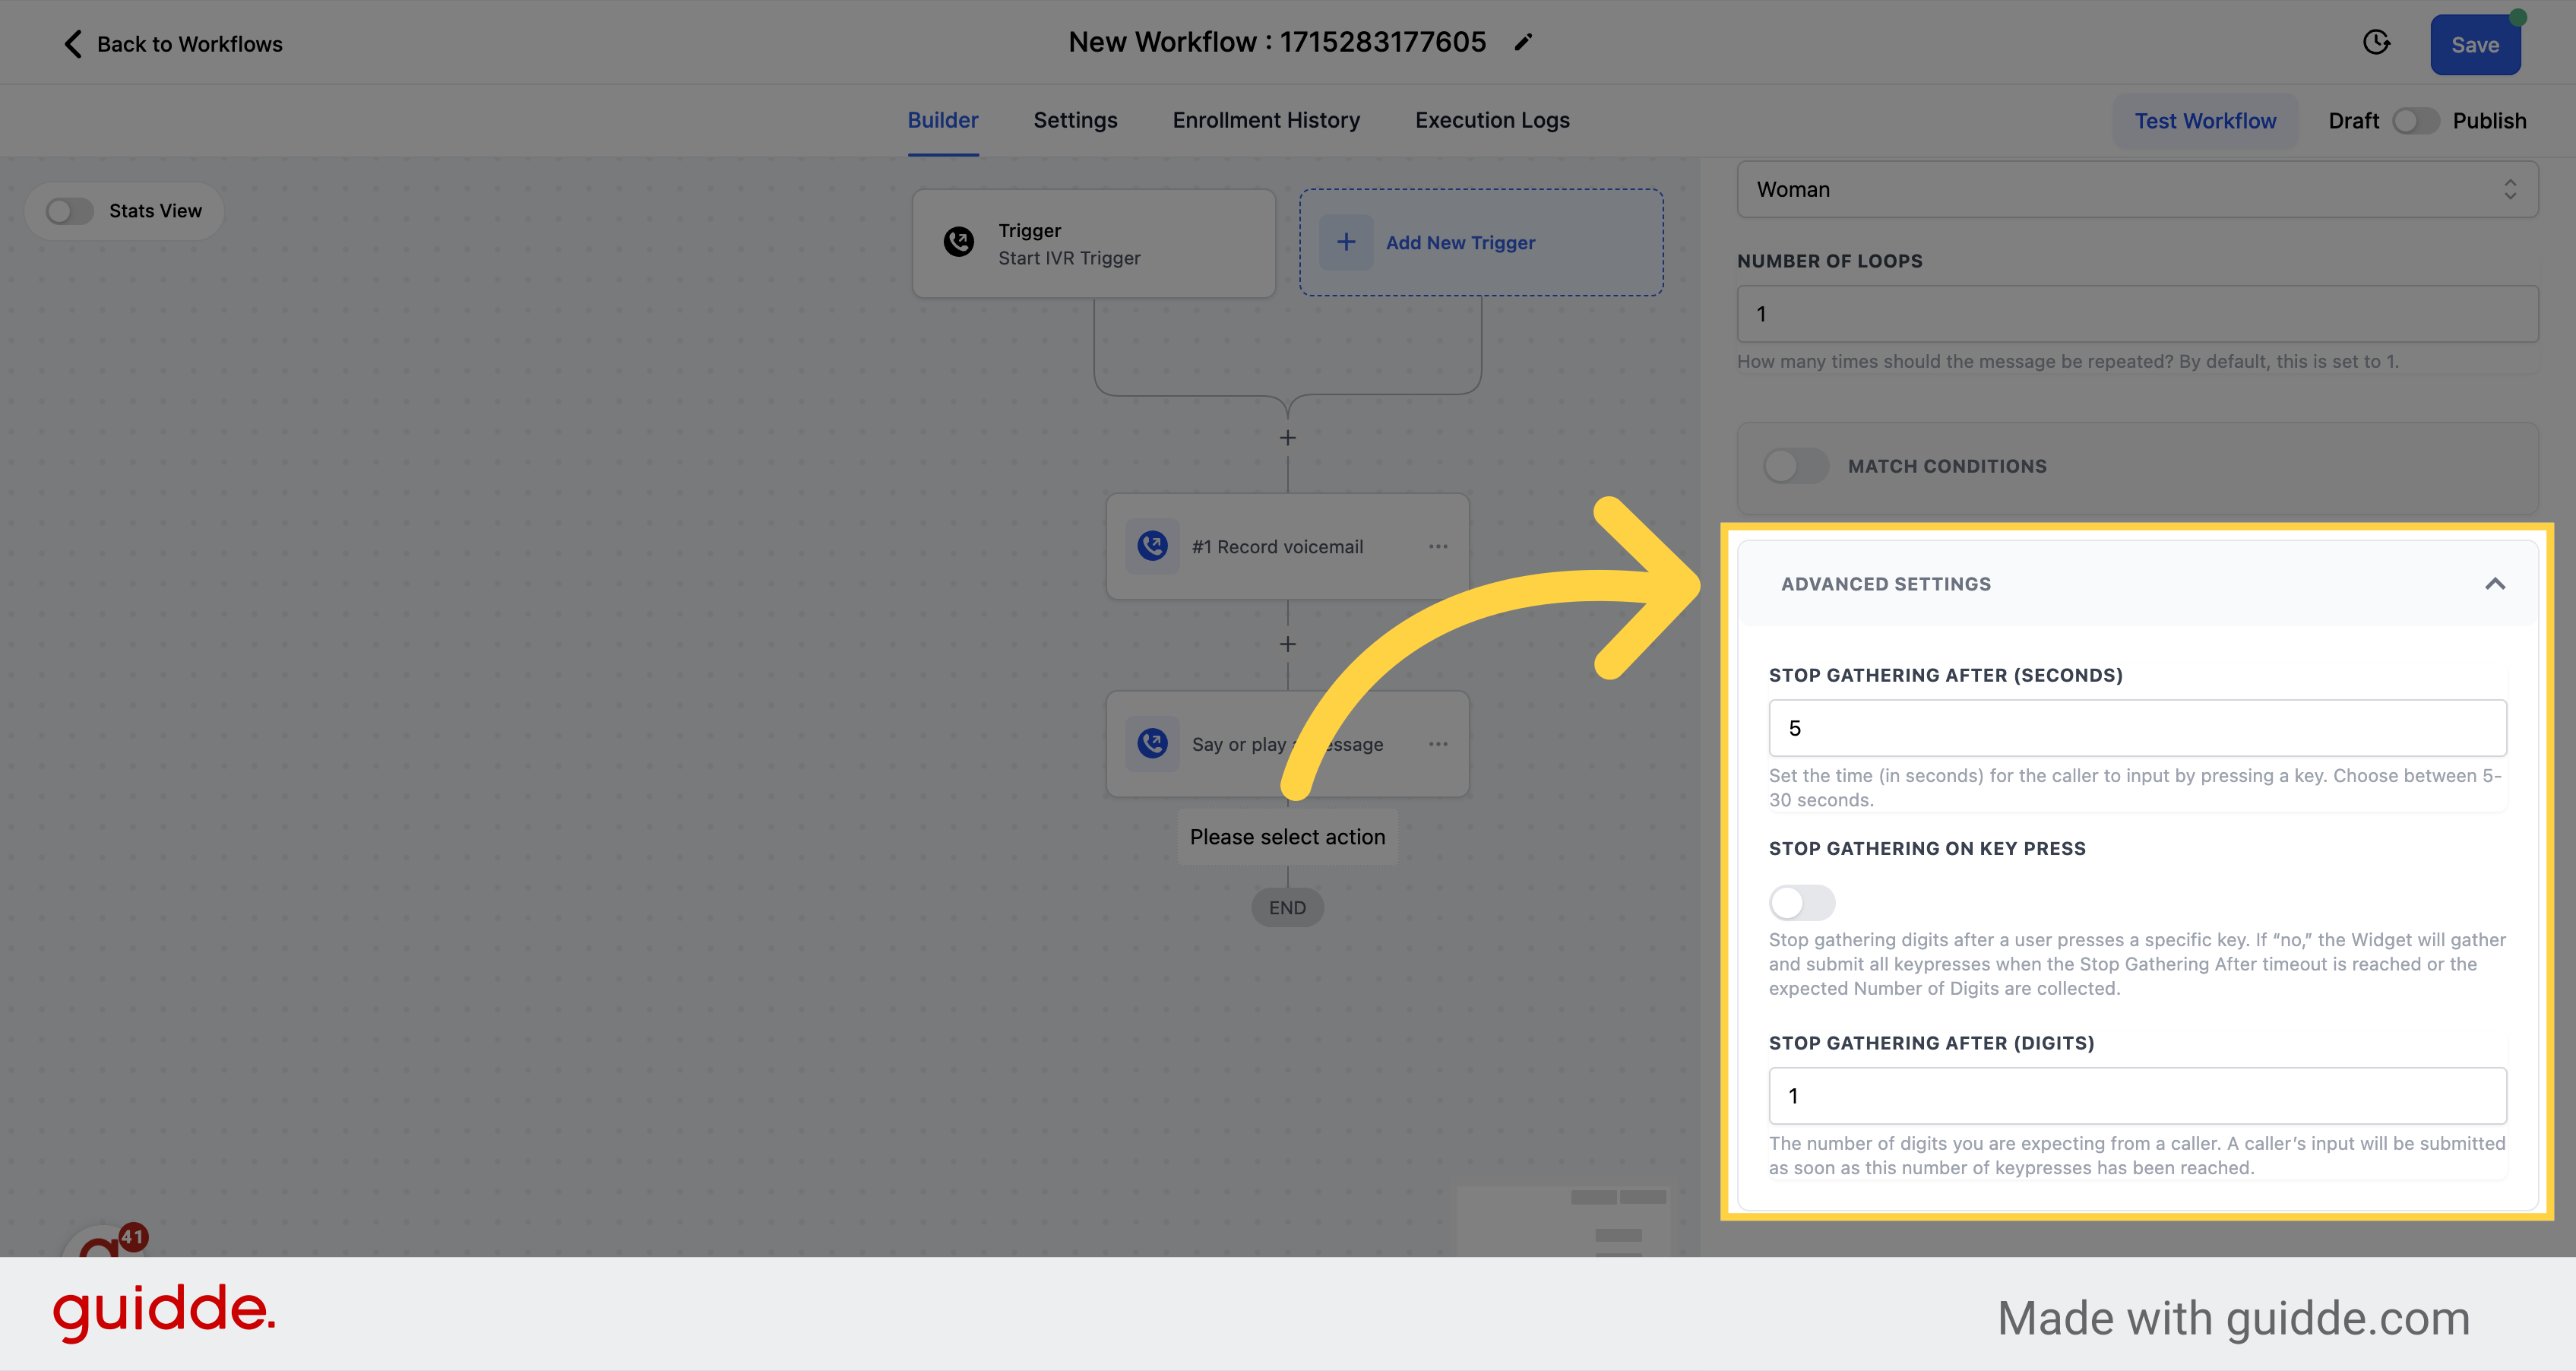
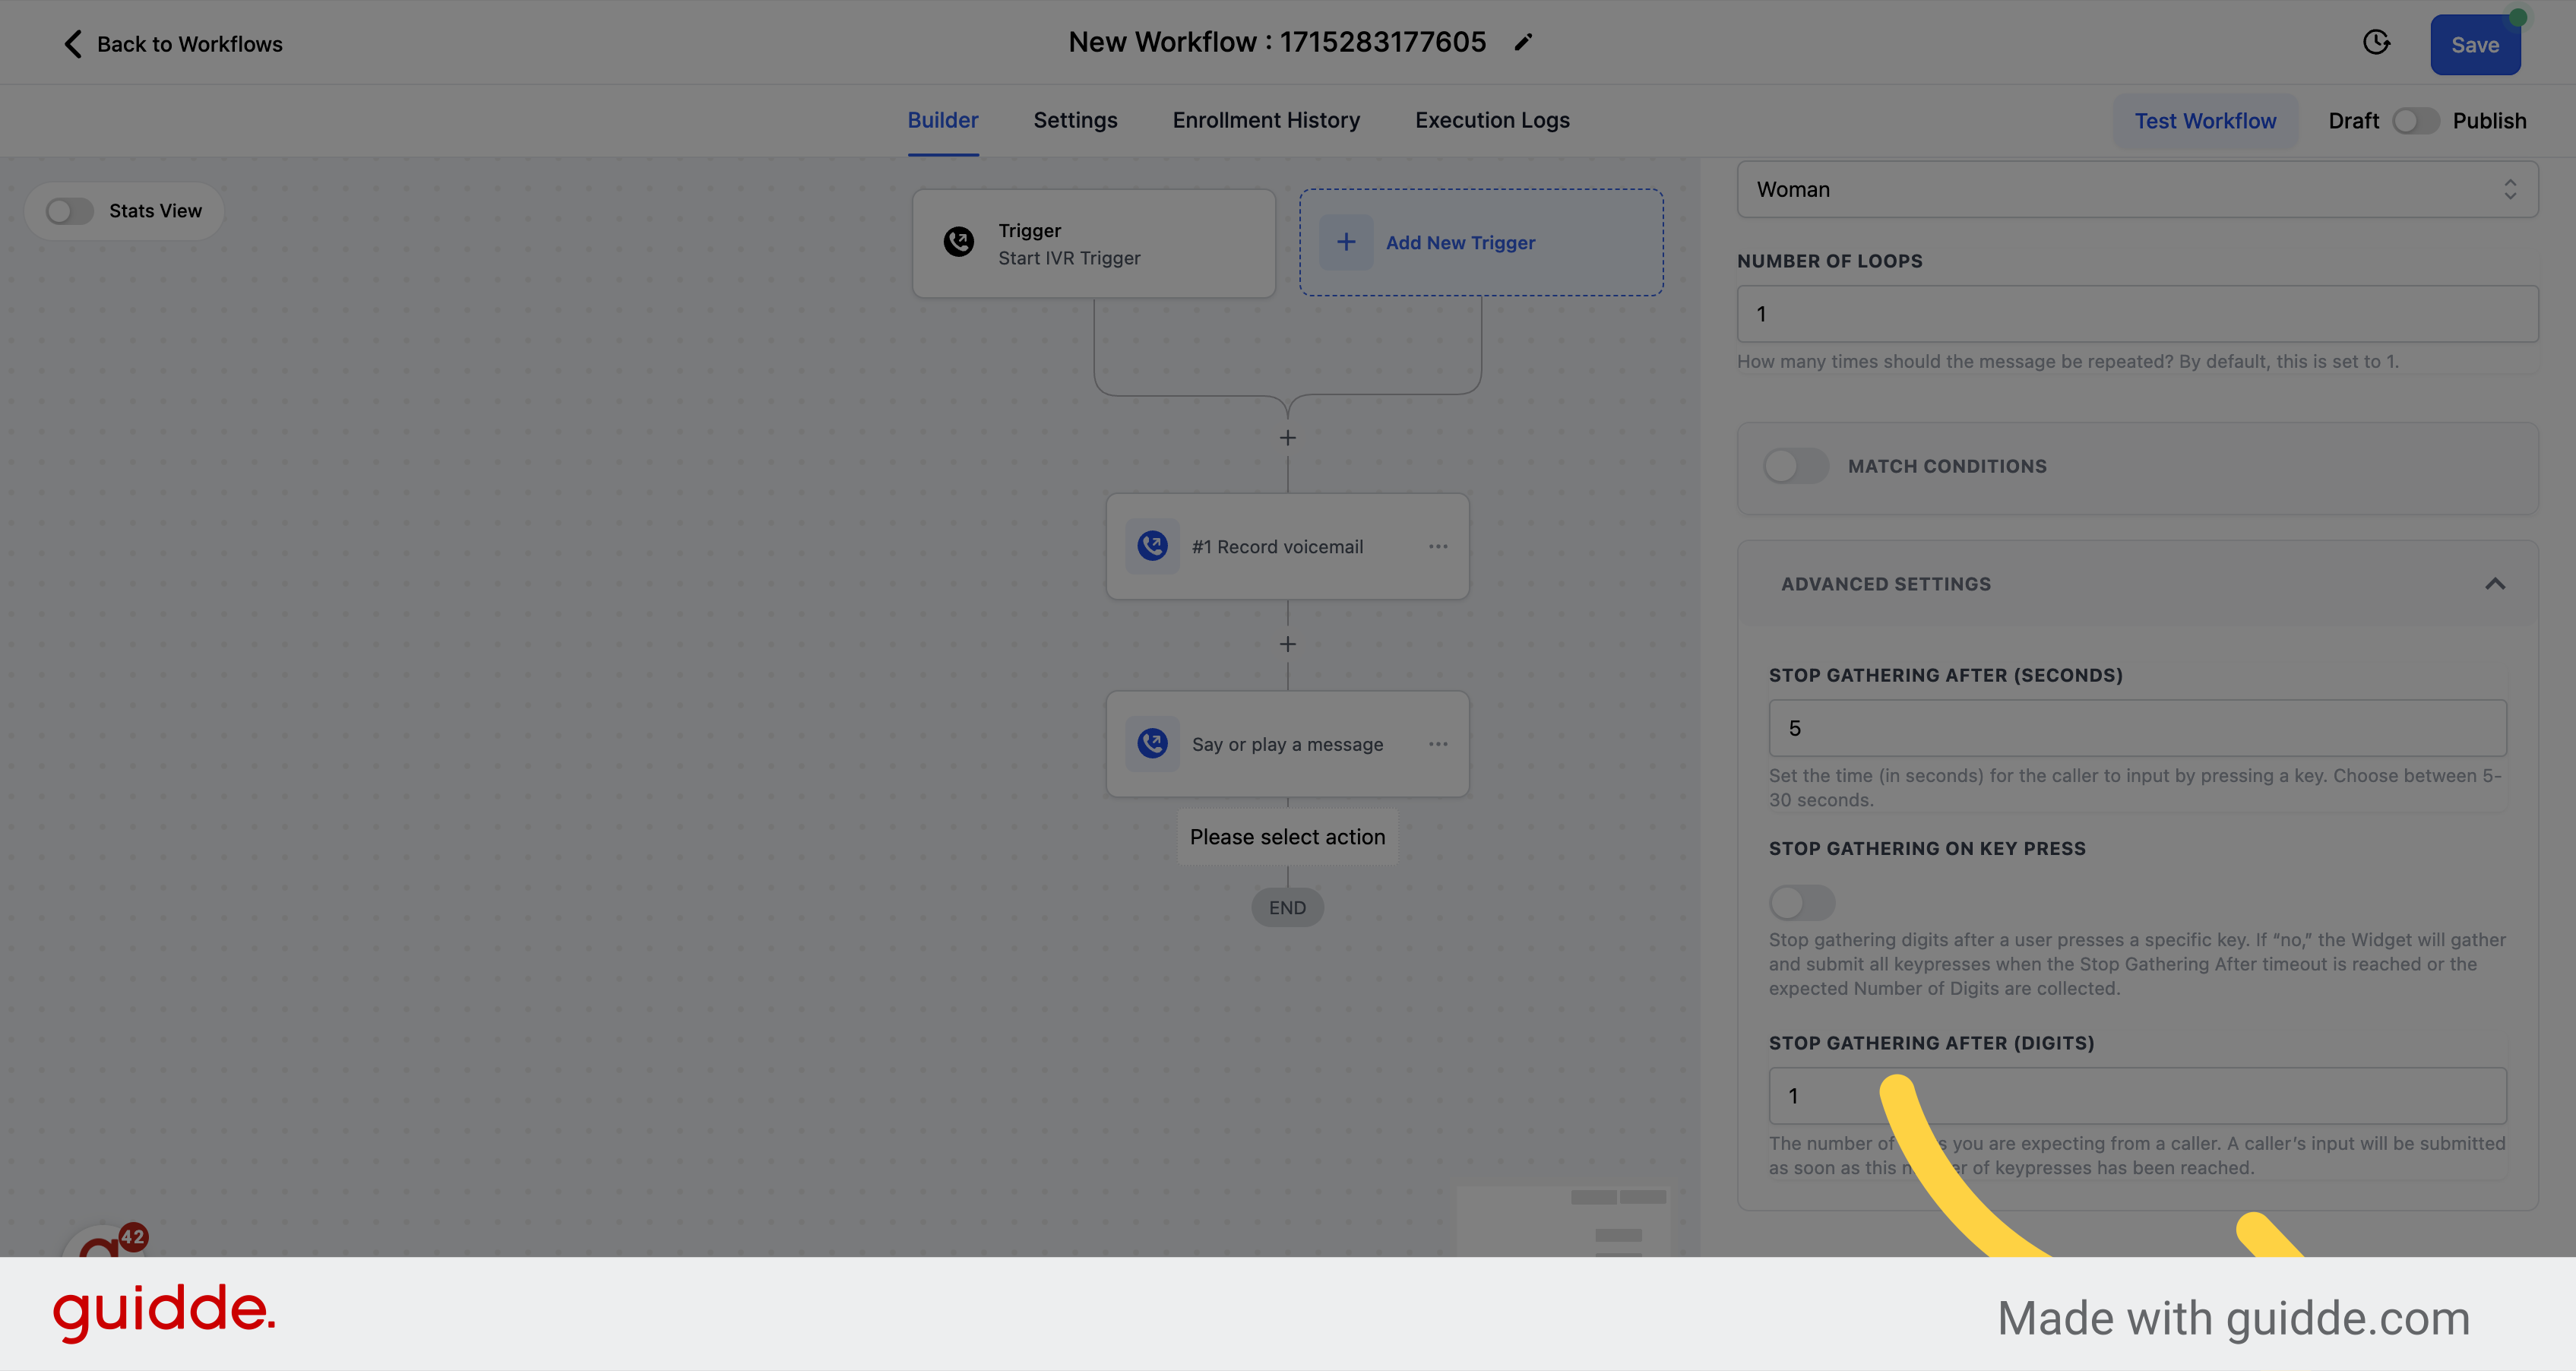
Select this option to visualize more settings.
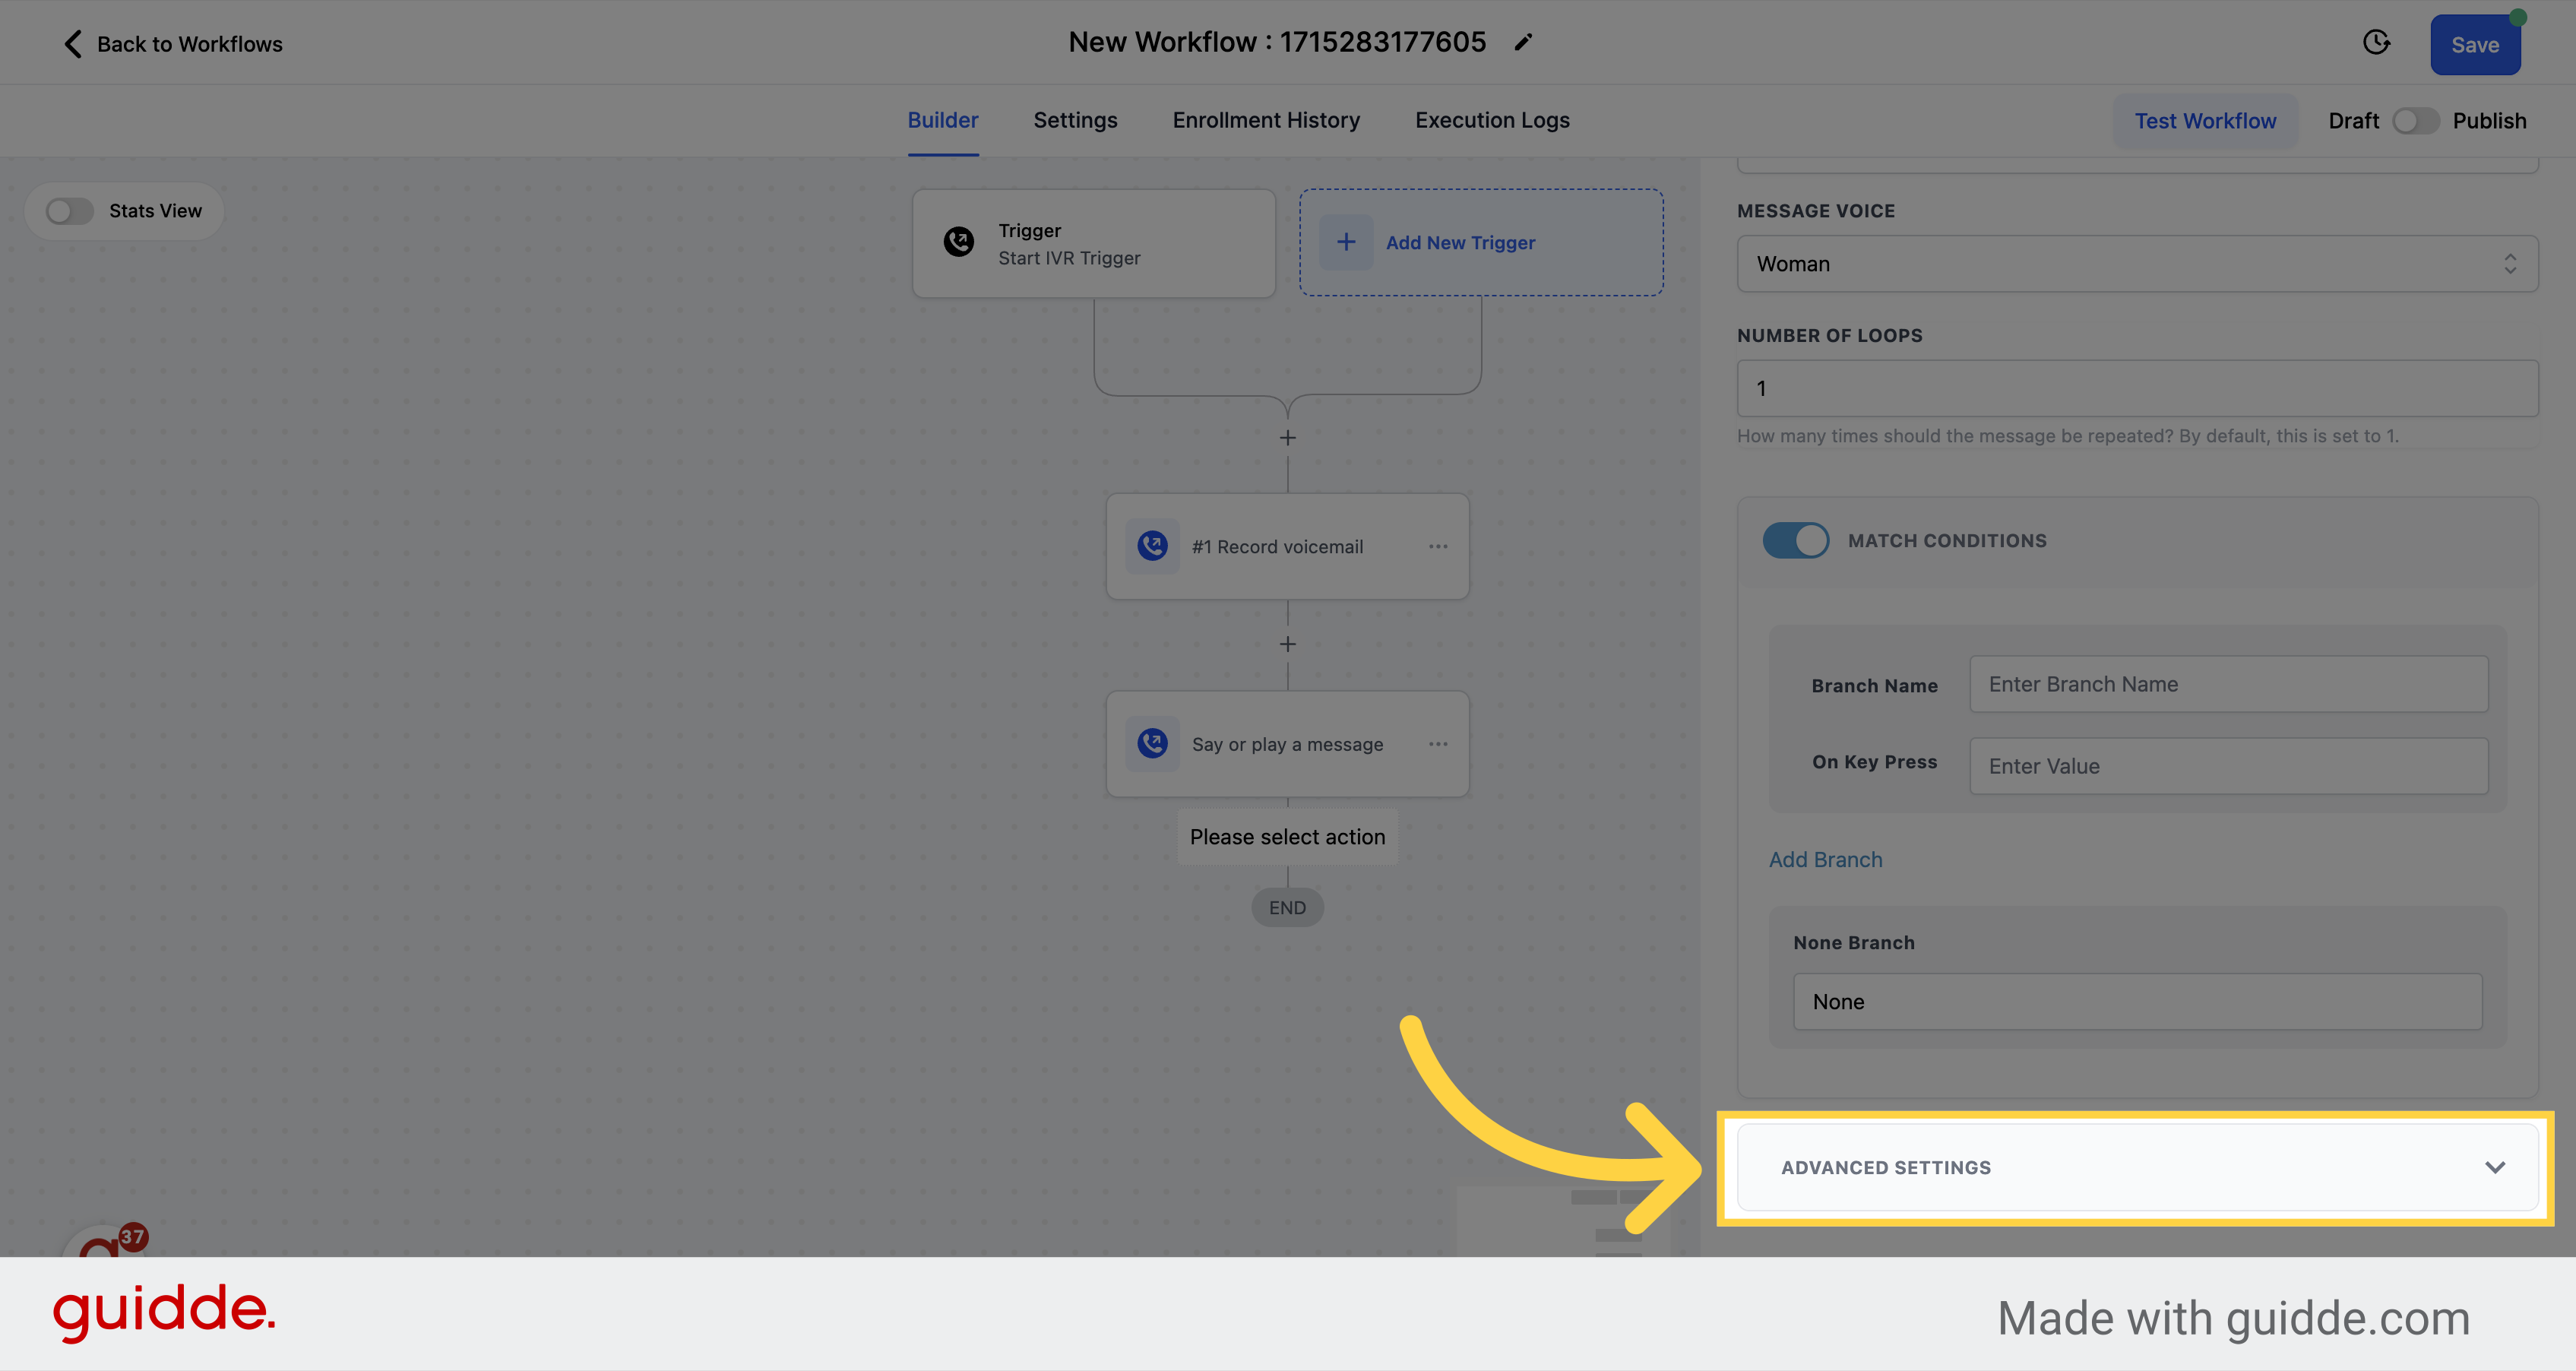
Strike the perfect balance between user input and efficient call flow.
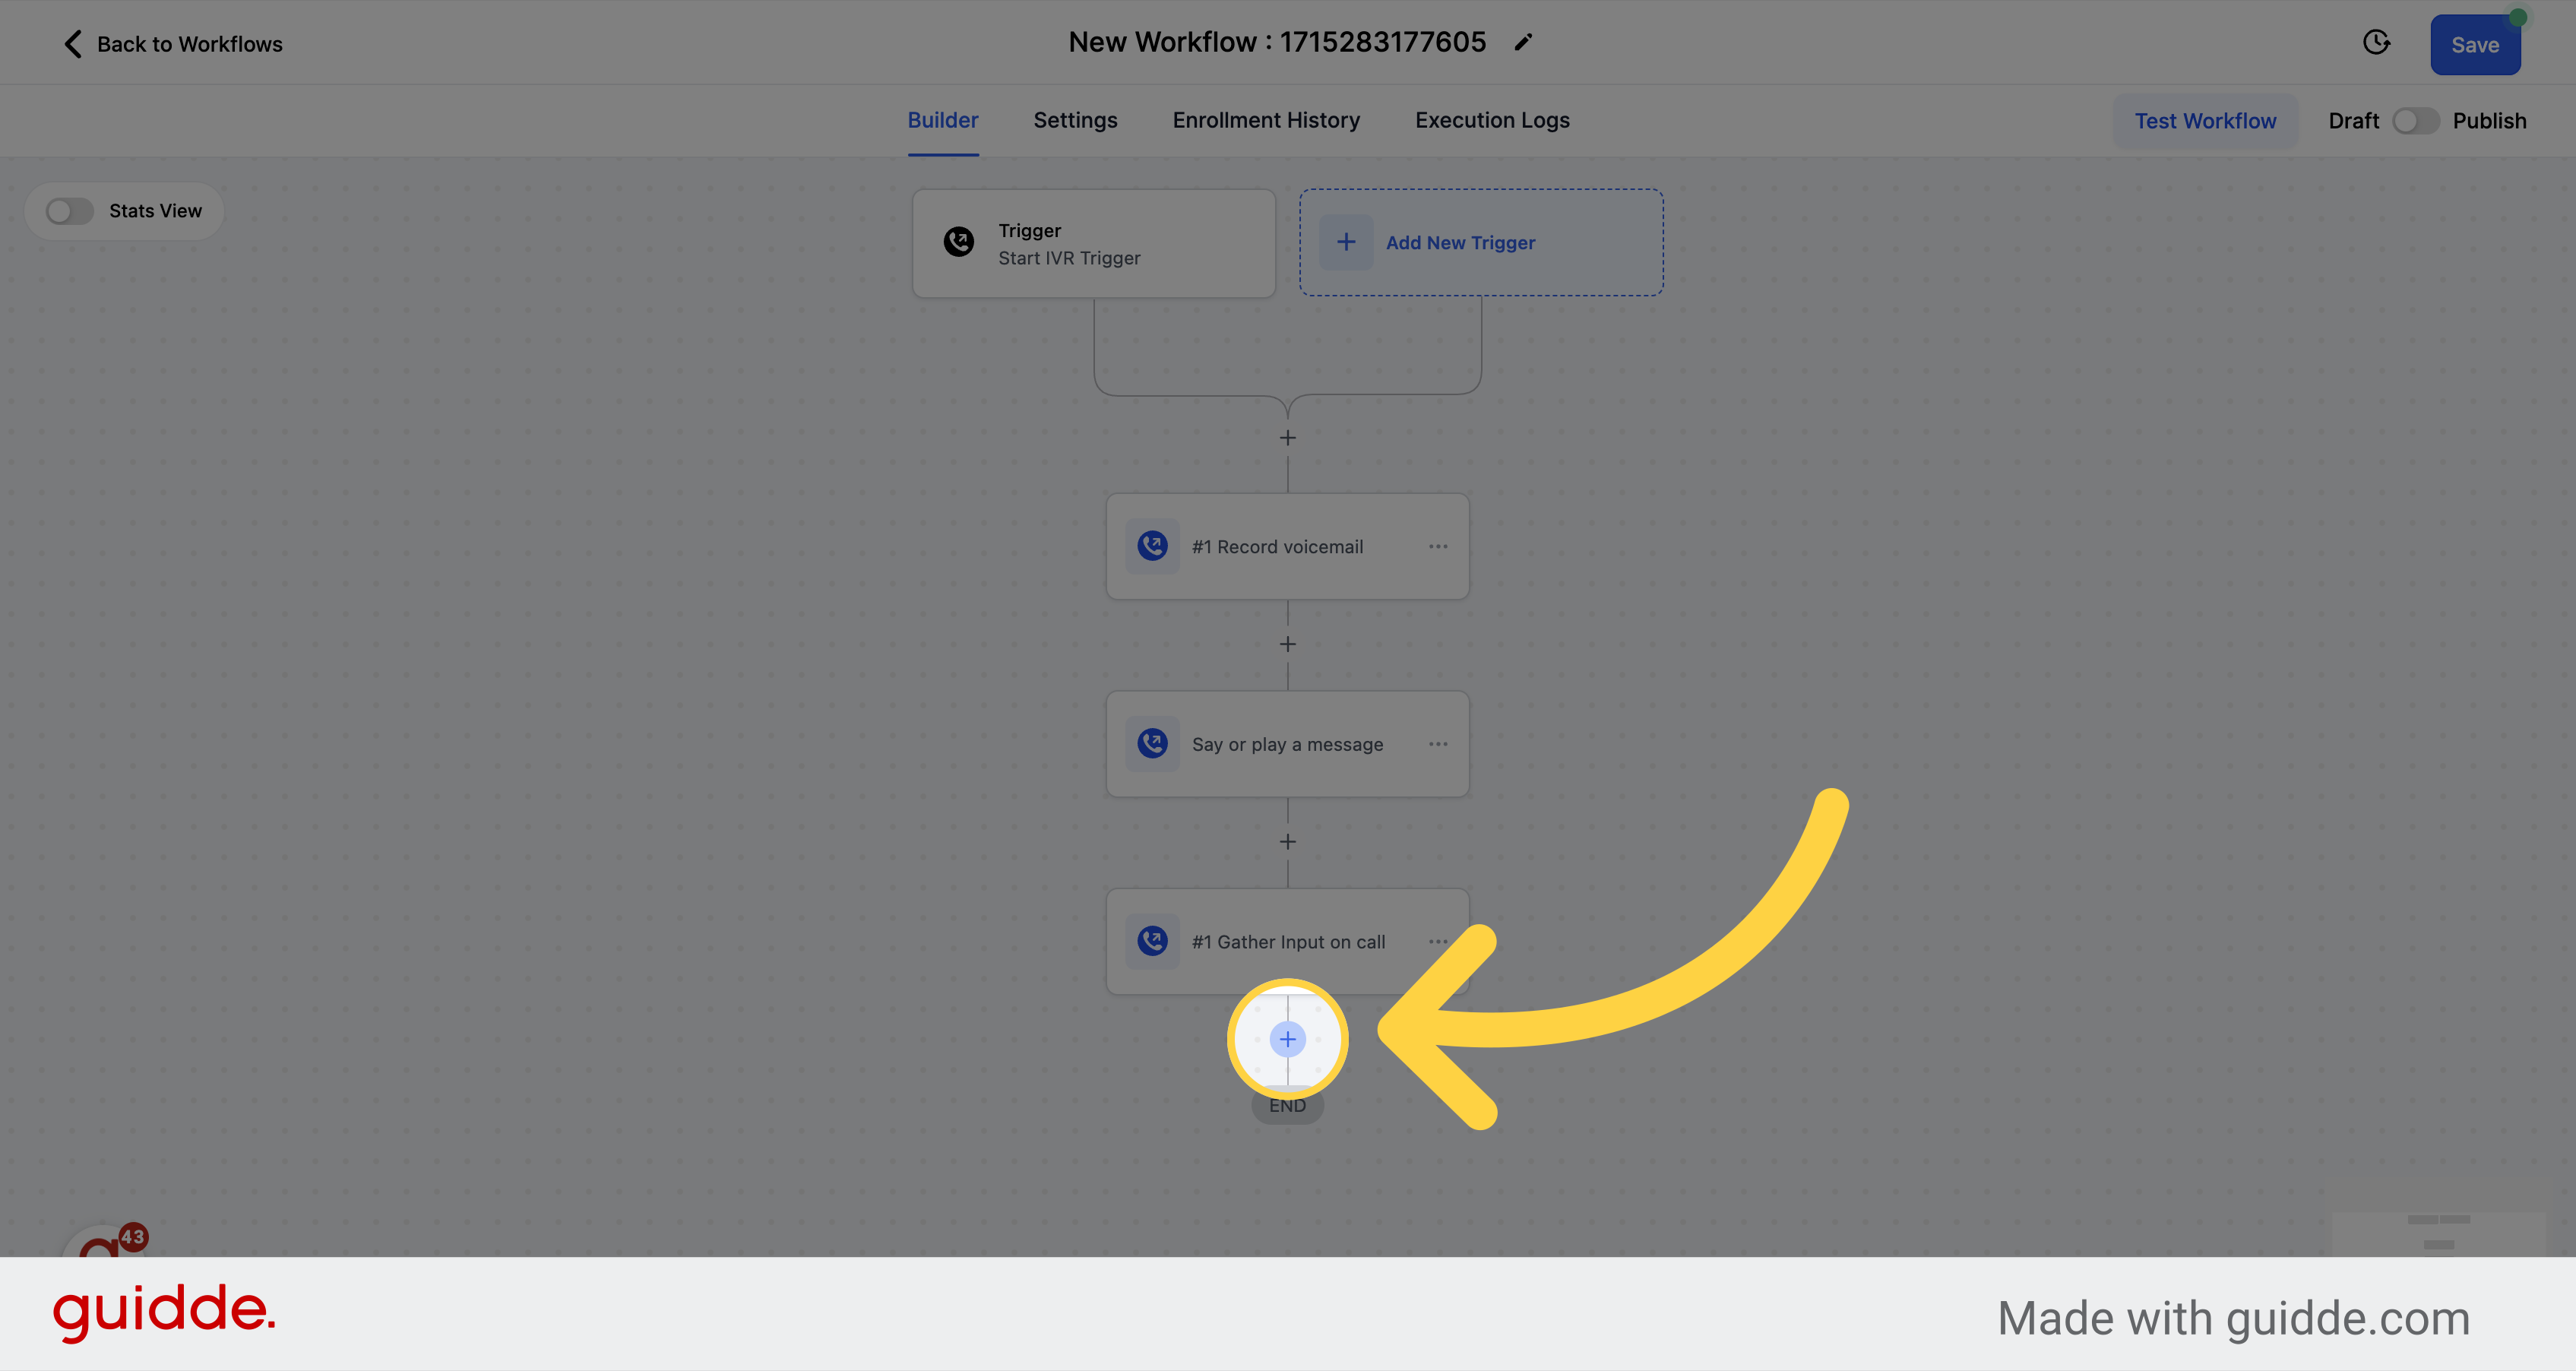
Save the action configuration by clicking on Save Action.
Click on the + icon to add a new action to the workflow.
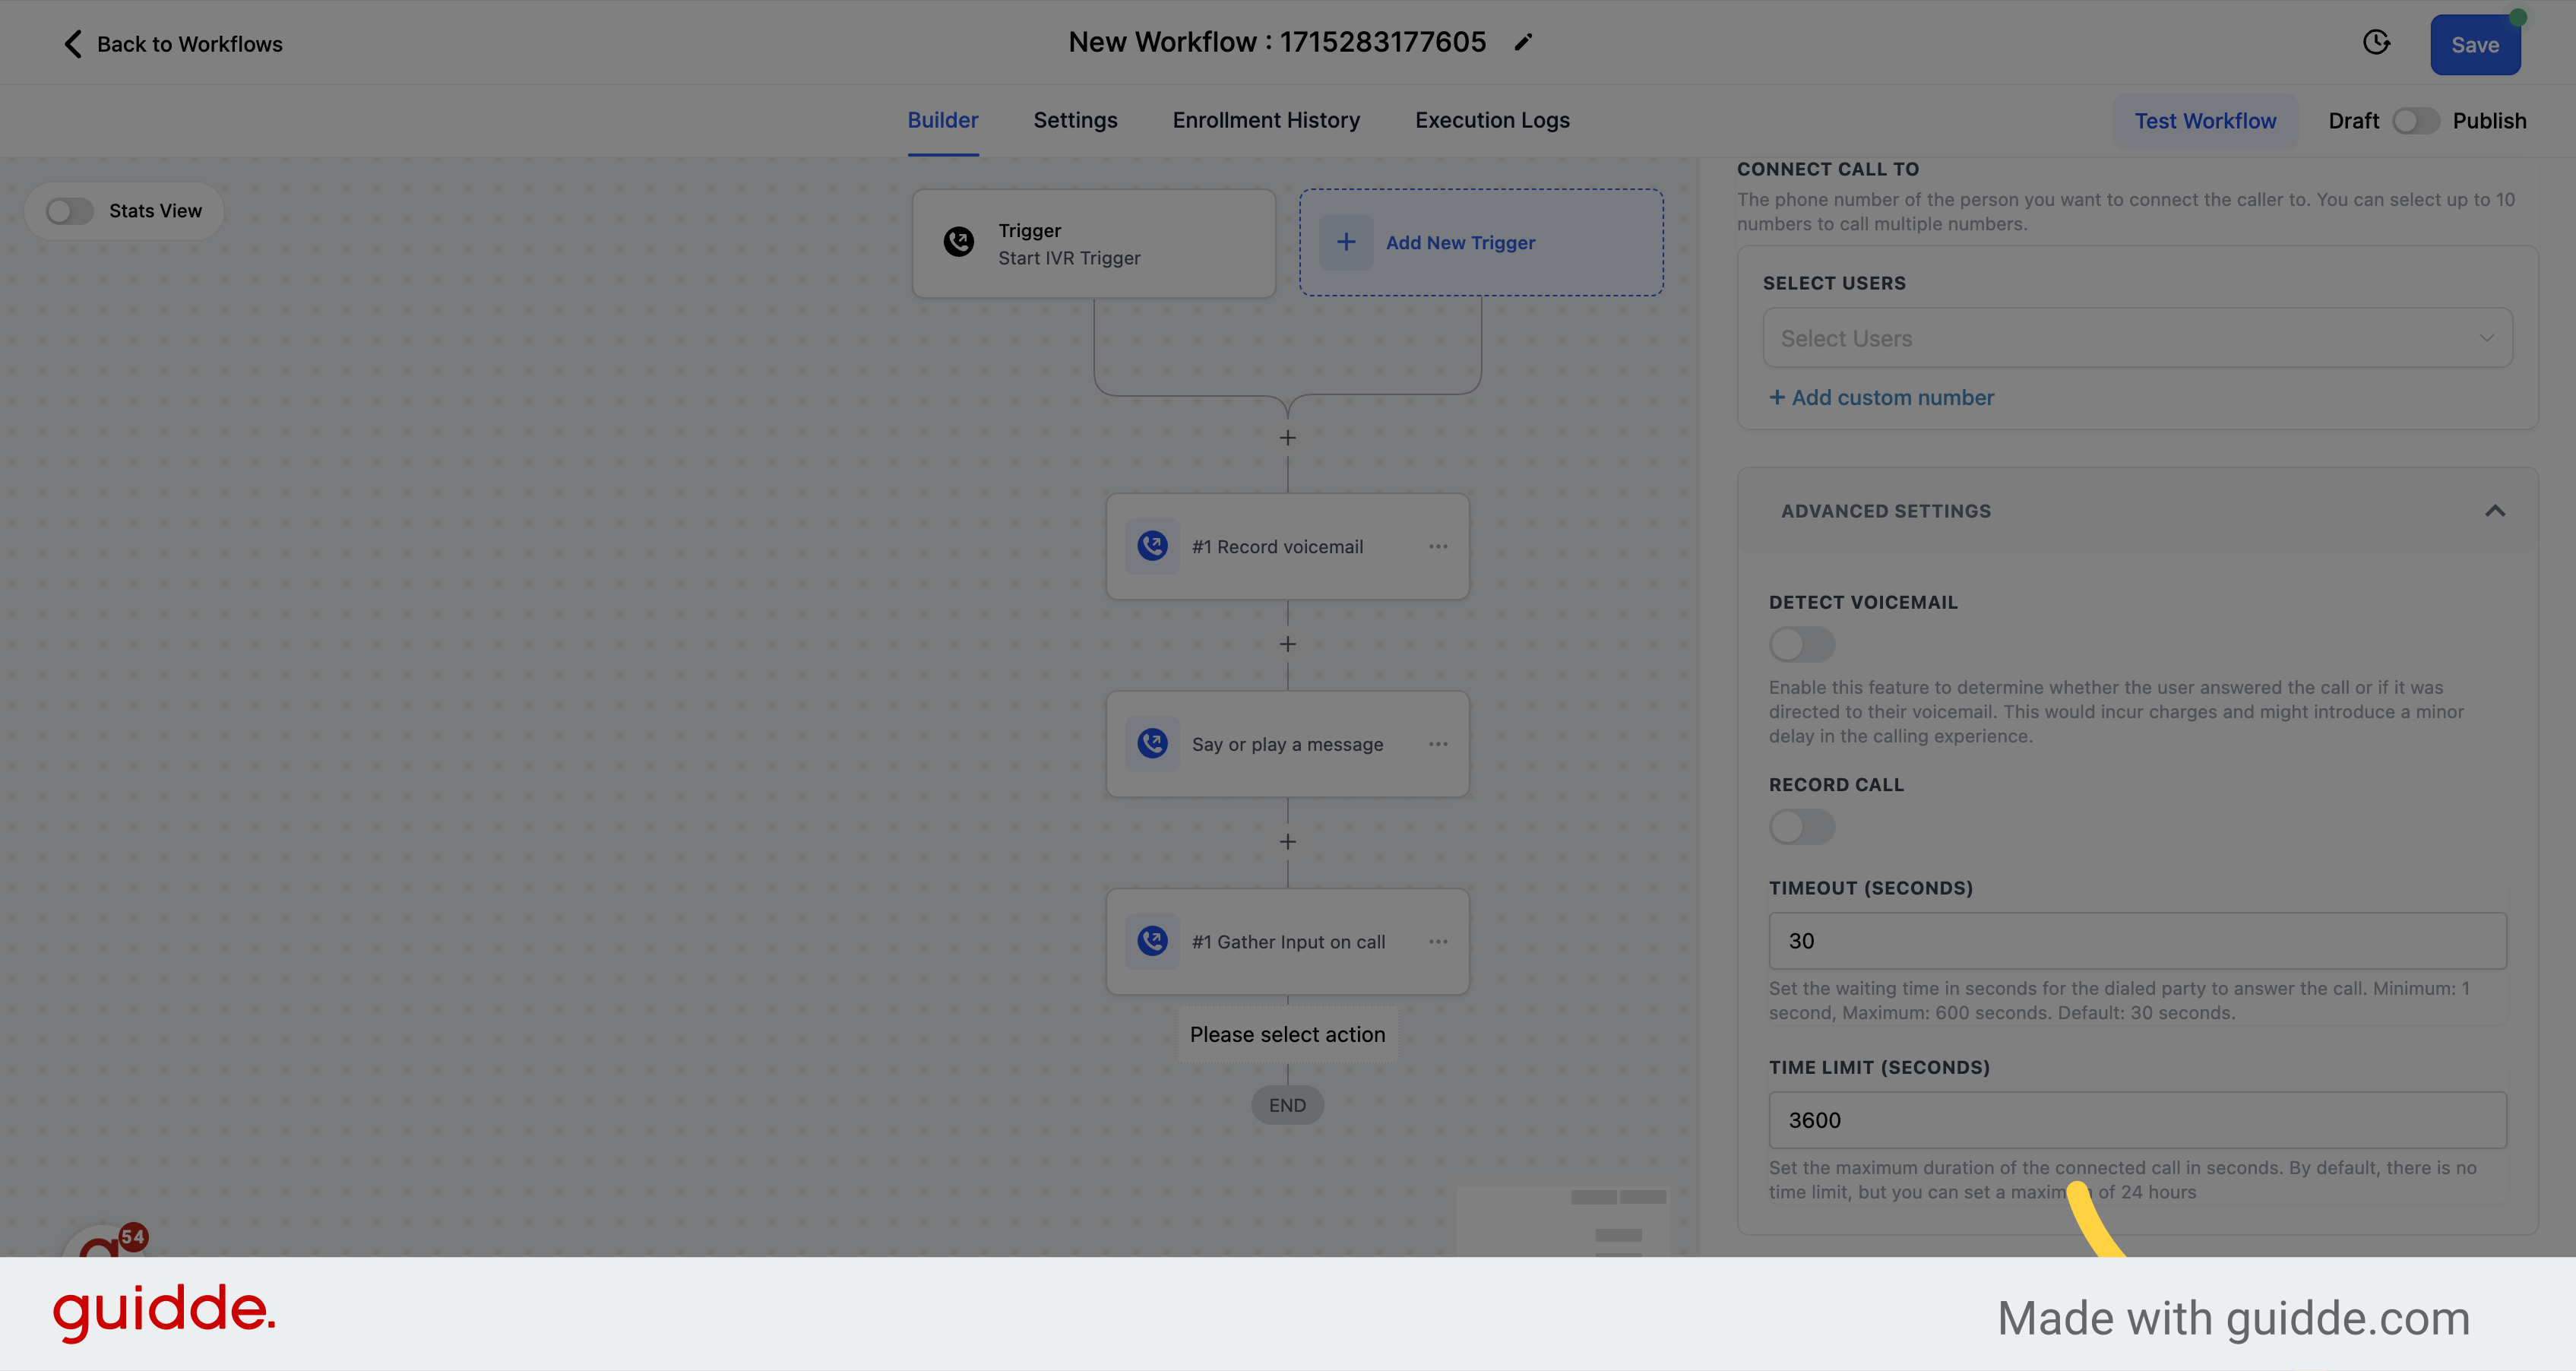
Look for the Connect to Call option and select it.
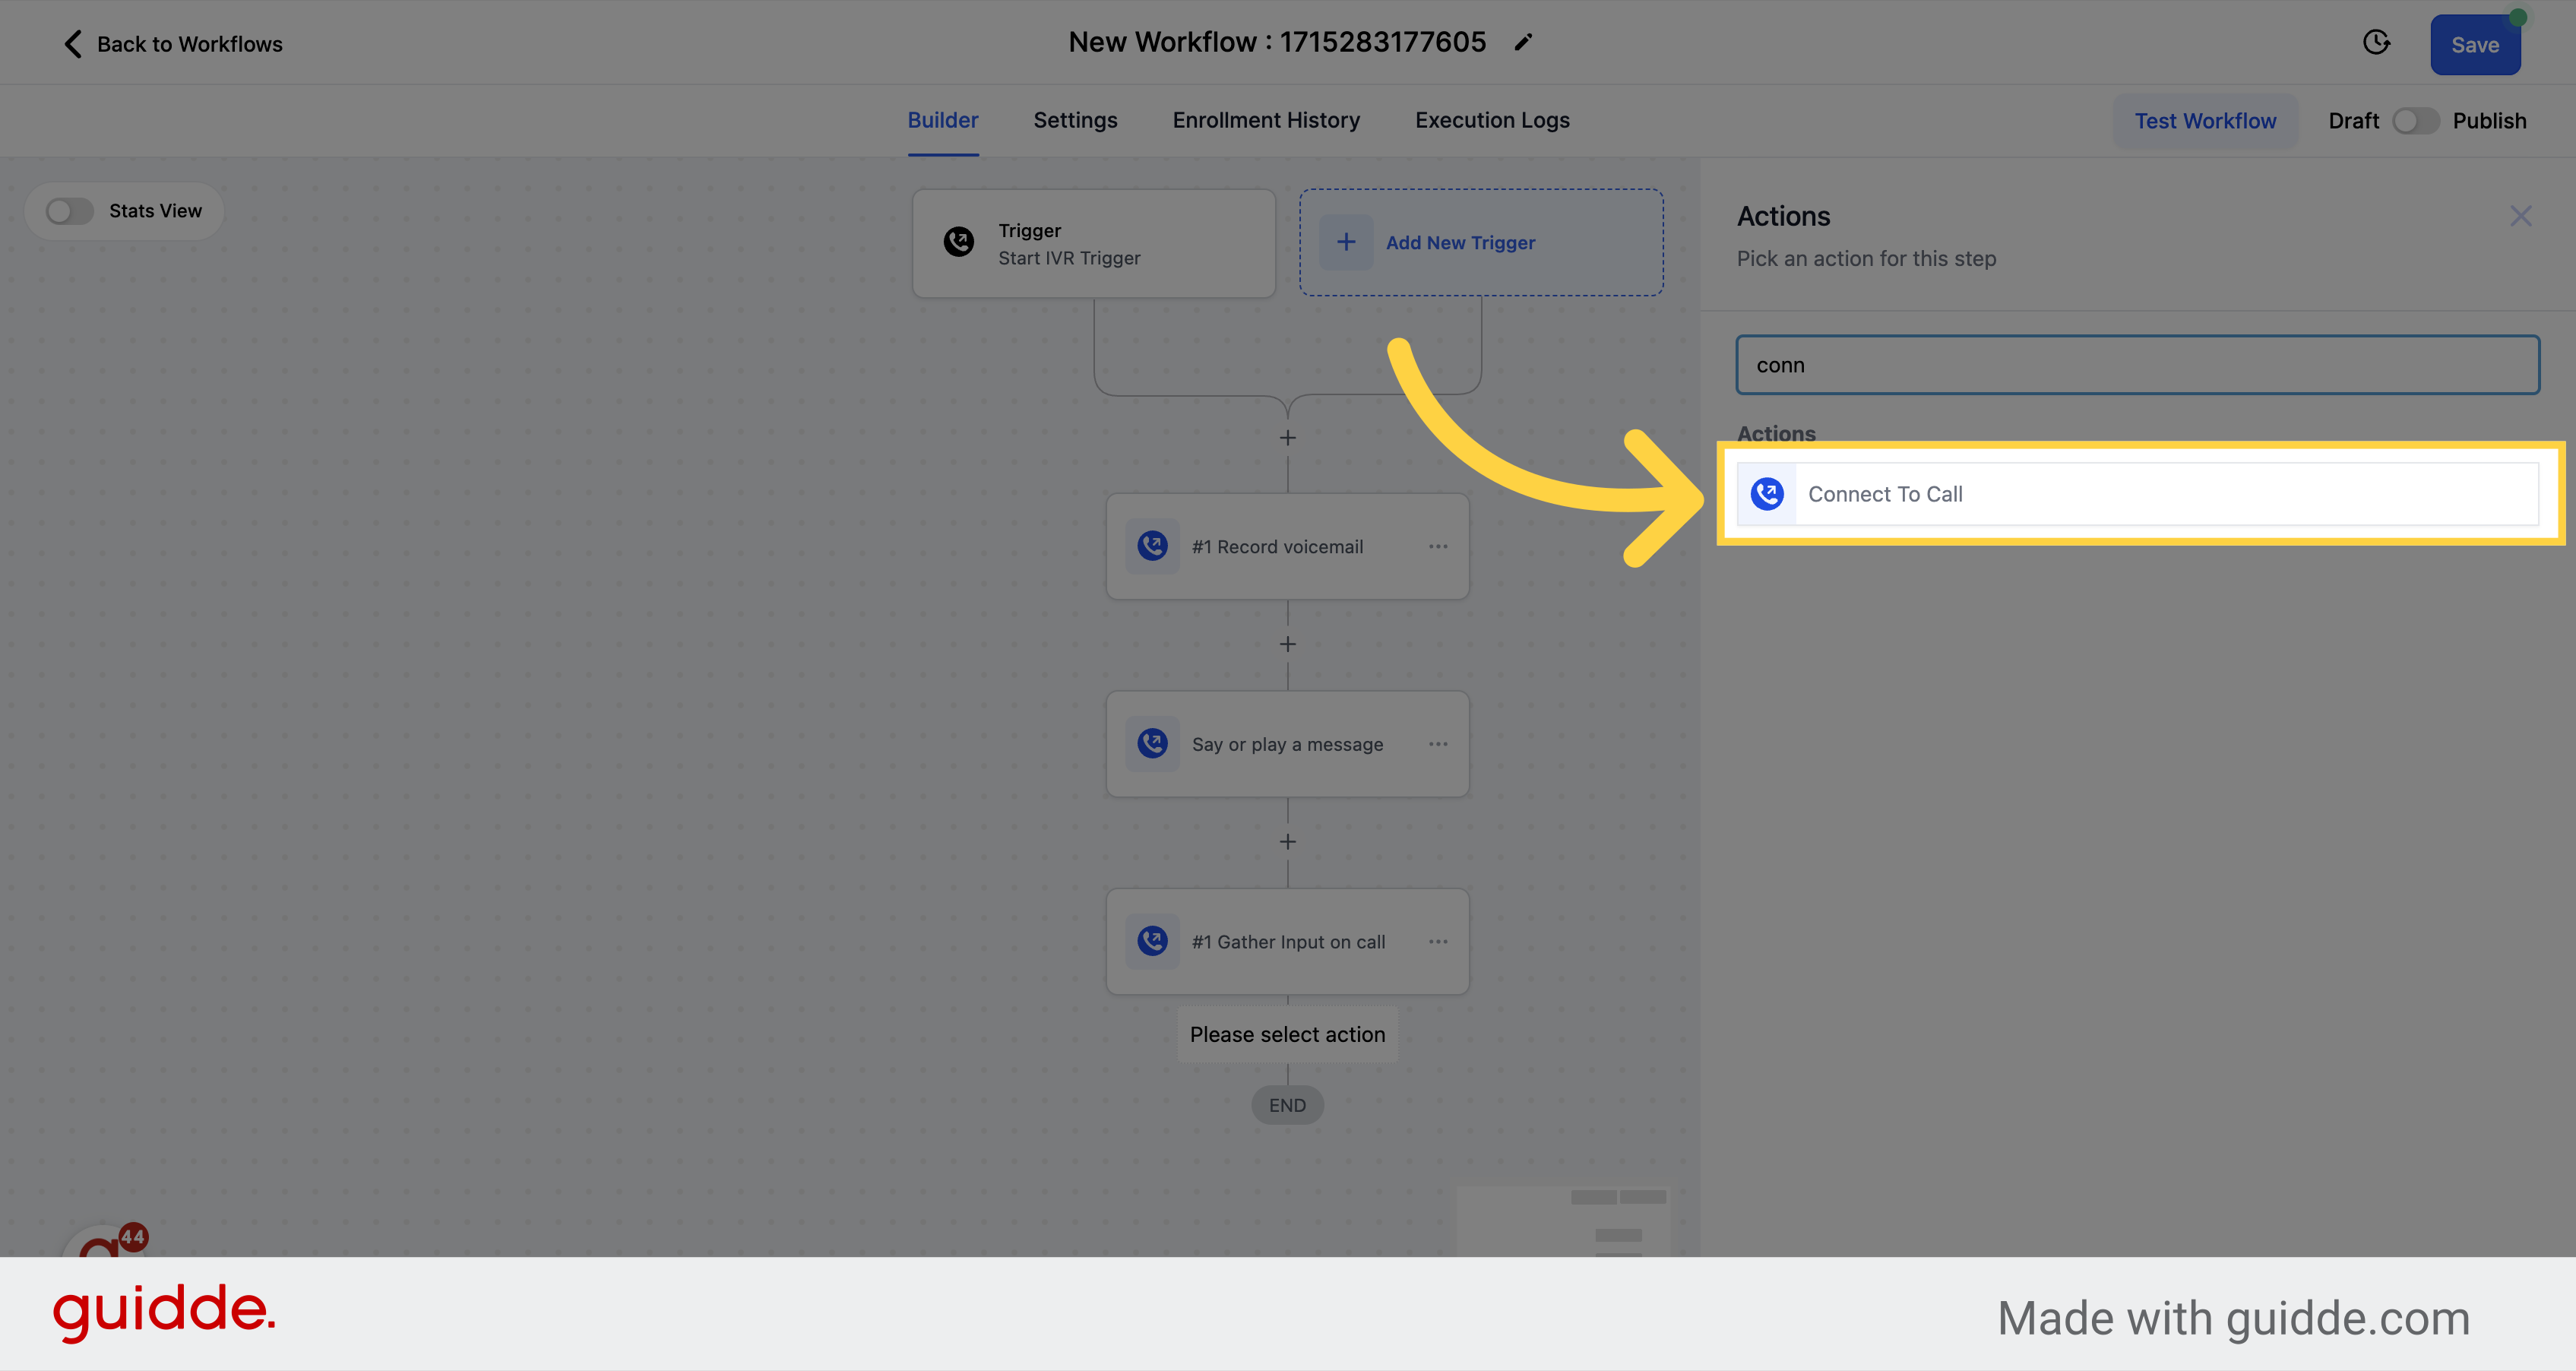
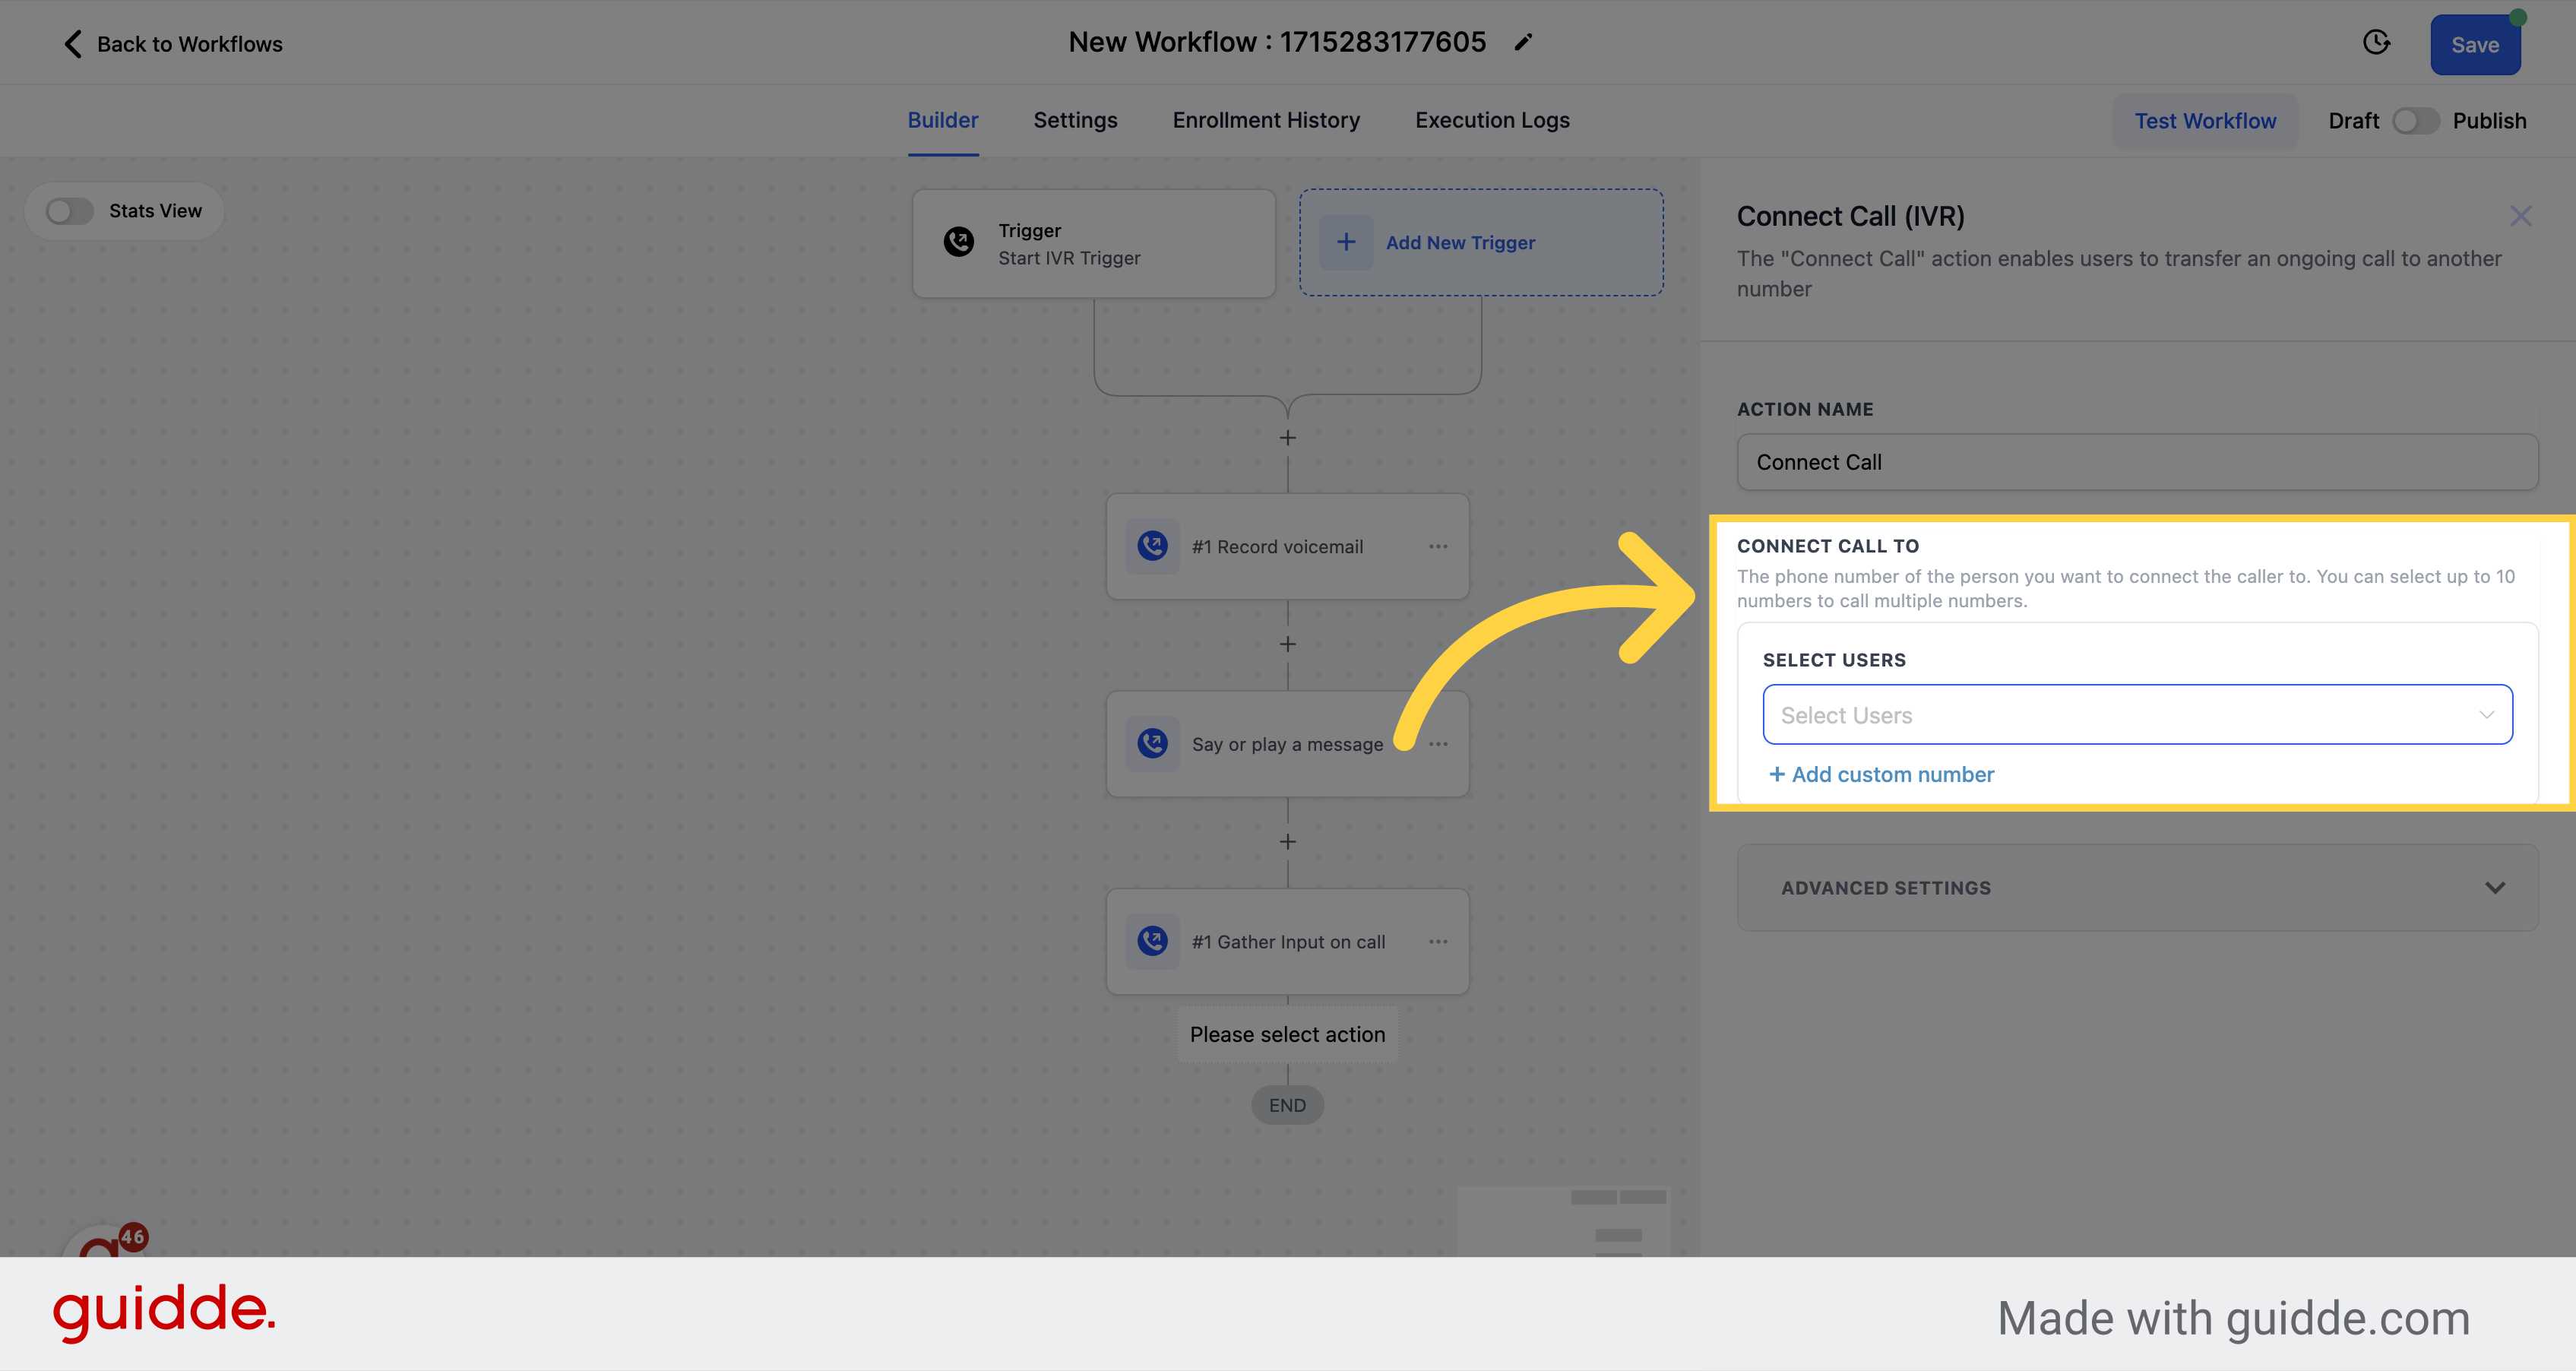
Merge calls effortlessly, connecting your clients to the right resources promptly. You can either select a user from the dropdown who has a phone number or can simply choose to add a custom phone number, which is particularly useful when you would want to connect a call in an IVR on a different sub account.
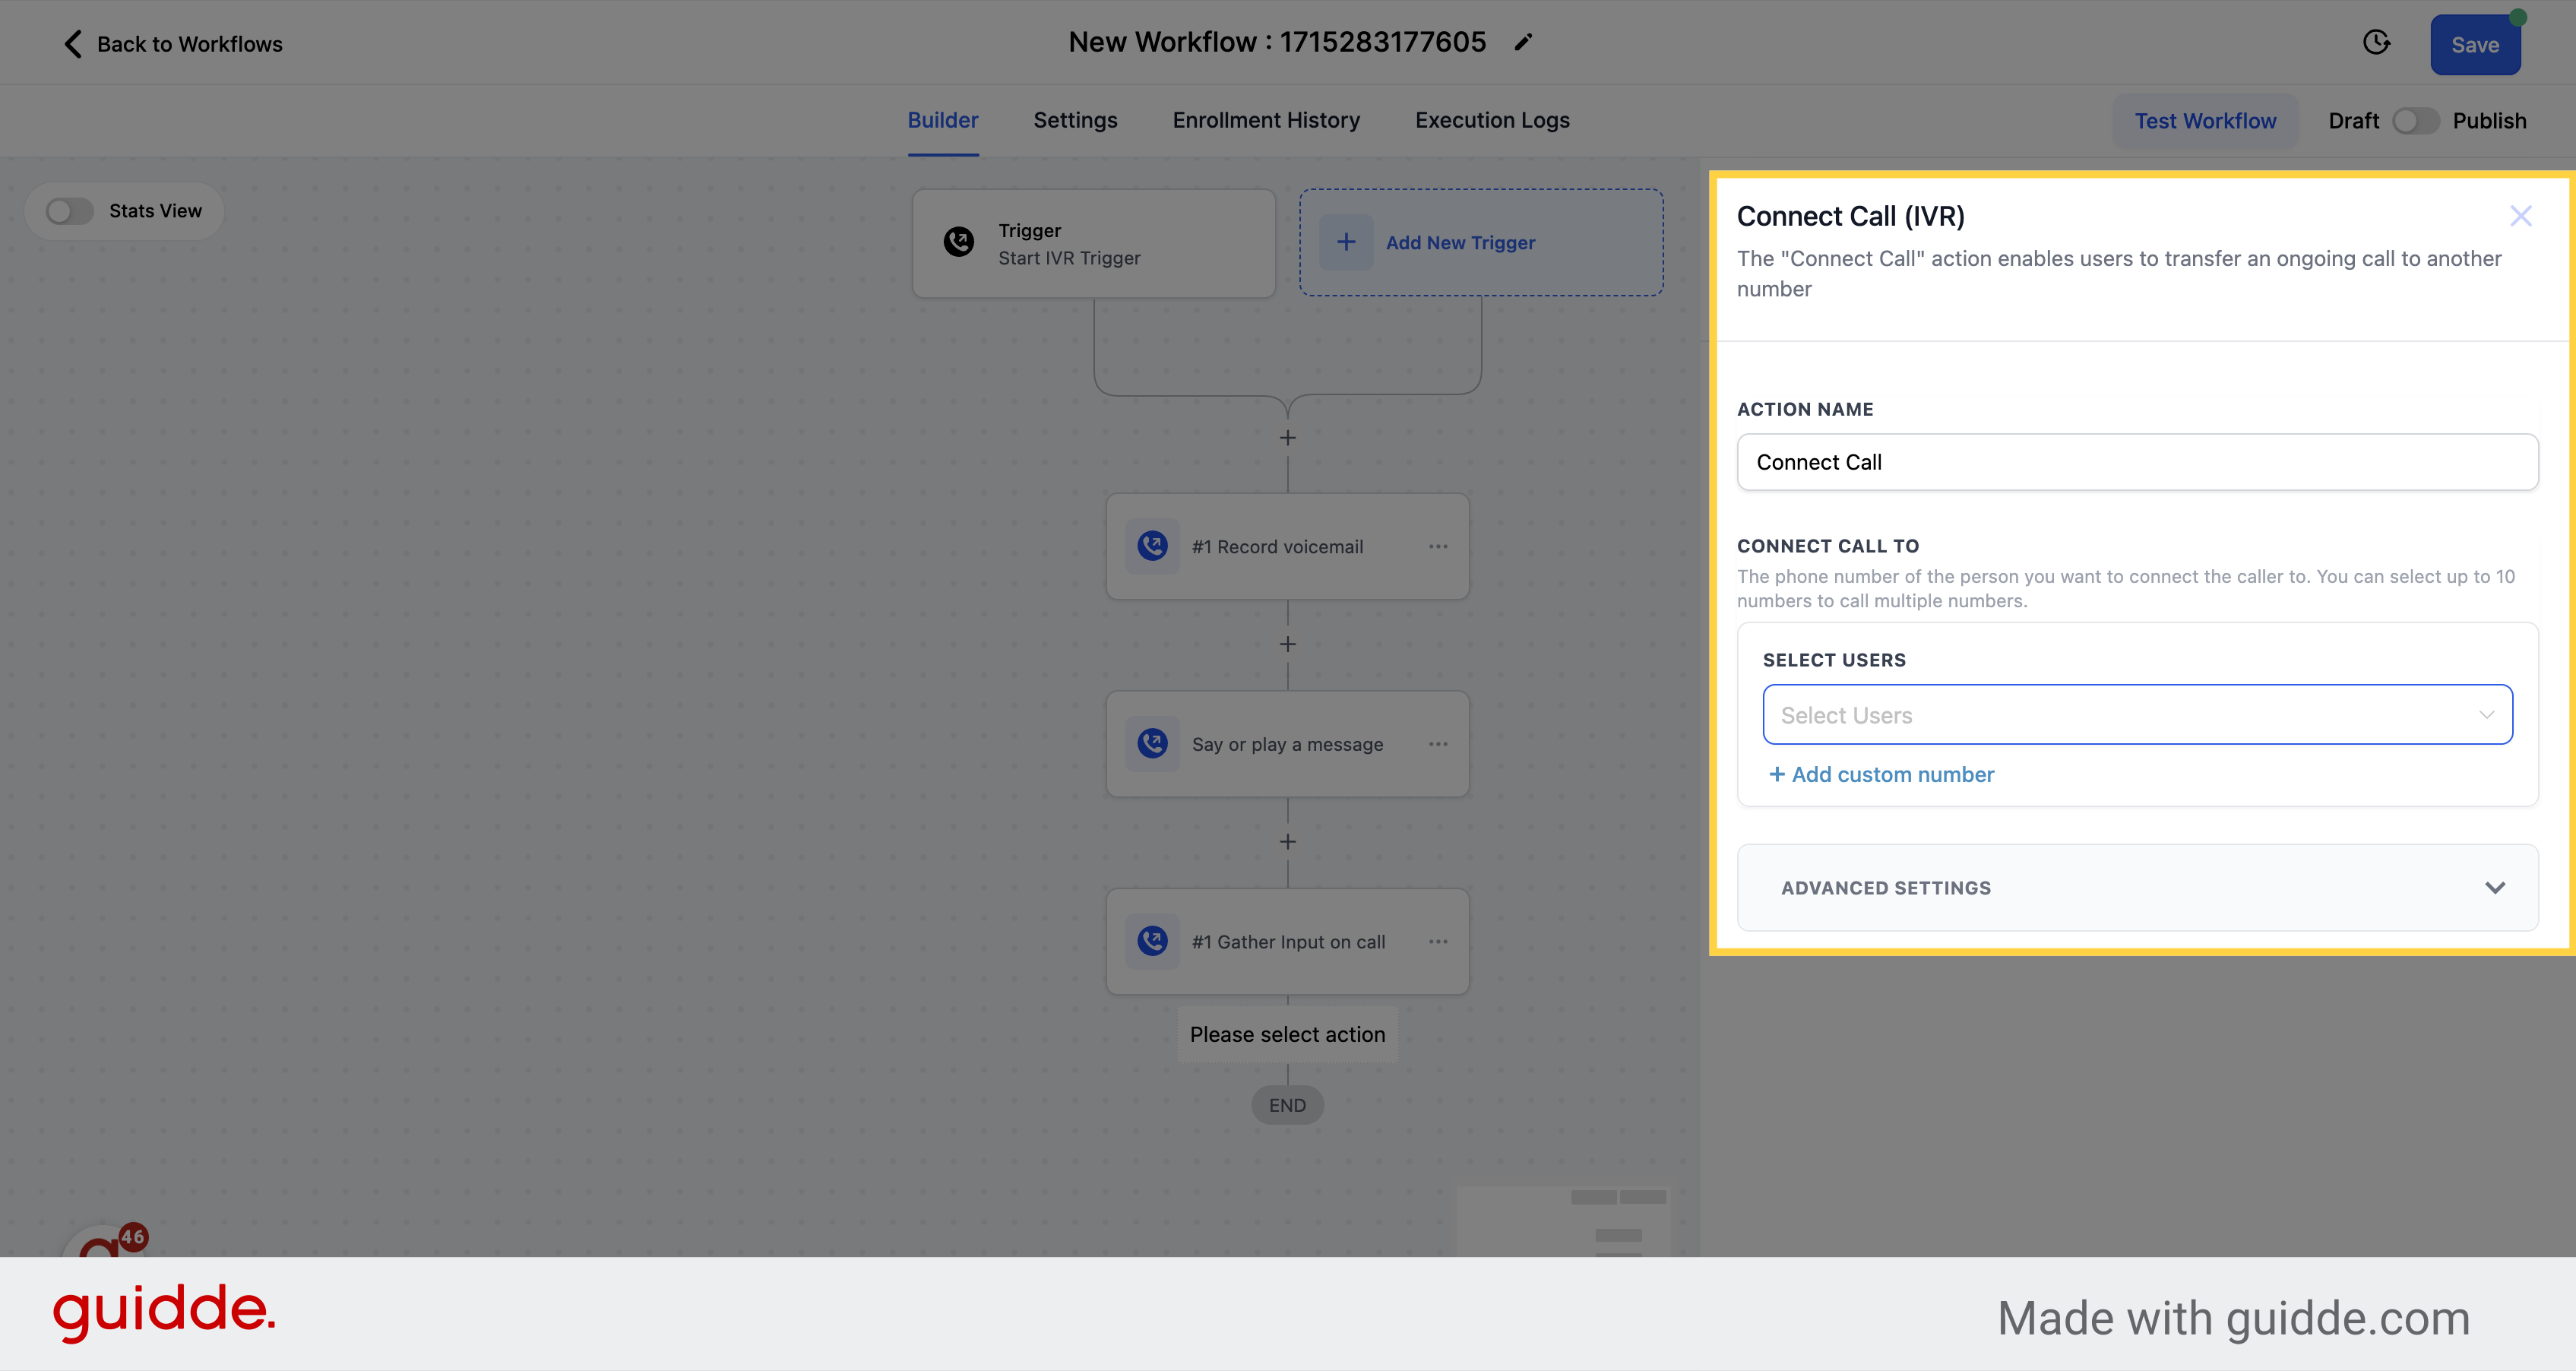
Define destinations swiftly, ensuring callers reach the right department or individual.
Empower your callers by minimizing wait times, delivering a responsive experience.
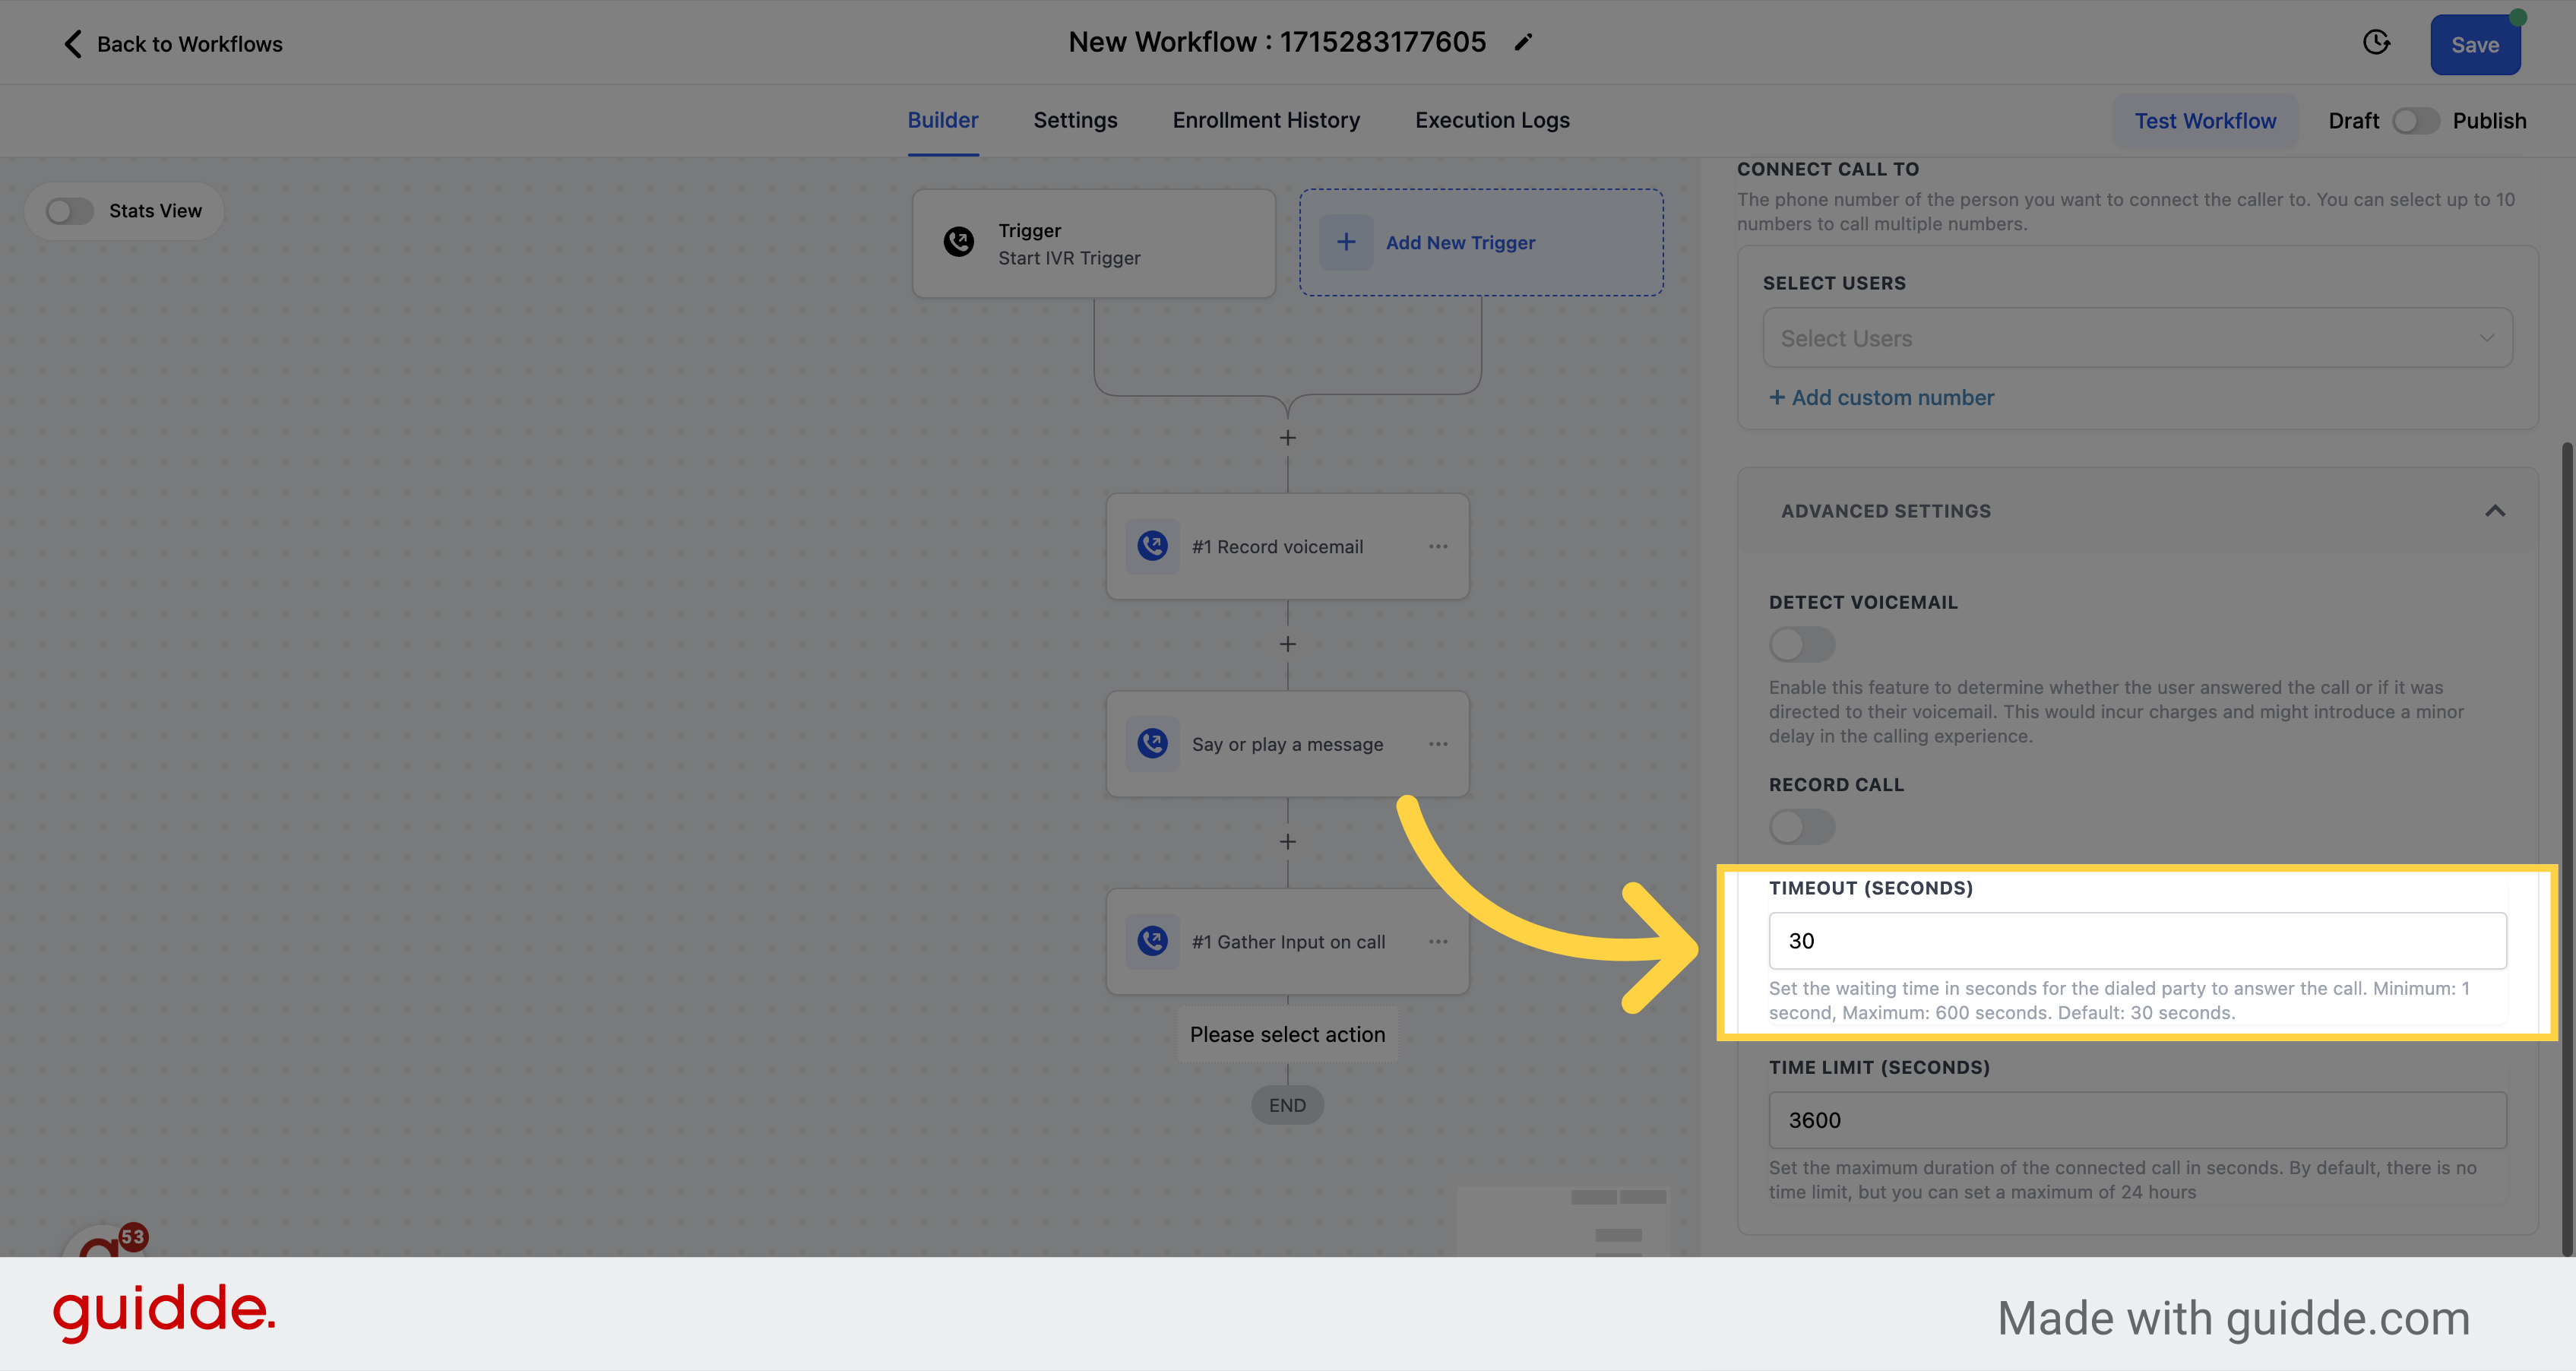
Tailor conversation durations, balancing thorough support with streamlined interactions.
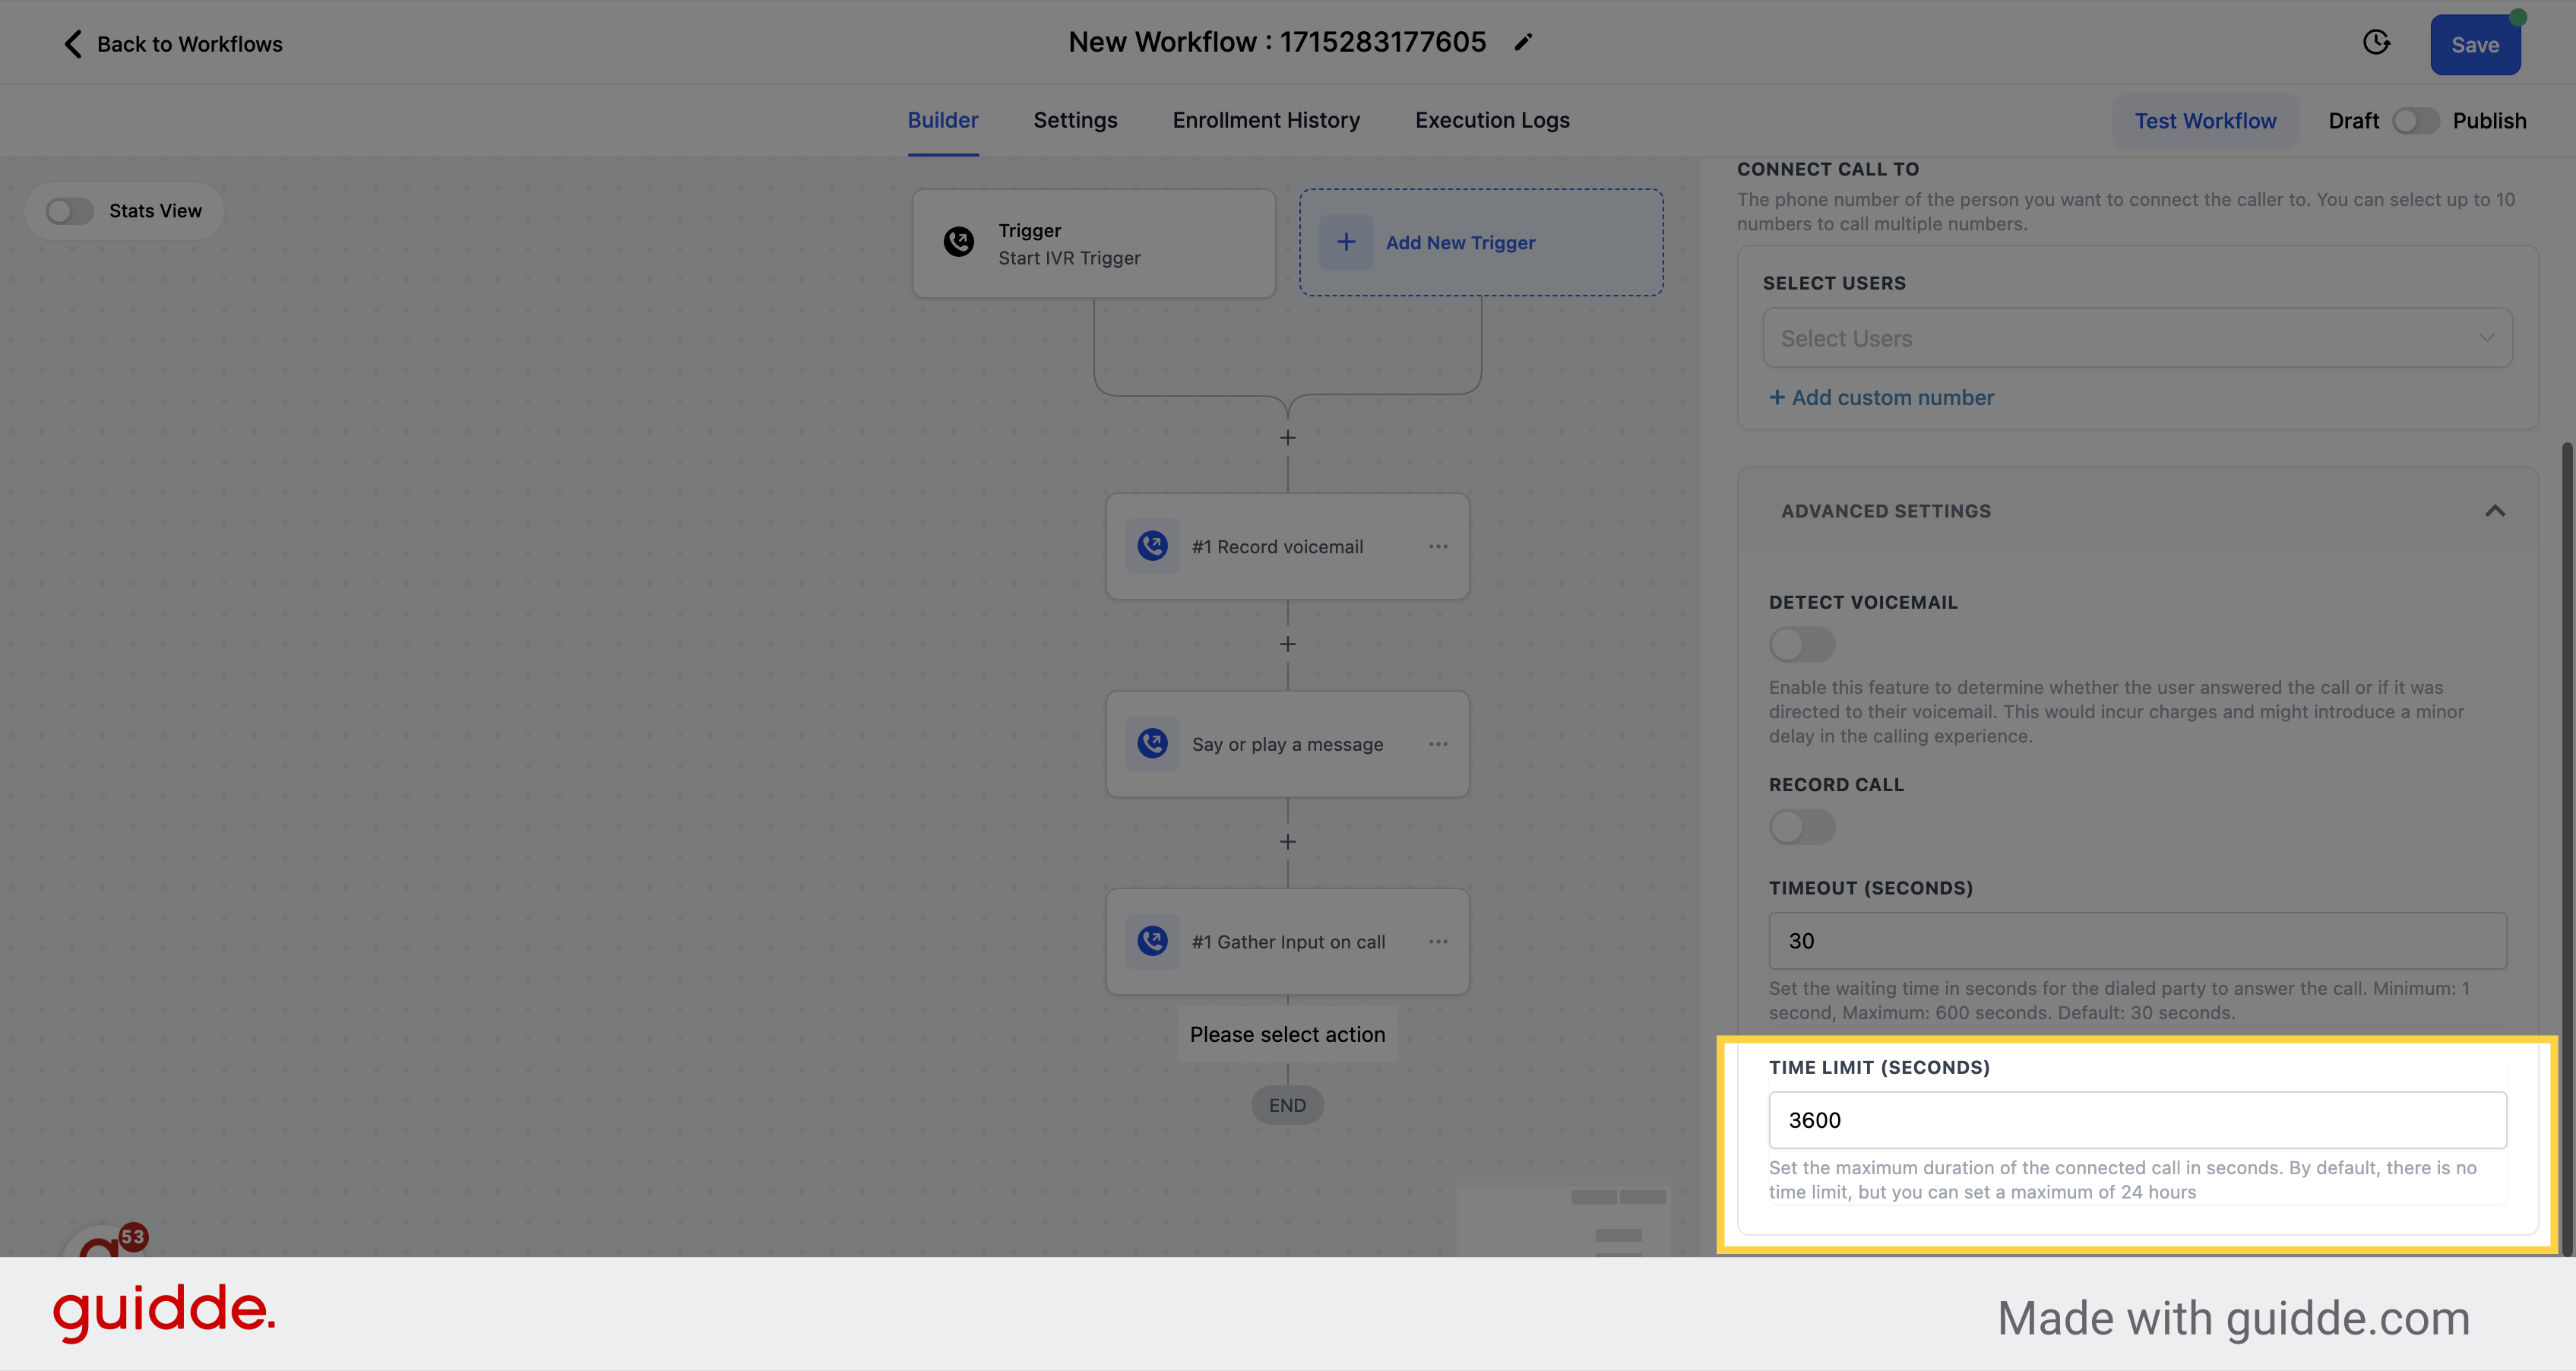
Save your action by clicking on Save Action.
Considerations to bear in mind

1. Please ensure that you have published the workflow before calling the number added in the workflow.
2. If the call ends the call at any point in the workflow - the contact would be moved to the next steps in the workflow
3. If the caller exits the workflow - the call is disconnected by the workflow